Mannykillers/ AAPARKAH Street/time Attack/Drift Build (heavy Pics) #Thisisthewolf
 01-25-13, 01:59 PM
#1126
Wastegate John
iTrader: (13)
Join Date: Feb 2008
Location: Long Island NY 11746
Posts: 2,979
Likes: 0
Received 9 Likes
on
9 Posts
I have a better solution for your TPS problem... switch from the PFC to an ECU that is more advanced and run whatever TPS fits on the TB .
.
Also, I don't understand why you are going to run fire-sleving on the hard lines, they dont need it. I still think you should have made them out of stainless though.
.Also, I don't understand why you are going to run fire-sleving on the hard lines, they dont need it. I still think you should have made them out of stainless though.
 01-25-13, 02:58 PM
#1127
^ yea well I don't think stainless is necessary....and a waste of $$ if you ask me. Fire sleeve is a good idea IMO... If you think differently..well you do think differently...which is why you built your car the way you did and why mine is just soo much cooler ;-)

 01-26-13, 11:48 AM
#1129
^hahaha.. yea yea!!!
So you know sometimes when your just having one of those off days? Well.....yesterday that happened...
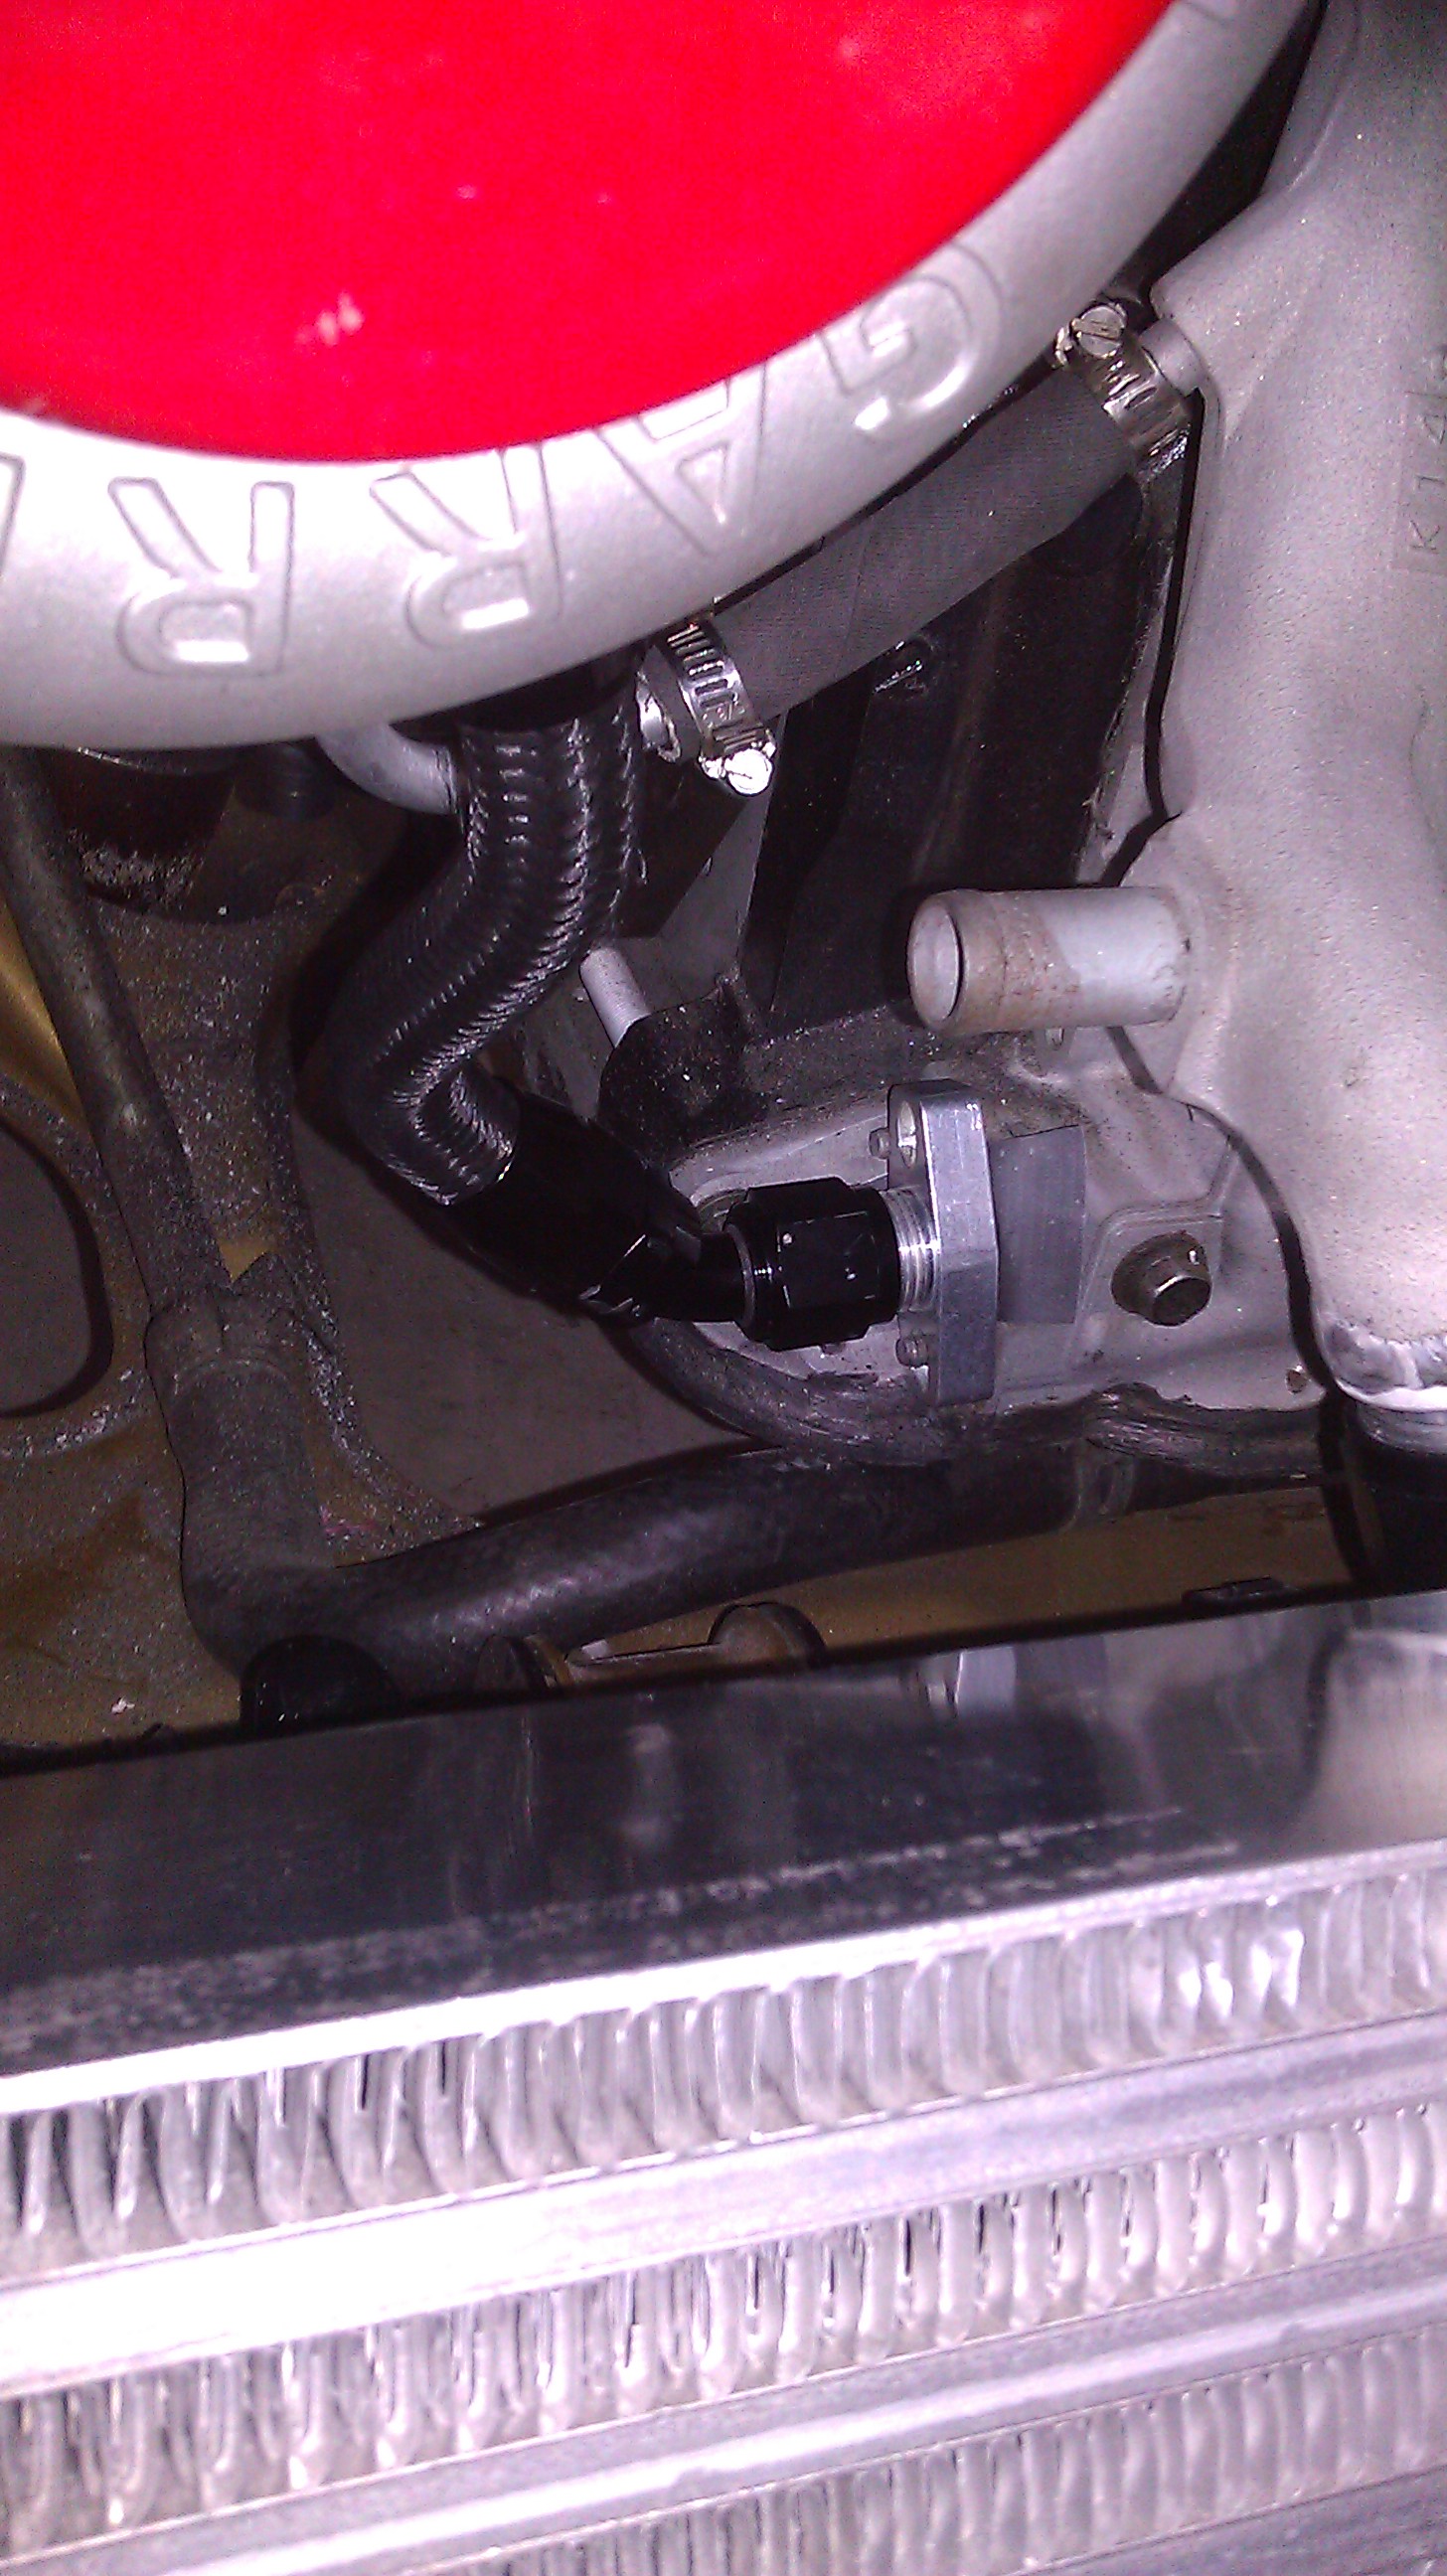
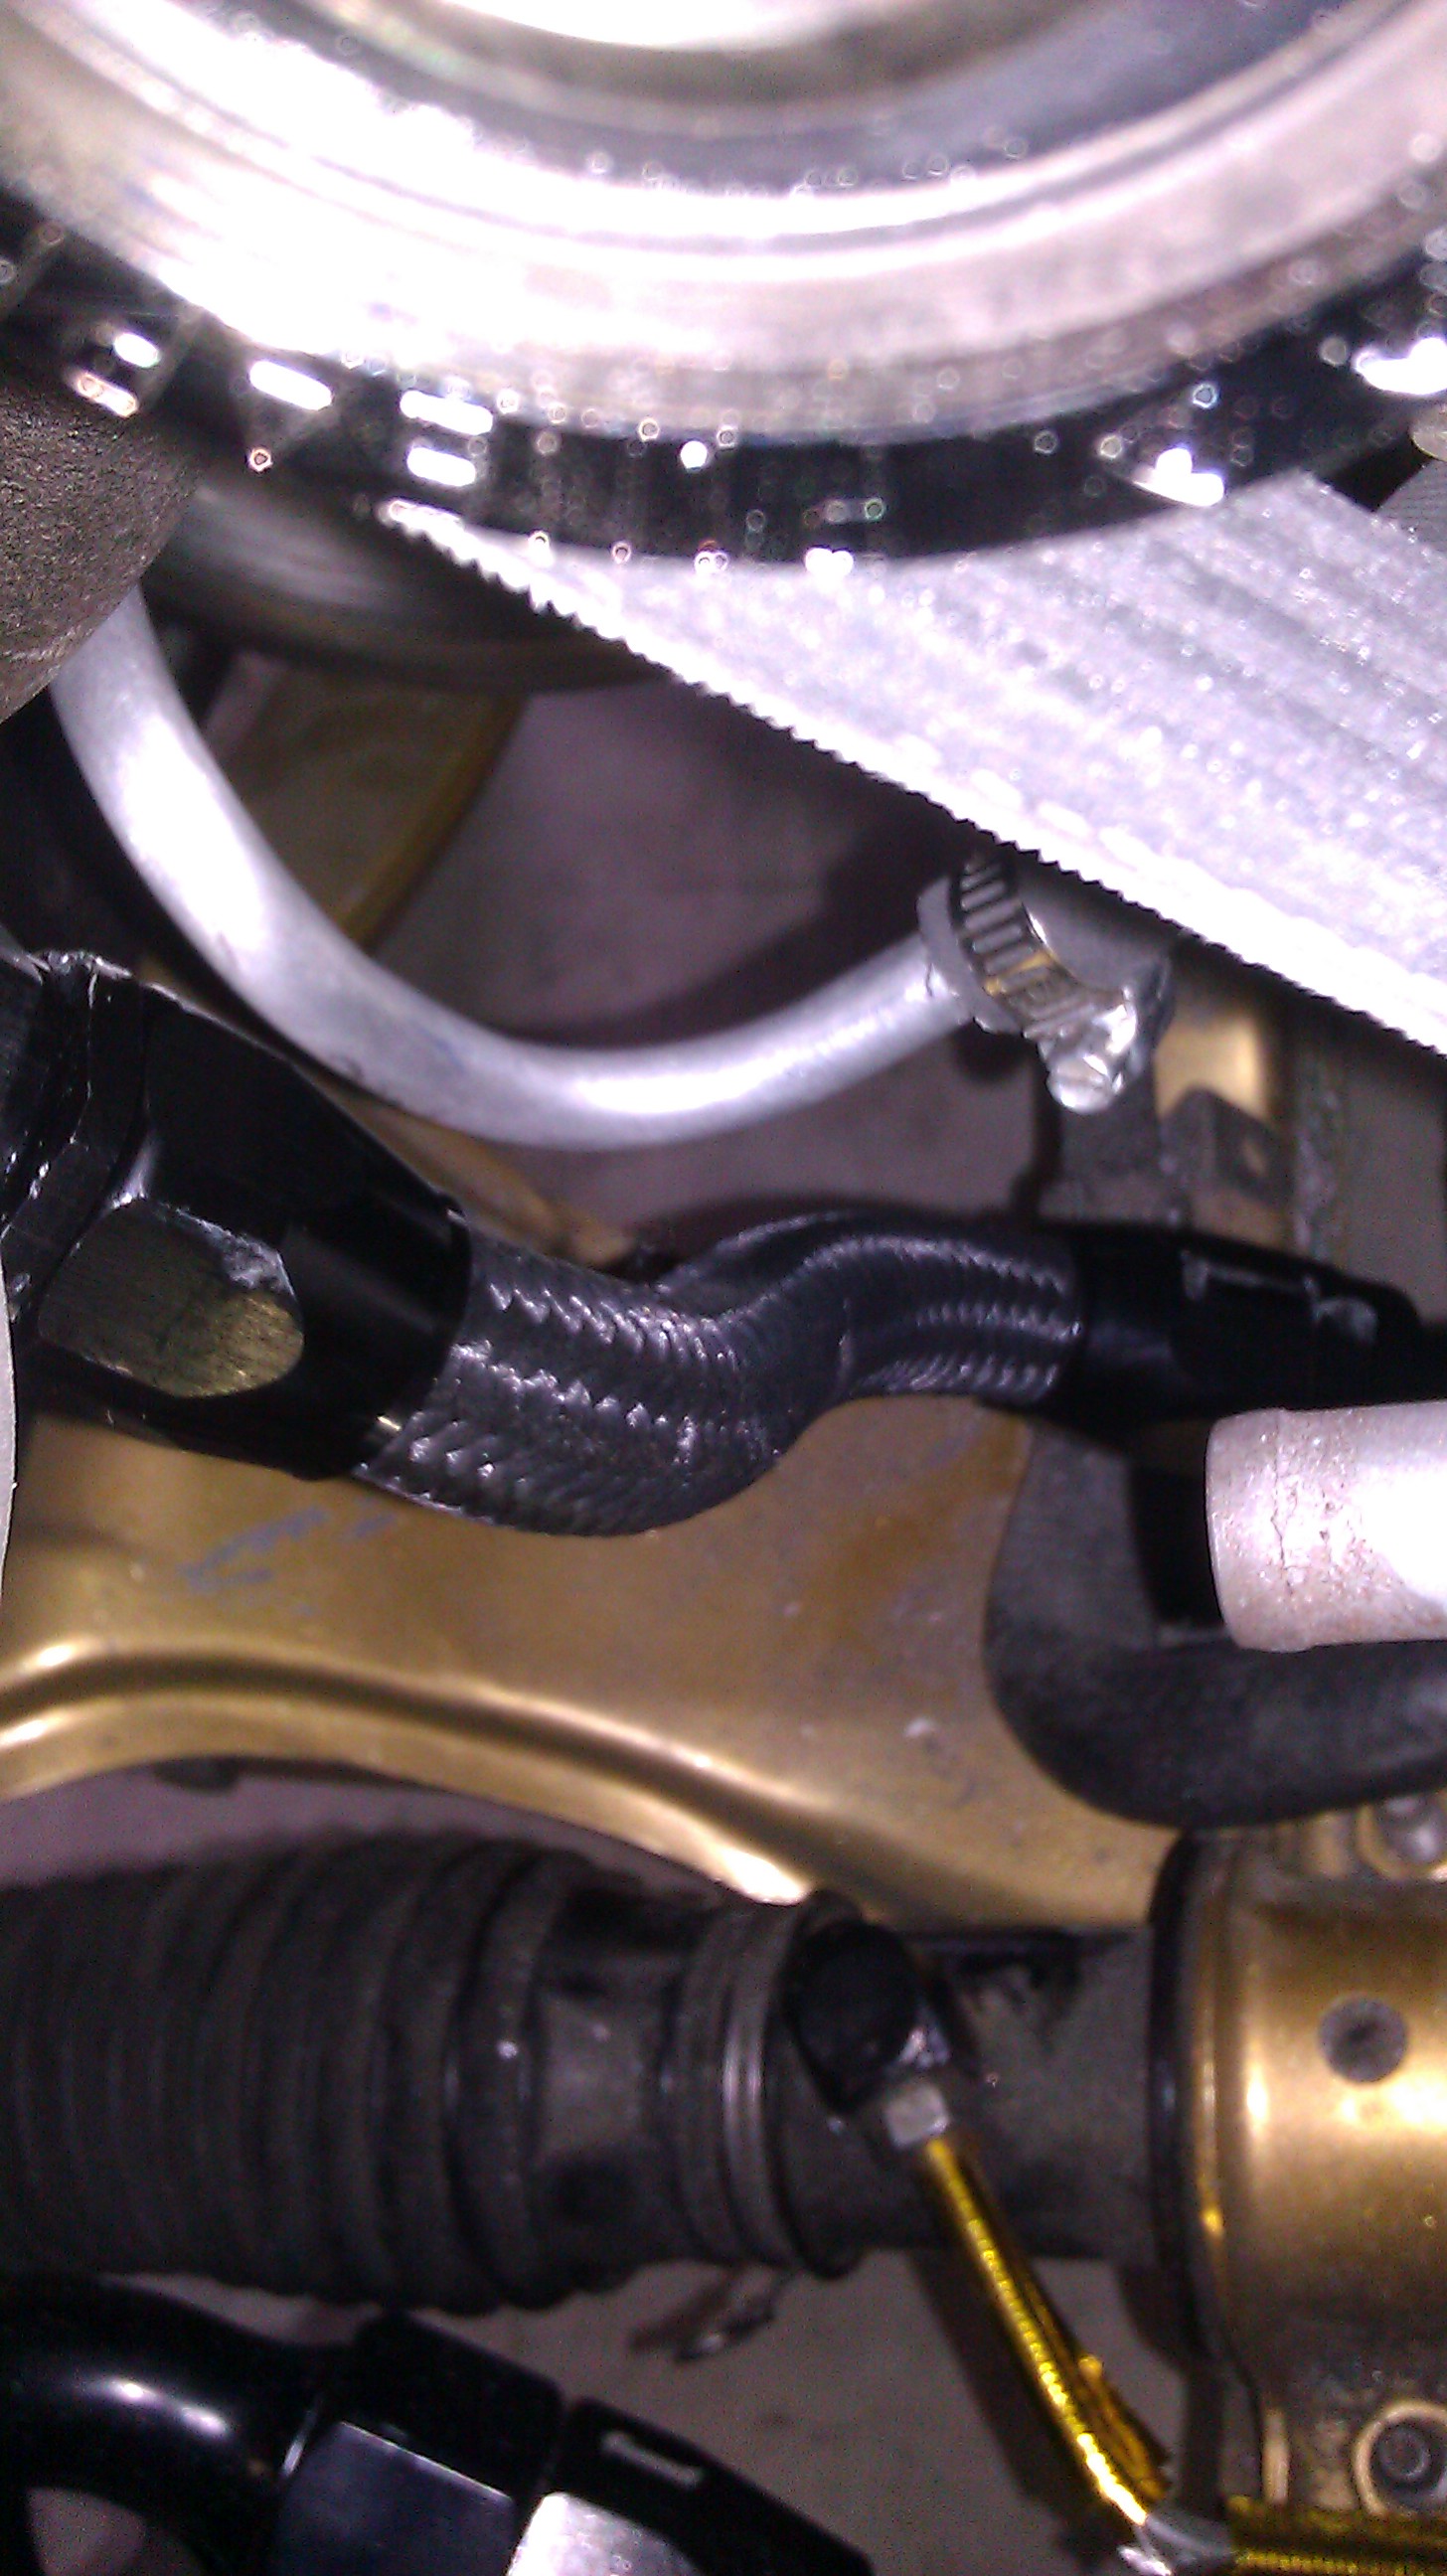
Got my fittings in for the turbo oil drain..
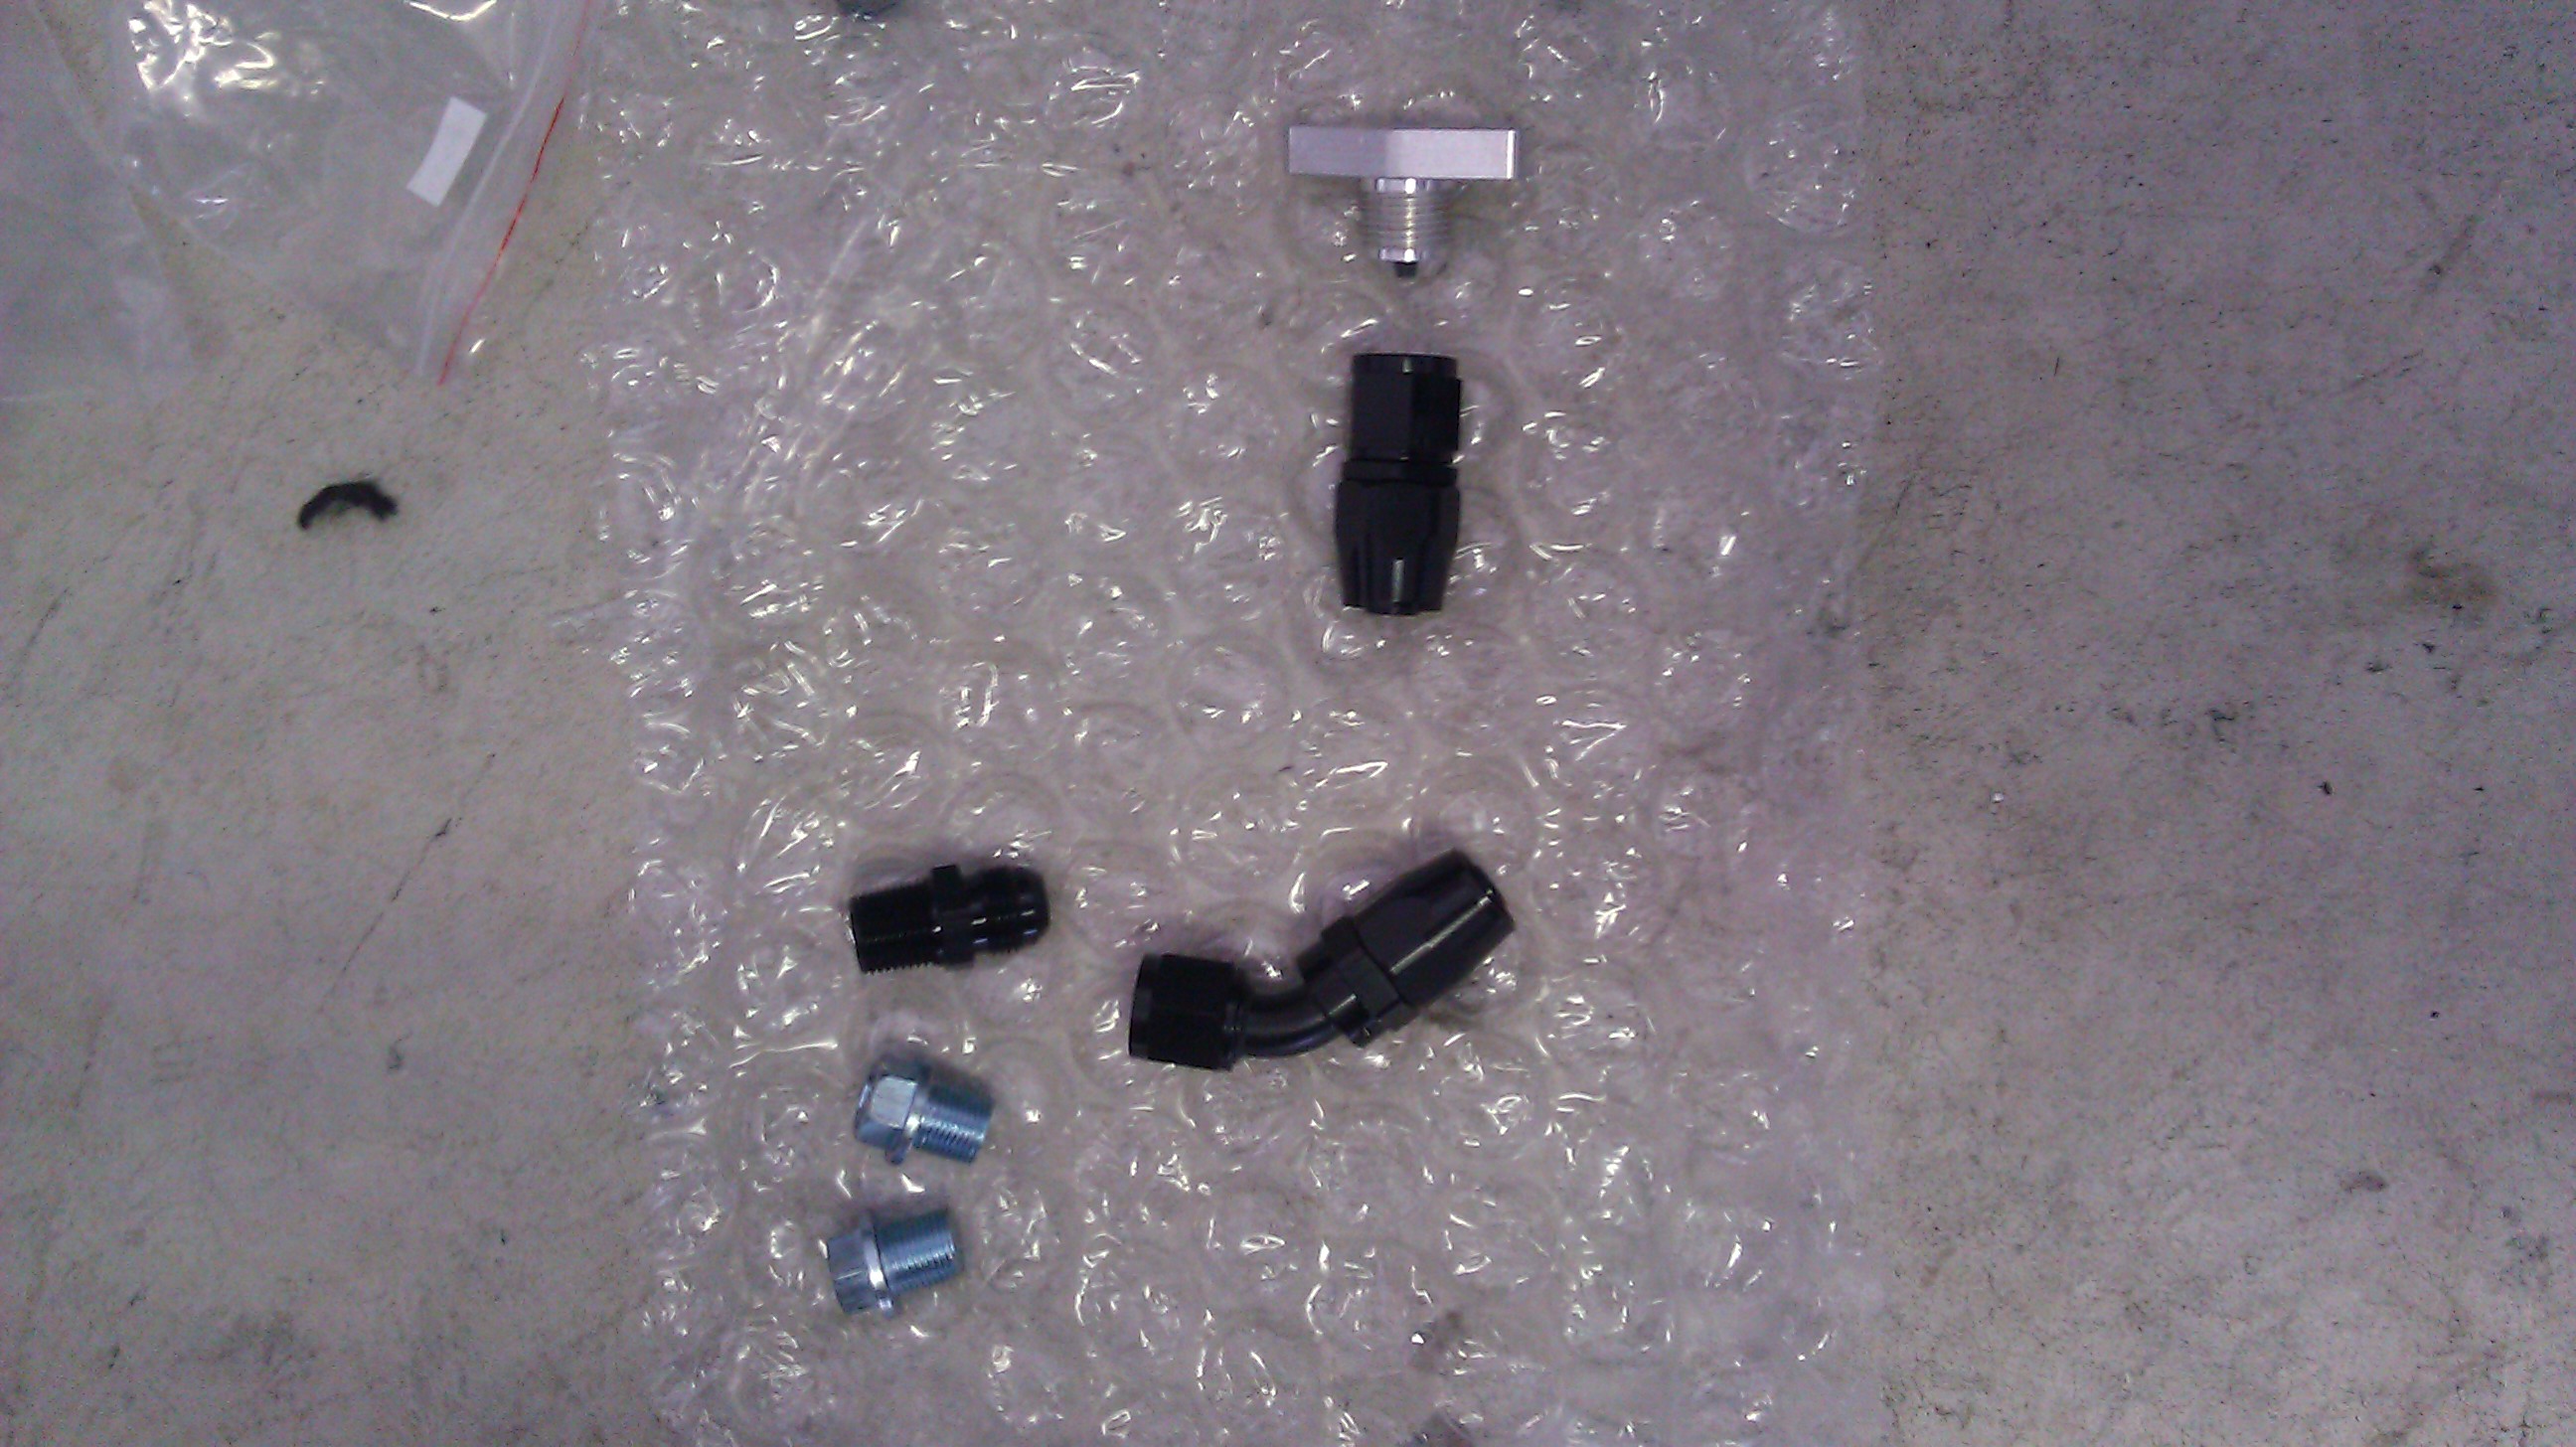
and you can't really see it..but the fitting/flange that attatches to the motor for my turbo drain is a little bulky. I got it from ATP turbo.... and it's kind of Blockyish.. and just big. Fits...but it puts the -10 AN fitting so close to one of the engine tension bolts that while tightening the AN fitting..I seriously gnarfed up the fitting. It's all scratched to hell now. And not that its a huge deal..because I know it'll still perform just fine..but geese..talk about a 16 dollar fitting looking the part..PFFT. Then it happened again.. this time on the Turbo flange on the turbo itself. Wasn't paying attention....or maybe I was but I was rushing because I had to get out of the garage and be somewhere within the next 20 min but I just "had to get the line done," and I ended up scratching the living **** out of the -10 fitting on the turbo side as well. You can't really see it but it still kinda erked me. I also have to re-make my Water feed line because my recess in the line I made doesn't line up to the oil drain in the slightest hahaha. Good thing I have some extra line.
Figured I'll wait till I have the motor out of the bay to re-do those lines. Anyways...talking to a buddy of mine who paints old school Rods right now =-) More updates soon to follow!
So you know sometimes when your just having one of those off days? Well.....yesterday that happened...
Got my fittings in for the turbo oil drain..
and you can't really see it..but the fitting/flange that attatches to the motor for my turbo drain is a little bulky. I got it from ATP turbo.... and it's kind of Blockyish.. and just big. Fits...but it puts the -10 AN fitting so close to one of the engine tension bolts that while tightening the AN fitting..I seriously gnarfed up the fitting. It's all scratched to hell now. And not that its a huge deal..because I know it'll still perform just fine..but geese..talk about a 16 dollar fitting looking the part..PFFT. Then it happened again.. this time on the Turbo flange on the turbo itself. Wasn't paying attention....or maybe I was but I was rushing because I had to get out of the garage and be somewhere within the next 20 min but I just "had to get the line done," and I ended up scratching the living **** out of the -10 fitting on the turbo side as well. You can't really see it but it still kinda erked me. I also have to re-make my Water feed line because my recess in the line I made doesn't line up to the oil drain in the slightest hahaha. Good thing I have some extra line.
Figured I'll wait till I have the motor out of the bay to re-do those lines. Anyways...talking to a buddy of mine who paints old school Rods right now =-) More updates soon to follow!
 01-27-13, 07:00 PM
#1131
Full Member

Join Date: Jan 2013
Location: Australia
Posts: 123
Likes: 0
Received 0 Likes
on
0 Posts
Easily the most detailed build thread I've read. The turbo is massive, how much boost will you be running and when do you expect it to spool by? Any power goals?
Is there any advantage in placing the front coolers with hot side facing down rather than up? Are you trying to get the air to go under the car for a diffuser?
Is there any advantage in placing the front coolers with hot side facing down rather than up? Are you trying to get the air to go under the car for a diffuser?
01-28-13, 11:14 AM
#1133
Hey thanks so much!!
 Doing my best!!
You know....for a Rotary.. a 35R isn't really much bigger than the norm. It's a GTX3582R. Picked it up from Turbolown. I Plan to run 18-20 Lbs and I expect to see full boost around 3400-3600rpm. We'll see how it works out
About the coolers....do you mean how I have them Angled both the same? The reason I put them in this configuration was a number of reasons. With your typical V-mount the Intercooler sits right on.....practically touching the Radiator all the way across the rear edge. This leads to Heat soak. With my set up that won't happen, but it's also designed to be used with Ducting which I'll be getting done pretty soon here. But the key elements of why I placed them like this were: Short piping, Weight closer to the steering rack, and No Heat Soak from Radiator. Like I said though....it's the way I designed it.. who knows it it'll actually work LOL
Easily the most detailed build thread I've read. The turbo is massive, how much boost will you be running and when do you expect it to spool by? Any power goals?
Is there any advantage in placing the front coolers with hot side facing down rather than up? Are you trying to get the air to go under the car for a diffuser?
Is there any advantage in placing the front coolers with hot side facing down rather than up? Are you trying to get the air to go under the car for a diffuser?
You know....for a Rotary.. a 35R isn't really much bigger than the norm. It's a GTX3582R. Picked it up from Turbolown. I Plan to run 18-20 Lbs and I expect to see full boost around 3400-3600rpm. We'll see how it works out
About the coolers....do you mean how I have them Angled both the same? The reason I put them in this configuration was a number of reasons. With your typical V-mount the Intercooler sits right on.....practically touching the Radiator all the way across the rear edge. This leads to Heat soak. With my set up that won't happen, but it's also designed to be used with Ducting which I'll be getting done pretty soon here. But the key elements of why I placed them like this were: Short piping, Weight closer to the steering rack, and No Heat Soak from Radiator. Like I said though....it's the way I designed it.. who knows it it'll actually work LOL
01-28-13, 11:34 AM
#1134
For that return oil fitting, mine was also really close to that bolt on the front cover. The threads on the fitting were basically touching the bolt's head.
I ended up swapping out that bolt with a lower profile button head, I believe it's M8x1.25. I also discarded the lock washer and used a little loctite to save more space. You could try that if you get a chance, but it looks like your fitting is already installed anyway.
I ended up swapping out that bolt with a lower profile button head, I believe it's M8x1.25. I also discarded the lock washer and used a little loctite to save more space. You could try that if you get a chance, but it looks like your fitting is already installed anyway.
 01-28-13, 11:38 PM
#1136
For that return oil fitting, mine was also really close to that bolt on the front cover. The threads on the fitting were basically touching the bolt's head.
I ended up swapping out that bolt with a lower profile button head, I believe it's M8x1.25. I also discarded the lock washer and used a little loctite to save more space. You could try that if you get a chance, but it looks like your fitting is already installed anyway.
I ended up swapping out that bolt with a lower profile button head, I believe it's M8x1.25. I also discarded the lock washer and used a little loctite to save more space. You could try that if you get a chance, but it looks like your fitting is already installed anyway.
Yea it's a pain!! it's actually not on all the way...I may end up finding another bolt like you did. Thanks for the Info. I may just end up notching the one side of the fitting that took the bifff
01-28-13, 11:58 PM
#1138
Update:
So I finally got everything mechanical solid enough to say that I'm about 99% done as far as motor parts go. I pretty much have all parts necessary for start up.
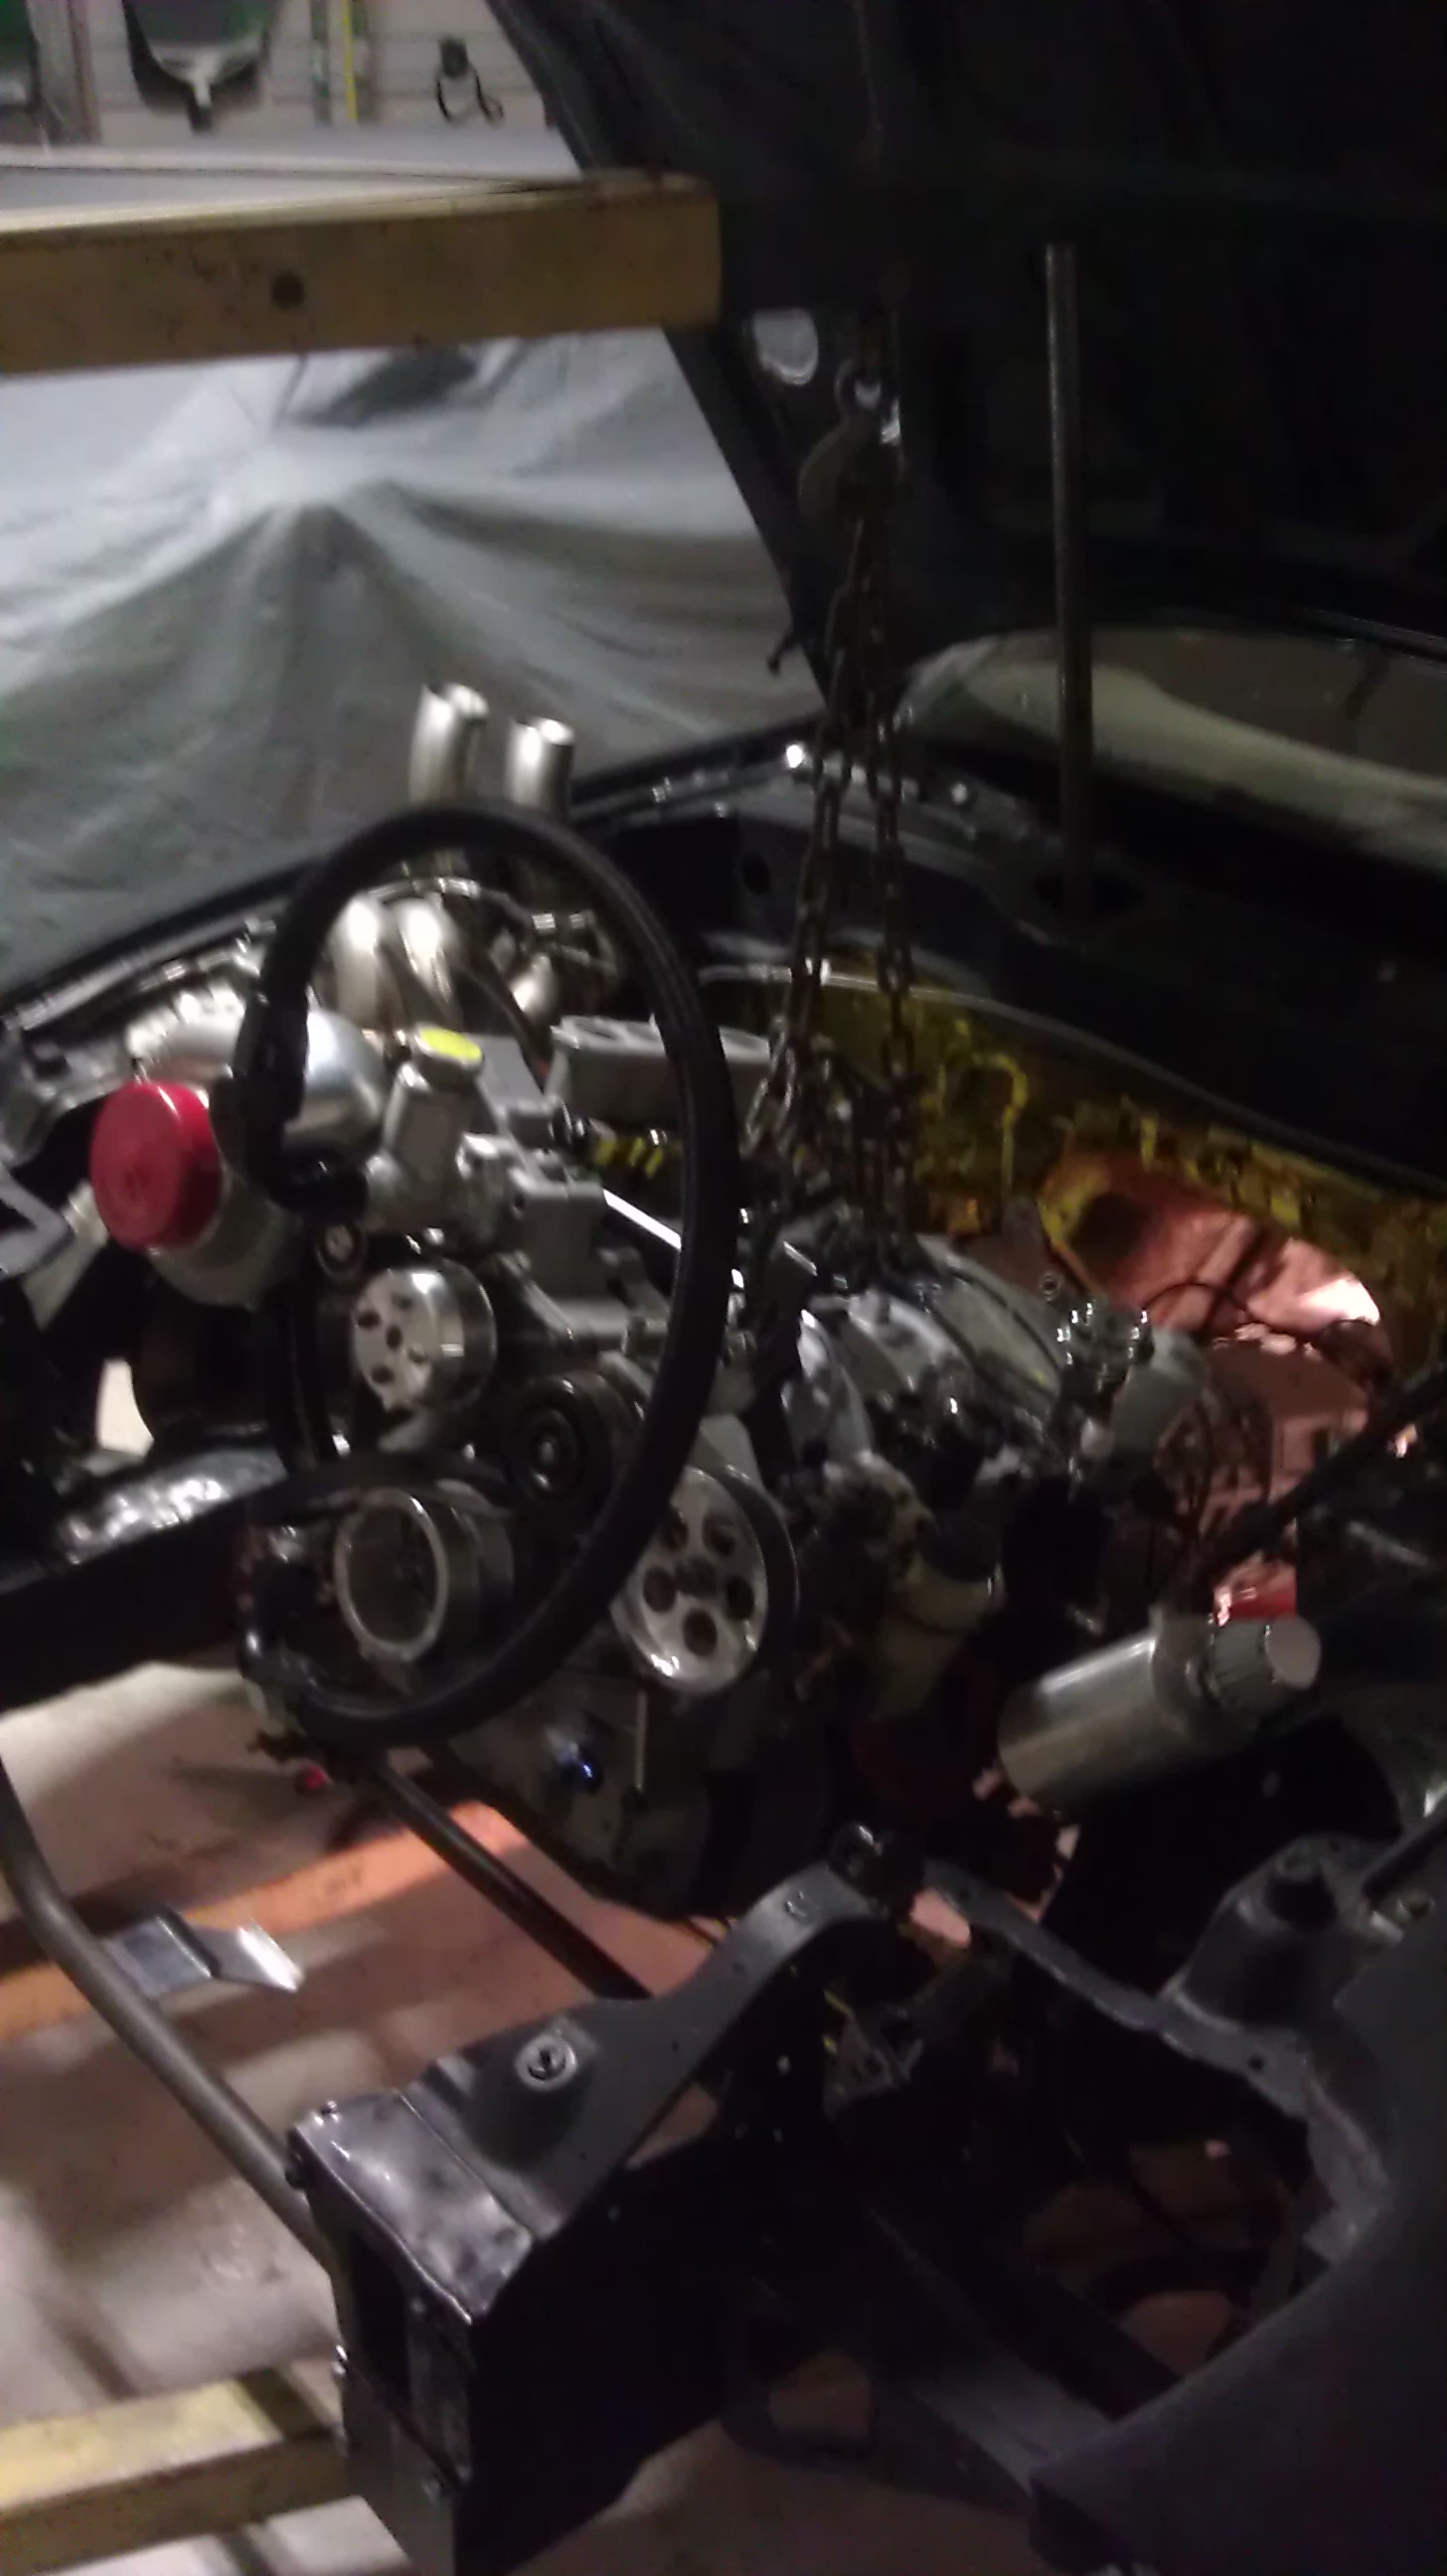
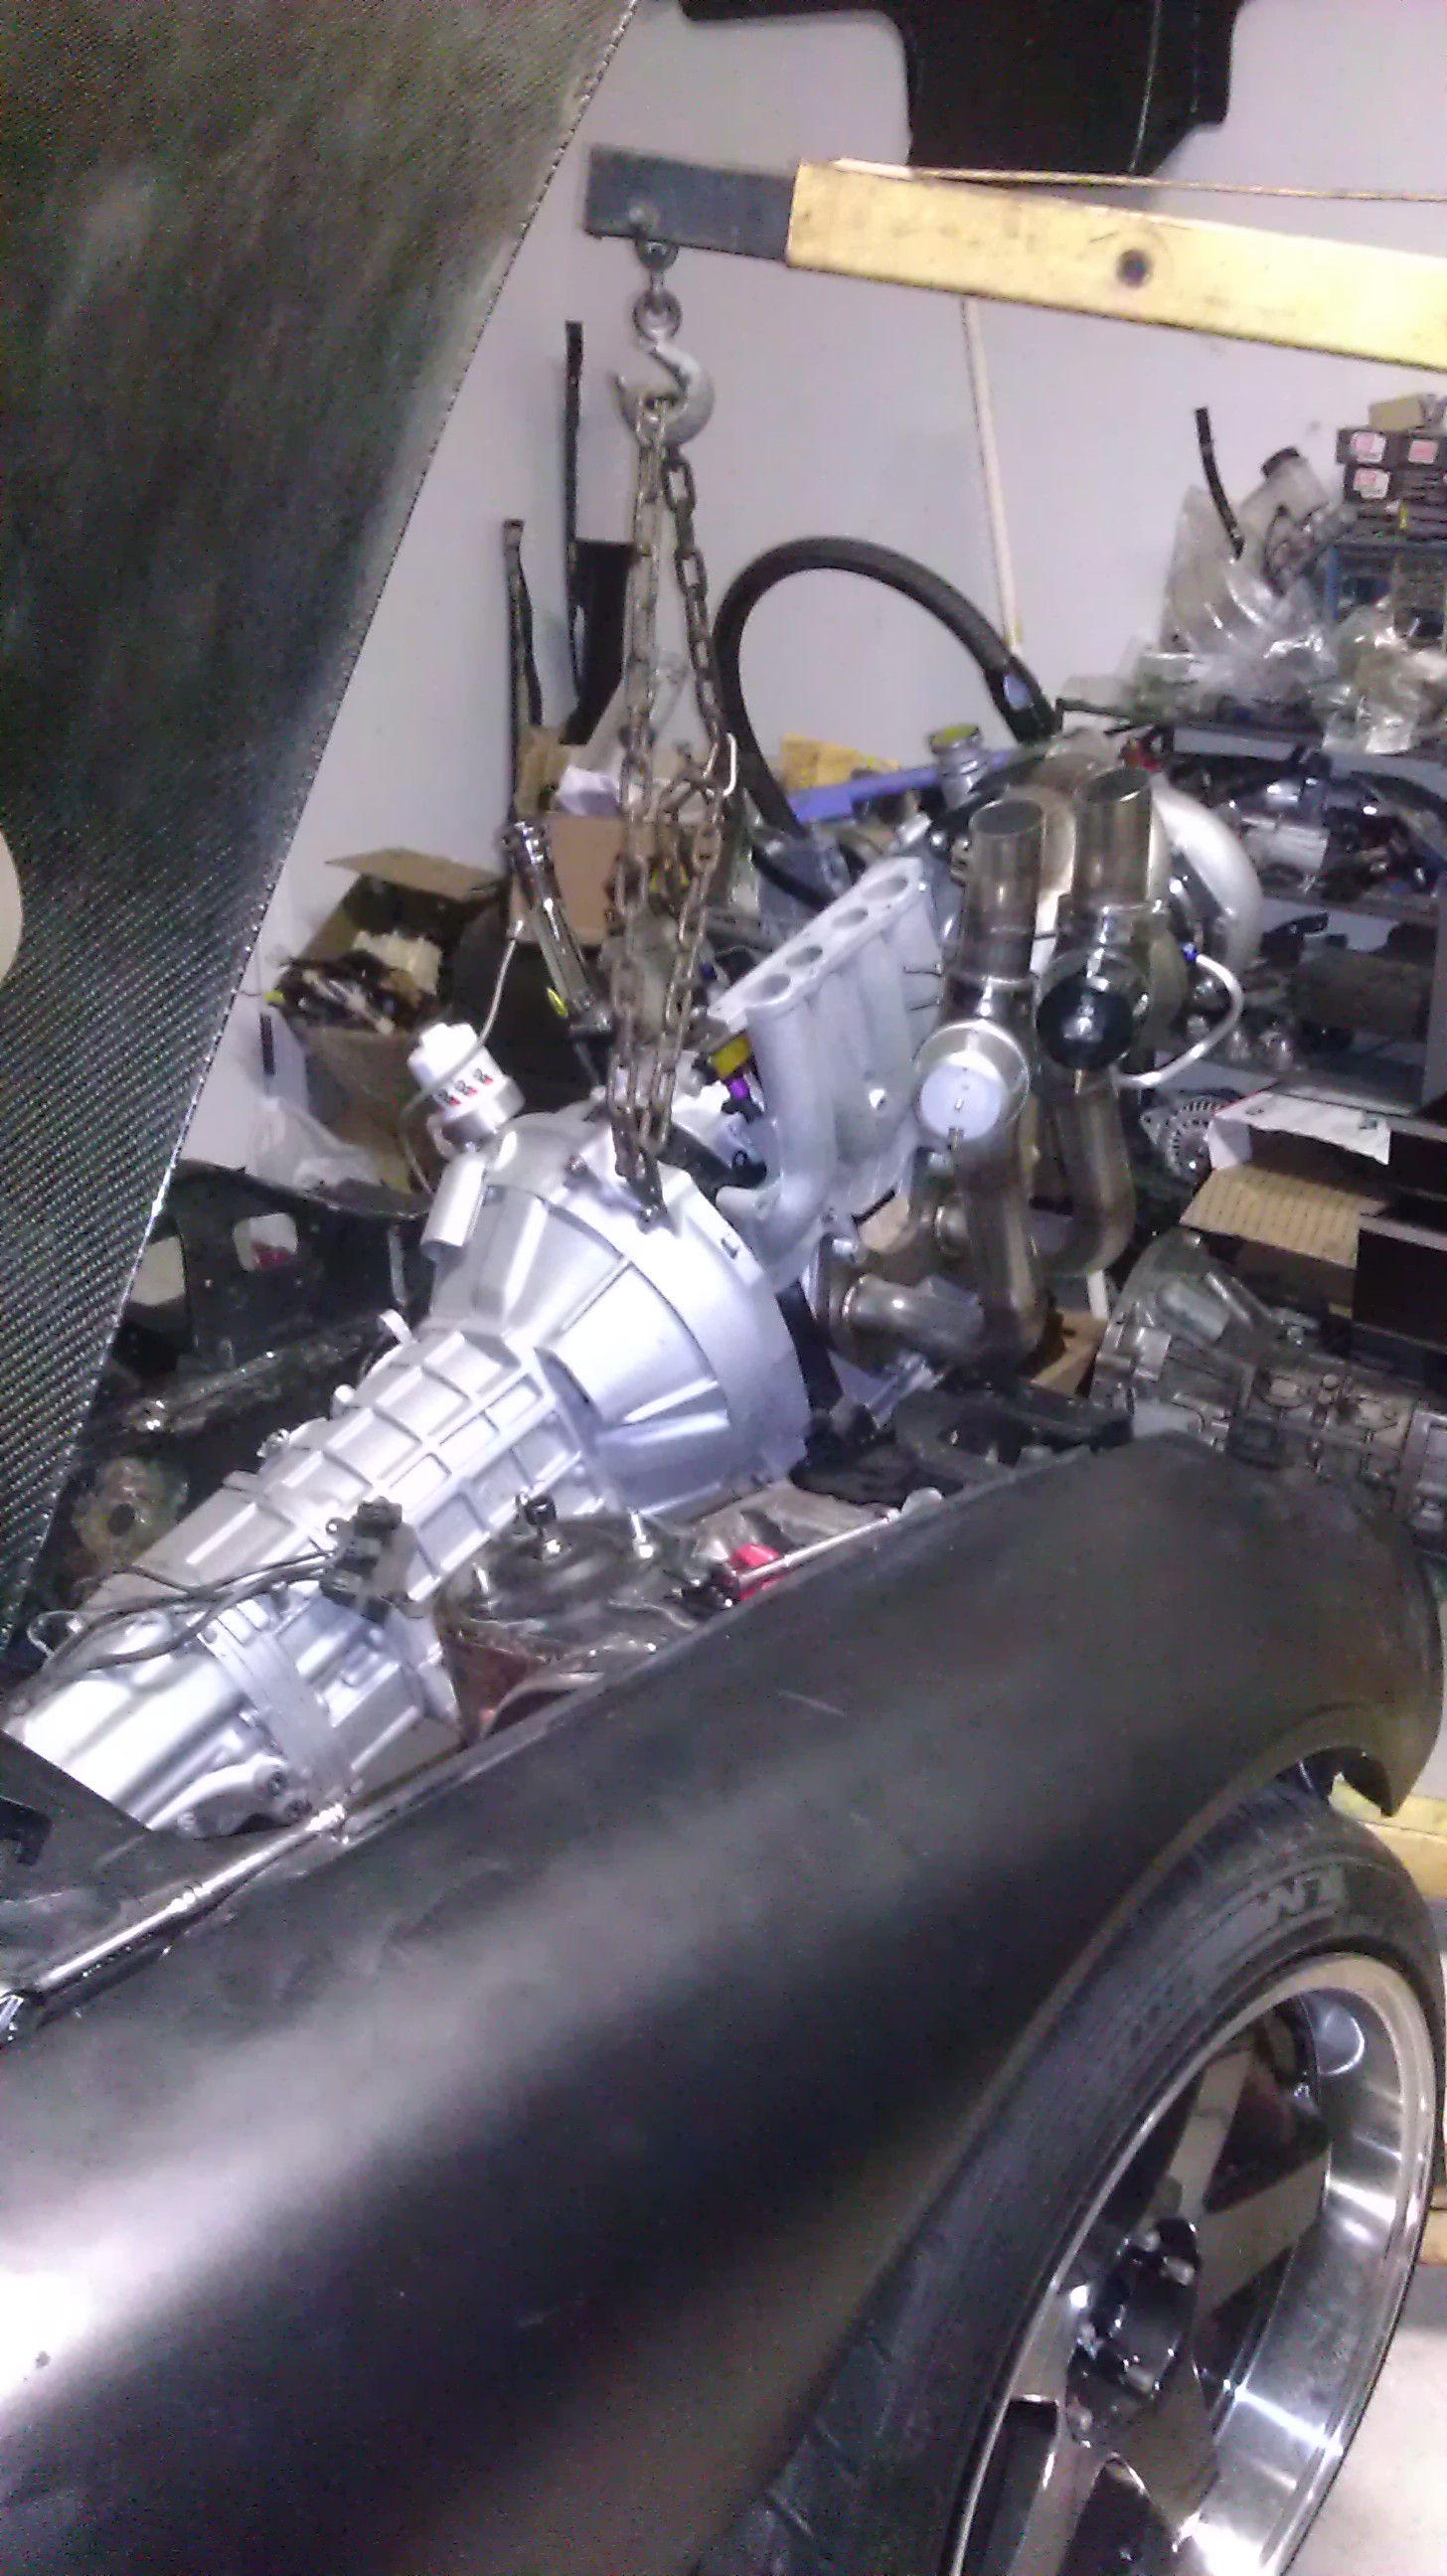
So it's was time to pull the motor and re-install my Exedy twin disc pressure plate. The wedge clip and ring were bad....bent or something and they wouldn't hold. Everytime the clutch was pushed in it would just pop out. So I got a new one off a forum member and installed it.
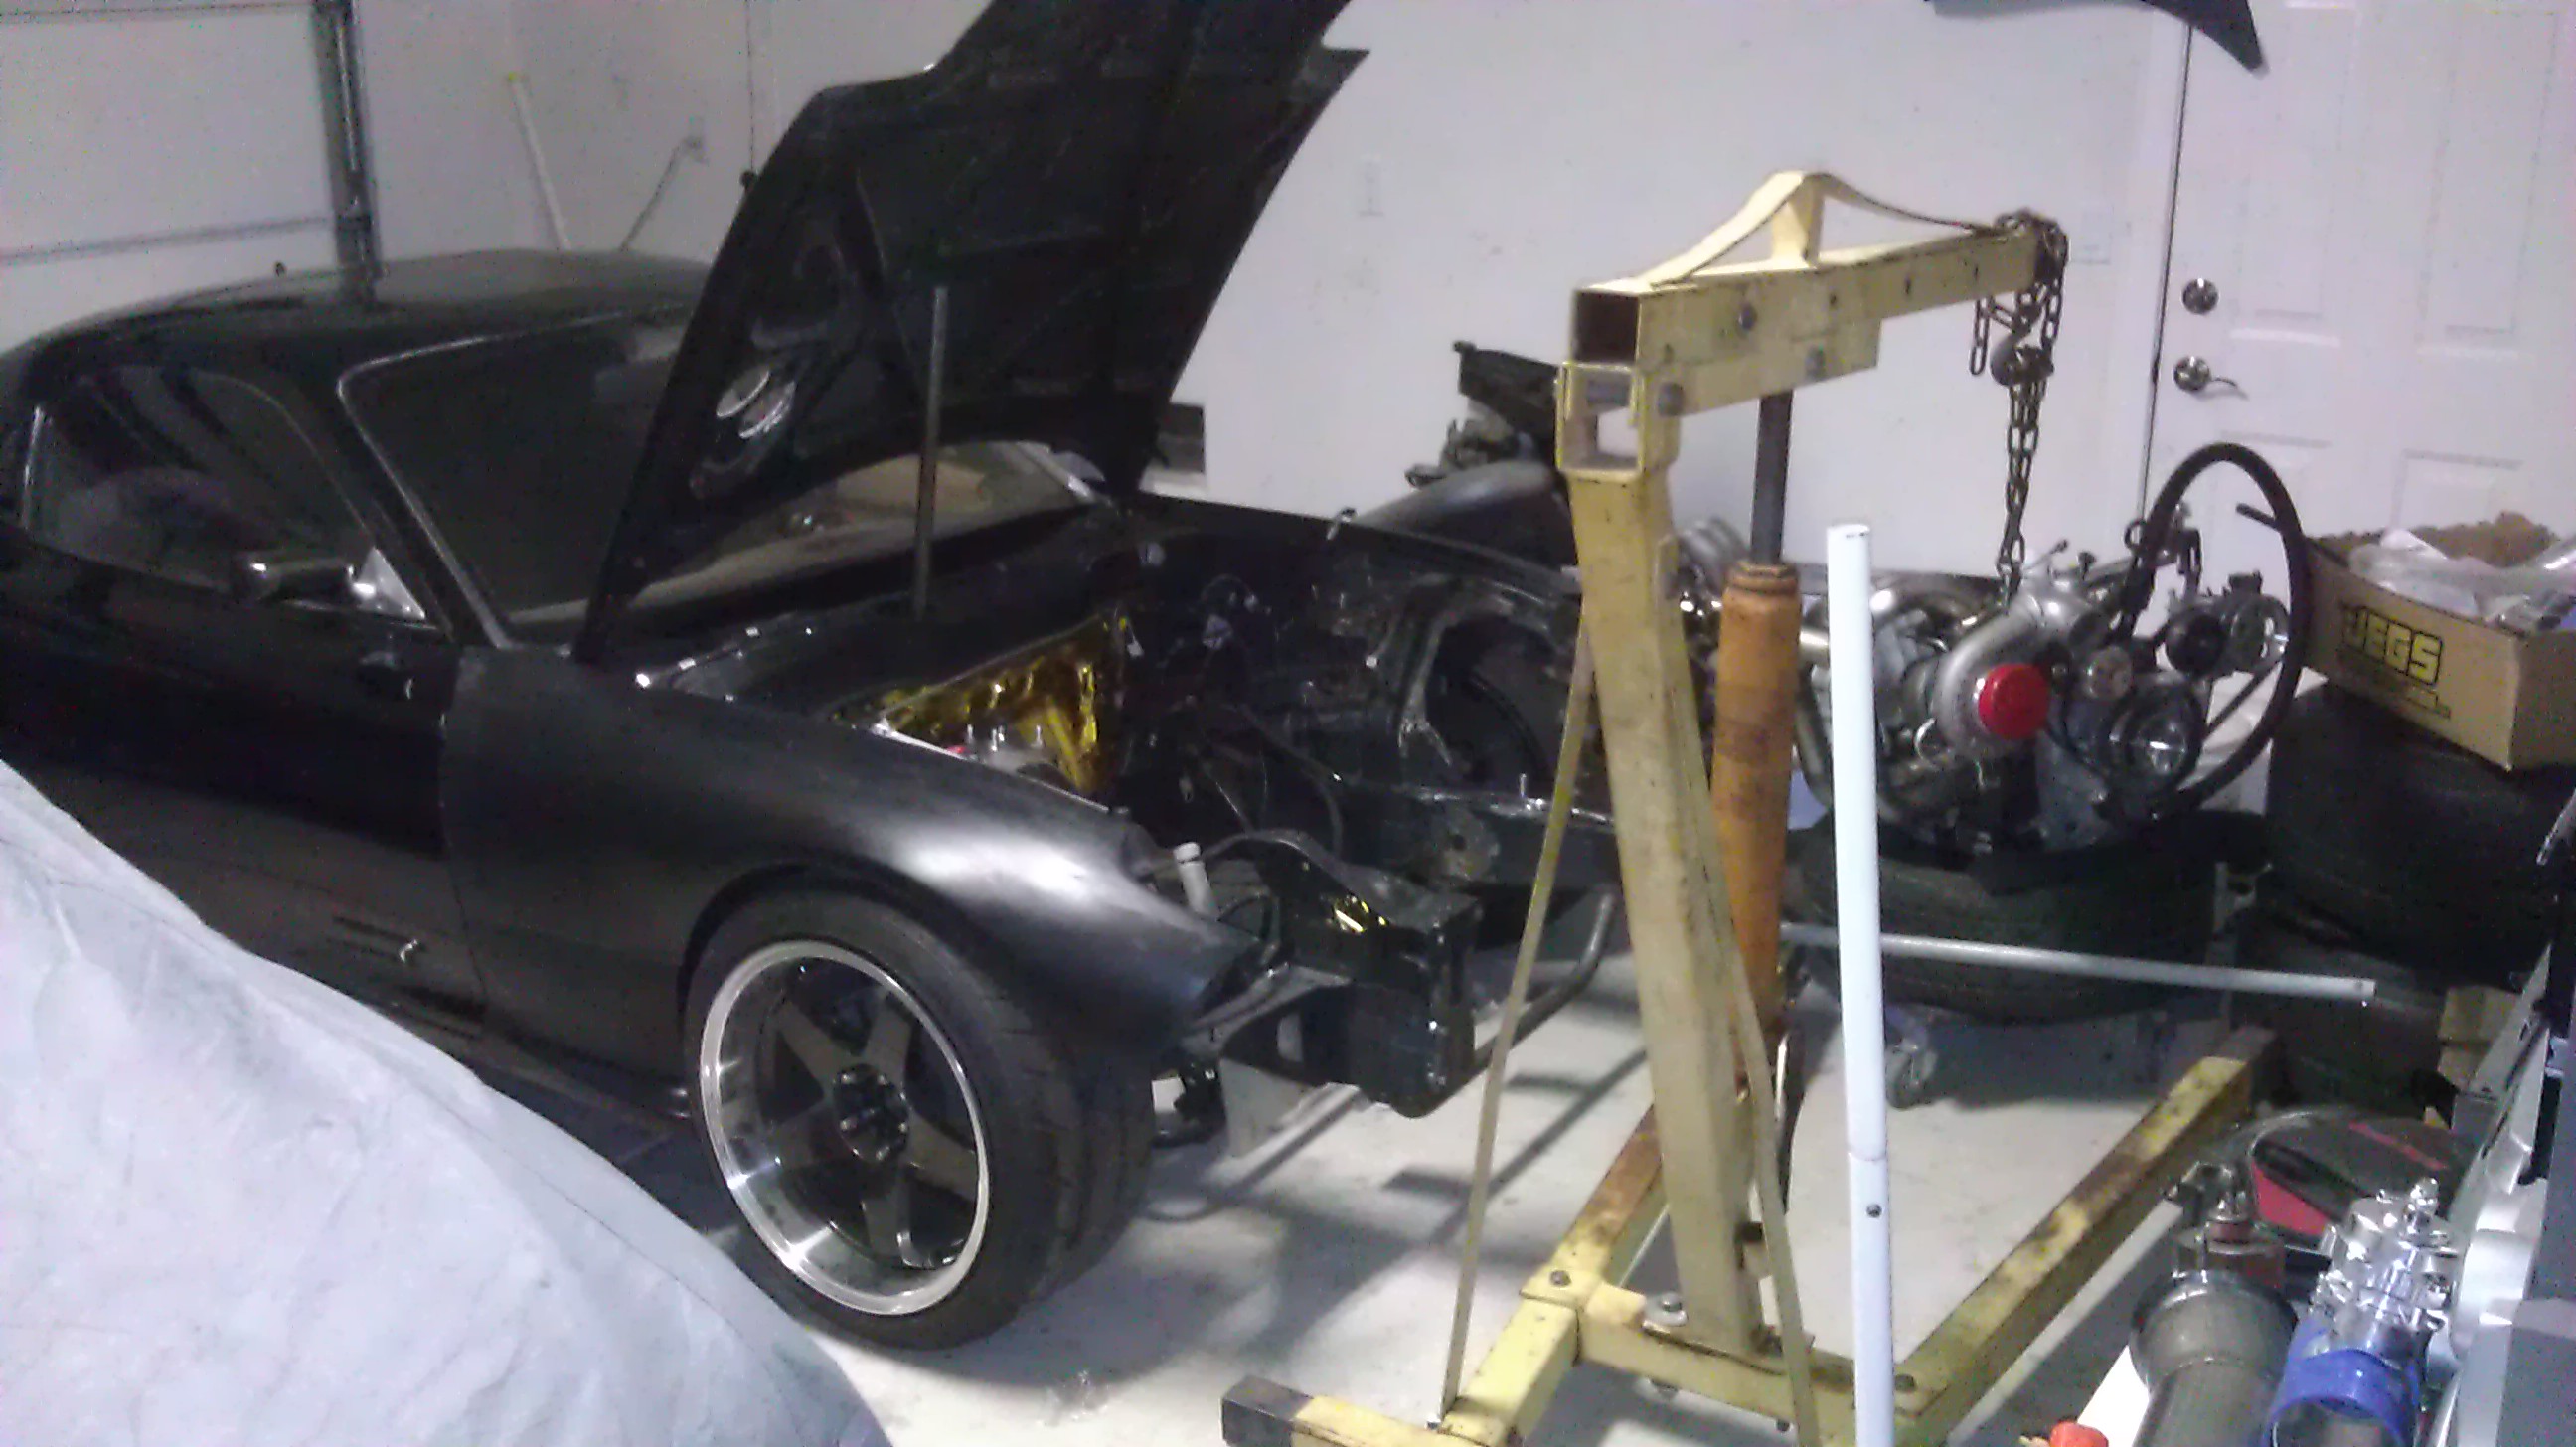
Pulling the motor
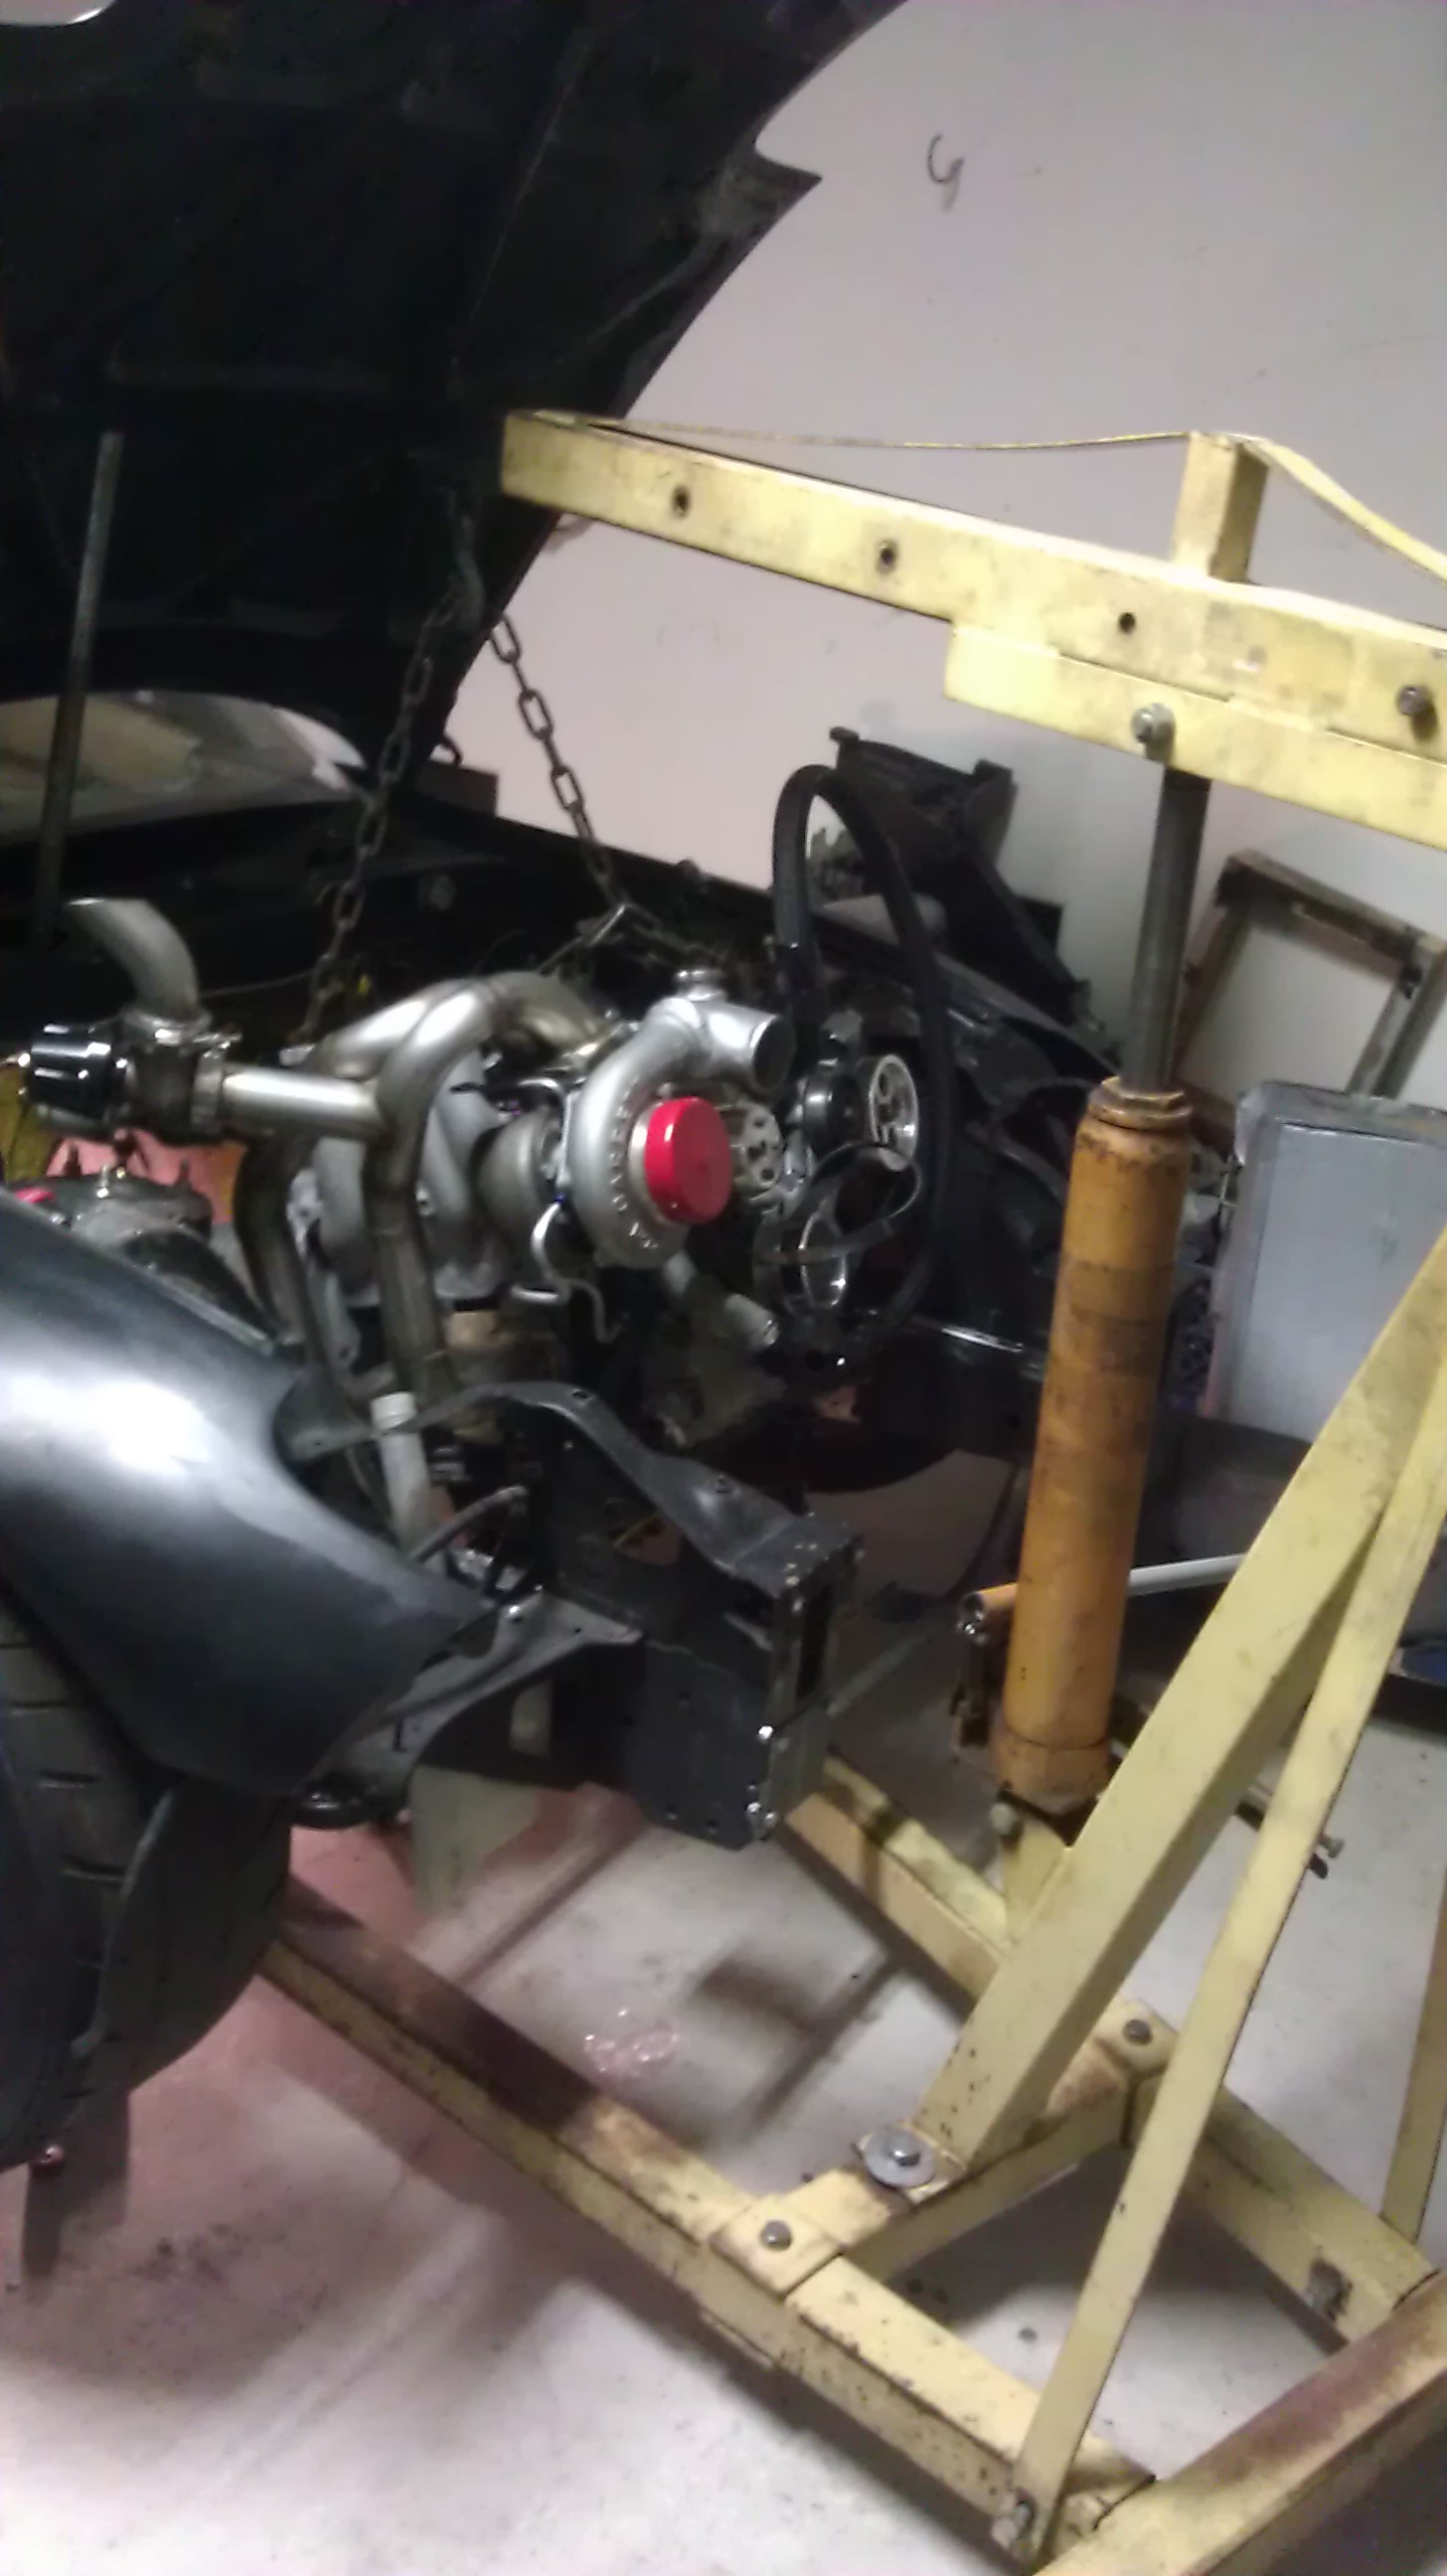
Pressure Plate off
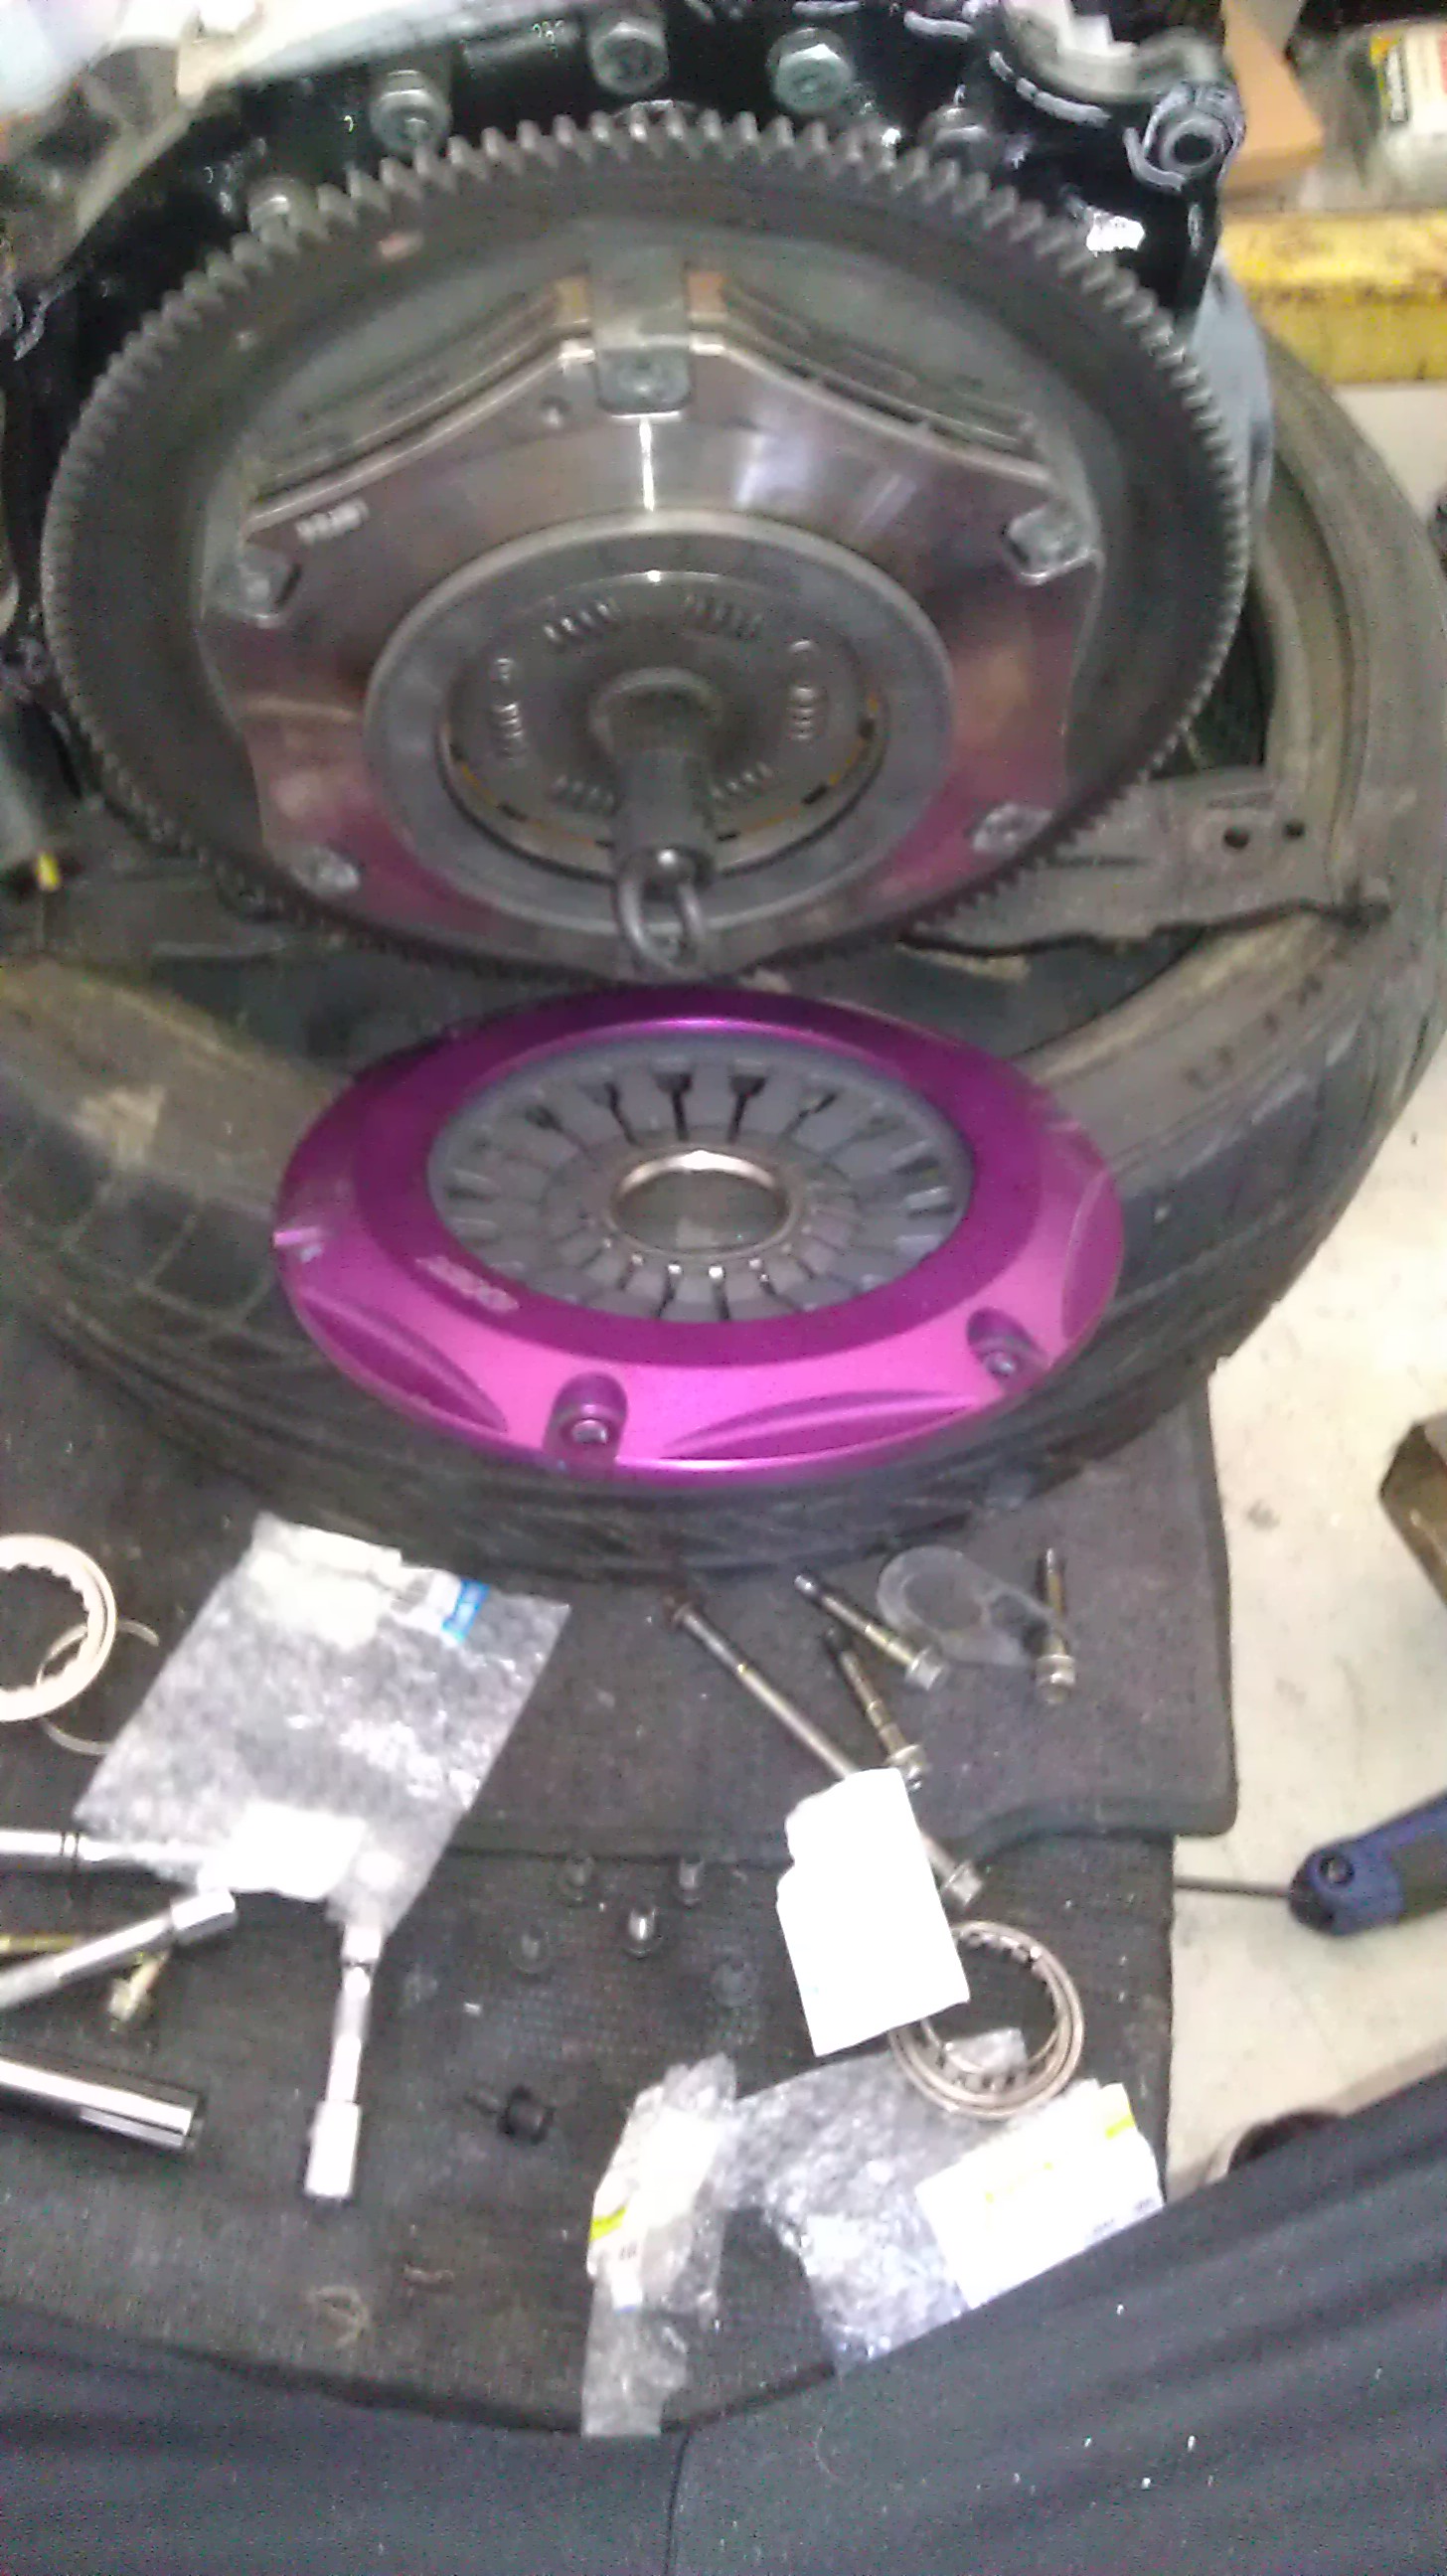
Old wedge clip and ring vs New one
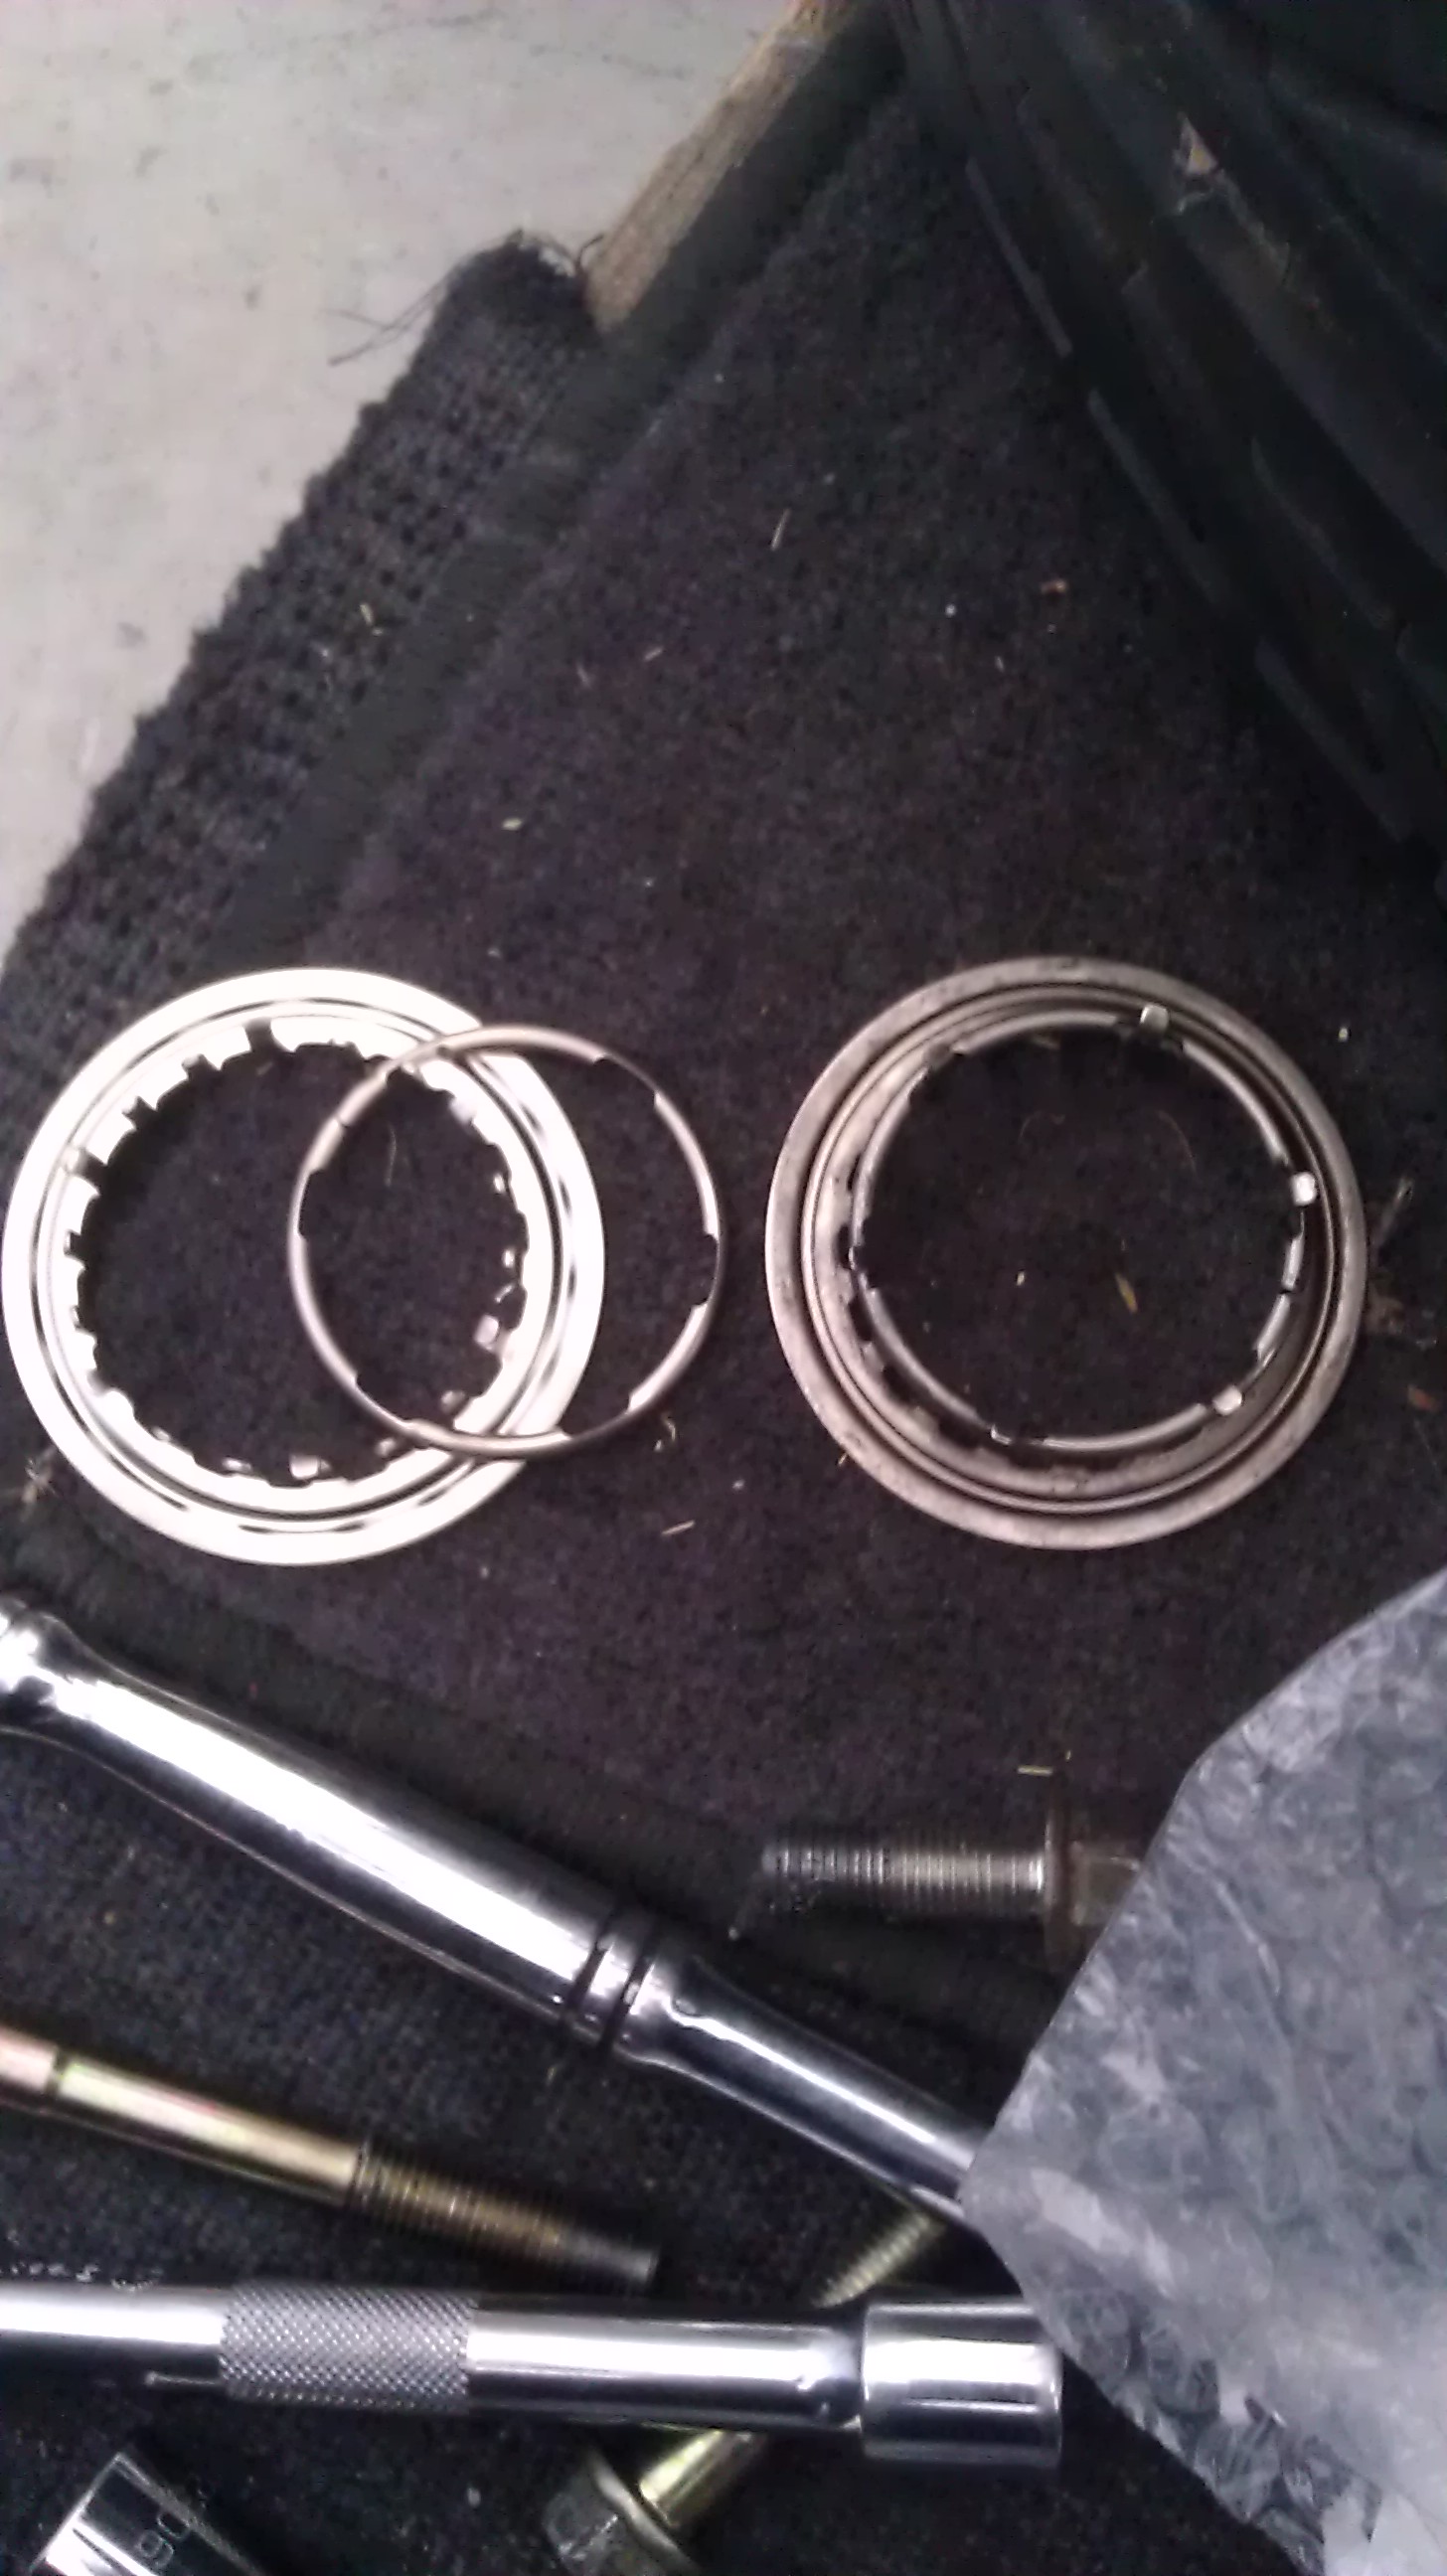
ANd I forgot to take pics of it back on...but whatever..it looks the same..but now it holds =-)
So since the motor is out I decided it would be time to paint the engine bay. Now i'm really struggling with color choice. I could go with matt black...which is really boring..but it'll be clean. Or I could go with gloss black..but ...it would still be kinda plain. Either way I'm going to be doing it myself. I don't have a paint gun or anything so i'm just going to be using high quality ceramic paint. And after seeing how well the paint on my sub-frame and suspension arms has held up against grease..power steering fluid, and brake cleaner...i've decided to use the same high quality spray can stuff over self etching primer. Hopefully it comes out good.
Brake cleaned engine bay. Going to give it the one over with simple green then get to masking it all off.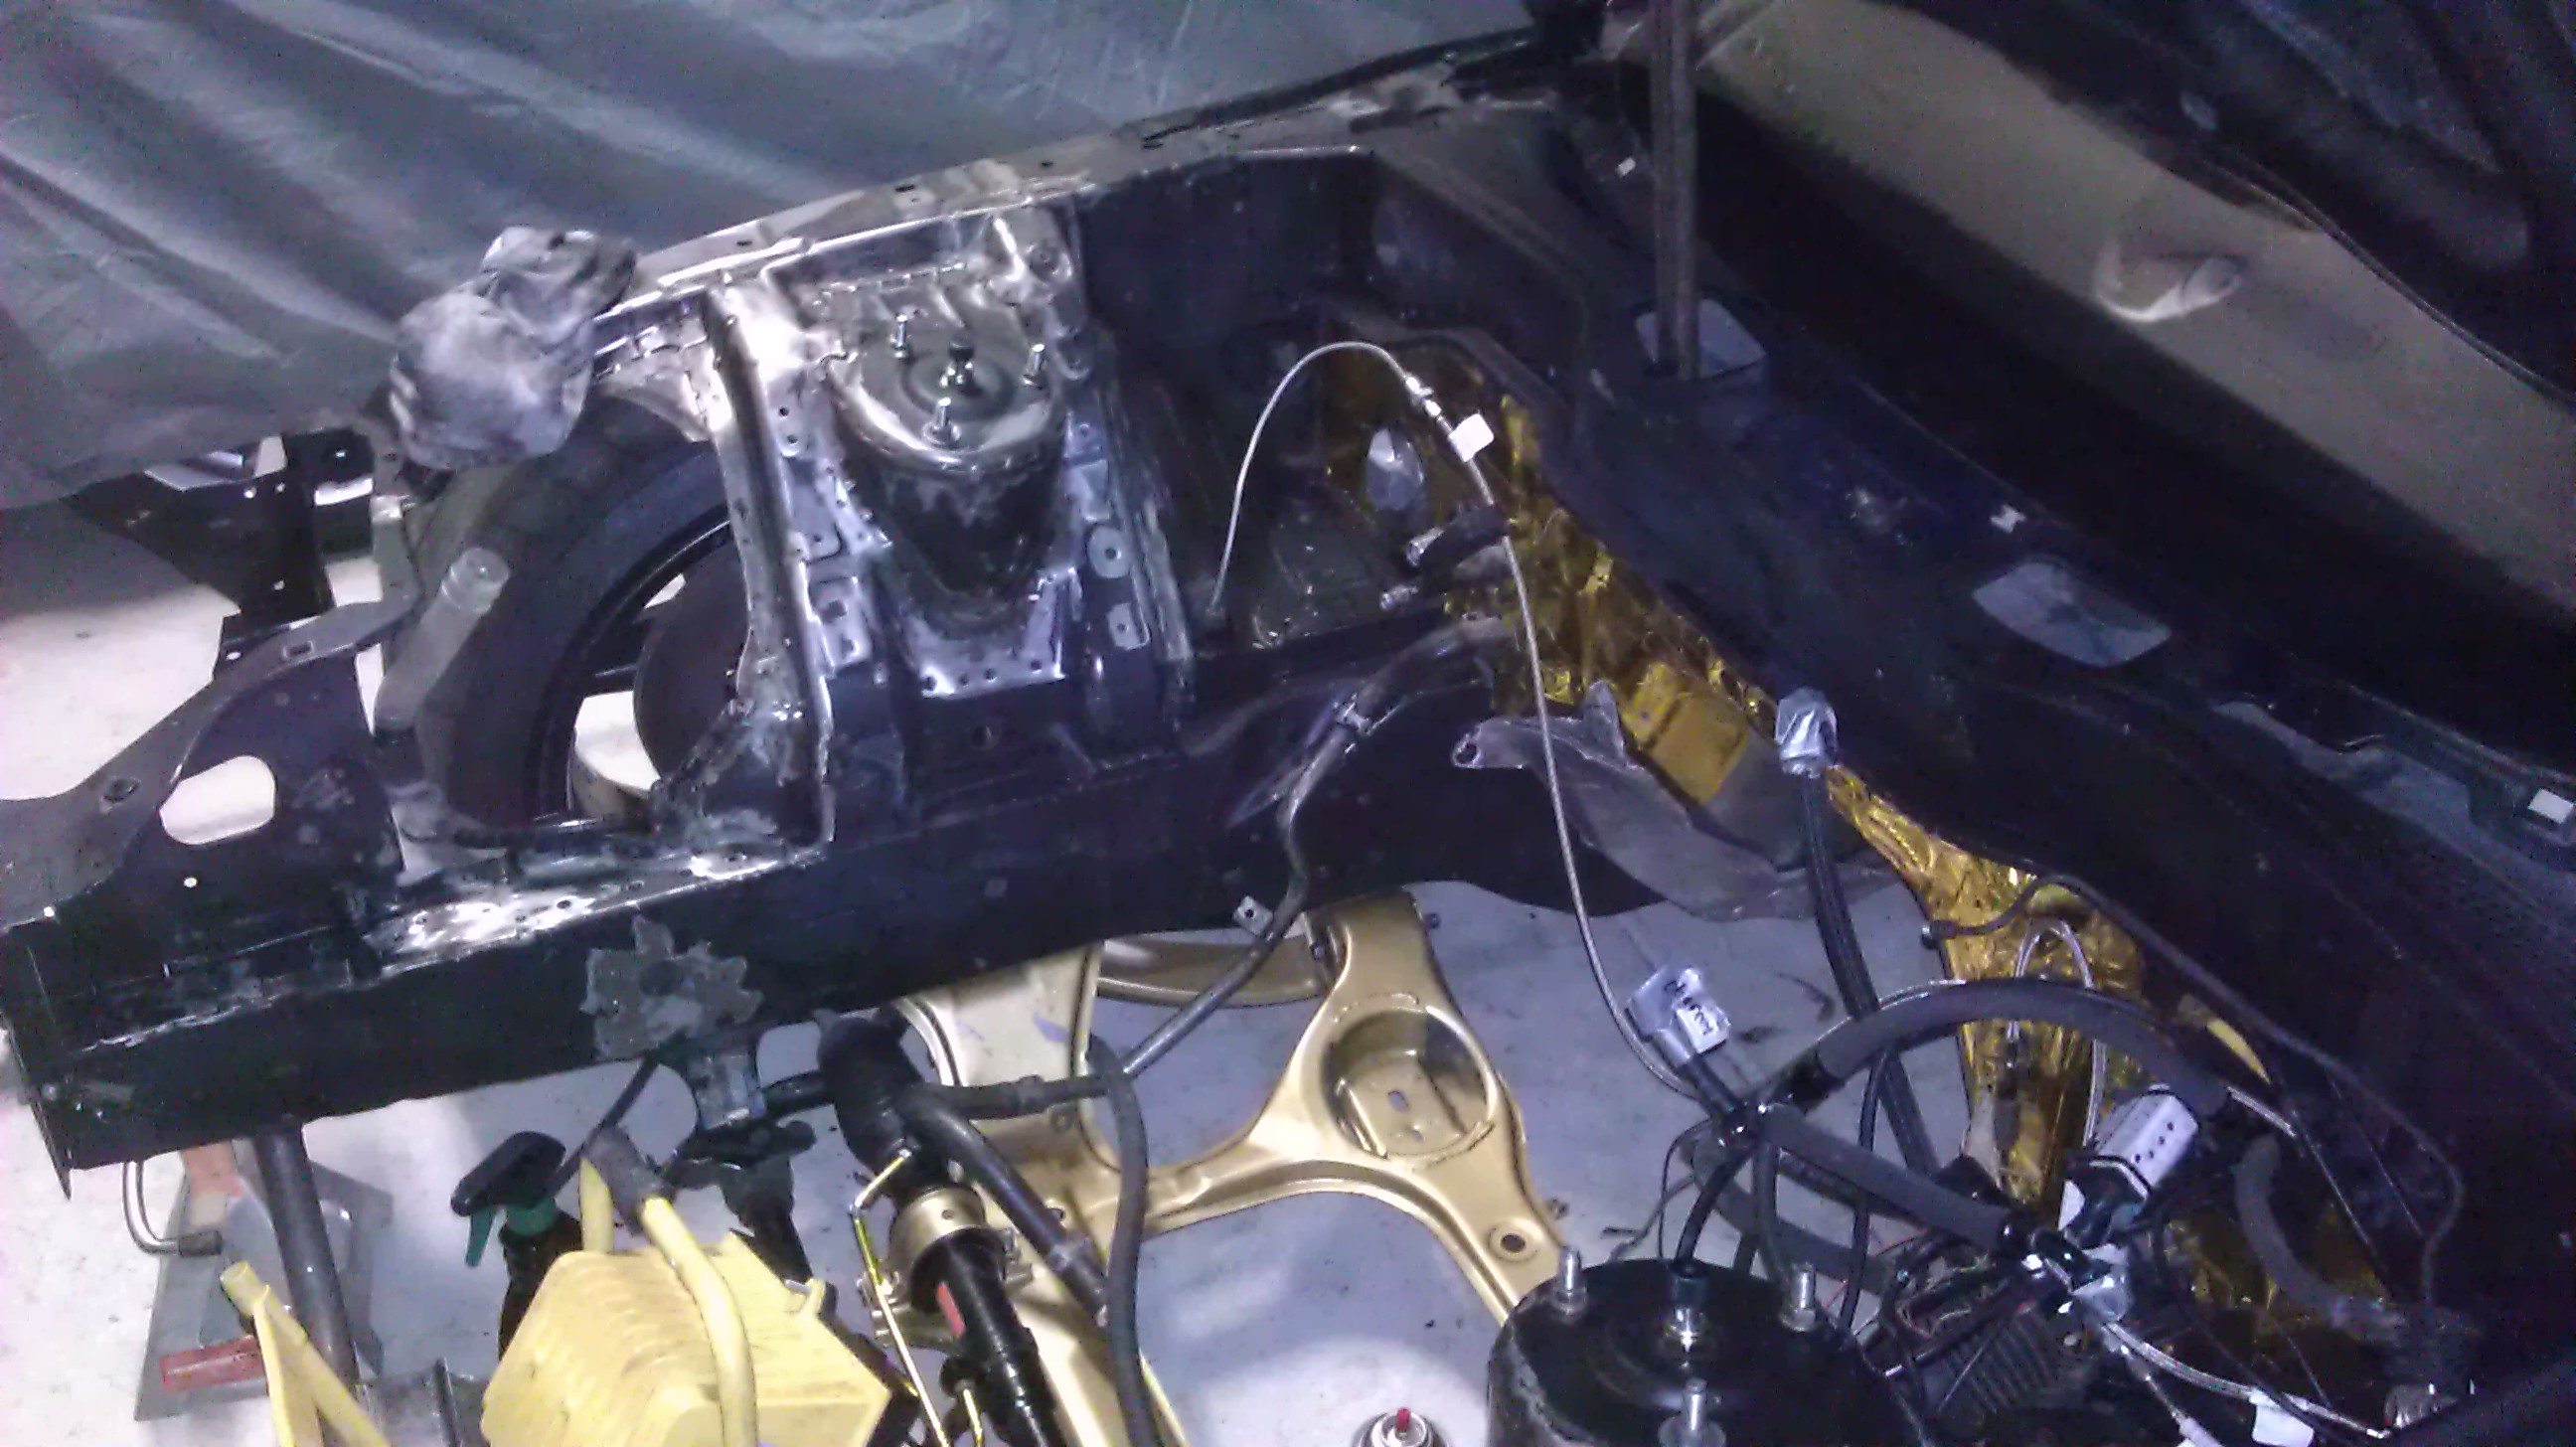
Stay tuned!
So I finally got everything mechanical solid enough to say that I'm about 99% done as far as motor parts go. I pretty much have all parts necessary for start up.
So it's was time to pull the motor and re-install my Exedy twin disc pressure plate. The wedge clip and ring were bad....bent or something and they wouldn't hold. Everytime the clutch was pushed in it would just pop out. So I got a new one off a forum member and installed it.
Pulling the motor
Pressure Plate off
Old wedge clip and ring vs New one
ANd I forgot to take pics of it back on...but whatever..it looks the same..but now it holds =-)
So since the motor is out I decided it would be time to paint the engine bay. Now i'm really struggling with color choice. I could go with matt black...which is really boring..but it'll be clean. Or I could go with gloss black..but ...it would still be kinda plain. Either way I'm going to be doing it myself. I don't have a paint gun or anything so i'm just going to be using high quality ceramic paint. And after seeing how well the paint on my sub-frame and suspension arms has held up against grease..power steering fluid, and brake cleaner...i've decided to use the same high quality spray can stuff over self etching primer. Hopefully it comes out good.
Brake cleaned engine bay. Going to give it the one over with simple green then get to masking it all off.
Stay tuned!
01-29-13, 03:14 PM
#1139
current list of things to do:
finish simple greening engine bay
Brake clean entire engine bay again
Final wipe down
Self etching primer
Mask off engine bay etc
one last wipe down
Ceramic spray can bay
we'll leave it at that for the time being.. dont want to get ahead of myself
finish simple greening engine bay
Brake clean entire engine bay again
Final wipe down
Self etching primer
Mask off engine bay etc
one last wipe down
Ceramic spray can bay
we'll leave it at that for the time being.. dont want to get ahead of myself
01-29-13, 10:30 PM
#1140
01-31-13, 12:03 PM
#1141
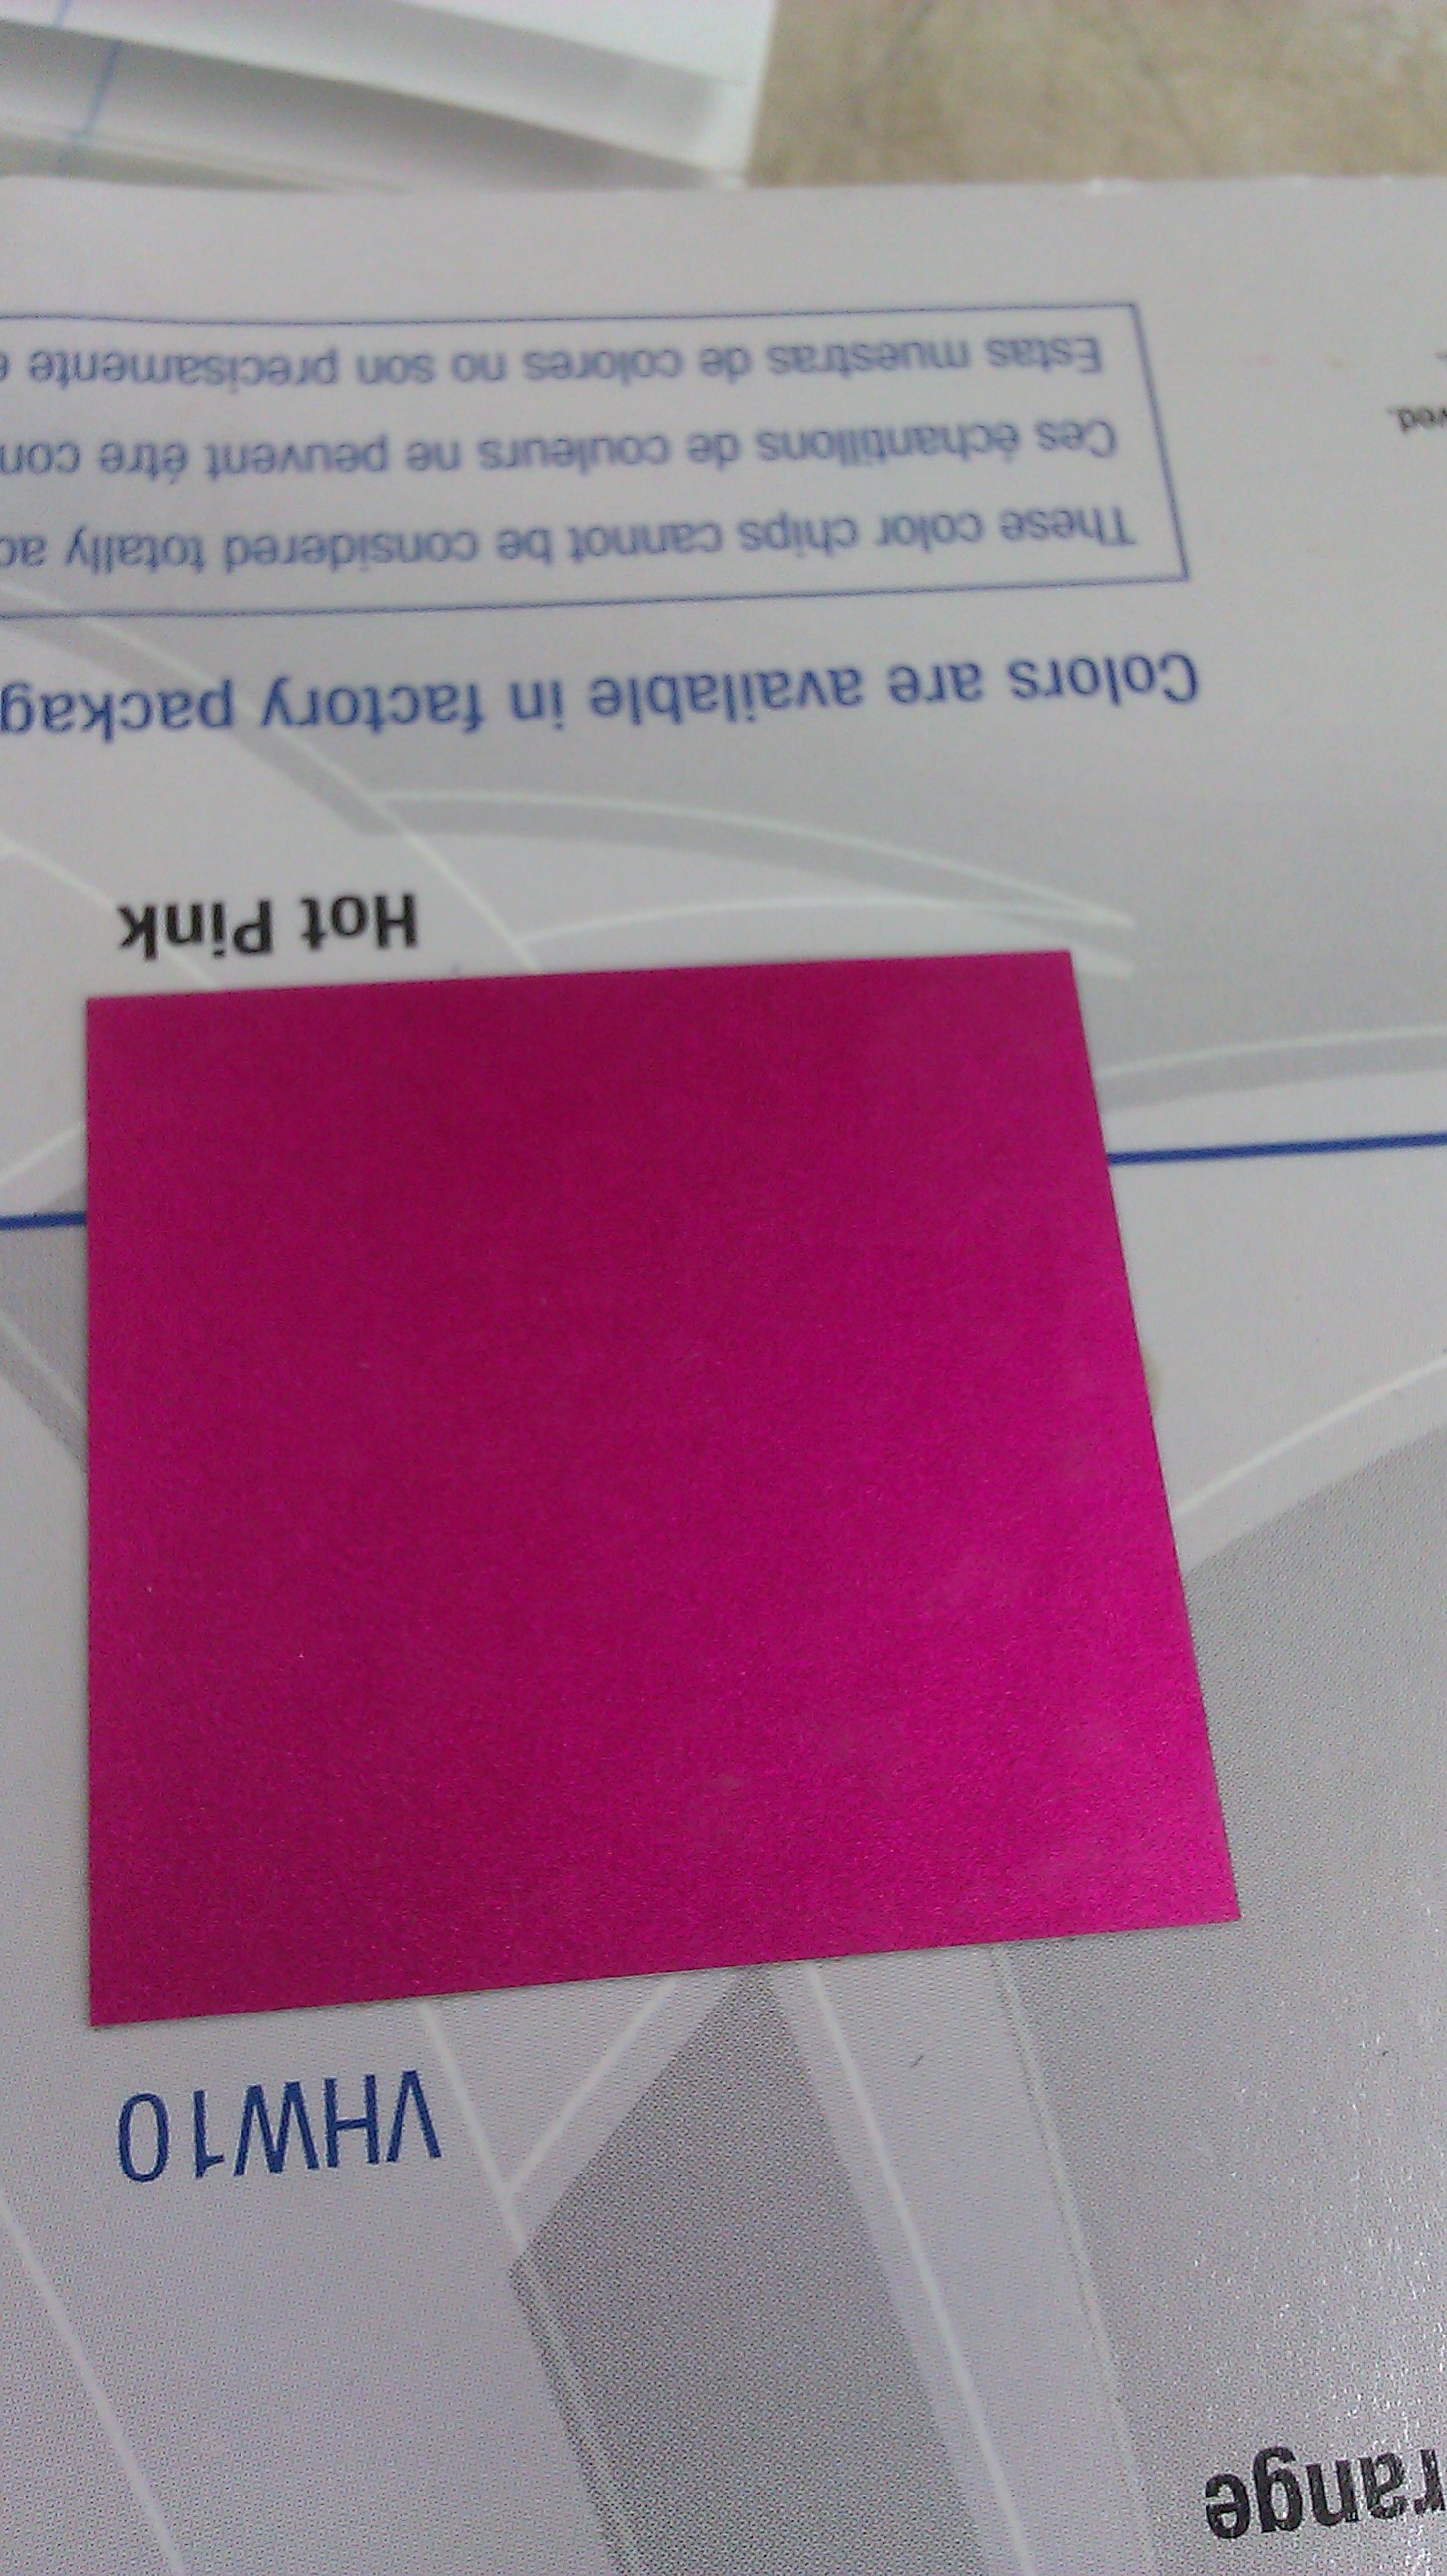
Hey gordon I ordered my paint and the lady at the paint shop knew EXACTLY what I wanted to do/what I needed. It came out to $115.00 for 1 can of silver base, 2 cans of the Candy Hot Pink, and 1 can of acrylic clear. Took pics of the labels for you!
ANd you guys guys are going to kill me....and I'm not %100 about my color choice..but It was an impulse decision which led me to my color choice change. I'm no longer doing black... The New color is HOT pink in tribute to the Dragon Performance drift fd. I love that car..and even if it doesn't flow with my black and gold theme.. oh well. THe car will still move and ;-)
For Gordon
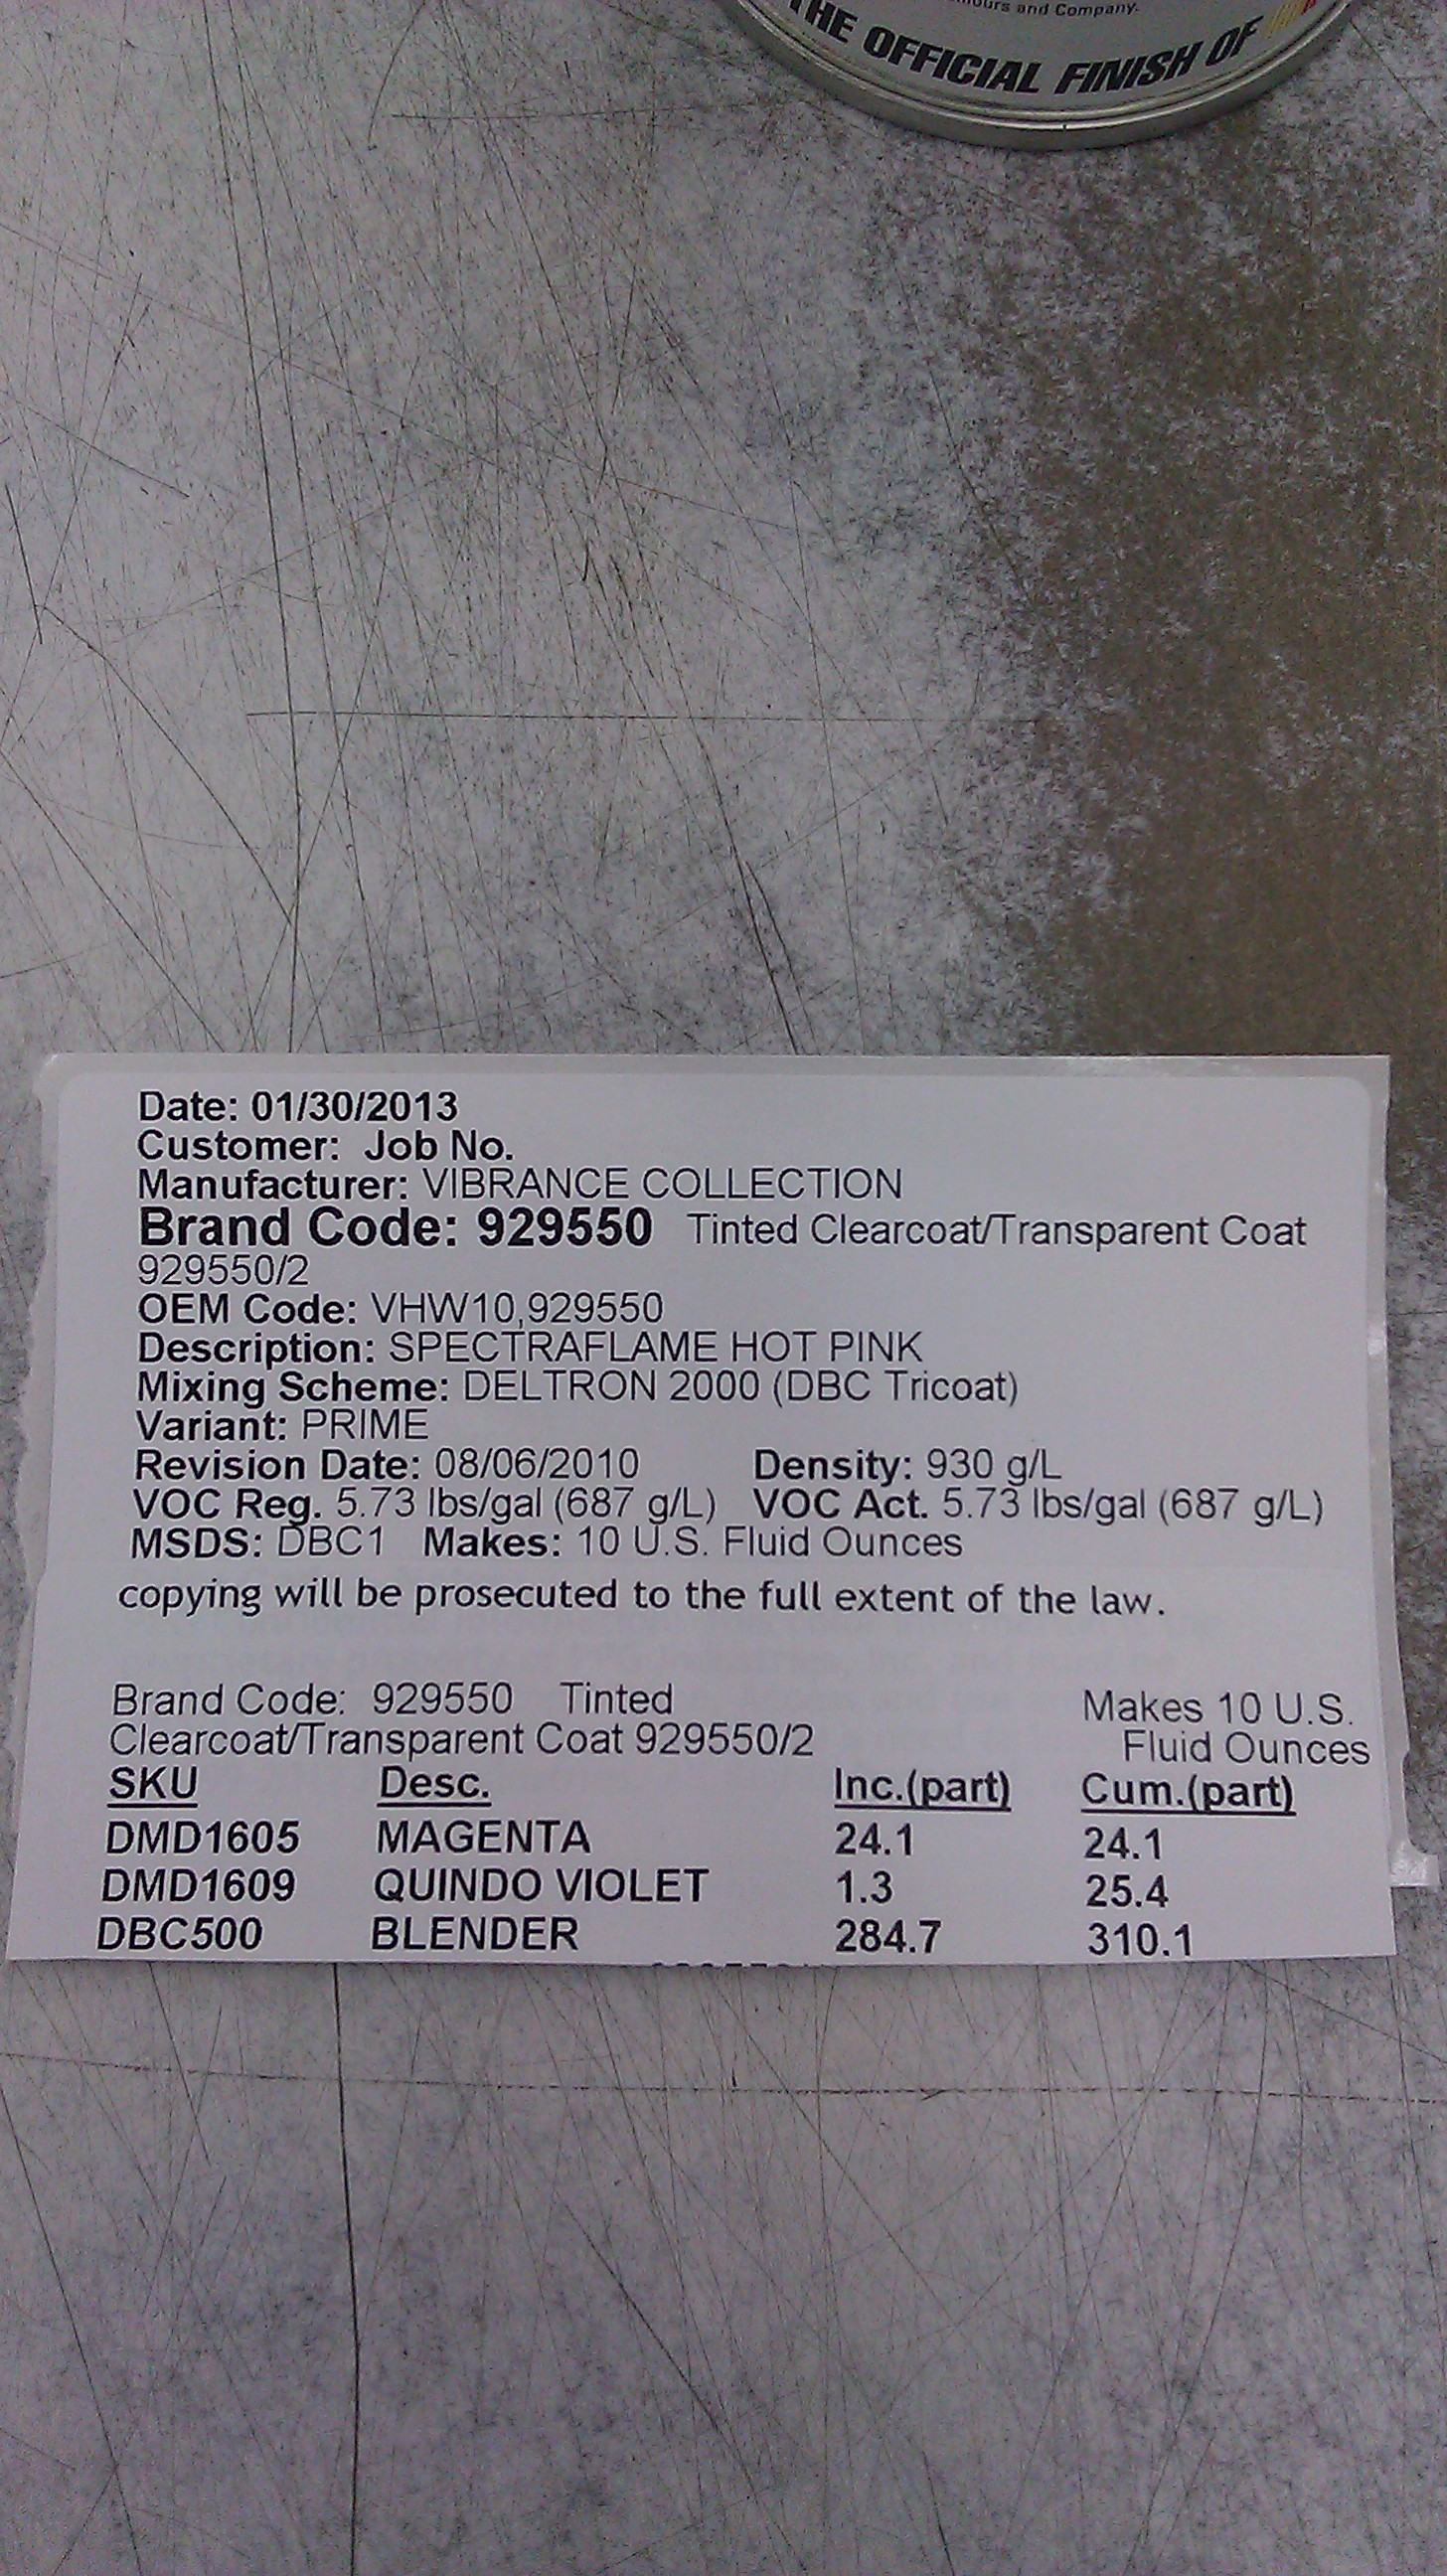
and
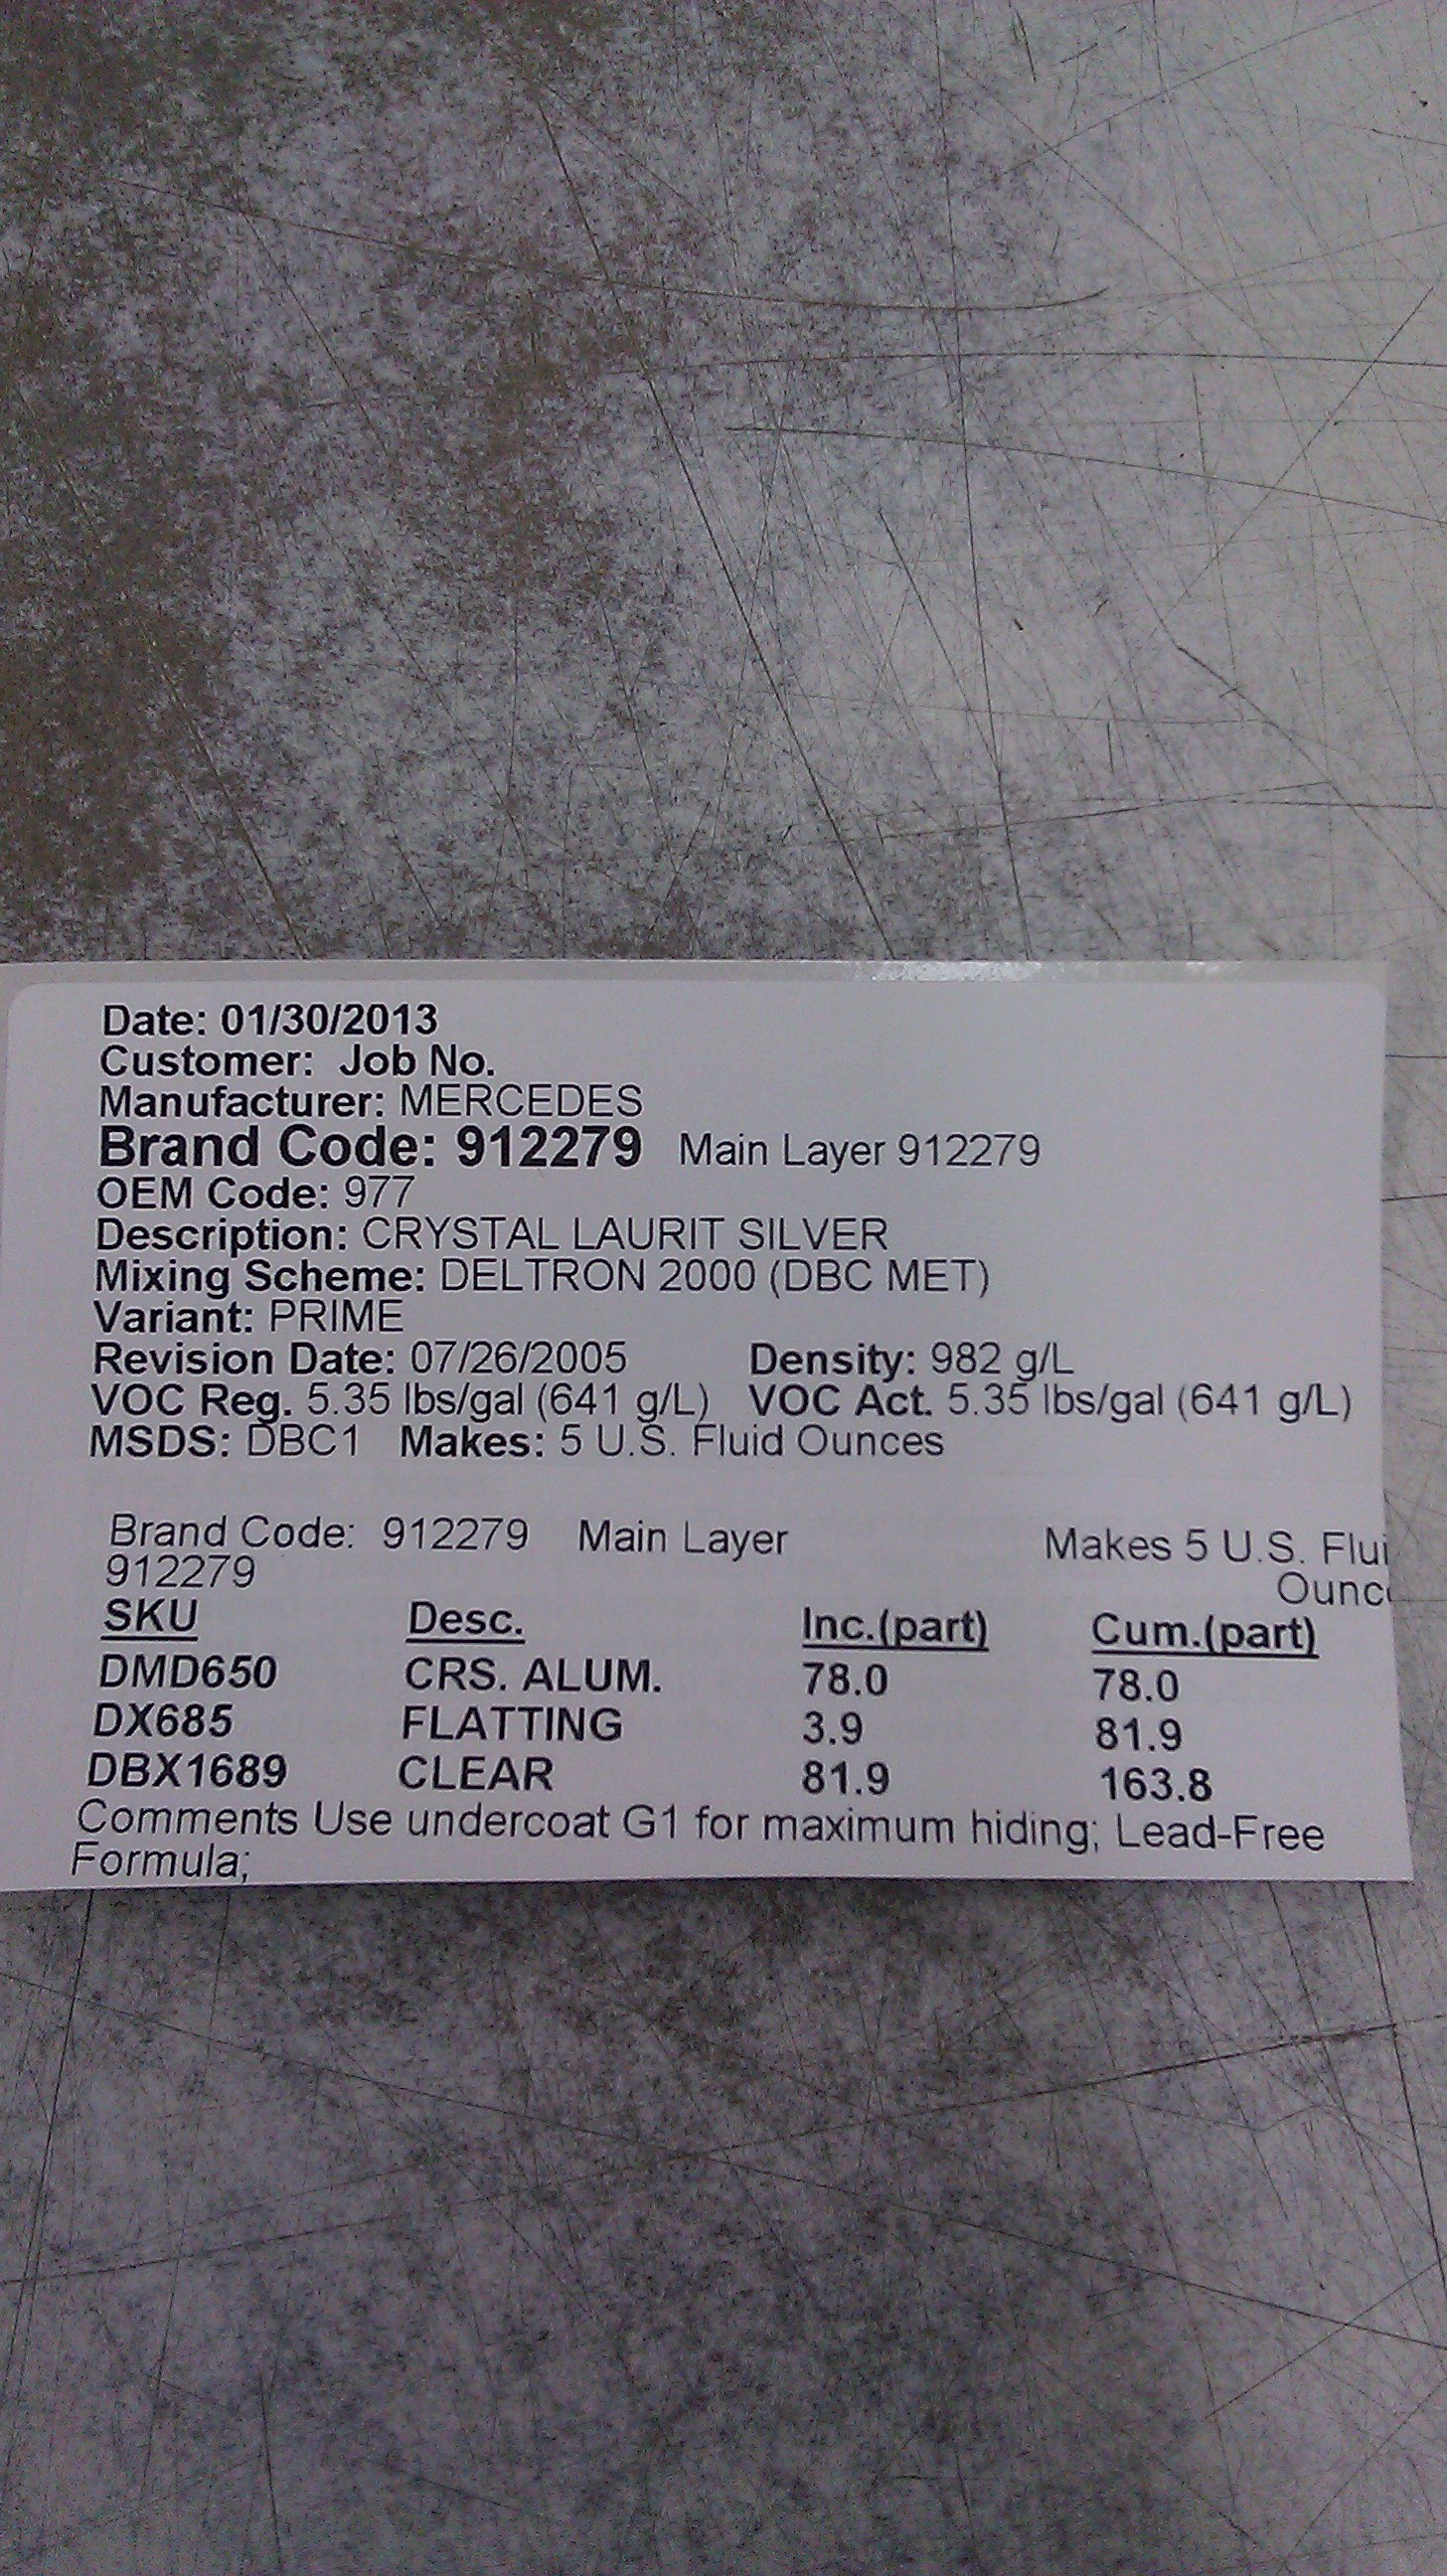
The color
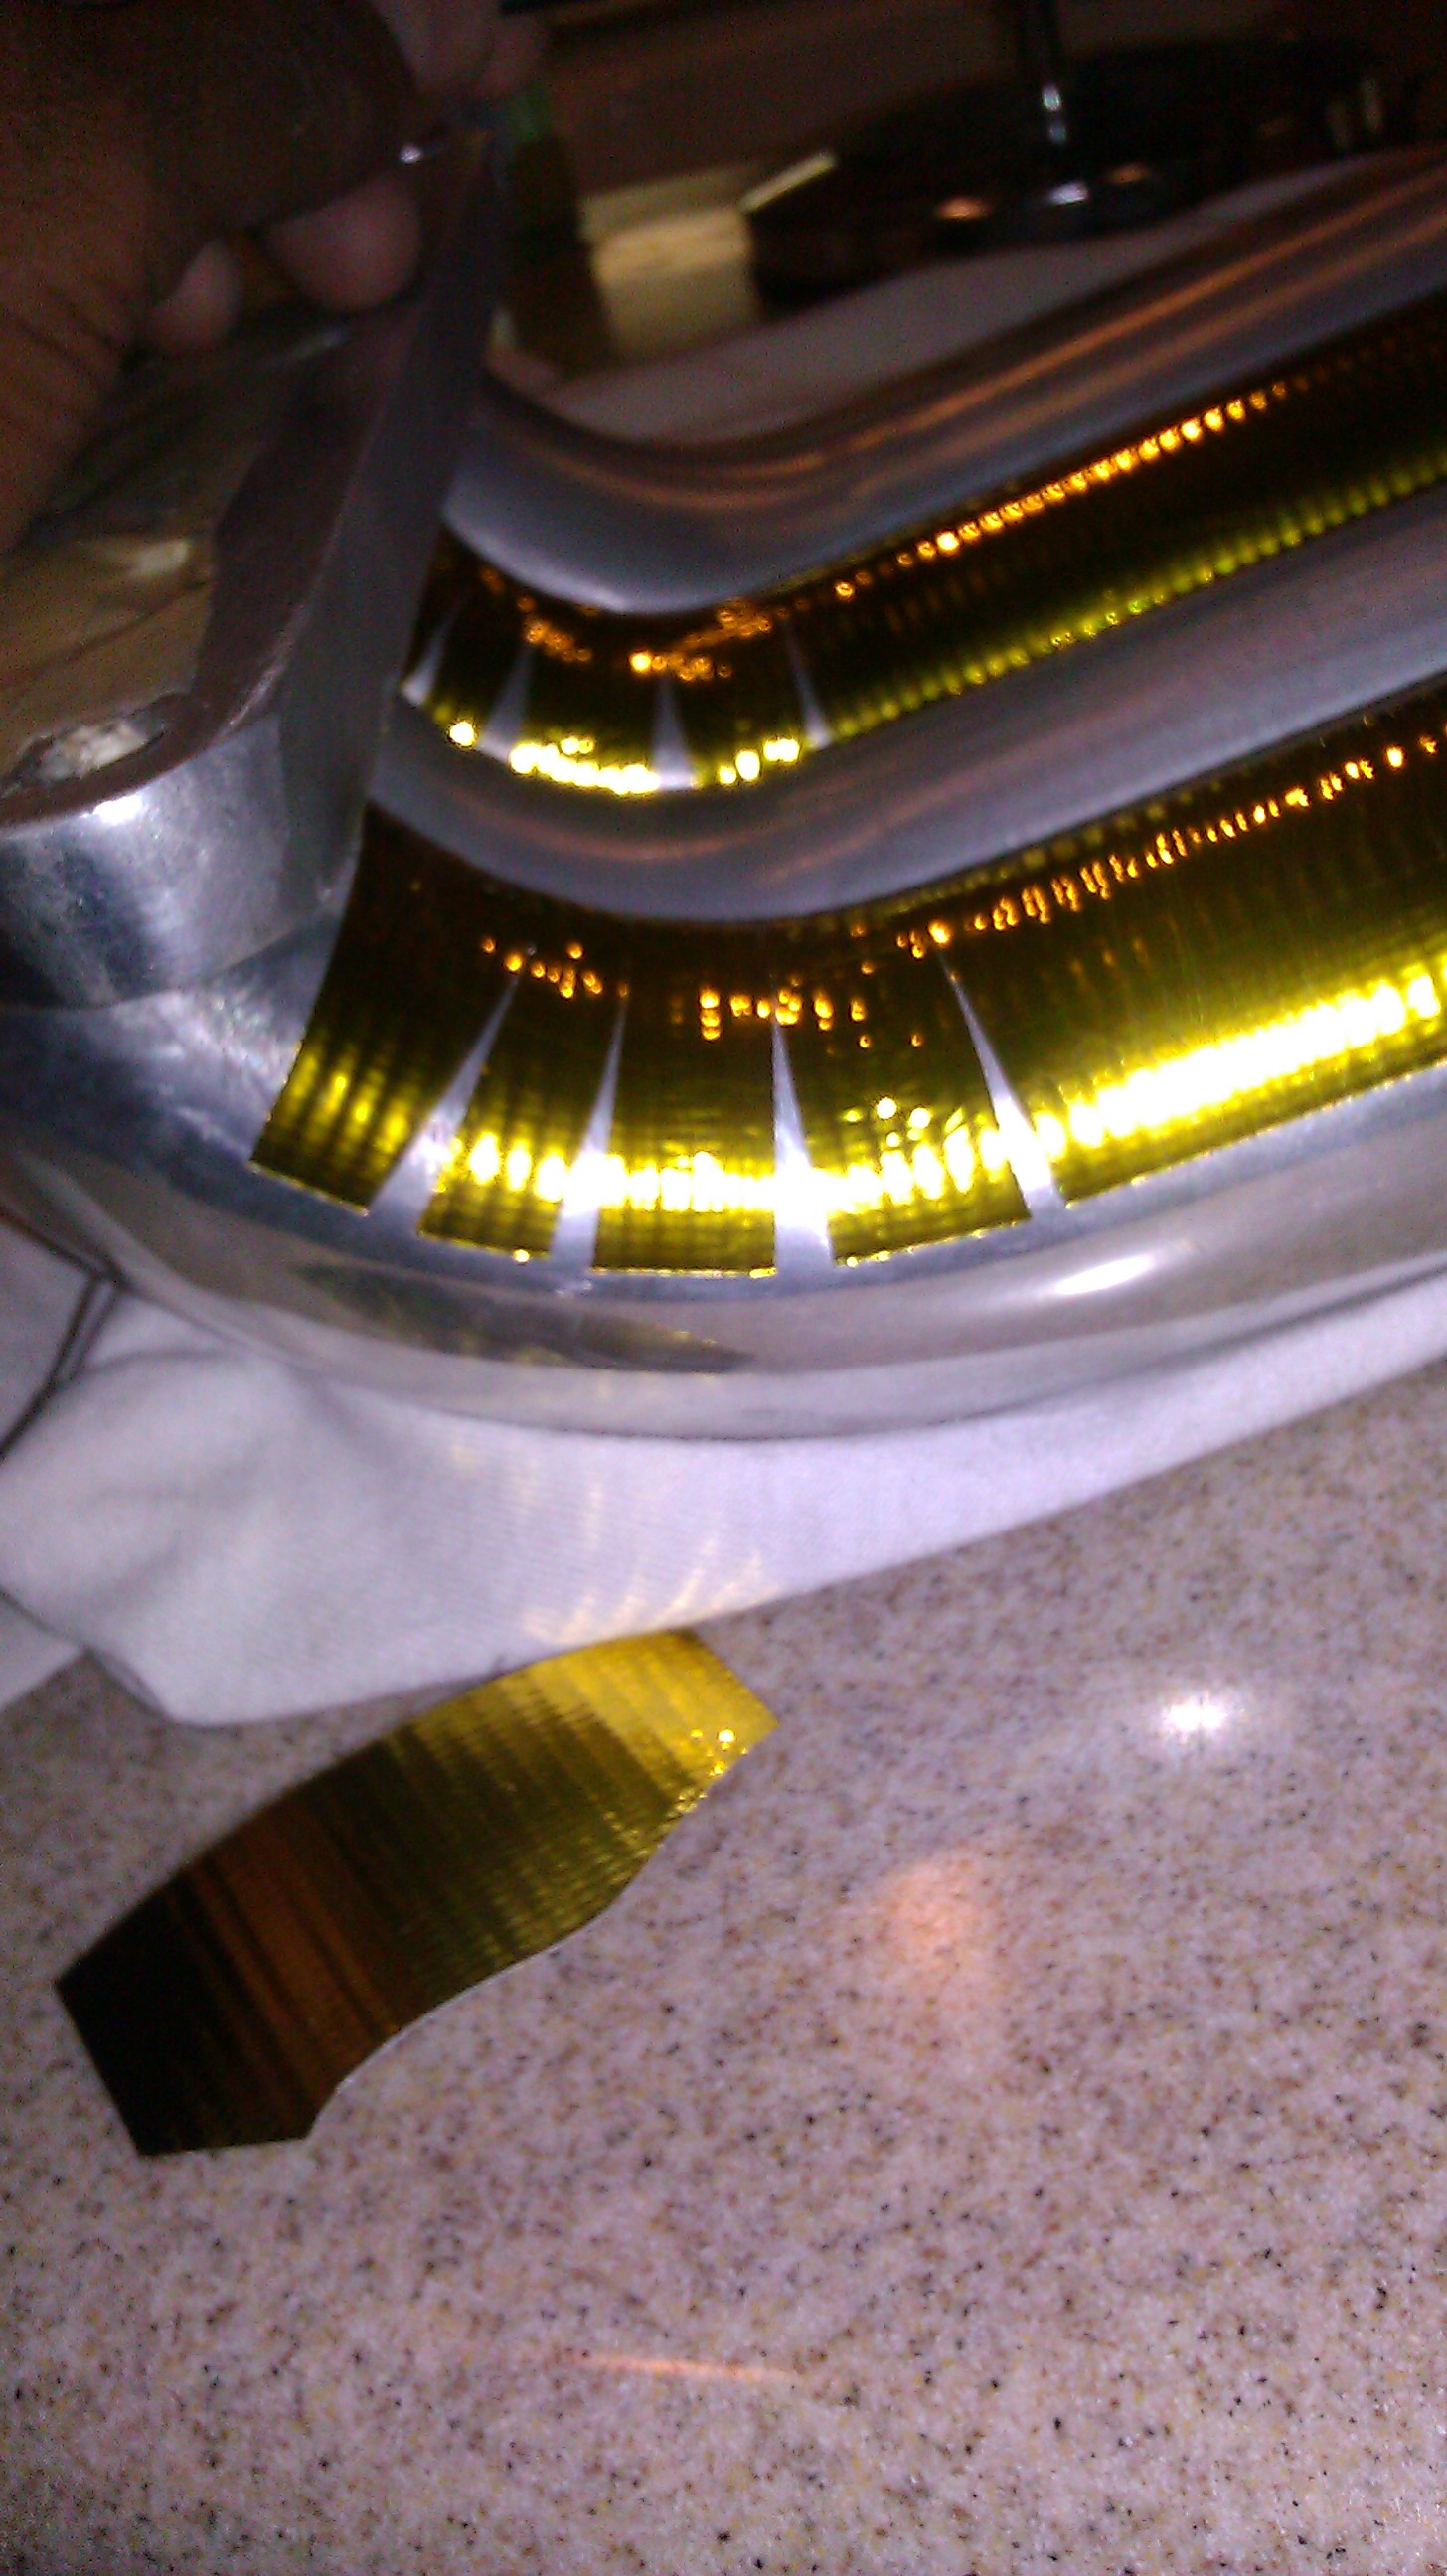
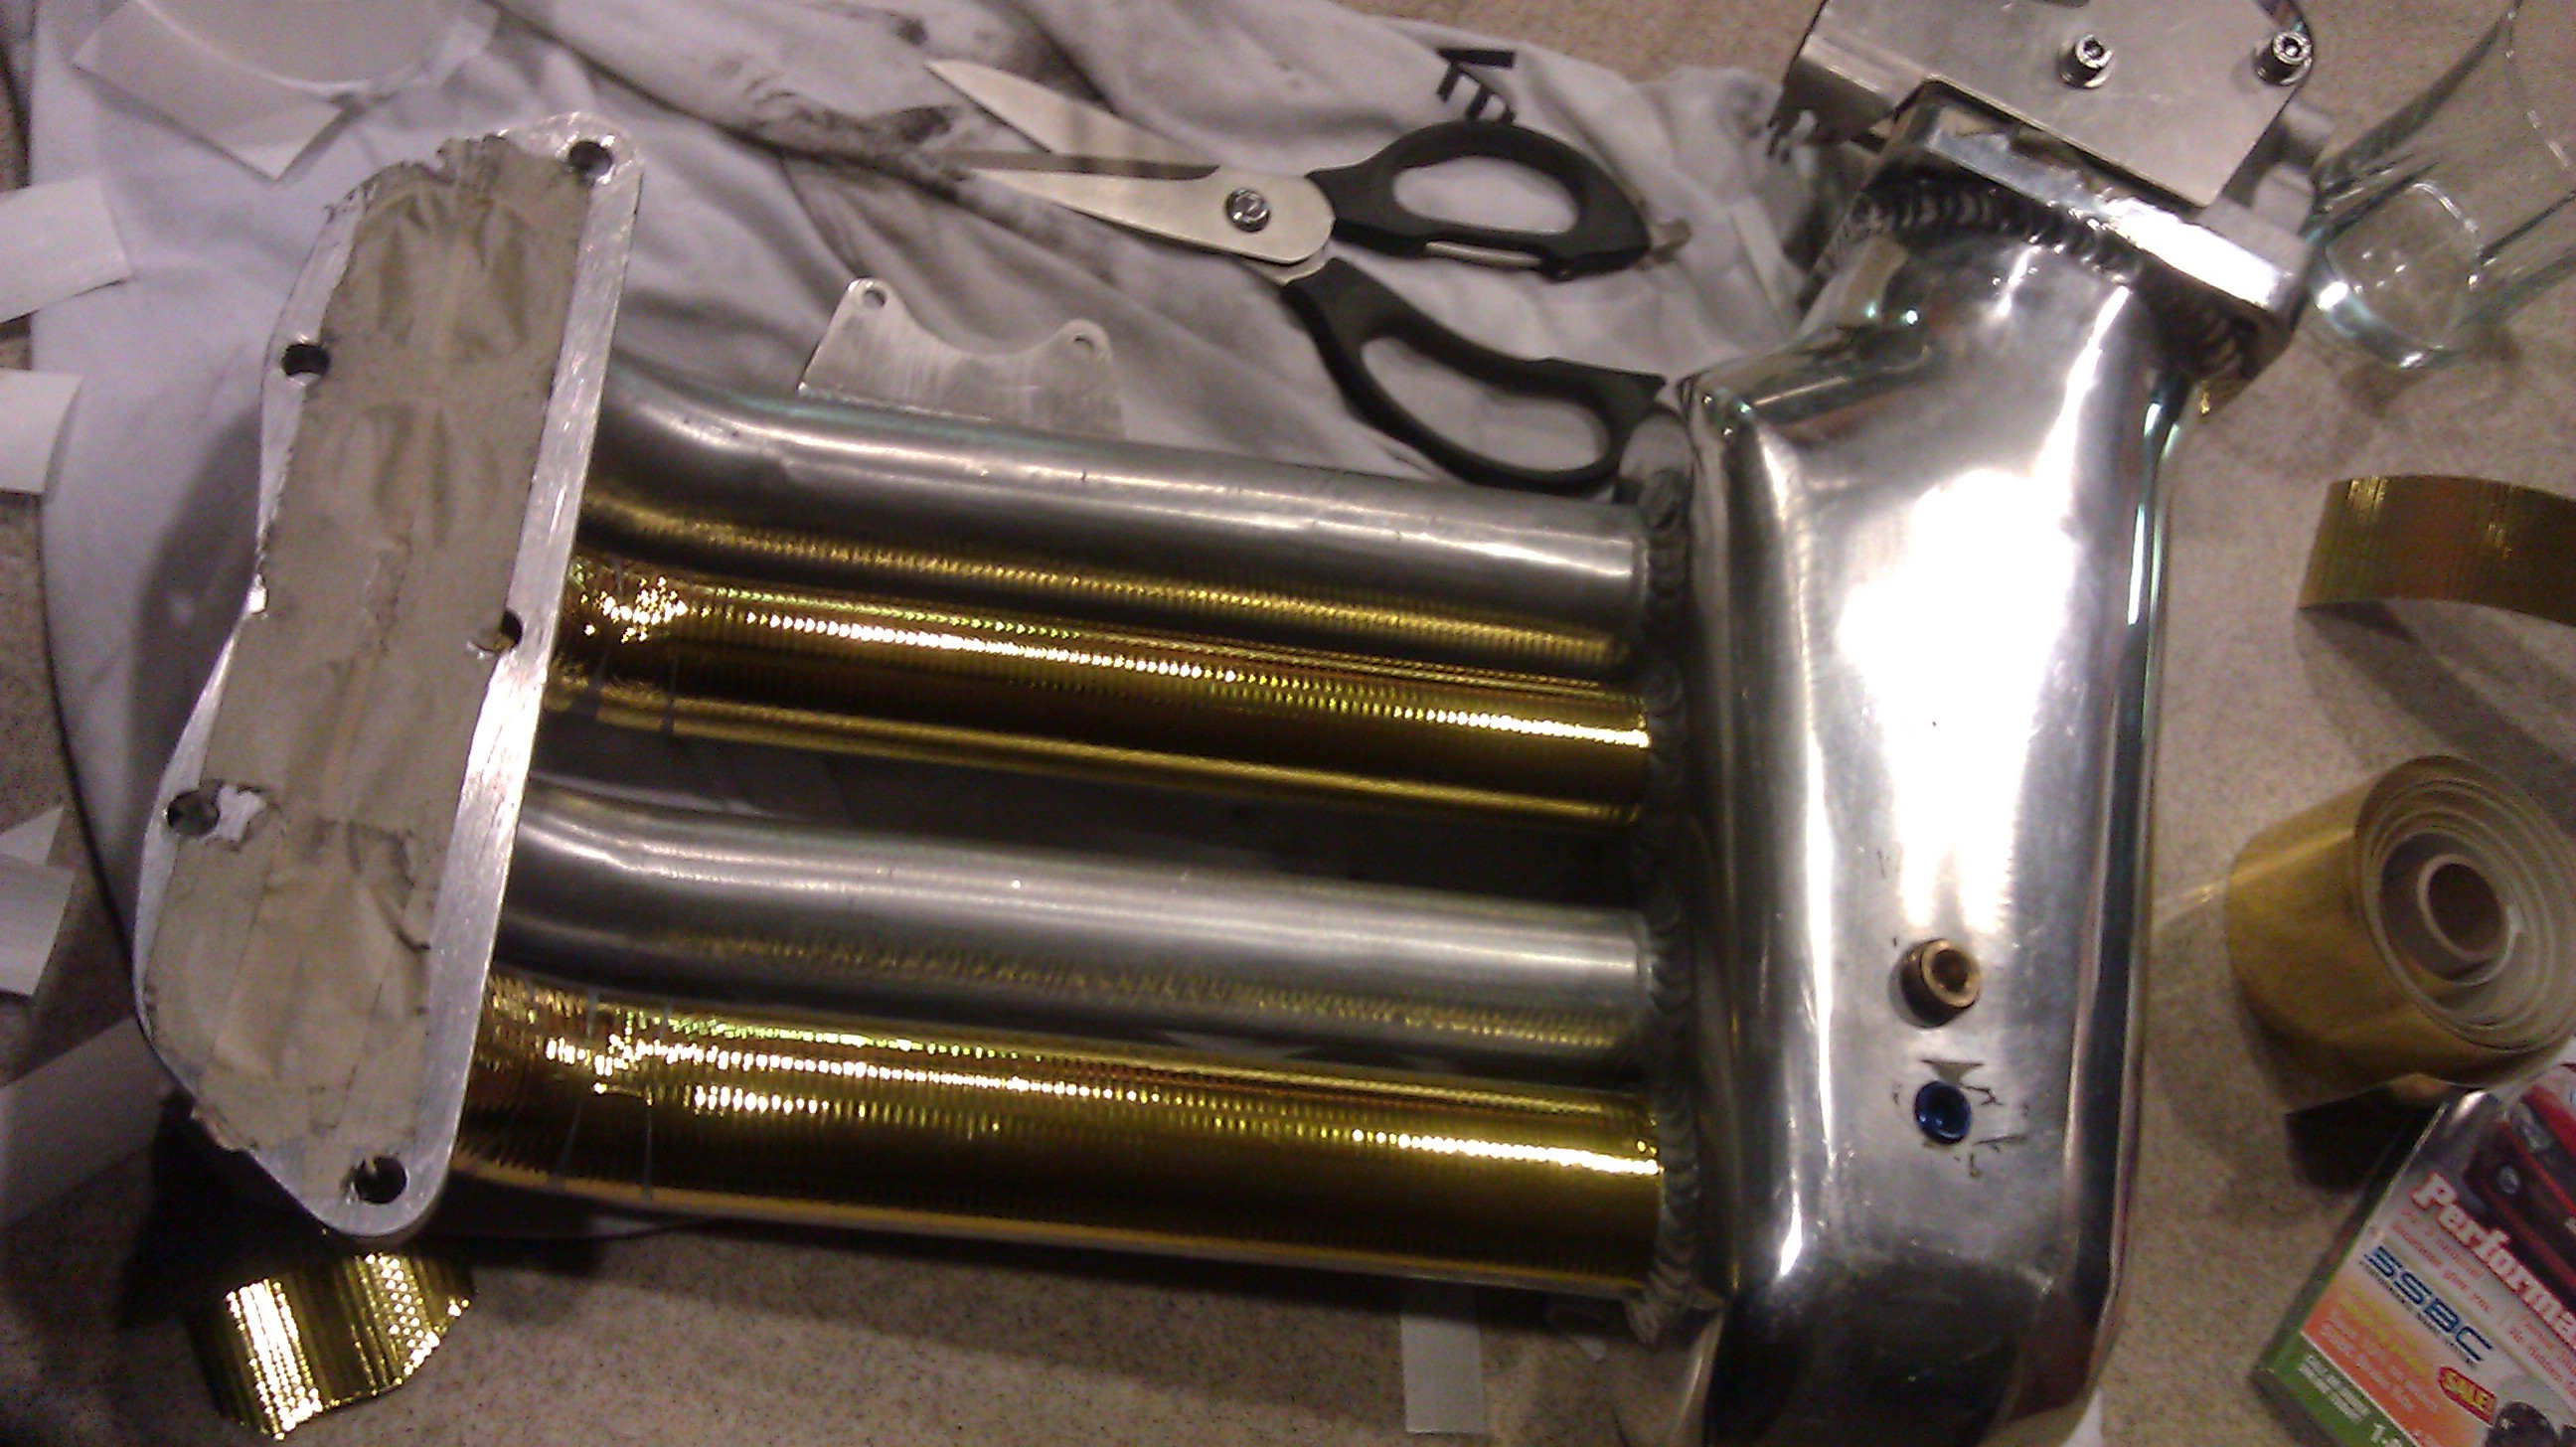
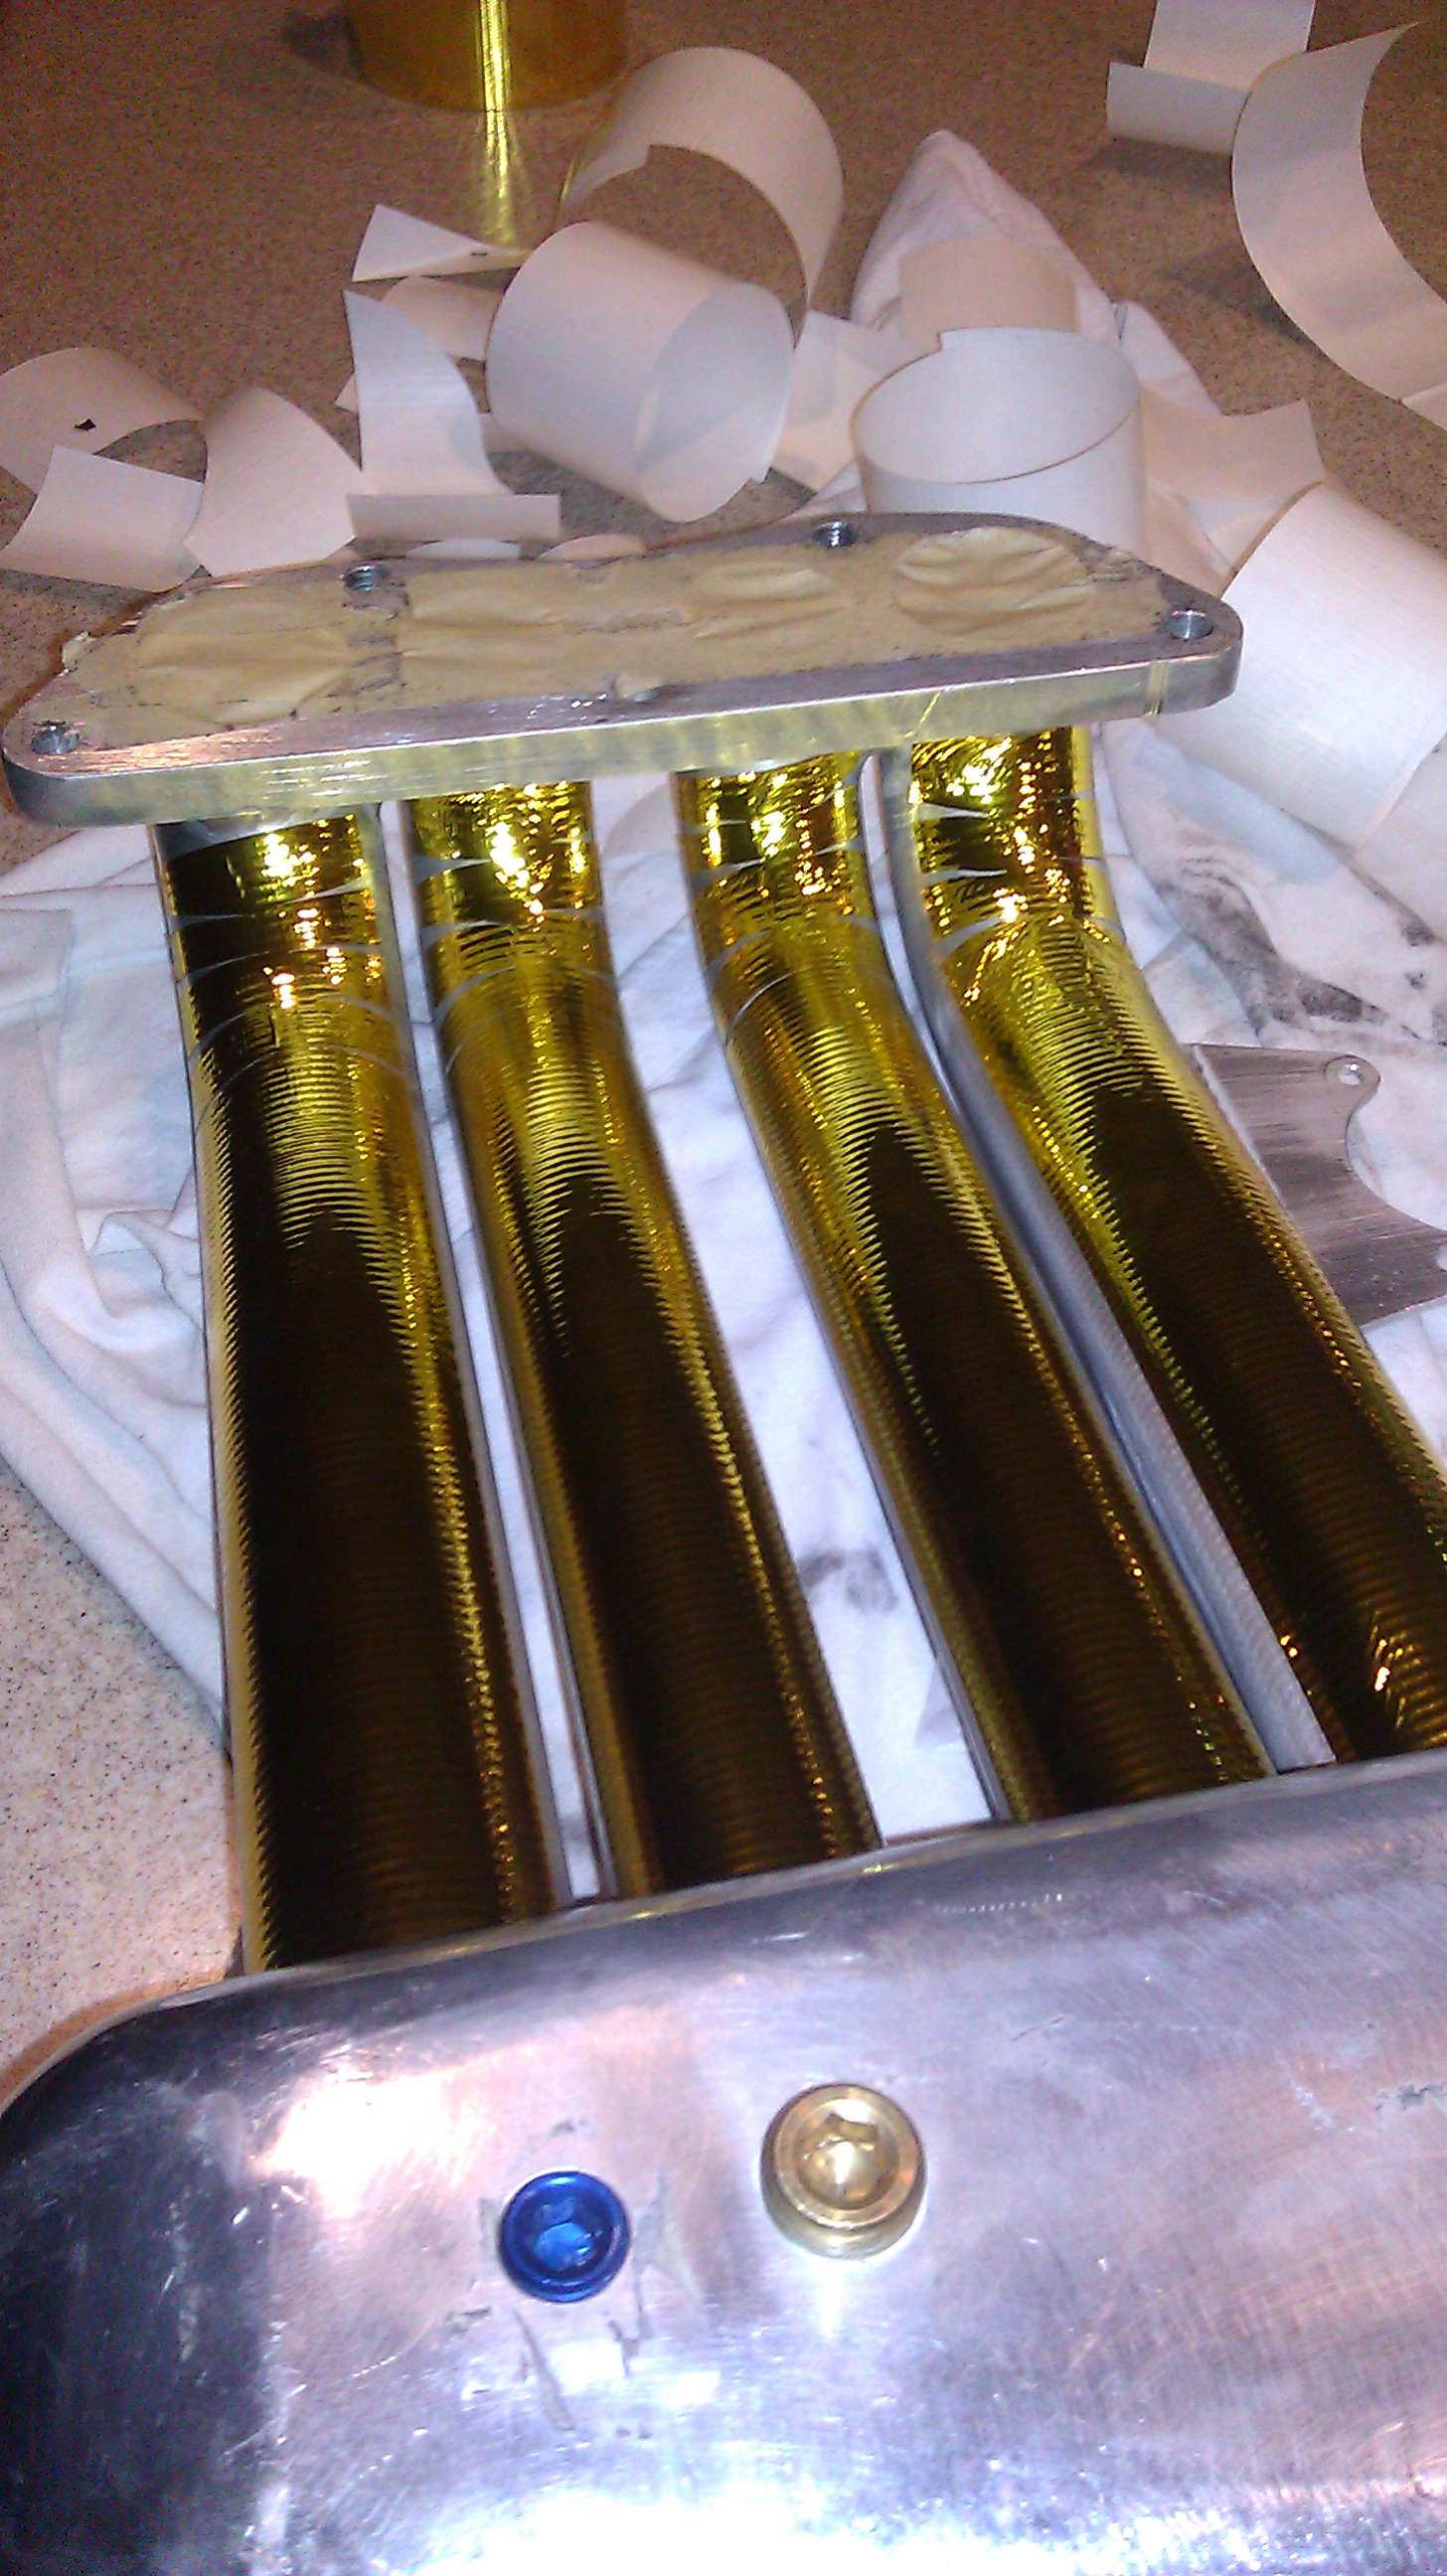
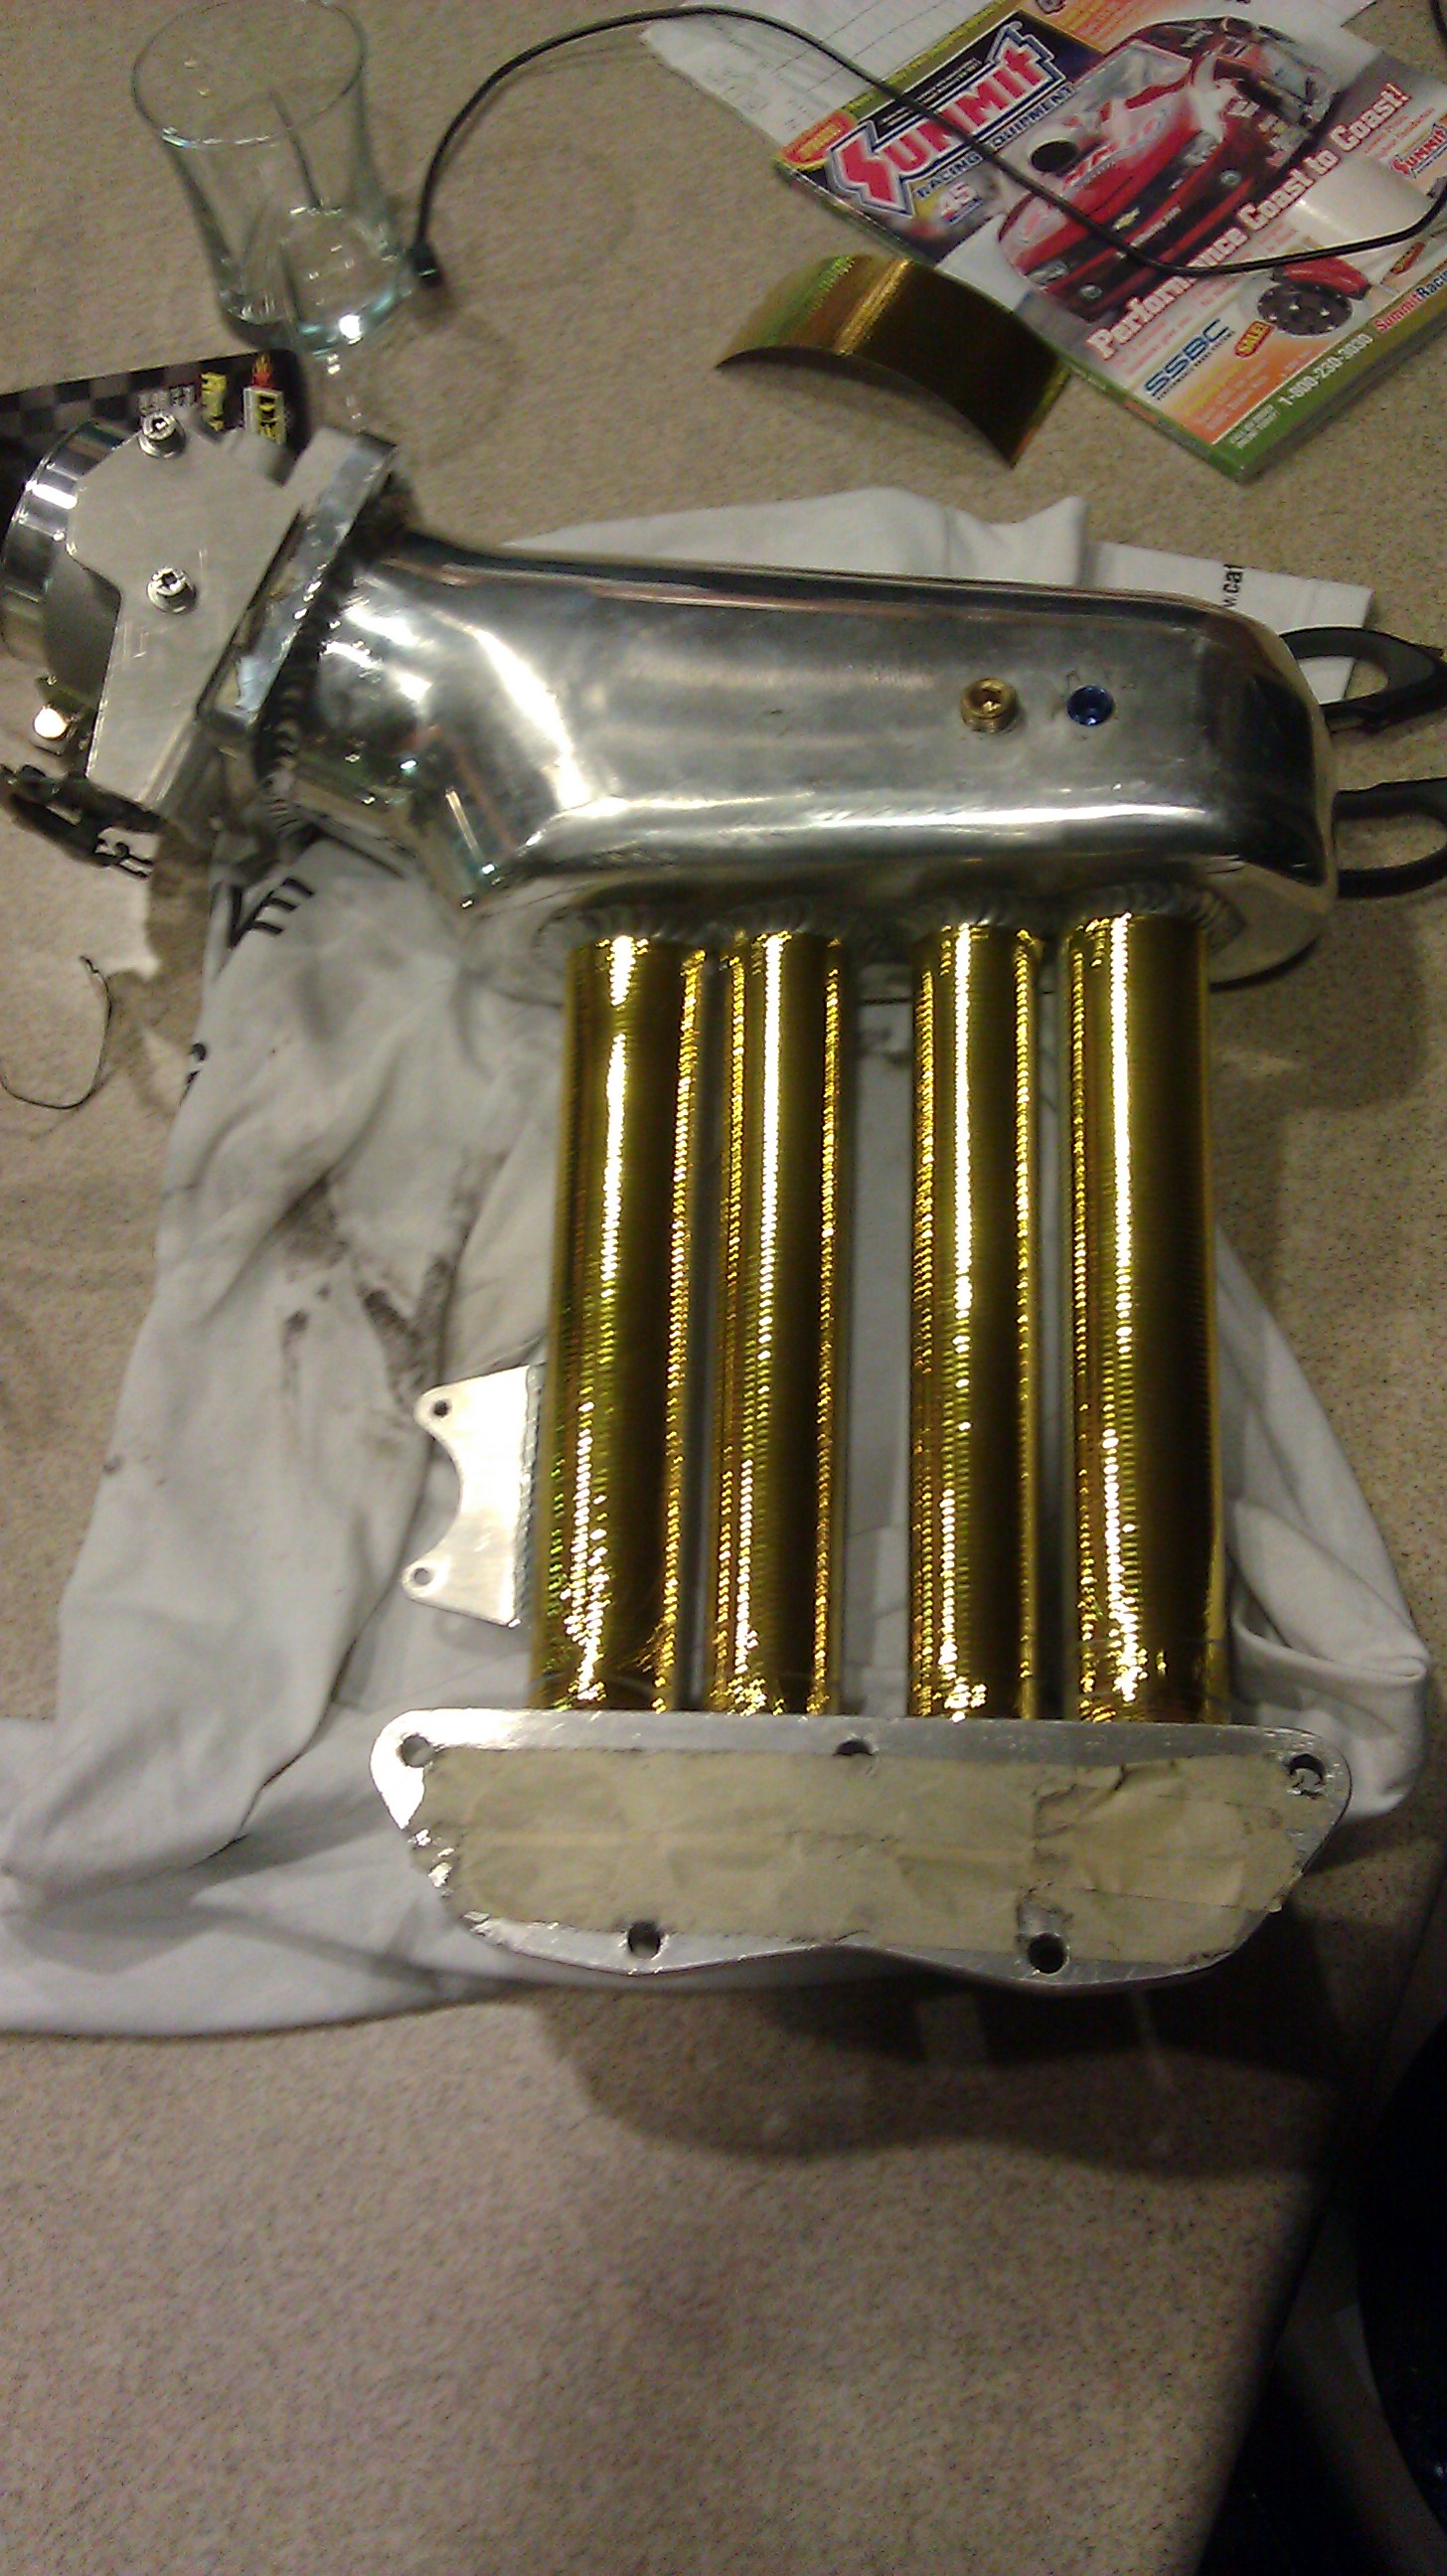
In other updates...moving forward with the build. Been meaning to get to this for a while but just havn't gotten time. Heat reflective'edded my LIM and UIM in the areas I was concerned about
Before excessive LIM

After excessive LIM
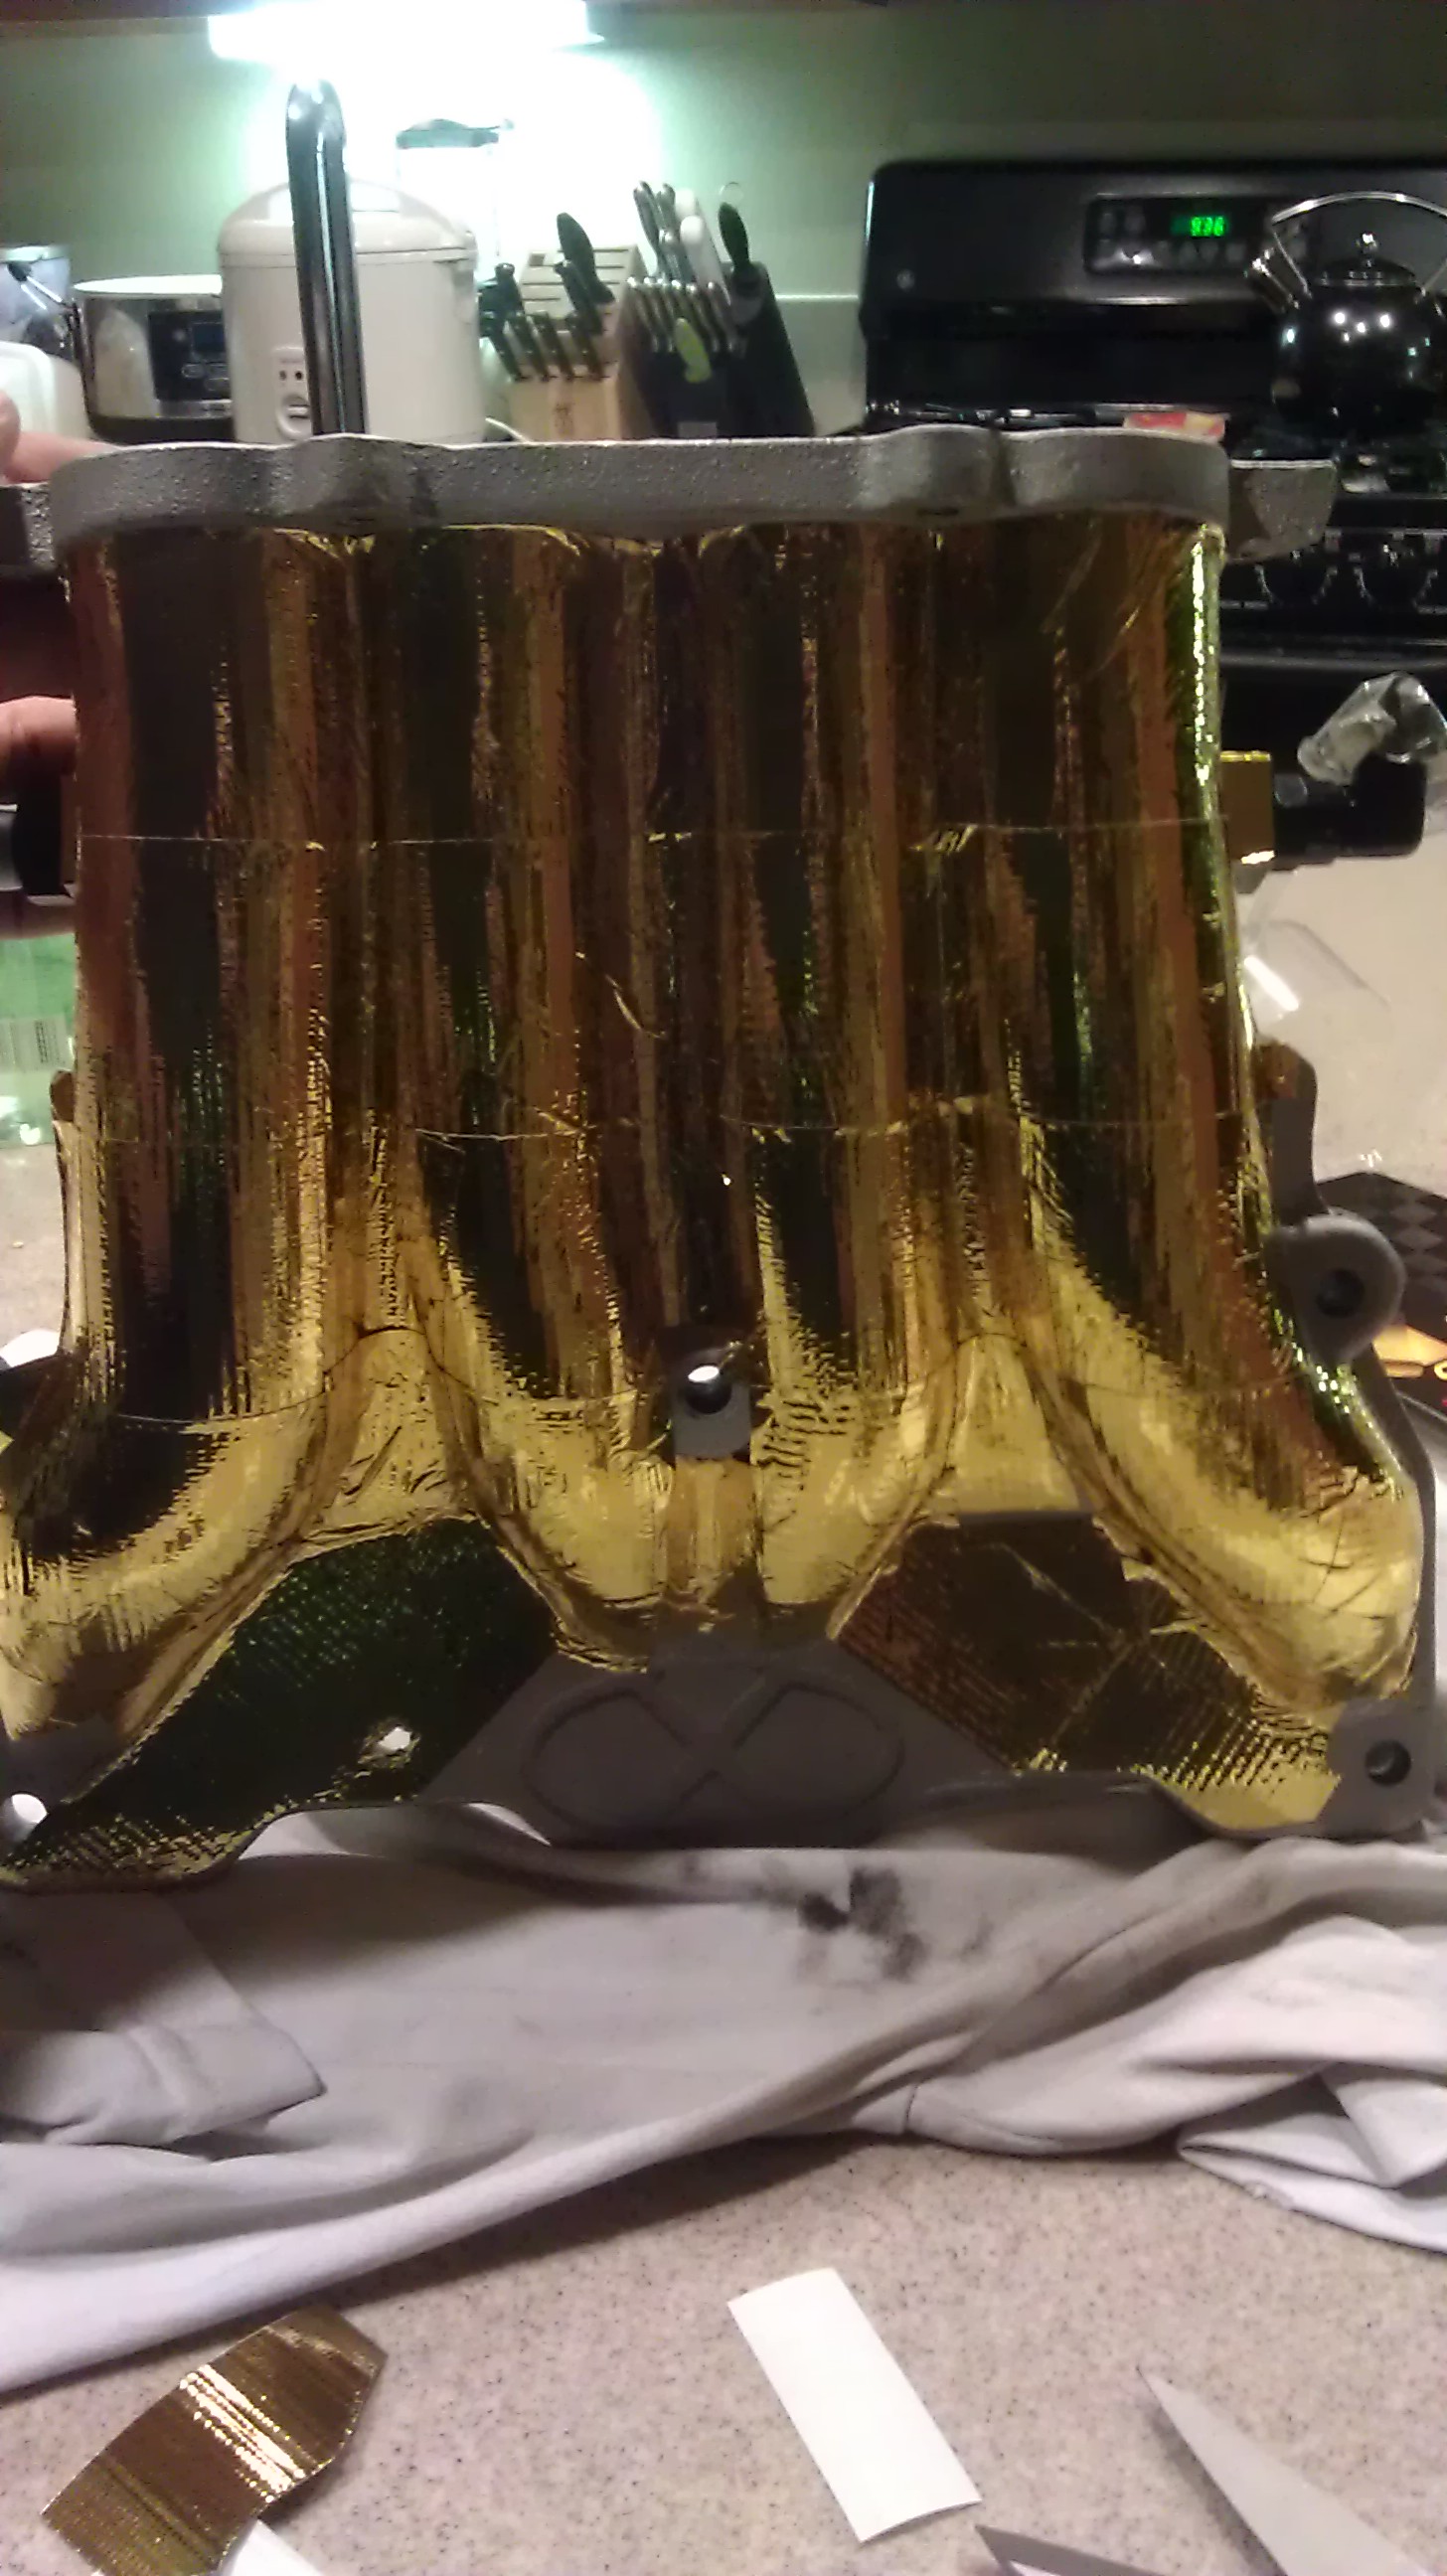
And Virtual works UIM
process
Done
ANd you guys guys are going to kill me....and I'm not %100 about my color choice..but It was an impulse decision which led me to my color choice change. I'm no longer doing black... The New color is HOT pink in tribute to the Dragon Performance drift fd. I love that car..and even if it doesn't flow with my black and gold theme.. oh well. THe car will still move and ;-)
For Gordon
and
The color
In other updates...moving forward with the build. Been meaning to get to this for a while but just havn't gotten time. Heat reflective'edded my LIM and UIM in the areas I was concerned about
Before excessive LIM
After excessive LIM
And Virtual works UIM
process
Done
 02-01-13, 09:57 AM
#1144
Thanks man! A bloody shame the motor you got is a lemon.. that sucks man. at least you know a nice fresh motor will be going in though! who's doing your rebuild? porting? etc...?details?
No prob.. you know I'm hoping this paint job comes out pretty nice, and with the acrylic clear...holds up decently well. I'm still a little iffy about the 80's Hot Pink..but truthfully. I think it may just work. p.s.. your fillings are going to keep my essential components nice and cool ;-)
I spent all last night whire wheeling off the last few rougher parts of paint in the engine bay. It's about 99% ready for the self etching primer. As i've been told by numerous people....the bay prep is going to determine how well the job comes out. If I rush it...it'll look rushed. If I take my time and make sure I get as much paint as possible off, sand a few areas and really clean everything well, there's no reason a spray can job shouldnt look nice =-)
anyways.. I have to attend a wedding this weekend so I'm not sure if i'll be able to get to paint, but hopefully saturday morning I get at least get the bay cleaned and masked off.
More updates soon
02-03-13, 11:40 PM
#1148
So after quite a bit of thinking... I decided to go ahead and sell my Apexi Power FC. It was great and I never had anything but smooth running with it but it's just time to move to a much simpler, much more capable engine management system.
So i'm pleased to announce that I've done quite a bit of research over the past couple, and i've decided to go with the new Adaptronic Plug and Play FD3s system.
I could go on and on about why...but I came across these questions and answers and figured they touched all the things I was worried about, wanted to know about etc..
1) There is no need for a datalogit($300+ unit), the adaptronic uses a generic supplied USB cable to access every portion of the ECU
2) There is an internal 4 bar map sensor you can select if you wish, instead of paying $150 + to upgrade to a 3 bar with PFC
3) You can switch on the fly between maps( 1 street, vs 1 track map etc)
4) Closed loop tuning with a wideband. The PFC only uses the OEM narrow-band to do closed loop tuning during cruise. The adpatronic when parred with a wideband o2 sensor can self tune itself all of the time, even in boost. Same goes for idle control, and transient throttle( throttle response)
5) The adptronic has VE tuning, the PFC does not. VE tuning is what all new cars, and new ECUS use. You input the fuel injector size, engine size, injector dead band timing, and its a much easier, linear and faster way to a better tune. The injector staging between primary and secondaries is also automated, you never have to touch this( PFC has similar, but not as complete).
6) You can listen to knock through a set of regular headphones if you have the OEM knock sensor hooked up. This is a big plus when dyno tuning. The PFC does not have this.
7) Data-logging function is a lot easier to use on the adaptronic, the PFC takes some practice and one has to be more familiar with the software to do so.
8)If you want to change to the FFE trigger you can with the adaptronic, you cannot with the PFC
9) if you ever want to upgrade to individual coils like the AEM units, you can run each coil seperately. You have to run wasted spark with the PFC. This drops coil output.
10) if you ever want to use E85, there are closed loop tuning available. Just add a flex sensor.
11) you can do a push to pass cockpit switch for track cars( temporarily increase boost when pushed).
12) you can do boost control based on transmission gearing( uses the OEM factory tranny sensors). All you need is a boost solenoid hooked to the ECU, and you can set max boost based on each gear. For example, 10 psi in 1st, and 2nd, then 15psi in 3rd, and 20psi in 4th/5th.
13) better boost control, has a entire map. Add a $90 sensor and you have a electronic boost controller
14) the ECU is compatible with most display dashes, like the RacePak. PFC is not compatible.
15) This unit can cut the ignition in increments of 1% which gives you a gradual torque reduction for traction control, PFC doesn't have any sort of traction control.
I placed my order tonight!!! should come in pretty soon here and once the motor is ready to crank over... Adaptronic will now take care of business!!!
02-03-13, 11:52 PM
#1149
And more Updates:
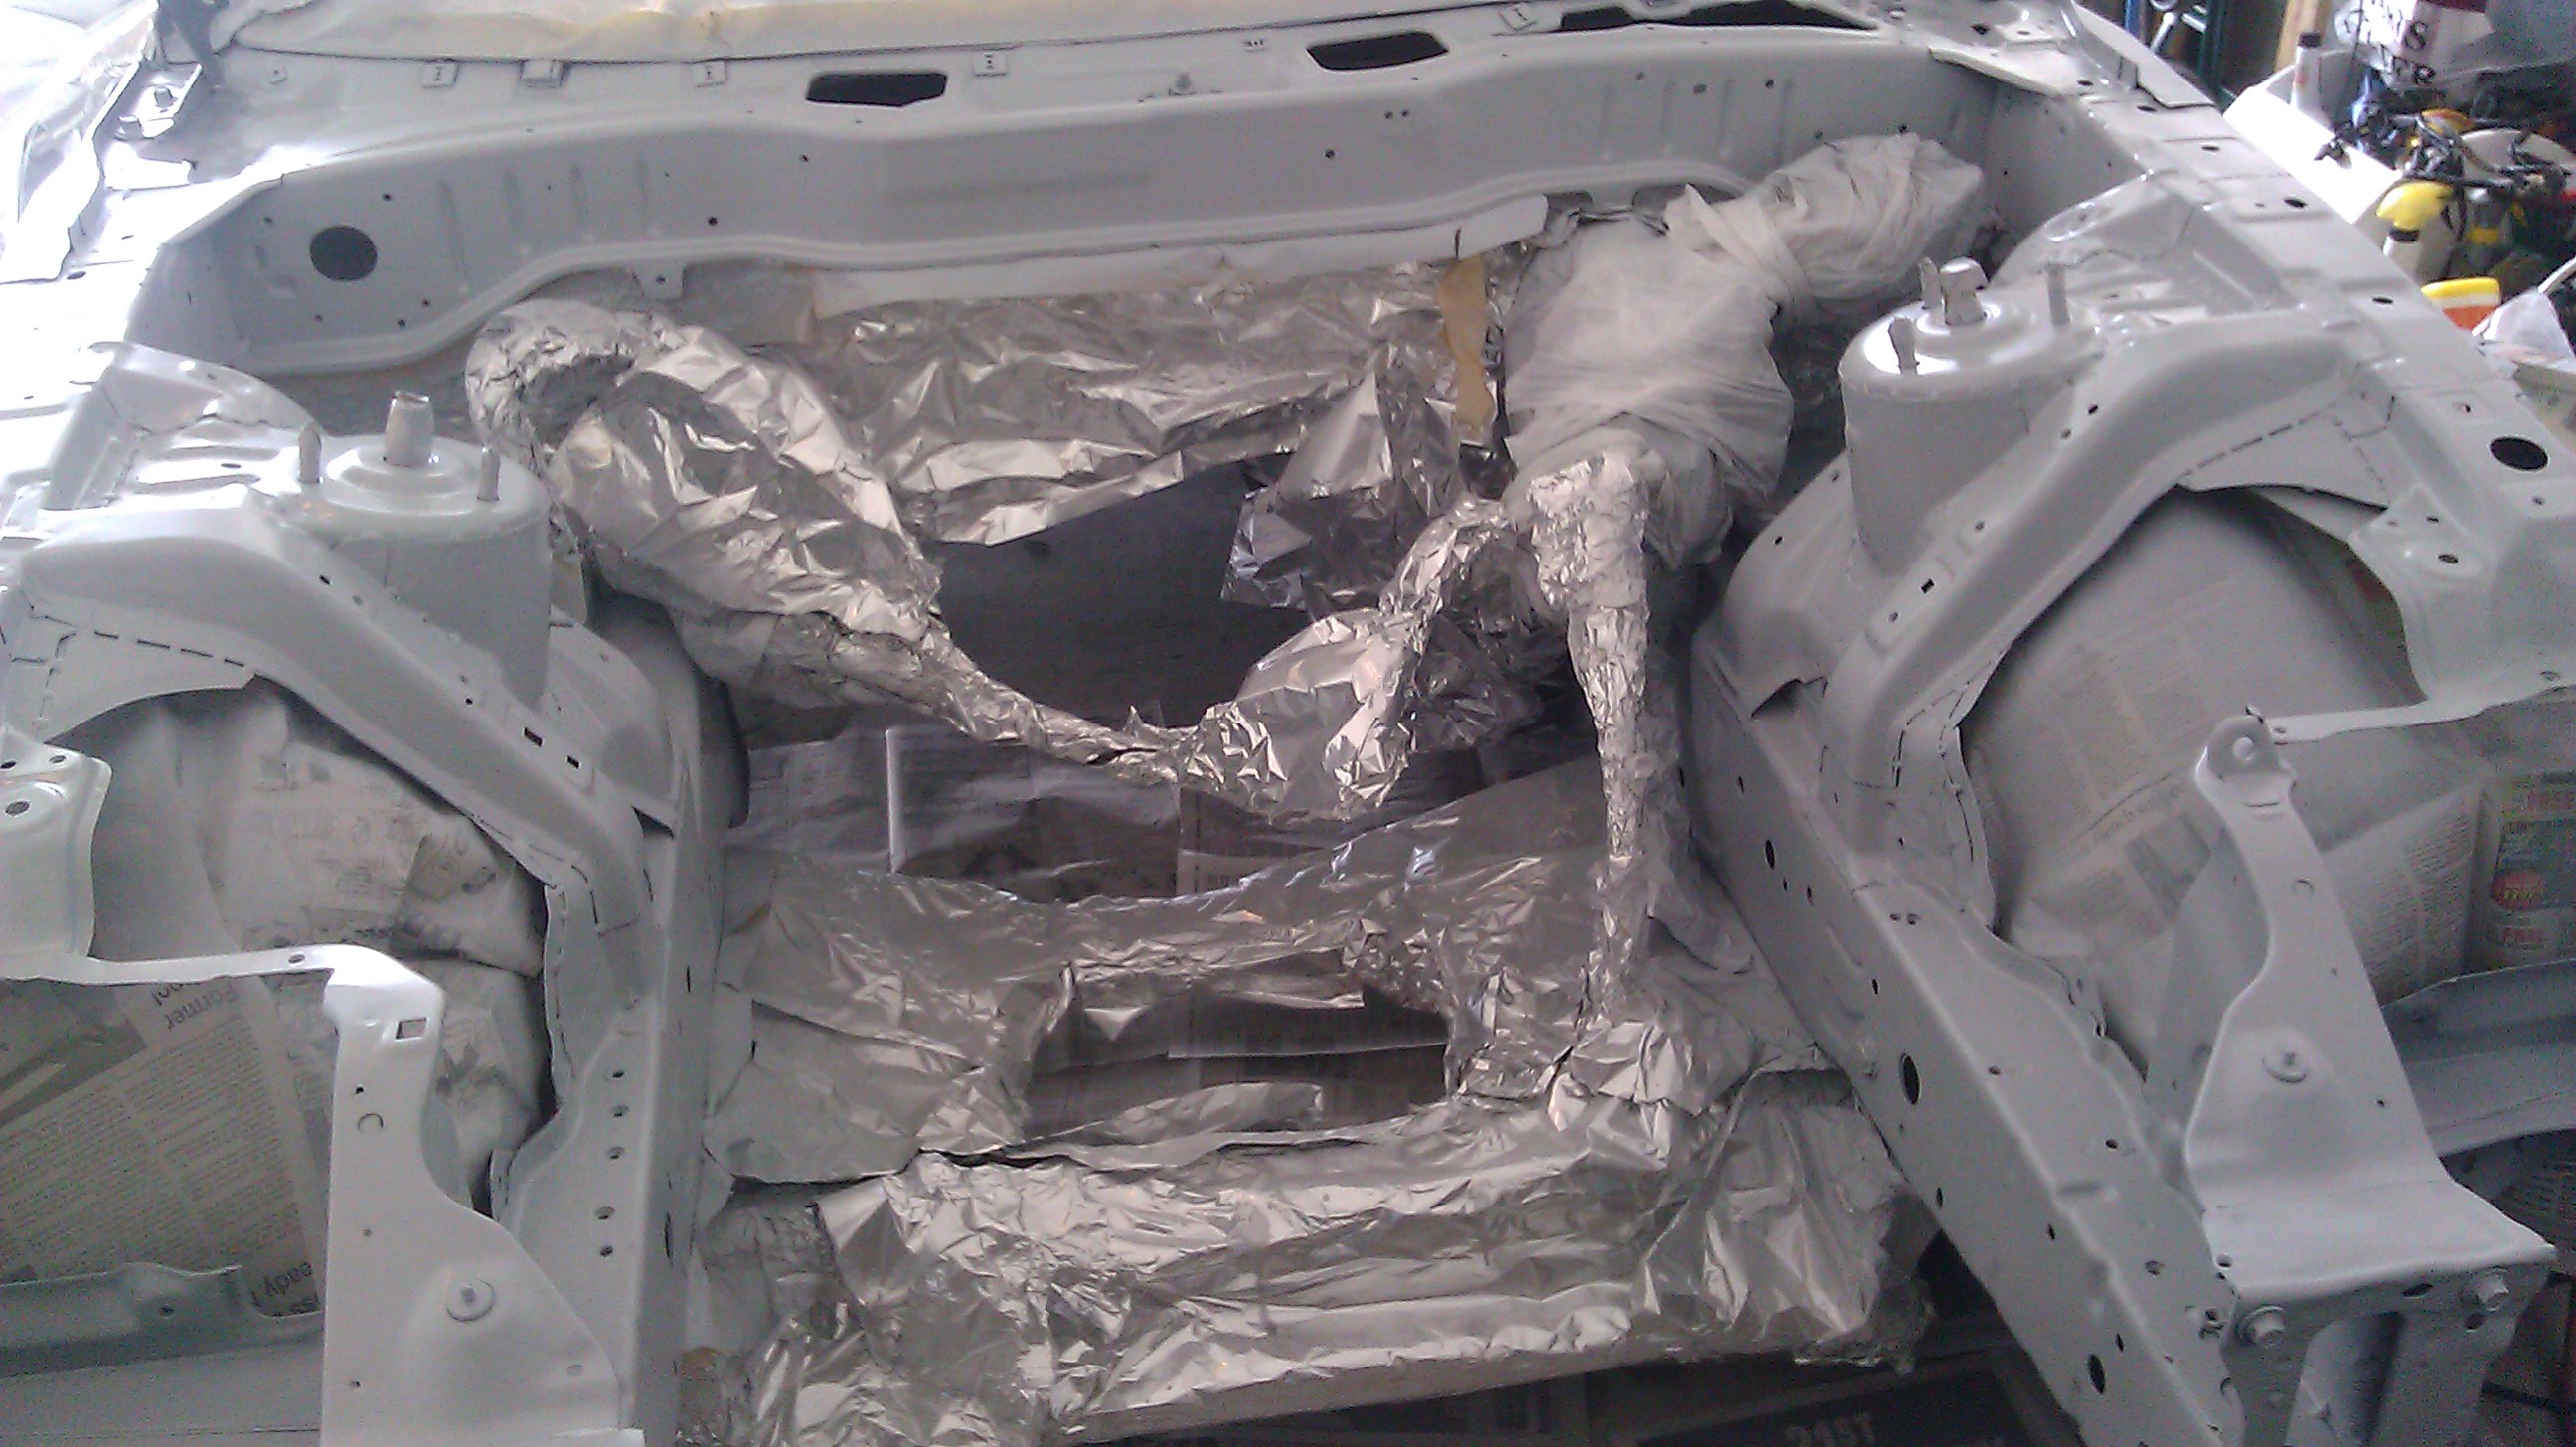
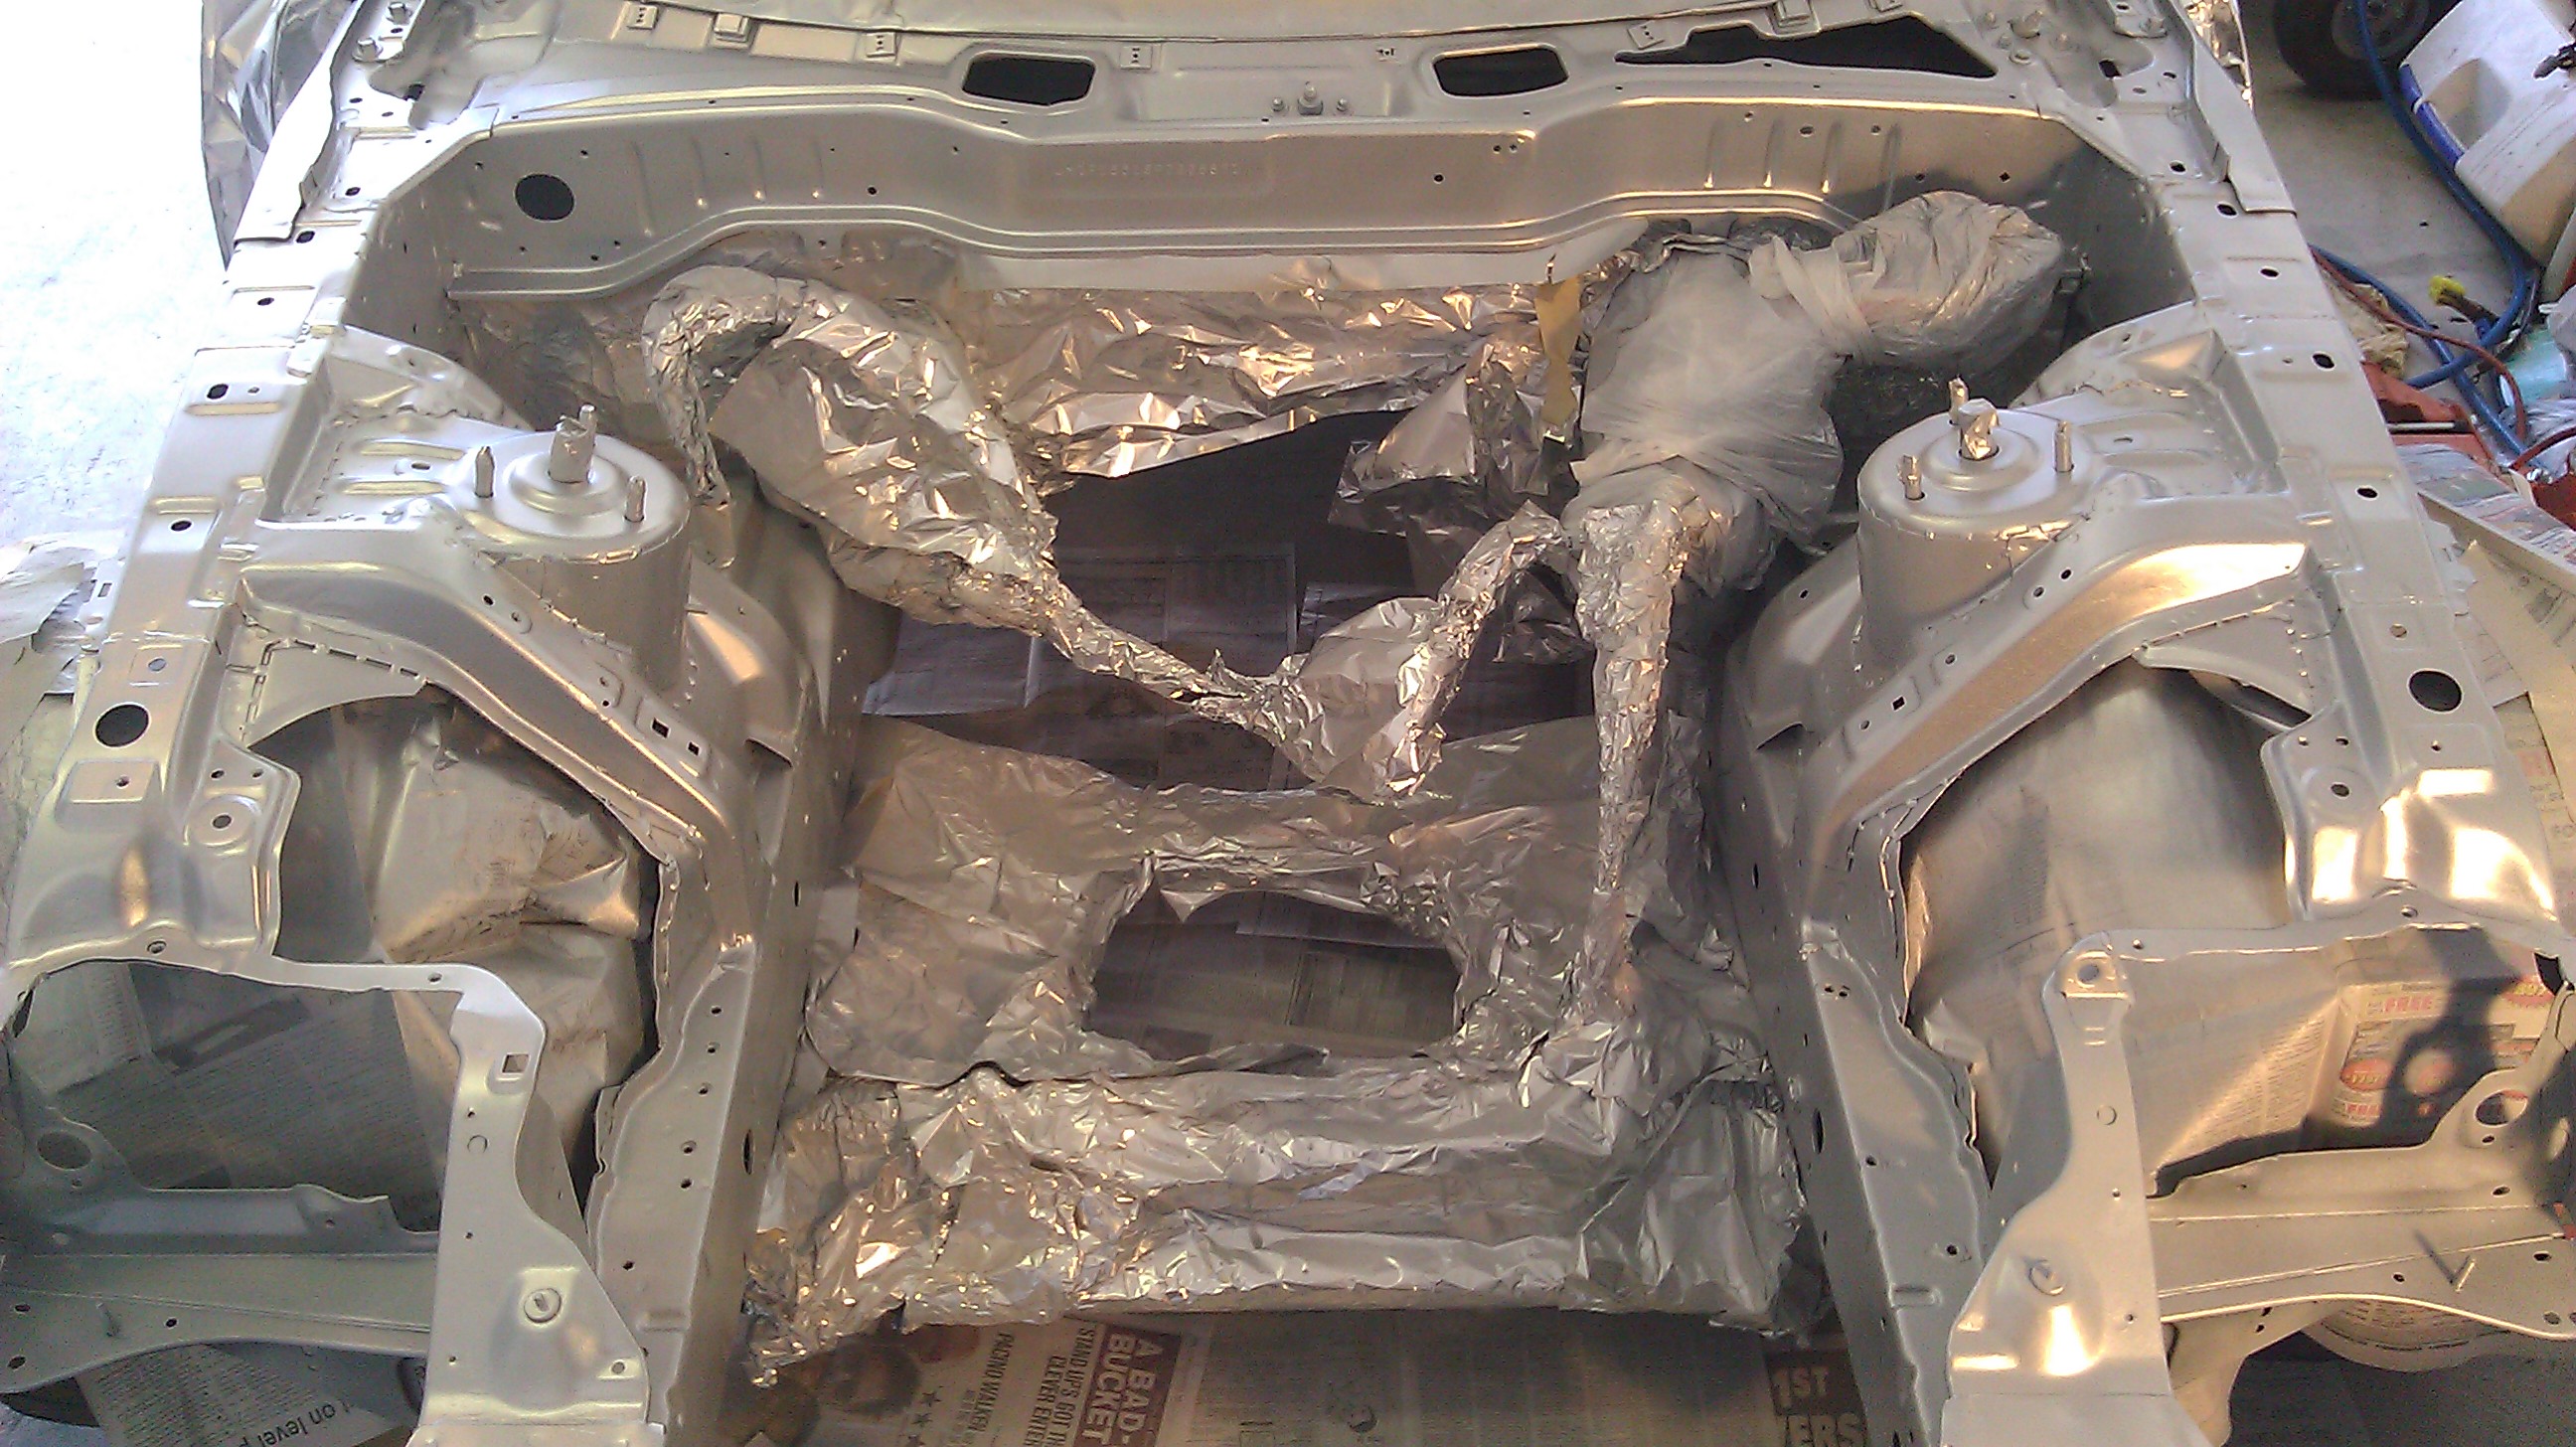
Got the rest of the engine bay all cleaned and masked off for paint!! used tin foil to block off lines etc..

Primed
Silver metallic base
and......
don't hate the player hate the game guys...
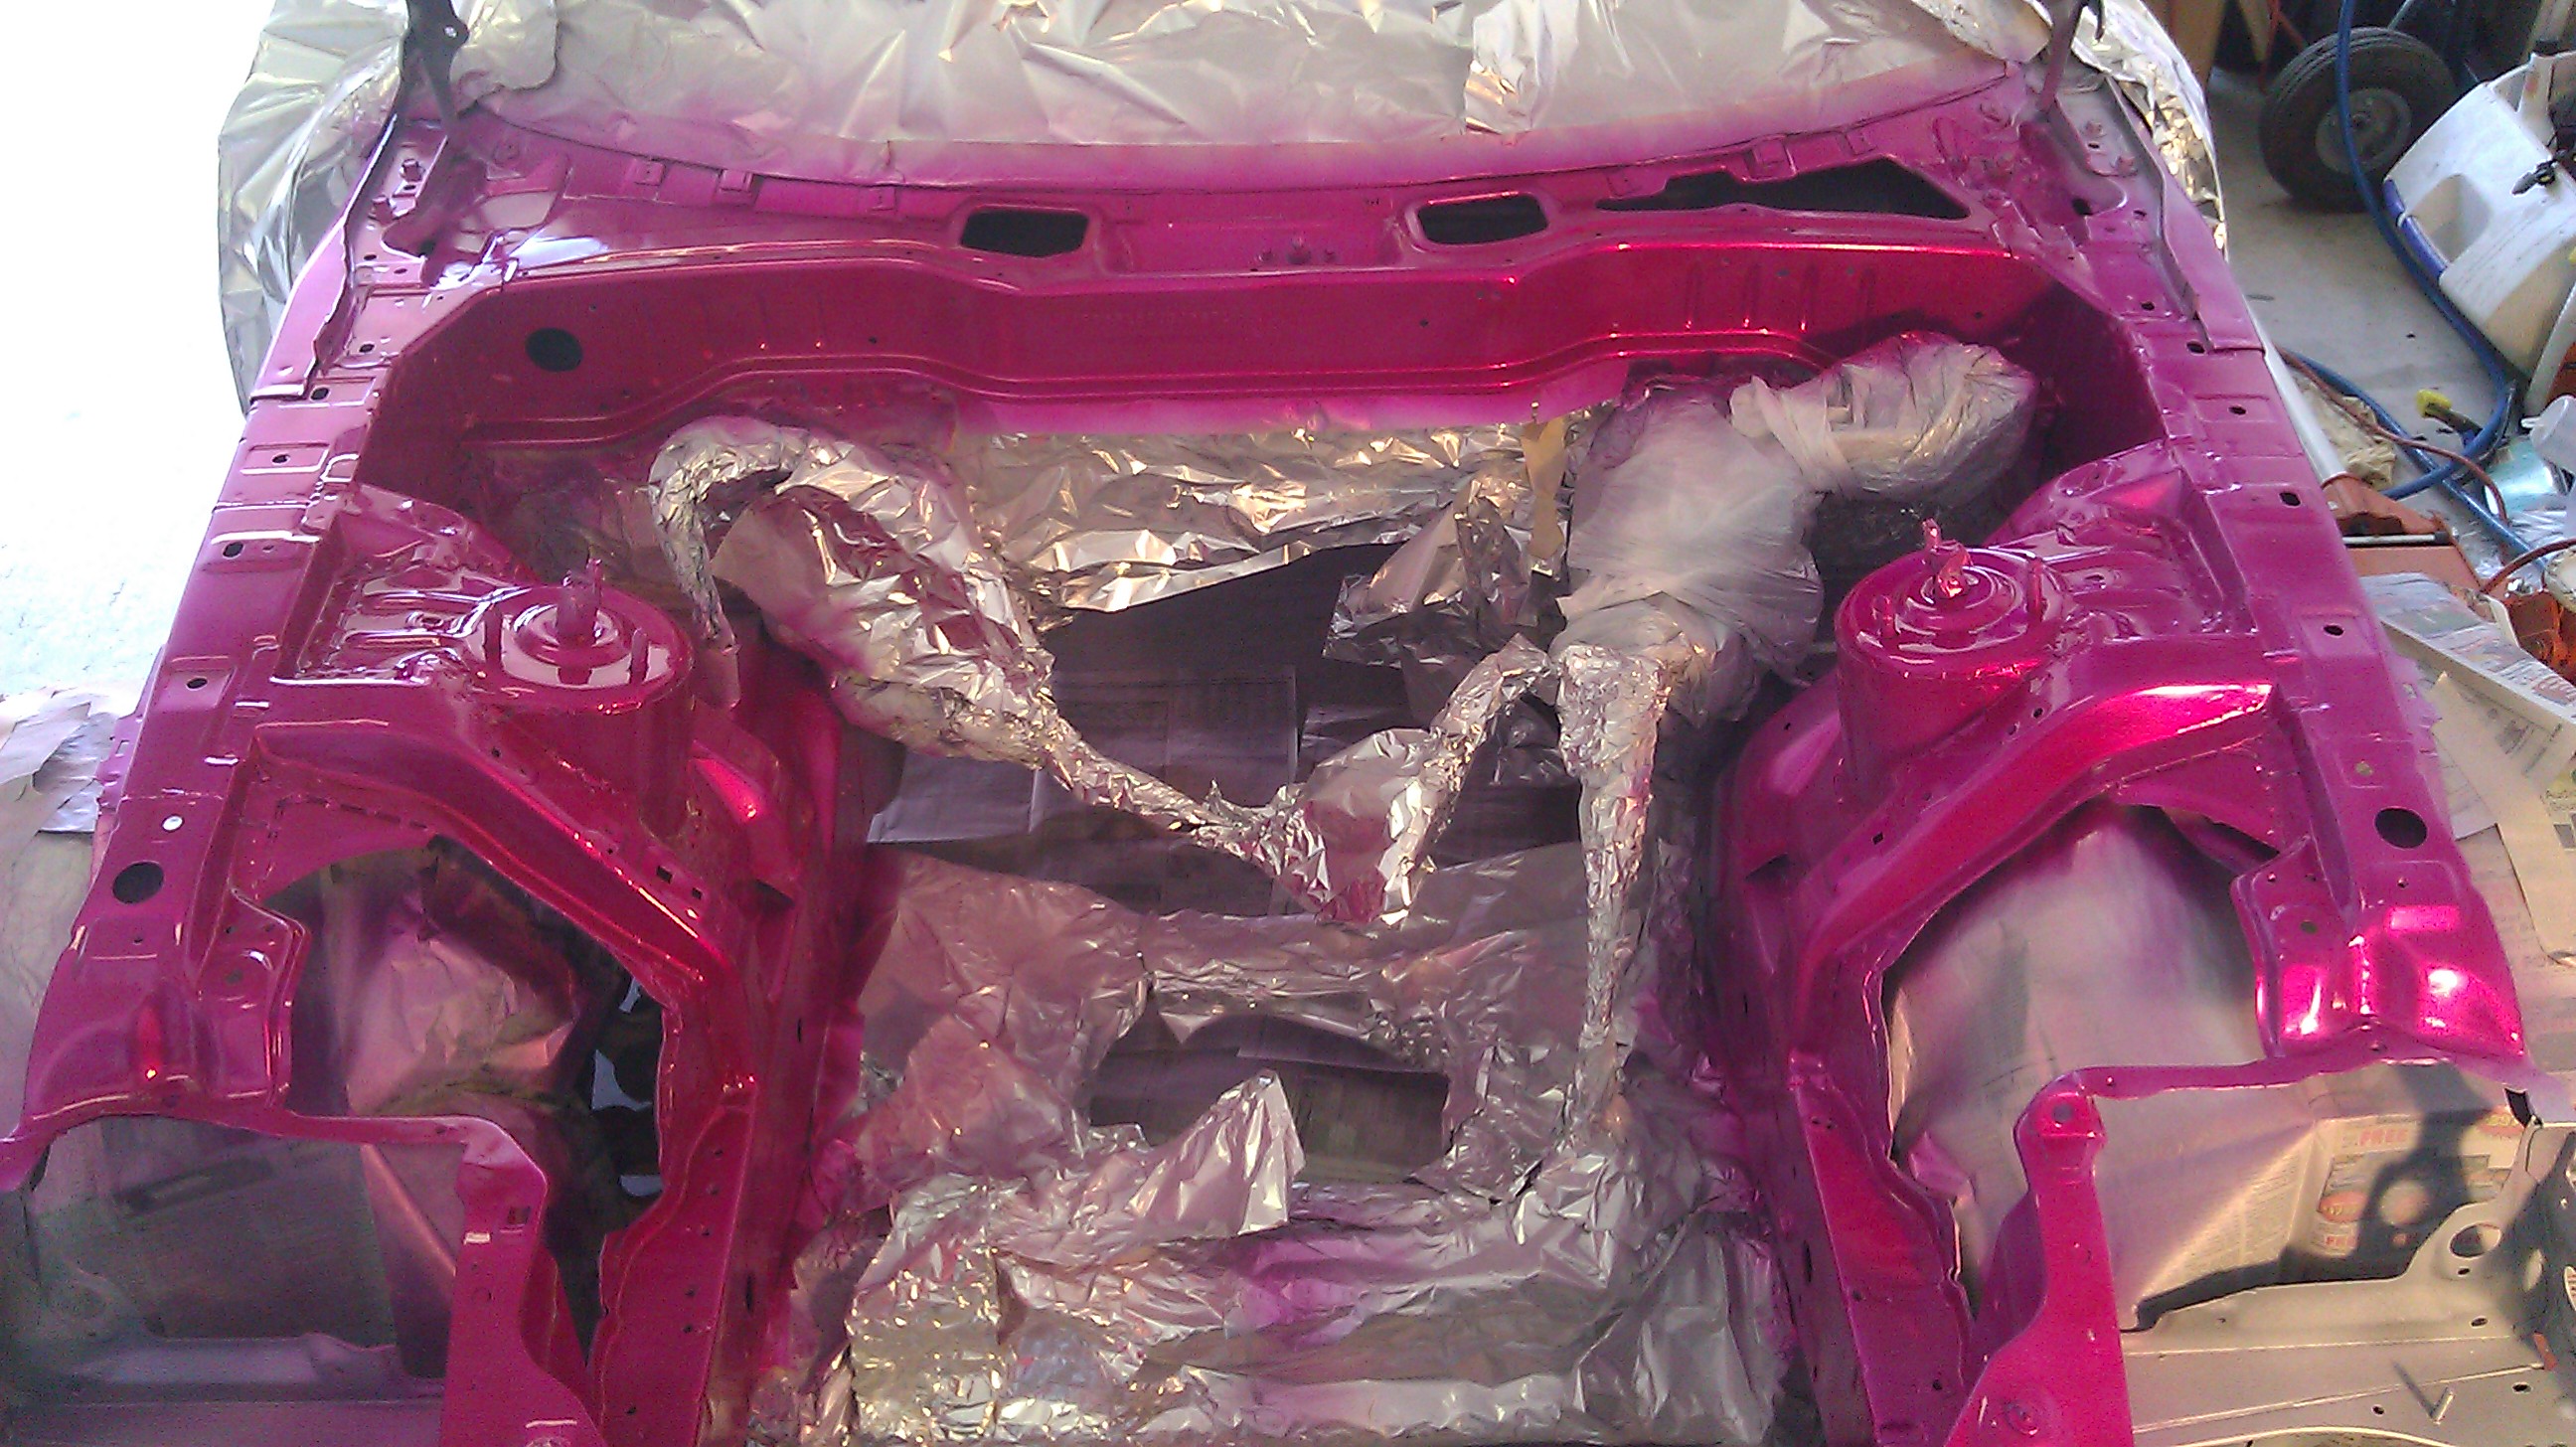
Now I ended up running through both cans of pink..so i'll have to pick up another 2 cans tomorrow because there are a few light areas that I'd like to take care of and a few areas that actually haven't seen any coat of pink what so ever. I actually really really like it... I couldn't have asked for a better shade of pink.. it looks wicked sweet in person too. Can't wait to finish and get to the clear coat to!! More updates soon!! but i'm glad I got my New Standalone Engine management system ordered.. and a few odd-ball small pieces ordered to get this puzzle buttoned up quicker.
More updates soon!!
Got the rest of the engine bay all cleaned and masked off for paint!! used tin foil to block off lines etc..
Primed
Silver metallic base
and......
don't hate the player hate the game guys...
Now I ended up running through both cans of pink..so i'll have to pick up another 2 cans tomorrow because there are a few light areas that I'd like to take care of and a few areas that actually haven't seen any coat of pink what so ever. I actually really really like it... I couldn't have asked for a better shade of pink.. it looks wicked sweet in person too. Can't wait to finish and get to the clear coat to!! More updates soon!! but i'm glad I got my New Standalone Engine management system ordered.. and a few odd-ball small pieces ordered to get this puzzle buttoned up quicker.
More updates soon!!