Mannykillers/ AAPARKAH Street/time Attack/Drift Build (heavy Pics) #Thisisthewolf

 11-01-12, 01:01 PM
#1004
A jam nut bulkhead connector just has a large nut around the entire connector on the interior side of the firewall. So you just cut a hole the diameter of the connector and use the jam nut on the back side.
 11-01-12, 01:30 PM
#1005
Ohh okay.. that makes more sense. I actually just cut the Giant ring out of some scrap steel that was sitting around. Its about 2 1/2 Inches-ish. The Cannon plug had a ring that screwed on one side and a little rubber seal that goes on the backside.. Rywire supplied all that with the harness. I believe they come standard with the Cannon/plug option.
 11-02-12, 10:57 AM
#1007
^ hey shawn!
I'm running dual EGT's from Powered By Max/GT factory. They have their own individual electronic guages i'll be making a custom little display in my cabin. I'll post pics soon!
Little update:
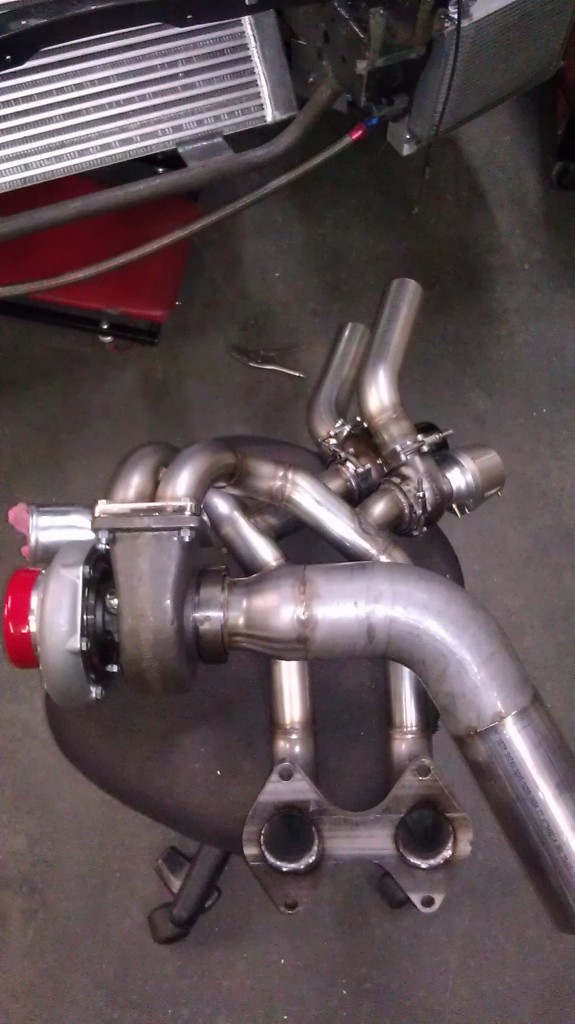
as promised here is a picture of the almost complete manifold. And my almost complete I mean we need to do a little blending on the turbo flange side. Note the length of the runners! Thermal expansion =win! very excited what this combined with my long runner UIM will do as far as hp/tq ratio! If everything works out i'll have one hell of a useable powerband =-)

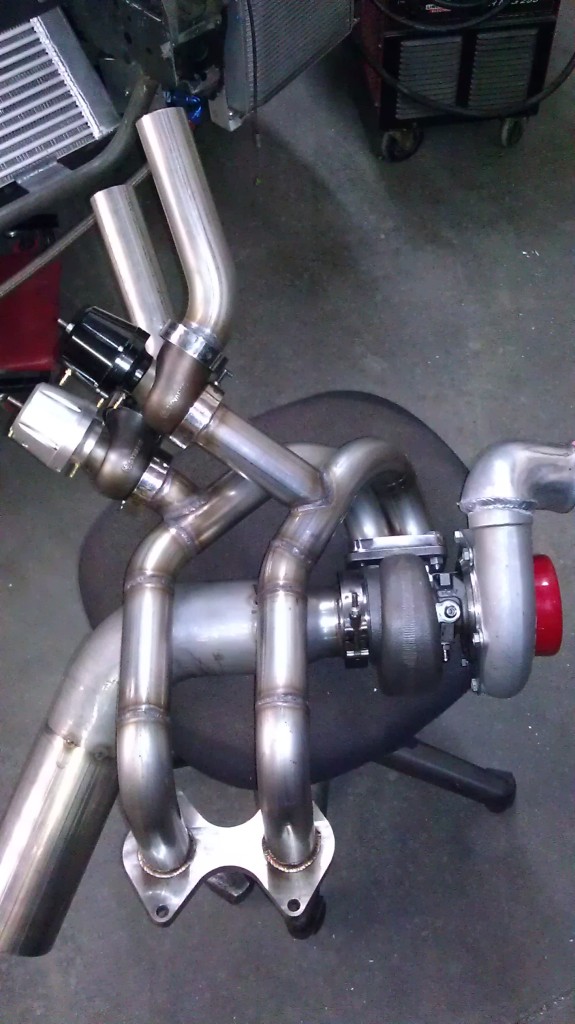
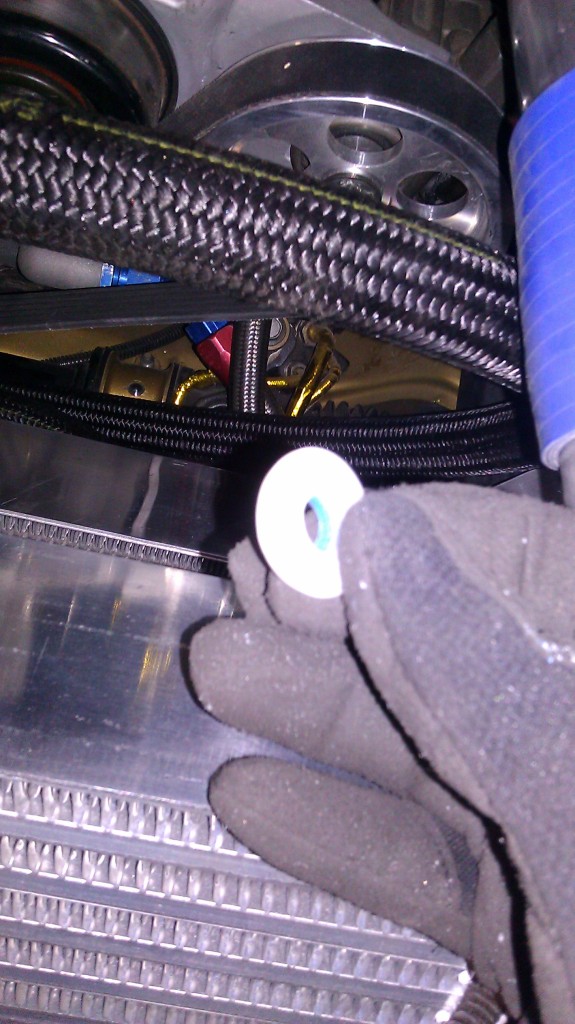
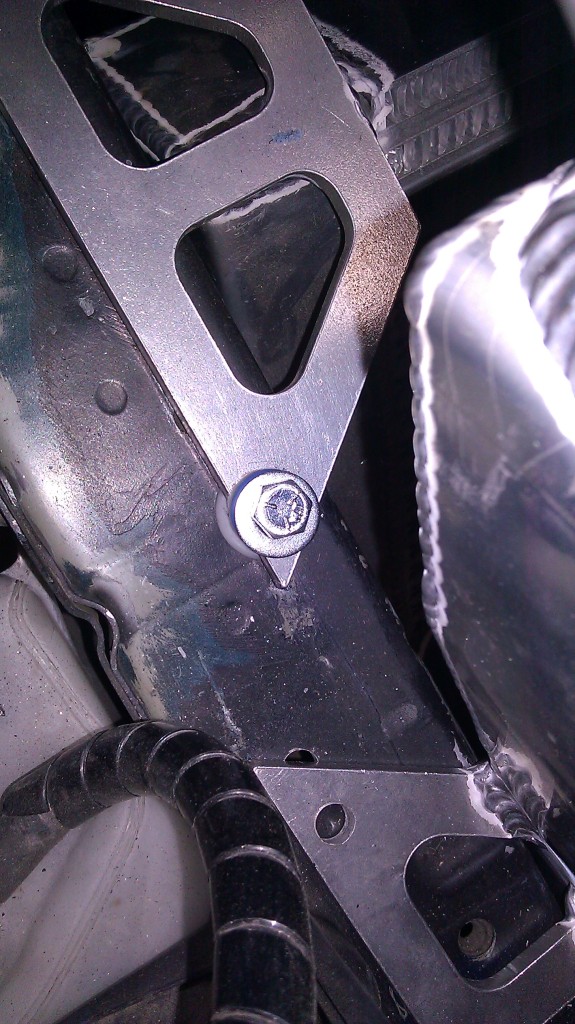
Bought some Skateboard "shorty's Doh-Doh's truck bushings and shaved them down a little bit for my radiator mounts.. Came out good! I may look for some sweet colored ones down the line but these do the job well. I used the softest bushings I could find as they were pretty stiff but after cutting them I think they'll provide just the right amount of support. Used a little washer just to disperse the load and whaaalaah!
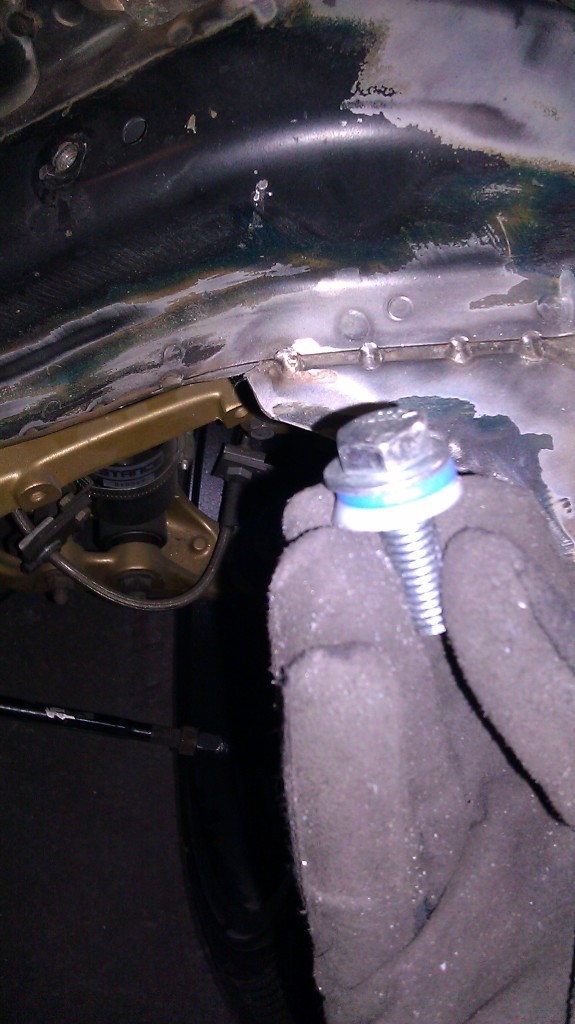
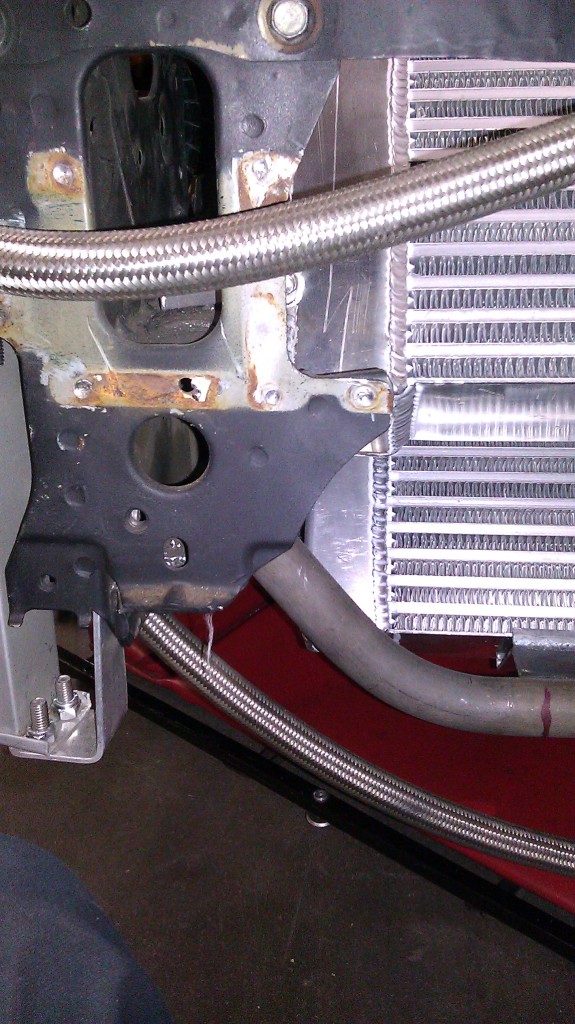
Then I decided to clean up the front end in prep for my Bash bar. Cut some loose ends smoothed it out with the grinder. Then cut some plates and welded them together. Utilizing scrap metal and puting it to use because I'm cheap and metal is expensive haha and today i'll be doing the mounts for them.
Before
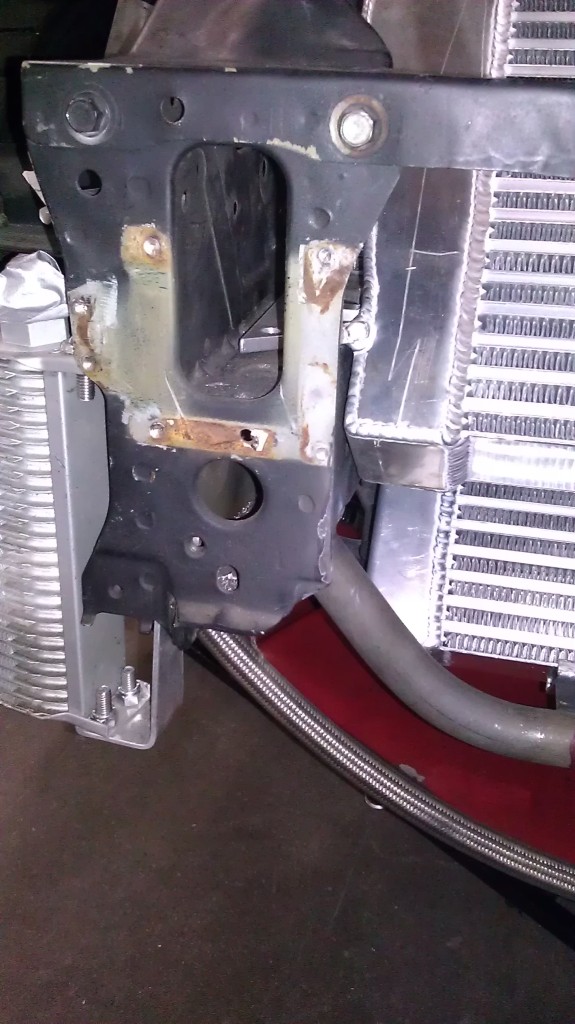
After.....did the same to each side
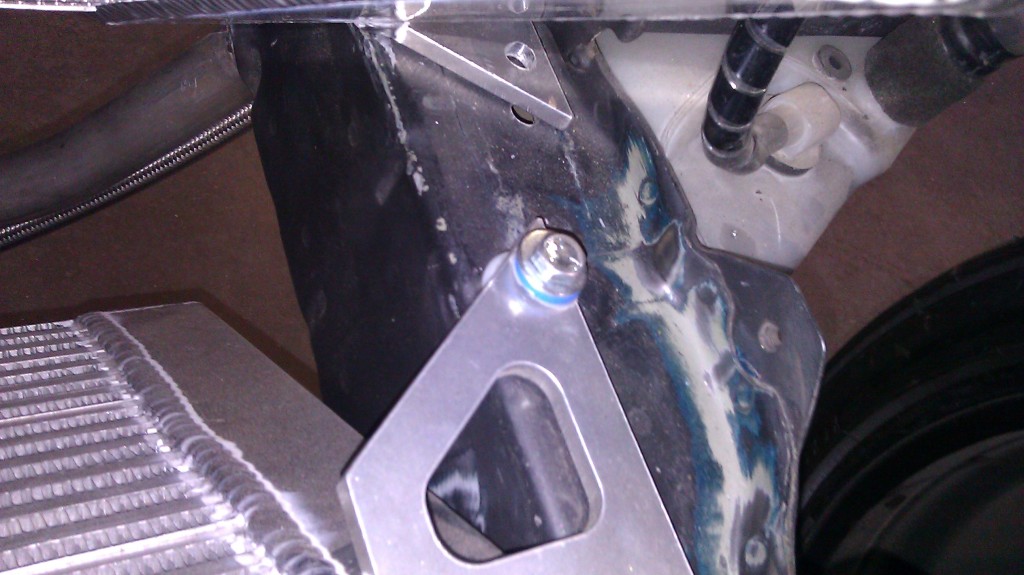
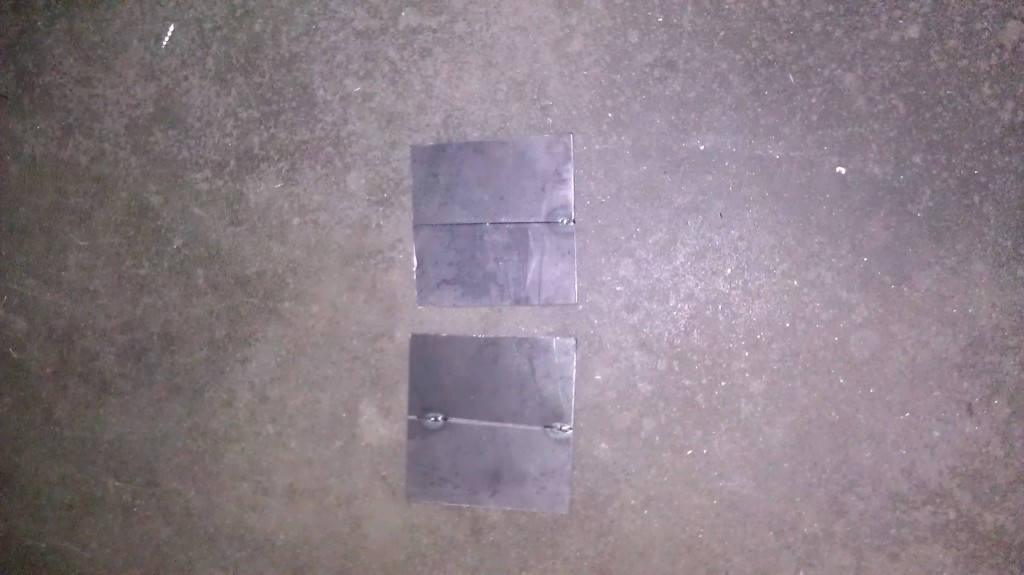
4x4 plates cut and welded
whey they will be mounted

Thats all for now.. more updates....hopefully a lot more this weekend!
I'm running dual EGT's from Powered By Max/GT factory. They have their own individual electronic guages i'll be making a custom little display in my cabin. I'll post pics soon!
Little update:
as promised here is a picture of the almost complete manifold. And my almost complete I mean we need to do a little blending on the turbo flange side. Note the length of the runners! Thermal expansion =win! very excited what this combined with my long runner UIM will do as far as hp/tq ratio! If everything works out i'll have one hell of a useable powerband =-)
Bought some Skateboard "shorty's Doh-Doh's truck bushings and shaved them down a little bit for my radiator mounts.. Came out good! I may look for some sweet colored ones down the line but these do the job well. I used the softest bushings I could find as they were pretty stiff but after cutting them I think they'll provide just the right amount of support. Used a little washer just to disperse the load and whaaalaah!
Then I decided to clean up the front end in prep for my Bash bar. Cut some loose ends smoothed it out with the grinder. Then cut some plates and welded them together. Utilizing scrap metal and puting it to use because I'm cheap and metal is expensive haha and today i'll be doing the mounts for them.
Before
After.....did the same to each side
4x4 plates cut and welded
whey they will be mounted
Thats all for now.. more updates....hopefully a lot more this weekend!
11-02-12, 12:53 PM
#1013
I was thinking about doing the quick release connect was sure about the EGT cables... I had an idea to trace out a piece of cardboard and then have a shop create a sheet metal plate and then rivet it to my firewall to fill in the heater/AC holes.
Is your boost gauge not electric?
Is your boost gauge not electric?
11-02-12, 02:21 PM
#1014
I was thinking about doing the quick release connect was sure about the EGT cables... I had an idea to trace out a piece of cardboard and then have a shop create a sheet metal plate and then rivet it to my firewall to fill in the heater/AC holes.
Is your boost gauge not electric?
Is your boost gauge not electric?
That would be cool man! I'm not sure exactly if you can do the EGT sensors... but it would be cool. Maybe you could run pins through some of the un-used cannon plug holes to be able to run them through that as well?

 11-04-12, 10:36 AM
#1019
11-04-12, 01:34 PM
#1020
^^ haha...thanks guys!! Glad your enjoying the journey with me!
Little Update:
I cant remember but here is a picture of the manifold 99% done. If i could do it again I'd chagne a couple things. I'd make the transition flow a little more through the 90 degree bends straight out of the motor. And I'm still uncertain if i'm going to run the synapse gates. I may sell them and go with a couple Tial MVR's... we'll see.
Drilled out the bolts holes for the Bolt on Bash Bar. THis way if it gets jacked up I can just make a new one and bolt it on

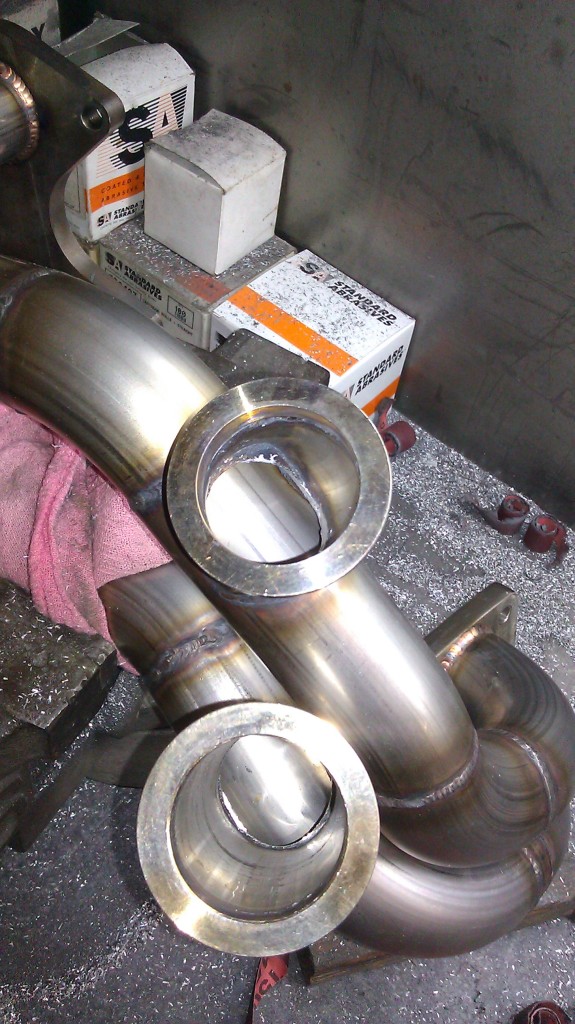
Drilled out the holes for the wastegate. Was going to use the porting tool to smooth out the inside but Bj said he wants to do it haha...
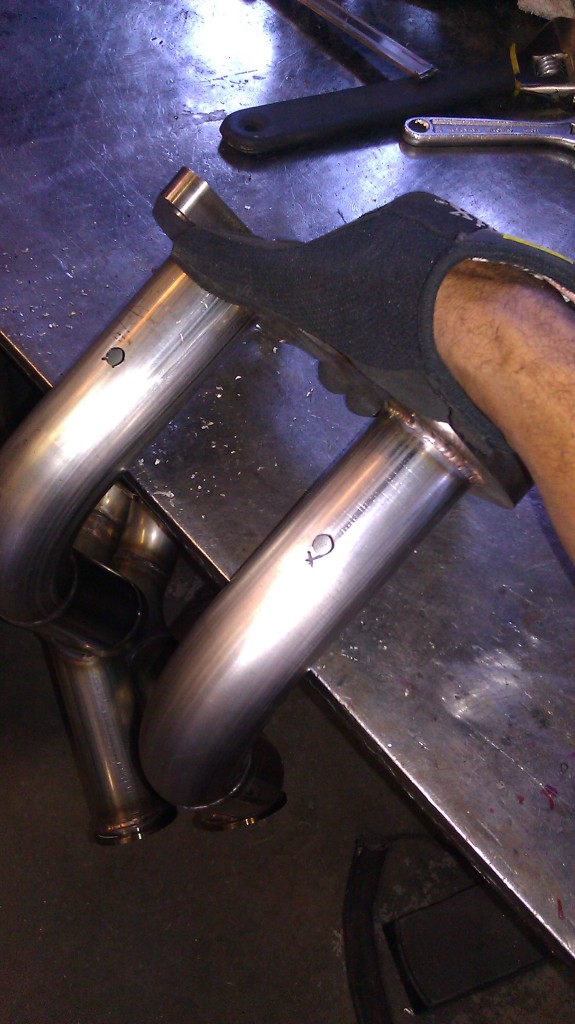
EGT bung hole marks
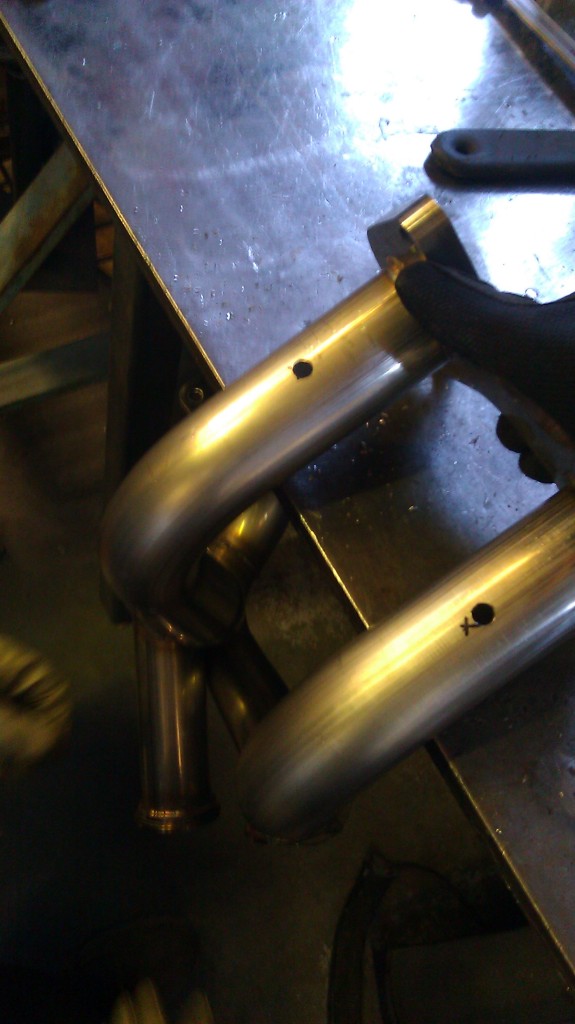
EGT bung holes drilled. Forgot to take a pic of the finished products..but you guys know bj and how he welds so i'll leave it up to the imagination
Found some spare alum pipe laying around... so decided to use it to make a catch can. Bj put it on the lathe to clean it up
and johnny cut some alum for the top and bottom
and 2x -6 AN bungs for the inlets. Going to route one to the oil filler neck and the other one to the back Iron on the passenger side. Still need a little breather and a "view." i'll find something for those later on.
More updates this week...stay tuned!!
Little Update:
I cant remember but here is a picture of the manifold 99% done. If i could do it again I'd chagne a couple things. I'd make the transition flow a little more through the 90 degree bends straight out of the motor. And I'm still uncertain if i'm going to run the synapse gates. I may sell them and go with a couple Tial MVR's... we'll see.
Drilled out the bolts holes for the Bolt on Bash Bar. THis way if it gets jacked up I can just make a new one and bolt it on
Drilled out the holes for the wastegate. Was going to use the porting tool to smooth out the inside but Bj said he wants to do it haha...
EGT bung hole marks
EGT bung holes drilled. Forgot to take a pic of the finished products..but you guys know bj and how he welds so i'll leave it up to the imagination
Found some spare alum pipe laying around... so decided to use it to make a catch can. Bj put it on the lathe to clean it up
and johnny cut some alum for the top and bottom
and 2x -6 AN bungs for the inlets. Going to route one to the oil filler neck and the other one to the back Iron on the passenger side. Still need a little breather and a "view." i'll find something for those later on.
More updates this week...stay tuned!!
11-05-12, 02:07 PM
#1023
Great build! Very courageous to undertake a major project like this with so many in-house/hand made fabrications... it epitomizes the definition of a "build".
I can't help but think, "that looks expensive... that looks expensive... that also looks expensive" while reading through all of this. I'm sure you're getting better rates having everything done at one place, but we all know how quickly things can add up.
Anyway, best of luck. It should be exciting to see your endgame realized and this car on the track & streets.
11-05-12, 03:50 PM
#1024
Great build! Very courageous to undertake a major project like this with so many in-house/hand made fabrications... it epitomizes the definition of a "build."
I can't help but think, "that looks expensive... that looks expensive... that also looks expensive" while reading through all of this. I'm sure you're getting better rates having everything done at one place, but we all know how quickly things can add up.
Anyway, best of luck. It should be exciting to see your endgame realized and this car on the track & streets.
