
Mannykillers/ AAPARKAH Street/time Attack/Drift Build (heavy Pics) #Thisisthewolf


Update: "Chassis Low down"
Whats up guys!!
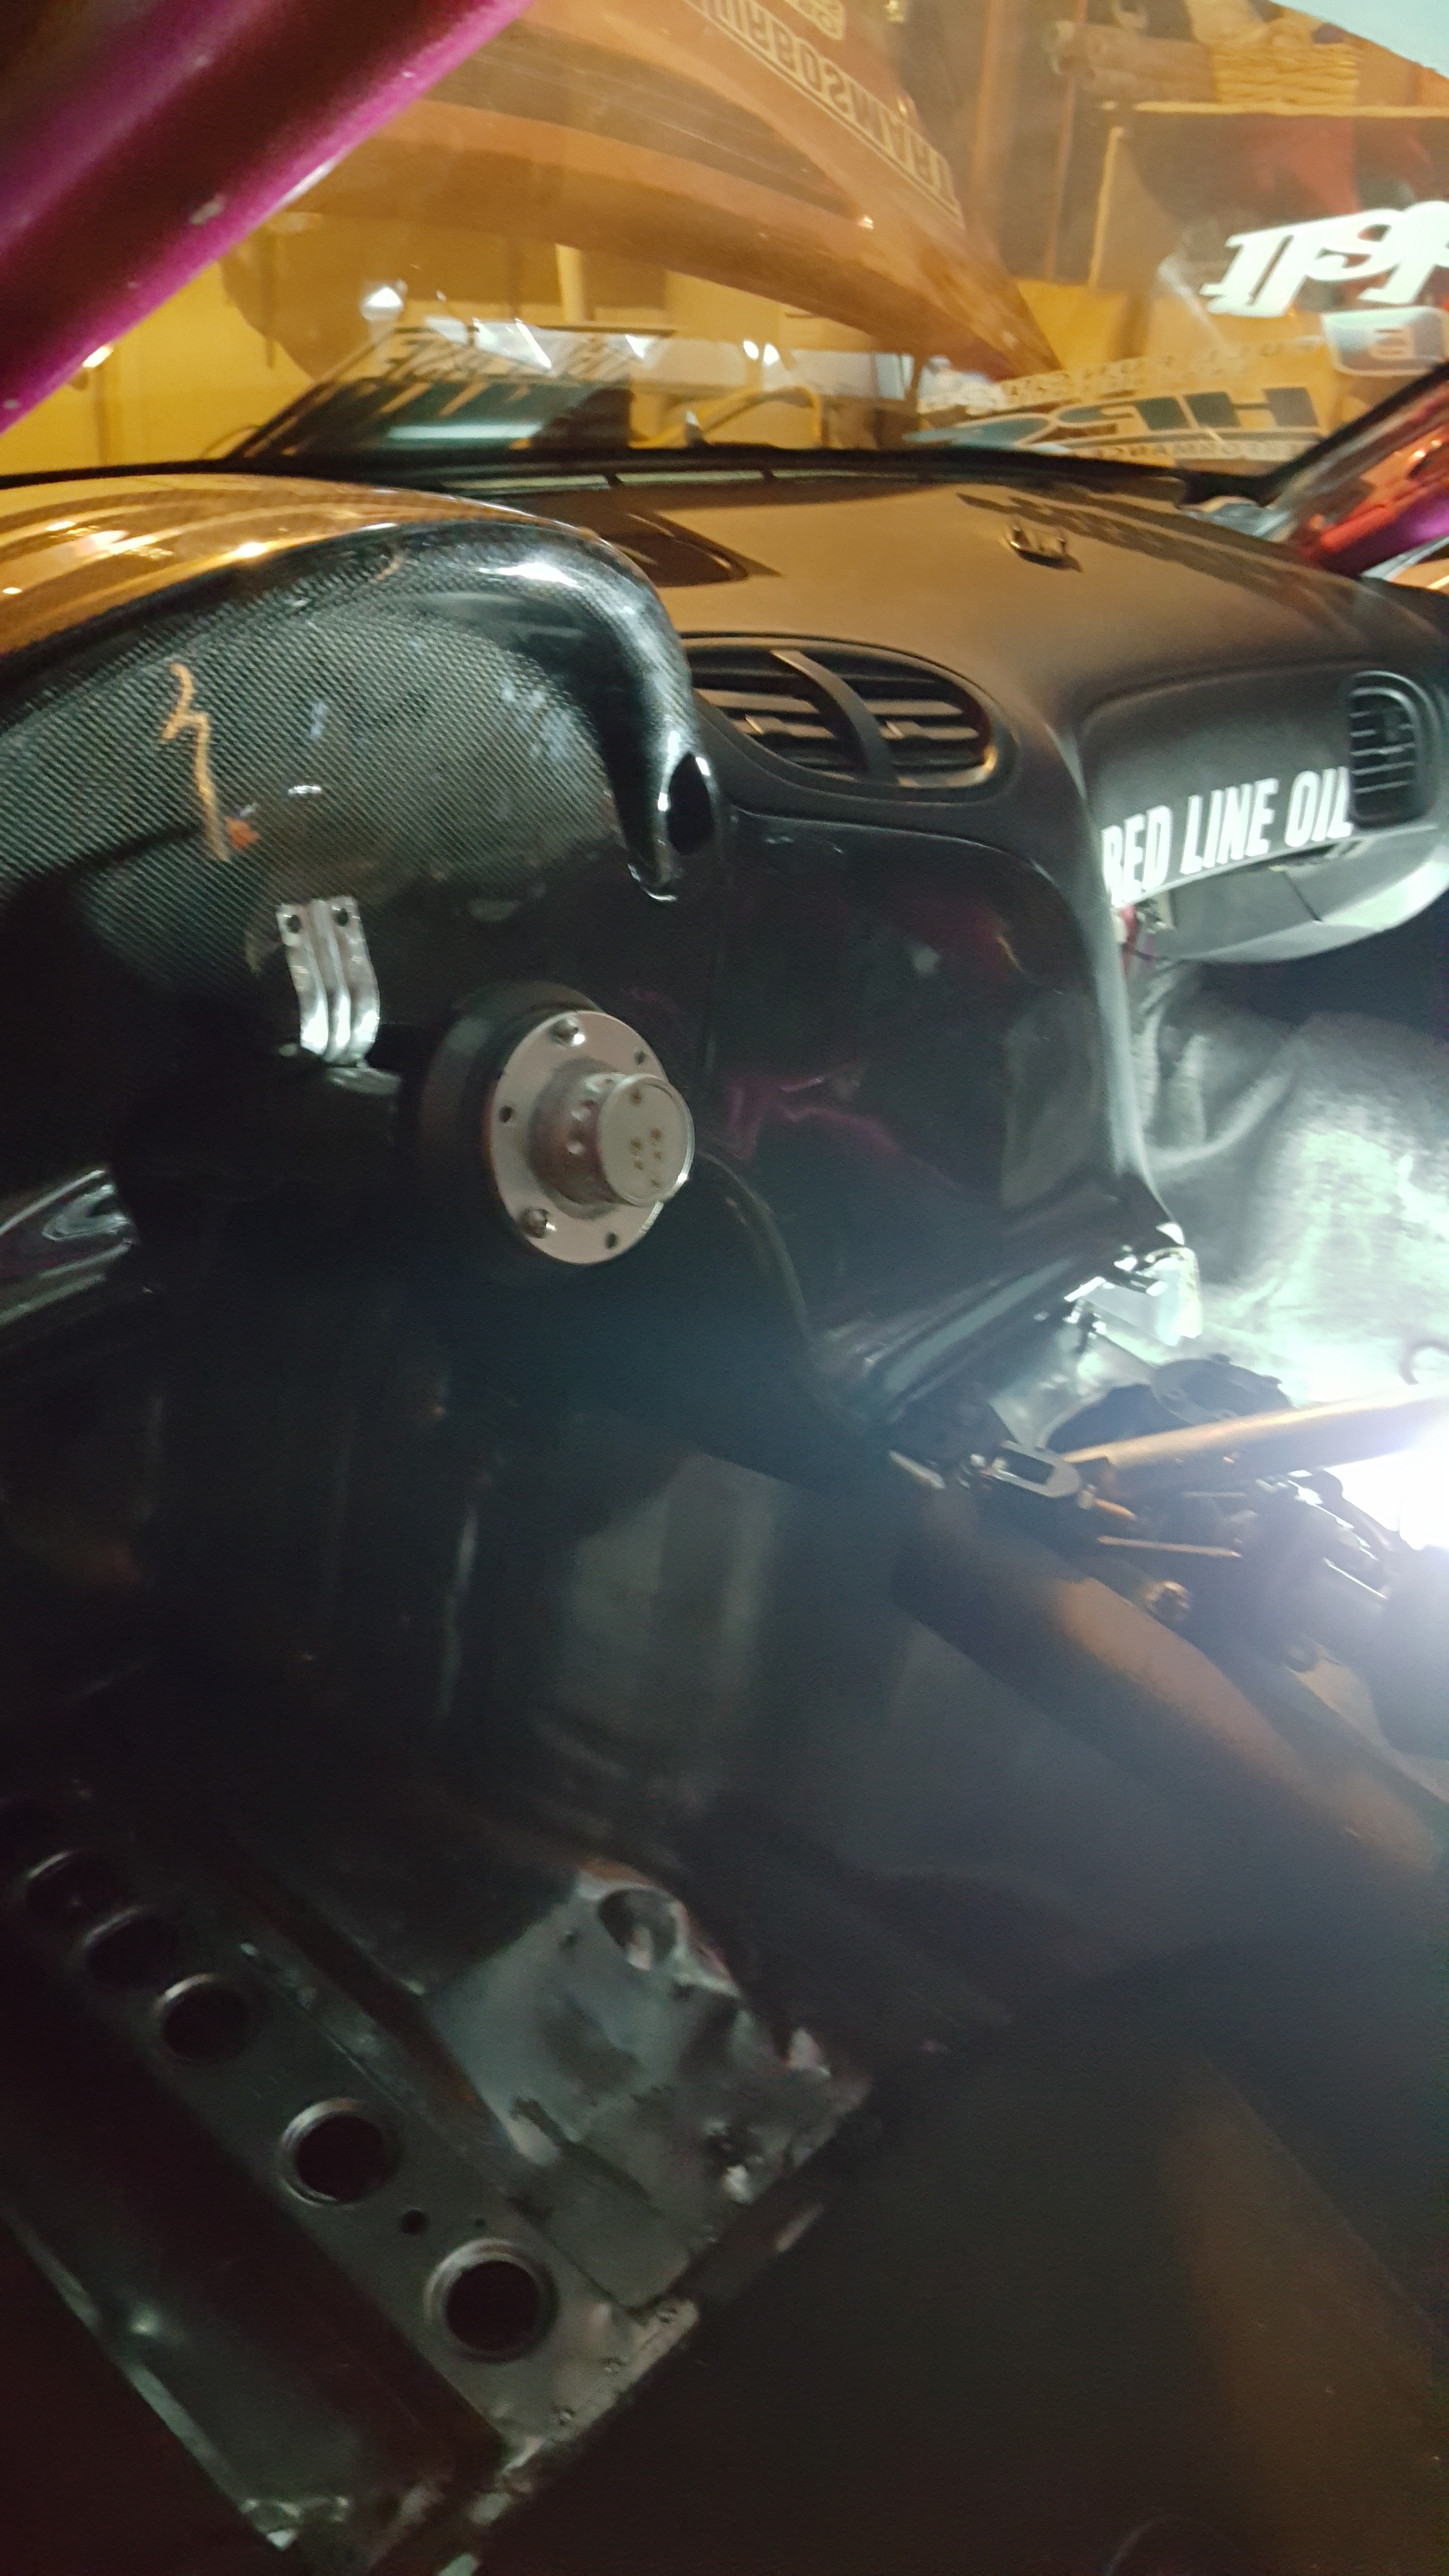
the chassis re-wire is coming along nicely! It's funny how I sometimes catch myself staring at the interior of the car sometimes for 10-15 Min... I visualize what I want from the set up. Follow make believe lines from switches...to their accessories.... how the routing of it will go... it's location is CRUCIAL. Last night I fell asleep on my knees... arm hanging over the roll cage with my circuit breaker in my hand. I woke up to my sisters dog nudging me. It was 11:45 and I had a Skype meeting with Billet Inc in 15 Min. The meeting went excellent and I'm really looking forward to sharing with everyone what we're up to!
But back to the Wiring Job! Useability...function, and location are KEEN. Very important!! Solid components mean nothing unless they're put together correctly. It's the design of the whole set up...not just the individual components!
So Check it!
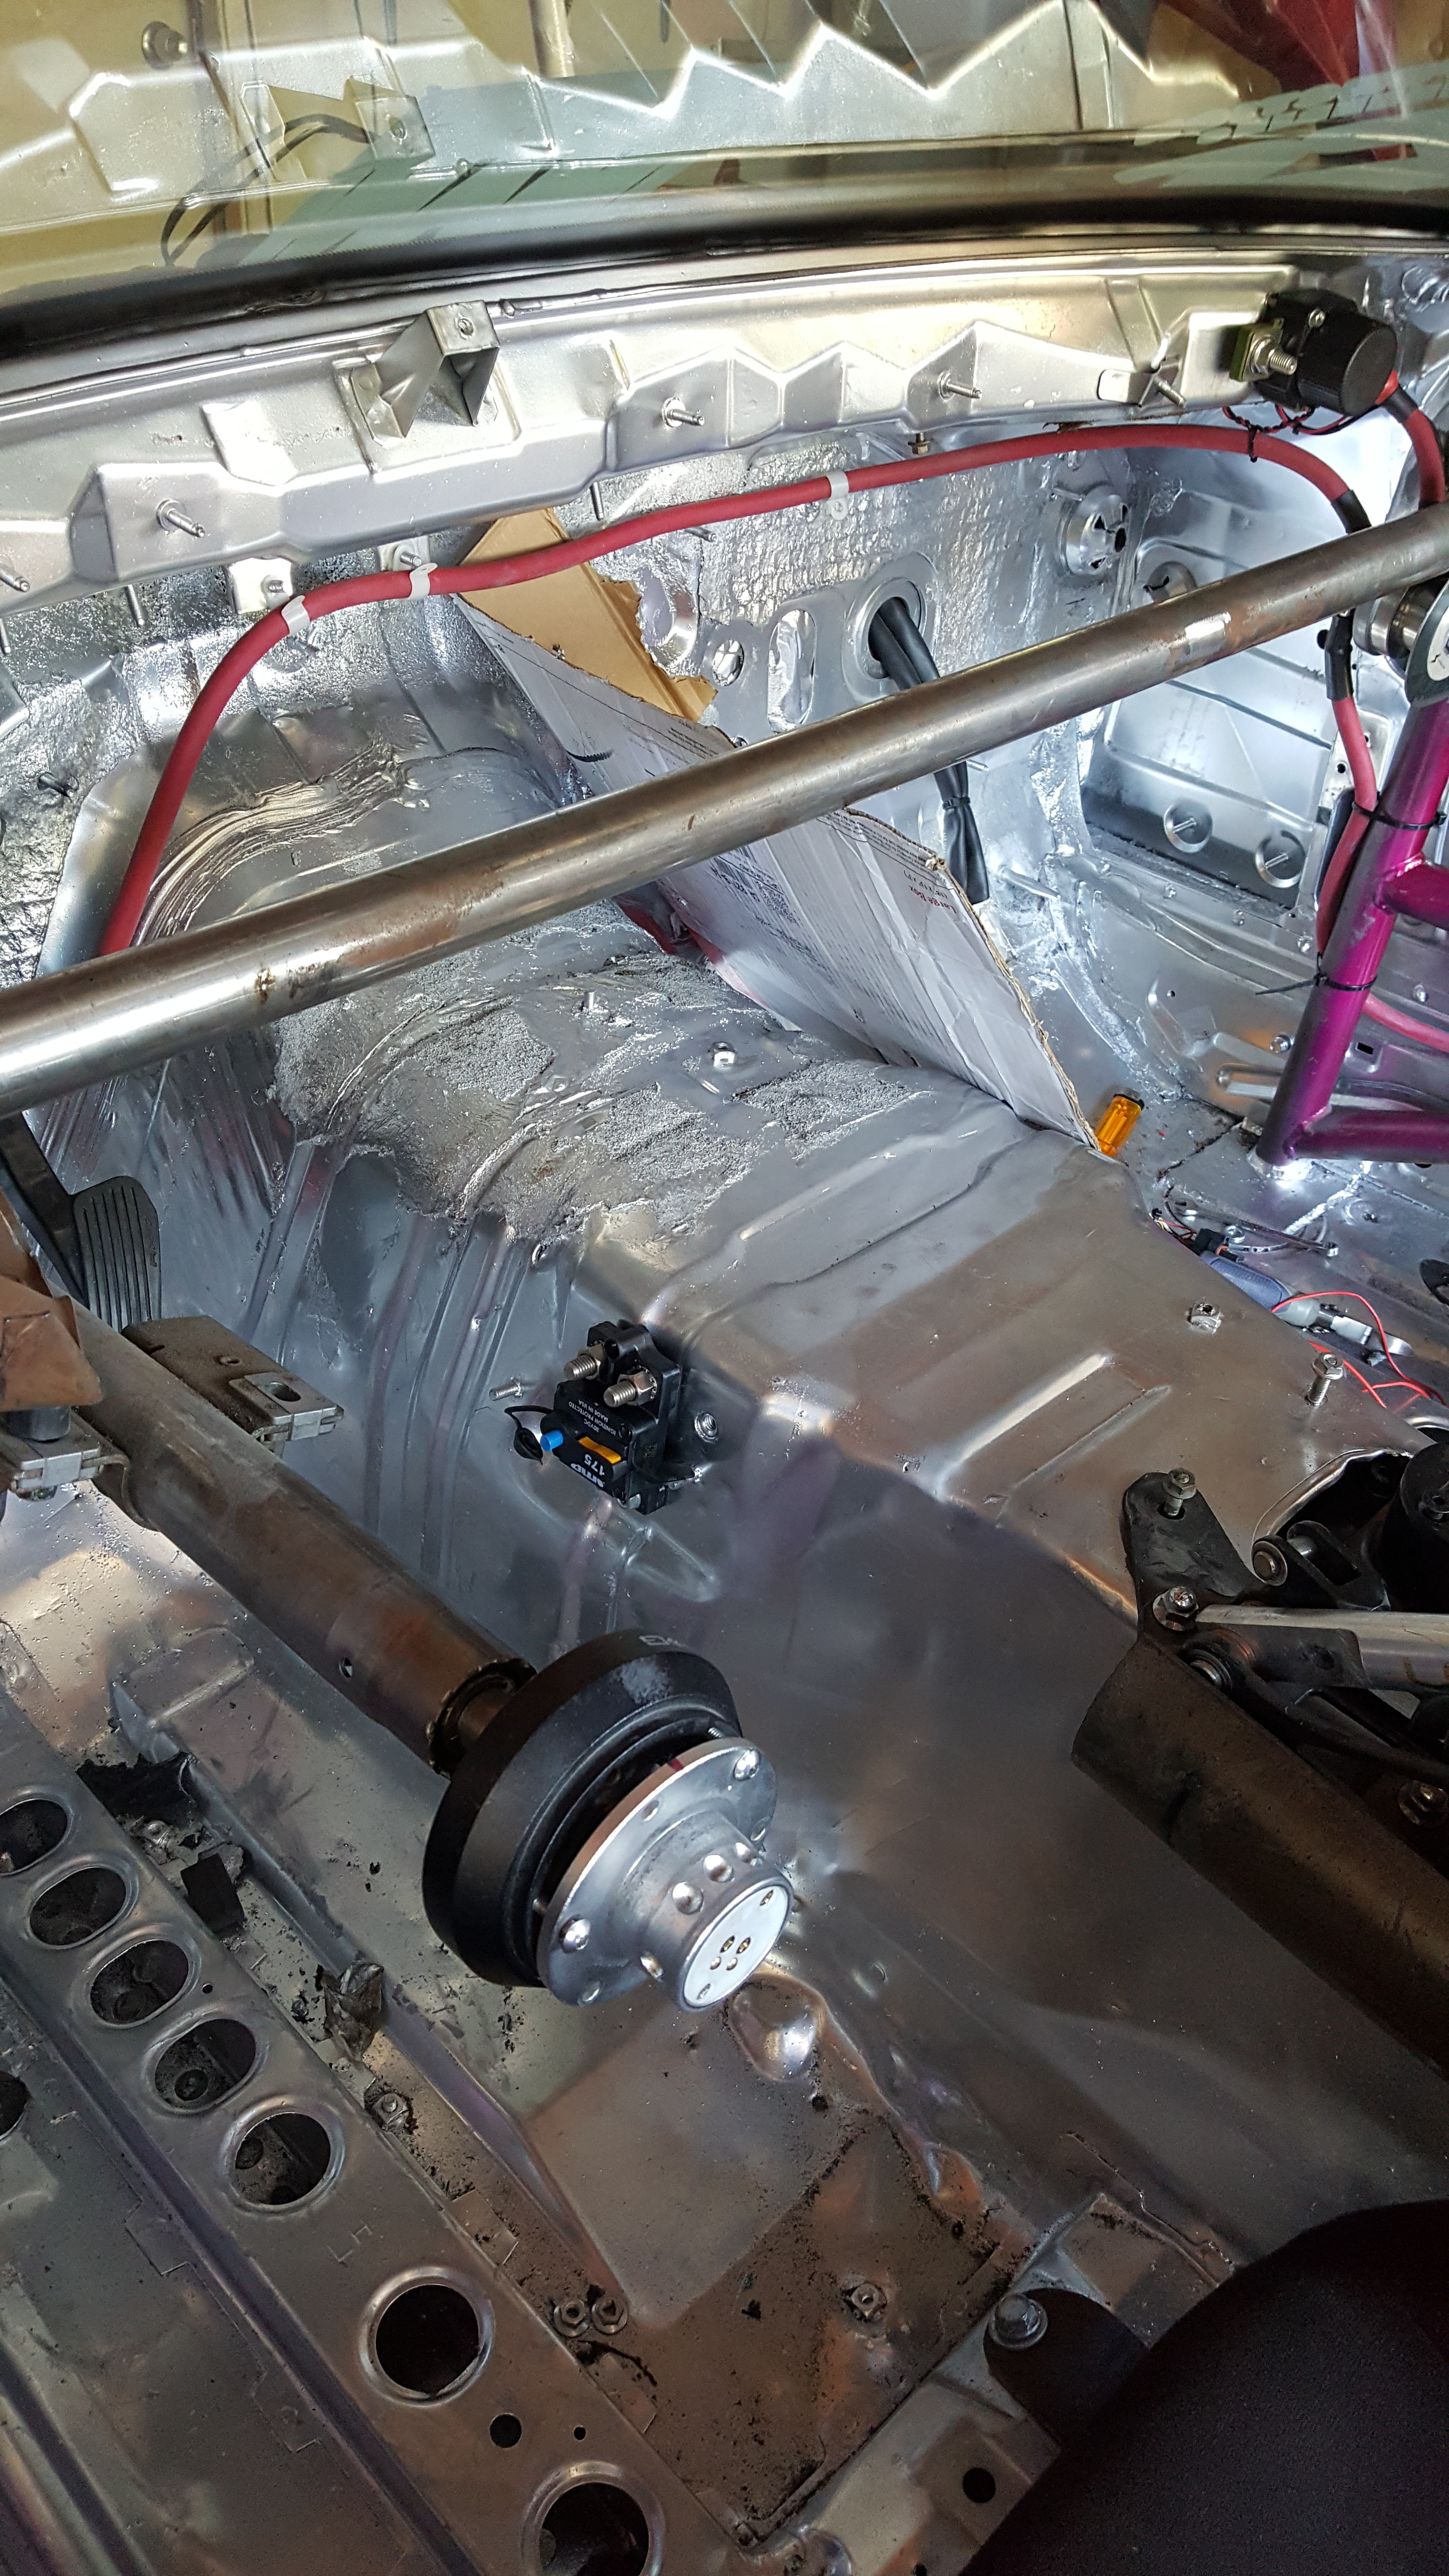
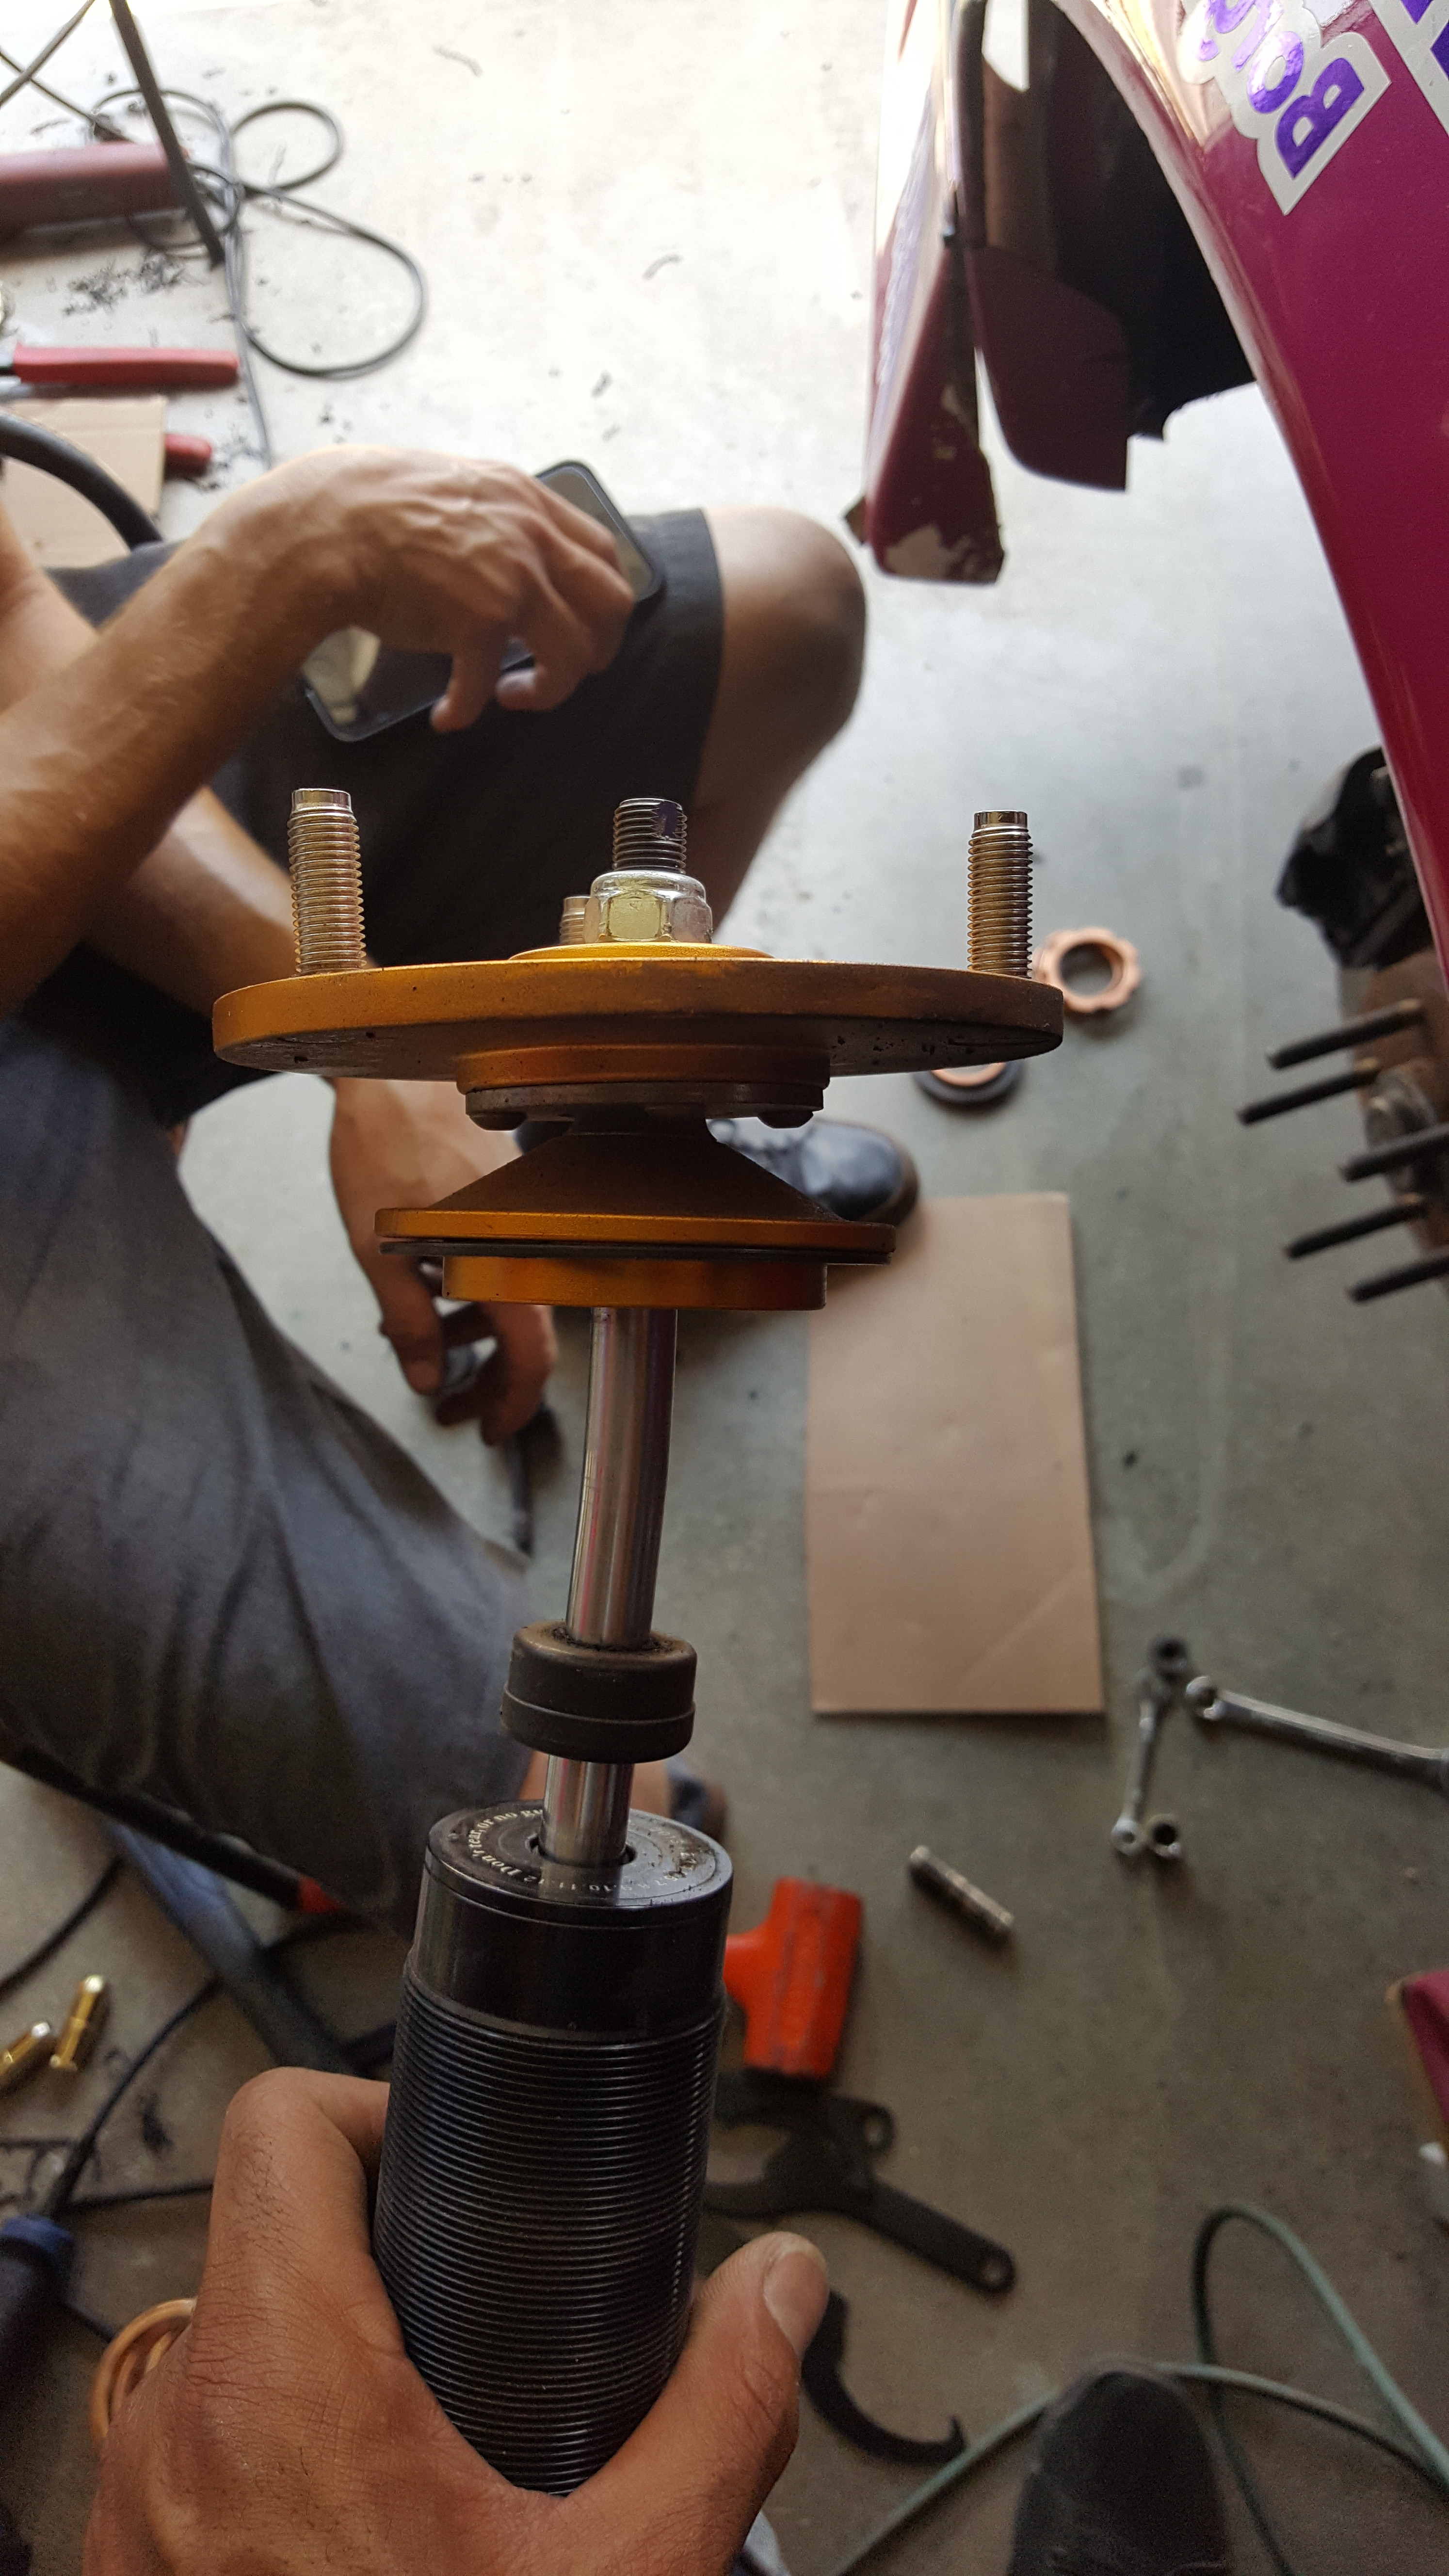
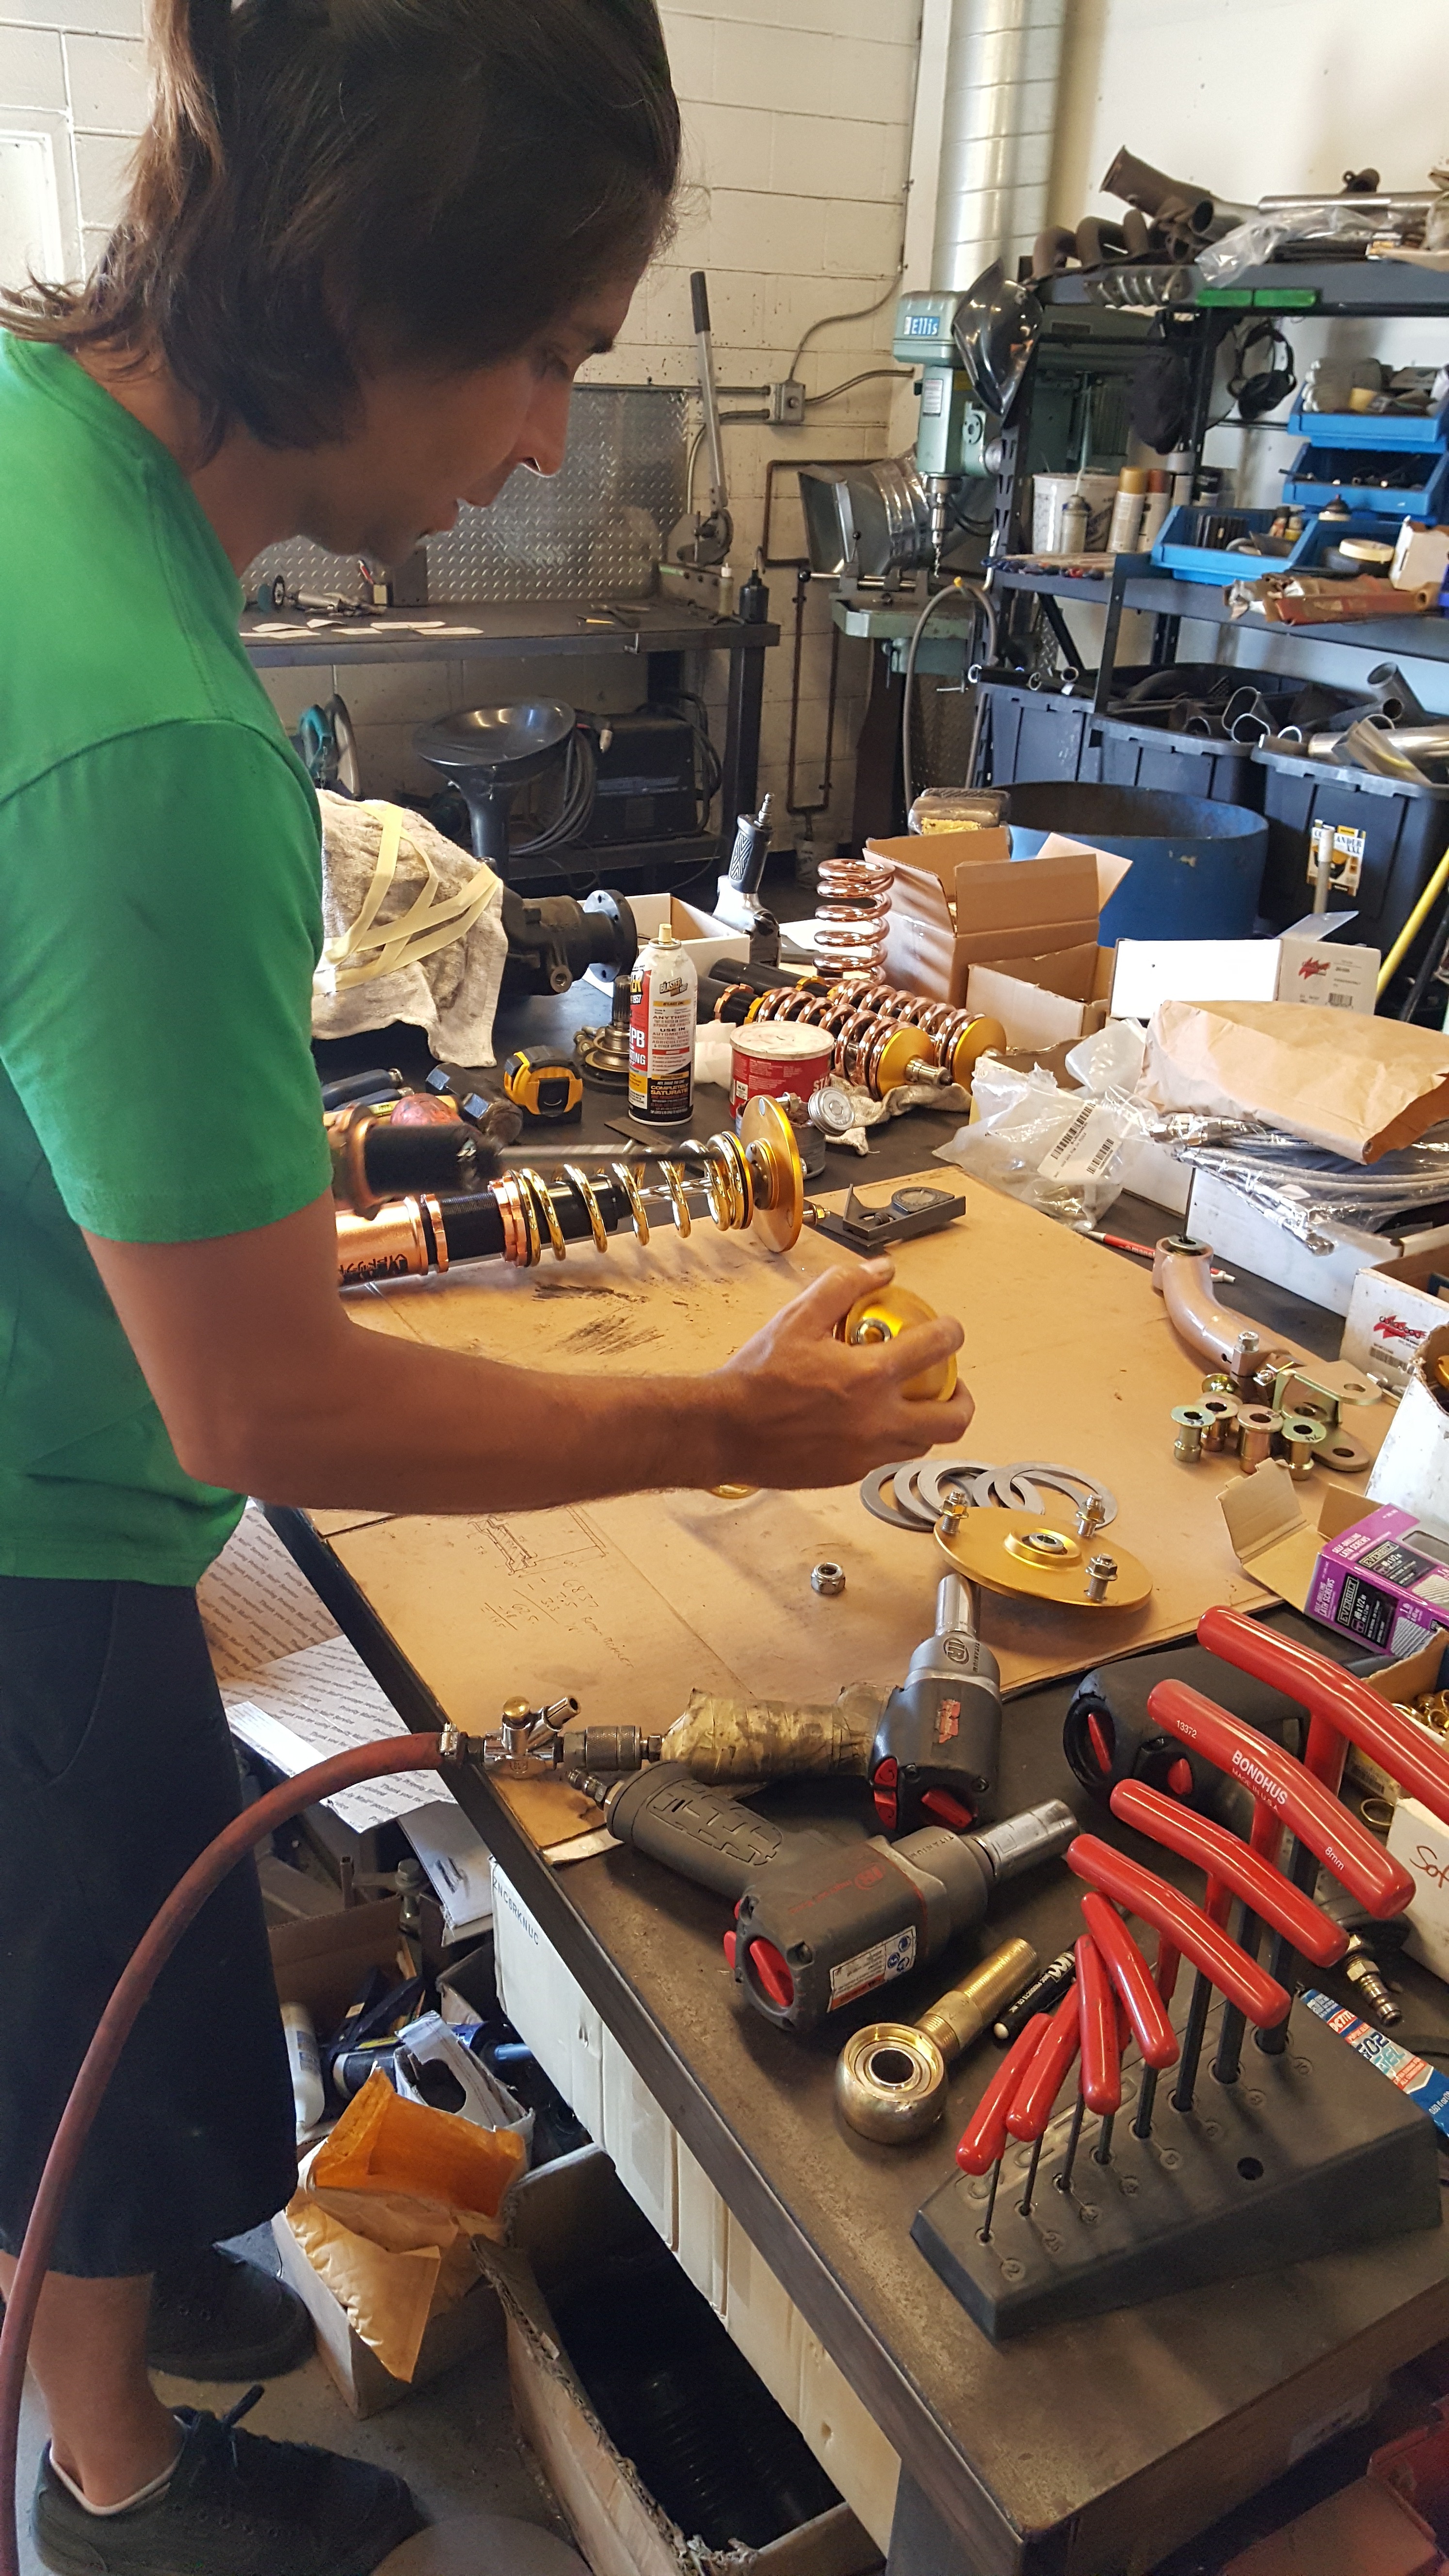
Received some new Coils for the rear end of the Wolf. Being part of the R & D for Parts shop has been awesome. Working with a company that has the same end goals as myself...in developing the absolute best solution set up for these cars in the drift application is great. These Rear dampeners are a bit special... But I'll expand on that more later!
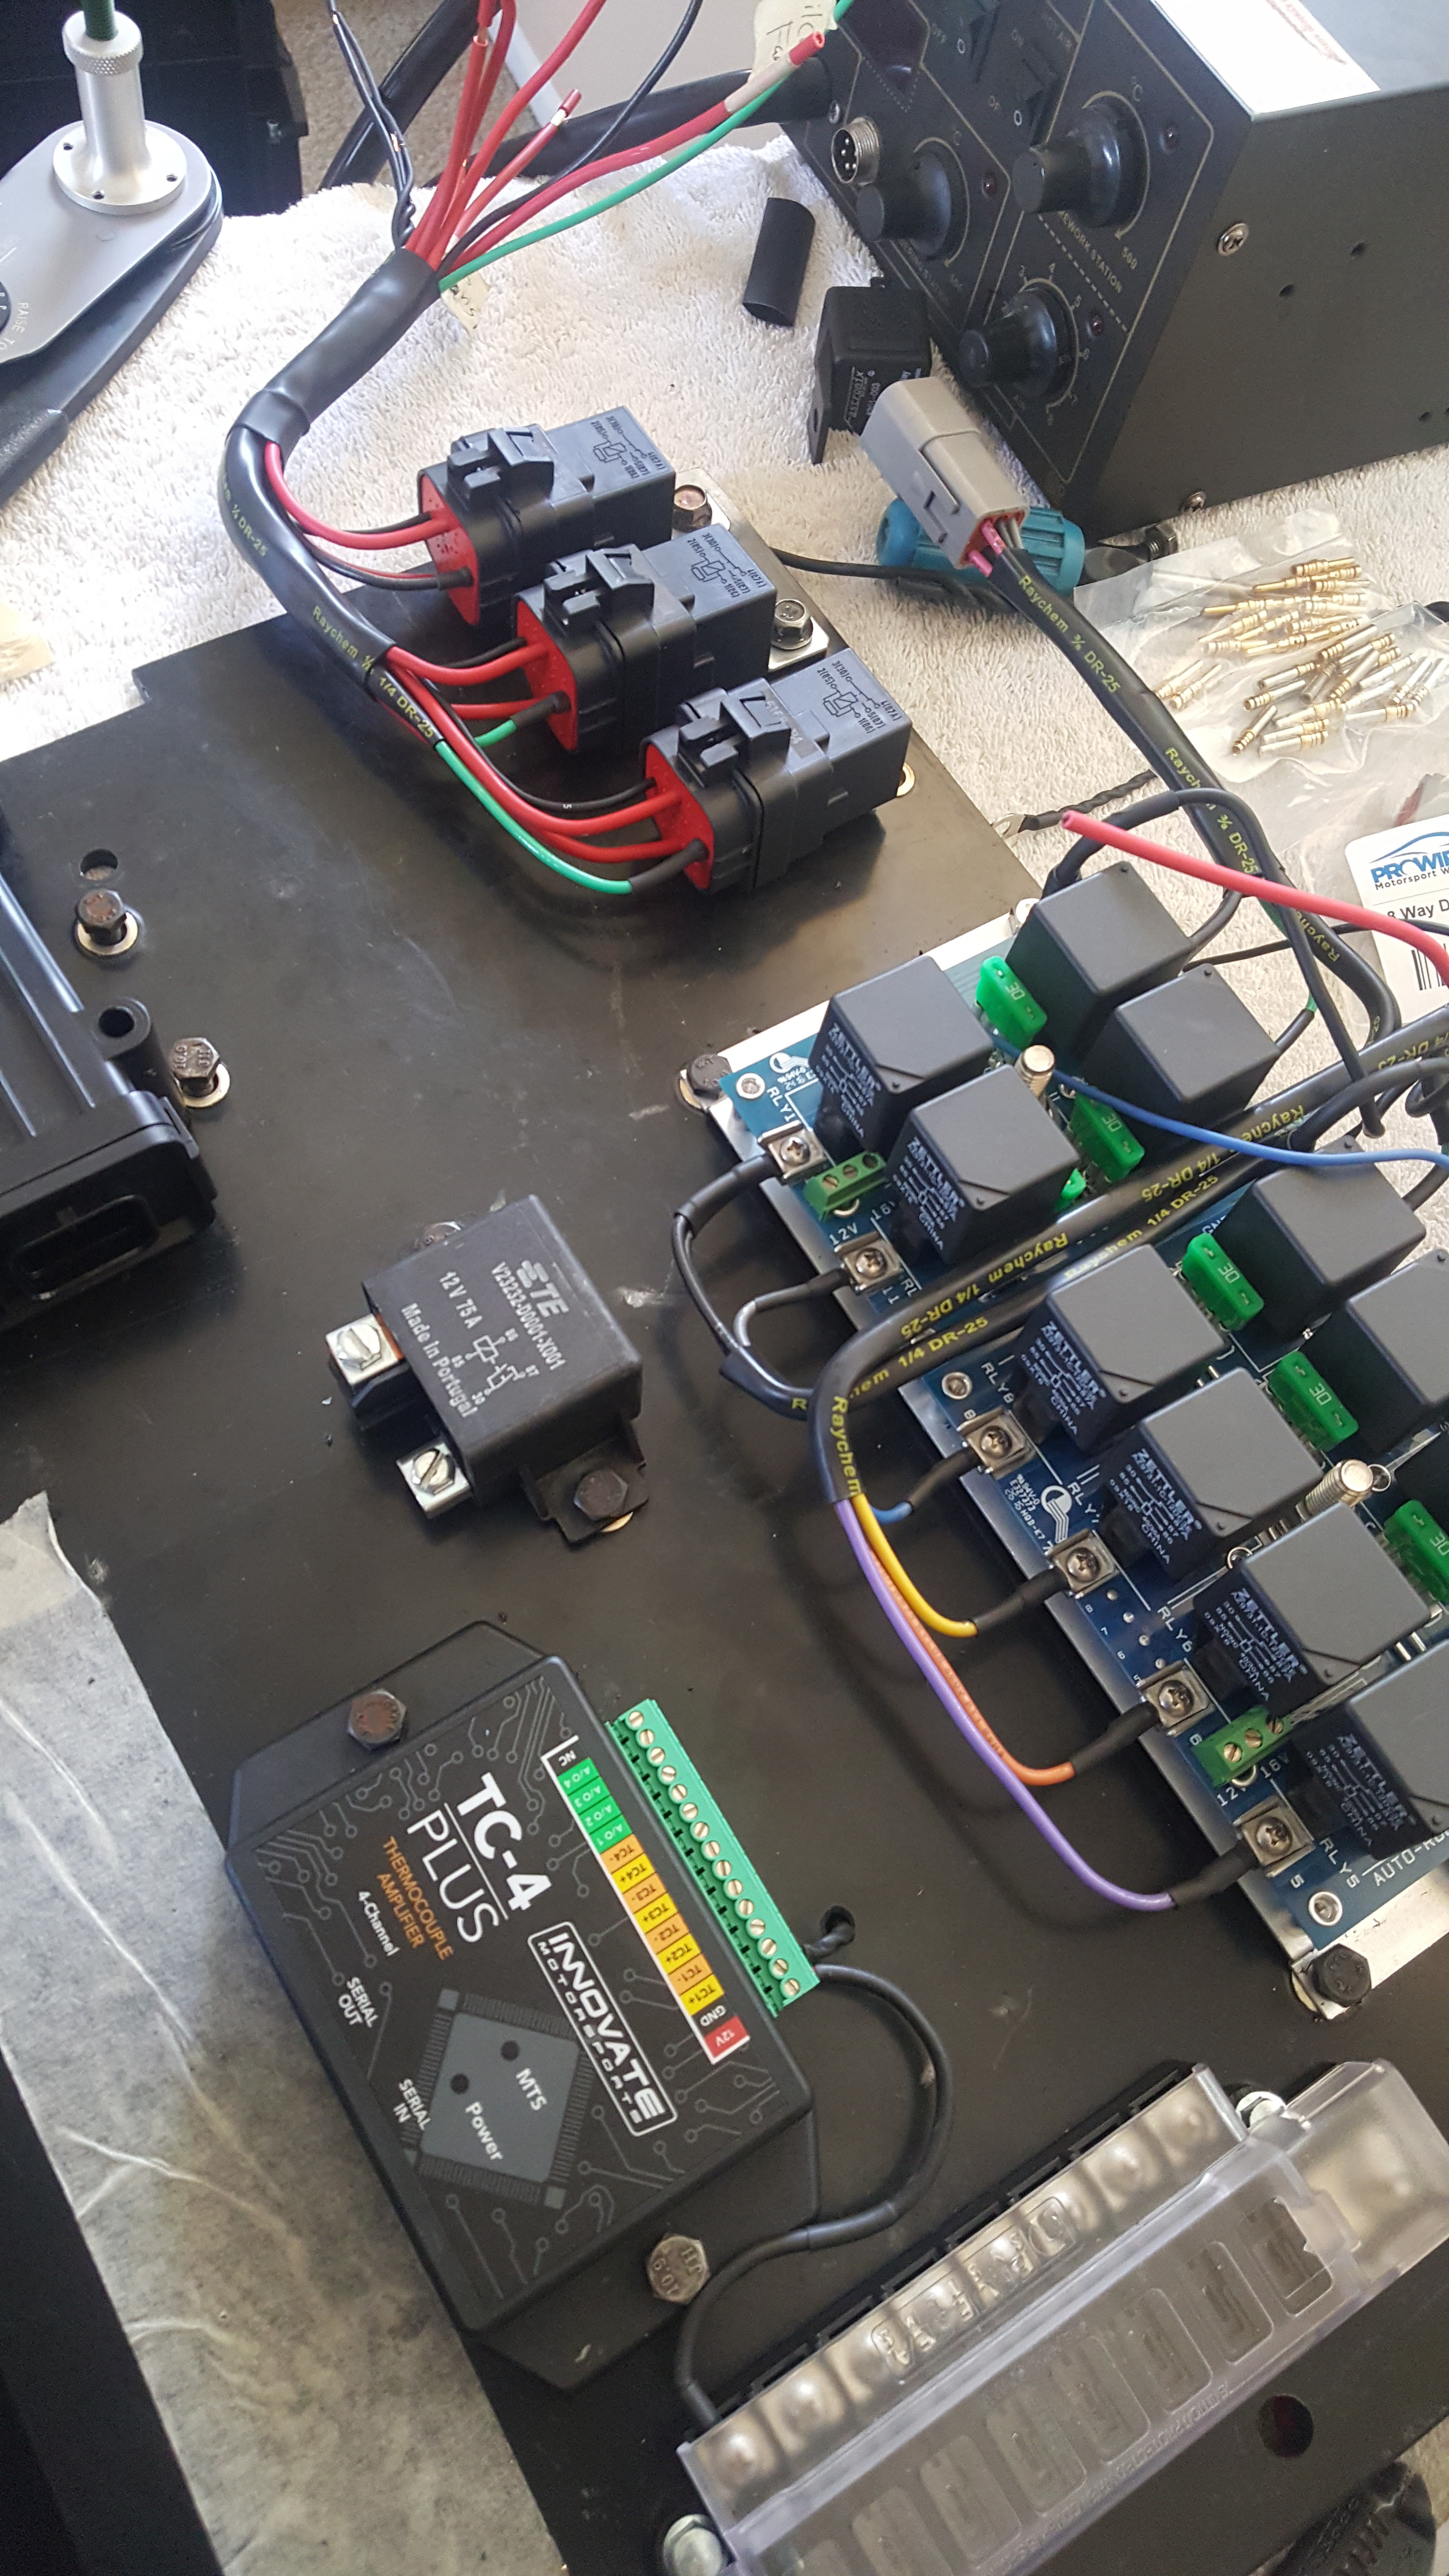
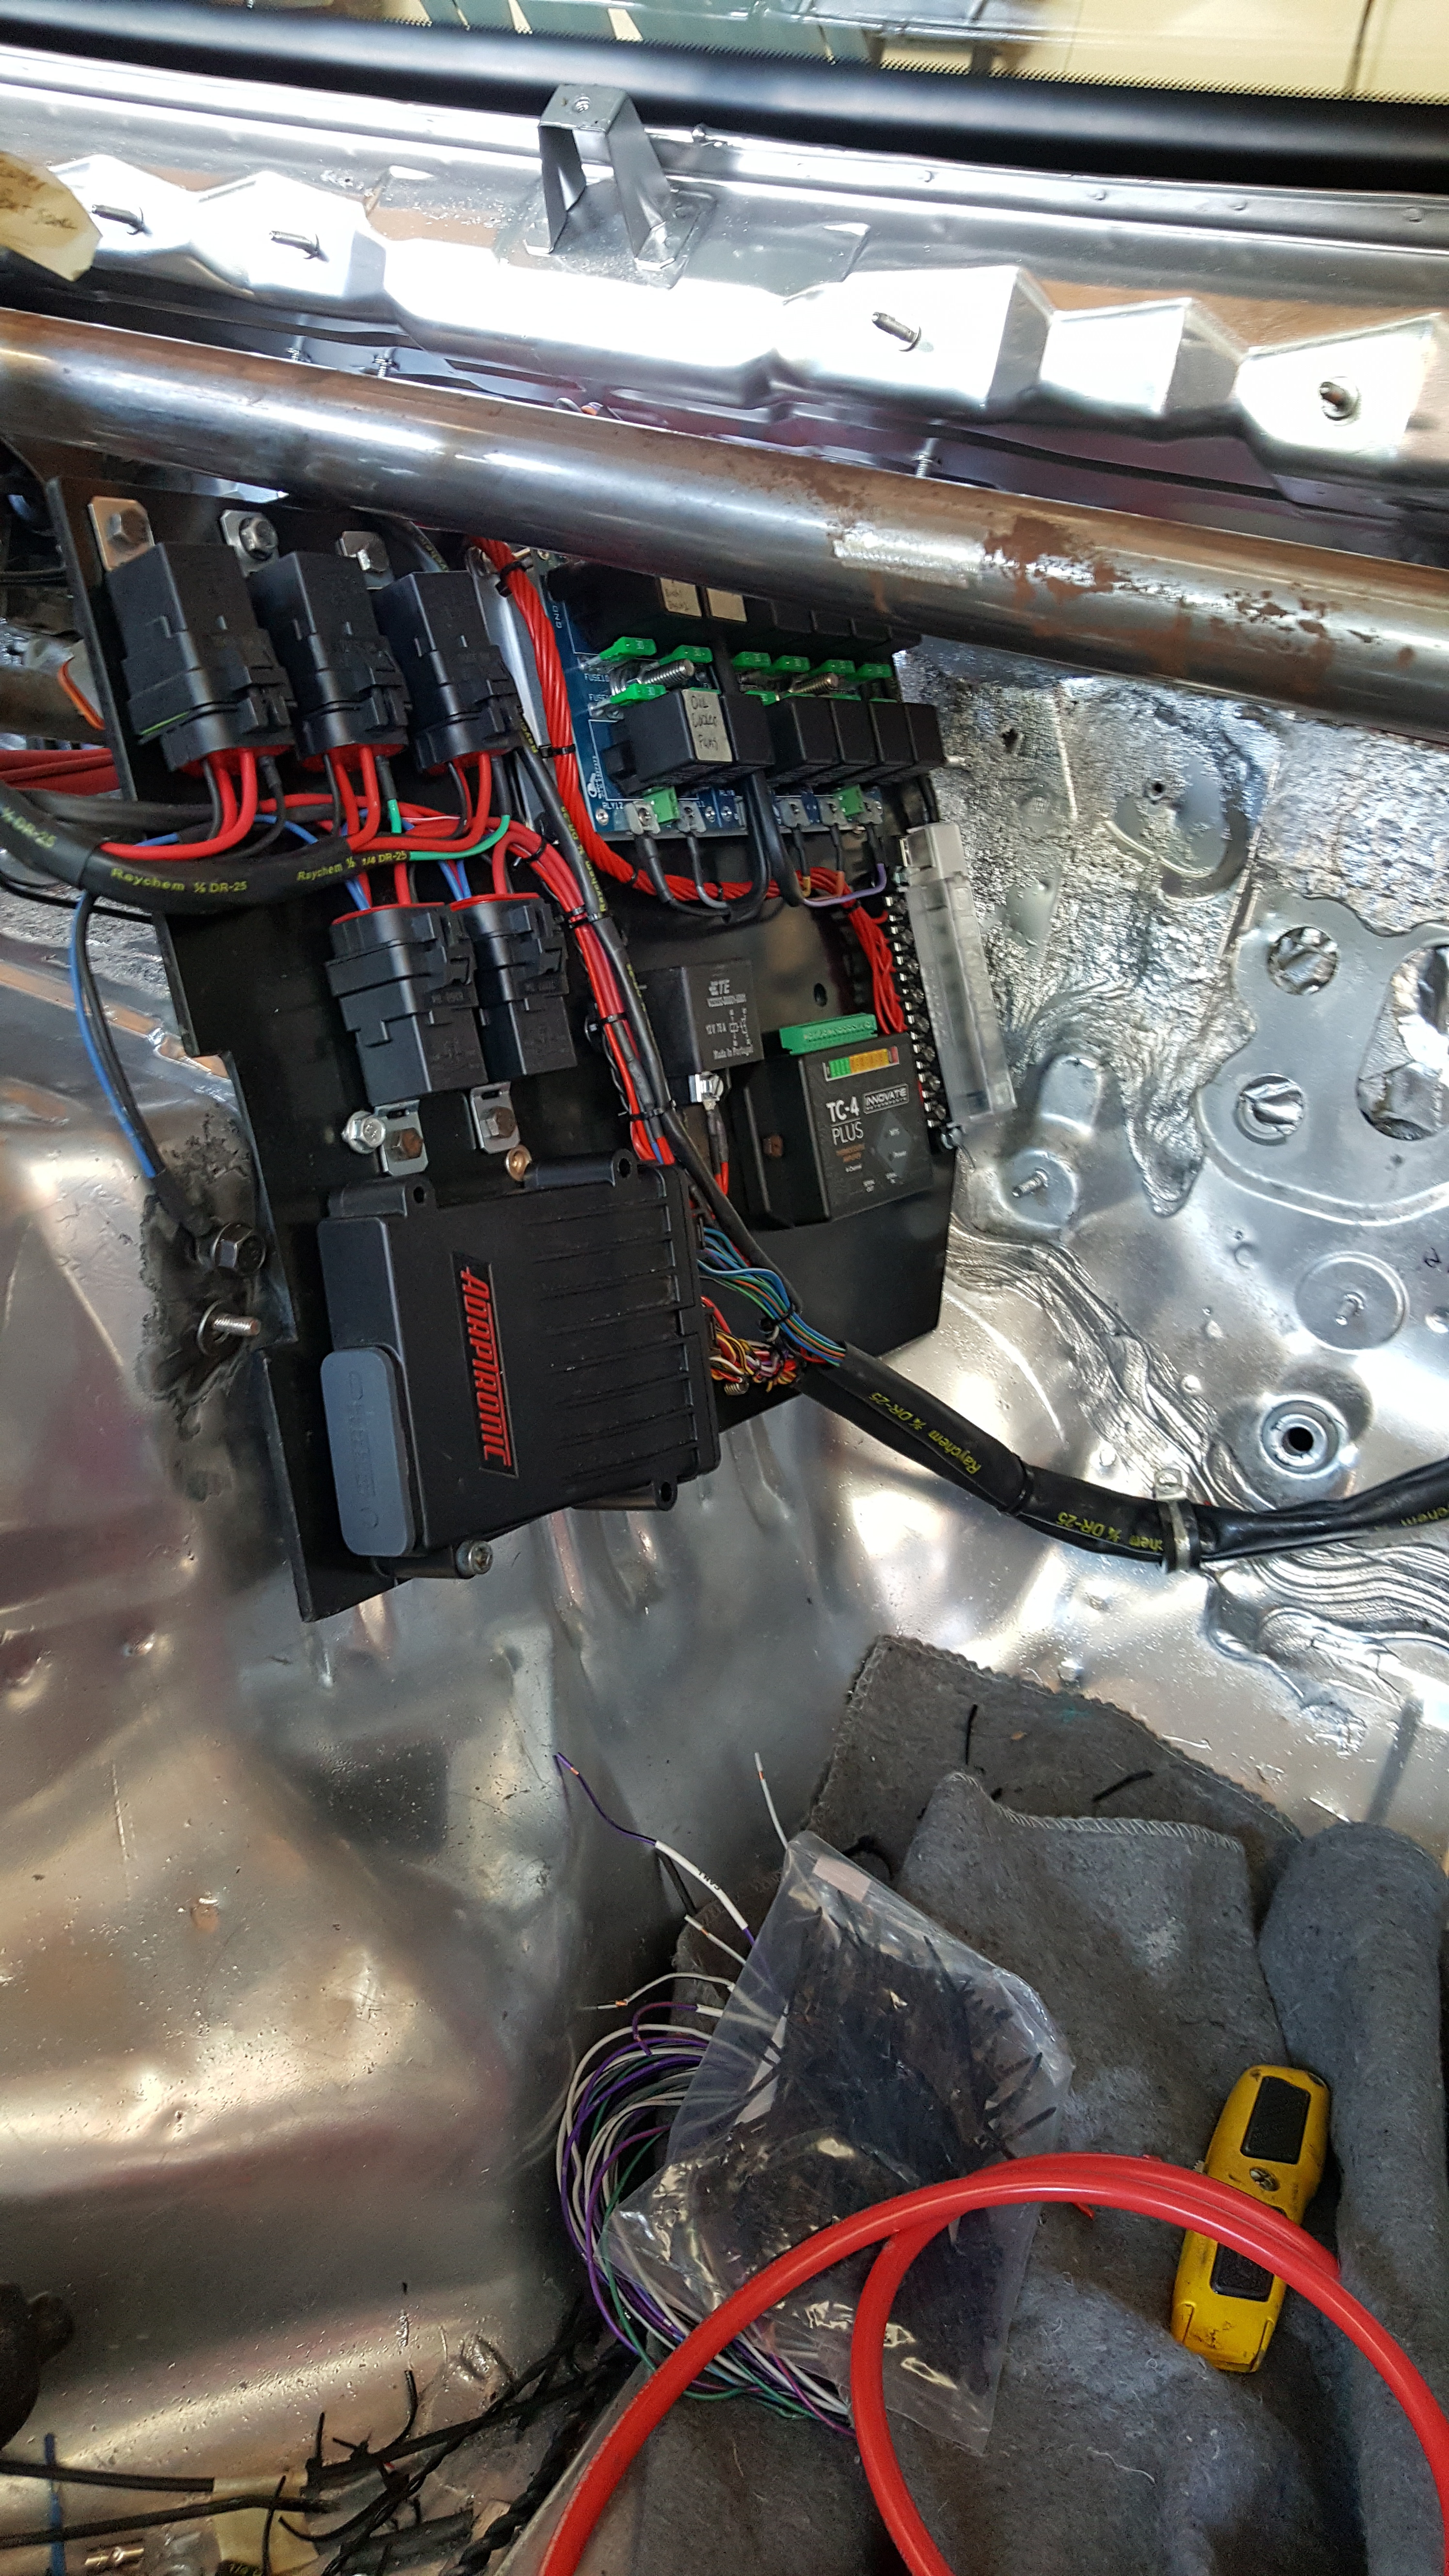
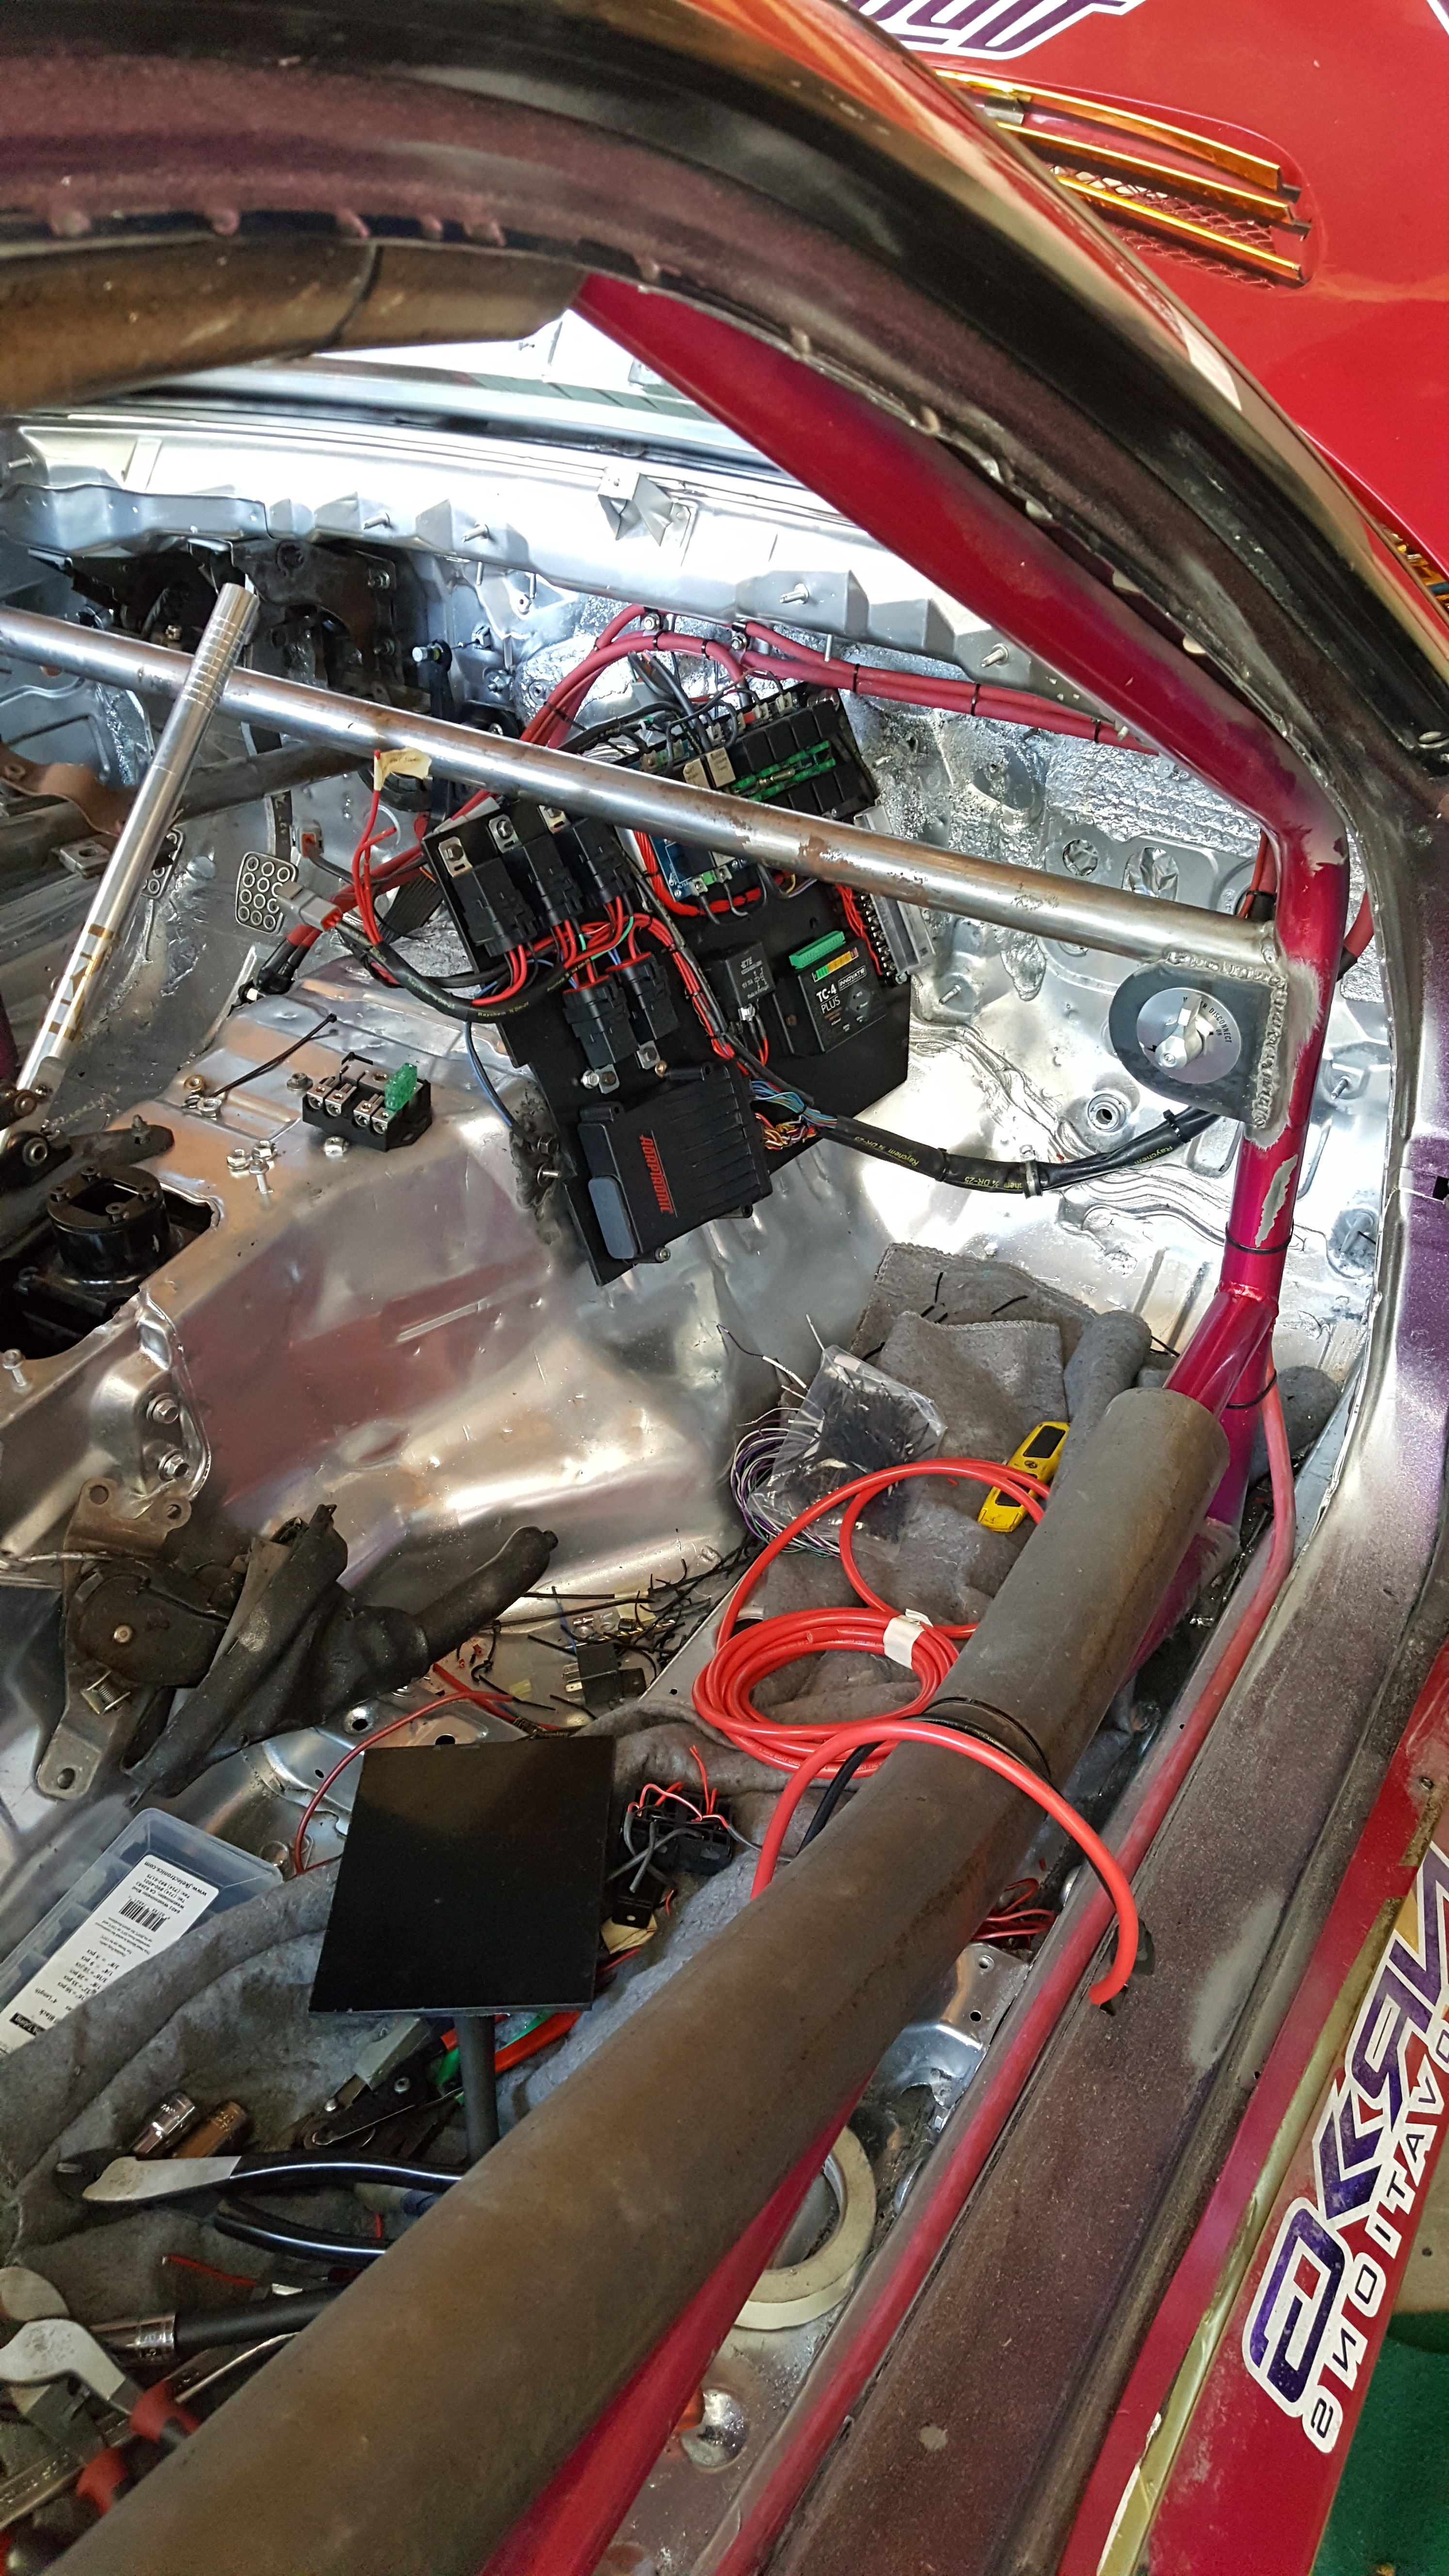
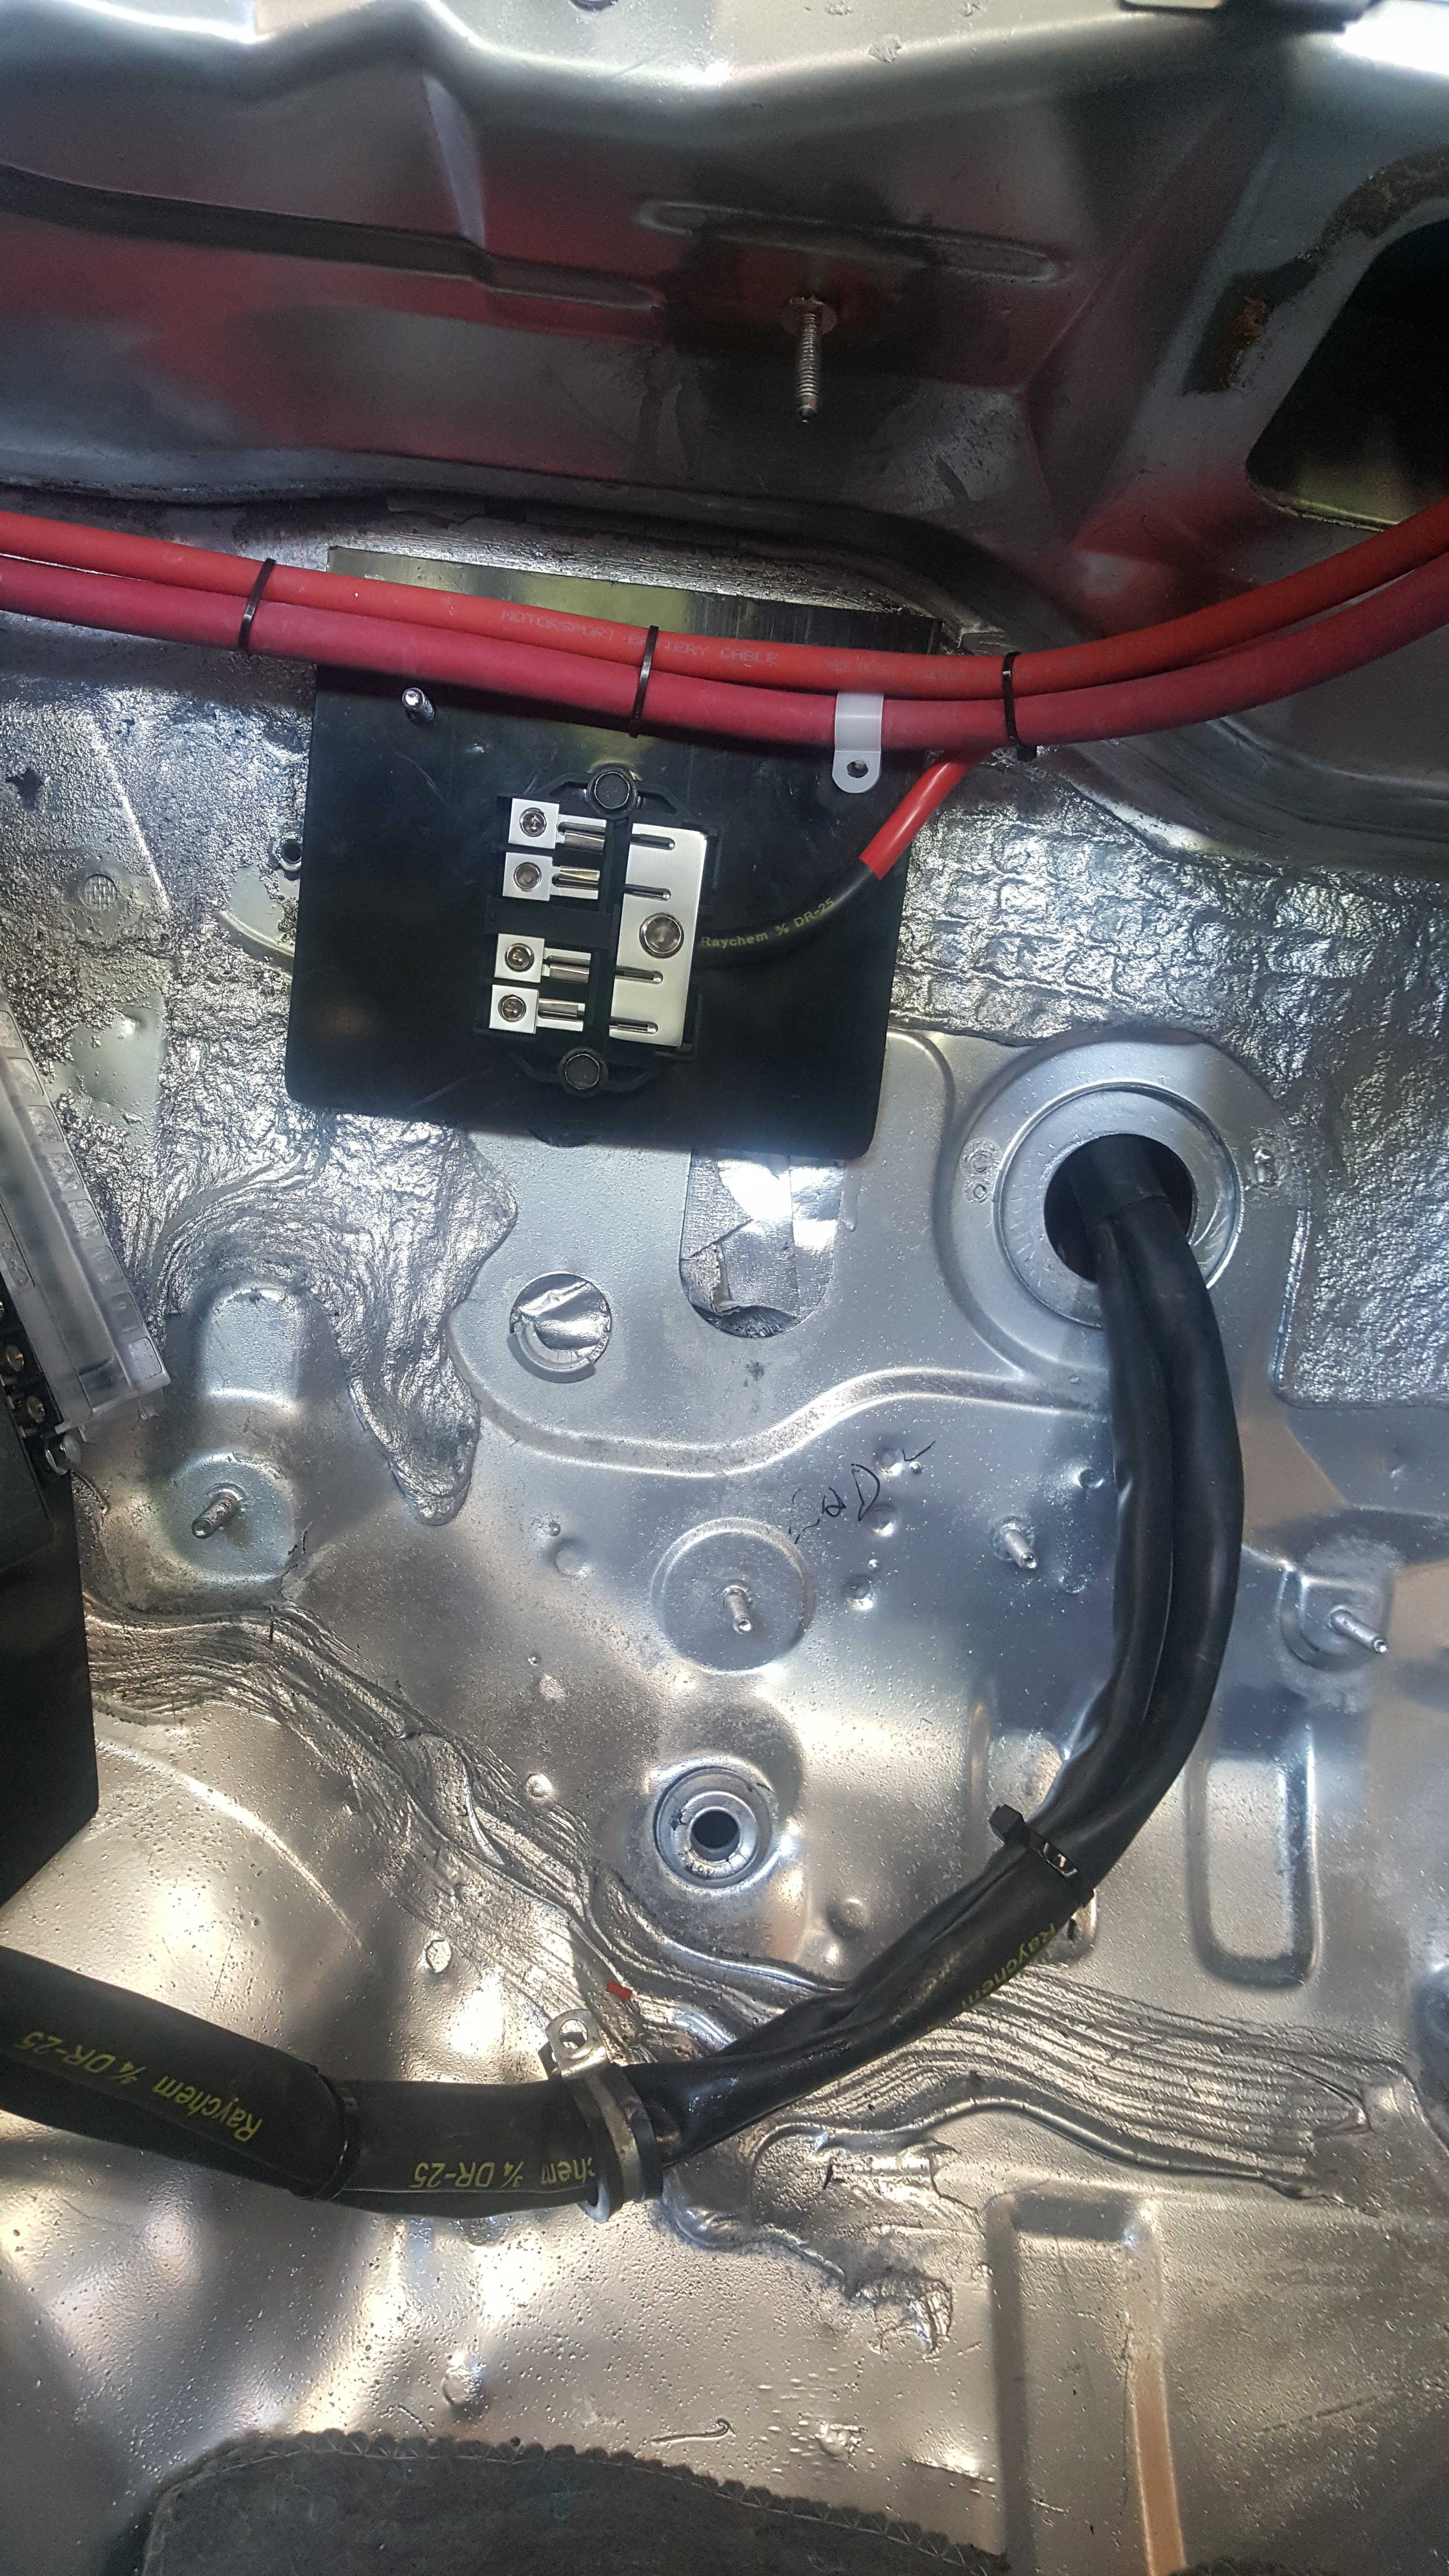
This is a 400Amp Military Grade Contactor. I've used these on a Few cars already...and they're pretty popular in Europe. I'm using for my Remote mount Kill Switch. Tons of Benefits to using this specific model over say the Painless kit, and or just a regular battery isolator.
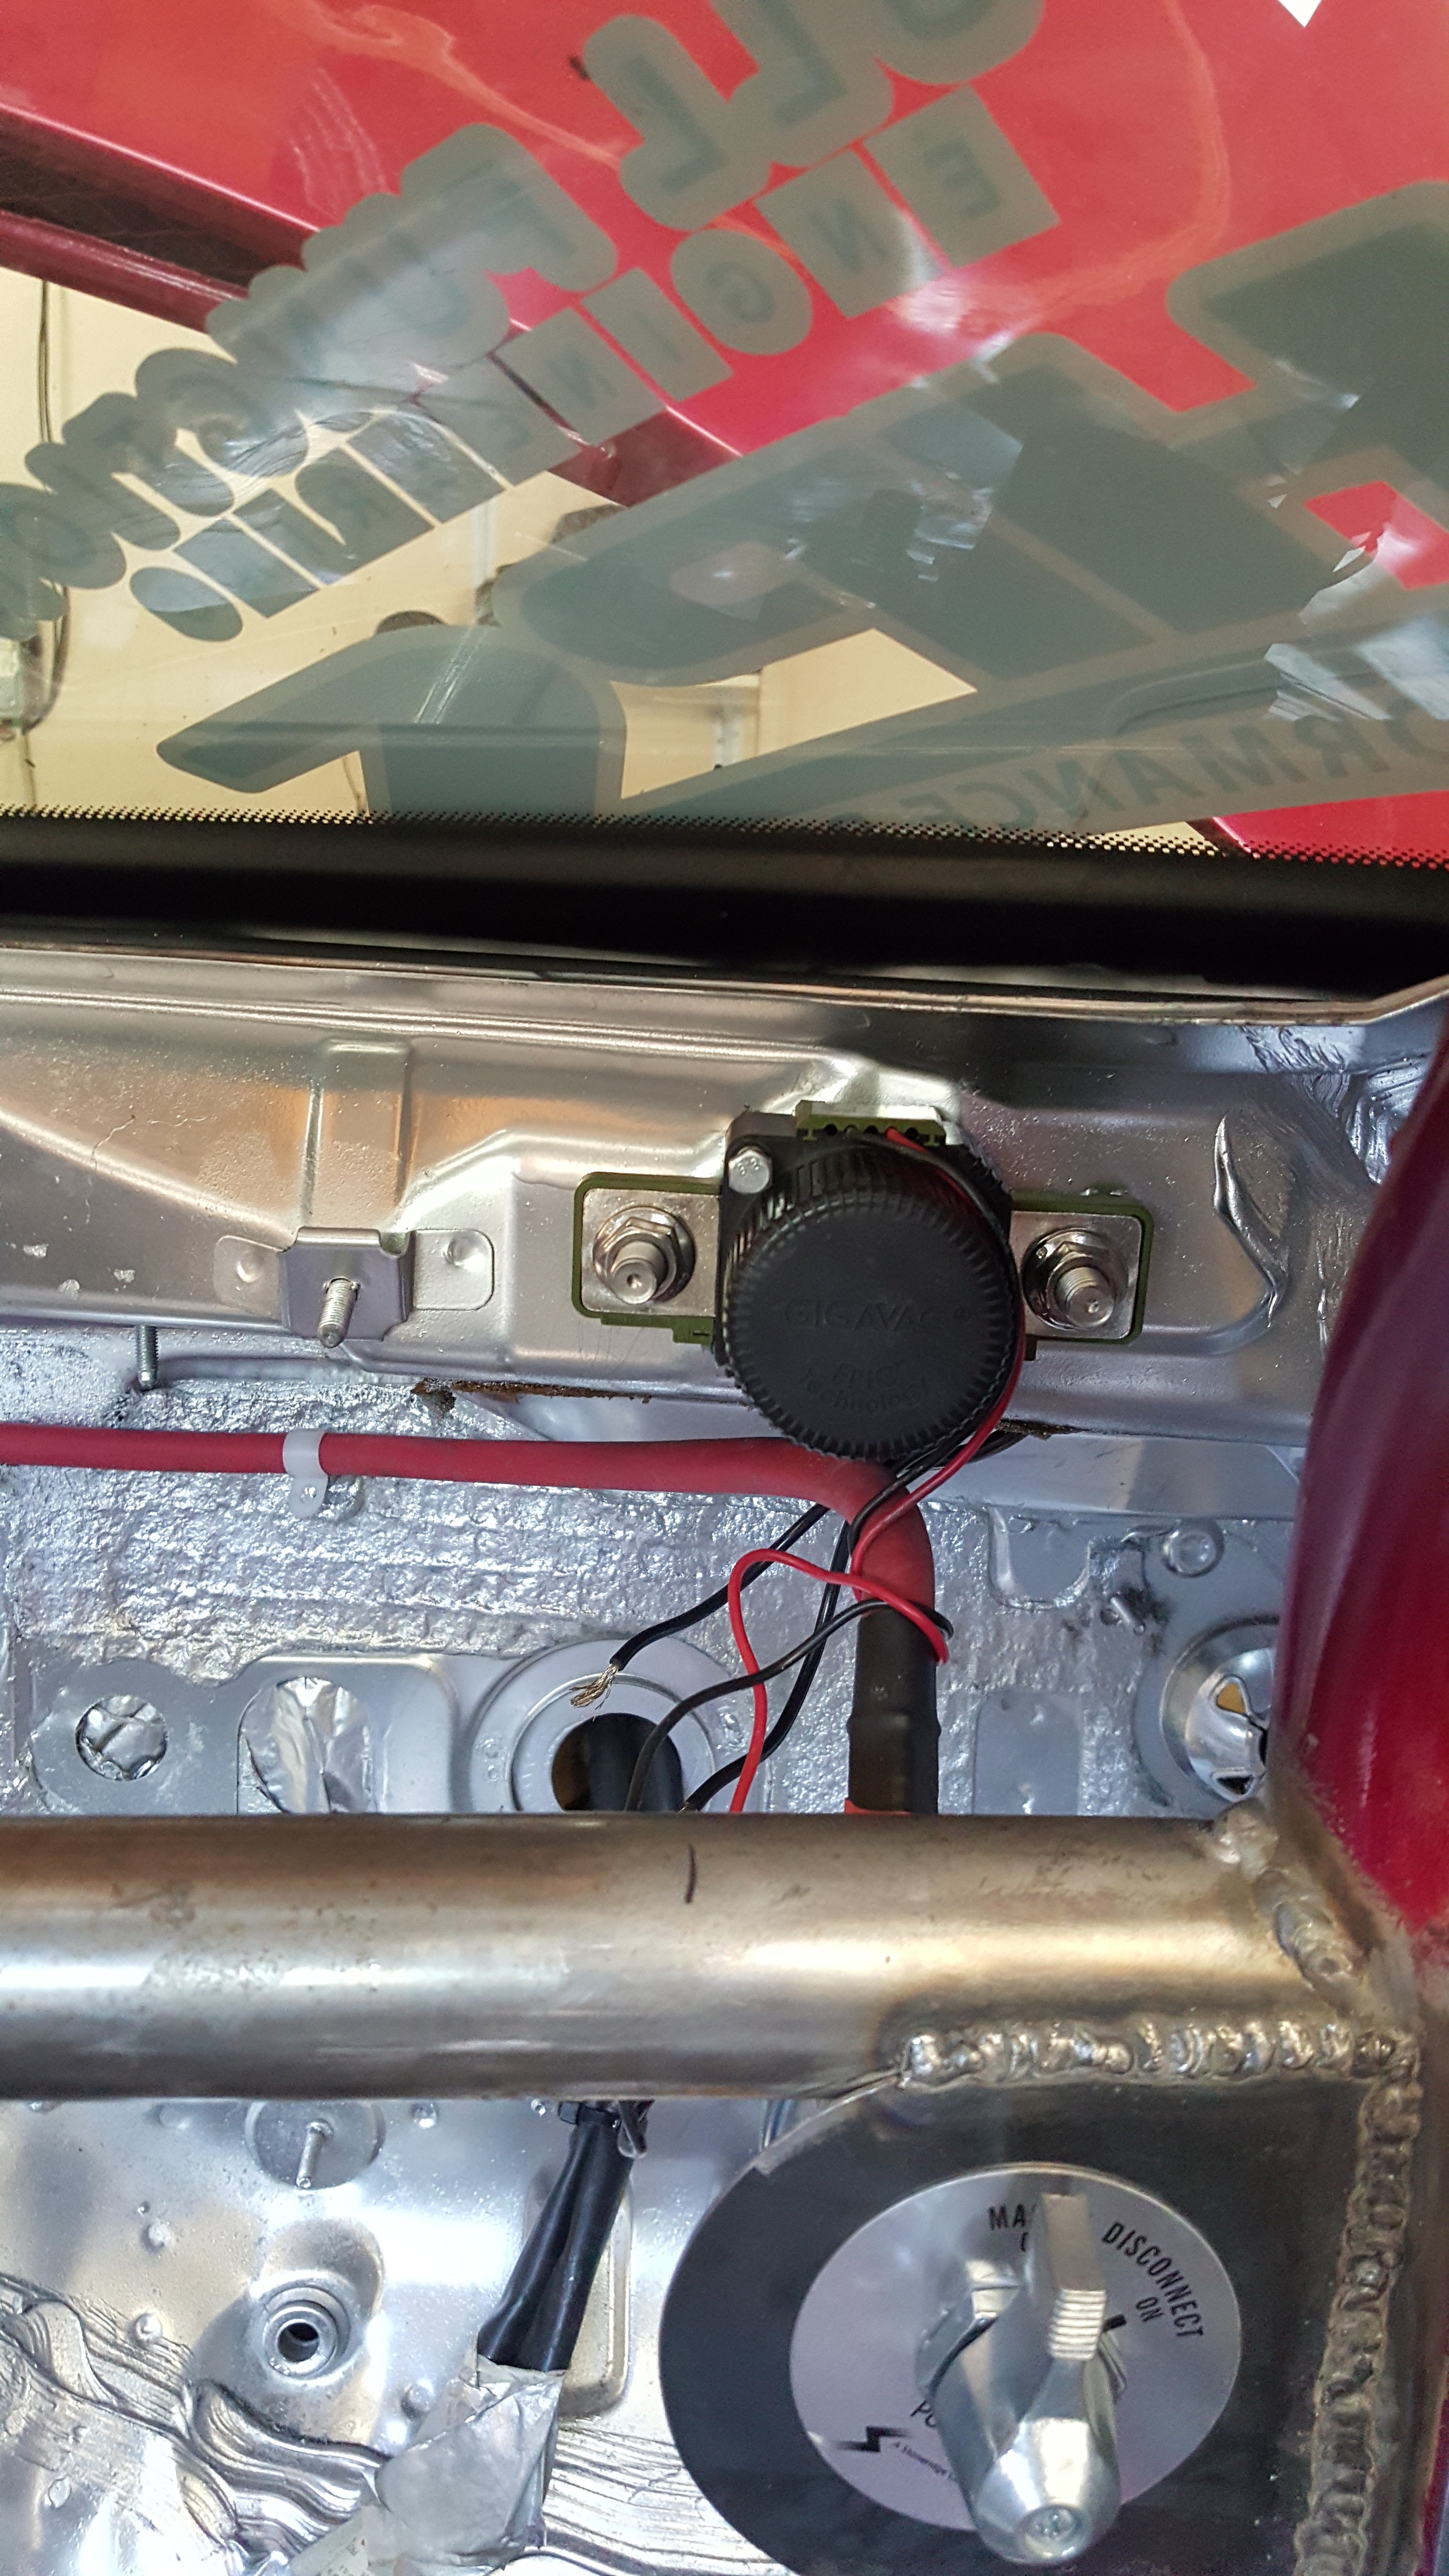
Starter and Alternator Power. Make sure you have the Alternator and Starter return after the Kill switch. Some people disagree...but if you ever work on a car with power off... you want to be able to hit the switch and not have a hot starter/alt power lead. This is why you purchase a Good Quality Switch..with Solid Gauge Wire...and Proper ring terminals. But there's no point in having a Kill Switch if it doesn't kill power to the car. Ive quite a few cars wired incorrectly...and it's a major pain in the ***.
Just some Jams i've been into lately.... Killer!!!
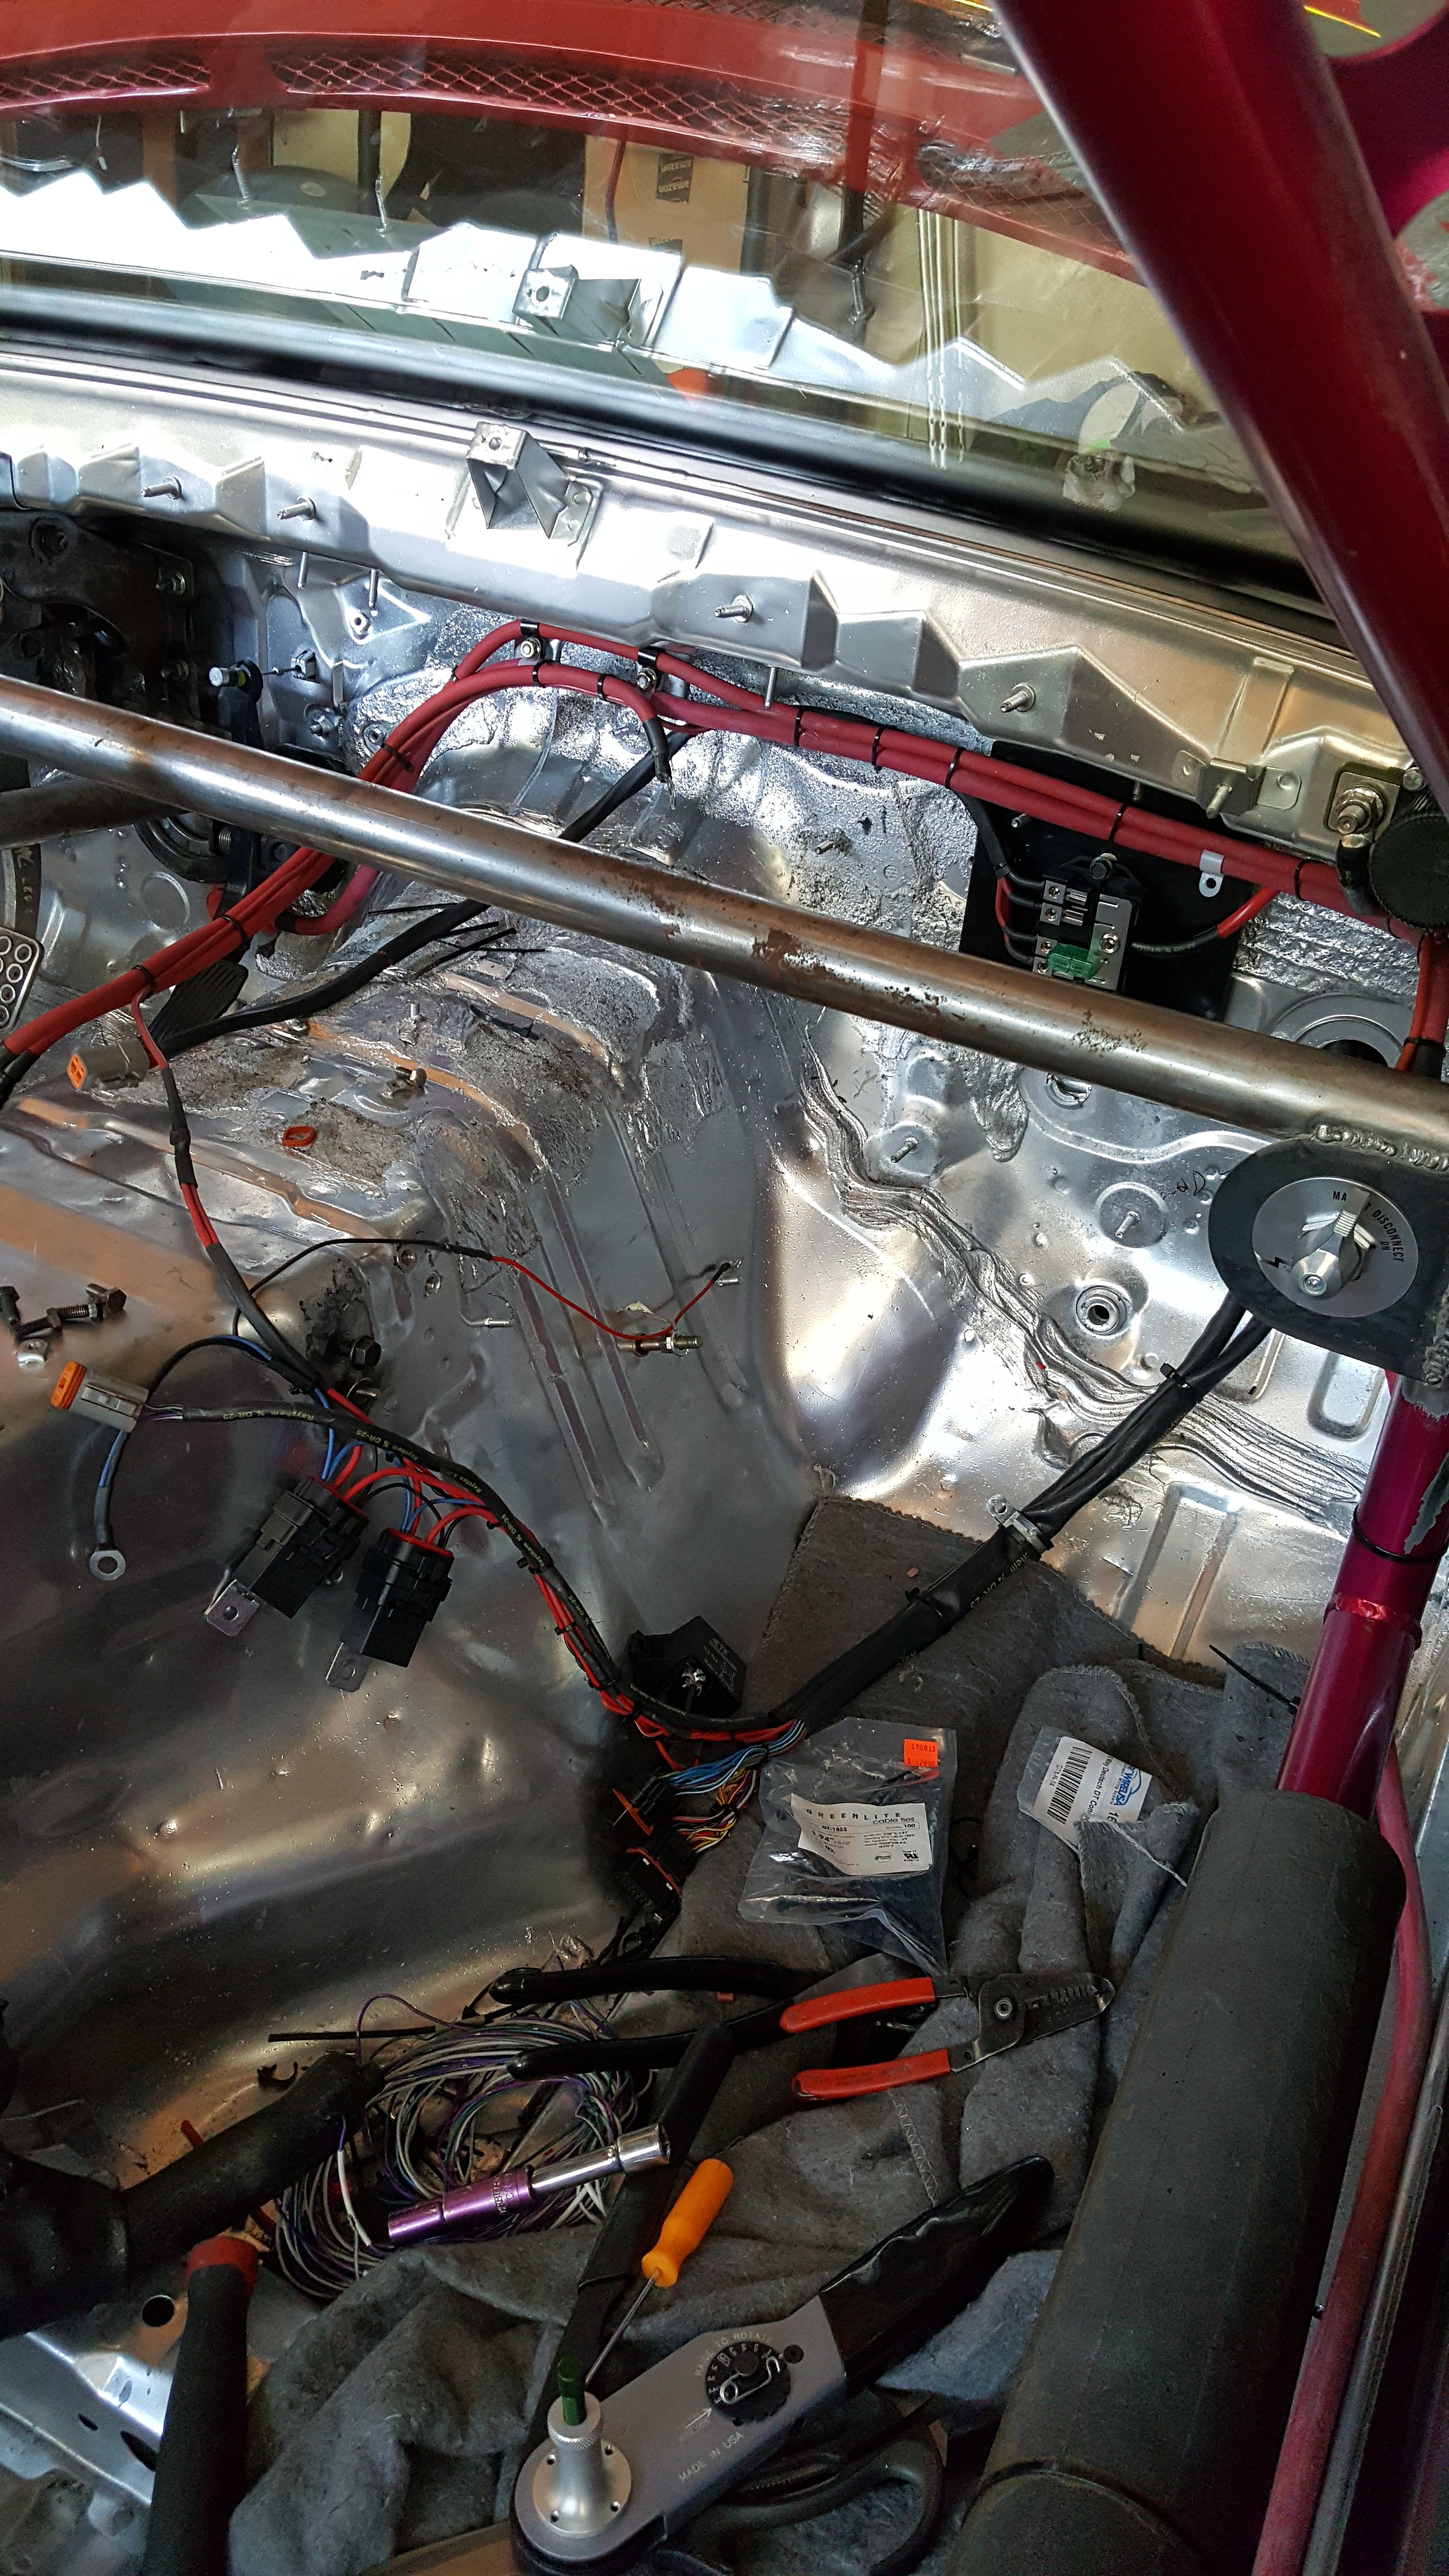
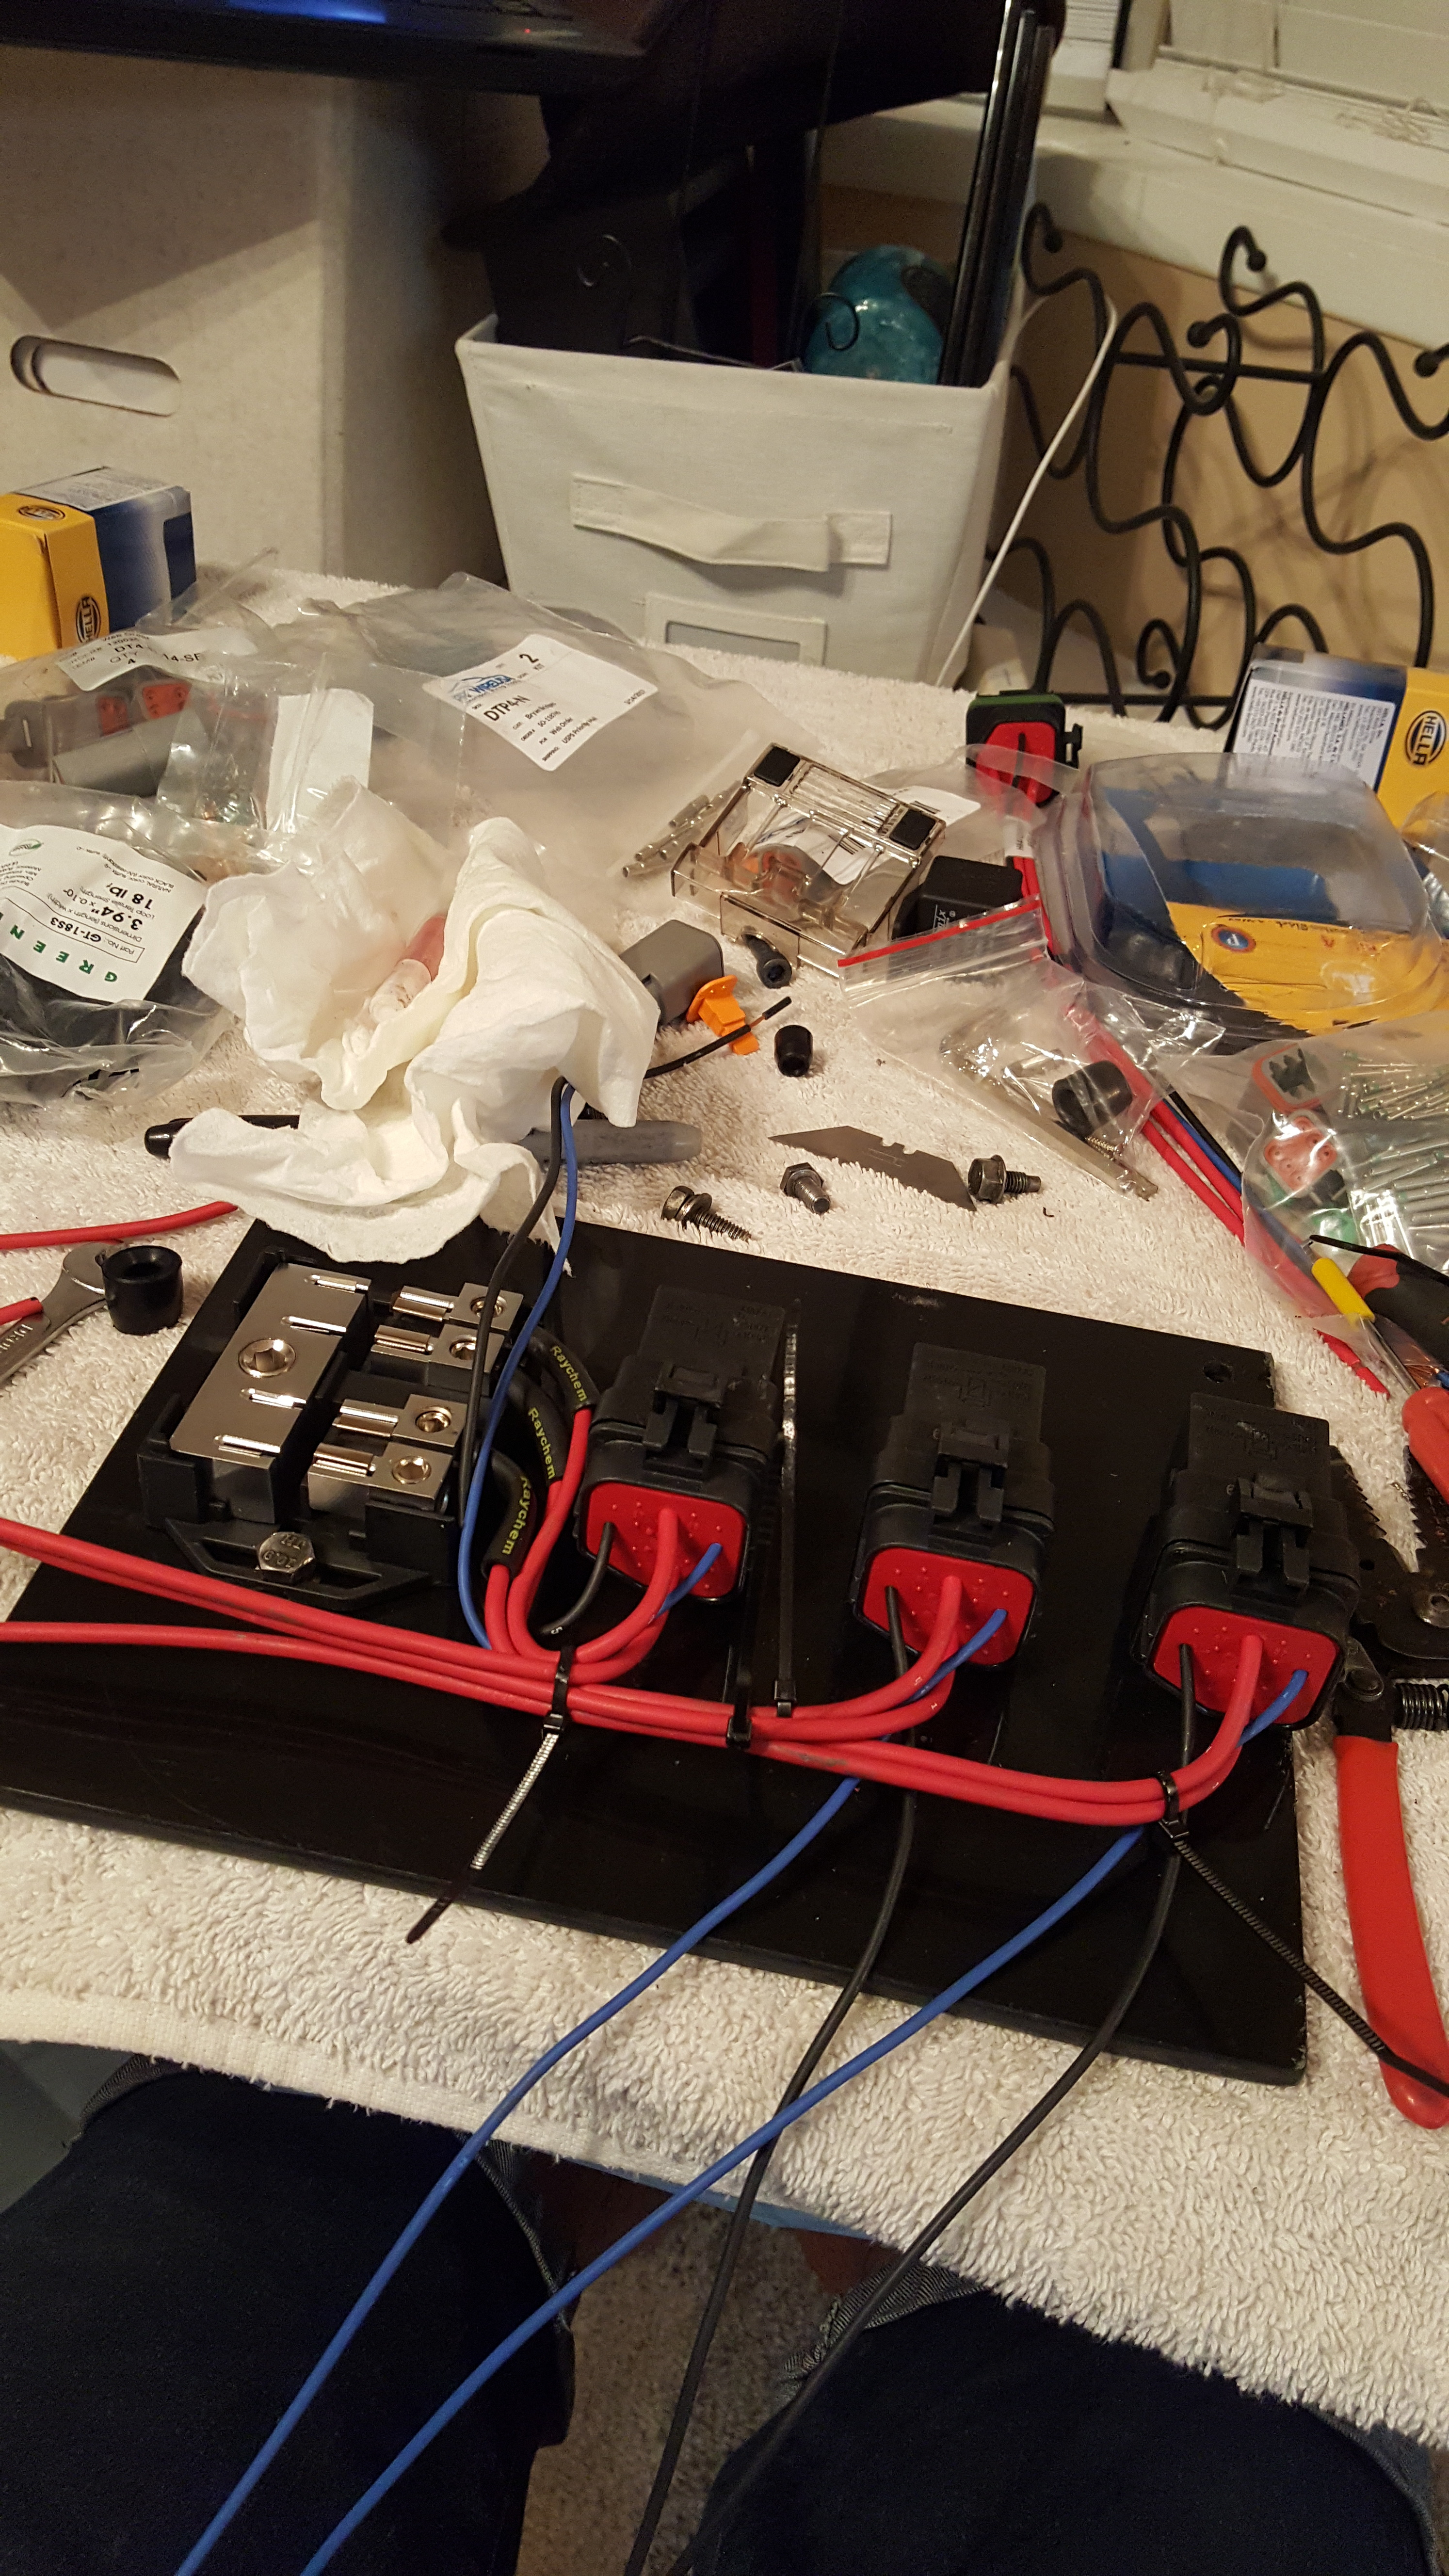
And I fogrot to take pics of a few steps because I was in the zone. But here is where I left of last night. I've got my Marine Grade 185AMP Circuit Breaker within reach ....while strapped into the car with harness and all. There's a mis conception that these create issues. People always say "those things always give us issues." Which may be true...but it's only giving issues...because it's wired incorrectly, or it's not the correct component for the required job.
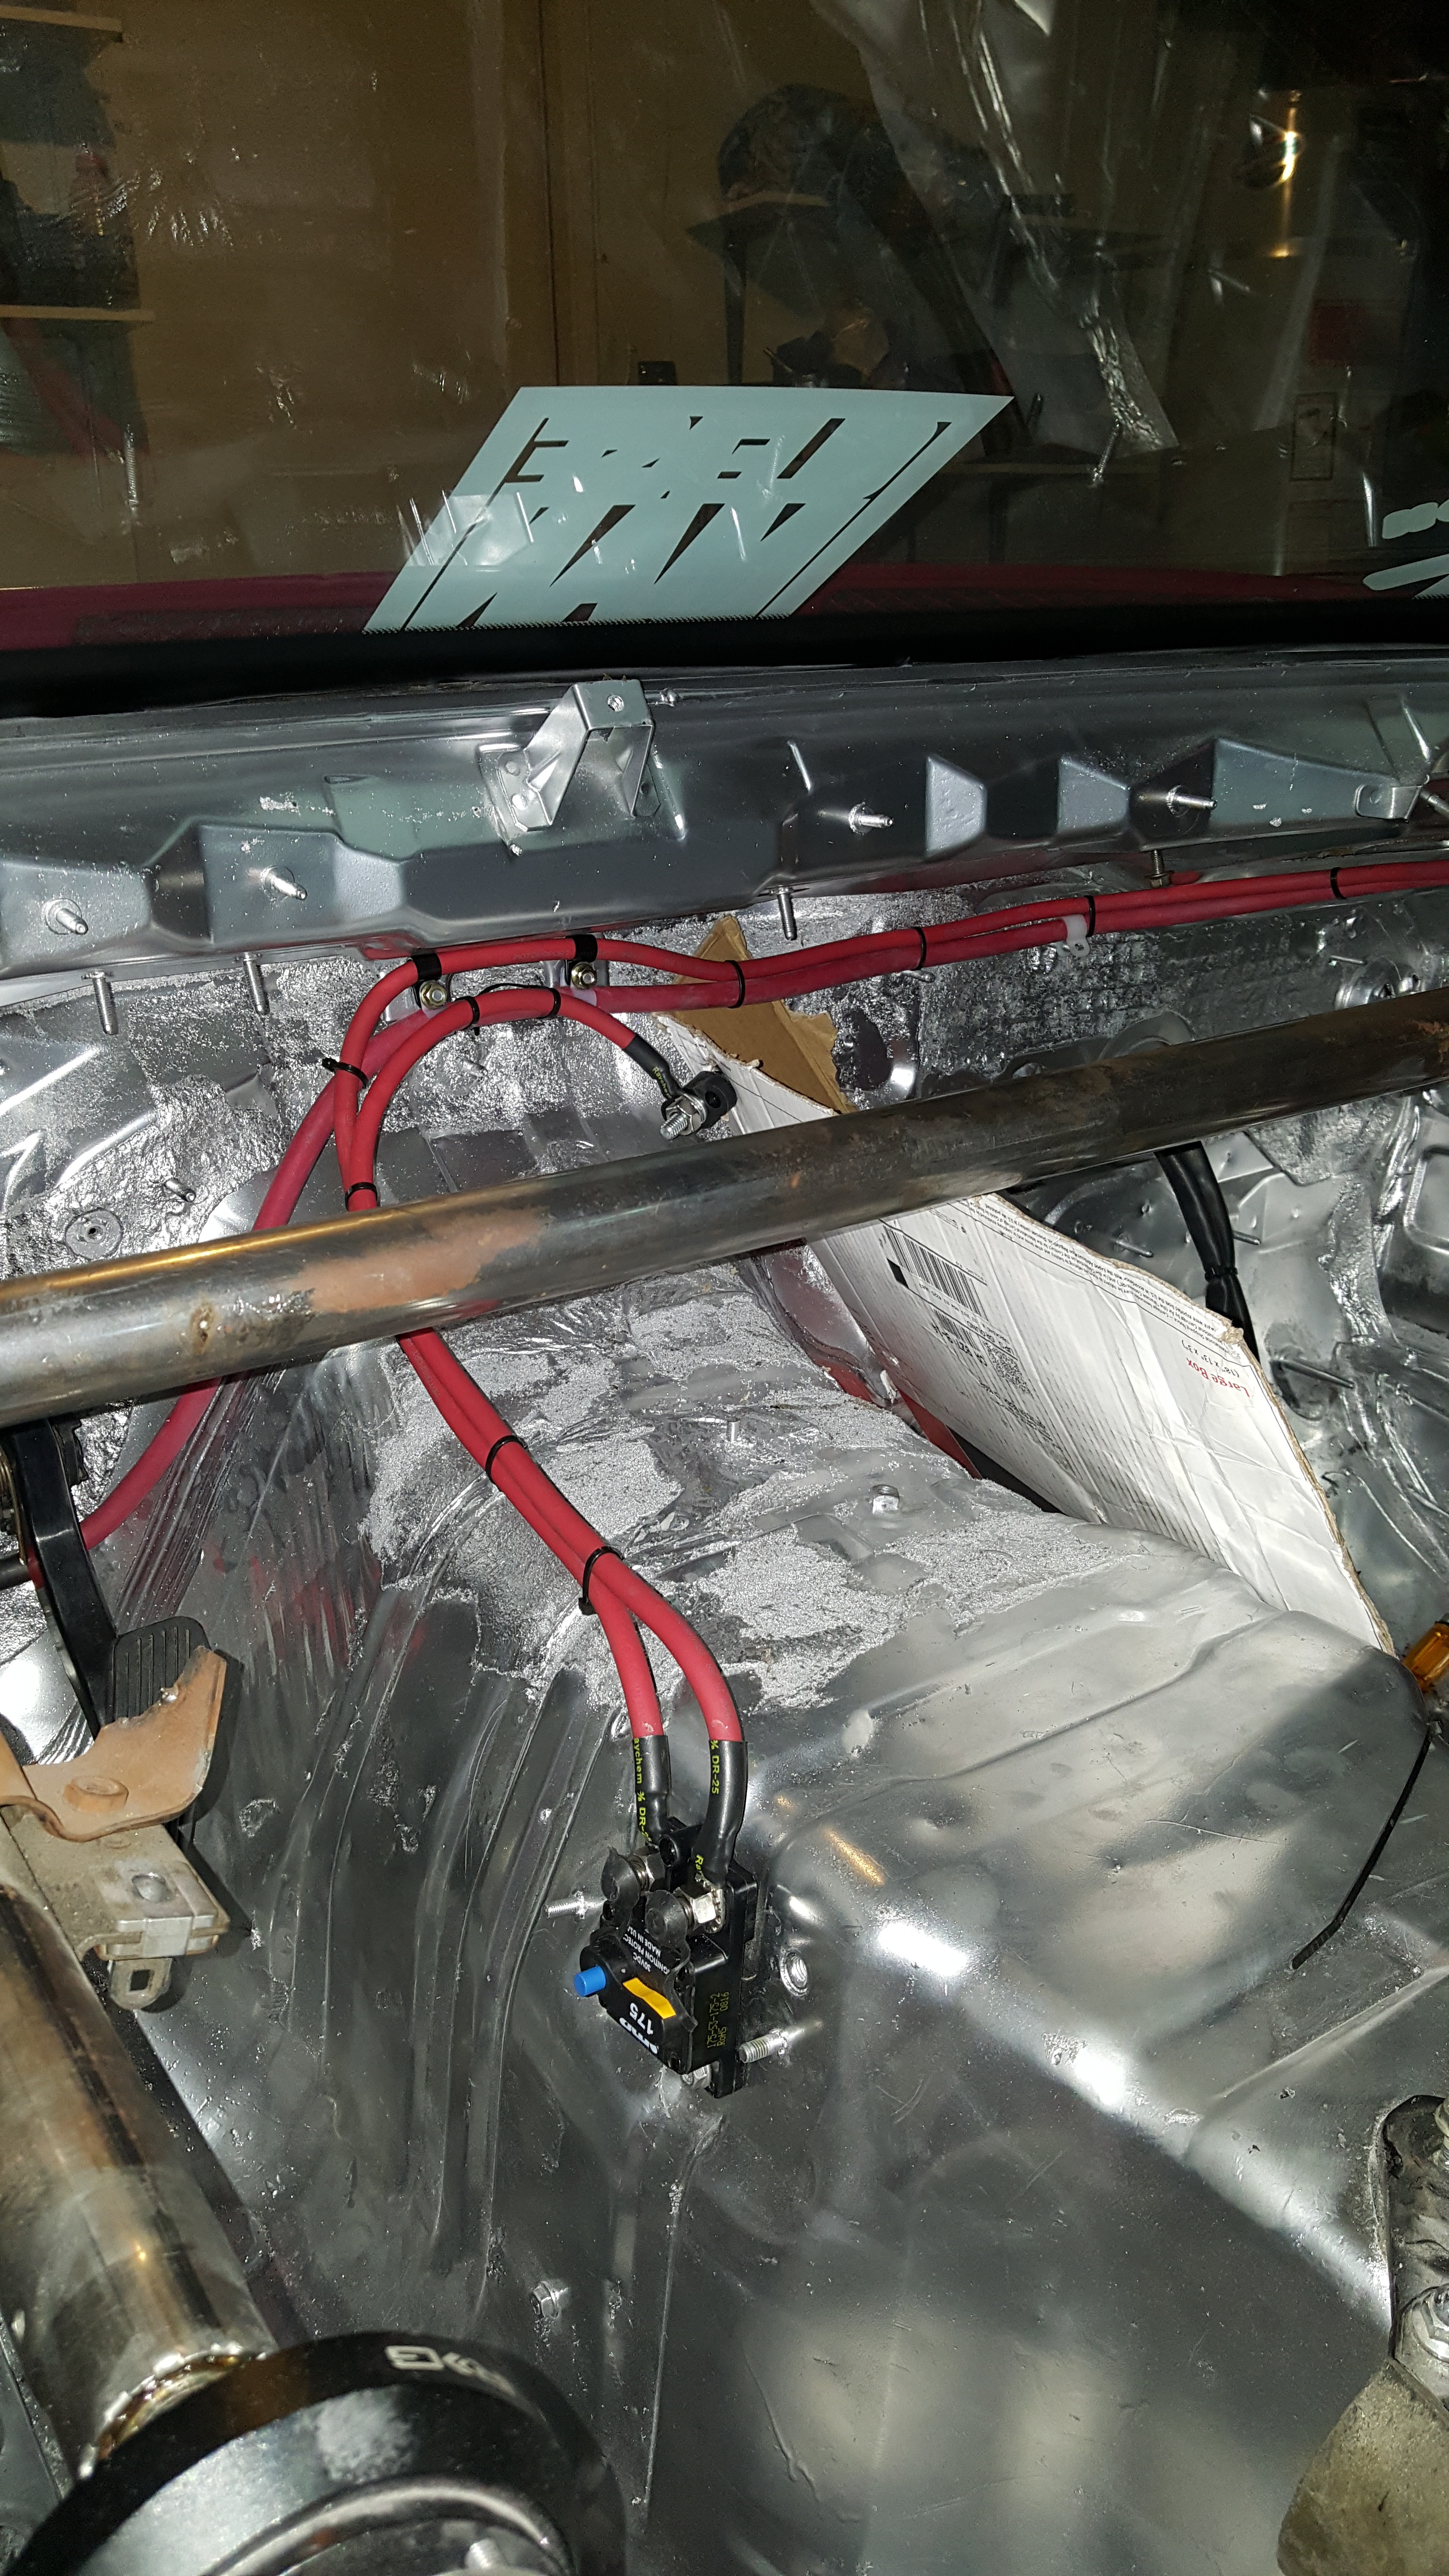
And that's pretty much where I've left off. I'm waiting for my ABS Panel from McMaster to show up...then I can hammer down on the Control Panel. But until then..I"ve really got my hands tied using this Cardboard template. I don't want to add too much to it because for one...it isn't very sturdy...and 2. Until its actually mounted....I won't be able to optimize the thought process behind the set up. I want to make sure this is done correctly. So I'll have to wait. I'm excited to show you guys the end product though!!
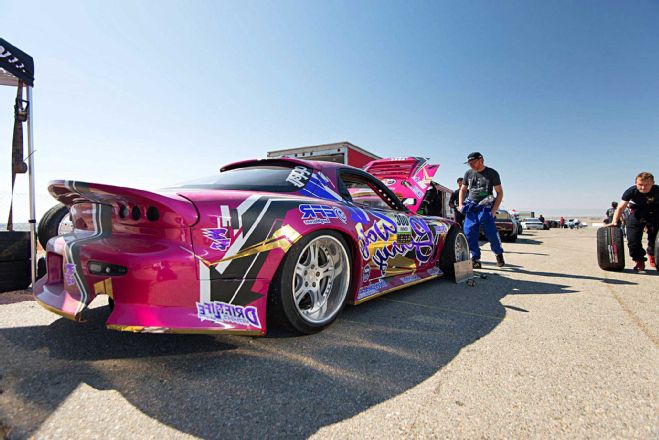
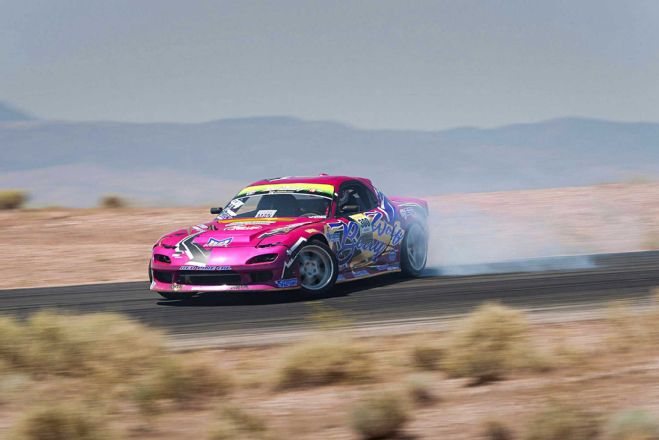
I'll leave you guys with some Action shots from Luke Munnels coverage of Top Drift Round 2. Article is up on Super Street Magazine!
Pits..my boy Billy Haynes and Odi Bakchis
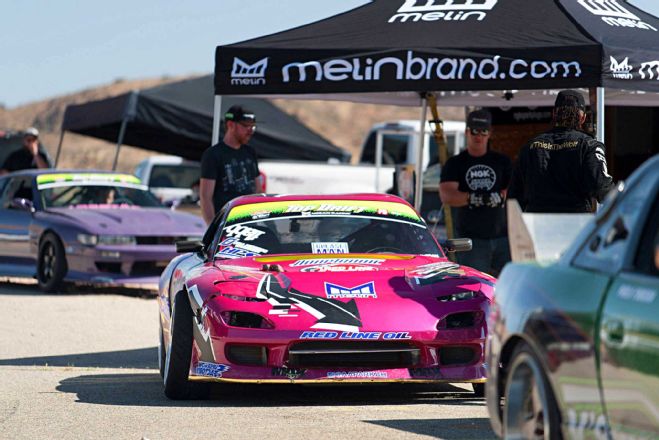

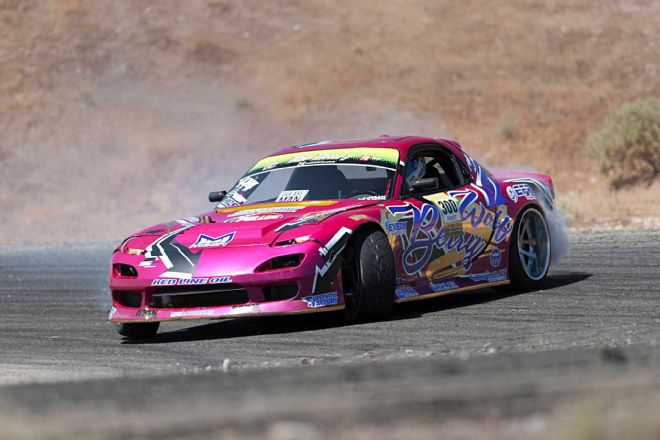
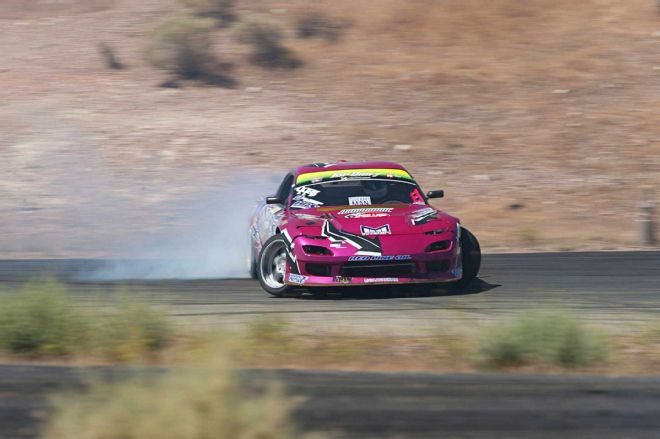
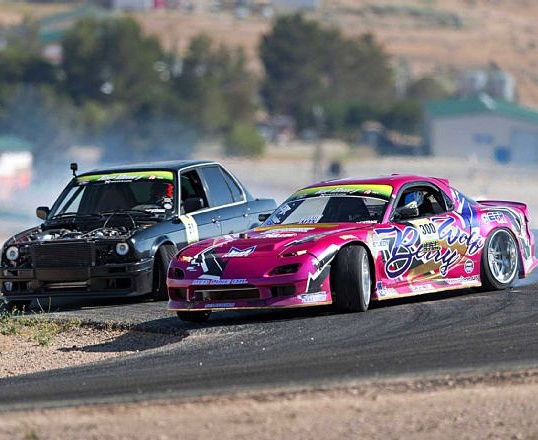
Top 16 Lead run
Thanks for following guys!!
More updates soon!
Stay Tuned!
#ThisistheWolf
Whats up guys!!
the chassis re-wire is coming along nicely! It's funny how I sometimes catch myself staring at the interior of the car sometimes for 10-15 Min... I visualize what I want from the set up. Follow make believe lines from switches...to their accessories.... how the routing of it will go... it's location is CRUCIAL. Last night I fell asleep on my knees... arm hanging over the roll cage with my circuit breaker in my hand. I woke up to my sisters dog nudging me. It was 11:45 and I had a Skype meeting with Billet Inc in 15 Min. The meeting went excellent and I'm really looking forward to sharing with everyone what we're up to!
But back to the Wiring Job! Useability...function, and location are KEEN. Very important!! Solid components mean nothing unless they're put together correctly. It's the design of the whole set up...not just the individual components!
So Check it!
Received some new Coils for the rear end of the Wolf. Being part of the R & D for Parts shop has been awesome. Working with a company that has the same end goals as myself...in developing the absolute best solution set up for these cars in the drift application is great. These Rear dampeners are a bit special... But I'll expand on that more later!
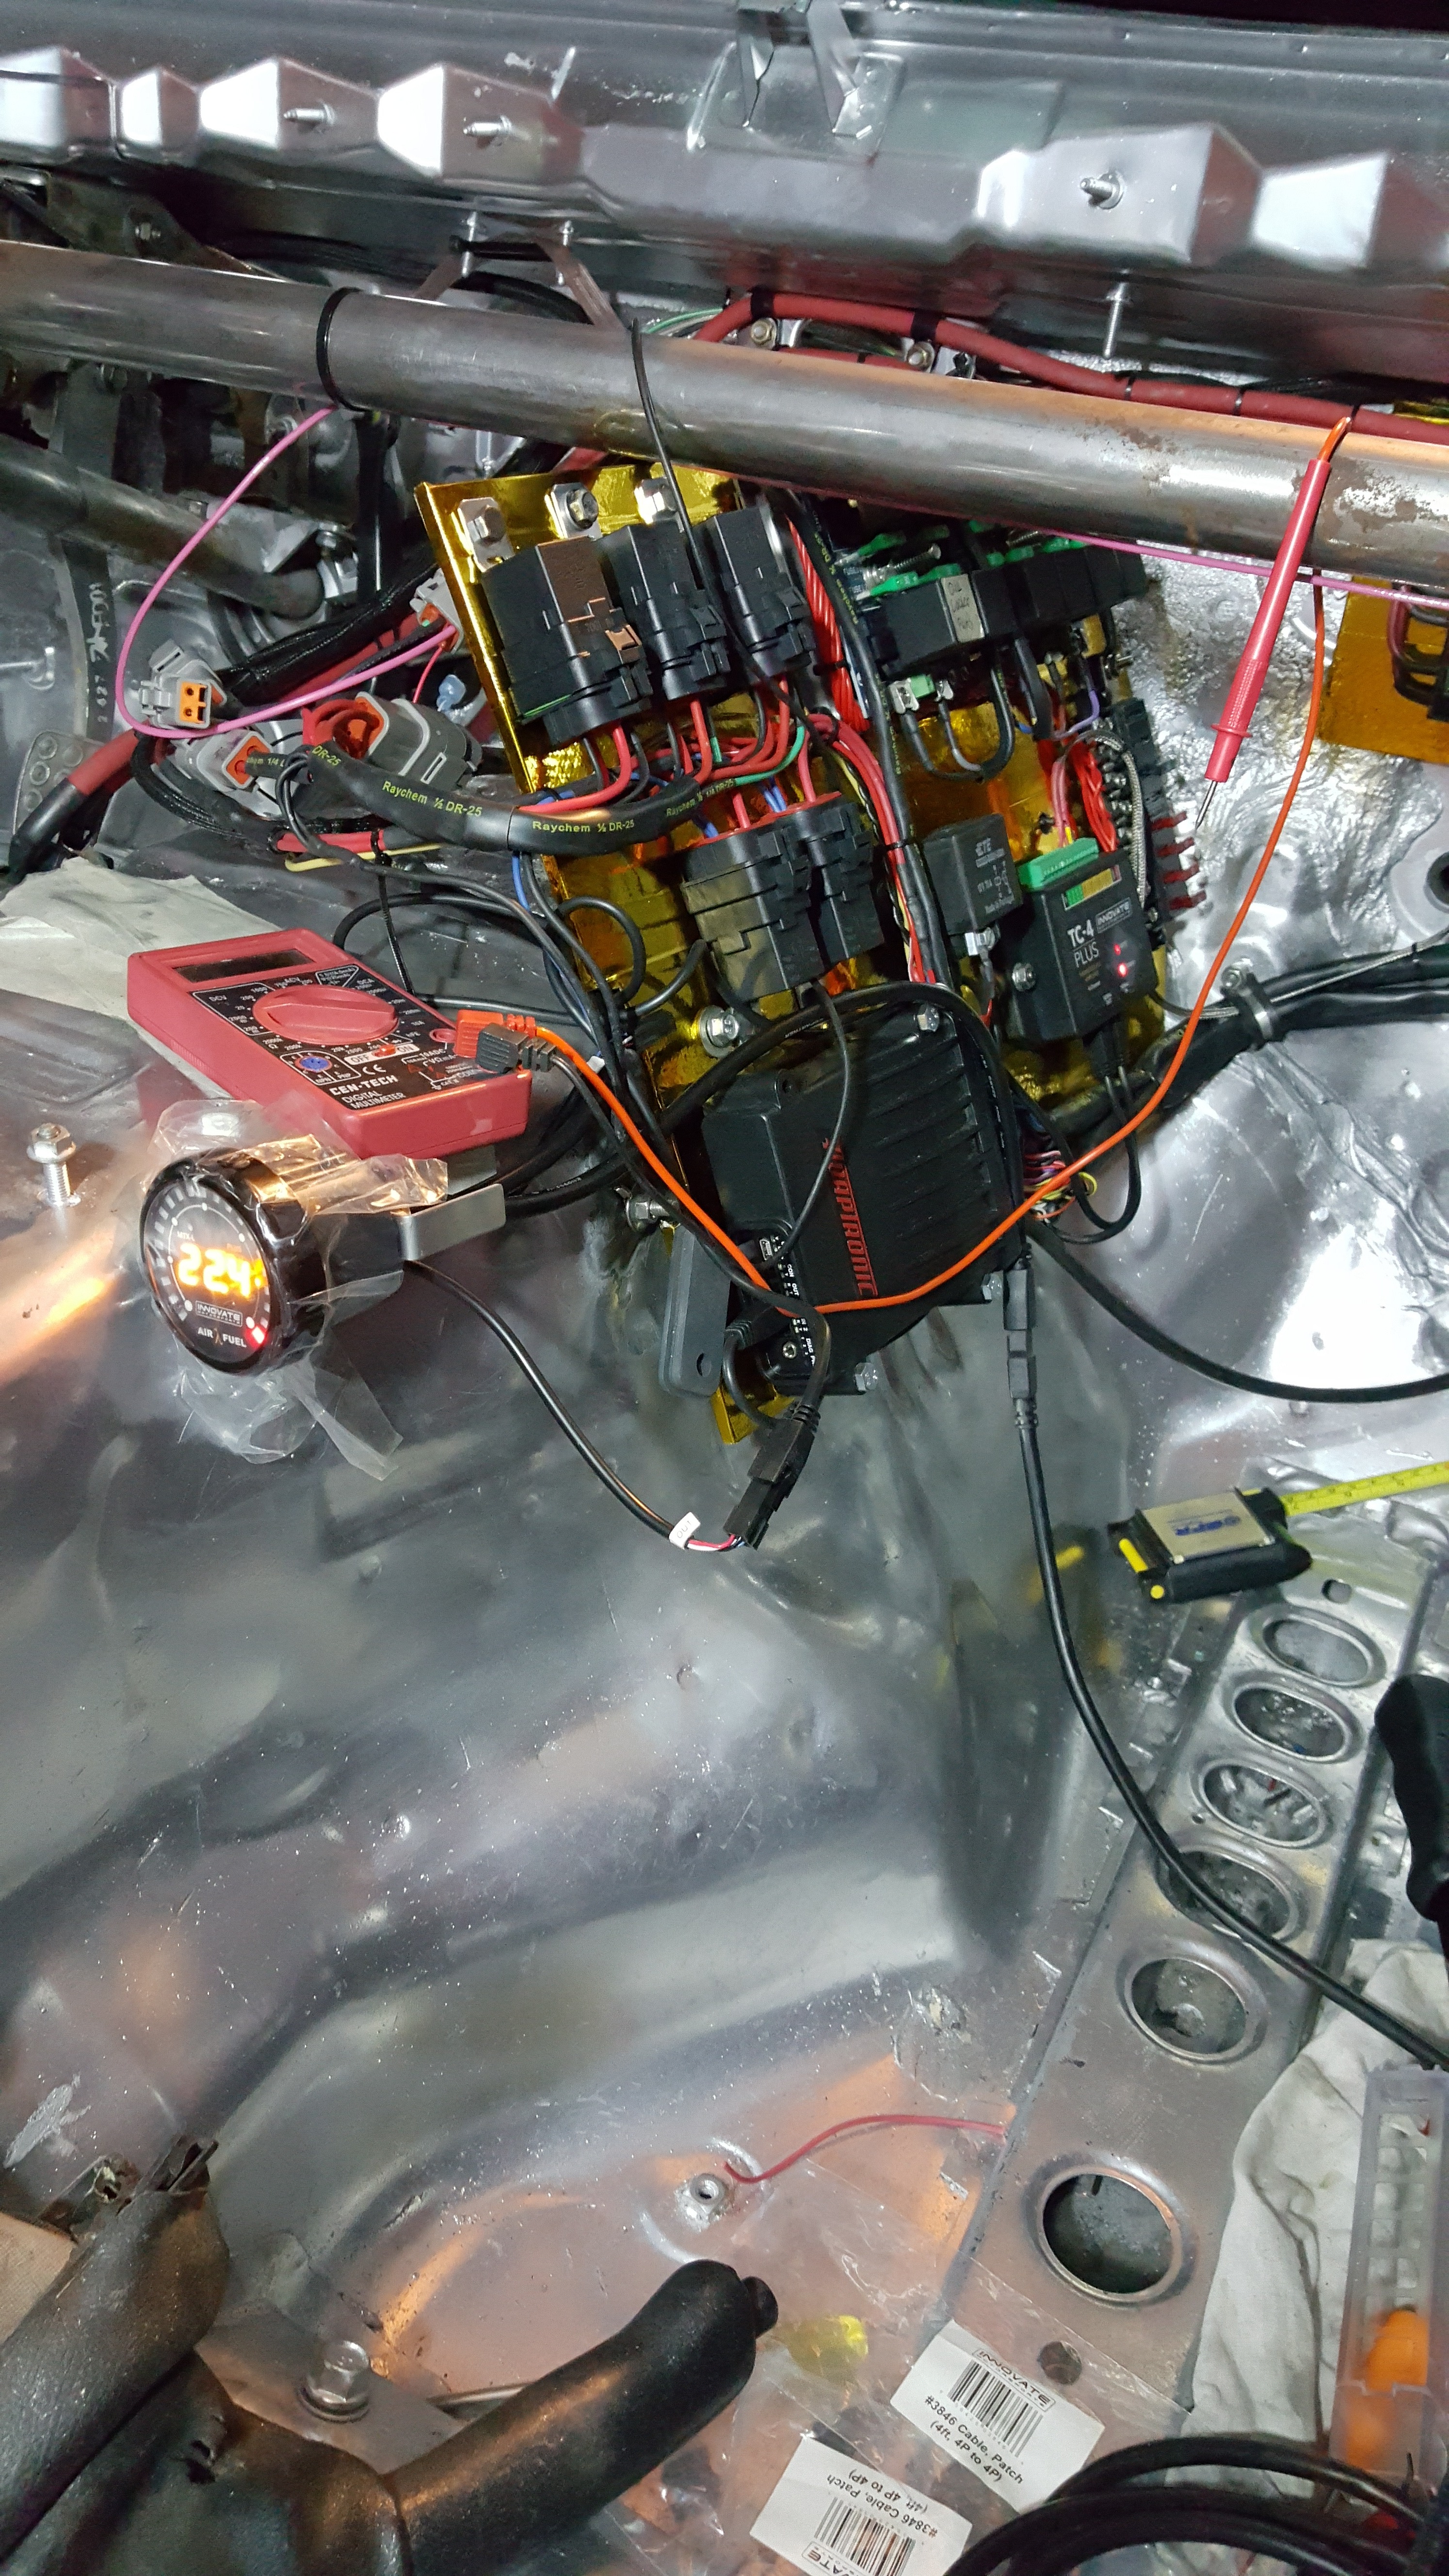
This is a 400Amp Military Grade Contactor. I've used these on a Few cars already...and they're pretty popular in Europe. I'm using for my Remote mount Kill Switch. Tons of Benefits to using this specific model over say the Painless kit, and or just a regular battery isolator.
Starter and Alternator Power. Make sure you have the Alternator and Starter return after the Kill switch. Some people disagree...but if you ever work on a car with power off... you want to be able to hit the switch and not have a hot starter/alt power lead. This is why you purchase a Good Quality Switch..with Solid Gauge Wire...and Proper ring terminals. But there's no point in having a Kill Switch if it doesn't kill power to the car. Ive quite a few cars wired incorrectly...and it's a major pain in the ***.
Just some Jams i've been into lately.... Killer!!!
And I fogrot to take pics of a few steps because I was in the zone. But here is where I left of last night. I've got my Marine Grade 185AMP Circuit Breaker within reach ....while strapped into the car with harness and all. There's a mis conception that these create issues. People always say "those things always give us issues." Which may be true...but it's only giving issues...because it's wired incorrectly, or it's not the correct component for the required job.
And that's pretty much where I've left off. I'm waiting for my ABS Panel from McMaster to show up...then I can hammer down on the Control Panel. But until then..I"ve really got my hands tied using this Cardboard template. I don't want to add too much to it because for one...it isn't very sturdy...and 2. Until its actually mounted....I won't be able to optimize the thought process behind the set up. I want to make sure this is done correctly. So I'll have to wait. I'm excited to show you guys the end product though!!
I'll leave you guys with some Action shots from Luke Munnels coverage of Top Drift Round 2. Article is up on Super Street Magazine!
Pits..my boy Billy Haynes and Odi Bakchis
Top 16 Lead run
Thanks for following guys!!
More updates soon!
Stay Tuned!
#ThisistheWolf
Last edited by mannykiller; Jun 17, 2017 at 01:26 PM.


Thanks Man!!!!! We gotta get your car going ASAP!!!
Well..I don't want to Fabricate one truthfully. And I couldn't do it on the cheap..because I'd end up hating myself. I actually really really like our Dashes. I was thinking of Flocking it.. But ...I don't want that to come out crap either. Going to Brainstorm on it a bit and then get back.
HUGE updates on progress. Crazy busy....Non-Stop...All Day...Real late nights... Grinding as hard as I can to make sure this car is 100% Set up the way that I know I'm capable of producing!
Update: Chassis Re-wire Part 2, "Its all in the details"
Whats up guys!!! Been a week and a half or so of grinding out at both Jobs! For the past 9 days I had been getting up at 7:30 AM and working on the Wolfs wiring till 1:45 pm.. Leave at 2 pm…get to work at 3:30 pm… work till 11-12 pm drive home and put in a couple more hours in..usually getting to sleep at around 3-3:30 AM. I’ve just been on this bender to get in as much possible in the span of one day as I can in order to maximize efficiency. On day 8 though…I started realizing I needed to sleep more. I had made a couple mistakes finalizing my wiring and had to go back and re-do things.
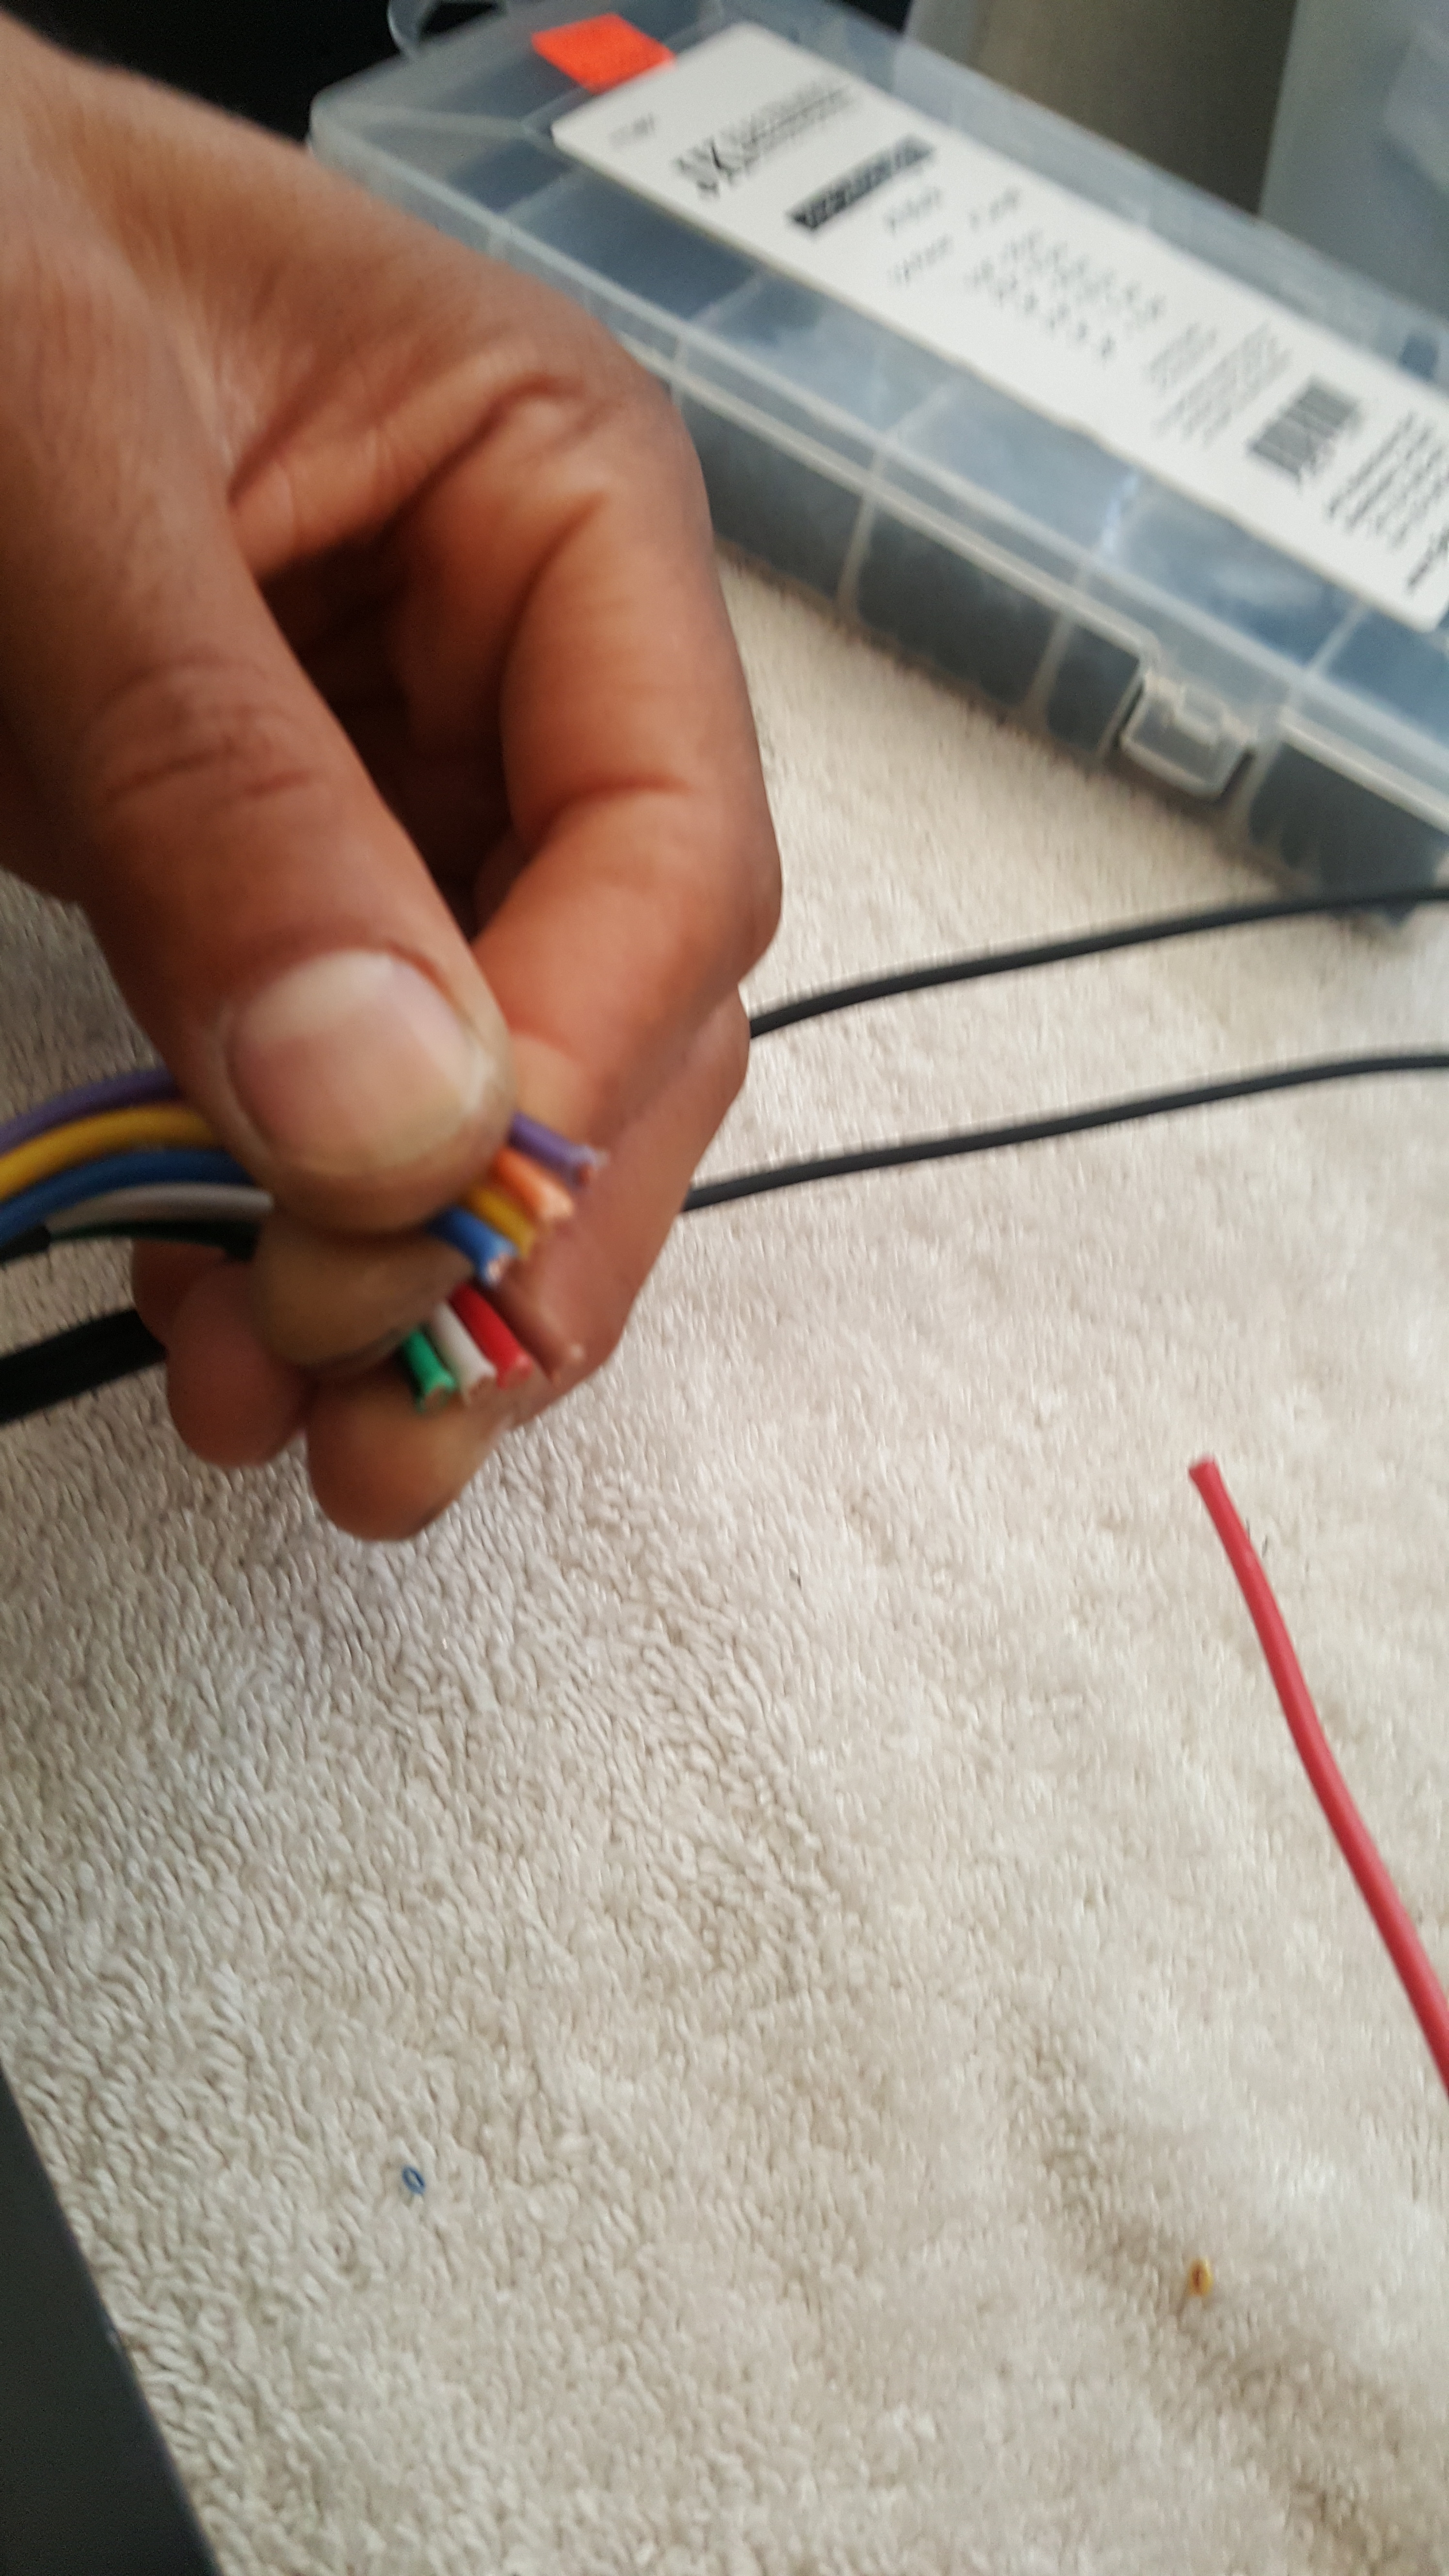
Anyways…It’s all in the details when wiring. Yes you can use nice connectors… Yes you can use Nice wire… Yes you can even do fancy twisted pairs etc. But it needs to be well thought out and executed. After almost finishing the car....I can confess that I have actually re-used a lot of my old wire. On the board..I didn’t really need to. And for the ARC panel….I was able to use the wire they supplied. But they don’t give you enough to route things properly. They give you just enough to get it done..but not get it done really clean ……if that makes sense. I wanted to make sure the wire followed the frame rail. And I wanted tomake sure I was able to mount things in well thought out locations so that I could Maximize efficiency and useability/maint if possible. So I ended up extending their wire with my own in areas like Head lights etc.
For instance… I could have just wrapped the headlights with 1 power wire running from the cabin.. around the passenger side fender well… to the passenger side head light…then continued on to the drivers side headlight…But If I were to ever get damage on that side of the car.. then I could lose both Headlights….meaning I’d be out of the competition. So I ran separate power wire to each head light and each projector, so that in the case of damage on either side..that won’t affect the opposite side for repair and or running.
So lets pick up where I left off!
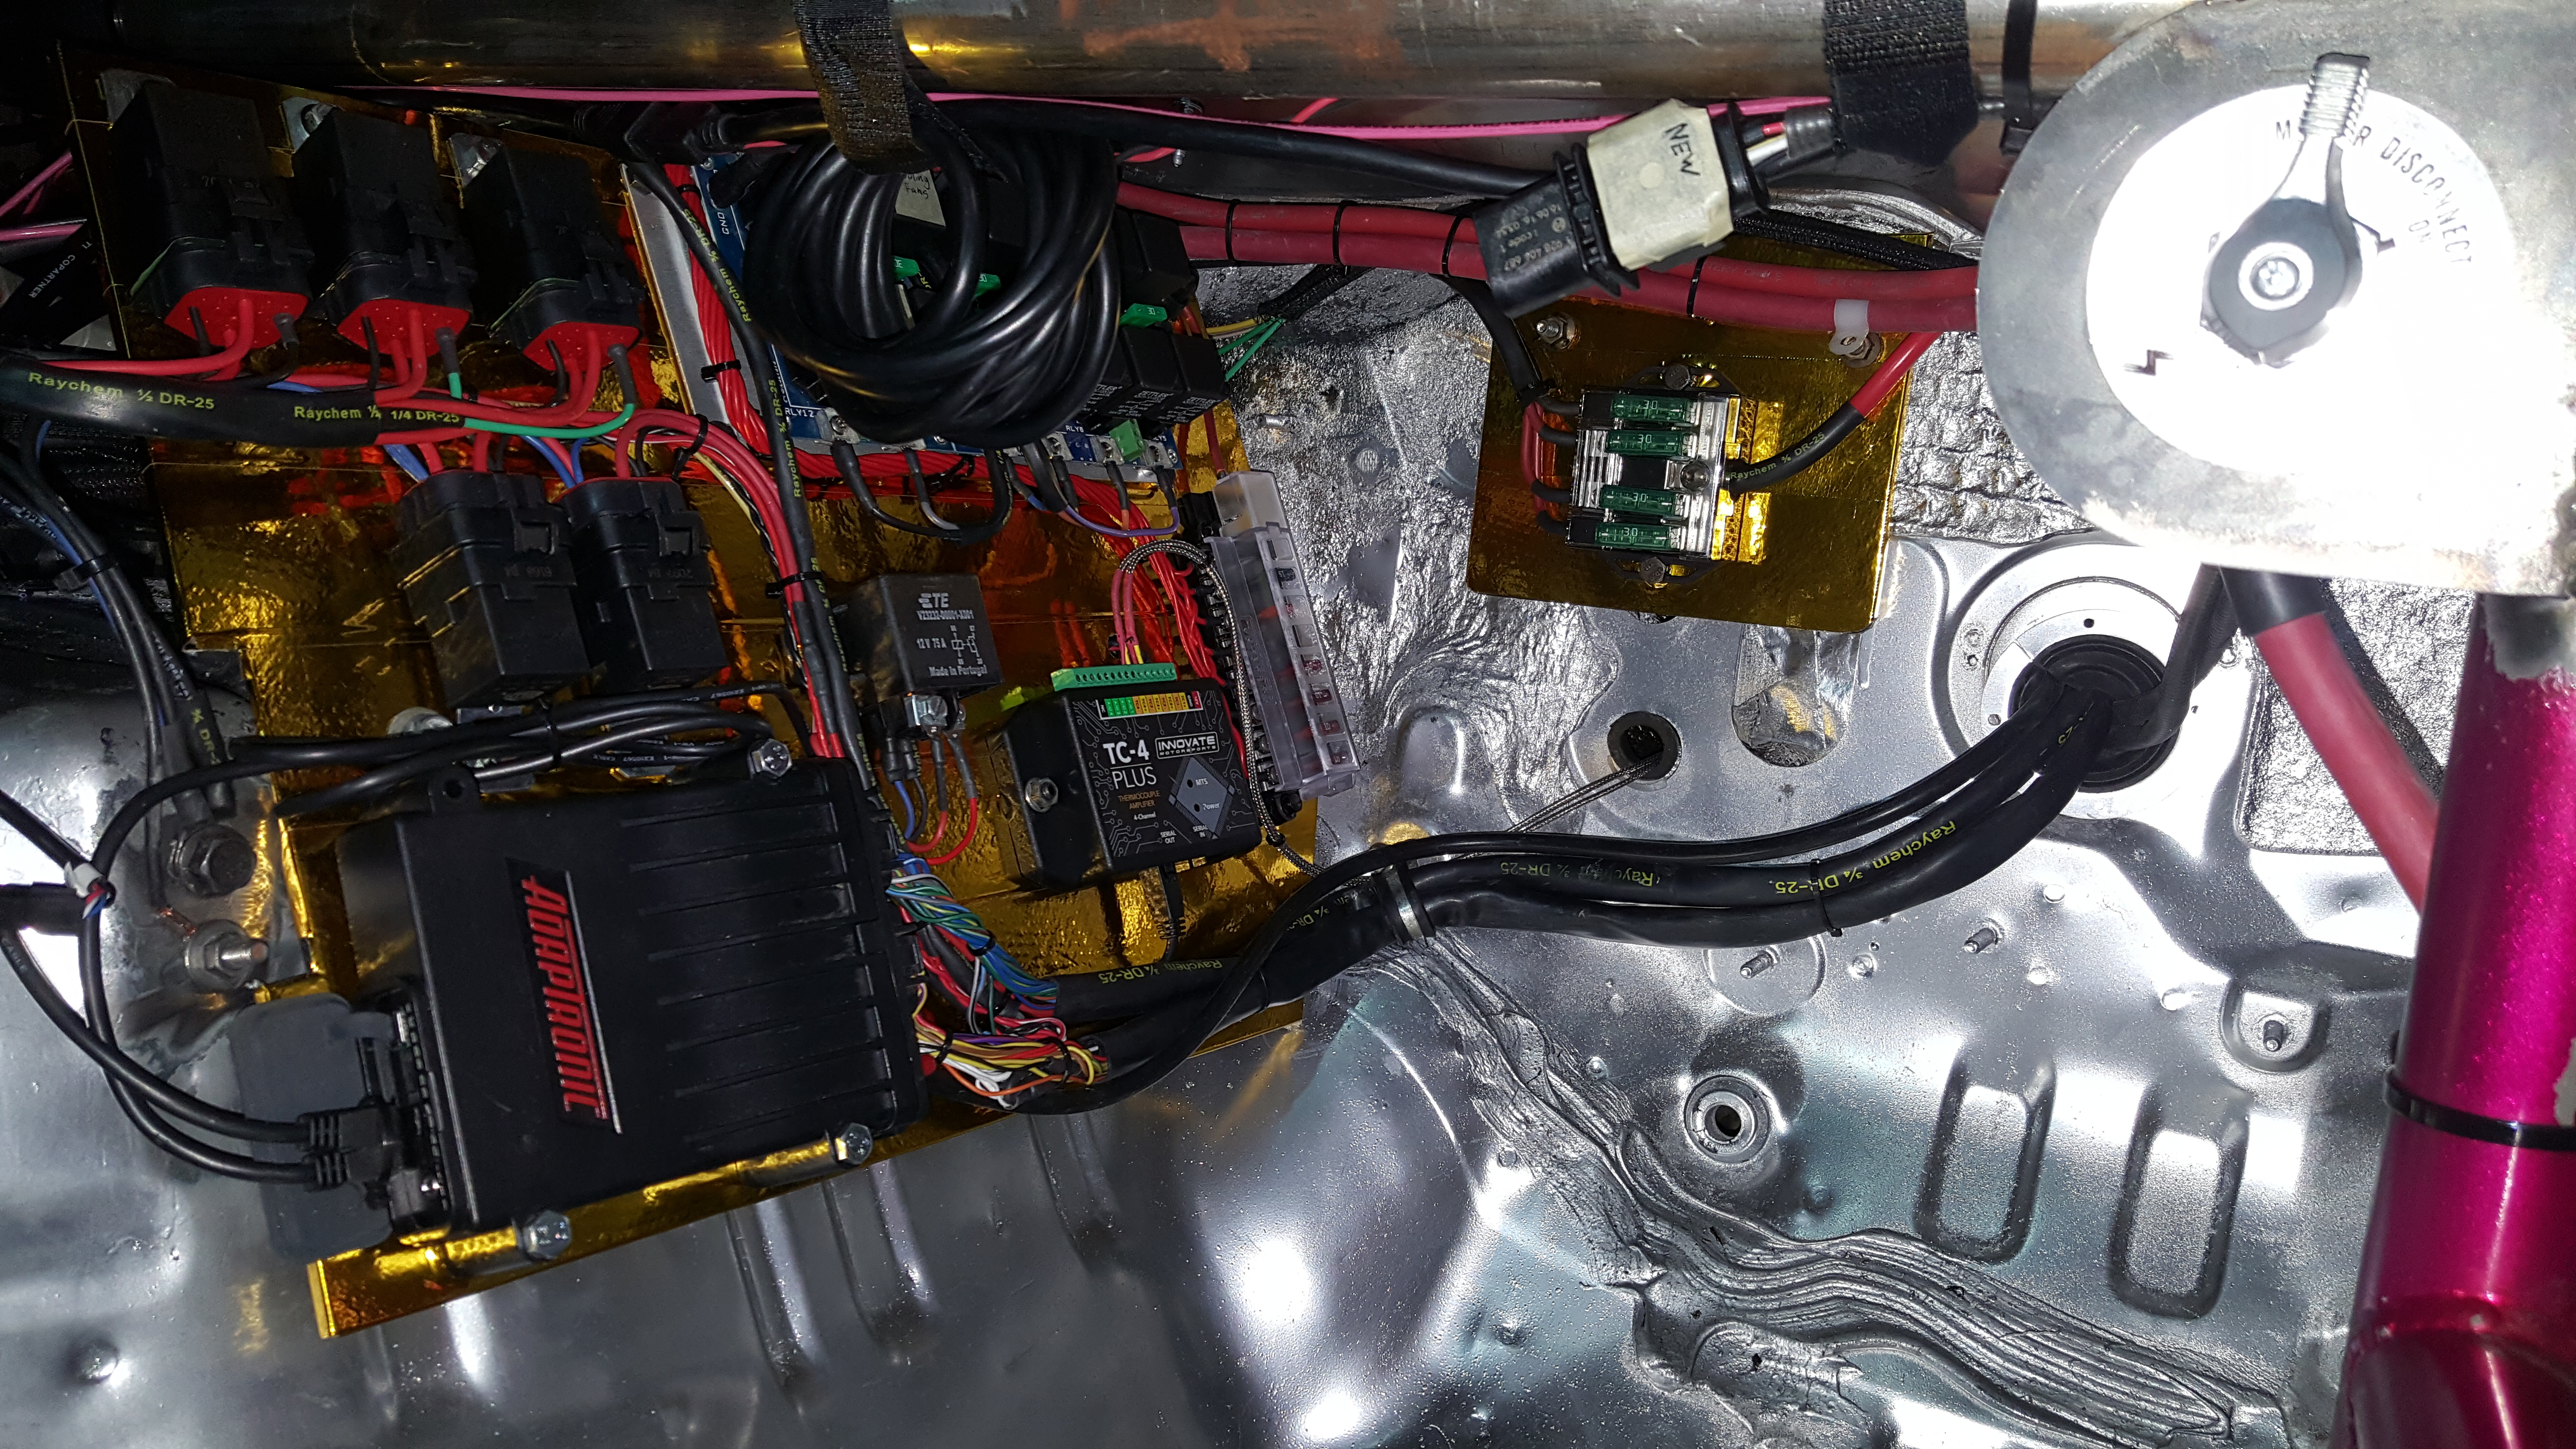
I got the Chassis side of things done! Ran all cable, starter, alternator, Master Kill switch, Emergency cut off switch, Ignition Switch and got my ARC Switch panel back from Super Wow Factory… they did an AWESOME job to the pretty standard looking ARC White with black lettering style. It’s also sealed and covered with a protective film that can be cleaned with stronger cleaners like simple green etc if need be!
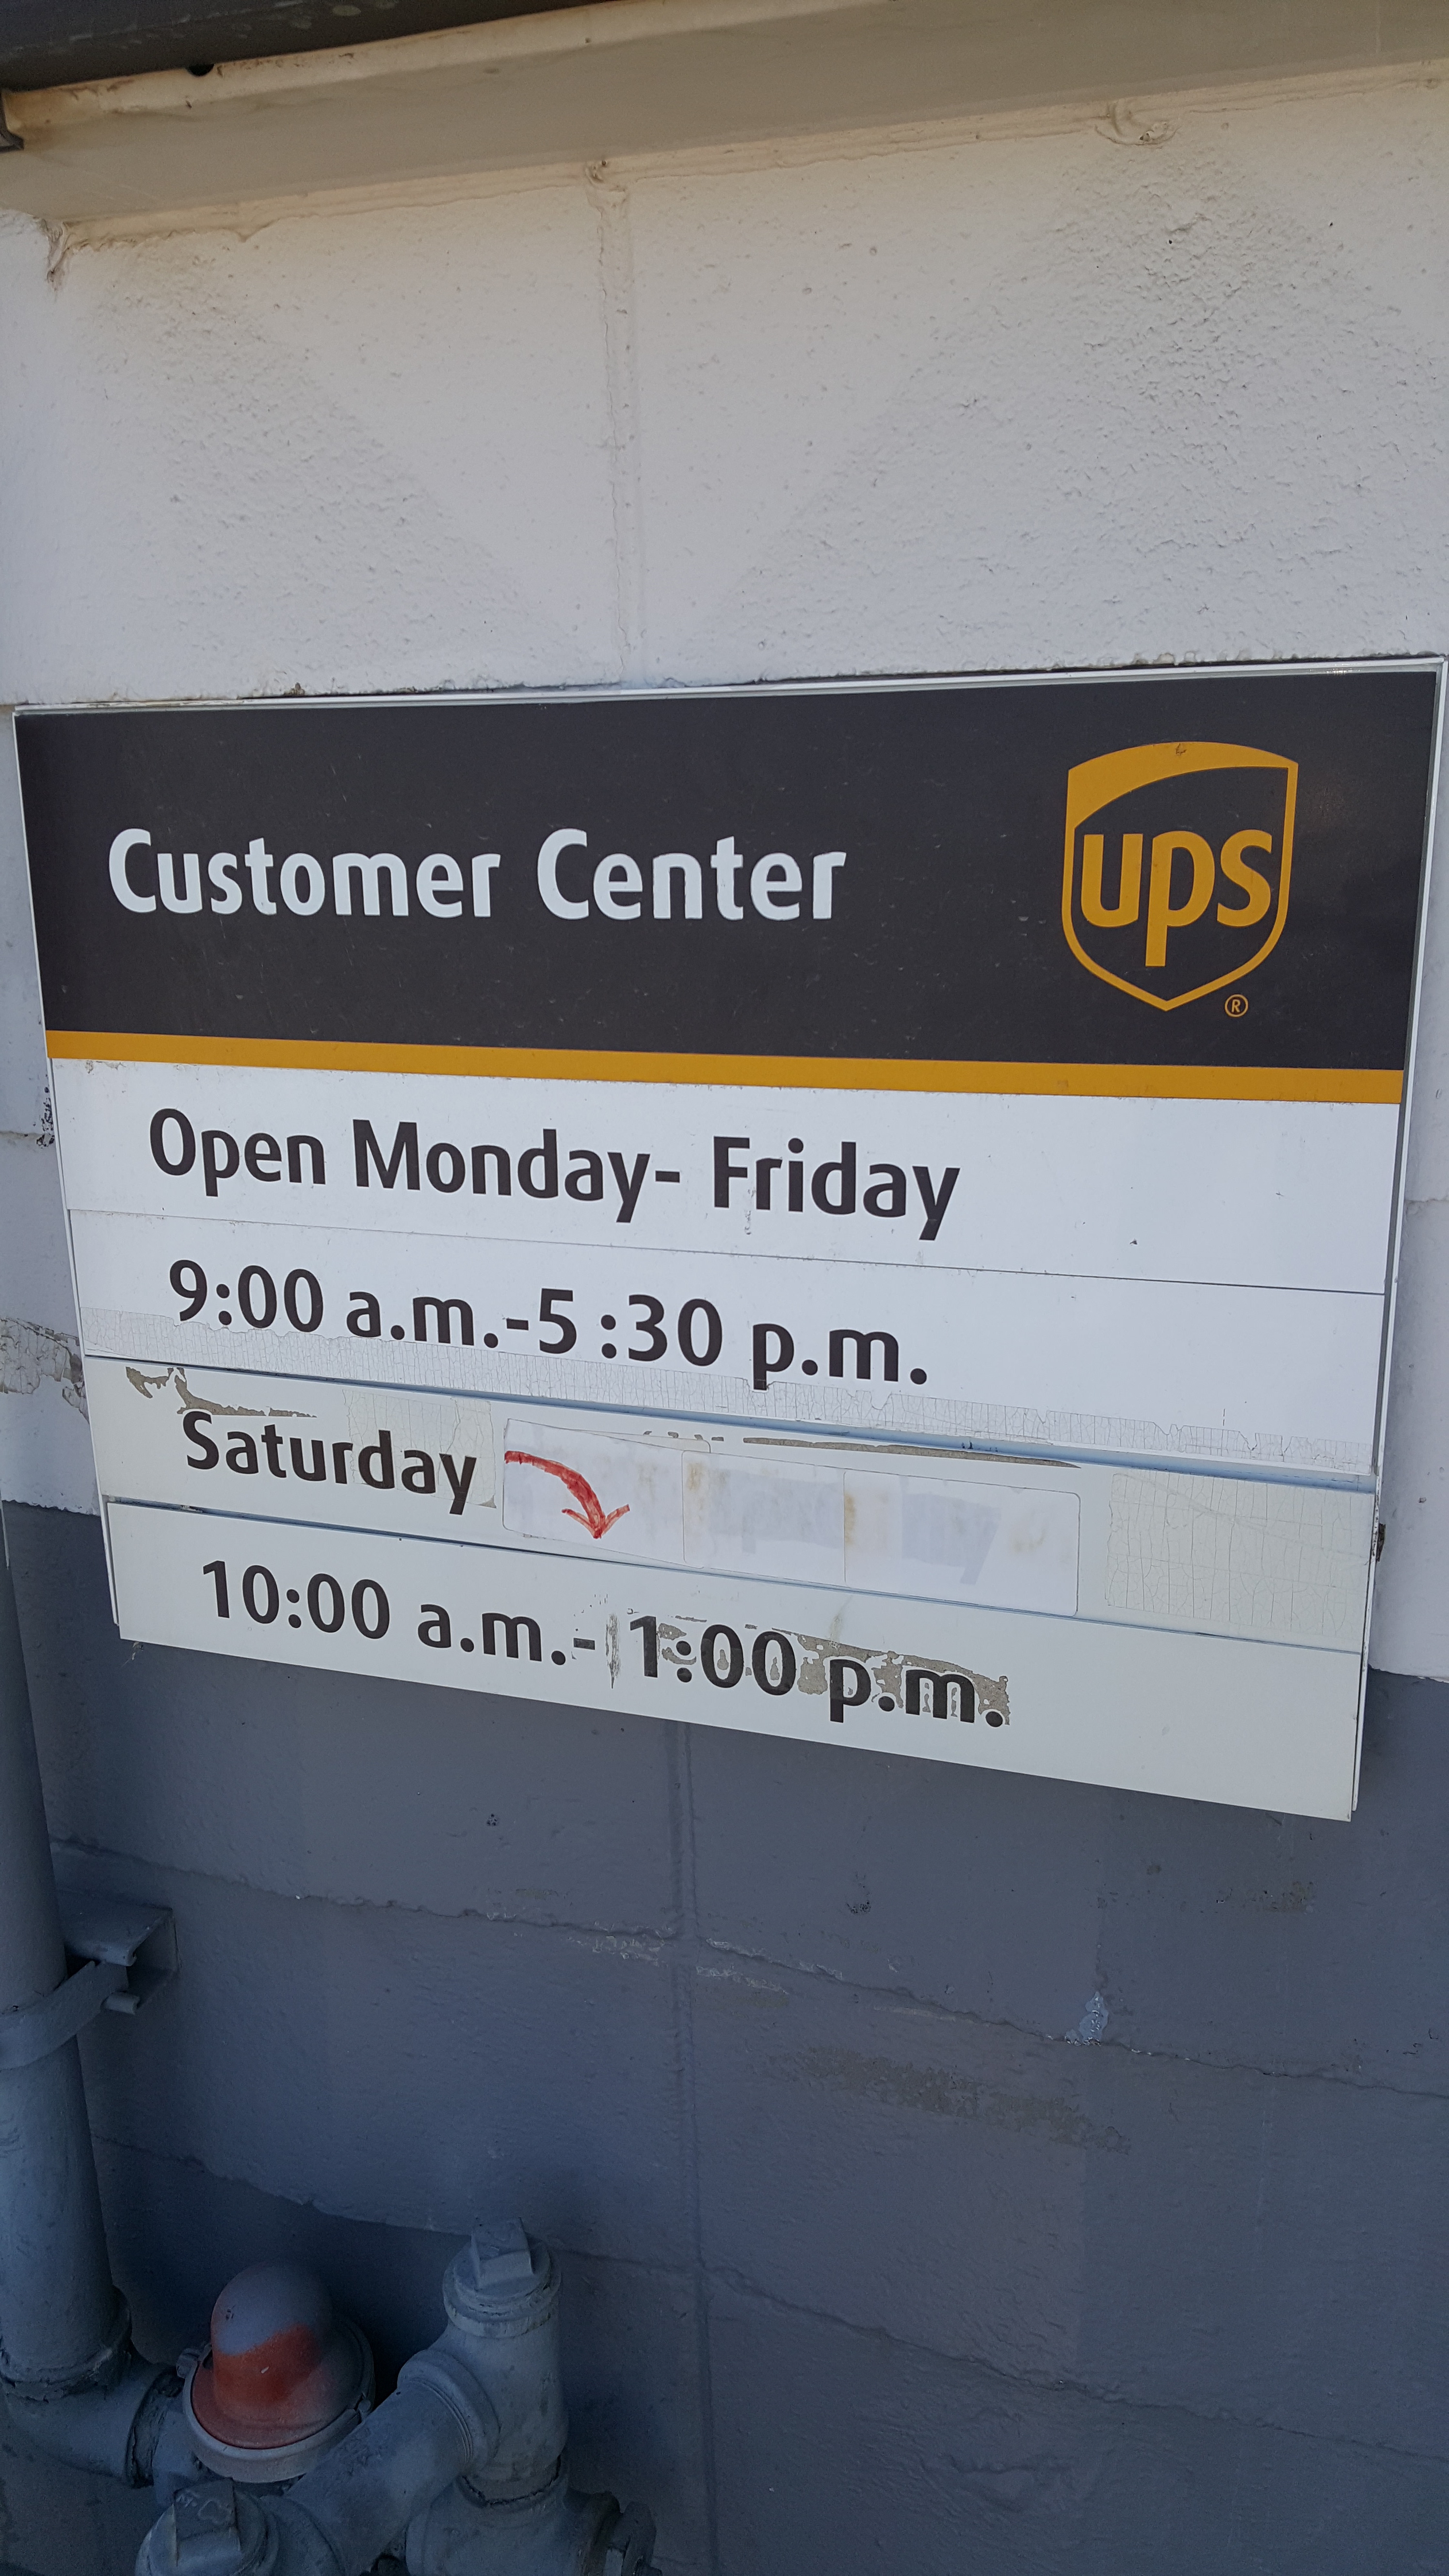
Black piece of ABS sheet came in from McMaster…had to go to UPS to pick it up…..said it was at the station…out for delivery but not? Haha weird…So I drove over there. This UPS Station was the jam….super down to earth guys and really helpful over the phone. Not like most.
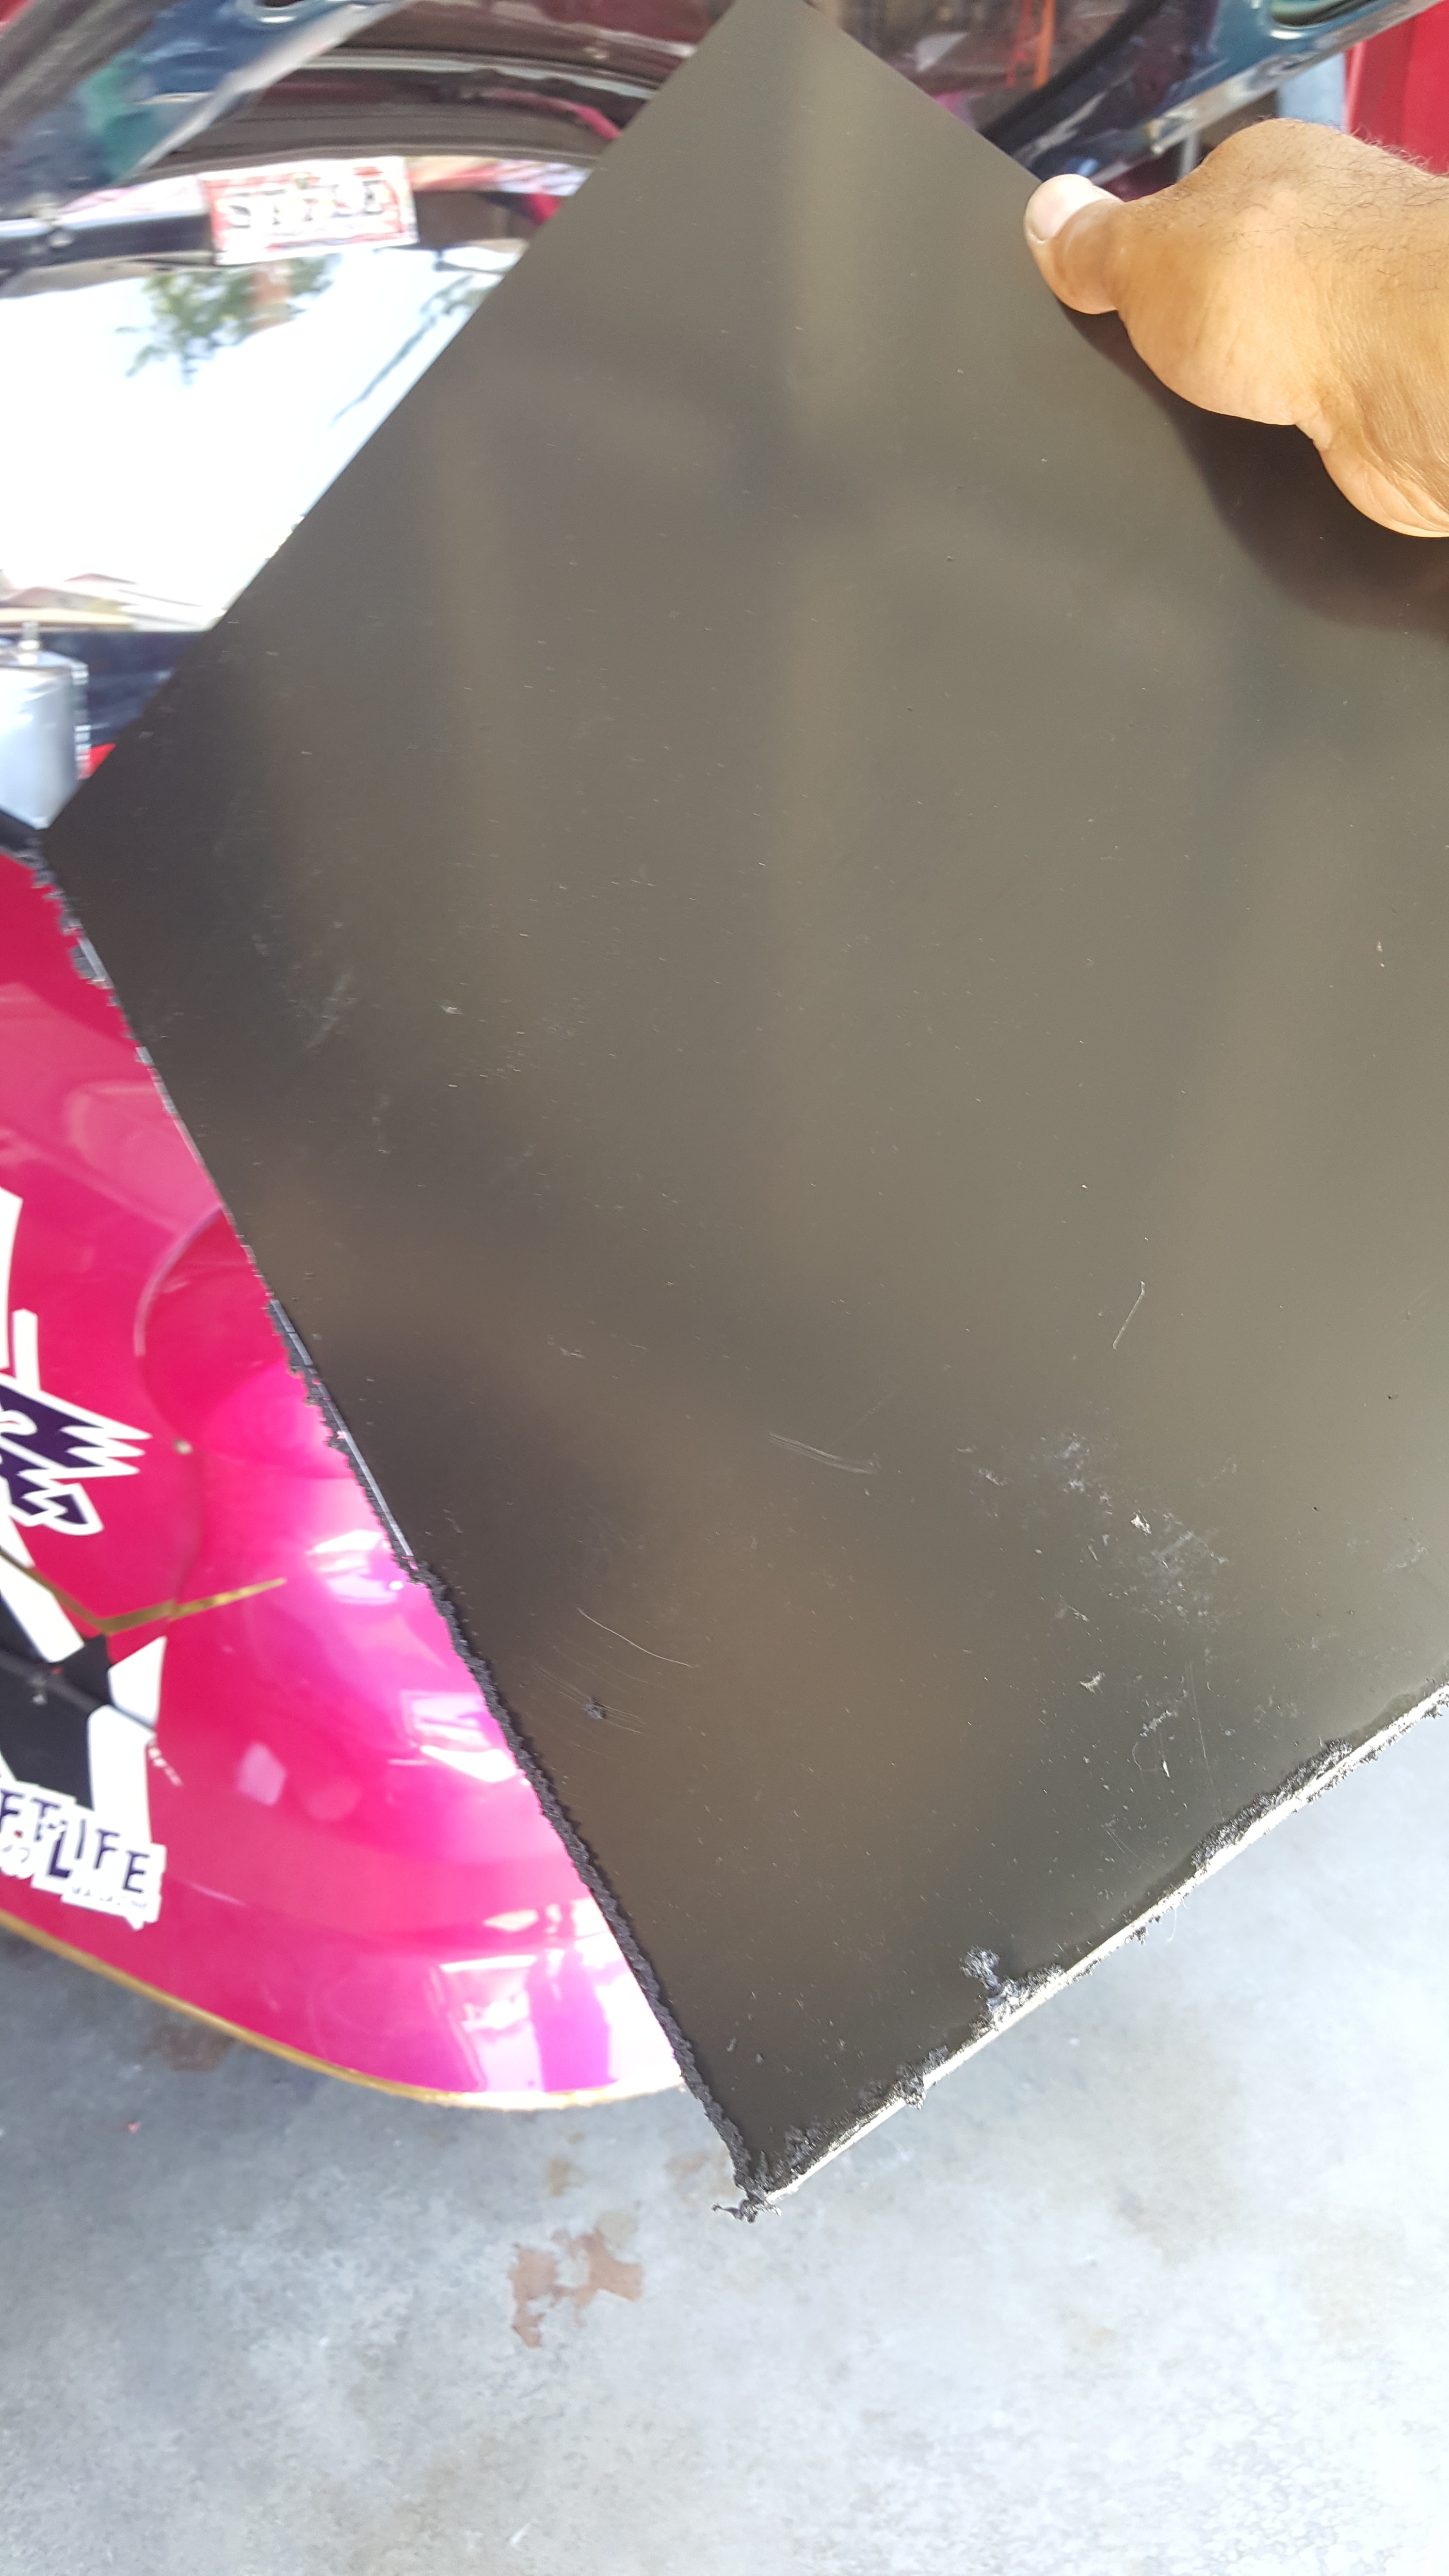
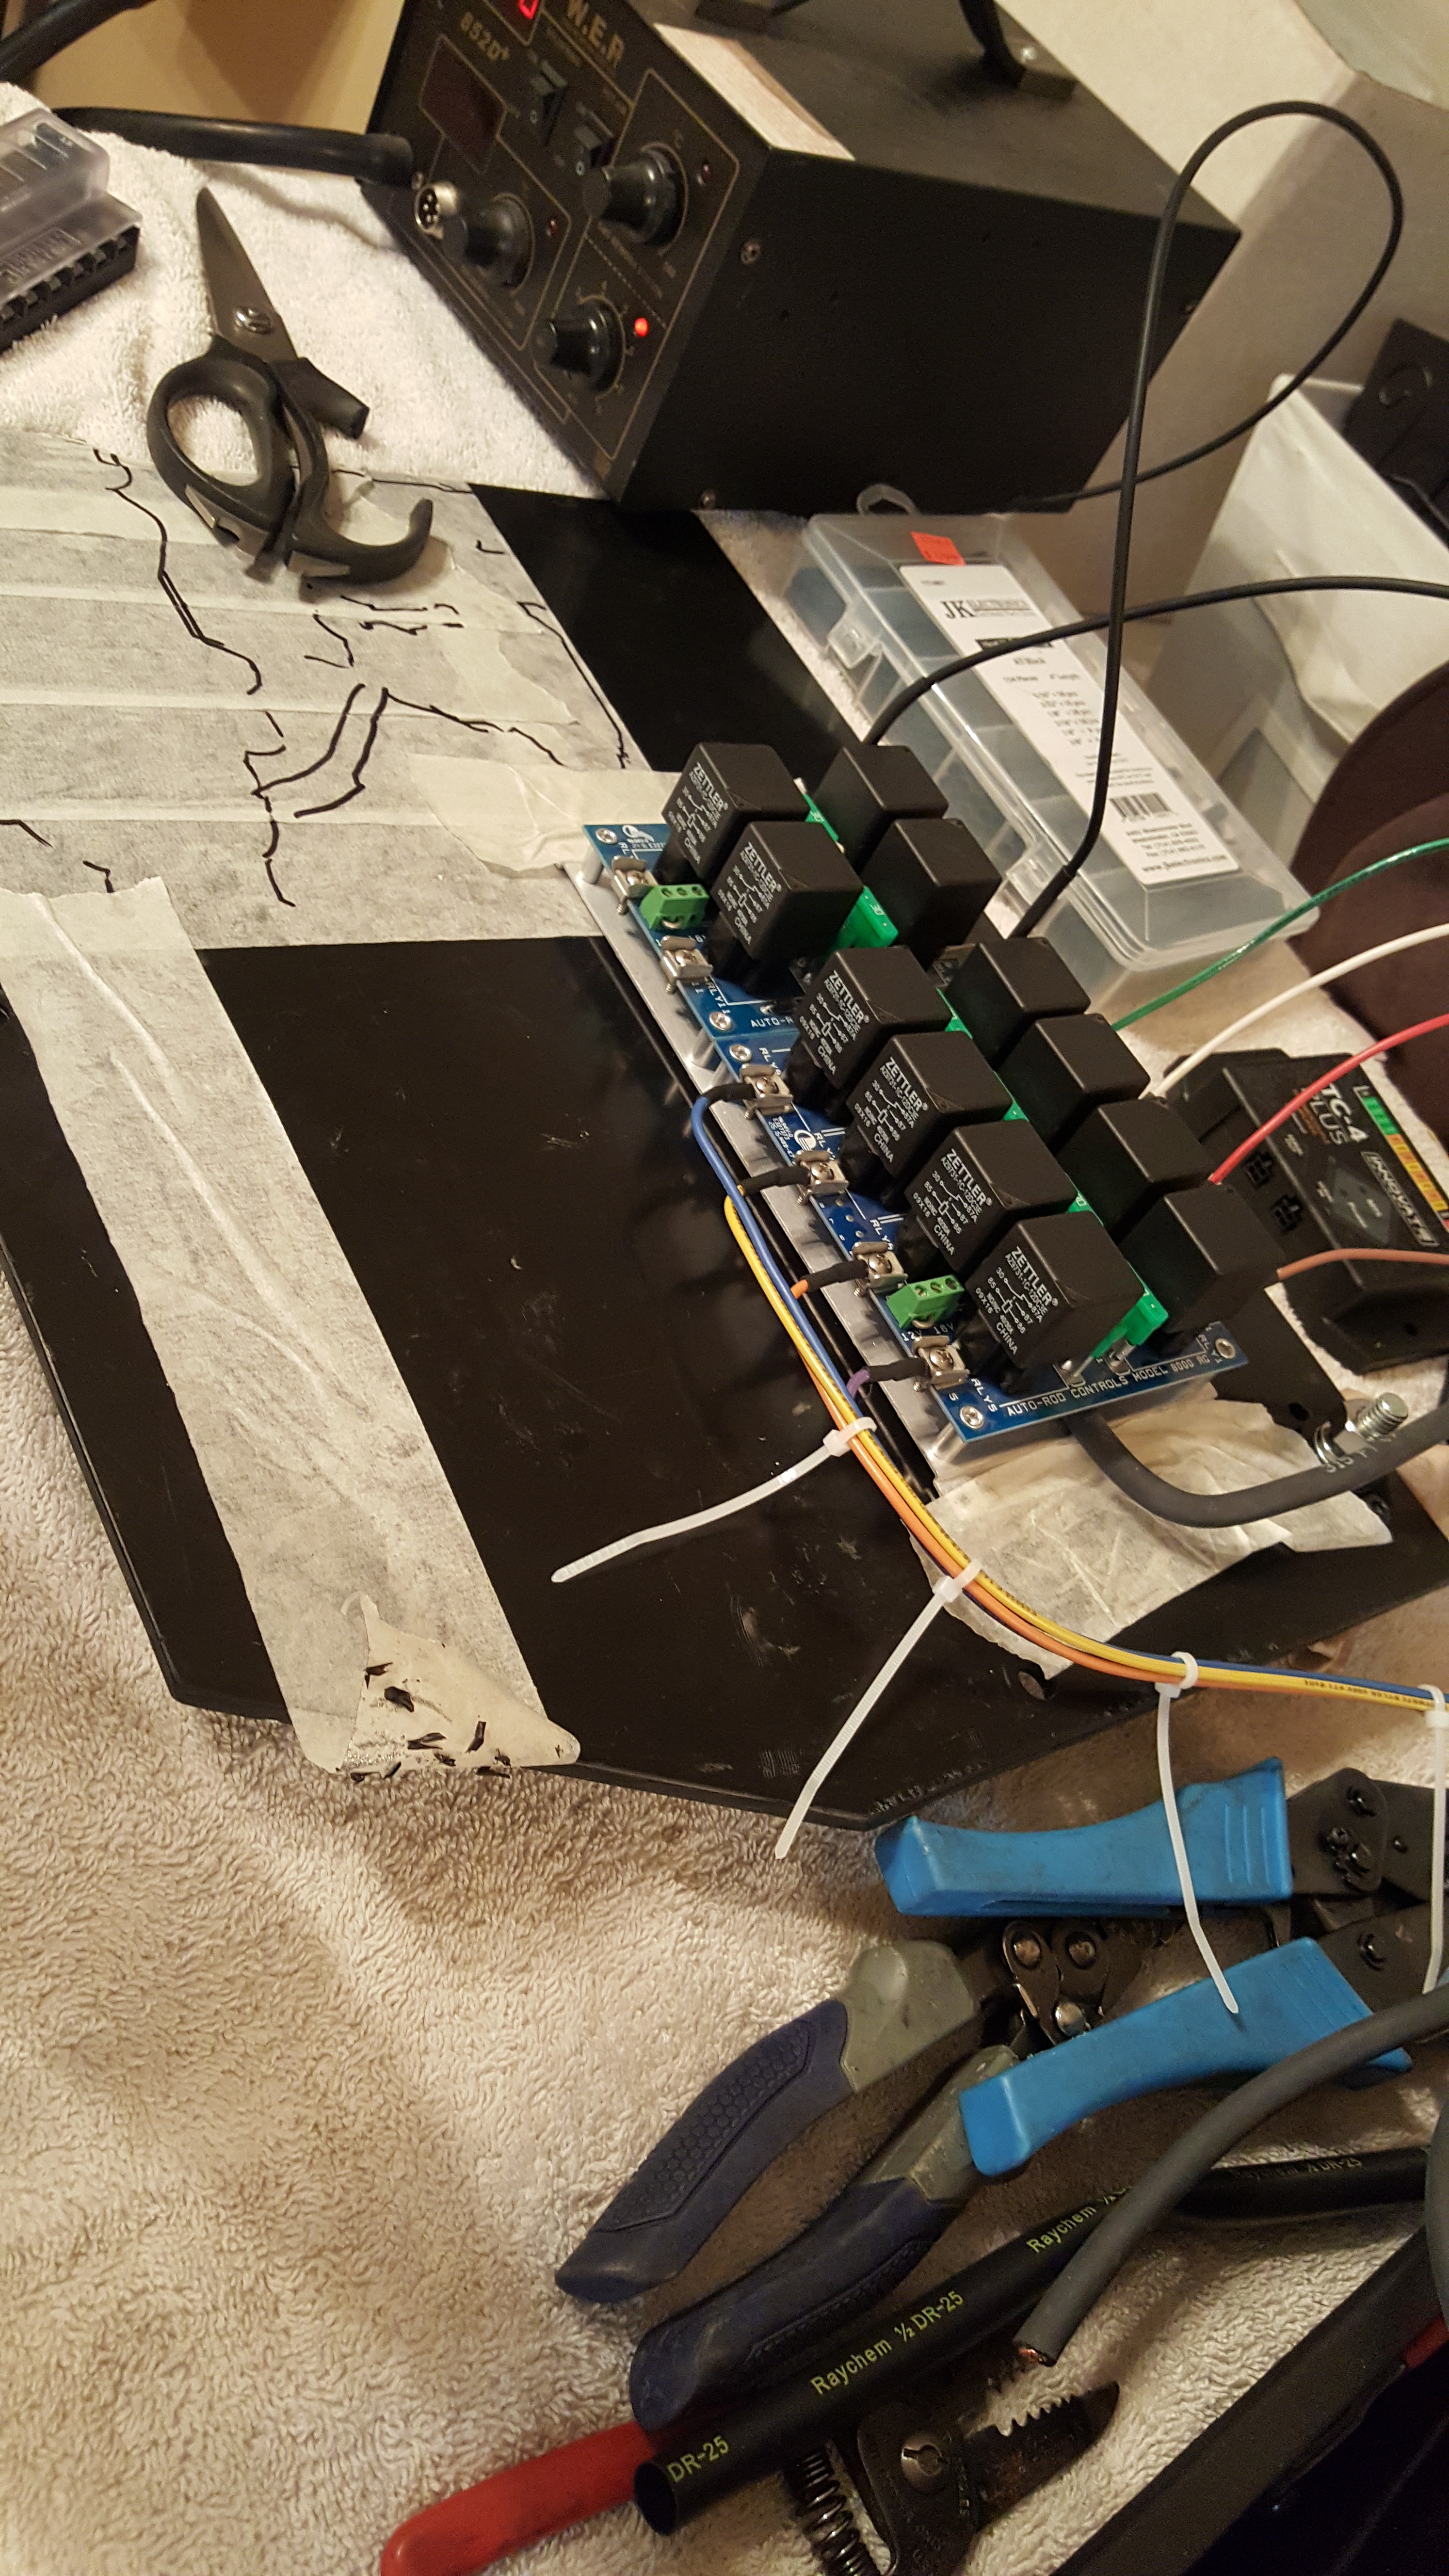
Traced my crap cardboard template to the sheet of ABS and started fitting it so I could mount it utilizing 3 mounting bolts.

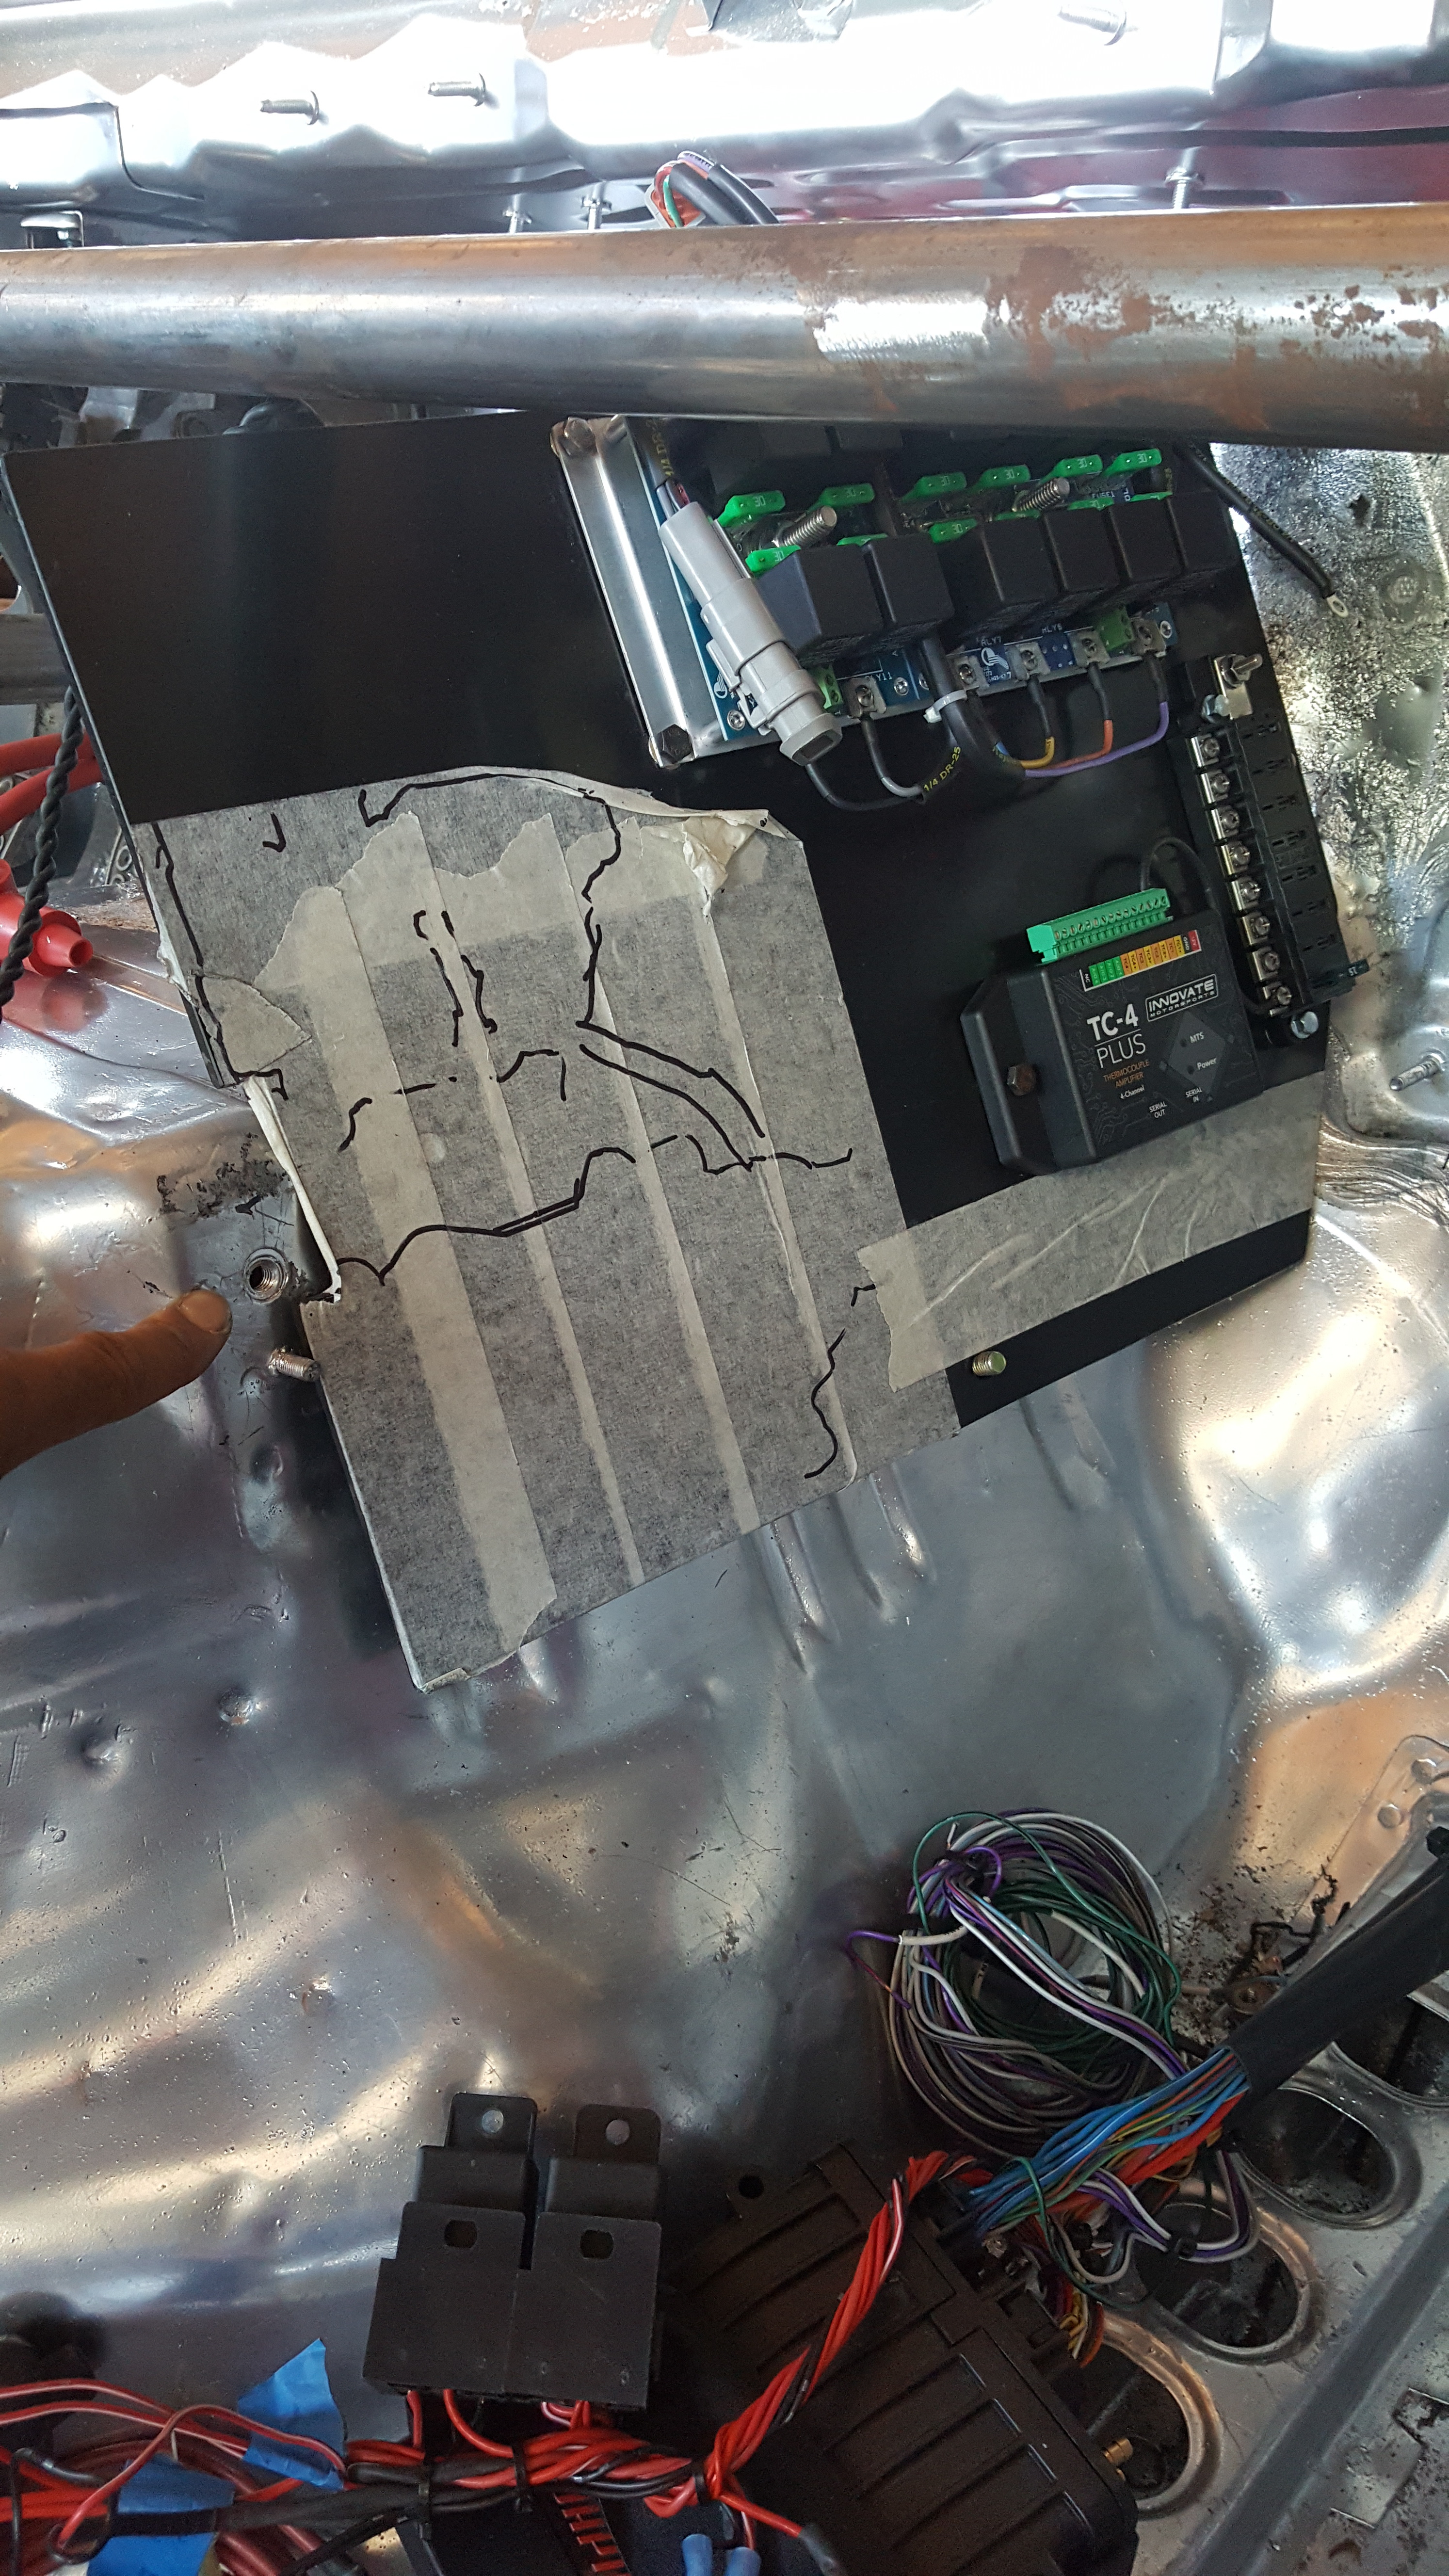
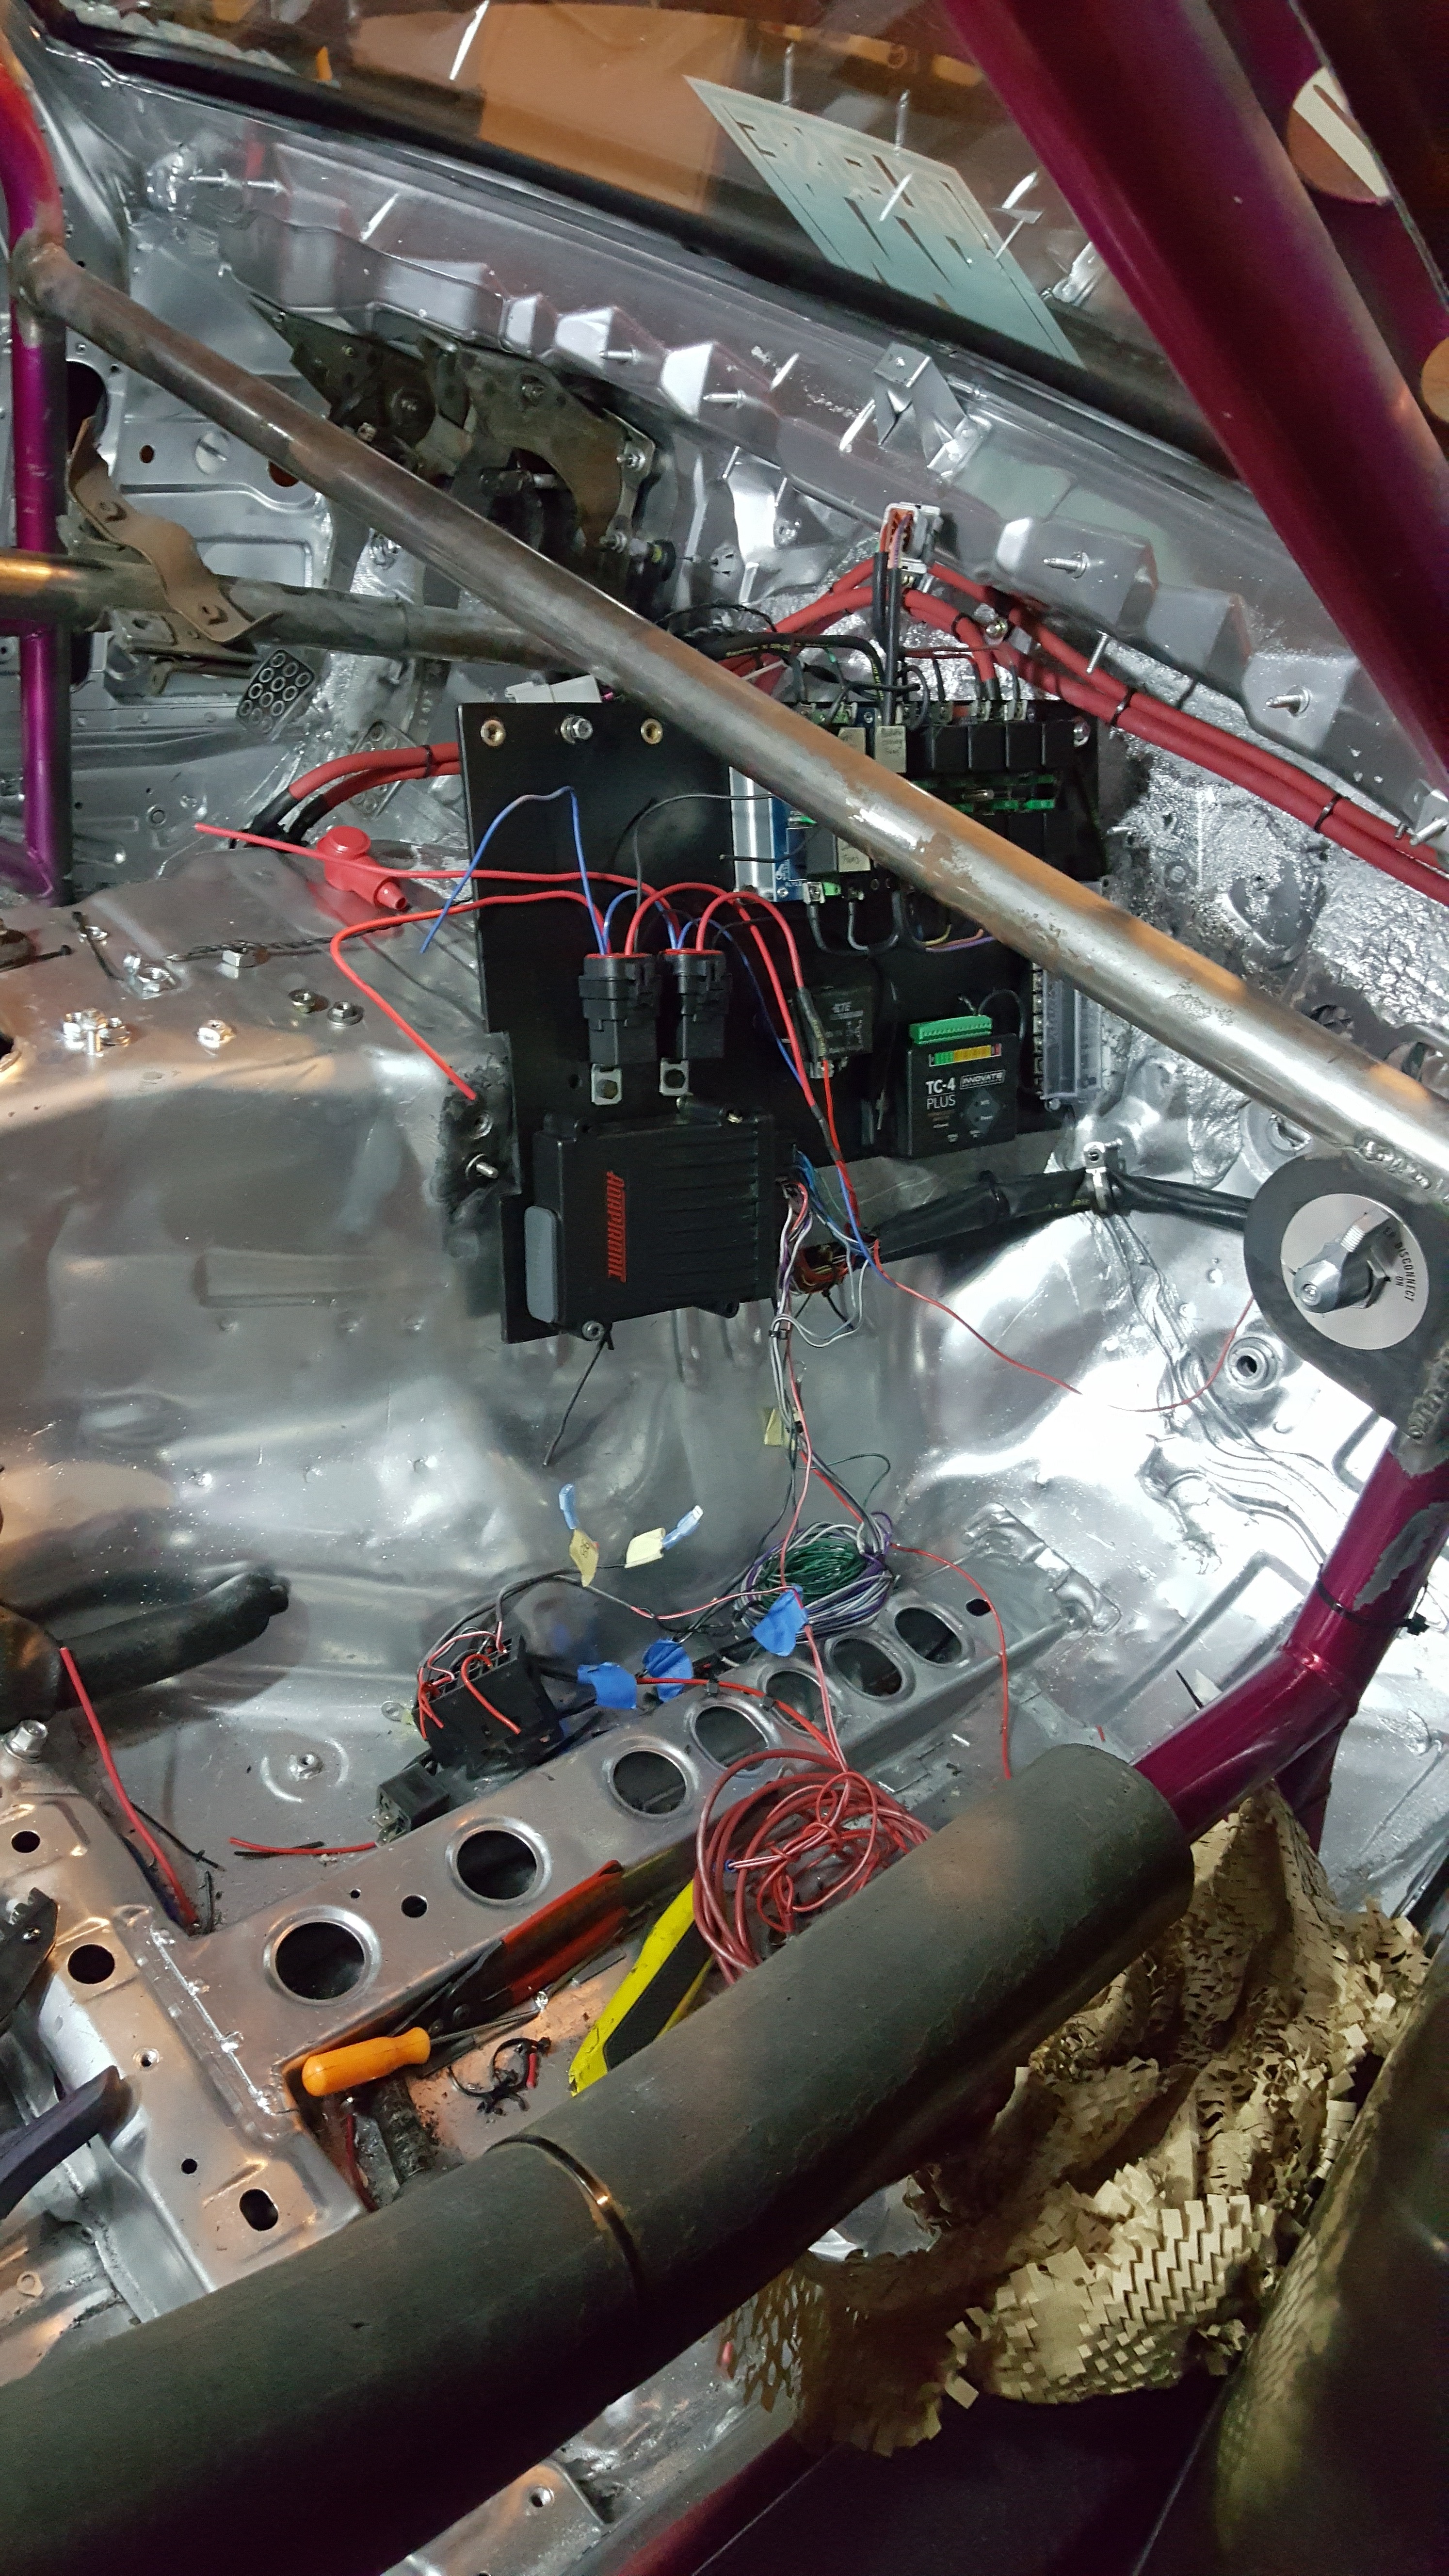
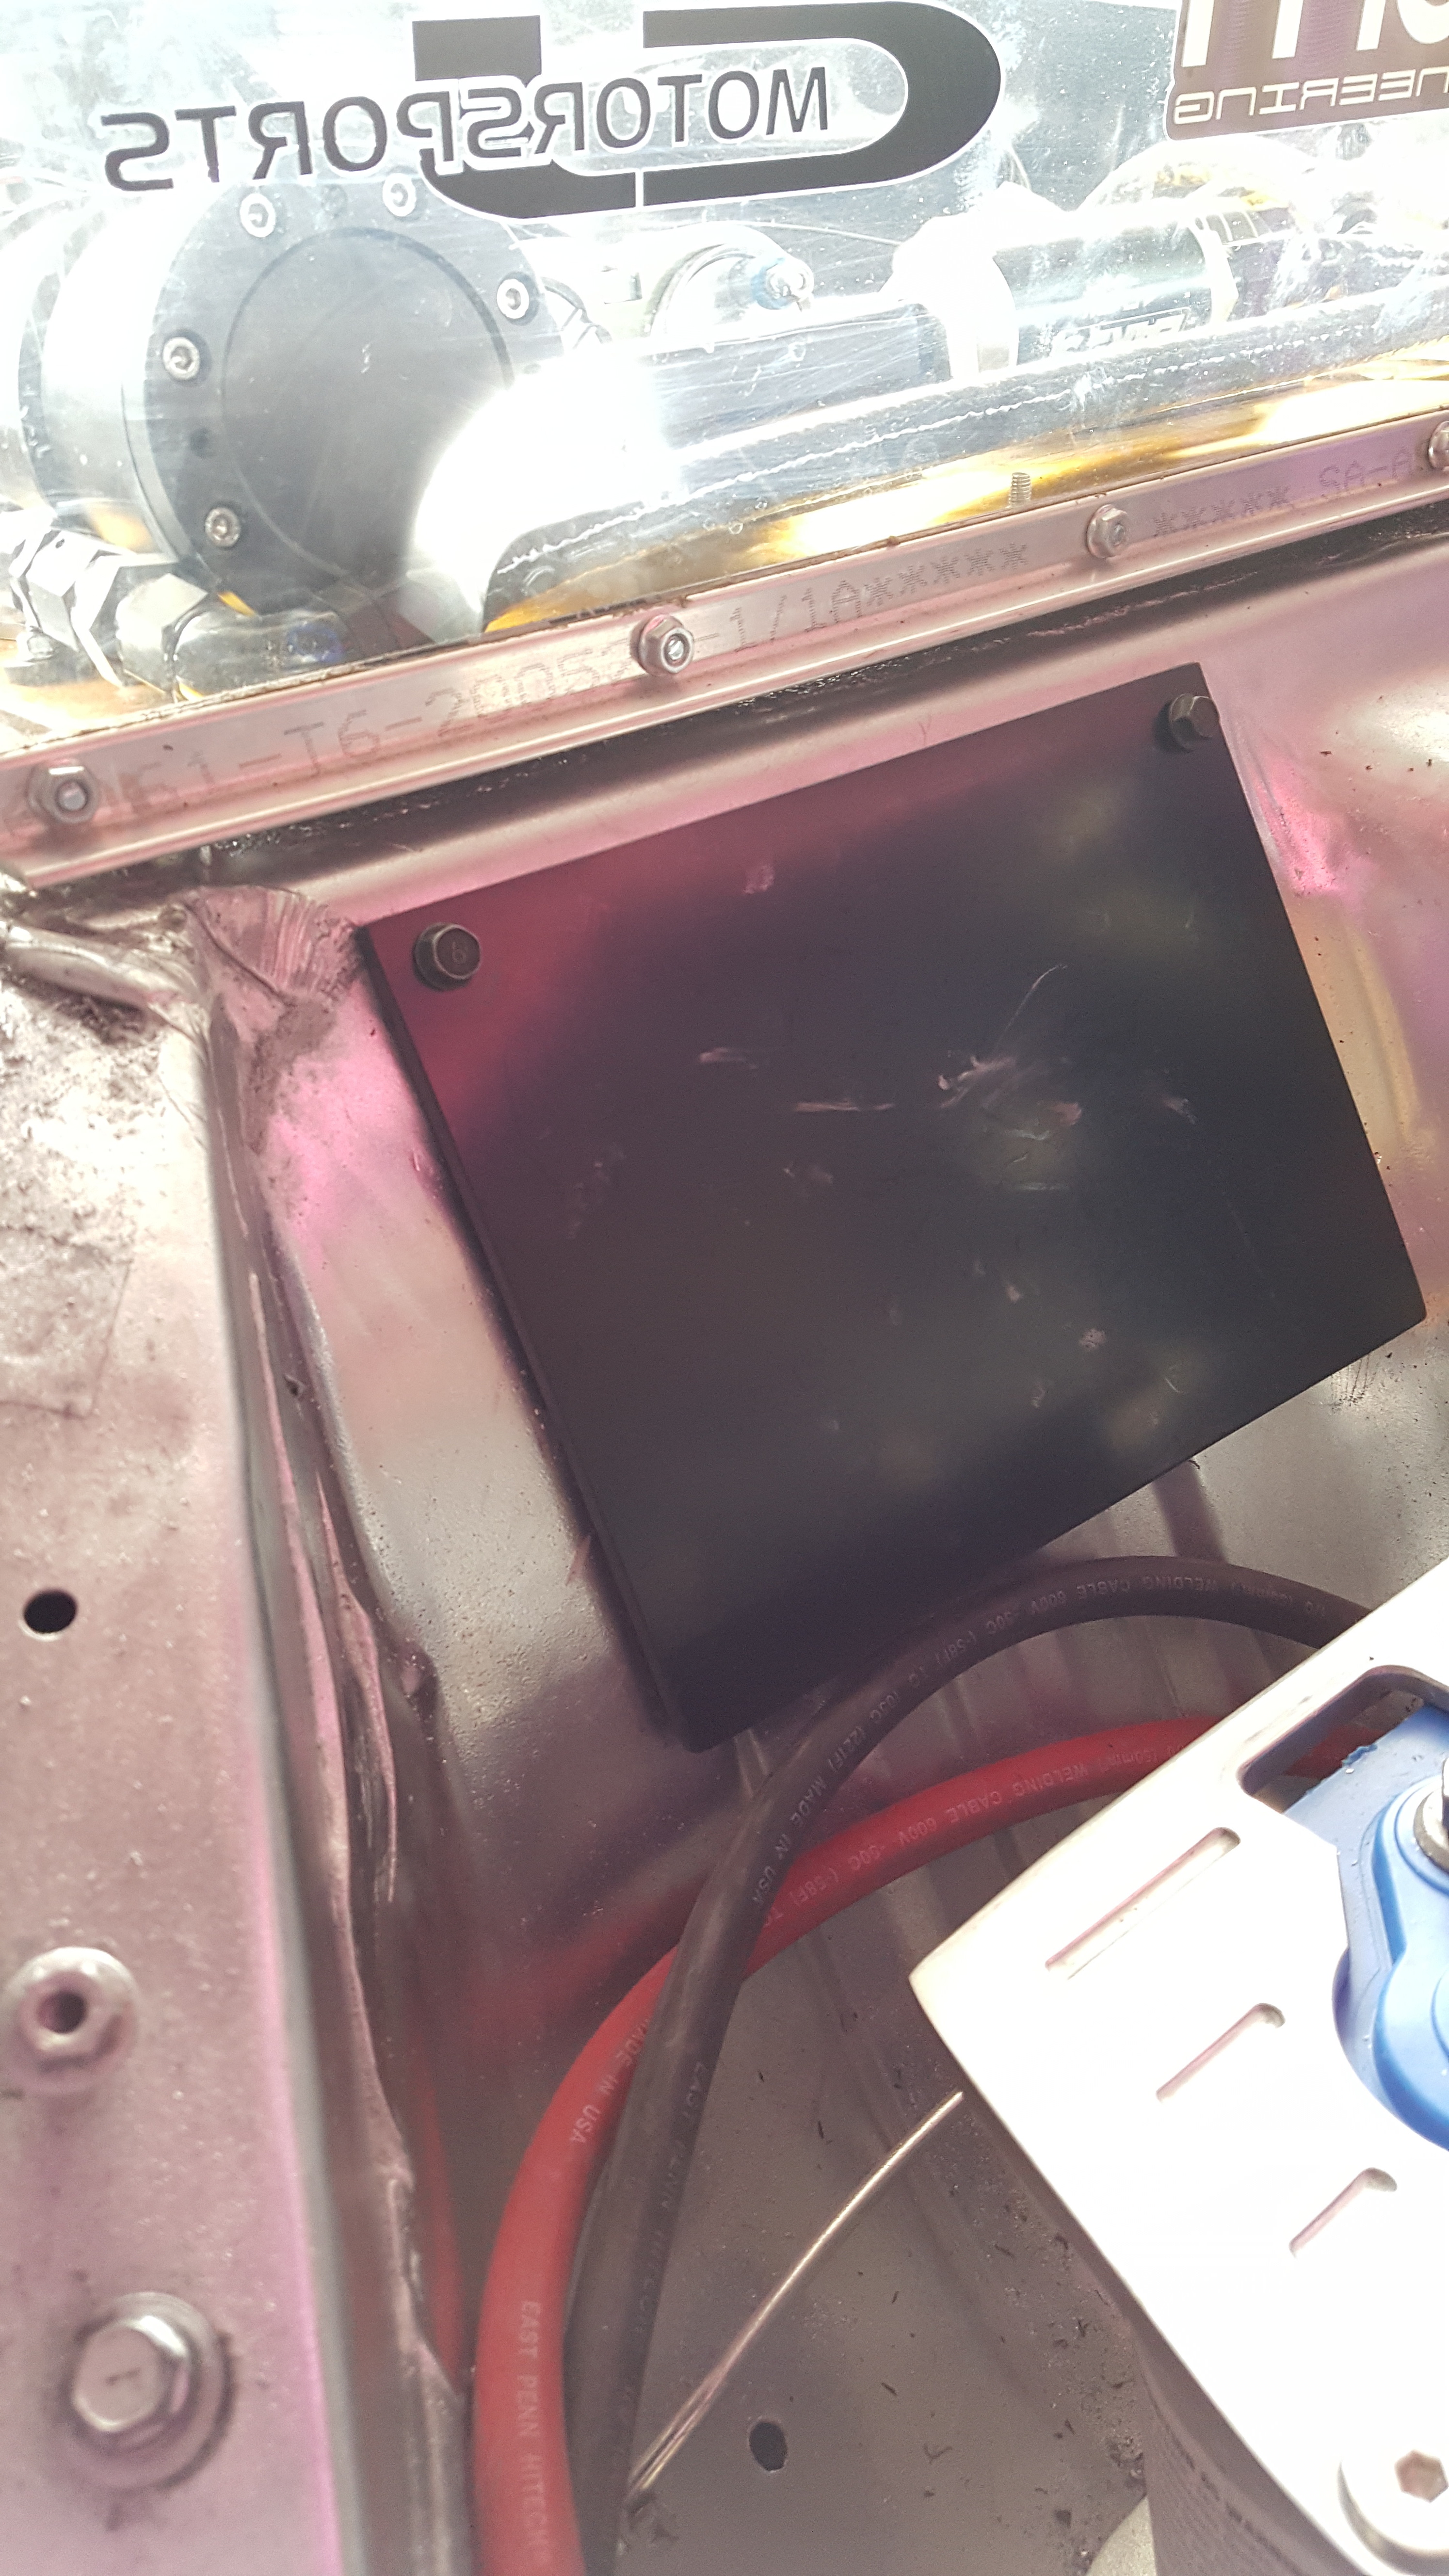
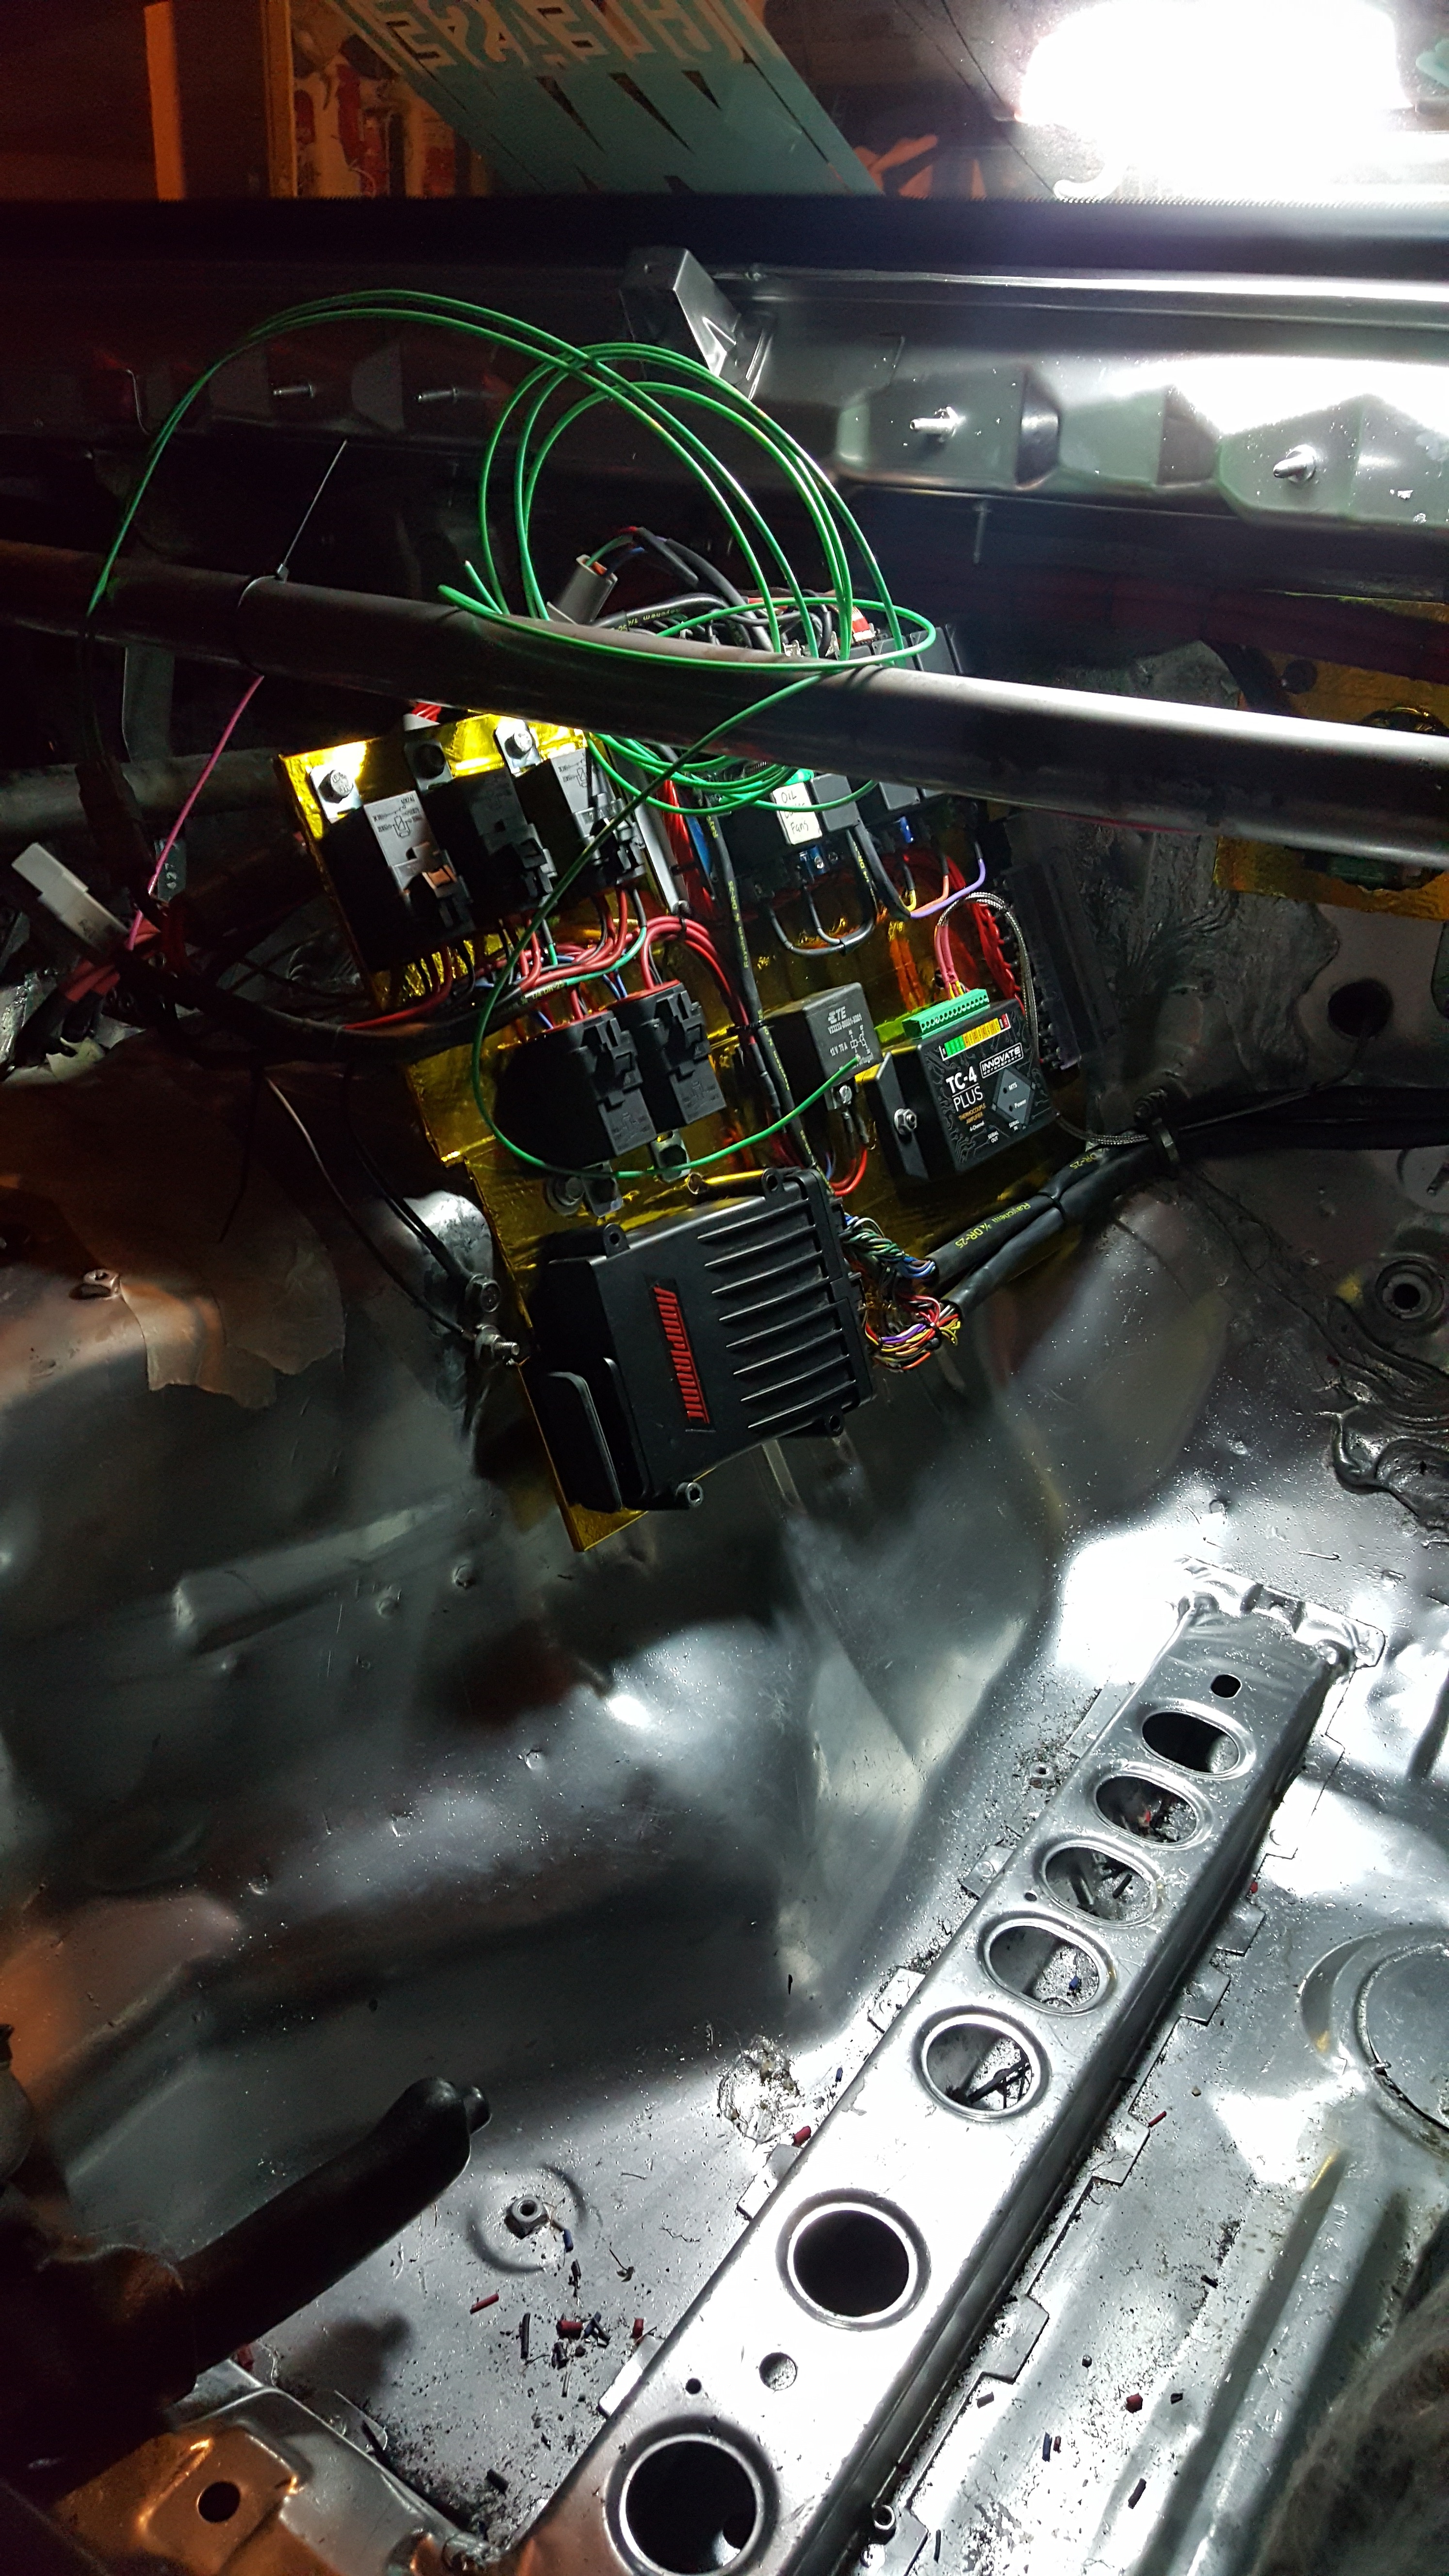
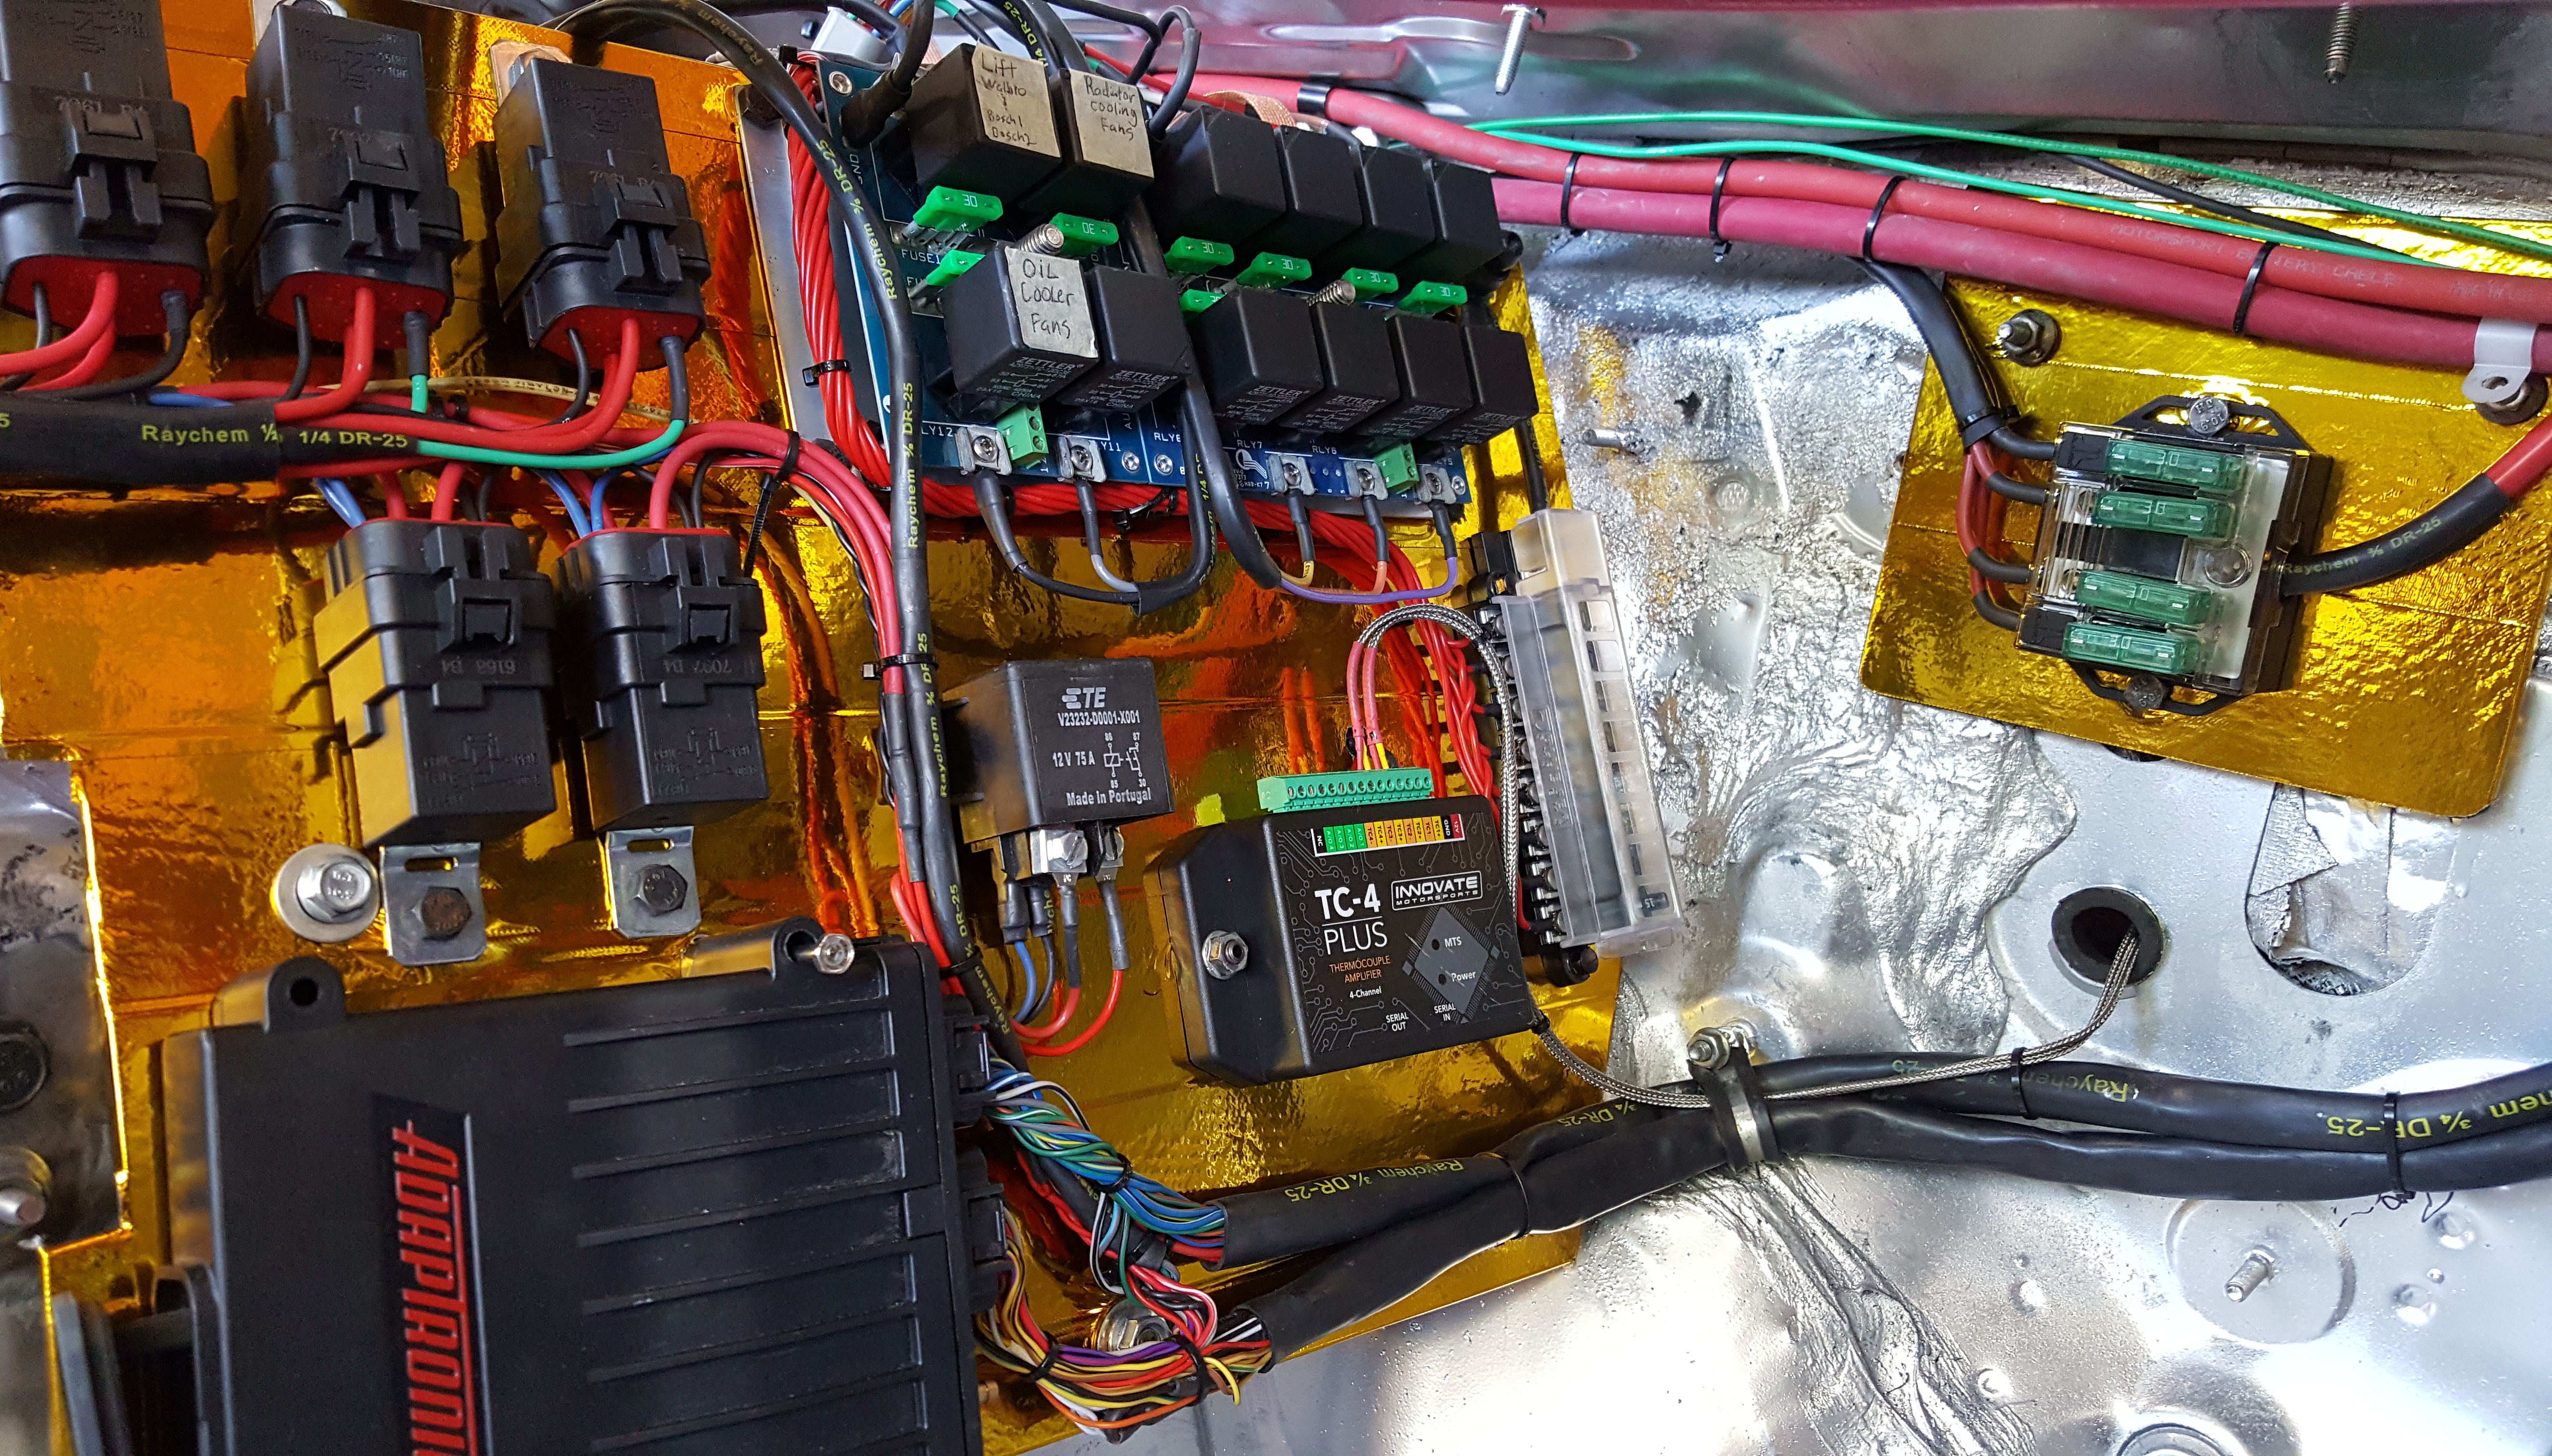
Got that all figured real solid. So brought the board inside for the nerve wracking mounting of modules etc. This takes forever….but It’s worth it. Everything needs to be where I wanted it for function…maintenance and useability, but also heat protection. The Board sits off the transmission tunnel and the air gap between the trans tunnel and ABS sheet should do pretty good against heat transfer. I really don’t want the relays and modules to take any more heat than they need to.

Staying organized!
Little Details
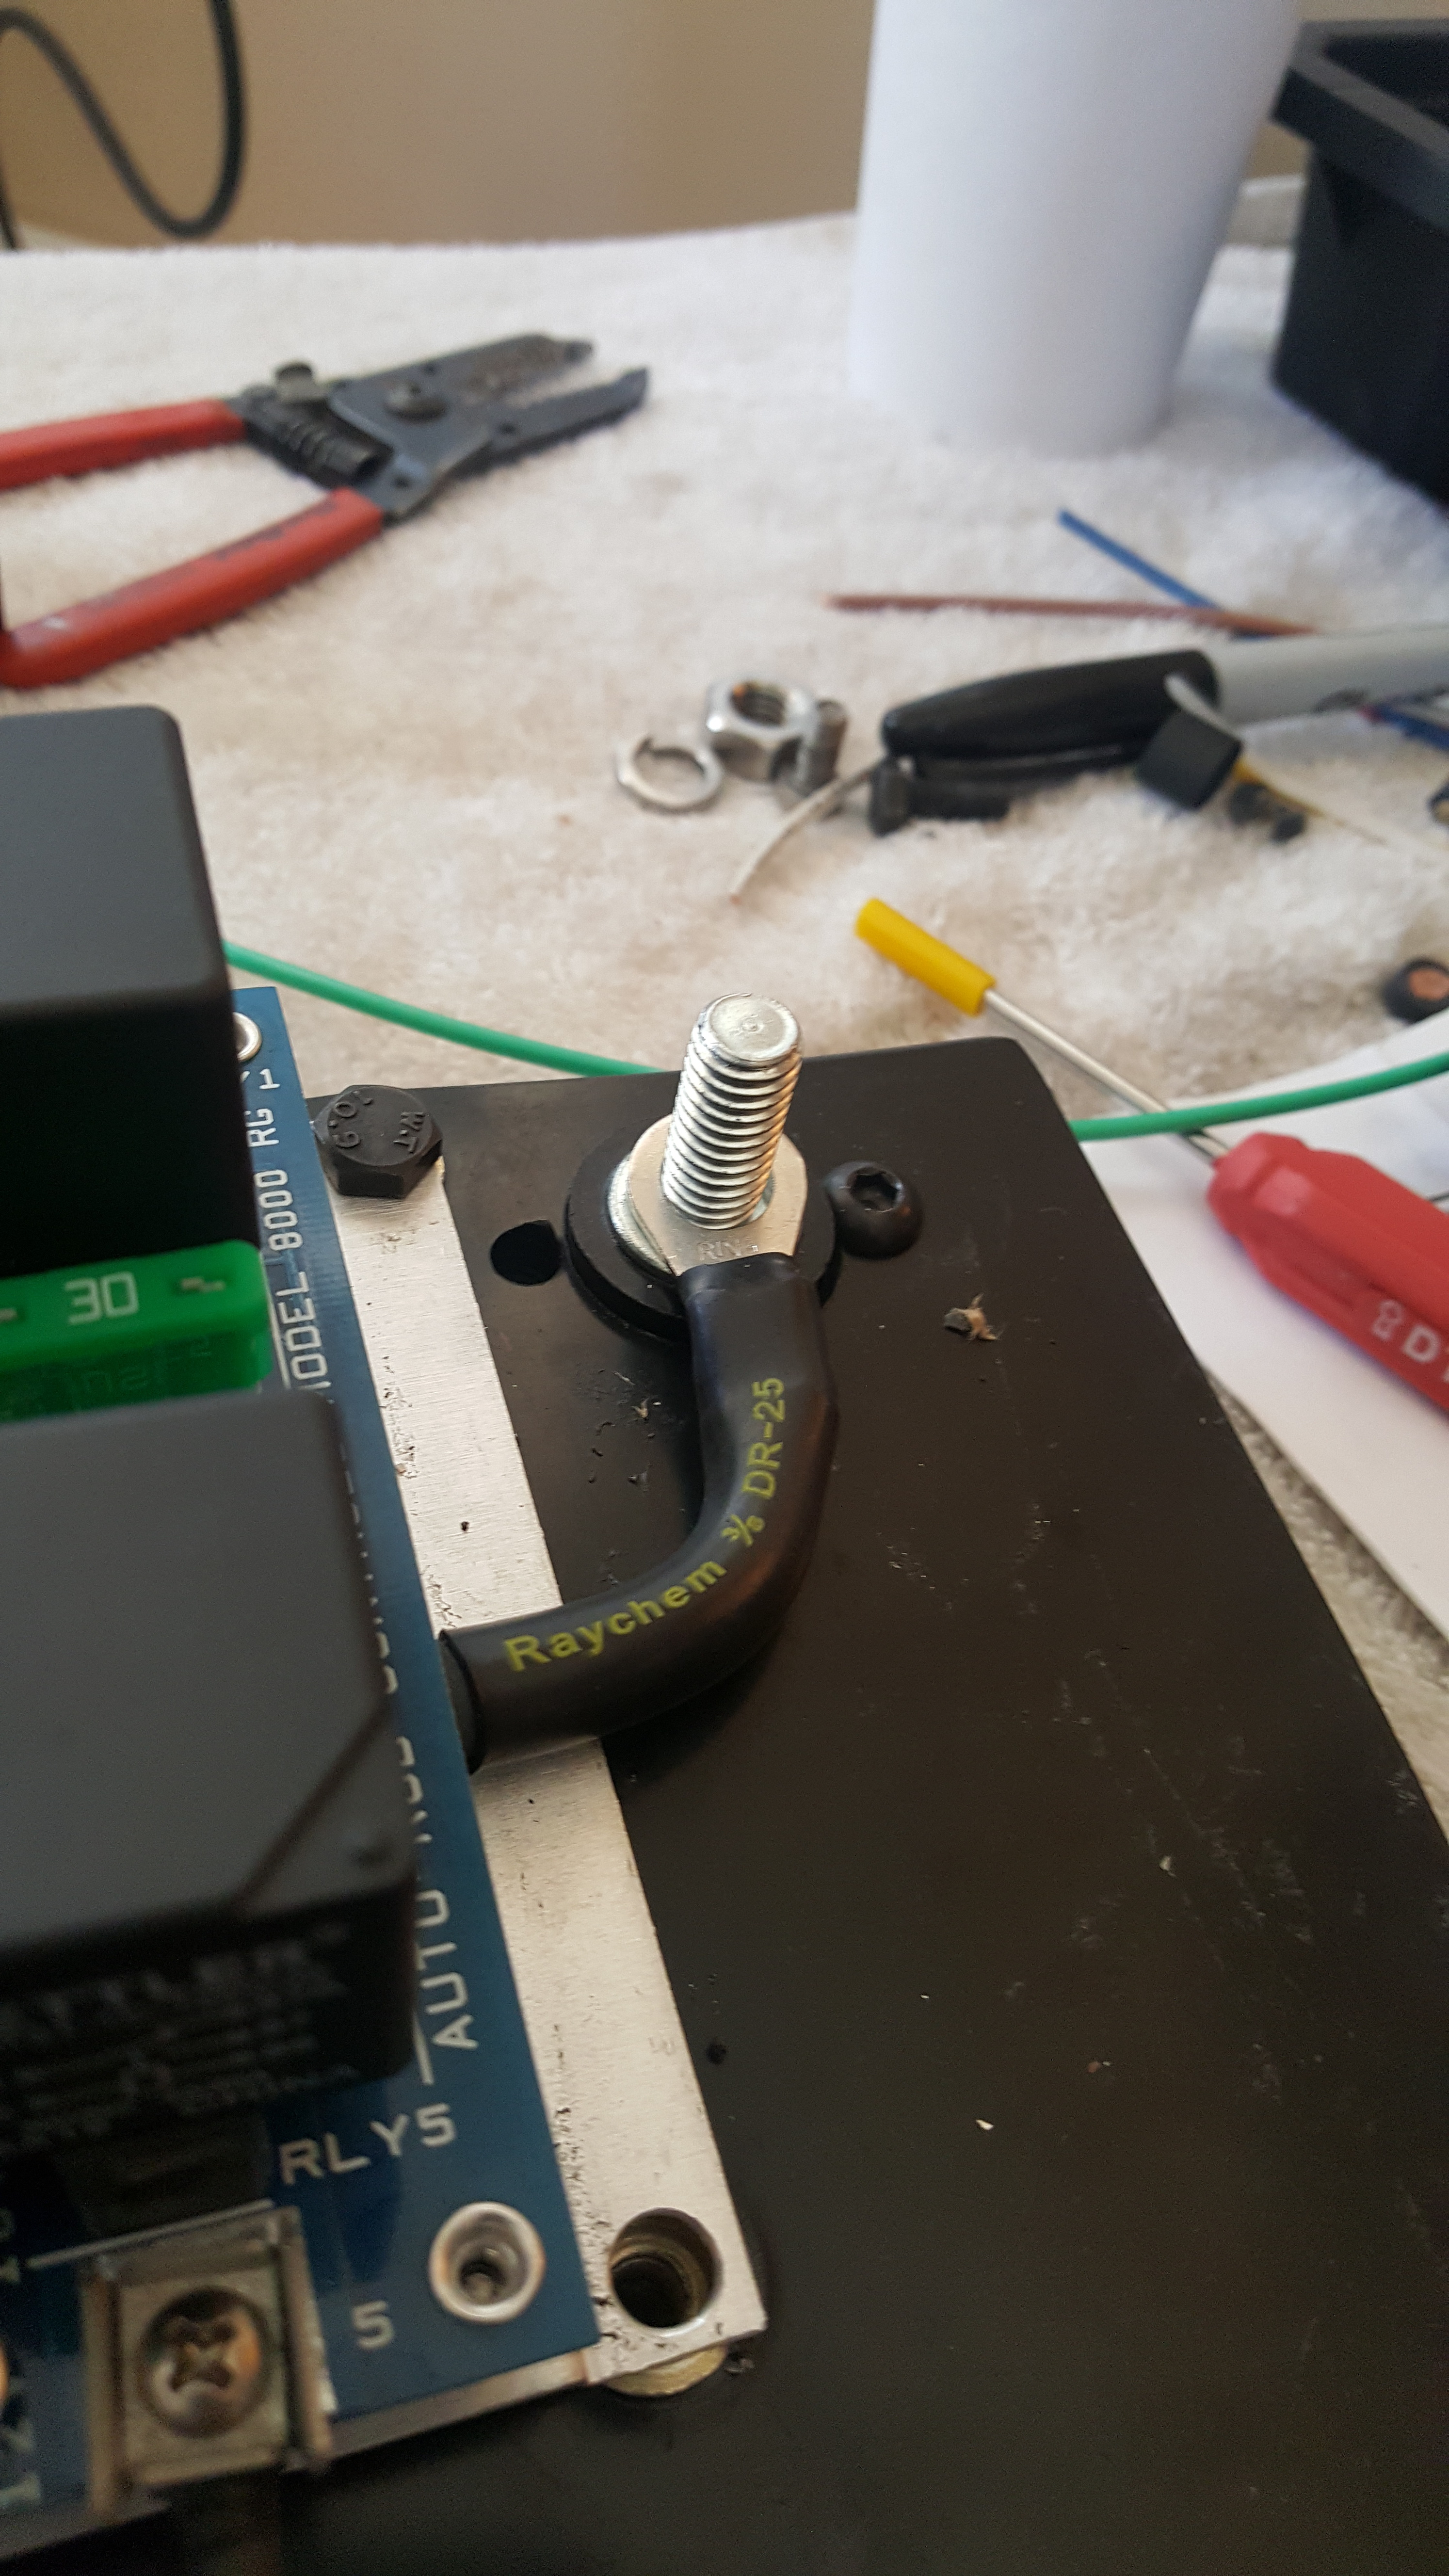
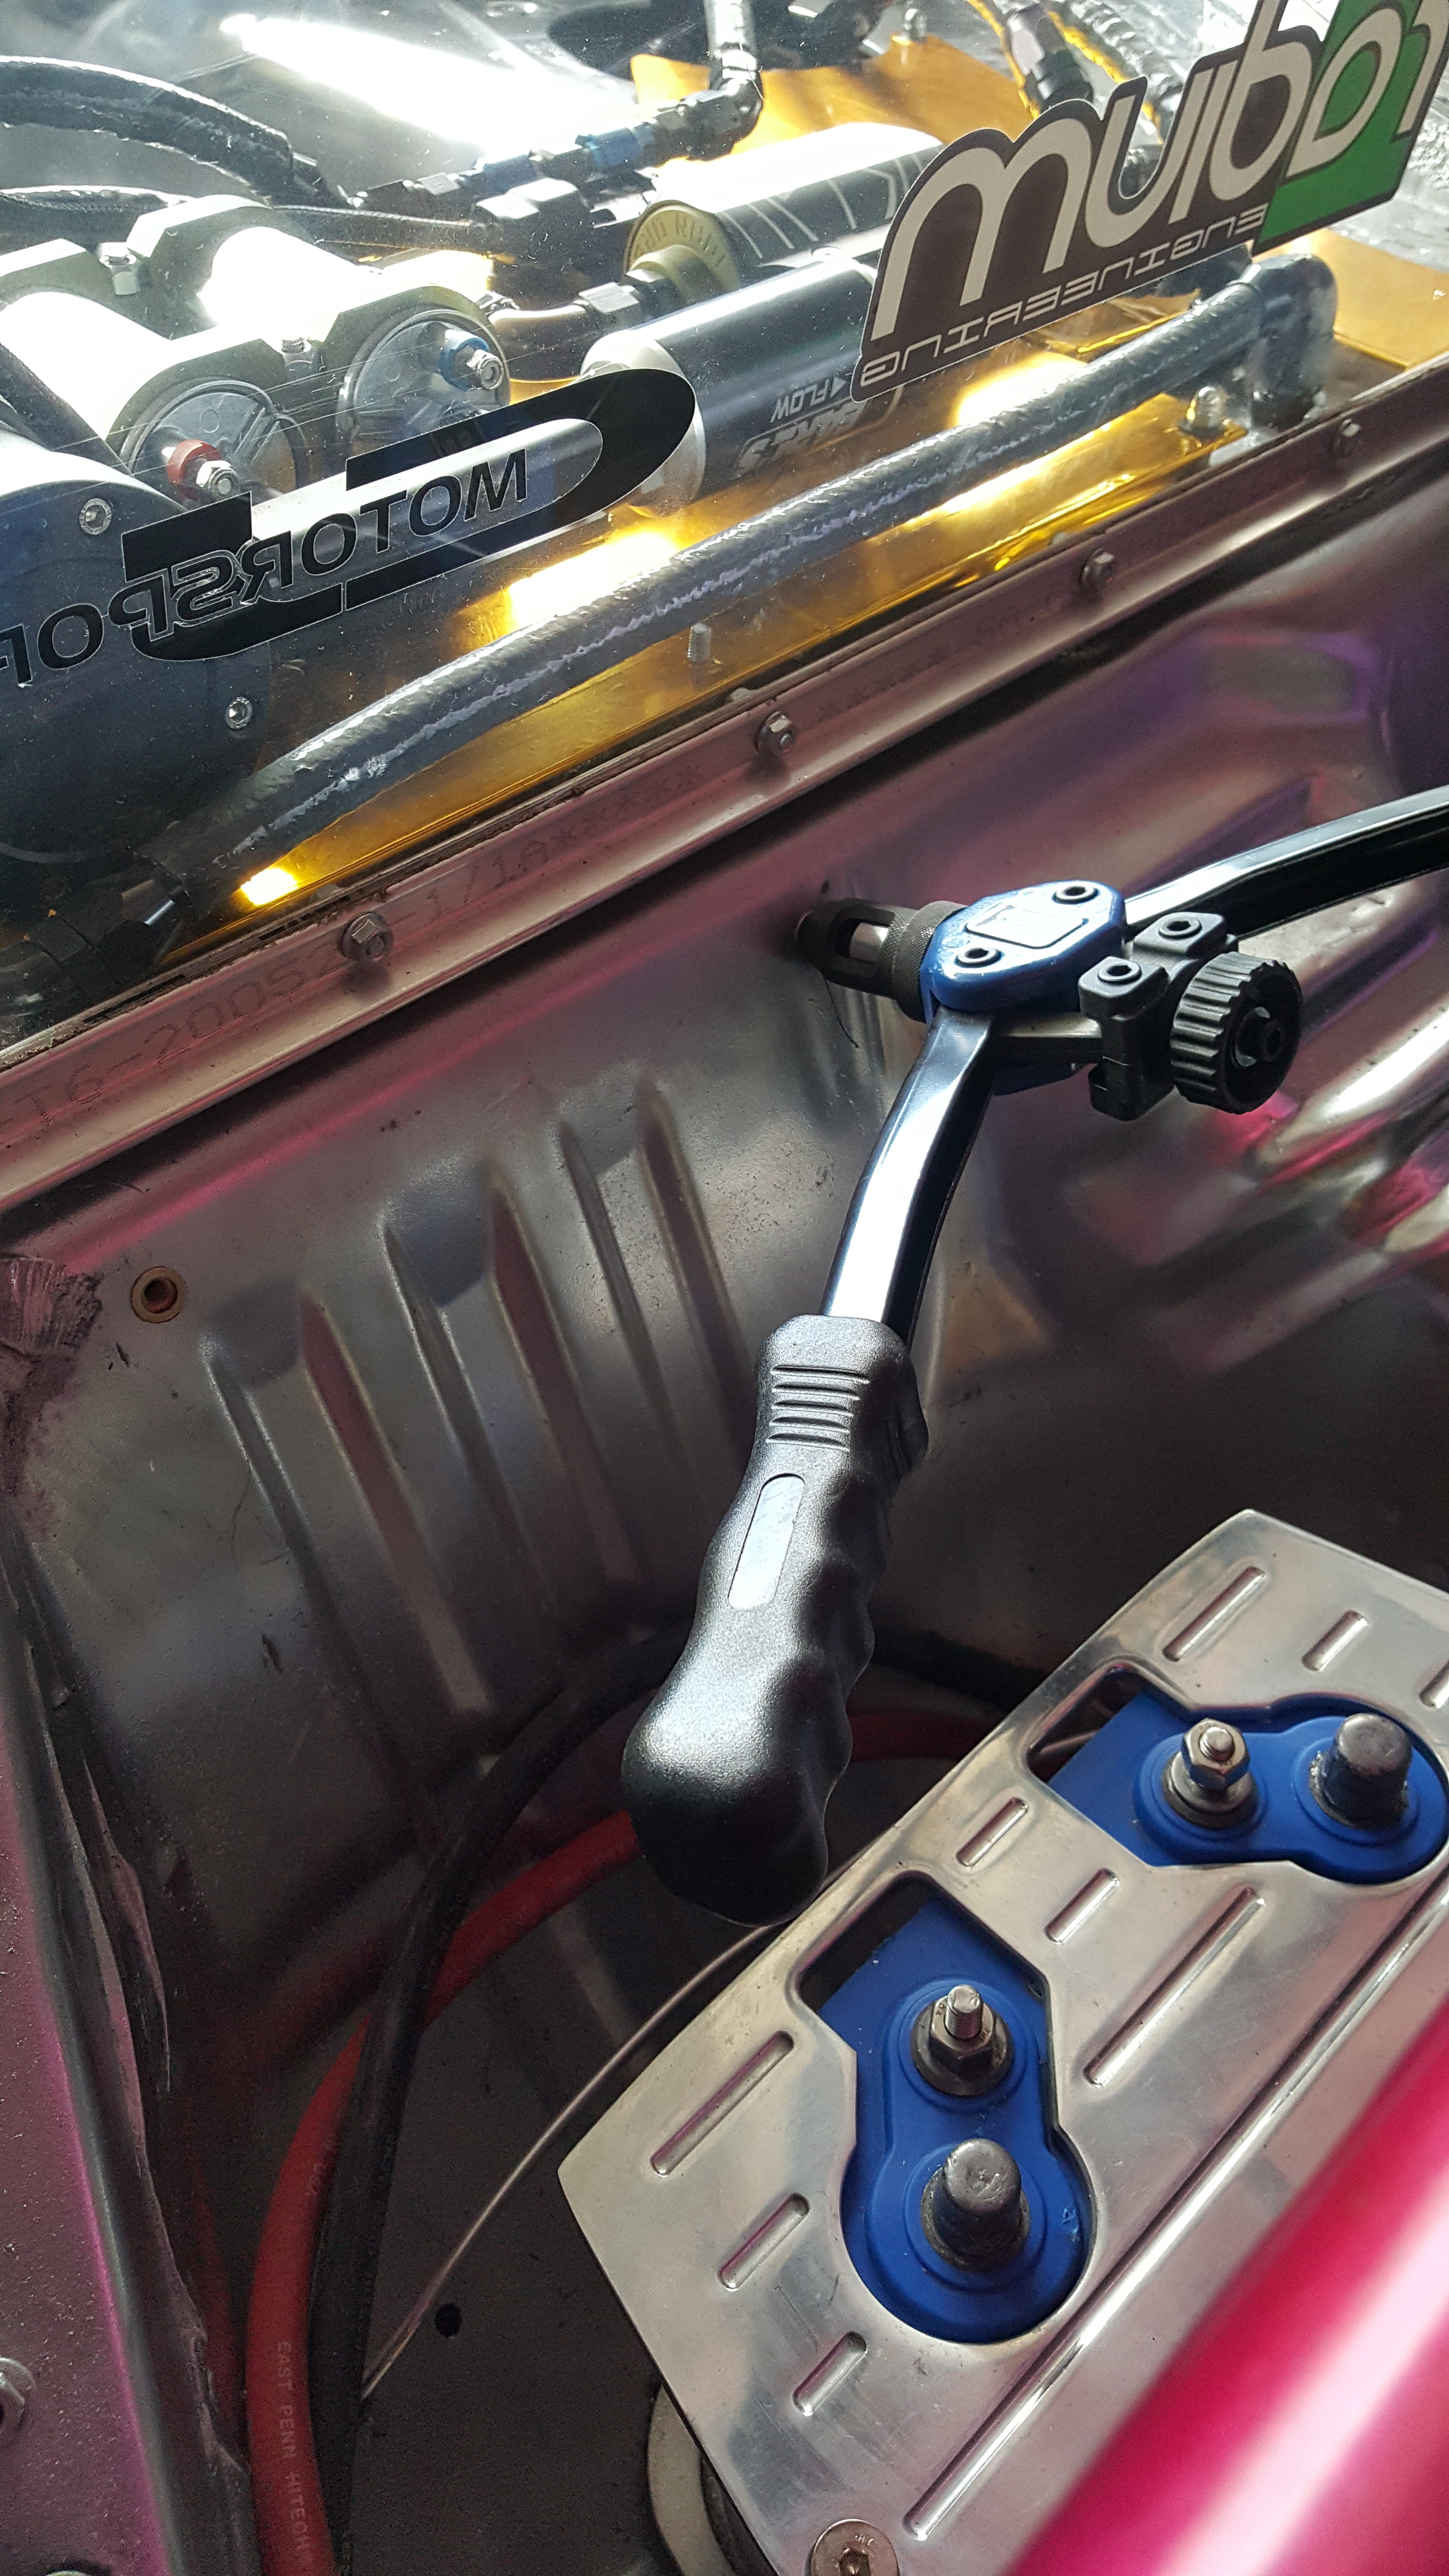
I used Nut Serts for everything. Even one on the transmission tunnel to run a larger M8 stud and nut configuration to get the proper gap off the tunnel.
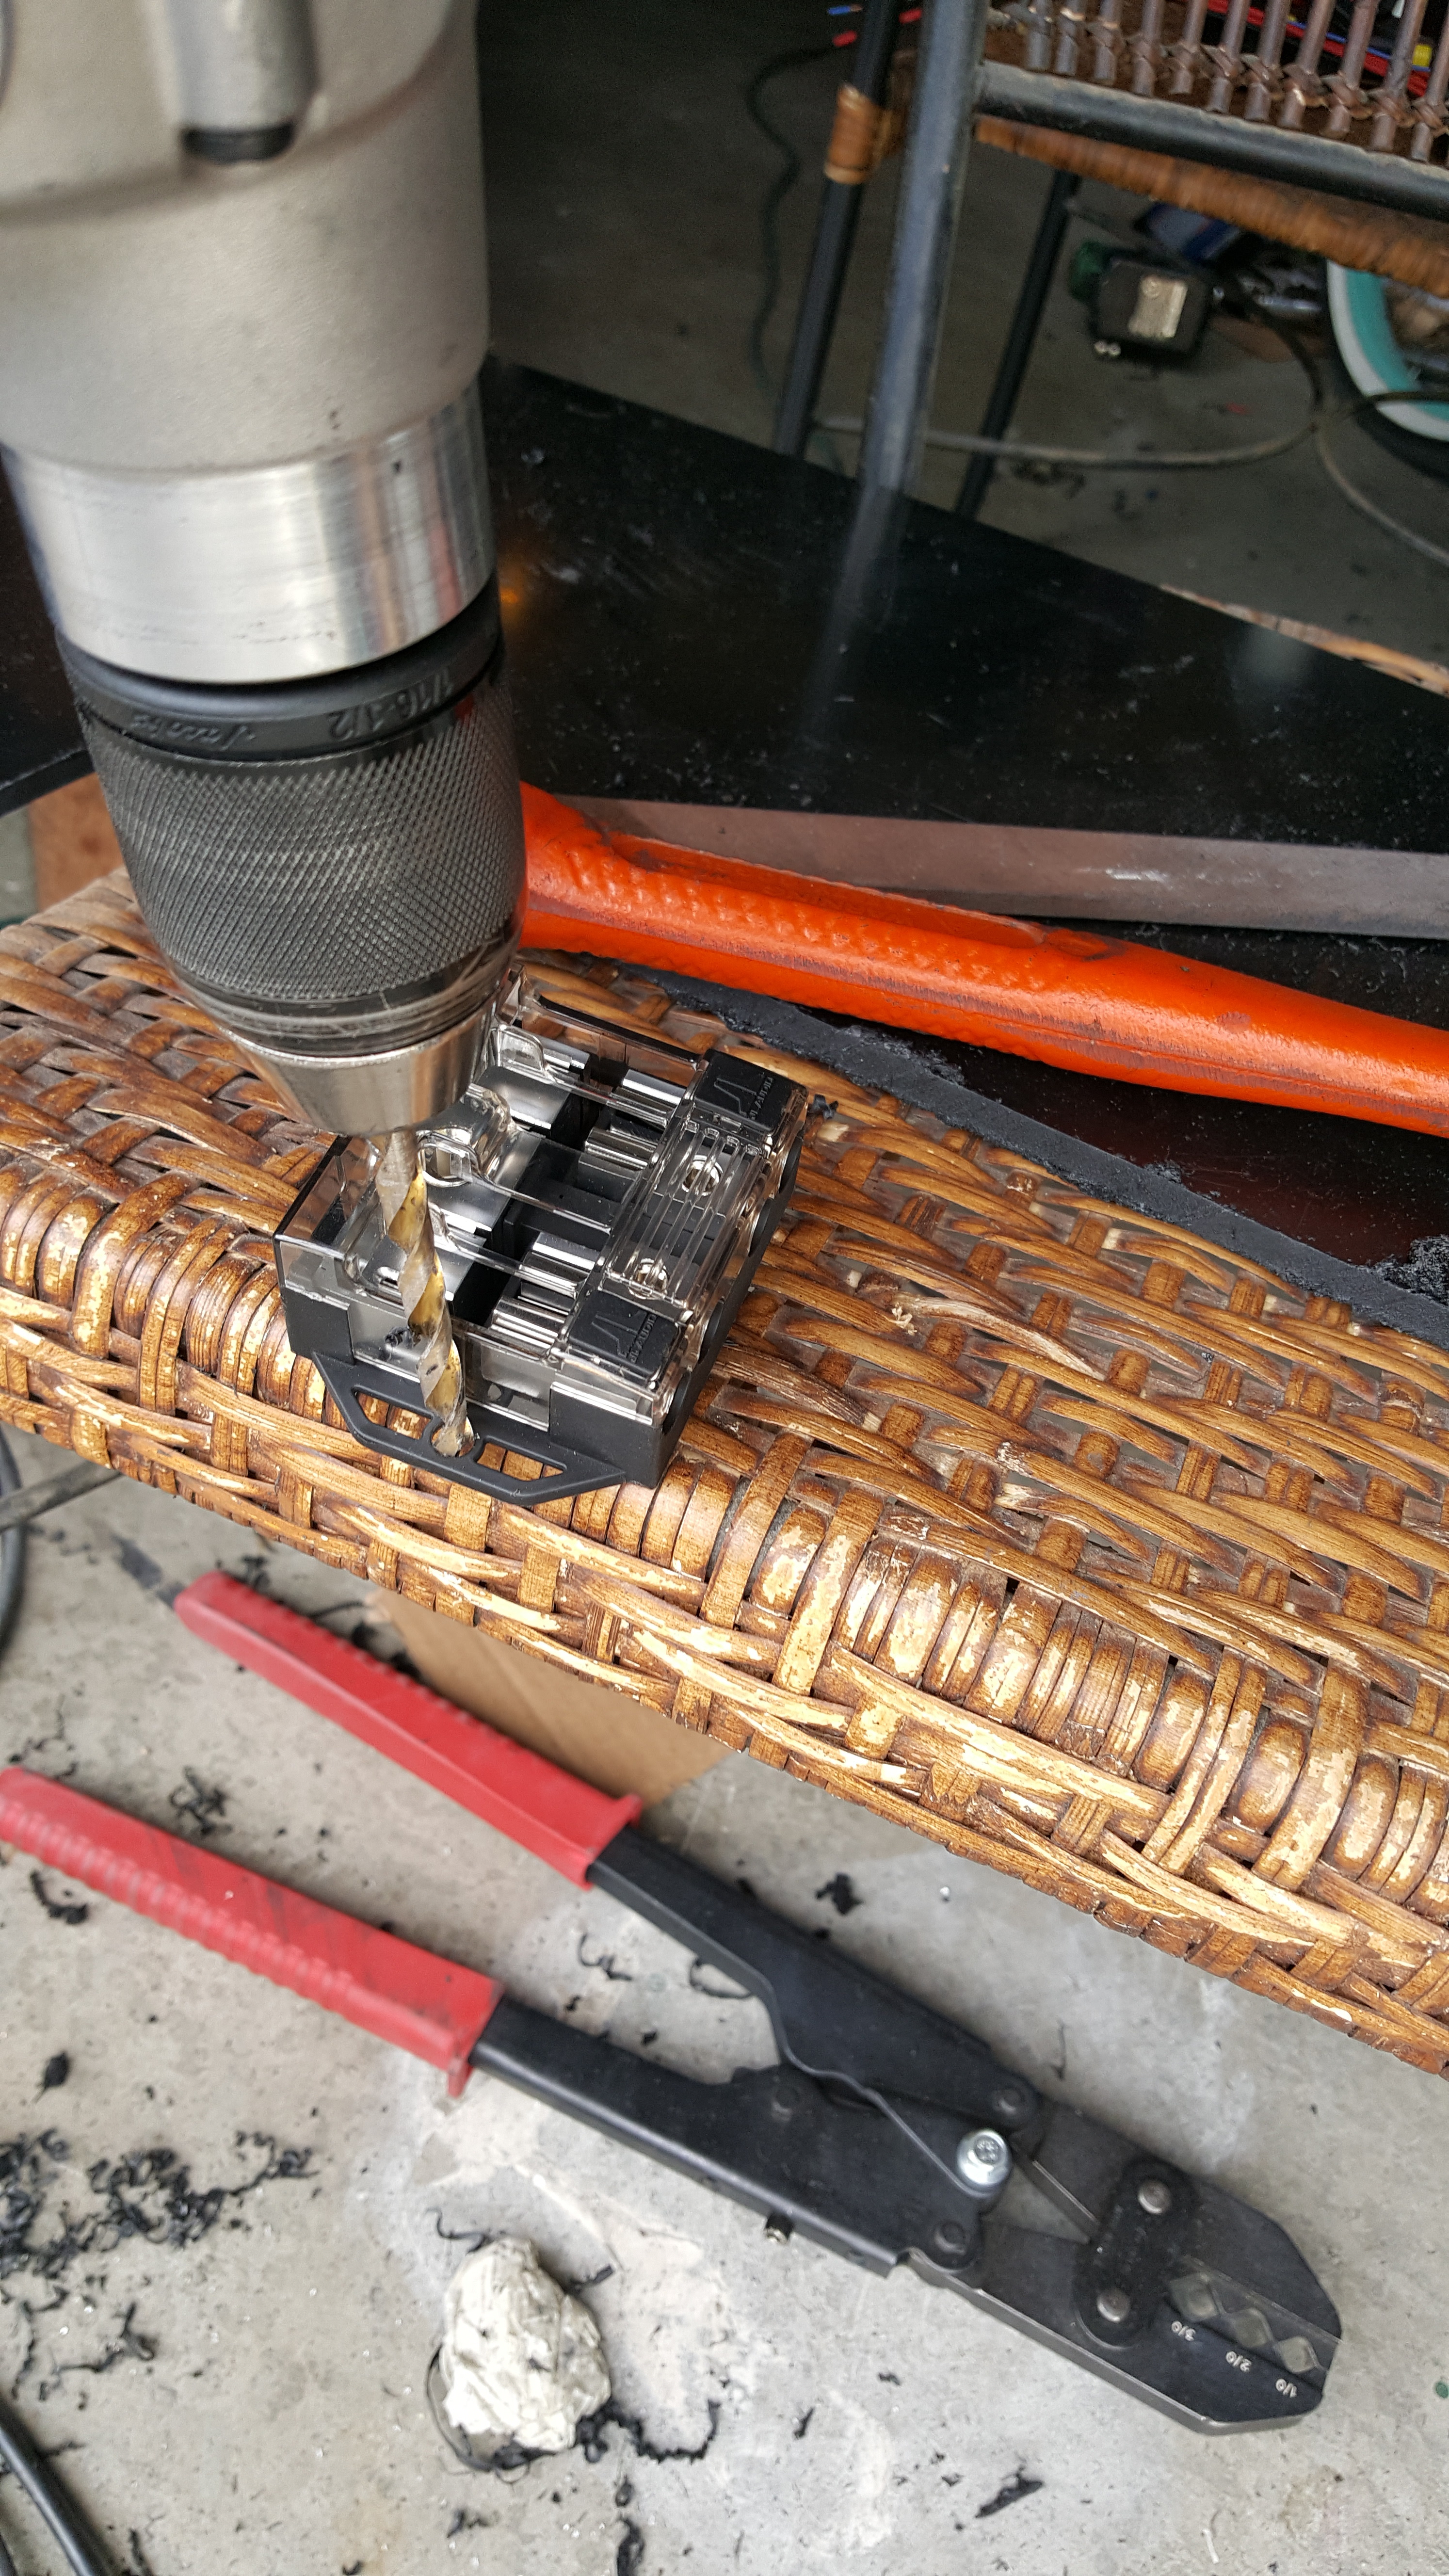
Here I’m just using them for mounting components onto the ABS Sheet. Every Piece of hardware is a M6 bolt. So that I don’t have to run around looking for stupid allen heads to take something off if need be. I hate that. This way there’s only one Tool for all the components. I had to drill out some components so they’d accept the larger hardware. Time consuming…but worth it in the end. NO SHEET METAL SCREWS ANYWHERE!
Mock check
Progress
Whats up guys!!! Been a week and a half or so of grinding out at both Jobs! For the past 9 days I had been getting up at 7:30 AM and working on the Wolfs wiring till 1:45 pm.. Leave at 2 pm…get to work at 3:30 pm… work till 11-12 pm drive home and put in a couple more hours in..usually getting to sleep at around 3-3:30 AM. I’ve just been on this bender to get in as much possible in the span of one day as I can in order to maximize efficiency. On day 8 though…I started realizing I needed to sleep more. I had made a couple mistakes finalizing my wiring and had to go back and re-do things.
Anyways…It’s all in the details when wiring. Yes you can use nice connectors… Yes you can use Nice wire… Yes you can even do fancy twisted pairs etc. But it needs to be well thought out and executed. After almost finishing the car....I can confess that I have actually re-used a lot of my old wire. On the board..I didn’t really need to. And for the ARC panel….I was able to use the wire they supplied. But they don’t give you enough to route things properly. They give you just enough to get it done..but not get it done really clean ……if that makes sense. I wanted to make sure the wire followed the frame rail. And I wanted tomake sure I was able to mount things in well thought out locations so that I could Maximize efficiency and useability/maint if possible. So I ended up extending their wire with my own in areas like Head lights etc.
For instance… I could have just wrapped the headlights with 1 power wire running from the cabin.. around the passenger side fender well… to the passenger side head light…then continued on to the drivers side headlight…But If I were to ever get damage on that side of the car.. then I could lose both Headlights….meaning I’d be out of the competition. So I ran separate power wire to each head light and each projector, so that in the case of damage on either side..that won’t affect the opposite side for repair and or running.
So lets pick up where I left off!
I got the Chassis side of things done! Ran all cable, starter, alternator, Master Kill switch, Emergency cut off switch, Ignition Switch and got my ARC Switch panel back from Super Wow Factory… they did an AWESOME job to the pretty standard looking ARC White with black lettering style. It’s also sealed and covered with a protective film that can be cleaned with stronger cleaners like simple green etc if need be!
Black piece of ABS sheet came in from McMaster…had to go to UPS to pick it up…..said it was at the station…out for delivery but not? Haha weird…So I drove over there. This UPS Station was the jam….super down to earth guys and really helpful over the phone. Not like most.
Traced my crap cardboard template to the sheet of ABS and started fitting it so I could mount it utilizing 3 mounting bolts.
Got that all figured real solid. So brought the board inside for the nerve wracking mounting of modules etc. This takes forever….but It’s worth it. Everything needs to be where I wanted it for function…maintenance and useability, but also heat protection. The Board sits off the transmission tunnel and the air gap between the trans tunnel and ABS sheet should do pretty good against heat transfer. I really don’t want the relays and modules to take any more heat than they need to.
Staying organized!
Little Details
I used Nut Serts for everything. Even one on the transmission tunnel to run a larger M8 stud and nut configuration to get the proper gap off the tunnel.
Here I’m just using them for mounting components onto the ABS Sheet. Every Piece of hardware is a M6 bolt. So that I don’t have to run around looking for stupid allen heads to take something off if need be. I hate that. This way there’s only one Tool for all the components. I had to drill out some components so they’d accept the larger hardware. Time consuming…but worth it in the end. NO SHEET METAL SCREWS ANYWHERE!
Mock check
Progress
Continued Update: Chassis Re-wire Part 2, "Its all in the details"
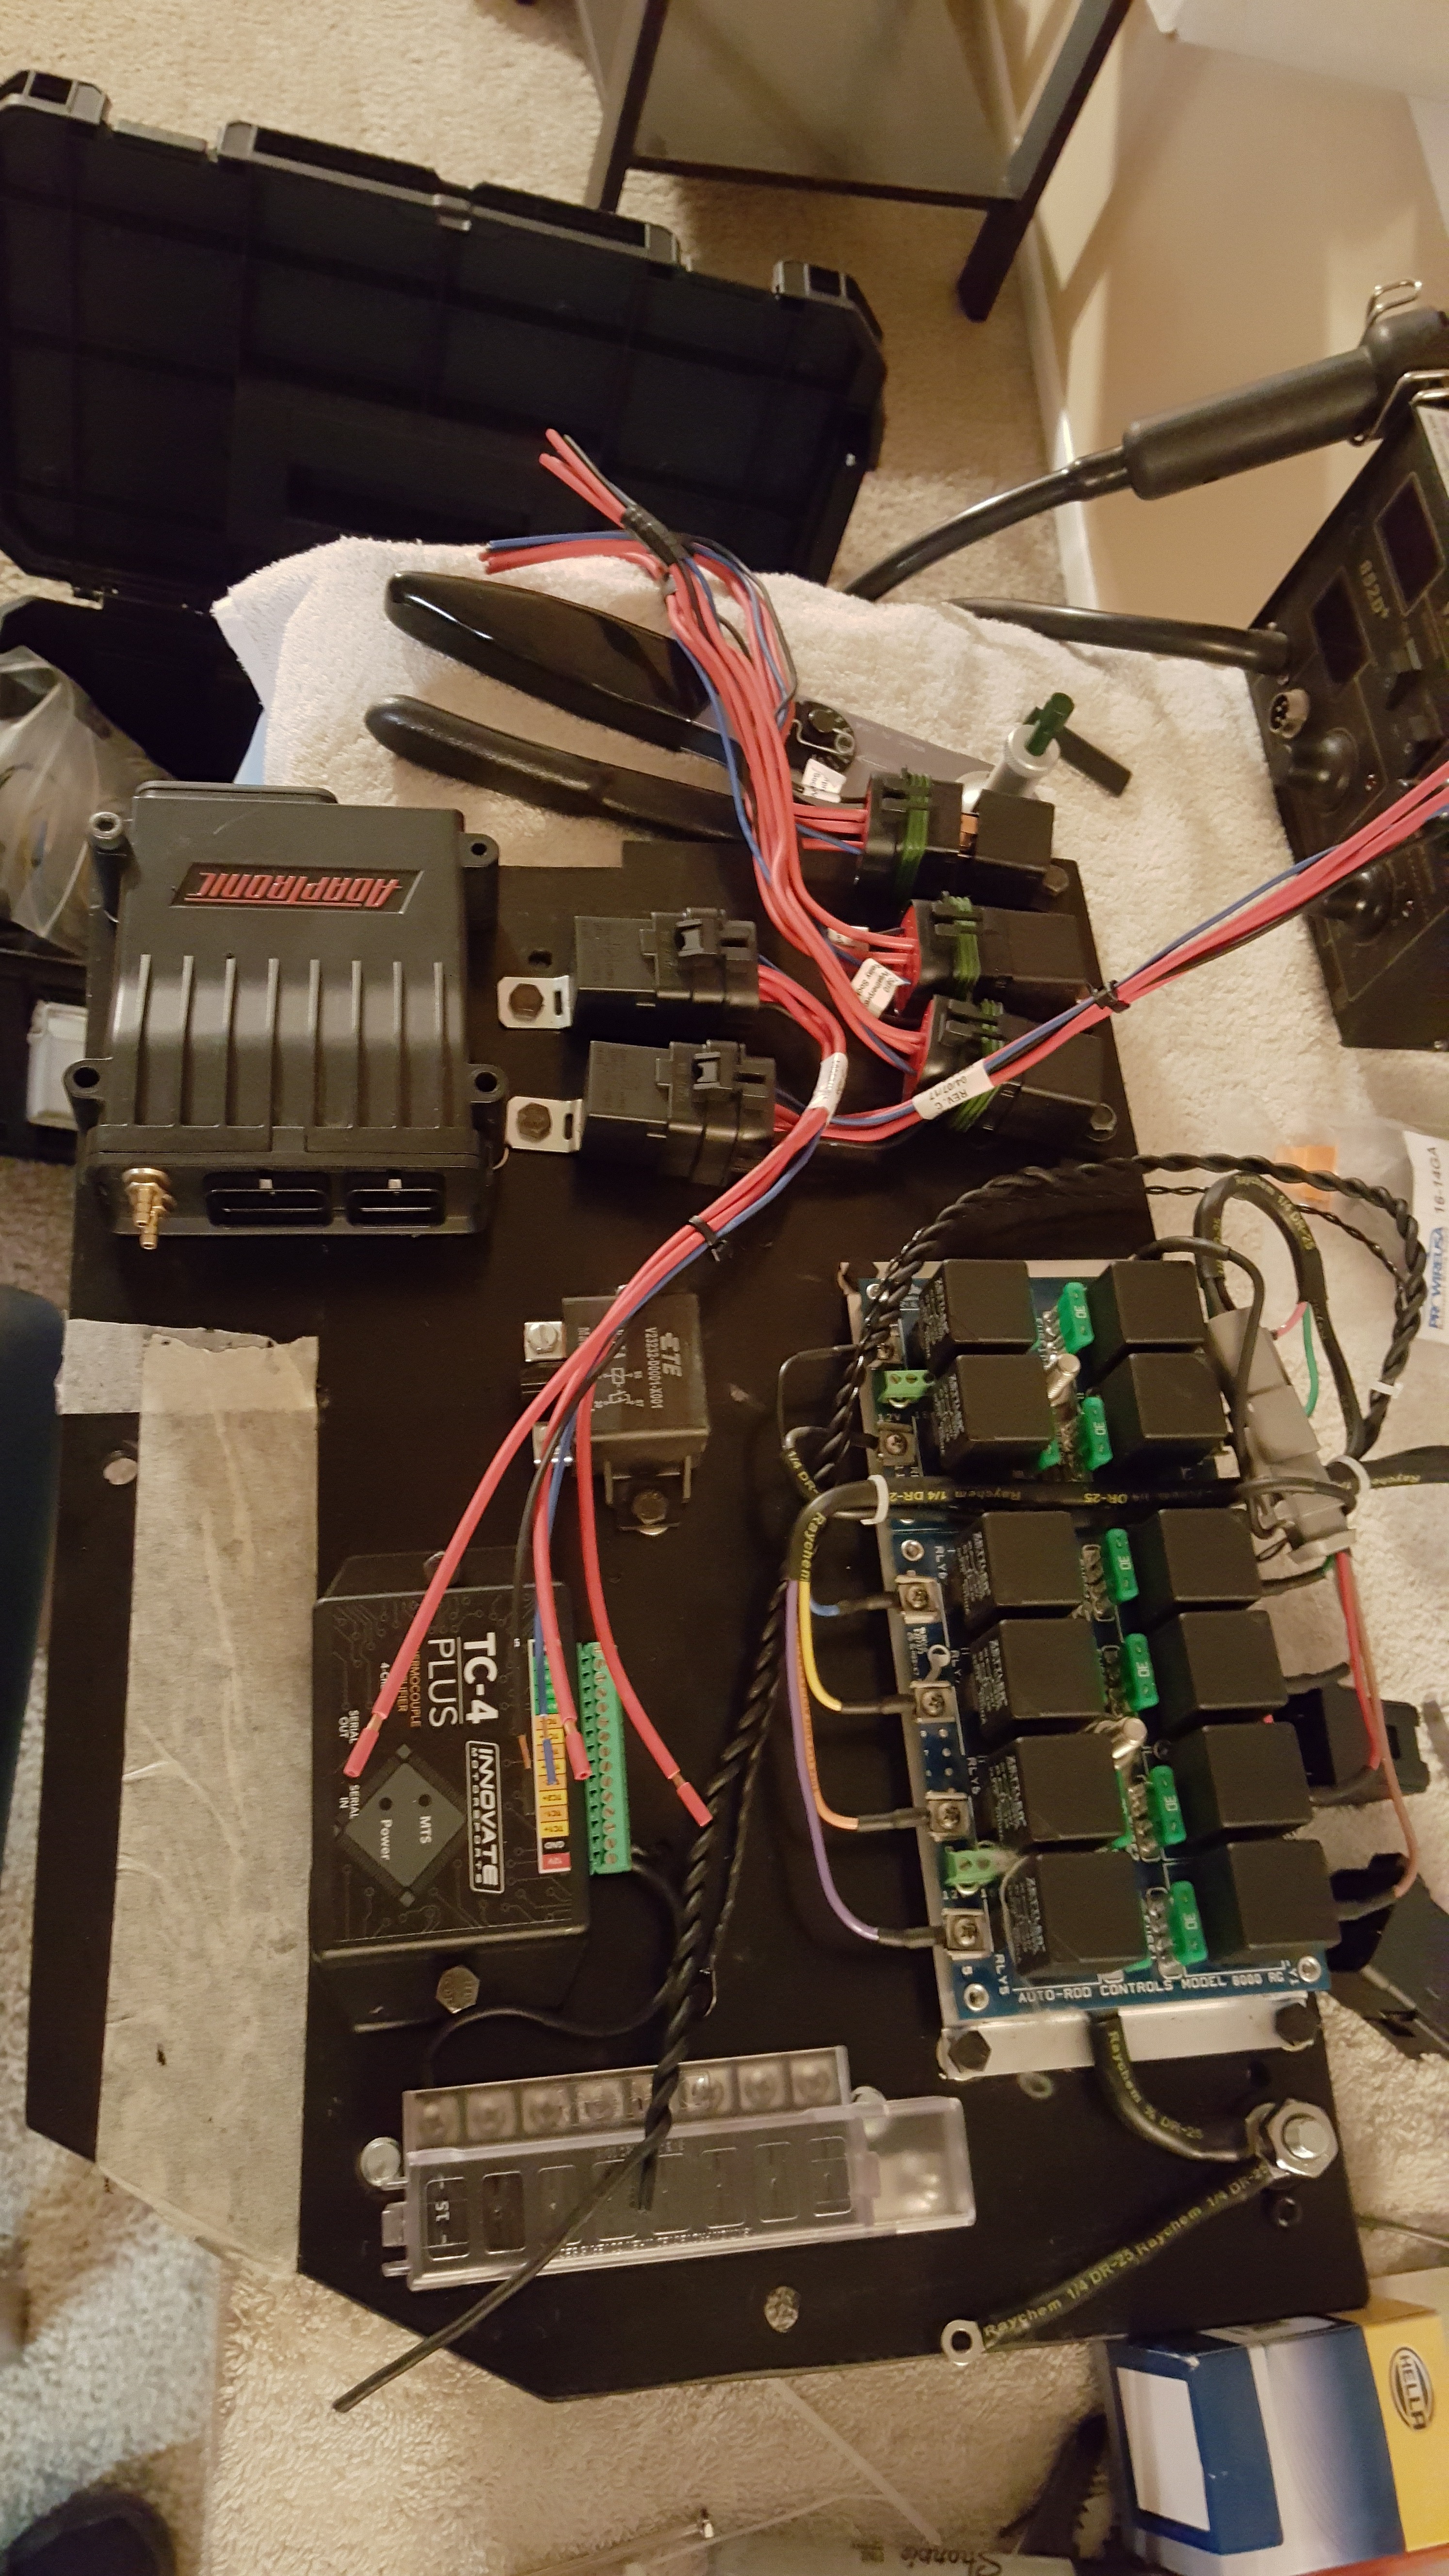
I think the board took me a day and a half to build. Really wanted this to be done correctly.

I even went as far as using all one style of sealed Hella Relay. That way everthing uses the same replacement if need be.
More Mock checking….must’ve had the board in and out of the car over 35-40 times throughout the process. Really wanted to make sure everything cleared and would be accessible with the Dash in there…but also easily come out of the car if needed.
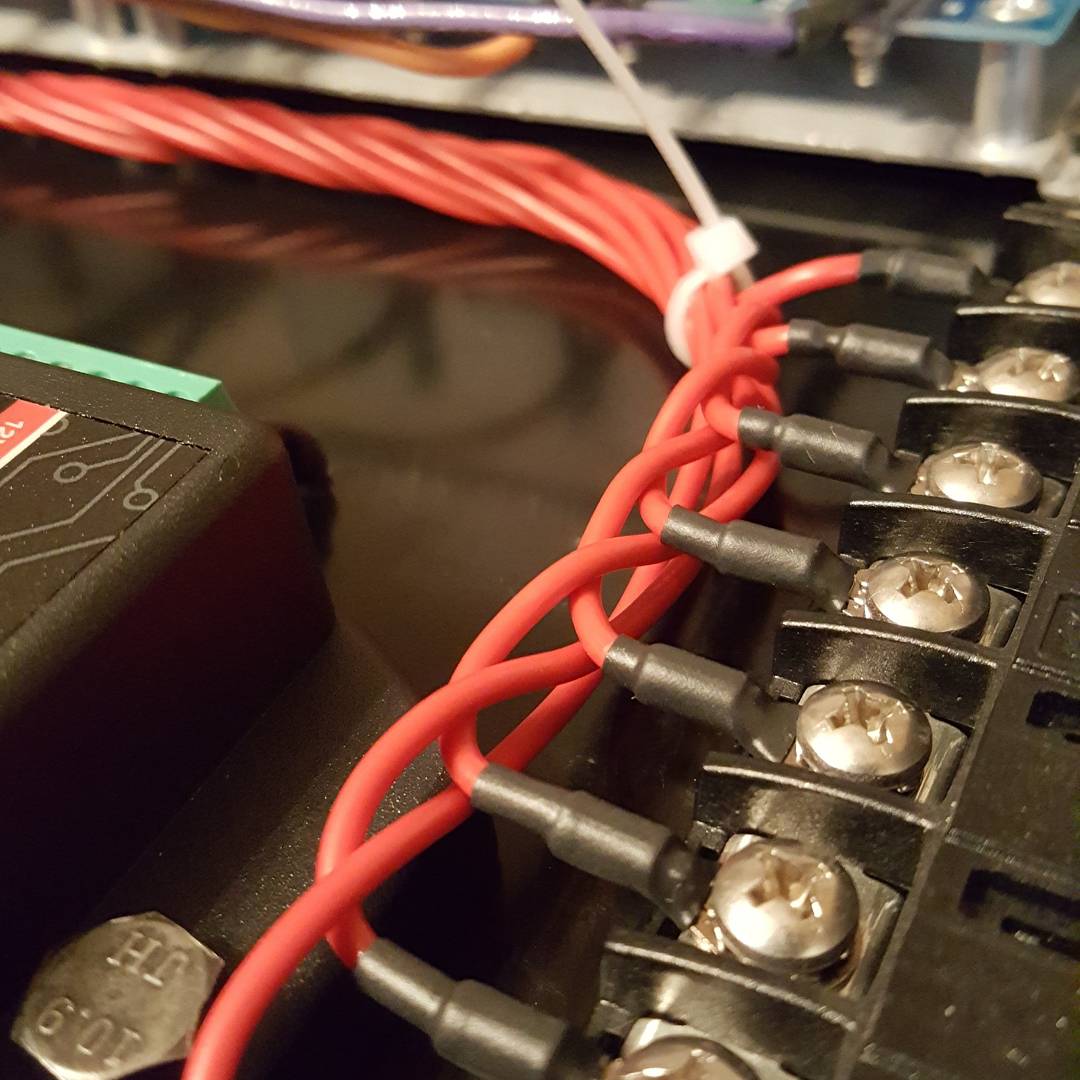
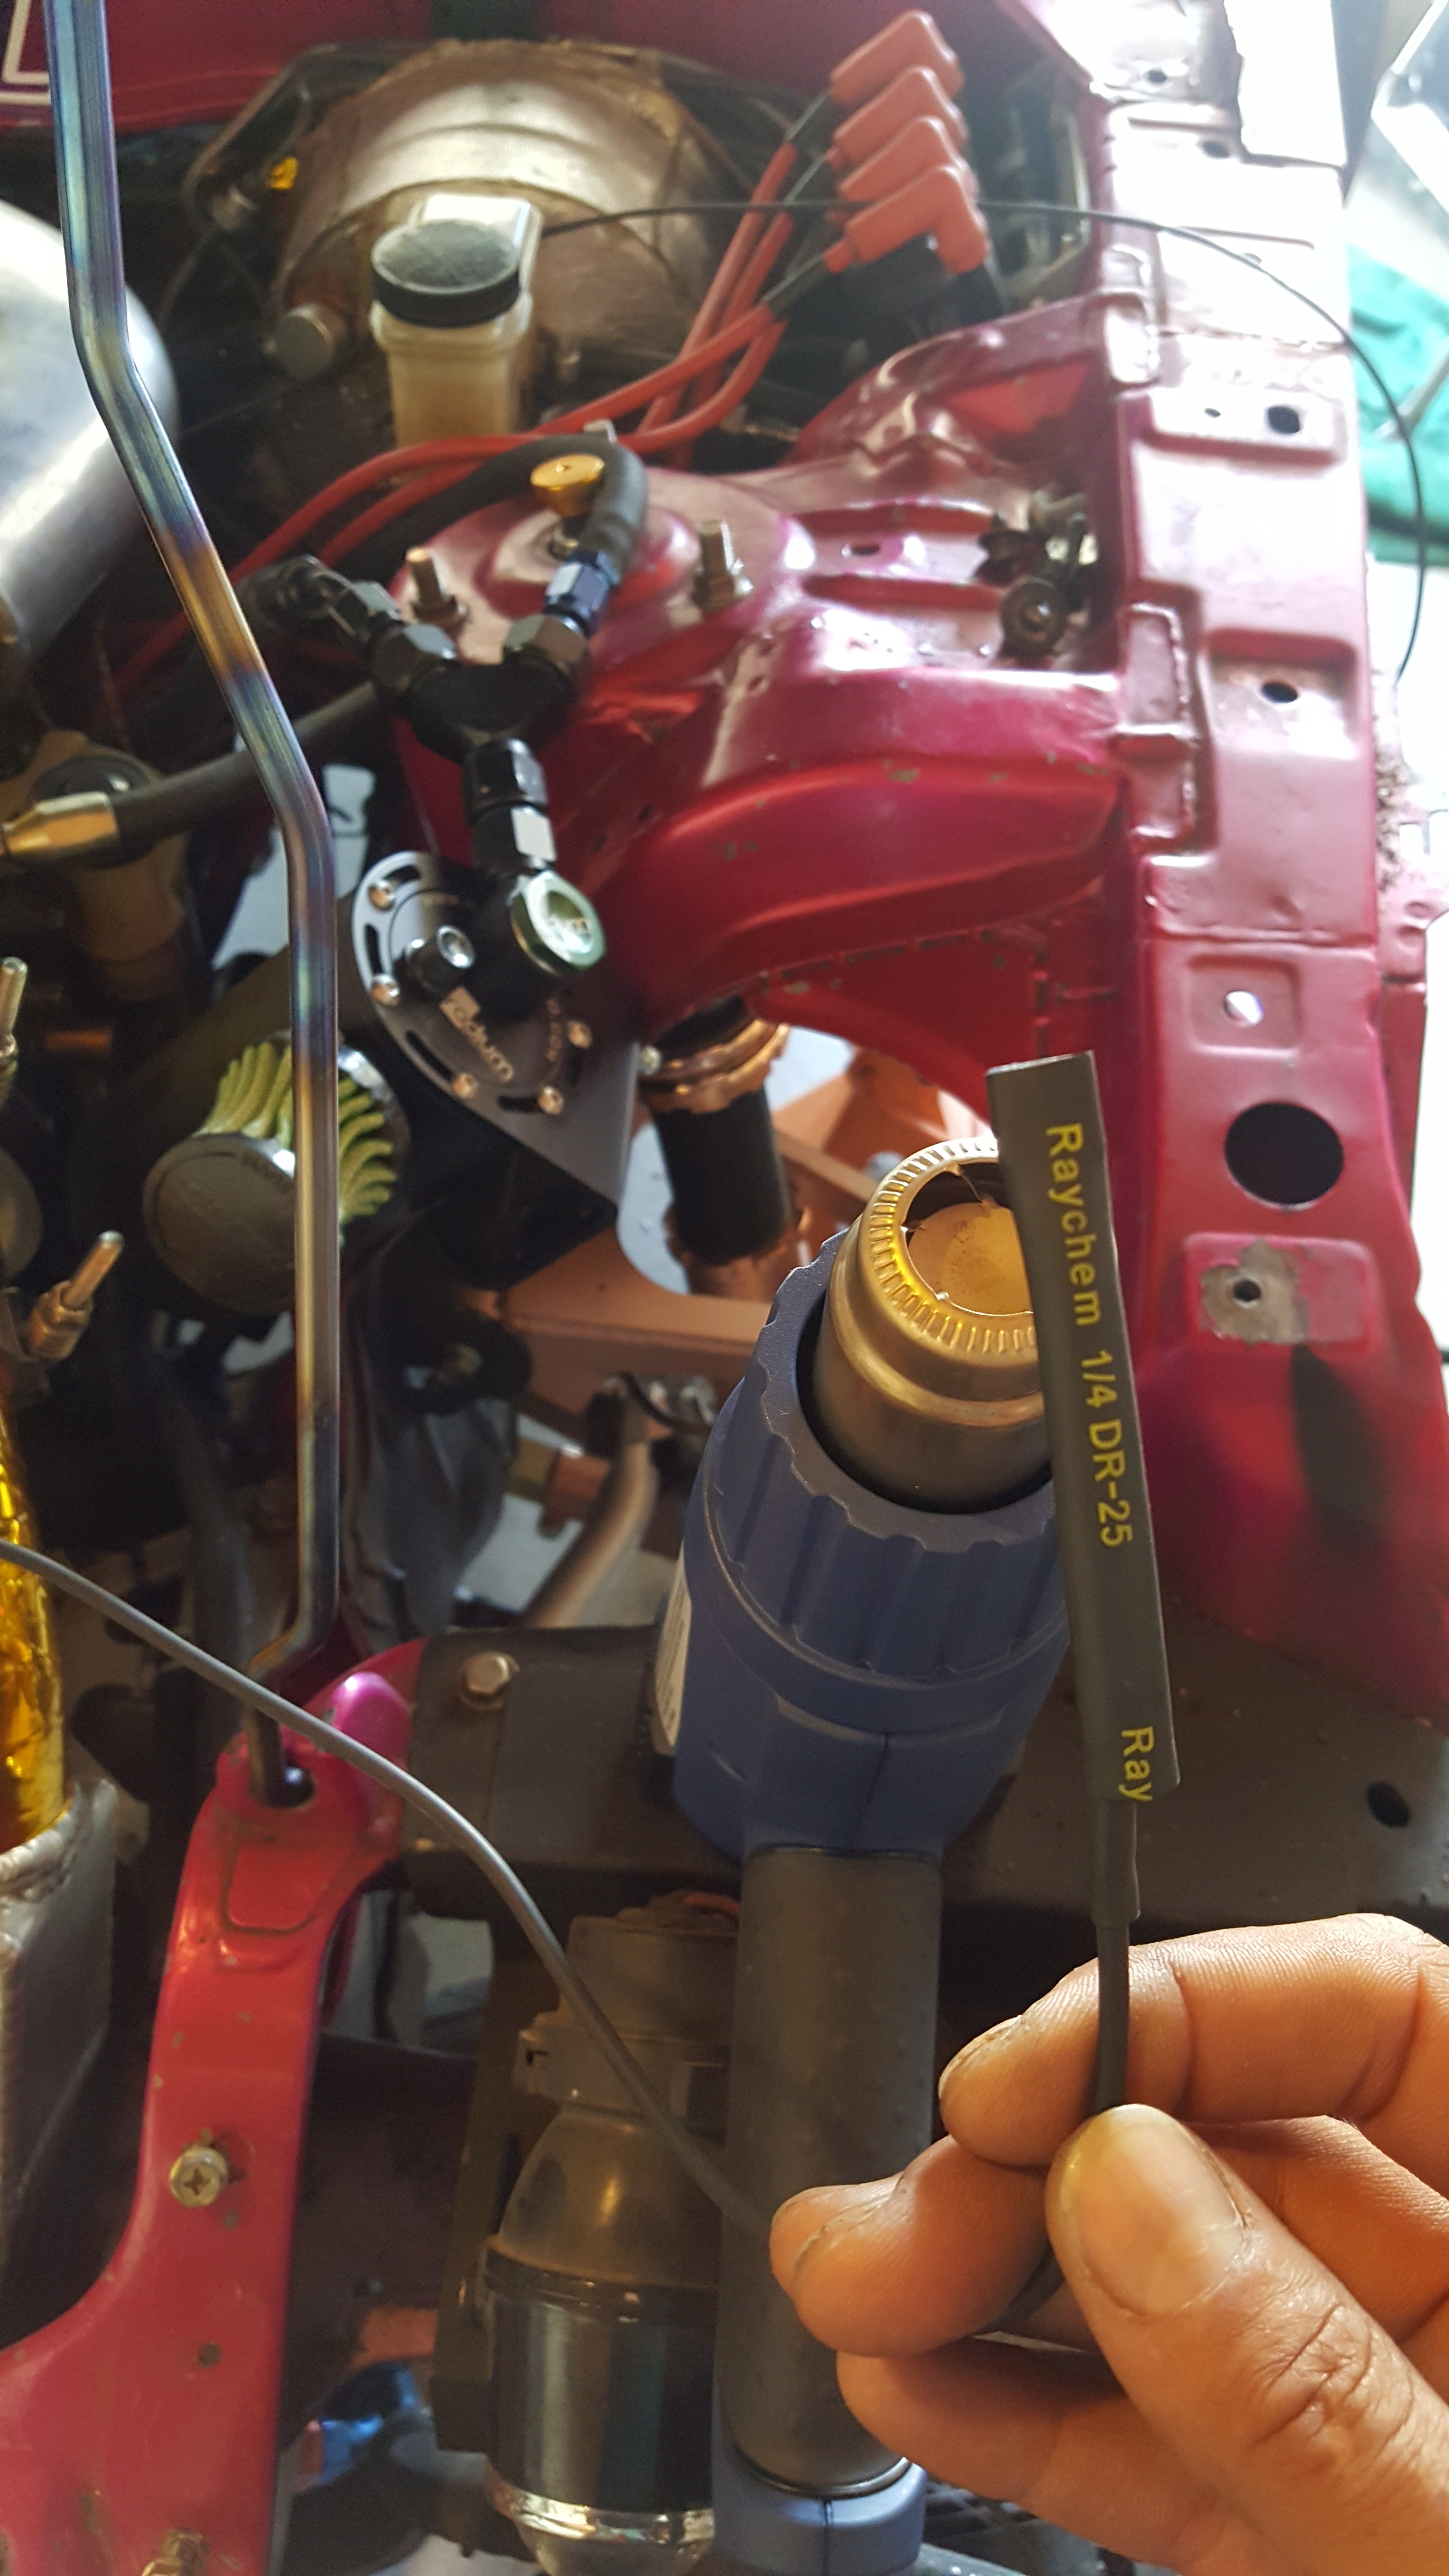
I used Left Over DR-25 (Yellow Lettering) from my engine harness. It’s expensive…but Really nice stuff. Necessary? Probably not. But it’s nice and I like it!
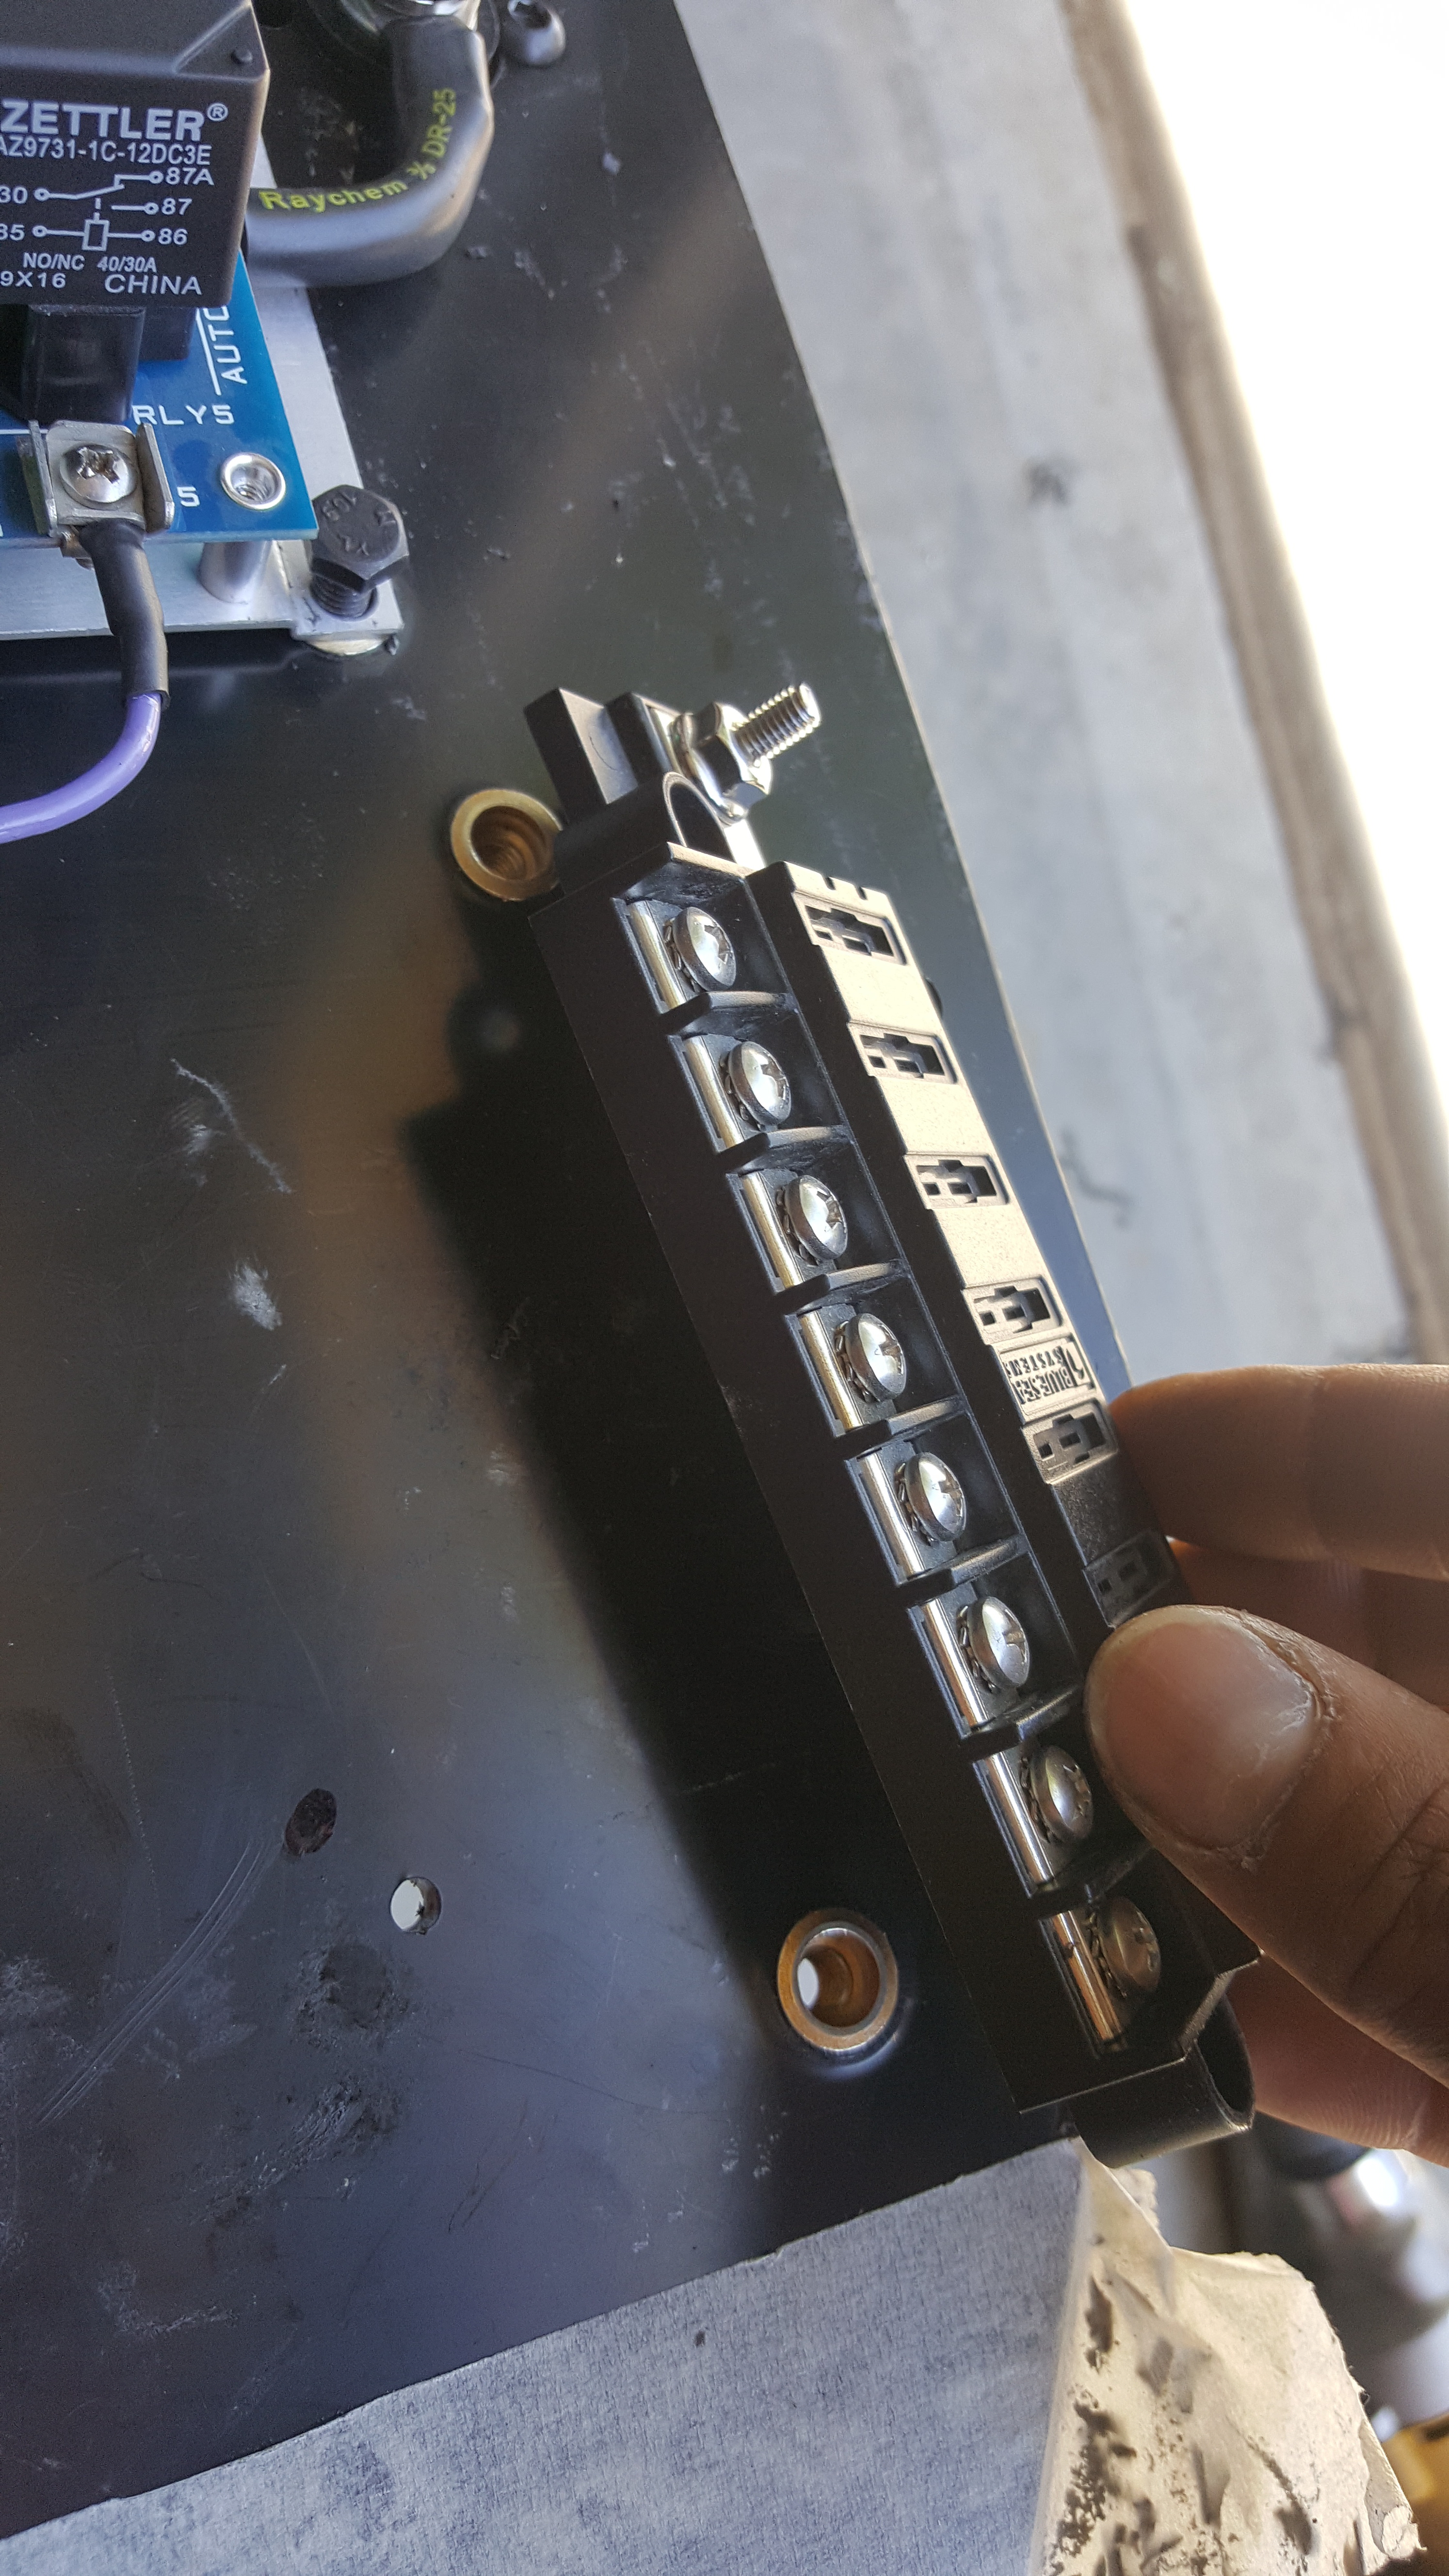
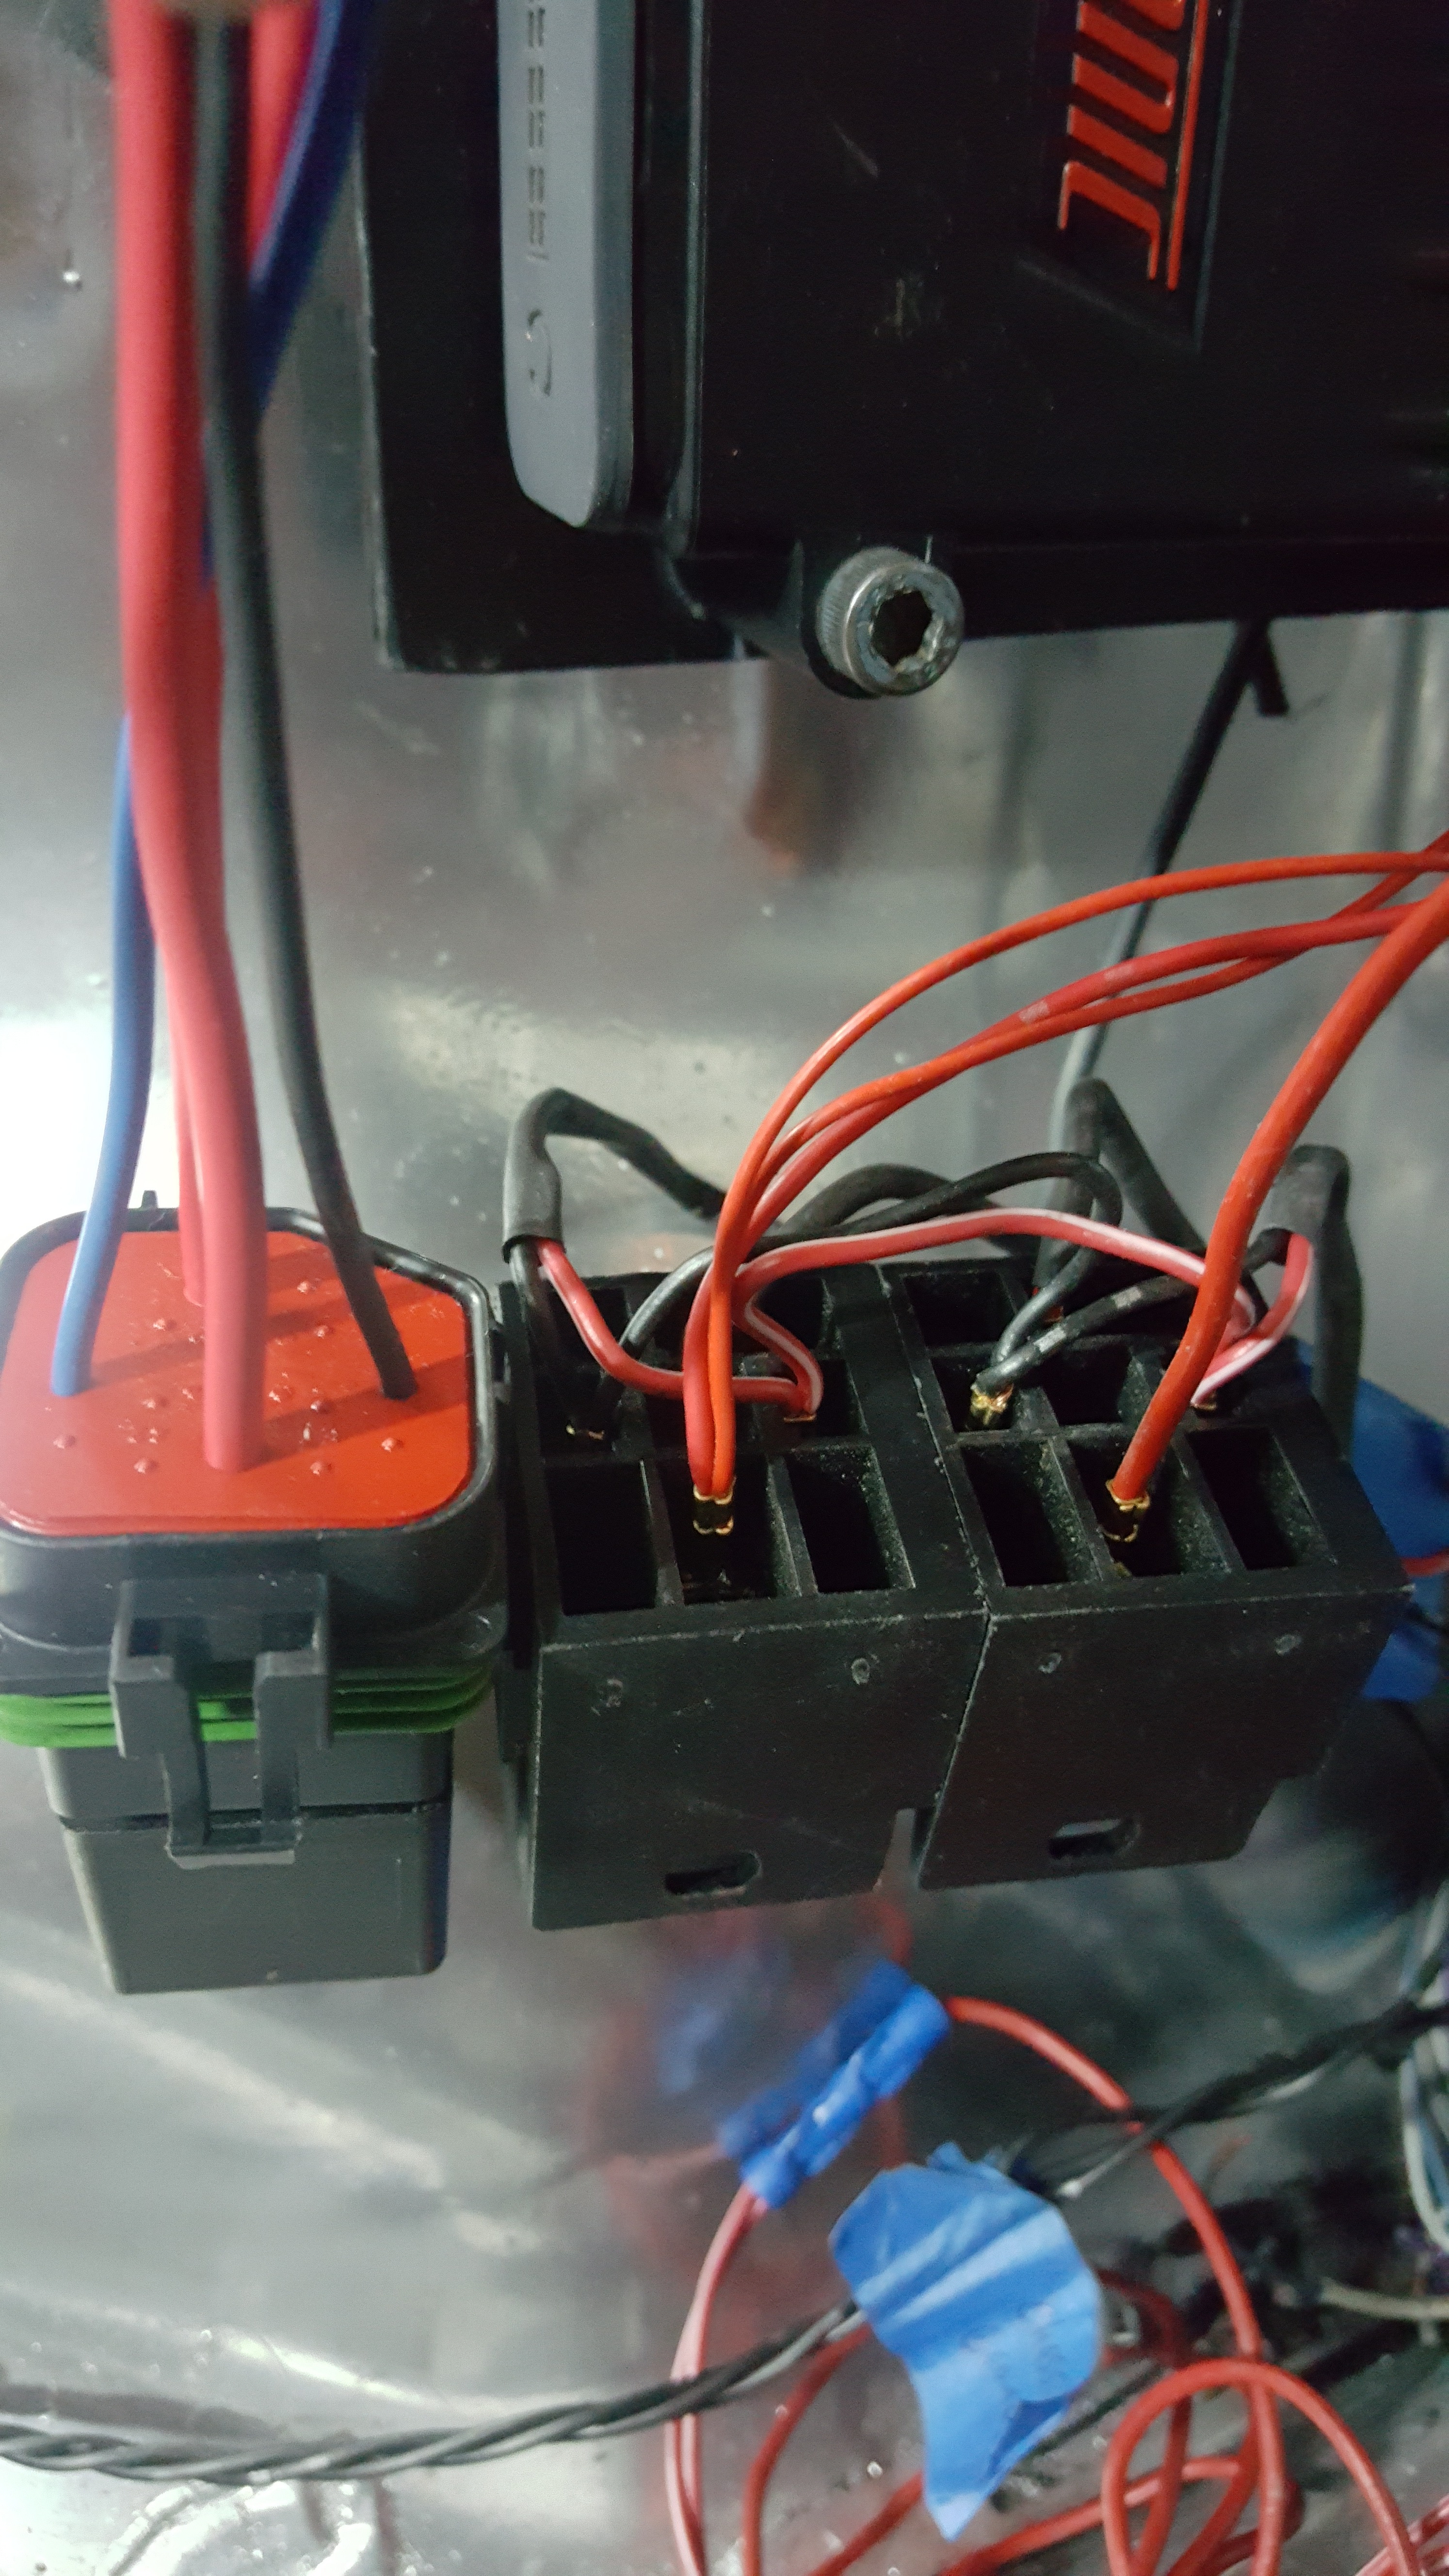
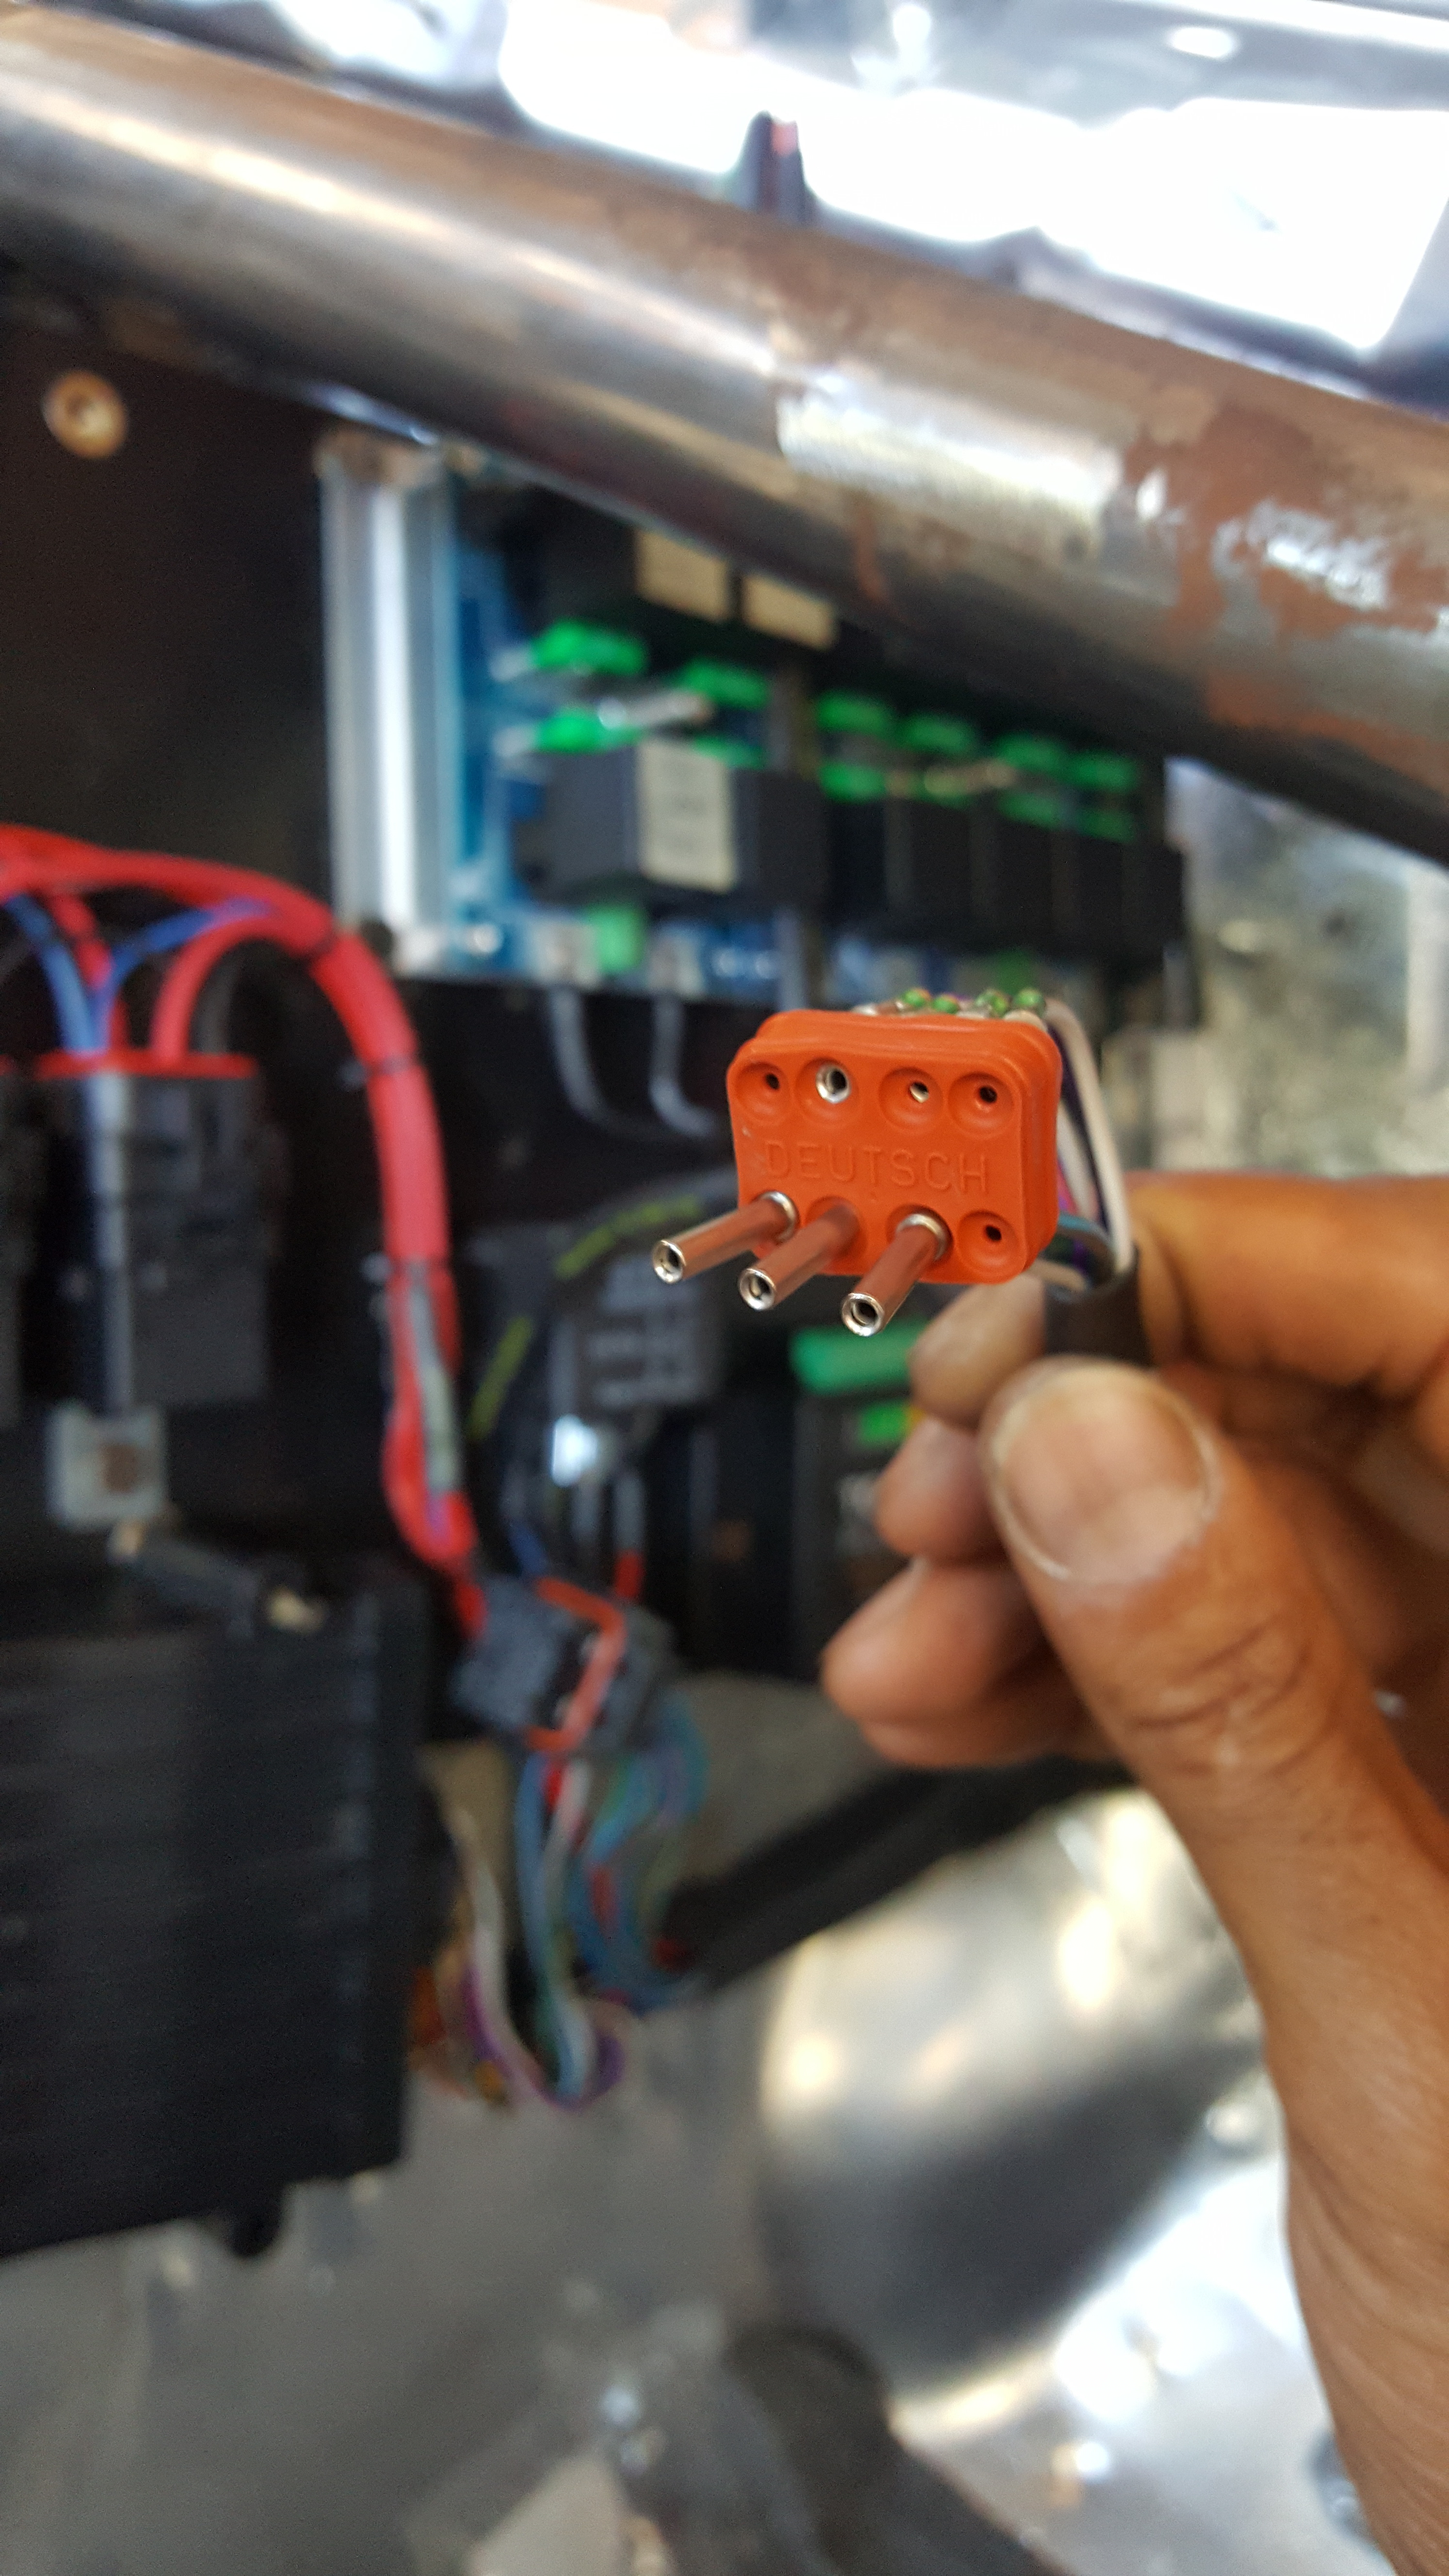
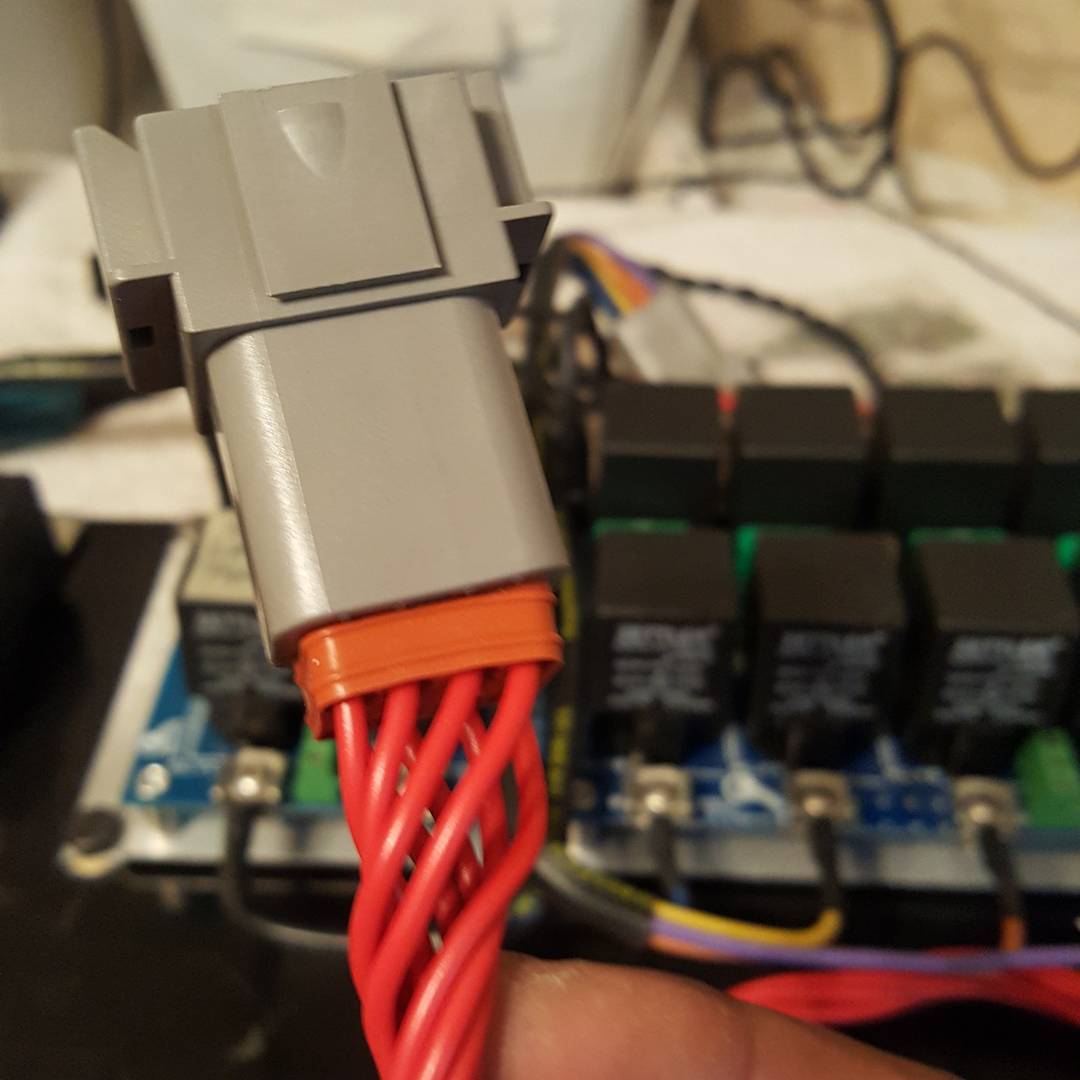
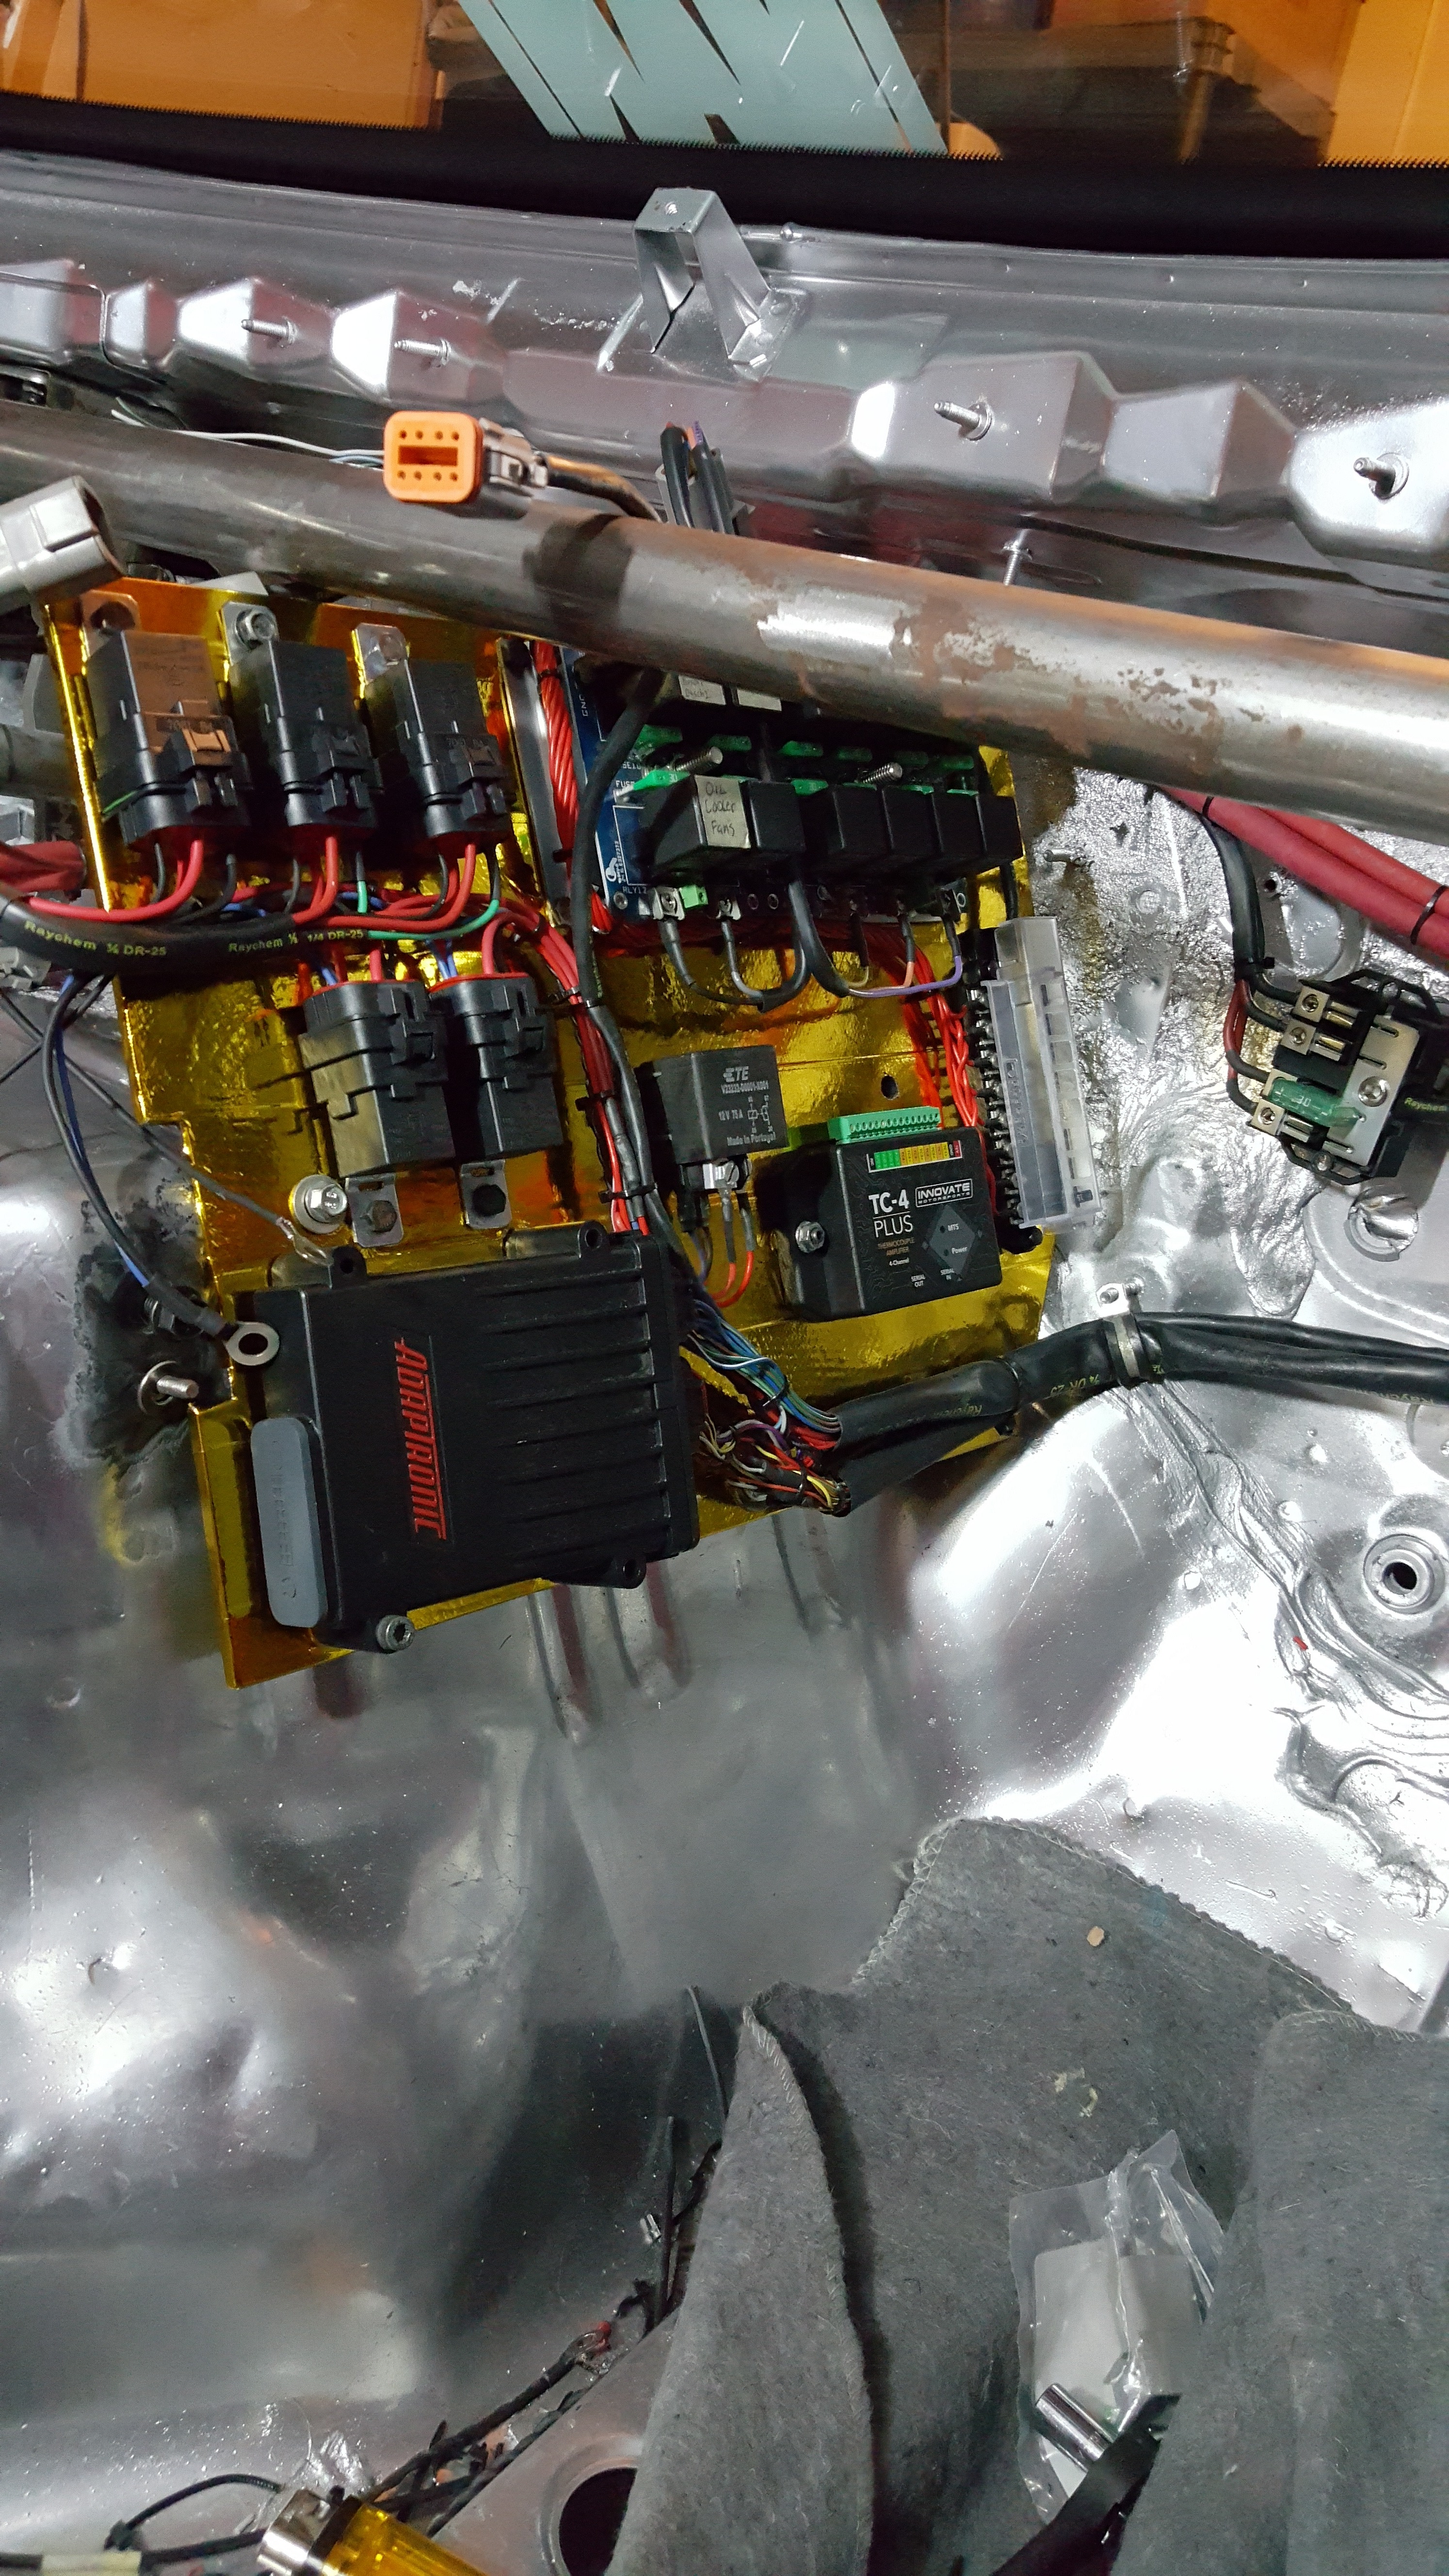
All connectors on the board use assorted Deutsch conns. Specifically used for their intended current draw in each application…higher and lower current separated by connector and function. So that when I want to take the board out of the car.. cooling fans have their own connector…fuel pumps…have their own connector..oil coolers….own connector. No guess work!
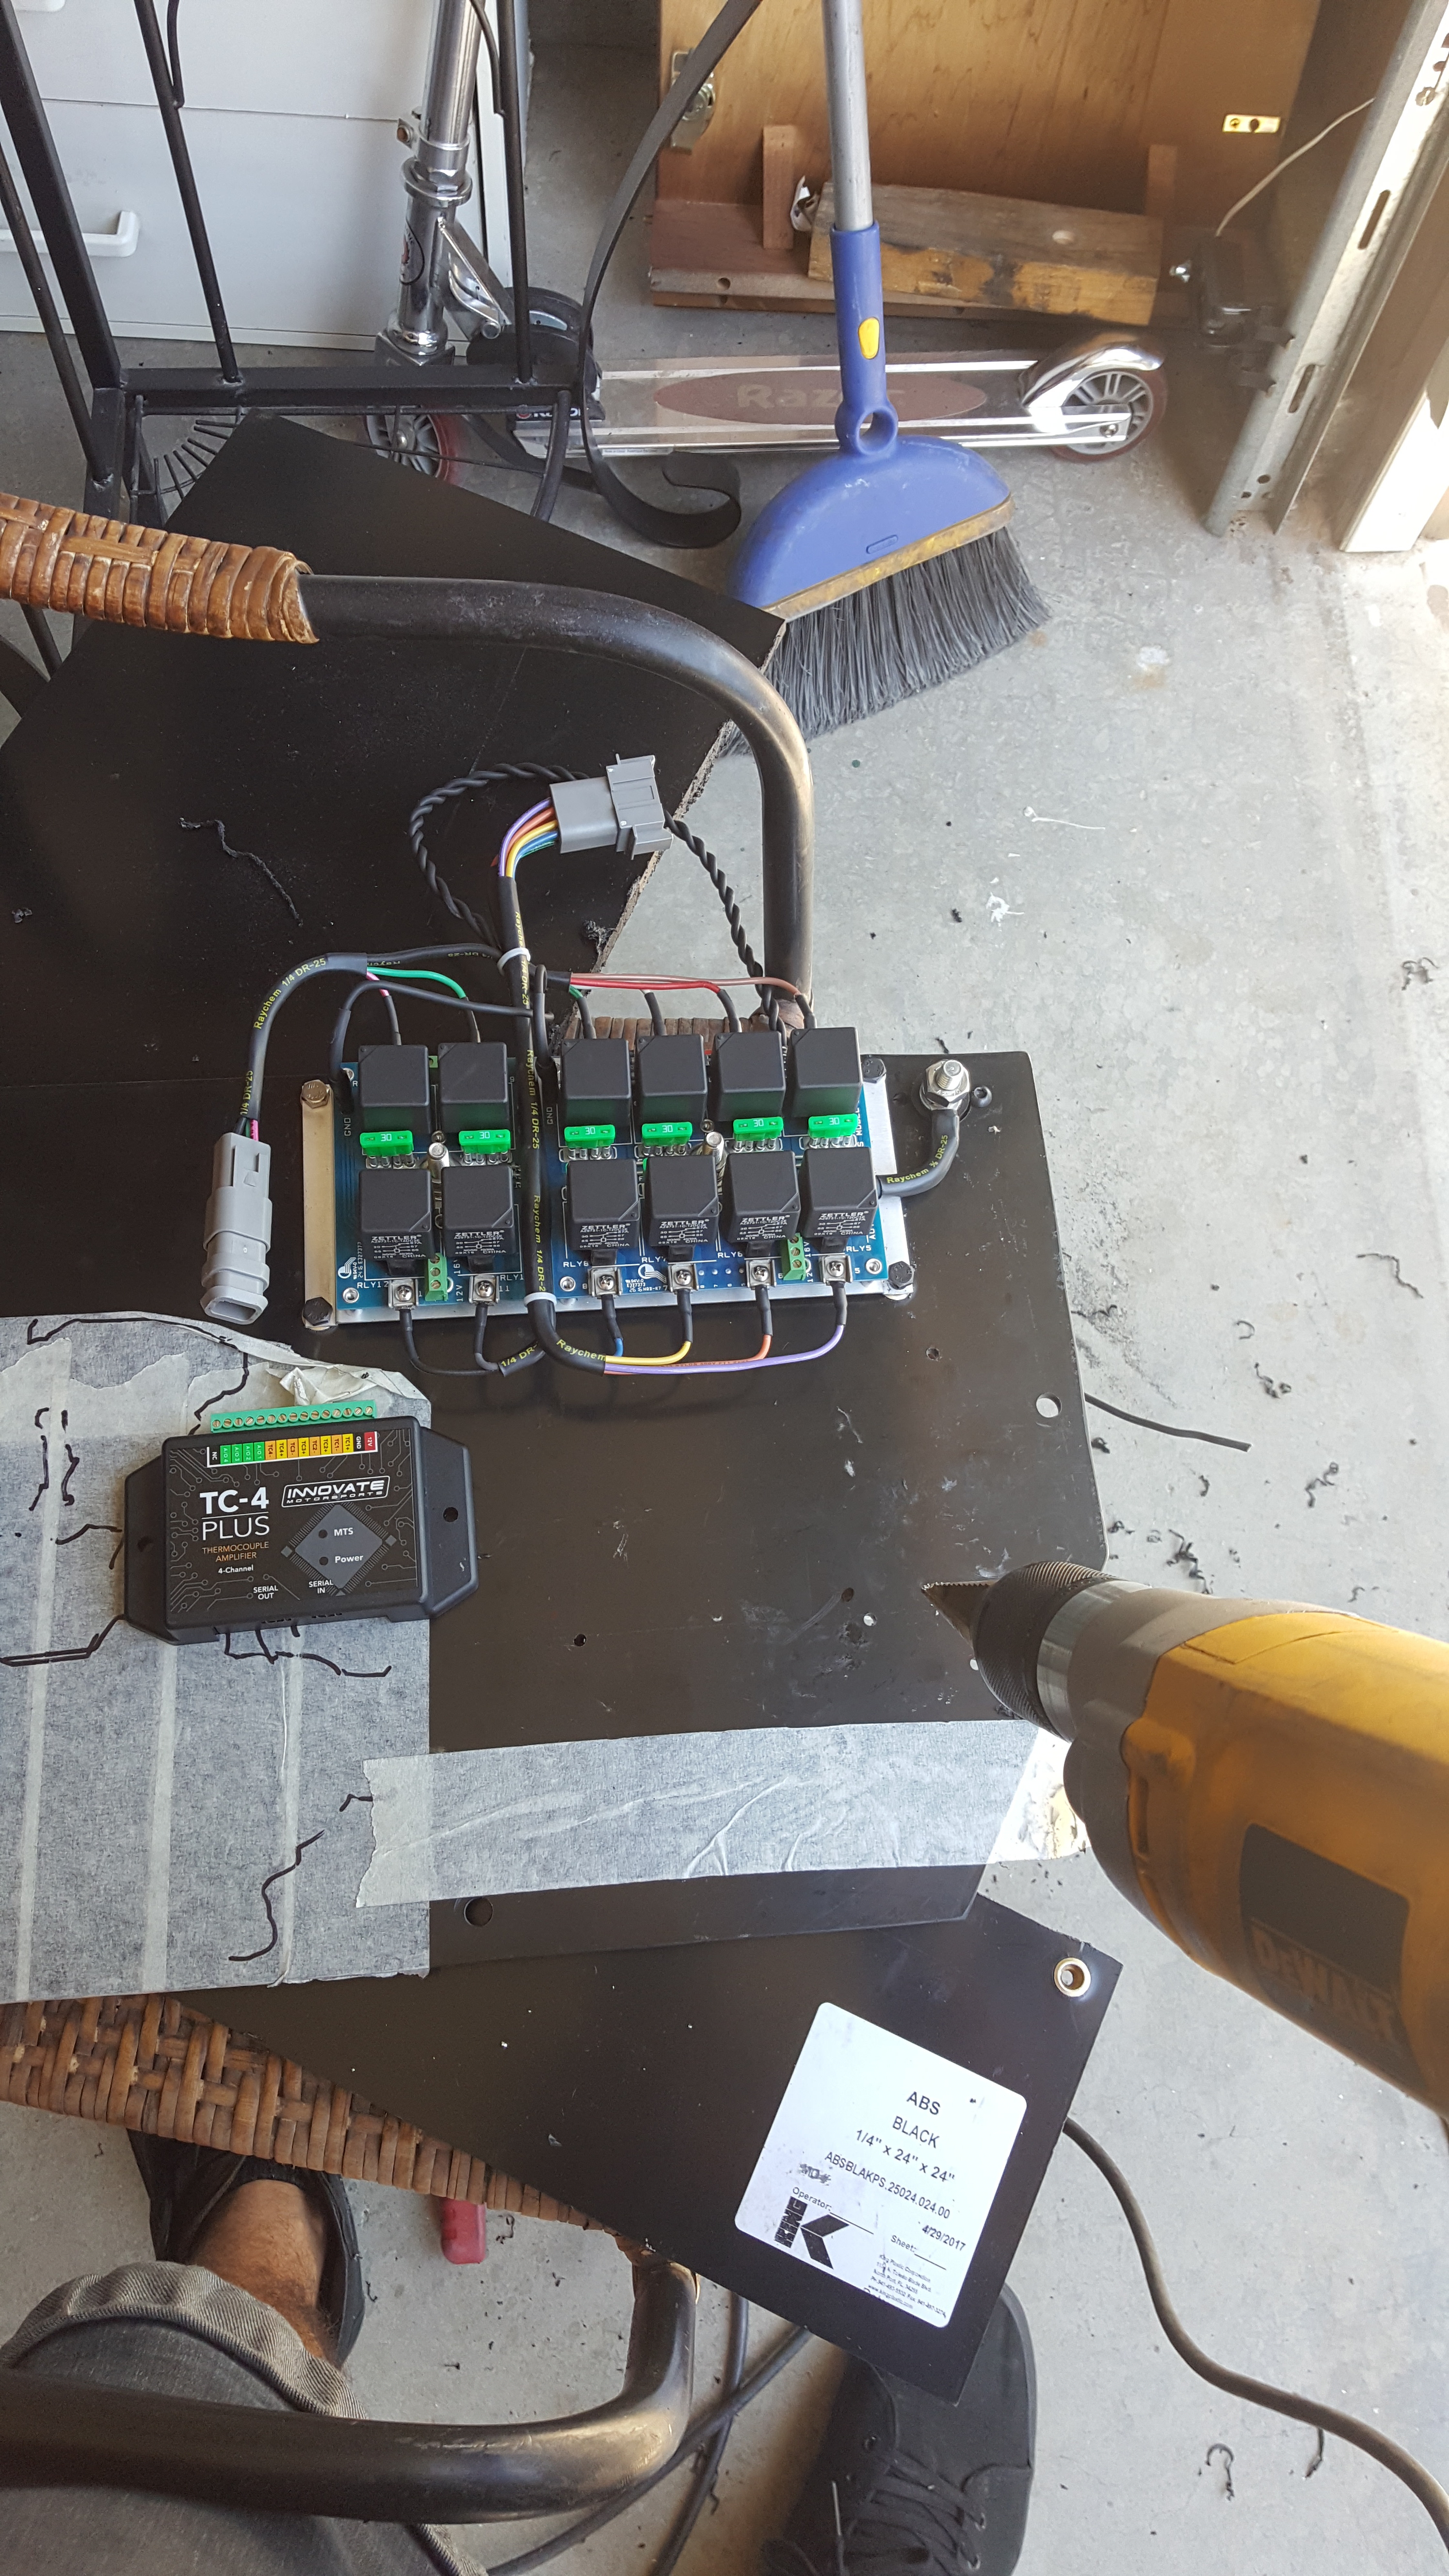
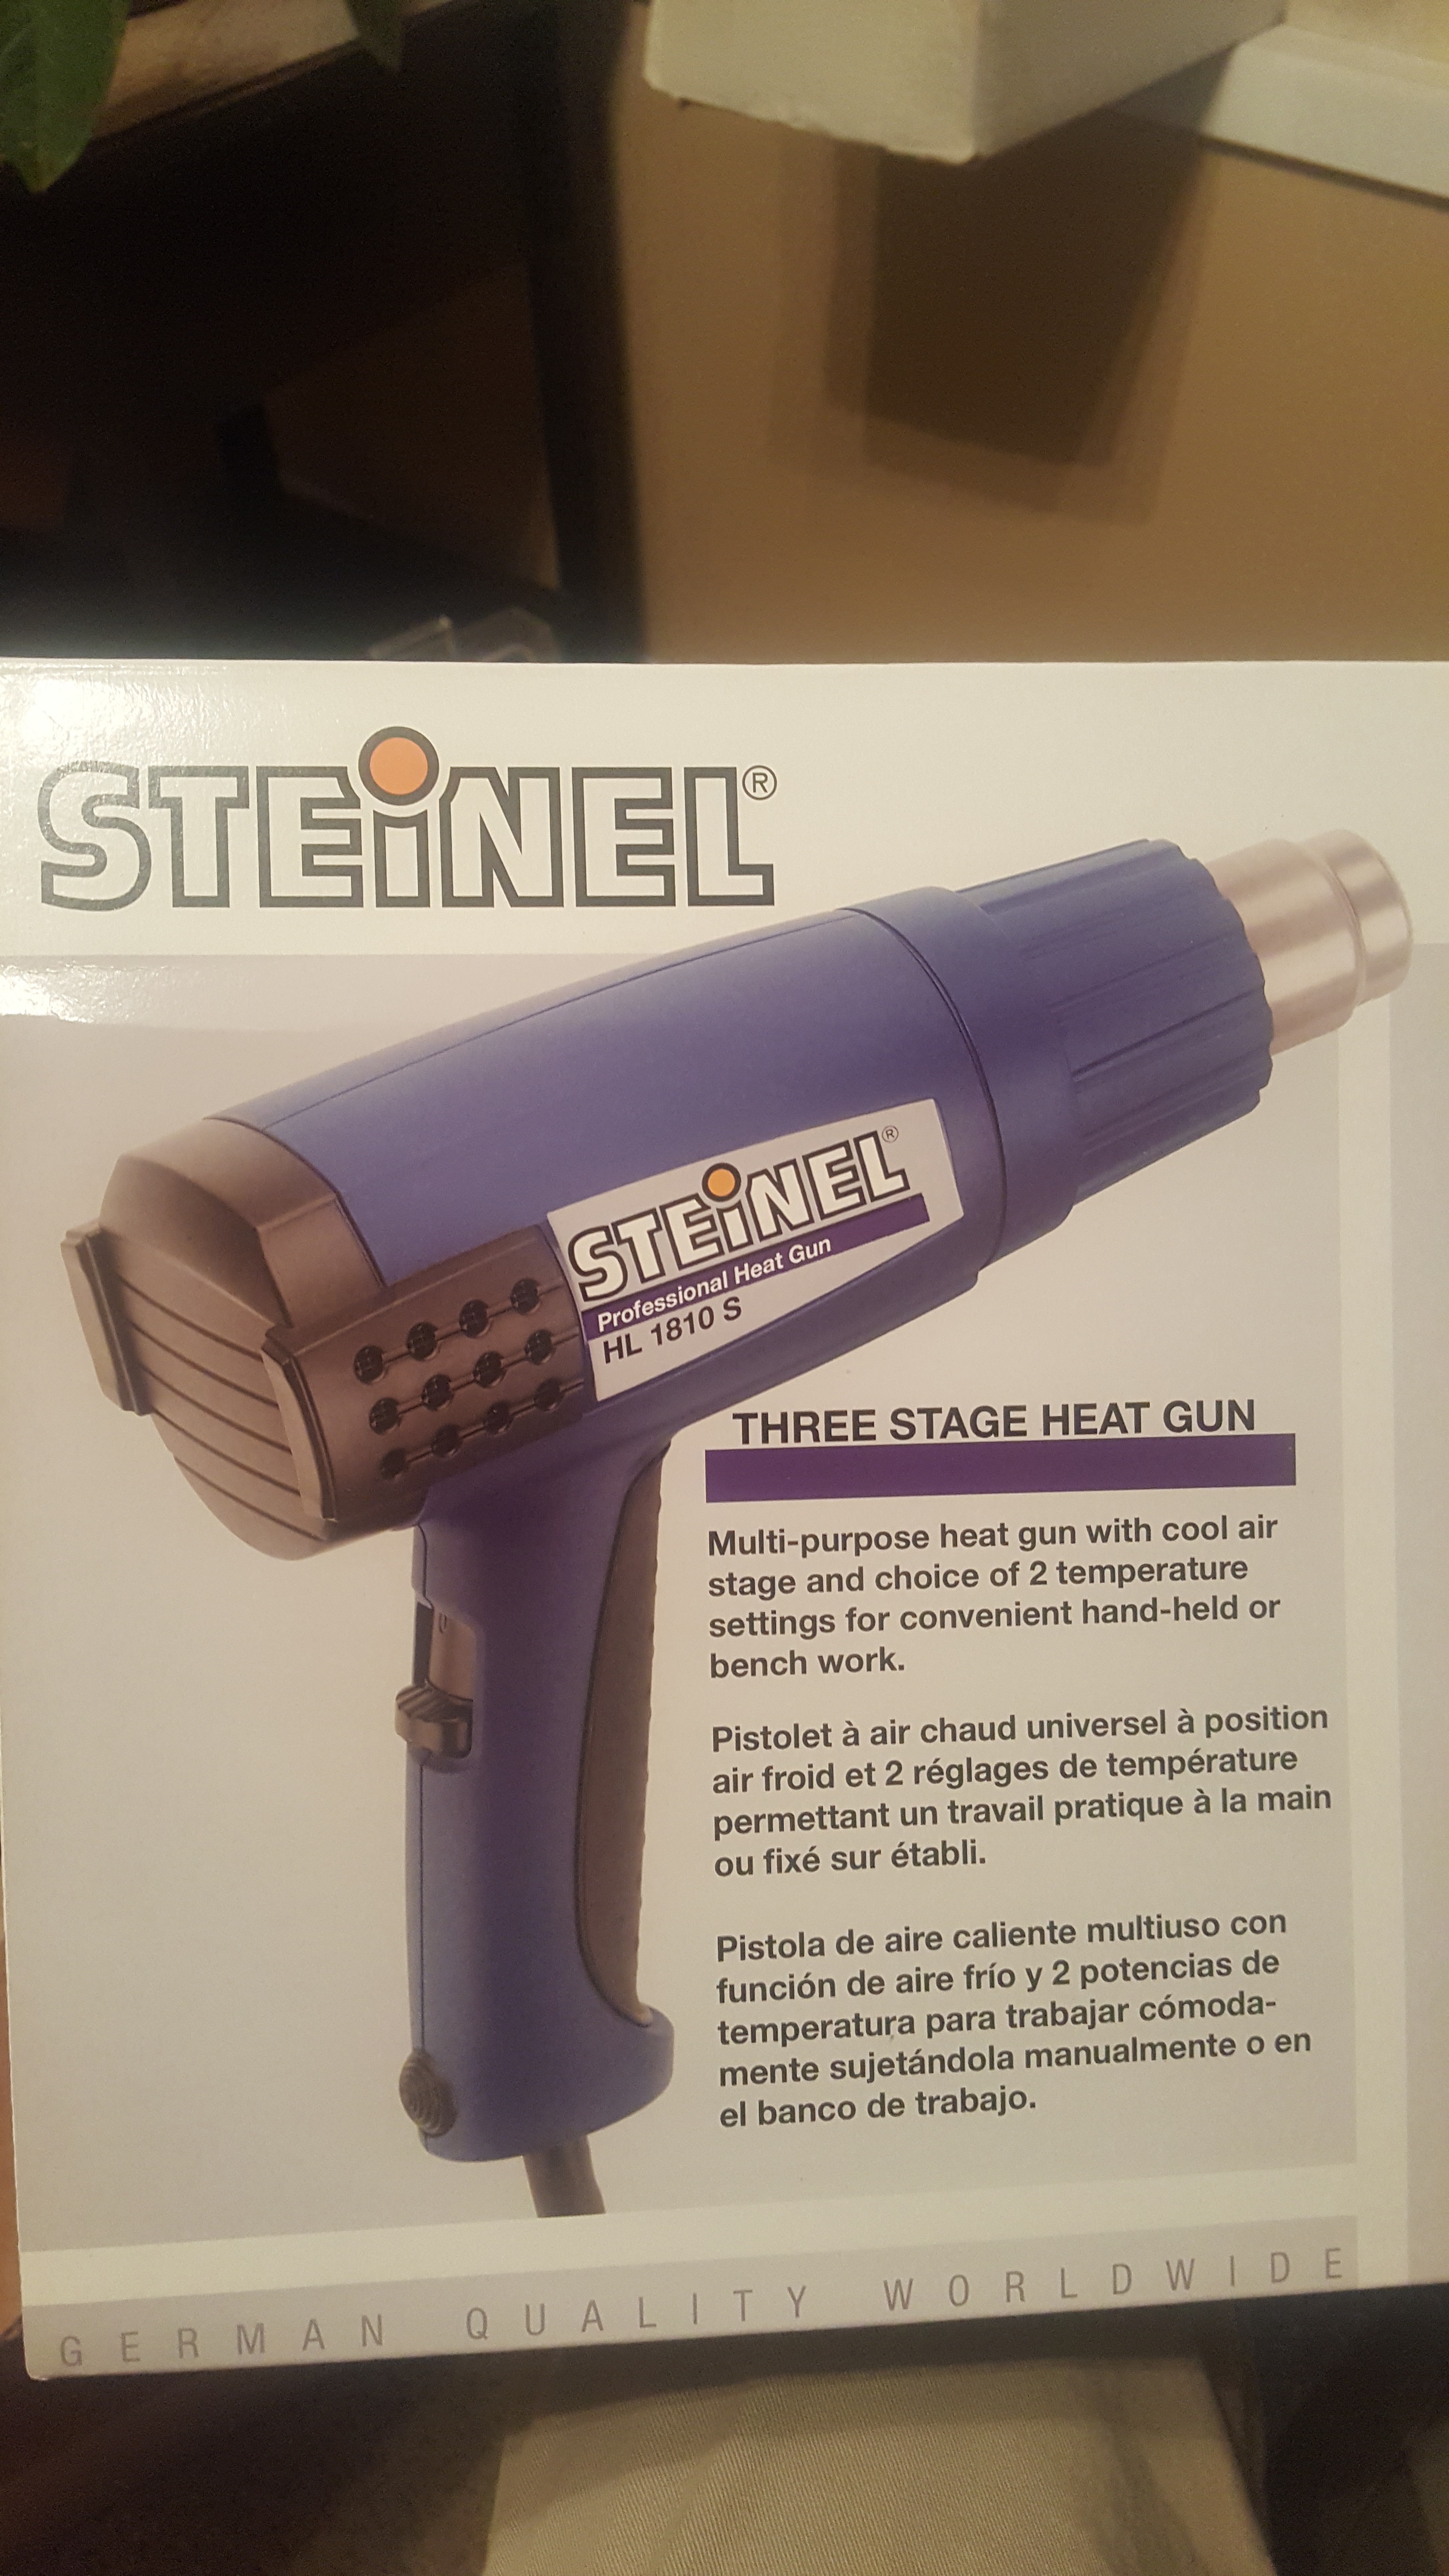
Late delivery of my Heat gun!! Yeeoowww!! This thing is sick!
Detail!!
Getting There!
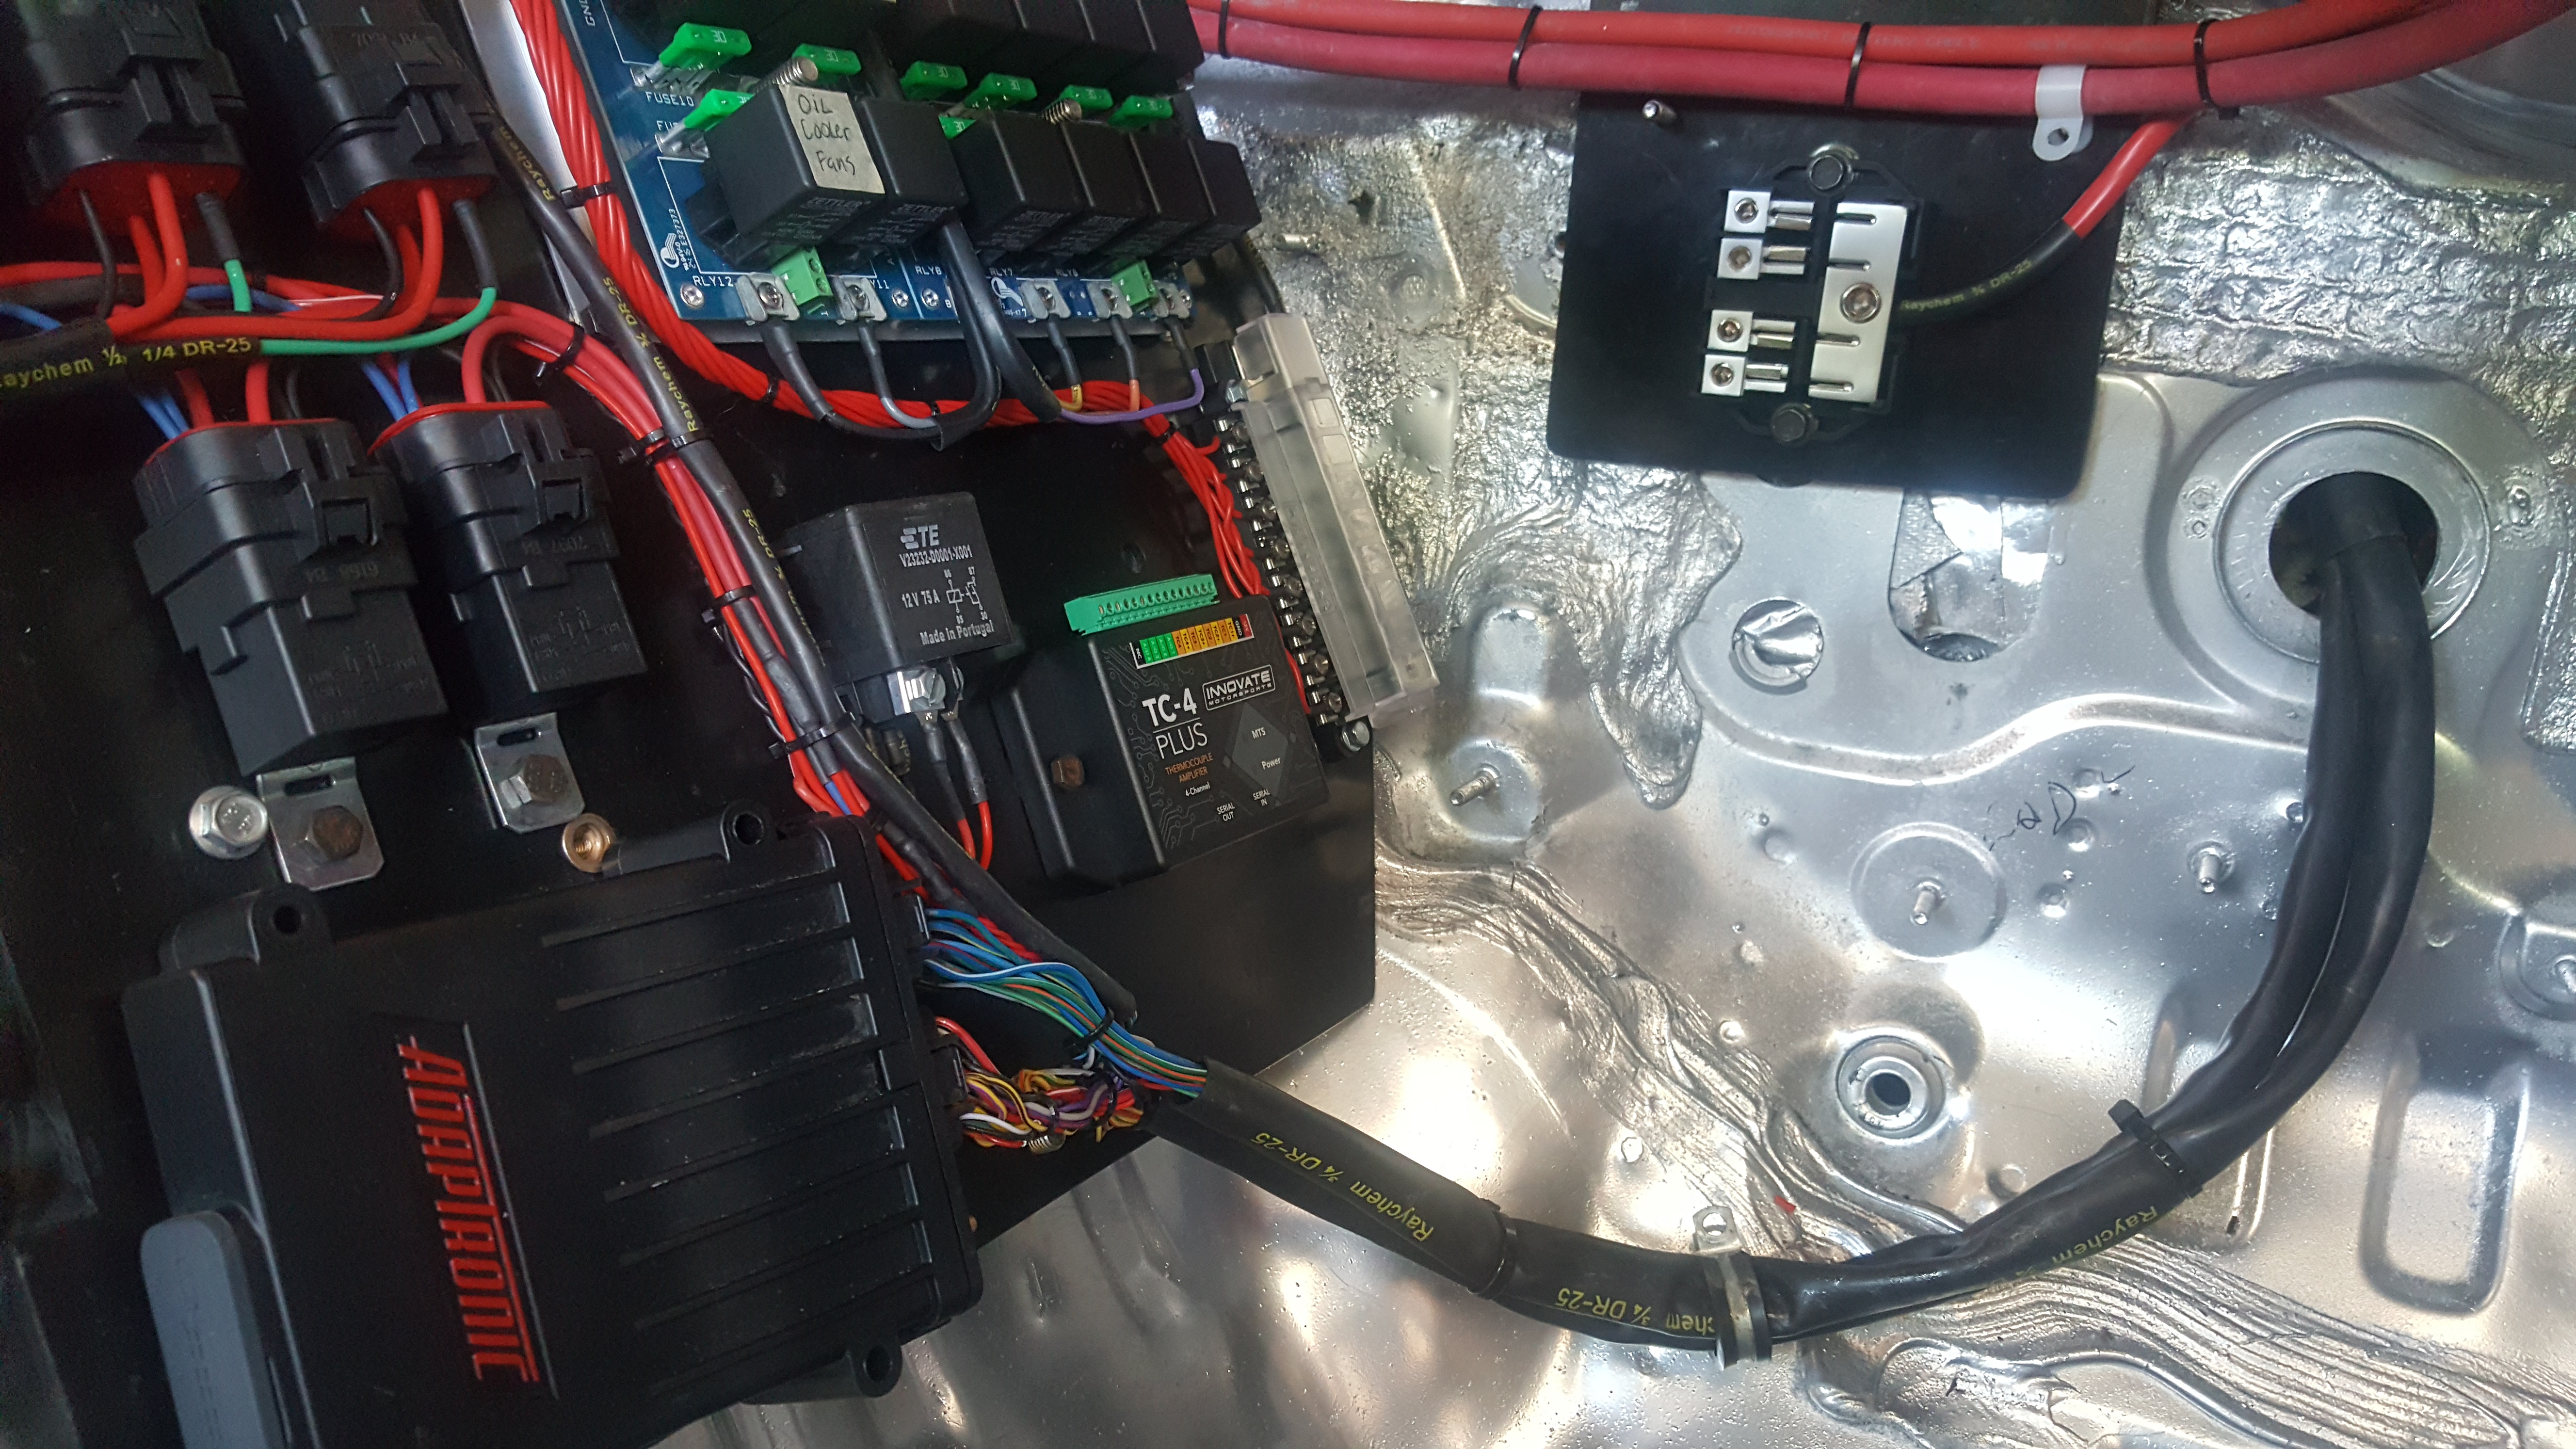
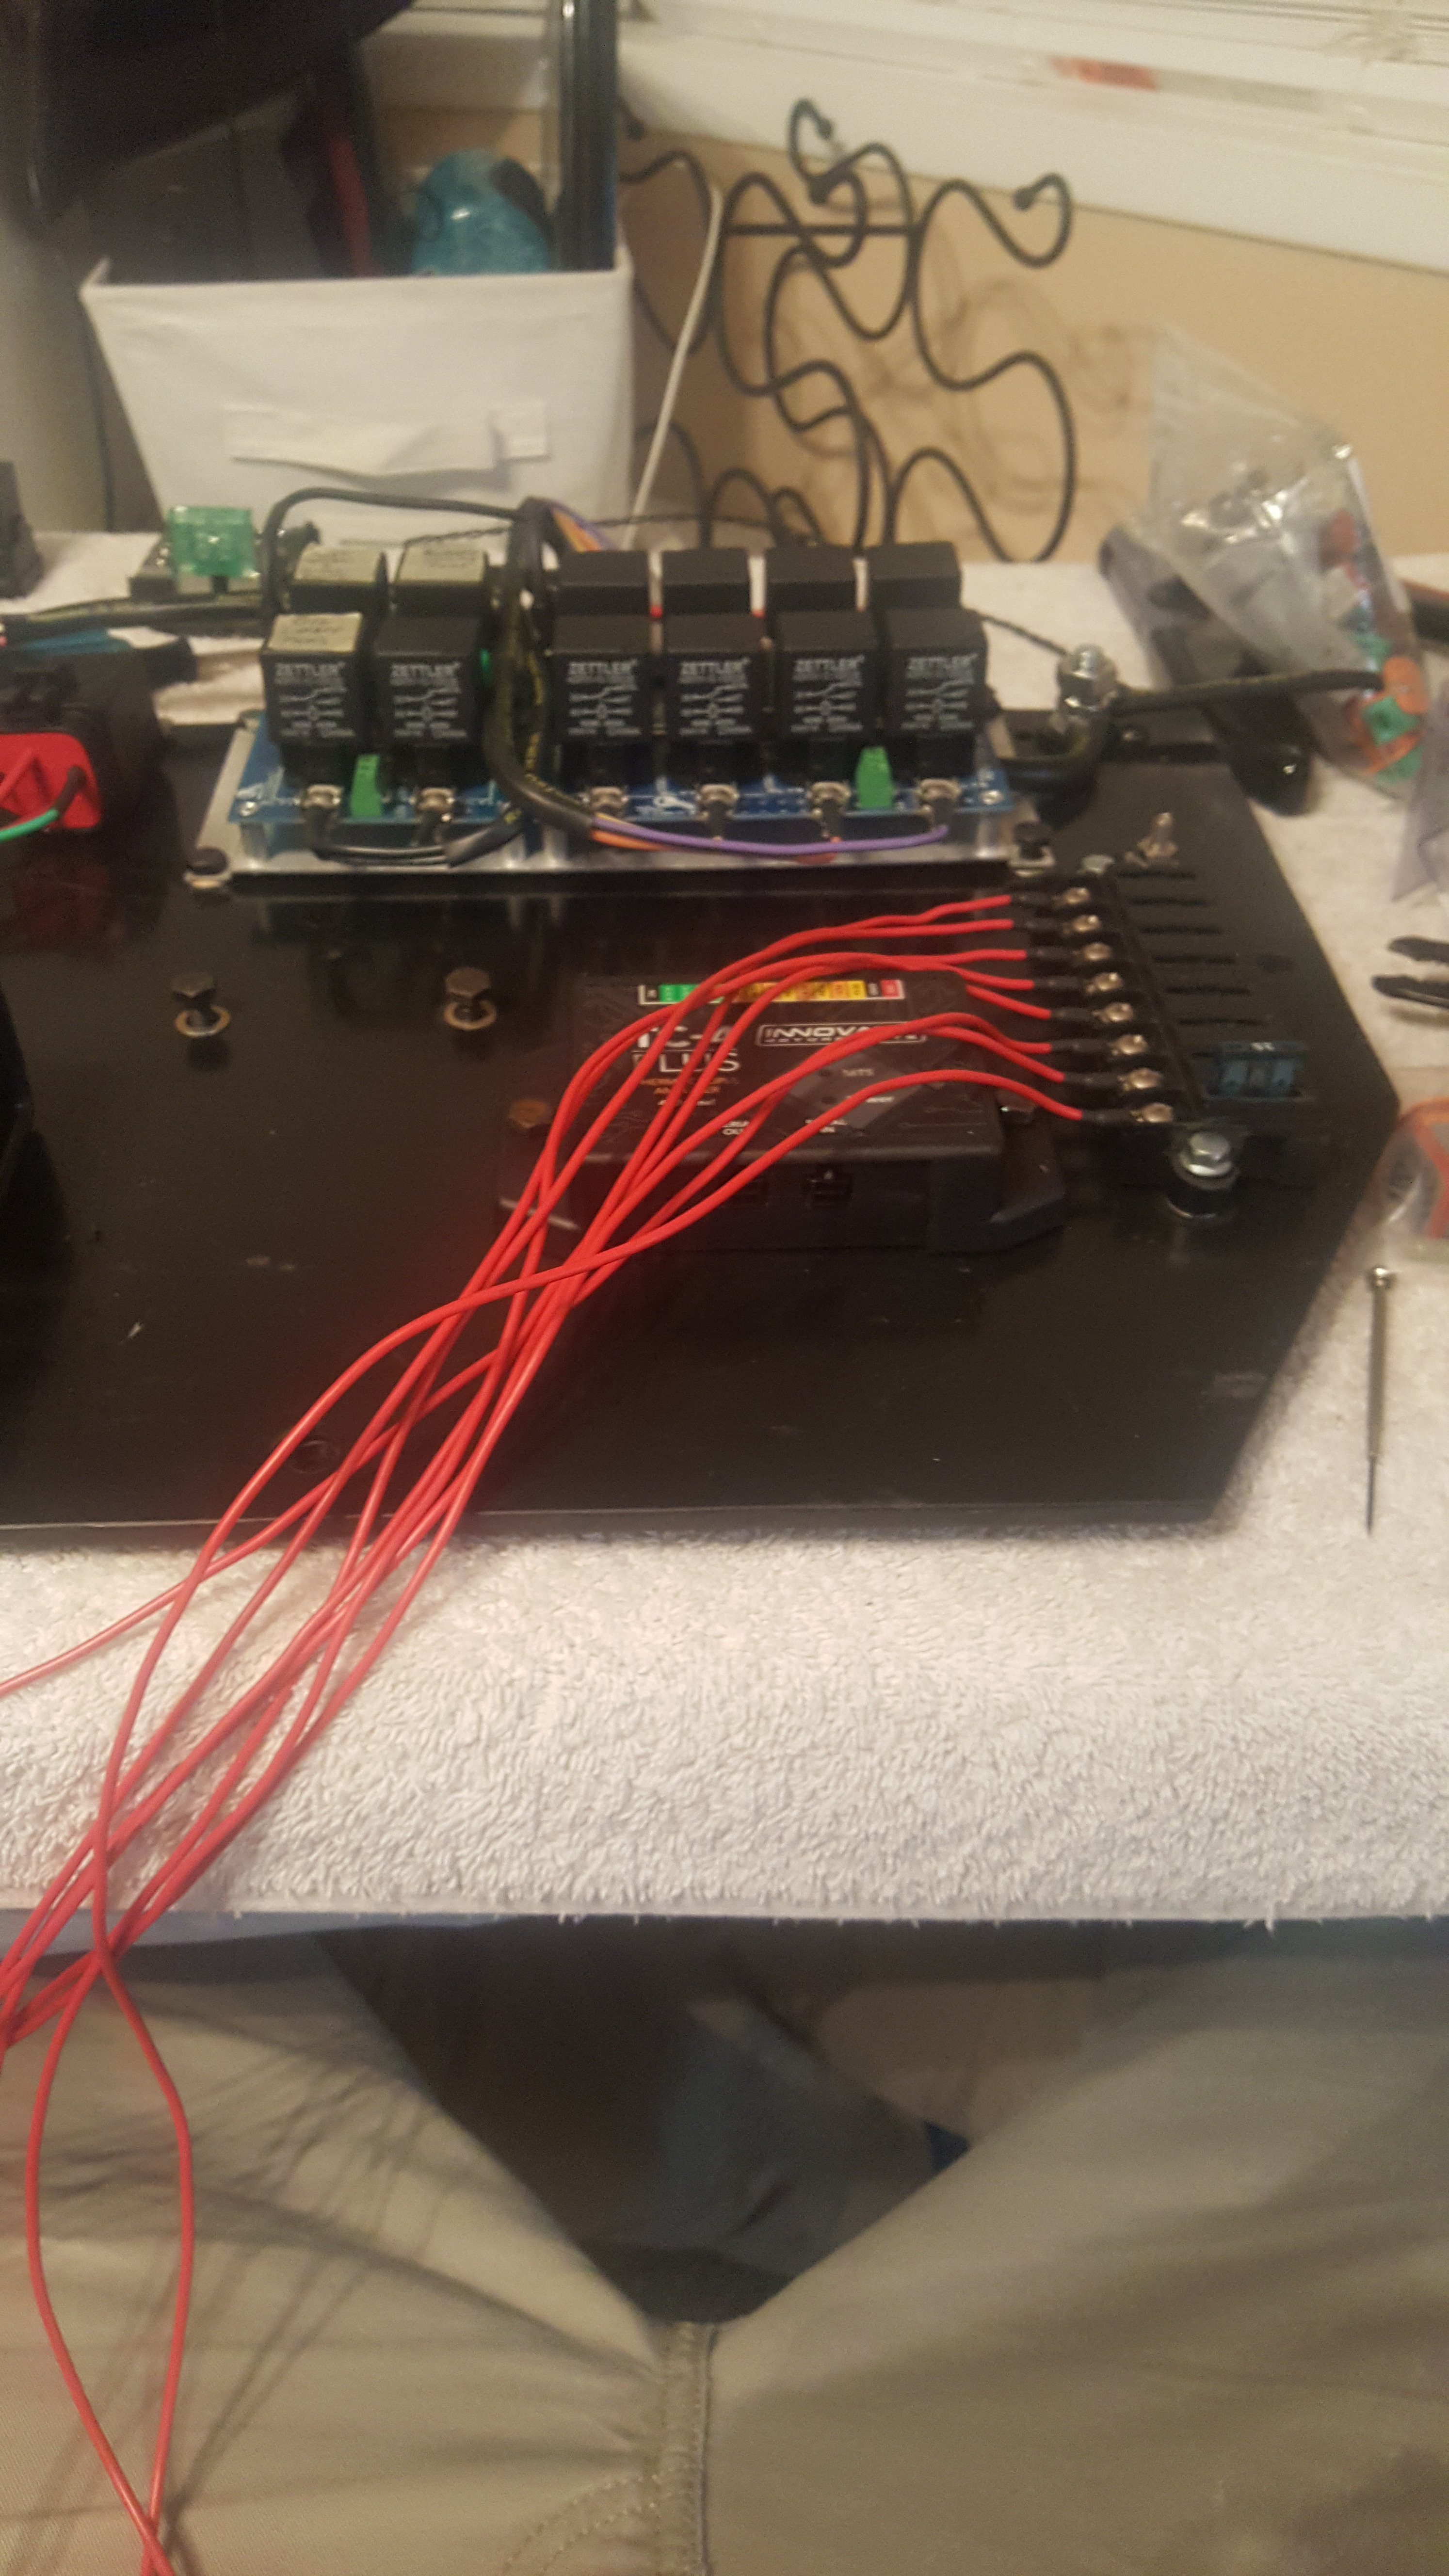
Ignition powered 12V for small stuff…like wideband…dash display…innovate module..etc!
I think the board took me a day and a half to build. Really wanted this to be done correctly.
I even went as far as using all one style of sealed Hella Relay. That way everthing uses the same replacement if need be.
More Mock checking….must’ve had the board in and out of the car over 35-40 times throughout the process. Really wanted to make sure everything cleared and would be accessible with the Dash in there…but also easily come out of the car if needed.
I used Left Over DR-25 (Yellow Lettering) from my engine harness. It’s expensive…but Really nice stuff. Necessary? Probably not. But it’s nice and I like it!
All connectors on the board use assorted Deutsch conns. Specifically used for their intended current draw in each application…higher and lower current separated by connector and function. So that when I want to take the board out of the car.. cooling fans have their own connector…fuel pumps…have their own connector..oil coolers….own connector. No guess work!
Late delivery of my Heat gun!! Yeeoowww!! This thing is sick!
Detail!!
Getting There!
Ignition powered 12V for small stuff…like wideband…dash display…innovate module..etc!
Continued Update: Chassis Re-wire Part 2, "Its all in the details"
SuperWow Factory spruced up ARC Panel Lay-over with protective film!
I love it!
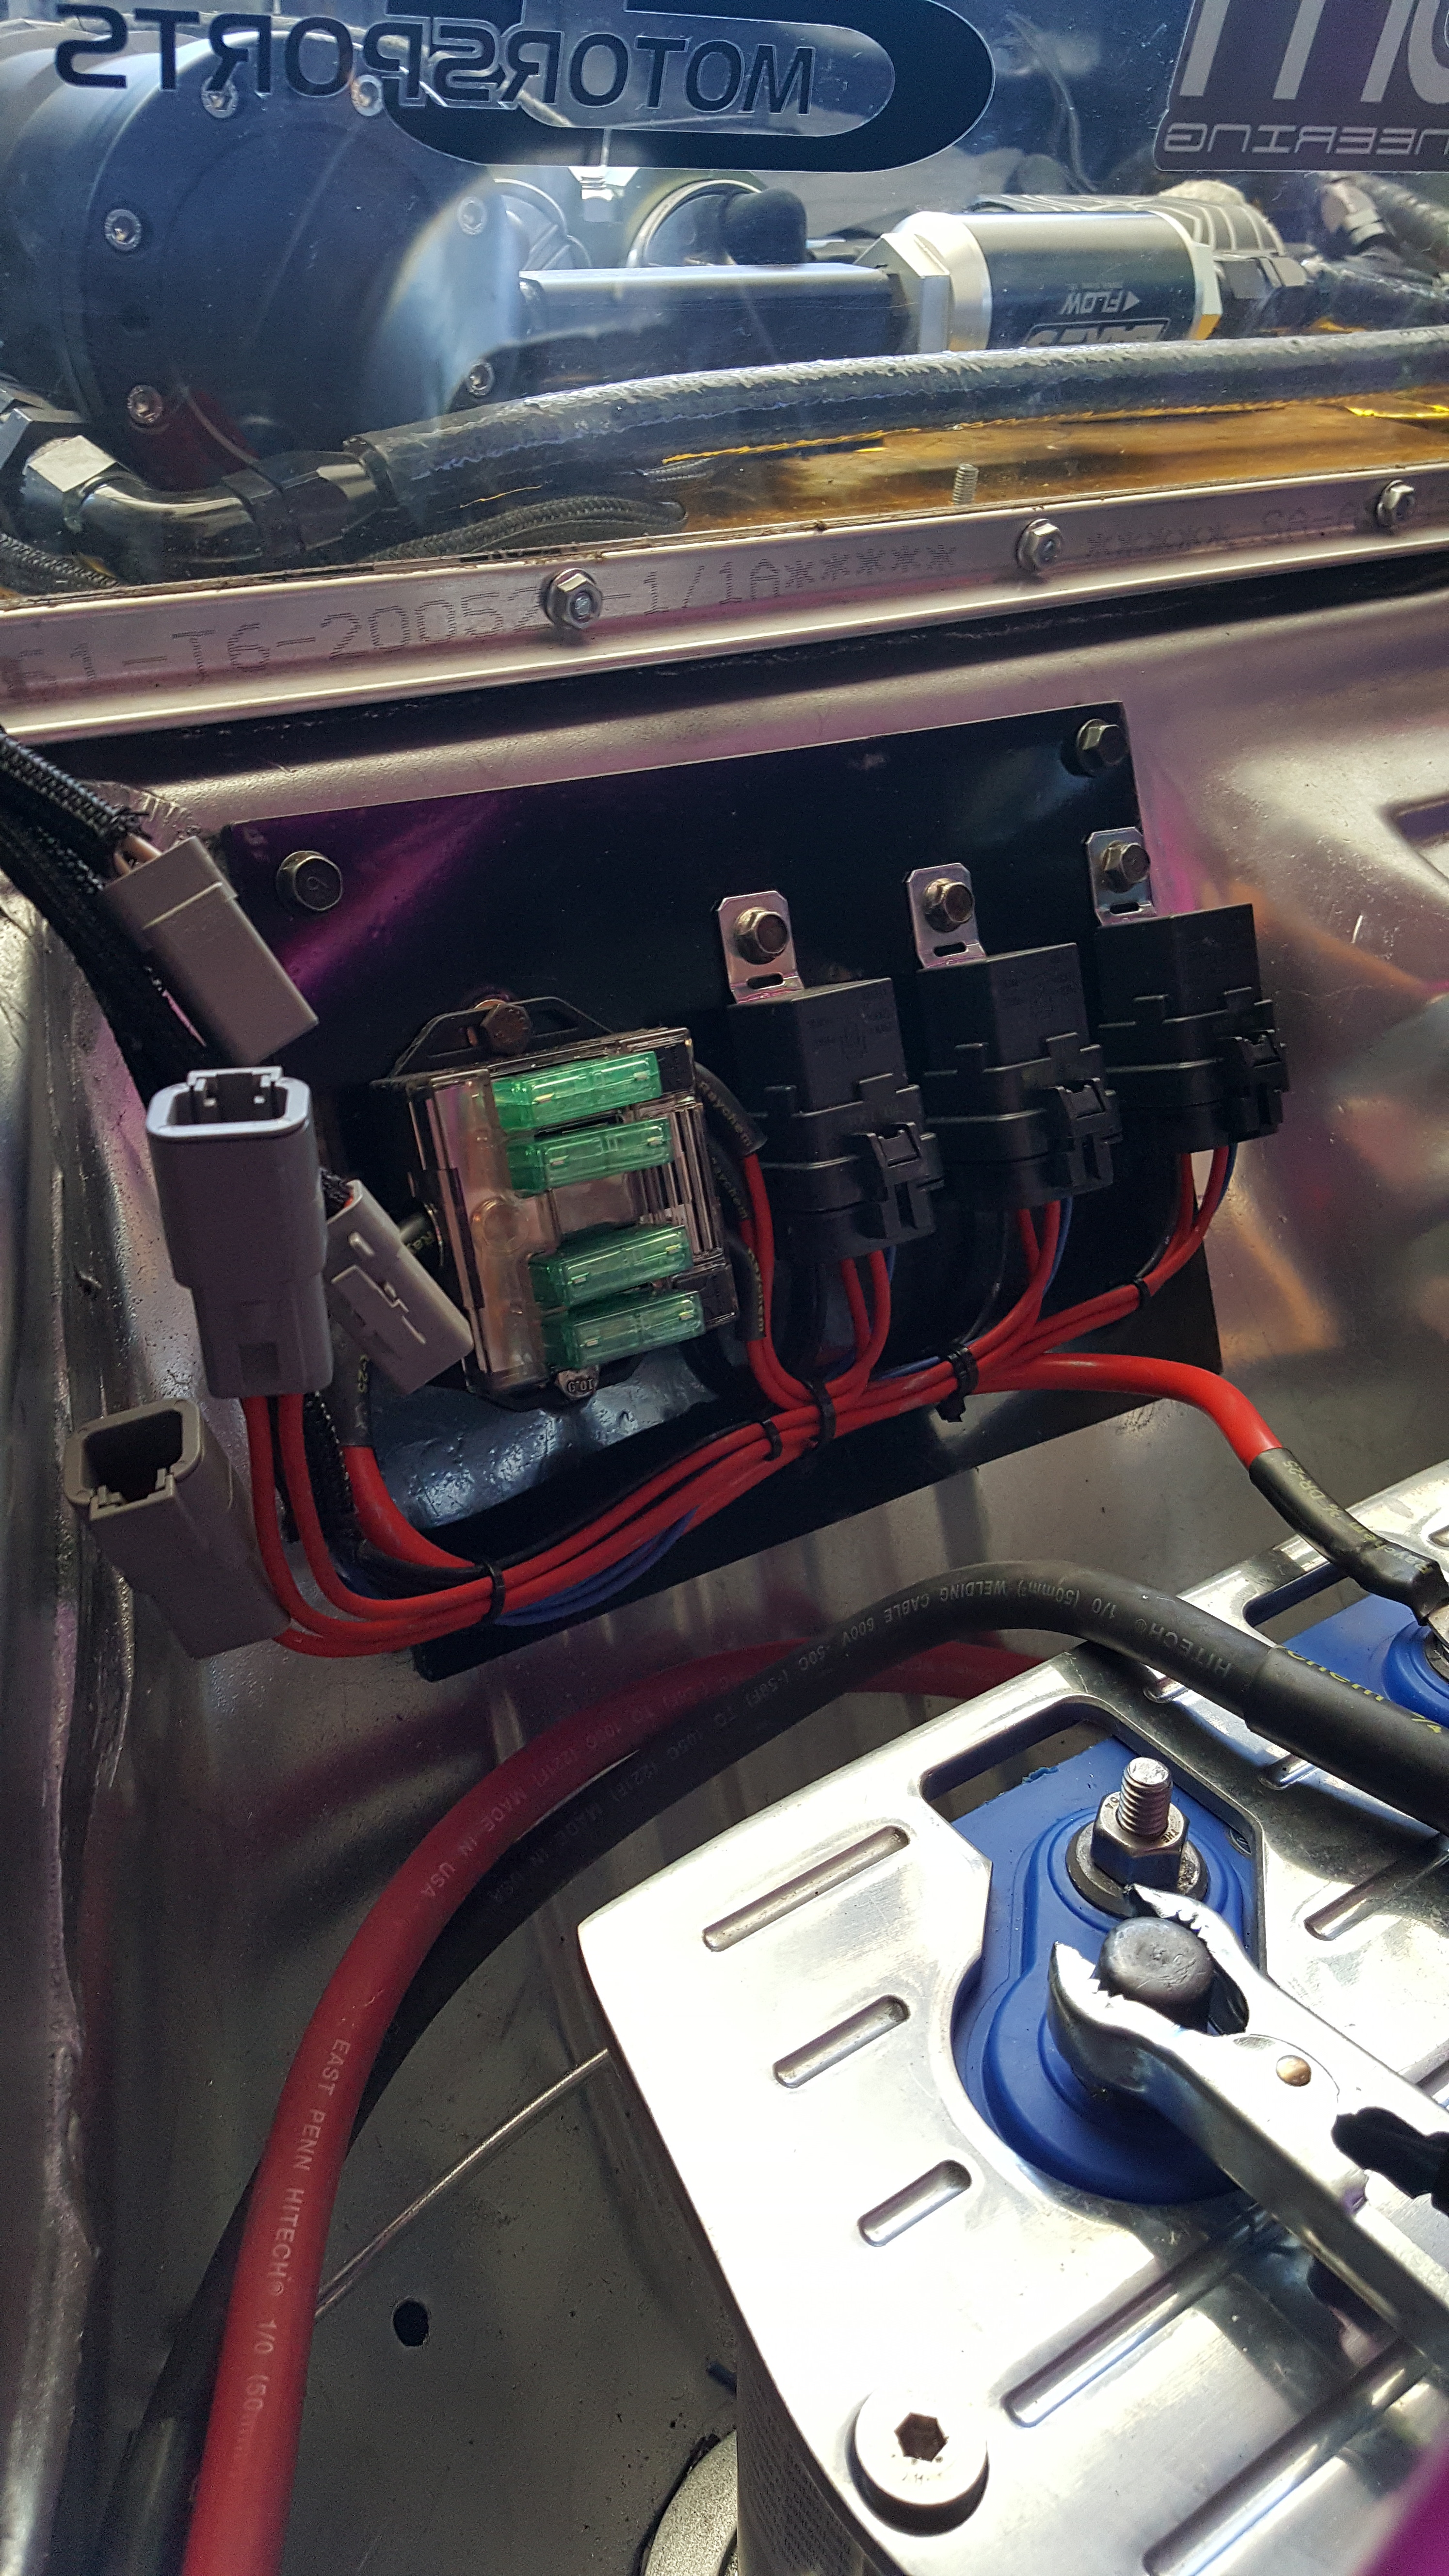
Then I started working on my Fuse board for Fans on the car. I wanted each individual fan to have it’s own relay. This way Everything was getting juiced and not over-worked either way. This draws directly from the Battery
ABS Sheet again. Just cut to desired size and cleaned up
Mock Set

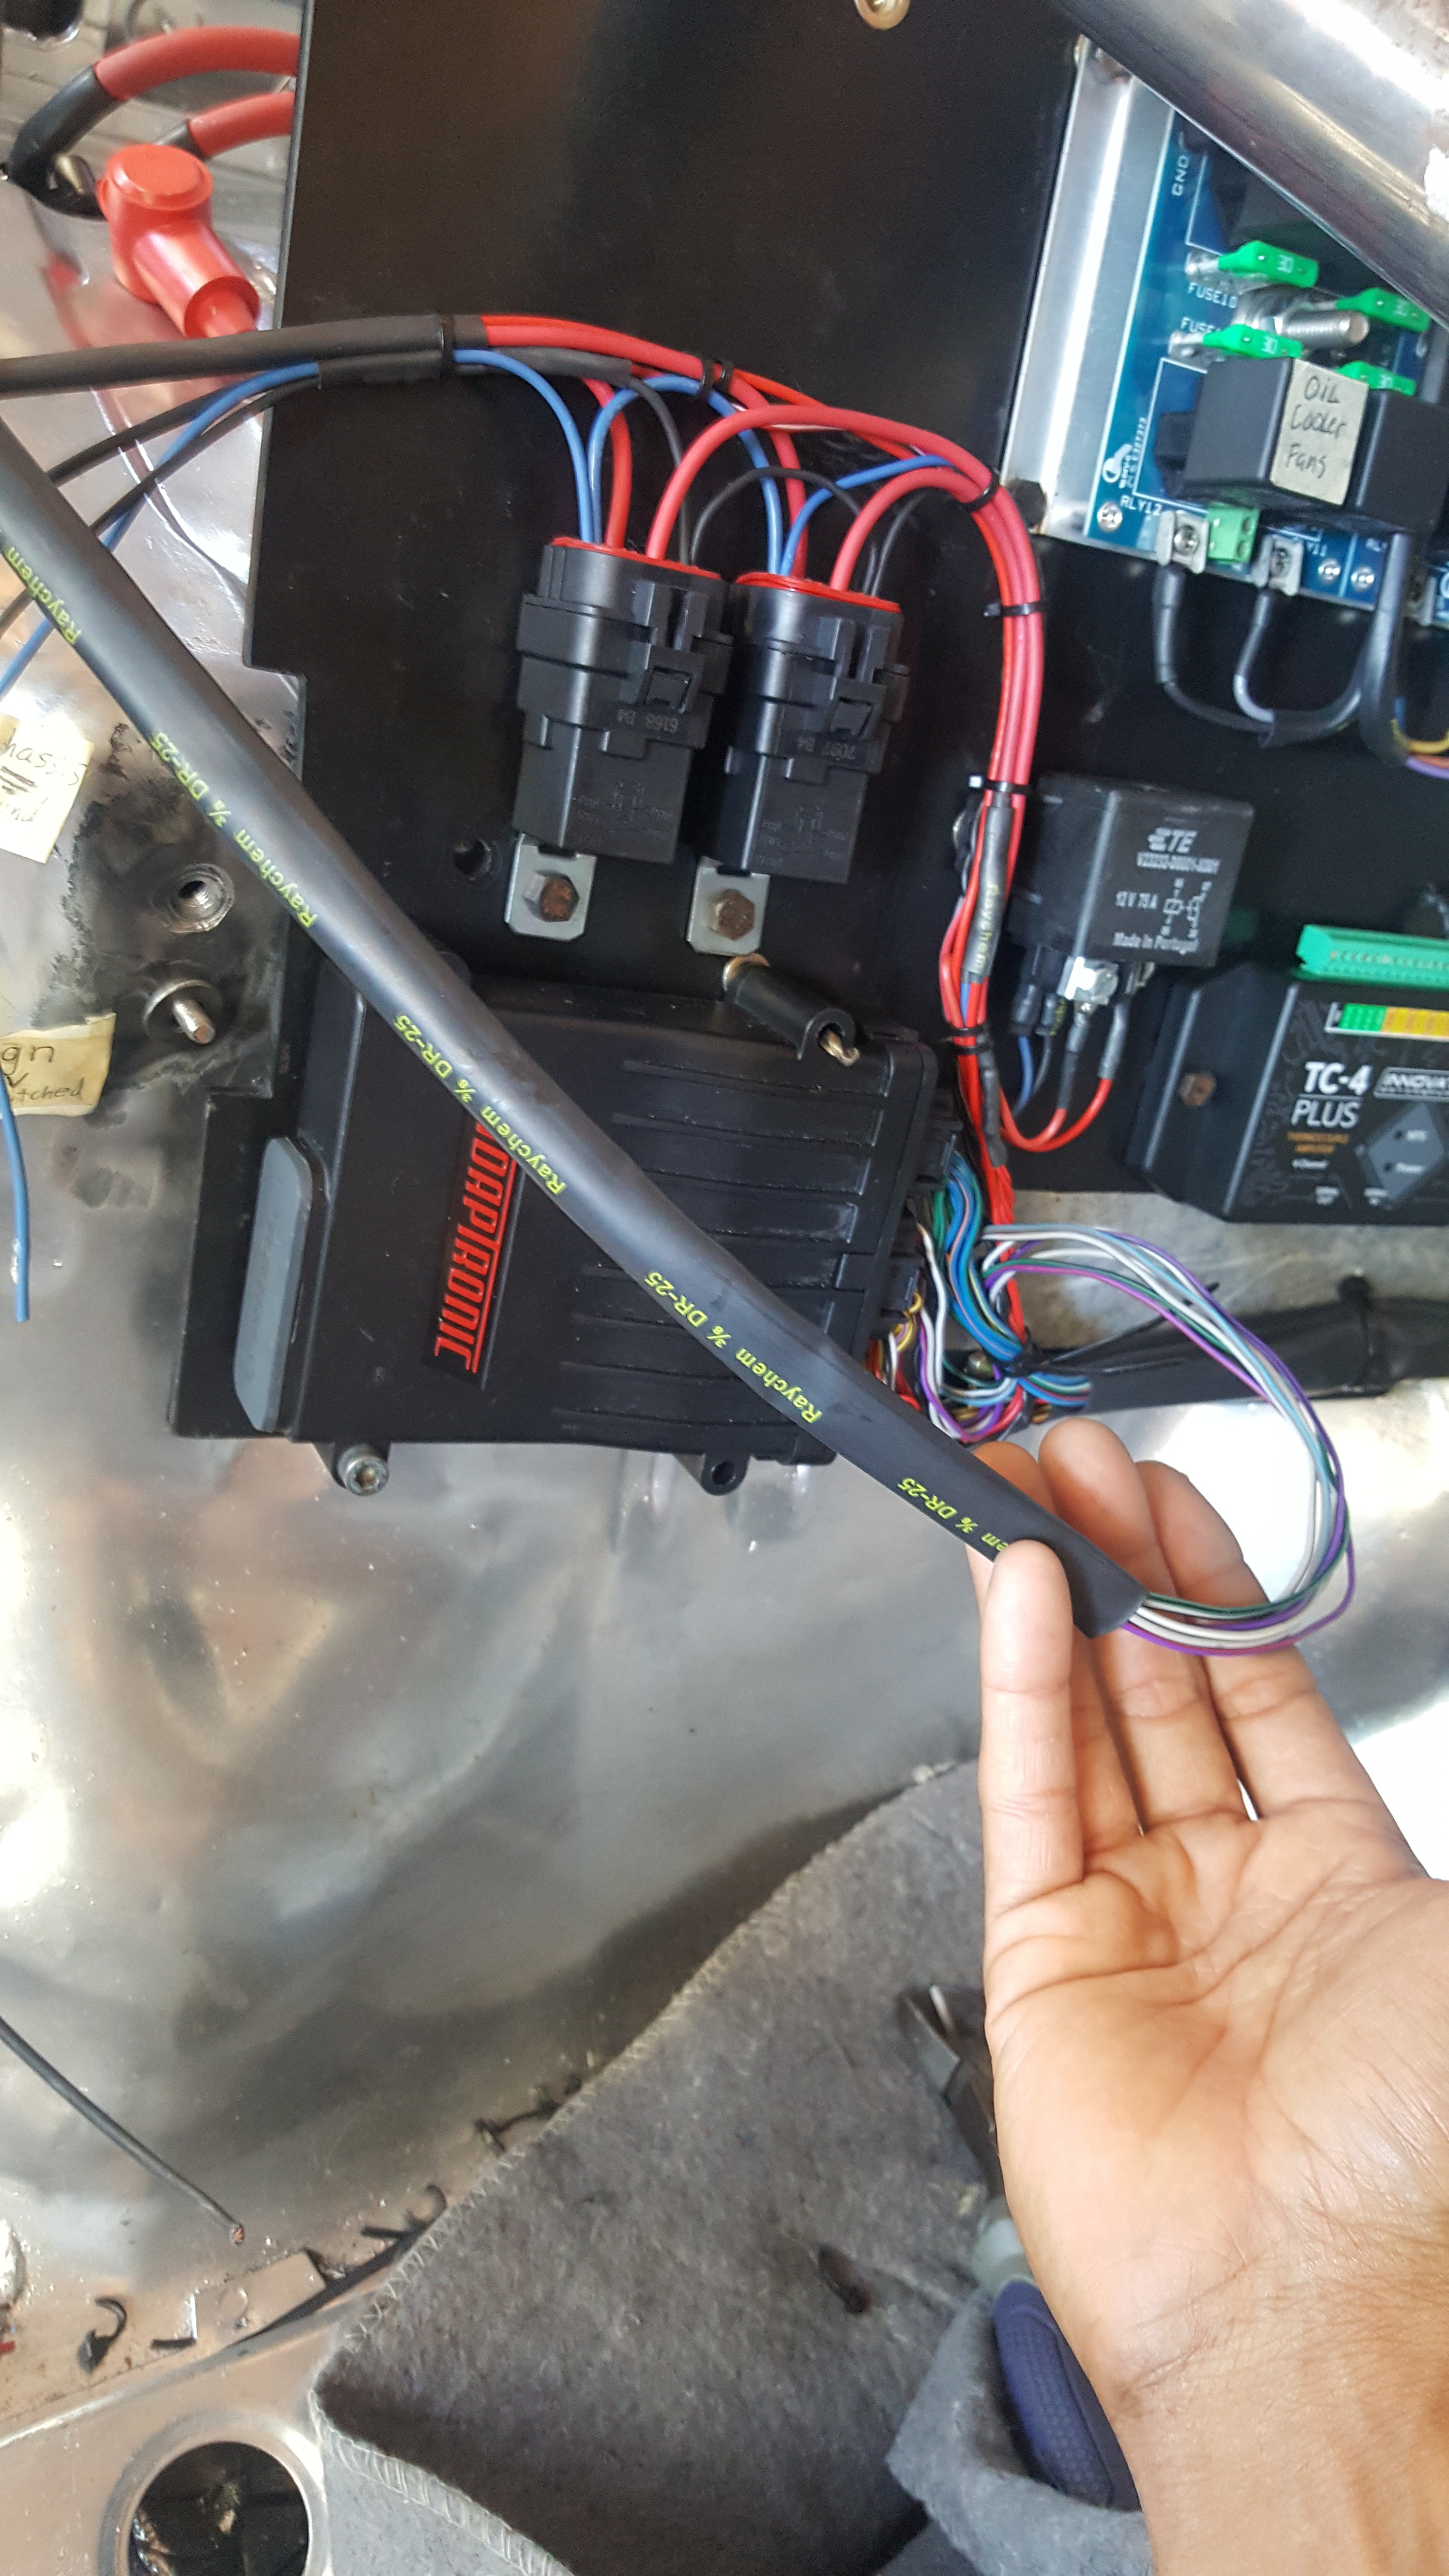
And for kicks…I tested to see how much of a pain it would be to pull the board out of the car with everything installed. Not bad!!! Engine Harness stays put…but is also connected to it’s own power relays because I’ve got the ignition harness and ECU Harness combined into the same single loom
Then it was time to throw some style into the set up !!!!

Mock
Lots of work!
Then I started working on the Fuse Board for my Fuel Pumps! Using Nut Serts again to secure the board to the Sheet Metal!
Drilling out for M6 hardware!
Building inside again!
SuperWow Factory spruced up ARC Panel Lay-over with protective film!
I love it!
Then I started working on my Fuse board for Fans on the car. I wanted each individual fan to have it’s own relay. This way Everything was getting juiced and not over-worked either way. This draws directly from the Battery
ABS Sheet again. Just cut to desired size and cleaned up
Mock Set
And for kicks…I tested to see how much of a pain it would be to pull the board out of the car with everything installed. Not bad!!! Engine Harness stays put…but is also connected to it’s own power relays because I’ve got the ignition harness and ECU Harness combined into the same single loom
Then it was time to throw some style into the set up !!!!
Mock
Lots of work!
Then I started working on the Fuse Board for my Fuel Pumps! Using Nut Serts again to secure the board to the Sheet Metal!
Drilling out for M6 hardware!
Building inside again!
Continued Update: Chassis Re-wire Part 2, "Its all in the details"
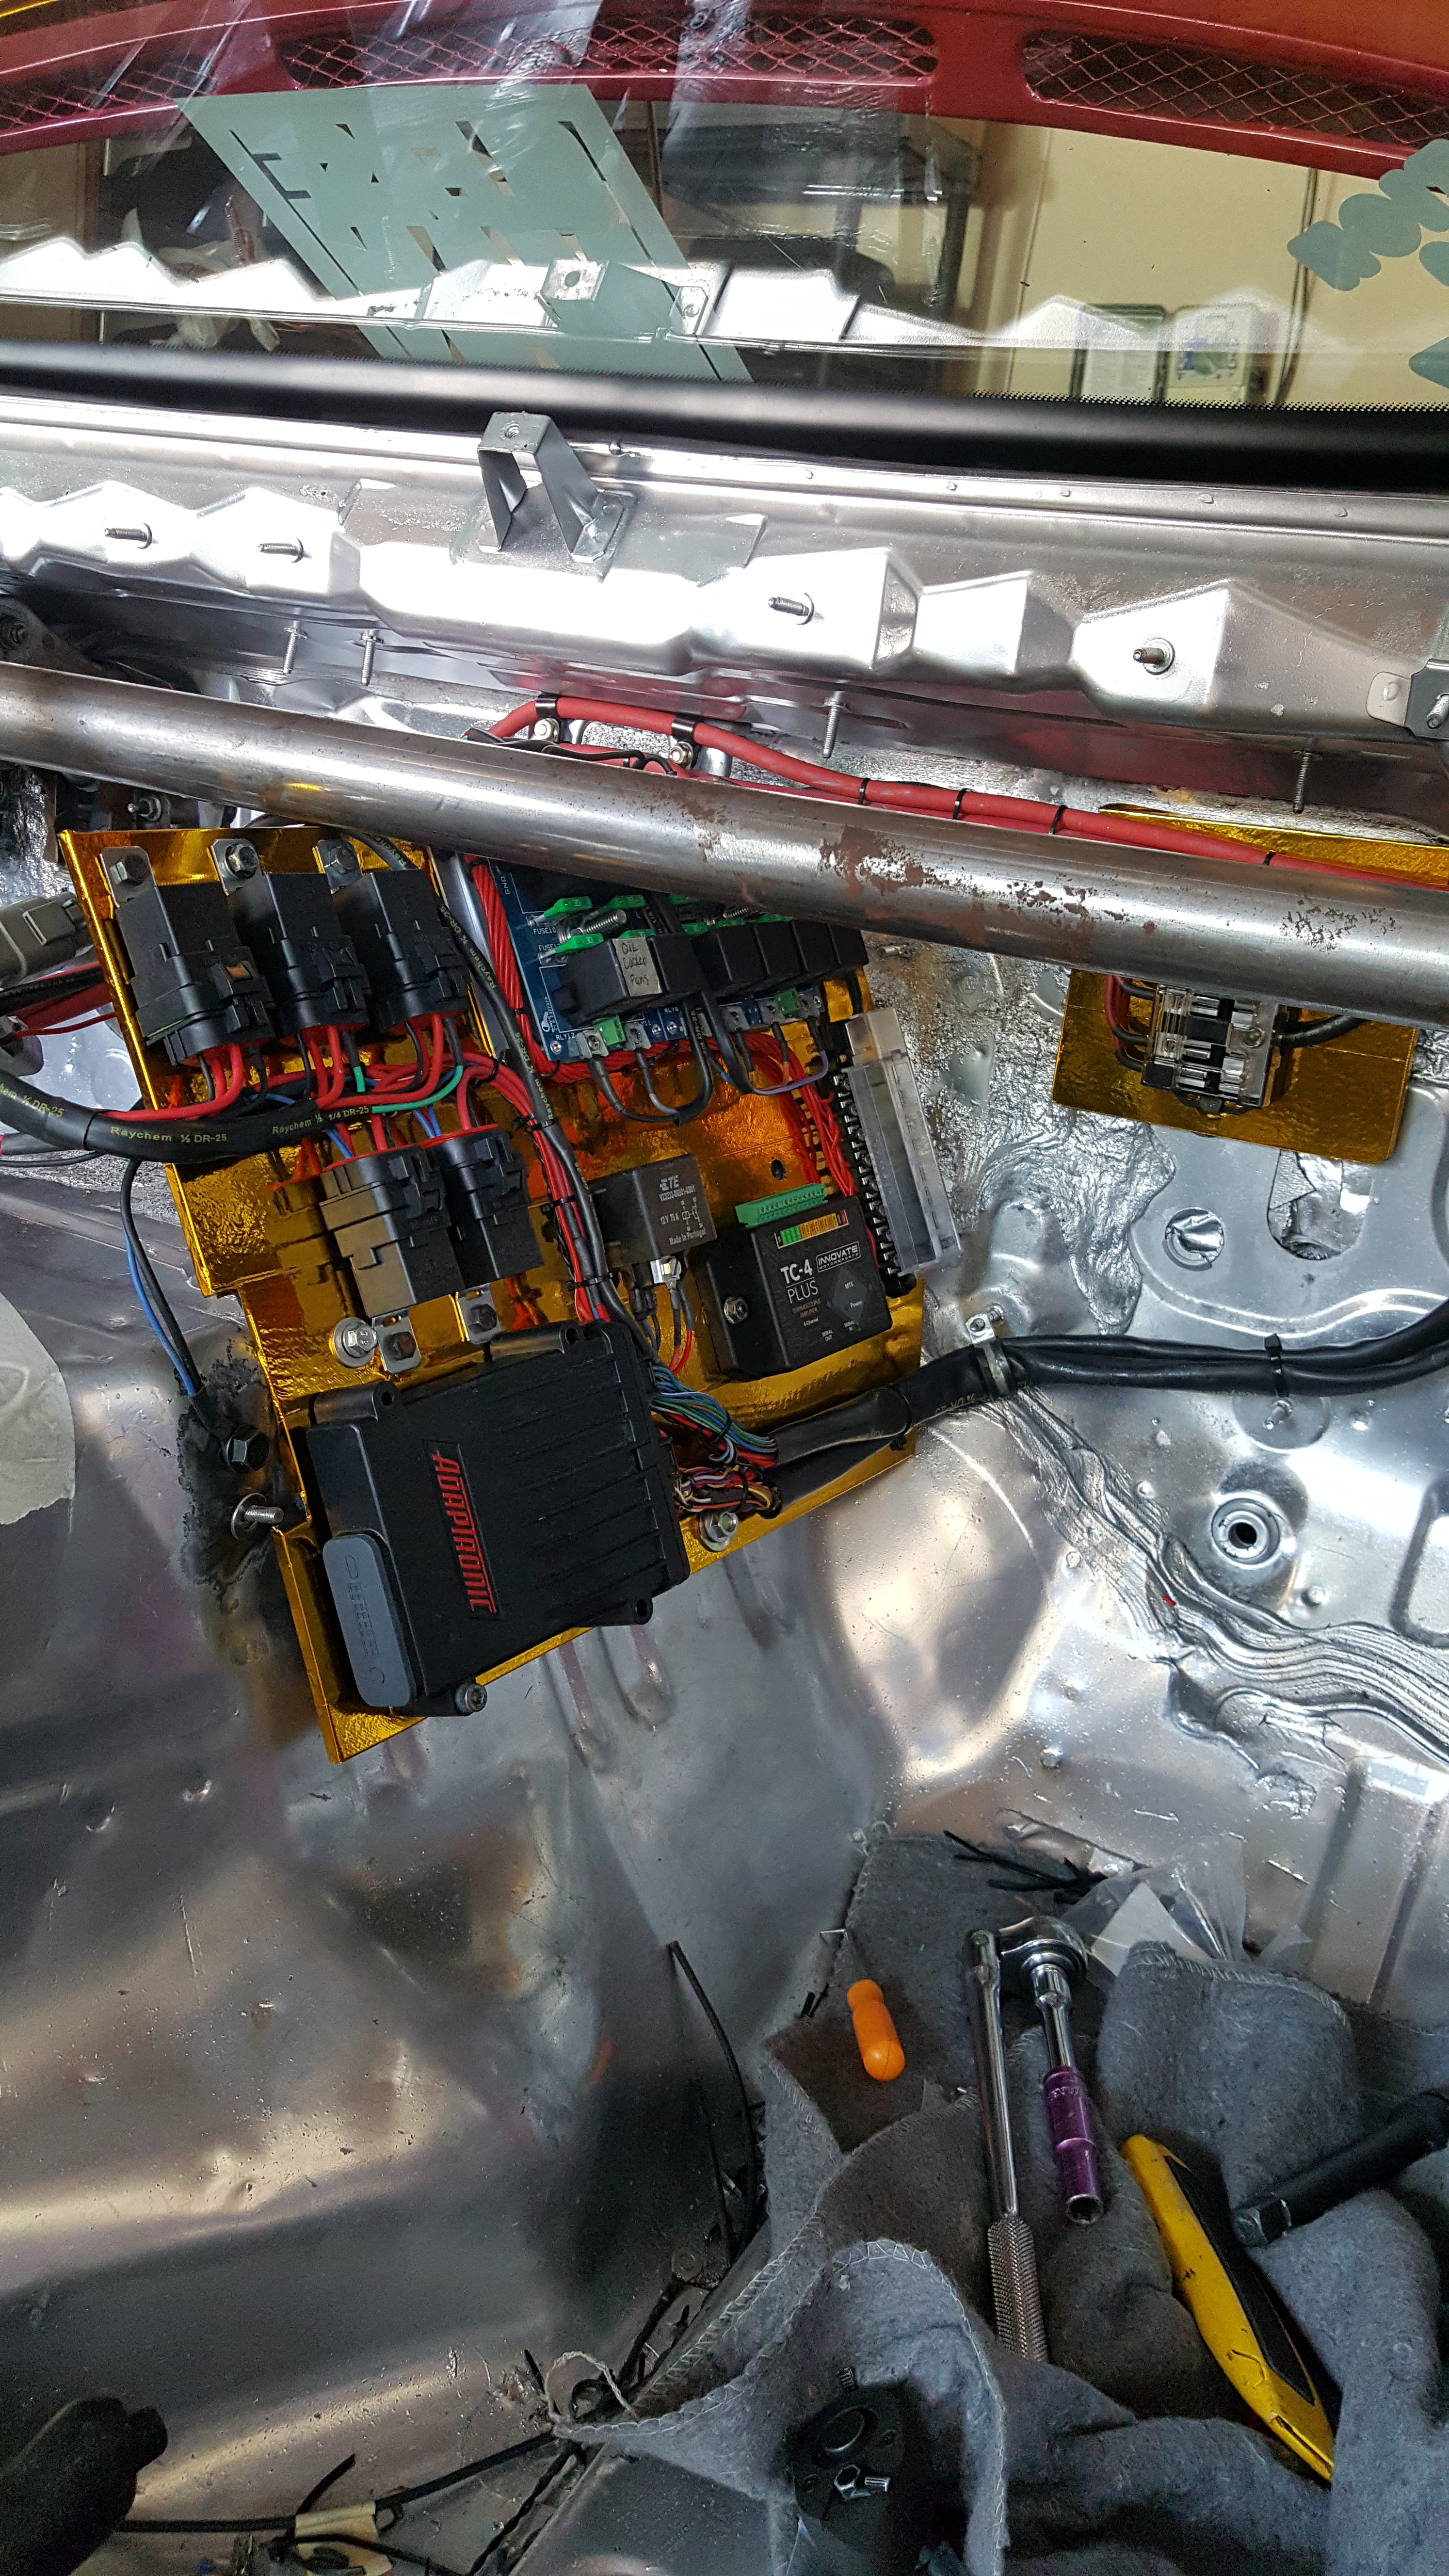
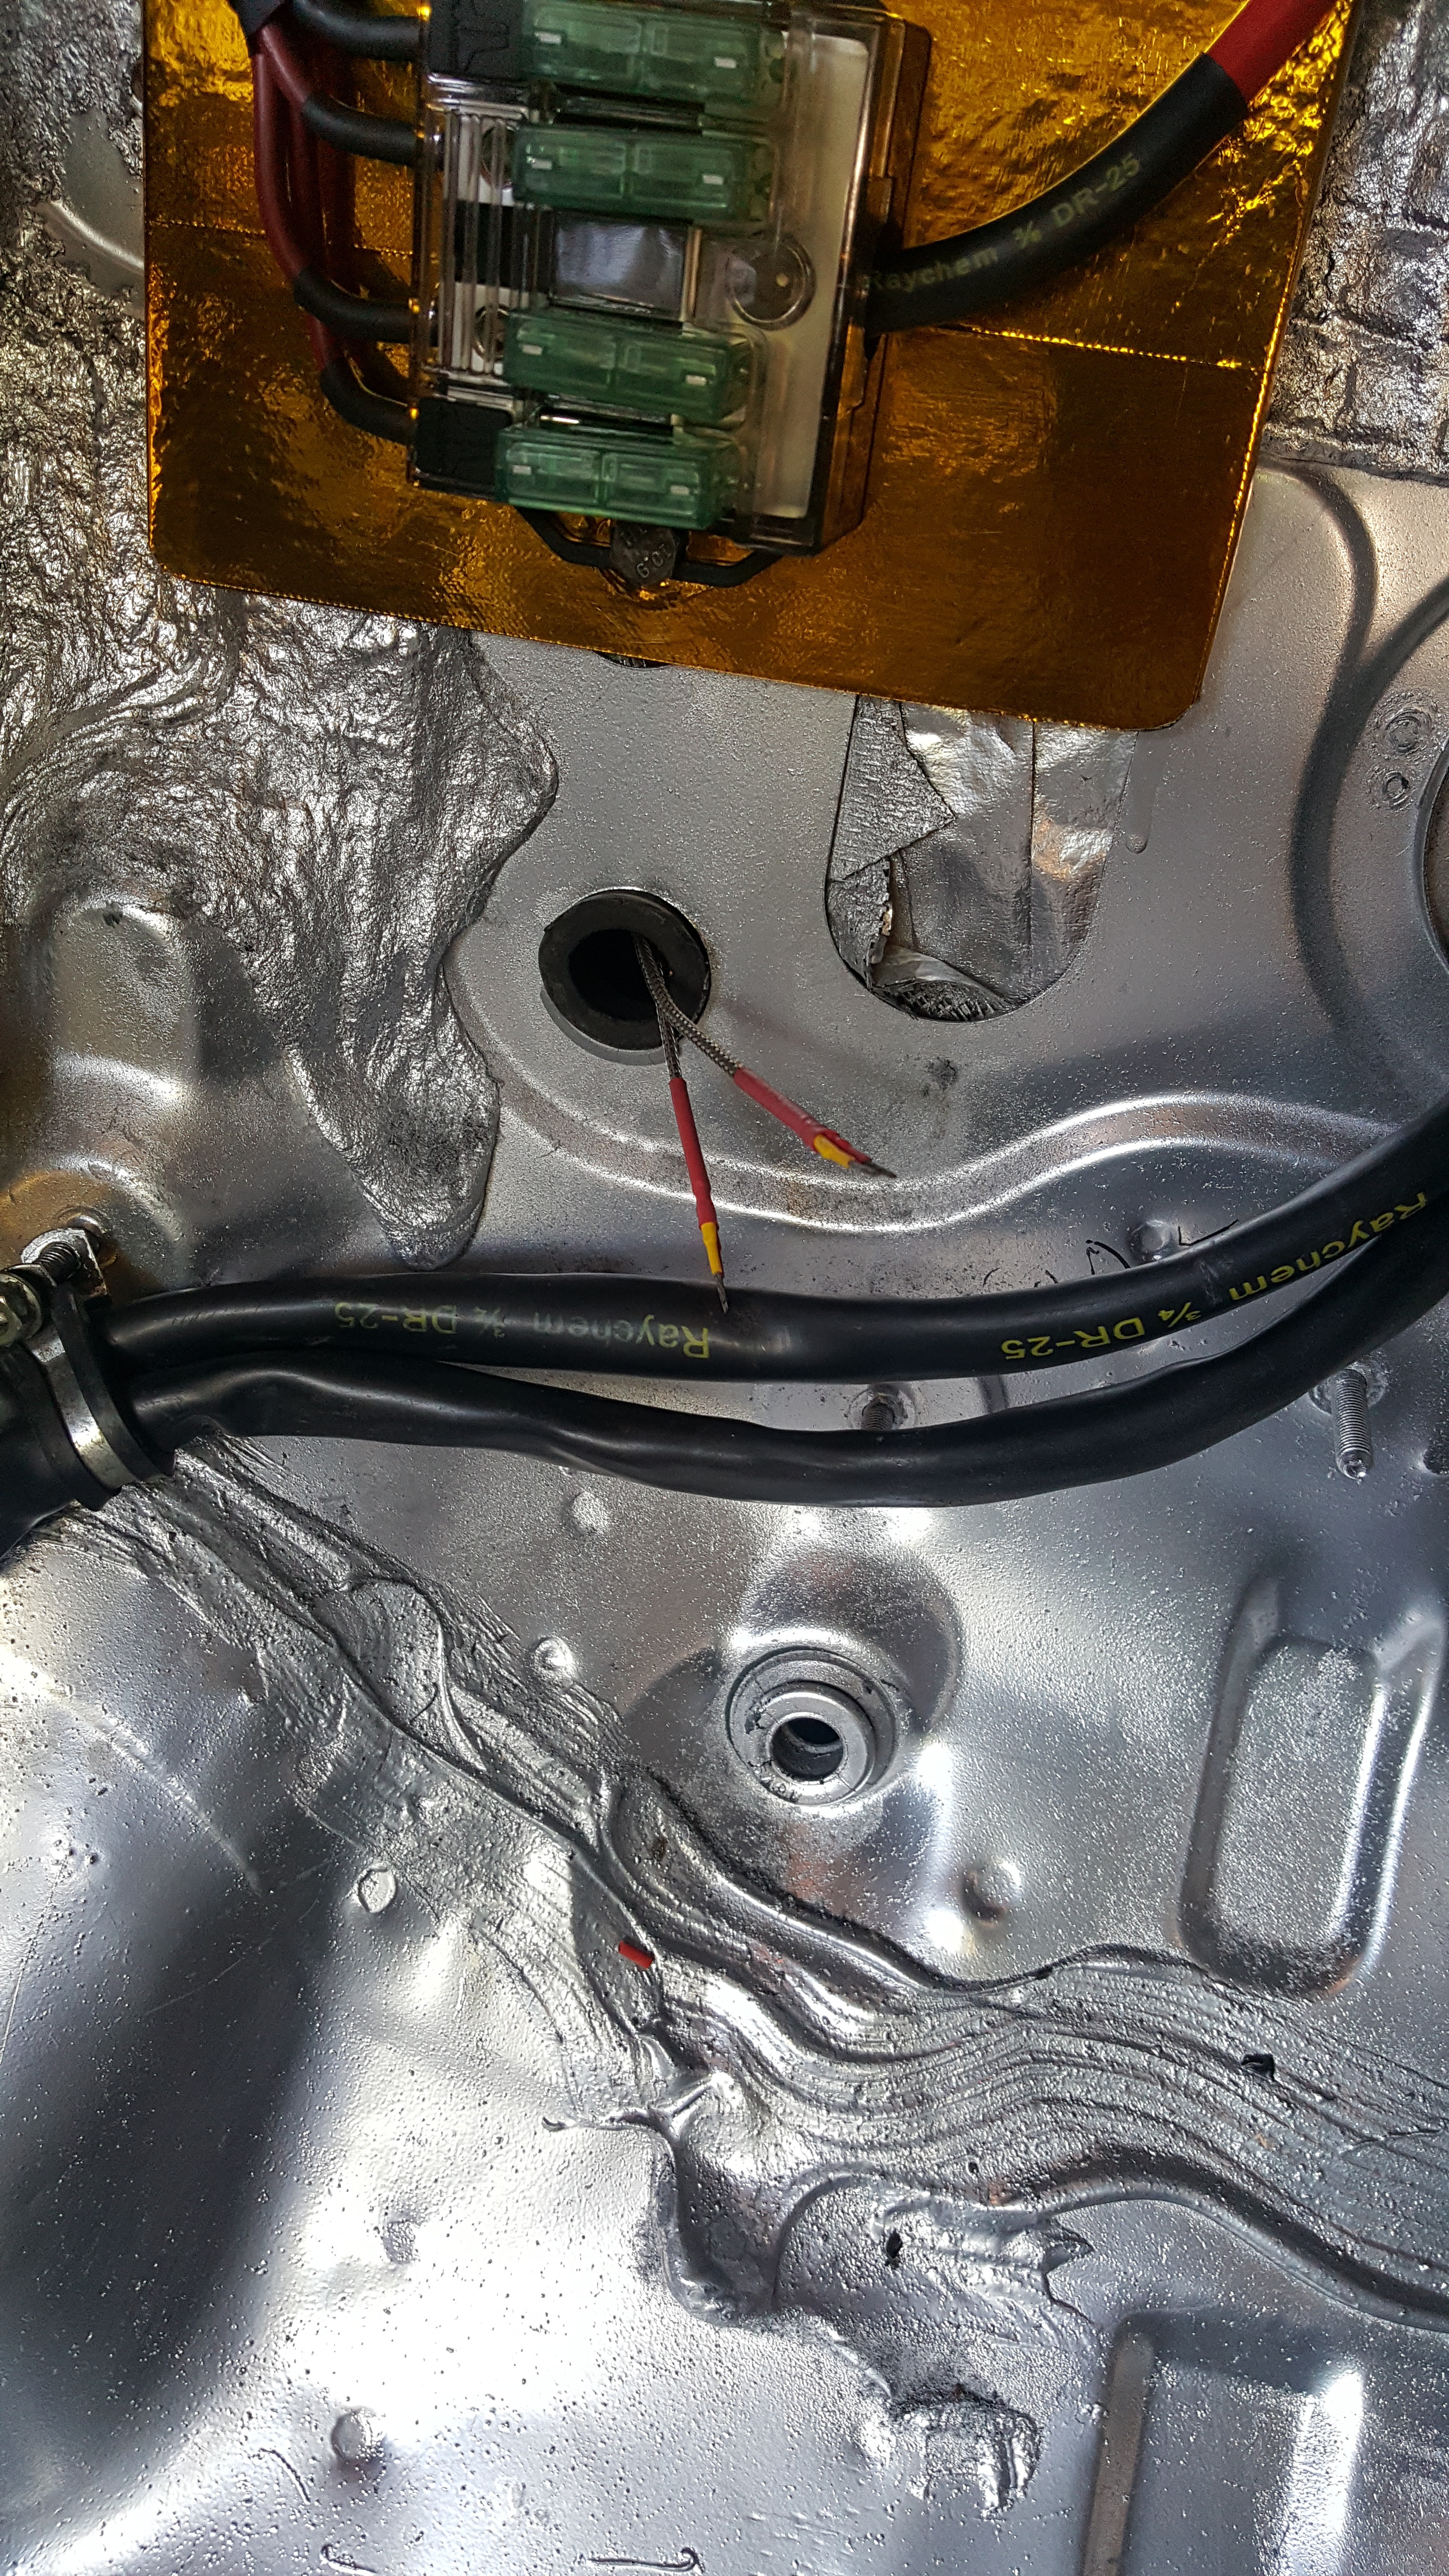
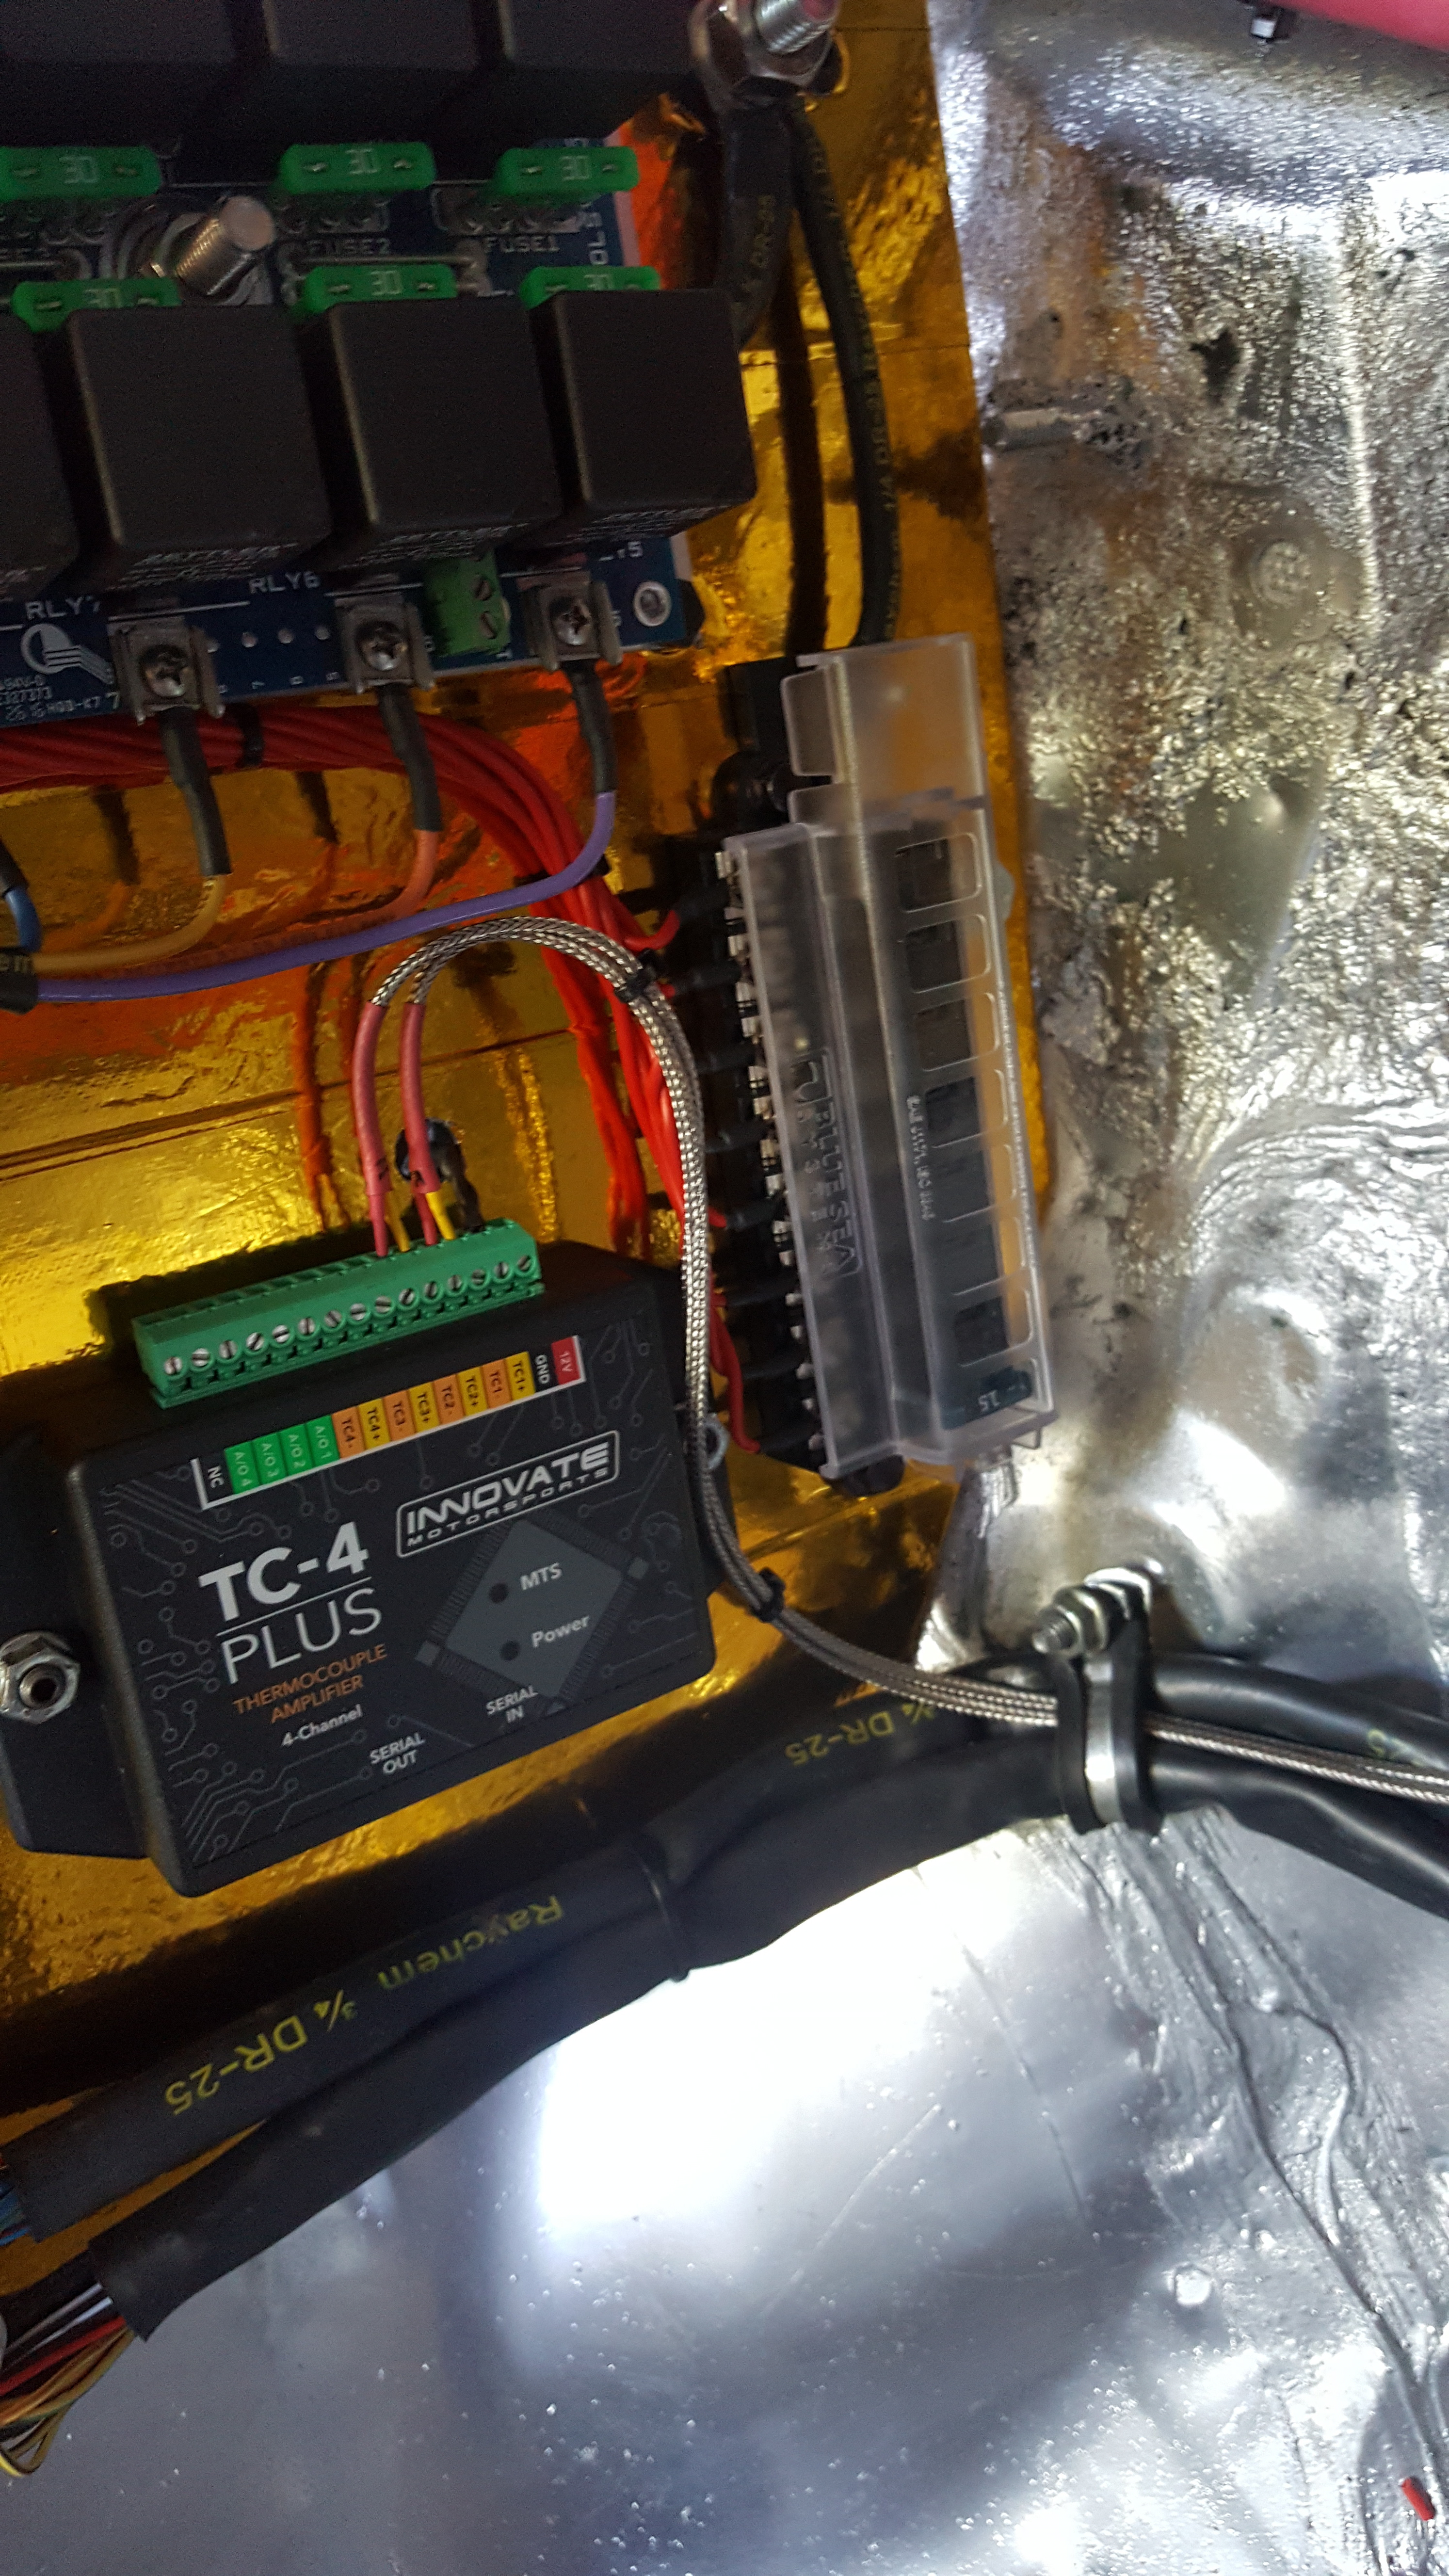
Gold for Heavy duty!!

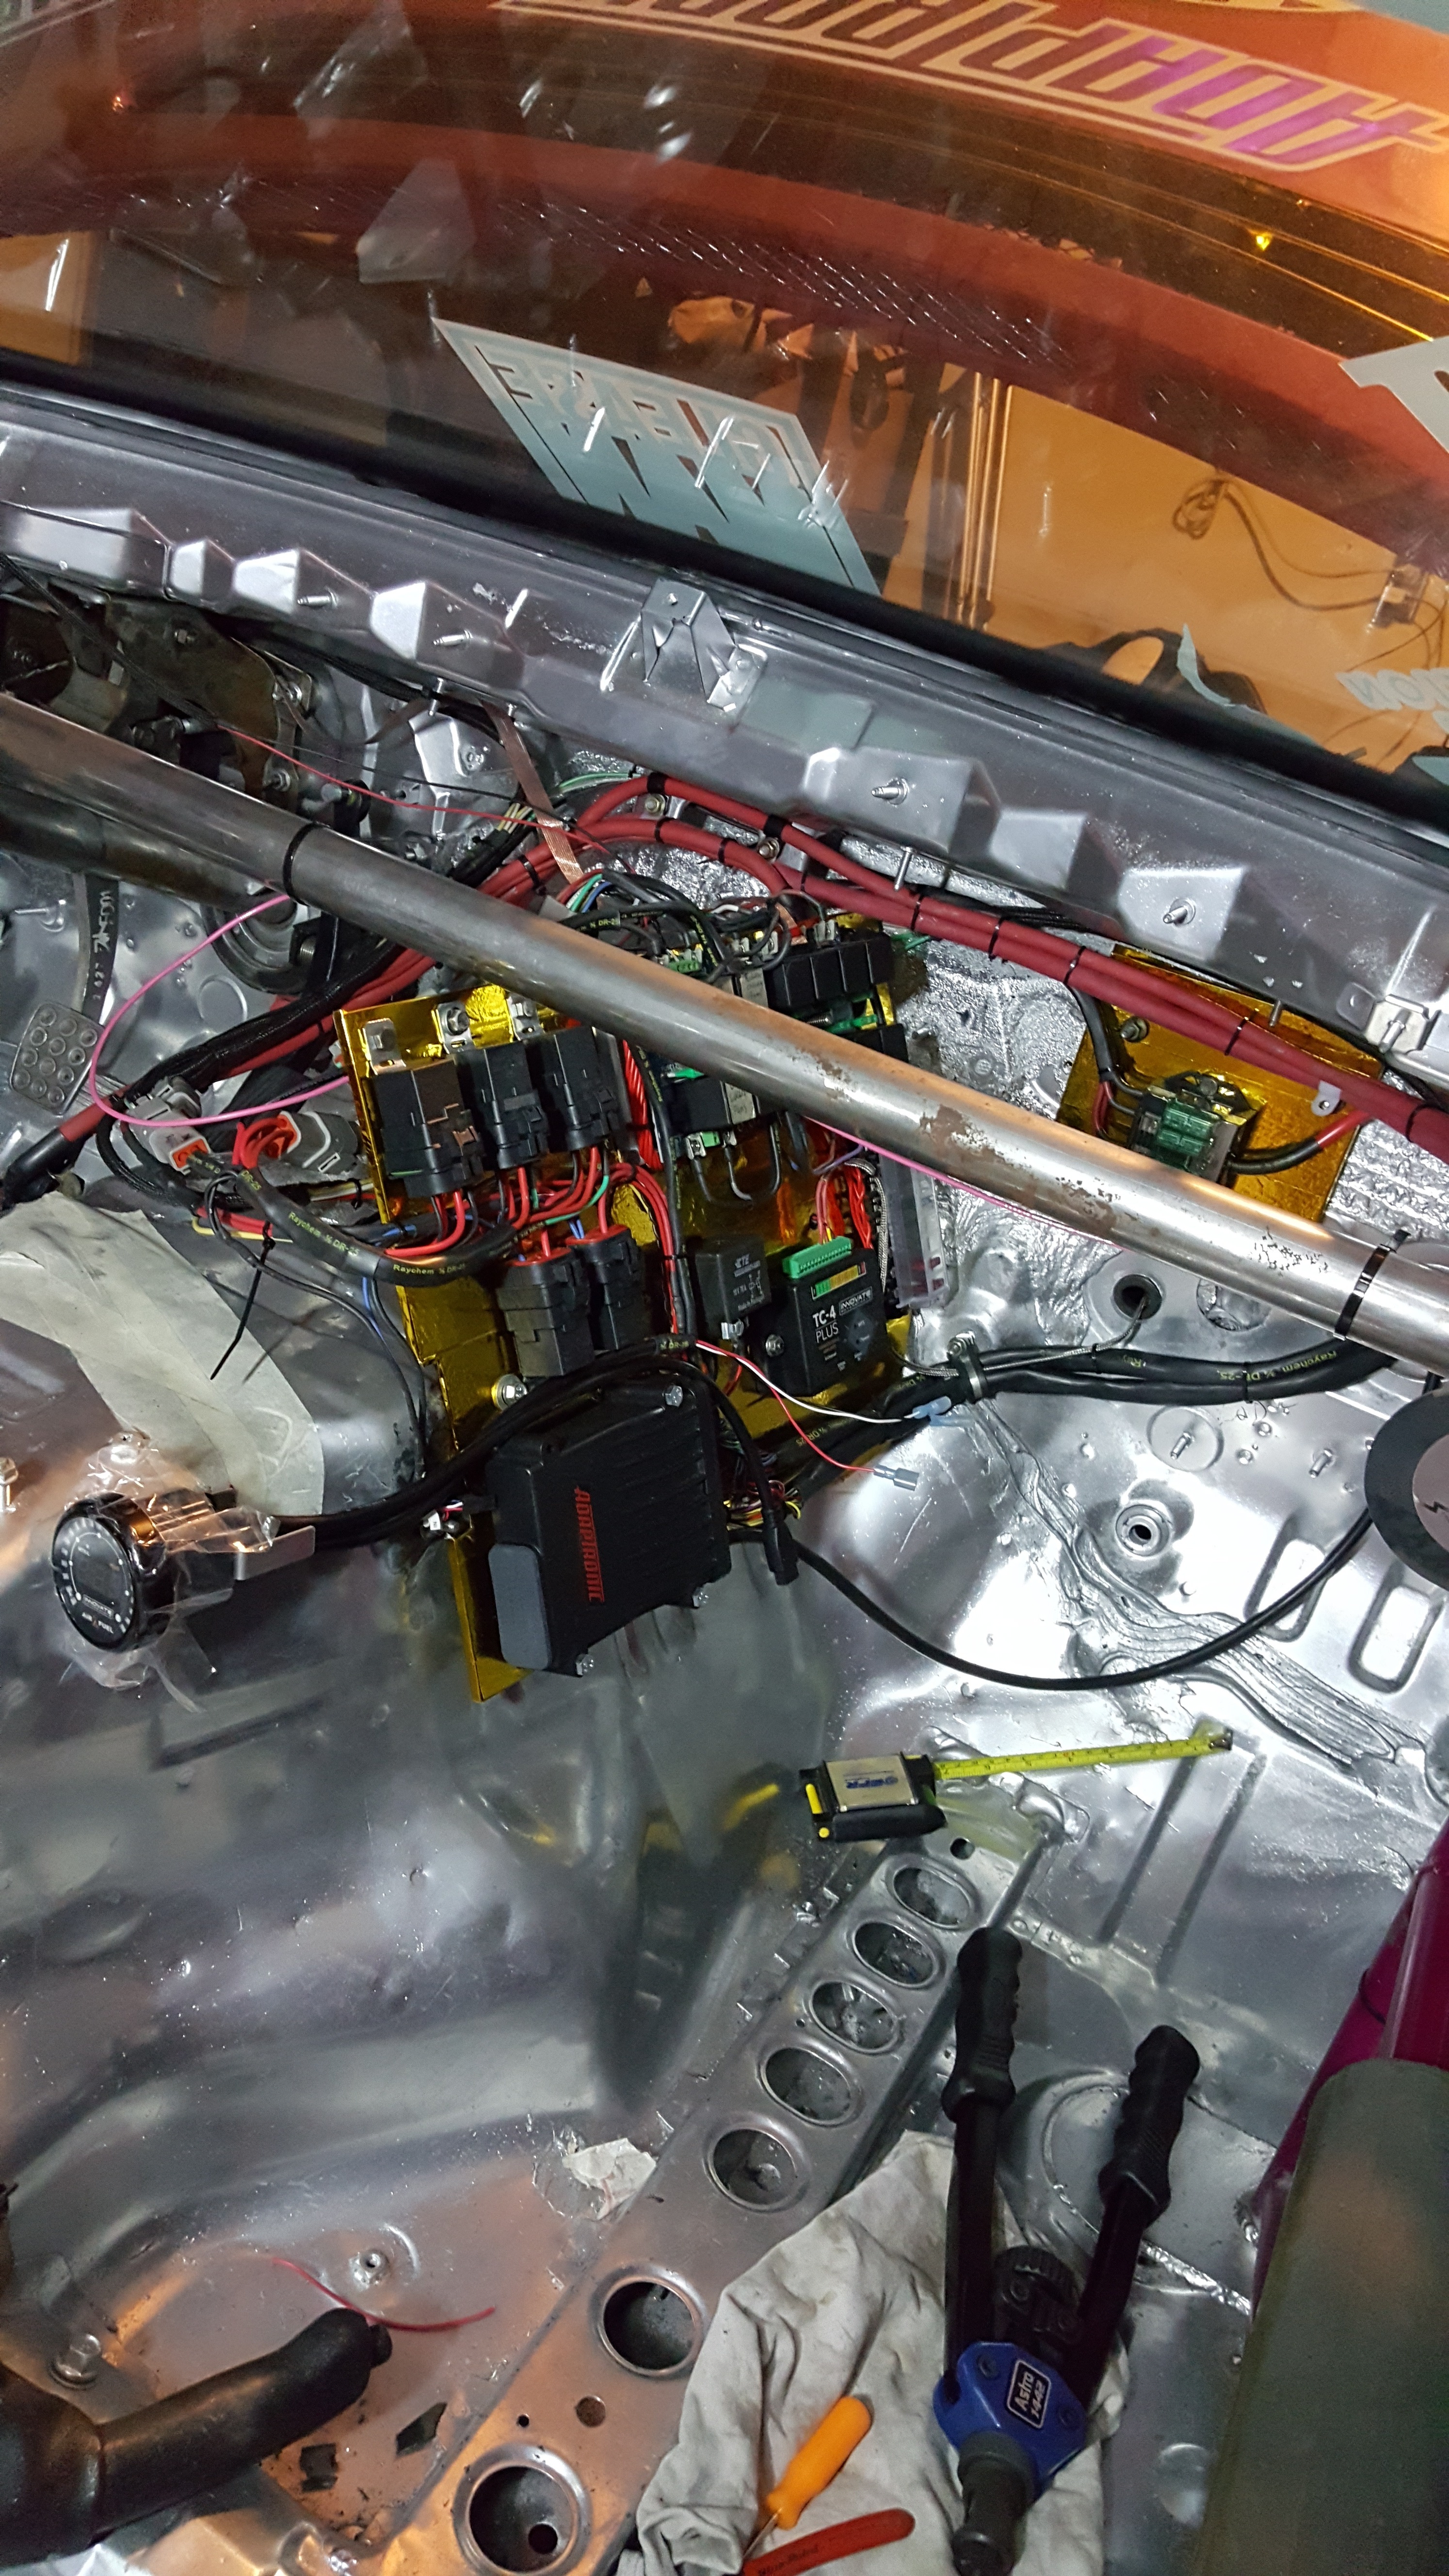
Got my EGT sensors hooked to the board! New Innovate MTX-L Plus!!

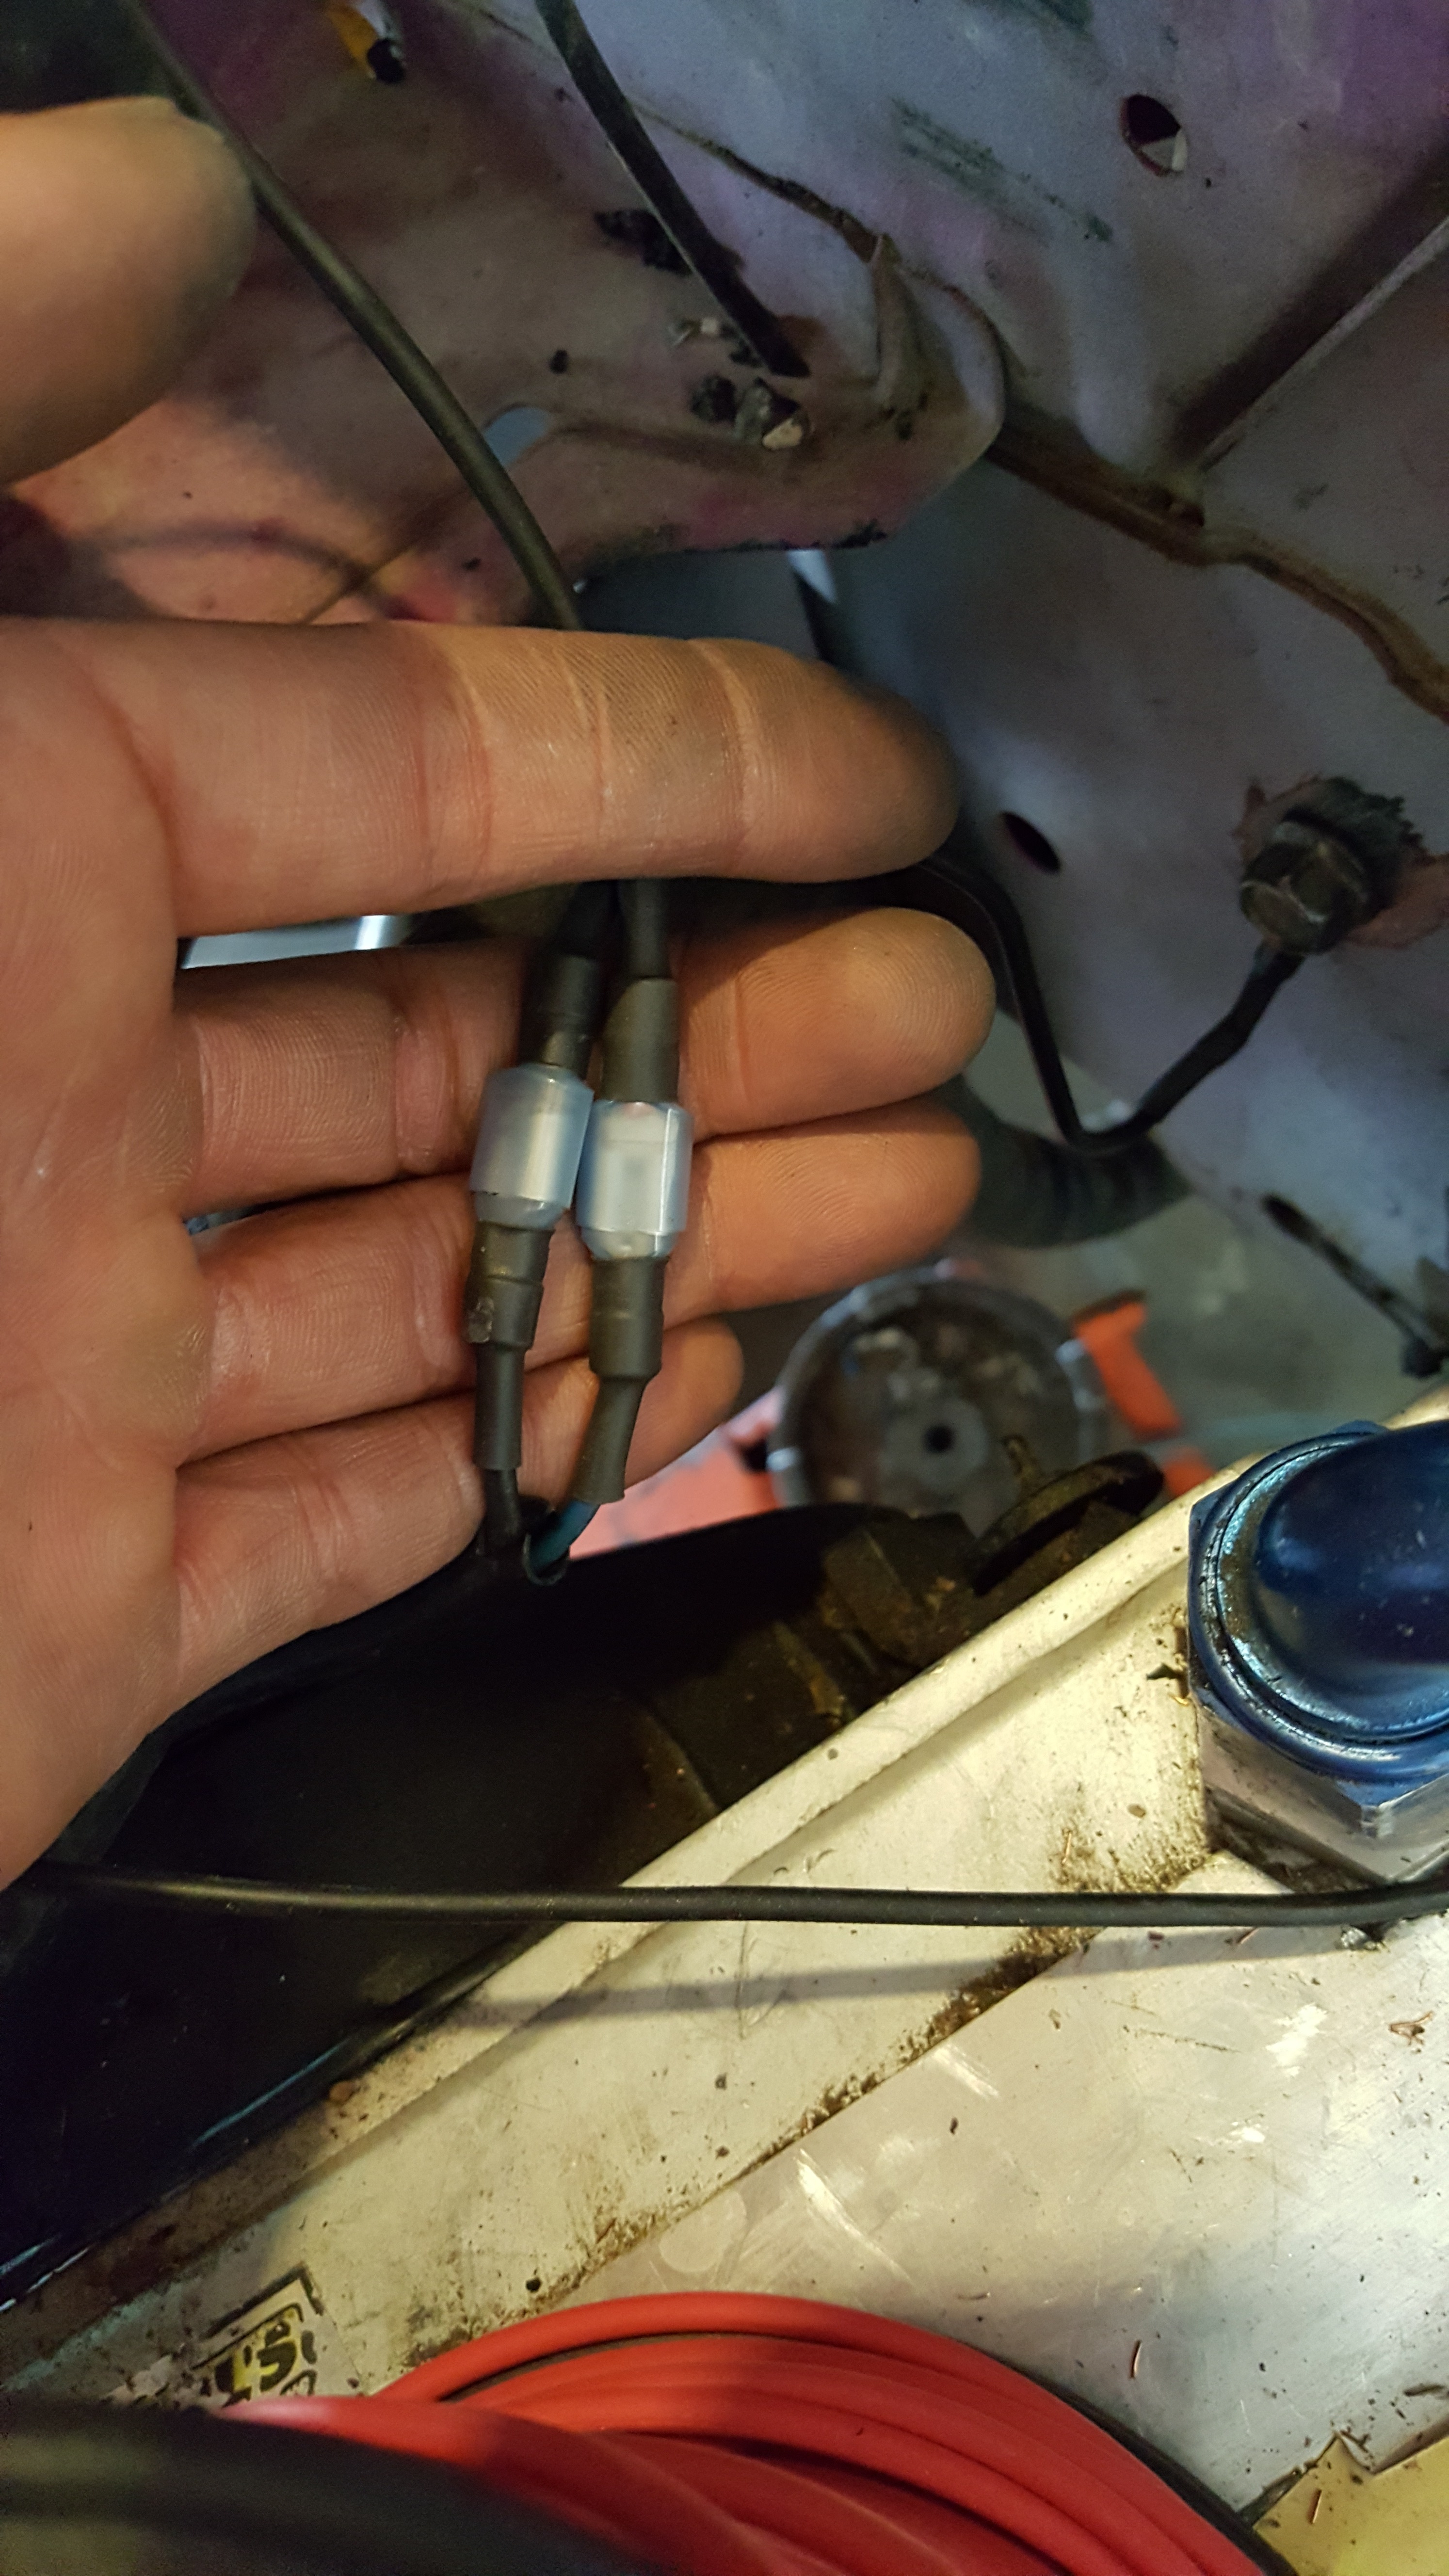
Little Details for Fan Grounds! Nice…simple and sealed!! Always keep usability in mind!!
Late Nights in the Garage! Getting there!
Fuel Pump Board Complete!!! Minus gold heat barrier..ran out…but I’ll get more hahaha
And here she is!!! Almost 100% Complete!!
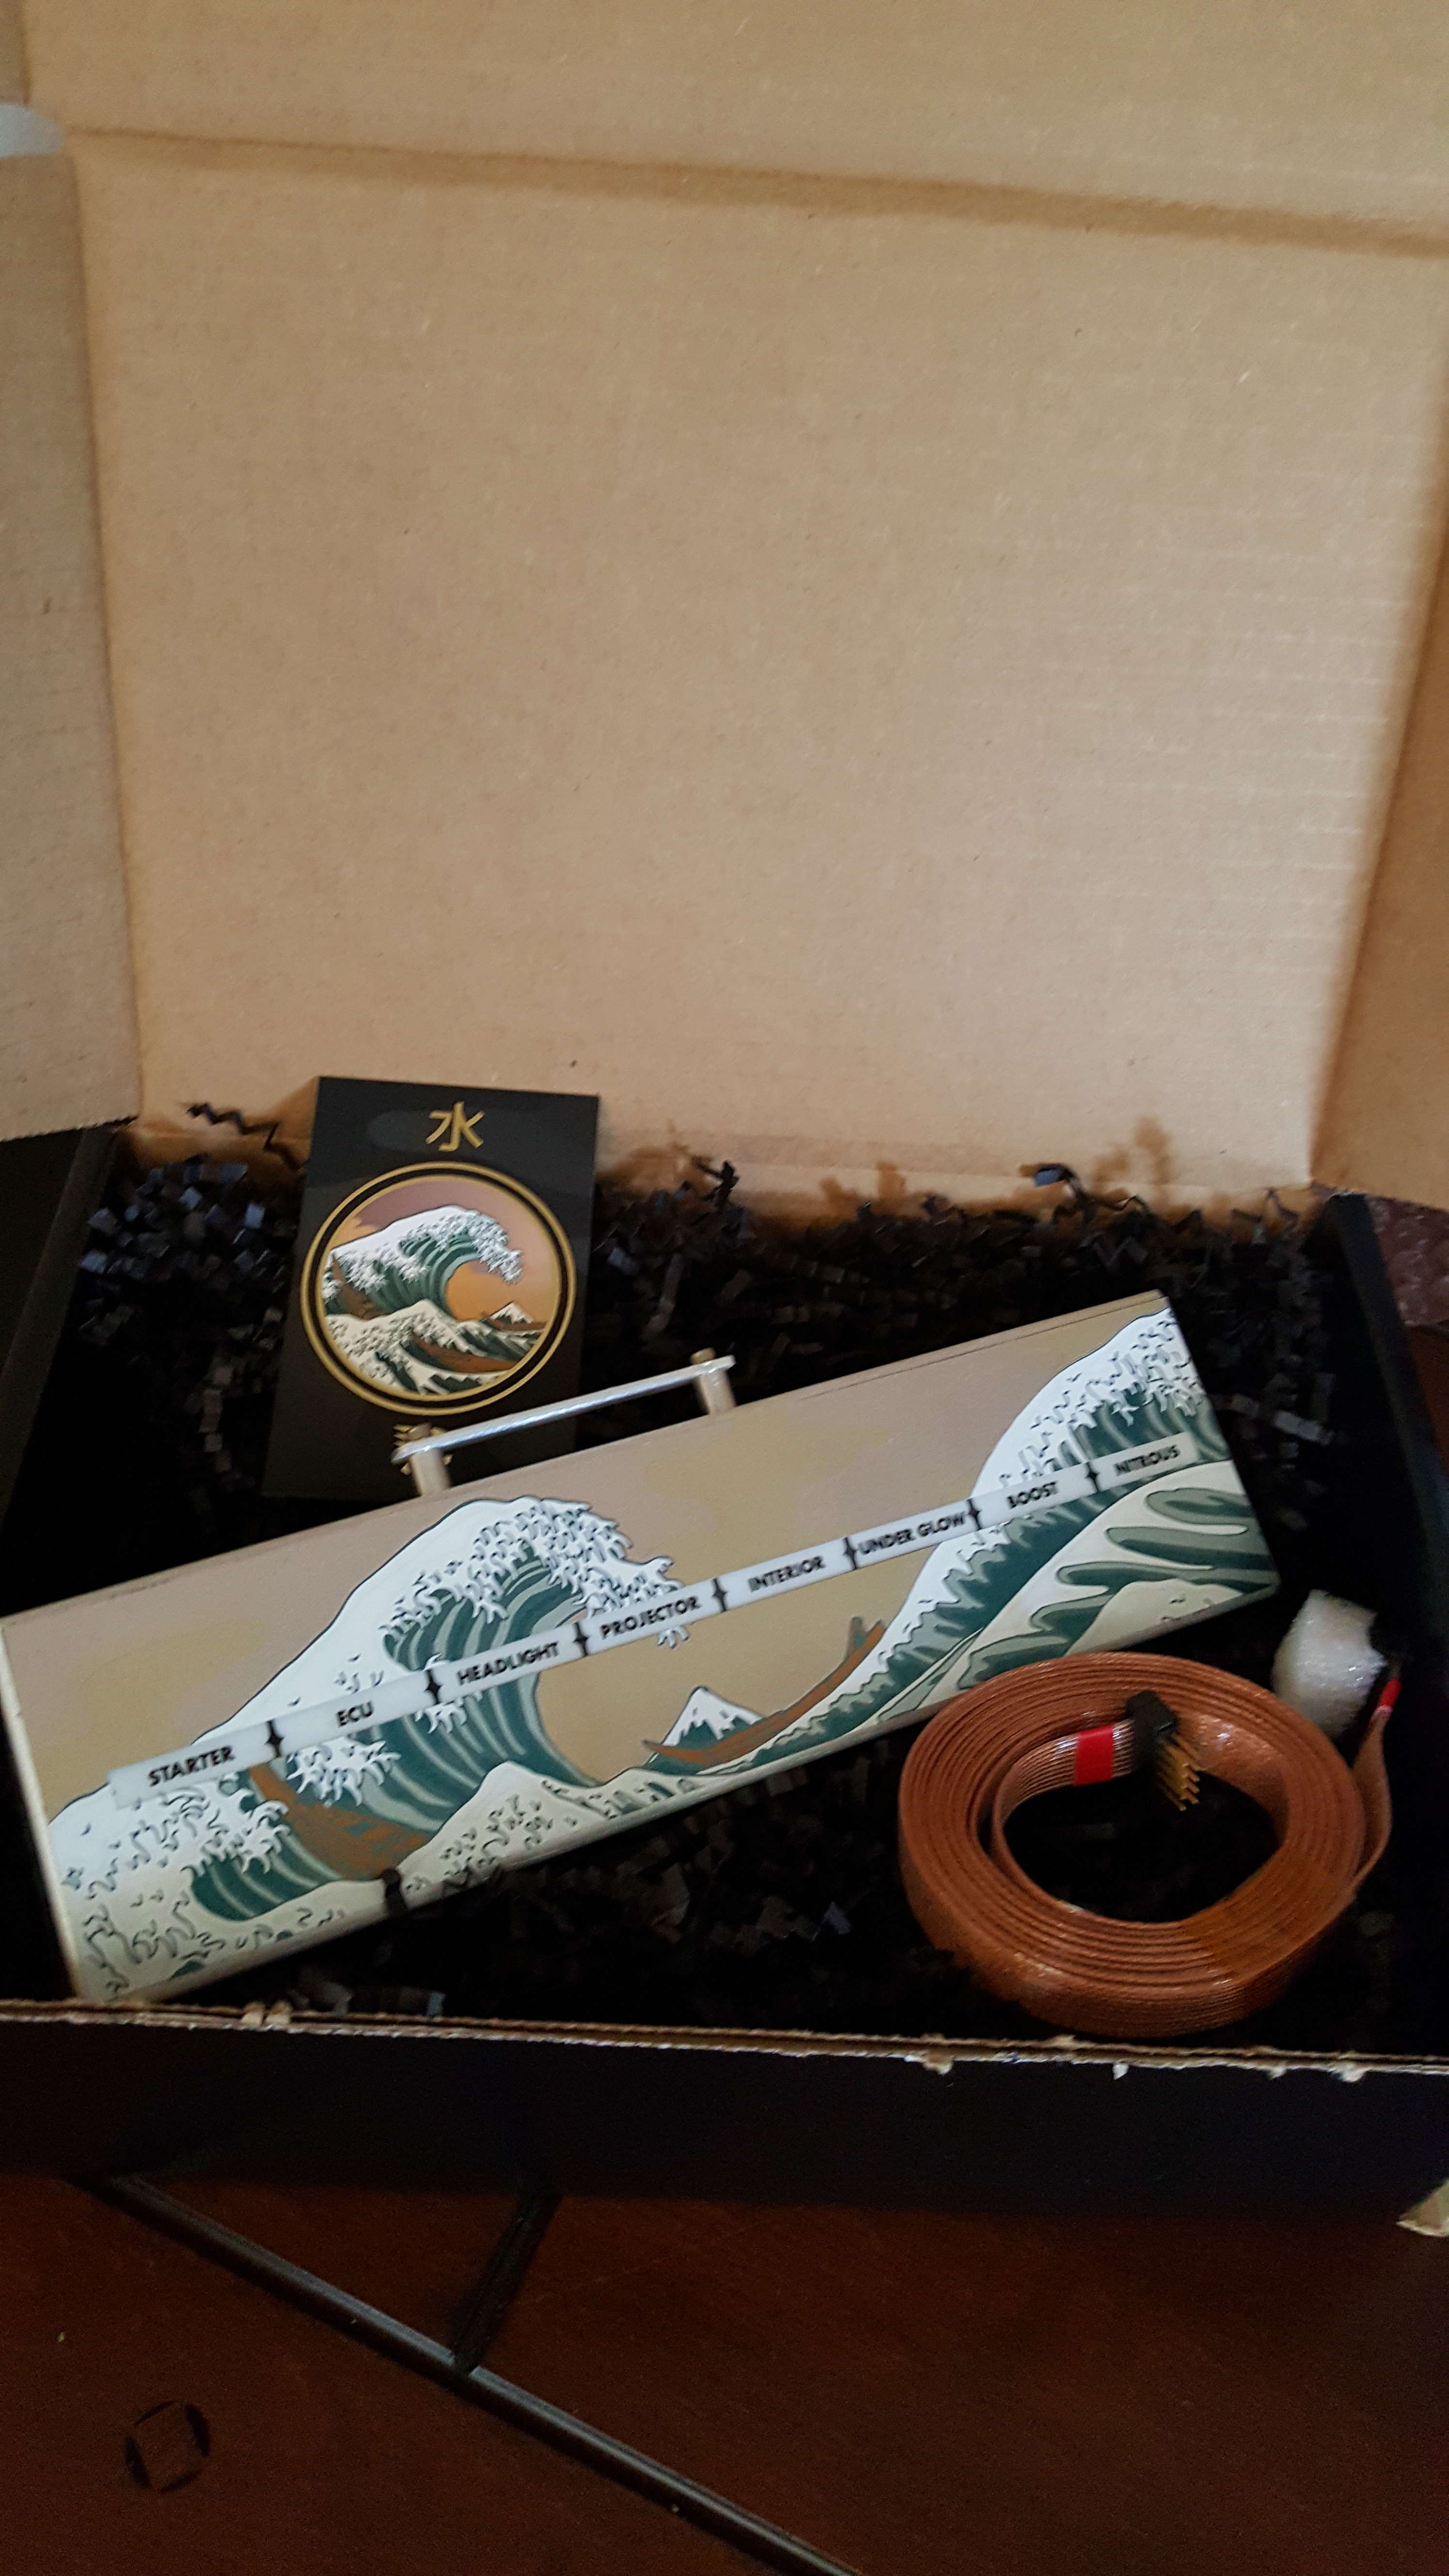
Got more SuperWow factory Vinyl in….Represent the companies that trust you with their name!!!

Late night lights!
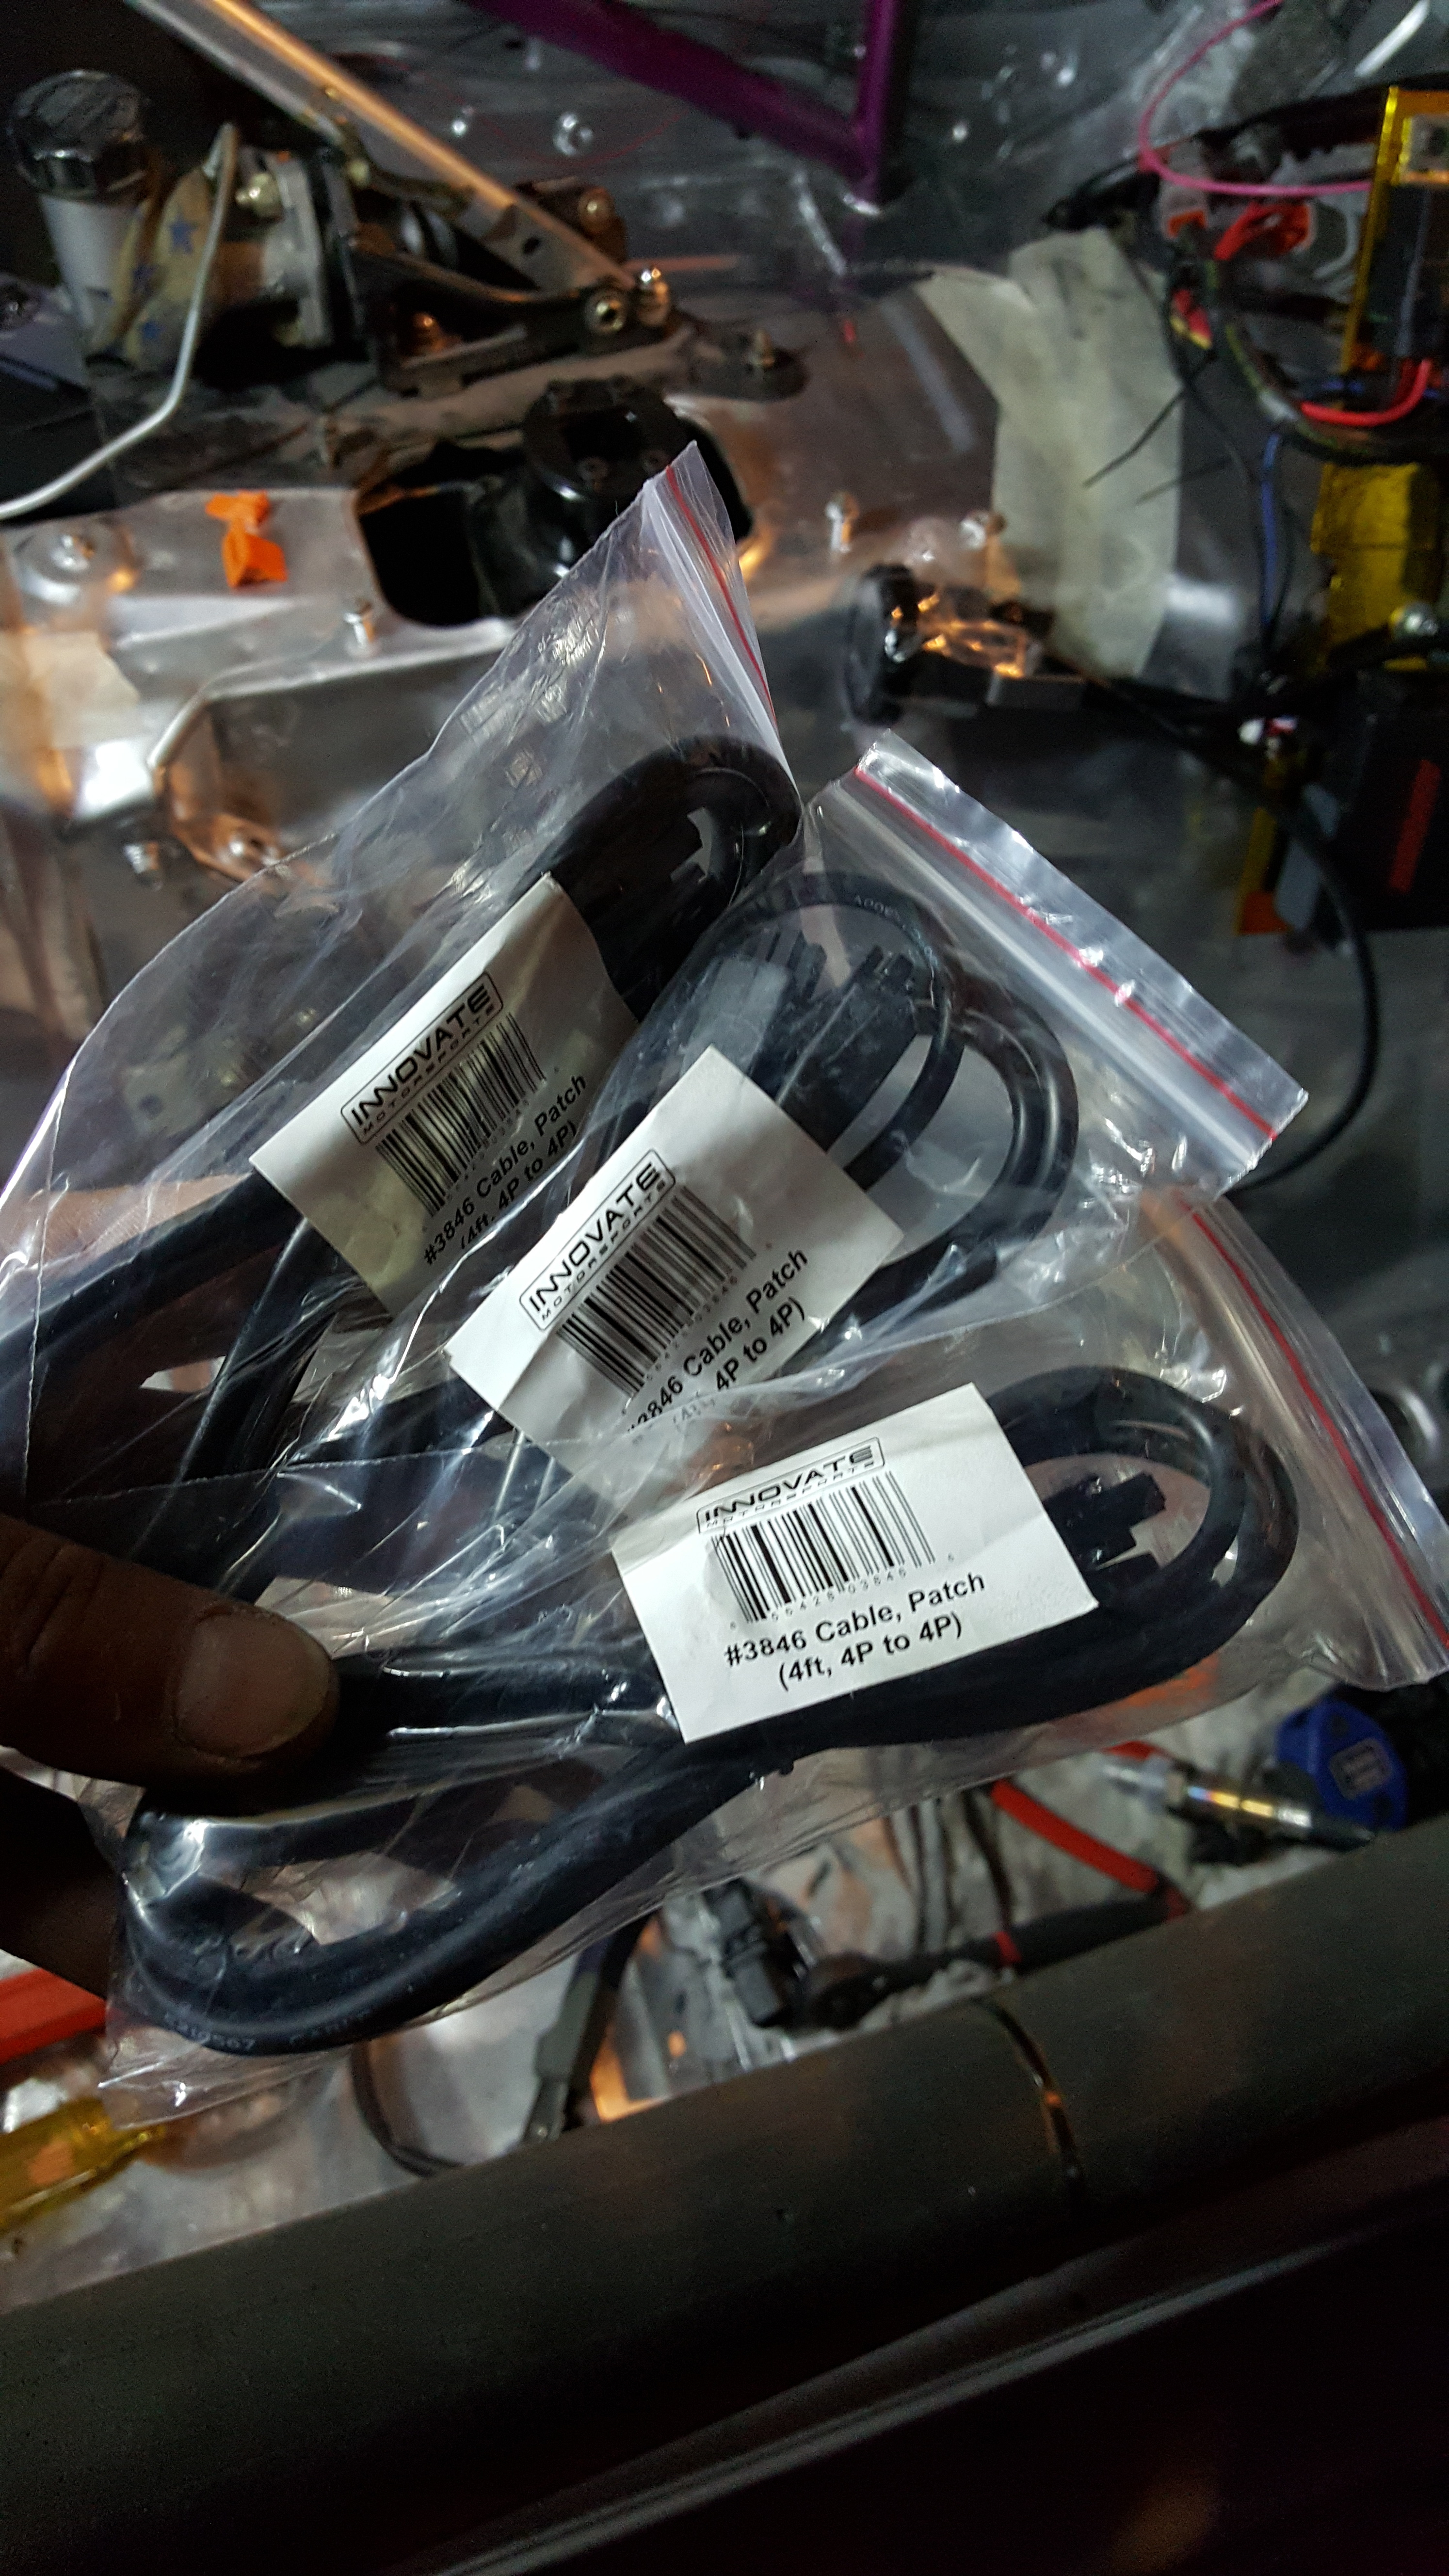
In coming care package!!!
Gold for Heavy duty!!
Got my EGT sensors hooked to the board! New Innovate MTX-L Plus!!
Little Details for Fan Grounds! Nice…simple and sealed!! Always keep usability in mind!!
Late Nights in the Garage! Getting there!
Fuel Pump Board Complete!!! Minus gold heat barrier..ran out…but I’ll get more hahaha
And here she is!!! Almost 100% Complete!!
Got more SuperWow factory Vinyl in….Represent the companies that trust you with their name!!!
Late night lights!
In coming care package!!!
Continued Update: Chassis Re-wire Part 2, "Its all in the details"
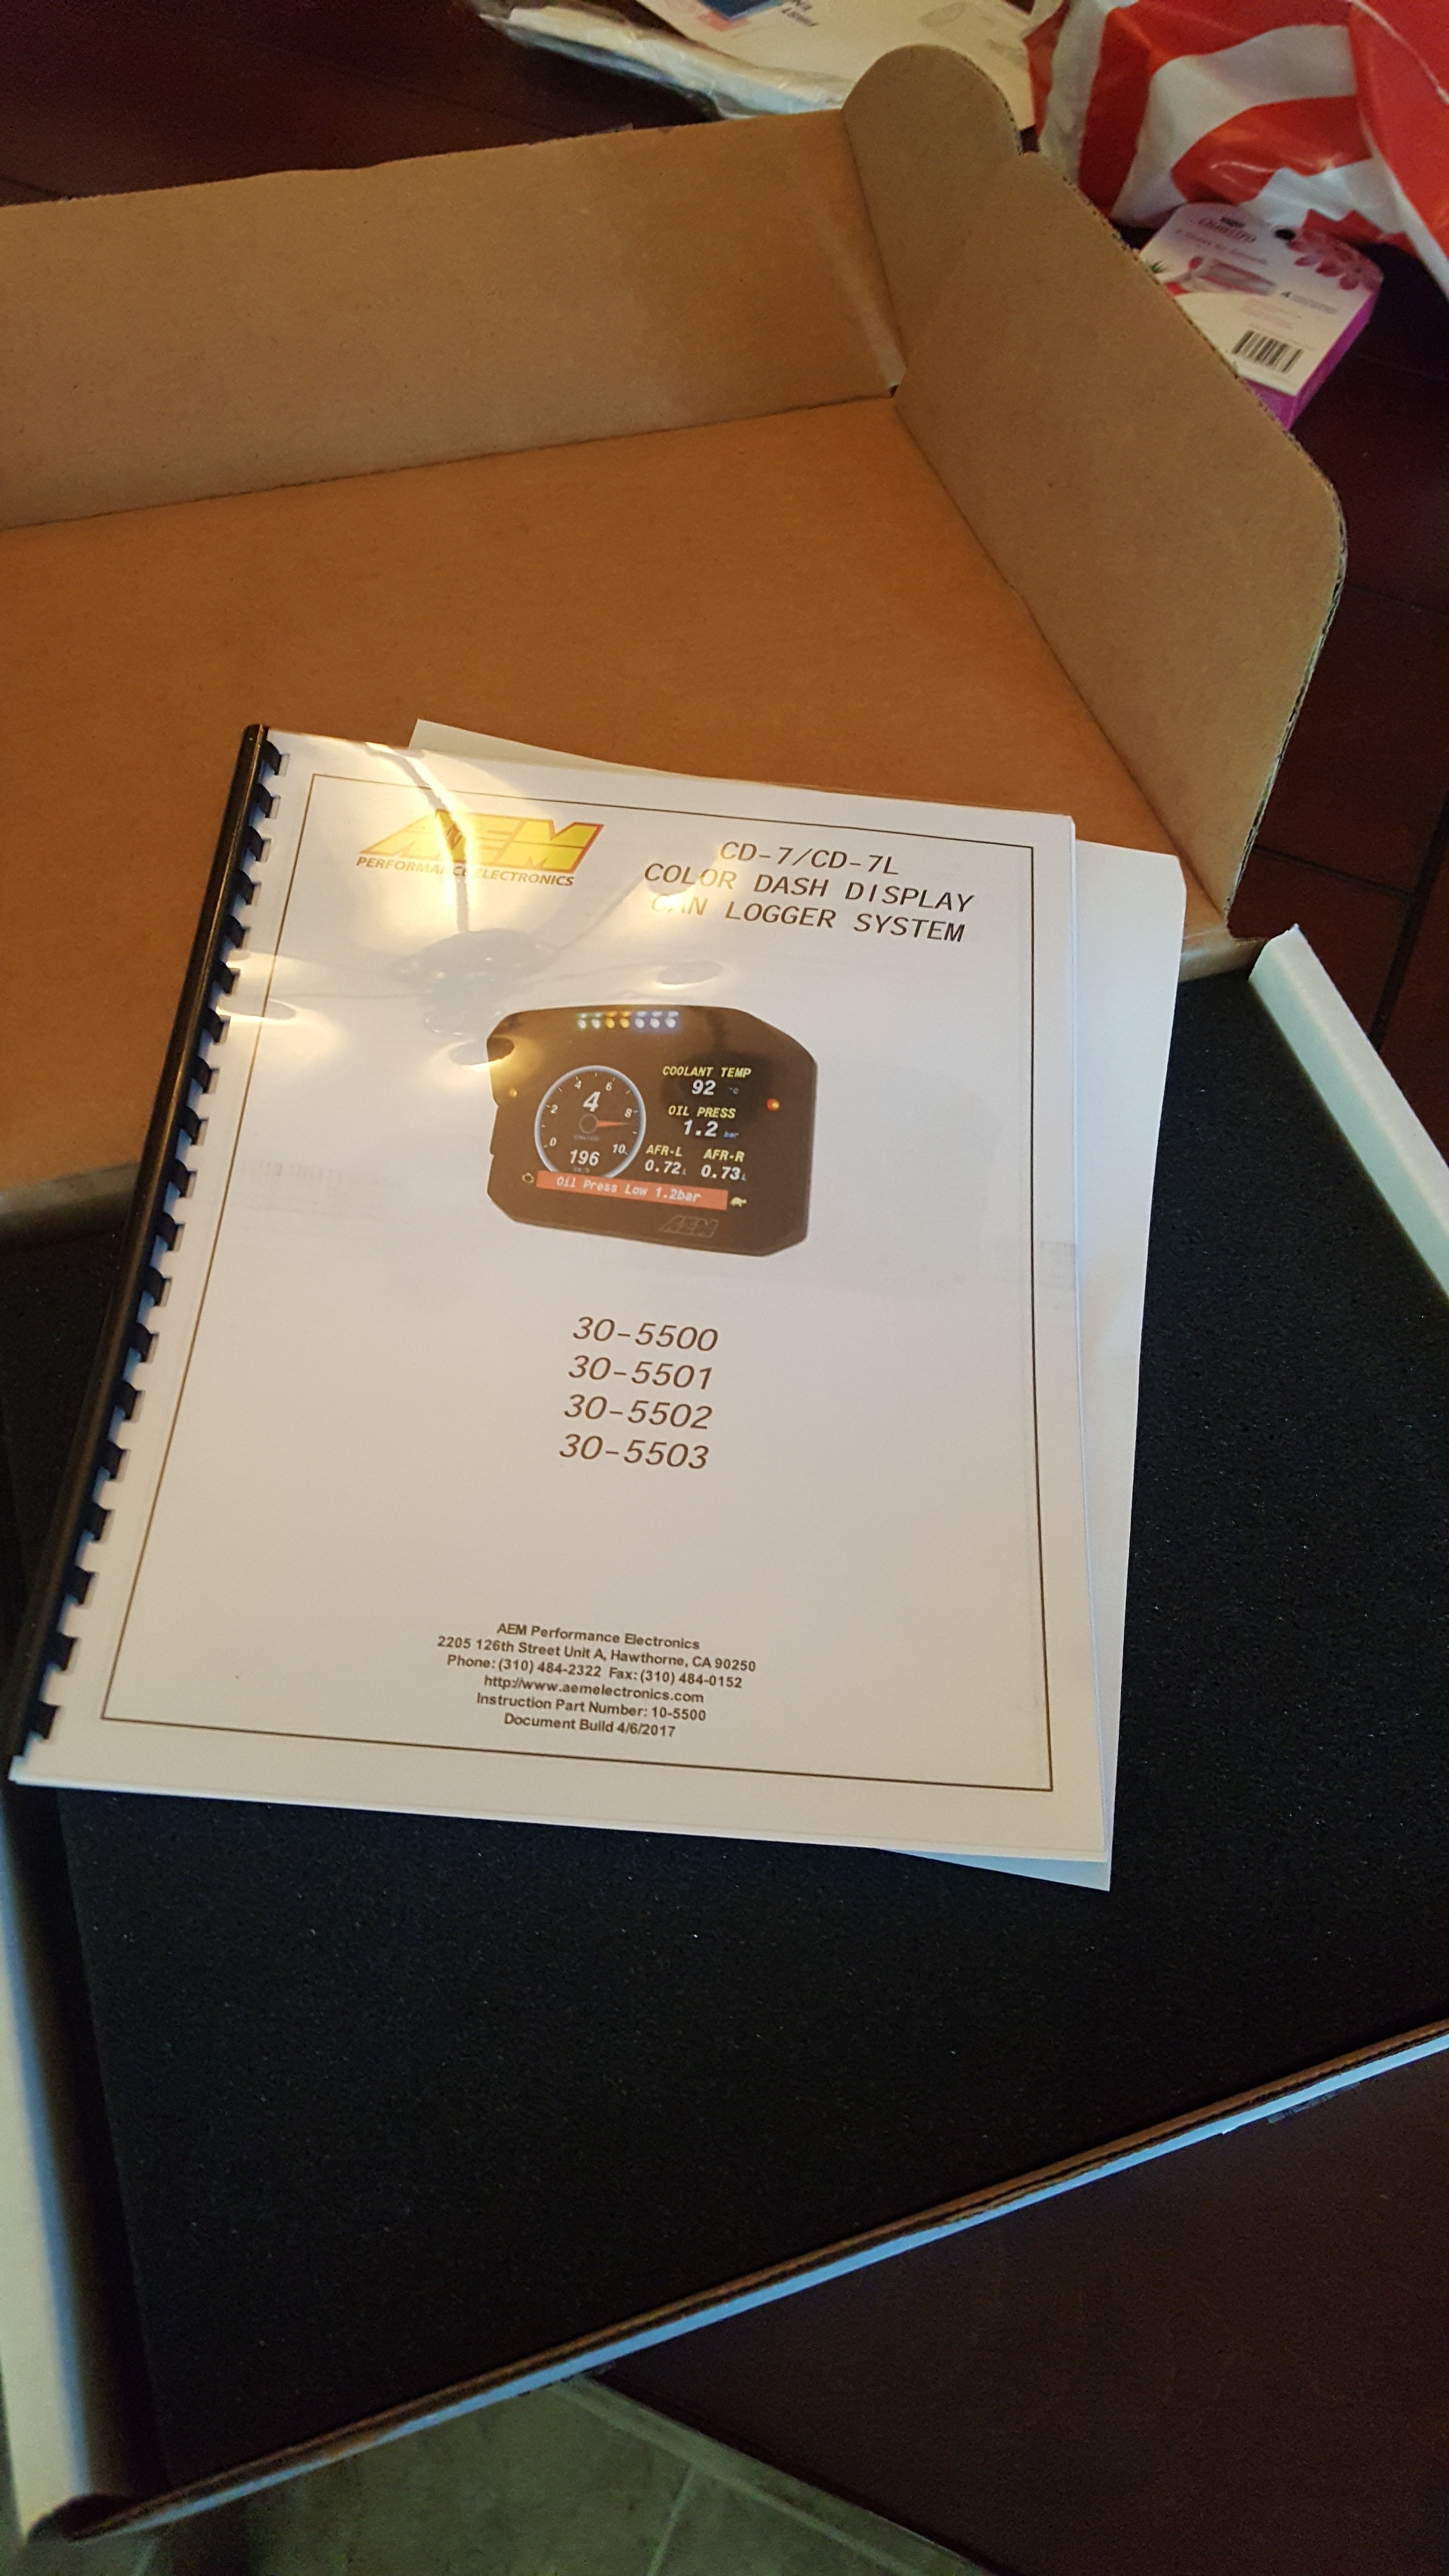
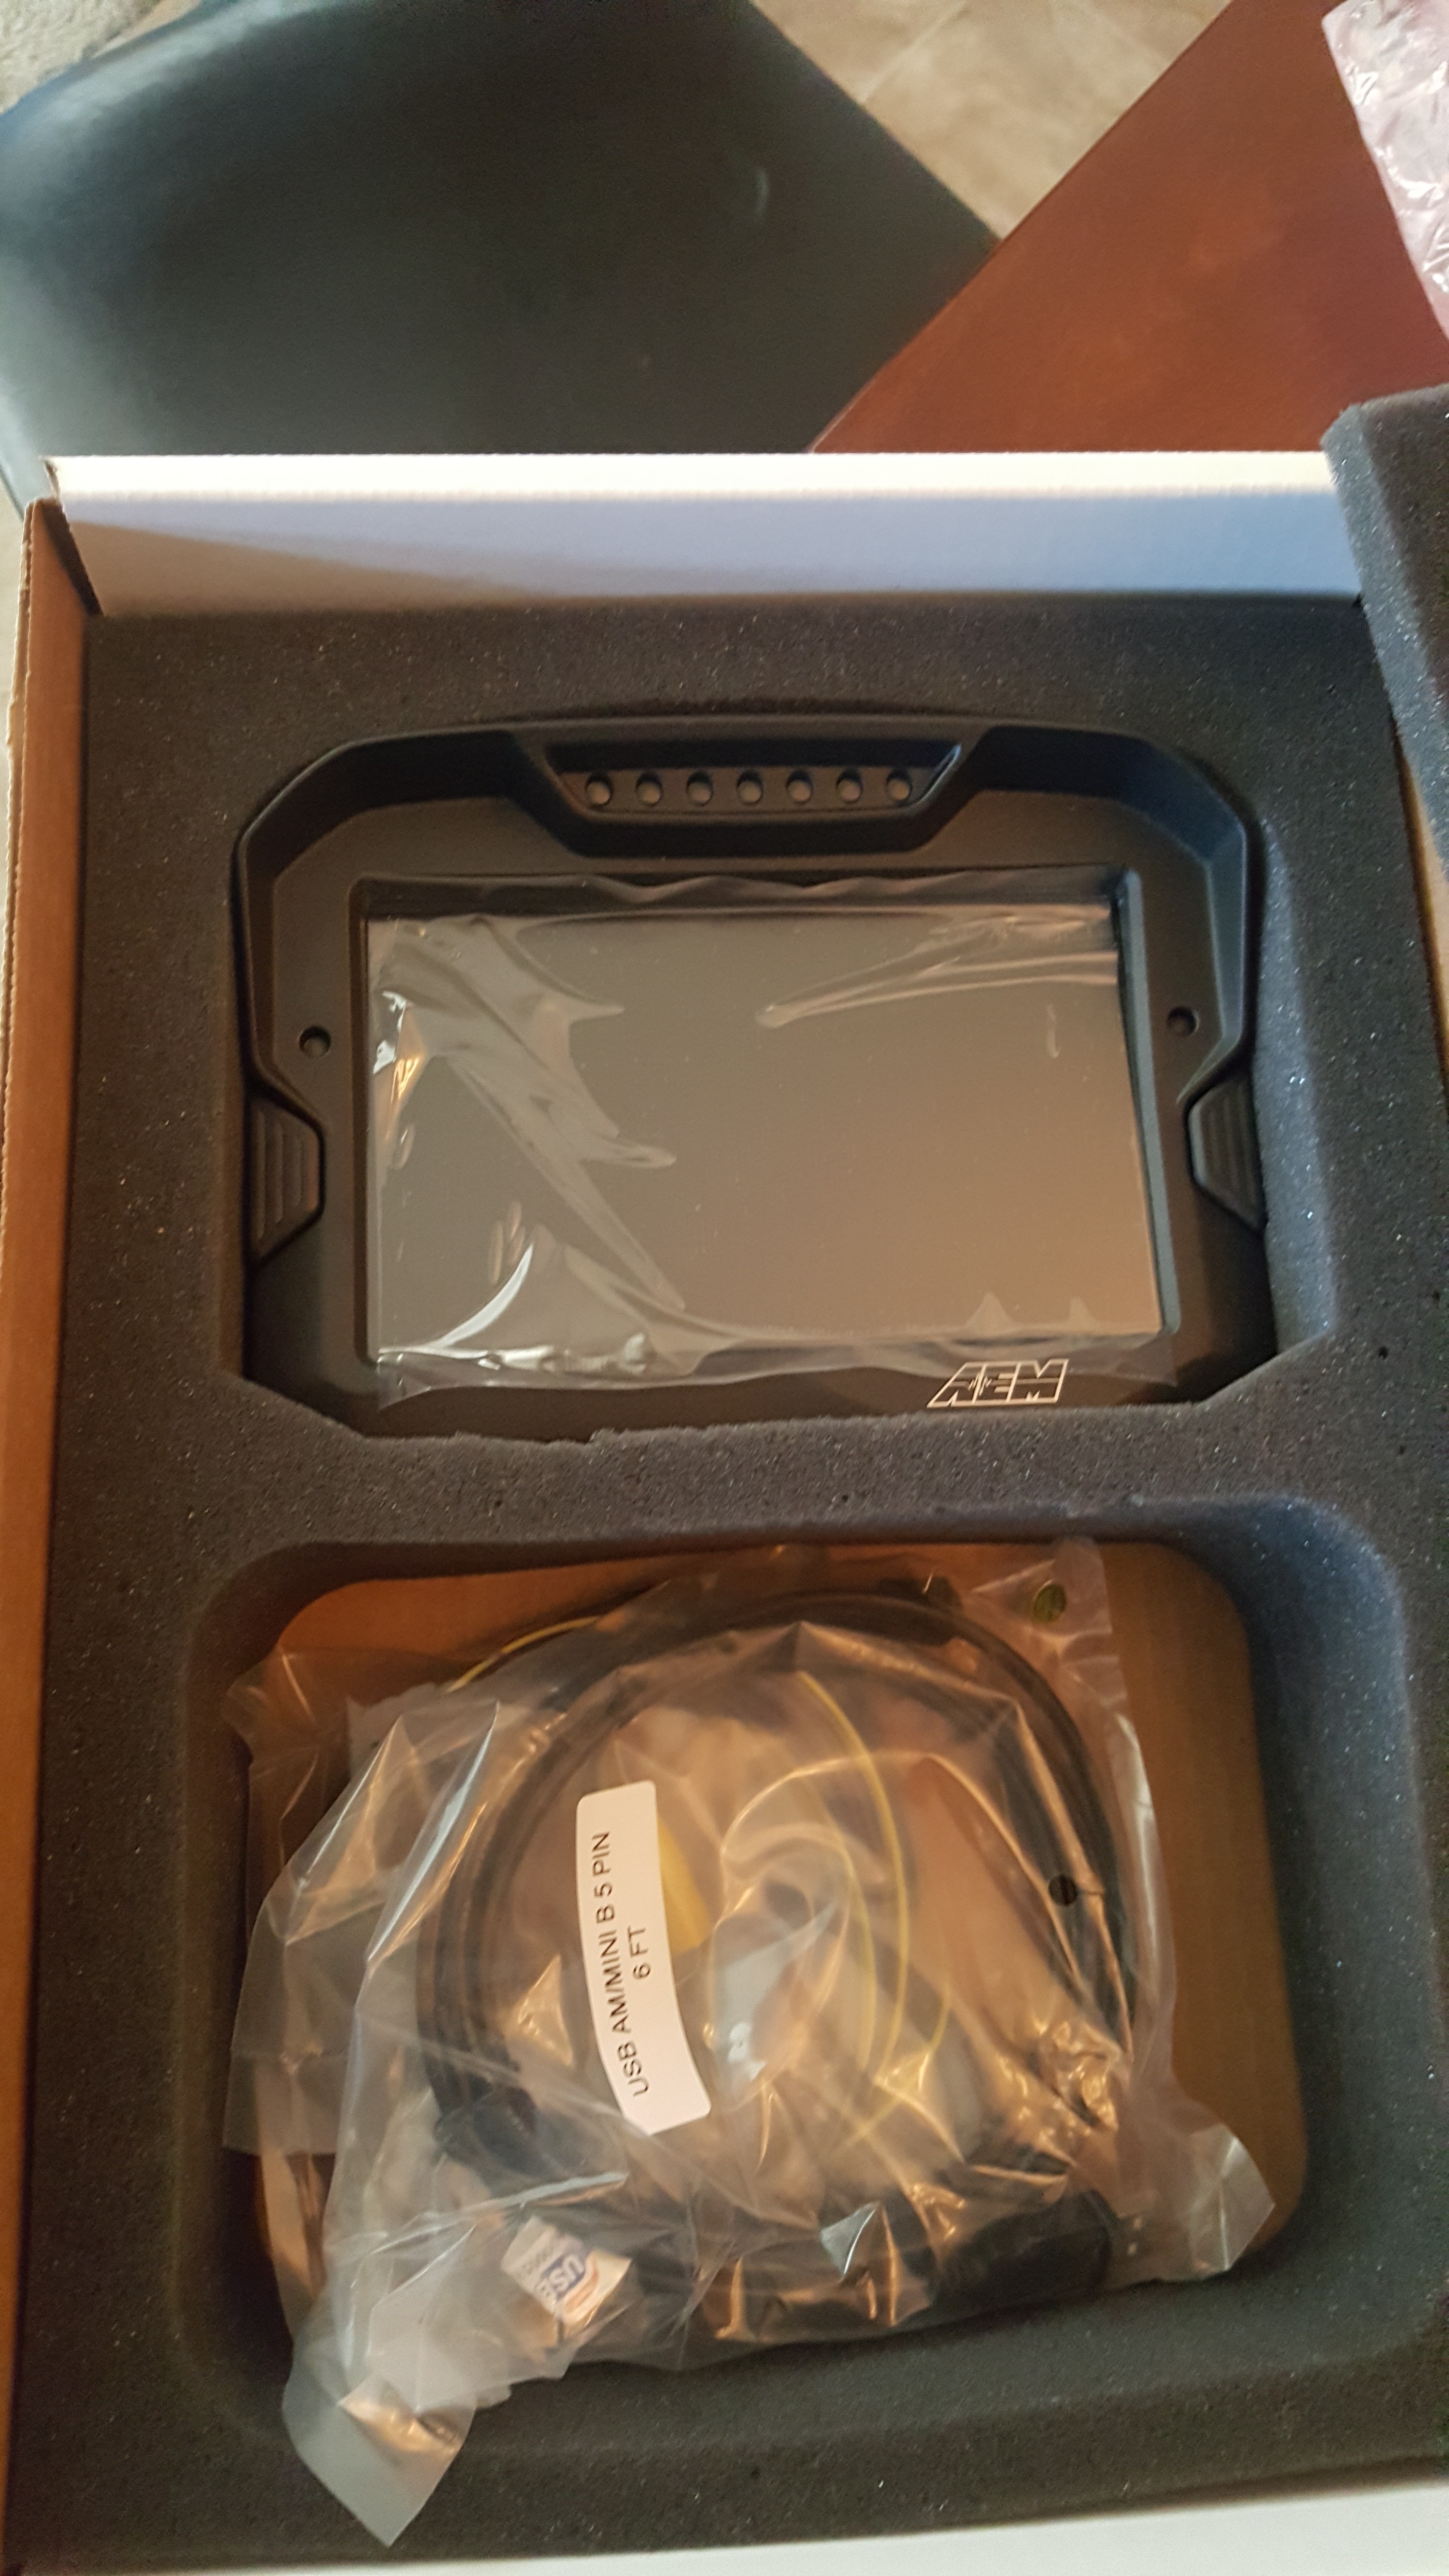
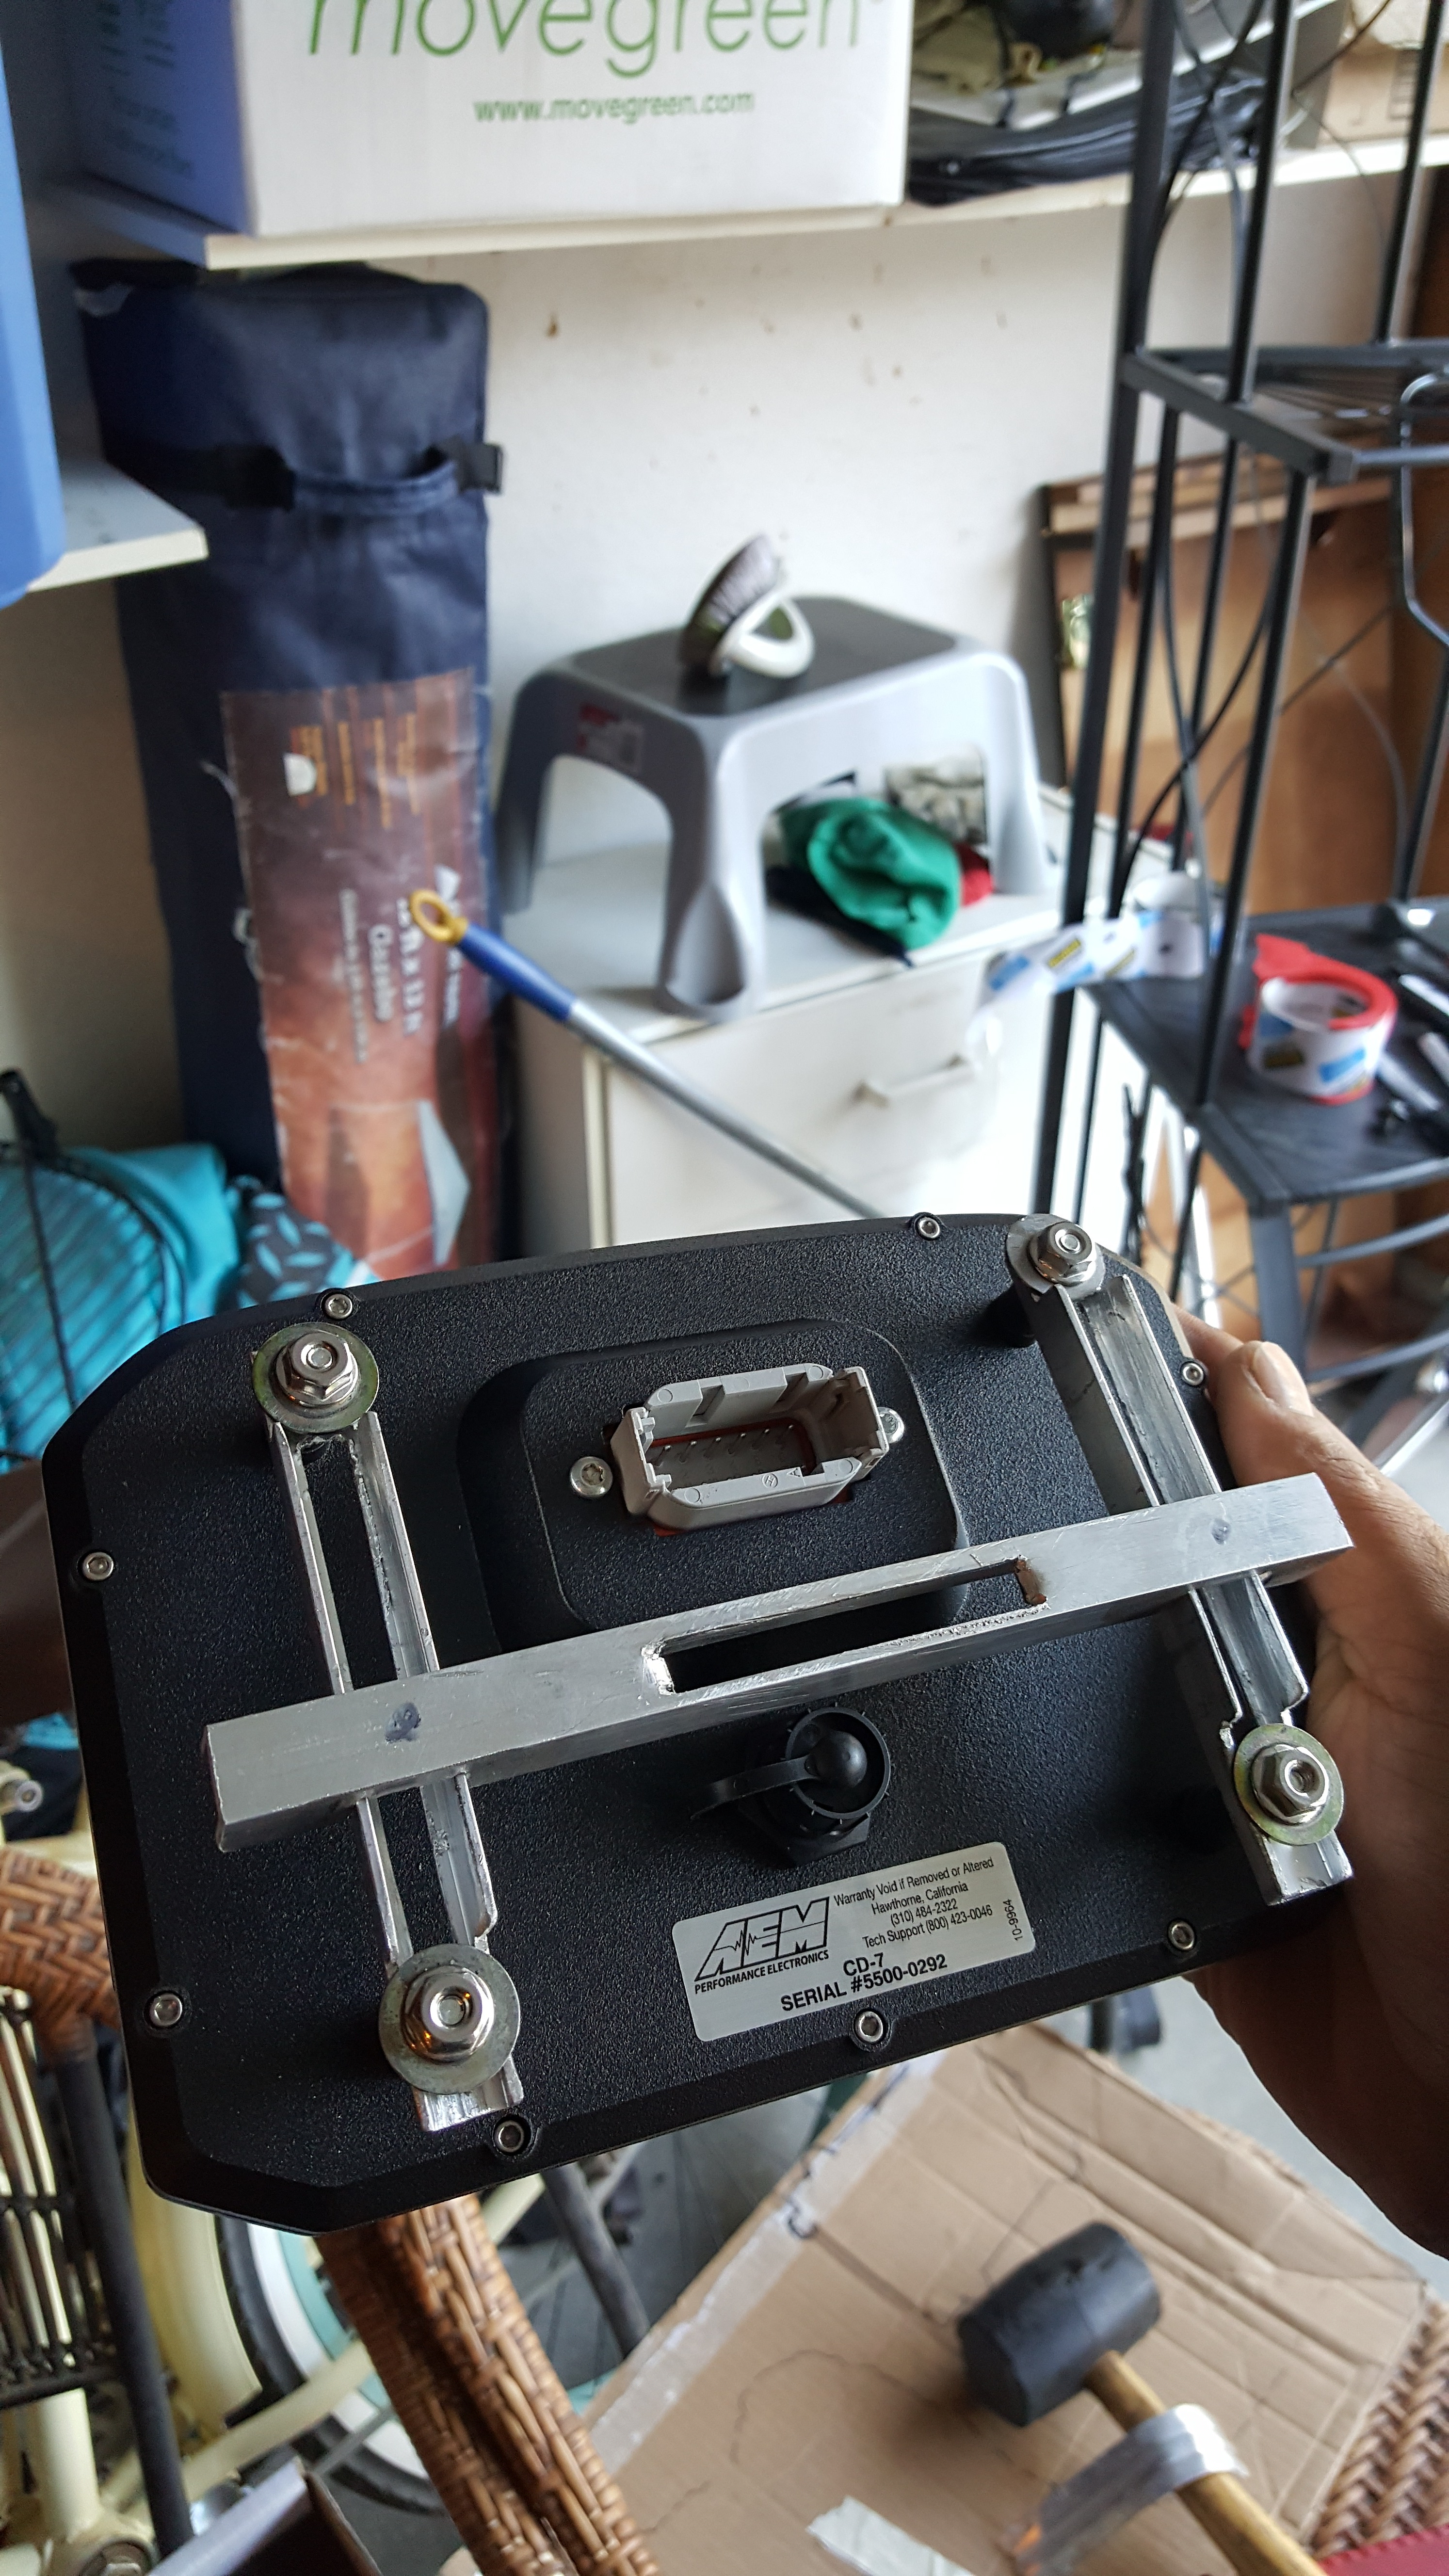
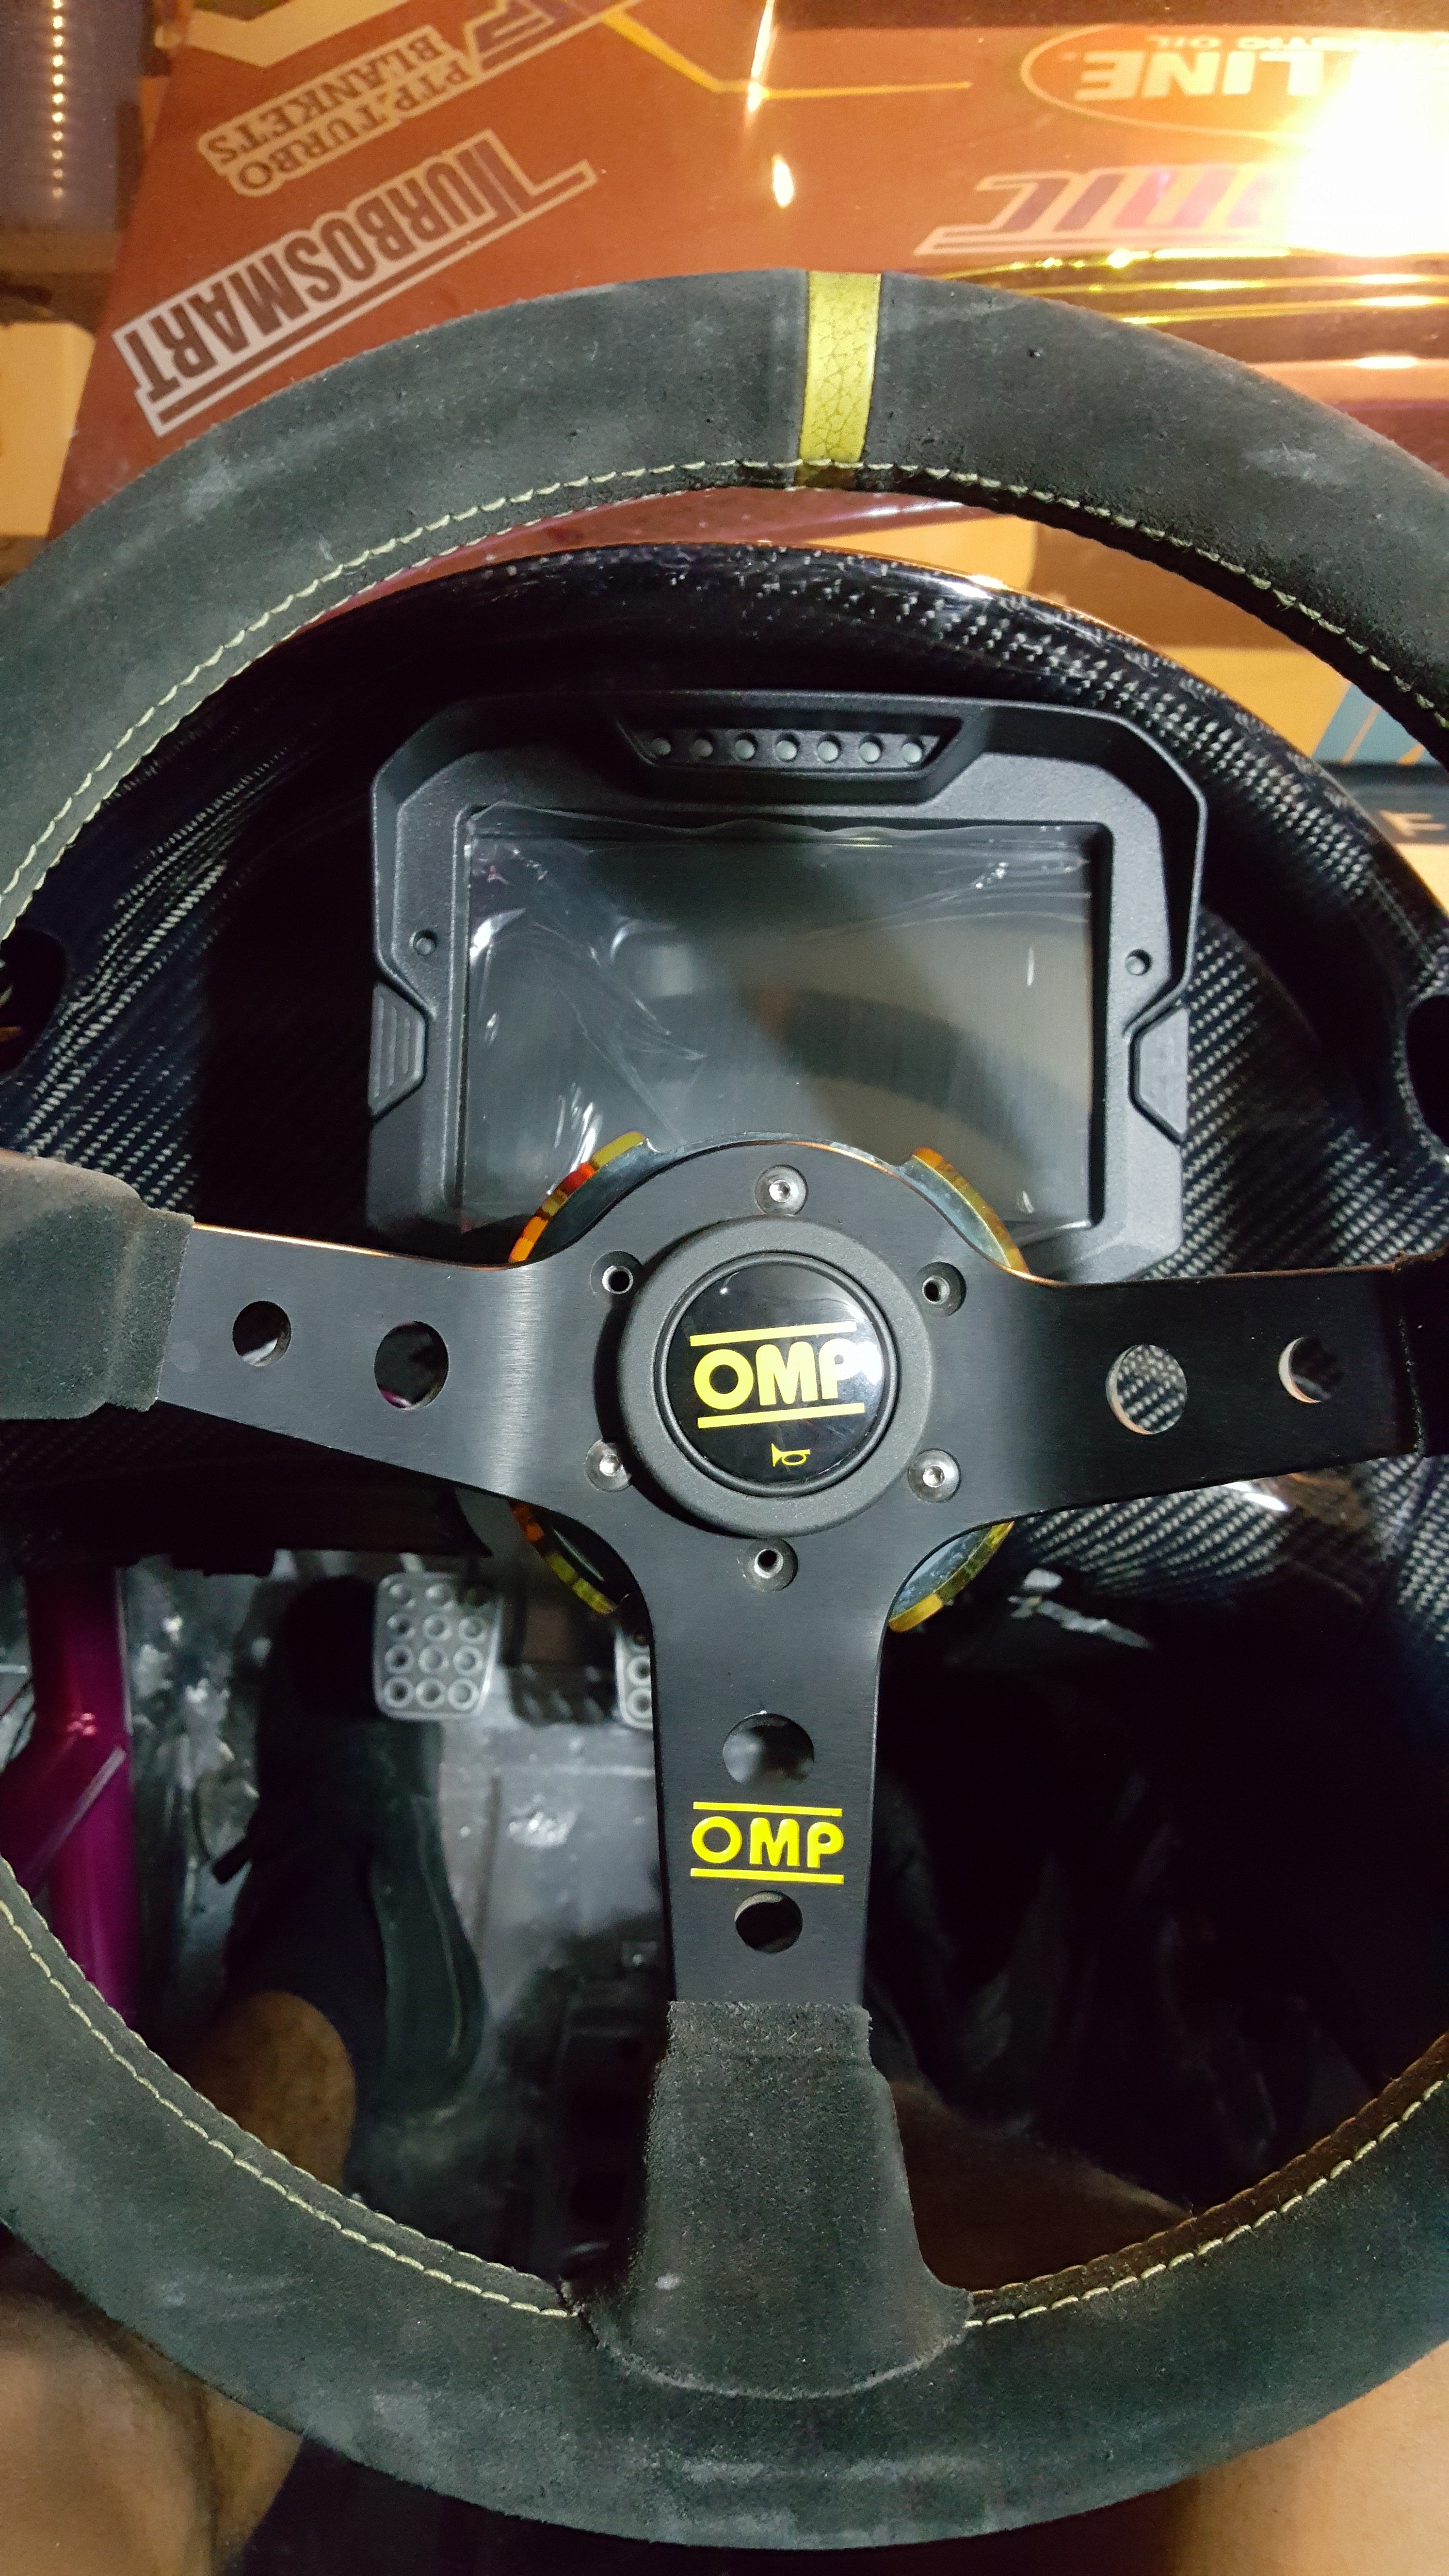
This is the AEM CD-7 Digital Dash Display!!! Fully configurable! DopeAF!
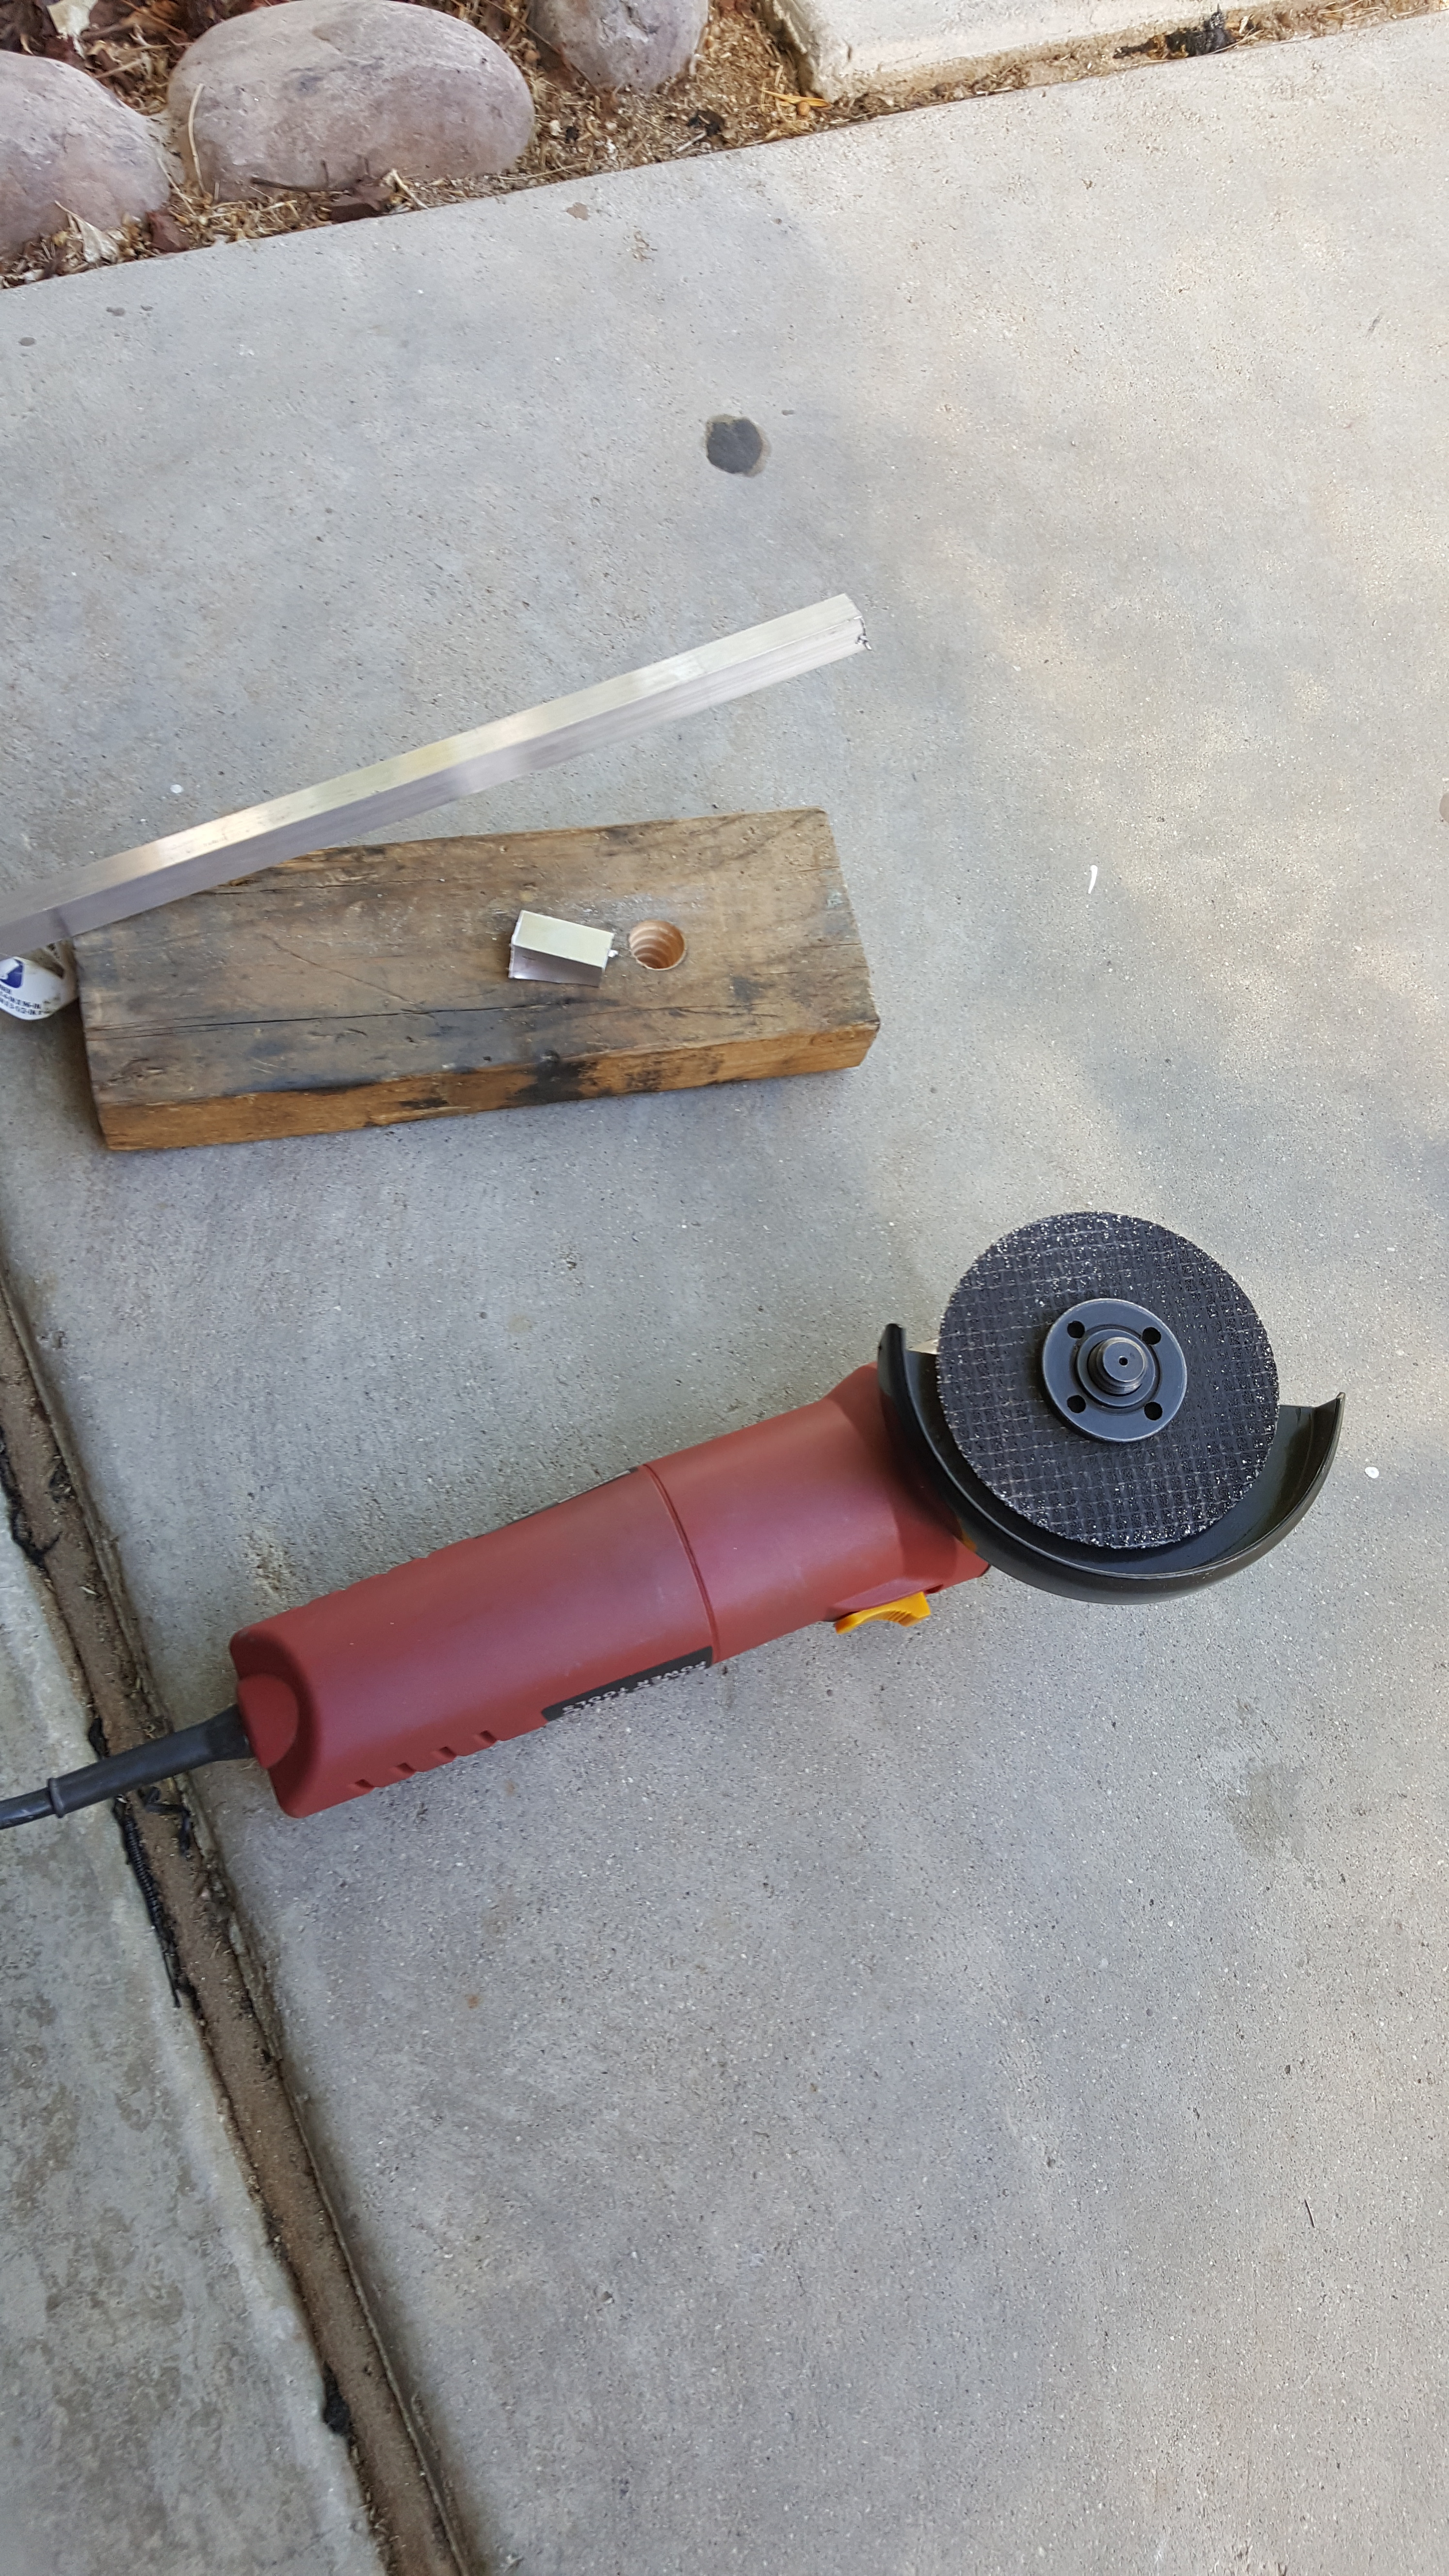
Needed to make a mount…so I had to Garage style it… haha
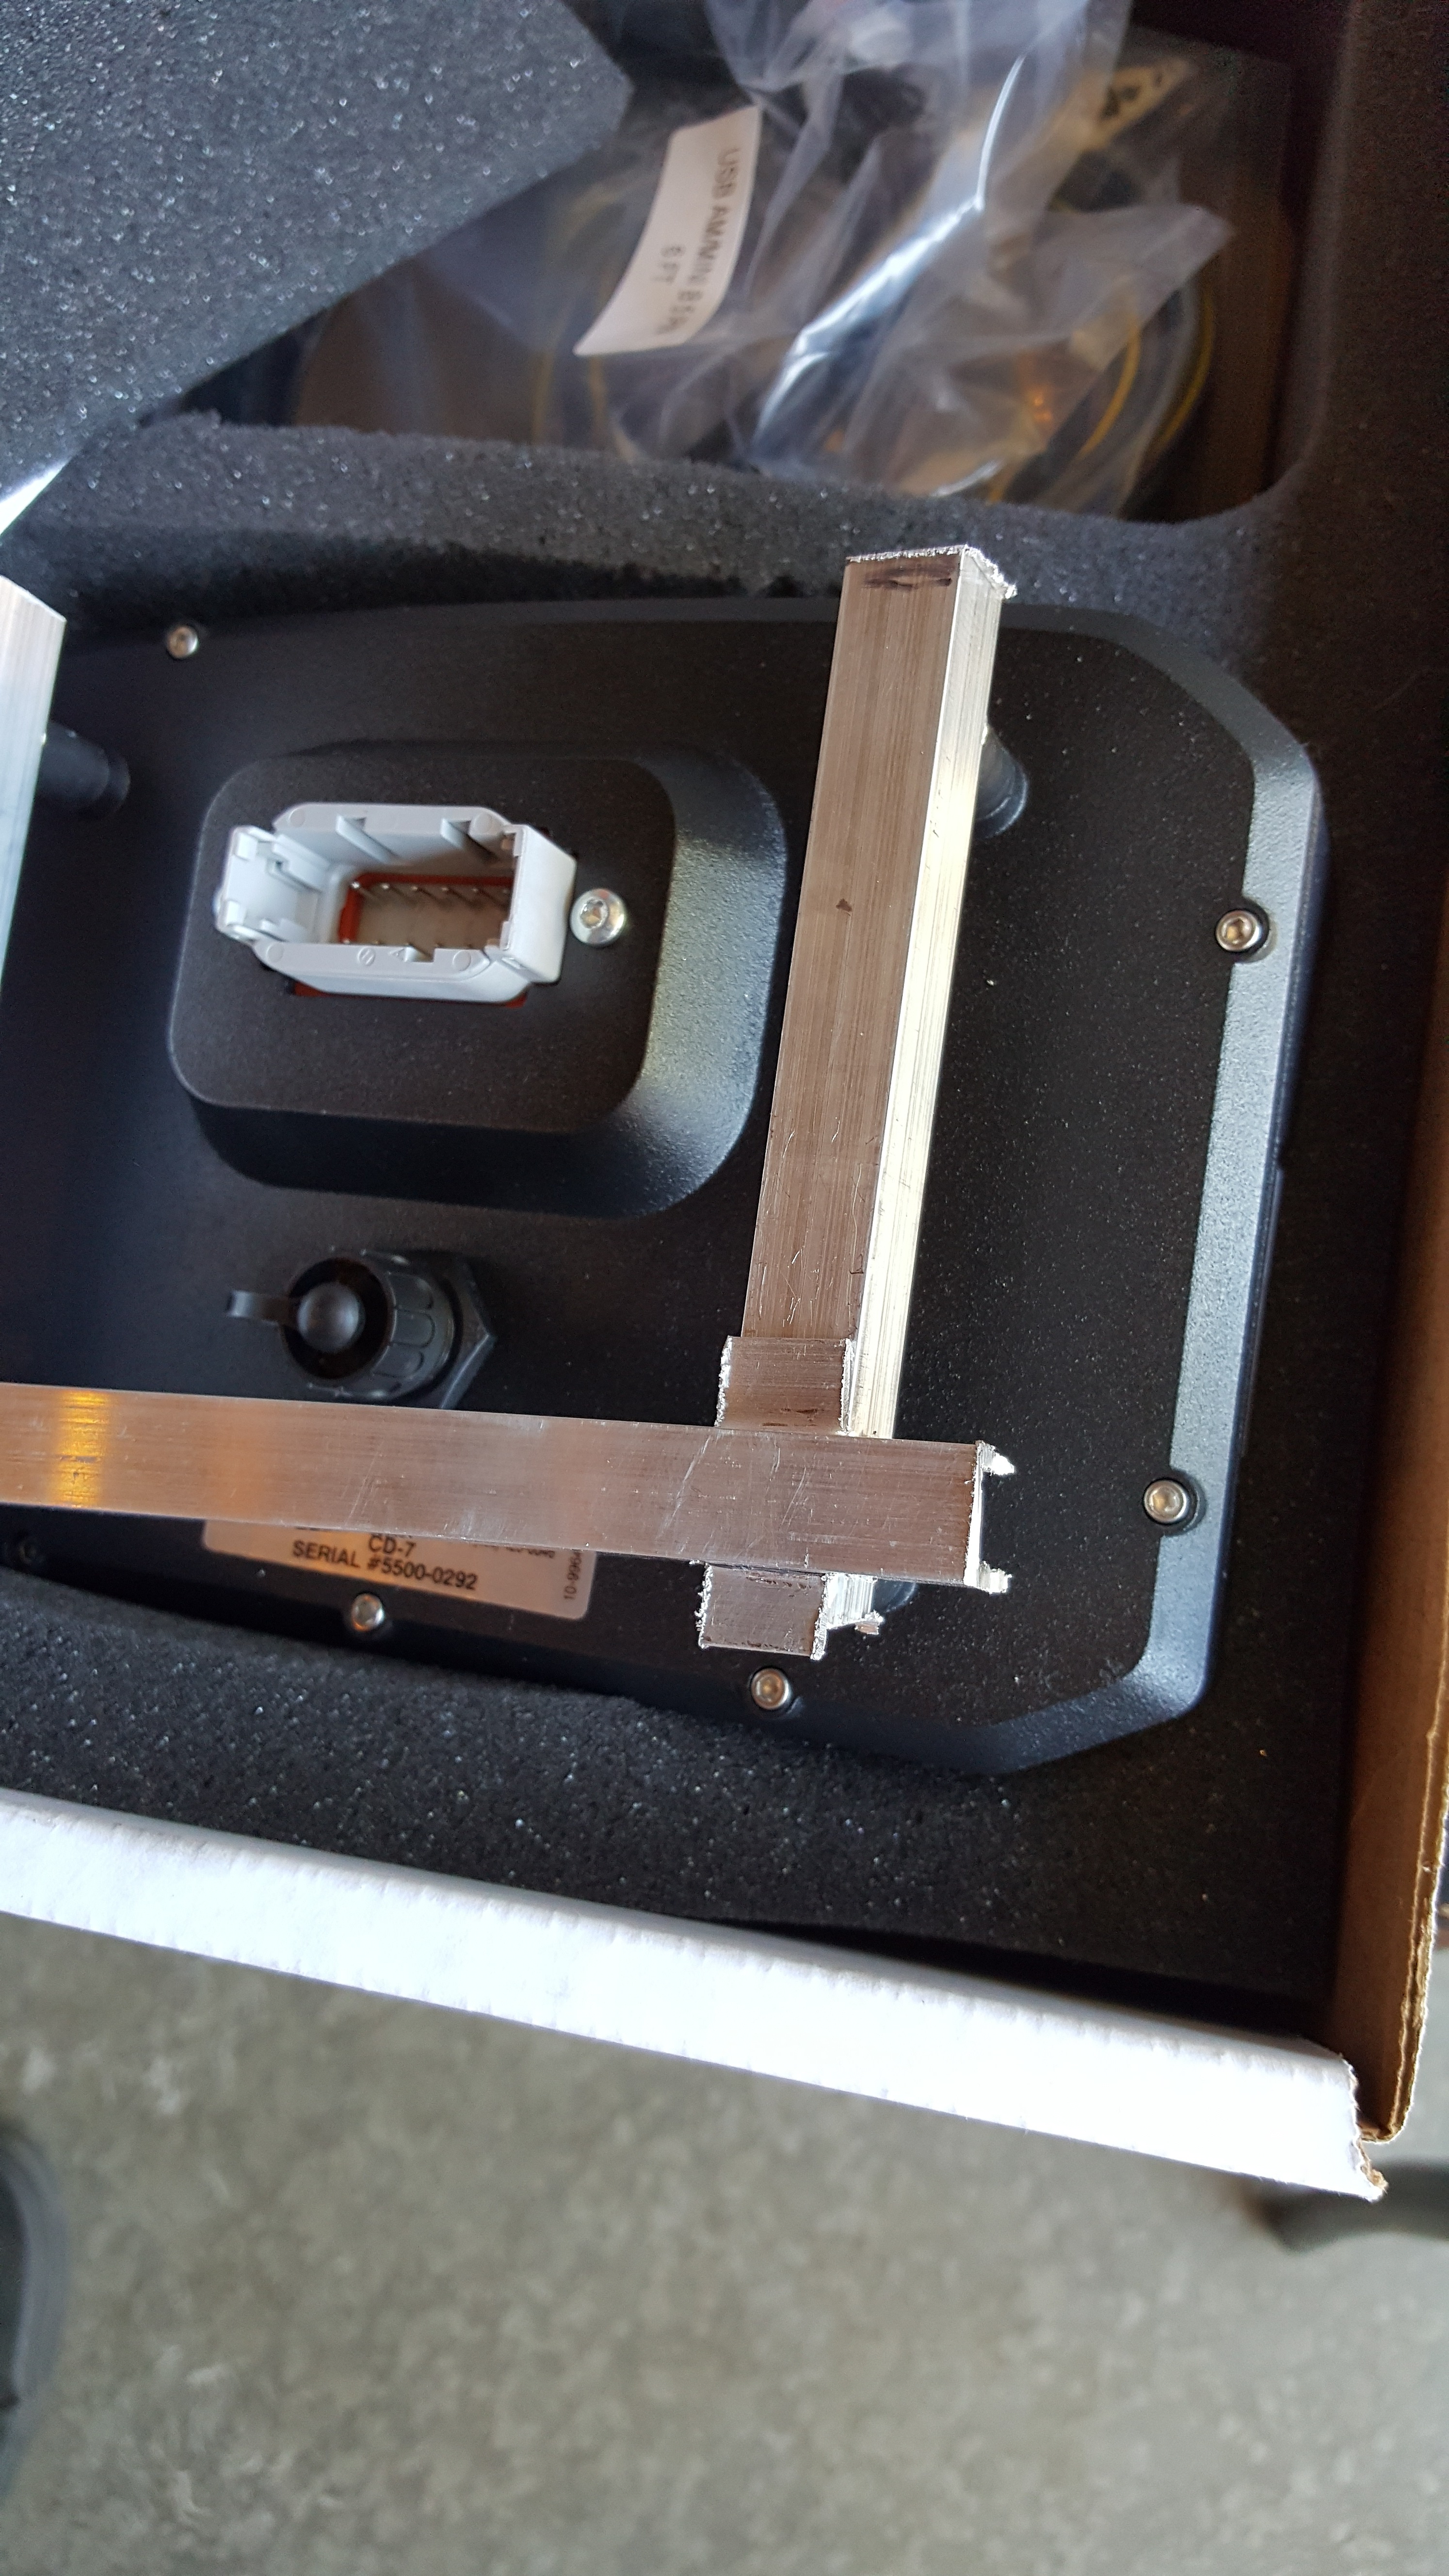
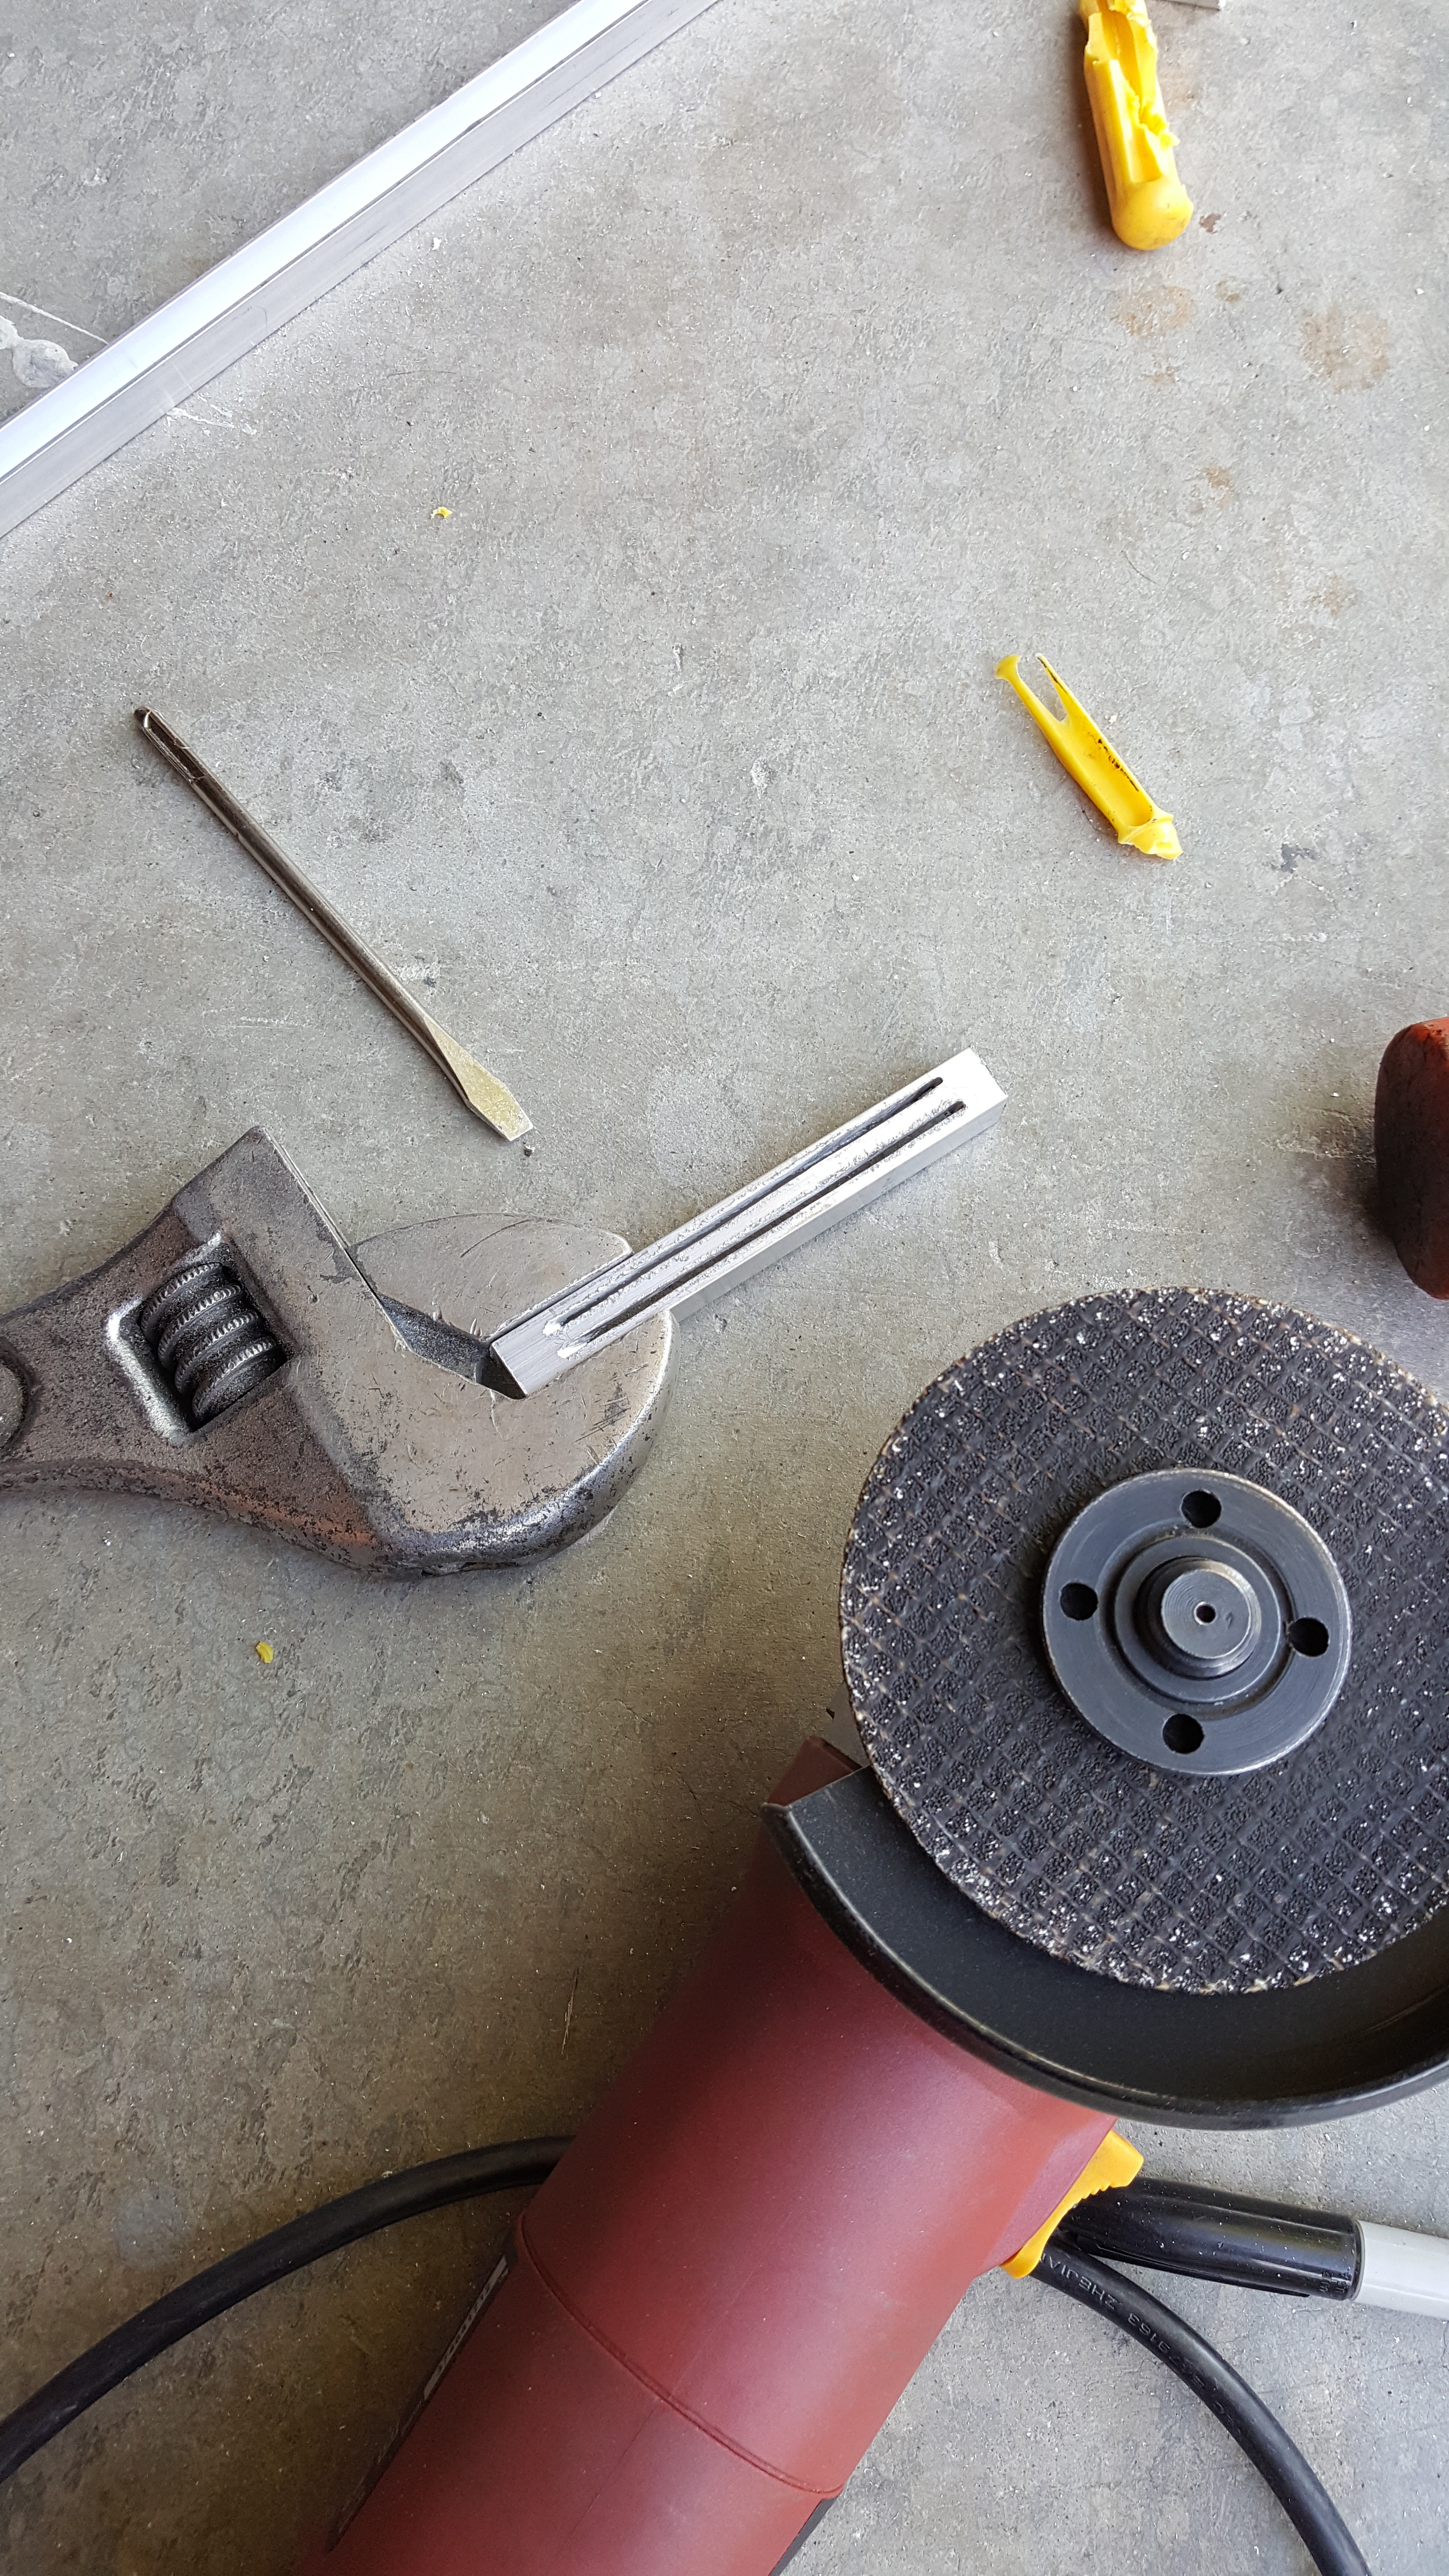
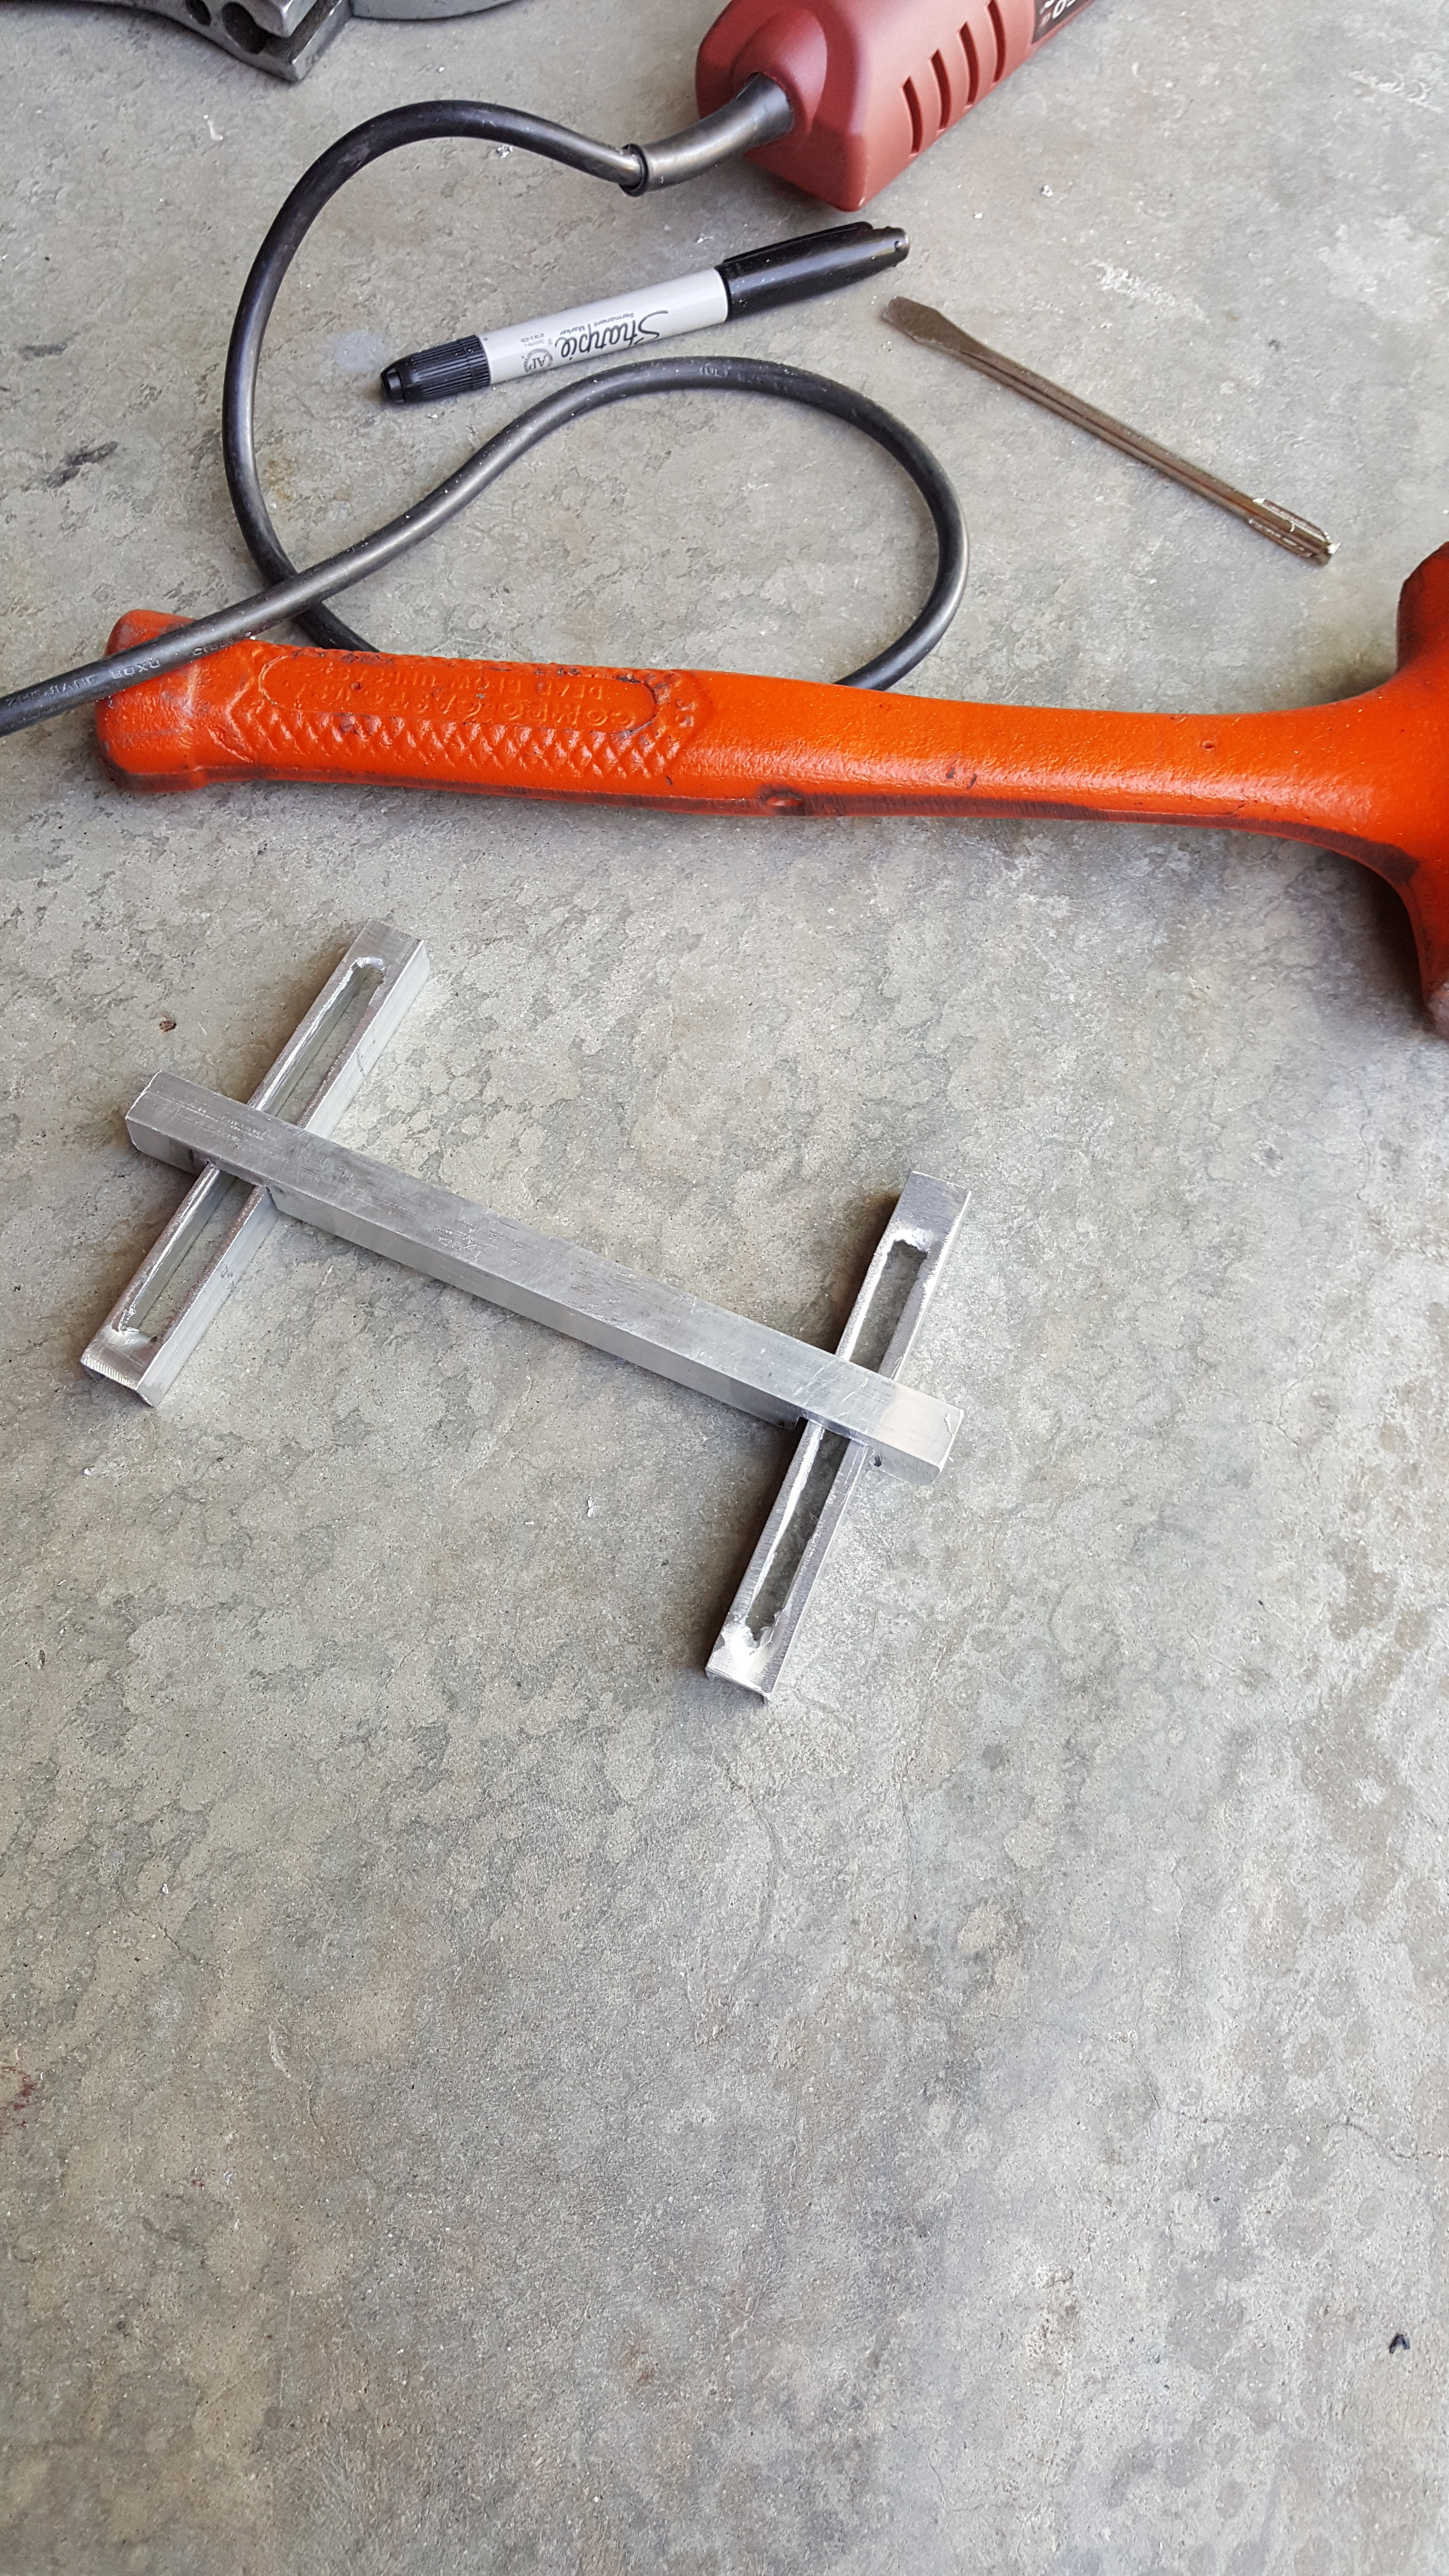
Sliders!!
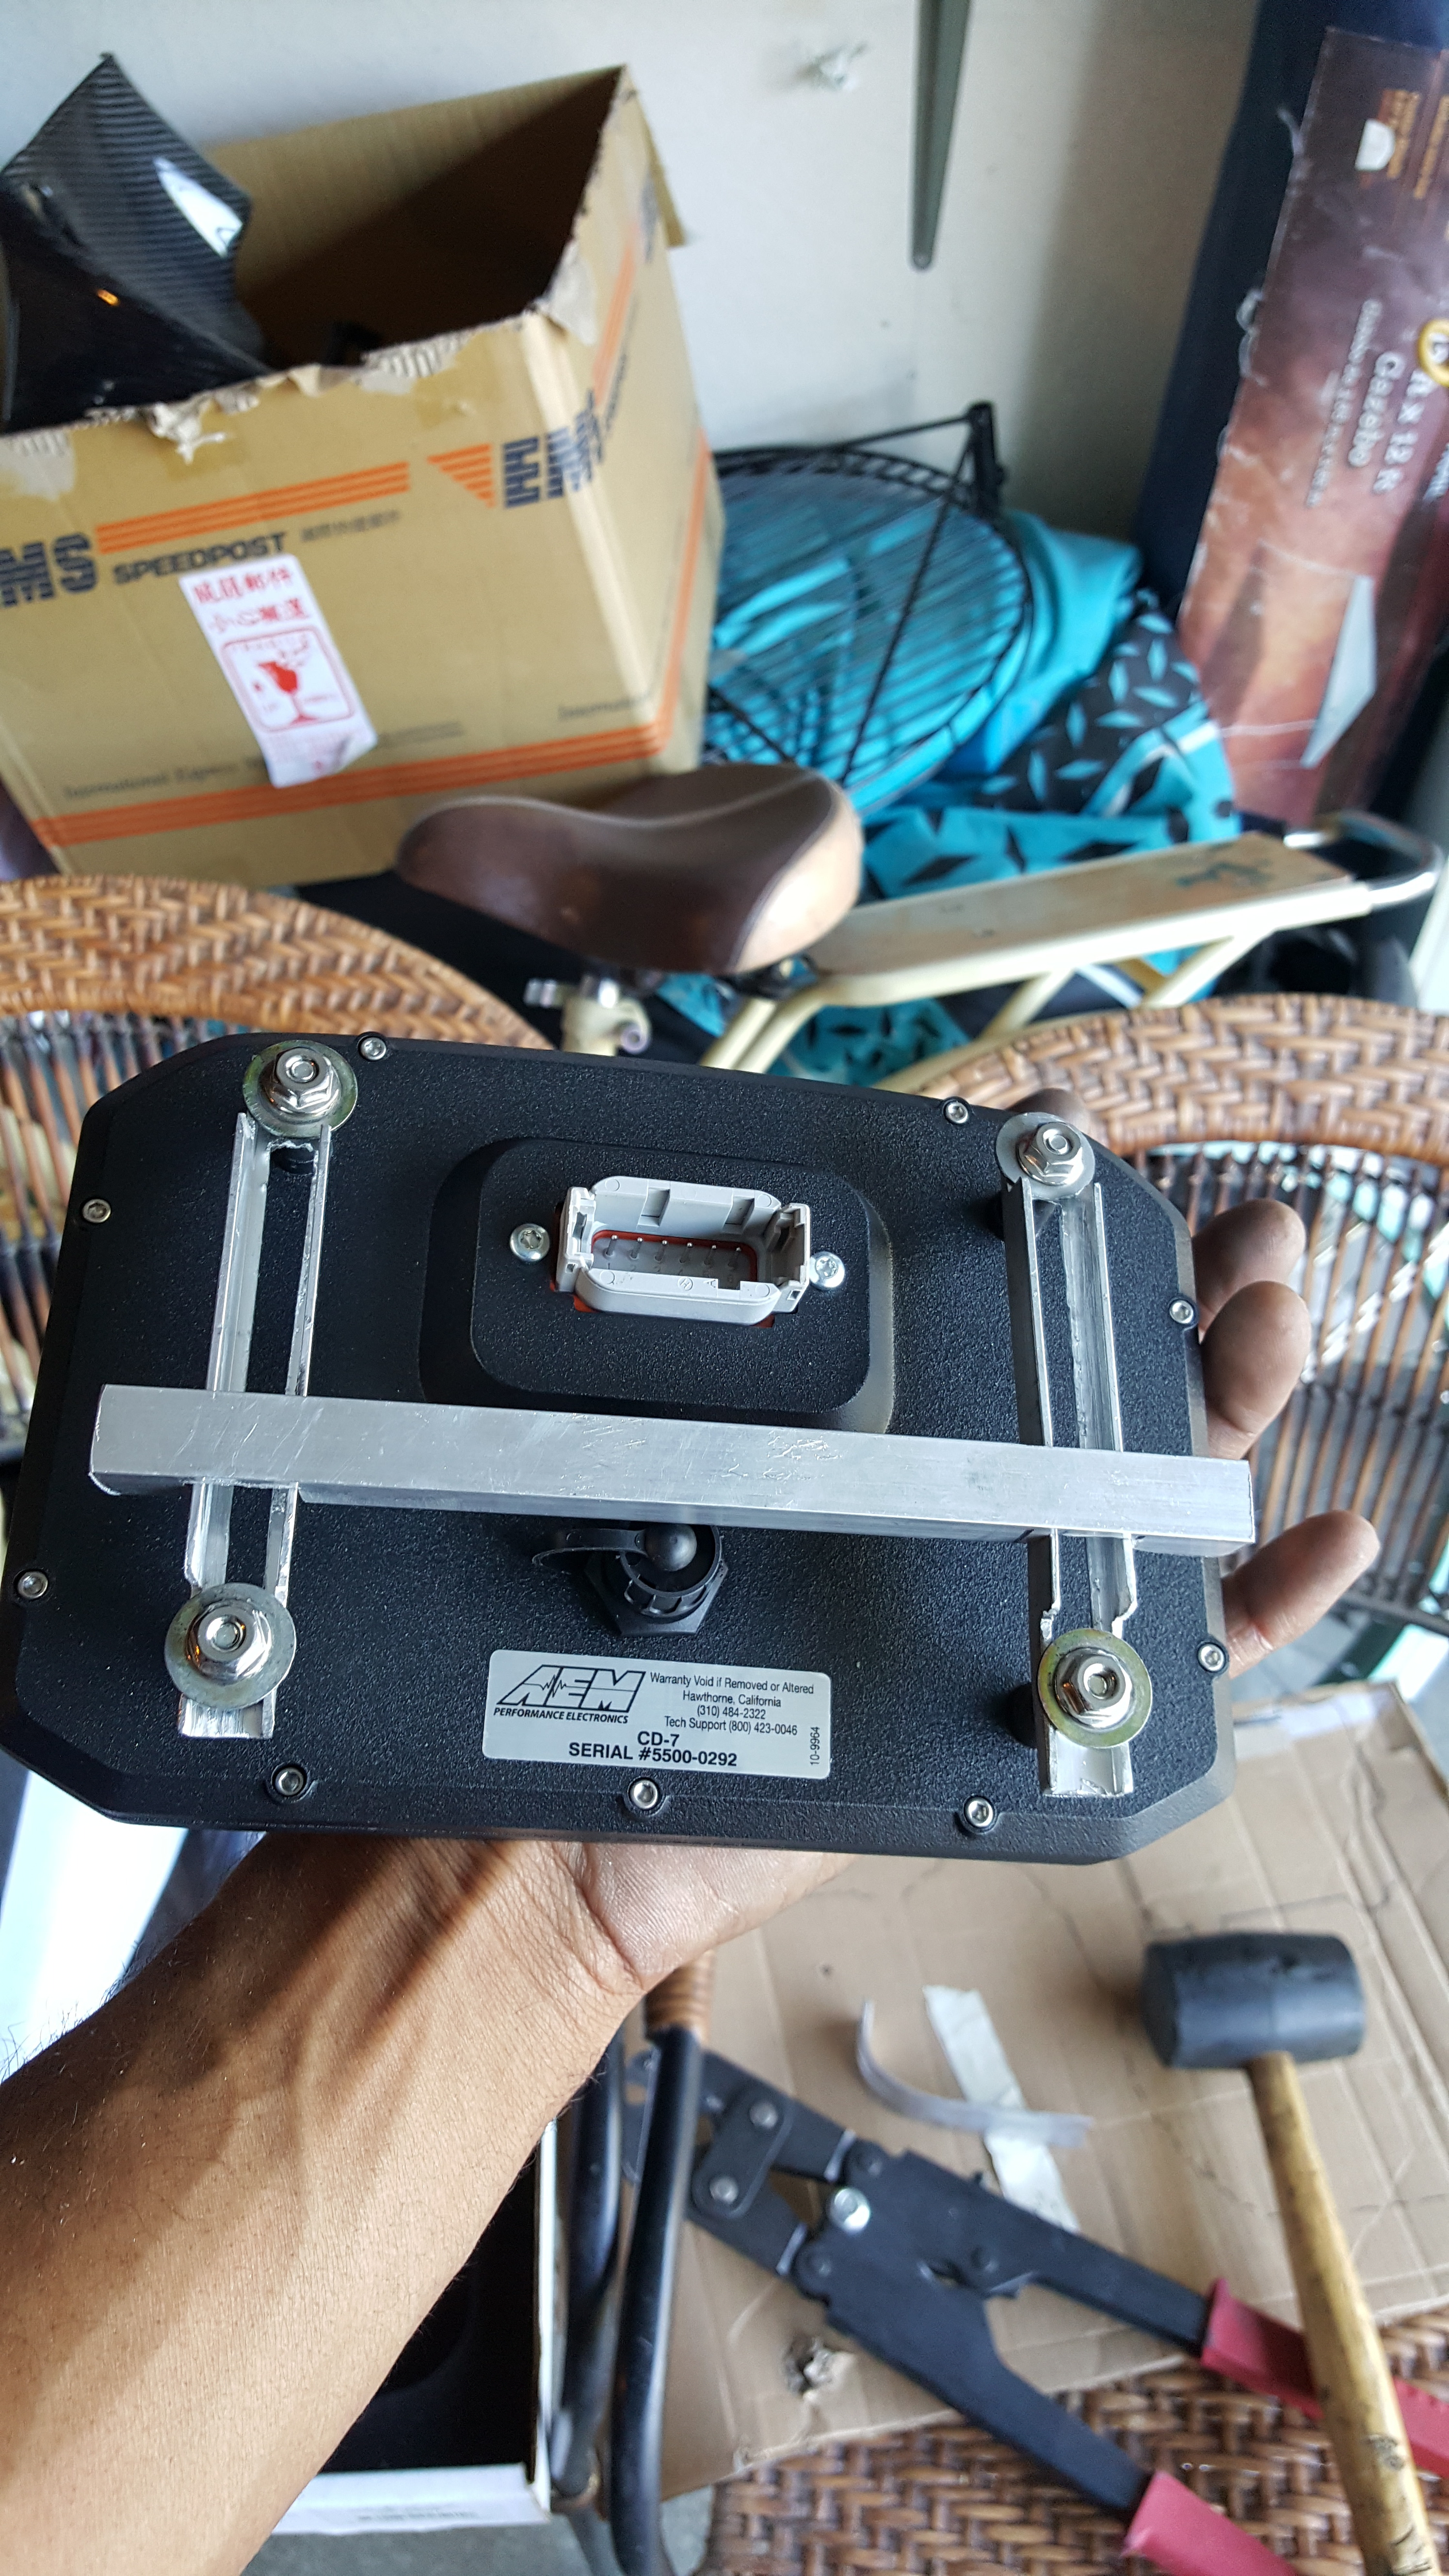
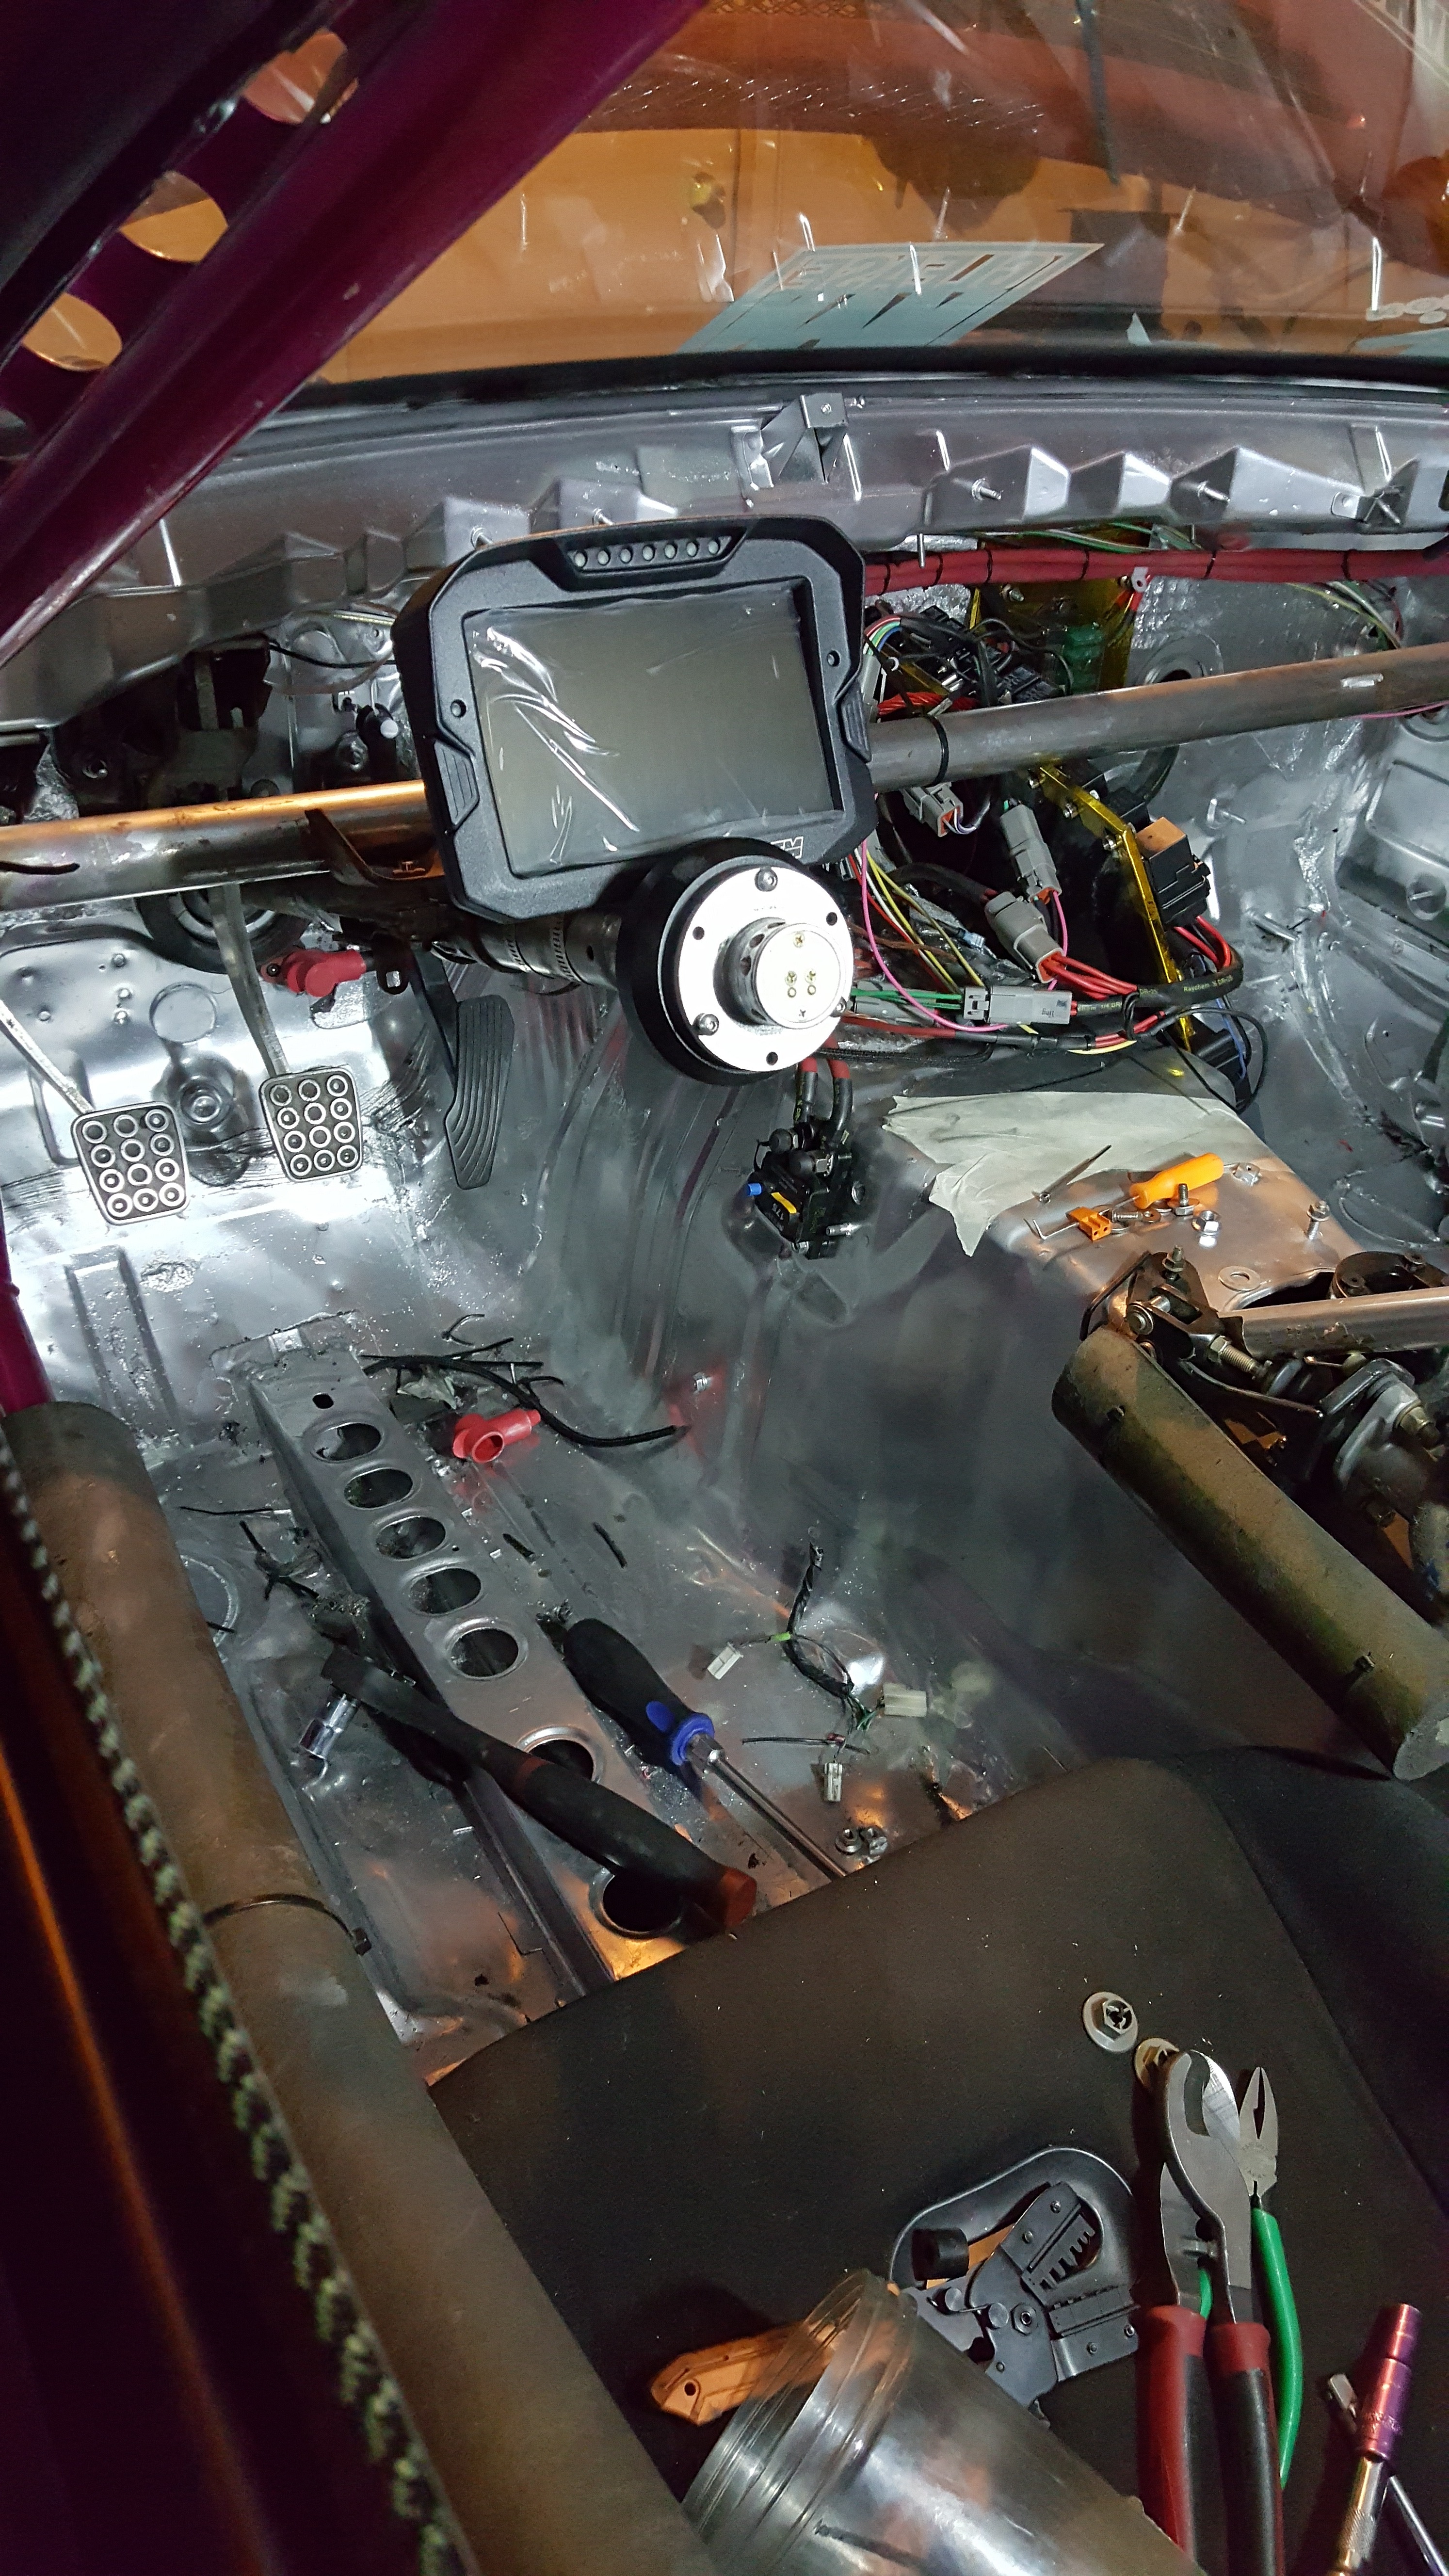
General Mock again!!! Not Bad Eh?!?! Getting Excited
This is the AEM CD-7 Digital Dash Display!!! Fully configurable! DopeAF!
Needed to make a mount…so I had to Garage style it… haha
Sliders!!
General Mock again!!! Not Bad Eh?!?! Getting Excited
Continued Update: Chassis Re-wire Part 2, "Its all in the details"
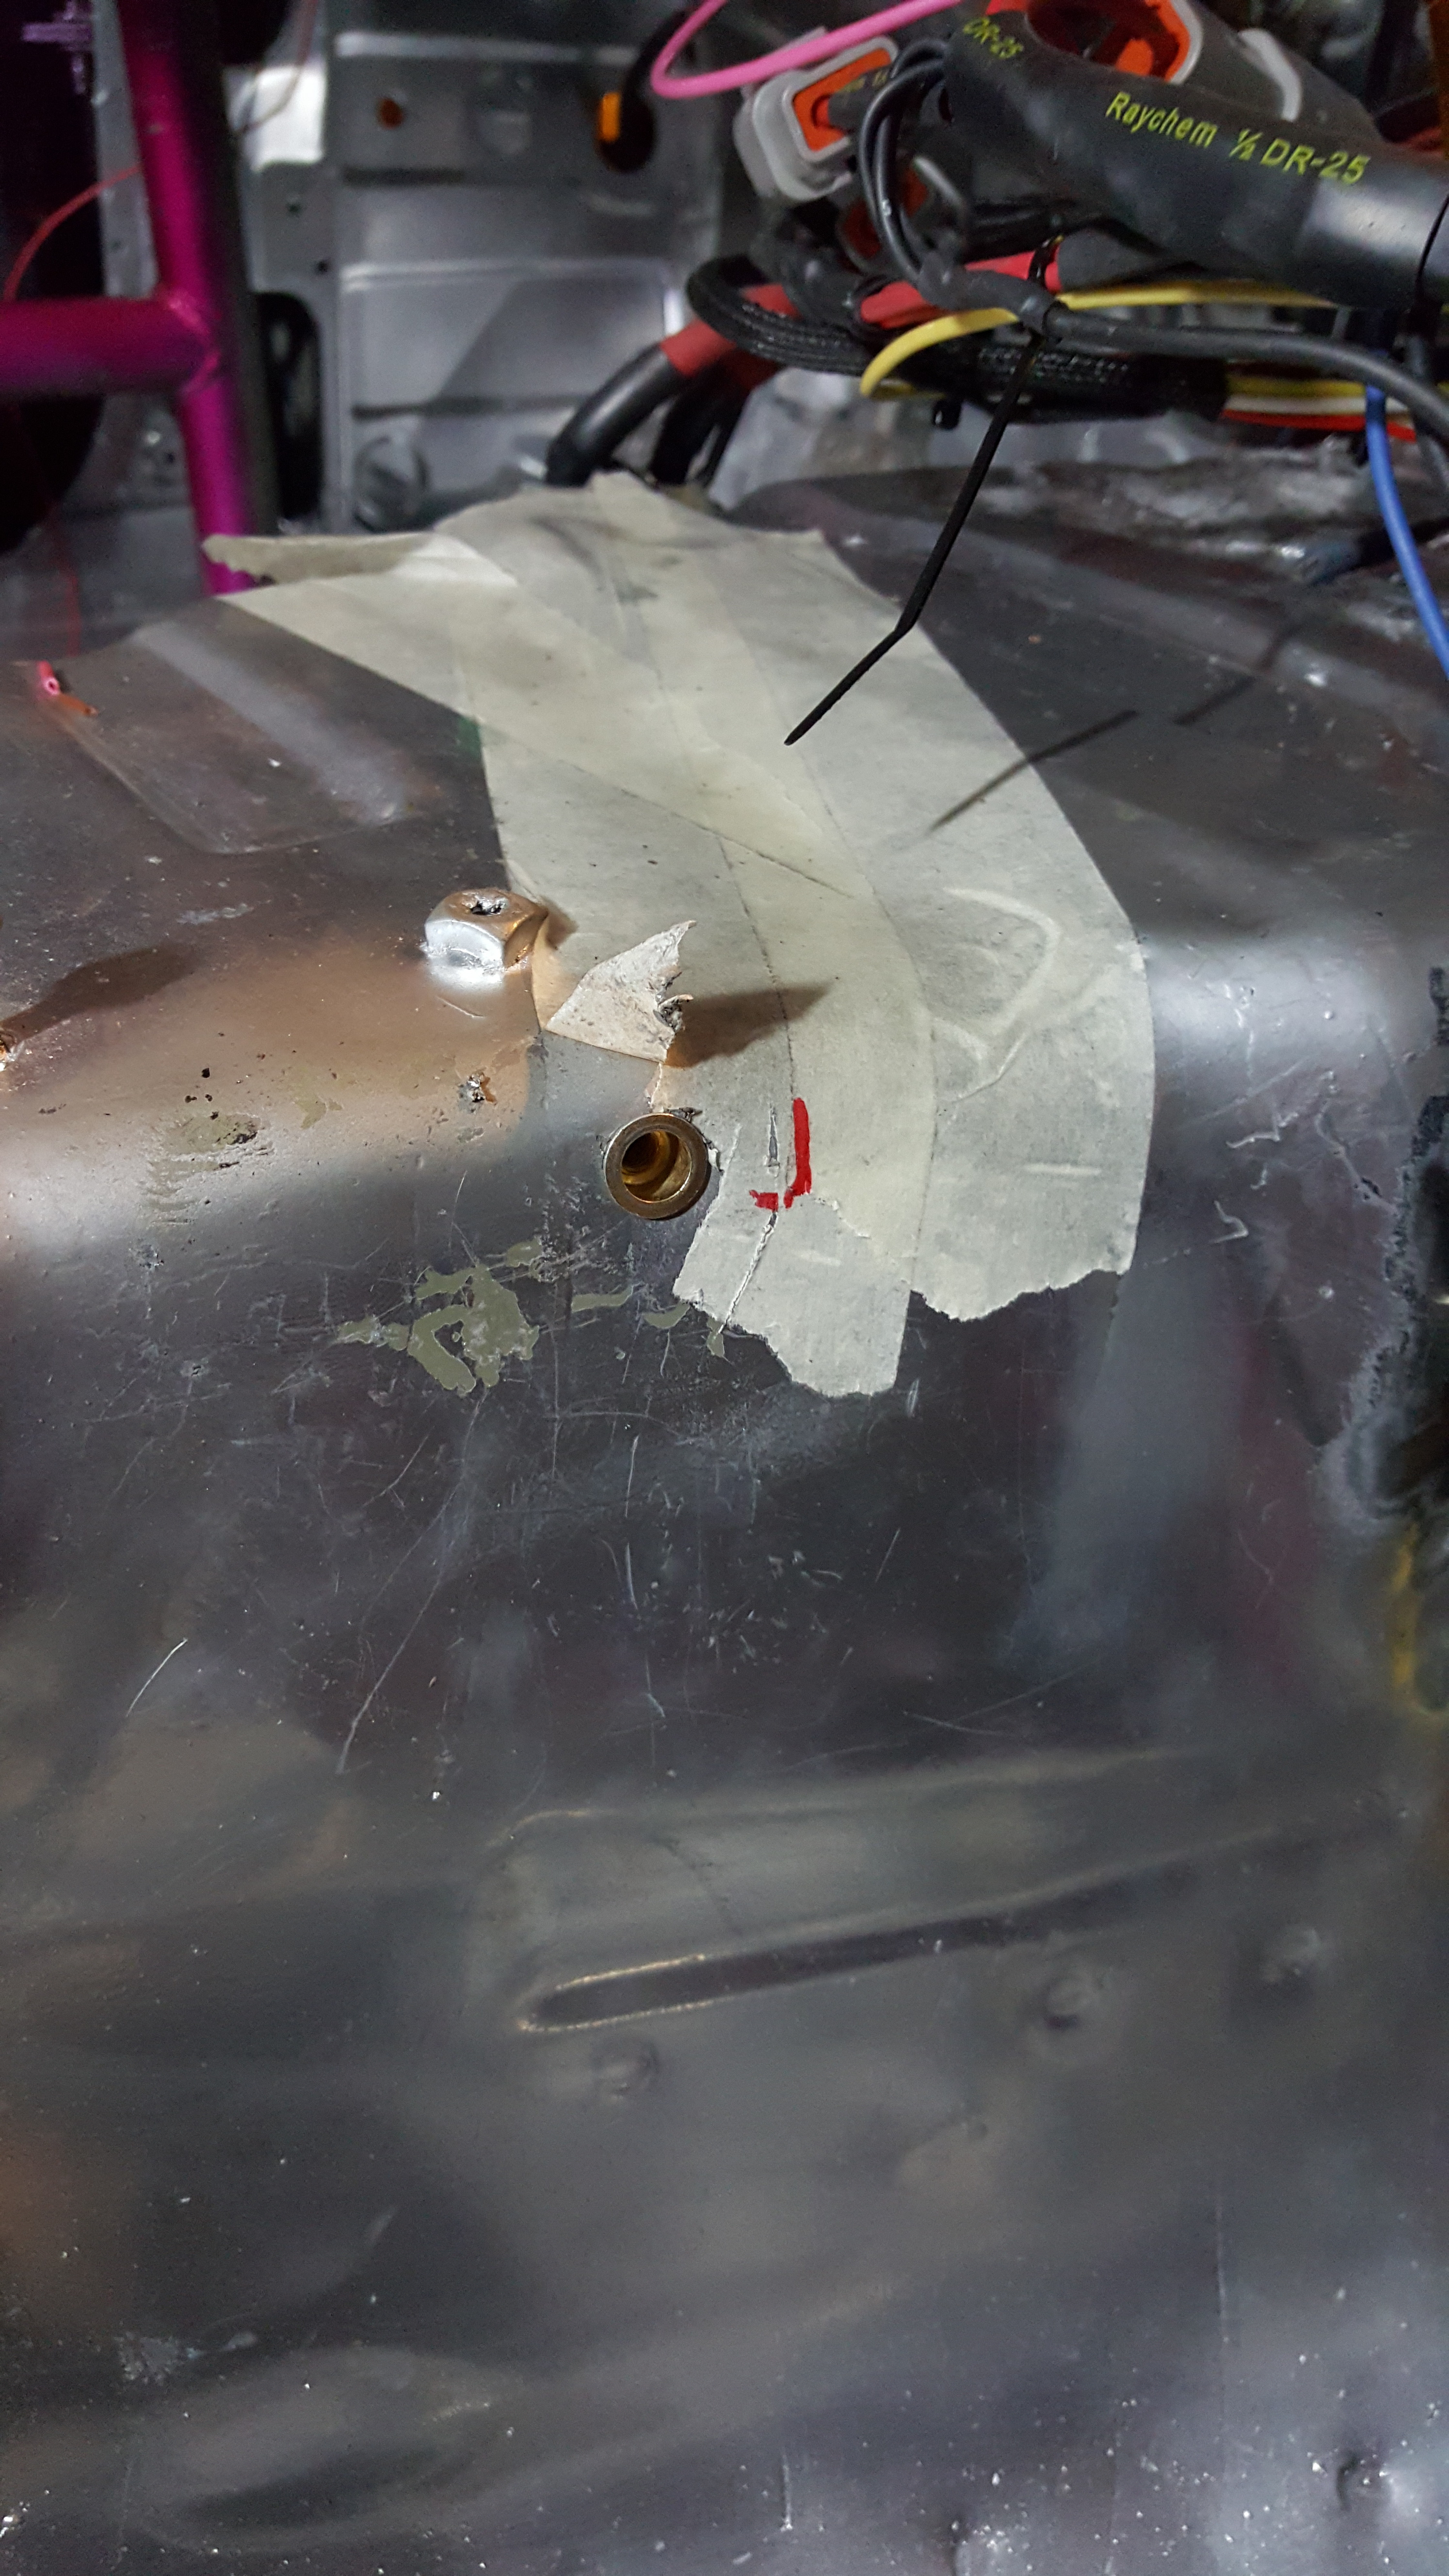
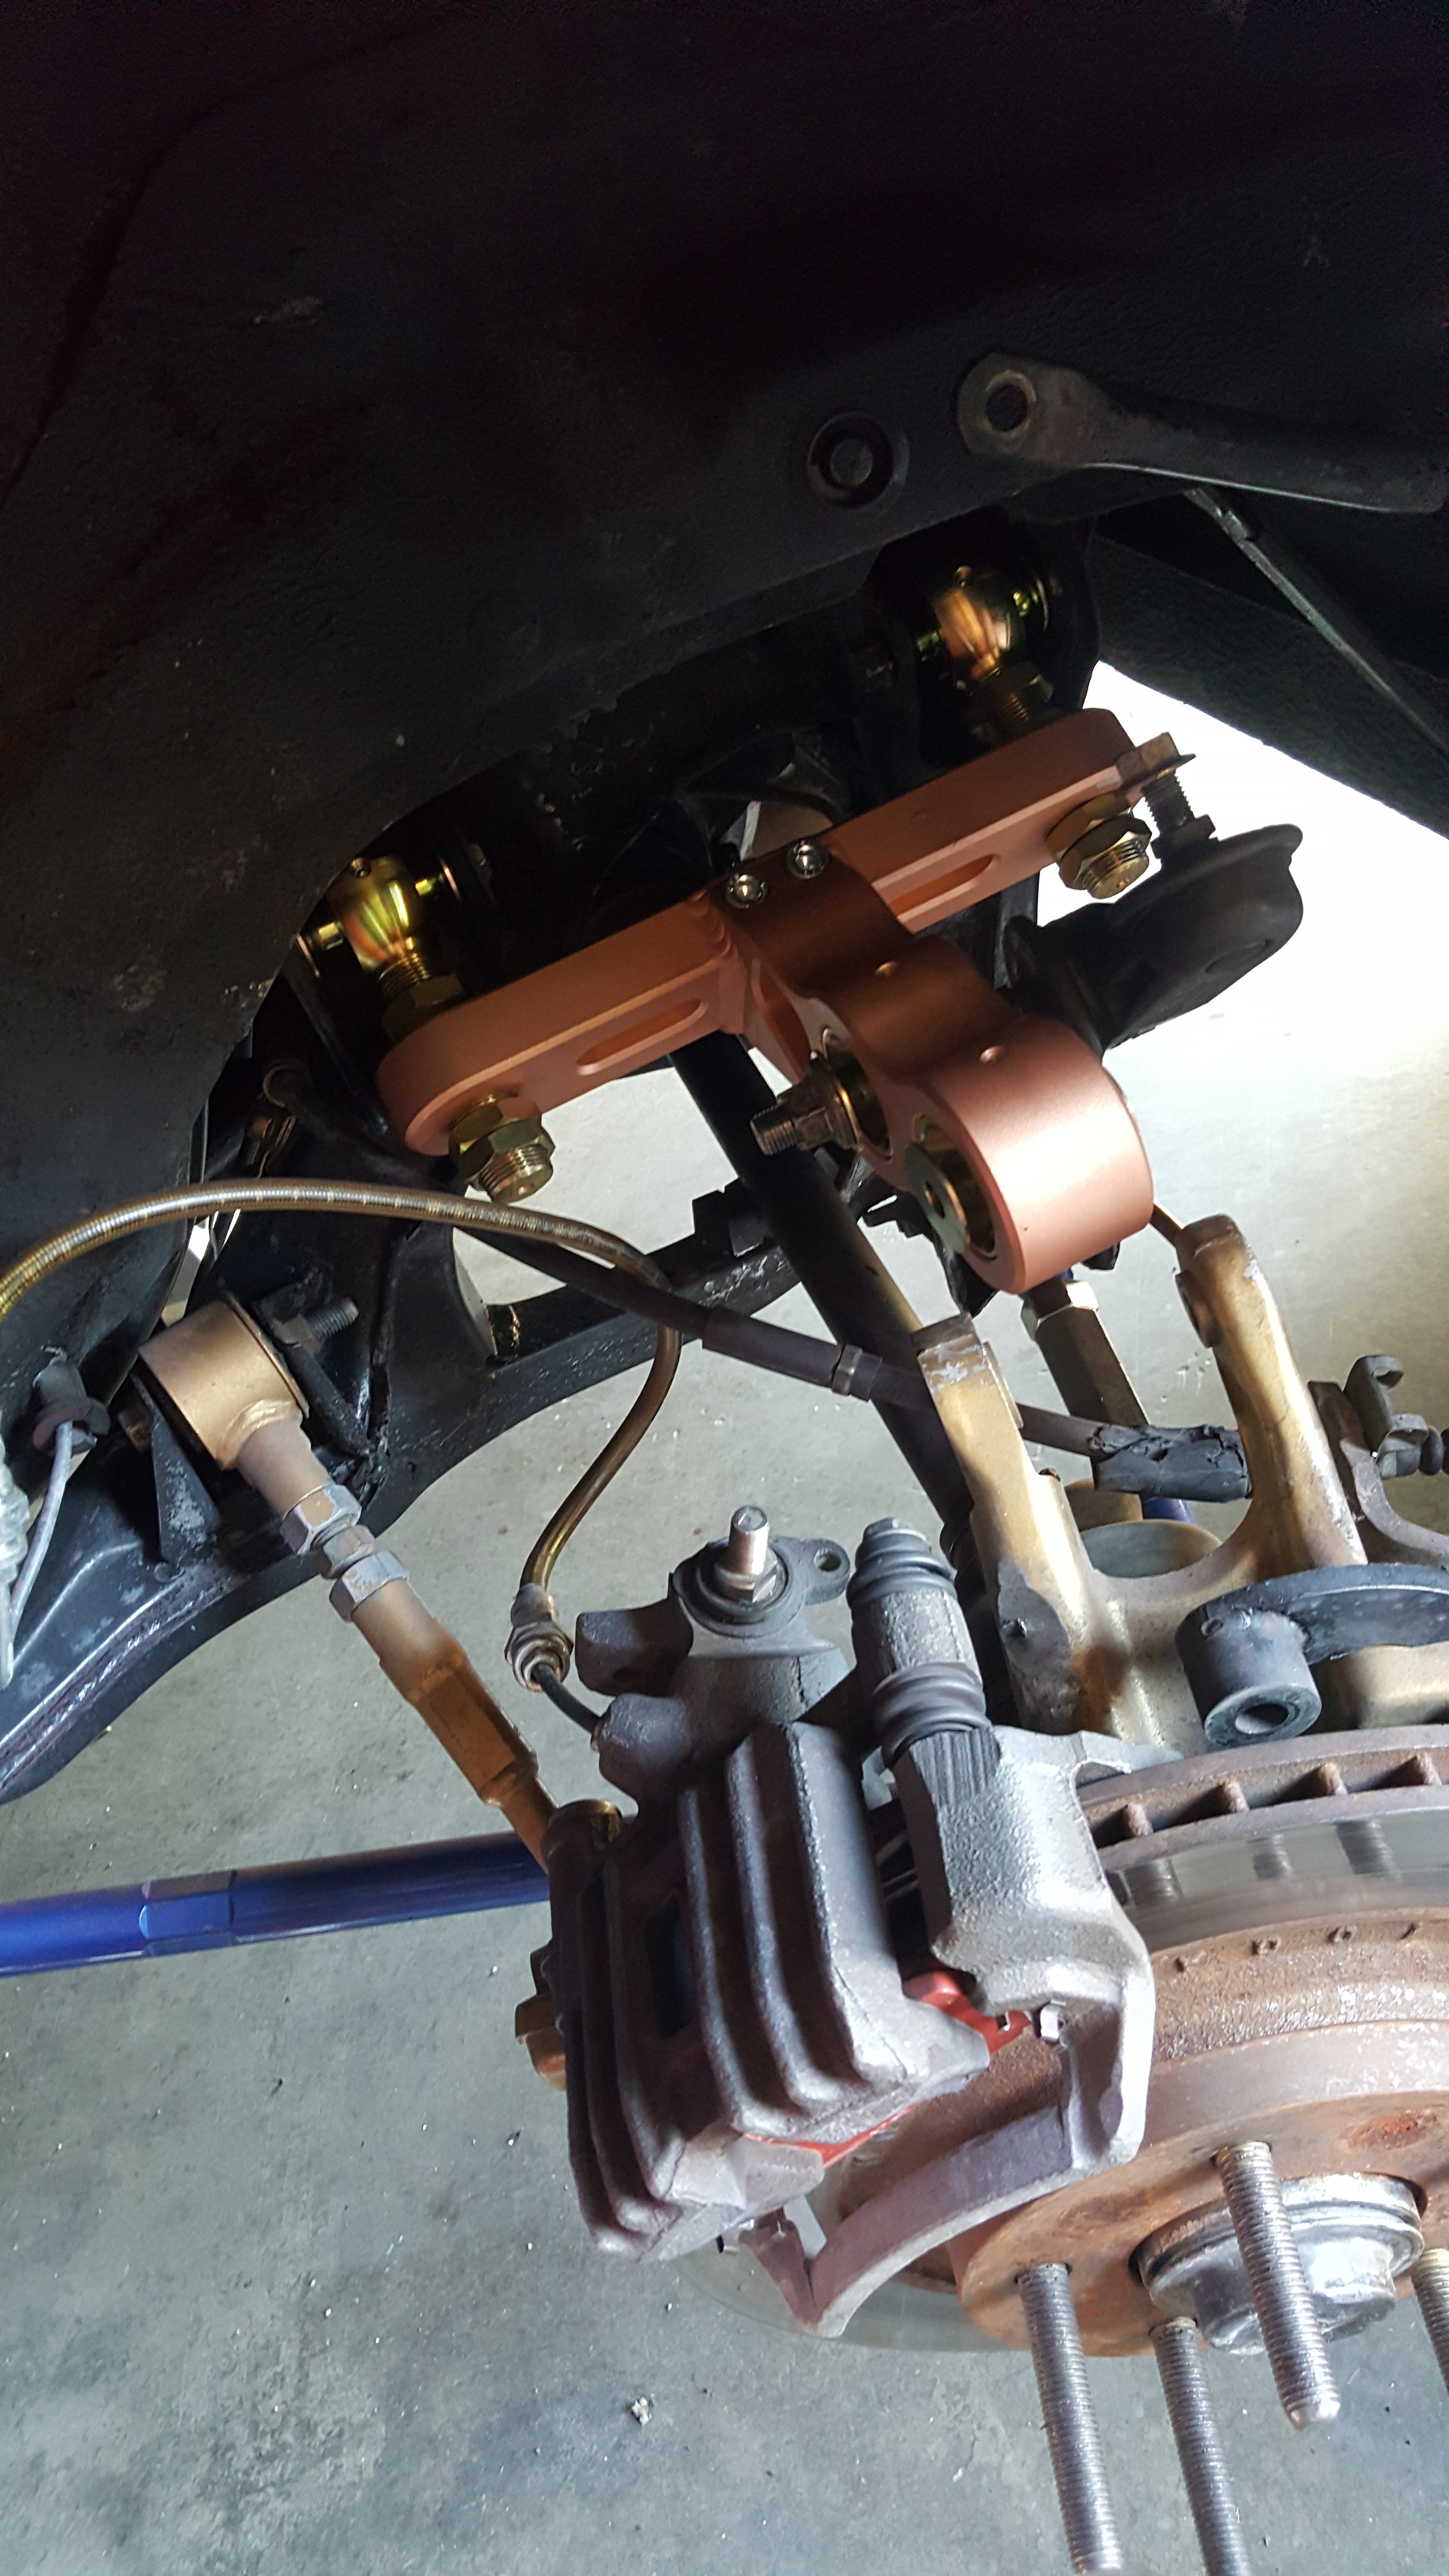
Also..a huge part of development is trial and error. To develop something that works for both street and track…Partshop Max and myself have been through the ringer working to make sure this suspension set up comes out excellent for all applications! Track tested!!! Street driven!!! To make sure you guys don’t do this:
Hitting the lower arm
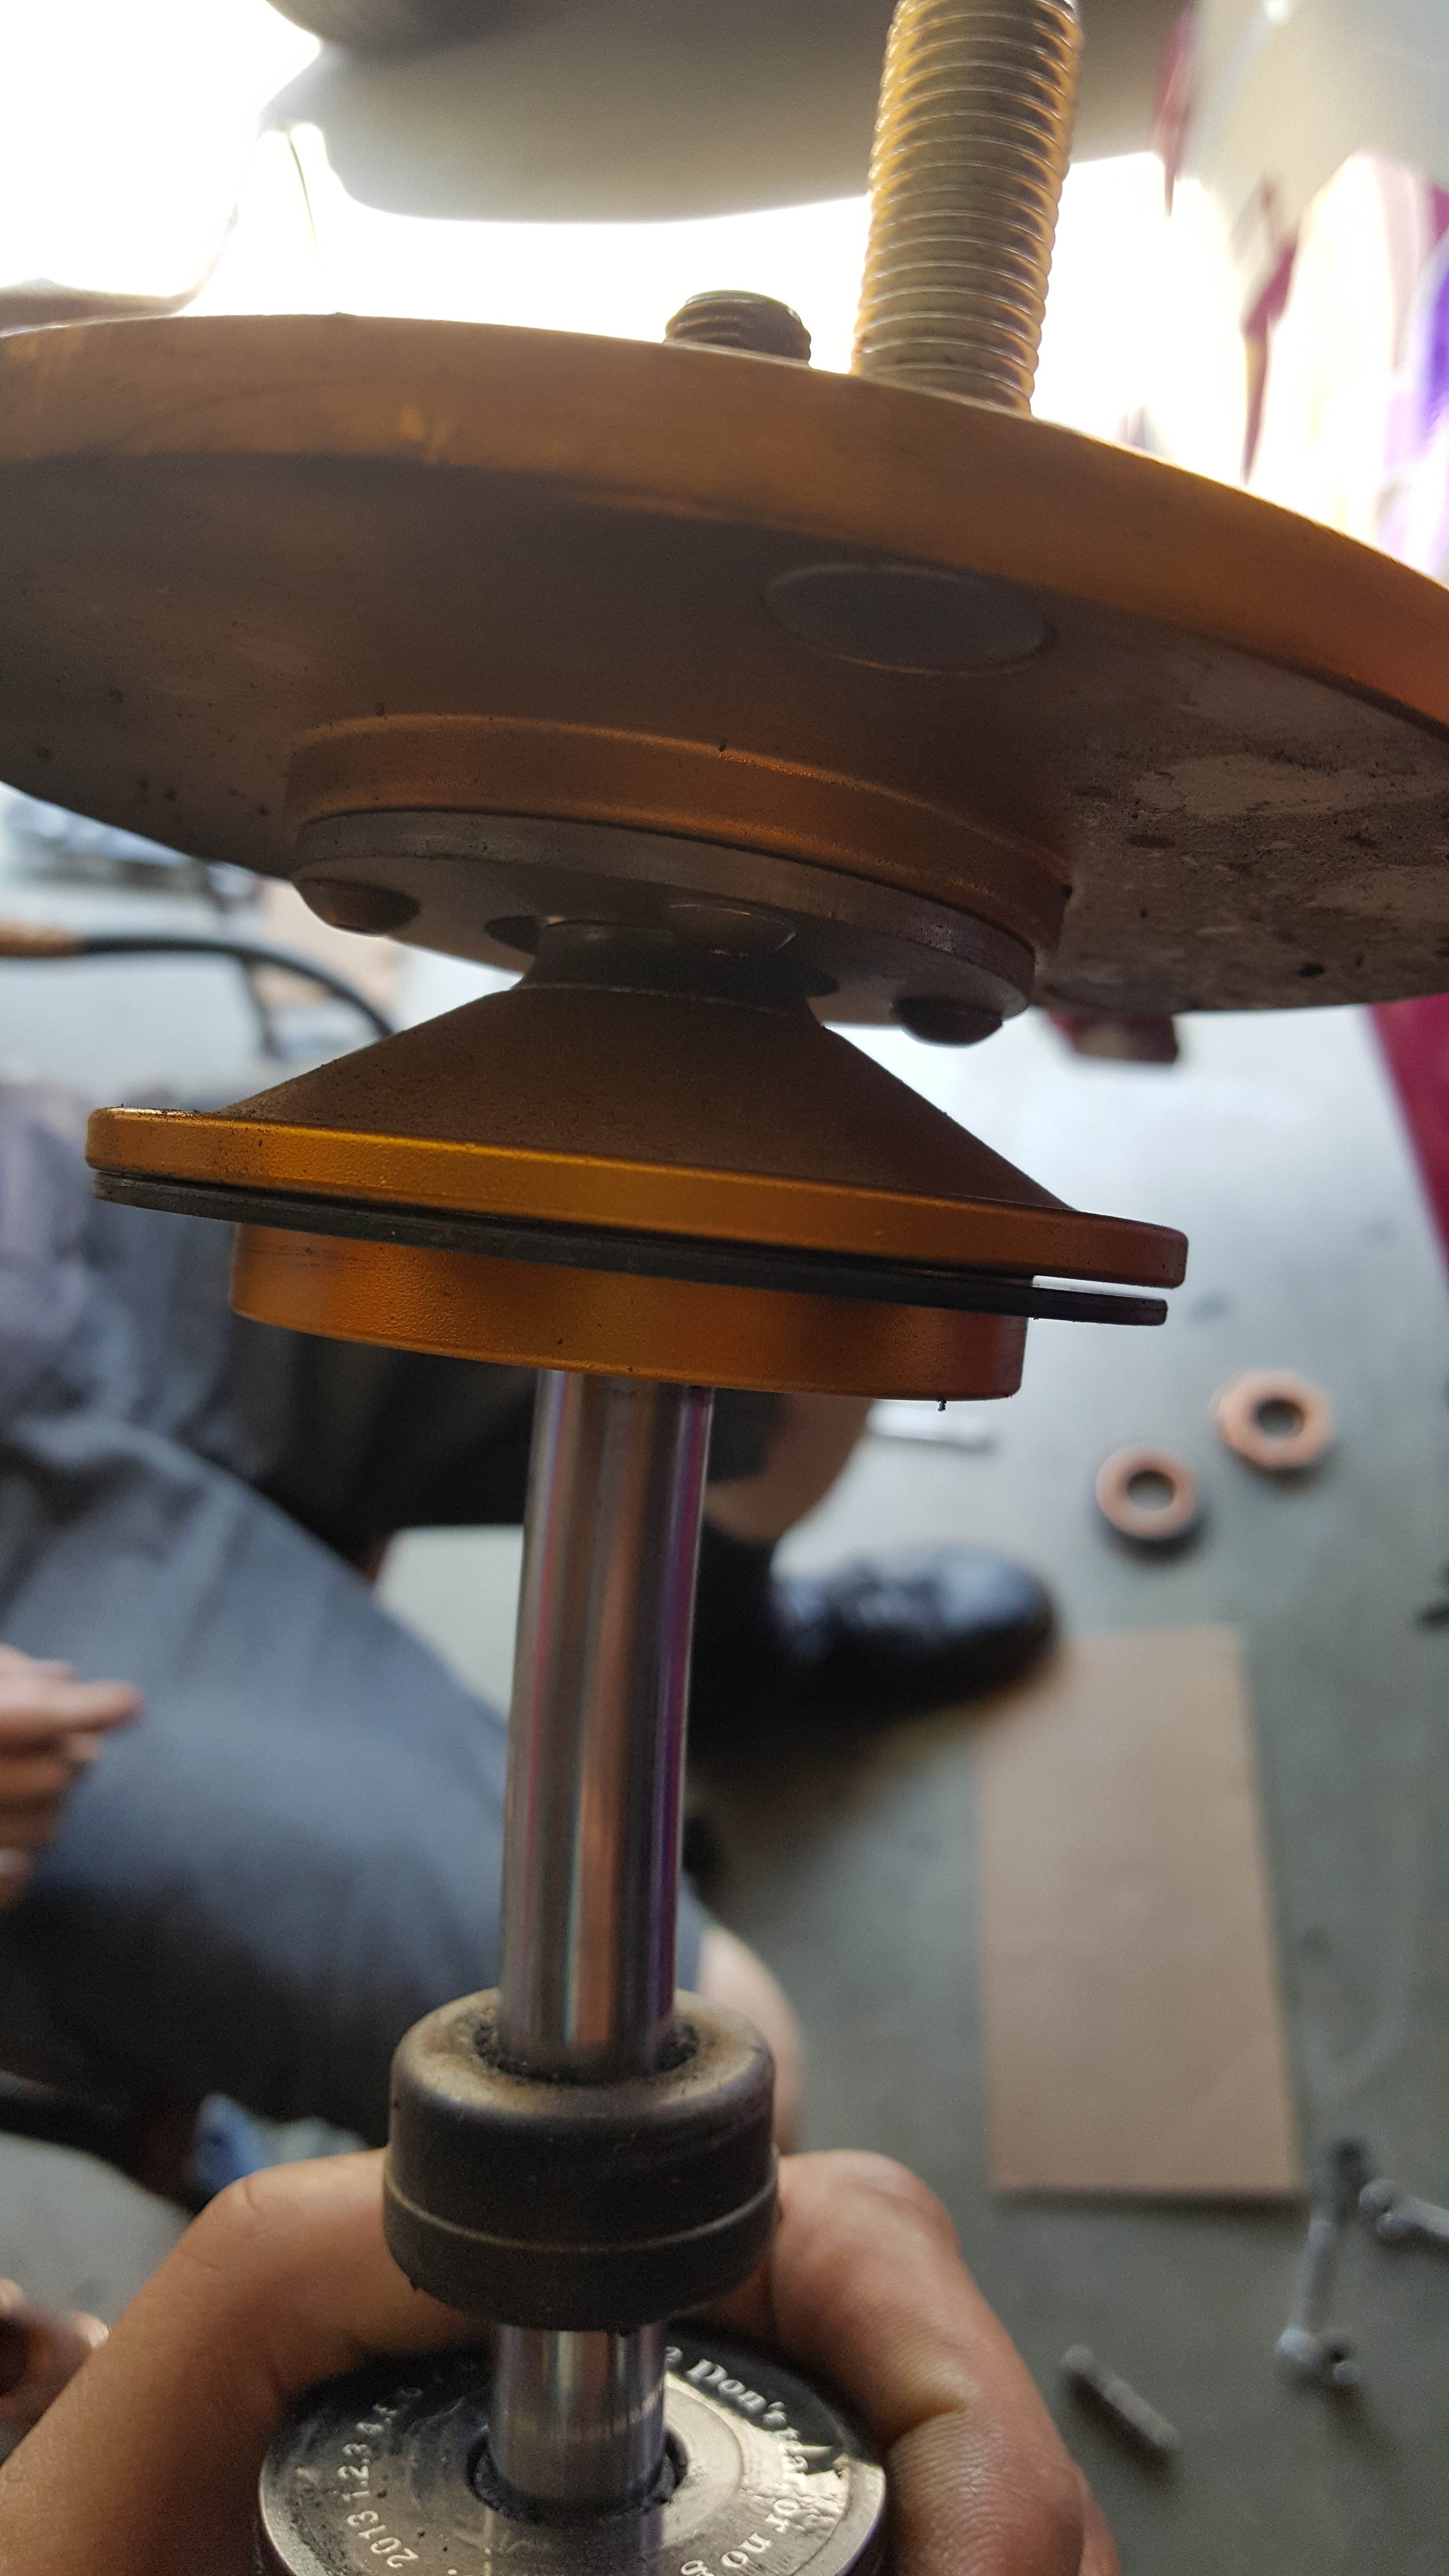
This was why we tested the coilovers on OEM suspension first before swapping to the Parts shop arms. Now we know there are clearance issues with OE application NON Parts shop arms and the coilovers. SO modifications are being made to be able to run both set up’s without clearance issues!
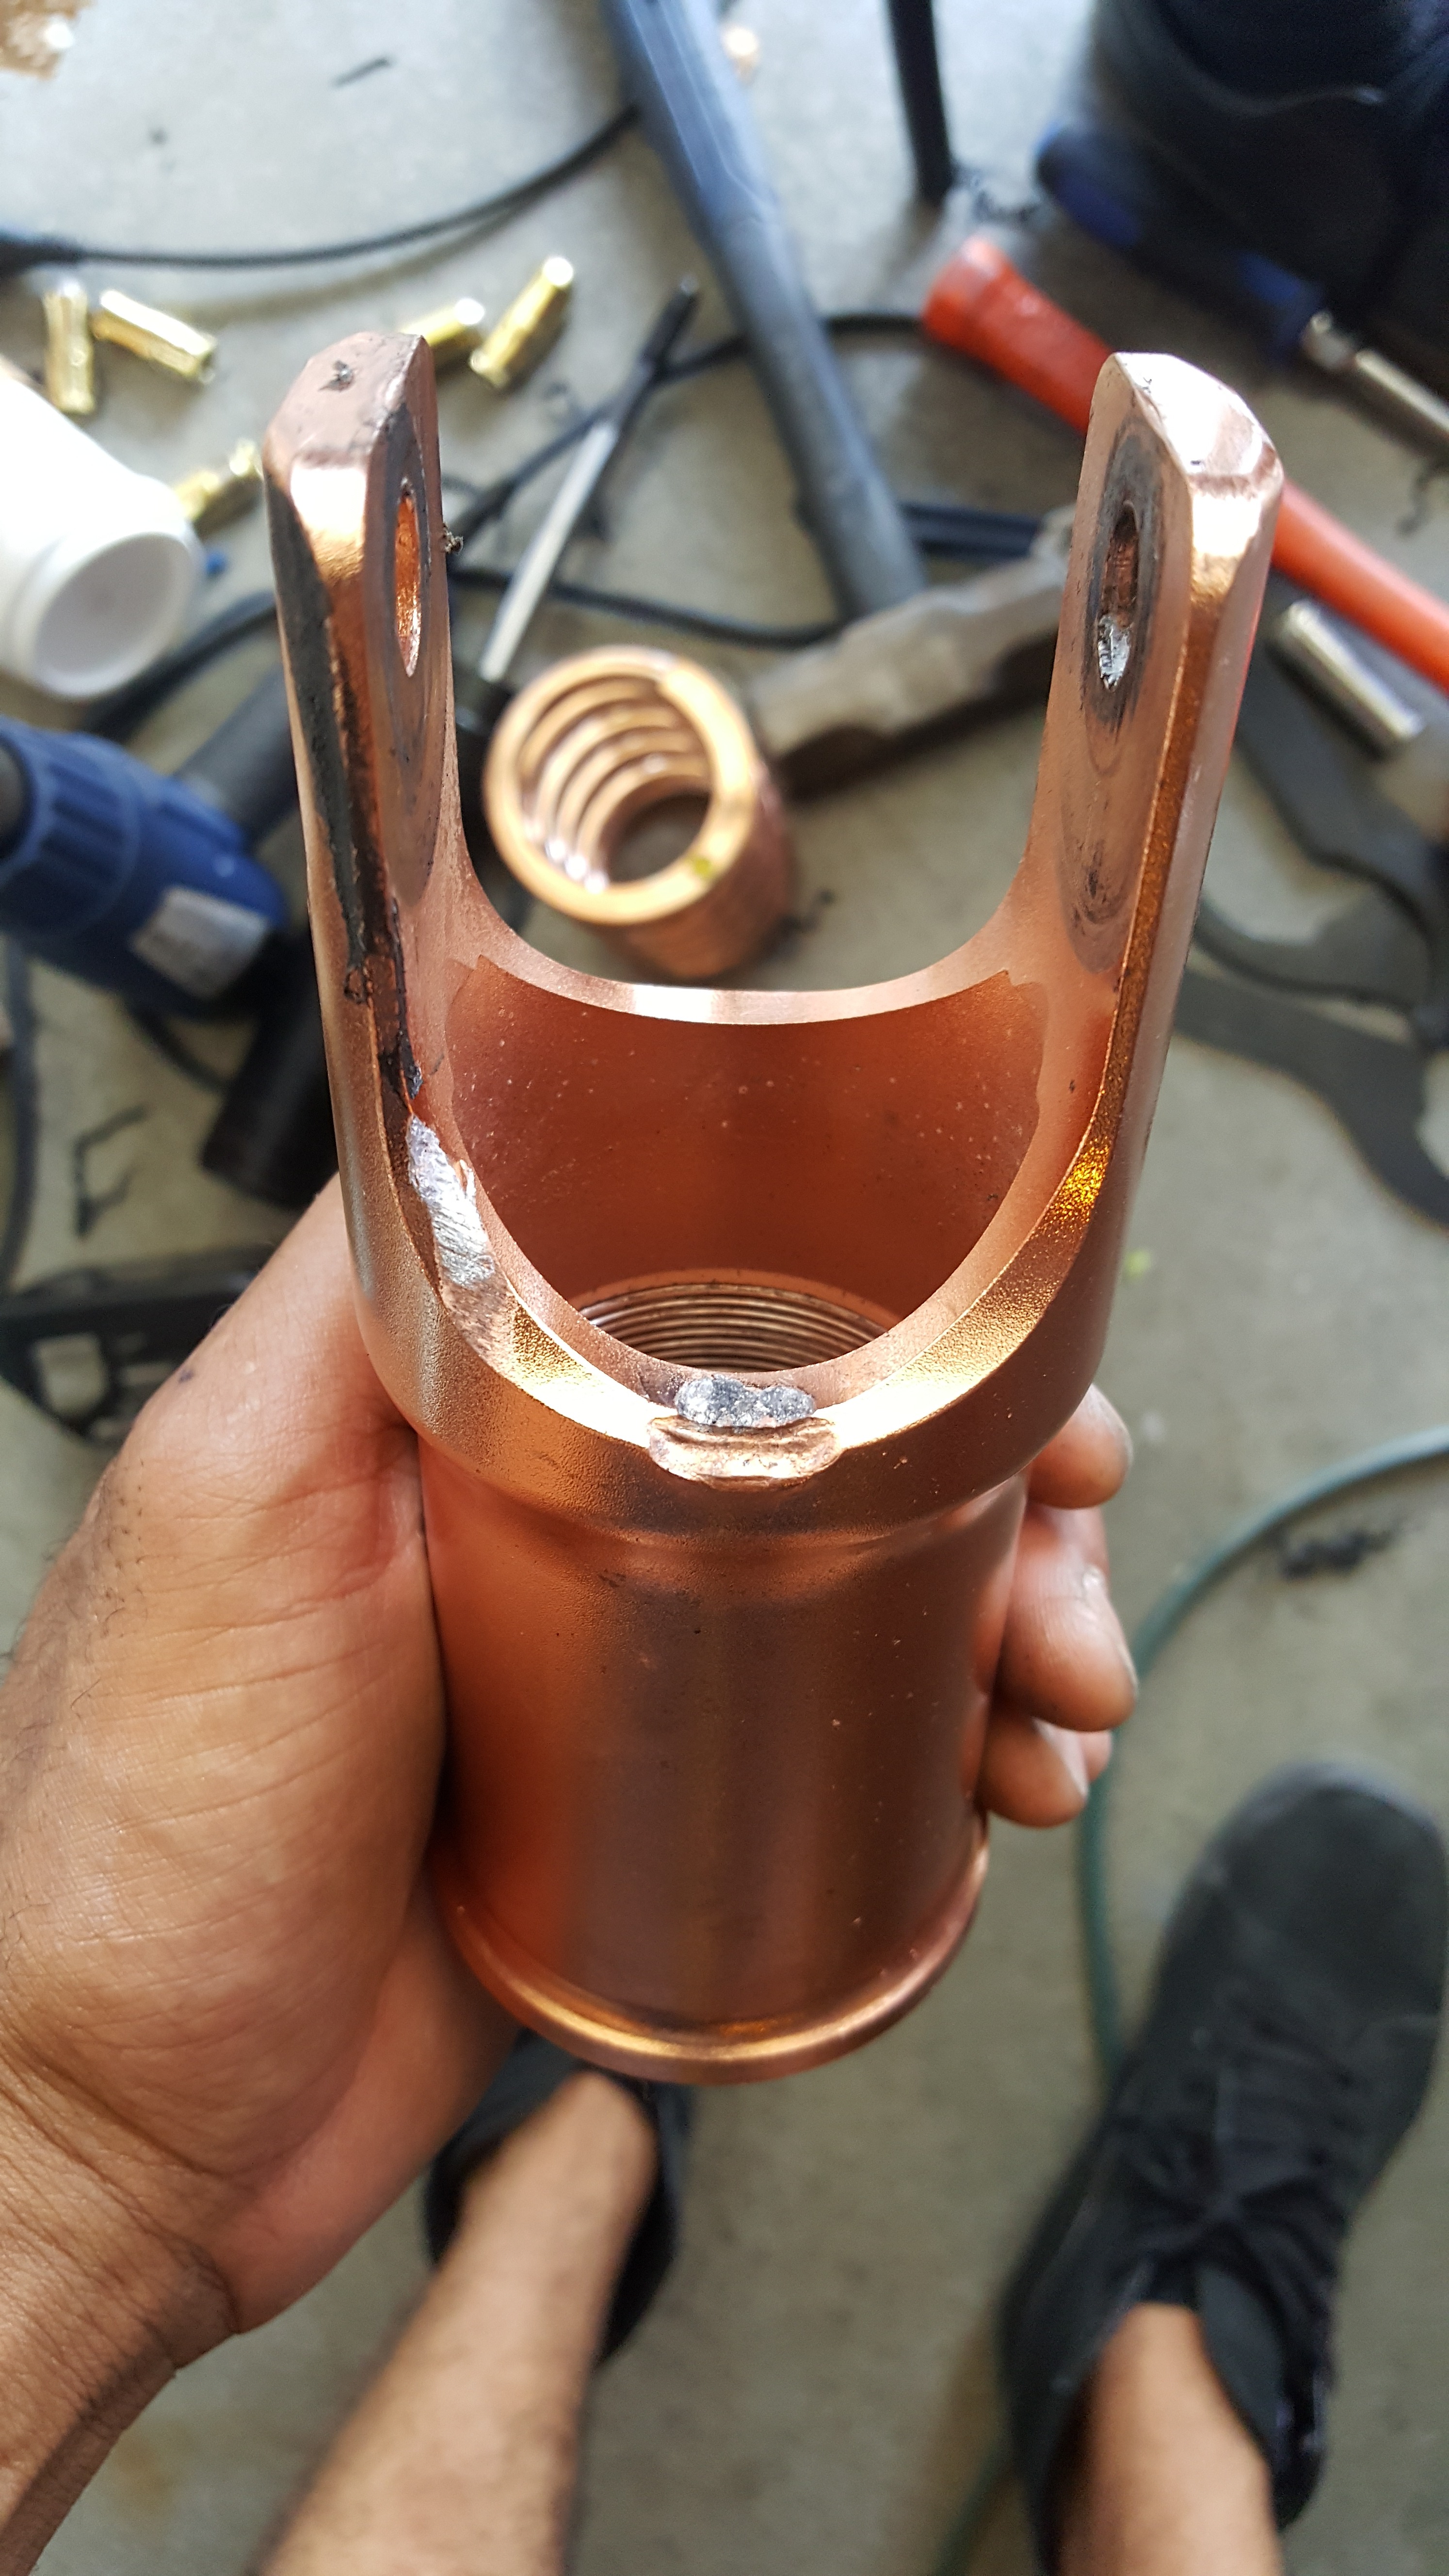
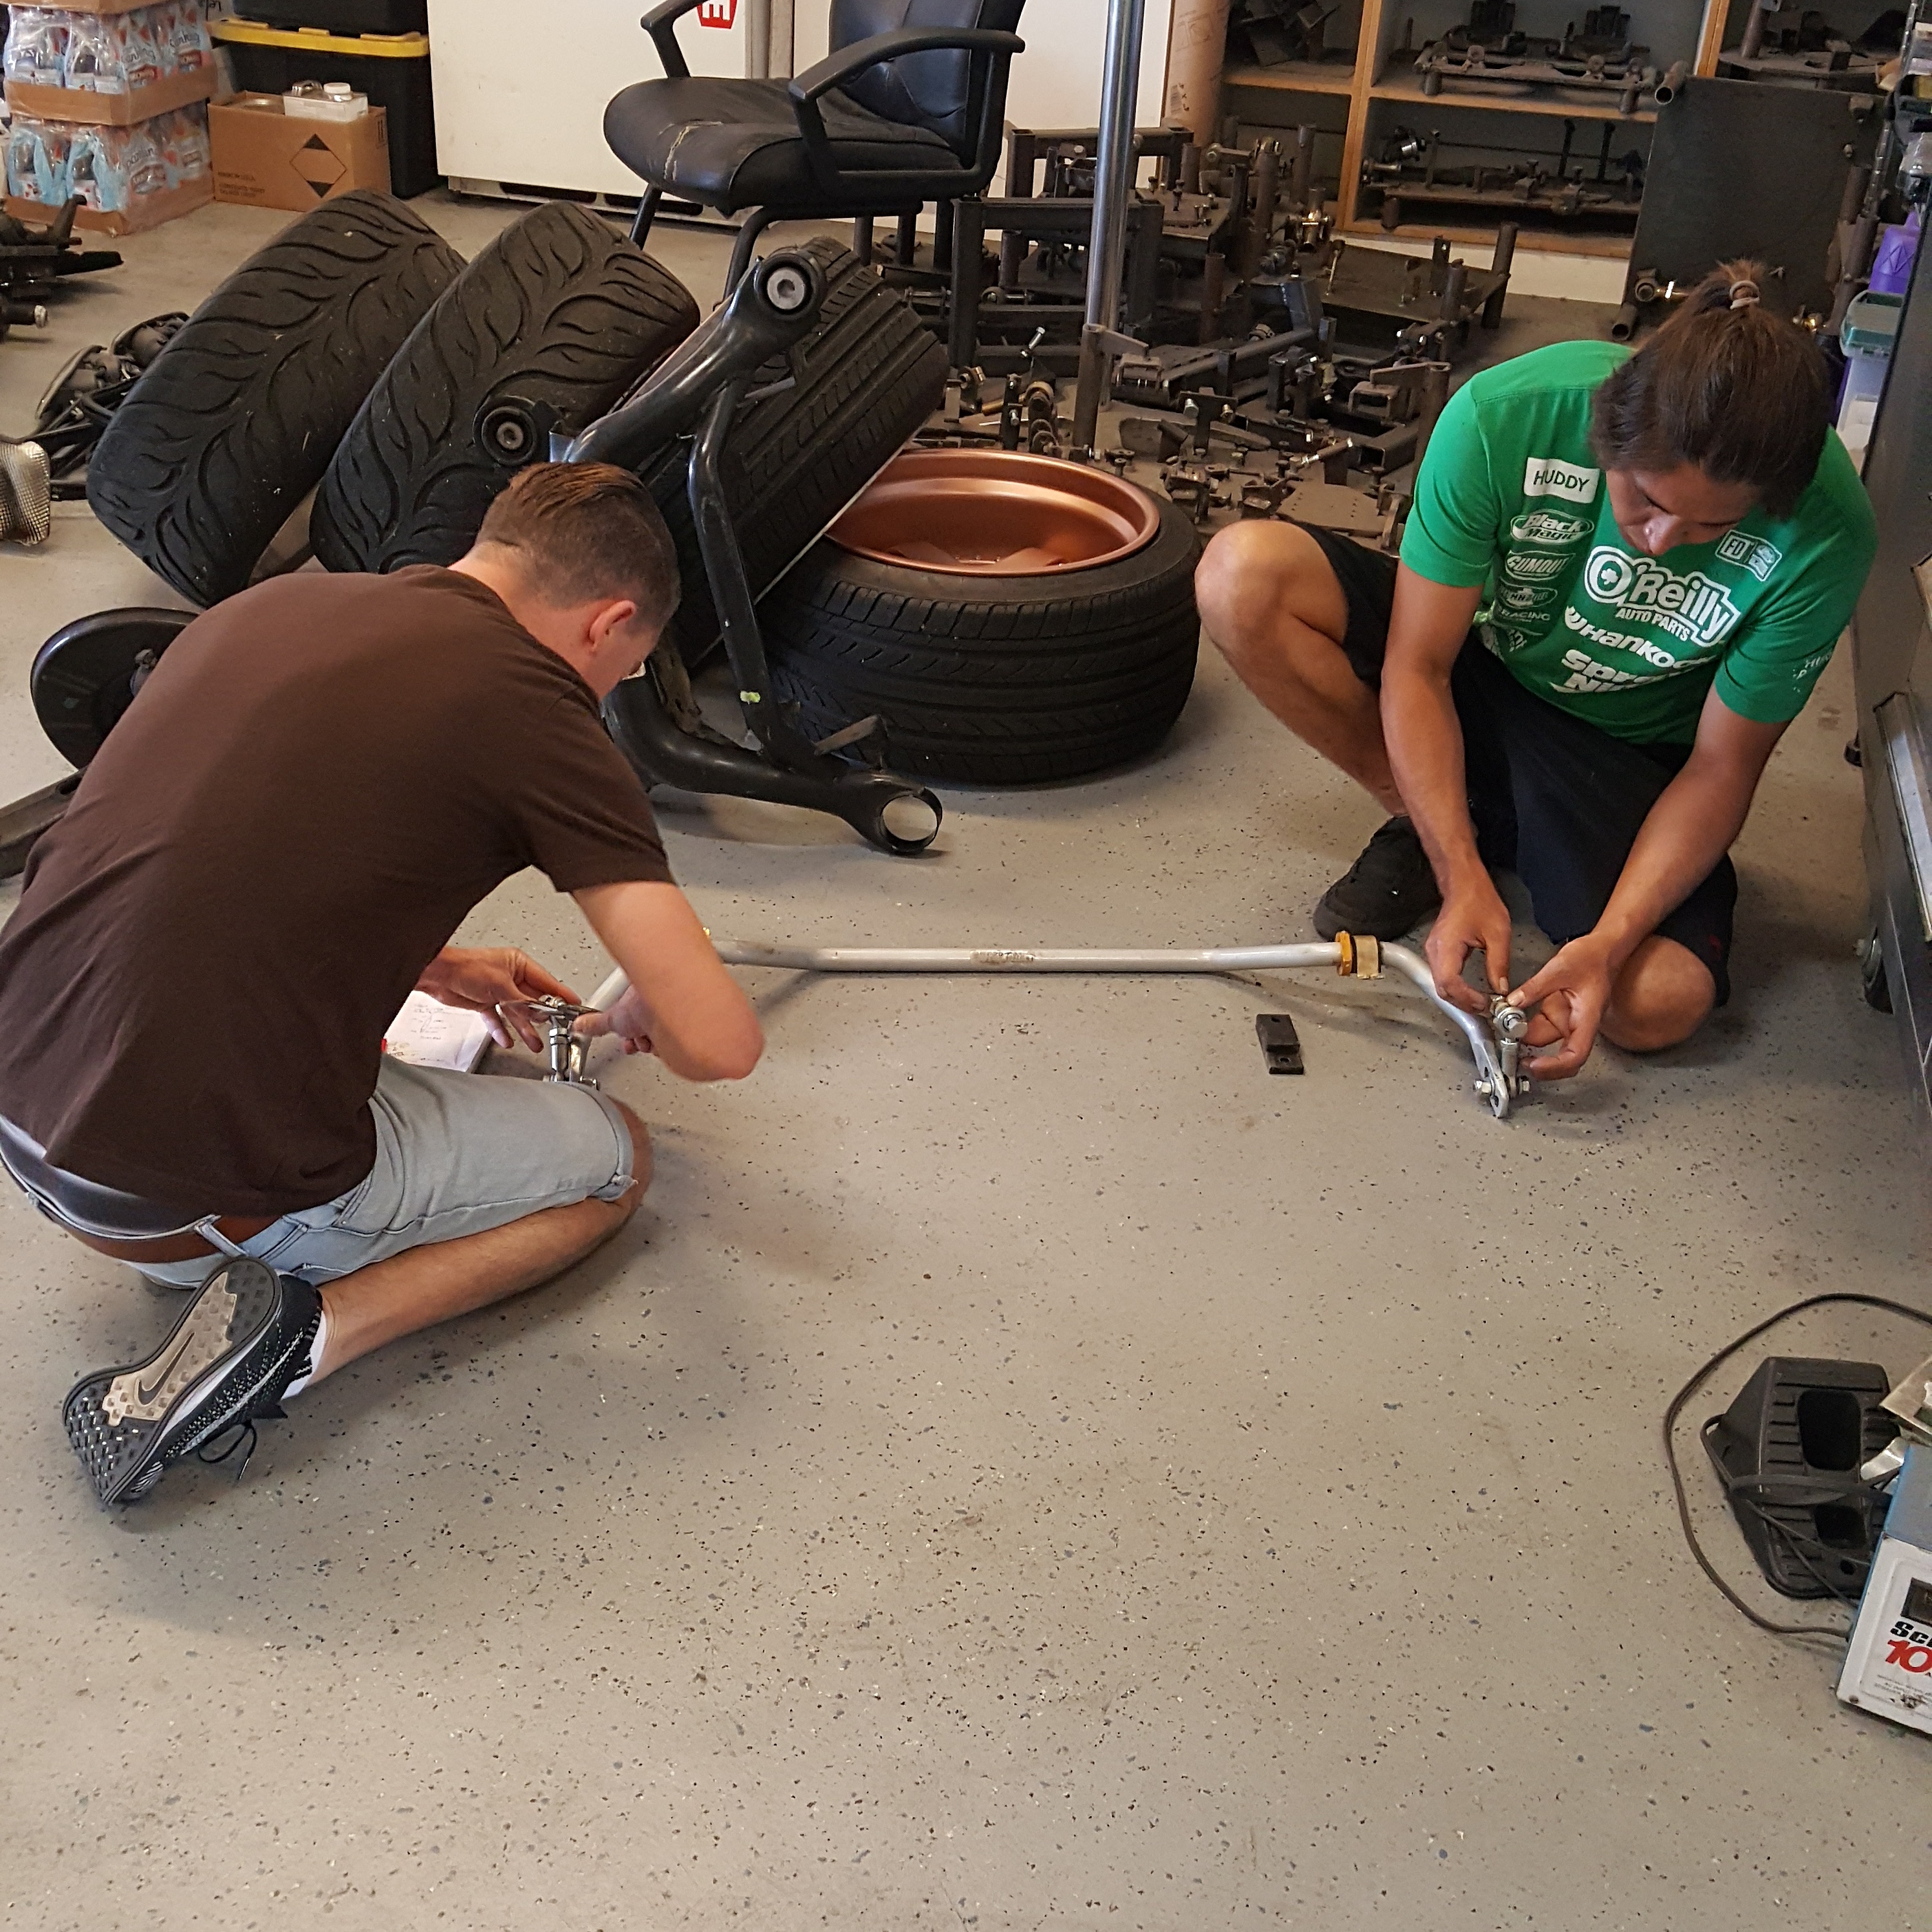
Martin Building a new rear end set!
And Dan and Martin working on the sway bar set up! #Levelup!!
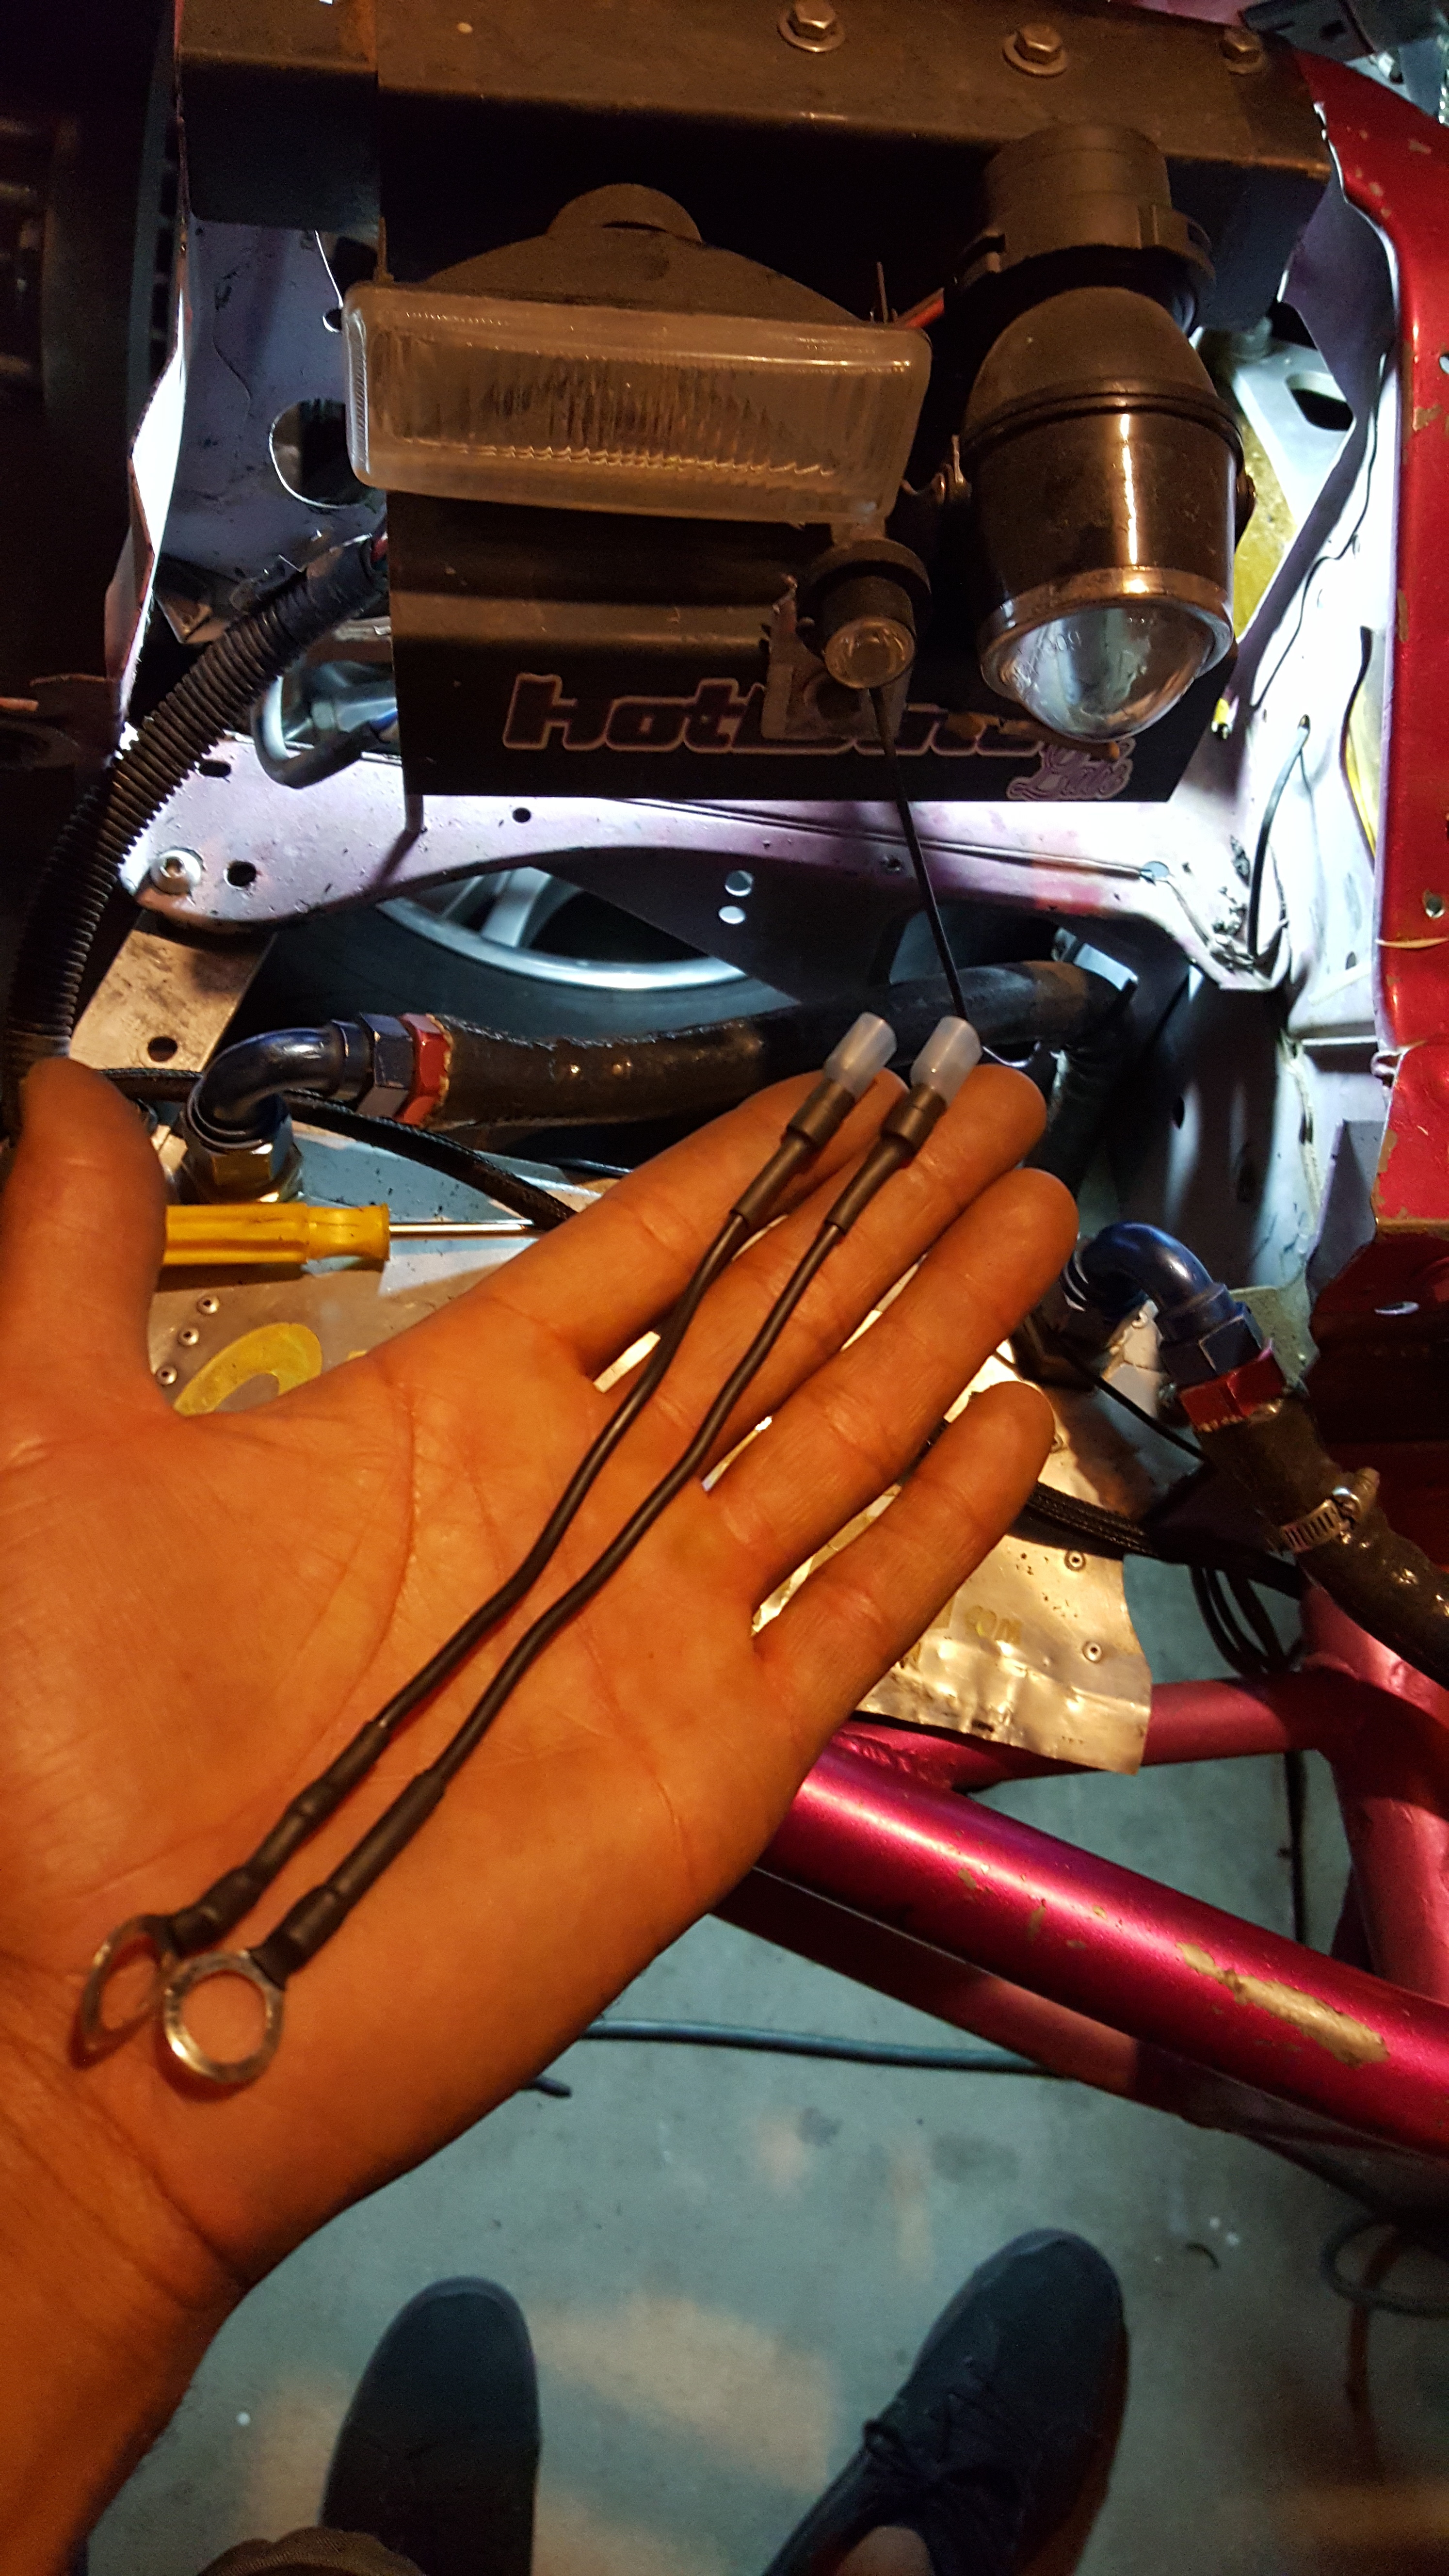
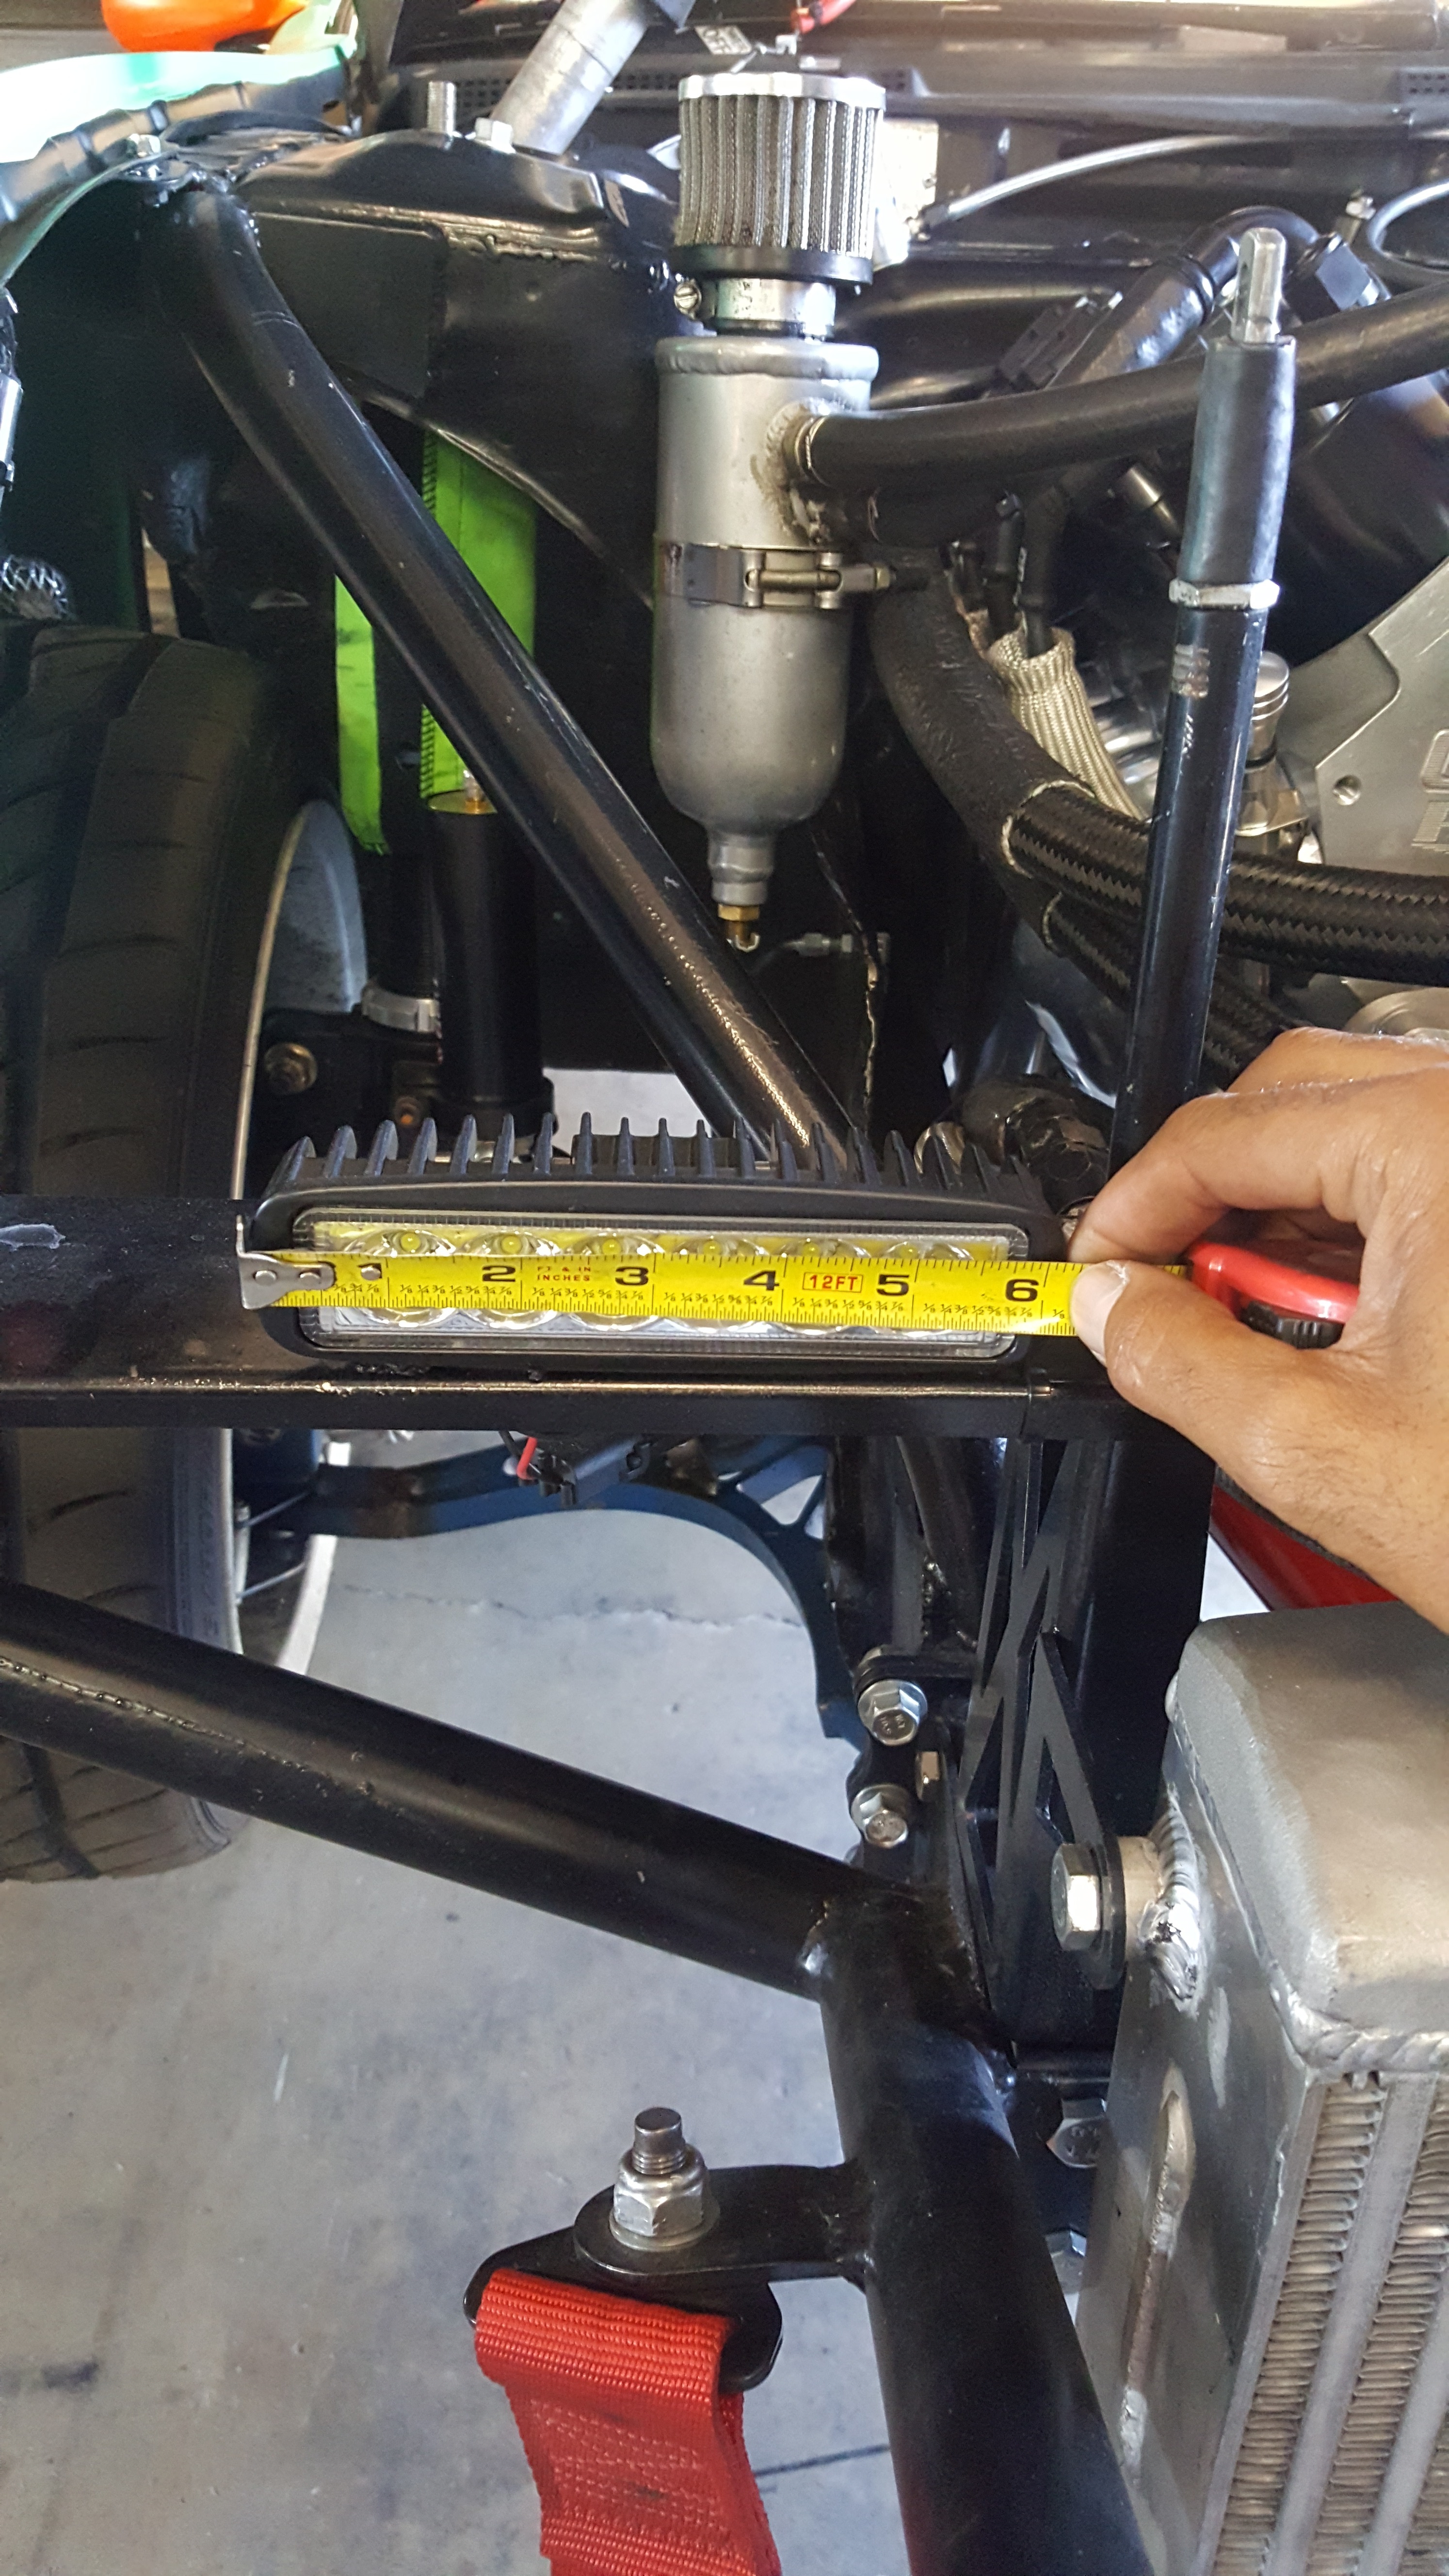
Took some measurements from Odi’s Falken S14 for headlights… I don’t like my beams….
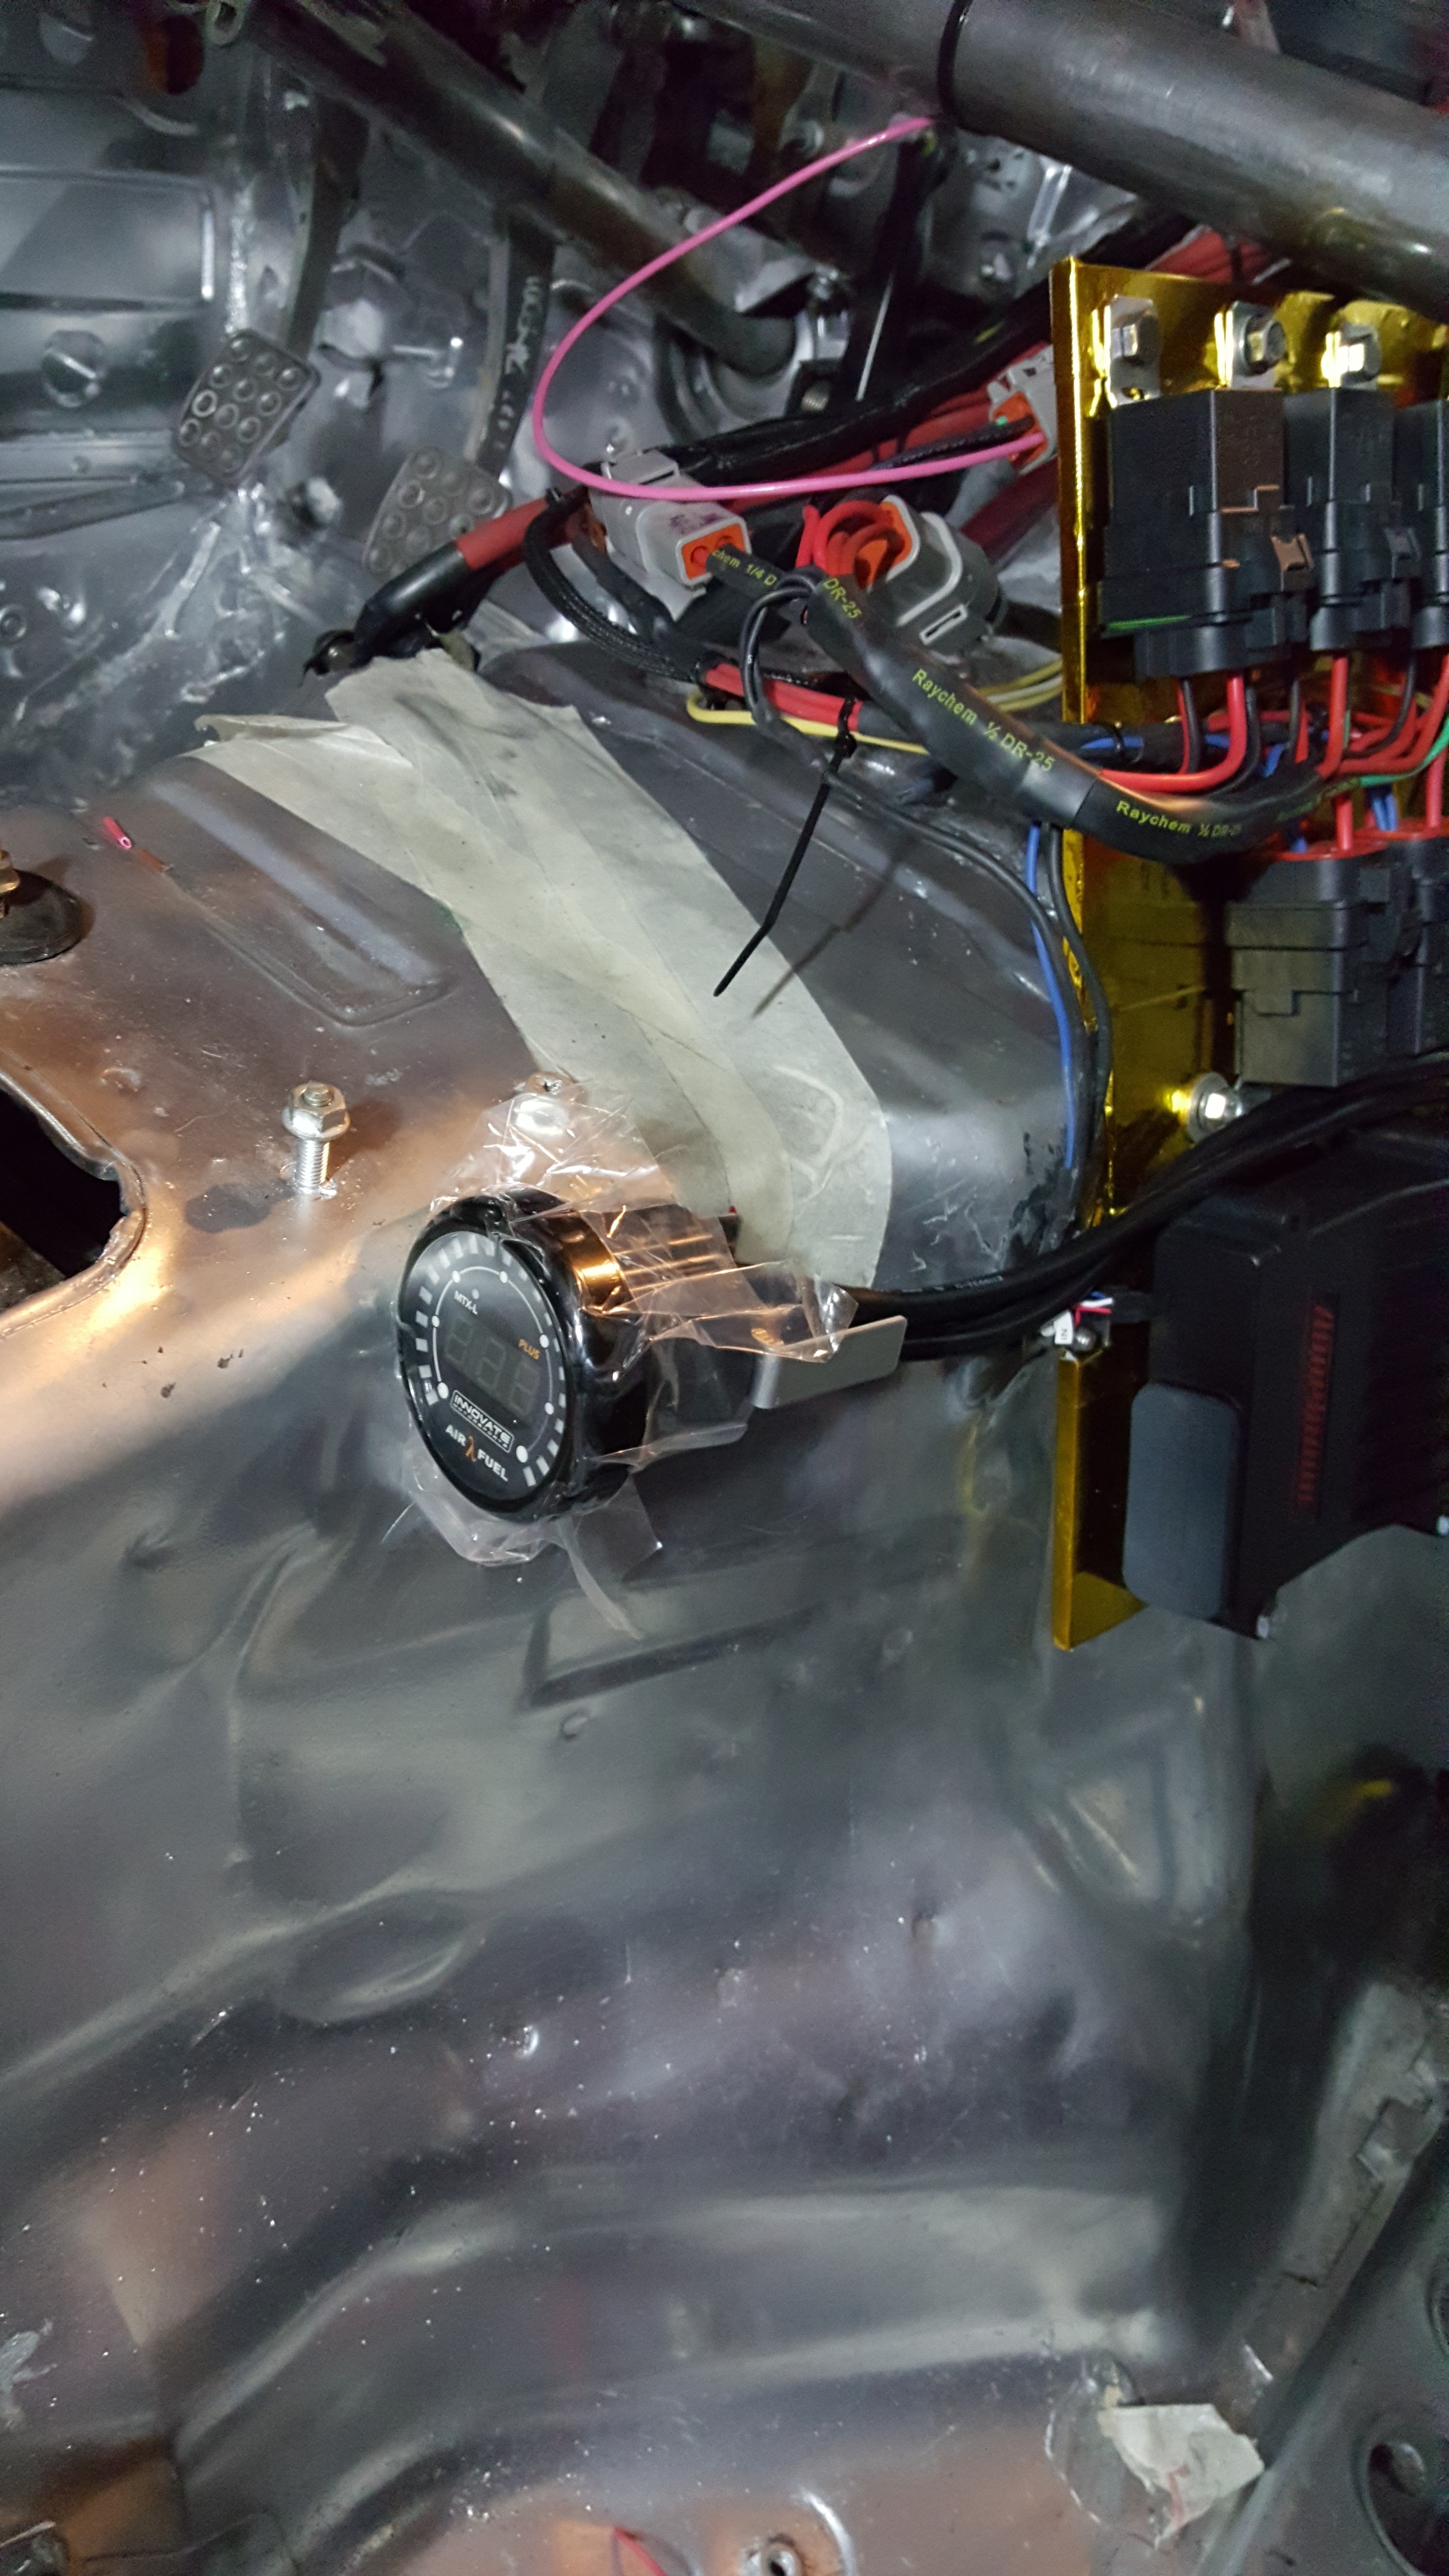
And making a mount for my Innovate MTX-L plus!
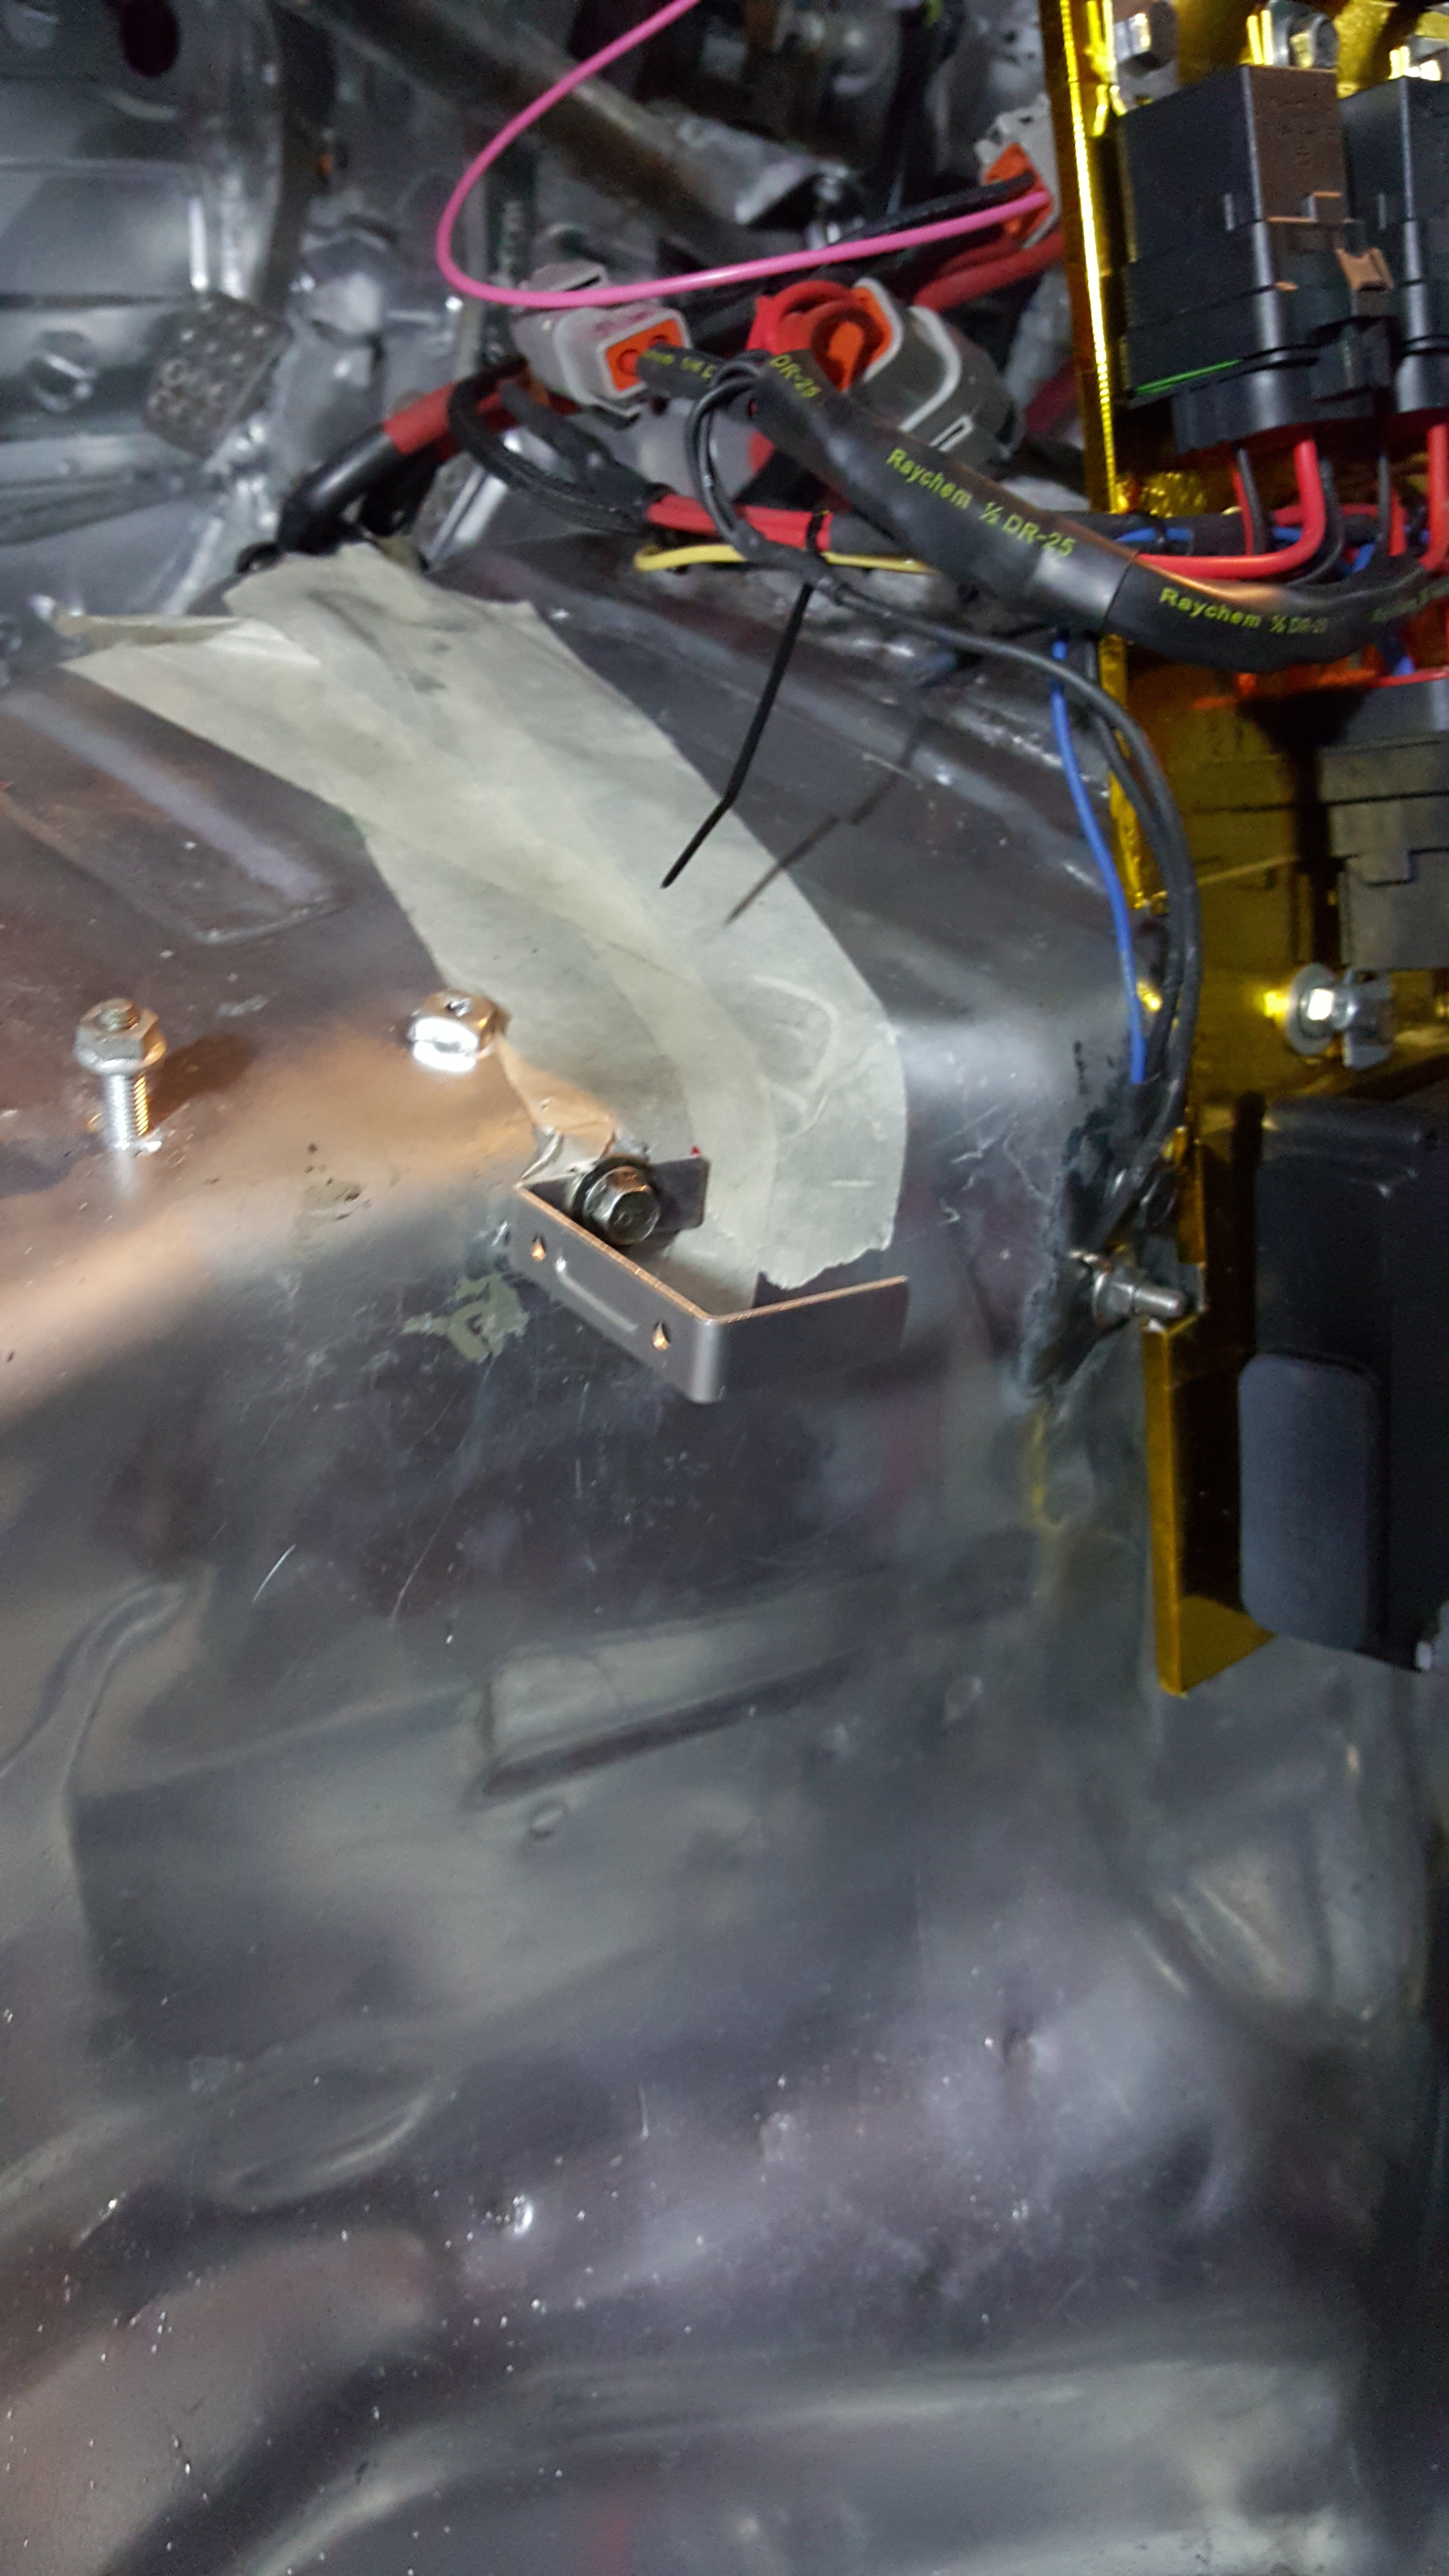
And that leaves me up to where I am at currently....other than the EGT Sensor install yesterday that took 4.5 hours because one of my fittings got gulled in the EGT Bung. Was able to fix it and get it secured. But more updates ASAP!!!
Stay tuned while I tie all this together!!
Thanks for following guys!! For real time updates via Instgram Story..give me a follow @Aaparkah.300
Thank you!!!
#Thisisthewolf
Also..a huge part of development is trial and error. To develop something that works for both street and track…Partshop Max and myself have been through the ringer working to make sure this suspension set up comes out excellent for all applications! Track tested!!! Street driven!!! To make sure you guys don’t do this:
Hitting the lower arm
This was why we tested the coilovers on OEM suspension first before swapping to the Parts shop arms. Now we know there are clearance issues with OE application NON Parts shop arms and the coilovers. SO modifications are being made to be able to run both set up’s without clearance issues!
Martin Building a new rear end set!
And Dan and Martin working on the sway bar set up! #Levelup!!
Took some measurements from Odi’s Falken S14 for headlights… I don’t like my beams….
And making a mount for my Innovate MTX-L plus!
And that leaves me up to where I am at currently....other than the EGT Sensor install yesterday that took 4.5 hours because one of my fittings got gulled in the EGT Bung. Was able to fix it and get it secured. But more updates ASAP!!!
Stay tuned while I tie all this together!!
Thanks for following guys!! For real time updates via Instgram Story..give me a follow @Aaparkah.300
Thank you!!!
#Thisisthewolf
Update: Wolf 2.0 Interior is 99% Finished!
Going to add a few little things but pretty much done!
Check it out and let me know what you guys think!!
Complete Board set up!
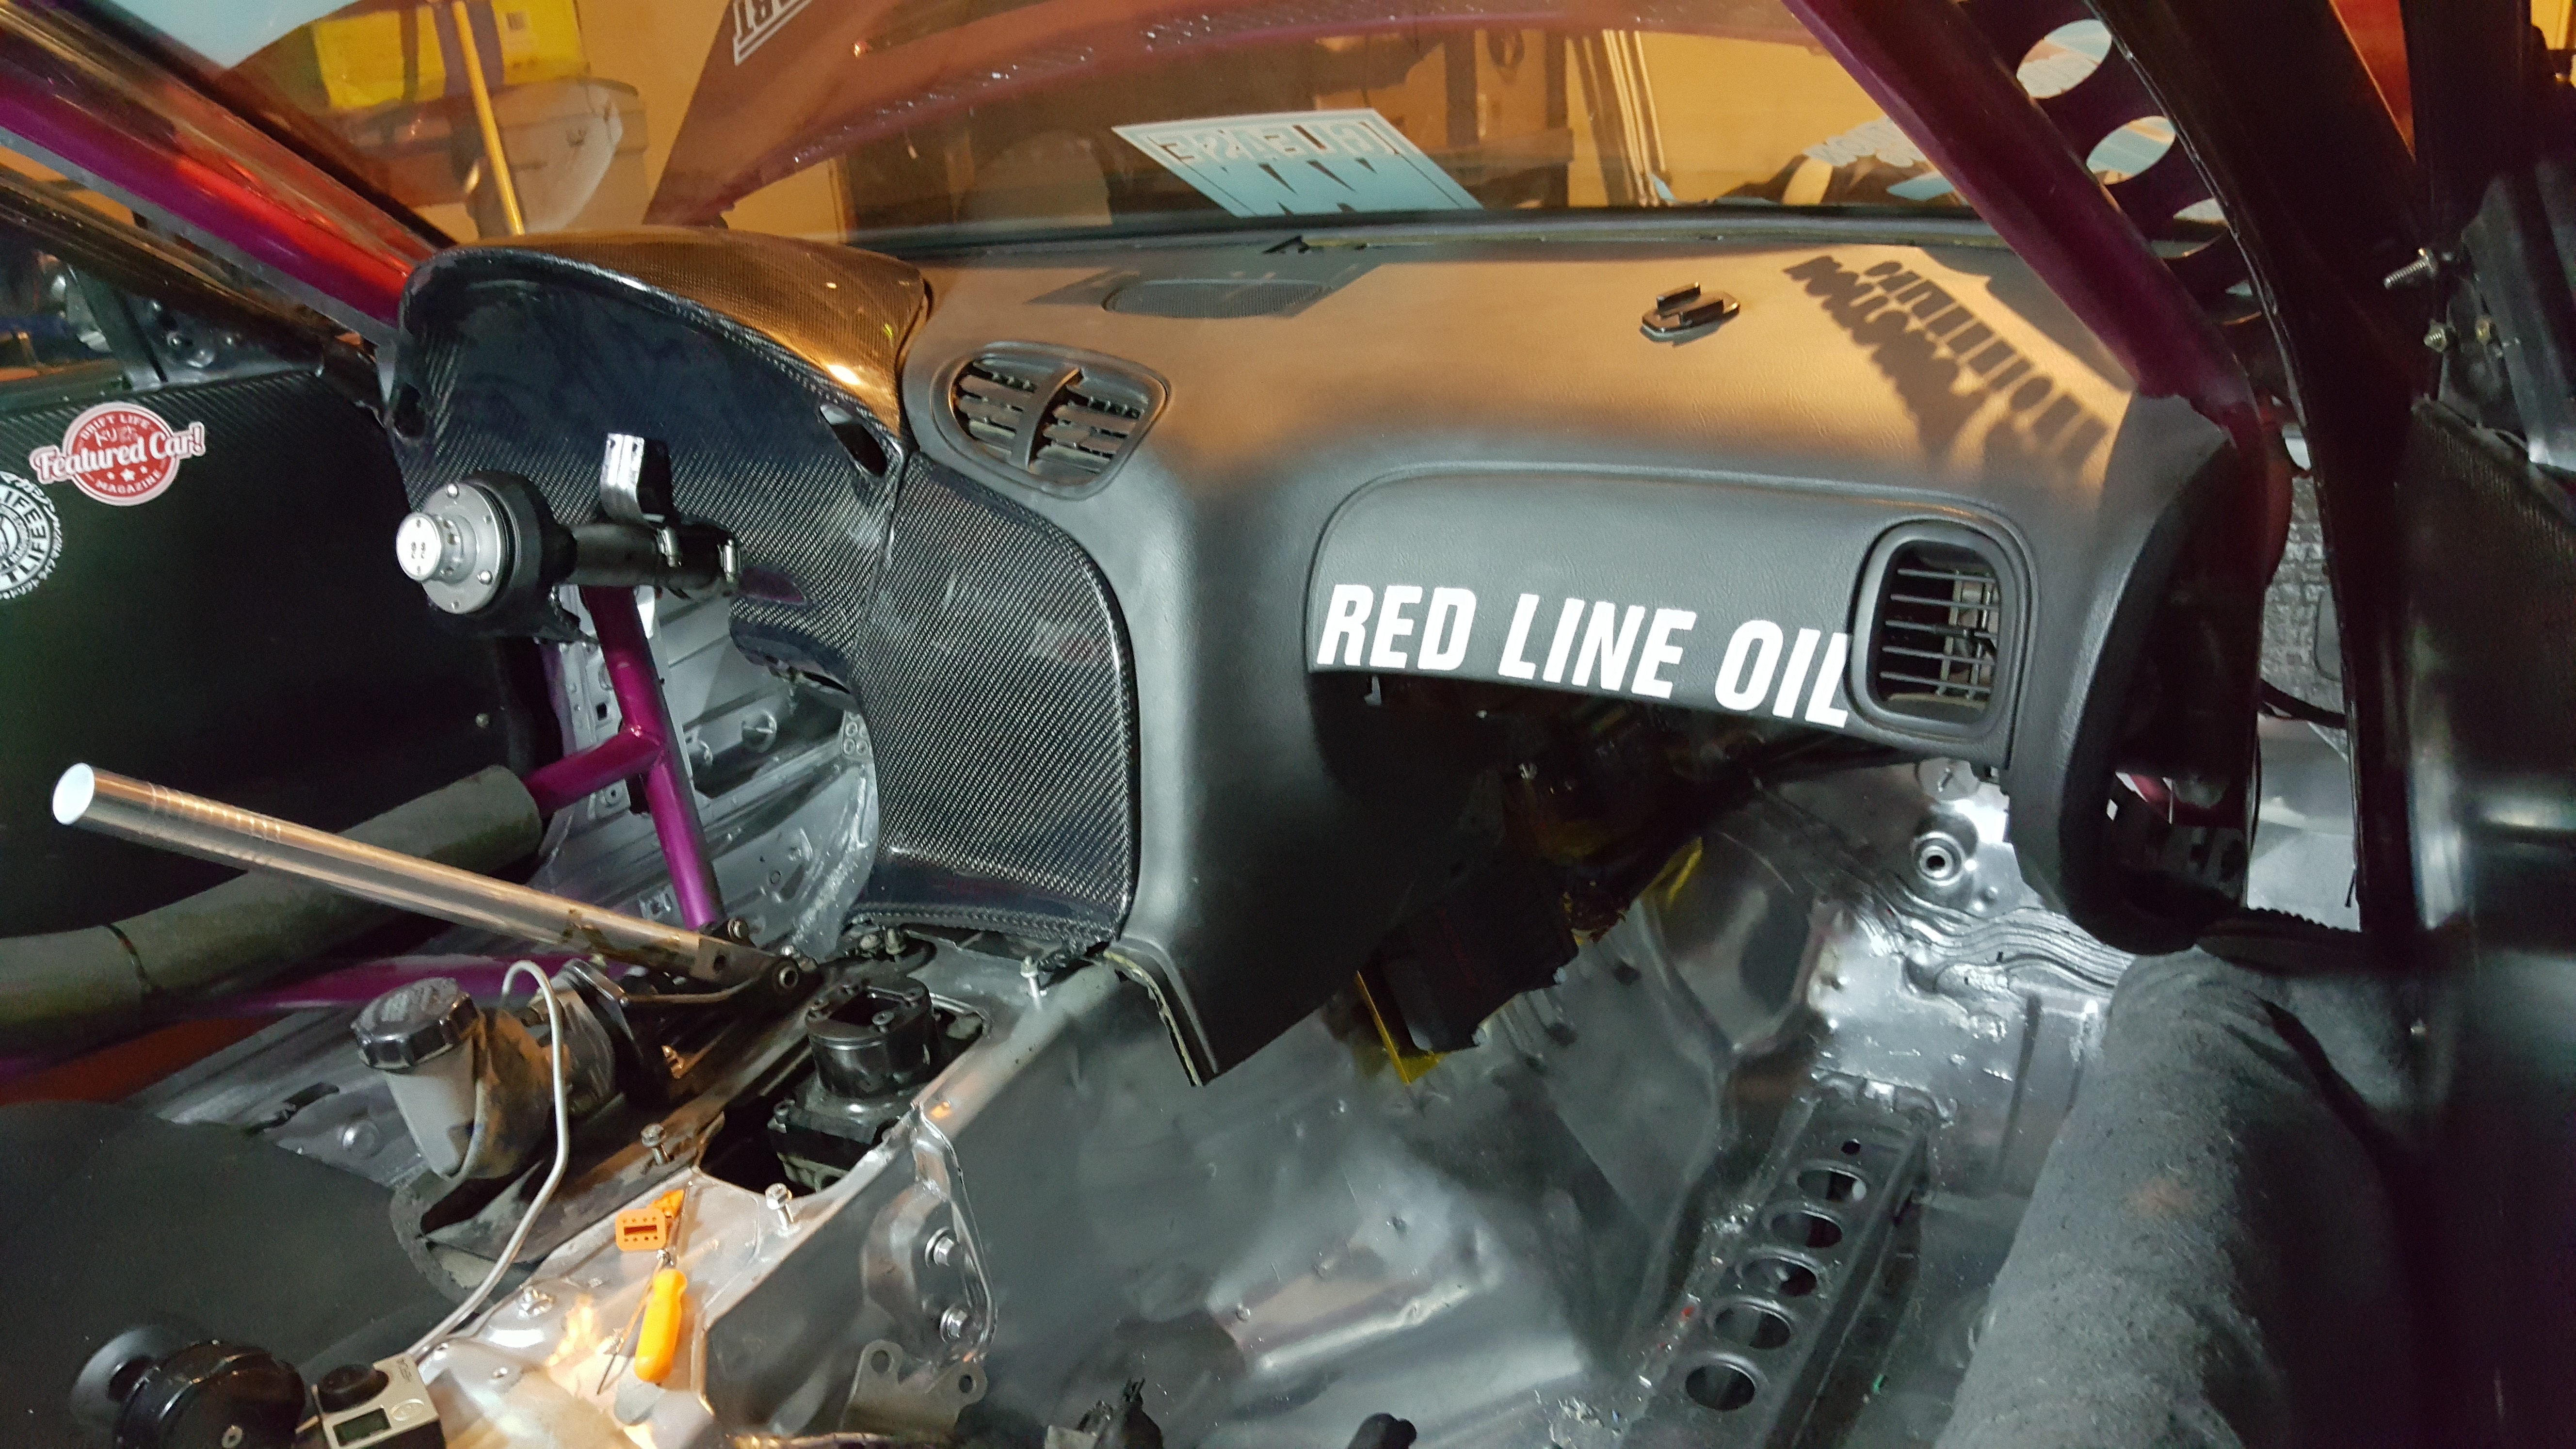
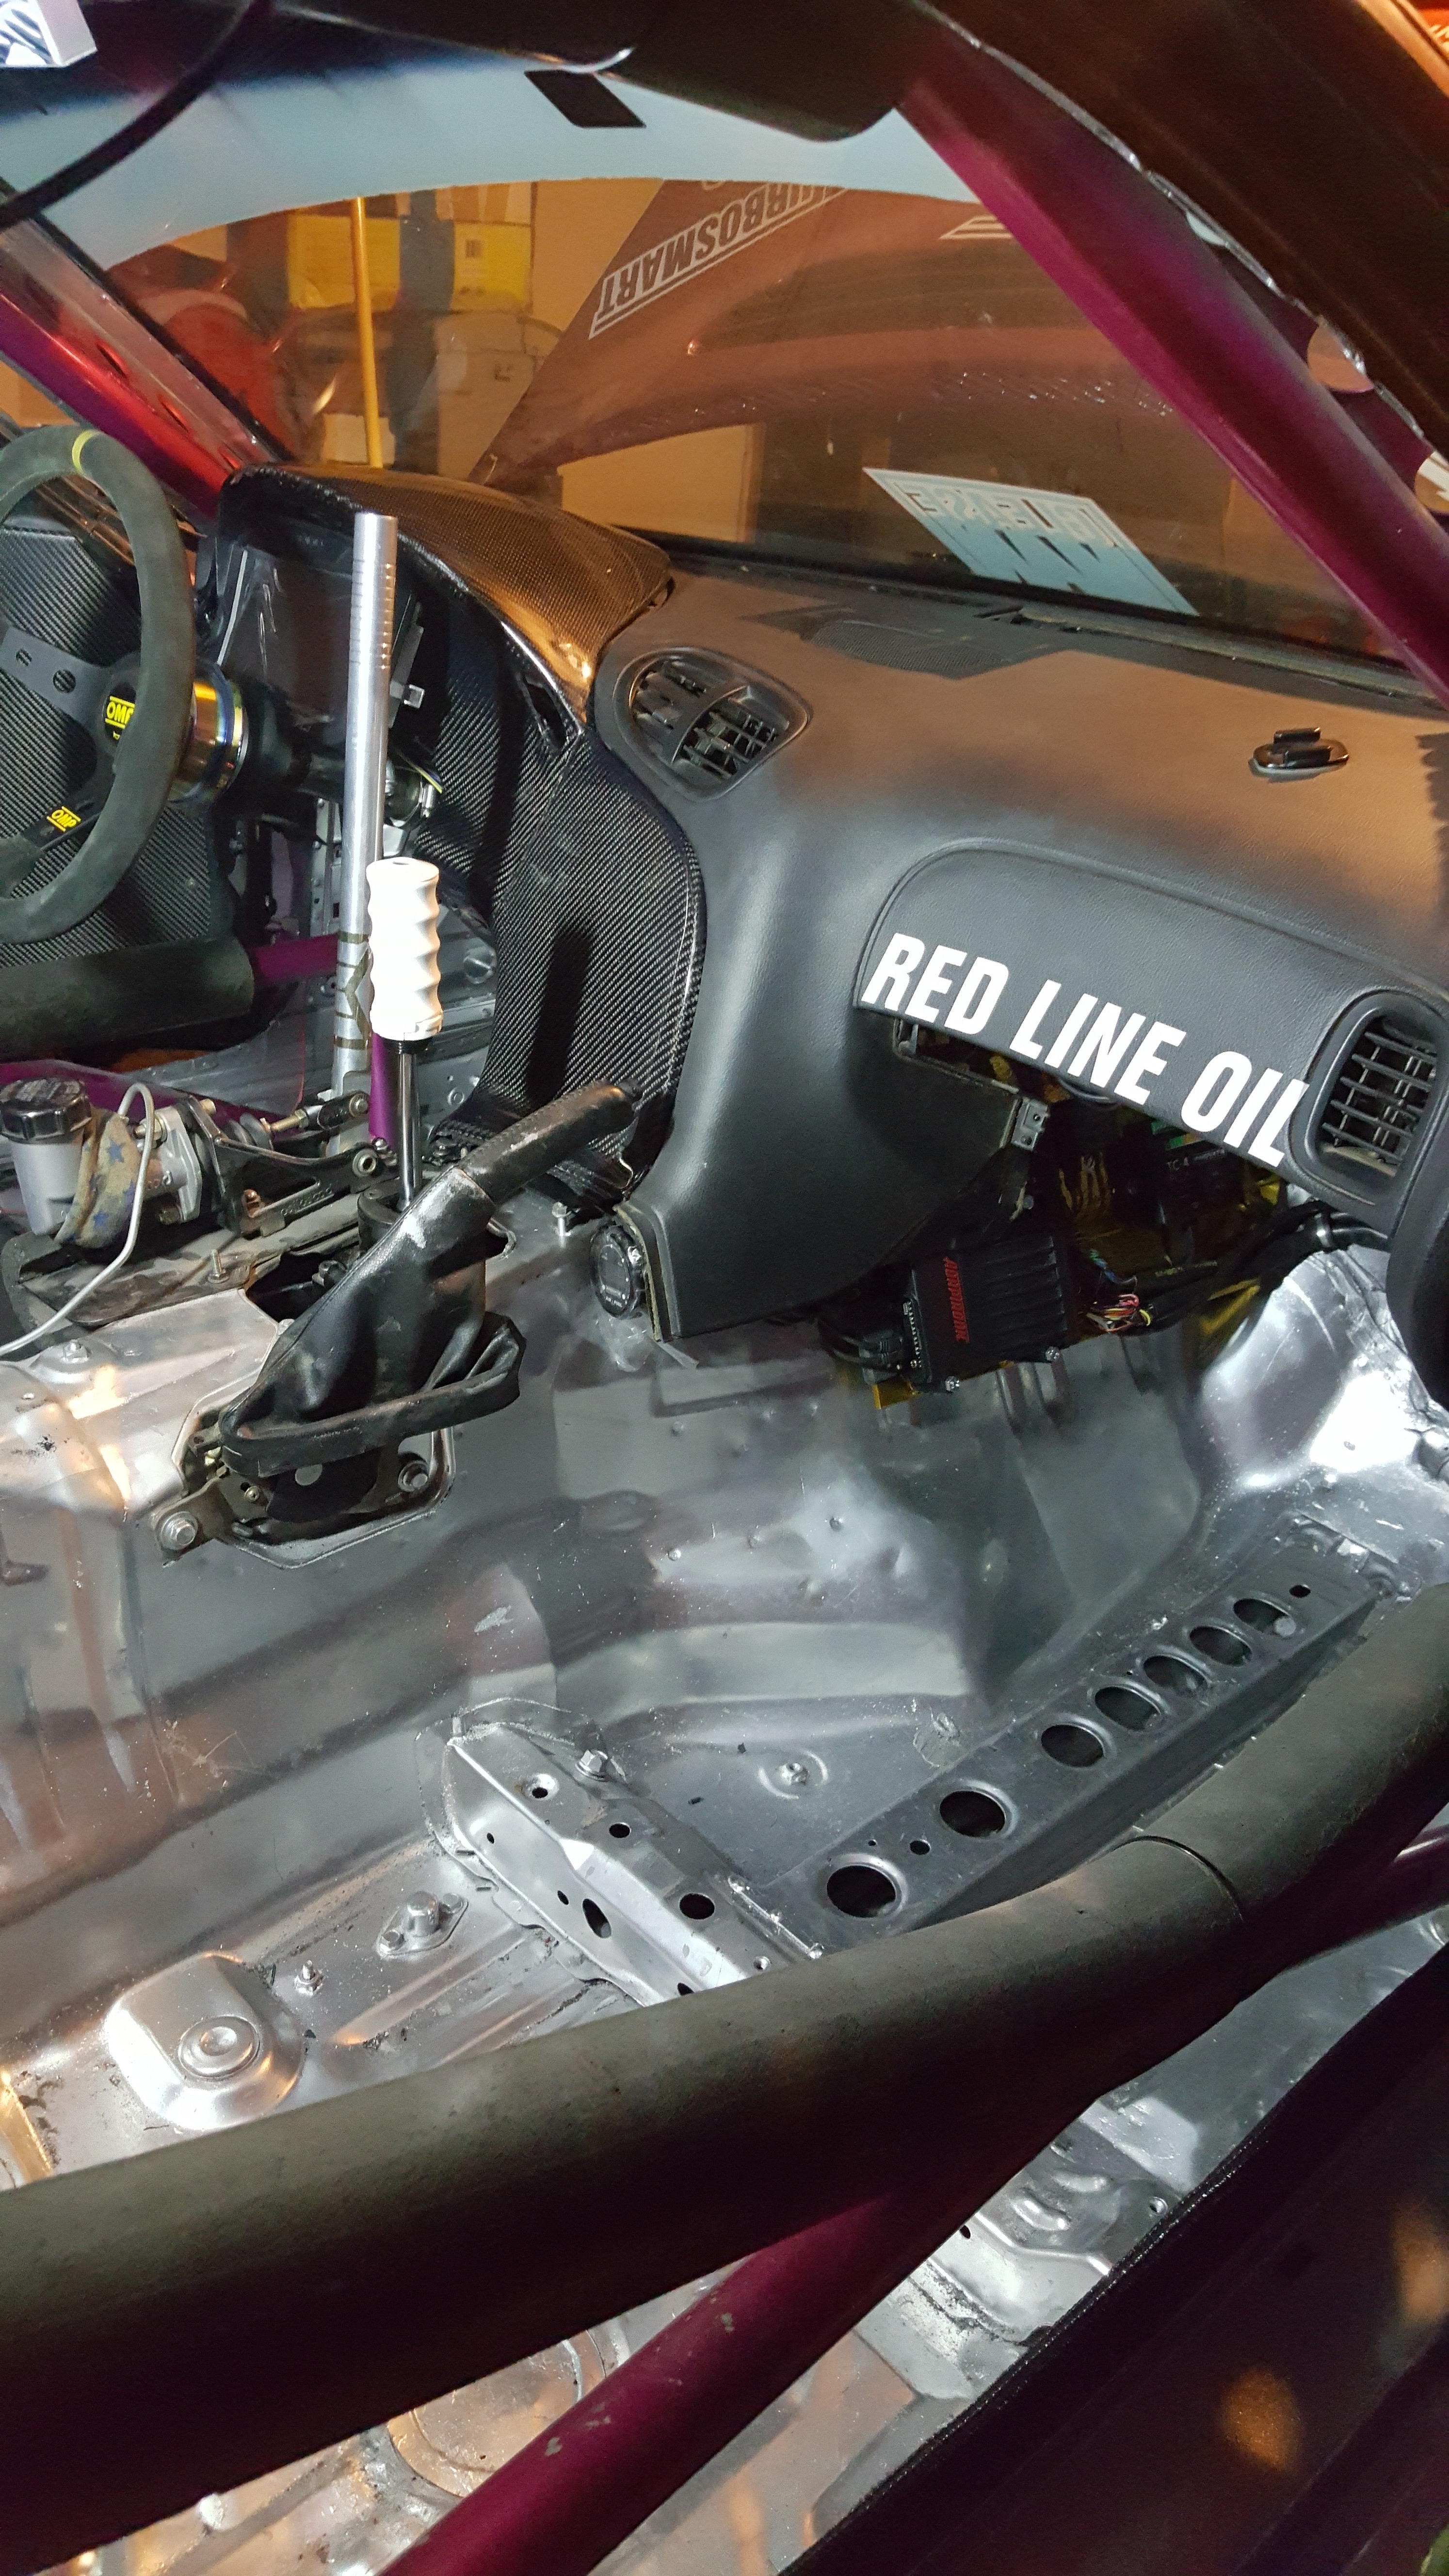
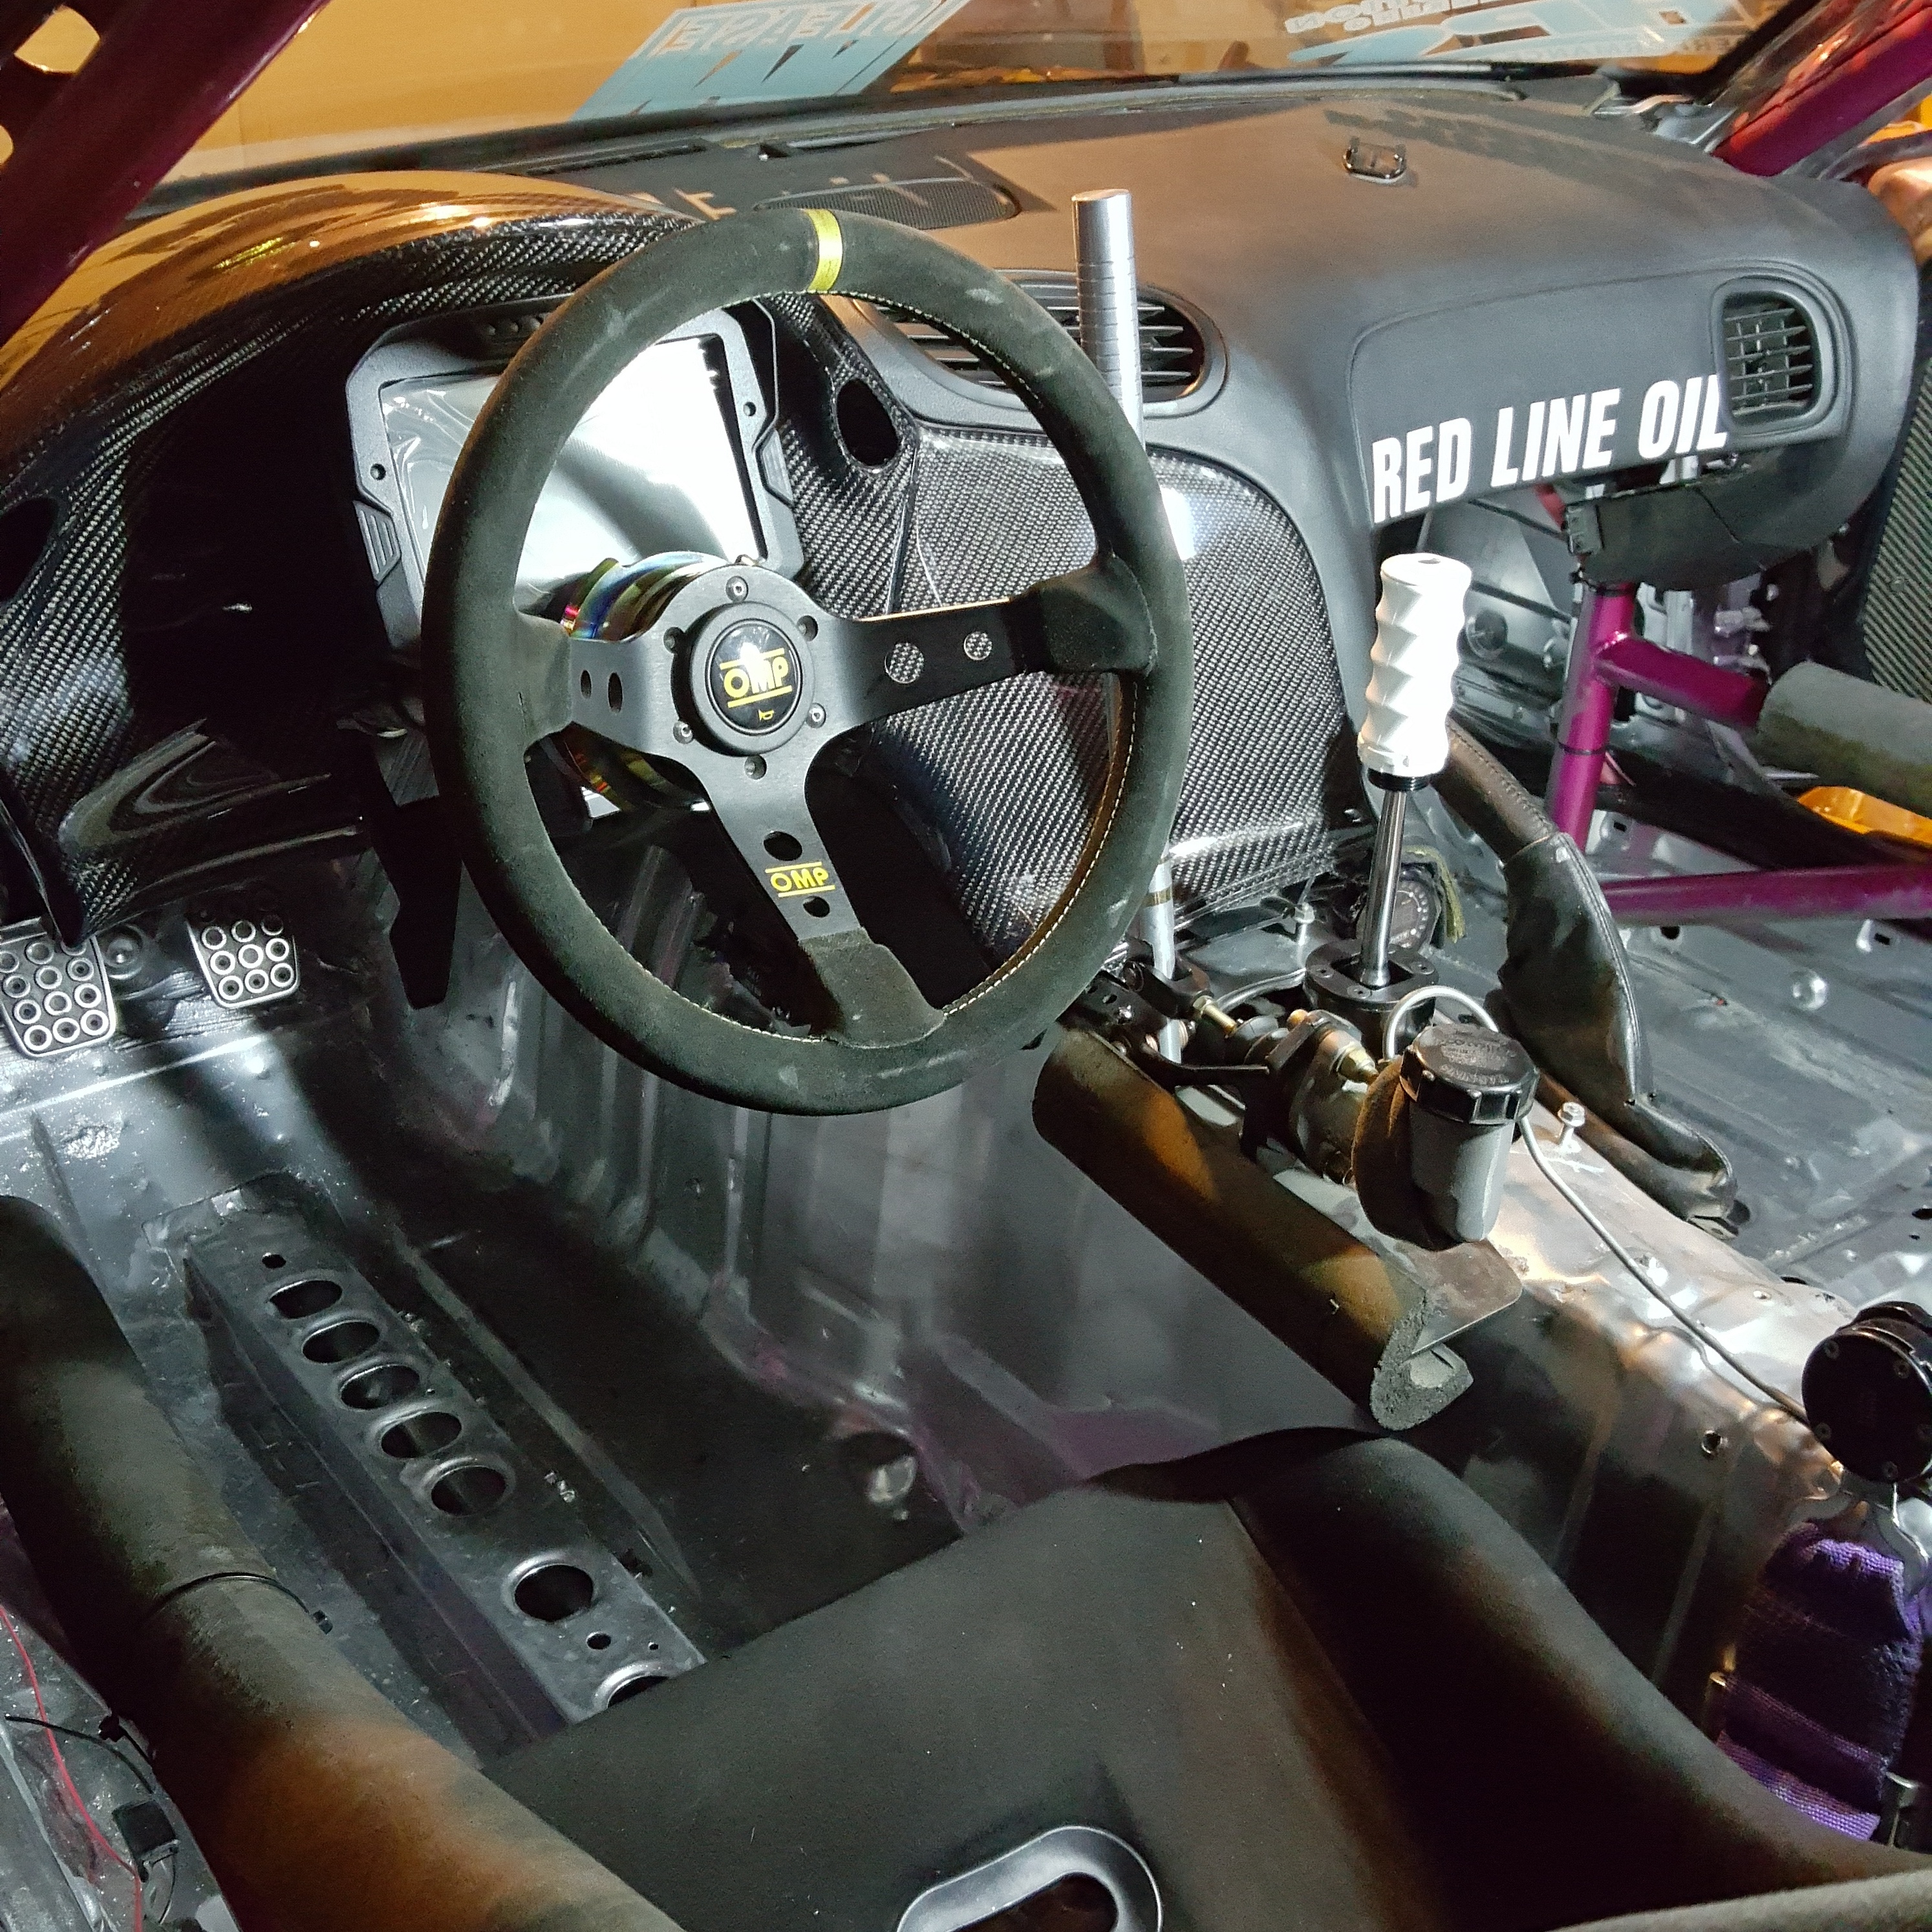
With Dash IN car. There is one M6 Bolt Holding the Dash in. Pumped!!! Takes less than 1 min to pull it out
CD-7 Dash
Looking to install the new Parts Shop Max Rear end Suspension Arms and go testing Asap!
Thanks for following!!!
For quicker Updates every day Follow me on IG @ Aaparkah and or Facebook!! https://www.facebook.com/lottparker
Stay Tuned for more Updates!!
#ThisistheWolf
Going to add a few little things but pretty much done!
Check it out and let me know what you guys think!!
Complete Board set up!
With Dash IN car. There is one M6 Bolt Holding the Dash in. Pumped!!! Takes less than 1 min to pull it out
CD-7 Dash
Looking to install the new Parts Shop Max Rear end Suspension Arms and go testing Asap!
Thanks for following!!!
For quicker Updates every day Follow me on IG @ Aaparkah and or Facebook!! https://www.facebook.com/lottparker
Stay Tuned for more Updates!!
#ThisistheWolf
Update: Video Updates better? Which Do you guys prefere?! Trying something different!
Check it out!
More Updates Soon!
Headed to Montreal Tomorrow for FD Canada!
Hit me up if any of you rotor heads are around!
#ThisistheWolf
Check it out!
More Updates Soon!
Headed to Montreal Tomorrow for FD Canada!
Hit me up if any of you rotor heads are around!
#ThisistheWolf

Nicely done Manny, good stuff on the CD7 dash and whole electrical control panel. I will be installing my CD7 soon once I get the rest of the electrical done on the car. Though will be doing something slightly different, mainly attaching it to the same CF dash you have, but yours is legit.
Nicely done Manny, good stuff on the CD7 dash and whole electrical control panel. I will be installing my CD7 soon once I get the rest of the electrical done on the car. Though will be doing something slightly different, mainly attaching it to the same CF dash you have, but yours is legit.
Looking forward to seeing how you go at it. My main reasoning behind putting it where I did was that I wanted to be able to take the dash in and out of the car without having to take fixed items off of the car. Purpose built for the car's duty. I'm sure yours will suite your needs as well
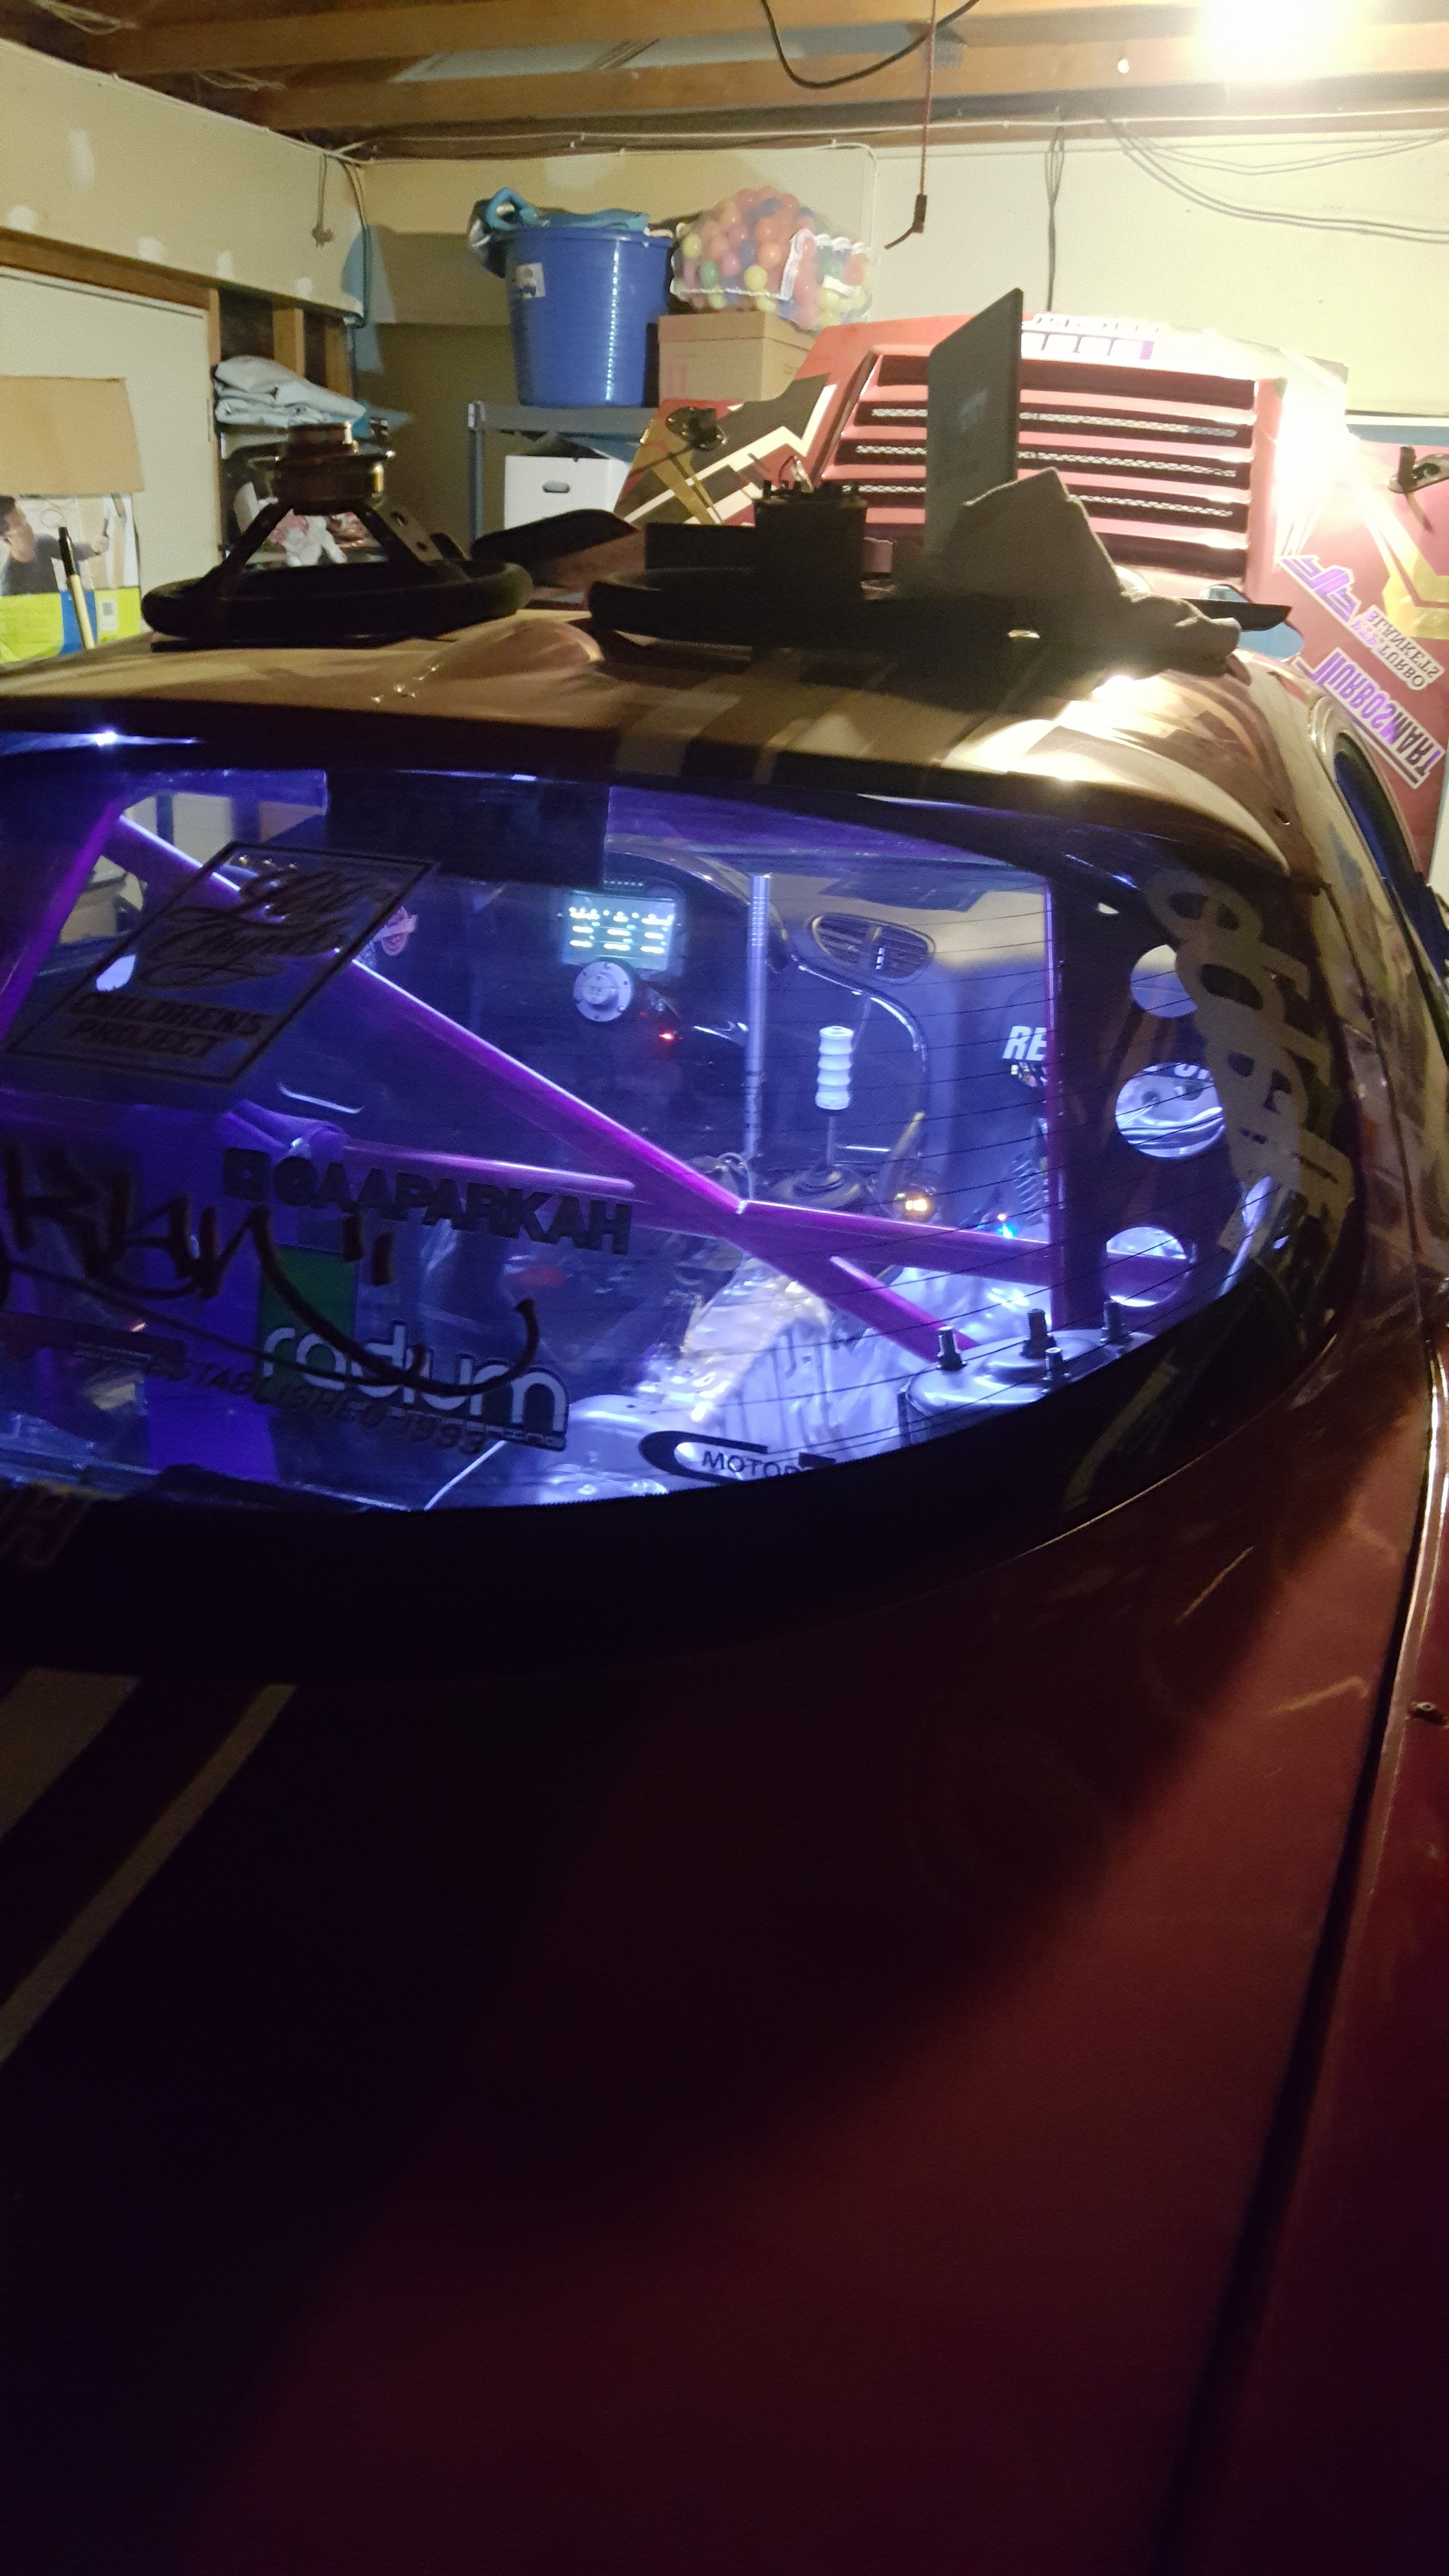
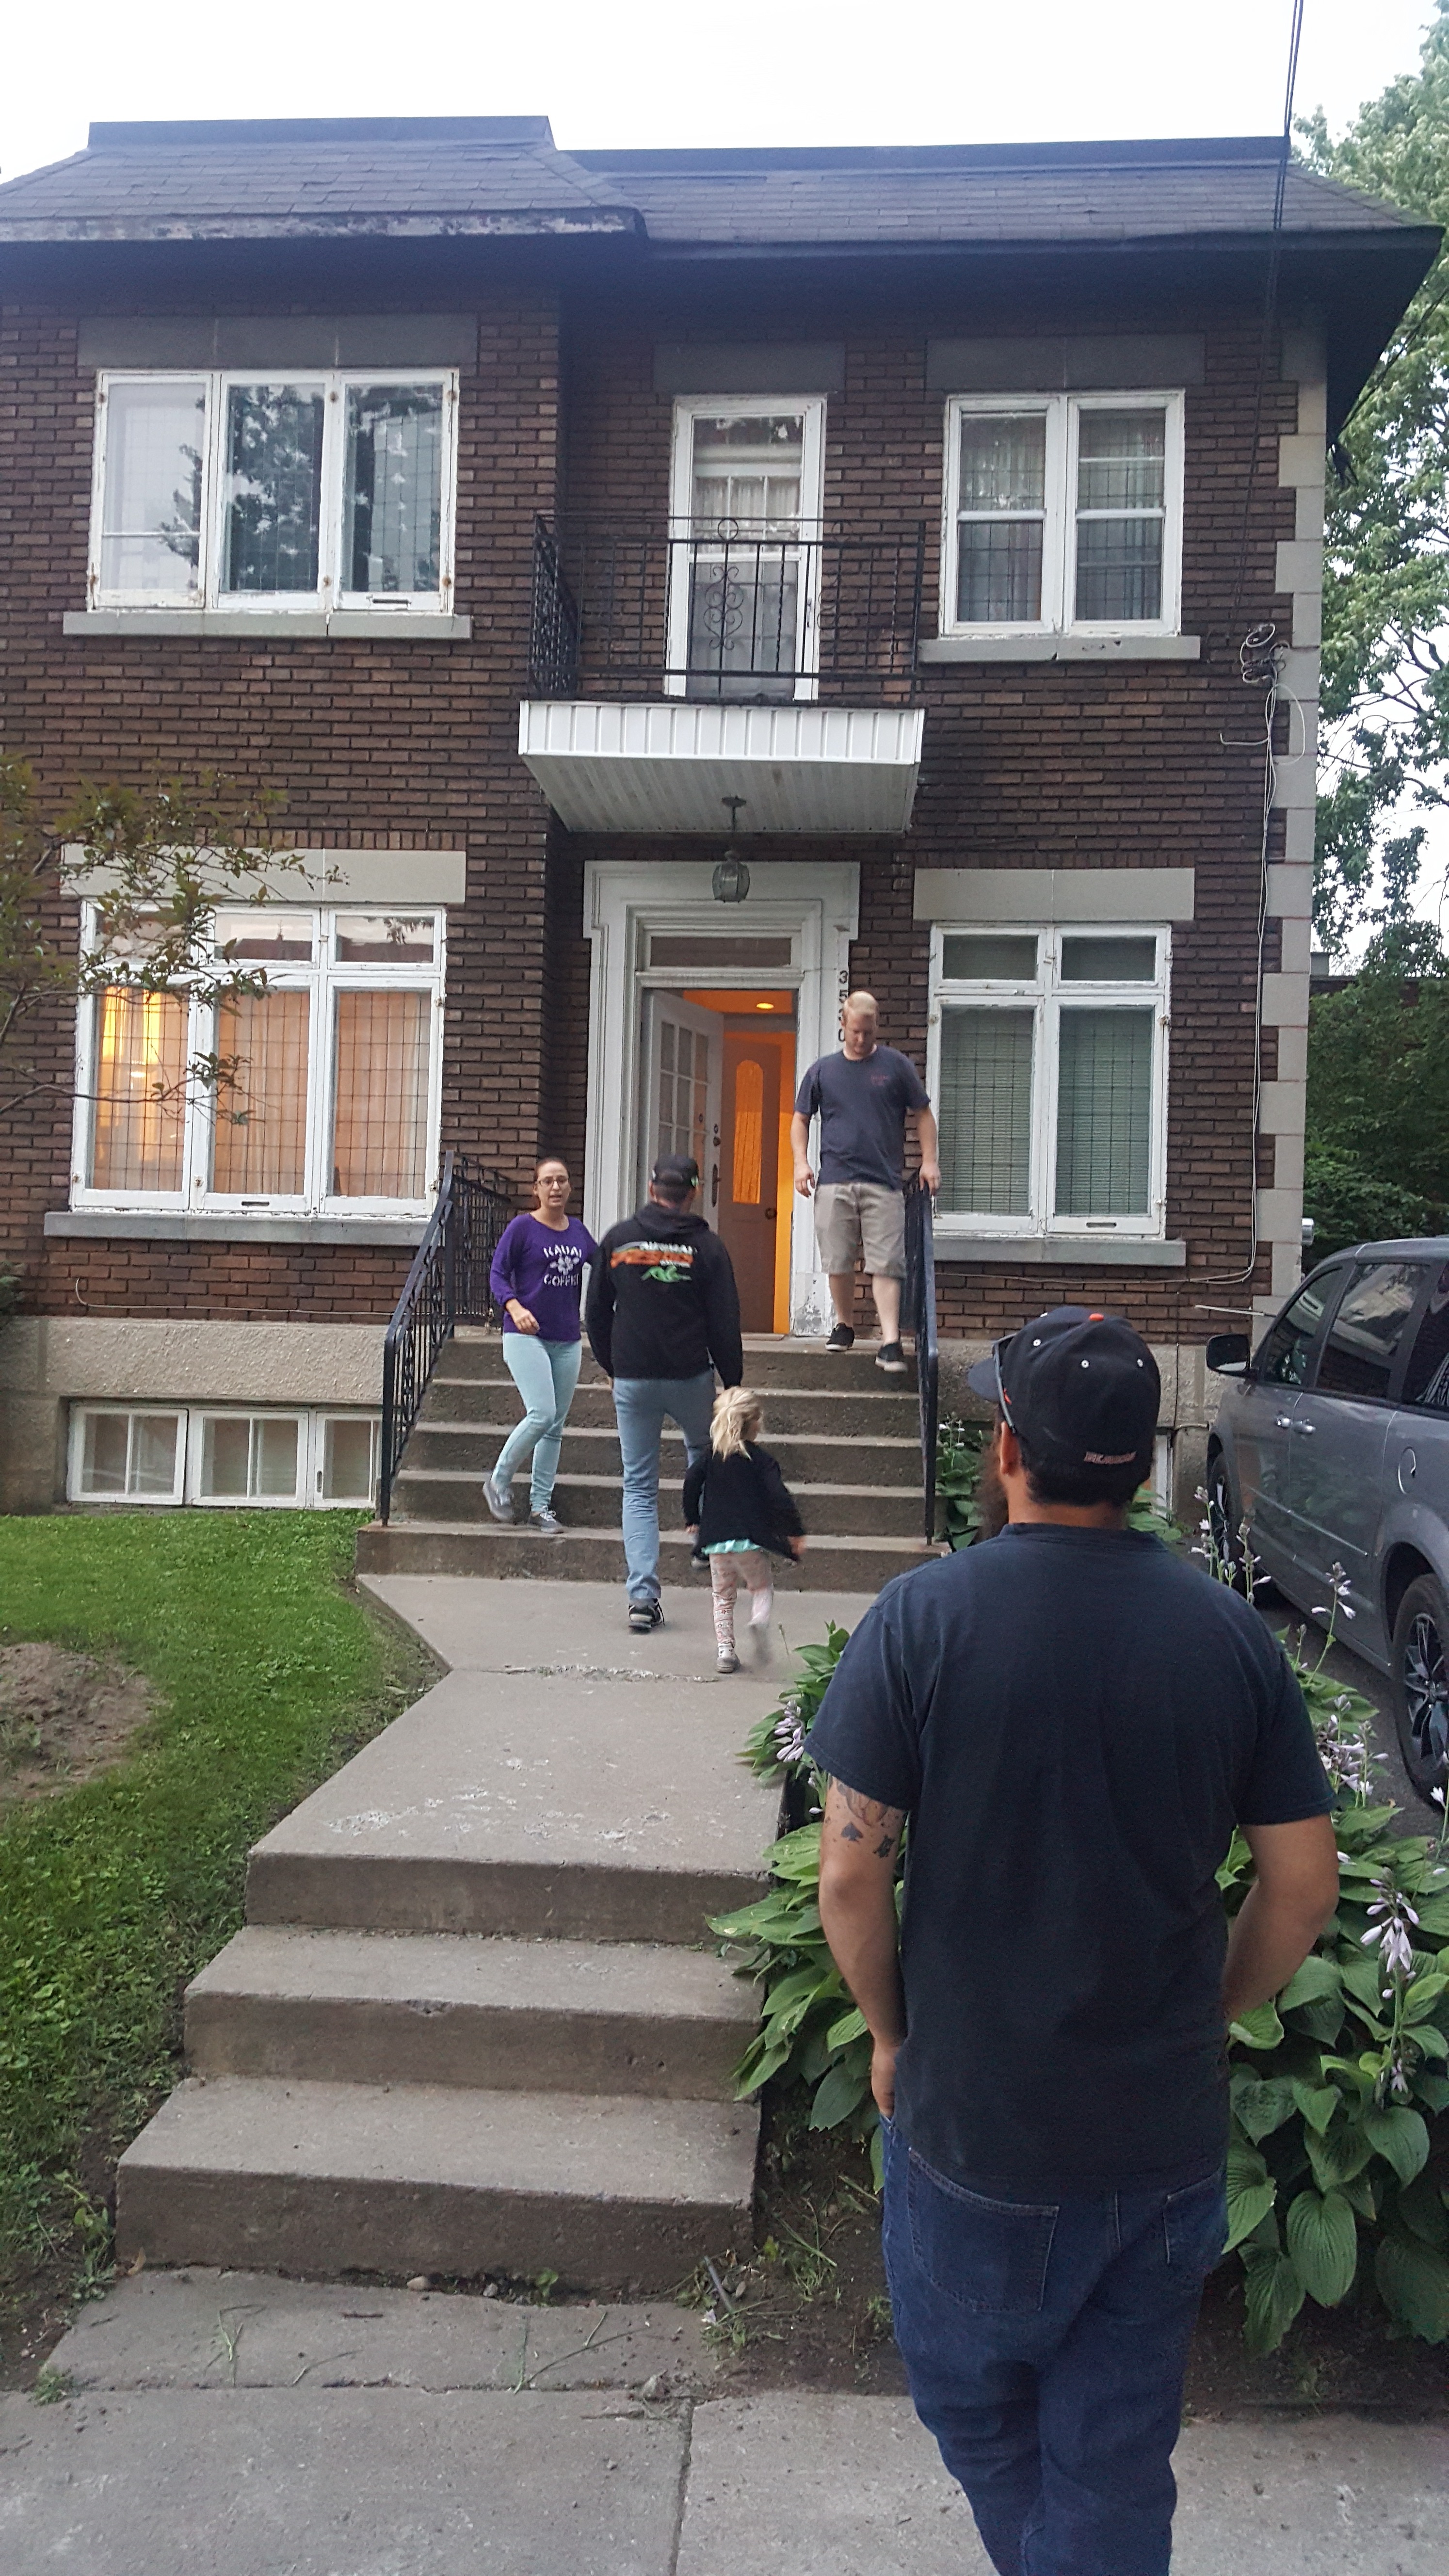
Update: From Beautiful Montreal!
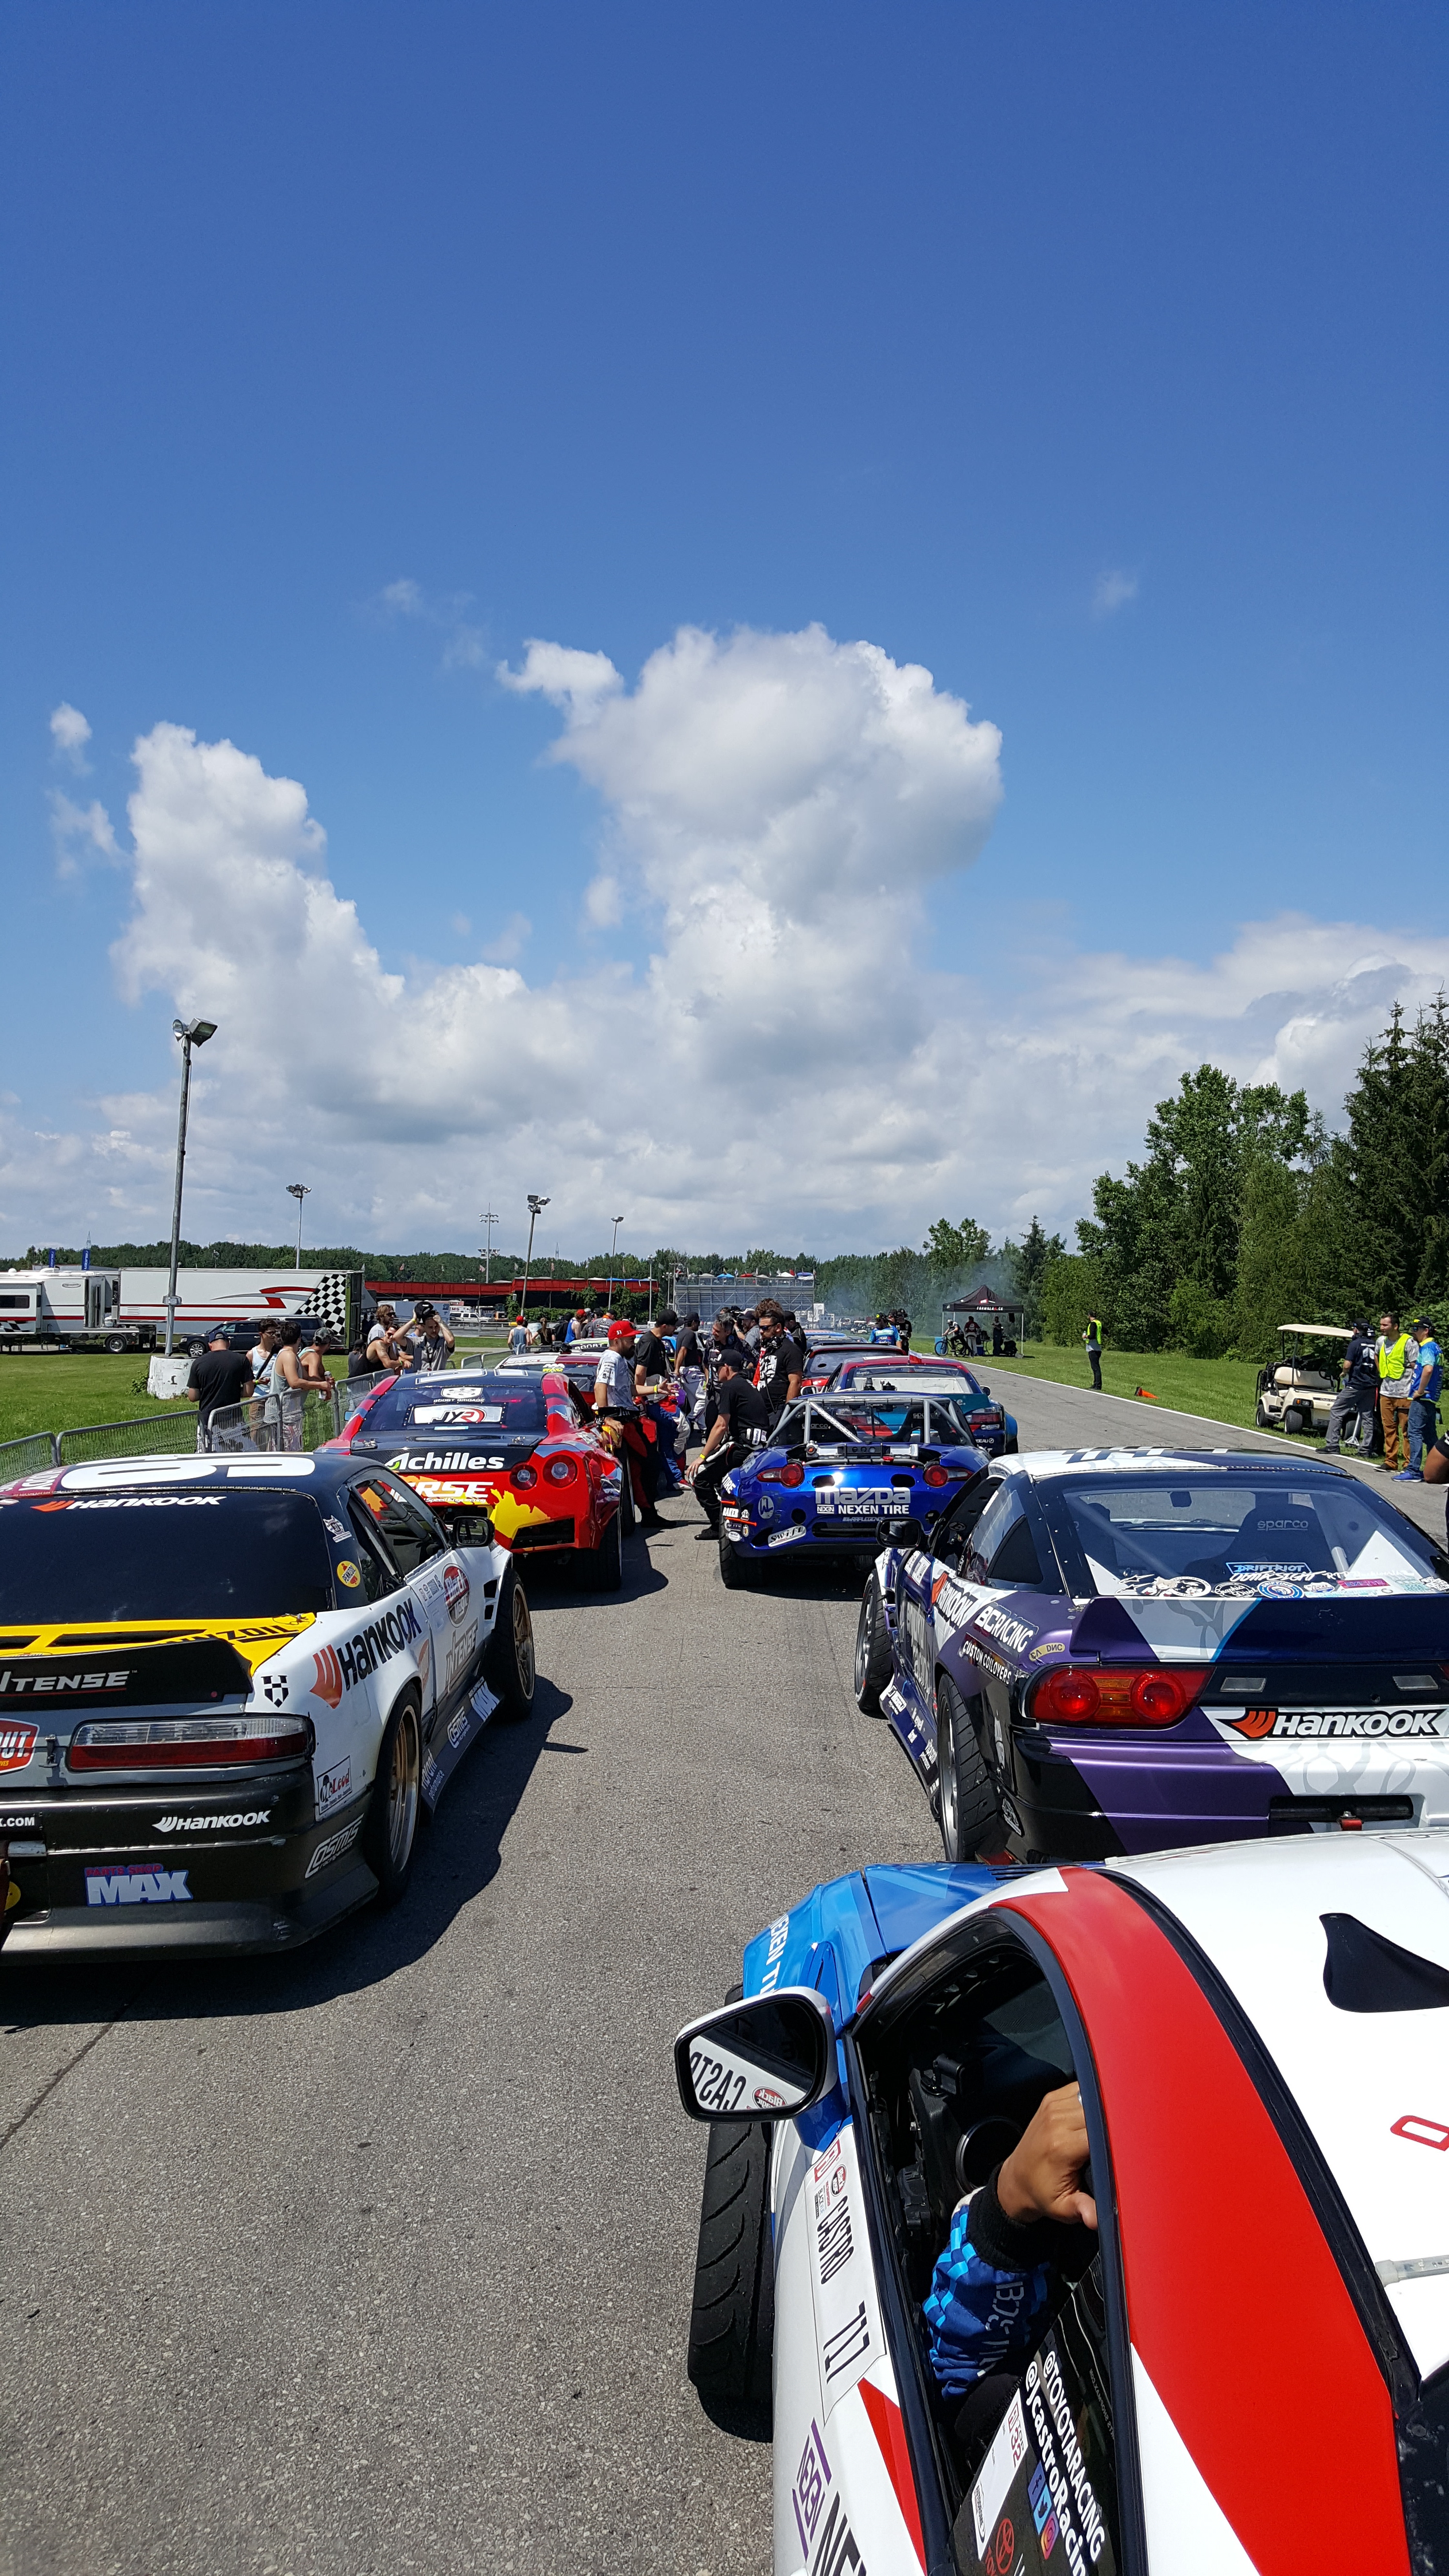
Came out to Formula Drift... Prepped the living **** out of the car before I left. Was able to install the PBM RUCA on the Wolf and get everything aligned and ready to rip right before I left. I'm really looking forward to Round 3!
Check it!
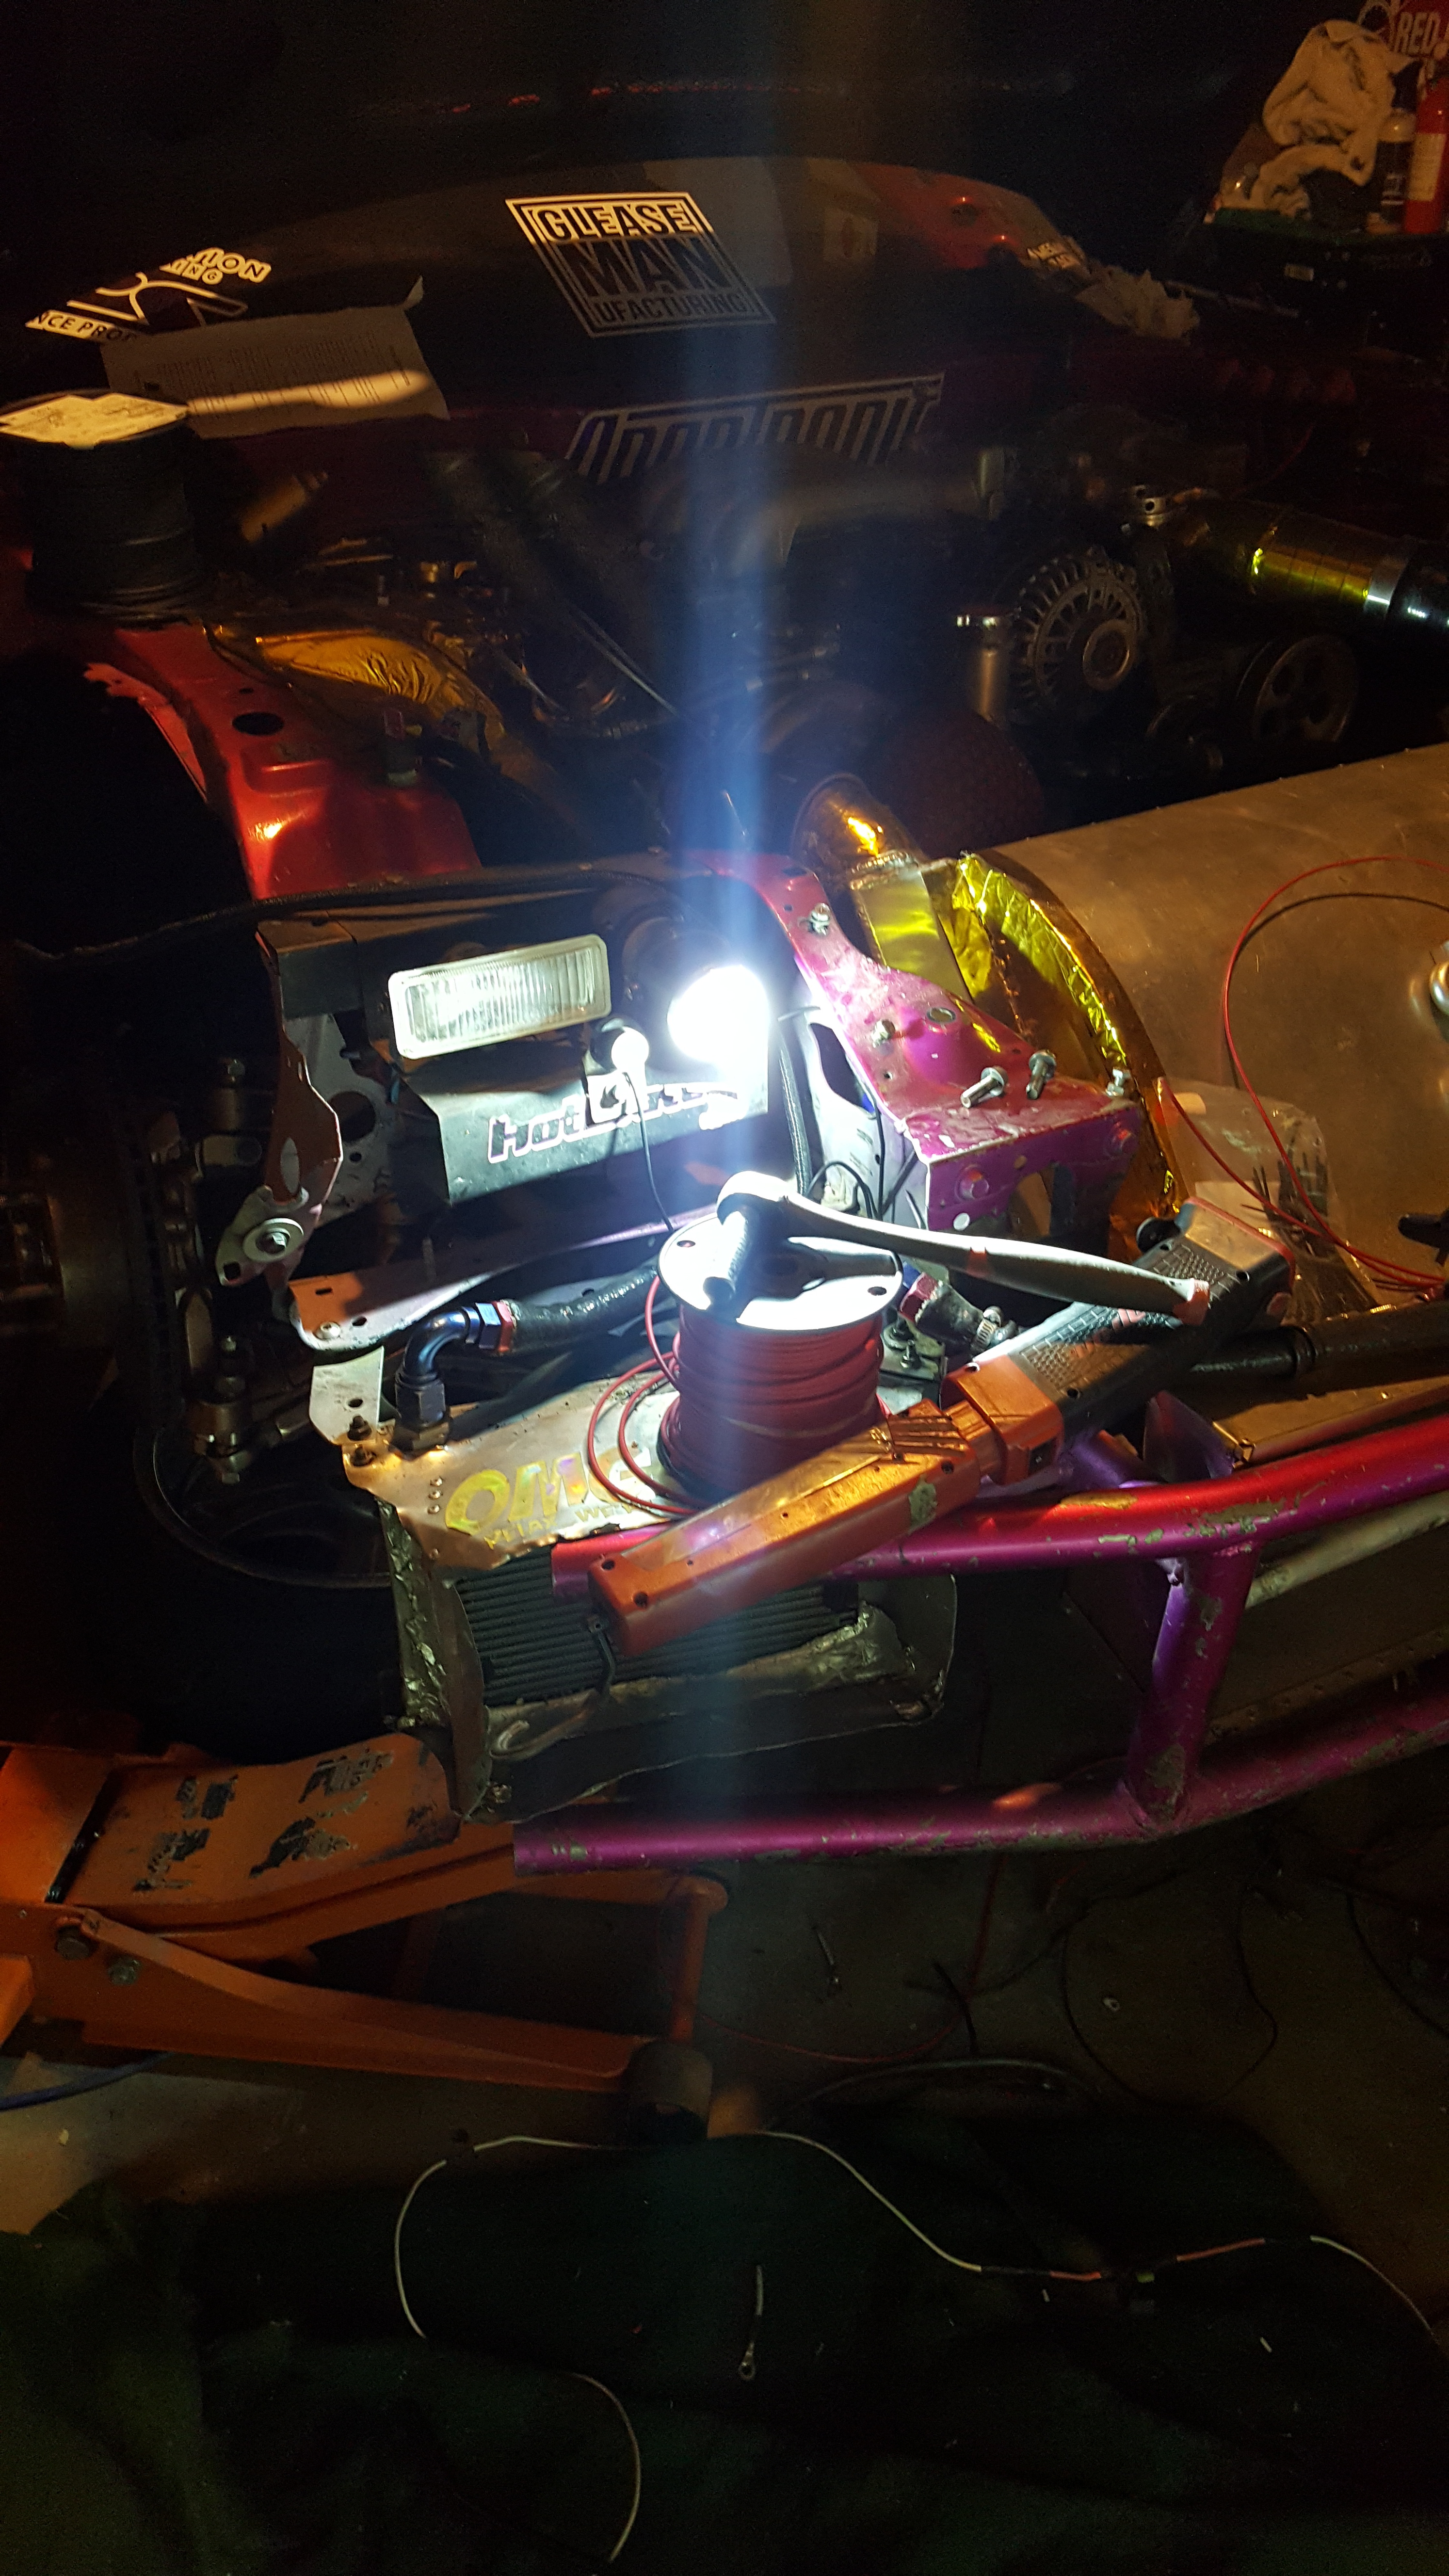
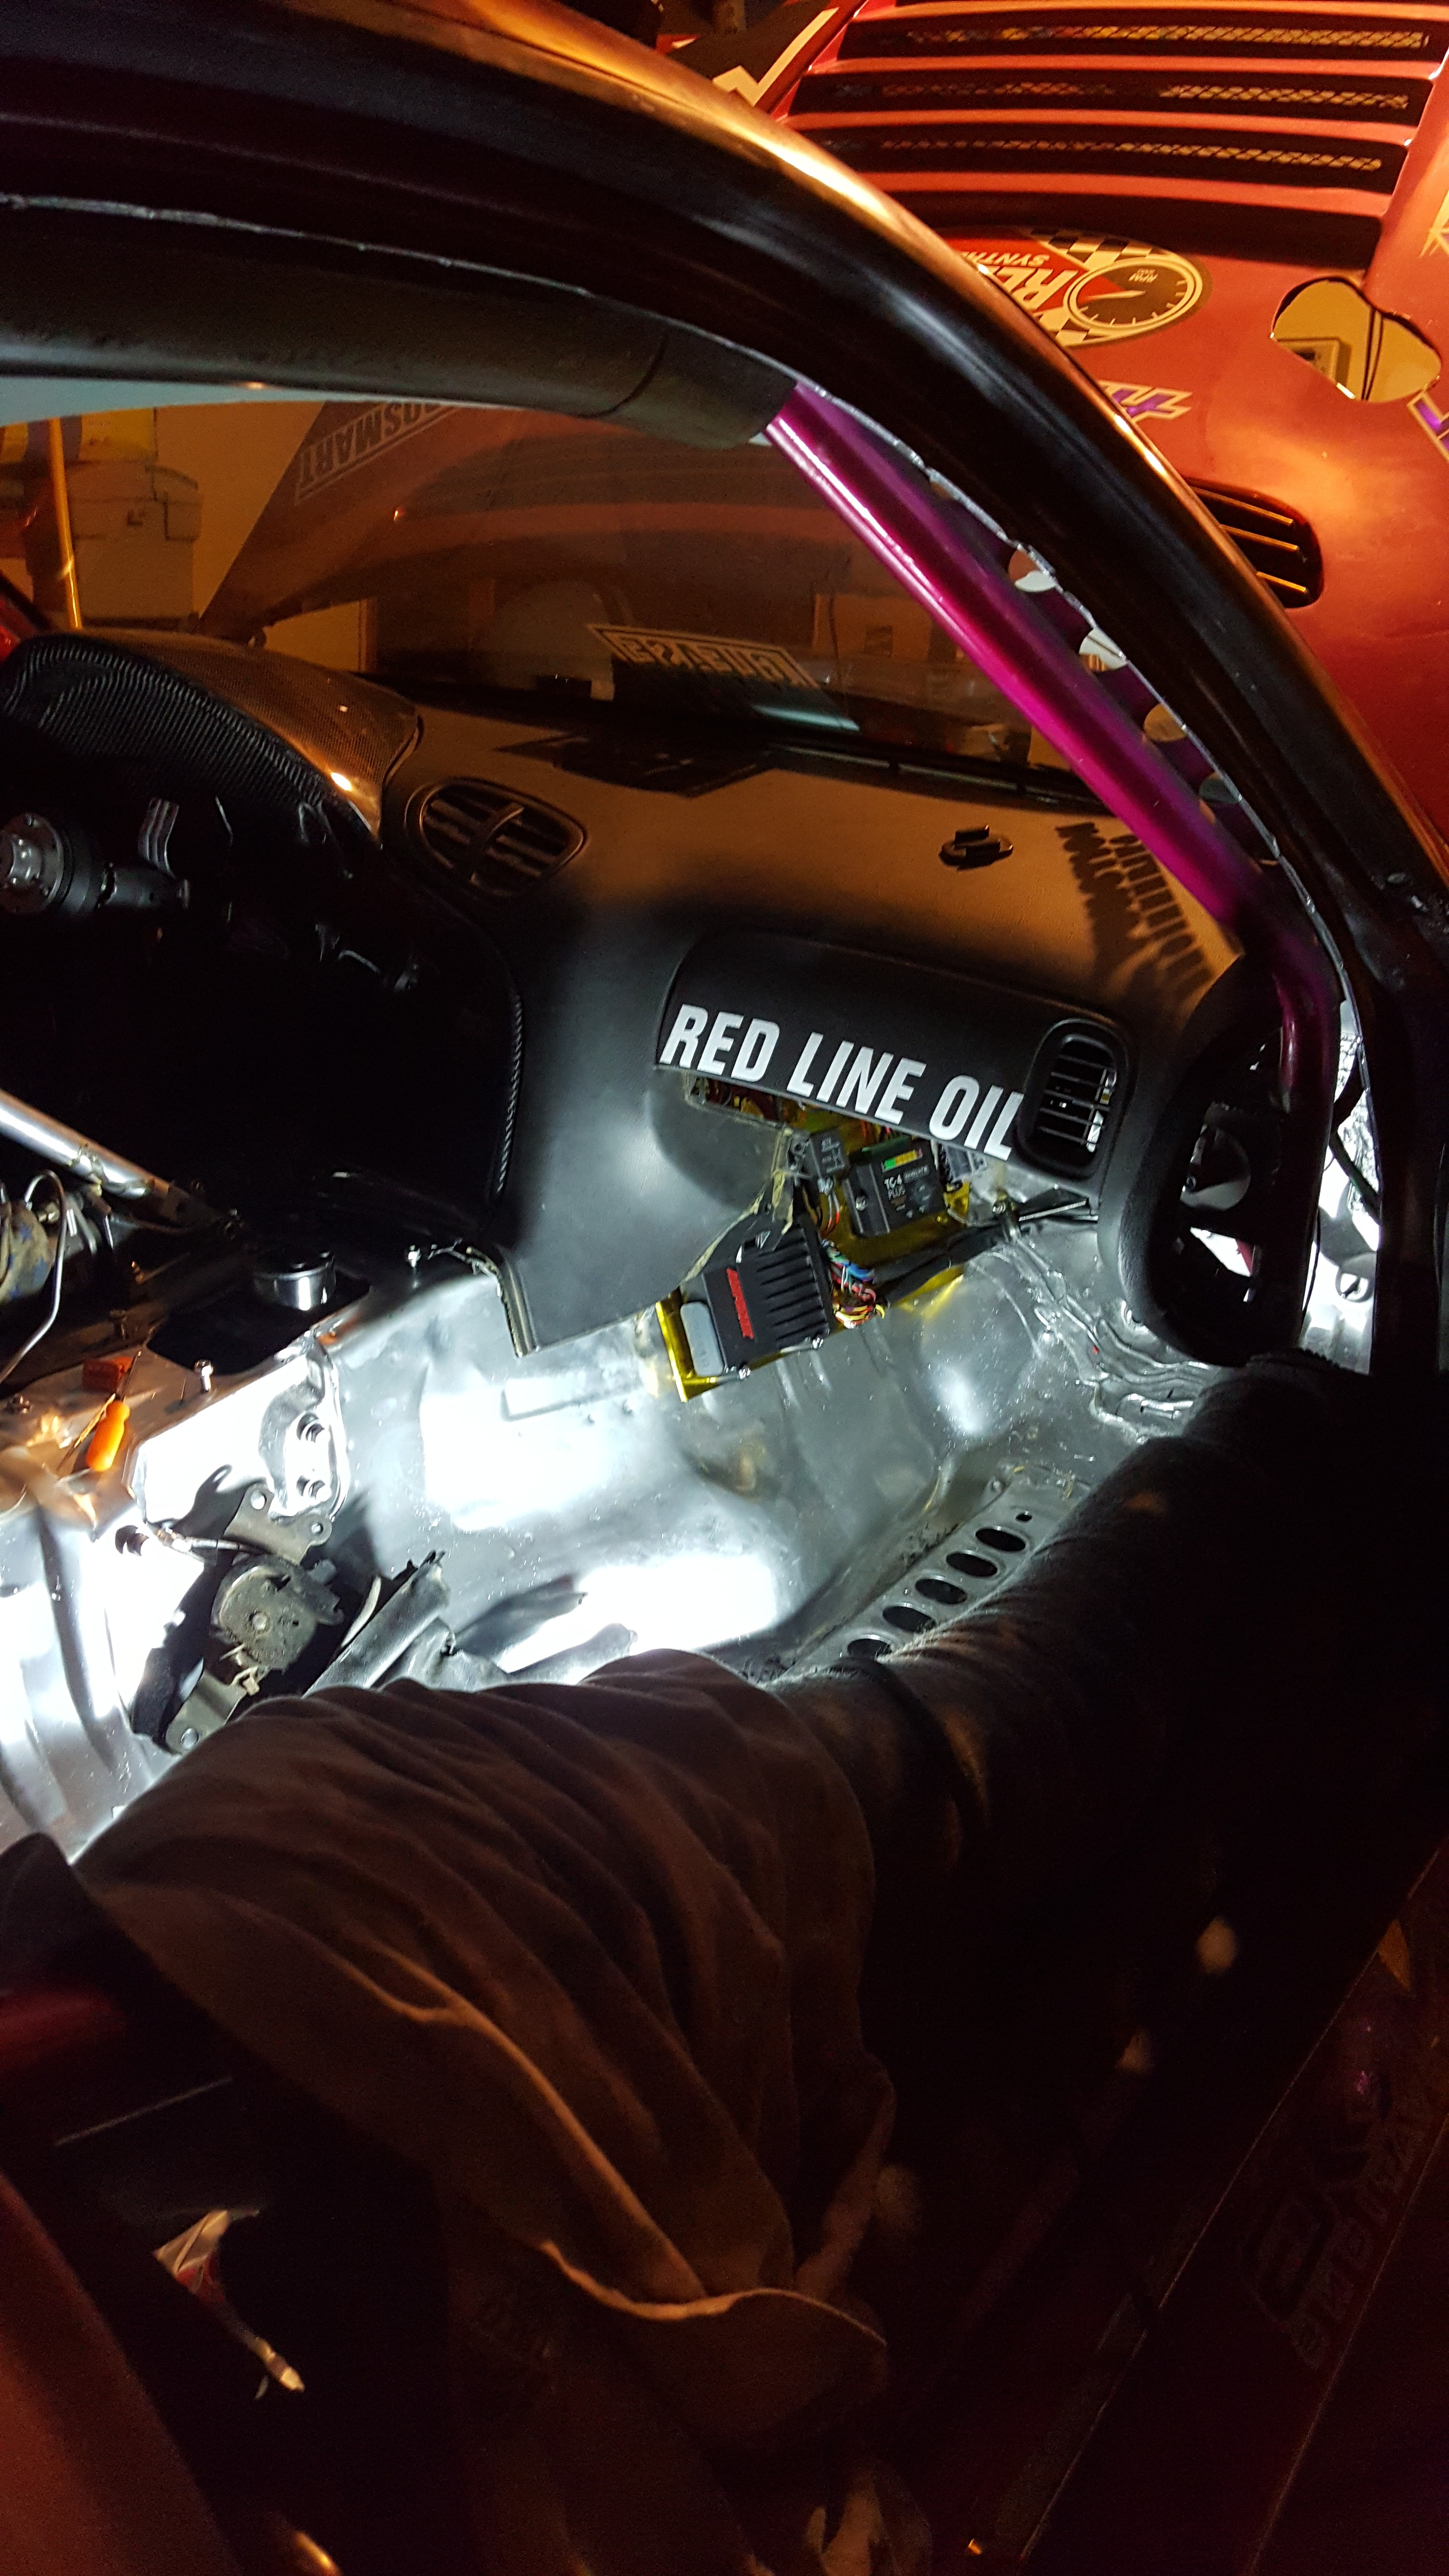
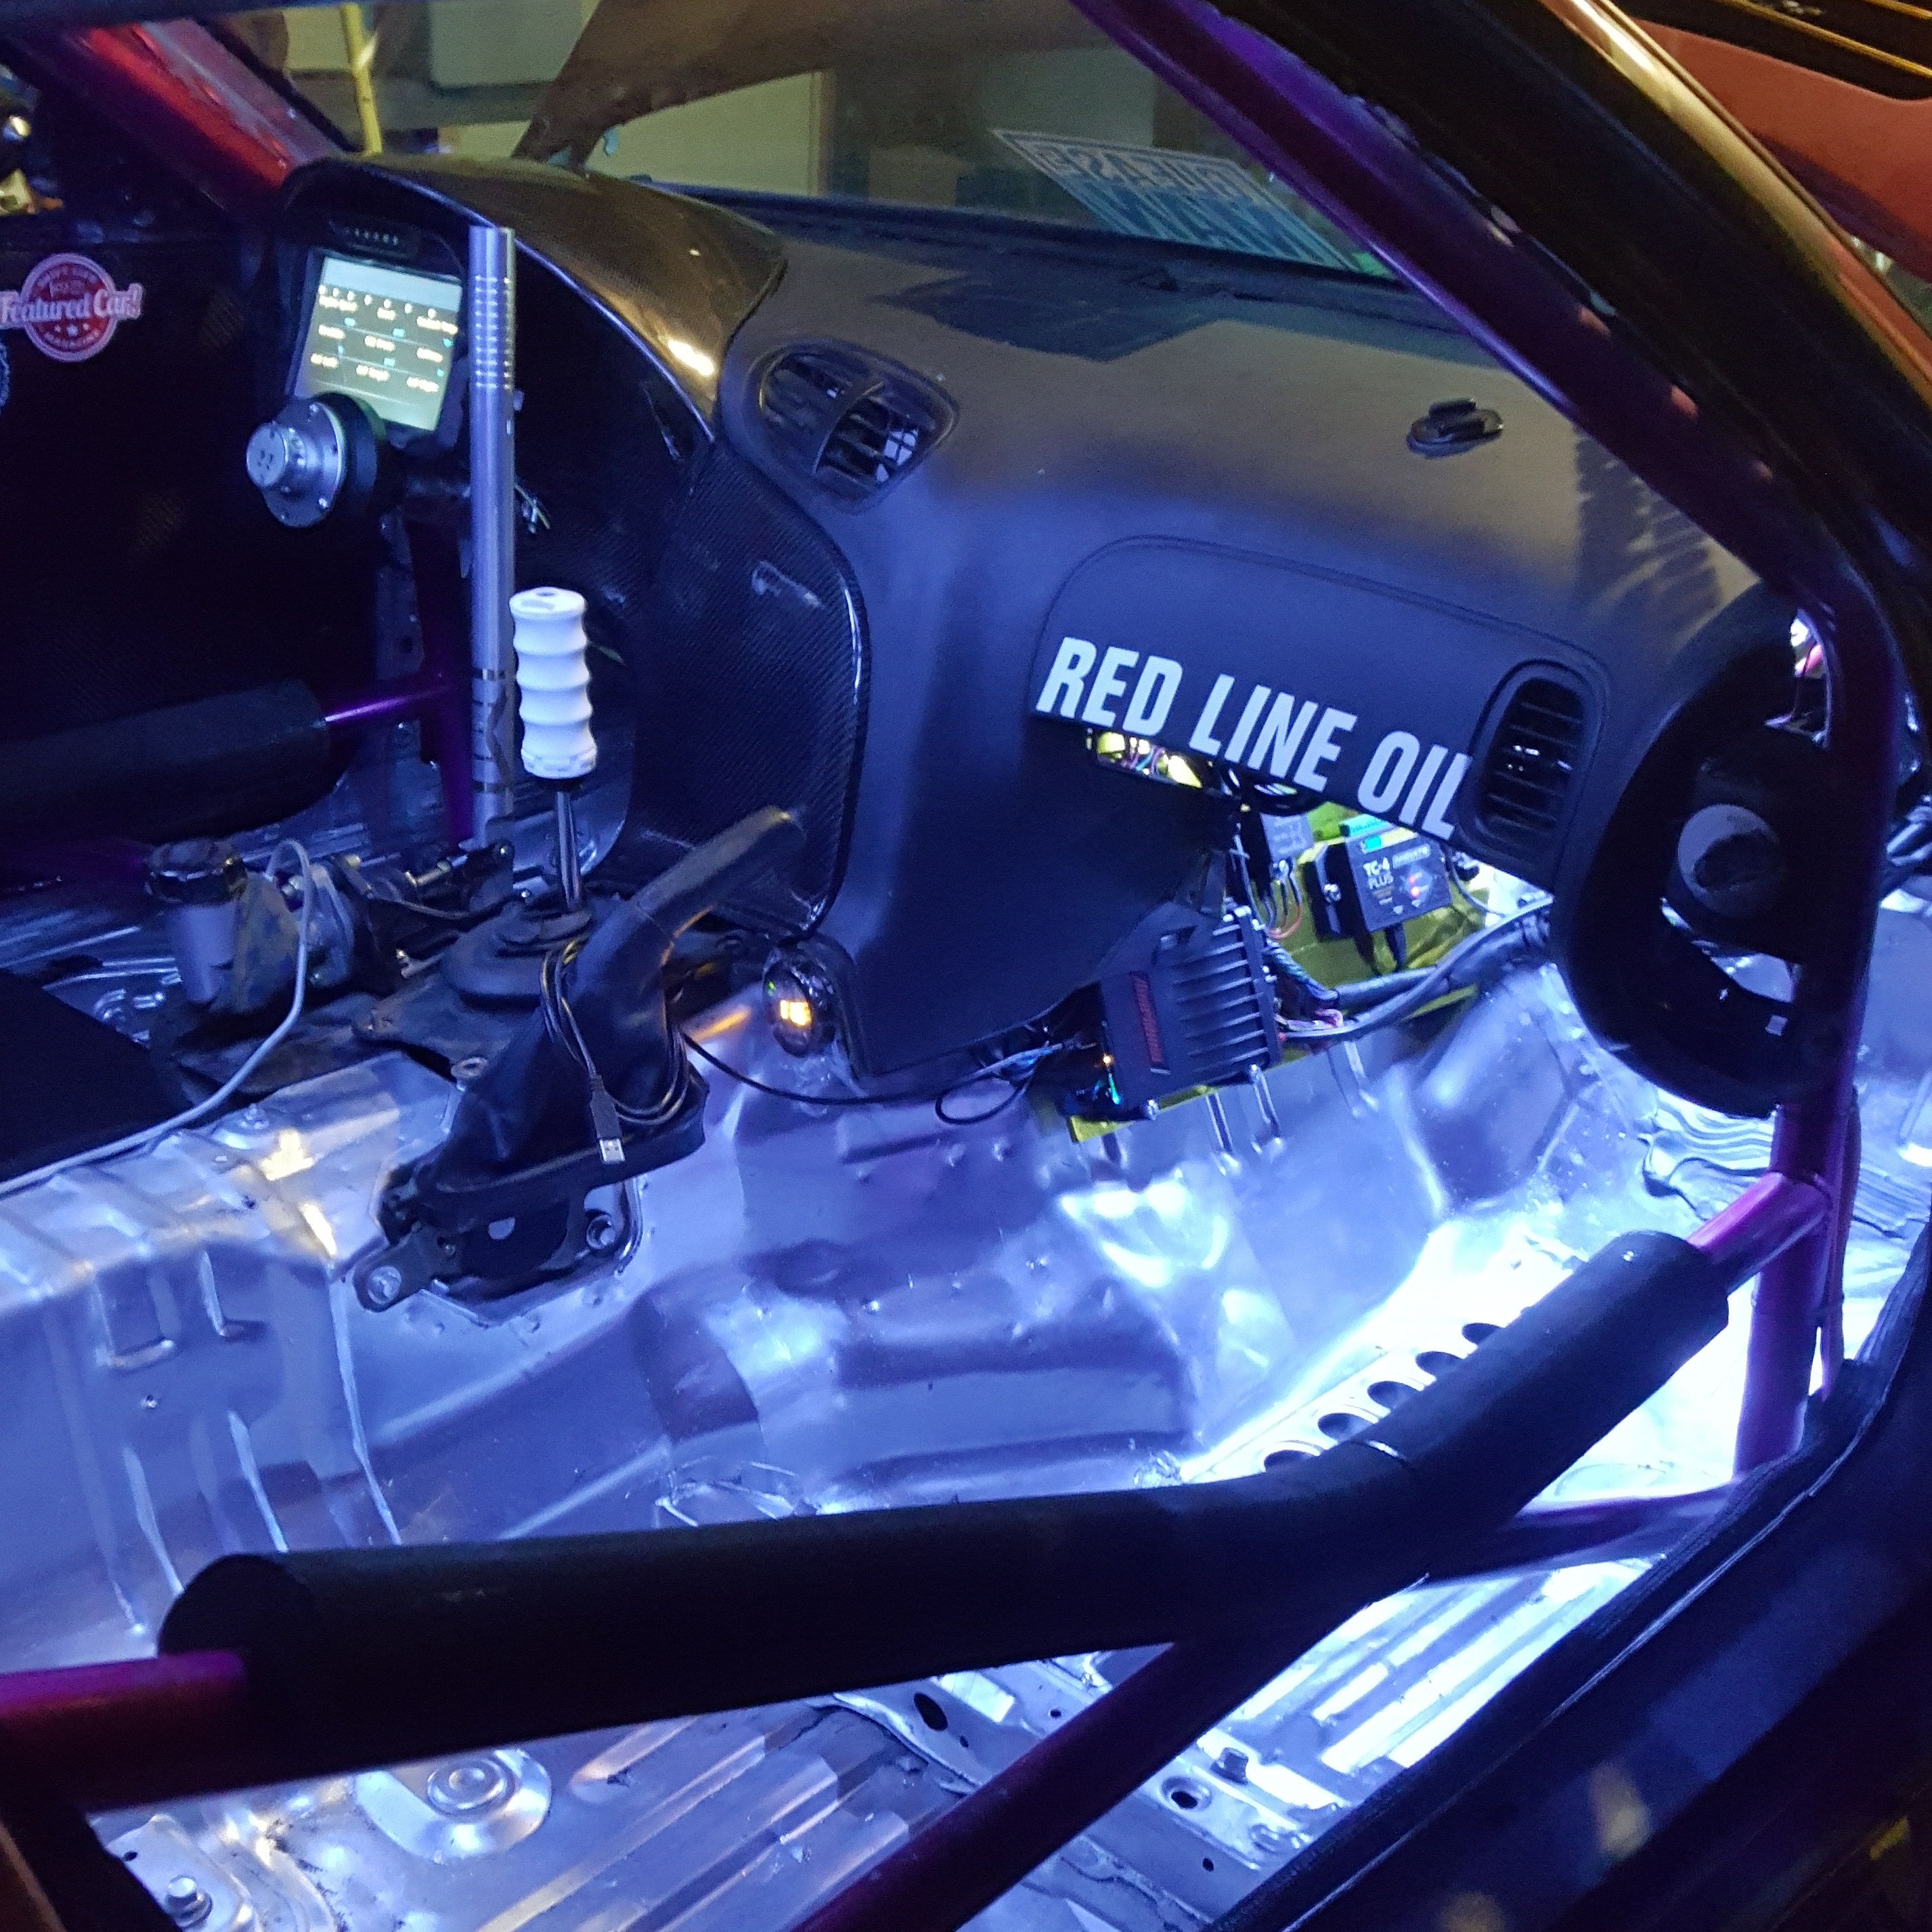
Not sure if i've posted this just yet or not but I installed some Interior Lights so that I can have some light in there if I need. All LED....and in out of the way locations so there's no clutter.
I'm also going to be wiring in some work lights for key areas in the car. But as you can see.. If i ever need to get down under the dash...If I don't have time to pull the dash out ...I'll have light down there.
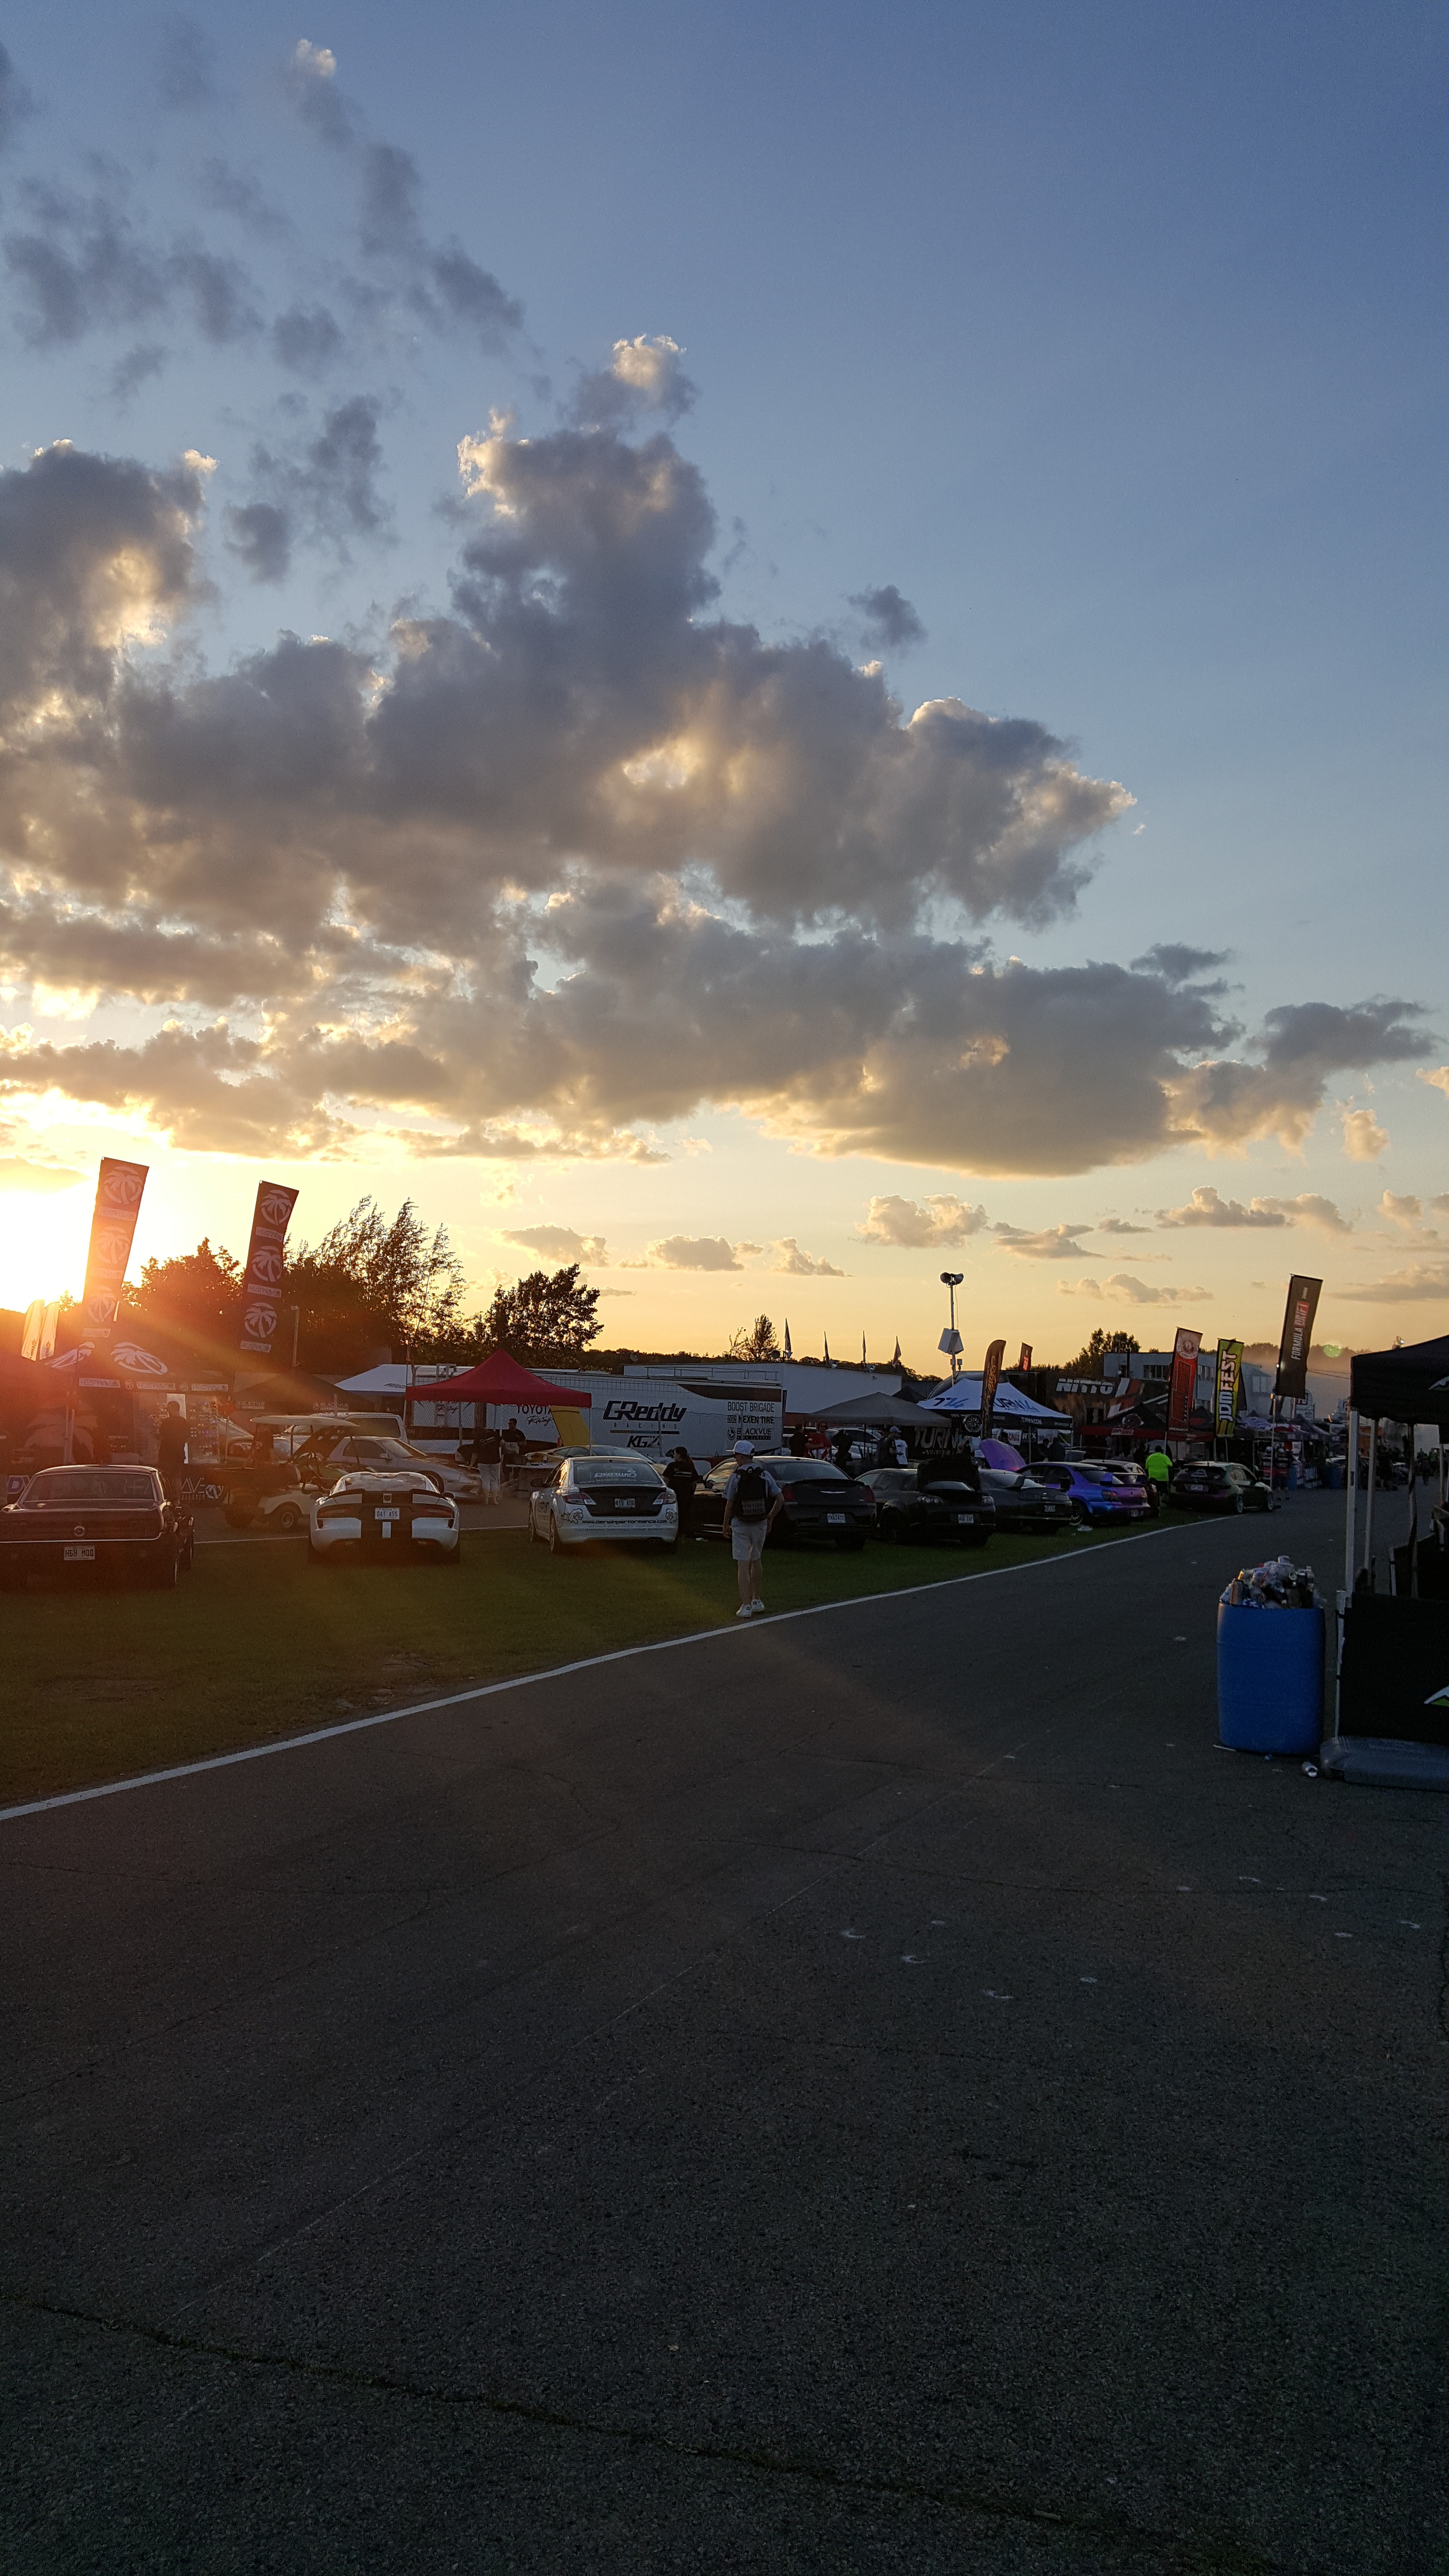
Formula Drift Canada!!
Working with Odi and the Team has been Great!
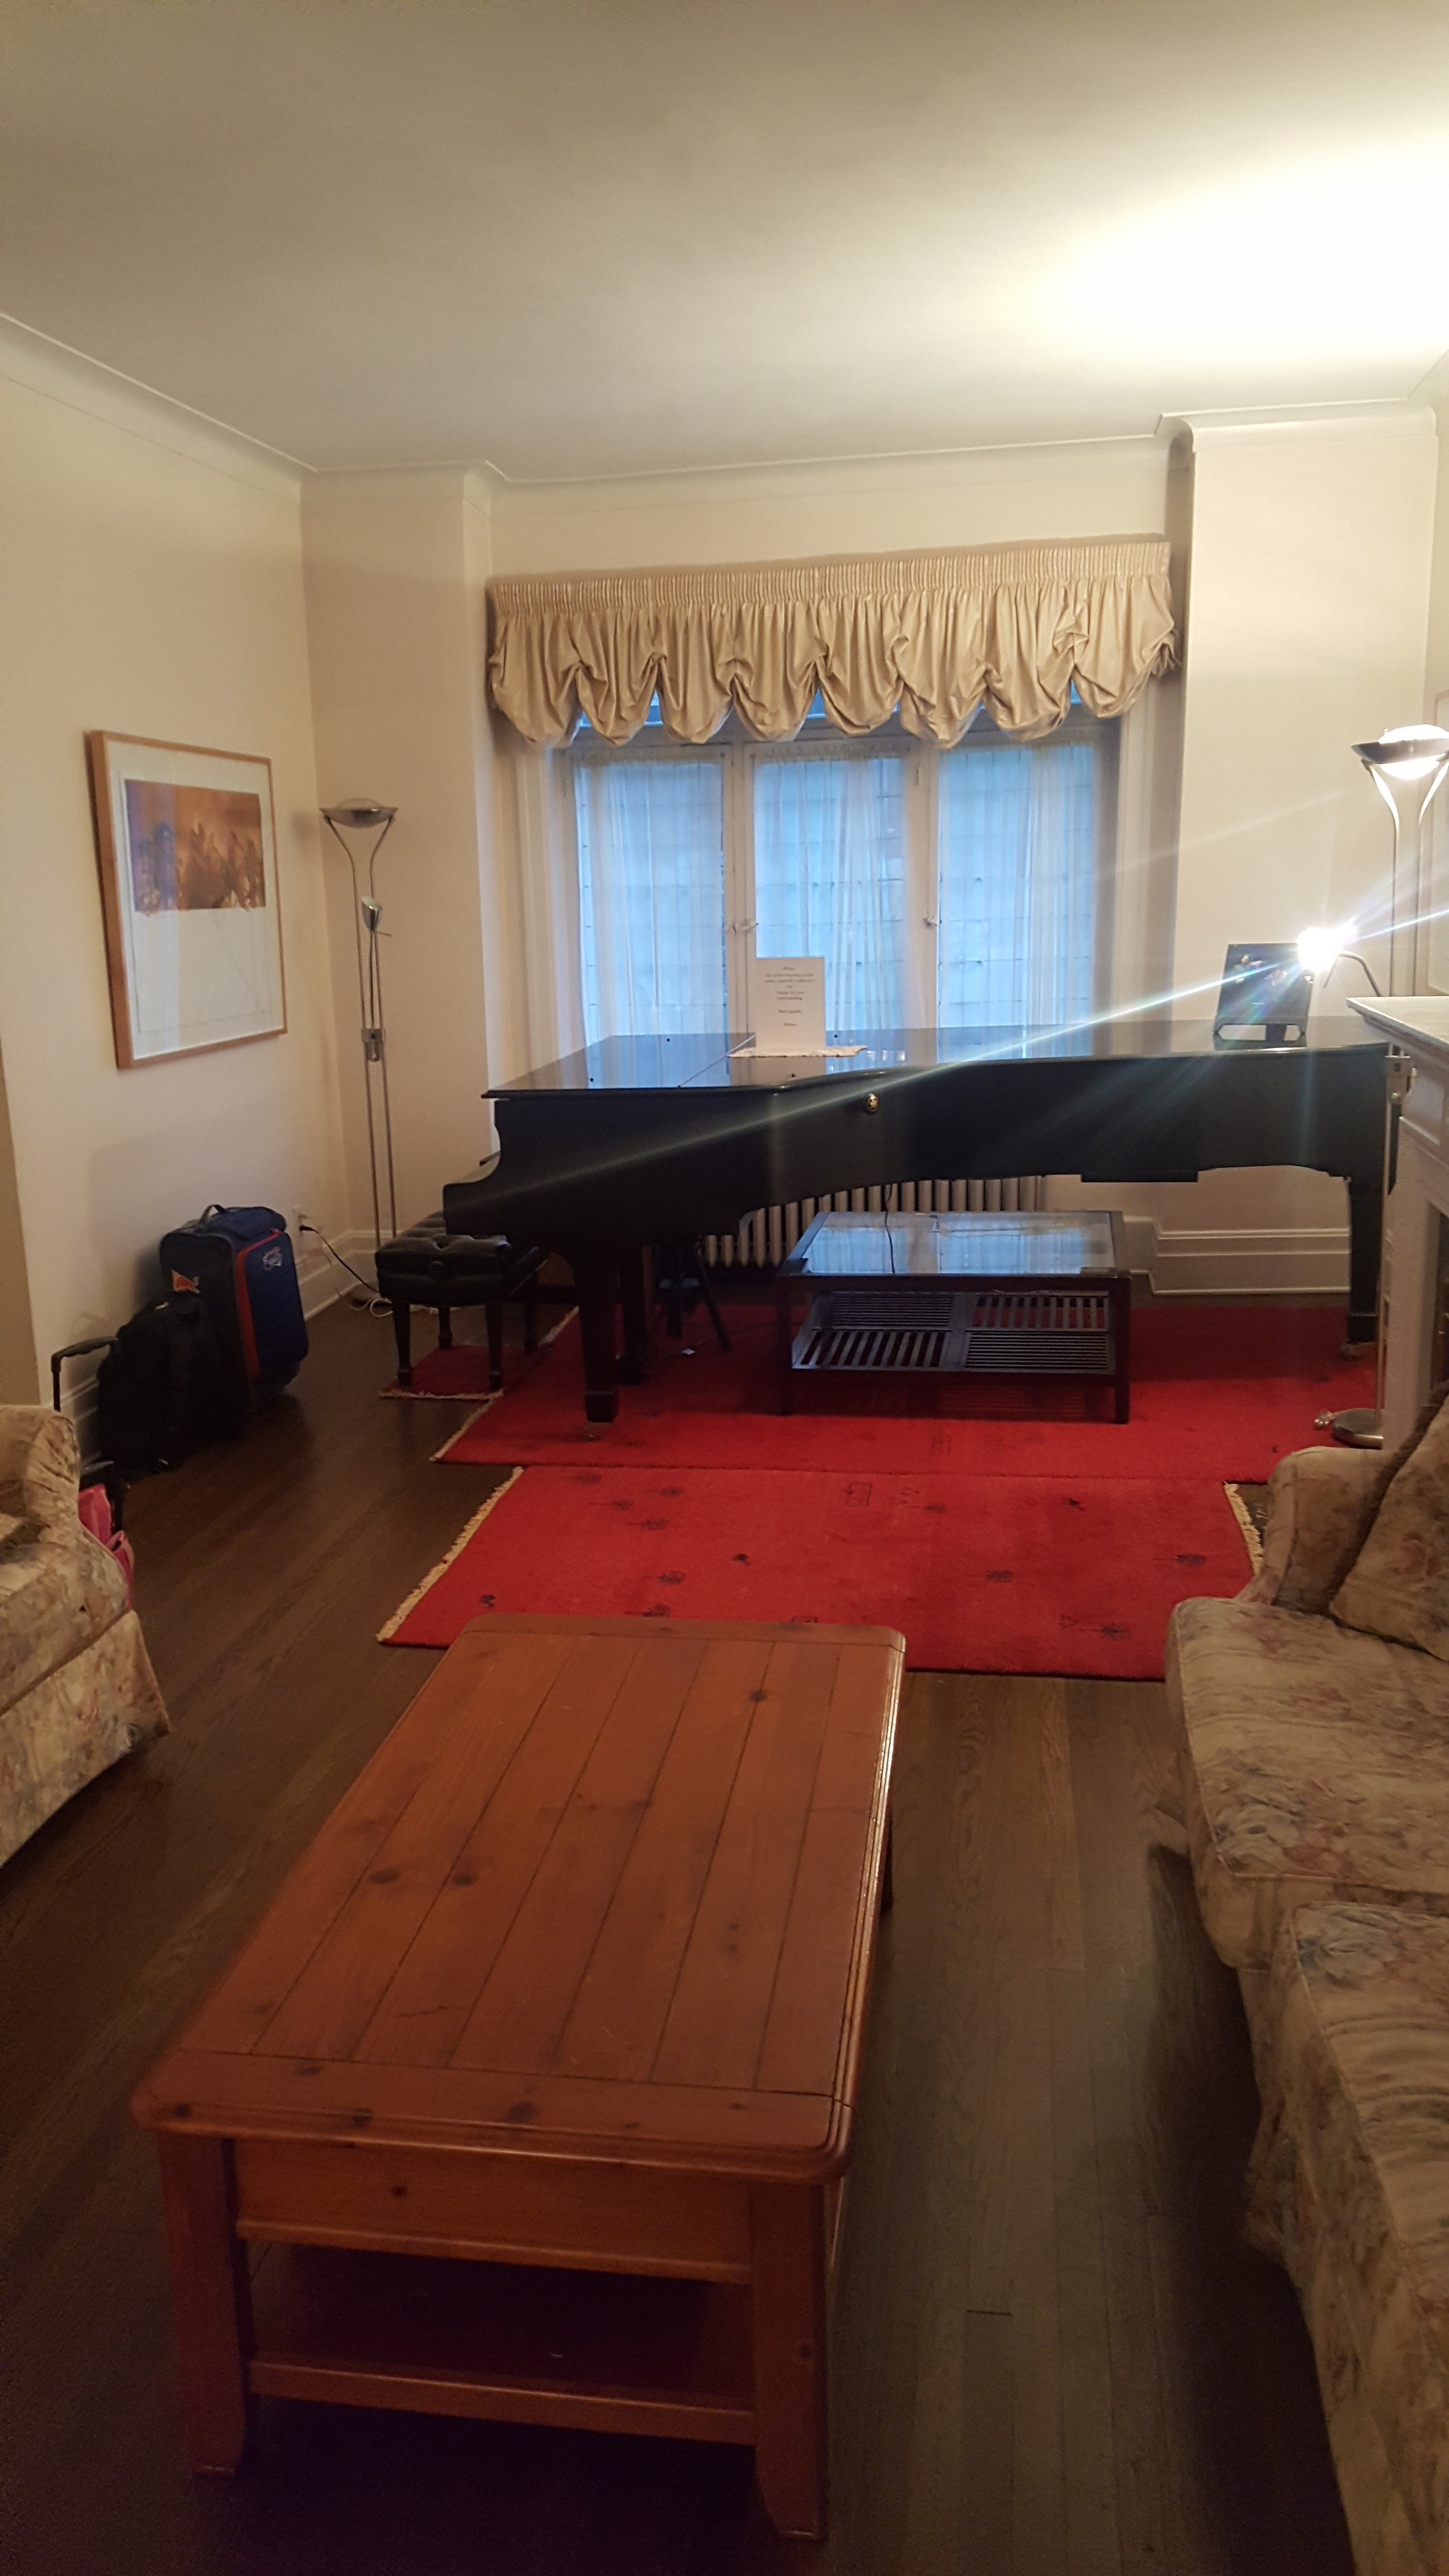
Check out the lodging! Air BnB!
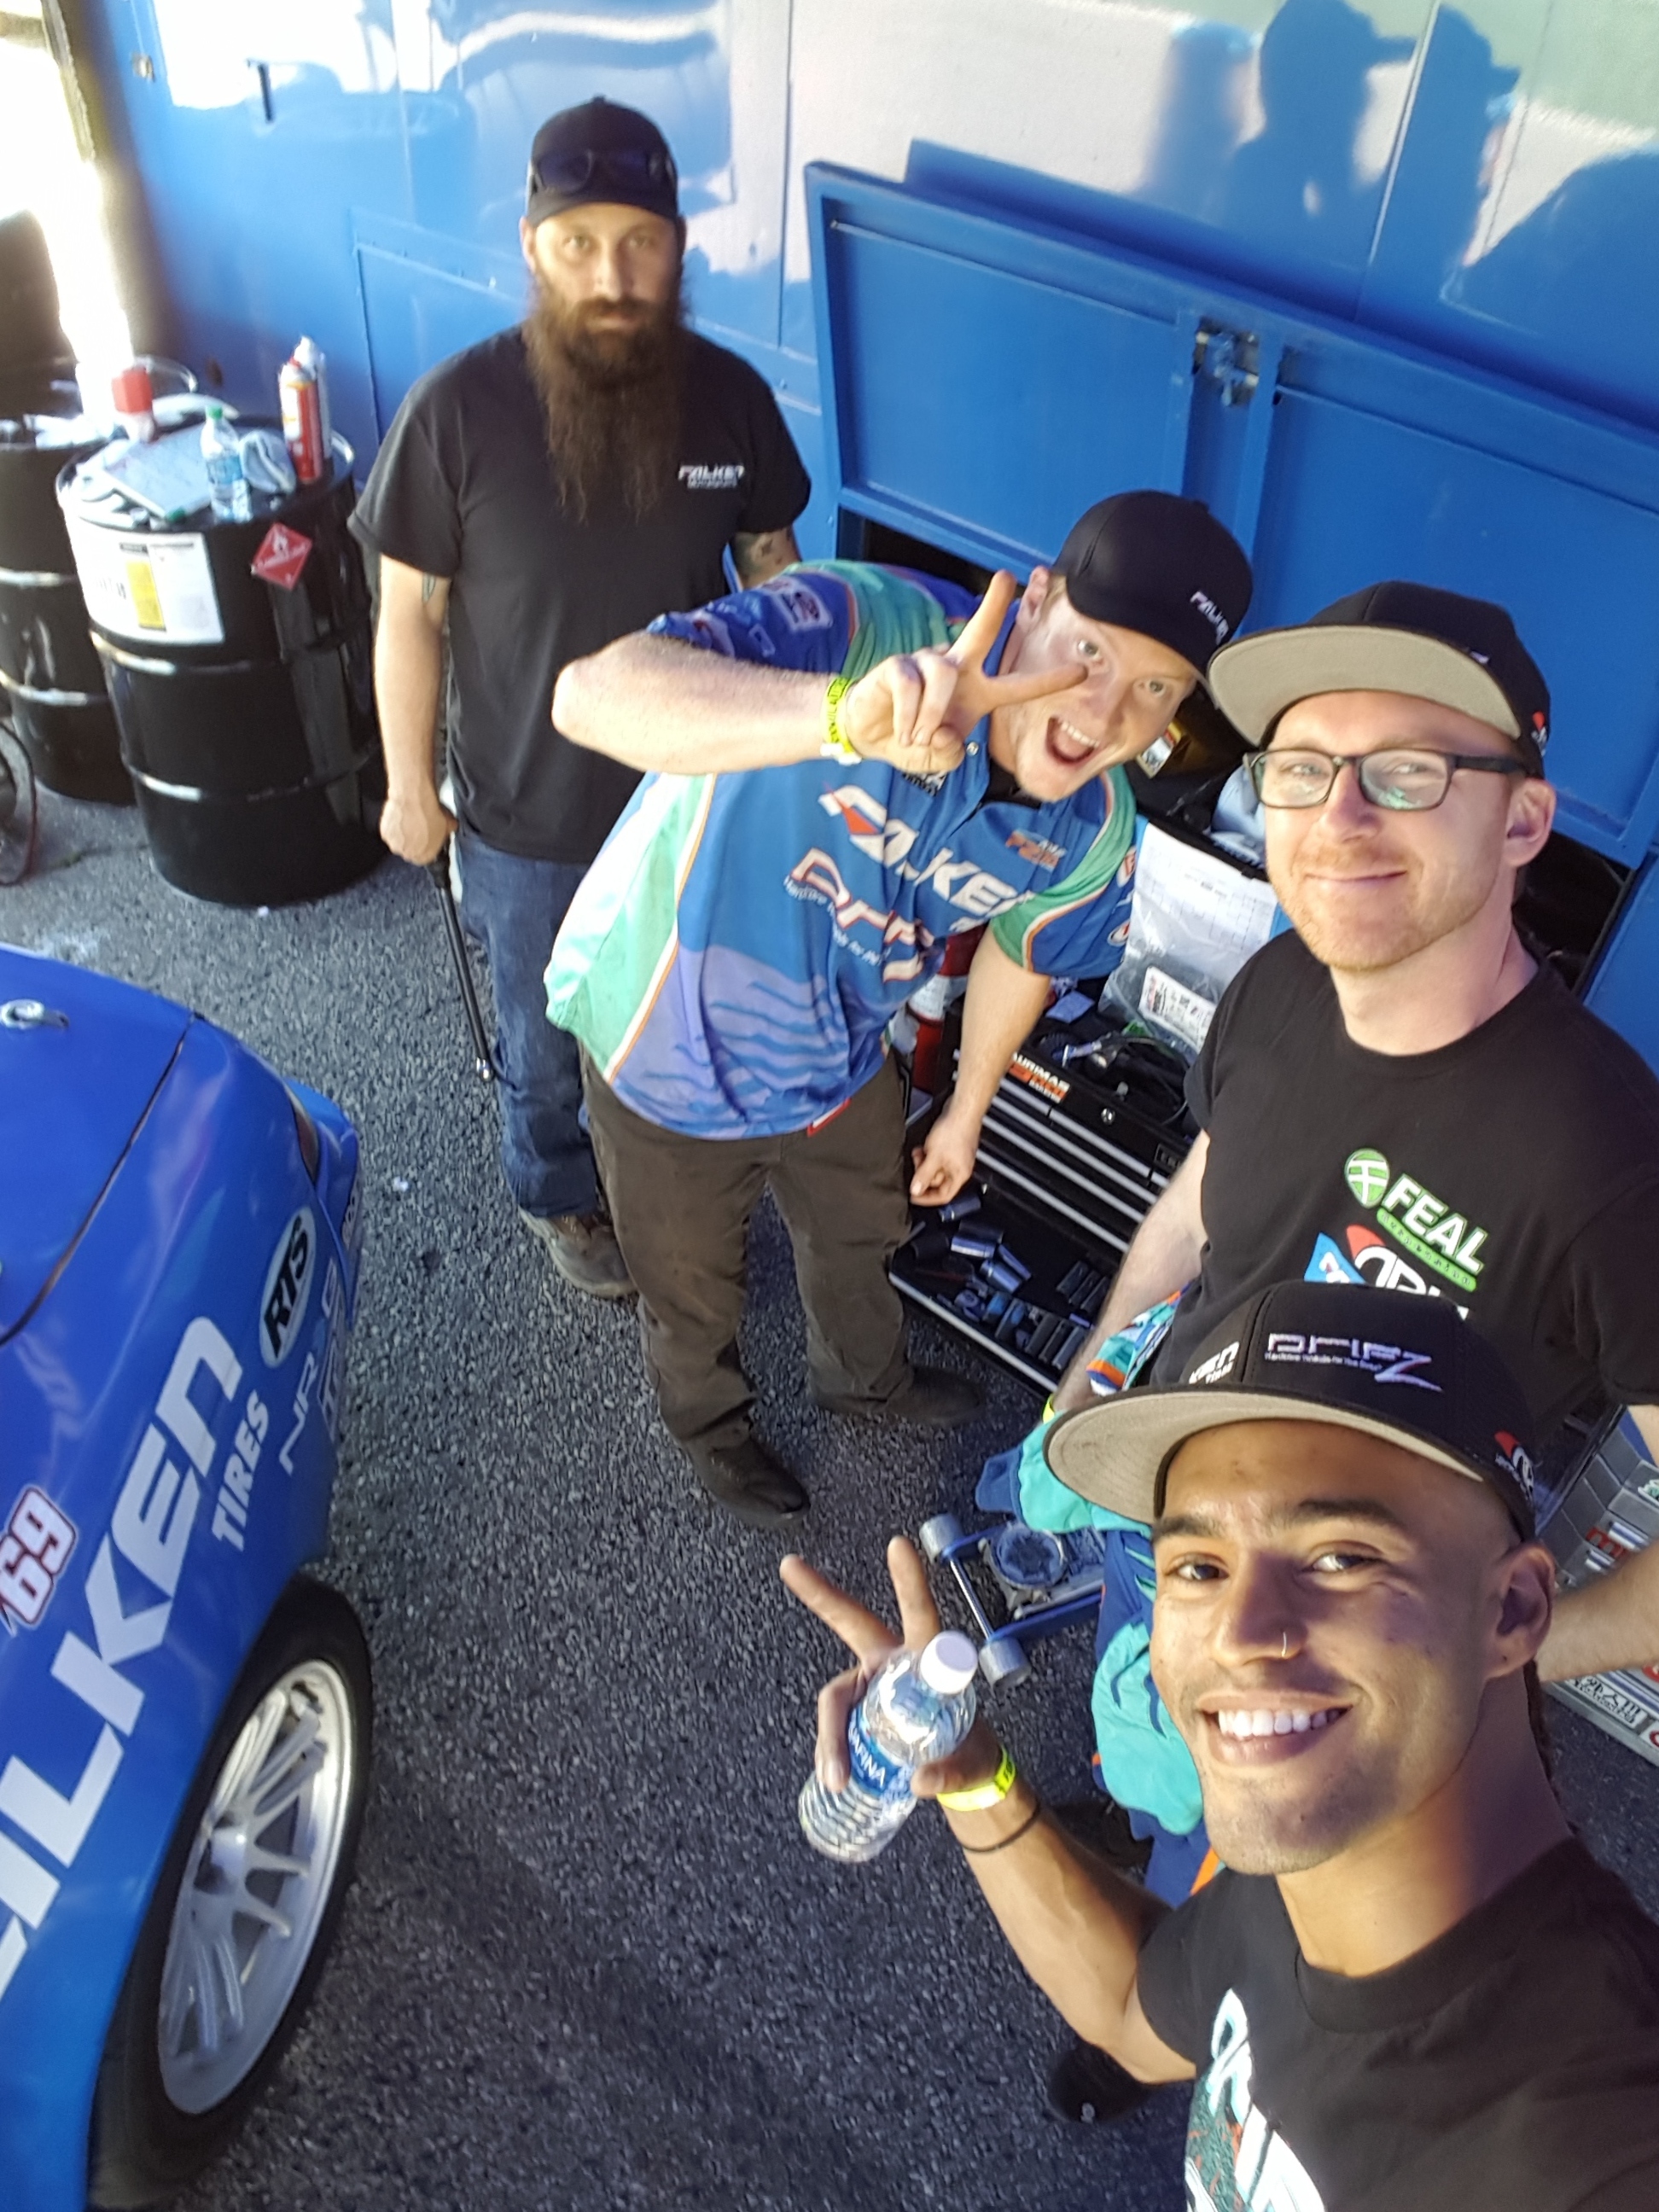
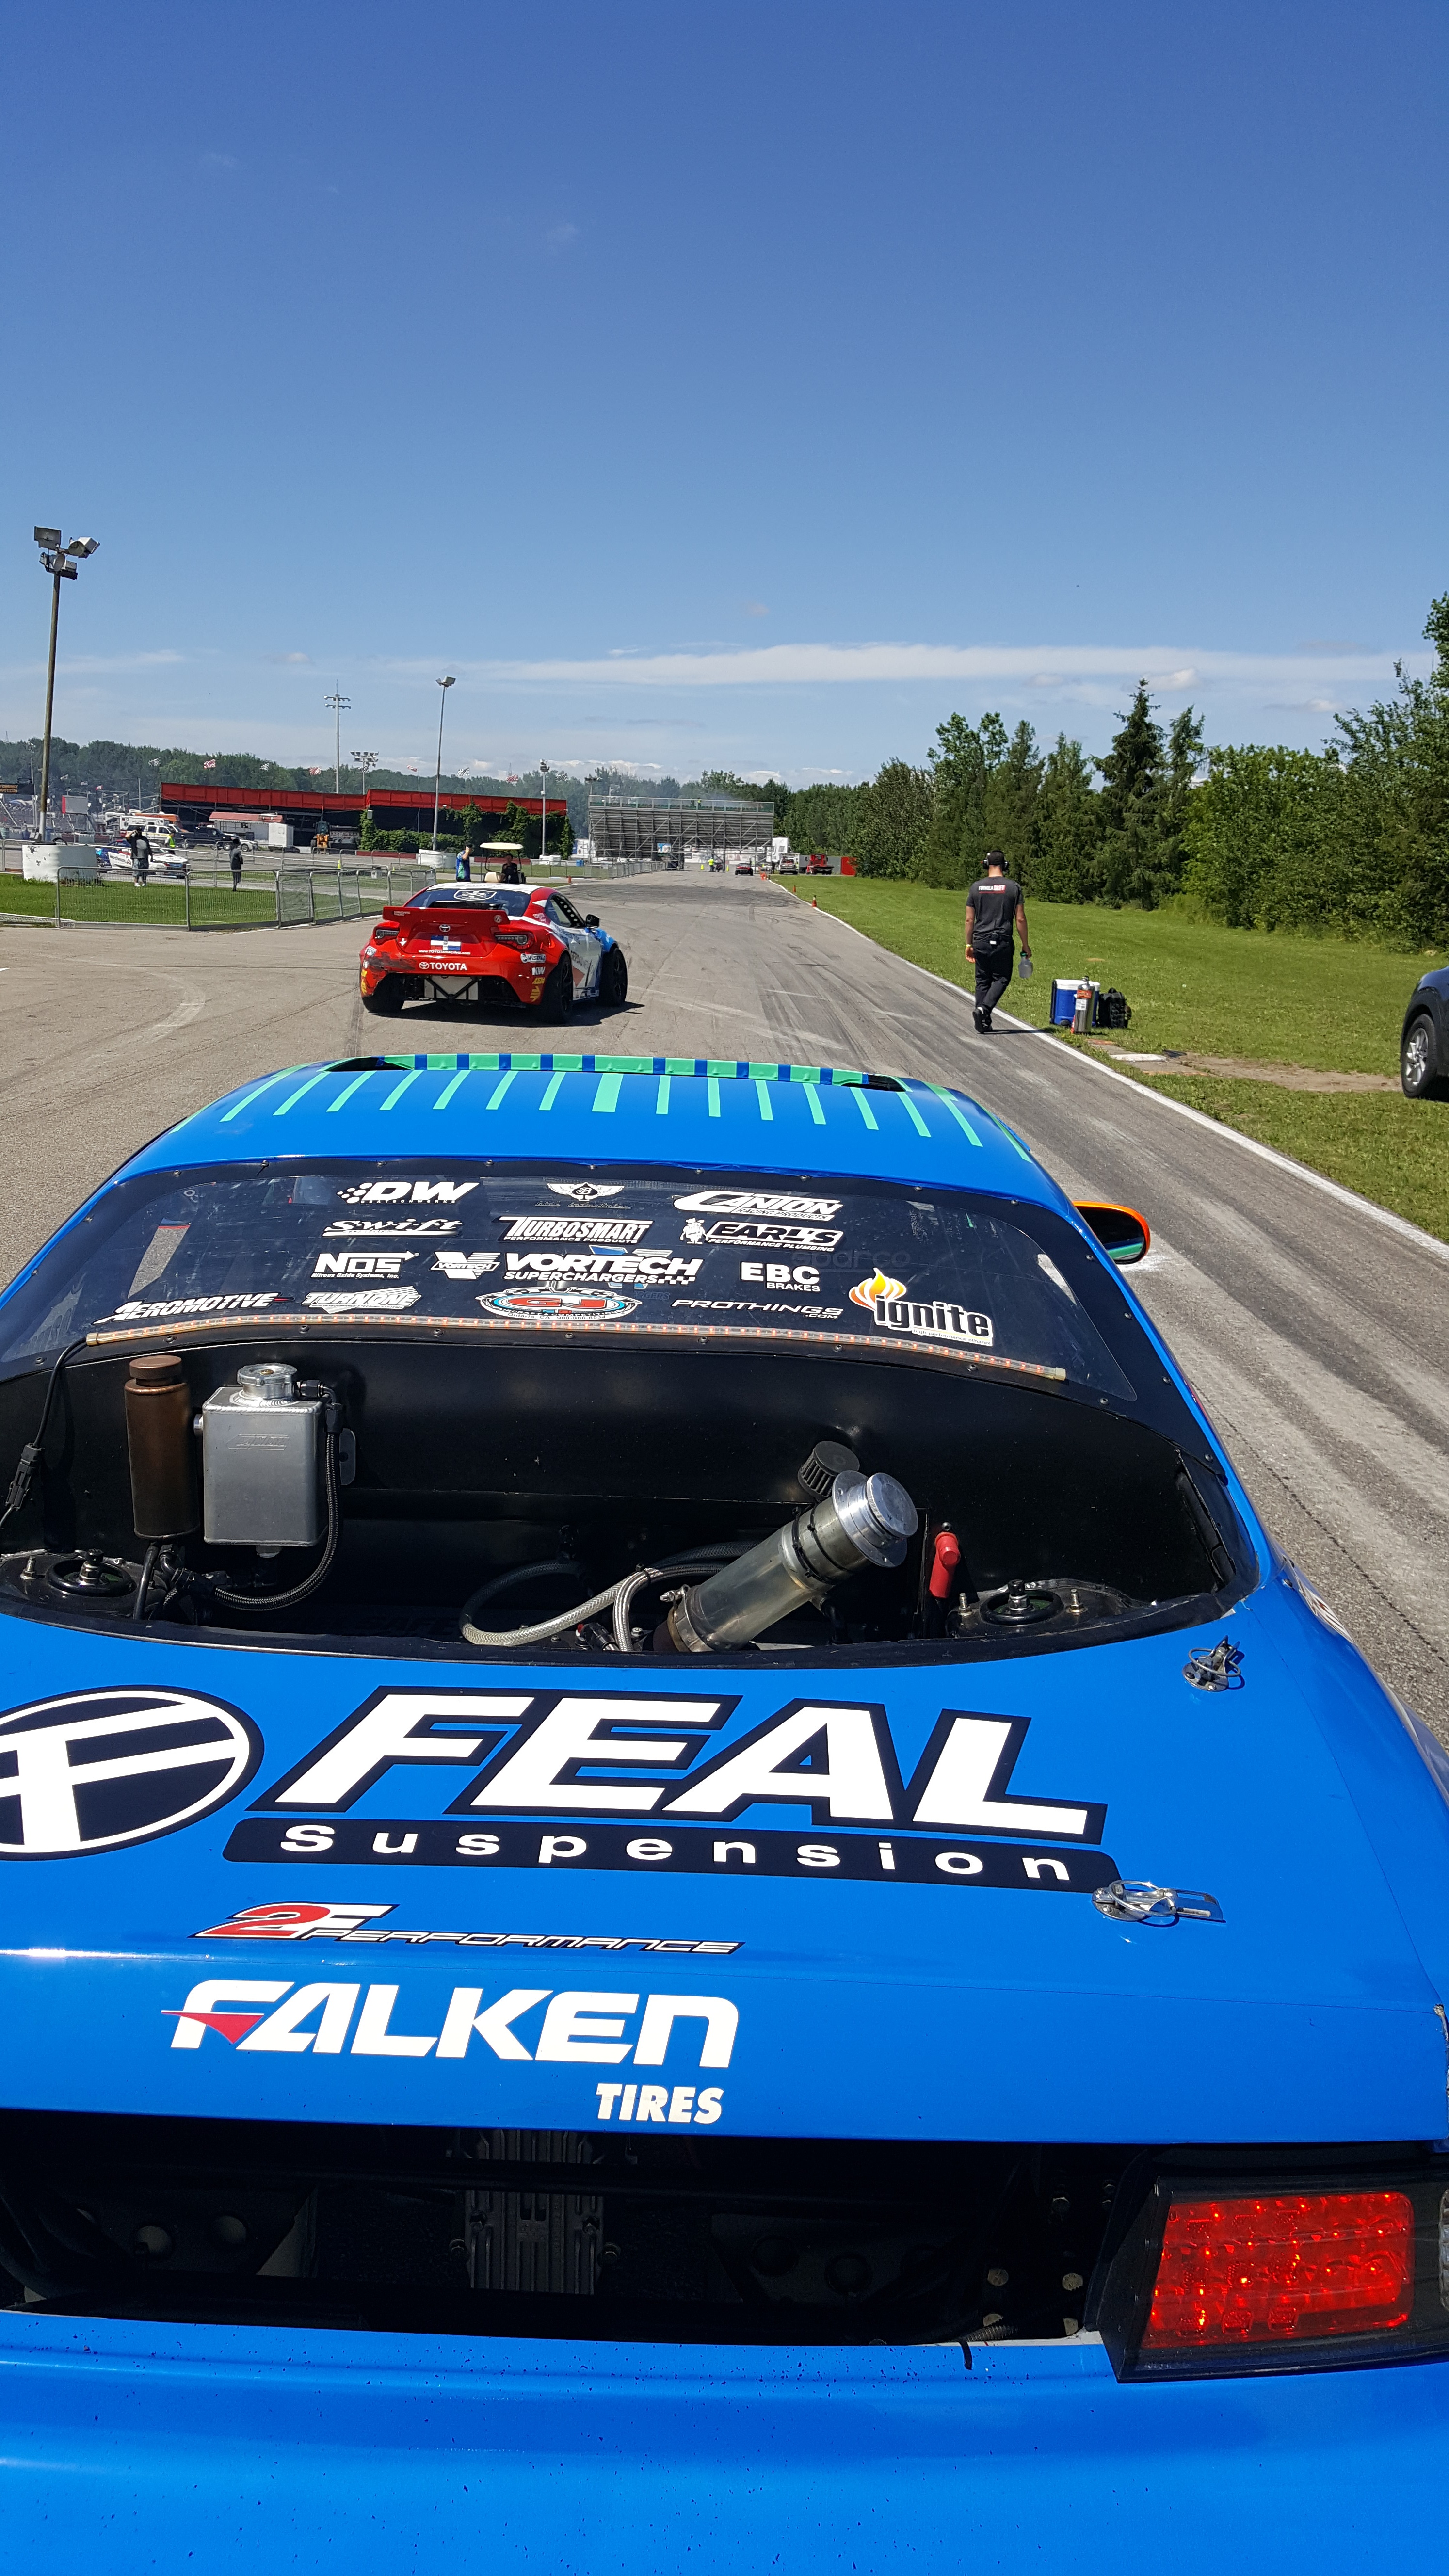
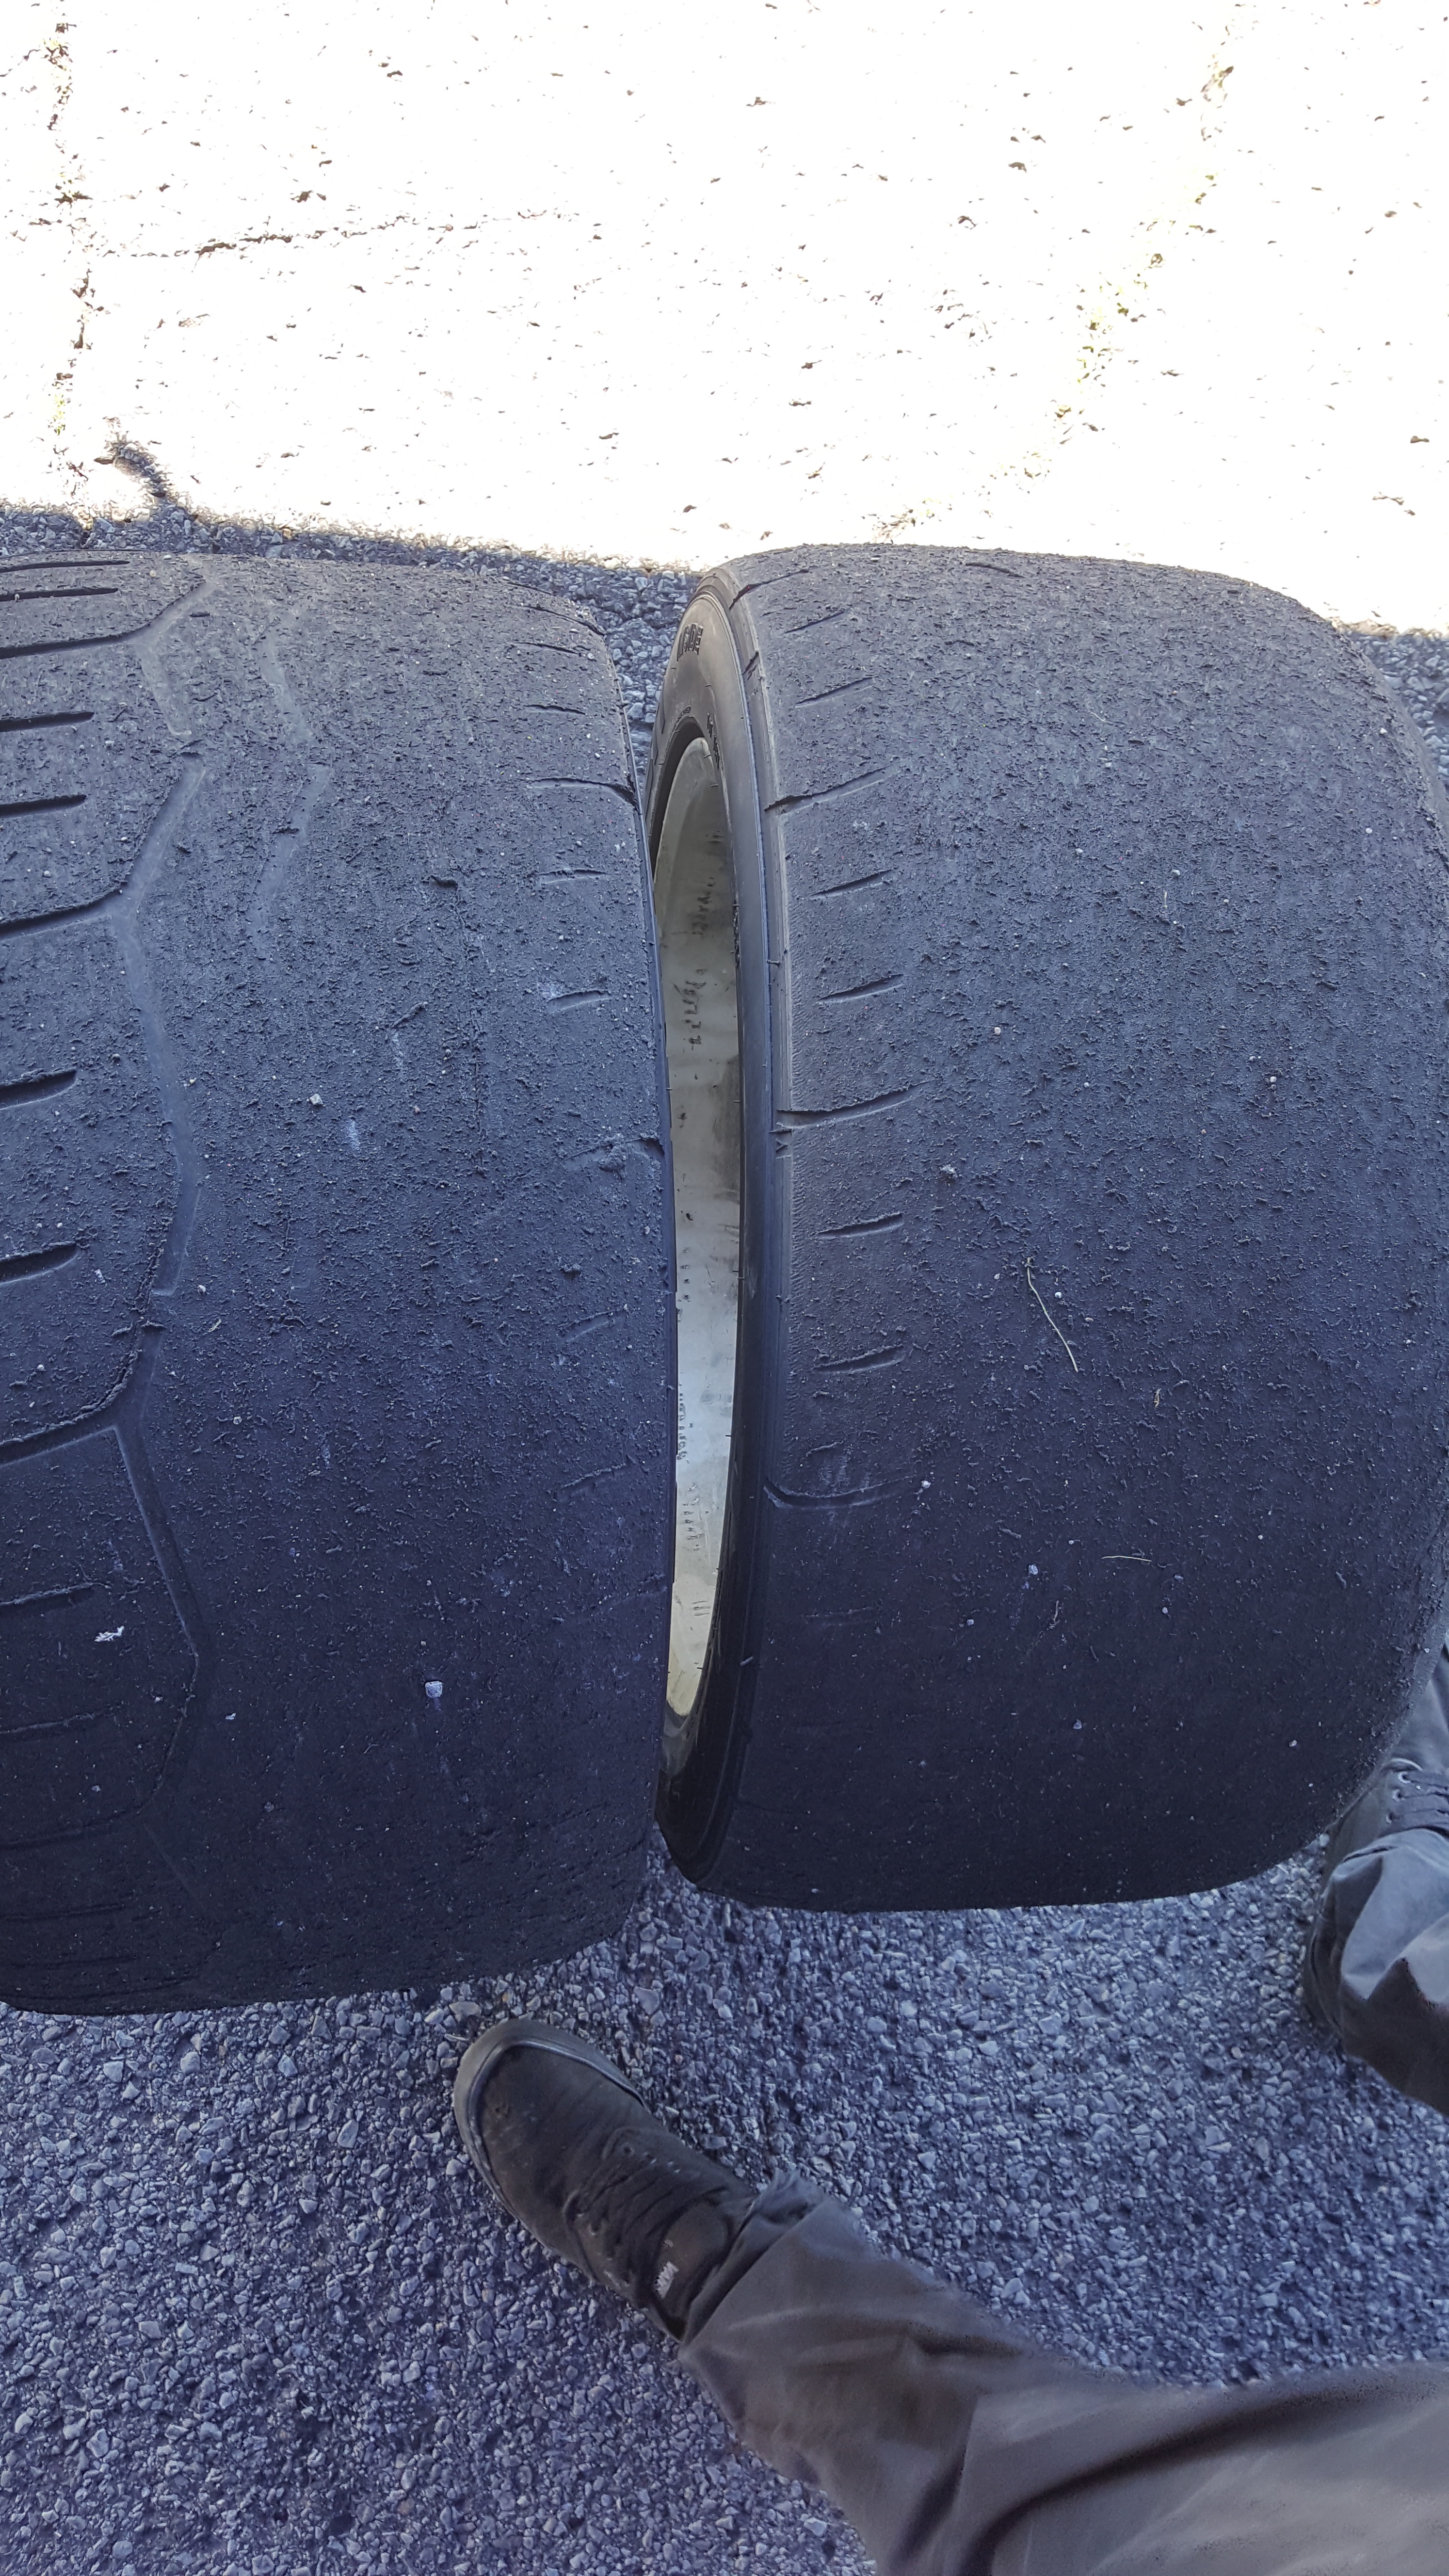
We spend so much time during practice trying to even this out. Tire Wear is crucial to being fast. We do all sorts of things to achieve this. Working with Odi has given me so much knowledge on this that it's truly priceless. Here's a pic of practice before qualifying.
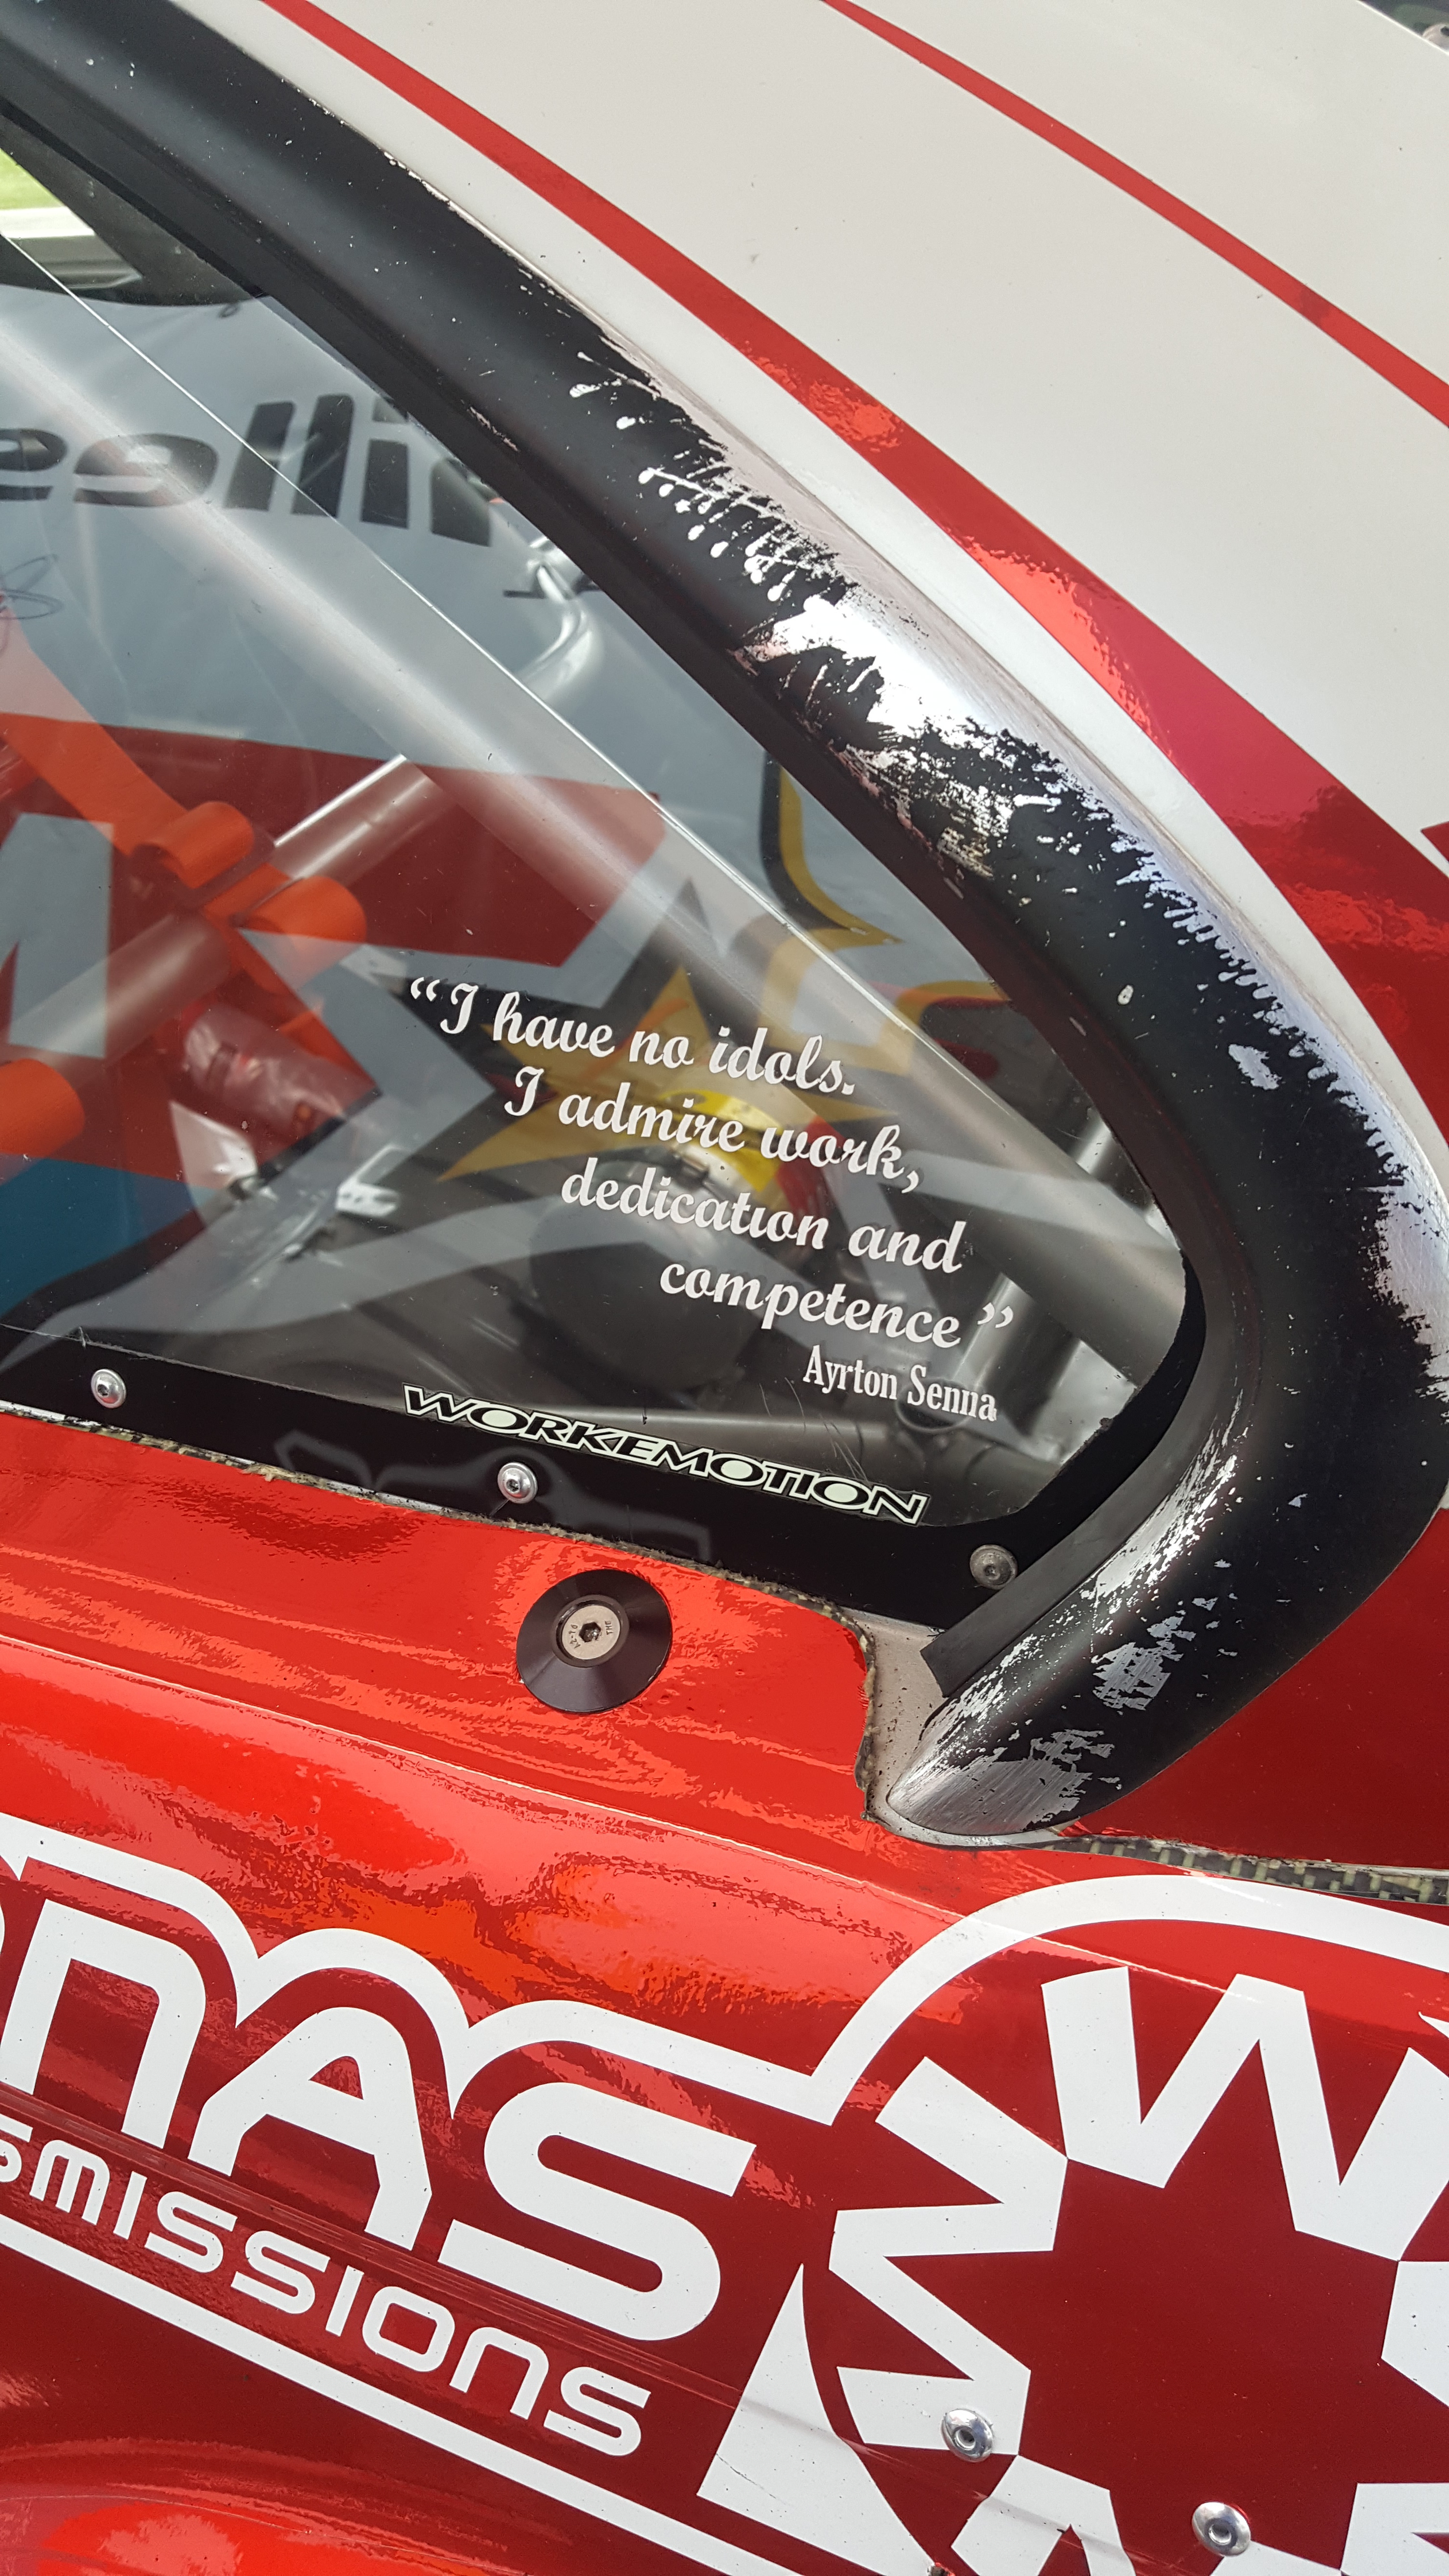
True depth in meaning
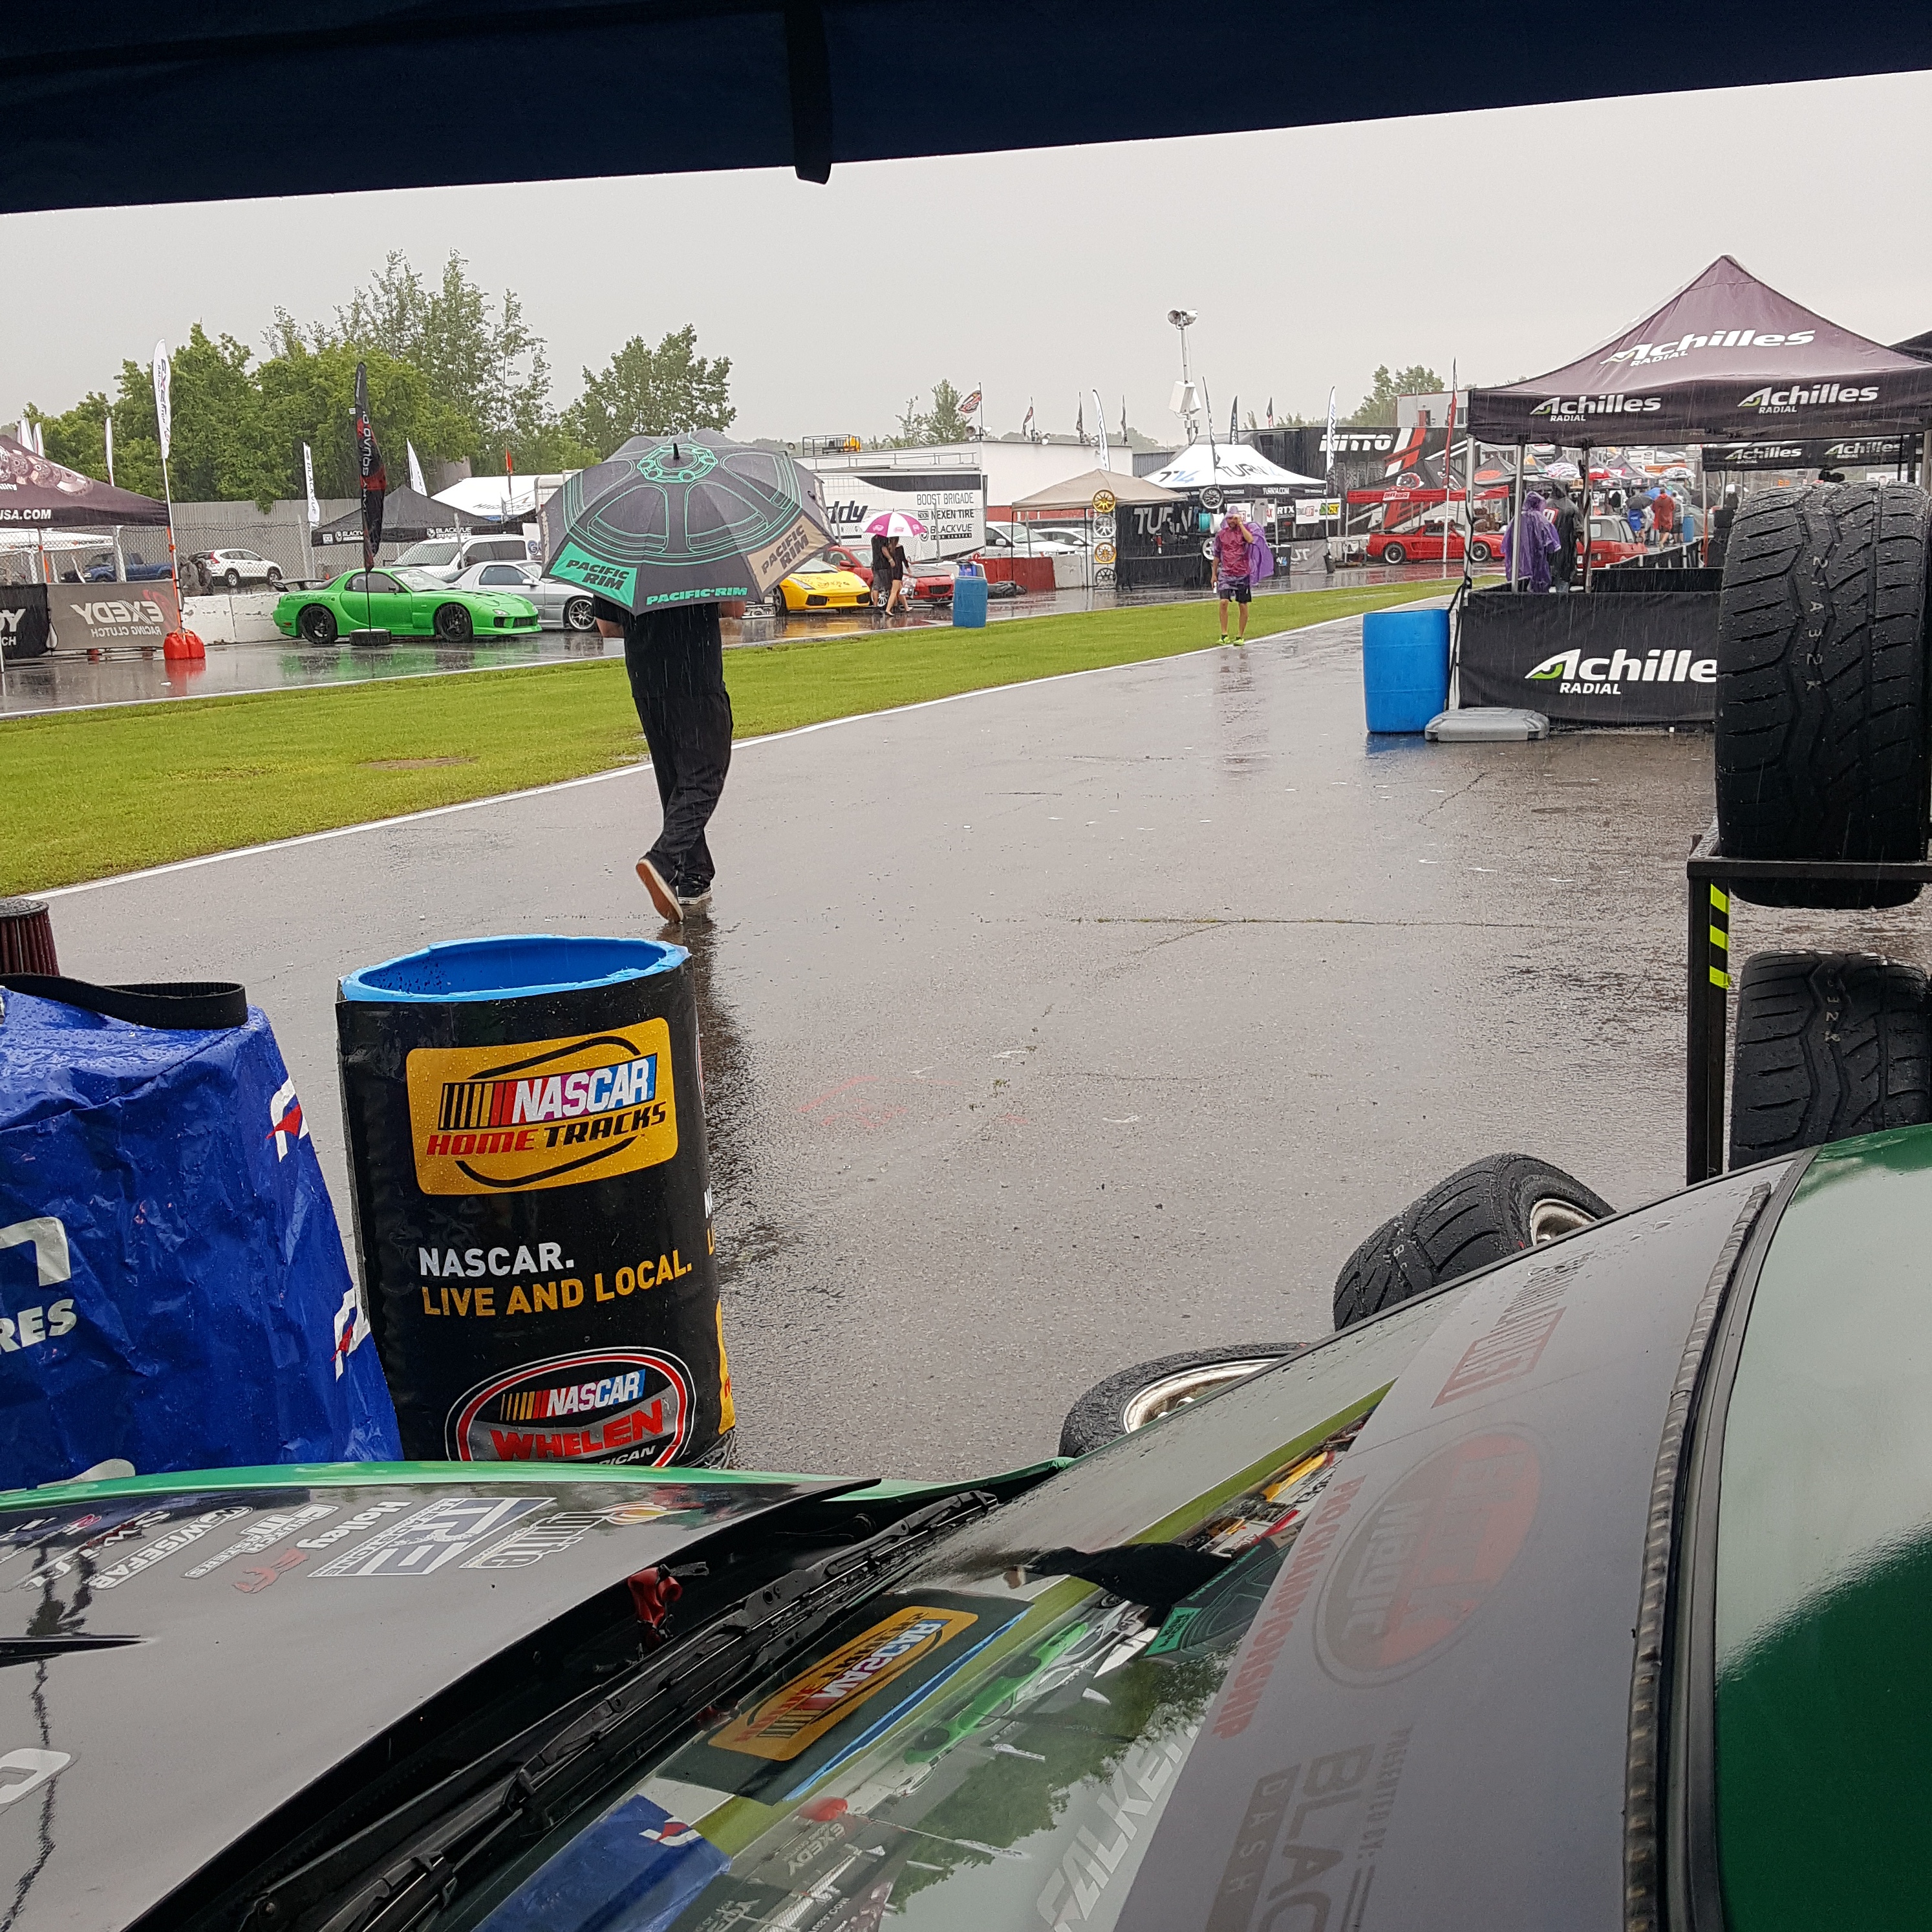
Rain changes everything
#Gridlife #Gridlyfe
and a bad call out of our favor sends us home.... but the only thing we can focus on is the positive...no matter how crappy it may seem. We go home with a Healthy car in tip top condition. A solid Crew...and a hunger...that'll keep us motivated for the next round. Seattle Here we come!
Came out to Formula Drift... Prepped the living **** out of the car before I left. Was able to install the PBM RUCA on the Wolf and get everything aligned and ready to rip right before I left. I'm really looking forward to Round 3!
Check it!
Not sure if i've posted this just yet or not but I installed some Interior Lights so that I can have some light in there if I need. All LED....and in out of the way locations so there's no clutter.
I'm also going to be wiring in some work lights for key areas in the car. But as you can see.. If i ever need to get down under the dash...If I don't have time to pull the dash out ...I'll have light down there.
Formula Drift Canada!!
Working with Odi and the Team has been Great!
Check out the lodging! Air BnB!
We spend so much time during practice trying to even this out. Tire Wear is crucial to being fast. We do all sorts of things to achieve this. Working with Odi has given me so much knowledge on this that it's truly priceless. Here's a pic of practice before qualifying.
True depth in meaning
Rain changes everything
#Gridlife #Gridlyfe
and a bad call out of our favor sends us home.... but the only thing we can focus on is the positive...no matter how crappy it may seem. We go home with a Healthy car in tip top condition. A solid Crew...and a hunger...that'll keep us motivated for the next round. Seattle Here we come!
Update: From Montreal (Part 2)
Here are some shots that I thought you guys might enjoy. I truly wish I could bring every single one of you guys along with on some of these adventures. Trying to do my best to share with you guys some of the experiences. Montreal is a really pretty place. Not sure how it is in the winter, but during the summer months....it's great. Here are some pics from our leisure the day after the event.
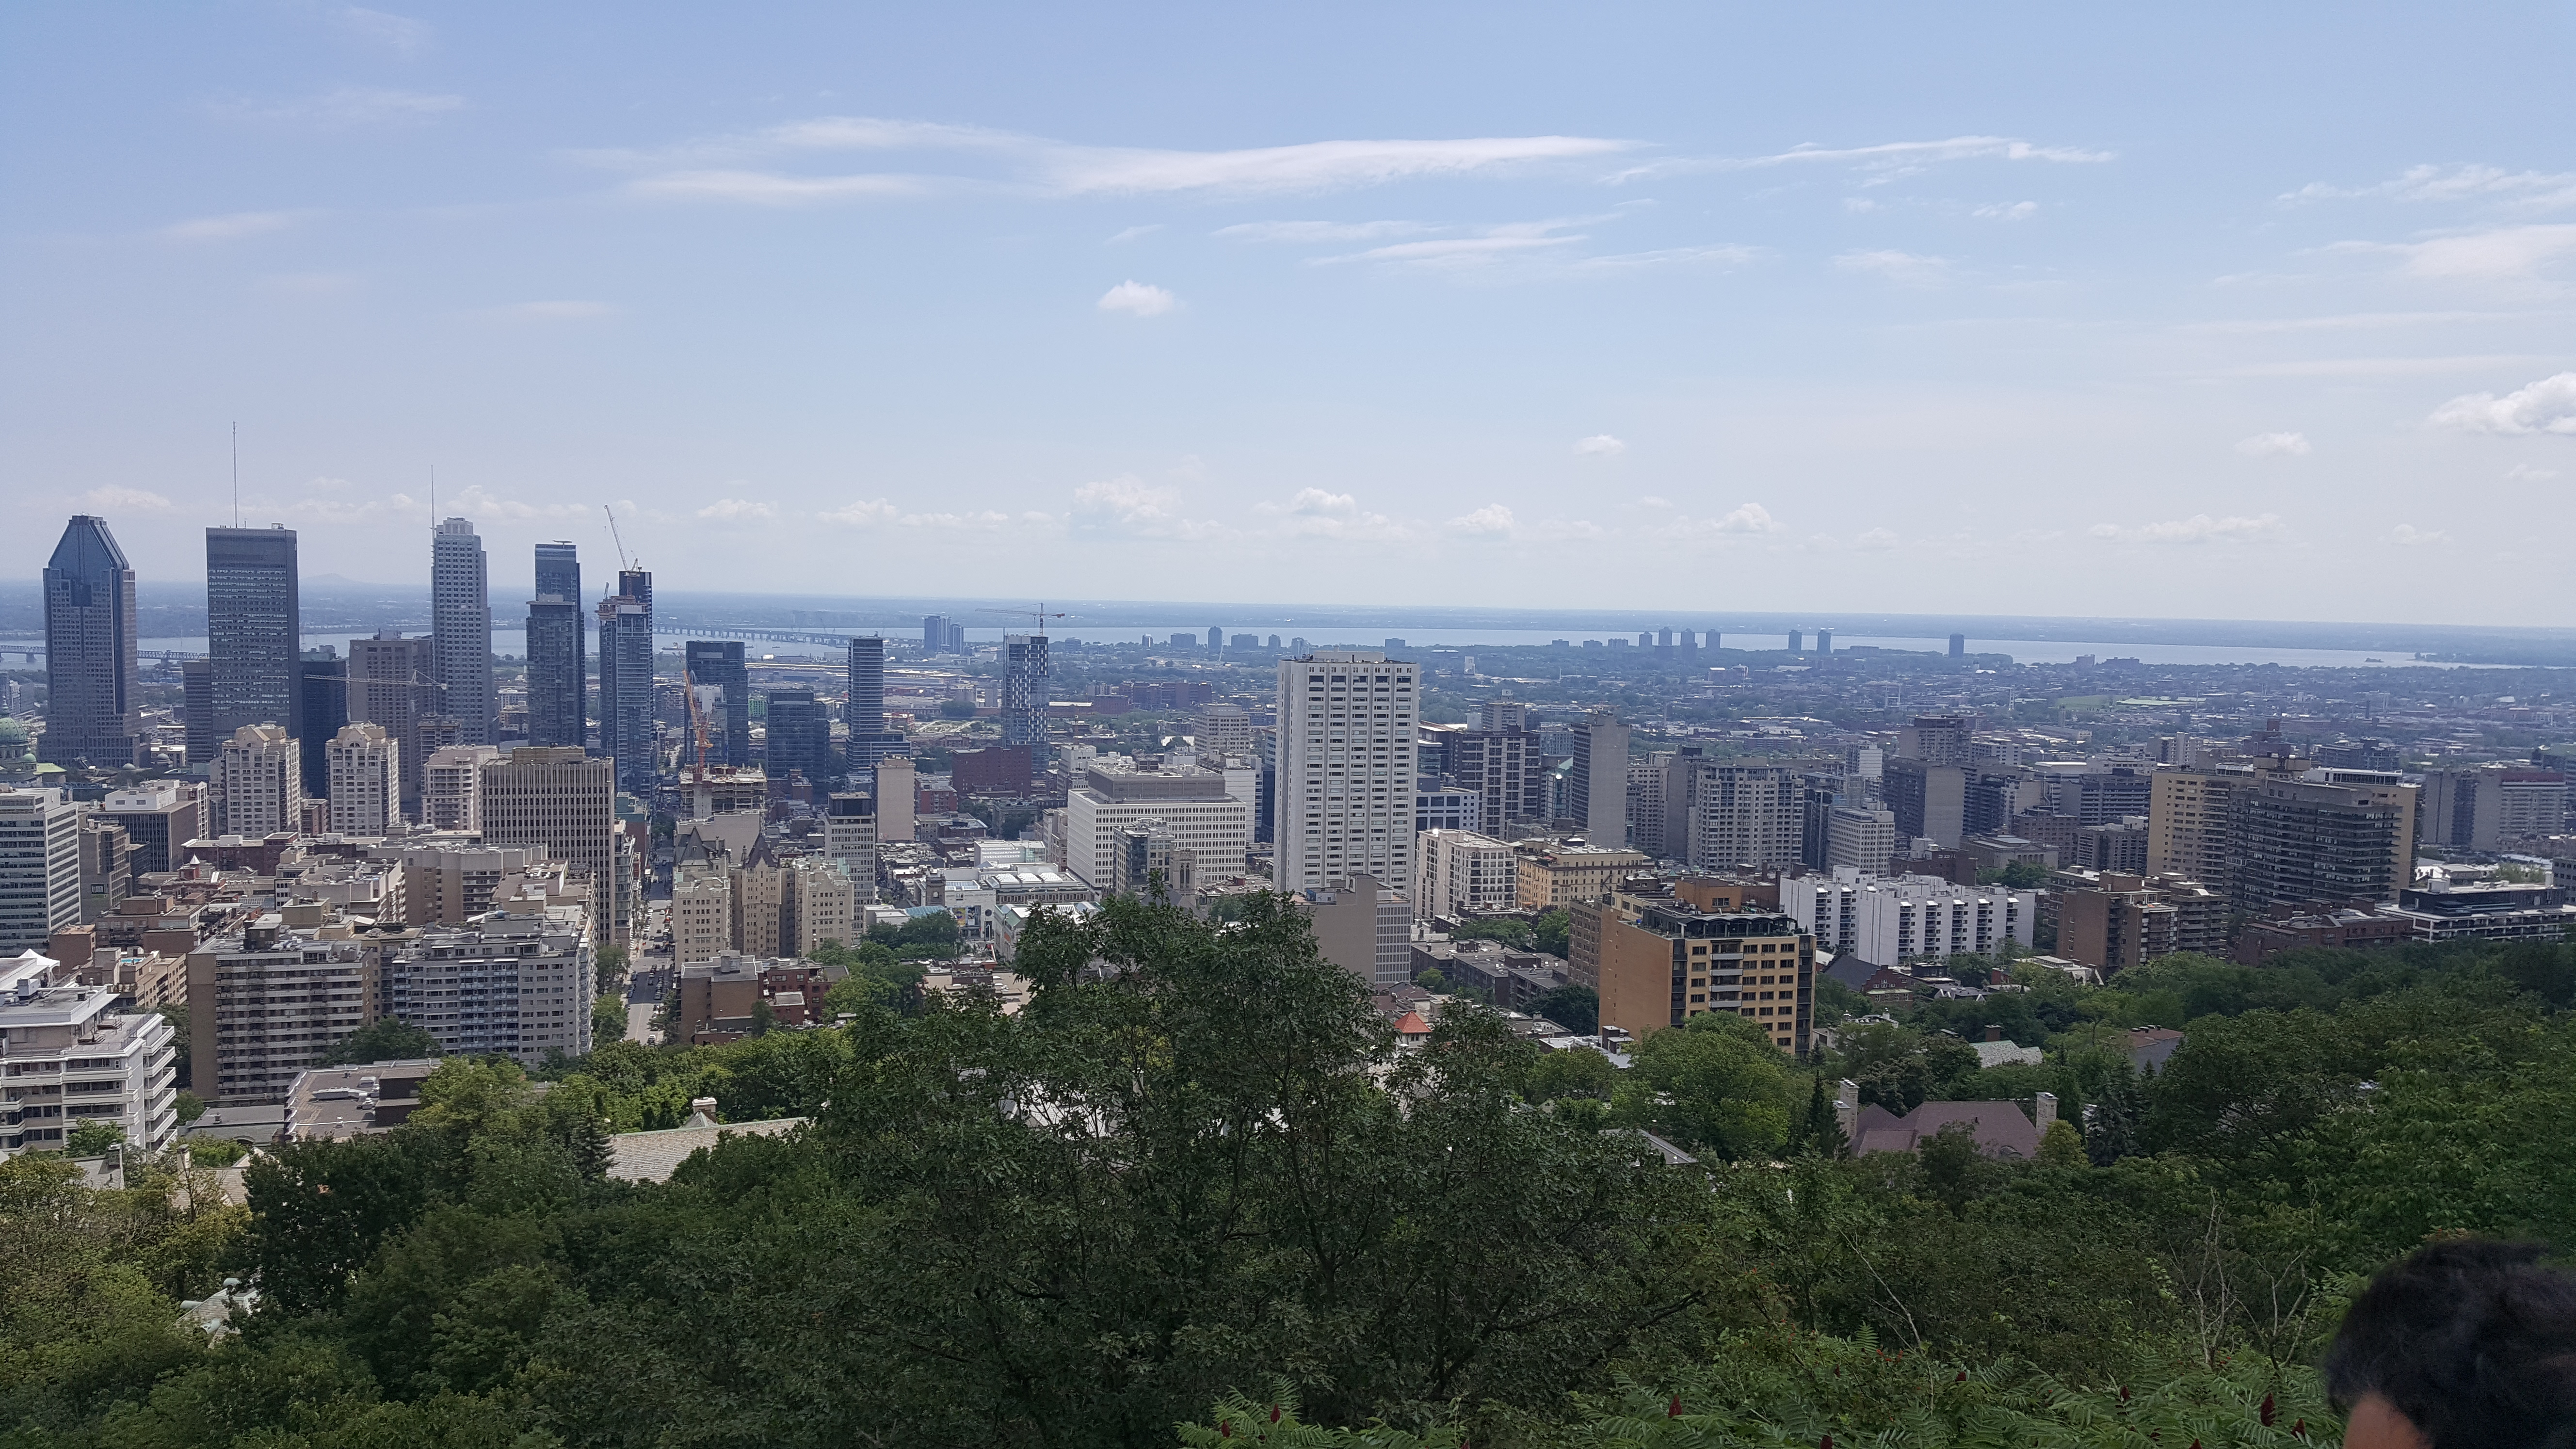
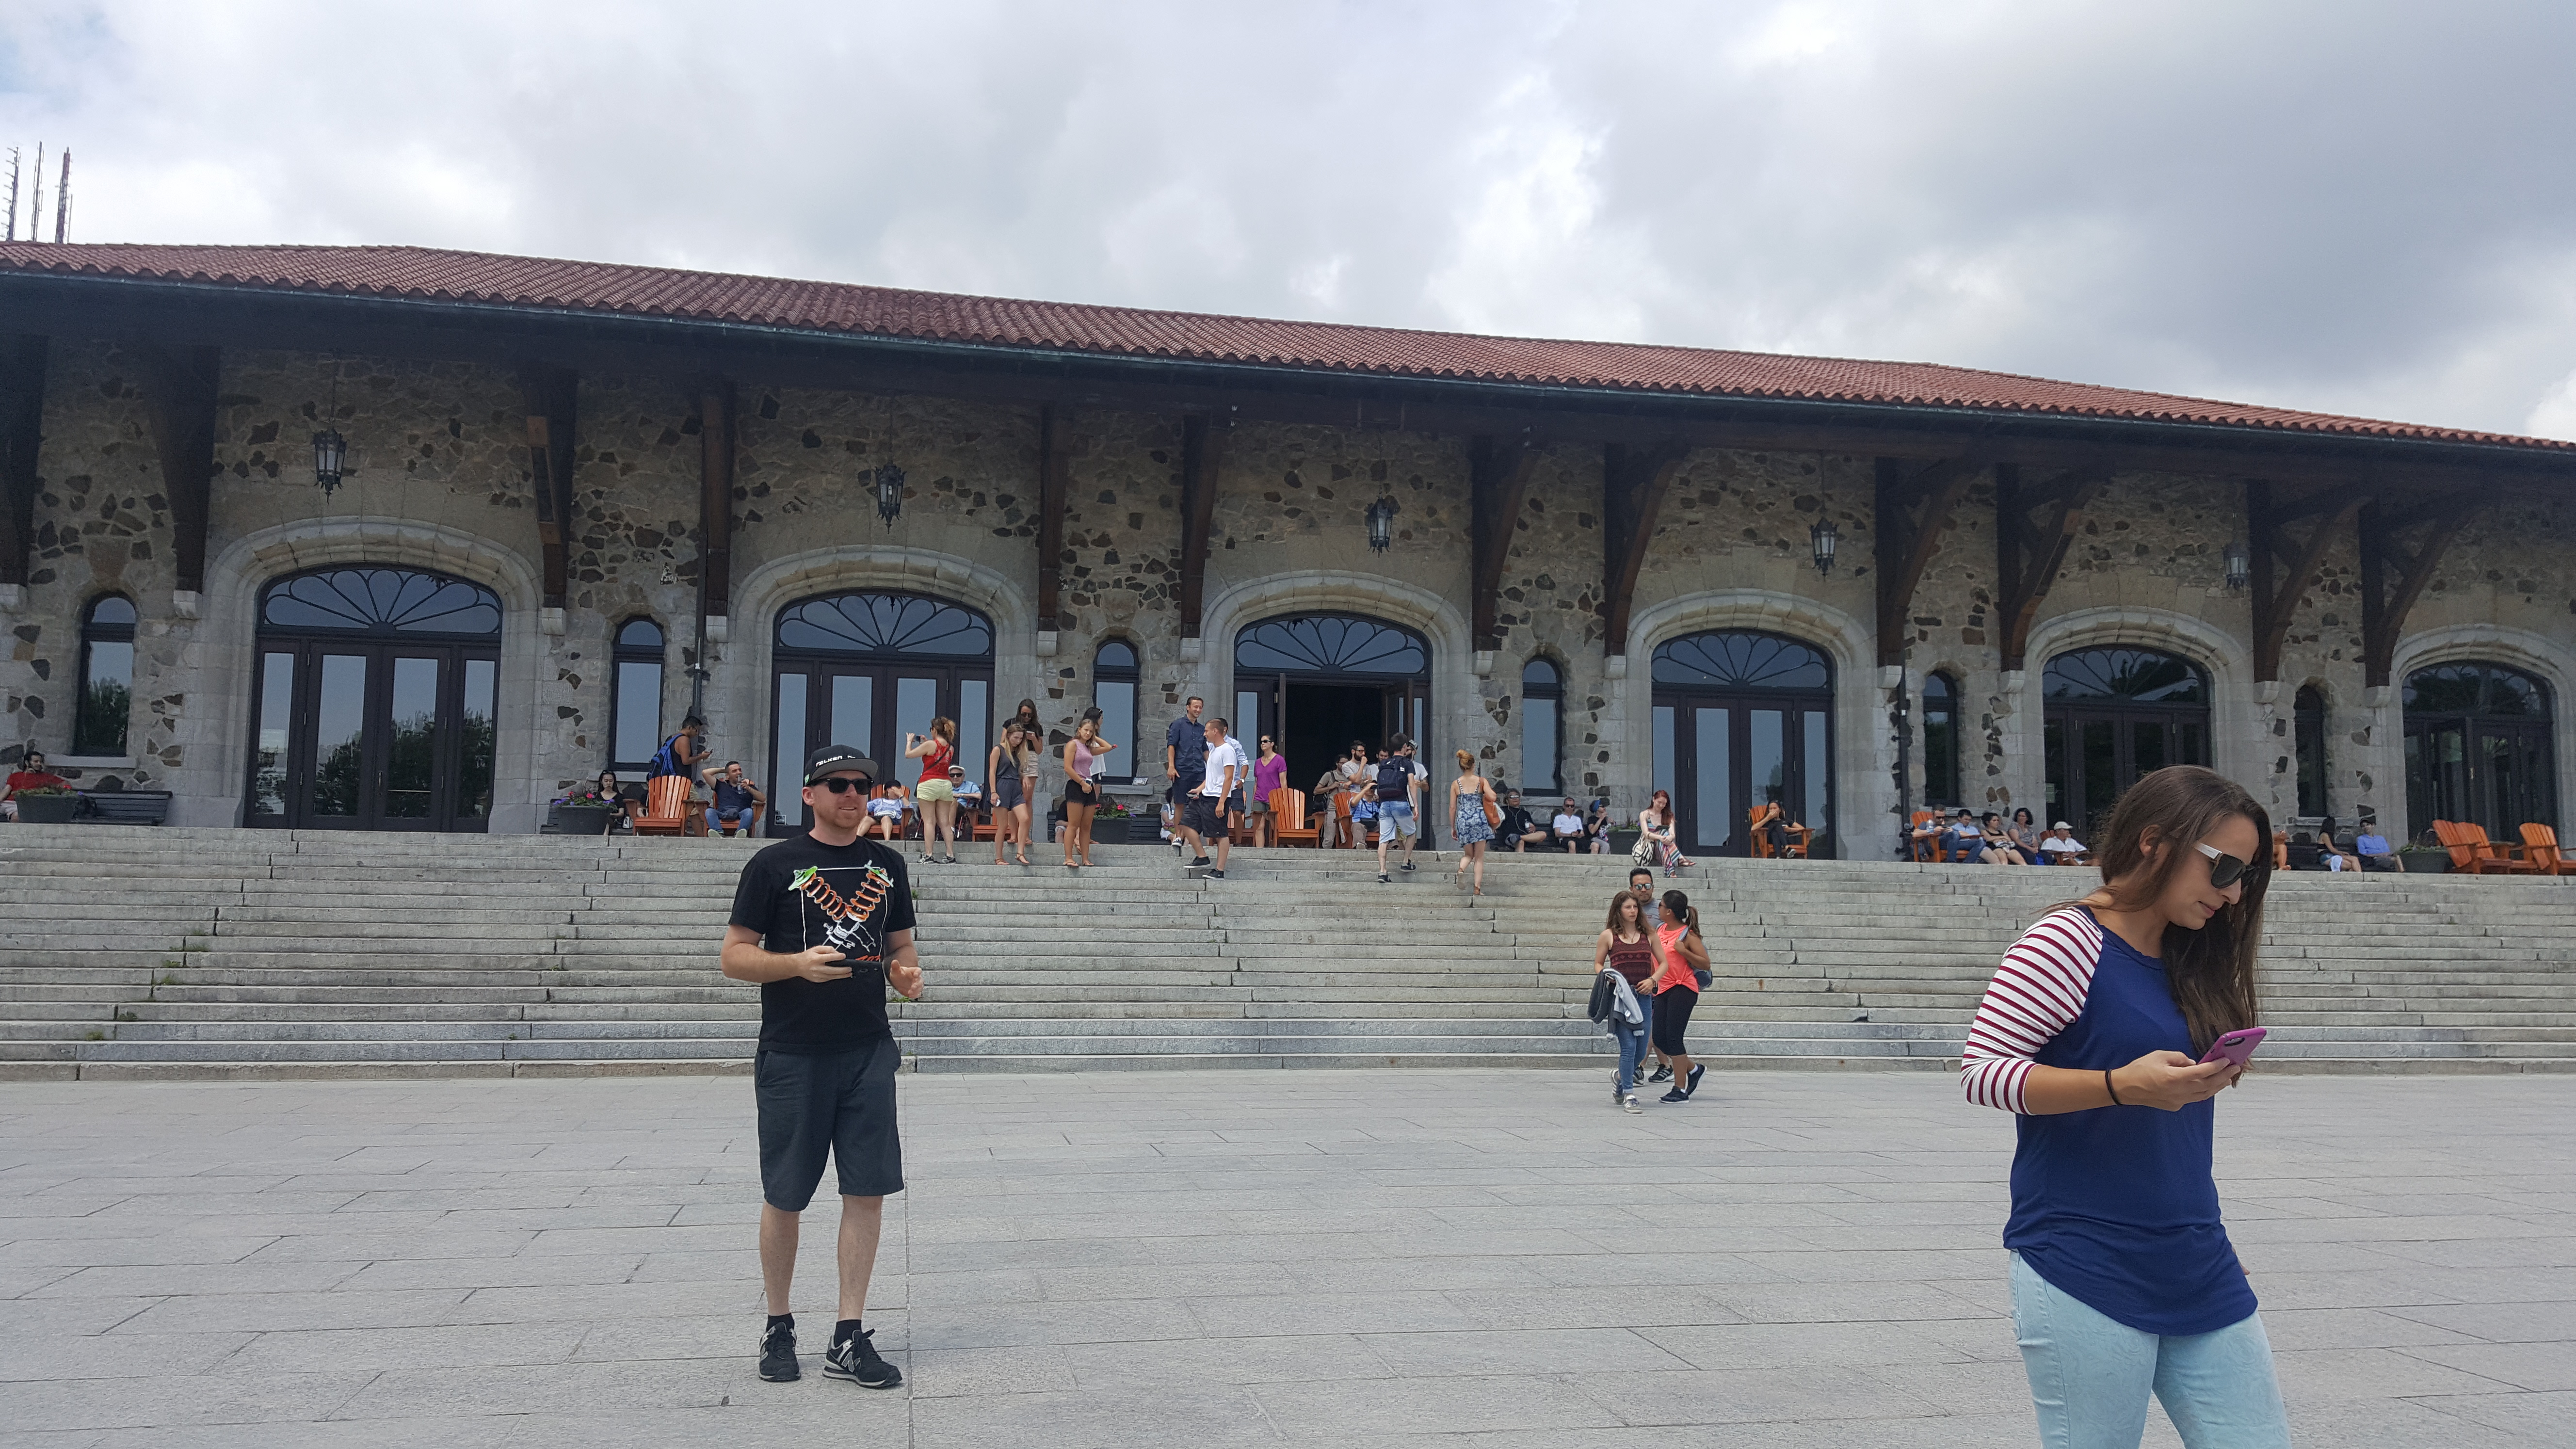
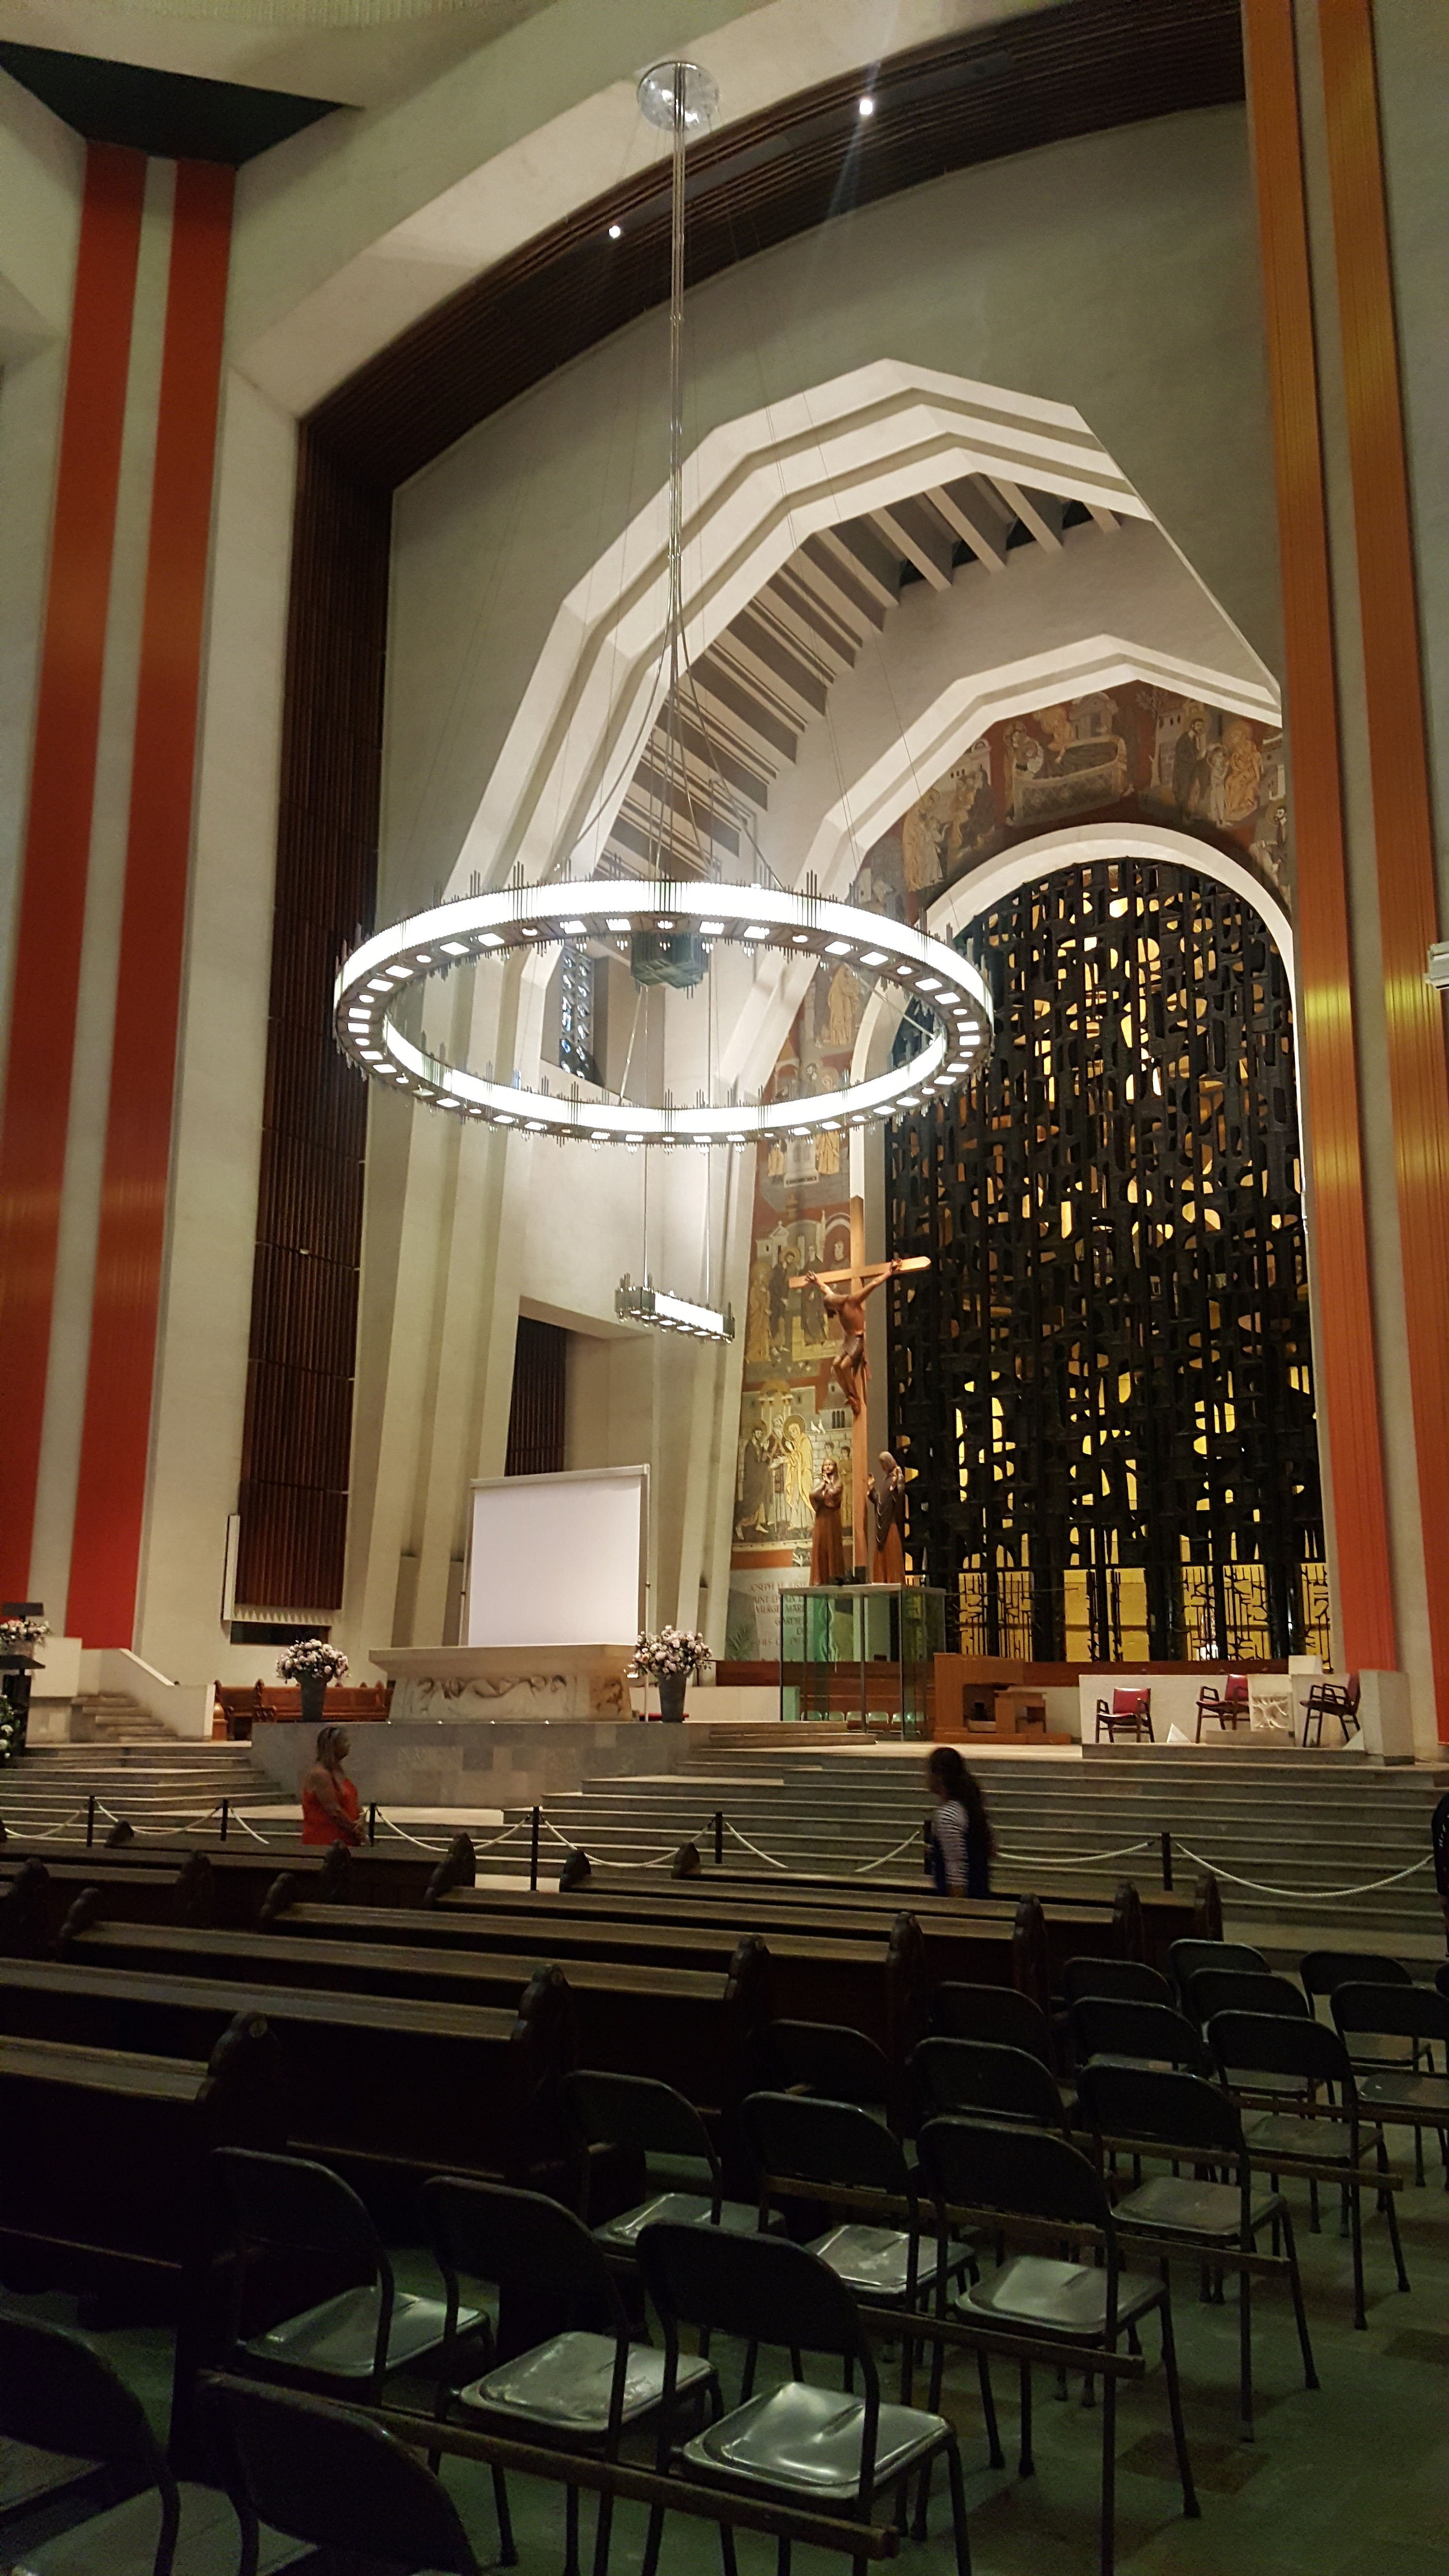
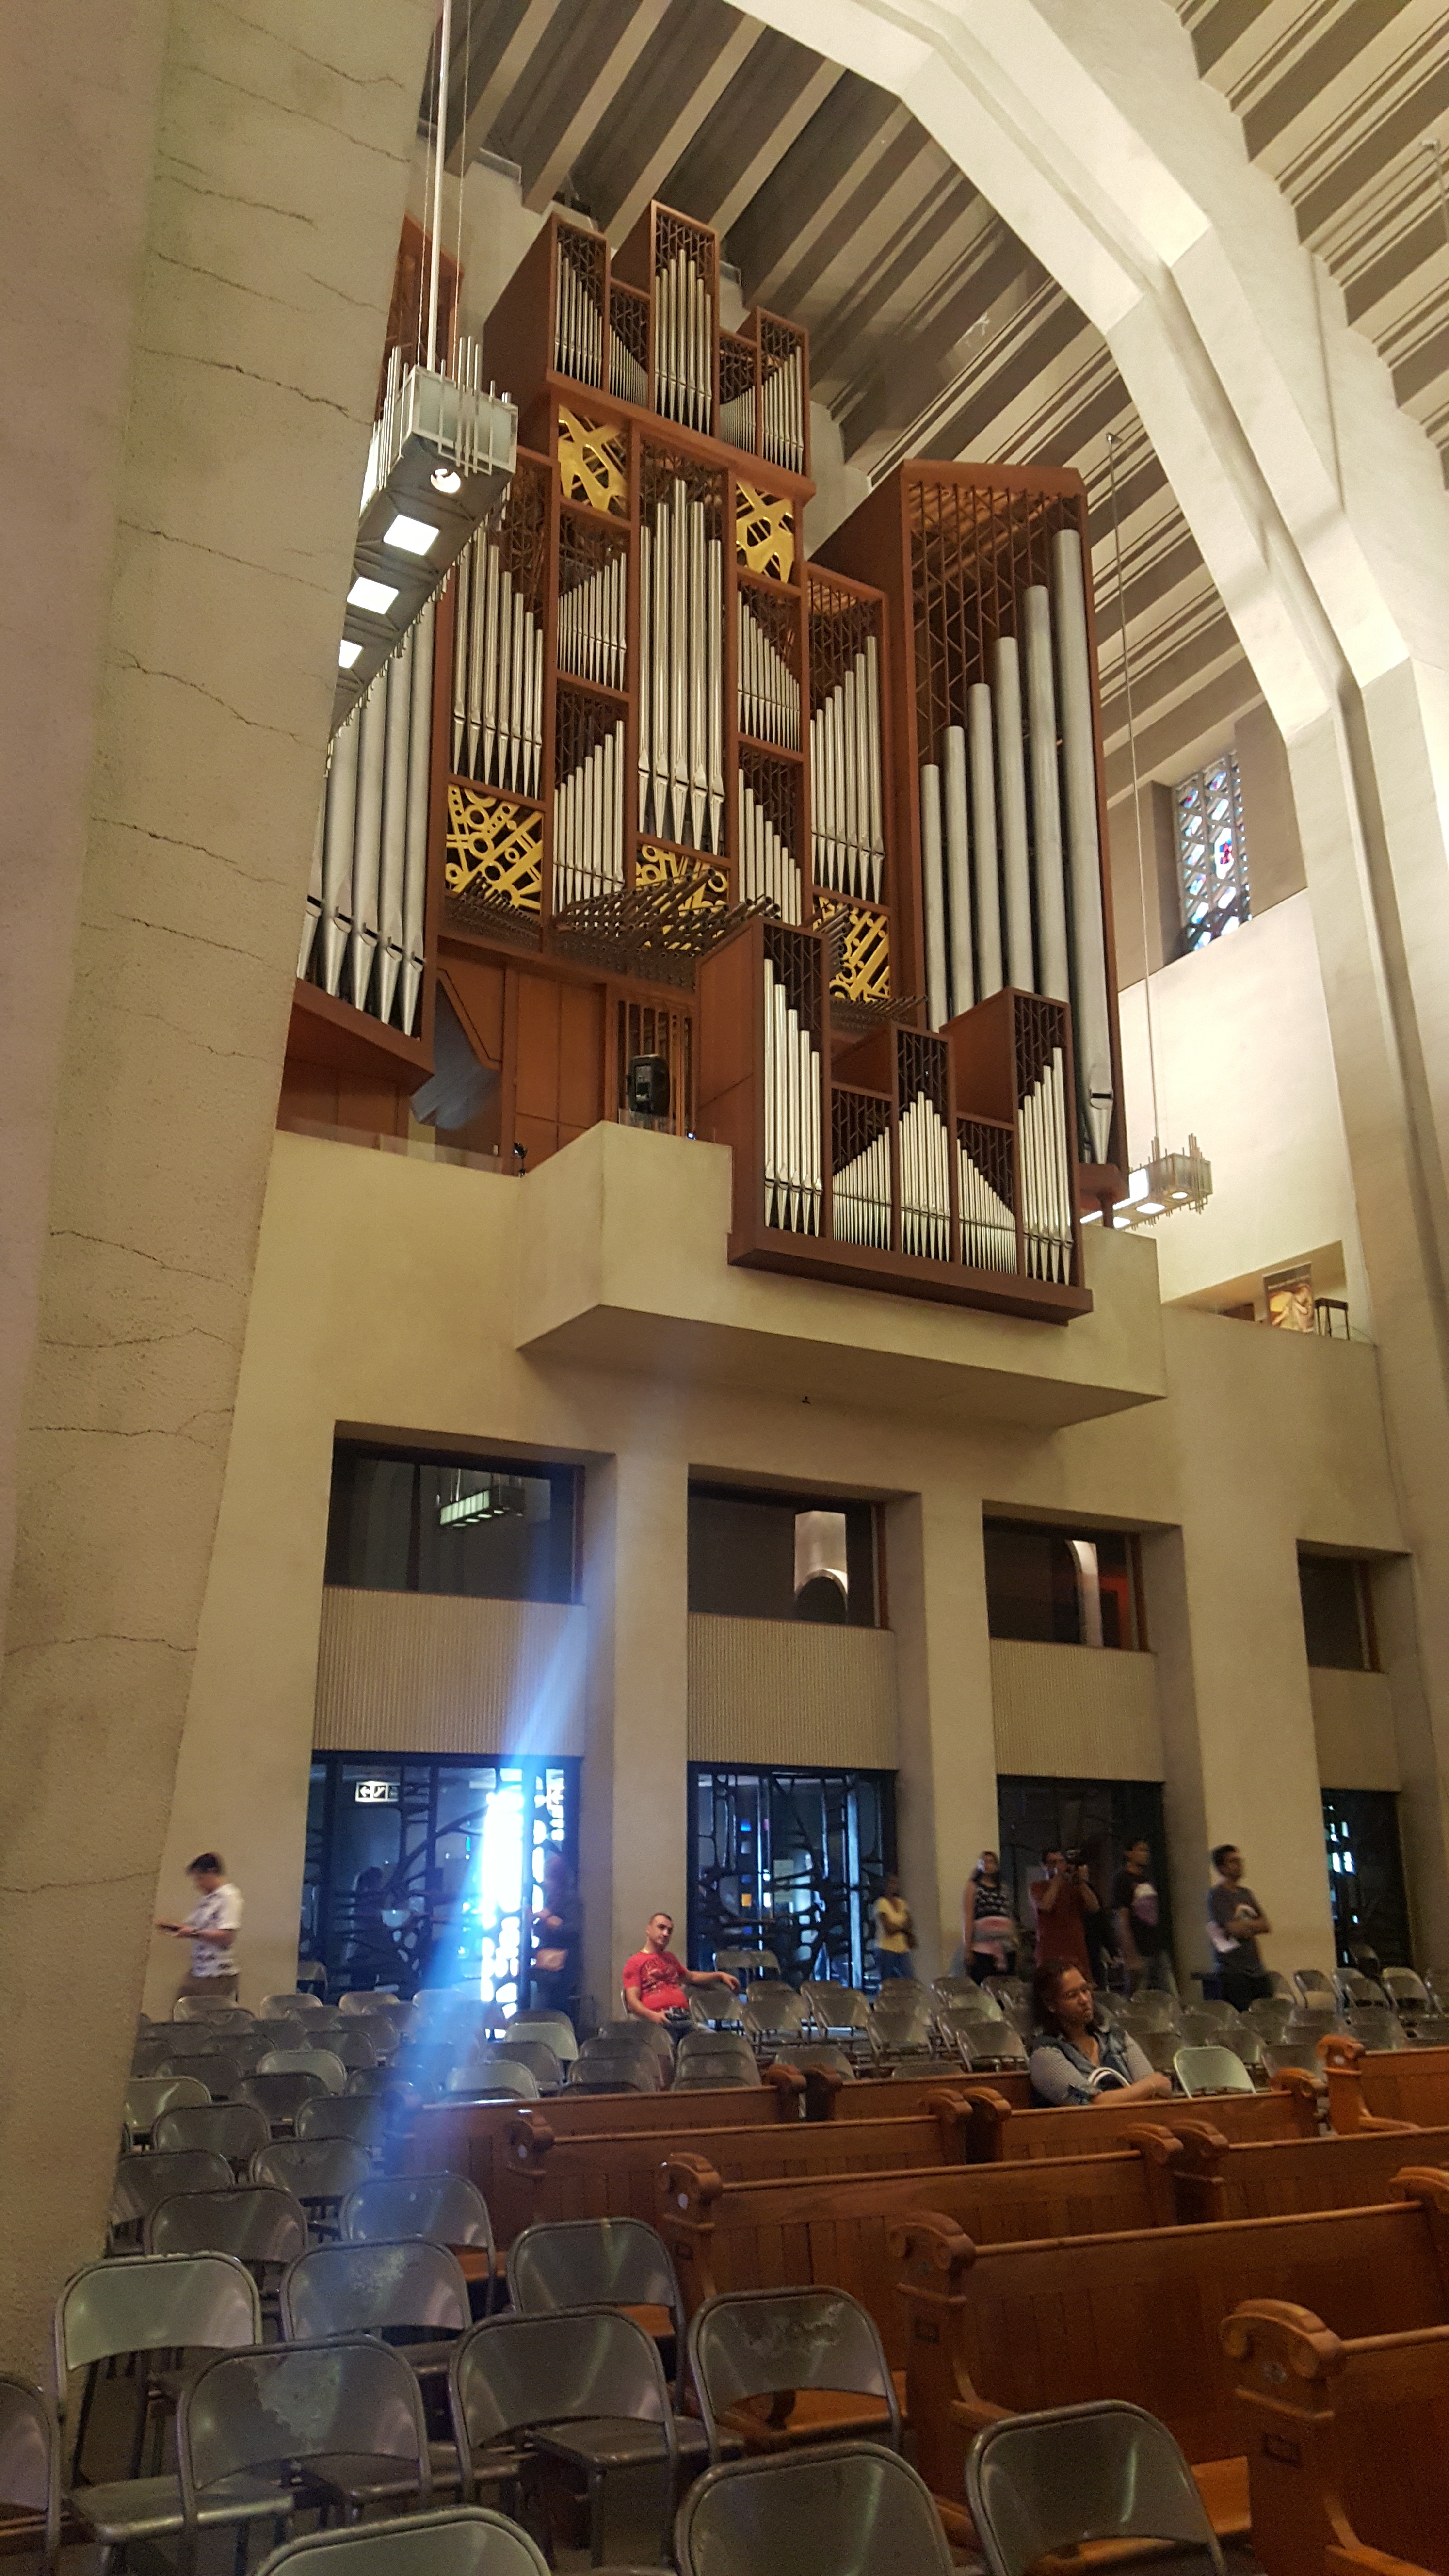
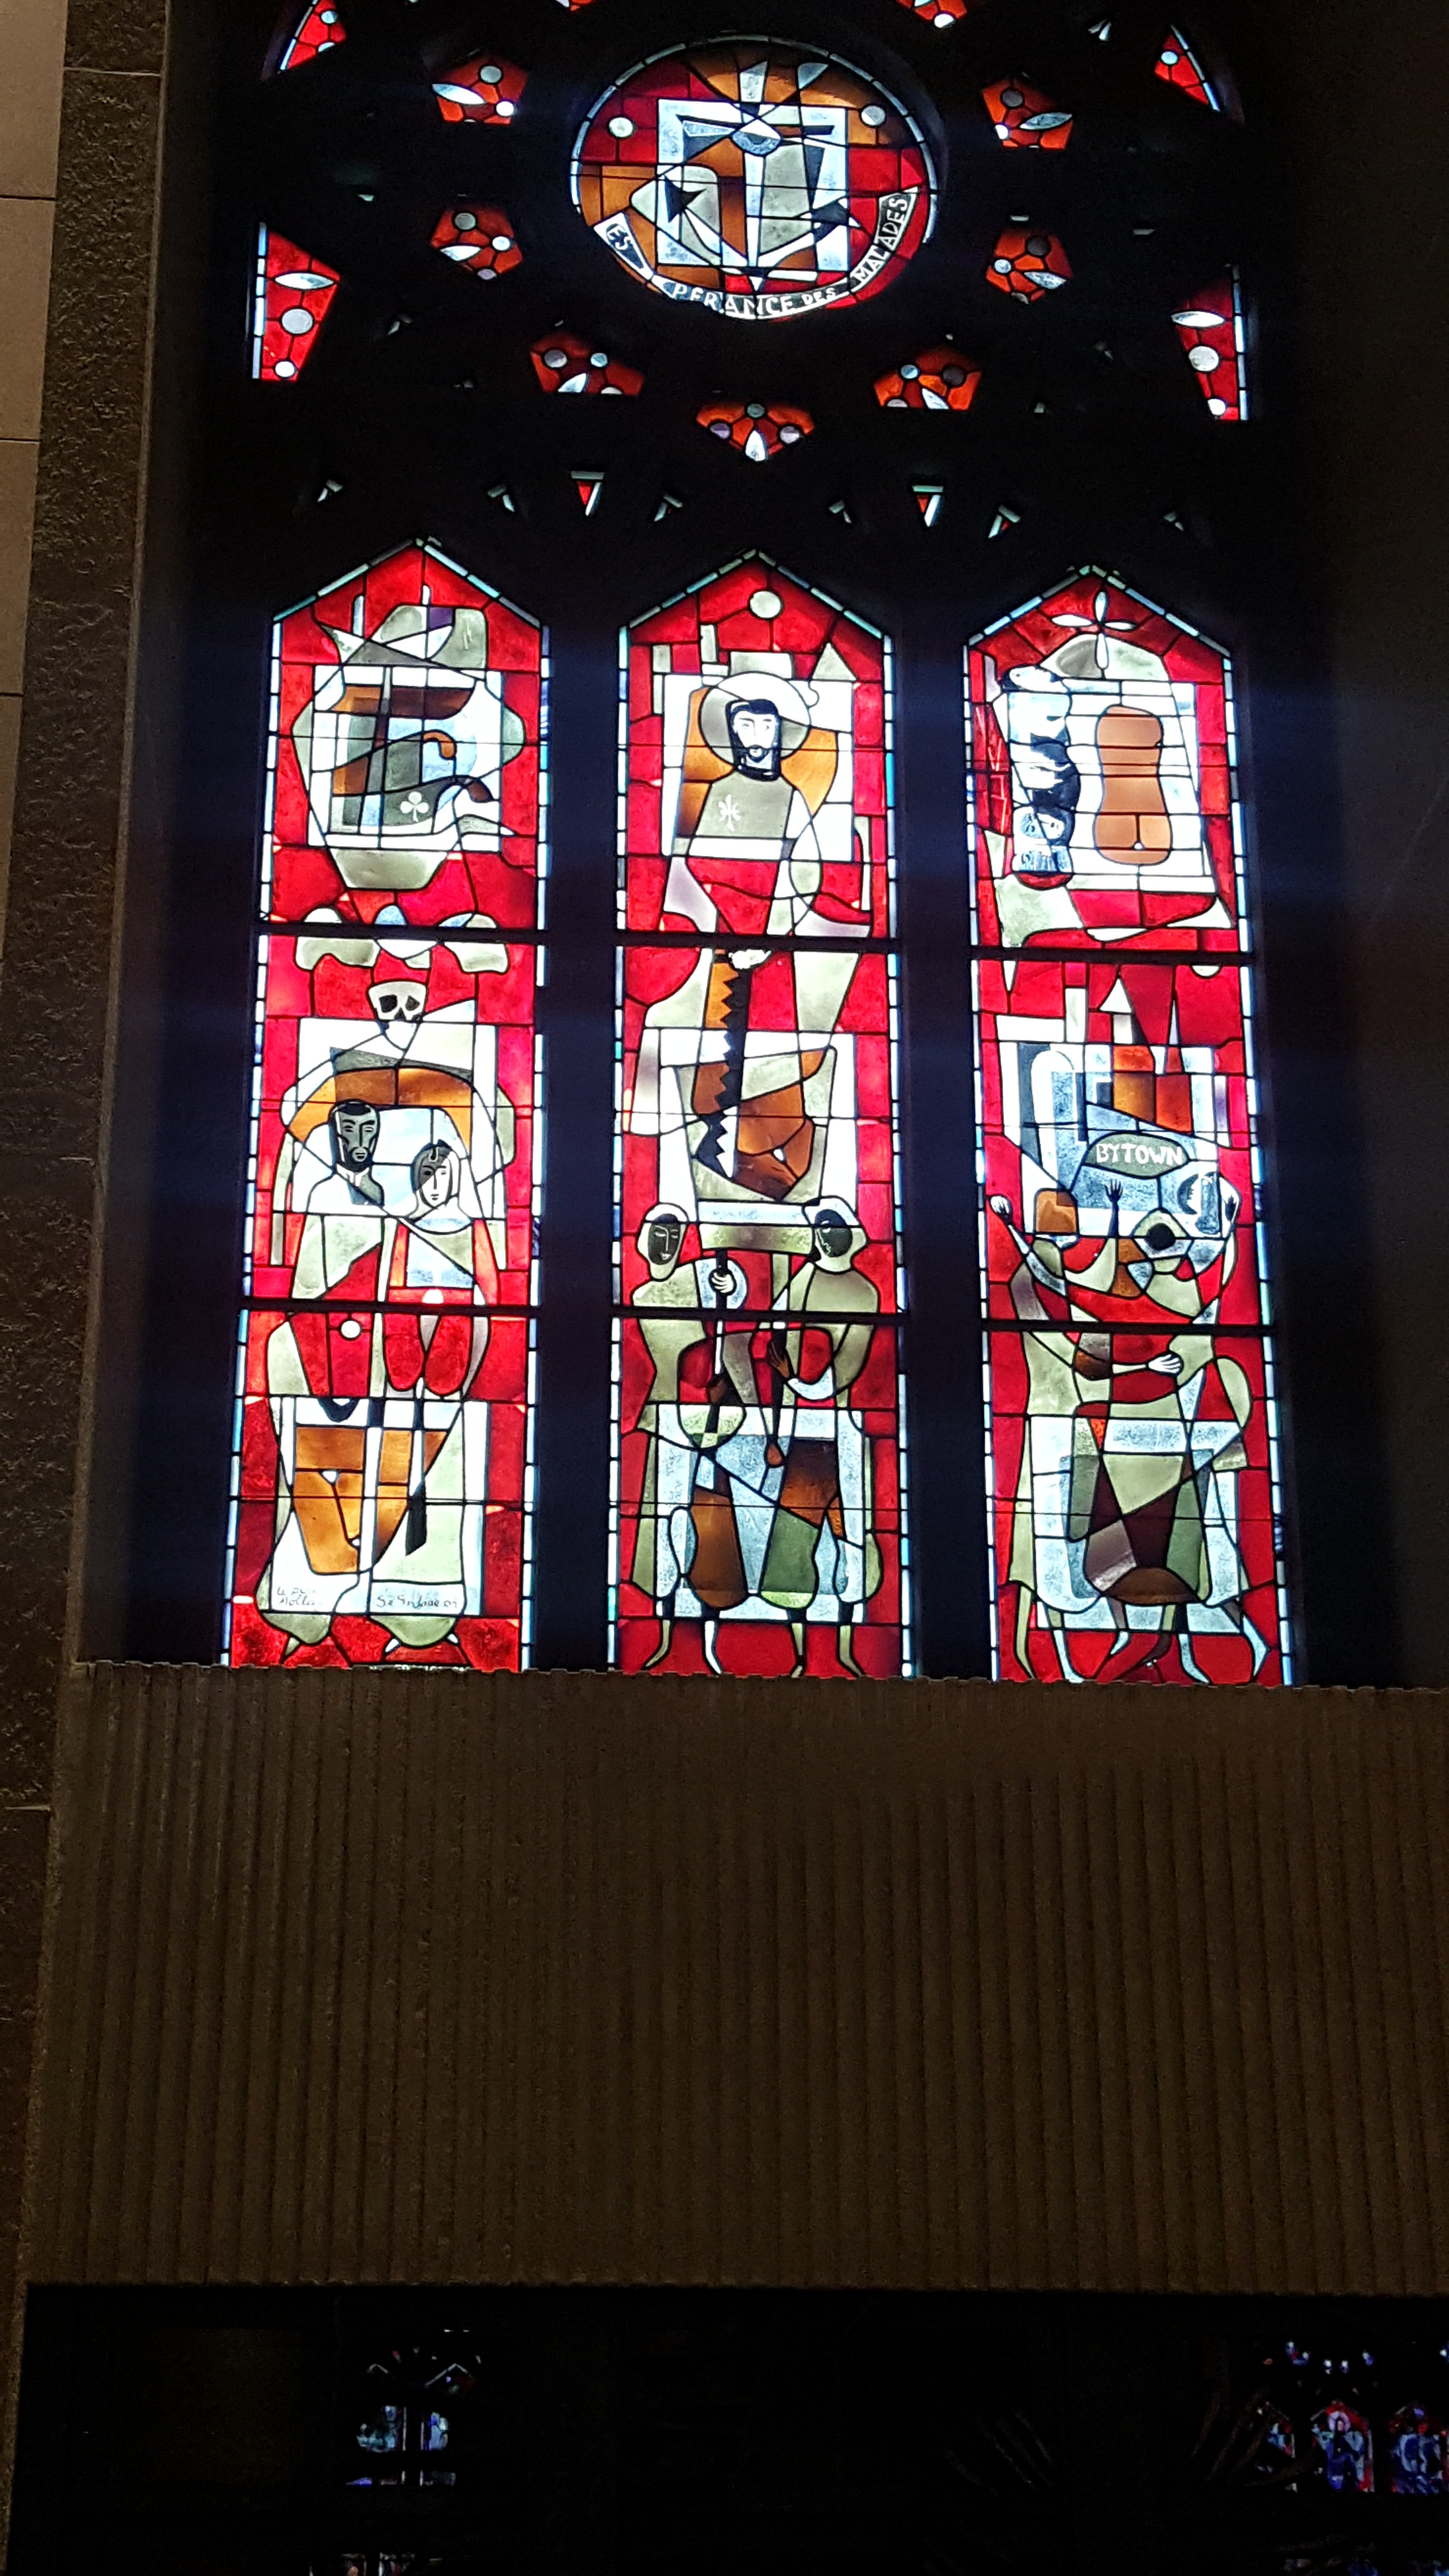
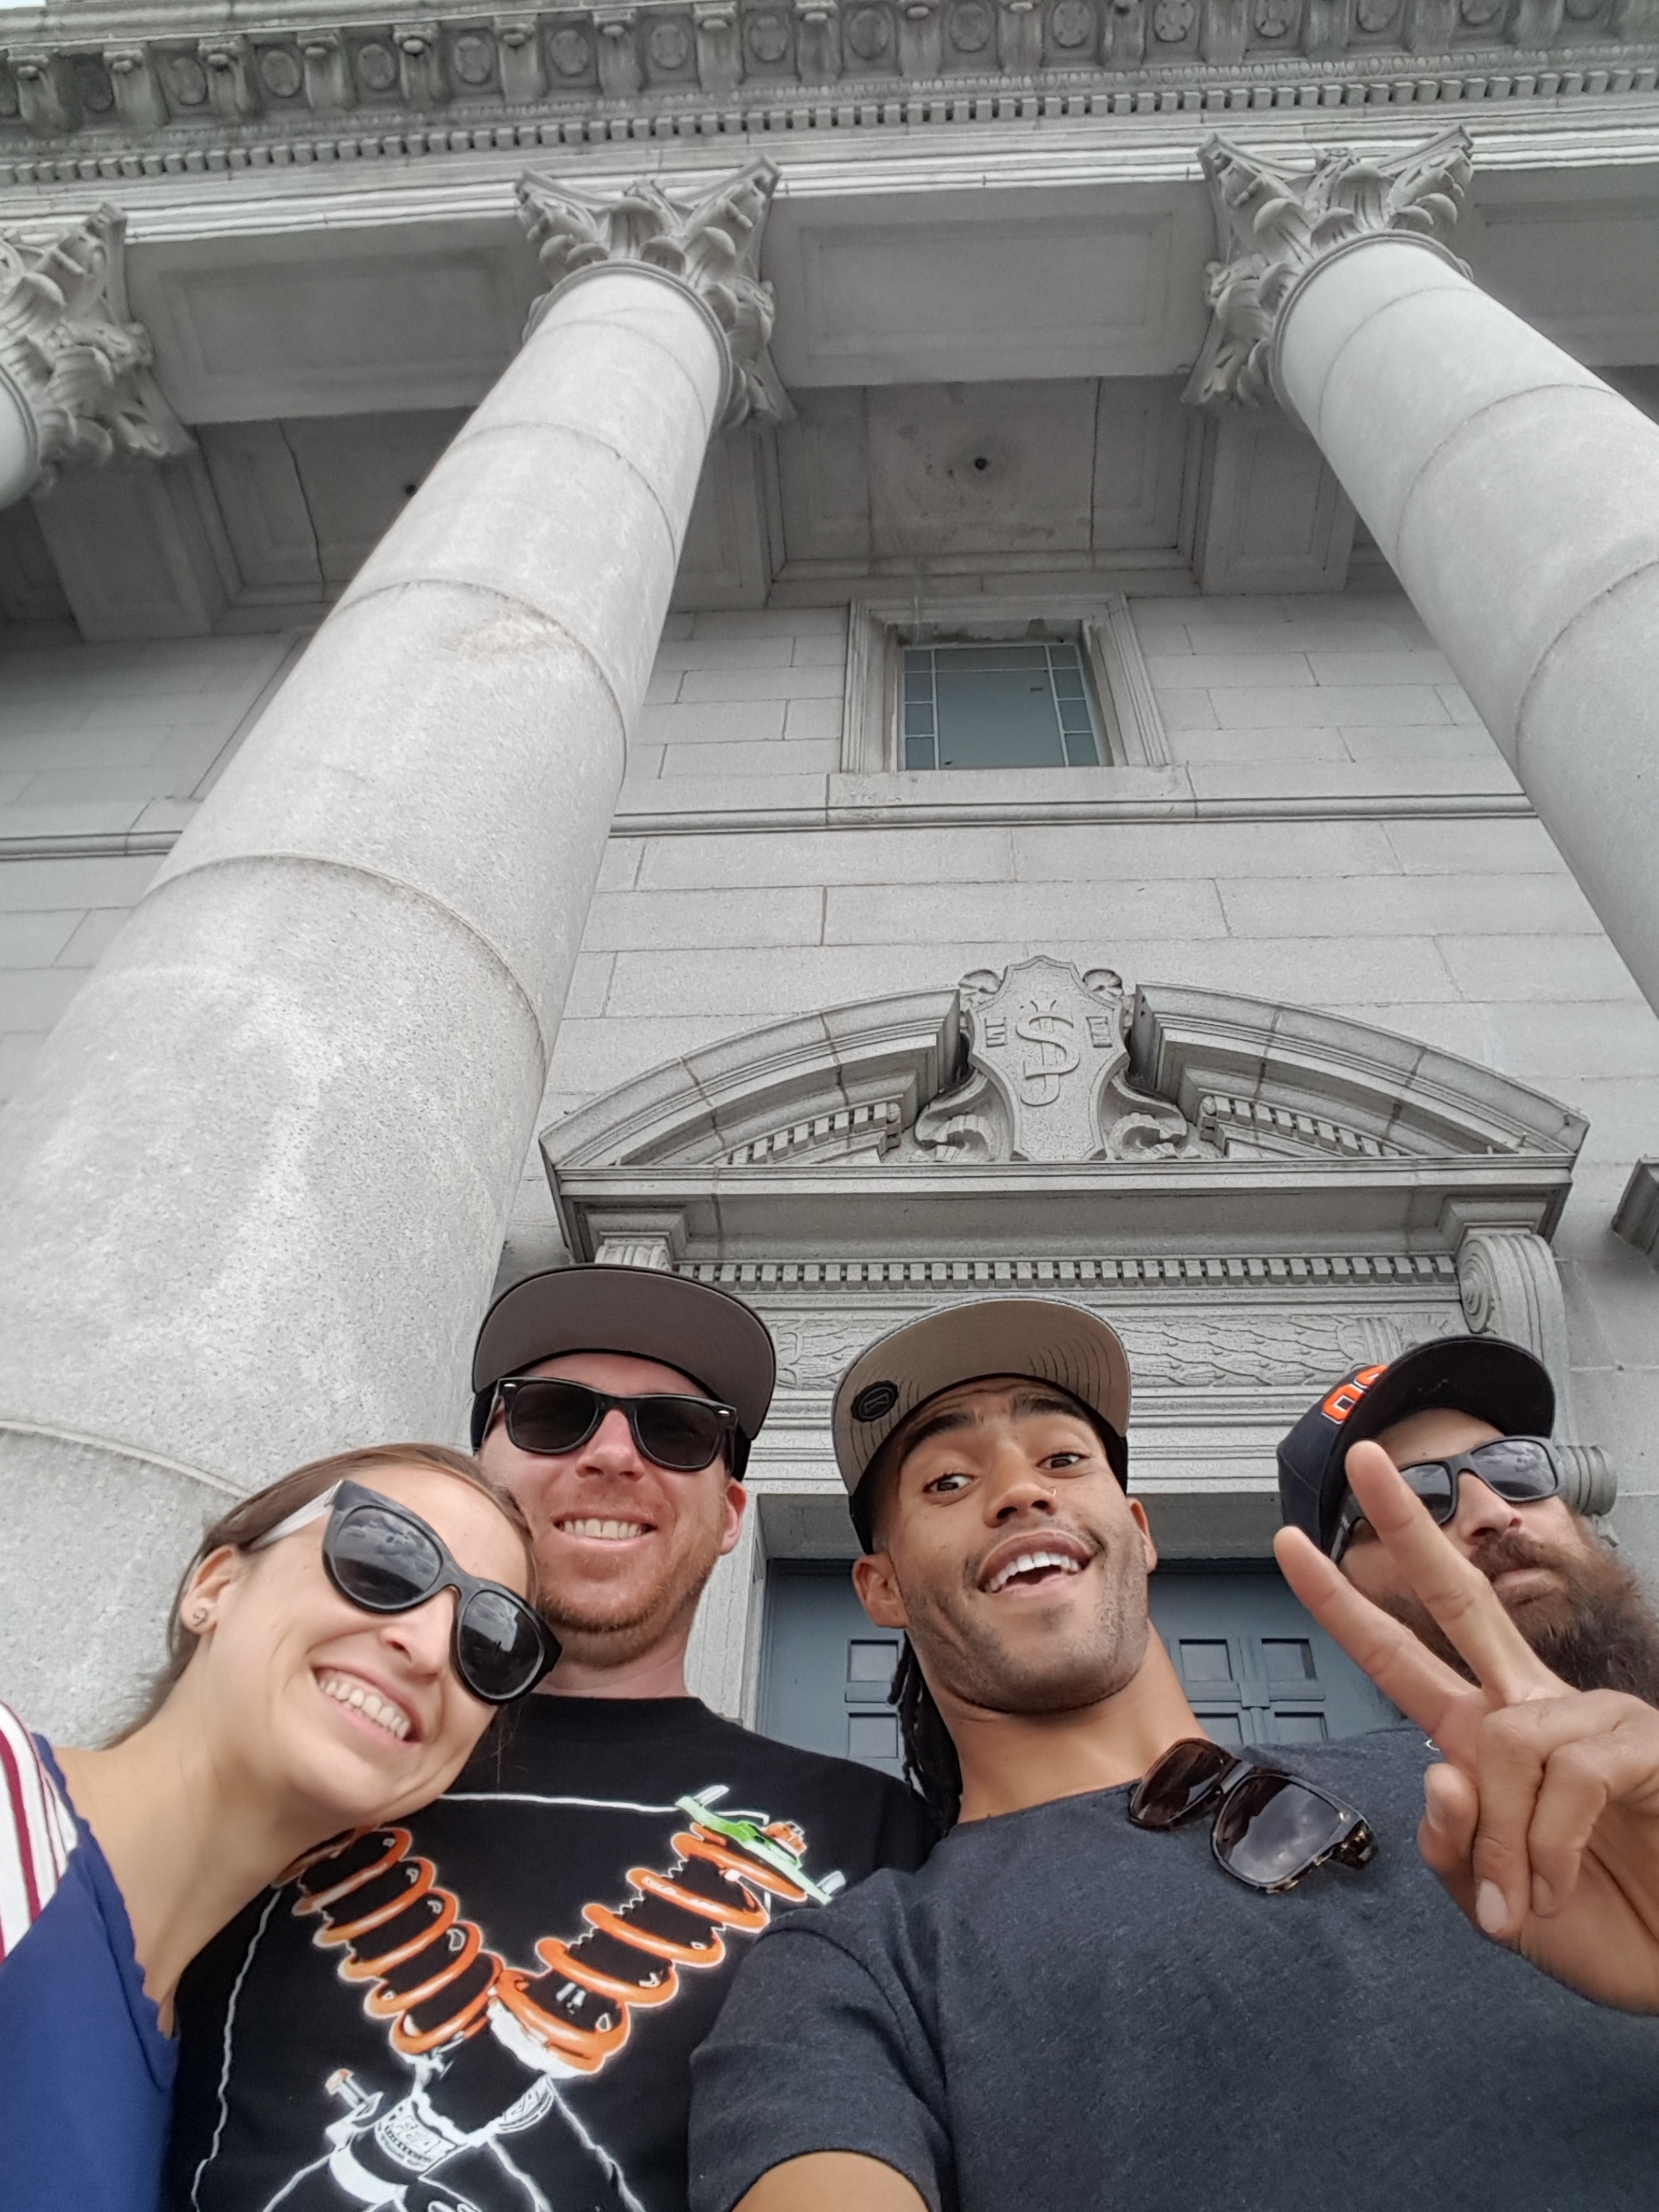
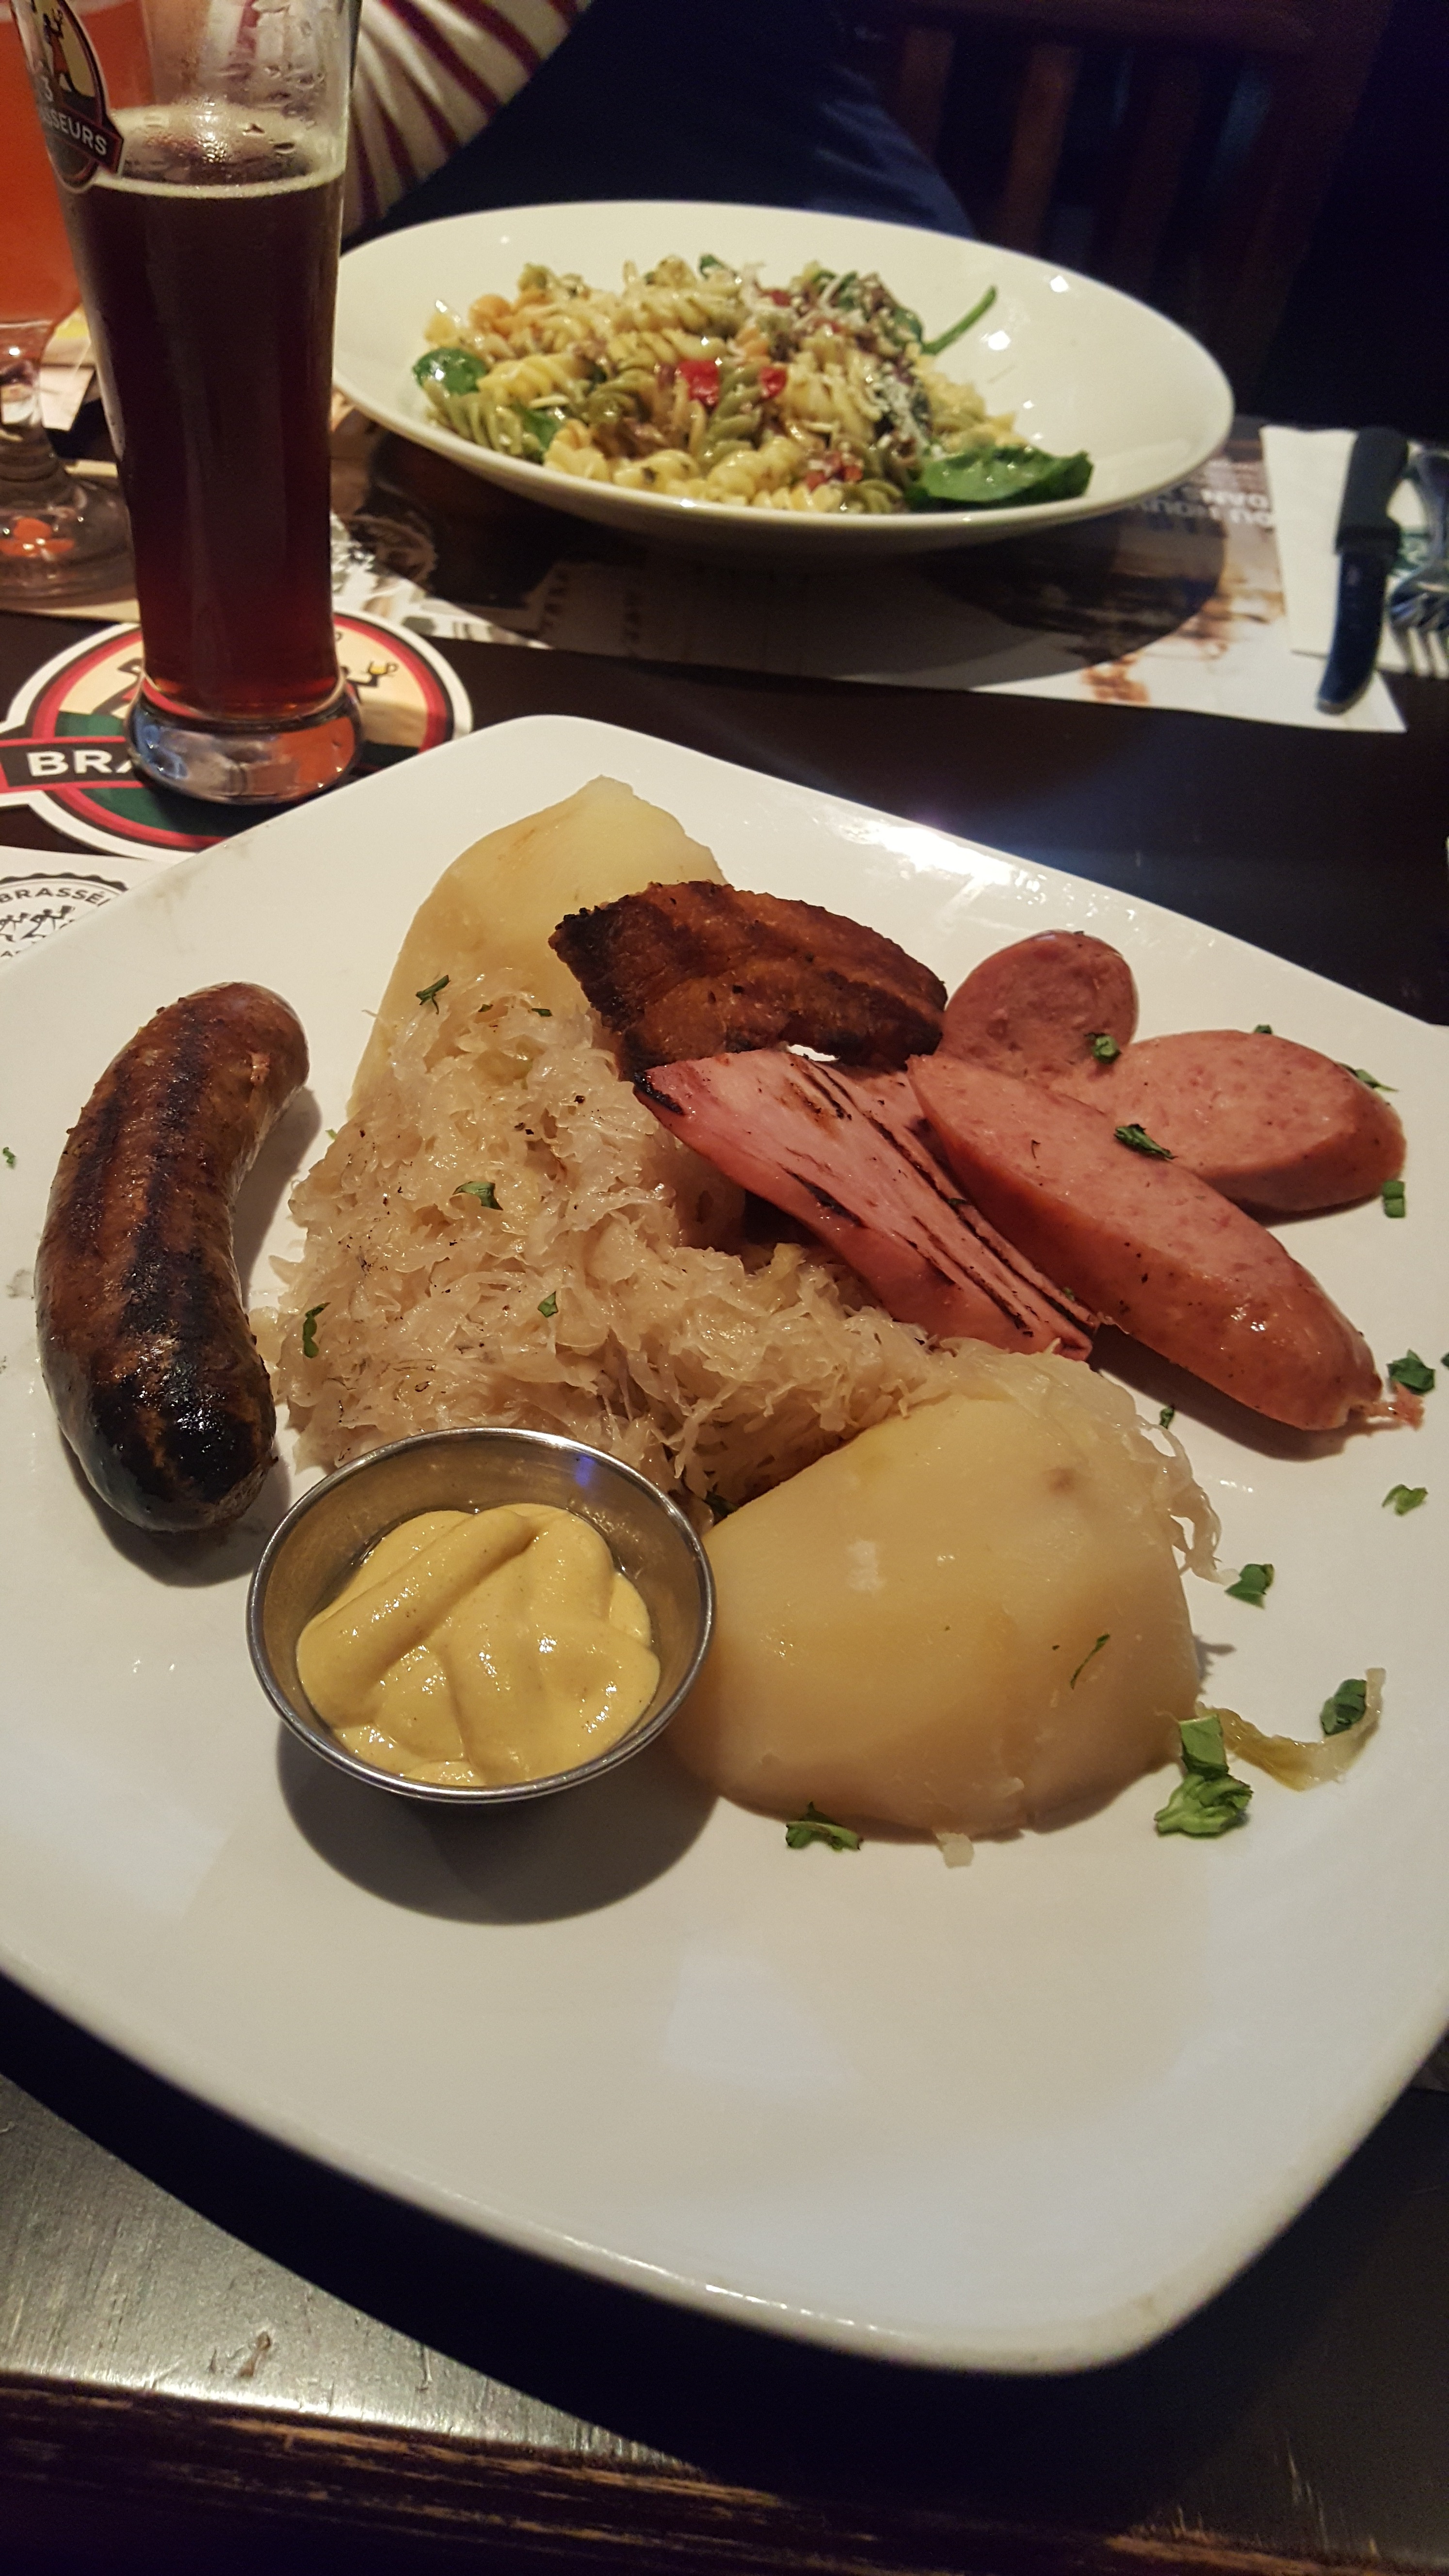
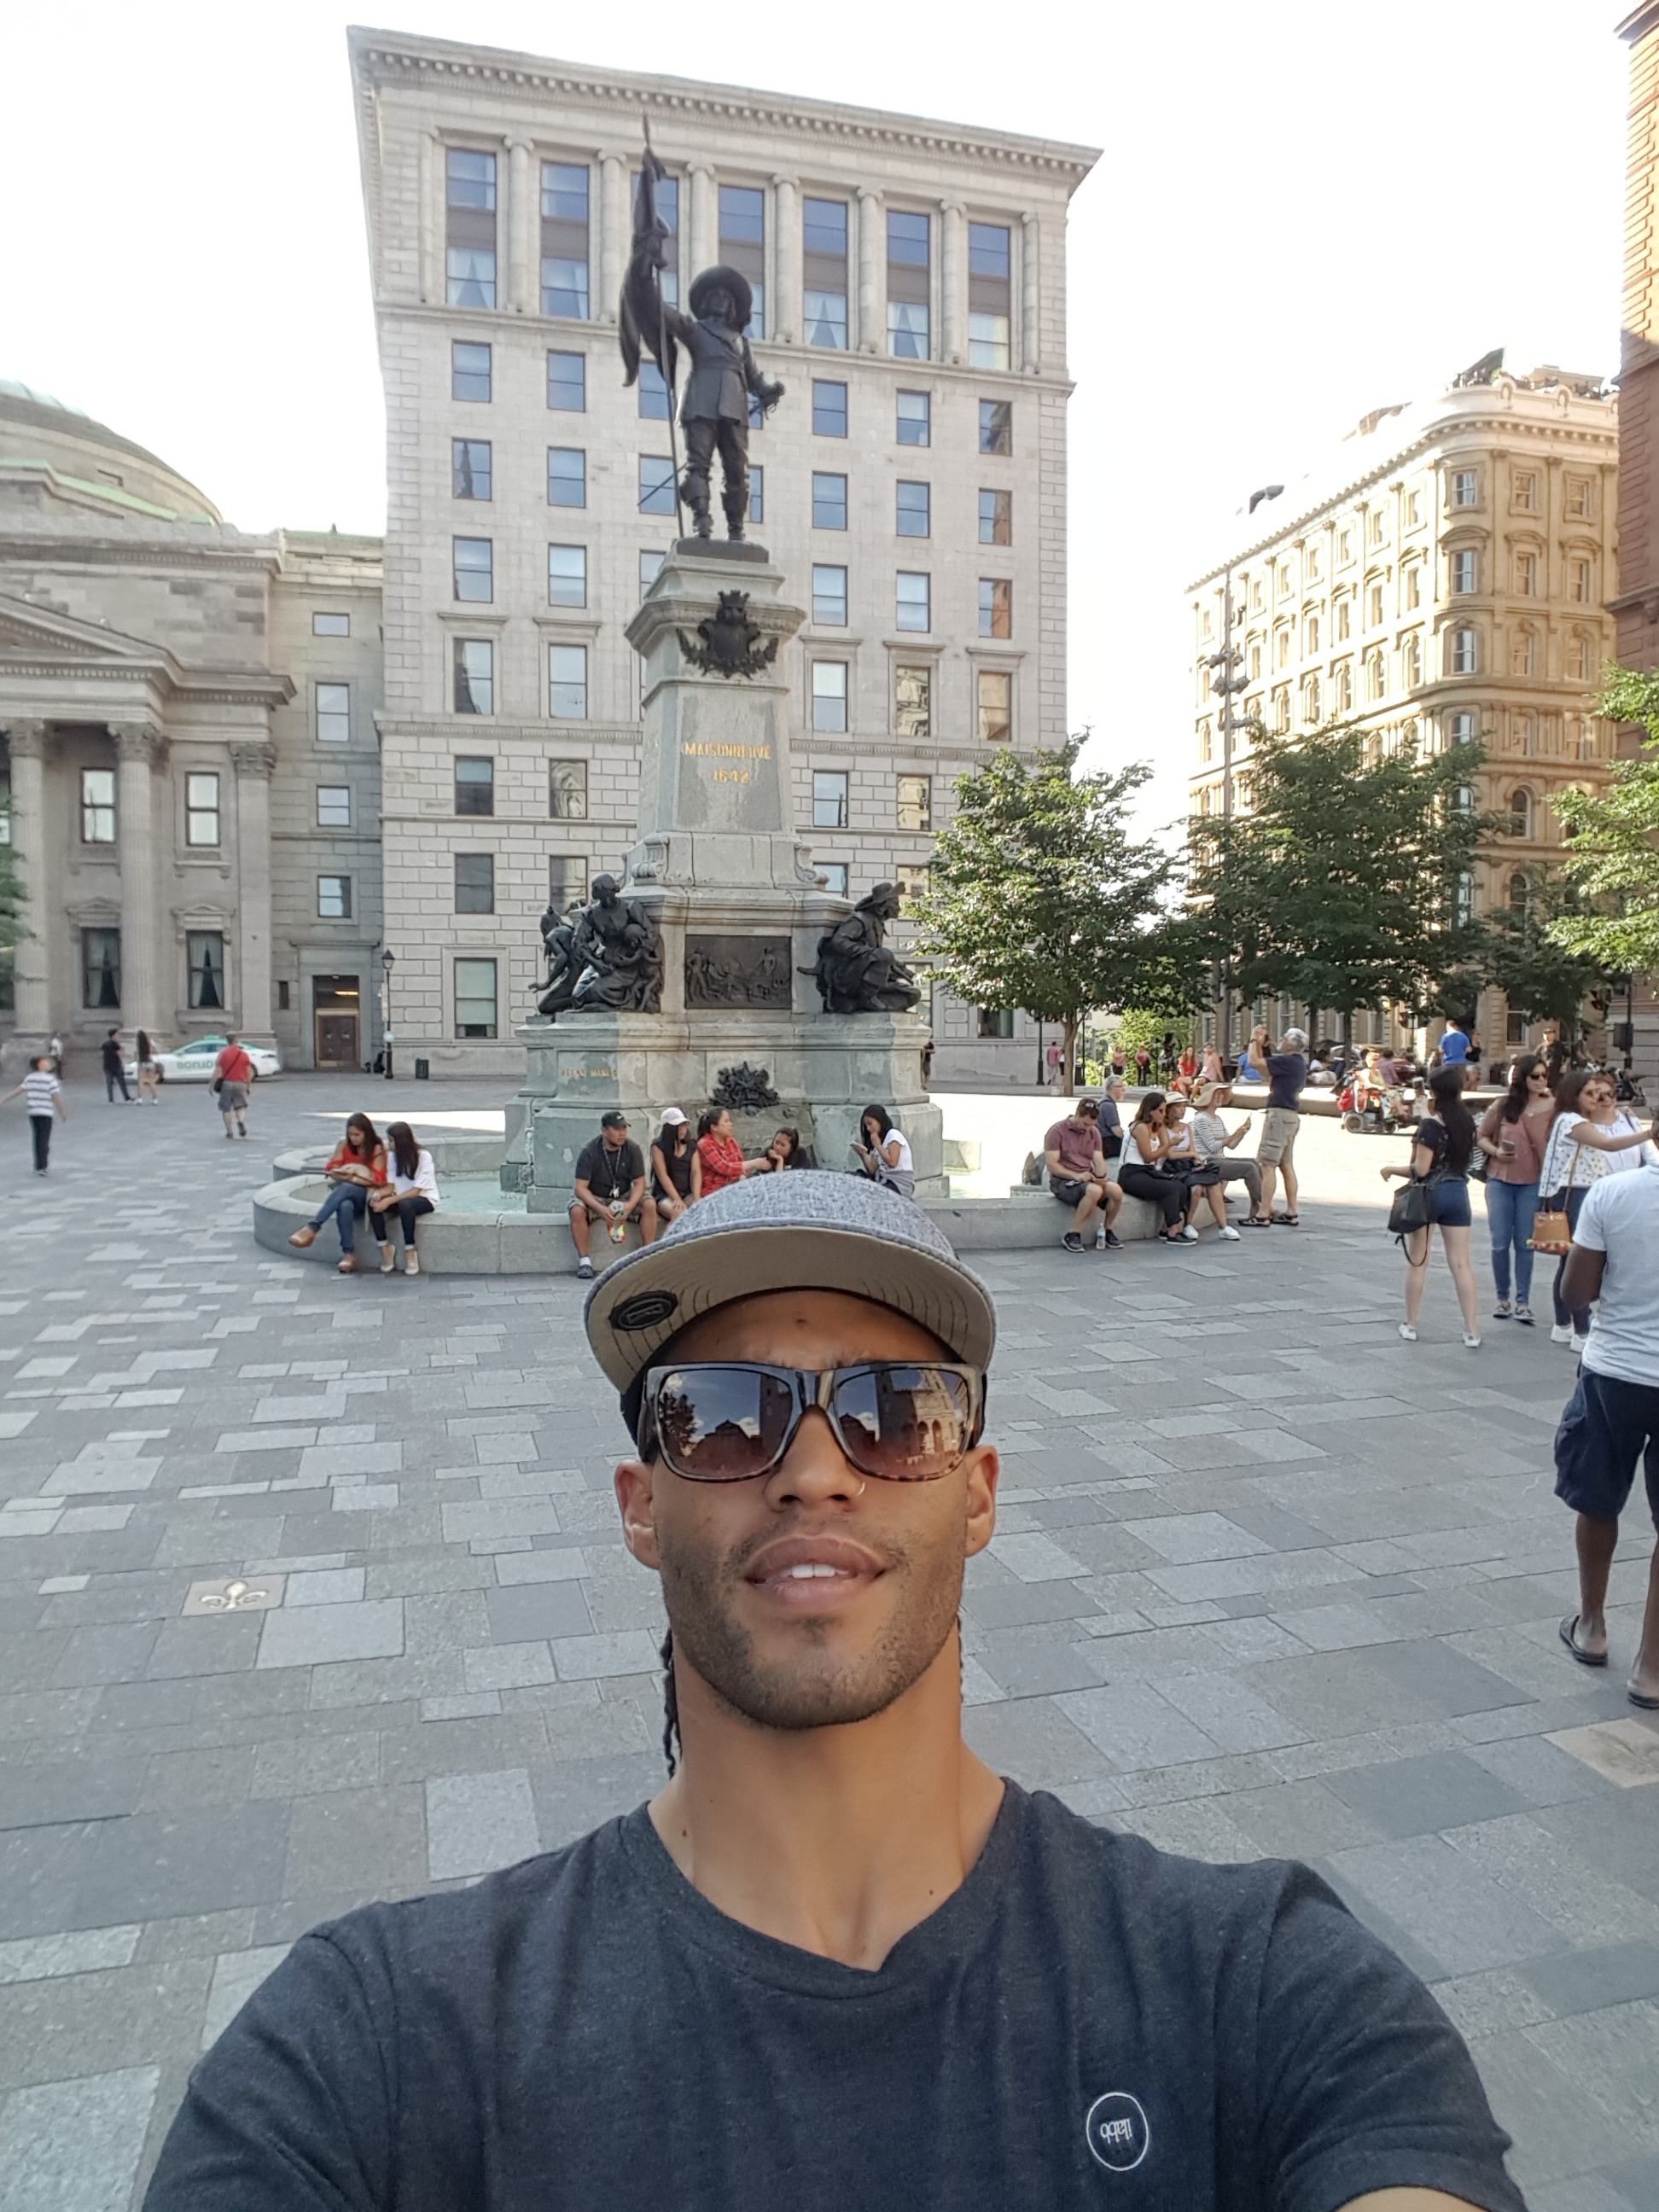
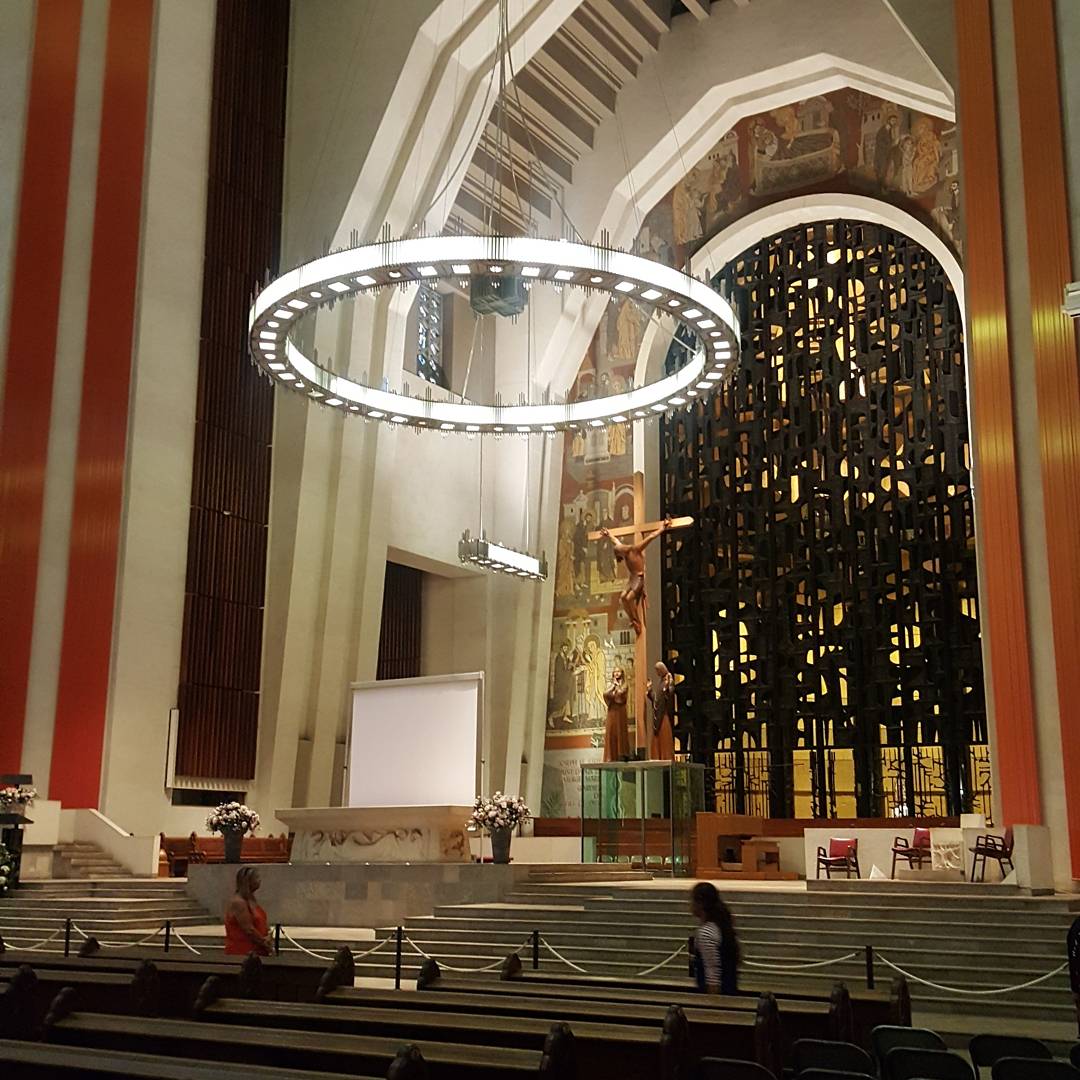
So if you're ever in Montreal Canada... make sure you go check out Old Town!
More Updates Soon!
Flying Home to CA tomorrow and getting Ready for Top Drift Round 3
Stay Tuned!
#ThisistheWolf
Here are some shots that I thought you guys might enjoy. I truly wish I could bring every single one of you guys along with on some of these adventures. Trying to do my best to share with you guys some of the experiences. Montreal is a really pretty place. Not sure how it is in the winter, but during the summer months....it's great. Here are some pics from our leisure the day after the event.
So if you're ever in Montreal Canada... make sure you go check out Old Town!
More Updates Soon!
Flying Home to CA tomorrow and getting Ready for Top Drift Round 3
Stay Tuned!
#ThisistheWolf
Update: "A little here a little there....on and on.......and on"
Went out to Irwindale Thursday Night Drift #Thursdaynightdrift What a pretty night!

Pulled this epic Screen grab from the Go Pro footage. I love this shot. Primarily the light and shadows cast by components Partner stickers etc
Which one do you guys like more? 1-top or 2-bottom?
1

2

Honing in my breakfast skills


And something very huge for me came in.... Something I've needed for the longest time and have constantly put off and off until I finally found ..juuuuust the right one!

But before install.....I needed to do some trimming interior wise. No longer sitting so far back....putting myself in a more appropriate Race car seating position My Hydro E-brake braket was protruding just a bit too far back. SO I had to trim it up!

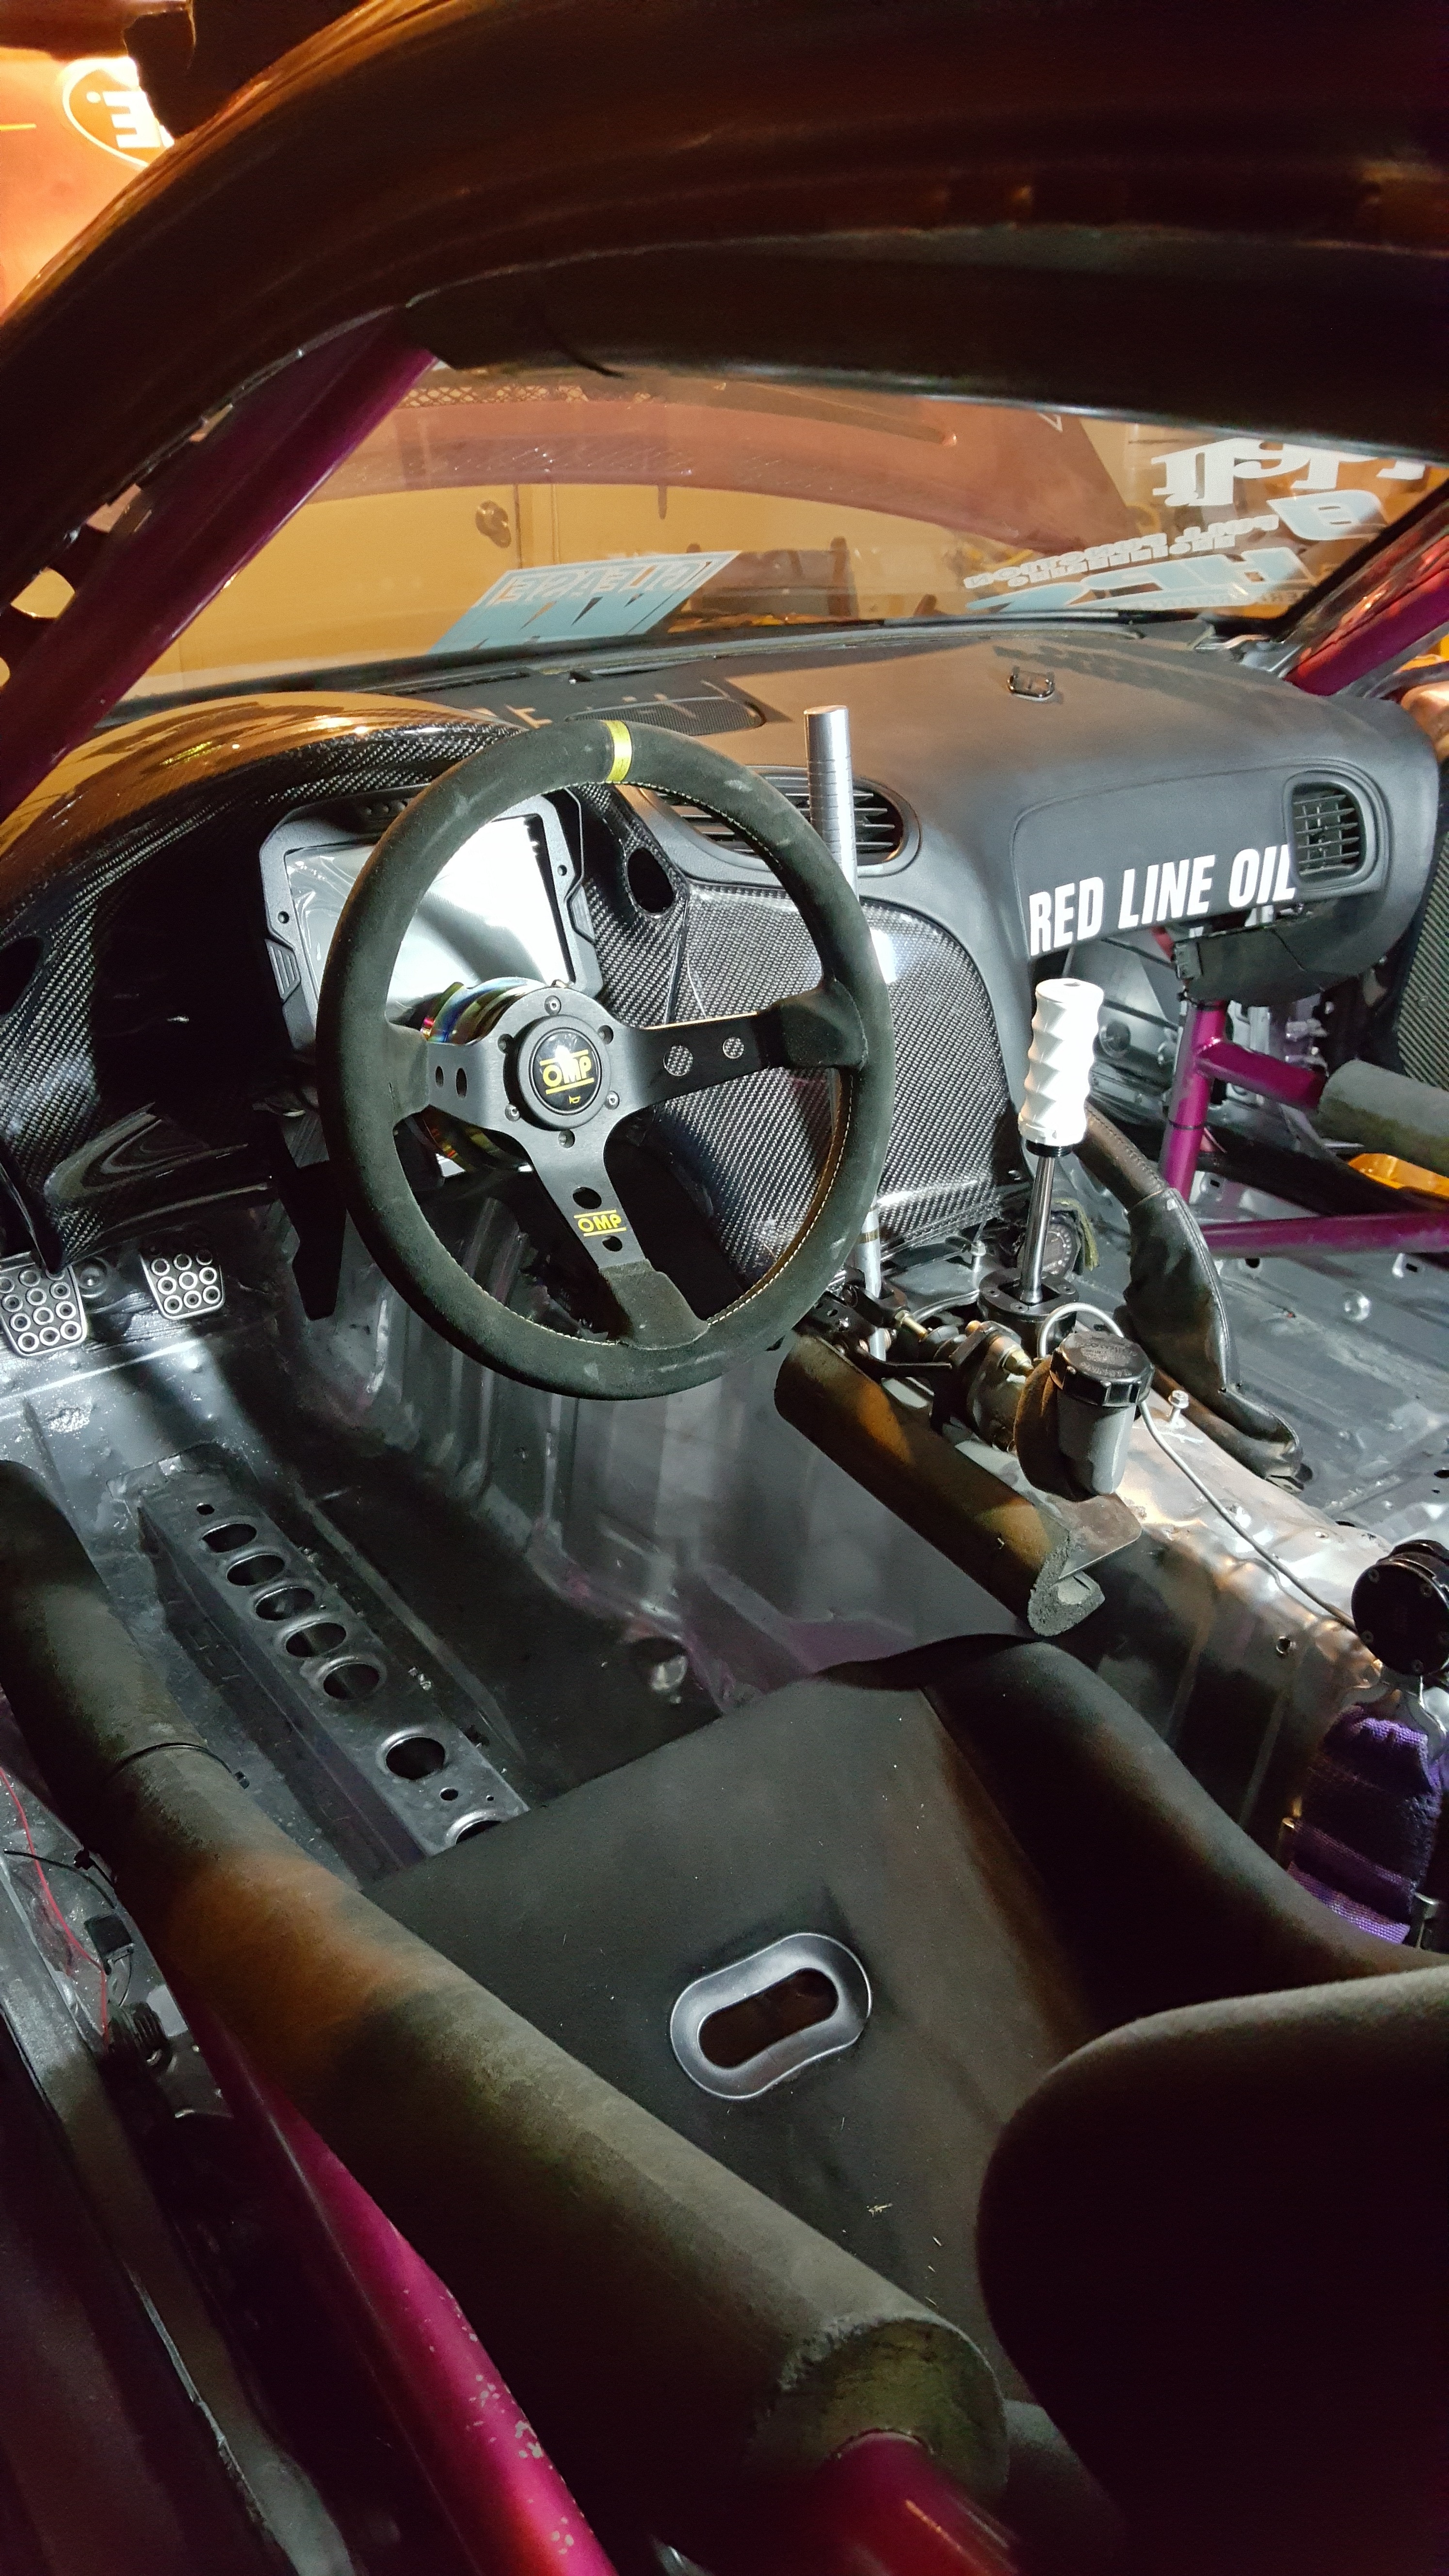
And Here she is!!: OMP RS-PT Now let me explain this to you guys. The reason I took sooo long to choose a seat was because 1) The fd cab area is small. Even with Door panels/carpet/interior removed... we've still got limited area to work with.
2) This makes it hard for someone like myself 6'1 with broad shoulders and a smaller waist/hip area 32" etc... to find a seat that fit those two specifications
3) I refused to get a seat unless it would last me a long time...and since my Goal is Formula Drift... Then I needed a Seat that was both FIA Certified...and had a Halo for Tech. So I measured and studied as much as I can and came up with a set of Measurements that would work for The Wolf....and that would work for my waist/shoulders. And then...spent about a year and a half measuring/sitting/and lugging tape measures around with me to every show that I knew seat manufacturers would be displaying seats at. Craziest part is.... that This seat I wasn't able to measure. I went strictly off the PDF dimensions chart and cross referenced it with another seat that was listed on there...that I knew a driver in FD had.. that I could measure. SO I waited till FD Seattle to measure his seat...and it all panned out perfectly.. So I put in my Order!! Thank you to Dave at TF works for having this to me soo quickly...without me even asking about tracking or anything! Awesome Service!

soo happy lol (Check out the Reflective trim on the seat! DOPE!)

in place

Went out to Irwindale Thursday Night Drift #Thursdaynightdrift What a pretty night!
Pulled this epic Screen grab from the Go Pro footage. I love this shot. Primarily the light and shadows cast by components Partner stickers etc
Which one do you guys like more? 1-top or 2-bottom?
1
2
Honing in my breakfast skills
And something very huge for me came in.... Something I've needed for the longest time and have constantly put off and off until I finally found ..juuuuust the right one!
But before install.....I needed to do some trimming interior wise. No longer sitting so far back....putting myself in a more appropriate Race car seating position
And Here she is!!: OMP RS-PT Now let me explain this to you guys. The reason I took sooo long to choose a seat was because 1) The fd cab area is small. Even with Door panels/carpet/interior removed... we've still got limited area to work with.
2) This makes it hard for someone like myself 6'1 with broad shoulders and a smaller waist/hip area 32" etc... to find a seat that fit those two specifications
3) I refused to get a seat unless it would last me a long time...and since my Goal is Formula Drift... Then I needed a Seat that was both FIA Certified...and had a Halo for Tech. So I measured and studied as much as I can and came up with a set of Measurements that would work for The Wolf....and that would work for my waist/shoulders. And then...spent about a year and a half measuring/sitting/and lugging tape measures around with me to every show that I knew seat manufacturers would be displaying seats at. Craziest part is.... that This seat I wasn't able to measure. I went strictly off the PDF dimensions chart and cross referenced it with another seat that was listed on there...that I knew a driver in FD had.. that I could measure. SO I waited till FD Seattle to measure his seat...and it all panned out perfectly.. So I put in my Order!! Thank you to Dave at TF works for having this to me soo quickly...without me even asking about tracking or anything! Awesome Service!
soo happy lol (Check out the Reflective trim on the seat! DOPE!)
in place
Continued!!! Part 2: "A little here a little there....on and on.......and on"
from the passenger side view

Tight fit!!!! Roll Cage Padding had to be trimmed

And Also...
After removing my Heater Core when I did the Re-wire.... I can honestly say that Leaving the Heater Core in the car helped with Heat over all. I feel like my car gets 2-3 Degrees hotter...juuuuust THAT much quicker as well. I didn't want to do anything drastic and move the radiator to the rear of the car or anything....But I really don't like the car getting hot like it has been. And when I say Hot.... I mean Ambient temps out are 108 Degrees F. Guaranteed another 10 degrees out on the Track just from the Pavement. But Water temps got up to 110 Degrees Celsius...which is around 225-235 F or something. ....TOO HOT!!! So I sat down and thought about my Options. And the only thing I could think of was a water sprayer on the Radiator.
Rummaged through all my old parts and found an old AEM Water Methanol Tank... But I sold my old pump. Posted up on FB looking for one and My buddy actually had one laying around that he said he had kept for a special occasion...but 4 years later....the special occasion was me asking him lol I'm thankful for my friends!! He gave me the pump... I went to Lowe's ...got a bunch of 1/4" quick dis-connect sprinkler fittings and some spray nozzles that actually took a while to choose due to spray patter etc. And went home to install it.
So Originally I wanted to hook it up to be triggered off water temp. So that the only time it ever came on would be when the car was over say 106 Celsius. But I started thinking about it....and Really wanted the control to be used in different occasions. PLUS it's illegal in Formula Drift to have sprayers triggered on the car. So I put it on a manual switch on my over head Panel. Against my ideology about switches...but a necessary exception to the rule. So, while installing it...I ended up making it Tee out so that I have 2 nozzles. The first priority is the Radiator & the second is a smaller spray pattern....to the Intercooler. This way I'm cooling more than just the radiator.
Check it out!
Underneath the Radiator Ducting. Fans out directly into the Air path!

Hose mends... I like to make them as Flat as possible

Fitting Sneaks for intercooler

Final position for the Radiator

Cant see much from the front

almost hidden

Tank and pump location/routing

And I made a Door handle since I've been using the latch wire for the past 2 events. NOT COOL. But this is cool......to me at least. Used real Thread To secure the Original Bubble Tech Nylon Pull Strap to the Latch wire! WIth a little Heat Shrink on it to keep it clean!


from the passenger side view
Tight fit!!!! Roll Cage Padding had to be trimmed
And Also...
After removing my Heater Core when I did the Re-wire.... I can honestly say that Leaving the Heater Core in the car helped with Heat over all. I feel like my car gets 2-3 Degrees hotter...juuuuust THAT much quicker as well. I didn't want to do anything drastic and move the radiator to the rear of the car or anything....But I really don't like the car getting hot like it has been. And when I say Hot.... I mean Ambient temps out are 108 Degrees F. Guaranteed another 10 degrees out on the Track just from the Pavement. But Water temps got up to 110 Degrees Celsius...which is around 225-235 F or something. ....TOO HOT!!! So I sat down and thought about my Options. And the only thing I could think of was a water sprayer on the Radiator.
Rummaged through all my old parts and found an old AEM Water Methanol Tank... But I sold my old pump. Posted up on FB looking for one and My buddy actually had one laying around that he said he had kept for a special occasion...but 4 years later....the special occasion was me asking him lol I'm thankful for my friends!! He gave me the pump... I went to Lowe's ...got a bunch of 1/4" quick dis-connect sprinkler fittings and some spray nozzles that actually took a while to choose due to spray patter etc. And went home to install it.
So Originally I wanted to hook it up to be triggered off water temp. So that the only time it ever came on would be when the car was over say 106 Celsius. But I started thinking about it....and Really wanted the control to be used in different occasions. PLUS it's illegal in Formula Drift to have sprayers triggered on the car. So I put it on a manual switch on my over head Panel. Against my ideology about switches...but a necessary exception to the rule. So, while installing it...I ended up making it Tee out so that I have 2 nozzles. The first priority is the Radiator & the second is a smaller spray pattern....to the Intercooler. This way I'm cooling more than just the radiator.
Check it out!
Underneath the Radiator Ducting. Fans out directly into the Air path!
Hose mends... I like to make them as Flat as possible
Fitting Sneaks for intercooler
Final position for the Radiator
Cant see much from the front
almost hidden
Tank and pump location/routing
And I made a Door handle since I've been using the latch wire for the past 2 events. NOT COOL. But this is cool......to me at least. Used real Thread To secure the Original Bubble Tech Nylon Pull Strap to the Latch wire! WIth a little Heat Shrink on it to keep it clean!

