When you click on links to various merchants on this site and make a purchase, this can result in this site earning a commission. Affiliate programs and affiliations include, but are not limited to, the eBay Partner Network.
I finally got the opportunity to purchase a FD after many years of saving. I picked it up back in May when COVID was full swing, had the car sitting in my garage for almost 2 months before a DMV had their DMS section open up here in central Florida for VIN verification. Once an appointment was set I then was finally able to make the first long drive with the car. I brought oil, coolant, and tools with me in preparation for the worst. The hour and a halfish drive from Orlando to Ocala was the most nerve wrecking one I've had staring at the coolant gauge cruising at 110kmh. Somehow it made it there for the inspection and back home without any issues.
Fast forward a couple weeks and I now had everything needed to legally drive the car. From what I could gather the car had side skirts, aftermarket front bumper, and some aftermarket wheels but stock engine during it's life in Japan. I mention this because the car arrived to me on stock wheels with a cut up 93 spec front bumper and holes to attach the side skirts (I was aware of all of this prior to purchase). Before the first long drive I did an oil change and coolant flush, no alignment yet and who knows how old those spark plugs it came with were. I started to dive deeper into the car. It had a bouncy idle, ride height needed to be raised to fit the stock 16" wheels, and the brakes felt like only two were working based on how well the car stopped (sketchy). So I raised the suspension, got new spark plugs, got an alignment, installed a new battery, and installed some upgraded pads and rotors. Then took the car to a local rotary guy to help with trouble shooting the idle. After all this the car felt solid and I was happy with it!
Fast forward some more and I find the time to take apart my tail lights in order to paint the inside lens to give the 99 spec look, they turned out great. I was excited for night to come so I could really get an idea of how they looked. That night I drove a friend home and on the way back to my house the car started stuttering and backfiring like crazy and wouldn't go above 2k rpm, luckily I was able to make it to a gas station and coast into a parking spot. Turned the car off, waiting 15 minutes and restarted it and the engine was not happy...at all....it sounded horrible and was shaking like crazy. I call my insurance (Hagerty) to arrange a tow truck to pick it up and take the car to my house only 2 miles away. Waited 9 hours for a tow truck to finally come (long story, I blame Orlando not Hagerty for this situation) and the driver tells me I have to drive it up because its low and he wanted no associated risk. I refused, left the car overnight, came back the next morning took the front bumper off and then went through the process again. This time someone finally picked it up.
At this point the car is at the local rotary guy's house for diagnosis, turns out no spark in rear rotor housing. New coils are ordered, new plugs, along with some cooling upgrades: Pettit AST, thermostat, and fan switch. Everything installed the car was and still to this day is running great!!
For the interior: the pop up headlight switch and cruise blank had broken tabs and were pushed in to the cluster, "fixing" this was the first thing I attempted after getting the car. Of course I exploded the cluster hood into a million pieces trying to get it out, I used some plastic putty to reattach the broken bits and it worked great. 6 months later i still have a piece of poster board spray painted black as my cluster hood. I got the speakers to work with blue tooth by getting a frequency adapter for the cigarette lighter port. The car came with a turbo timer, some kind of aftermarket alarm, and whatever the unit is that gives the "sleepy eyes" look. I plan delete all of that but for now just have it all turned off.
The plan as of now is to upgrade the exterior with 99 spec spoiler and front bumper, upgrade the interior with the newer textured plastics, and eventually go single turbo looking for 400hp to the wheels
It's been challenging but rewarding and certainly making memories with this car! It's amazing how much attention it gets, not to mention the gas station encounters when I pour premix into my gas tank. Now for some pictures....
Painting tail lights: I decided to us a heat gun based on research saying ovens can warp lenses and prevent proper reseal, I used plasti dip as my paint for a flat finish, best picture i have of the finish is a screenshot from a video.
Gauge cluster repair: I made a template for my poster board cut out so unlimited cluster hoods...sort of
Shifter rebuild: the plastic bits that were supposed to be on the shifter were nowhere to be found, they broke into a bunch of tiny pieces that I feel when I shift, need to drain the gear oil and try to get them out but at least the shifting feel isn't loose anymore.
Thermostat housing surprise / new coils: I can't begin to explain how many screws, fasteners, and bolts are missing on this car. Everywhere from fender liners, engine pay, to interior...the deeper I go the more I find missing, satisfying to replace with new parts though!
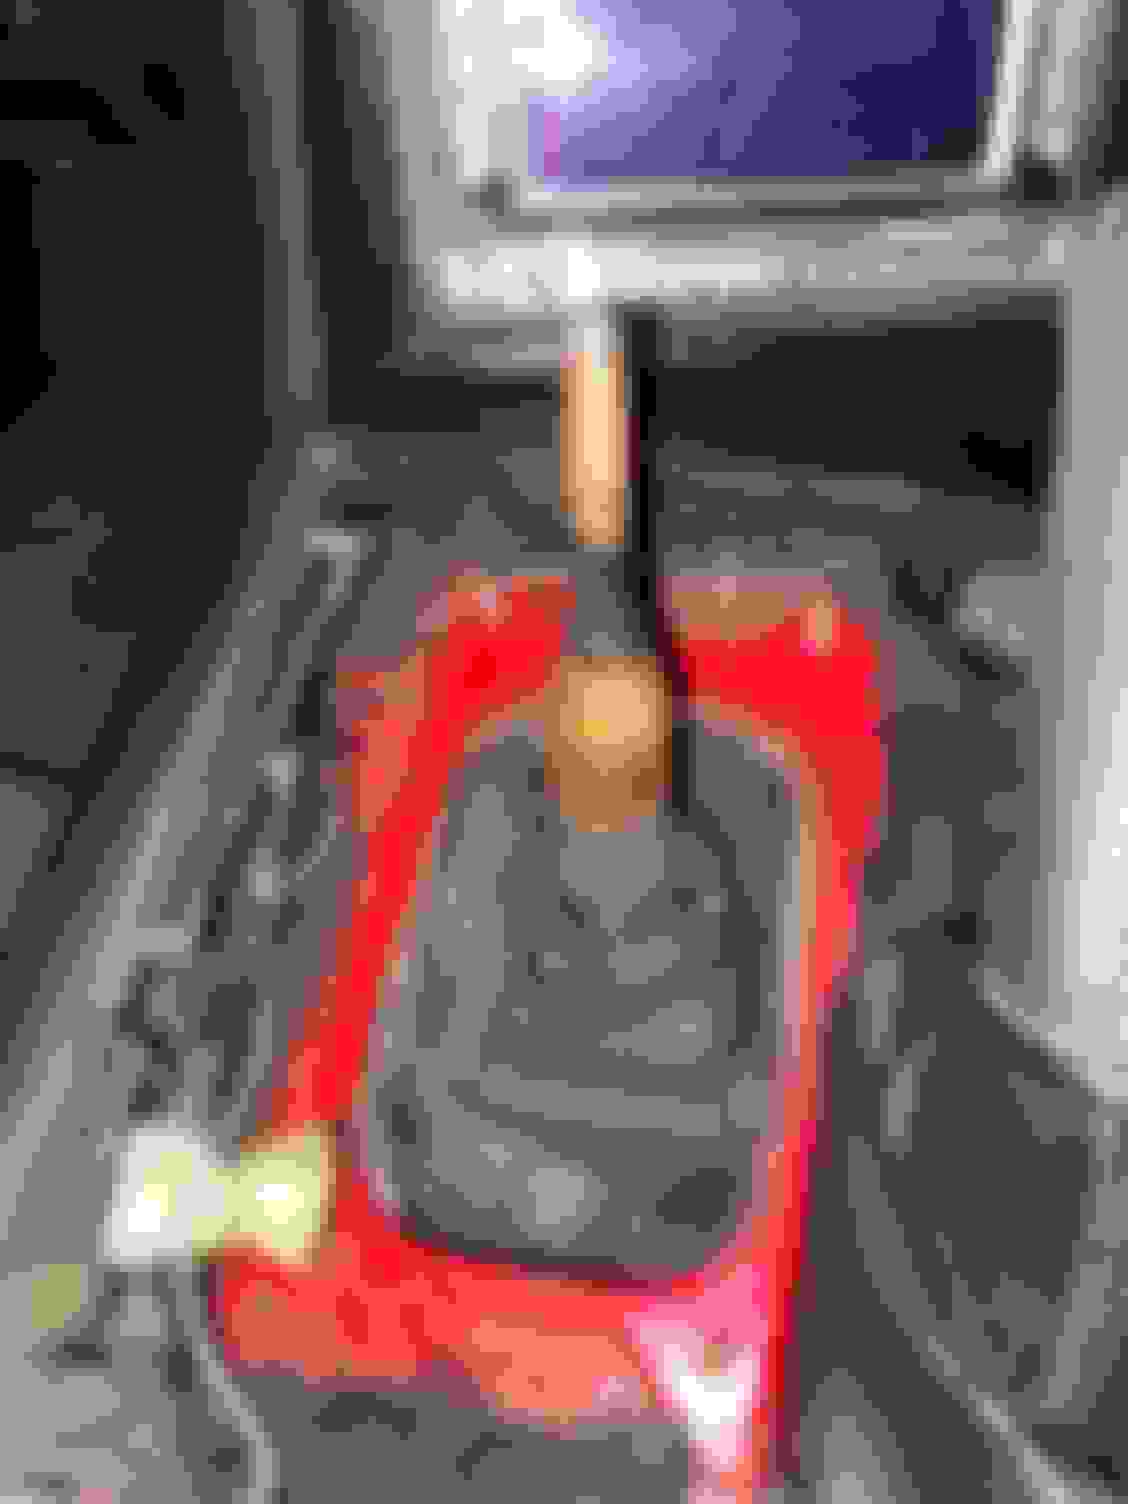
Update: I got the unwanted electronics removed from the car. 4 items in total, HKS turbo timer, some unit that gives the "sleepy eyes" look, a keyless entry device, and the old kenwood head unit. The keyless entry confused me, the wiring inside the door was not original along with the small box that was attached to the door. That's all straight forward, but the other piece that it was wired to came back as an OEM part when I googled the part number. Most of the wiring connectors inside the door looked stock to me. Is it possible someone swapped a later model year door and added an aftermarket receiver and some wiring to make the keyless entry work? Hoping someone can chime in on this, pics below.
I also replaced the HVAC panel, shifter panel, and the center console that the shifter panel sits on with new parts. The textured finish is a much better look in my opinion. Next I need to order the gauge cluster/hood that comes as one piece, the door plastics + mirror switch because they are all currently broken. I went with the MVH-1400NEX as my new head unit. I saw a few youtubers use it in their cars and I liked how flush it looked with no buttons. I highly recommend having the HVAC panel removed when installing a new head unit. There's not much space back there for the wires to fit and with the HVAC panel removed it is a lot easier to move the wires around and guide it in easily without shoving it in and potentially damaging some. Be very careful when transferring over the AC and fan controls to a new piece, the OEM screws can crack their small housings if over tightened. Old pieces vs new below.
Lastly, I finally grew tired of the rattling noises coming from the hatch. I was afraid of breaking the plastic tabs for the trim when removing the cover for the wiper motor. In the process of removing it I did break 3 of the tabs, but all others are still good. I bent the metal tabs before reinstalling the trim so that it wouldn't need so much force the next time I remove it to delete the wiper assembly. Be careful not to bend the metal pieces too much or they will no longer fit snugly. Once the trim was removed There were a bunch of metal tabs just floating around and one of the bolts for the spoiler was completely loose and stuck to the magnet part of the wiper motor. Only squeaking remaining is where the hatch locks when shut.
Was the car resprayed? The paint looks great in pics. Plus its common for many fasteners to be missing after a respray. Looking good.
Thanks! Yes the car was resprayed in Japan before it went up for auction. The paint has its flaws but it looks good from a distance. I parked on an incline after filling up with gas and some of the gas / premix leaked out of the cap and onto the body of the car. This caused the paint to ripple in that area, so I�m thinking maybe there�s no clear coat? Over spray on all the trim and mirrors plus runs in the paint all over...honestly it�s a bit of a relief having a rough paint job
Looking good and good effort to refurbish the interior.
Good you got the motor bugs worked out. Did your guy check the compression?
Post up some of those nice pics to RHD FD Nation, North American Edition thread (please!).
Compression has not been checked, the car hasn�t given me a reason to do it. A compression test was next on the list when the stock coils burnt out, but it was found that the rear housing wasn�t getting spark so diagnosing it stopped there.
I�ll try to get some pics posted up there tomorrow
Thanks! Yes the car was resprayed in Japan before it went up for auction. The paint has its flaws but it looks good from a distance. I parked on an incline after filling up with gas and some of the gas / premix leaked out of the cap and onto the body of the car. This caused the paint to ripple in that area, so I�m thinking maybe there�s no clear coat? Over spray on all the trim and mirrors plus runs in the paint all over...honestly it�s a bit of a relief having a rough paint job
I understand. My car is a 10 footer but it�s nice because I get to drive it how I want and take it to the track for road racing etc.
Update: took the car to one last cars and coffee here in central Florida before the suspension upgrades, 1st one of the year. Place was packed, met some cool fellow FD owners.
Getting closer to wrapping up the interior. The new cluster/hood arrived along with an original Efini steering wheel. Parts still needed for interior: new mirror, new dash vents, spare tire cover, and hatch cargo cover for non bose car.
Current status of the car: in the process of replacing the coilovers, suspension bushings, all 4 hubs, and rear hub bearings. I'm using BC Racing BR coilovers, SuperPro polyurethane suspension bushing kit 130k (saving the steering rack and diff bushings for a later project lol), J auto pillow ball bushings, OEM rear hubs and front hub assemblies, and Timken wheel bearings purchased from rock auto. Very time consuming and frustrating process swapping this stuff out at home with just a jack and some stands.
Old coilovers on the car were Tein type HR, they're old (like 25+ years old i think) and should have been replaced a long time ago. Front upper control arm bushings didn't look bad and probably didn't need replacing yet but the lowers were completely shot and definitely needed replacing. The only reason the front hubs are being replaced is because I know the rear hub bearings are bad, turns out the front hub assemblies were shot too. They weren't making noise or allowing play in the wheel when they were on the car but after removing them the ***** inside the bearing are loose and can be heard when shaking it.
I'm currently half way finished with just the front wrapped up. I should have inspected where the steering rack bushings go before starting, I finished both sides before checking them out and realized the front subframe needs to be dropped to get access to them, learn from my mistake I guess. Taking the car out for a quick ride after work today to test out the front and check for squeaks or anything like that, after that it's time to move on to the rear if everything goes well with the short drive. Here's a few bad pics of the process so far, not much to show here except how the front sits after dropping the car on the new coilovers for the first time (I did no adjusting to the coilovers this is how they fit straight out of the box) about a 1 finger gap between wheel and fender. They will settle even further after driving around for a little.
Hoping to get the last of the bushings installed by tonight except for the steering rack and differential. Then tomorrow replace the rear hubs and hub bearings, Wednesday get an alignment, Thursday drive the car to work and see how everything feels, Friday drive the car to Tampa for the super bowl and show off my new wheels to friends and family. At least that's the plan, we'll see how this week goes.
Big thanks to Steve for selling me his old wheels, they're in great shape. Got the fronts installed, just need to finish up the rear!
Nice job on the bushings ... I couldn't do them in my garage. I kept snapping bolts trying to push them through. I am in S FL so hopefully we will meet up some time.
congrats on the ride and nice job tuning it up!
Nice job on the bushings ... I couldn't do them in my garage. I kept snapping bolts trying to push them through. I am in S FL so hopefully we will meet up some time.
congrats on the ride and nice job tuning it up!
Hey thanks! I was only able to get around half of the bushings installed in my garage. The rest I took to a local Miata shop and let them deal with it haha was only charged $50 to have around 10 bushings pressed out and replaced with new ones.
My press is too narrow for the larger control arm bushings and the metal casing for the bigger toe link bushing deformed both times on me (casing for the rubber bushing not actual toe link)...without air tools or a grinder there was no chance I was getting that out at home.
Shoot me a message if you're planning to be in the area, Ace Cafe's rotary meets are great events. I would say to try to make one of those if you can!
I got the rear end finished up and took it for a drive. It's a night and day difference, car feels so much better now. Out of the box, the ride height needed to be lowered by about an inch in the rear to match the front.
The car is more responsive and there's no more metal clanking noises when on bumpy roads.
Still need to get an alignment and play with the dampening settings on the coilovers. I'll be able to give more feedback on the difference the new parts make after the drive to Tampa and back this weekend.
Spent some time driving the car on it's new suspension set up, here are my thoughts: responsive and rough.
I still need to play with the dampening adjustability on the BC coilovers, right now they're on the middle setting at 15 clicks. The squeaking coming from the rear hatch has become much more pronounced and went from a "not so bad" to a "ok i need to fix this"...stupid hatch lol. Other than the hatch squeaking I'm happy with how it all turned out, the added roughness was expected. The car feels like it drives on rails now with much more responsive steering inputs. Pros: performance and predictability. Cons: comfort.
BC Racing BR coilovers
SuperPRO kit130k (steering rack and diff mounts not done yet)
J-auto pillow ball bushings + new dust seals
OEM front hub assemblies (rear hubs and hub bearings not done yet)
Replaced the handbrake assembly with one from a totaled, low mileage US model. My leather boot was in better condition so I swapped that over to the new one and installed it.
Finding the balance between bringing this car up to standards with my vision but not going overboard and turning it into a garage queen. It comes out 3-4 times a week. I'm having too much fun with the stock twins, at the rate I drive this thing I'm just hoping the turbos and engine stay healthy long enough for me to complete everything else and do the engine last.
Approaching one year of ownership, big change coming soon, stay tuned
I put some adhesive felt circles (used for chair leg bottoms) where the hatch sits on the rubber stops. You might want to treat the seals with something like Kleen Flow Rubber Care (red can). Check for cracked plastic trims and perhaps replace the felt fabric anti-squeak strips around the edges of the plastic. And, of course lubricate the hinges and hatch supports.
I put some adhesive felt circles (used for chair leg bottoms) where the hatch sits on the rubber stops. You might want to treat the seals with something like Kleen Flow Rubber Care (red can). Check for cracked plastic trims and perhaps replace the felt fabric anti-squeak strips around the edges of the plastic. And, of course lubricate the hinges and hatch supports.
Thanks for the input, it seems to be more of a loose fit type squeak with the locking mechanism.
I noticed some people on here were saying the rubber stops that you're talking about wear out, i'll try to add something on top of them this weekend to see if that helps and report back
My stops had simply gotten very hard. Regarding the latch, I recall I may have just put some hockey tape around the u-bar to eliminate the metal on metal.
You sure the squeak is not being transmitted from your suspension?
Liquid wrench on the bushings helped eliminate some groaning for me.
Those furniture sliders worked lol I put one on top of each rubber stop and the noise is gone, great idea. It was obvious the noise was coming from where it locked I just didn�t describe it very well
 10-30-20, 10:11 AM