When you click on links to various merchants on this site and make a purchase, this can result in this site earning a commission. Affiliate programs and affiliations include, but are not limited to, the eBay Partner Network.
Since the car is going in for new paint, I thought I'd pull out all the lights and see if I can spruce them up any.
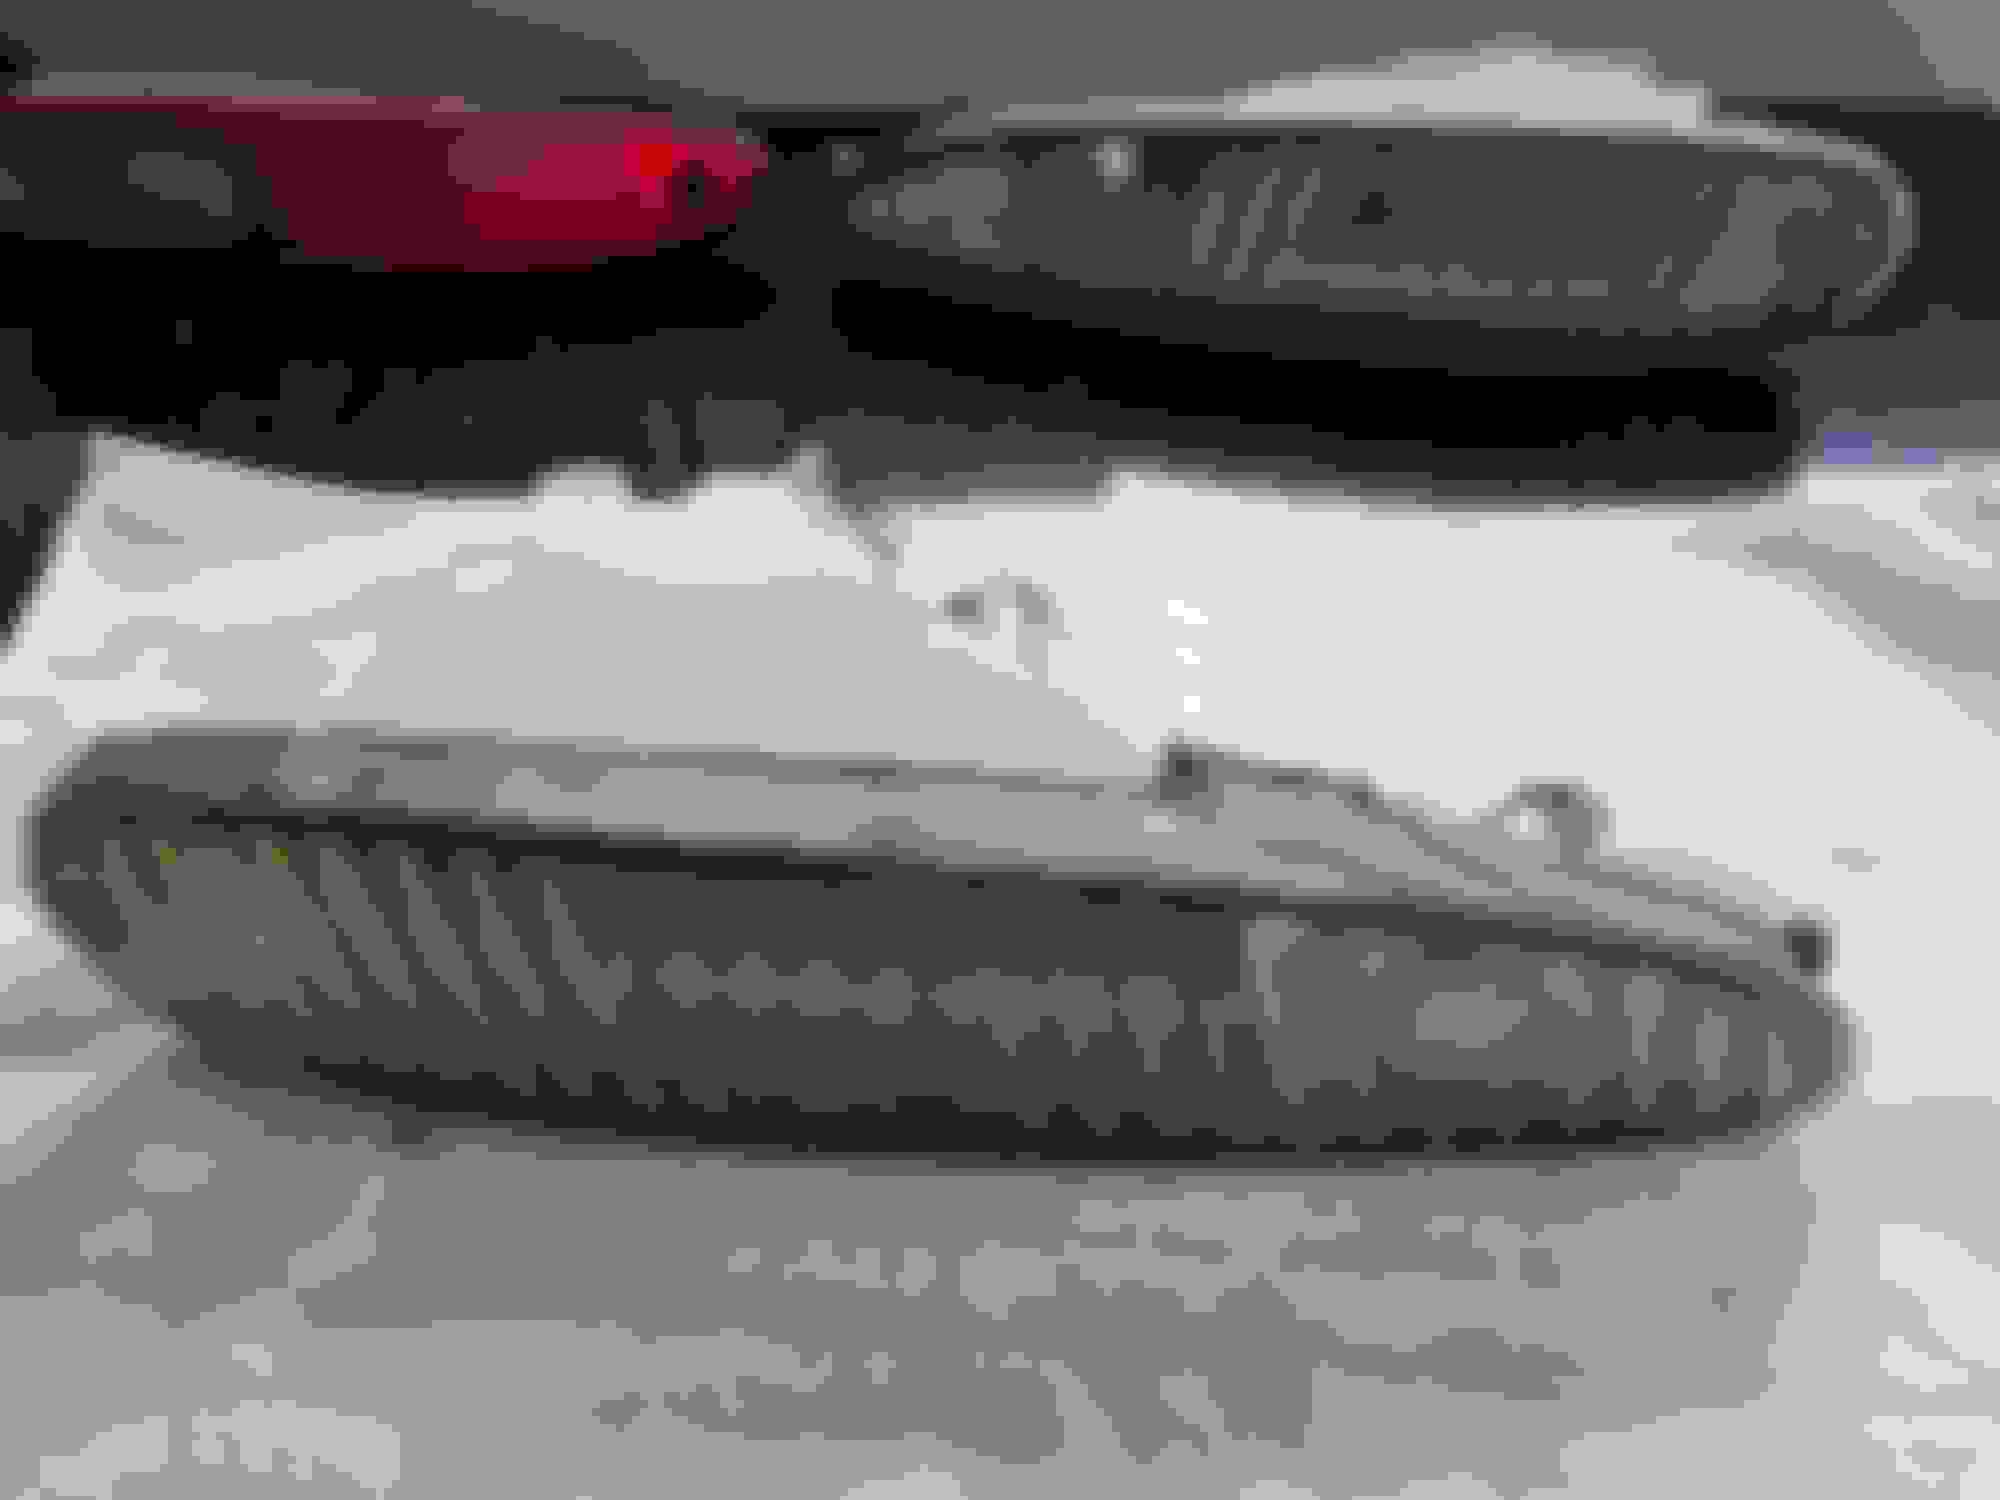
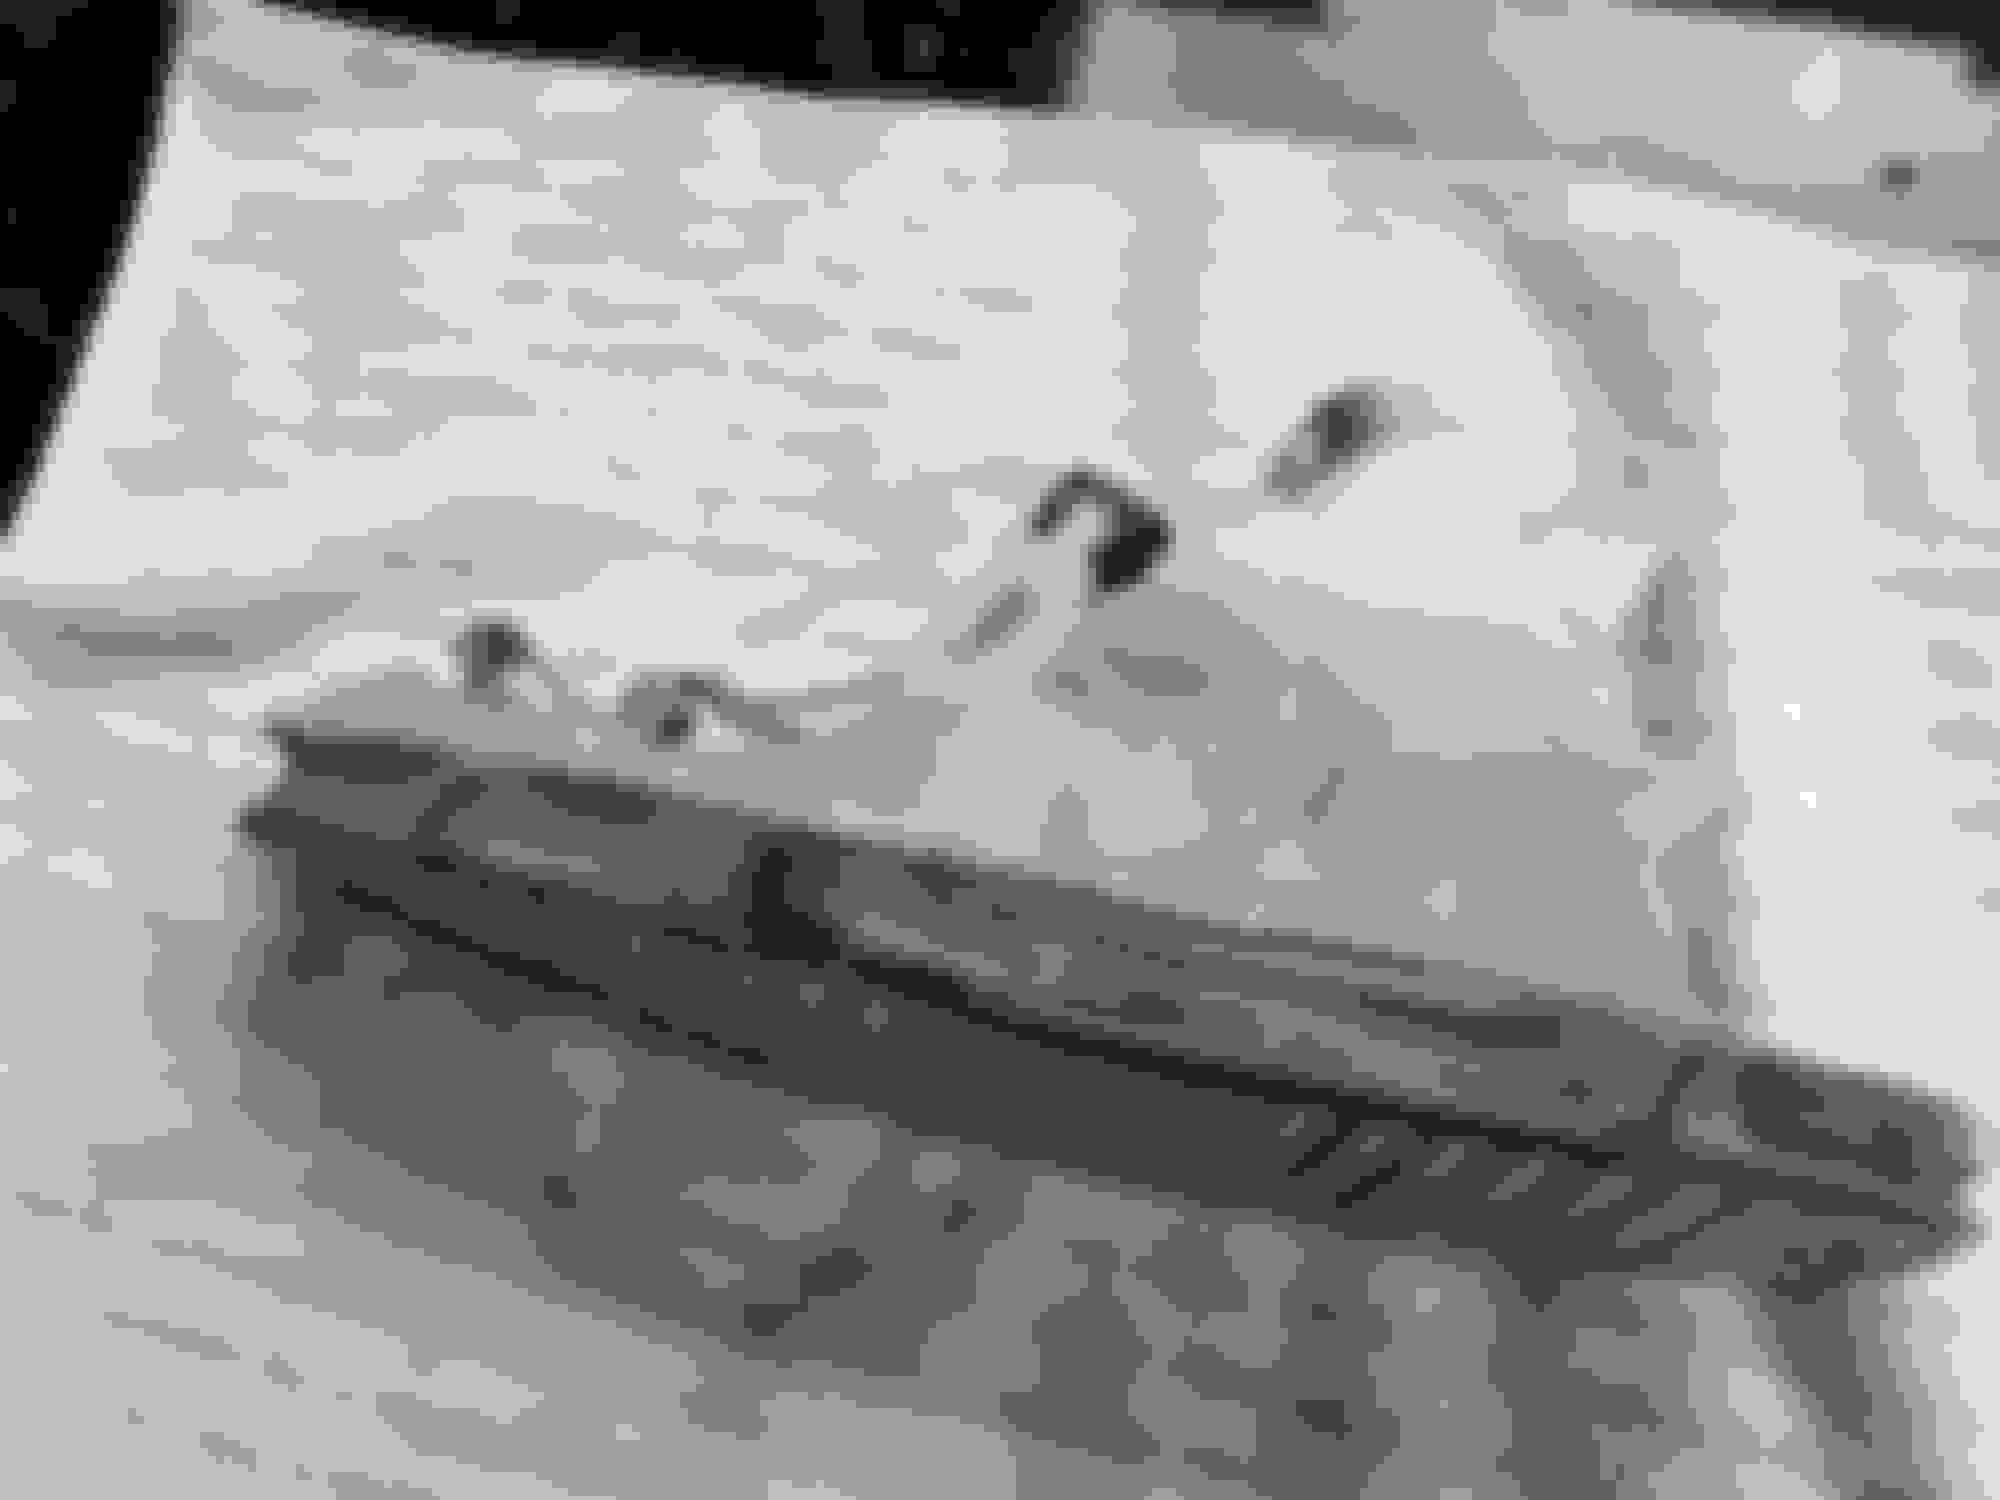
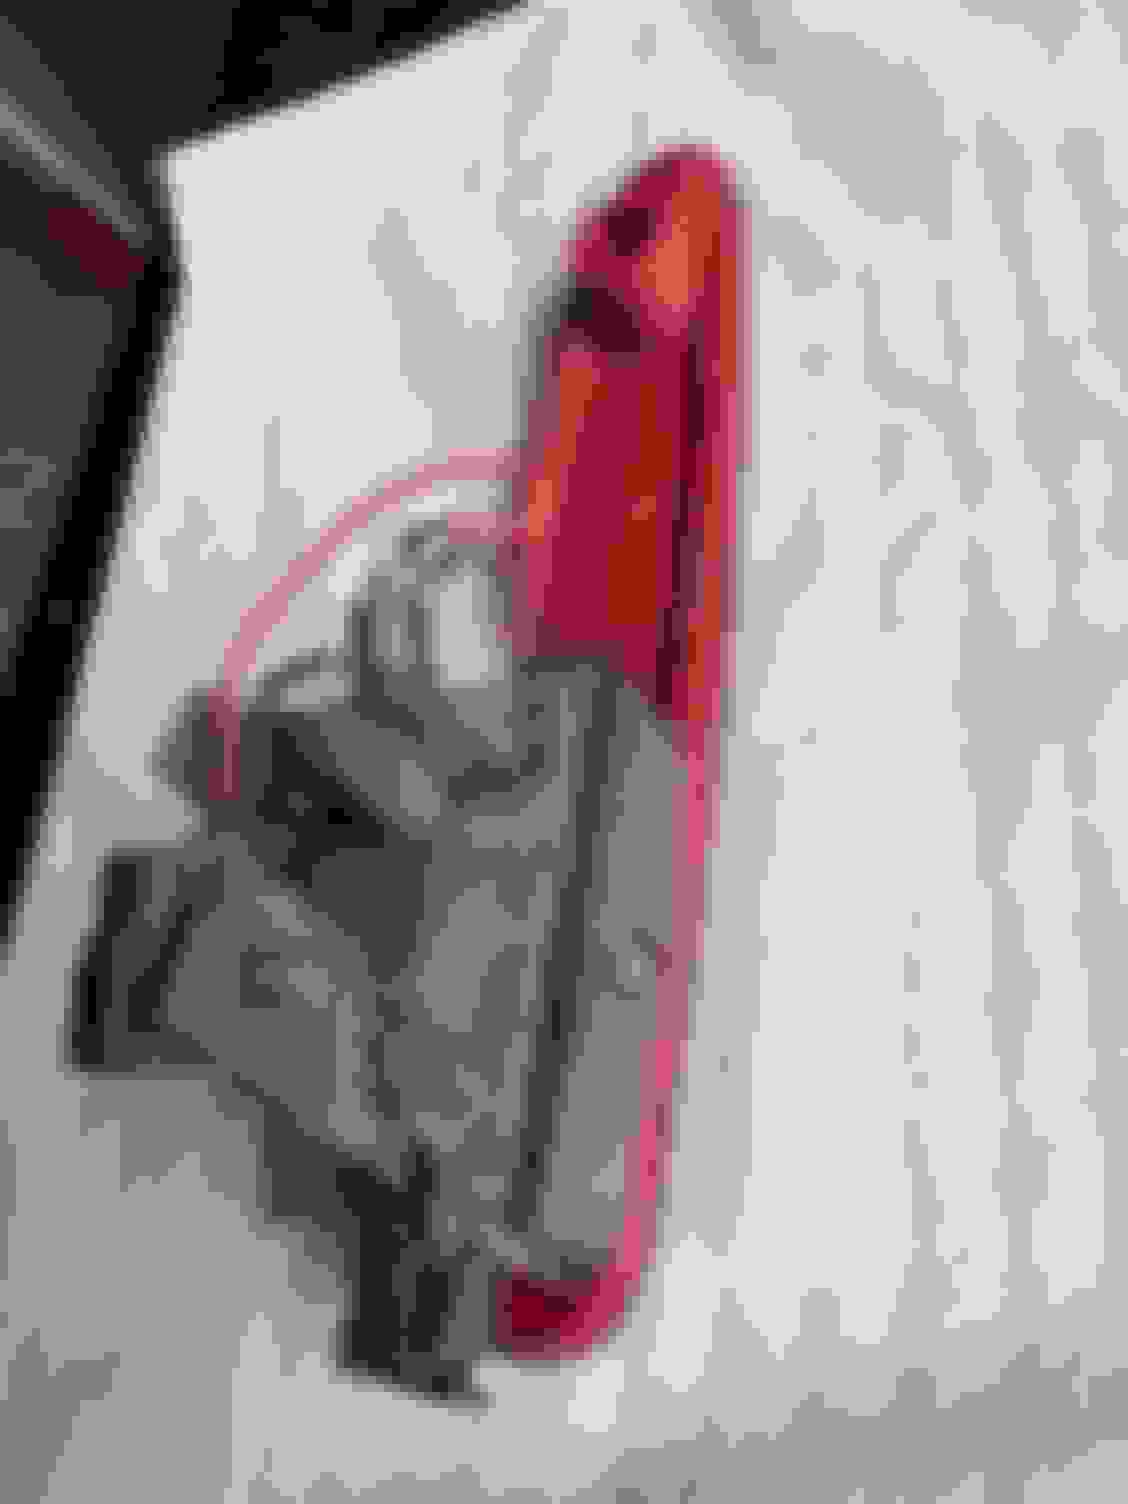
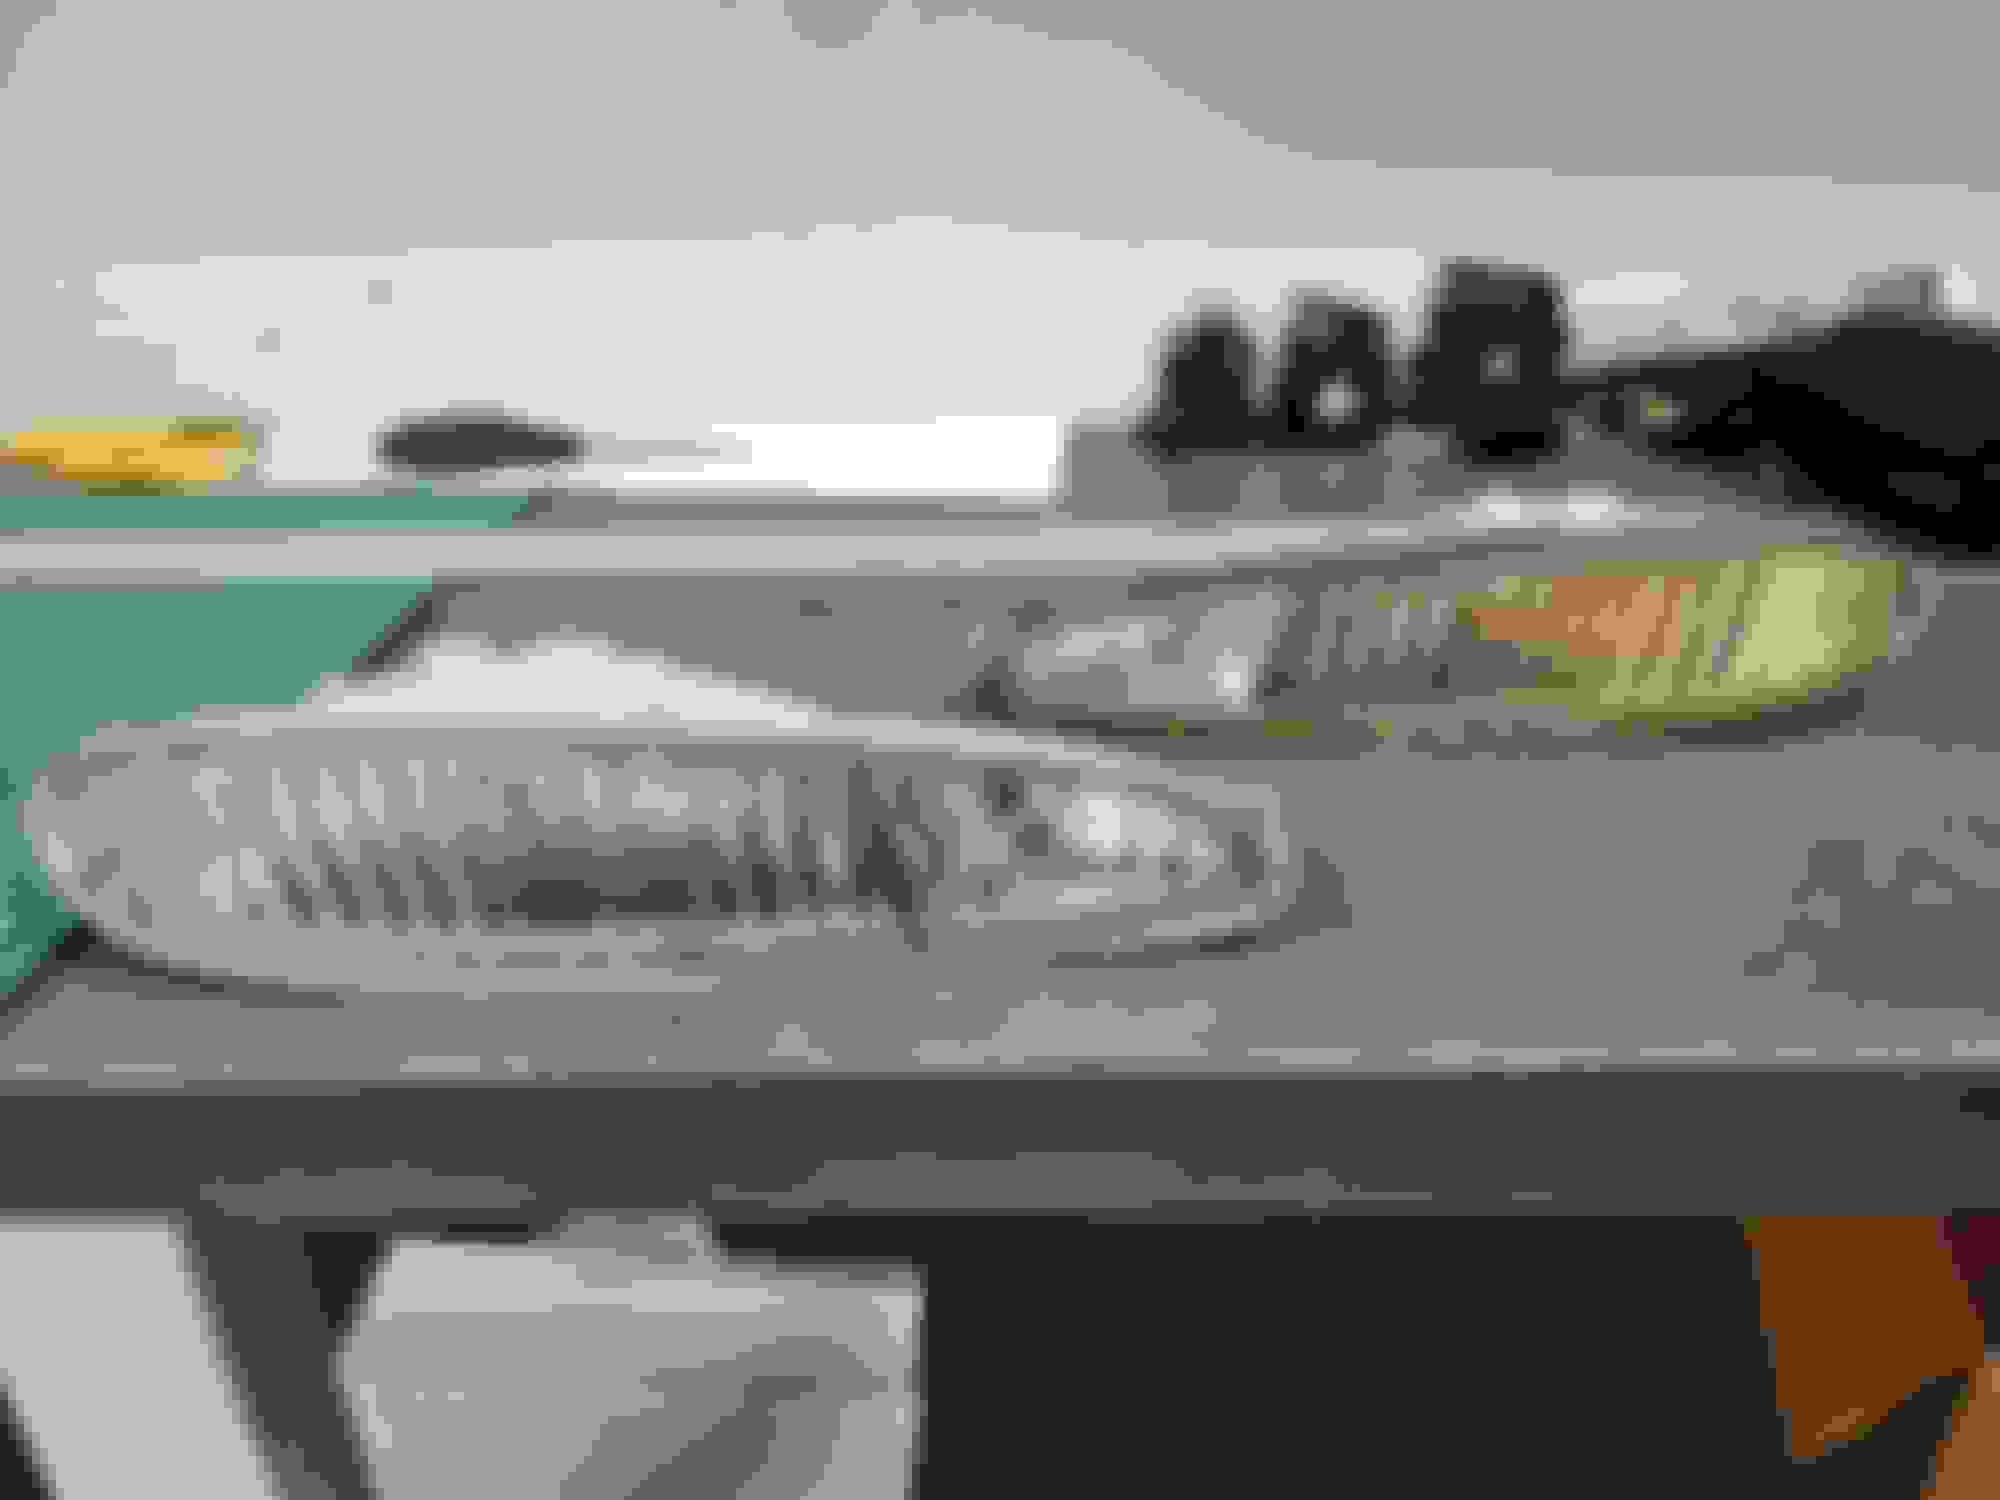
My bumper turn signal lights. The lens is pretty yellowed out. Front bumper lights are dusty Rear bumper indicator lights. Pretty dusty. Particularly the "white" portion of the light has yellowed.
To clean them:
I set to work with soapy water, toothbrushes, and cotton swabs.
Scraped out the dust that had been trying to penetrate the seams of the front lenses
Used many white "magic erasers" to scrub at the plastic
Hand sanded with 800 grit to 2000 grit sandpaper
Used a clear plastic restoration product
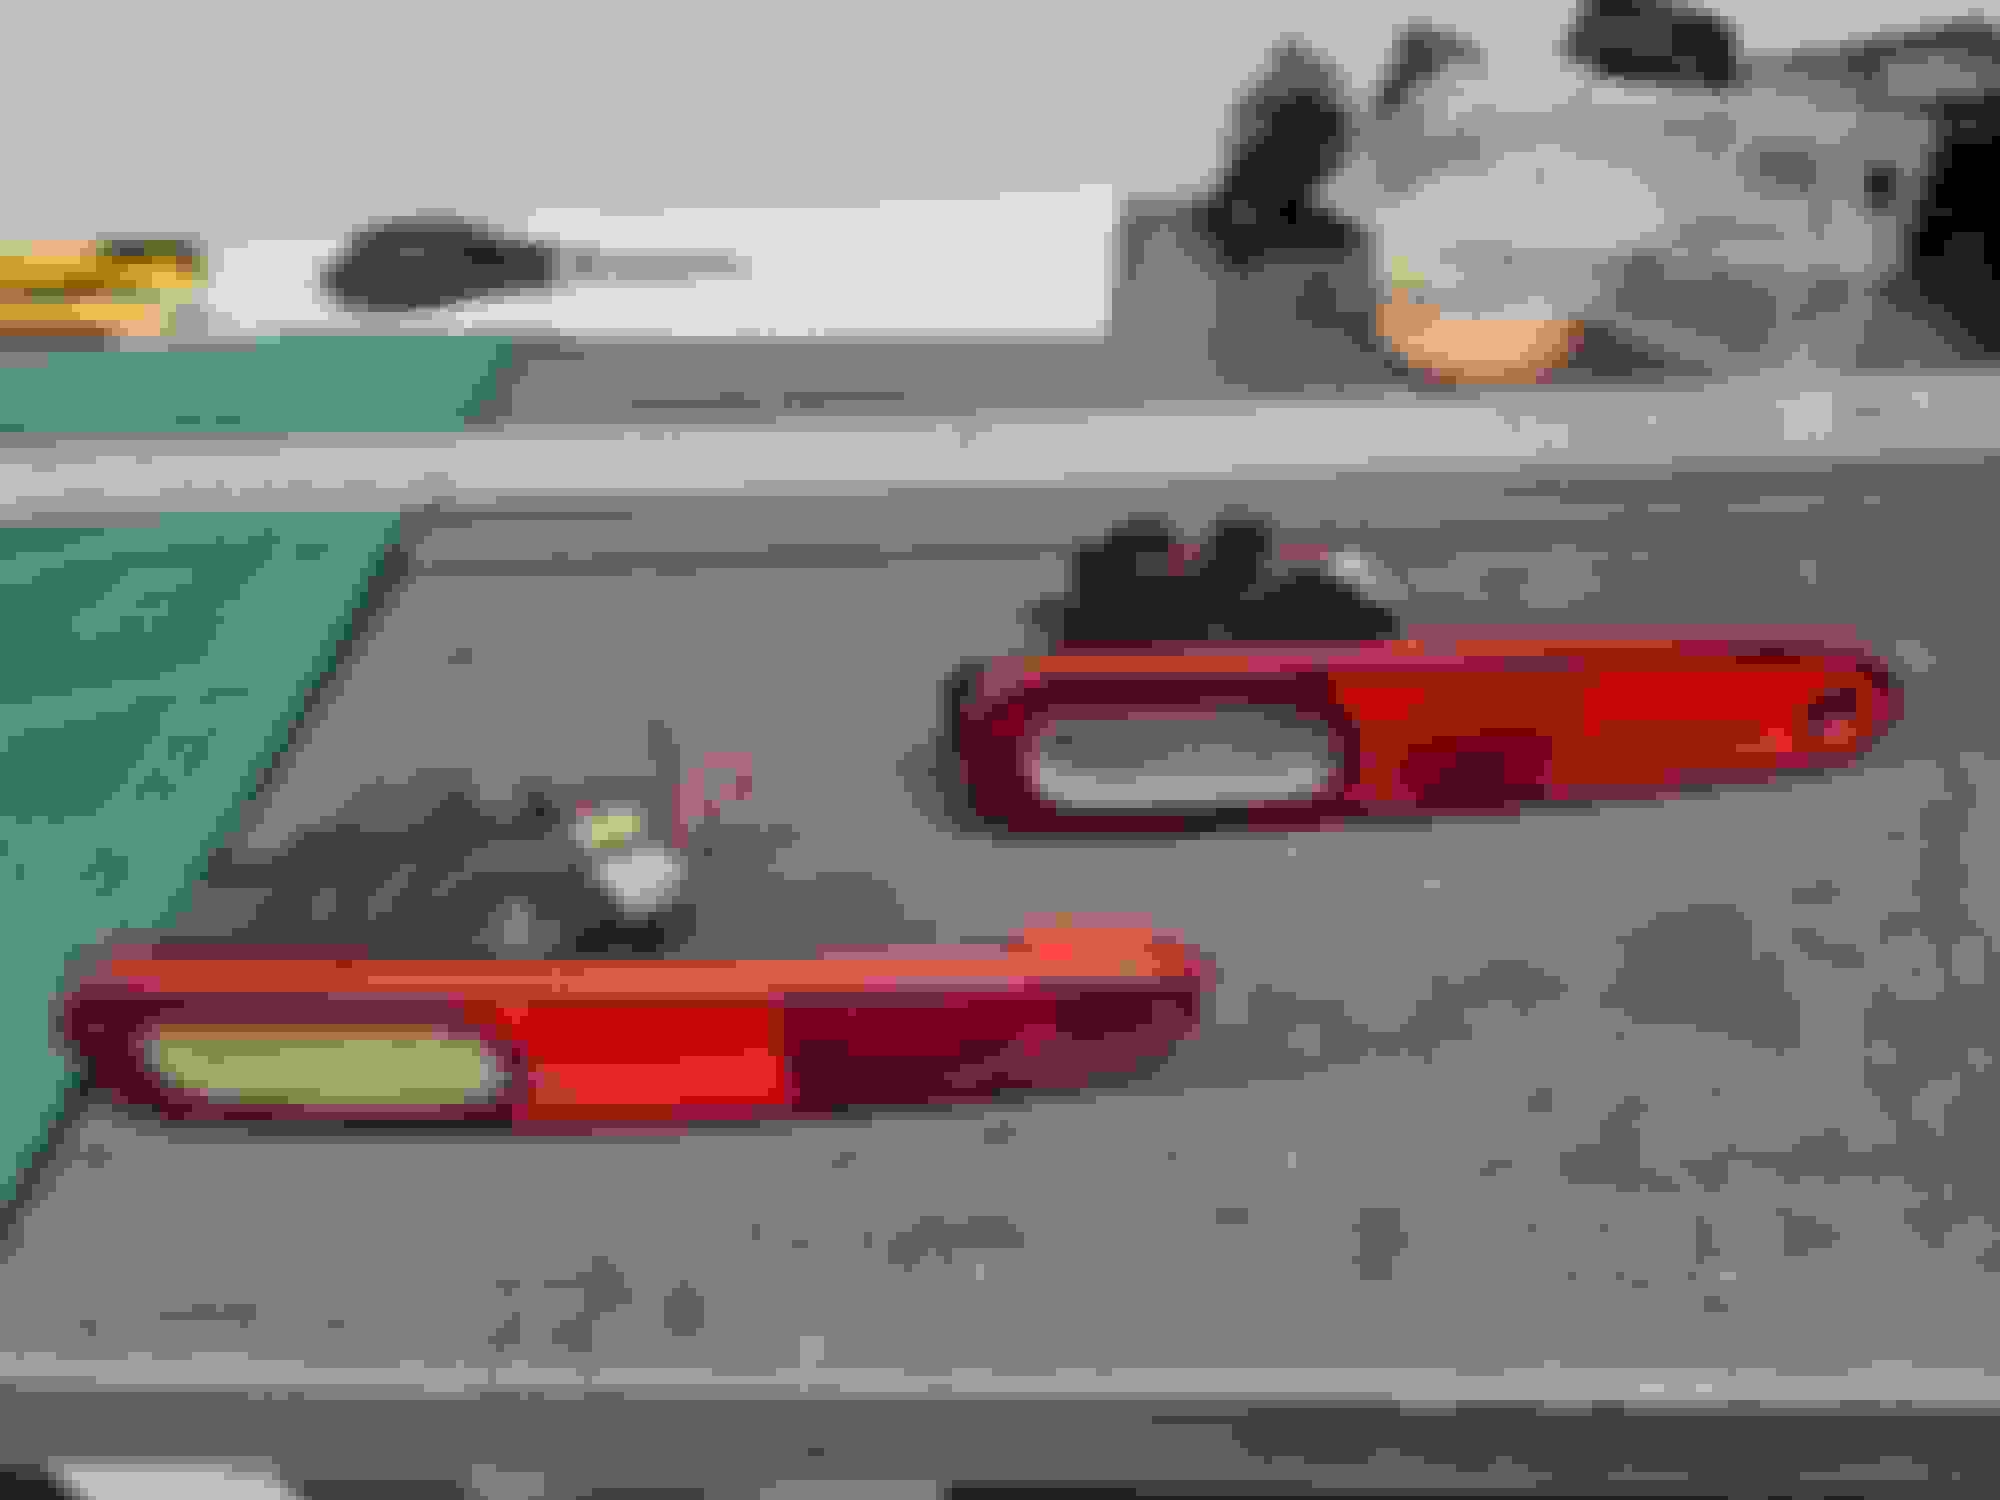
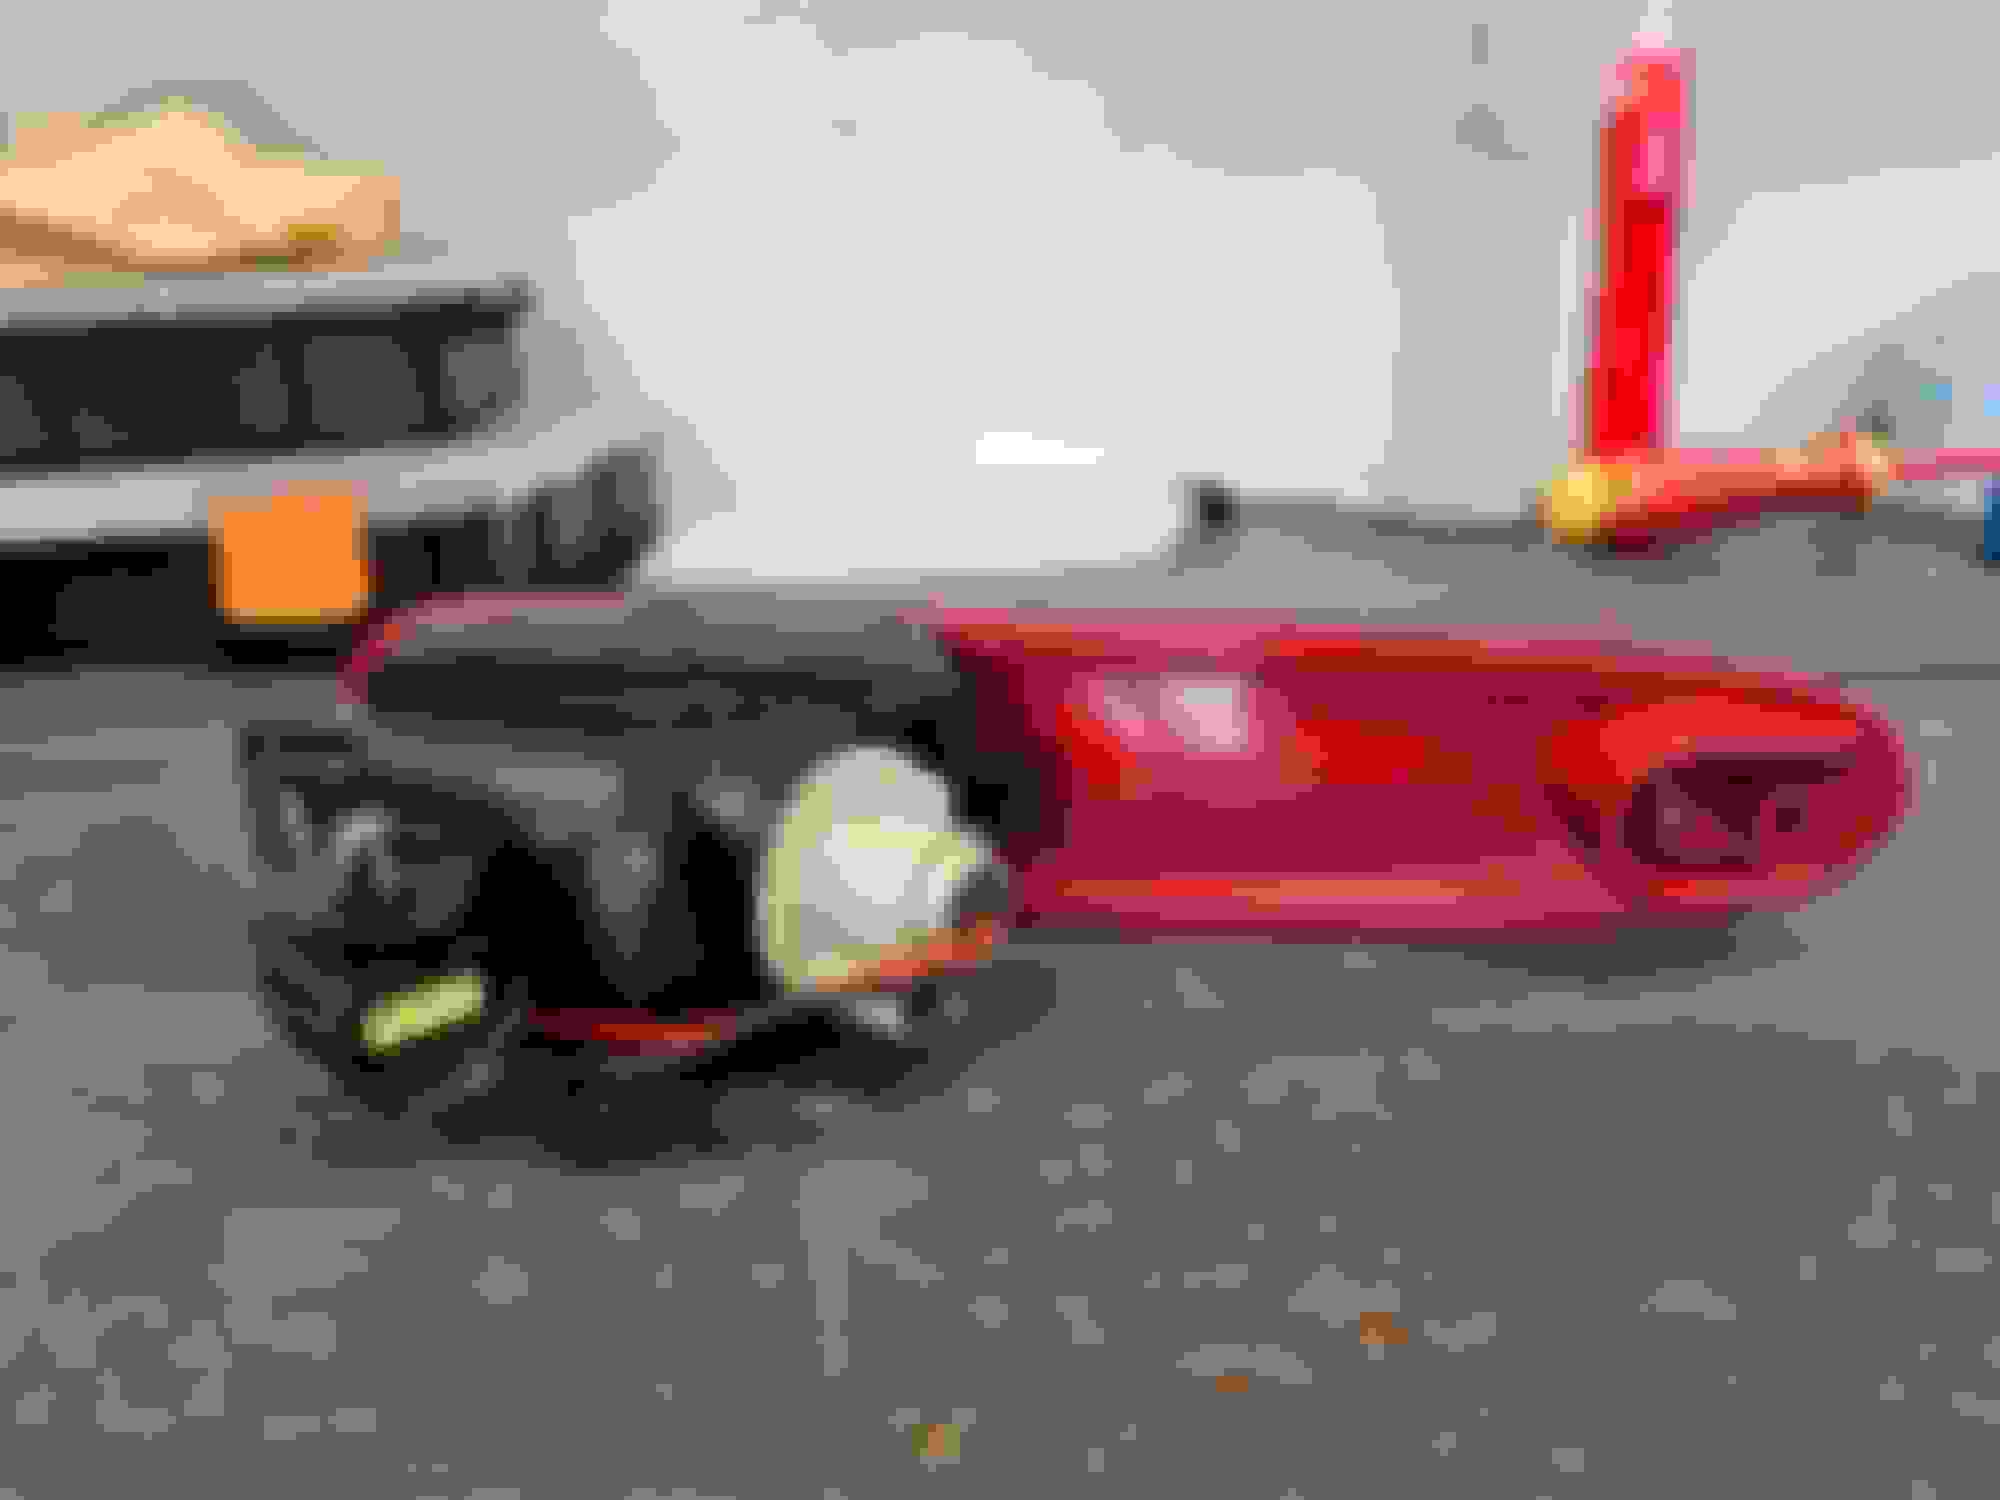
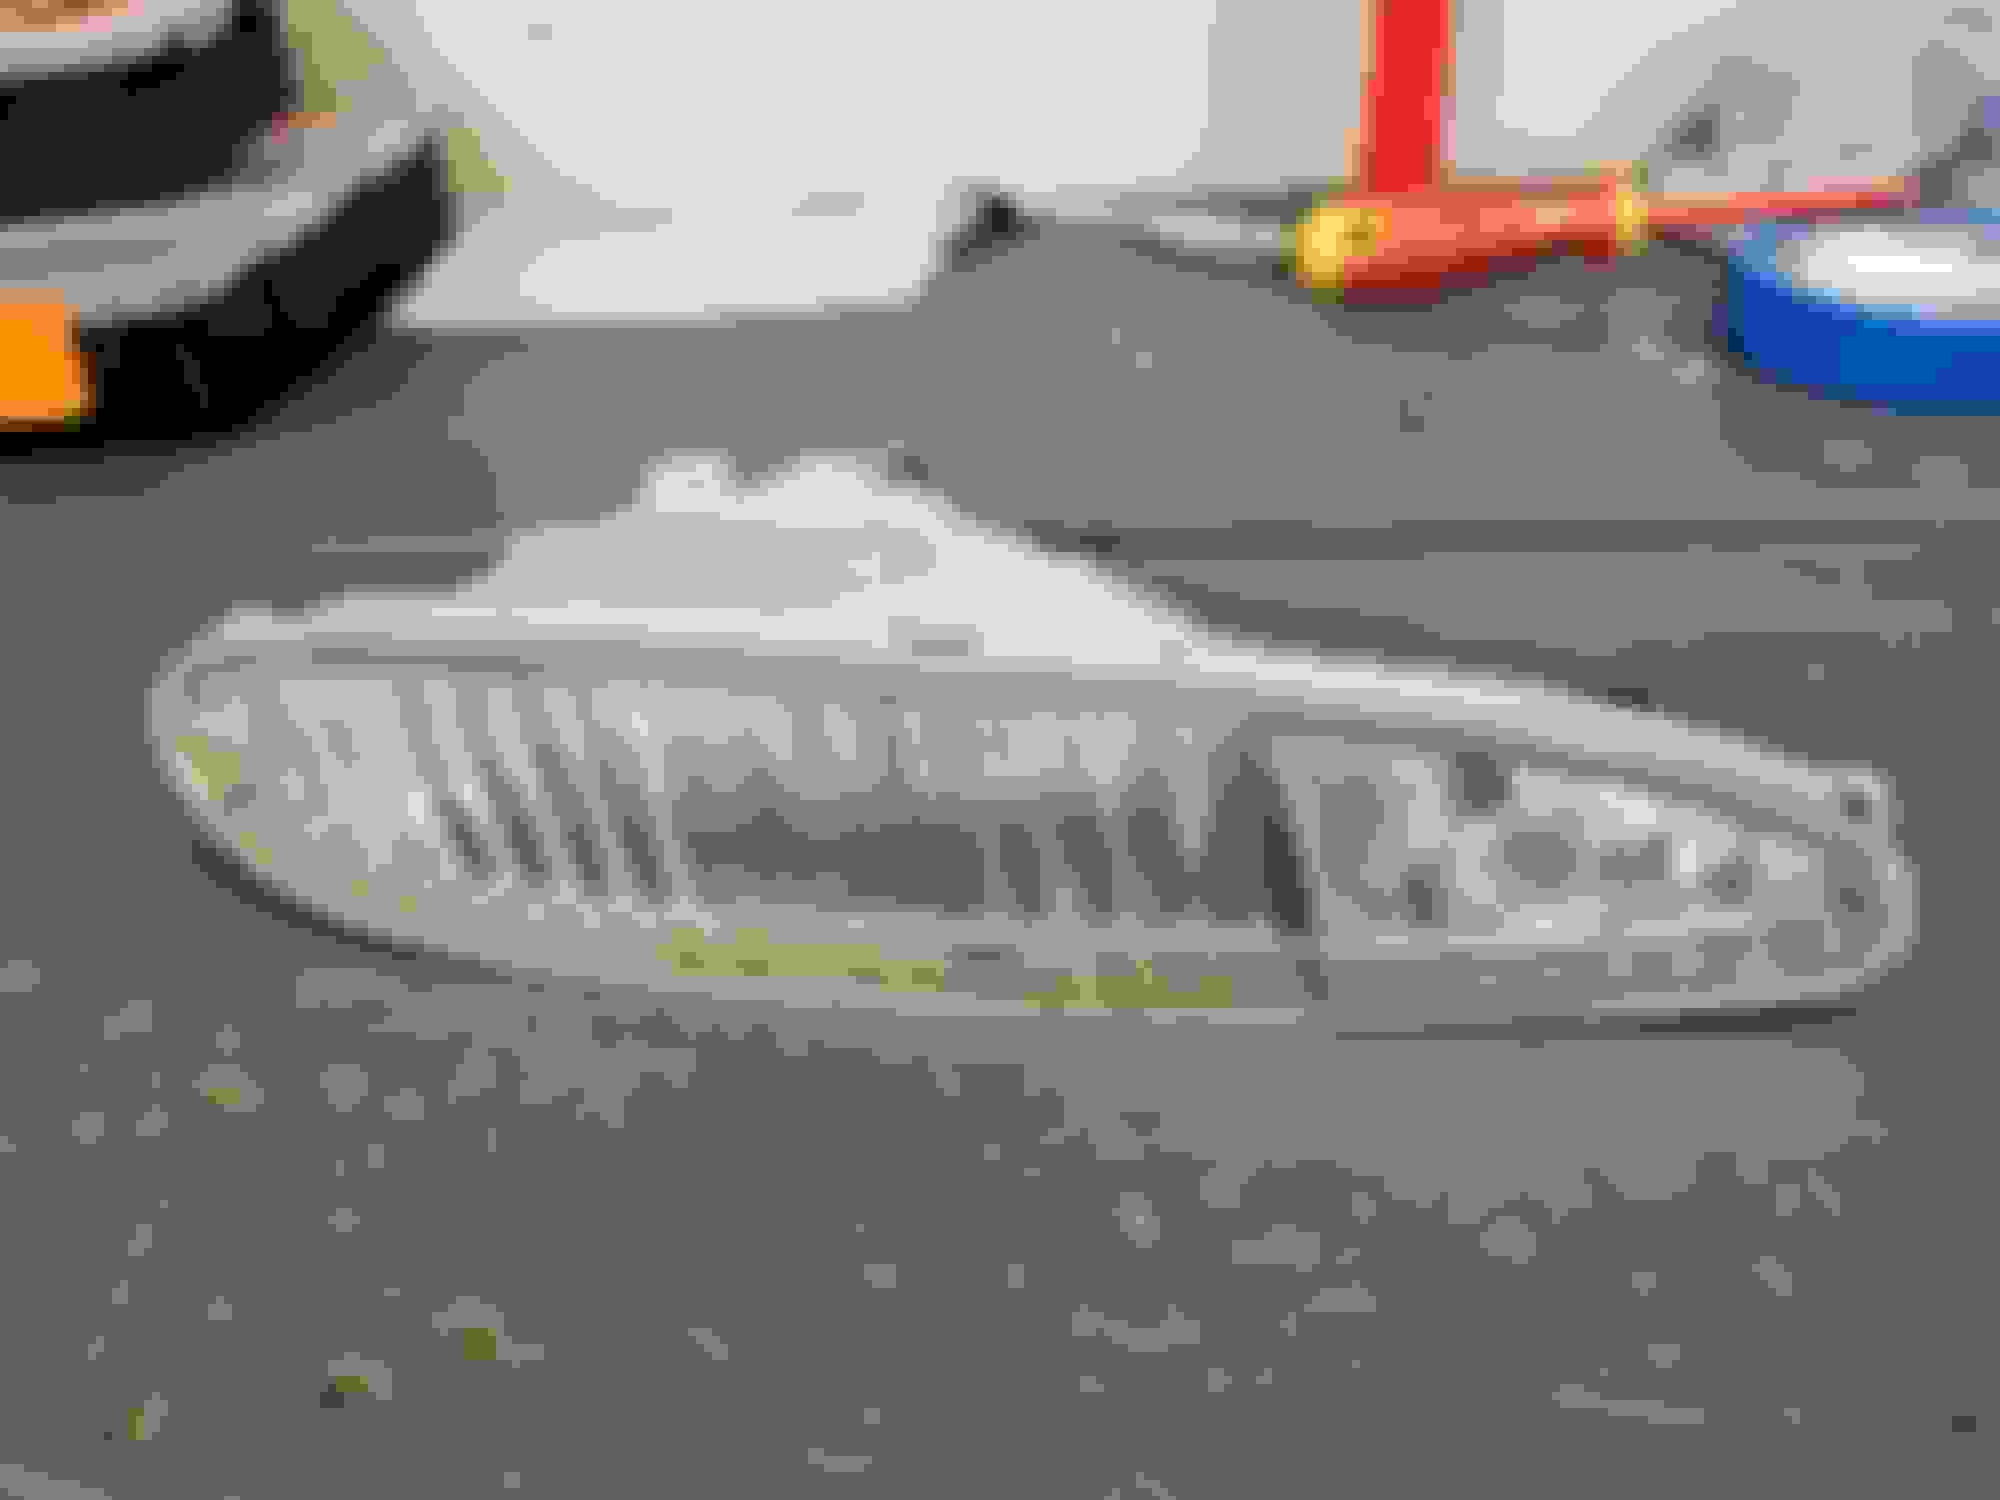
HERE ARE THE AFTER SHOTS Restored rear bumper indicator light vs the unrestored counterpart. Restored front bumper signal light (fore) vs the "before" side The back side of a restored light Nice and shiny lenses
***
All in all, I was pretty shocked at how grungy the parts were when I pulled them off the car. Looked so neat before. Can't wait to get them on the vehicle.
A small piece of apex seal went through the port and into rotor 2. Rotor 2 took damage from rotor 1's apex seal fragment
Not that clarifying this really matters in terms of your repair/restoration plans but just so you are aware, the explanation of rotor 2 being damaged by a piece of rotor 1's apex seal is not possible. The exhaust ports lead directly to the turbos and exhaust, so there is no pathway for apex seal debris from one housing to migrate to another housing.
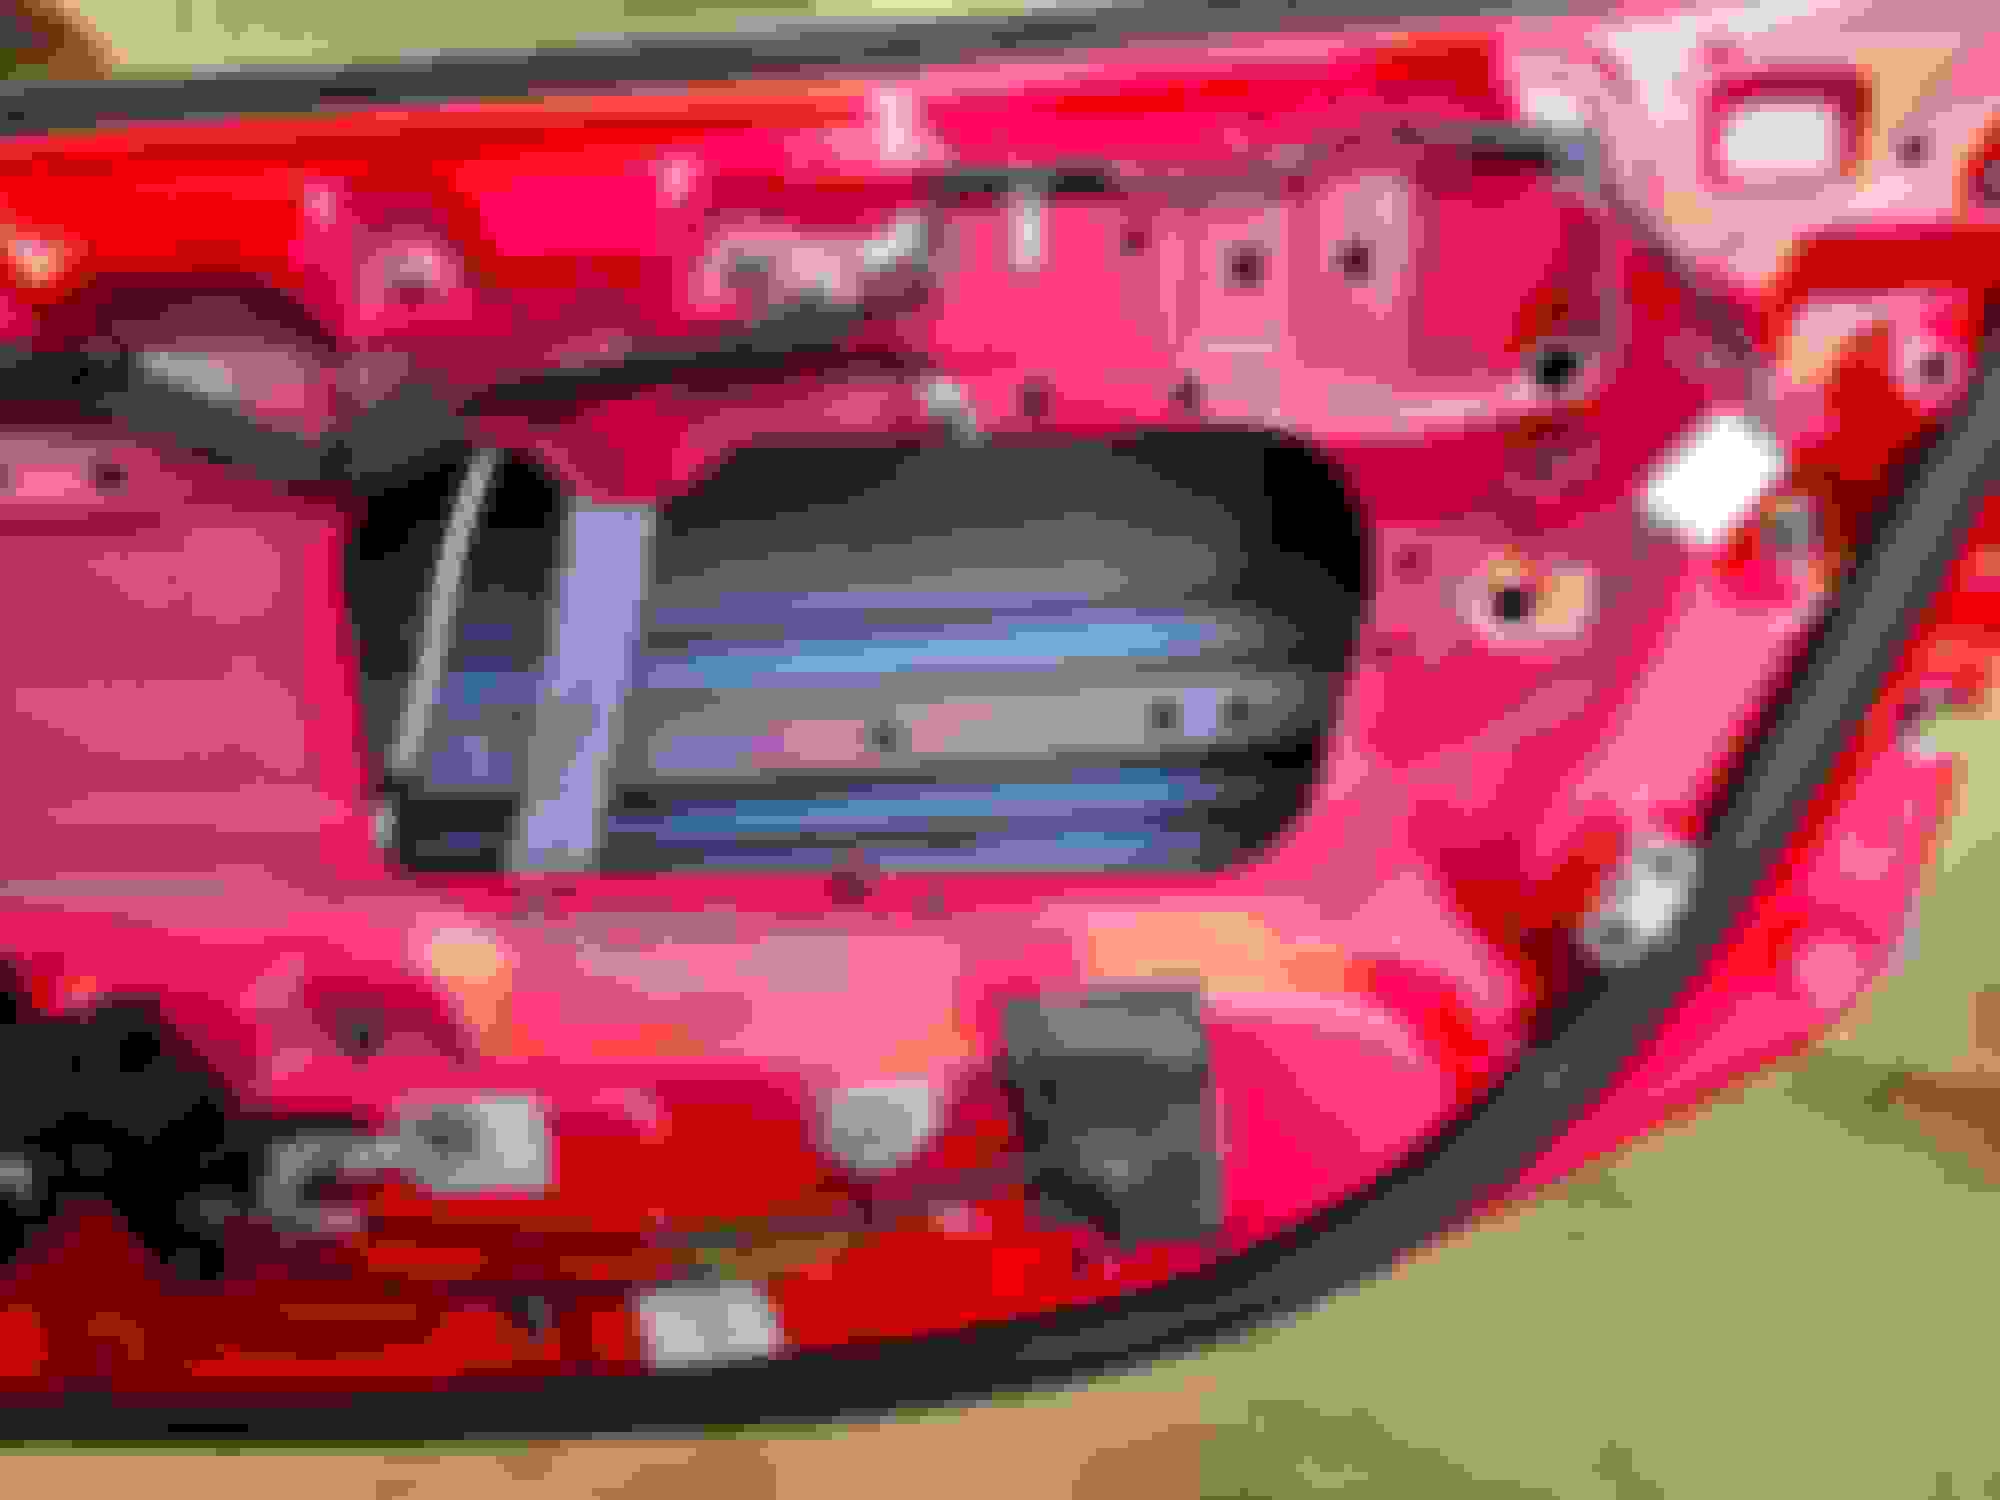
Taking the door cards off, I noticed a that some of the metal interior door bits had developed surface rust.
The metal vent anchor as well as the speaker vent tabs had all developed surface rust. Closeup of some rusty metal trim. The square piece at the bottom is part of the boot trim.
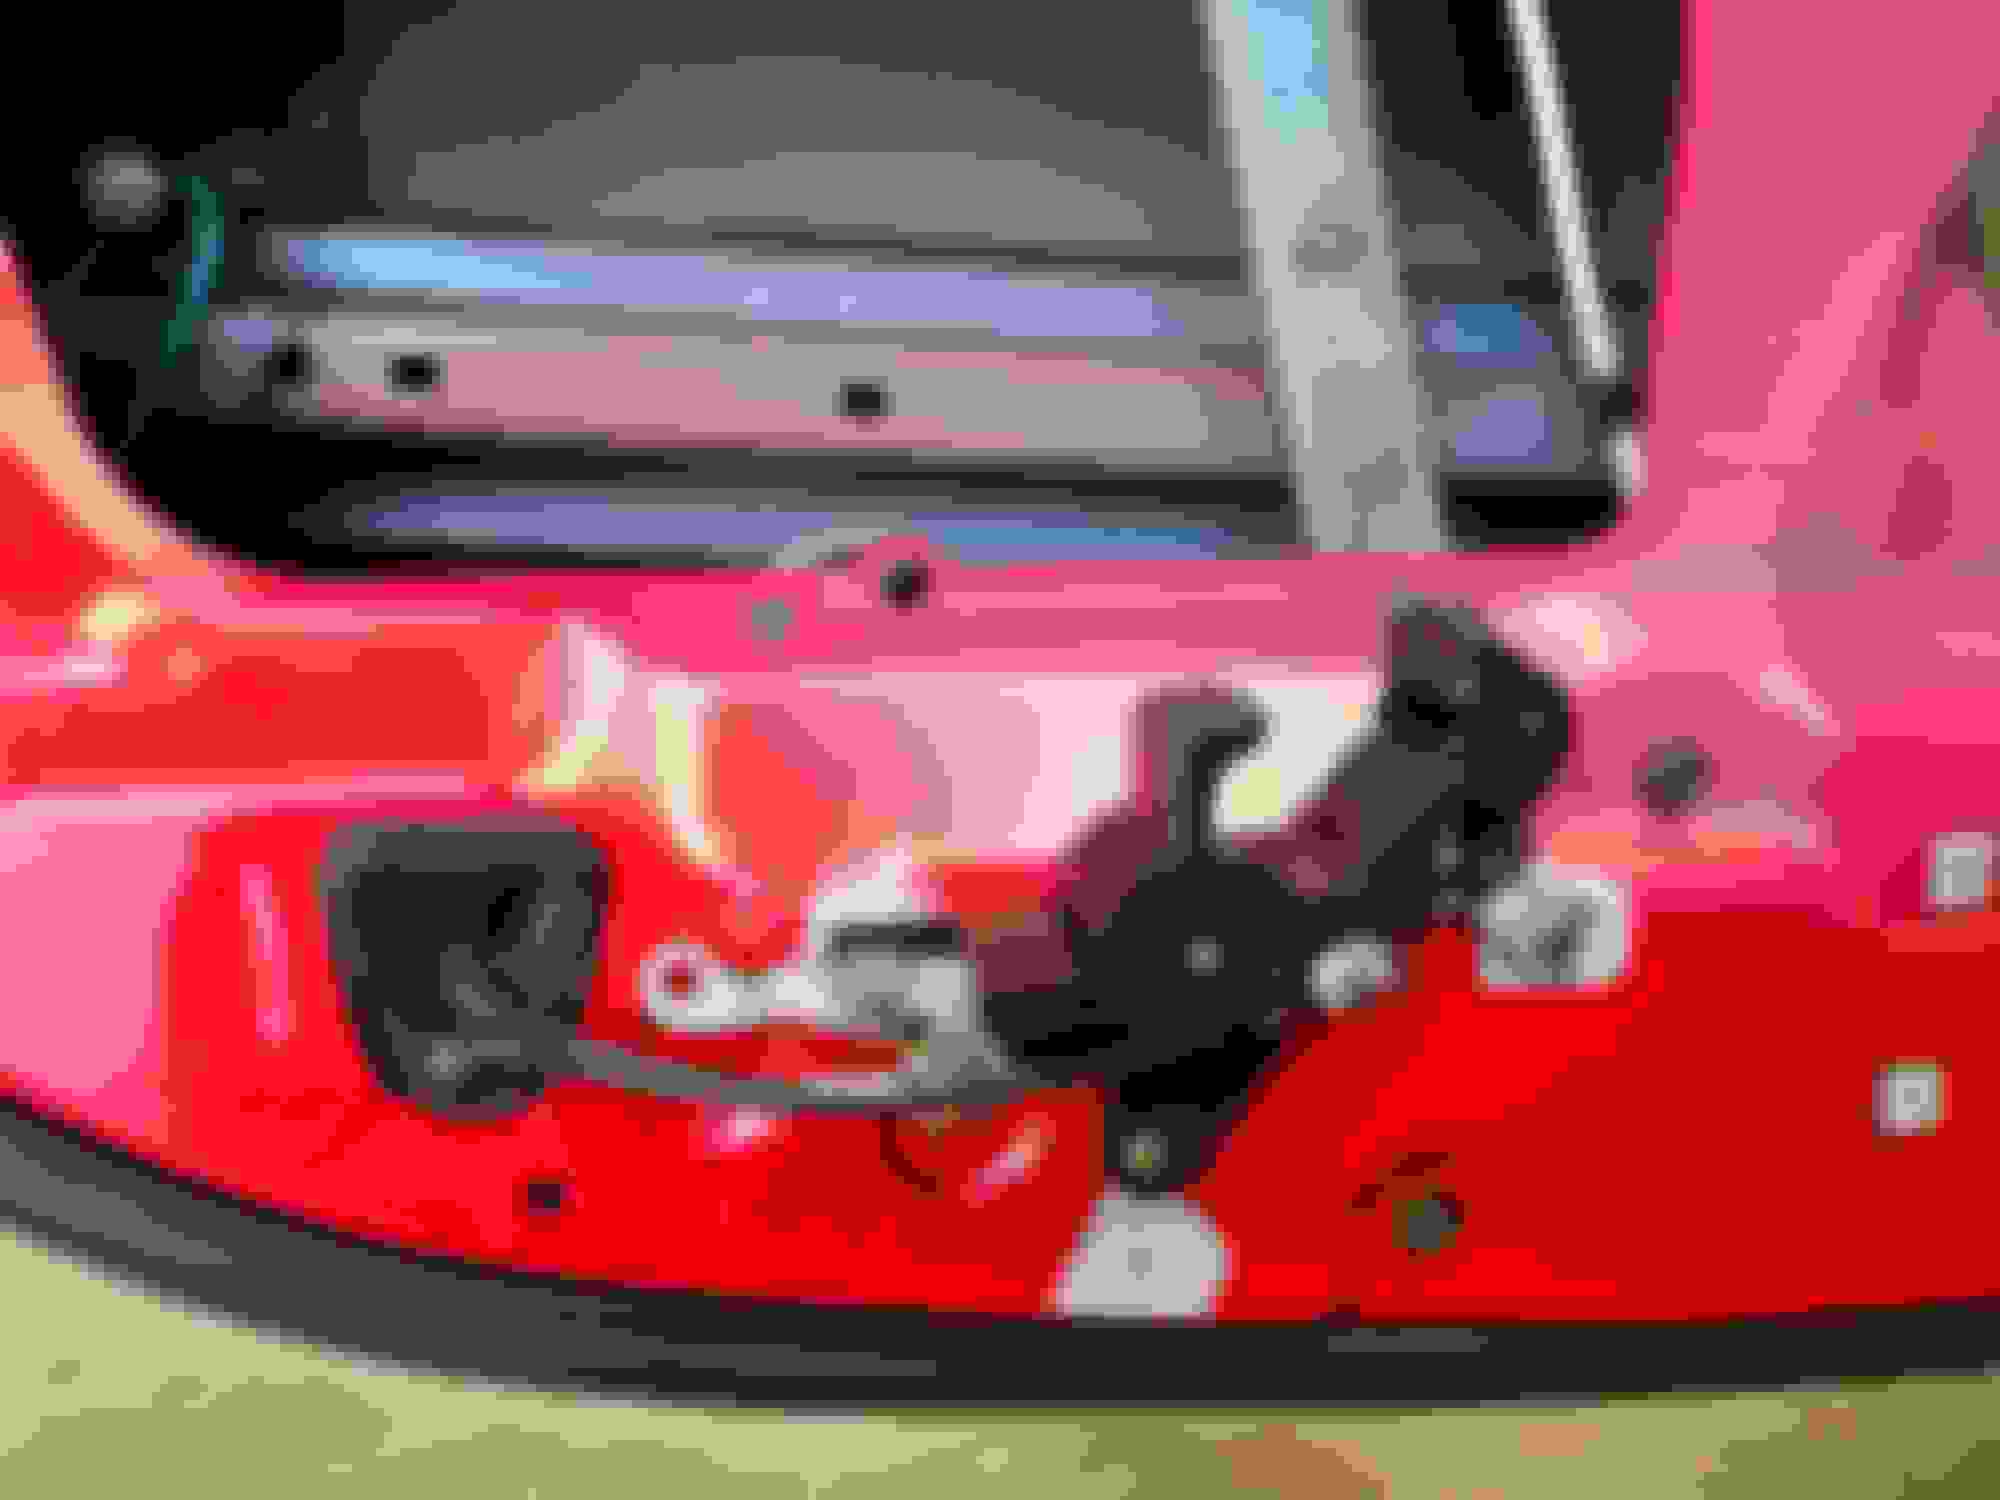
I attacked the rusty bits of metal trim with scotch brite, varying grits of sandpaper, and plenty of elbow grease. Wanted to know that even the bits that can't be seen are cleaned up as much as possible.
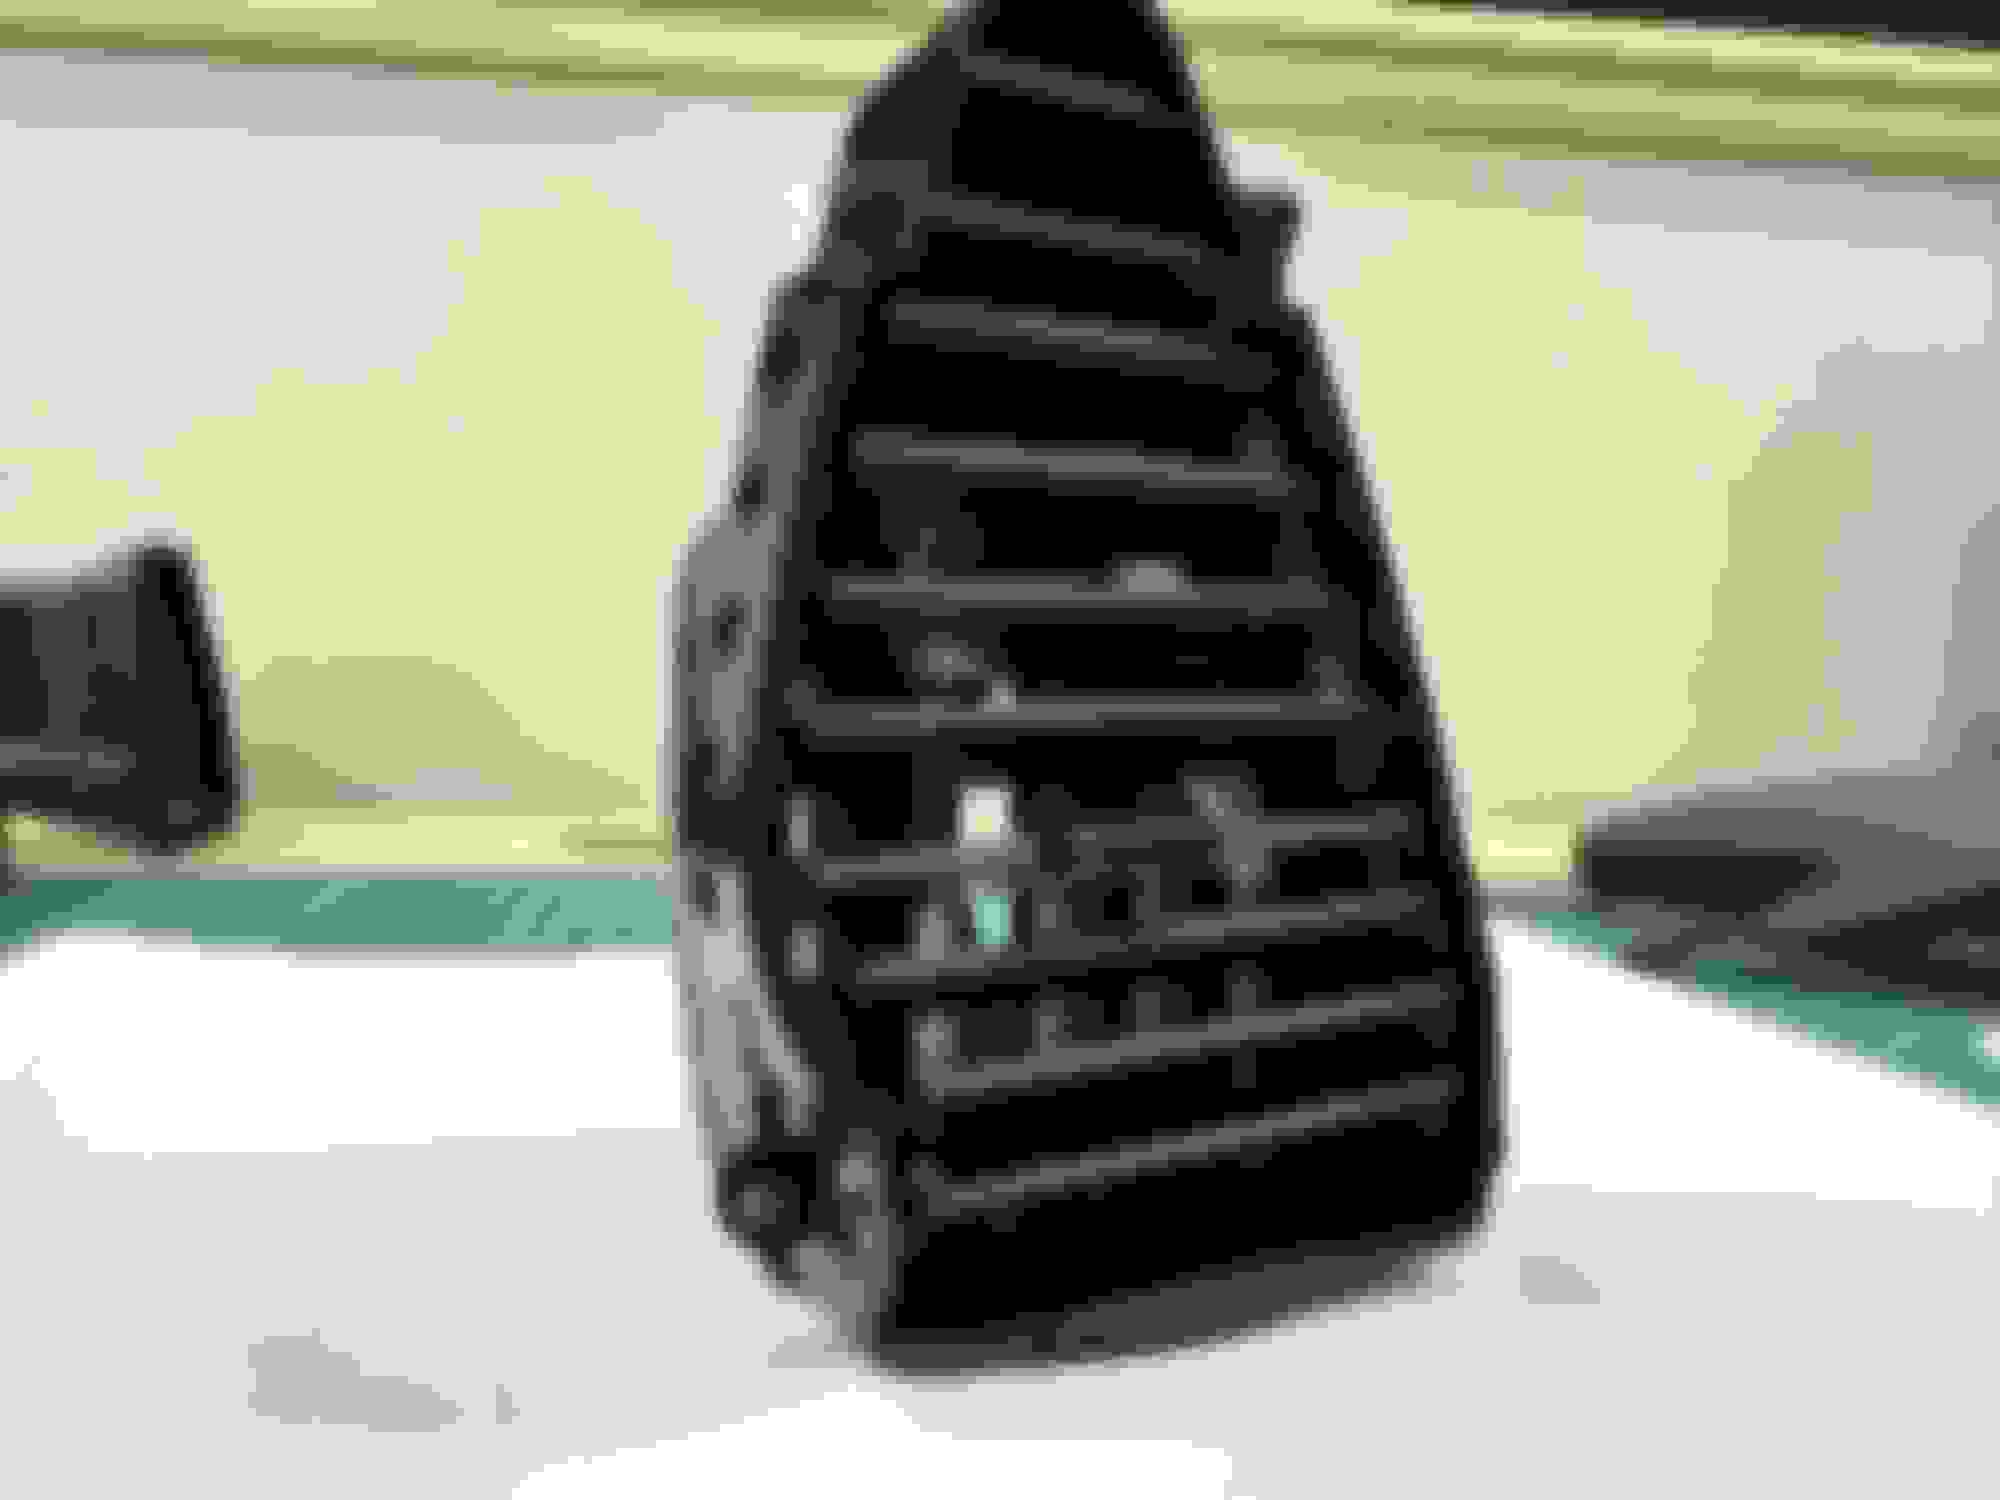
Also fixed the louvre using a small metal rod and some Bondic. I love this stuff for minor plastic repairs.
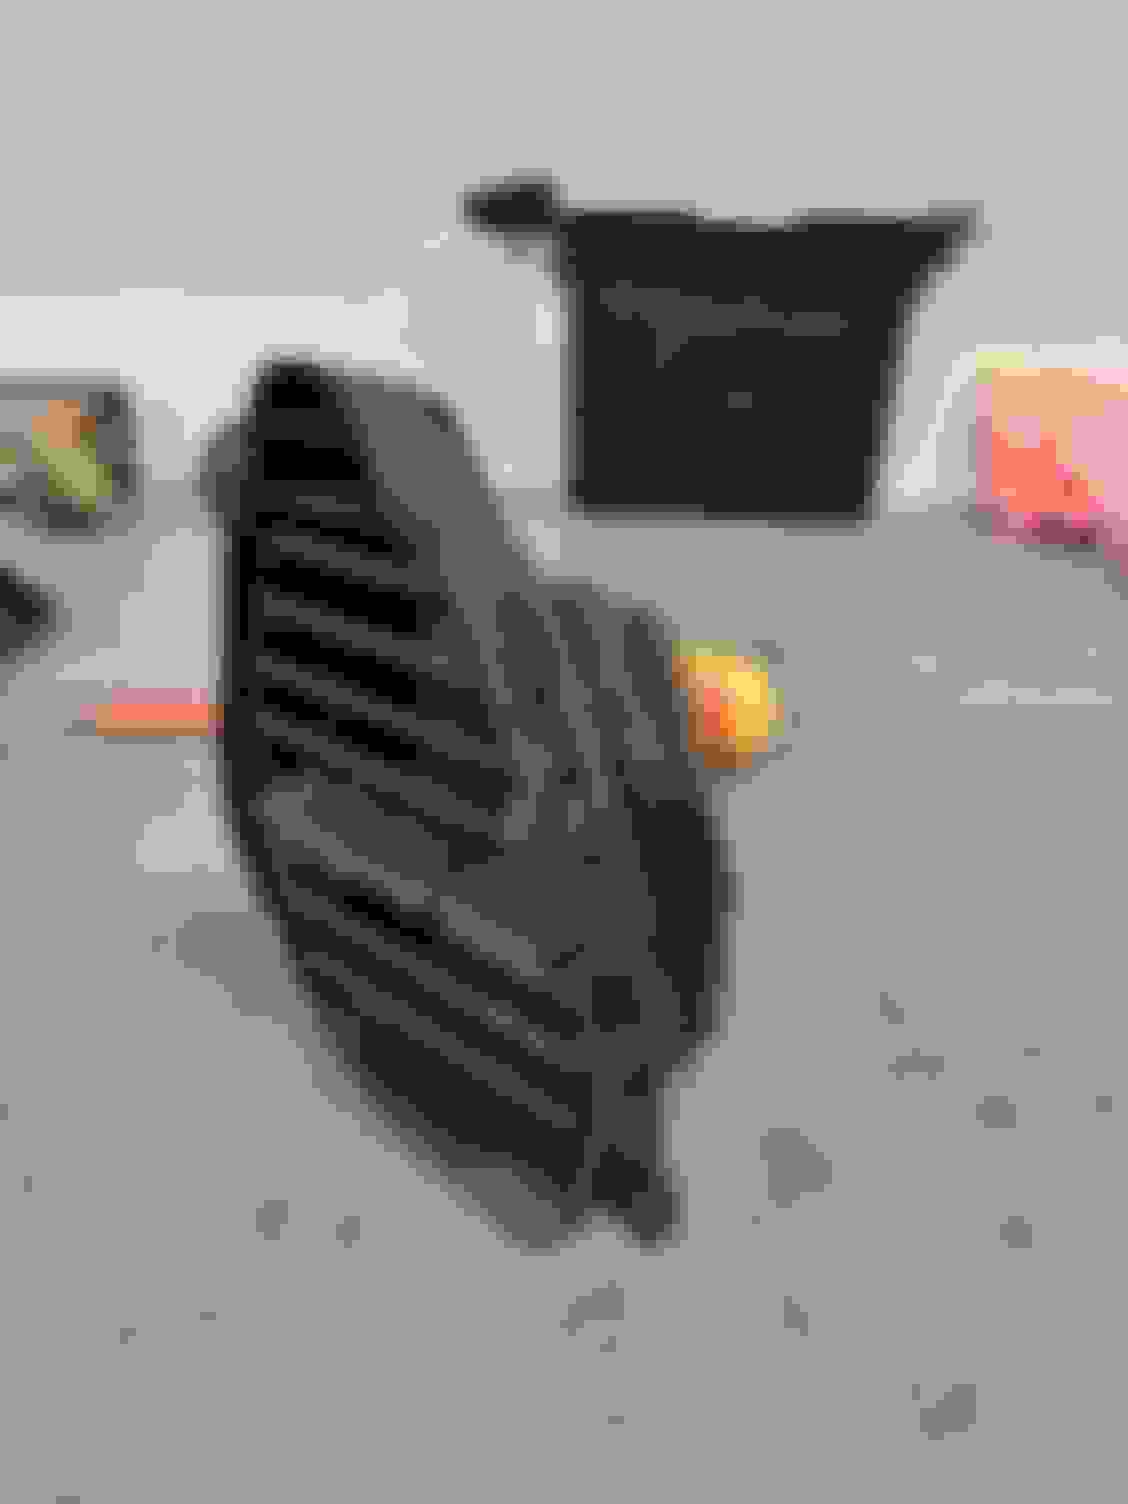
Dusty and broken driver's side vent louvre. The central slat (with the tab) had broken off from everything else.
Restored RX7 RHD door vent.
*** The doors de-gunked pretty well The door cleanup came real nice.
This looks AMAZING. Any tips on removed the gunk? I've been dreading it for mine.
dont know what he did but i used a can of refrigerant and froze sections of the gunk and ripped it off. Its way easier to deal with cold so i only used one bottle for 2 doors.
You can probably get keyboard duster to get close if you flip it. Im sure the op has some genius advise thats easier than my method lol
I did the same with my FC - used keyboard duster with the can upside down so it comes out as a super cold liquid. Make sure you're wearing gloves & eye protection as that stuff will frostbite anything it touches. It turns that tar-like goo on the door panels hard & brittle, and you just chip the stuff off the door panels with a plastic scraper. Need to be fast with the chipping & scraping though, as the tar goo won't stay hard & brittle for very long.