
guess i will start my own.... rebuild thread

Thread Starter
Rotary Enthusiast

Joined: May 2006
Posts: 763
Likes: 15
From: reno nevada
guess i will start my own.... rebuild thread
the majority of my pictures were taken with my camera phone, but i have a good camera now so the rest will be good pictures.


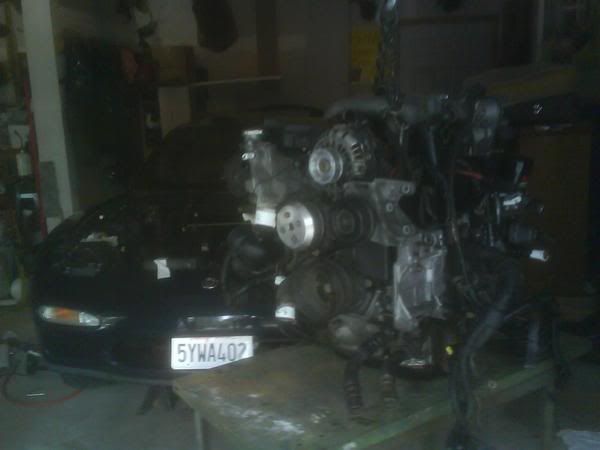
i know its on the stand wrong but i didnt at the time :p
i know its on the stand wrong but i didnt at the time :p
Thread Starter
Rotary Enthusiast
Joined: May 2006
Posts: 763
Likes: 15
From: reno nevada
Got my rebuild kit in the mail.


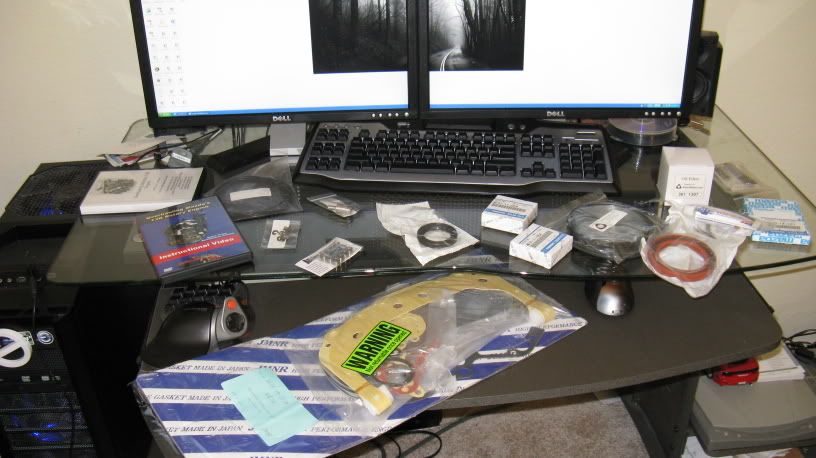
i bought the rebuild dvd from atkins and rotary aviation. it looks like i should be ok rebuilding it myself, if not i have a few friends that have rebuilt a 13b before.
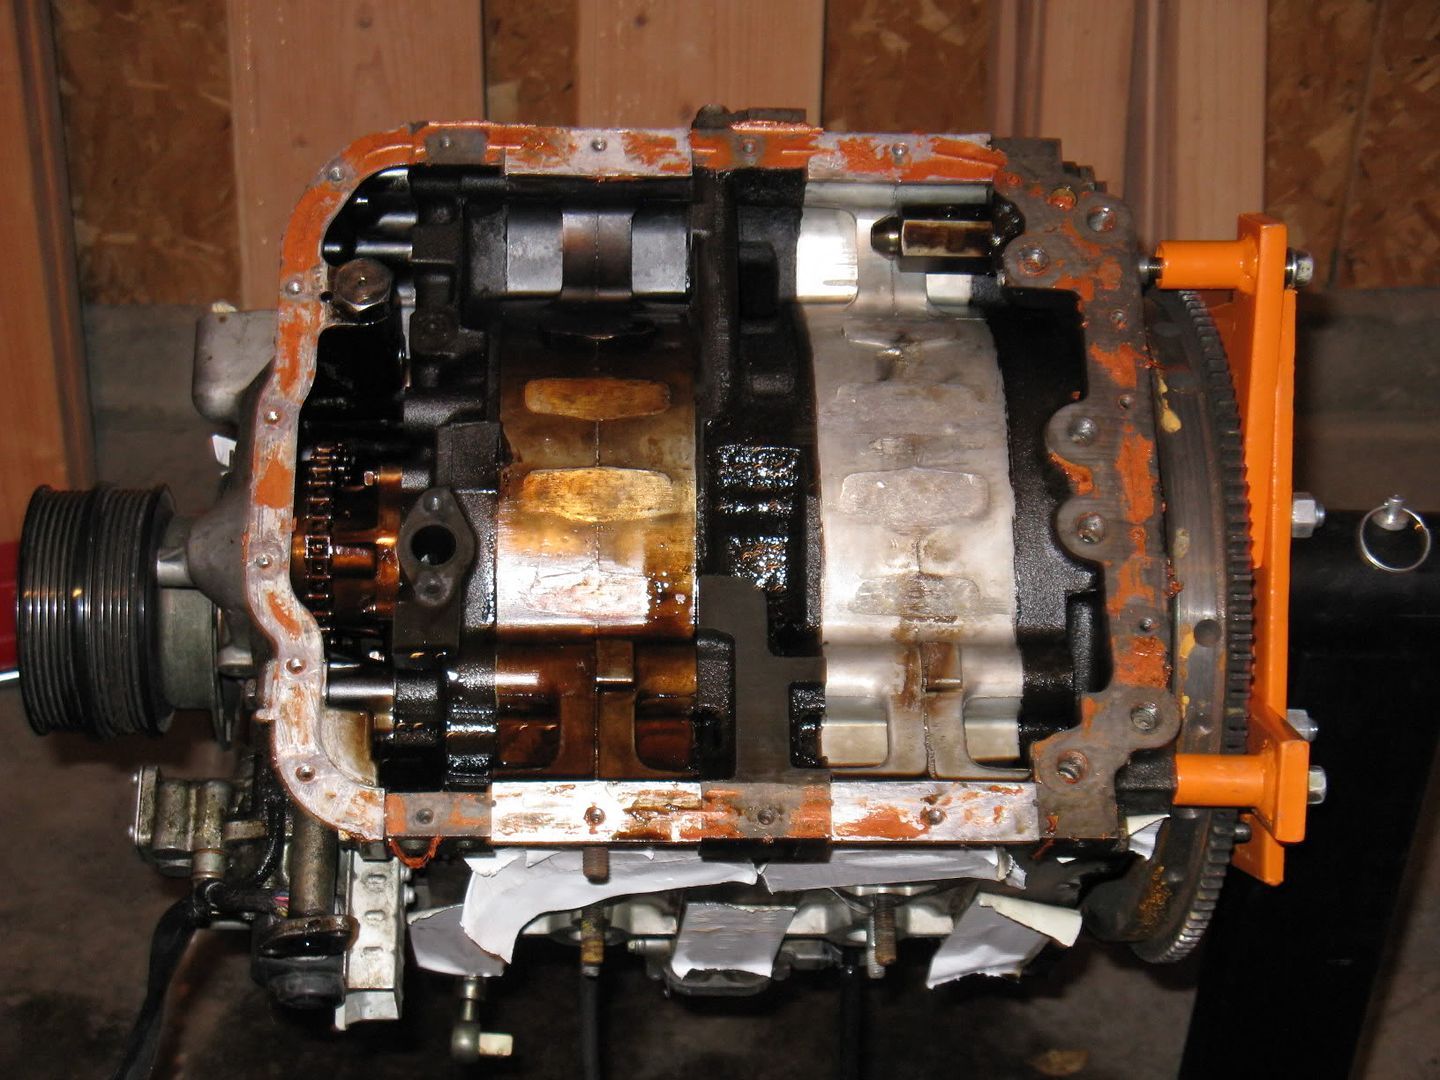
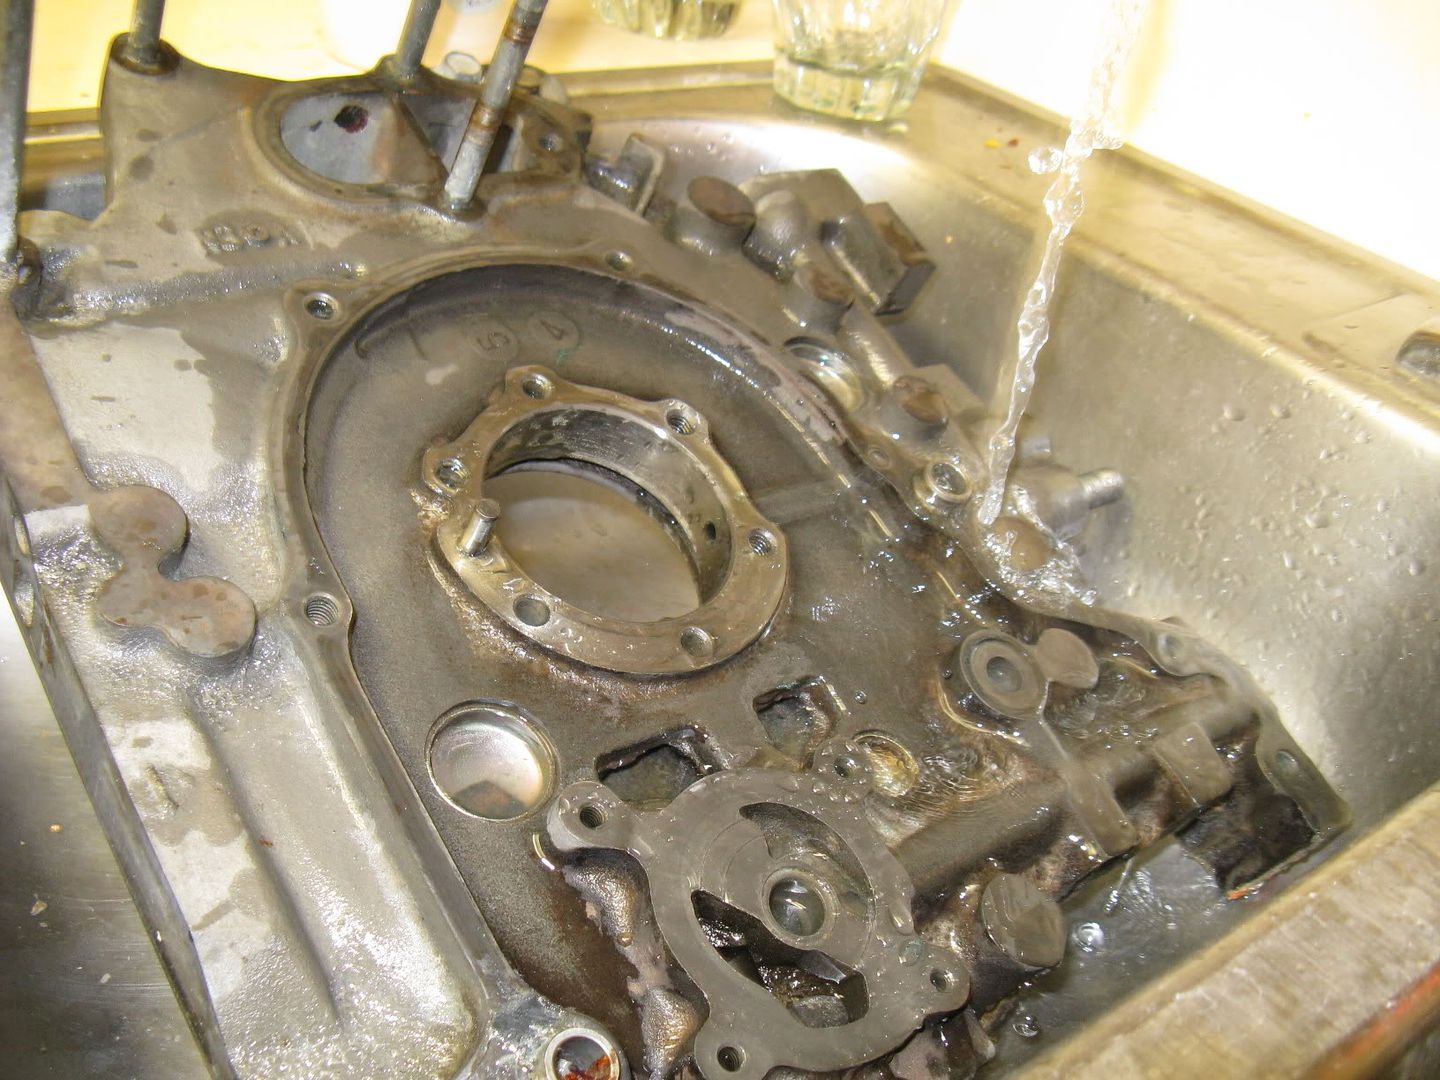
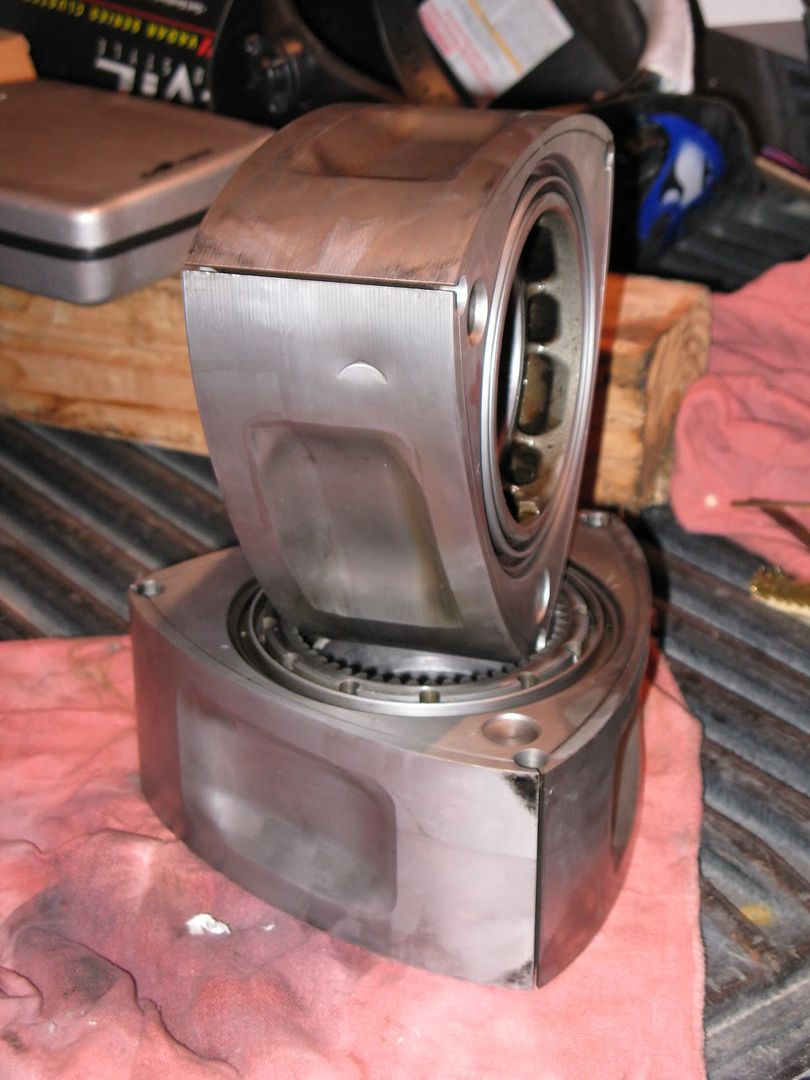
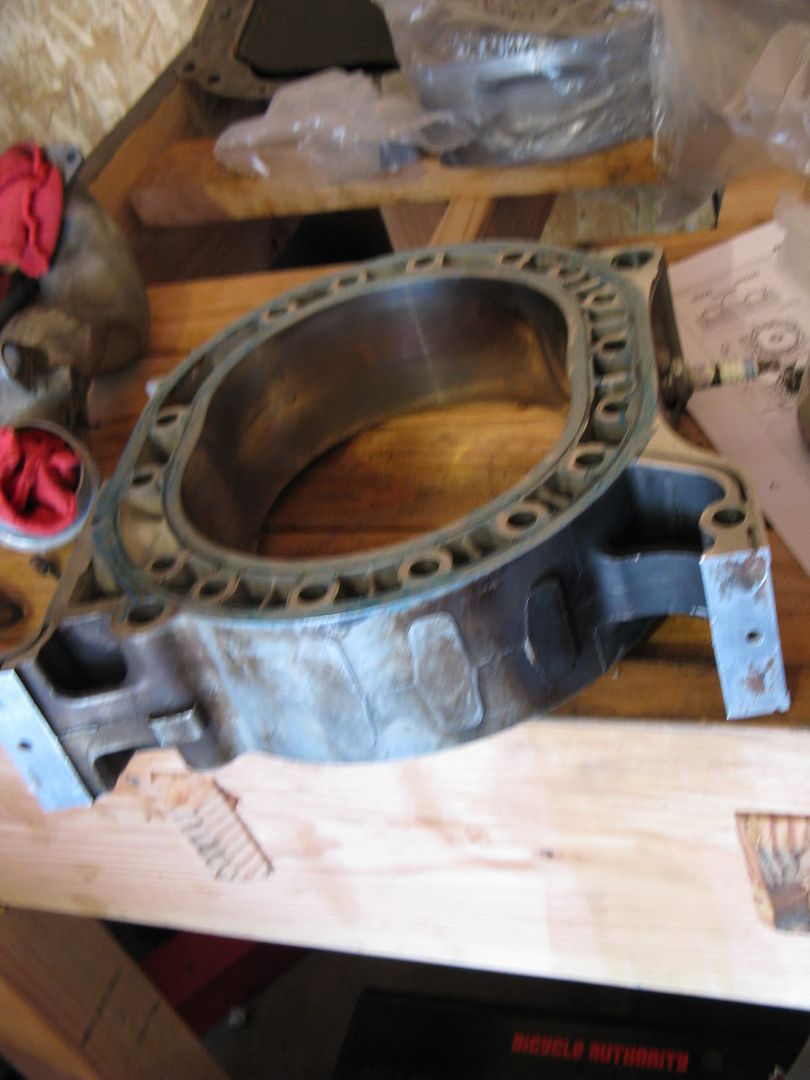
in the dvd bruce said you can tell if a rotor housing has been severely overheated if it is brown on the bottom, i guess i can see how that one looks when i get the apart?
i found a corner seal spring in the oil pan... wonder how that got there, hopefully just fell in last time it was being rebuilt?
i bought the rebuild dvd from atkins and rotary aviation. it looks like i should be ok rebuilding it myself, if not i have a few friends that have rebuilt a 13b before.
in the dvd bruce said you can tell if a rotor housing has been severely overheated if it is brown on the bottom, i guess i can see how that one looks when i get the apart?
i found a corner seal spring in the oil pan... wonder how that got there, hopefully just fell in last time it was being rebuilt?

Rebuilding my motor (my 1st time) wasn't the hard part.....it is remembering where everything else goes. 
Good luck man. Did you get the video that shows putting everything back together and not just rebuilding the block?
Good luck man. Did you get the video that shows putting everything back together and not just rebuilding the block?
Thread Starter
Rotary Enthusiast
Joined: May 2006
Posts: 763
Likes: 15
From: reno nevada
no. i did label every hose and sensor and wire. and i downloaded the FSM so hopefully ill remember
Rotary Enthusiast
Joined: Oct 2006
Posts: 1,319
Likes: 1
From: BC, Canada
.......Absolutely pointless

With a color coded vacuum diagram and the FSM it is very easy to find the homes for every part. All of the electrical connectors are unique (for the most part) so as long as you know where the harness goes you can find matching pairs easily.
I would wish you good luck on your project but you shouldnt need something as placebo as 'luck'. Only takes hardwork.
=Ben
Thread Starter
Rotary Enthusiast
Joined: May 2006
Posts: 763
Likes: 15
From: reno nevada
here are some more pictures of my progress.... i finially got that freaking bolt off, the one oposite of the flywheel.


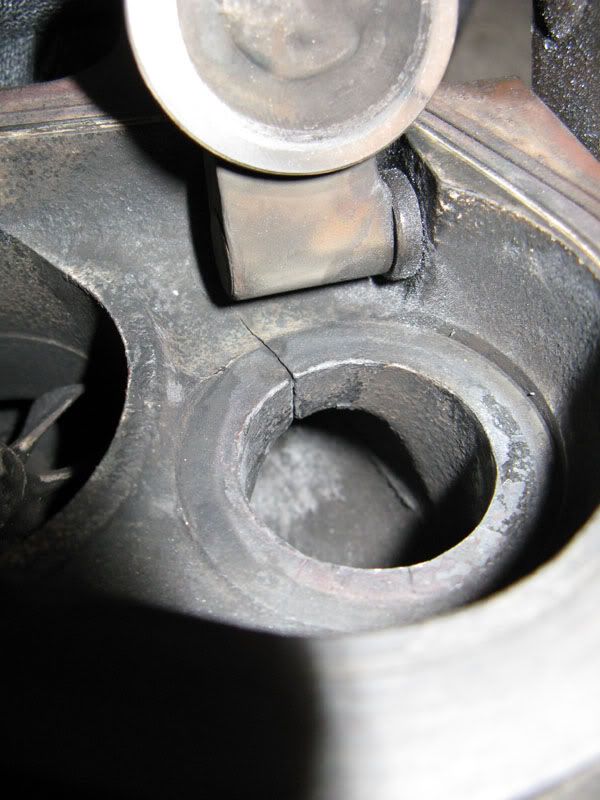
whats up with this dent, is it ok? ill take a better picture soon.

whats up with this dent, is it ok? ill take a better picture soon.
Trending Topics
 , housings look fine
Thread Starter
Rotary Enthusiast
Joined: May 2006
Posts: 763
Likes: 15
From: reno nevada
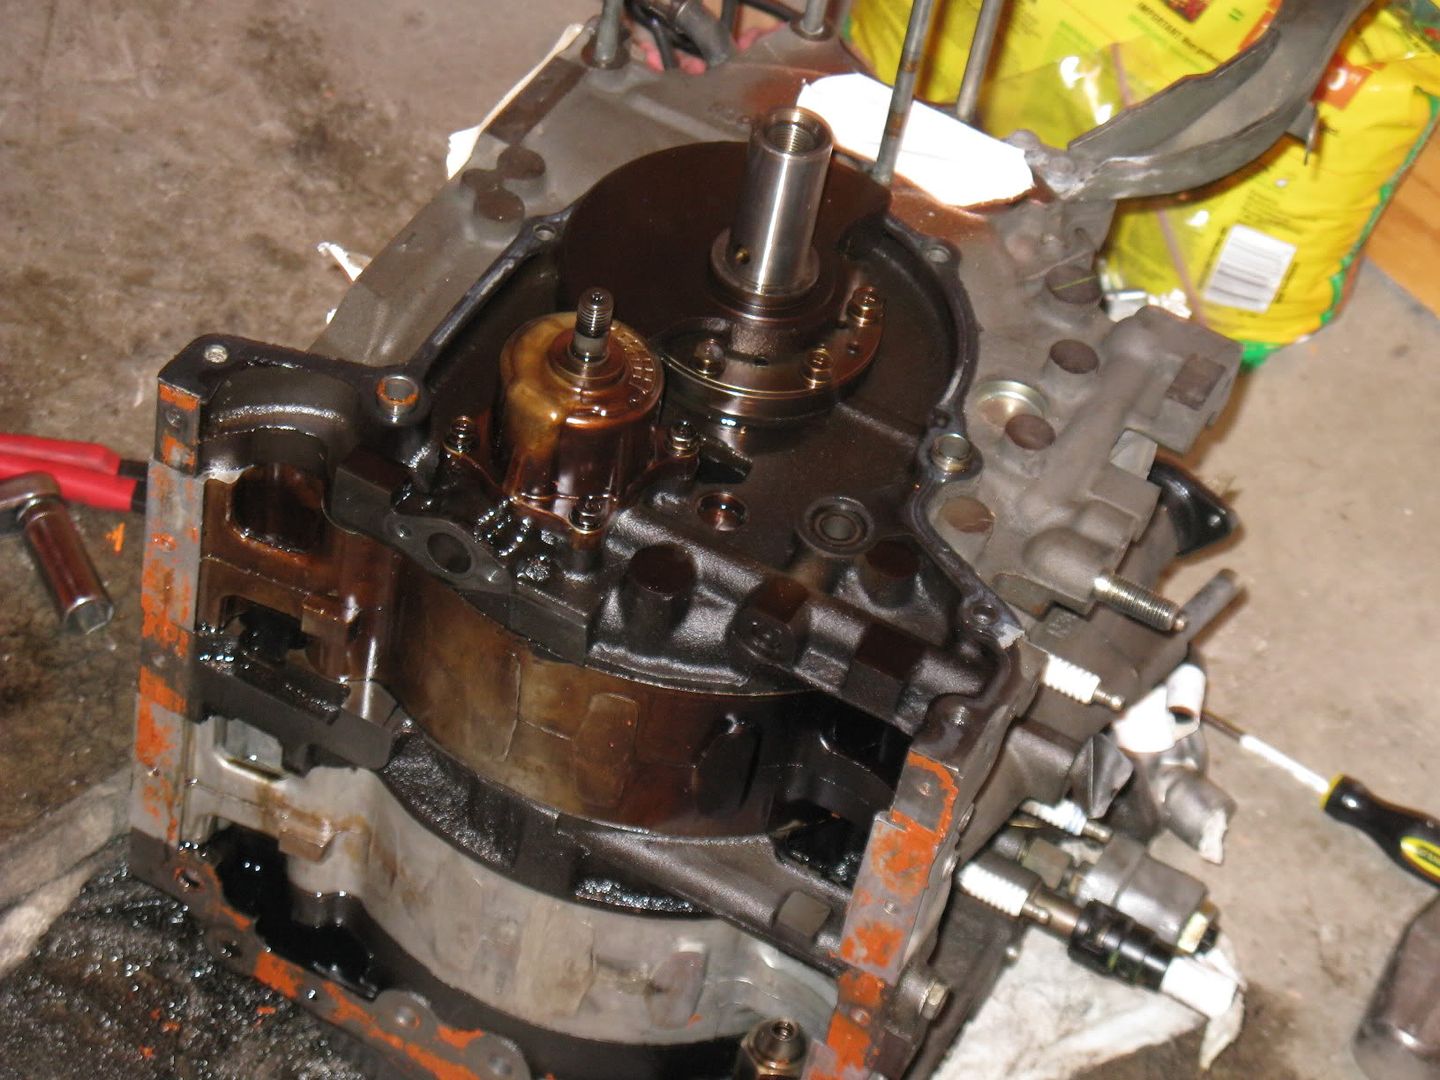
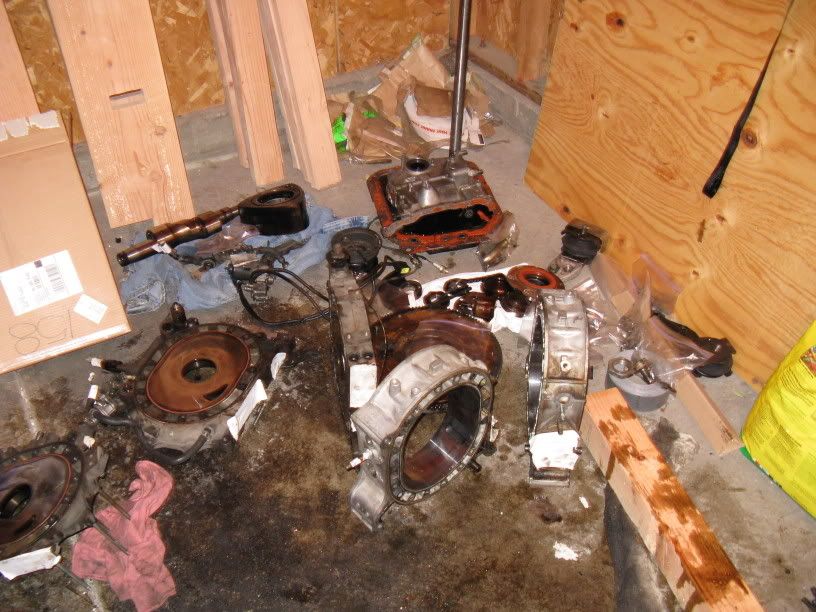
I cleaned of most of the parts.
heres a better picture in the dent, i dont think it is too bad because it isnt on a sealing edge or anything, what do you guys think?

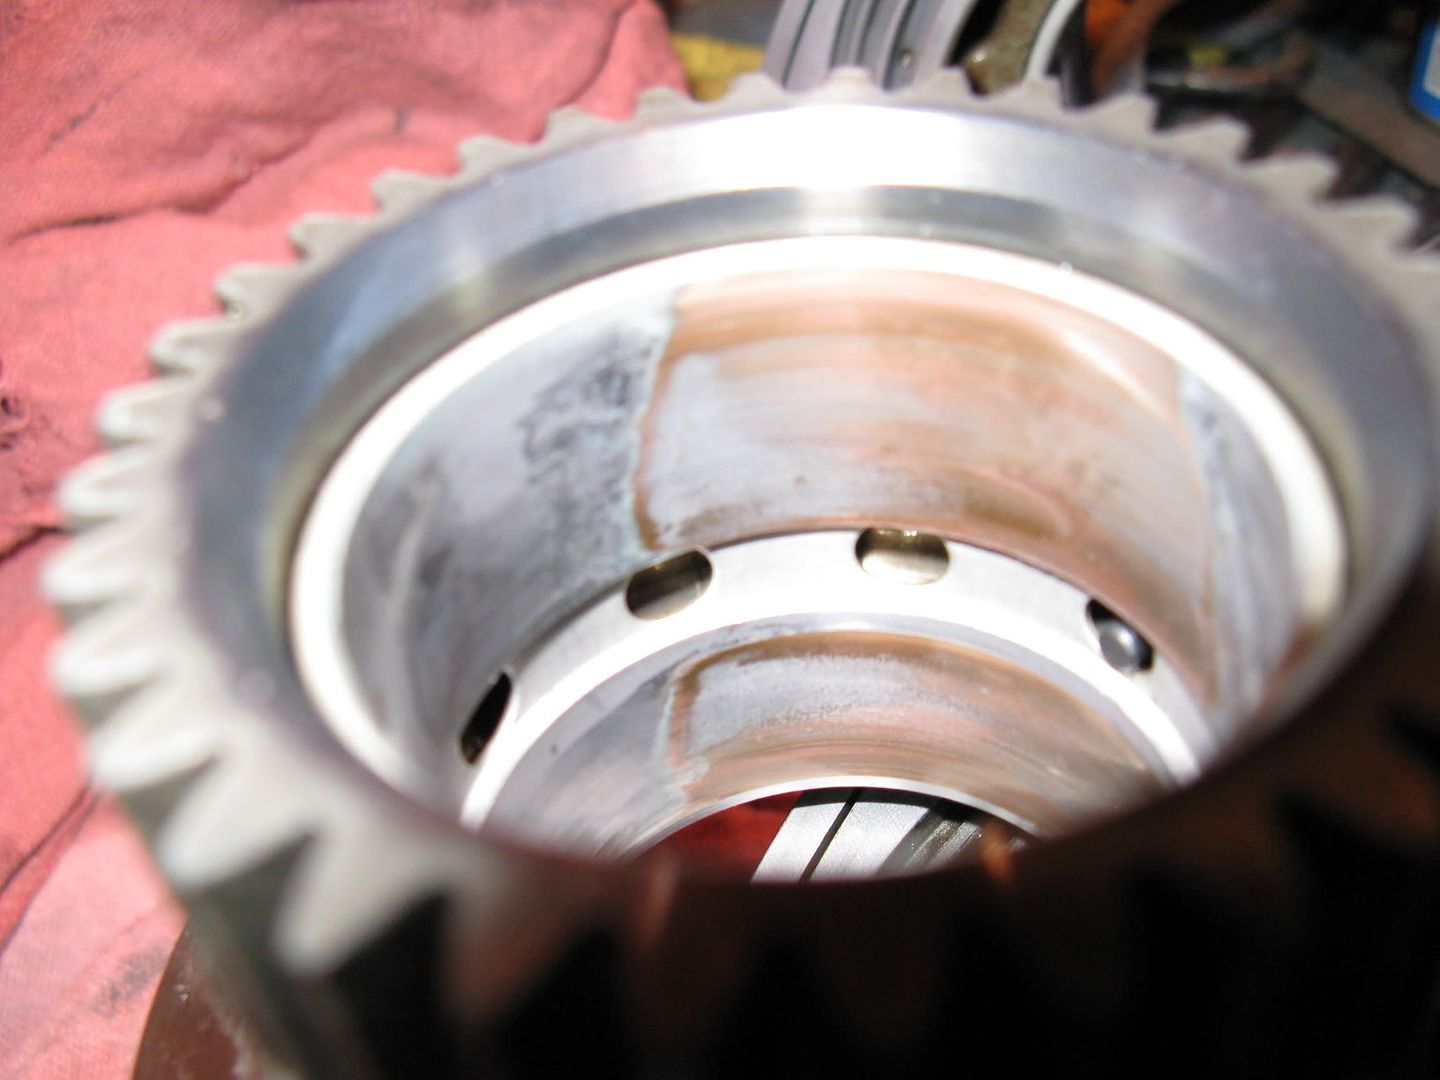
Can you get new bearing for the stationary gear? i think i need one
heres a better picture in the dent, i dont think it is too bad because it isnt on a sealing edge or anything, what do you guys think?
Can you get new bearing for the stationary gear? i think i need one

Thread Starter
Rotary Enthusiast
Joined: May 2006
Posts: 763
Likes: 15
From: reno nevada
im done yet so i guess i am not qualified to tell you if it is worth it. but so far i would say definately. i feel im pretty mechanically inclined but its still nice to watch somone else do it first.

BMW Tech
Joined: Mar 2002
Posts: 845
Likes: 0
From: Auburn, Alabama
I think I remember seeing another thread about that little dent in the rotor face. Some guy took a pic of it while it was still in the housing, through the exhaust port. From what I remember, all the rebuilders were saying it was normal.
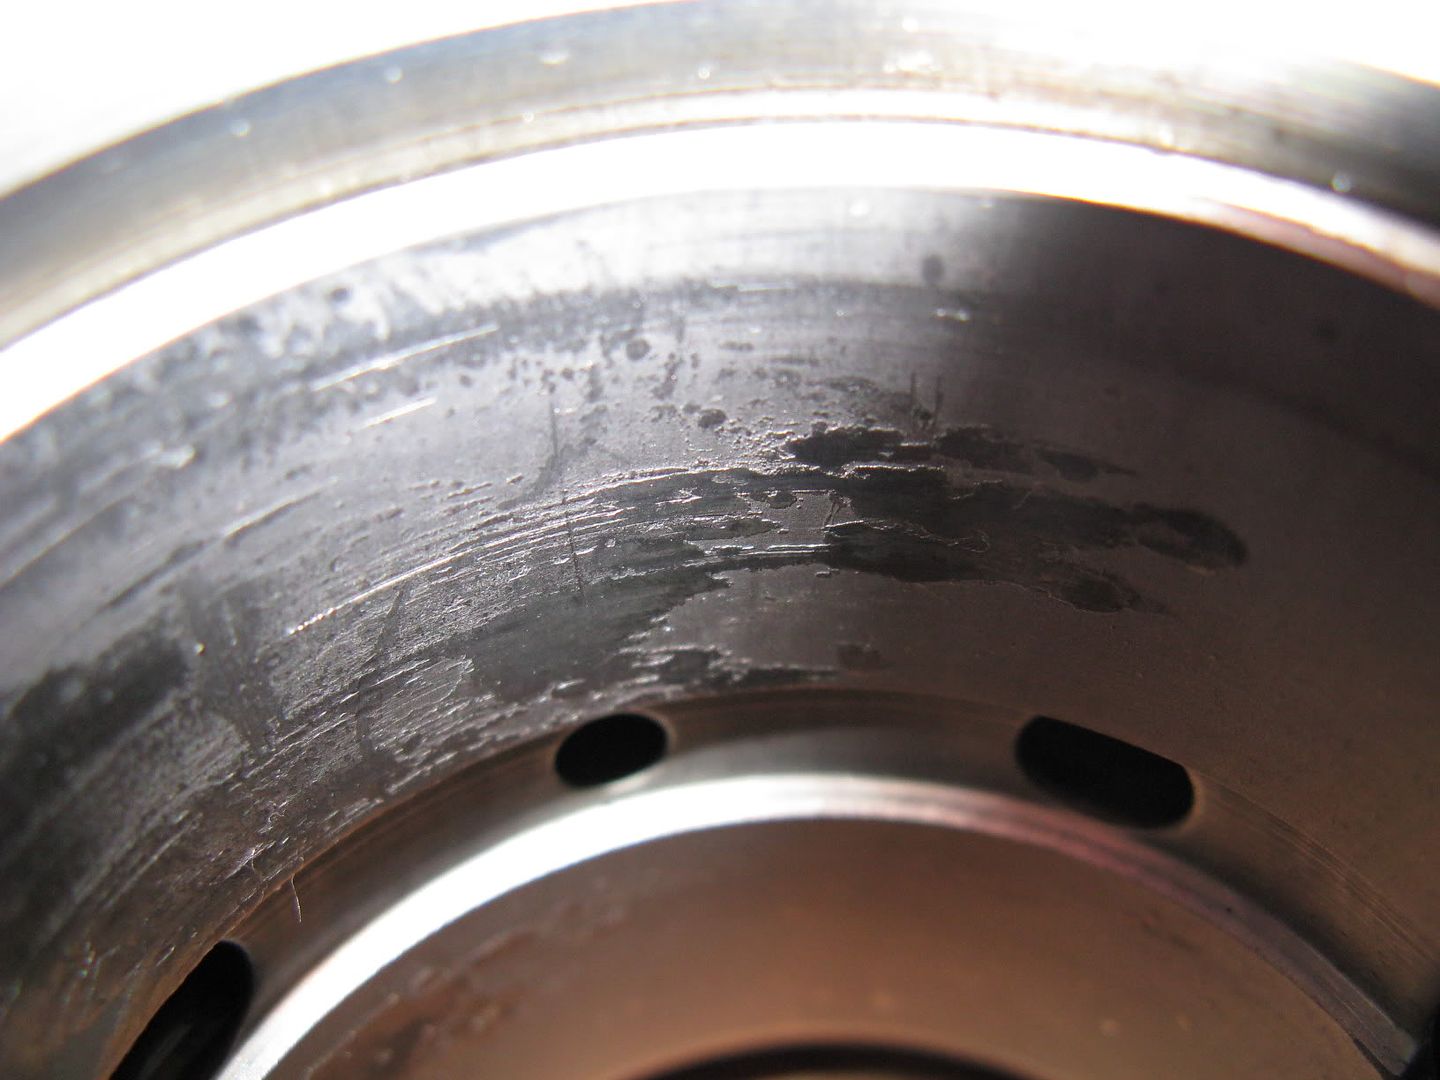
I really hope you got a new stationary gear bearing. That one looked trashed. Copper showing through = fail.
I really hope you got a new stationary gear bearing. That one looked trashed. Copper showing through = fail.
Senior Member
Joined: Oct 2007
Posts: 453
Likes: 0
From: New Zealand
yeah do your bearings for sure but get your rotors etc balanced first as the bearings look seriously worn!! one other thing, what is the price difference/quality of that aftermarket gasket kit compared to the OEM Mazda kit and what exactly comes with it?? Has anyone else used/ recommended it??


Thread Starter
Rotary Enthusiast
Joined: May 2006
Posts: 763
Likes: 15
From: reno nevada
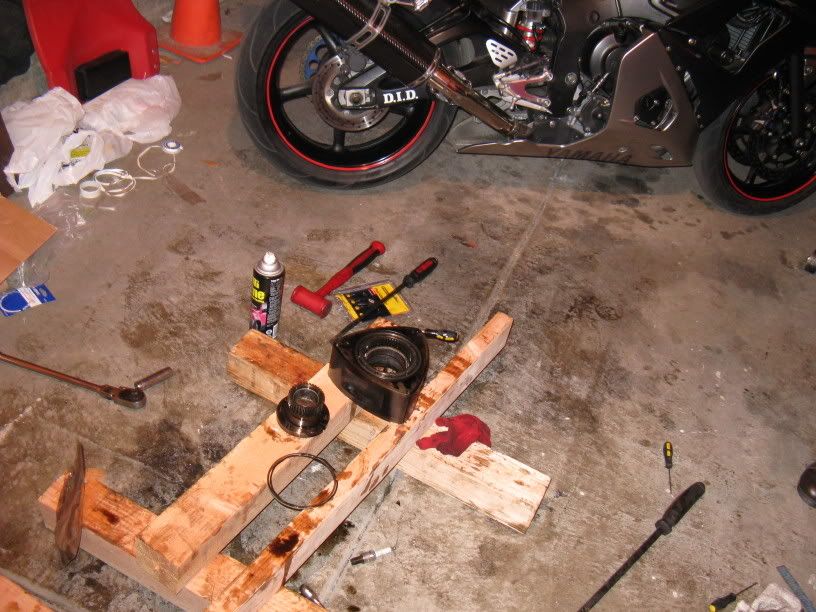
I got my oil seal springs from ray, i found the lost one lol. at least i have new springs now i guess.
im hoping to re-assemble the engine tomorrow.
I found a company that does extensive modifications to turbo's, turbodynamics. I emailed them asking
im hoping to re-assemble the engine tomorrow.
I found a company that does extensive modifications to turbo's, turbodynamics. I emailed them asking


BMW Tech
Joined: Mar 2002
Posts: 845
Likes: 0
From: Auburn, Alabama
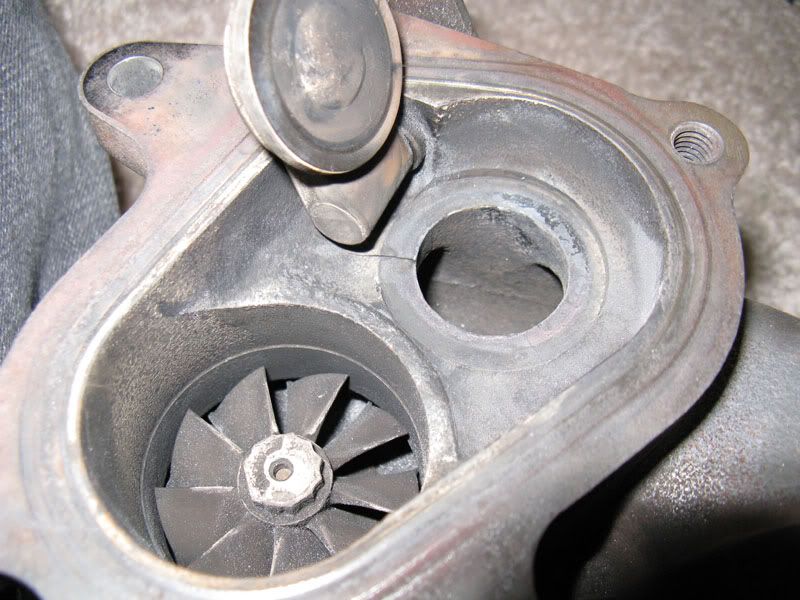
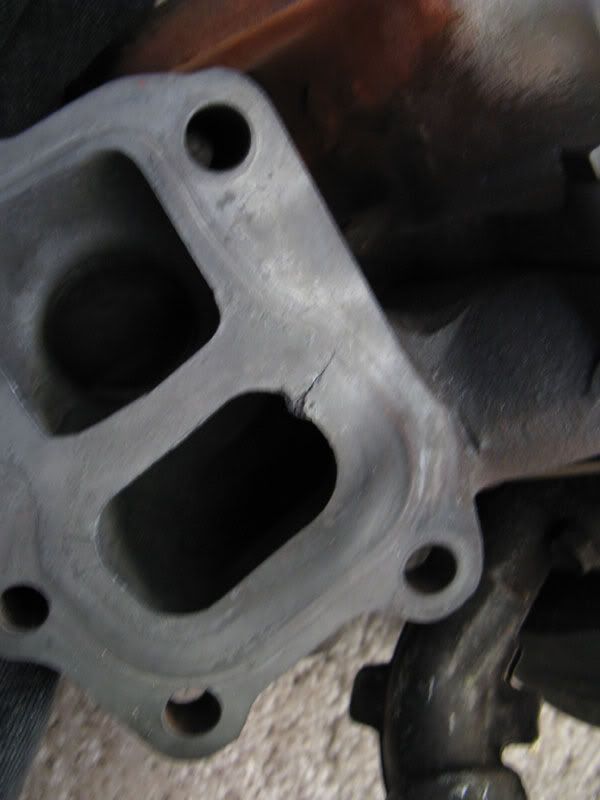
From what I've read, ehxaust manifold cracks are pretty much to be expected on higher mileage cars. That's why I've got a set of turbos with about 30k on them for when/if my motor ever goes. And I assume I'd have to replace the manifold too.
Thread Starter
Rotary Enthusiast
Joined: May 2006
Posts: 763
Likes: 15
From: reno nevada
I used to live in Susanville, but now im in Reno, Nevada for school.
White94RX: i will not worry about the cracks too much, i emailed Turbodynamics. apparently they do alot of turbo modding and repairing. depending on what theyt can do to the turbo's and for how much i might send them to them, they can also fix the cracks.
White94RX: i will not worry about the cracks too much, i emailed Turbodynamics. apparently they do alot of turbo modding and repairing. depending on what theyt can do to the turbo's and for how much i might send them to them, they can also fix the cracks.
Thread Starter
Rotary Enthusiast
Joined: May 2006
Posts: 763
Likes: 15
From: reno nevada
Grrrrrr......
I got the engine half-way together this morning, i would still be working on it but i cracked one of the water jacket orings 
heres some pictures along the way.


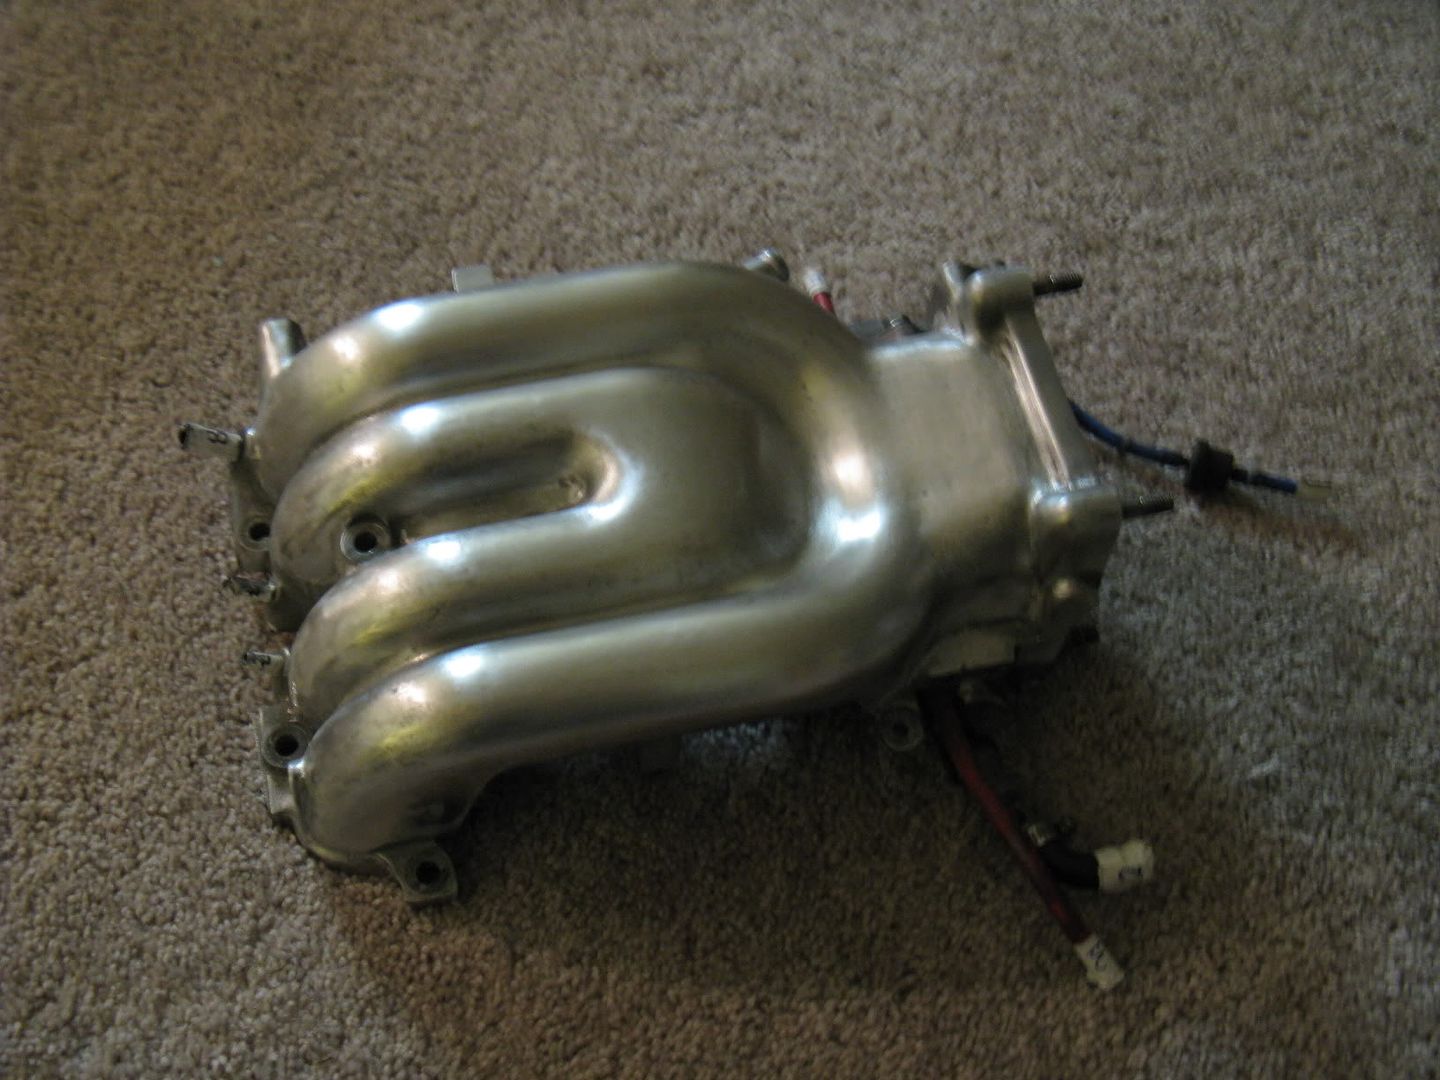
im also going to try and polish my intake manifold so i can have a shiney one like all the cool guys.
heres some pictures along the way.
im also going to try and polish my intake manifold so i can have a shiney one like all the cool guys.
Thread Starter
Rotary Enthusiast
Joined: May 2006
Posts: 763
Likes: 15
From: reno nevada
chugging like a champ
As i posted in another thread i was worried about the engine because it was not turning easily, i bolted on teh thrust bearings washers spacer etc, and now i see its just fine.
here is the video with the spark pluggs out, ill make another video with them in, you can here it whistling out of the plugs, with them in its more of a chugging out of the exhaust and sucking in the intake ports.
http://www.youtube.com/watch?v=bKvcLuiUdlk
Originally Posted by Sideo
I bolted my engine back up tonight and the FSM said it should turn easily and smoothly, it felt rough and kinda hard to turn, but i have not bolten on teh flywheel yet so the E-shaft isnt in the right spot yet, but i am wondering how hard it should be to turn.
Originally Posted by spandy
Not that hard, there is obviously some resistance, but you should be able to either grab the flywheel and front pulley and spin it by hand easily or stick a wrench on the front bolt and spin it with one hand, but it will offer up some resistance, minimal though.
Here, watch this video and Rob spins the motor with a wrench on the front bolt....should give you a general idea of how easy it should turn......in the vid its at the 2:30min mark
Actually, just watch the entire video, it's shows how to check the end play.
http://www.rebuildingrotaryengines.c...tting_end_play
Originally Posted by Mahjik
Sideo,
Do you have the spark plugs installed? If you do, the motor will be harder to turn as it's trying to build up compression. The motor in Rob's video most likely does not have the plugs in and is very easy to turn.
BTW, Rob's video is much clearer on how to set the end play than Rotary Aviation's video.
Originally Posted by Sideo
ok thanks guys, the spark plugs are out, but it is definately harder to turn than in that video. im going to bolt on the flywheel andthrust washers bearing and plate after work and see if it gets any easier.
if not, what could i have done wront putting the engine together.
if not, what could i have done wront putting the engine together.
http://www.youtube.com/watch?v=bKvcLuiUdlk