
Goodfella's Rotary Garage 1995 BB FD, my take on the Ultimate Street Machine

Thread Starter


Joined: Mar 2001
Posts: 30,818
Likes: 656
From: FL-->NJ/NYC again!
So, all has been a little quiet as I've been working a ton of hours and squeezing in work on my CYM as time permitted.
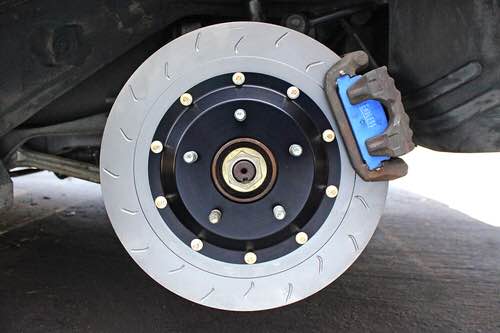
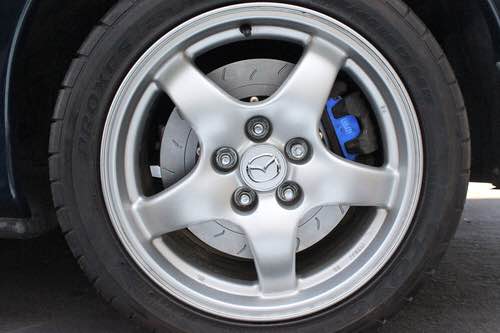
I'm looking at moving to the Sakebomb Garage rear Big Brake Kit to match the killer AP SBG competition fronts
I think this product hasn't gotten enough press--- and man does it look great. I'm told by multiple people that have tracked with them that the rears are a nice cost effective complement to the fronts. Some more info:
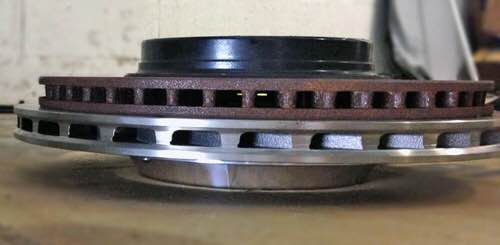
*Directional curved vane discs (pumps air through disc for cooling unlike OEM straight vane)
*Two piece discs (lighter than stock)
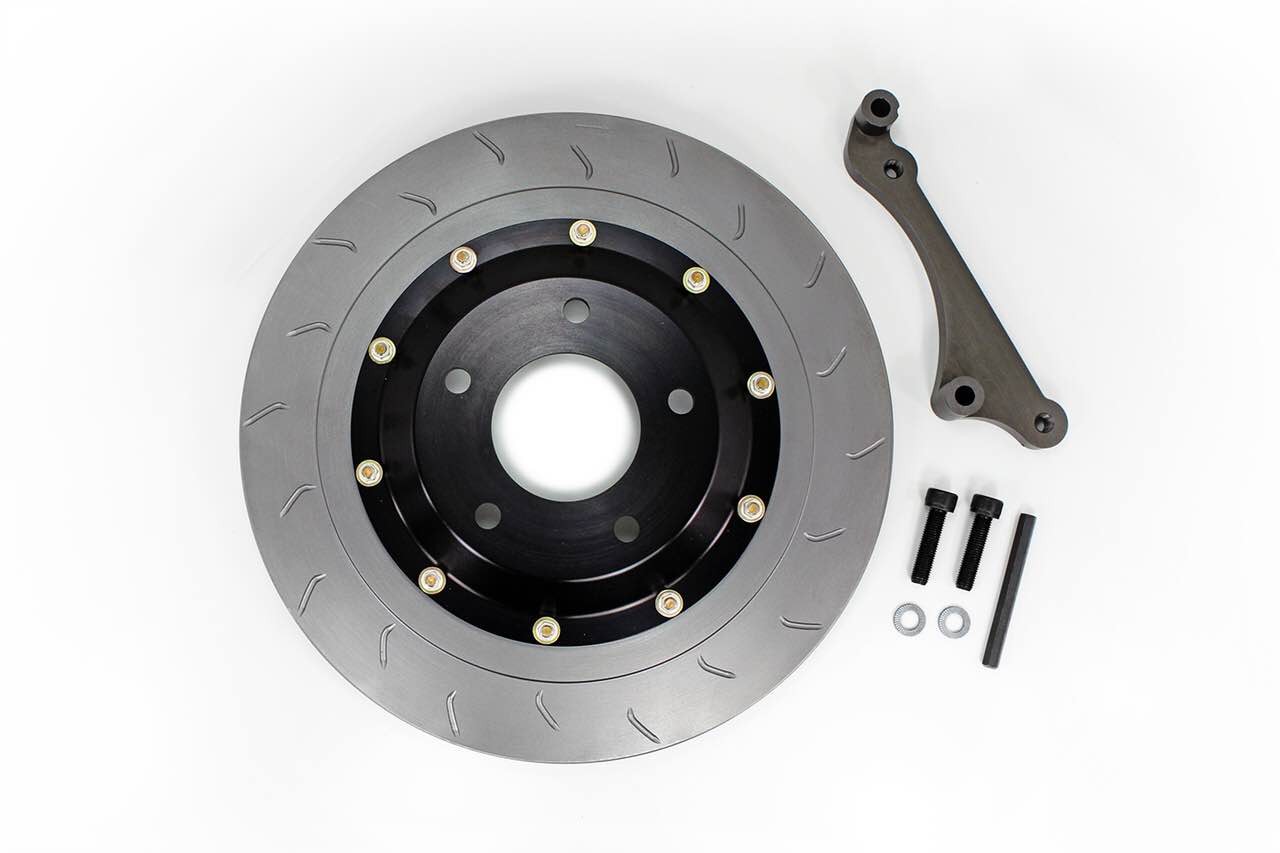
*Larger than stock 330x20mm vs OEM 294x20mm or 99 spec 314x20mm
*Includes relocation bracket for larger diameter disc. Increased mechanical torque and cooling, decreased weight.
*Retains OEM e-brake
*Perfectly balanced brake bias when used in connection with any of our front brake kits for shortest stopping distances
On to the eye candy
I'm looking at moving to the Sakebomb Garage rear Big Brake Kit to match the killer AP SBG competition fronts
I think this product hasn't gotten enough press--- and man does it look great. I'm told by multiple people that have tracked with them that the rears are a nice cost effective complement to the fronts. Some more info:
*Directional curved vane discs (pumps air through disc for cooling unlike OEM straight vane)
*Two piece discs (lighter than stock)
*Larger than stock 330x20mm vs OEM 294x20mm or 99 spec 314x20mm
*Includes relocation bracket for larger diameter disc. Increased mechanical torque and cooling, decreased weight.
*Retains OEM e-brake
*Perfectly balanced brake bias when used in connection with any of our front brake kits for shortest stopping distances
On to the eye candy
Thread Starter
Joined: Mar 2001
Posts: 30,818
Likes: 656
From: FL-->NJ/NYC again!
Pretty big update:
Recently bit the bullet and plunked down the cash for a brand new OEM engine harness for this FD courtesy of Mr. Raymond Crowe. I had been running a Rywire harness purchased from a forum member. He had modified the harness to run four ID style injectors, not really sure what else had been modified.
Lesson learned: Practice what you preach. Over the years I always told other owners and customers to only buy things like engine harnesses new and ideally unmodified unless professionally done.
Well, I didn't follow my own advice and paid the price. My car hasn't run right since installing the used fuel system and used engine harness from this other member. It just seemed..... off. Very subtle, but it didn't idle quite like it should, drove and boosted well but sounded a bit different. This was all done with a complete new engine job, single turbo install, basically changing the entire engine bay layout of the car at once back in the summer of 2014.
I also had to tear down the engine earlier this year to replace warped rear apex seals after a tuning session with lots of redline pulls at 1 bar boost. Needless to say, this whole issue was driving me a bit crazy.
After determining that all four fuel injectors purchased from this member were dirty/clogged (should have probably sent them out *before* installing) which was a bit of a red herring because I decided to stick with the engine harness, the search continued.
Buying my CYM and driving both cars extensively back-to-back confirmed my suspicions that something was definitely wrong, and although the BB '95 car ran much better since installing all new ID fuel injectors along with the SBG coil setup there was still the Gorilla shadow hiding in the room
I verified that the actual wiring of the harness was correct as far as the pinout and the fuel system. But after prodding and wiggling the primary fuel injector wiring and having the car spontaneously flood out and stall, it was pretty damn apparent that something was not right with the harness.
I've since pulled the Rywire harness off and sent it to Rotary Performance to have resident wiring guru Chris Ott give it a check over. In talks with another shop owner, he also has had an issue with a Rywire harness, this one causing a miss with an Adaptronic ecu on the dyno. I'll let him chime in if he'd like.
I also had talks with a gentleman out in Cali who wires up harnesses for race teams and he stated that he's had numerous issues with these harnesses----- he claims they use quality components and look nice, but aren't constructed correctly. Things like Crank Angle Sensor wiring not shielded correctly and internal harness grounds missing. Also loose pins for the fuel injector connectors. Hm, sounds like all of this could lead to a subtle running issue perhaps?
I'll be sure to post up the finding on my harness. Note that it's tough to point fingers because it's an aftermarket harness bought used that had been modified by the previous owner.
Having said that, I'll continue to stick to OEM engine harnesses modified professionally by competent individuals. Not too jazzed about spending a good amount of money on a fuel system and harness and having it lead to 18 months of running problems to include needing an engine rebuild. But these things happen, and I'm the dummy who opted to make the purchase rather than buy brand new known parts
I definitely have some repressed rage about this because it's led to many issues and inability to have a proper running car that was able to make good power, get dyno'ed, and make it to the racetrack. At least I'm only out time, and a set of apex seals and soft seal kit (rest of engine was literally like new and reusable, turbo fine etc).
In other, happier news......
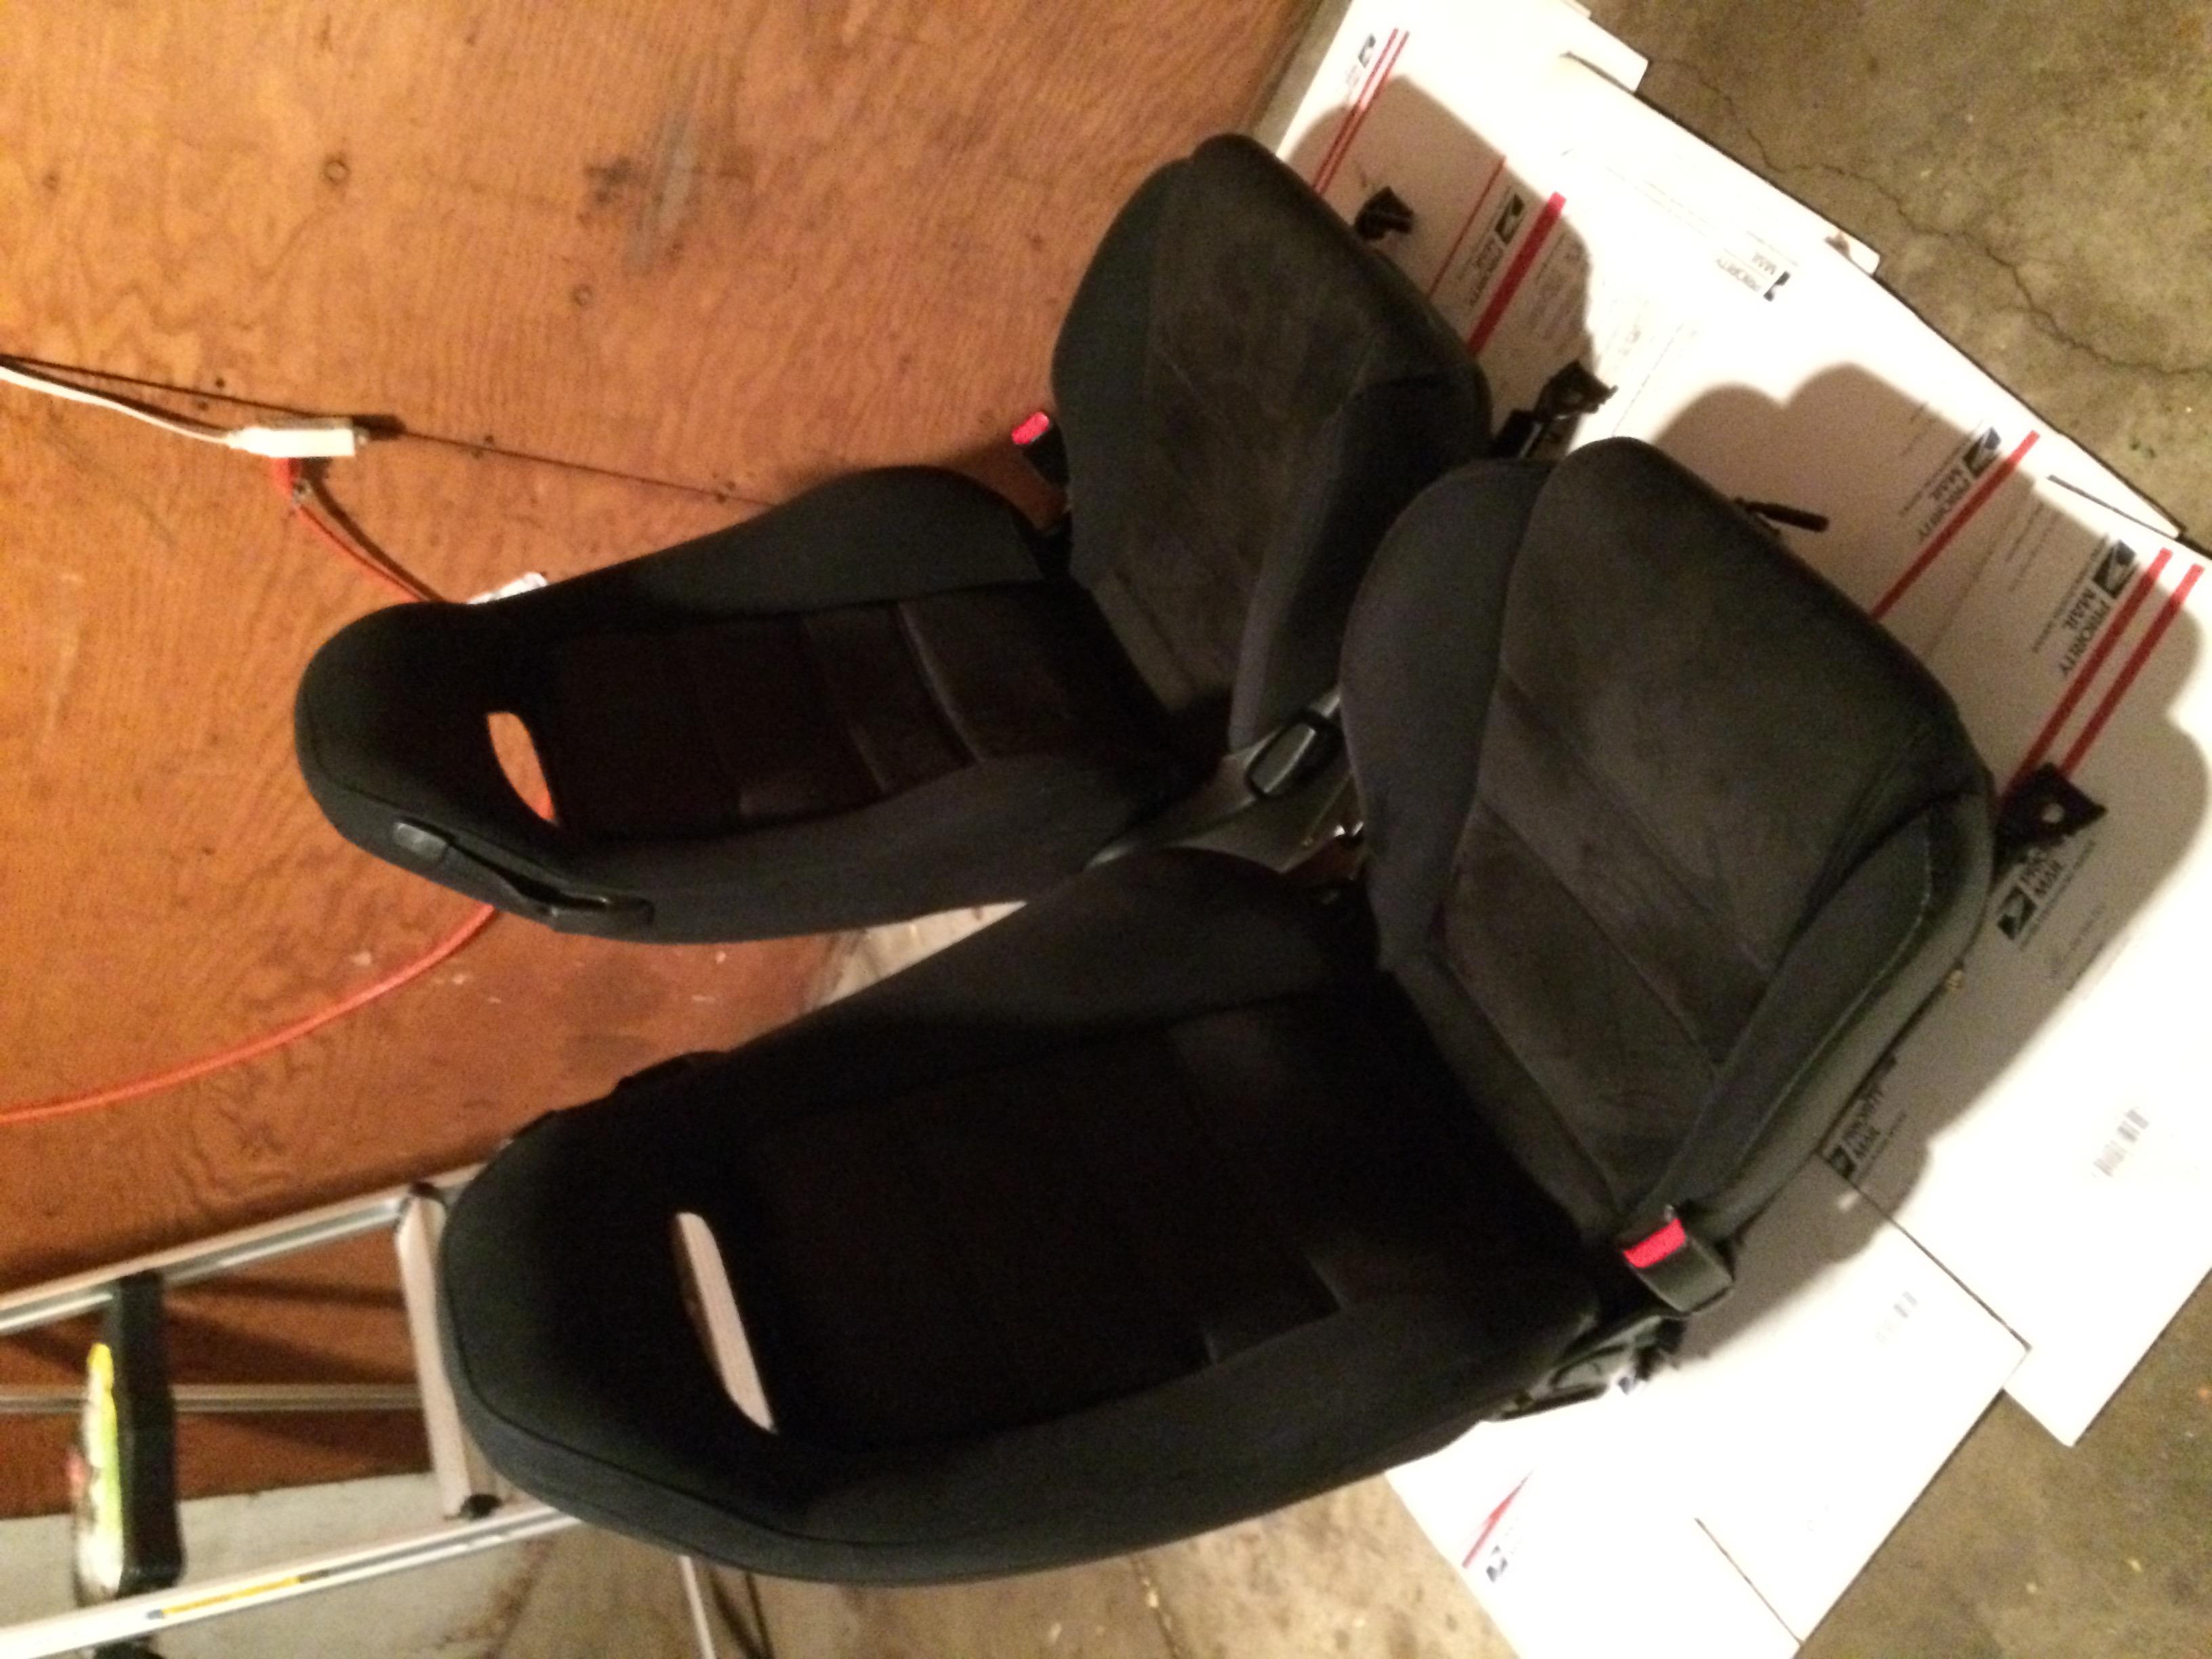
Picked up a pair of mint like new super low mileage R1 seats that I plan to rock, so my pretty awesome recovered perforated suede with red stitching seats will be for sale
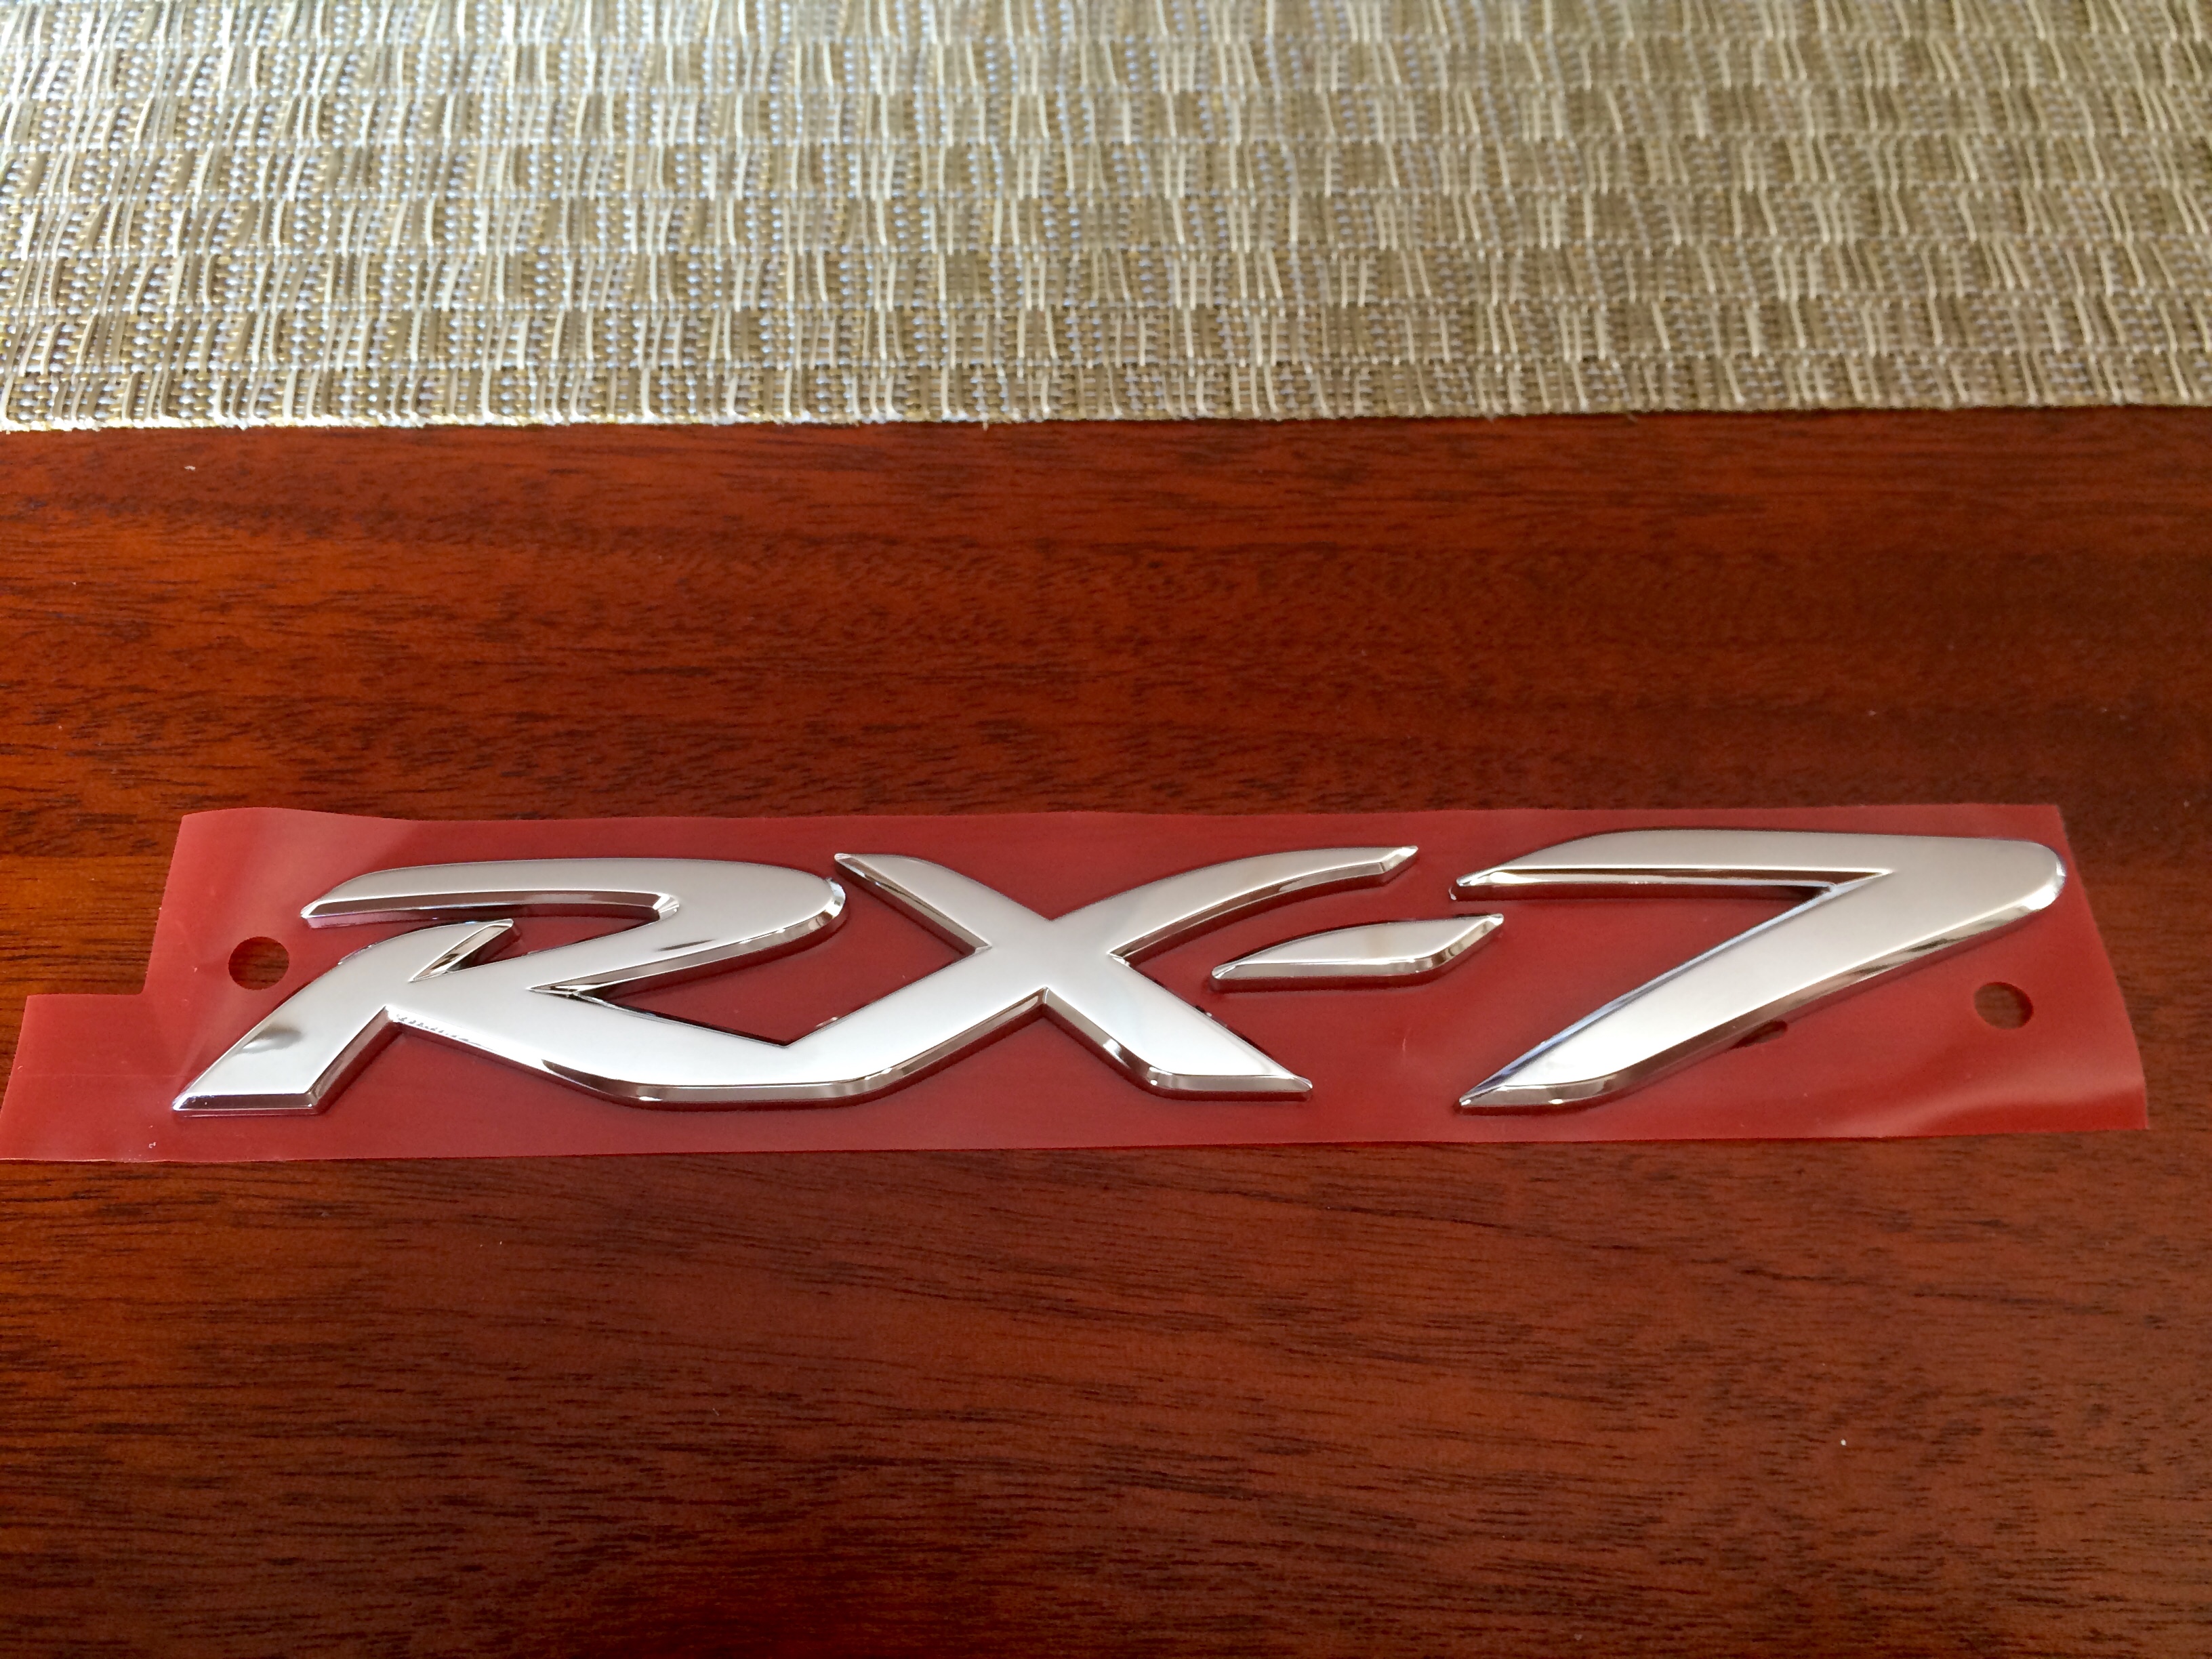
Also scored a nice '2015 Edition' set of RX-7 emblems inspired by my old VR R1 to run on the back of the car

Note that this is an OEM Emblem created from combining the RX-8 and CX-7 ones together
Recently bit the bullet and plunked down the cash for a brand new OEM engine harness for this FD courtesy of Mr. Raymond Crowe. I had been running a Rywire harness purchased from a forum member. He had modified the harness to run four ID style injectors, not really sure what else had been modified.
Lesson learned: Practice what you preach. Over the years I always told other owners and customers to only buy things like engine harnesses new and ideally unmodified unless professionally done.
Well, I didn't follow my own advice and paid the price. My car hasn't run right since installing the used fuel system and used engine harness from this other member. It just seemed..... off. Very subtle, but it didn't idle quite like it should, drove and boosted well but sounded a bit different. This was all done with a complete new engine job, single turbo install, basically changing the entire engine bay layout of the car at once back in the summer of 2014.
I also had to tear down the engine earlier this year to replace warped rear apex seals after a tuning session with lots of redline pulls at 1 bar boost. Needless to say, this whole issue was driving me a bit crazy.
After determining that all four fuel injectors purchased from this member were dirty/clogged (should have probably sent them out *before* installing) which was a bit of a red herring because I decided to stick with the engine harness, the search continued.
Buying my CYM and driving both cars extensively back-to-back confirmed my suspicions that something was definitely wrong, and although the BB '95 car ran much better since installing all new ID fuel injectors along with the SBG coil setup there was still the Gorilla shadow hiding in the room
I verified that the actual wiring of the harness was correct as far as the pinout and the fuel system. But after prodding and wiggling the primary fuel injector wiring and having the car spontaneously flood out and stall, it was pretty damn apparent that something was not right with the harness.
I've since pulled the Rywire harness off and sent it to Rotary Performance to have resident wiring guru Chris Ott give it a check over. In talks with another shop owner, he also has had an issue with a Rywire harness, this one causing a miss with an Adaptronic ecu on the dyno. I'll let him chime in if he'd like.
I also had talks with a gentleman out in Cali who wires up harnesses for race teams and he stated that he's had numerous issues with these harnesses----- he claims they use quality components and look nice, but aren't constructed correctly. Things like Crank Angle Sensor wiring not shielded correctly and internal harness grounds missing. Also loose pins for the fuel injector connectors. Hm, sounds like all of this could lead to a subtle running issue perhaps?
I'll be sure to post up the finding on my harness. Note that it's tough to point fingers because it's an aftermarket harness bought used that had been modified by the previous owner.
Having said that, I'll continue to stick to OEM engine harnesses modified professionally by competent individuals. Not too jazzed about spending a good amount of money on a fuel system and harness and having it lead to 18 months of running problems to include needing an engine rebuild. But these things happen, and I'm the dummy who opted to make the purchase rather than buy brand new known parts
I definitely have some repressed rage about this because it's led to many issues and inability to have a proper running car that was able to make good power, get dyno'ed, and make it to the racetrack. At least I'm only out time, and a set of apex seals and soft seal kit (rest of engine was literally like new and reusable, turbo fine etc).
In other, happier news......
Picked up a pair of mint like new super low mileage R1 seats that I plan to rock, so my pretty awesome recovered perforated suede with red stitching seats will be for sale
Also scored a nice '2015 Edition' set of RX-7 emblems inspired by my old VR R1 to run on the back of the car
Note that this is an OEM Emblem created from combining the RX-8 and CX-7 ones together
Last edited by GoodfellaFD3S; Dec 13, 2015 at 06:01 PM.

Hi
Joined: Aug 2004
Posts: 106
Likes: 0
From: Rochester, MN
Thats a bummer about the reports of quality issues with Rywire. With the age of these cars and the heat generated over time, we are likely to encounter more and more wear issues with the factory wiring. Without a source like Rywire, we are going to have to resort to custom work. Glad you were able to solve your issue though.

Thread Starter
Joined: Mar 2001
Posts: 30,818
Likes: 656
From: FL-->NJ/NYC again!
Been taking advantage of the nice January weather and have taken the FD on trips the last two weekends. More seat time just reinforces that the Rywire harness had more than one issue..... she runs smoother, idles better, and pulls better vacuum. The turbine housing also glows much much less. I checked my PFC commander and I've had to add approx 5% more fuel in the drivability cells. Not ripping on the car until Mr. Renna can lay hands on it.
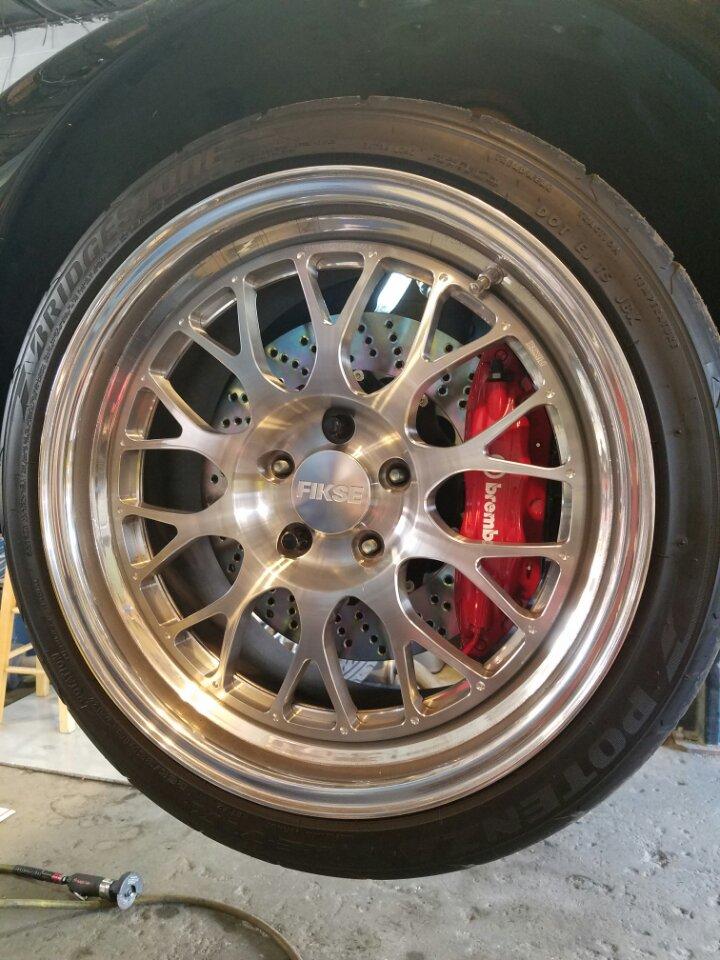
In between rainstorms the sun came out this past sunday. Took the opportunity to wash the BB car, and just as I was about done drying her and about to move onto cleaning the Fikses.....
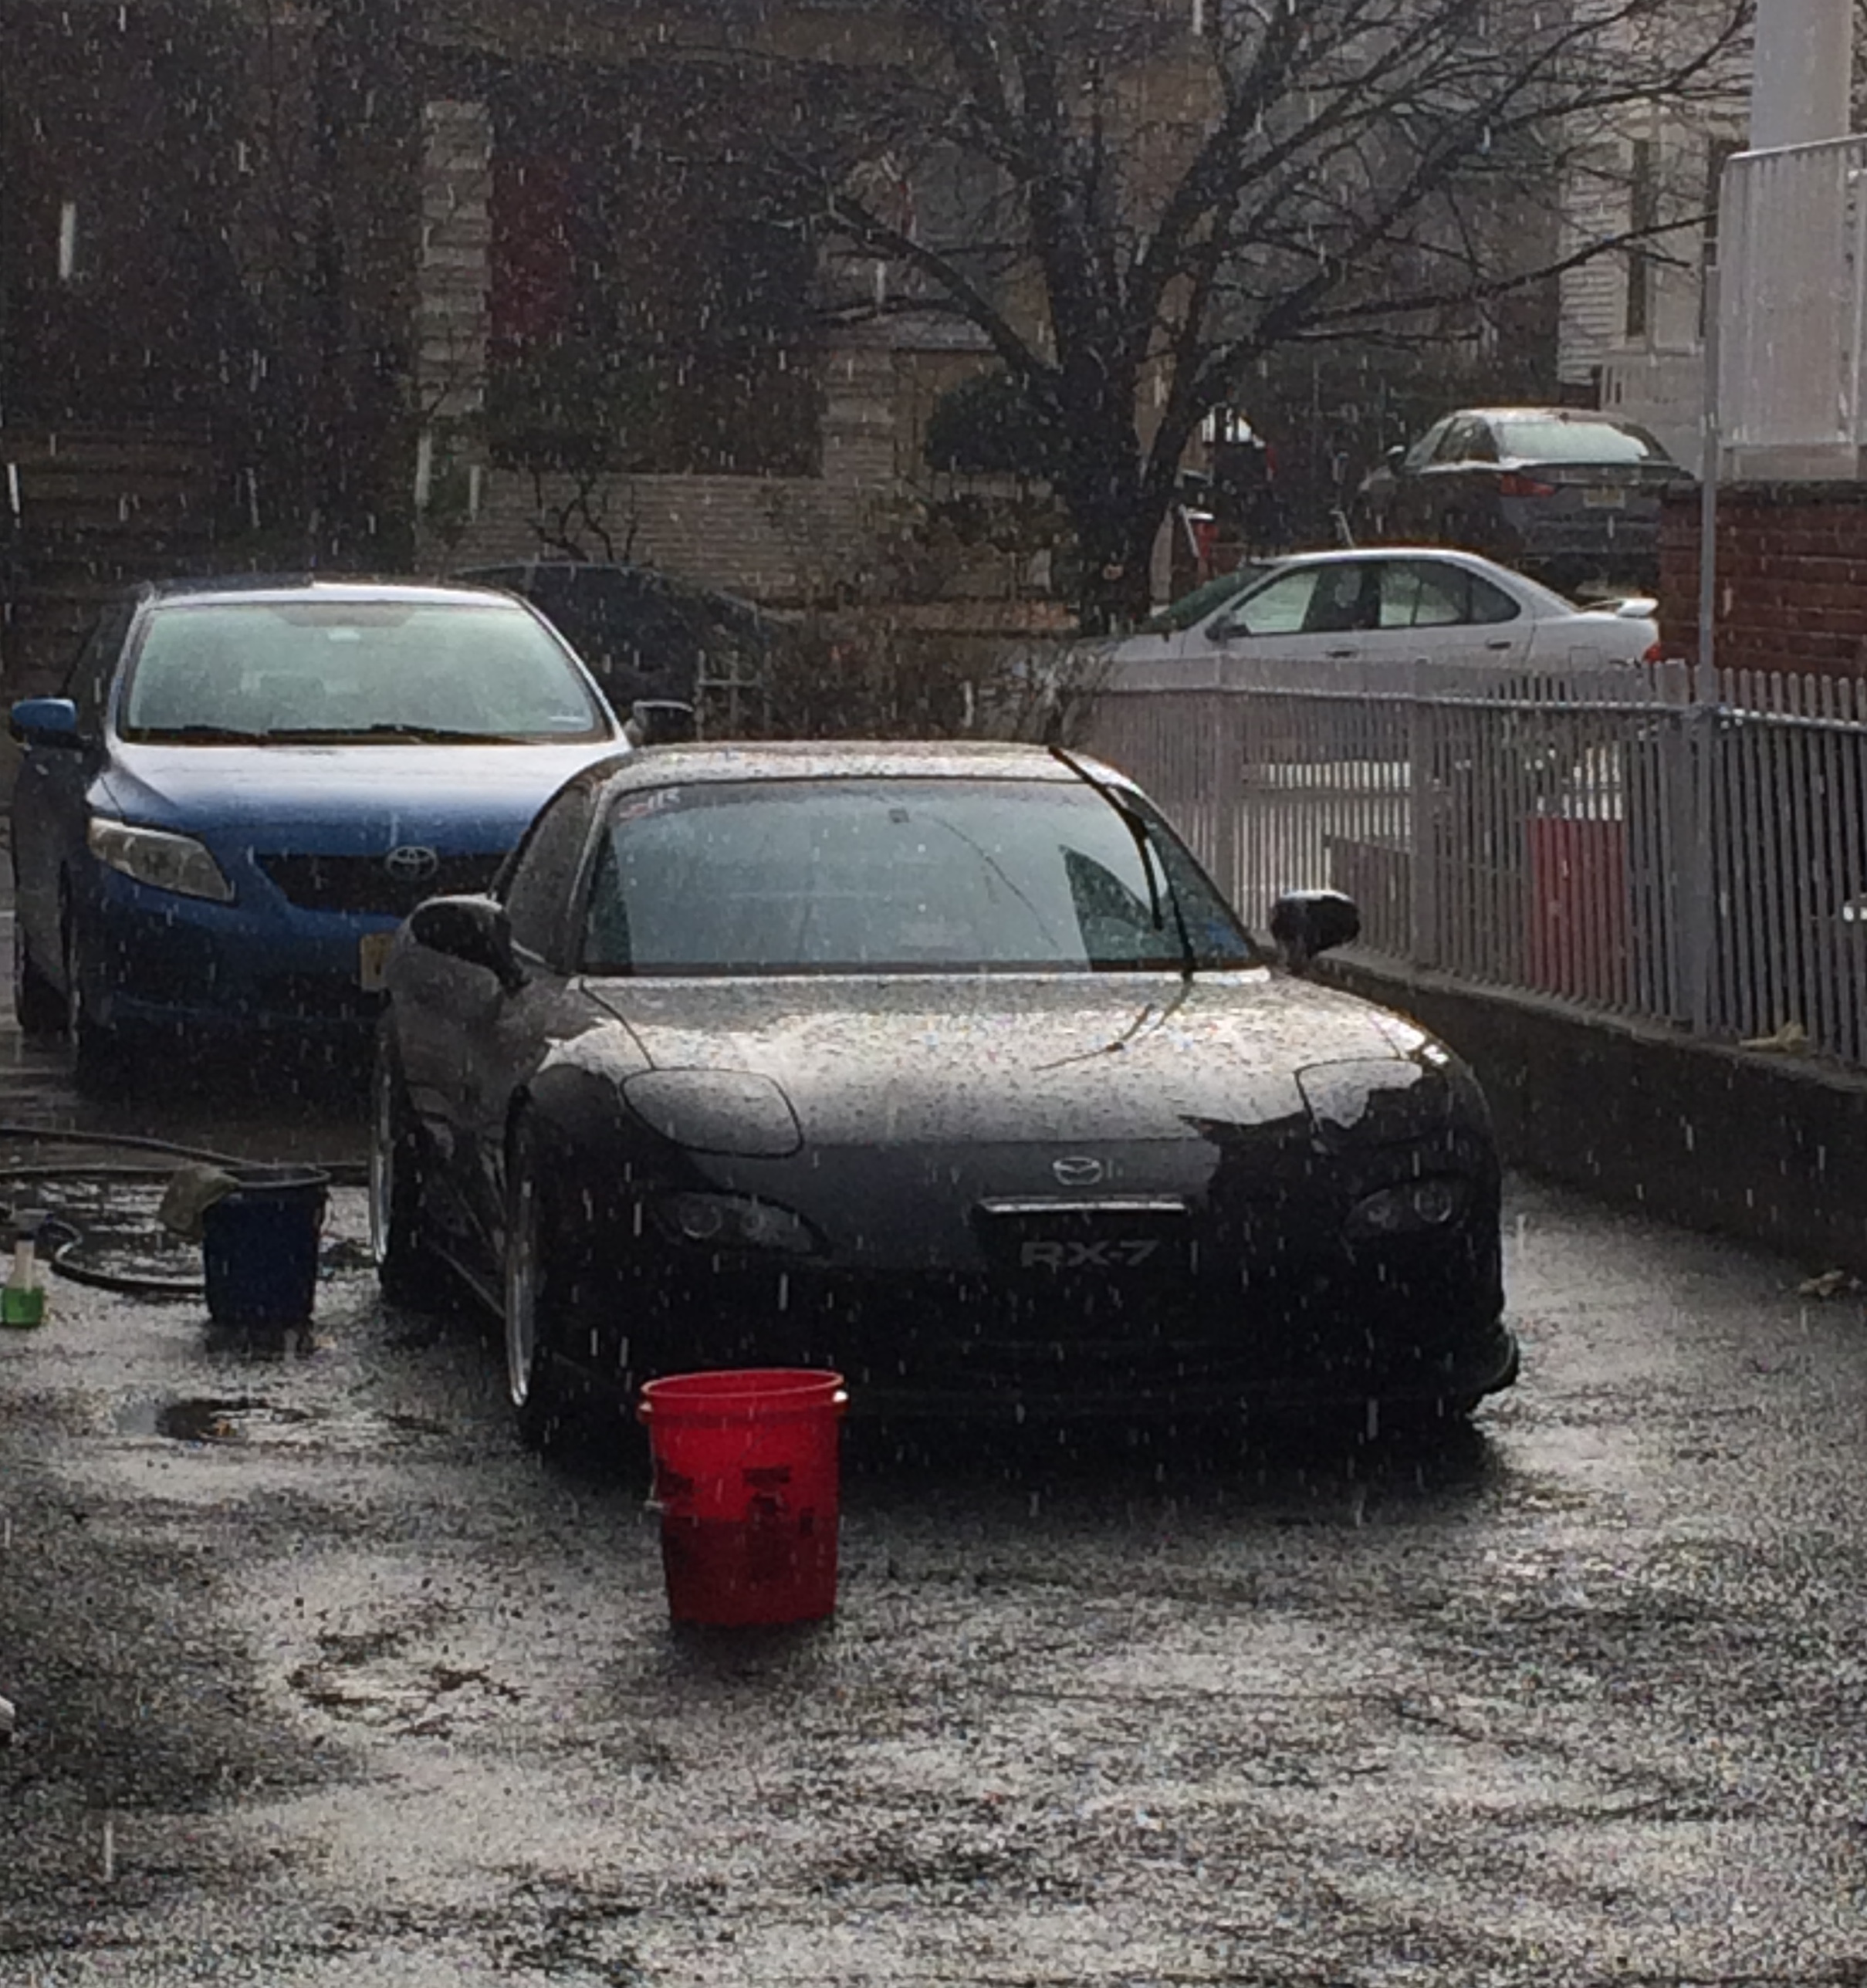
In between rainstorms the sun came out this past sunday. Took the opportunity to wash the BB car, and just as I was about done drying her and about to move onto cleaning the Fikses.....
Thread Starter
Joined: Mar 2001
Posts: 30,818
Likes: 656
From: FL-->NJ/NYC again!
BIGTIME MOD IN THE WORKS!!!!?!
Just kidding
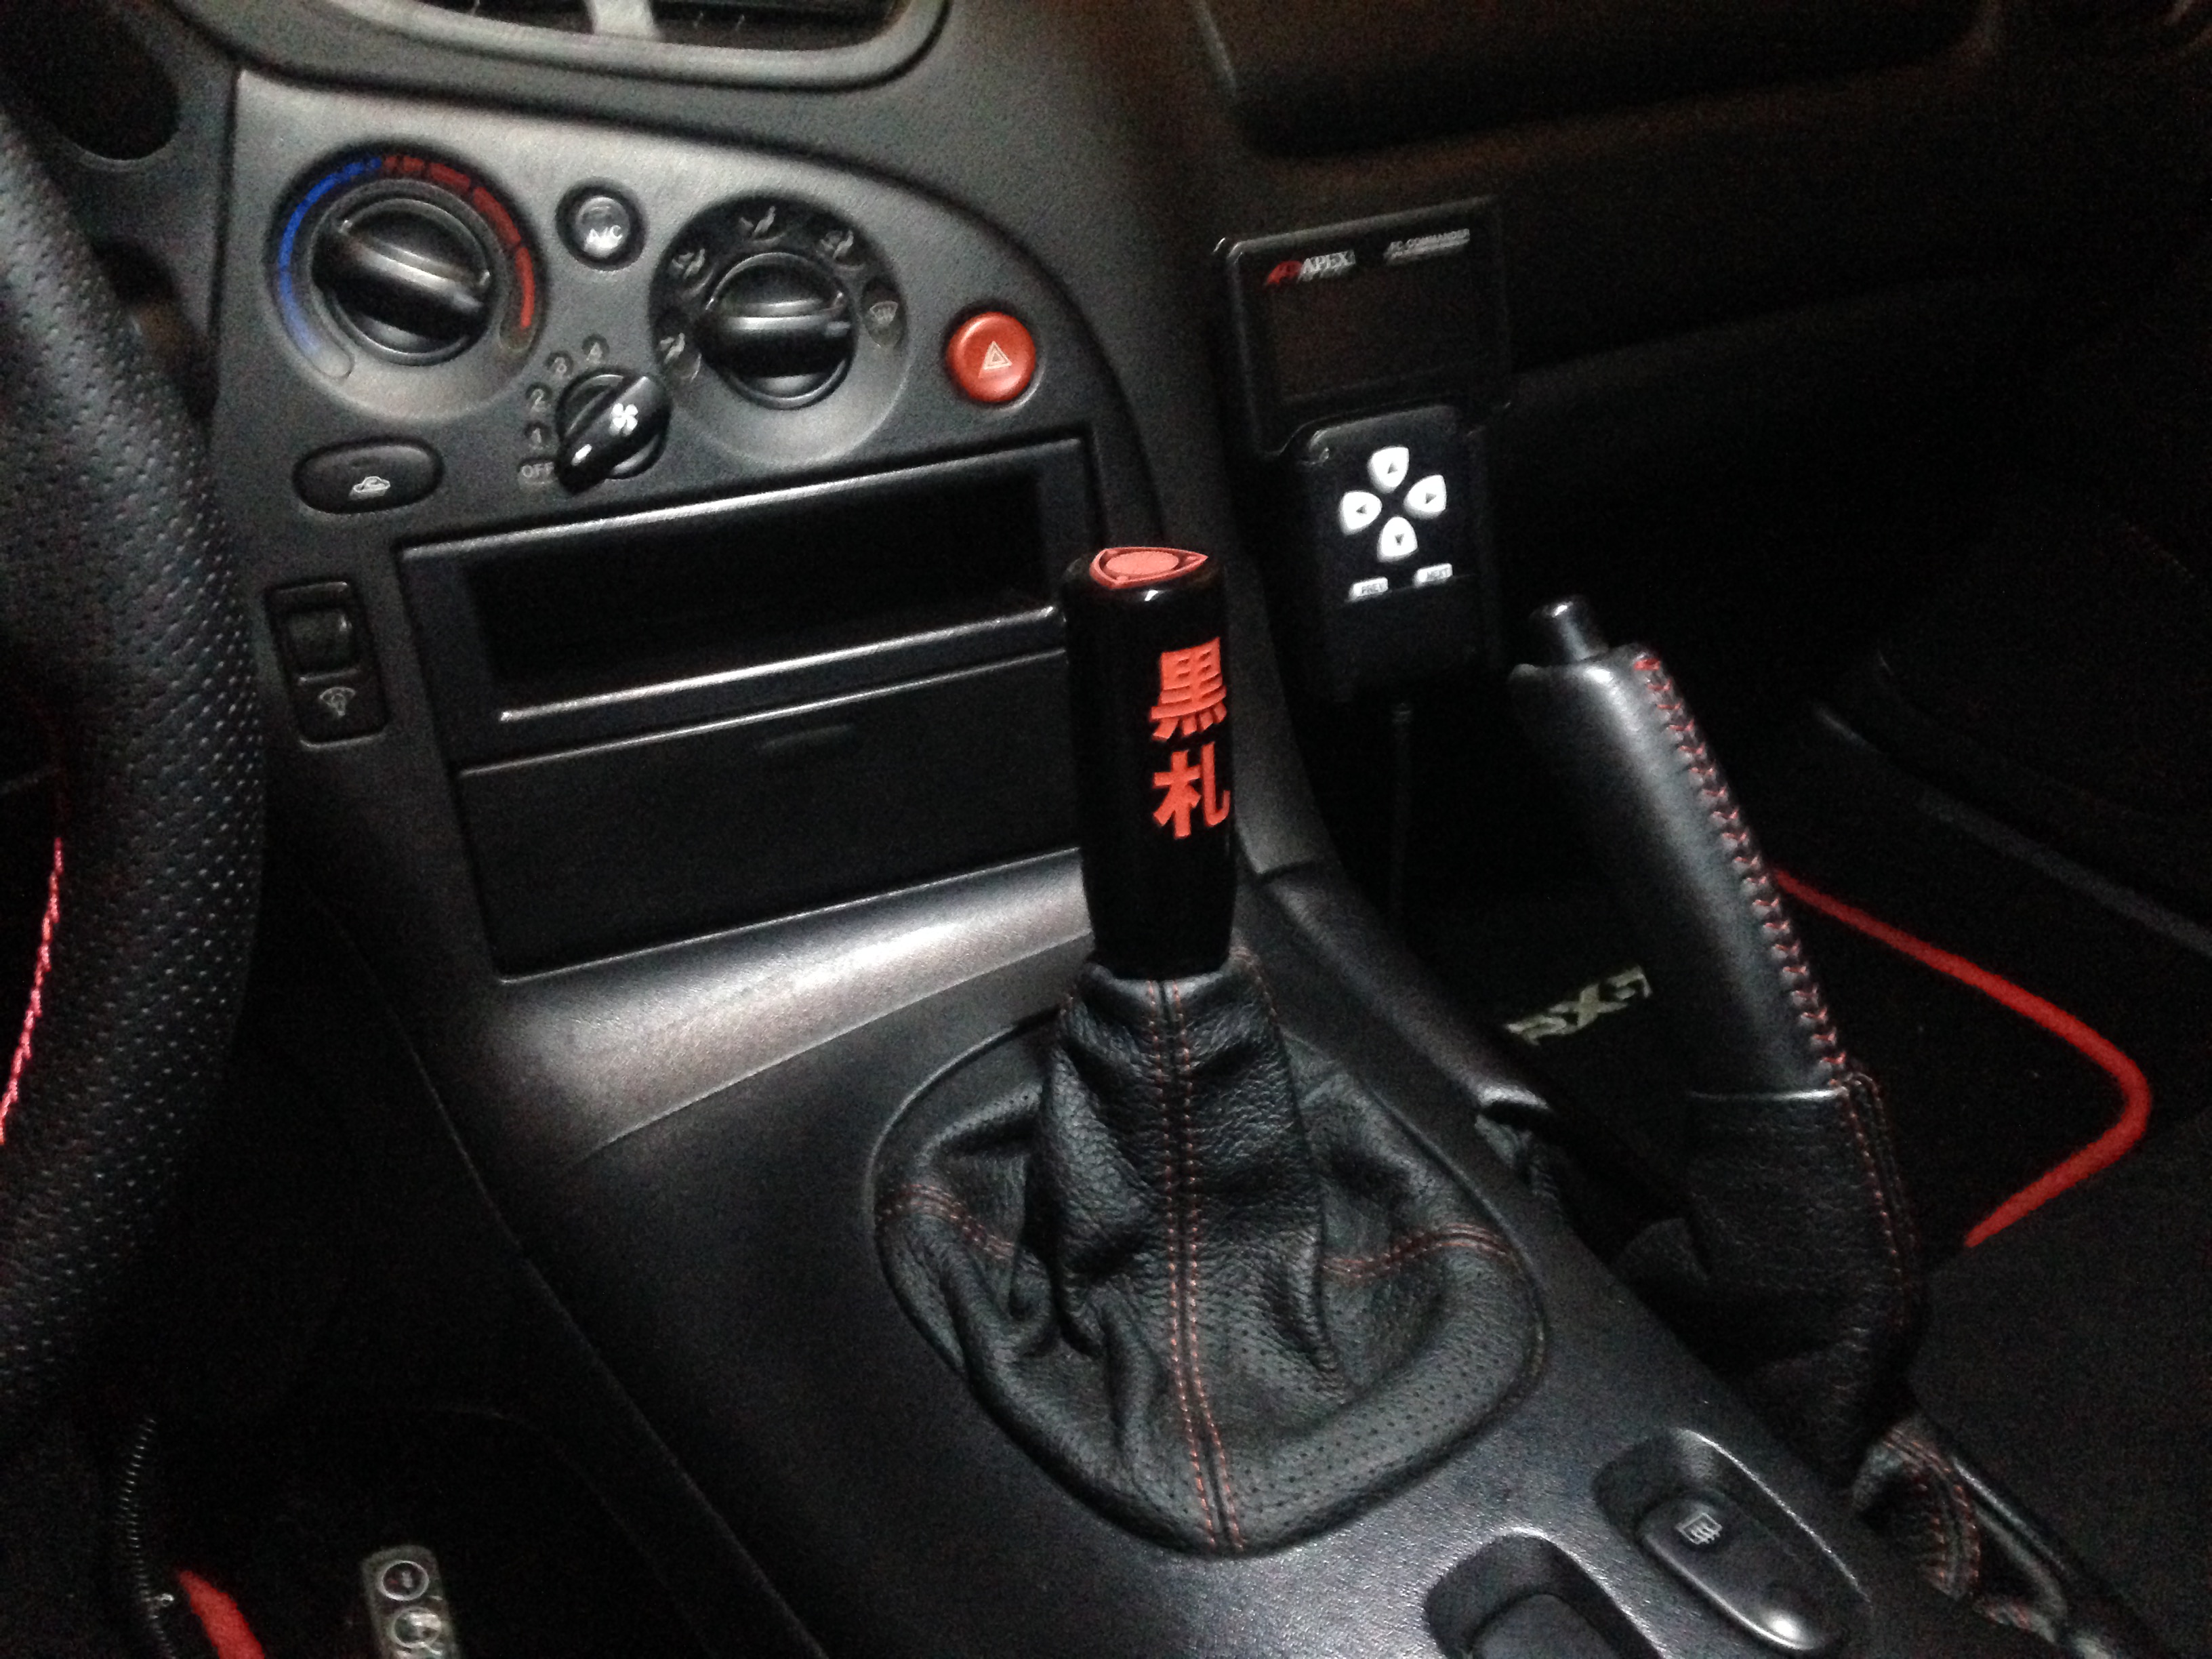
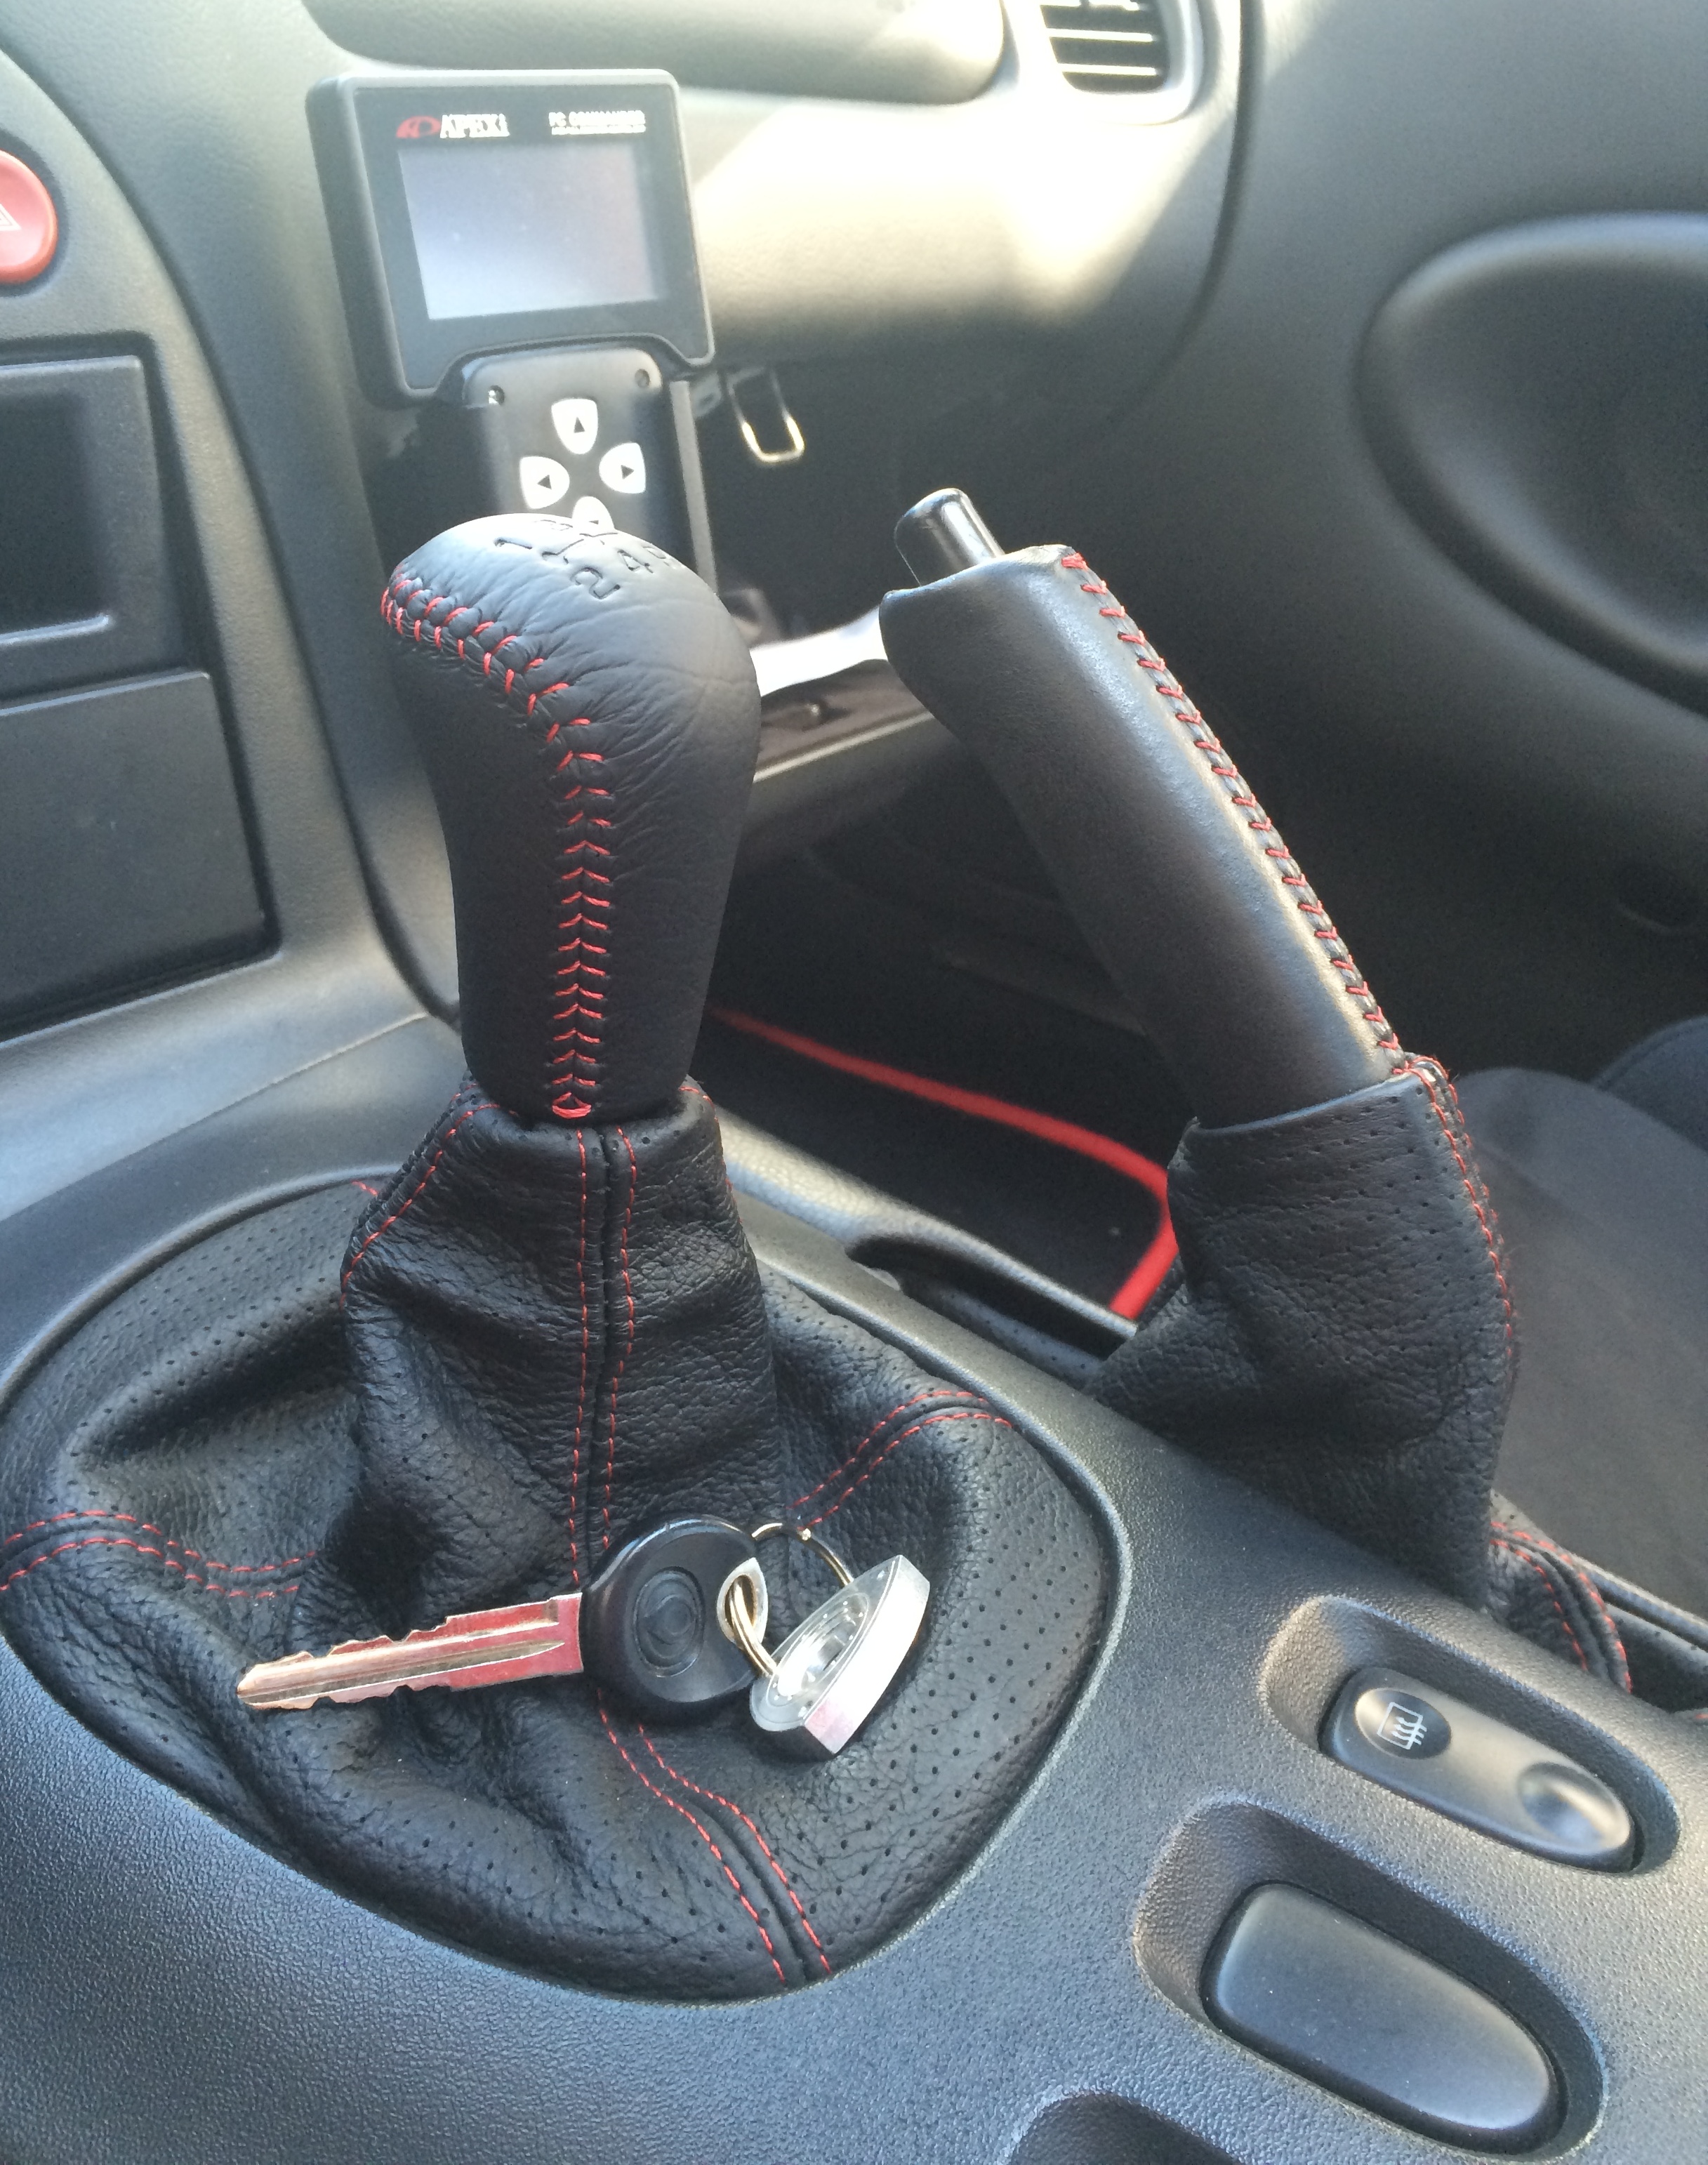
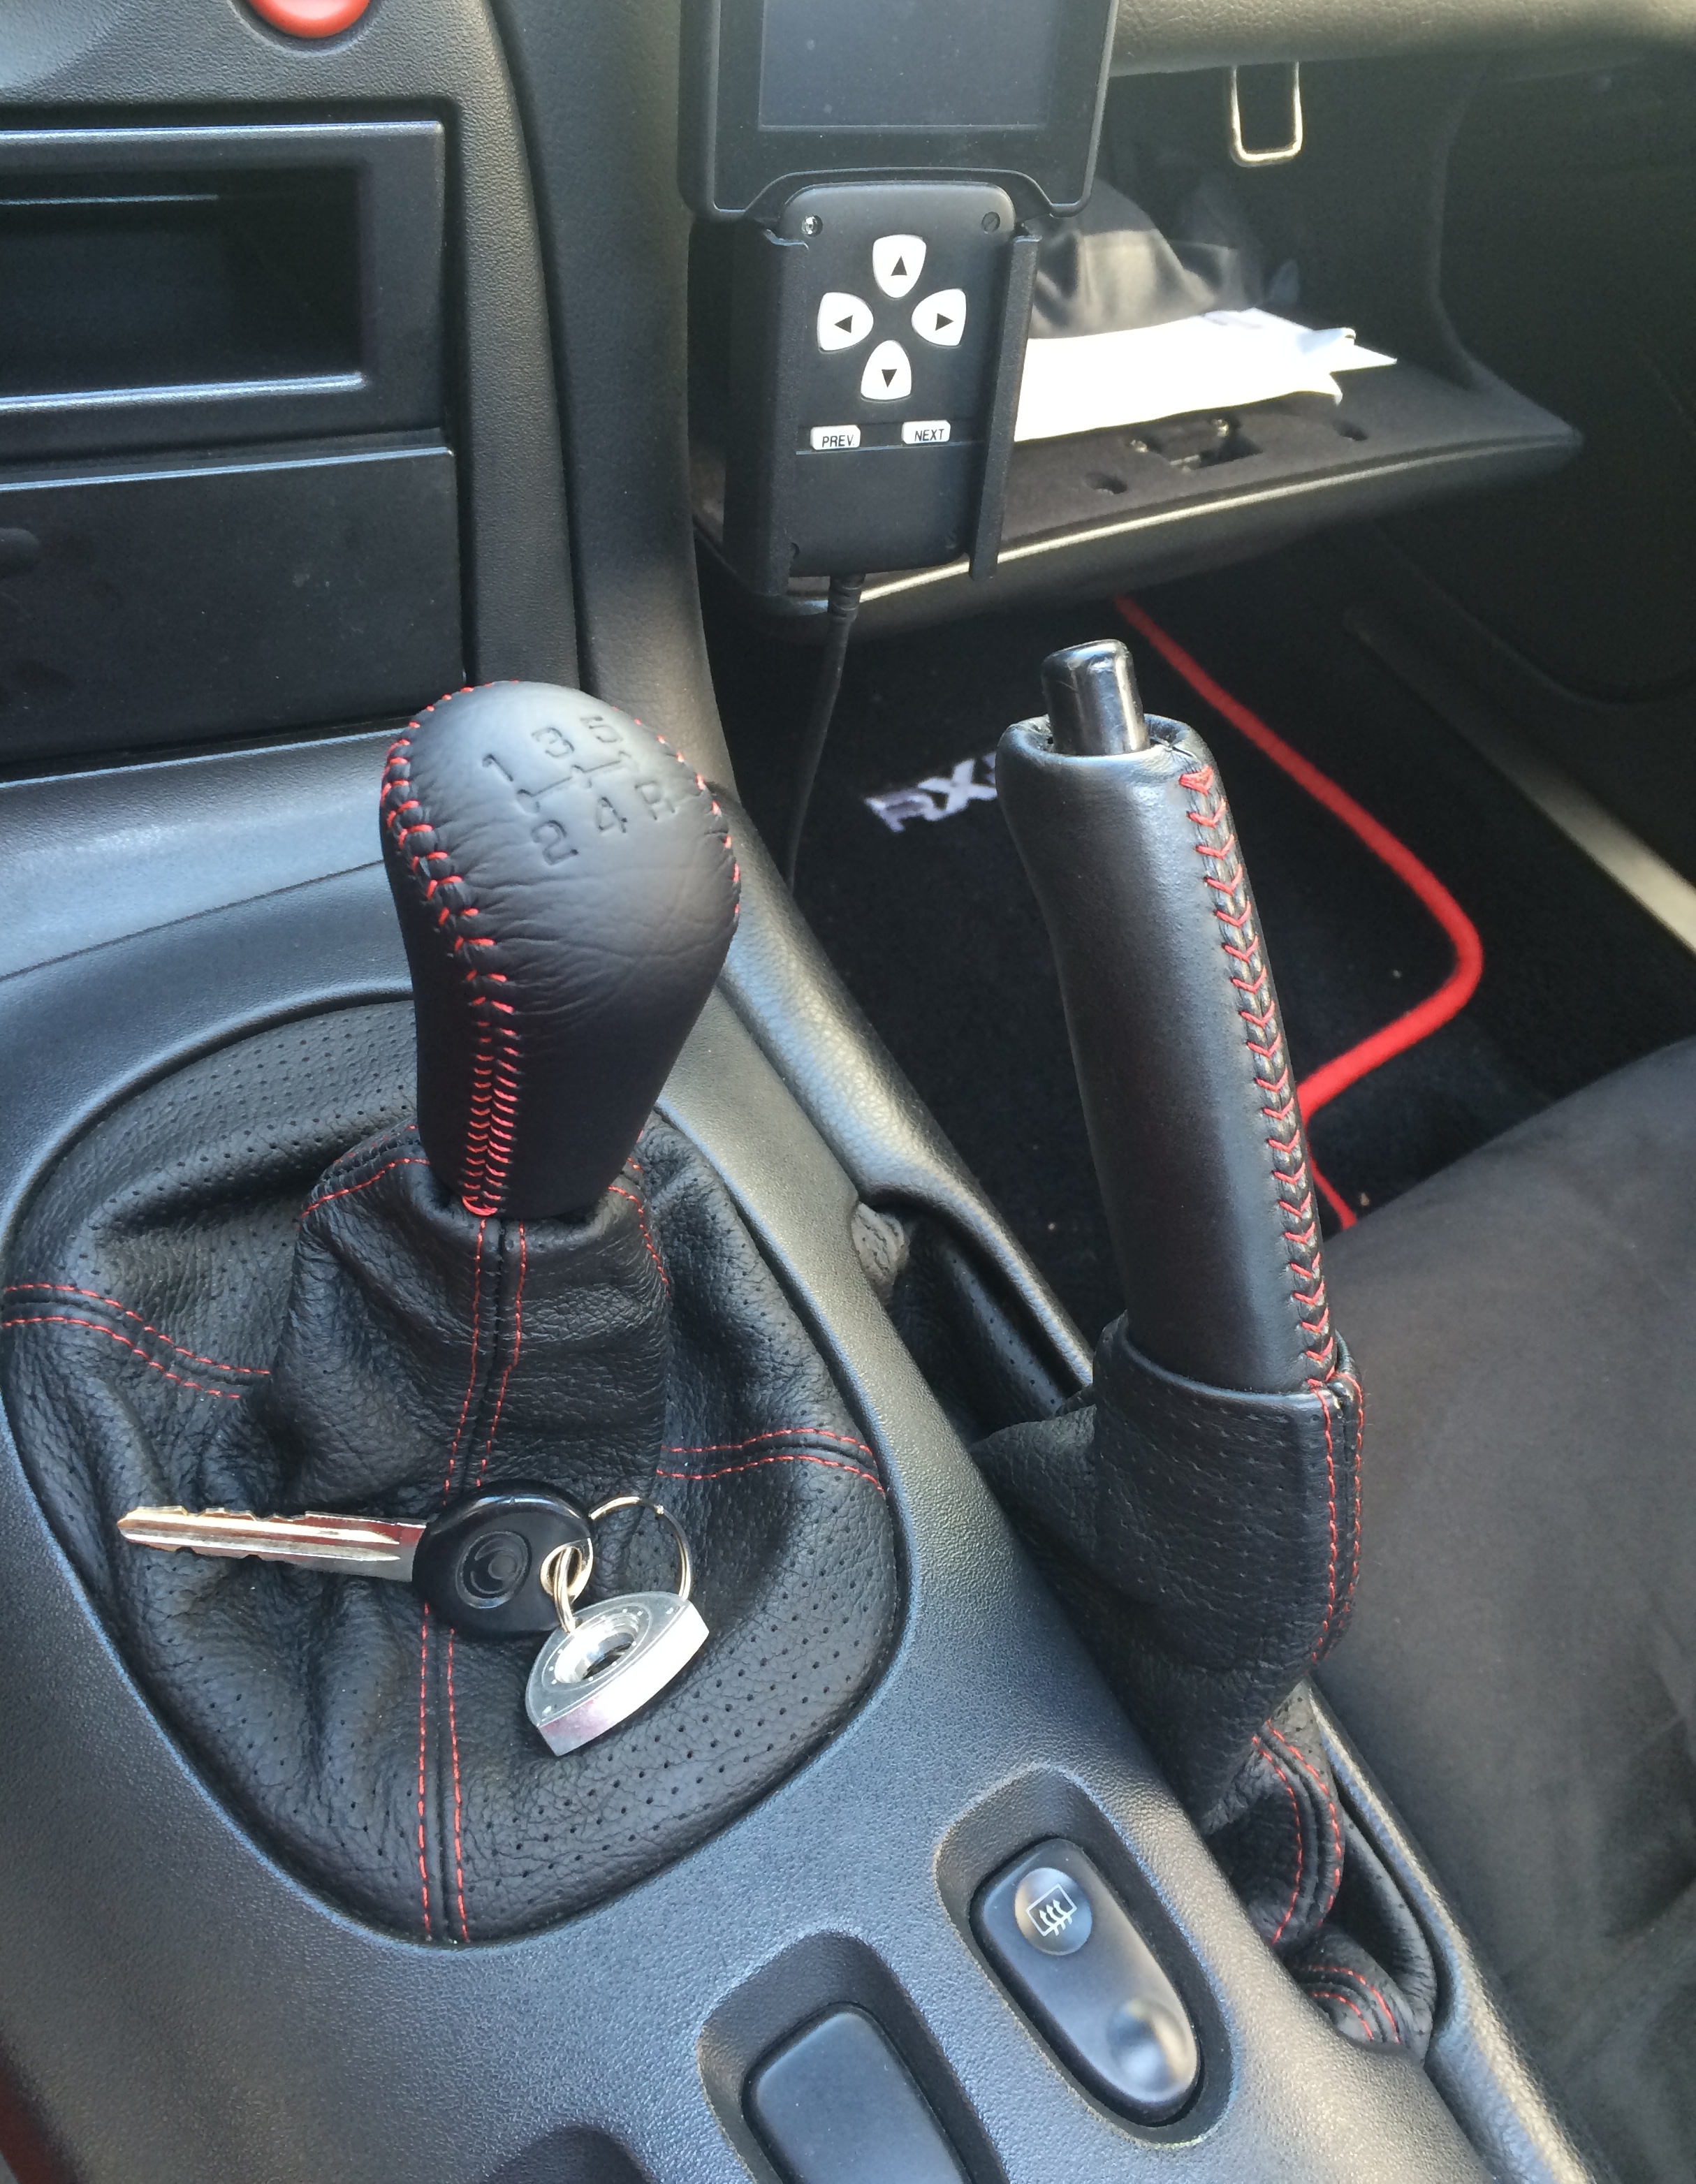
Gotta love winter time, the car is tucked away in the garage. For now a small 'update,' installed (screwed on, lol) a nice new BLE shift ****. JDM for sure

Note that the inlay is a nice vibrant red in person. Camera phone isn't doing me any favors, I'm rolling Monsterbox style in that regard
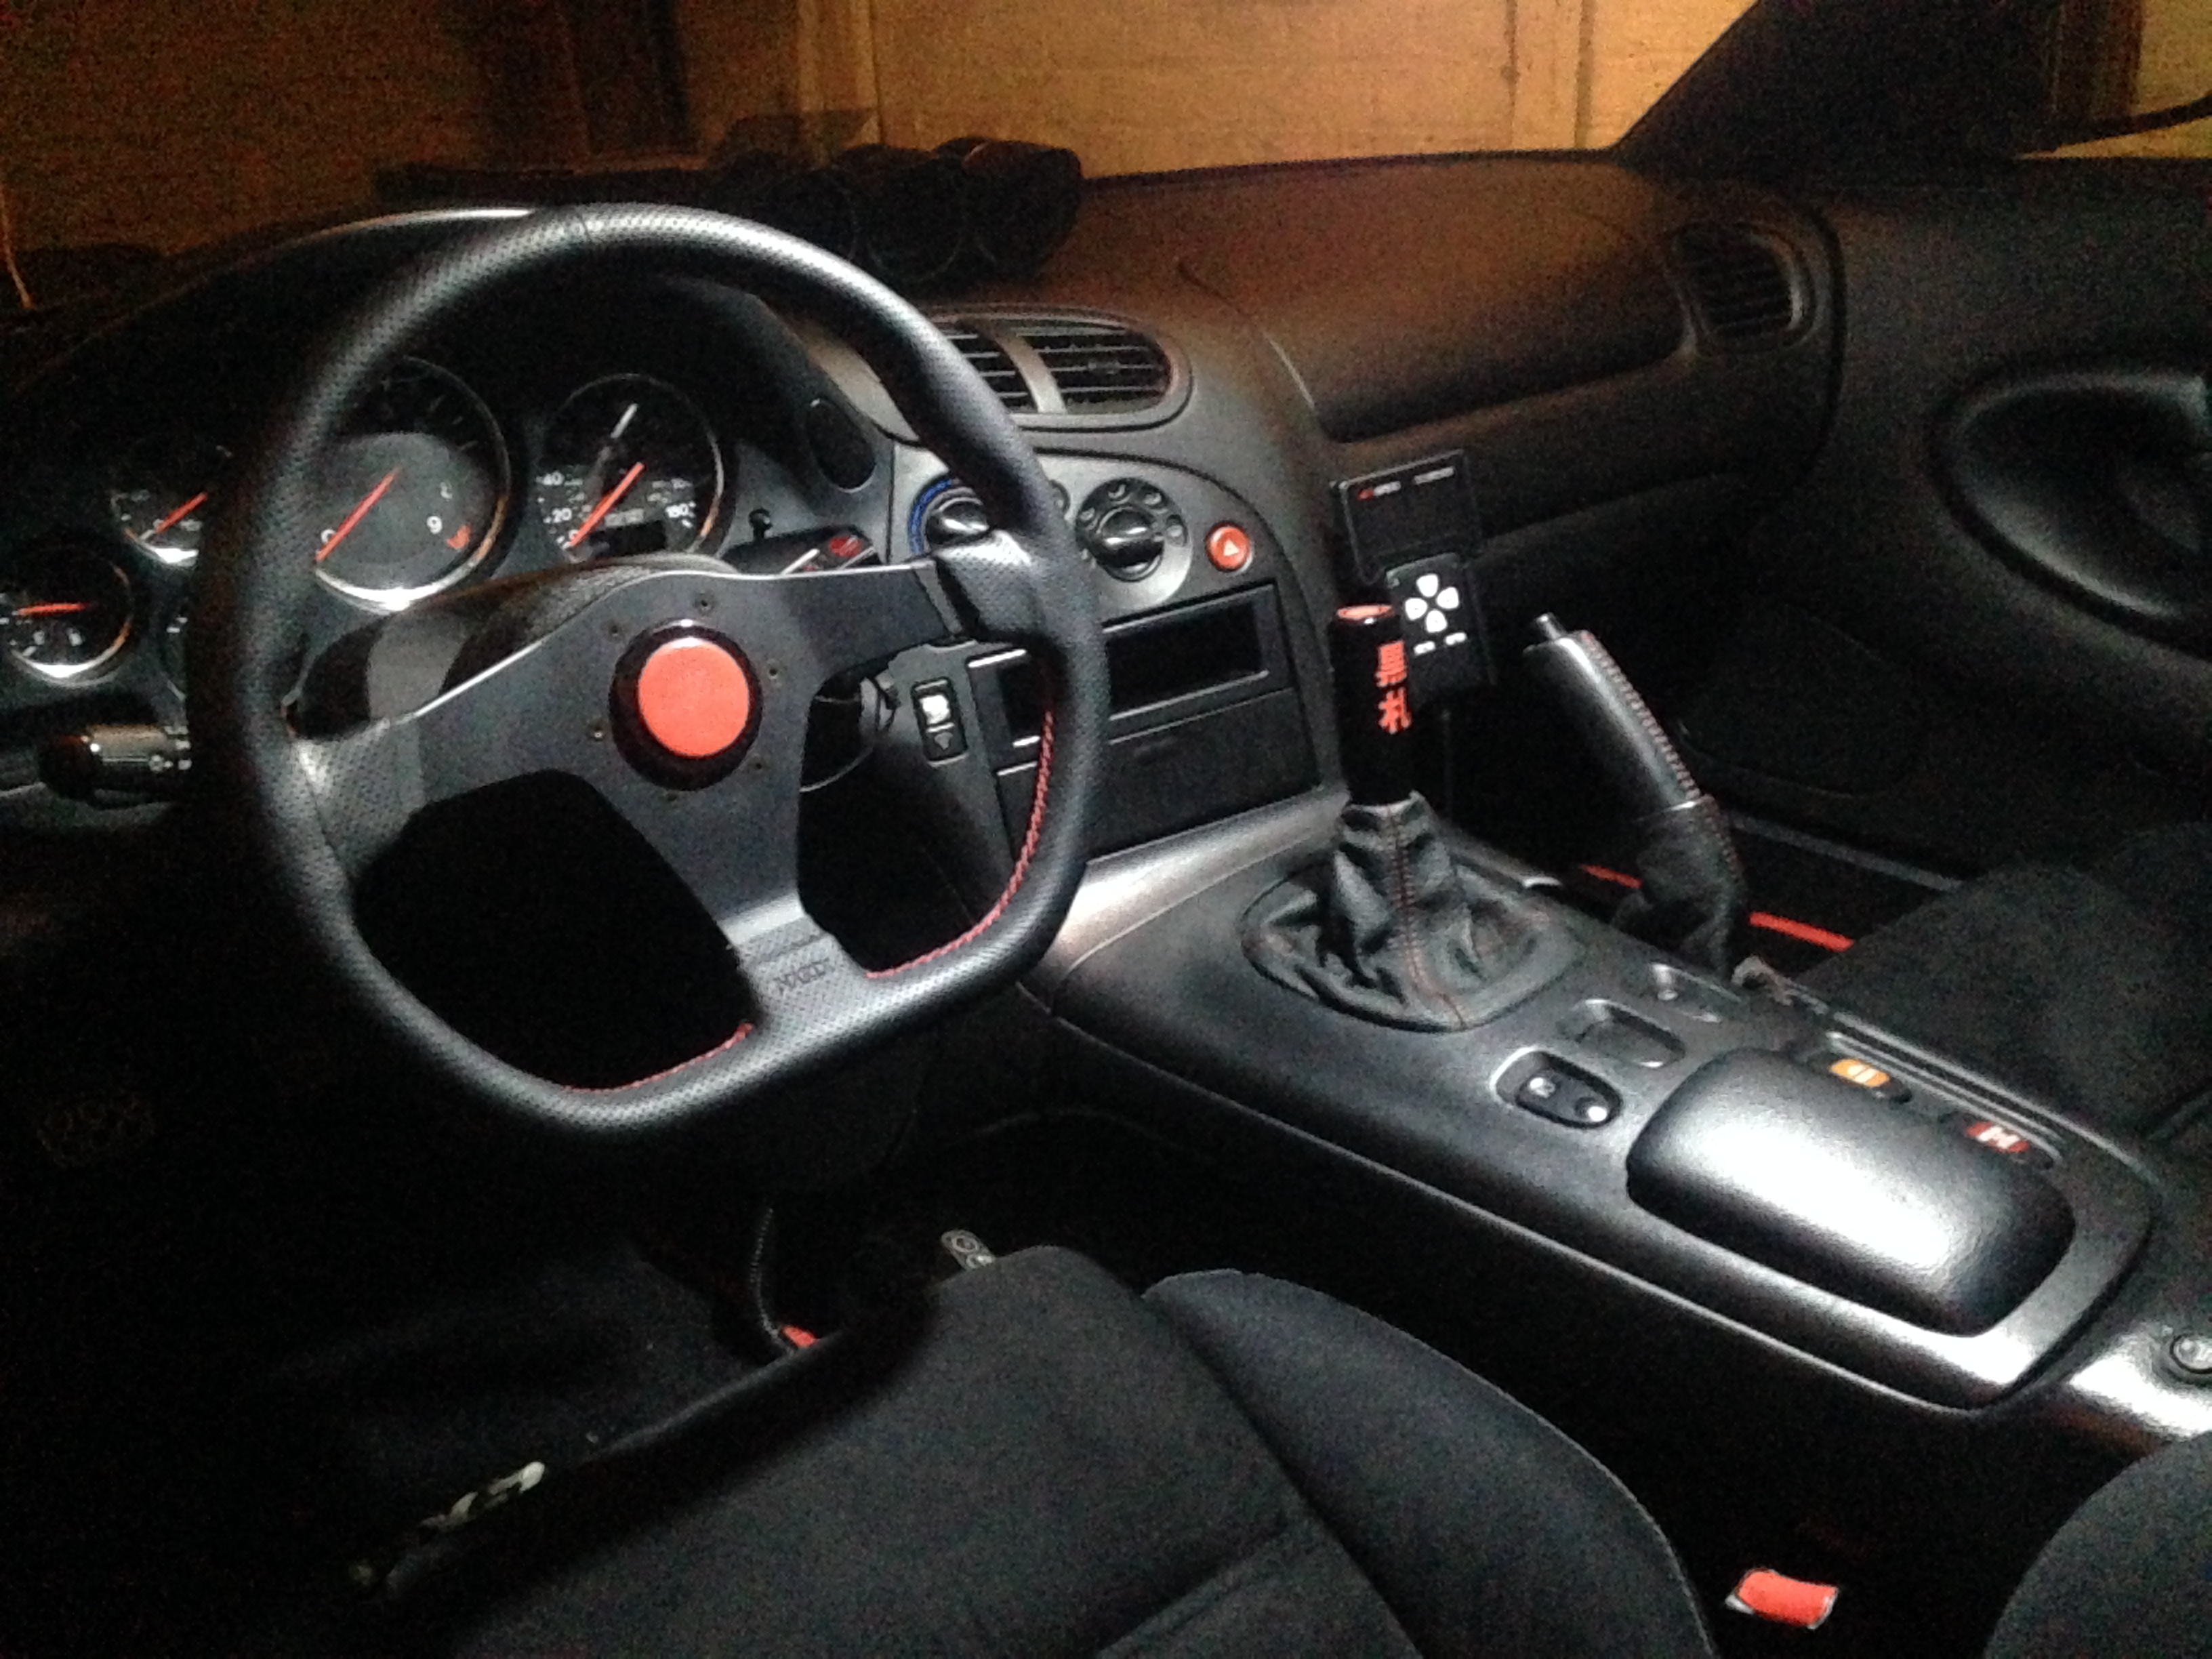
Notice the legit better-than-OEM red-stitched leather on the Emergency brake handle. I'm having a few more recovered, PM me if you'd like one. You can even specify your thread color
Just kidding
Gotta love winter time, the car is tucked away in the garage. For now a small 'update,' installed (screwed on, lol) a nice new BLE shift ****. JDM for sure
Note that the inlay is a nice vibrant red in person. Camera phone isn't doing me any favors, I'm rolling Monsterbox style in that regard
Notice the legit better-than-OEM red-stitched leather on the Emergency brake handle. I'm having a few more recovered, PM me if you'd like one. You can even specify your thread color
Last edited by GoodfellaFD3S; Feb 4, 2016 at 07:35 AM.


Thread Starter
Joined: Mar 2001
Posts: 30,818
Likes: 656
From: FL-->NJ/NYC again!
Austin is just full of that V8Hate
The engraving with the Kanji characters doesn't really match the style of my FD, but I'm going to see how I like it. I do enjoy the shape and feel of the **** itself 
The engraving with the Kanji characters doesn't really match the style of my FD, but I'm going to see how I like it. I do enjoy the shape and feel of the **** itself
Thread Starter
Joined: Mar 2001
Posts: 30,818
Likes: 656
From: FL-->NJ/NYC again!
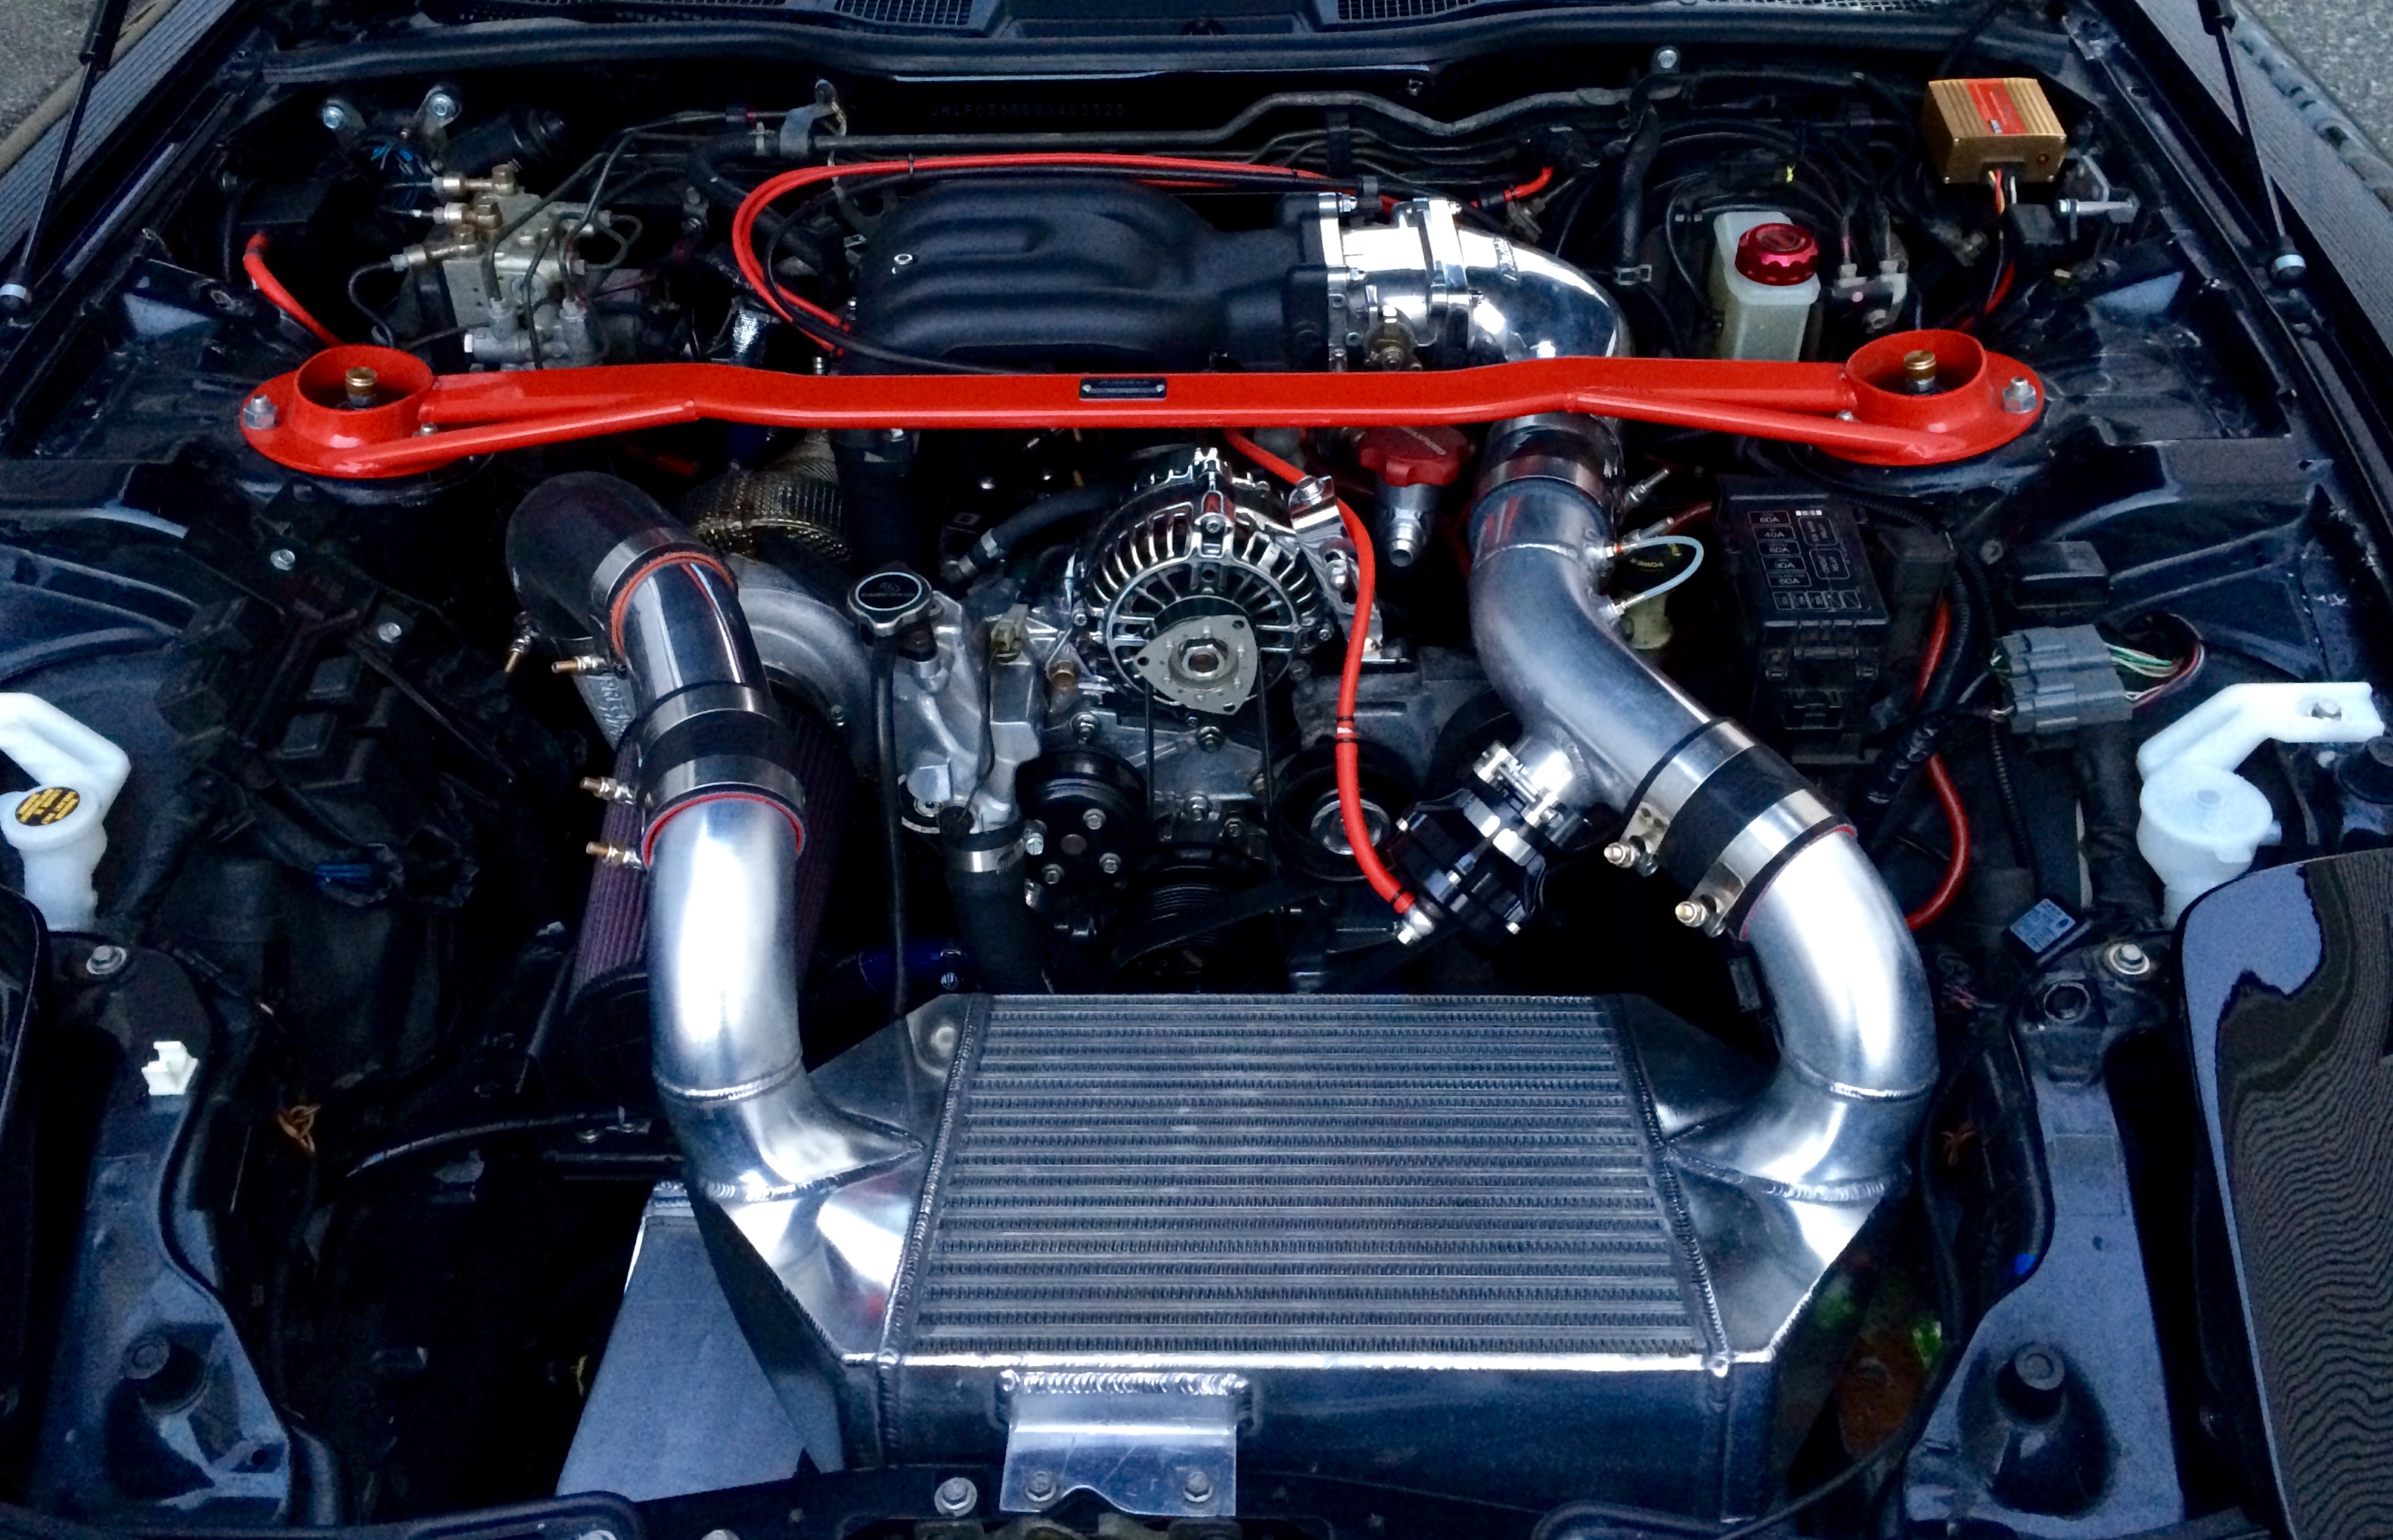
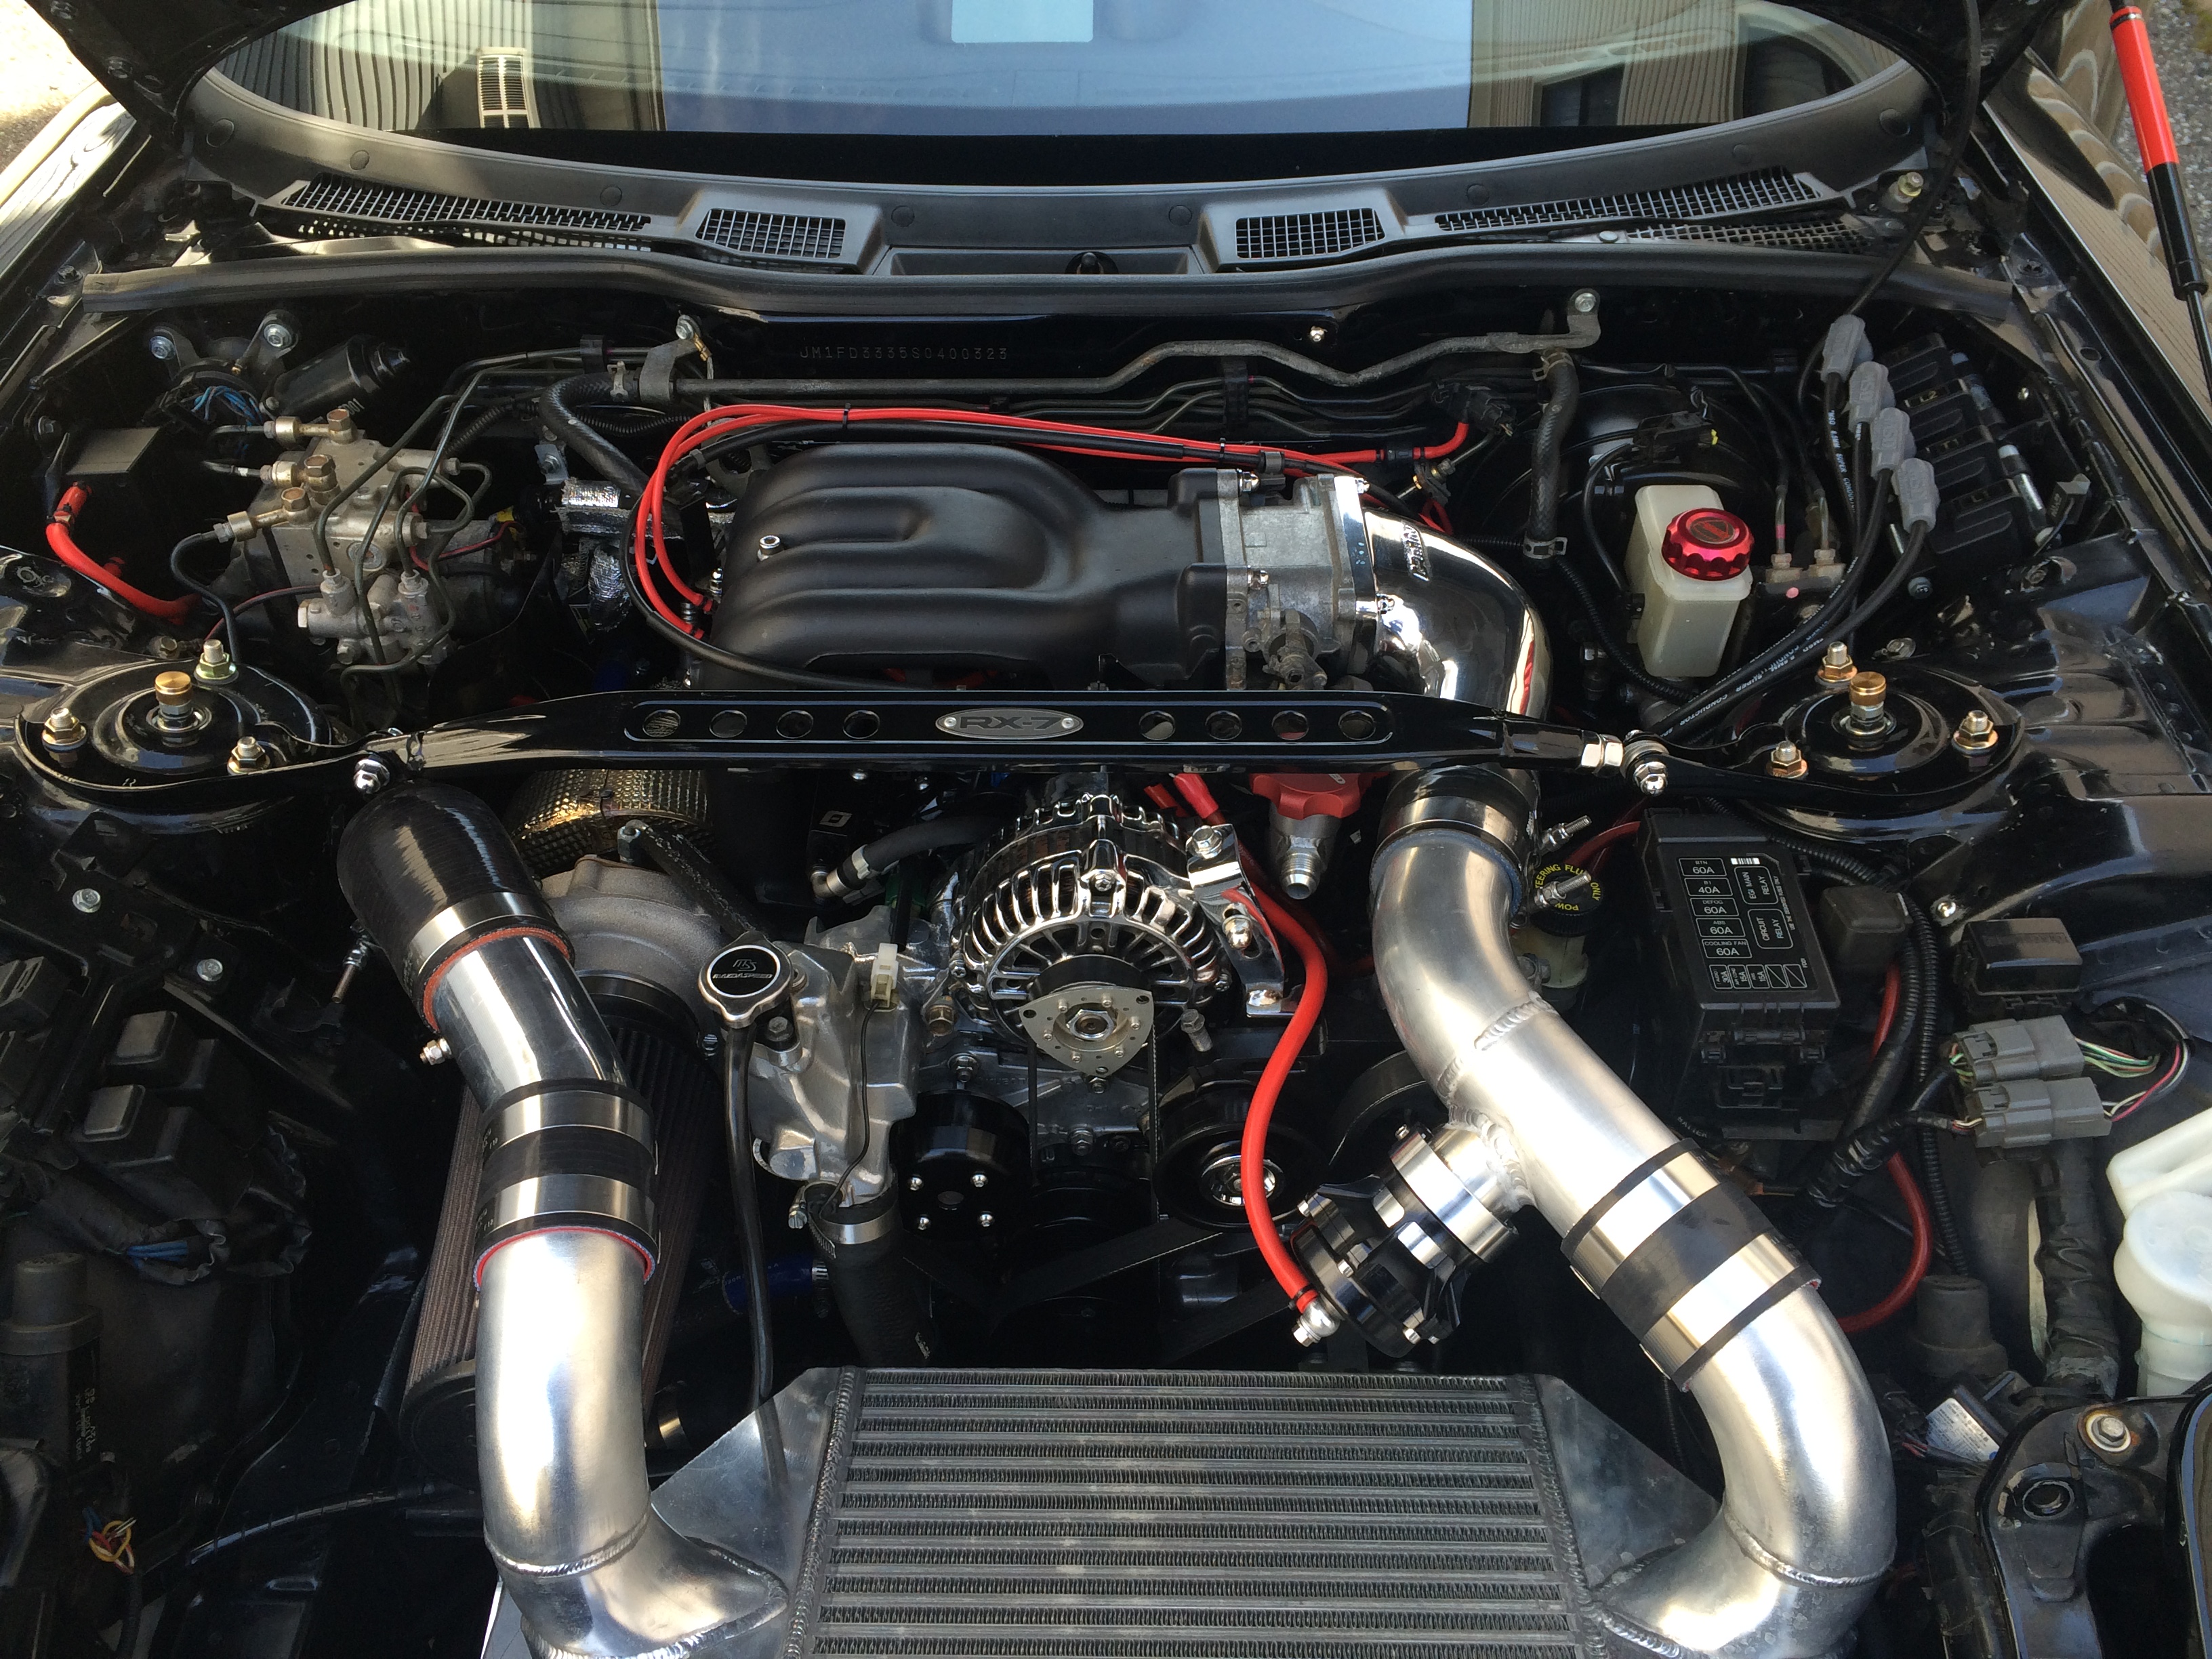
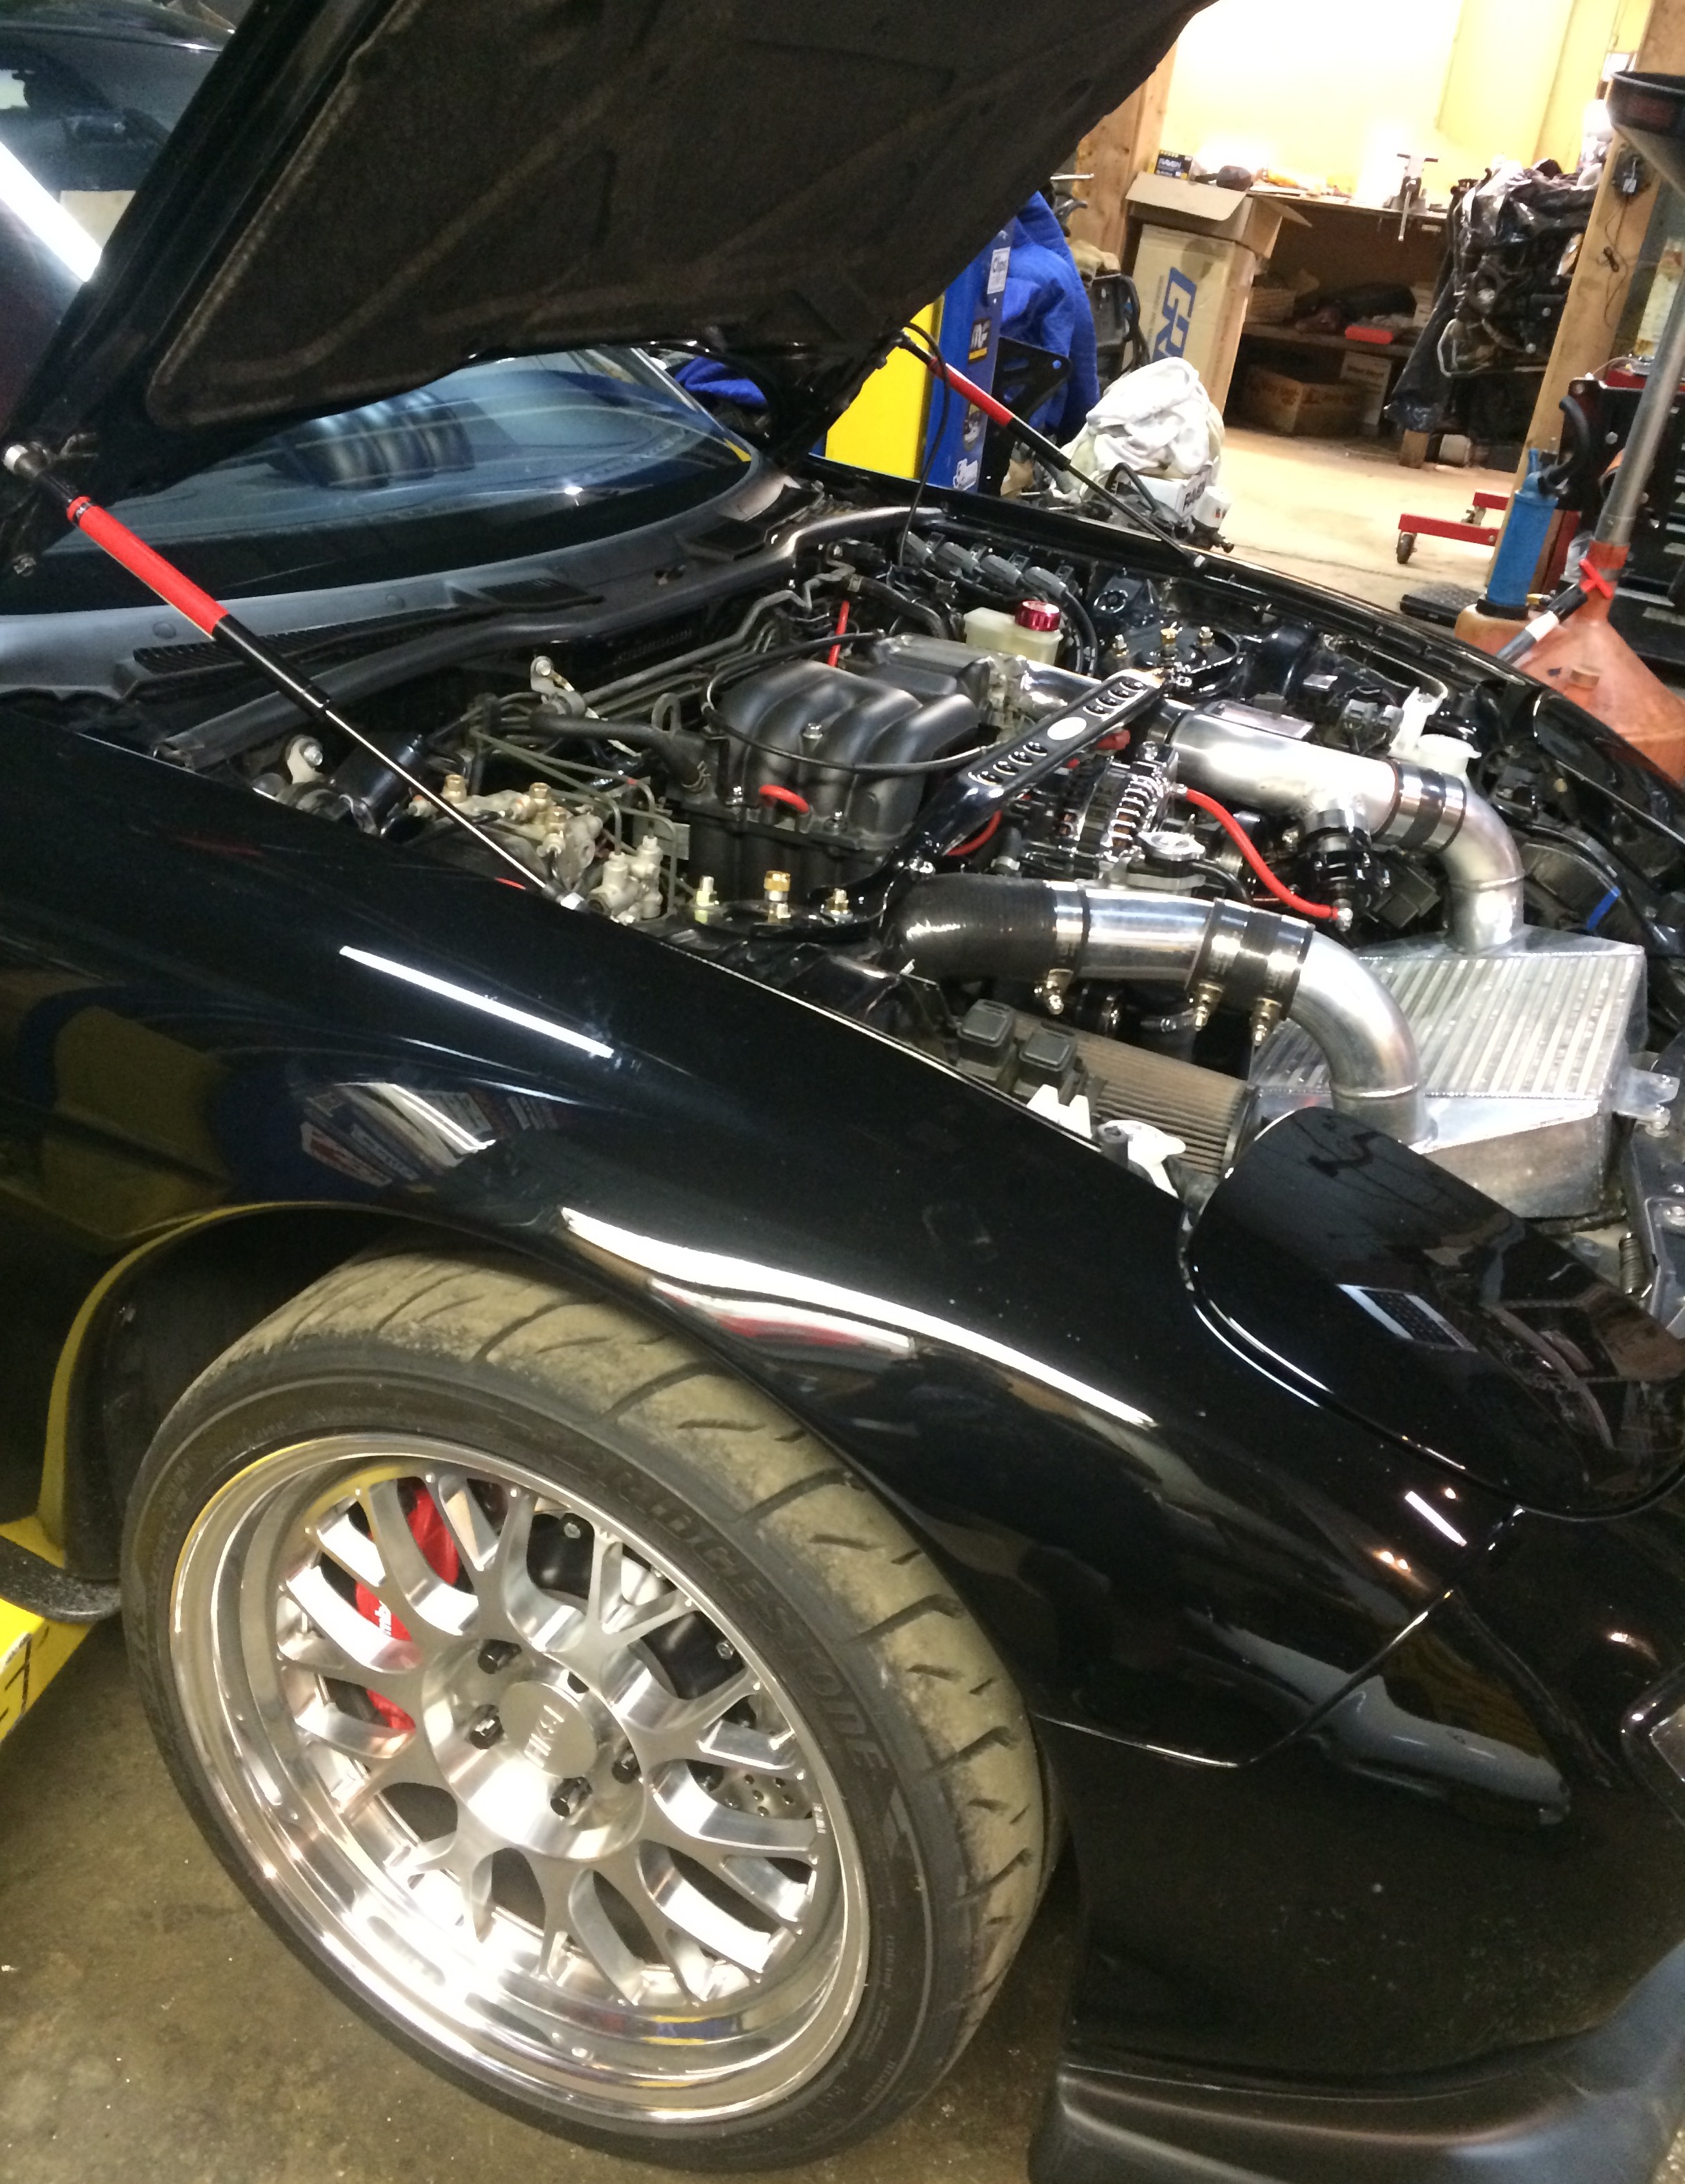
I've been meaning to get around to the engine bay over the winter and finally made some time today
The bay on this car gets complements at local meets from exotic owners--- all well and good and much appreciated, but FD guys know (and can easily spot) the ****** in the armor on my current setup. It's bugged me for awhile that the engine bay on this Brilliant Black '95 FD is nowhere near approaching the bay on my old Vintage Red '93 R1.
So, time to finally change that
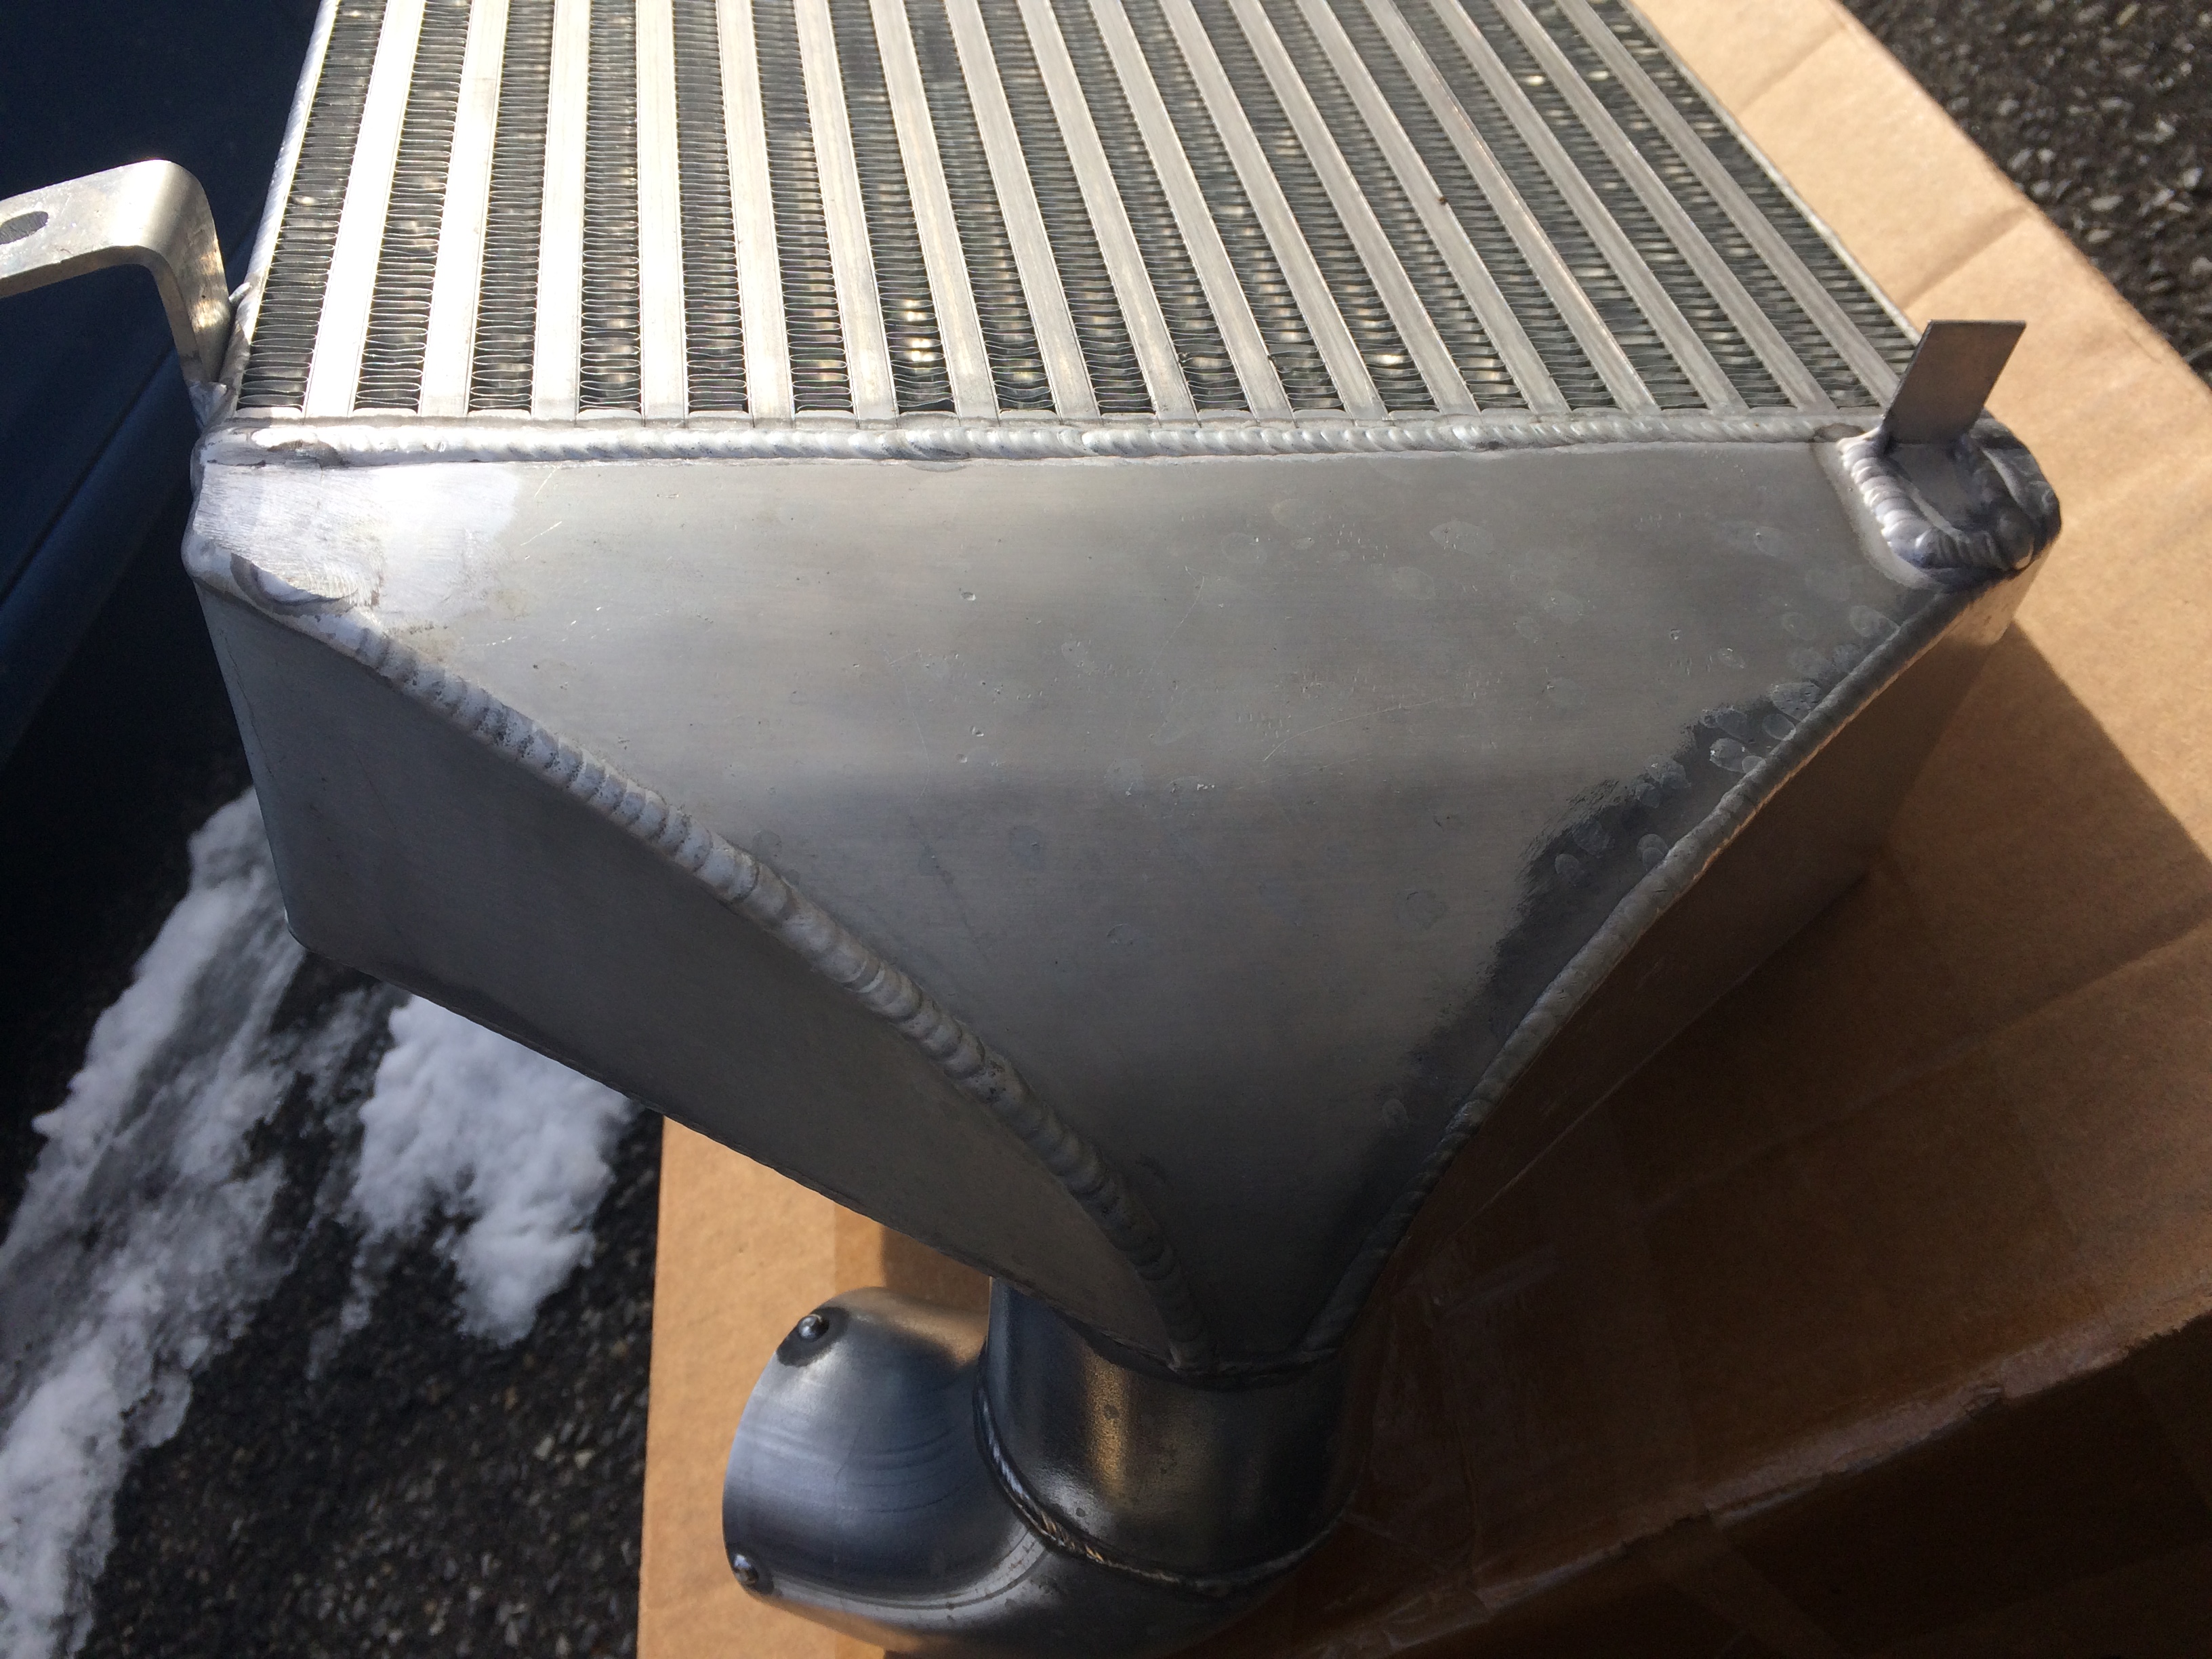
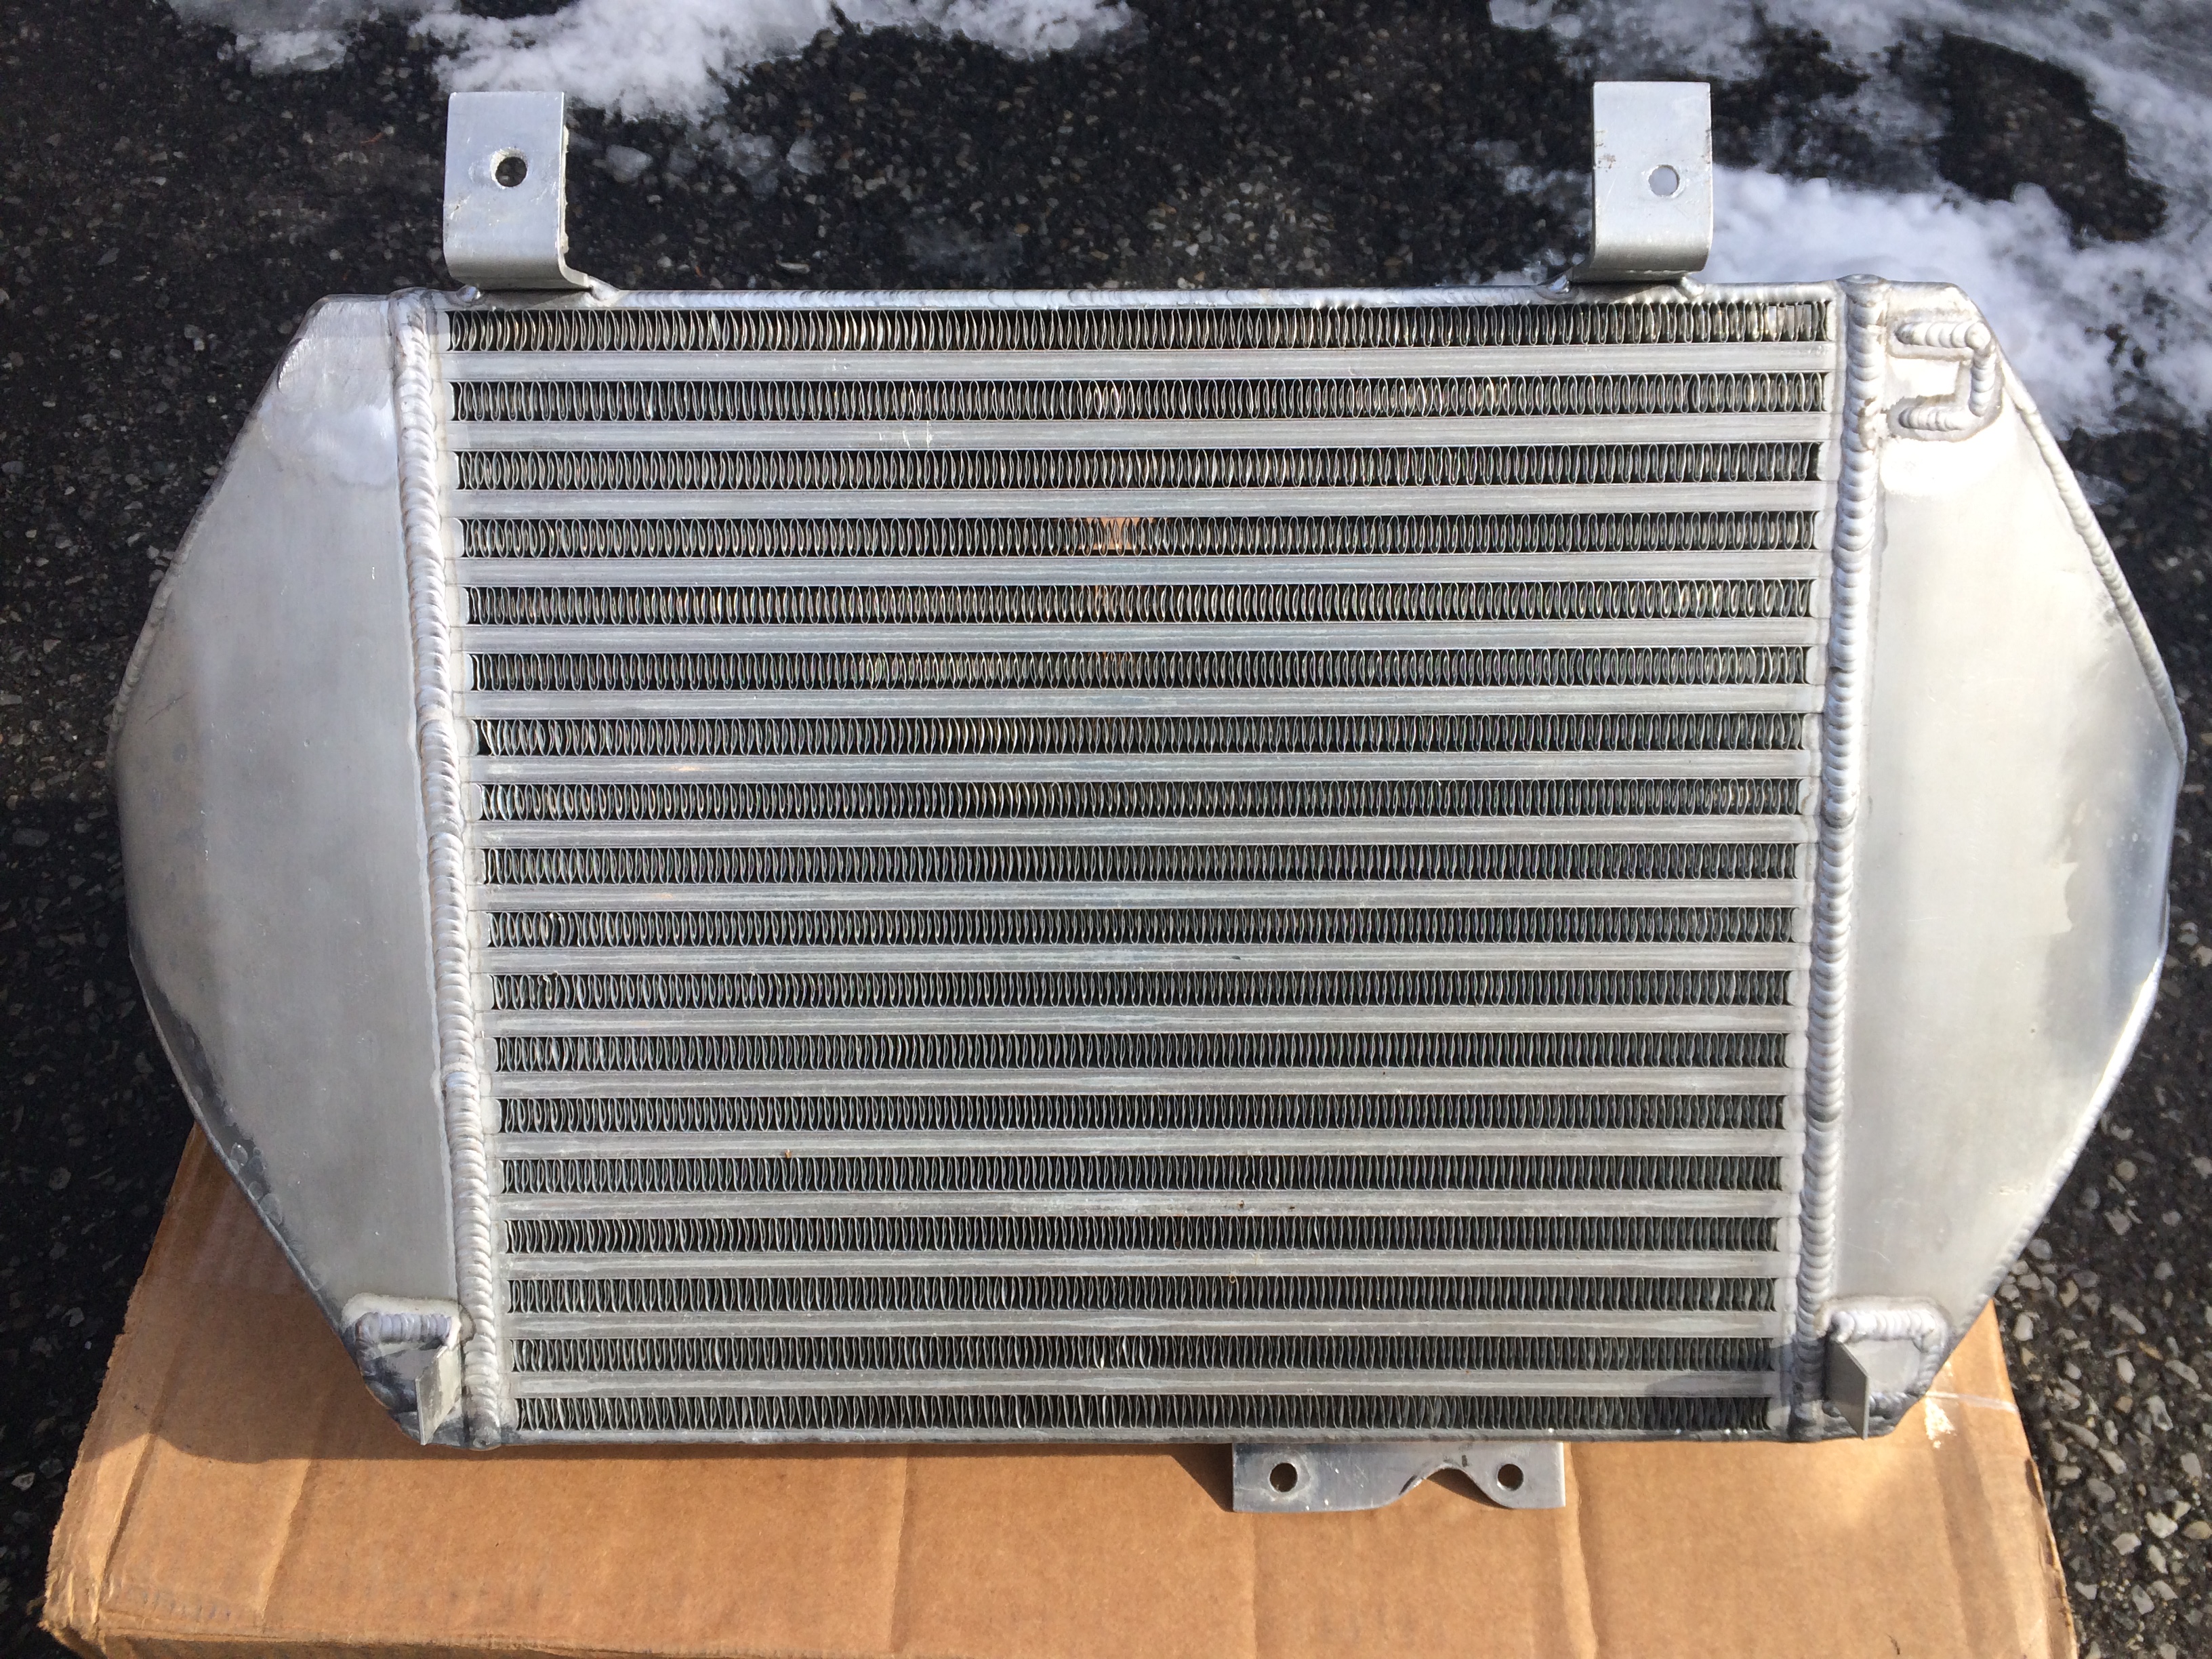
Not going too crazy, but first things first. Pulled out the A-spec V-mount intercooler and associated piping. Plan is to have a new cold side pipe fabricated without the eyesores (and potential boost leaks) of the dual not-used aquamist water injection bungs. Also going to move the AEM injection nozzle away from the Greddy elbow and to the cold side intercooler end tank. This does a few things--- gives the mixture more time to atomize before being ingested, and hides the nozzle from view. Also will place it so that it sprays more directly with the flow of the pressurized air, rather than at a 90 degree angle.
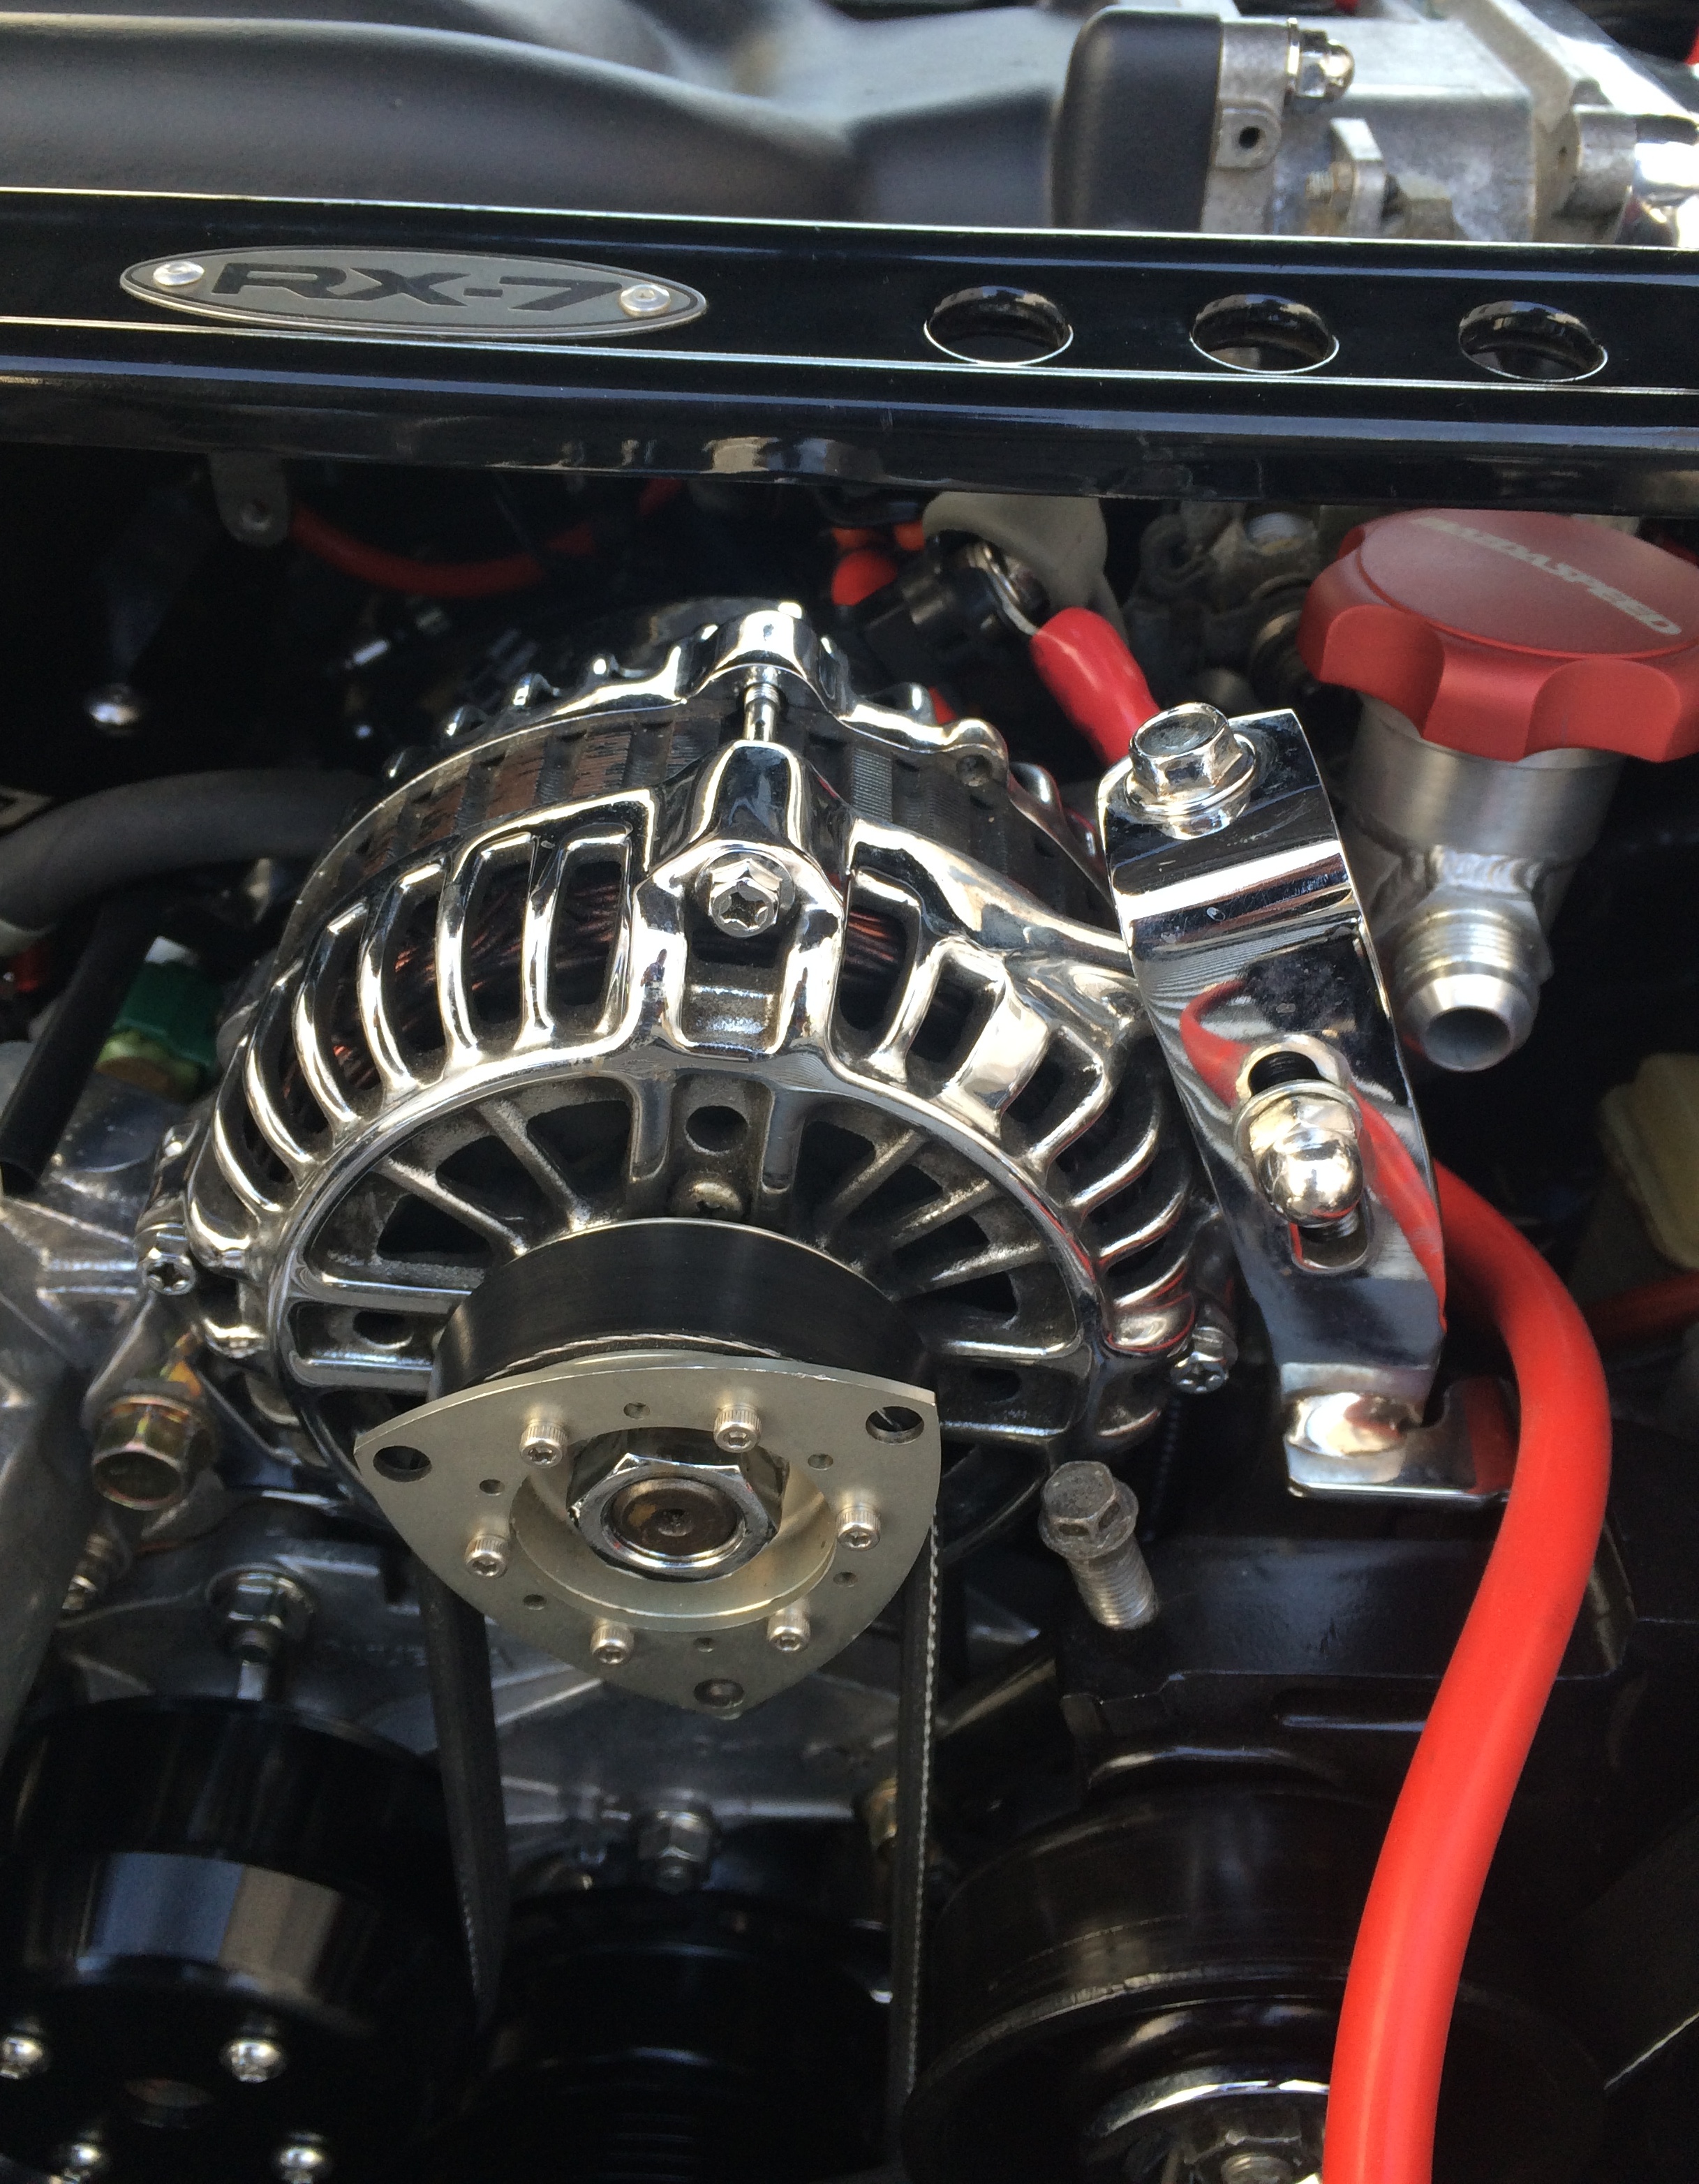
I'm examining different coating options for the IC endtanks and piping. Looking at possibly polishing and then a tinted clear over it all to give it a gunmetal appearance. May get the Black Label Engineering kanji characters engraved into the IC endtanks as well, to match the new shift **** and as a tribute to my buddy Big100
Also going to switch up my pulley setup, examining options. This includes the both idler pullies and the OEM plastic P/S pulley.
Next up is reroute/hide many of the bright red vacuum hoses (i'm sure Dan will be happy about this one) and perform assorted heat shielding tweaks as well.
I'm searching for a proper place for an Oil Catch Can as well, with an eye to mounting it as close as possible to the oil filler neck. On my VR R1 I had the advantage of deleted P/S and A/C, which made for a nice spot. On this setup it'll be a bit more challenging--goal is to have a single short bigboy dash 10 line.
Looking at possibly replacing the 90 degree coupler off the PT6466. The current piece works with no issues and I'm not convinced a welded 90 will give benefit. We shall see. I know Mr. Gorilla RE isn't a fan, I may look into one of his bespoke pieces.
After it's all buttoned back up, I plan to travel to the top of the mountain to visit with the Guru Rennapoo for some of his magic tuning
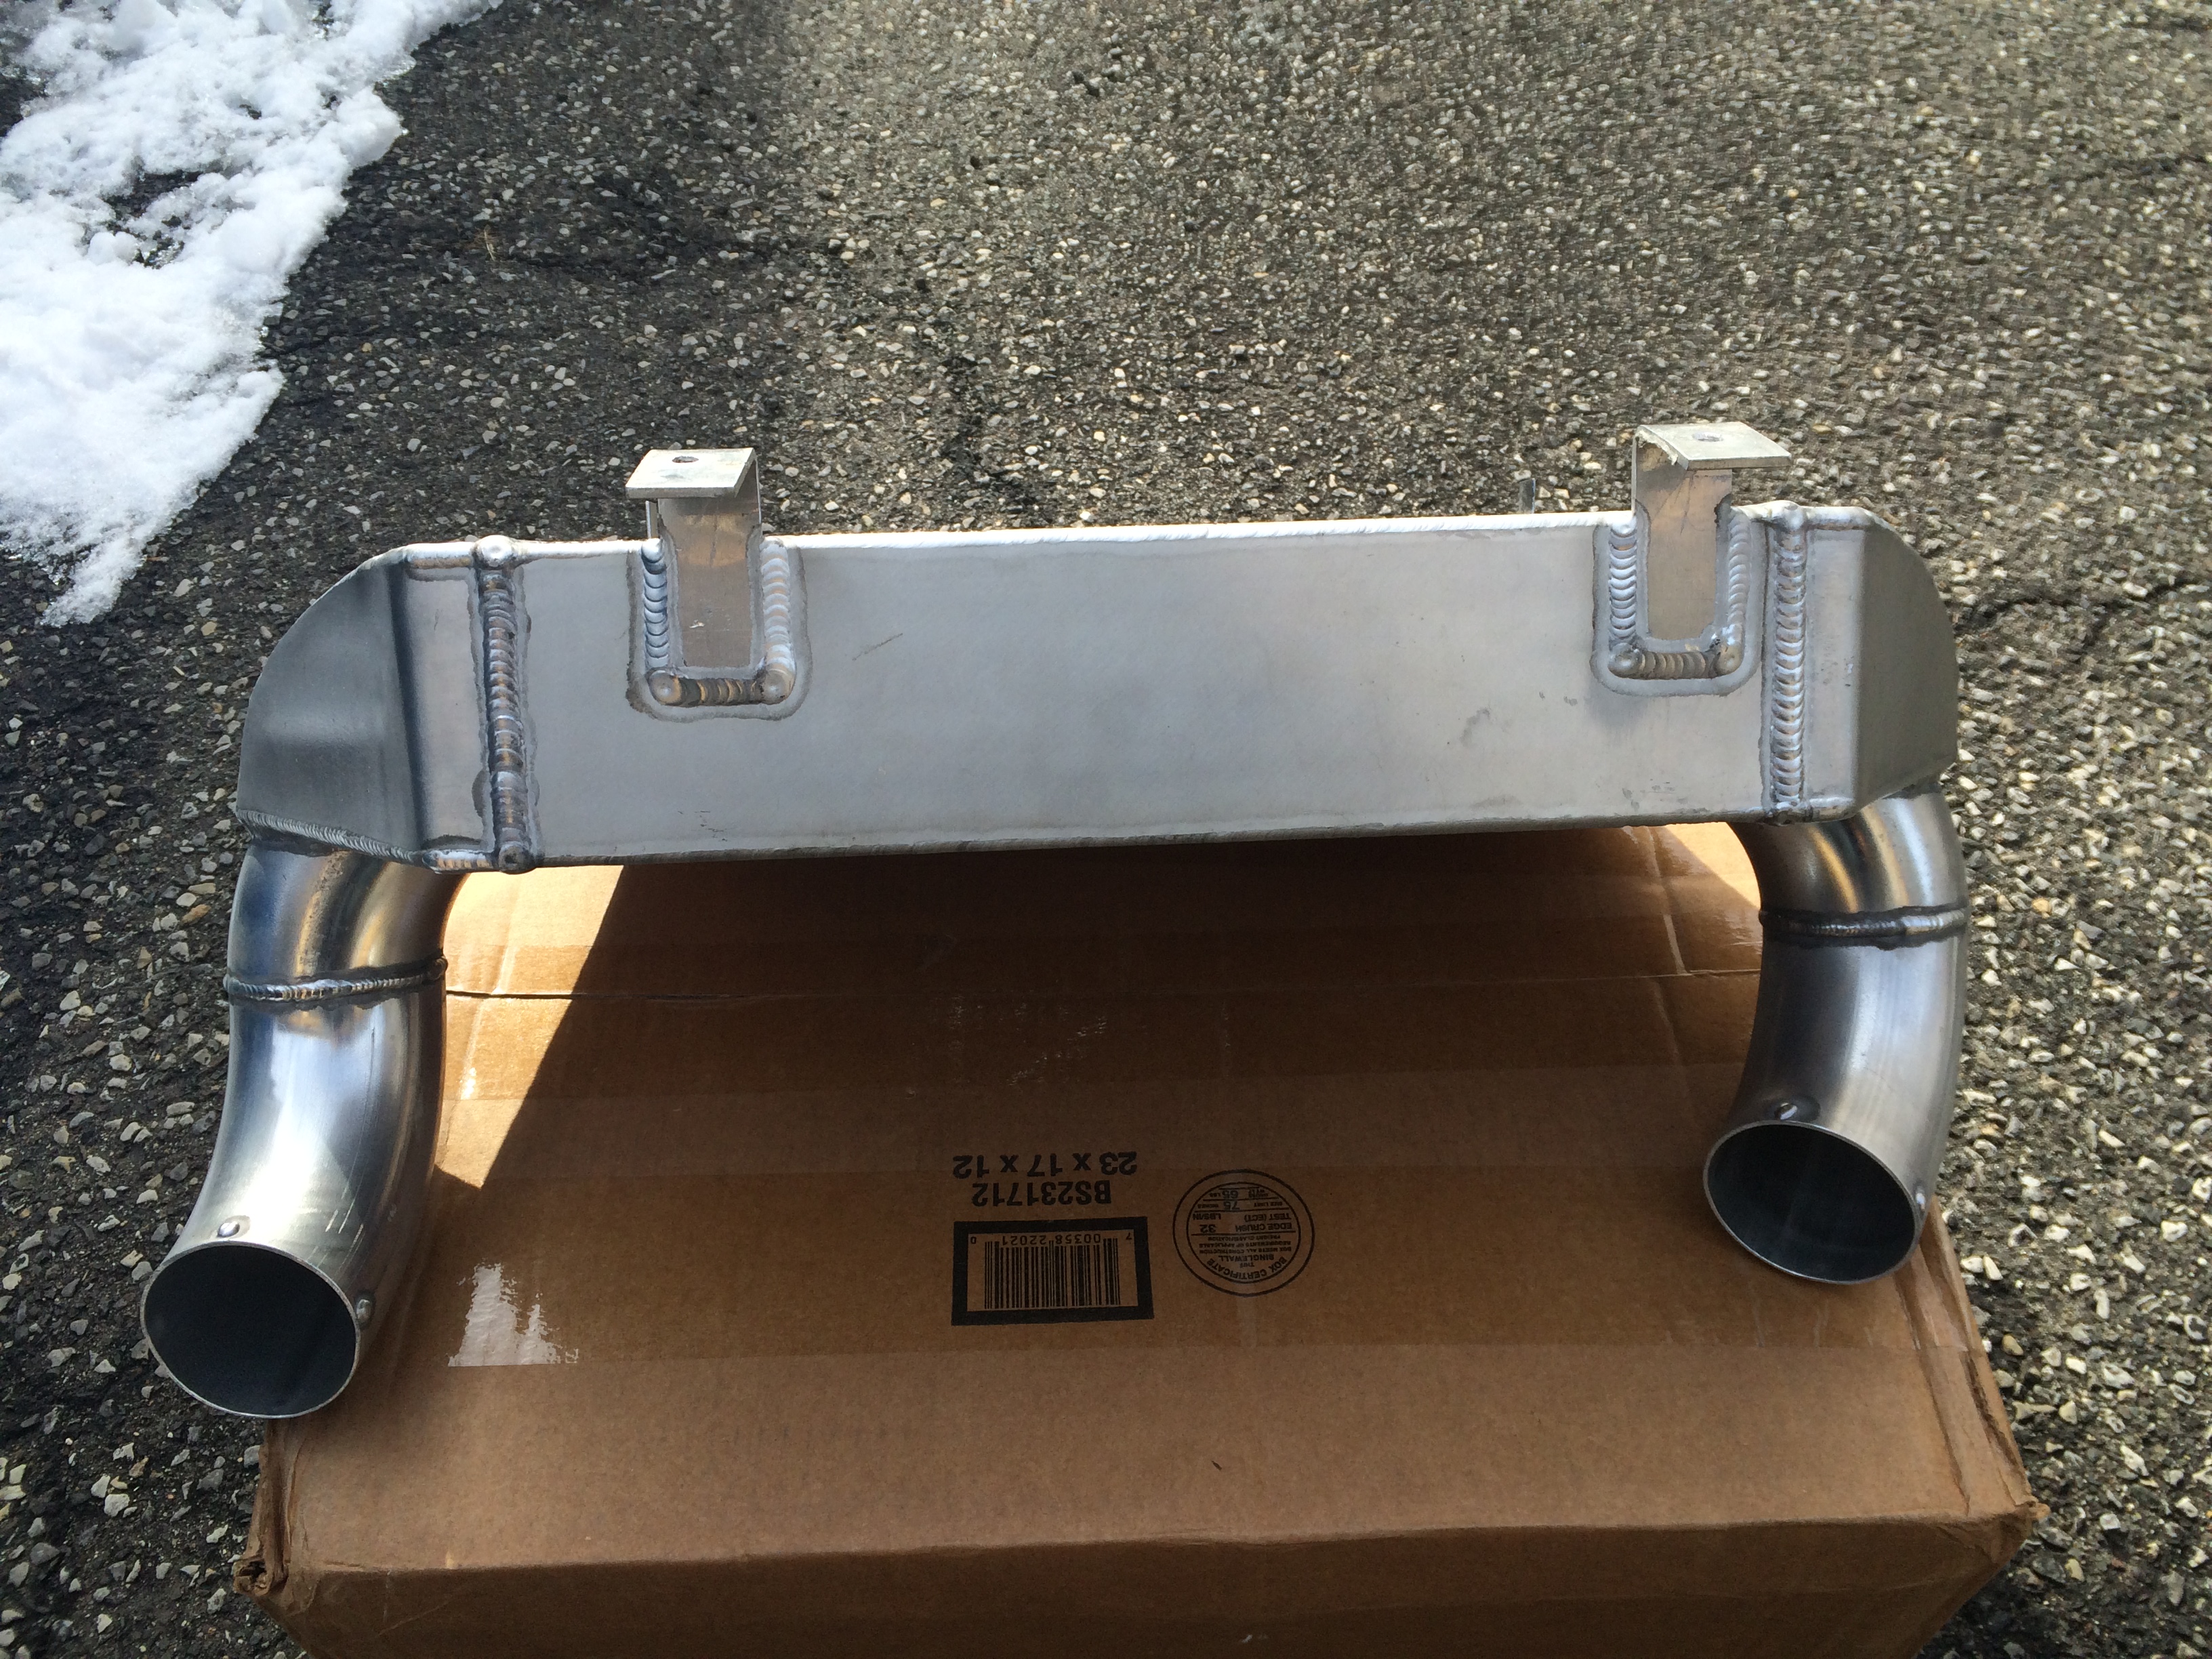
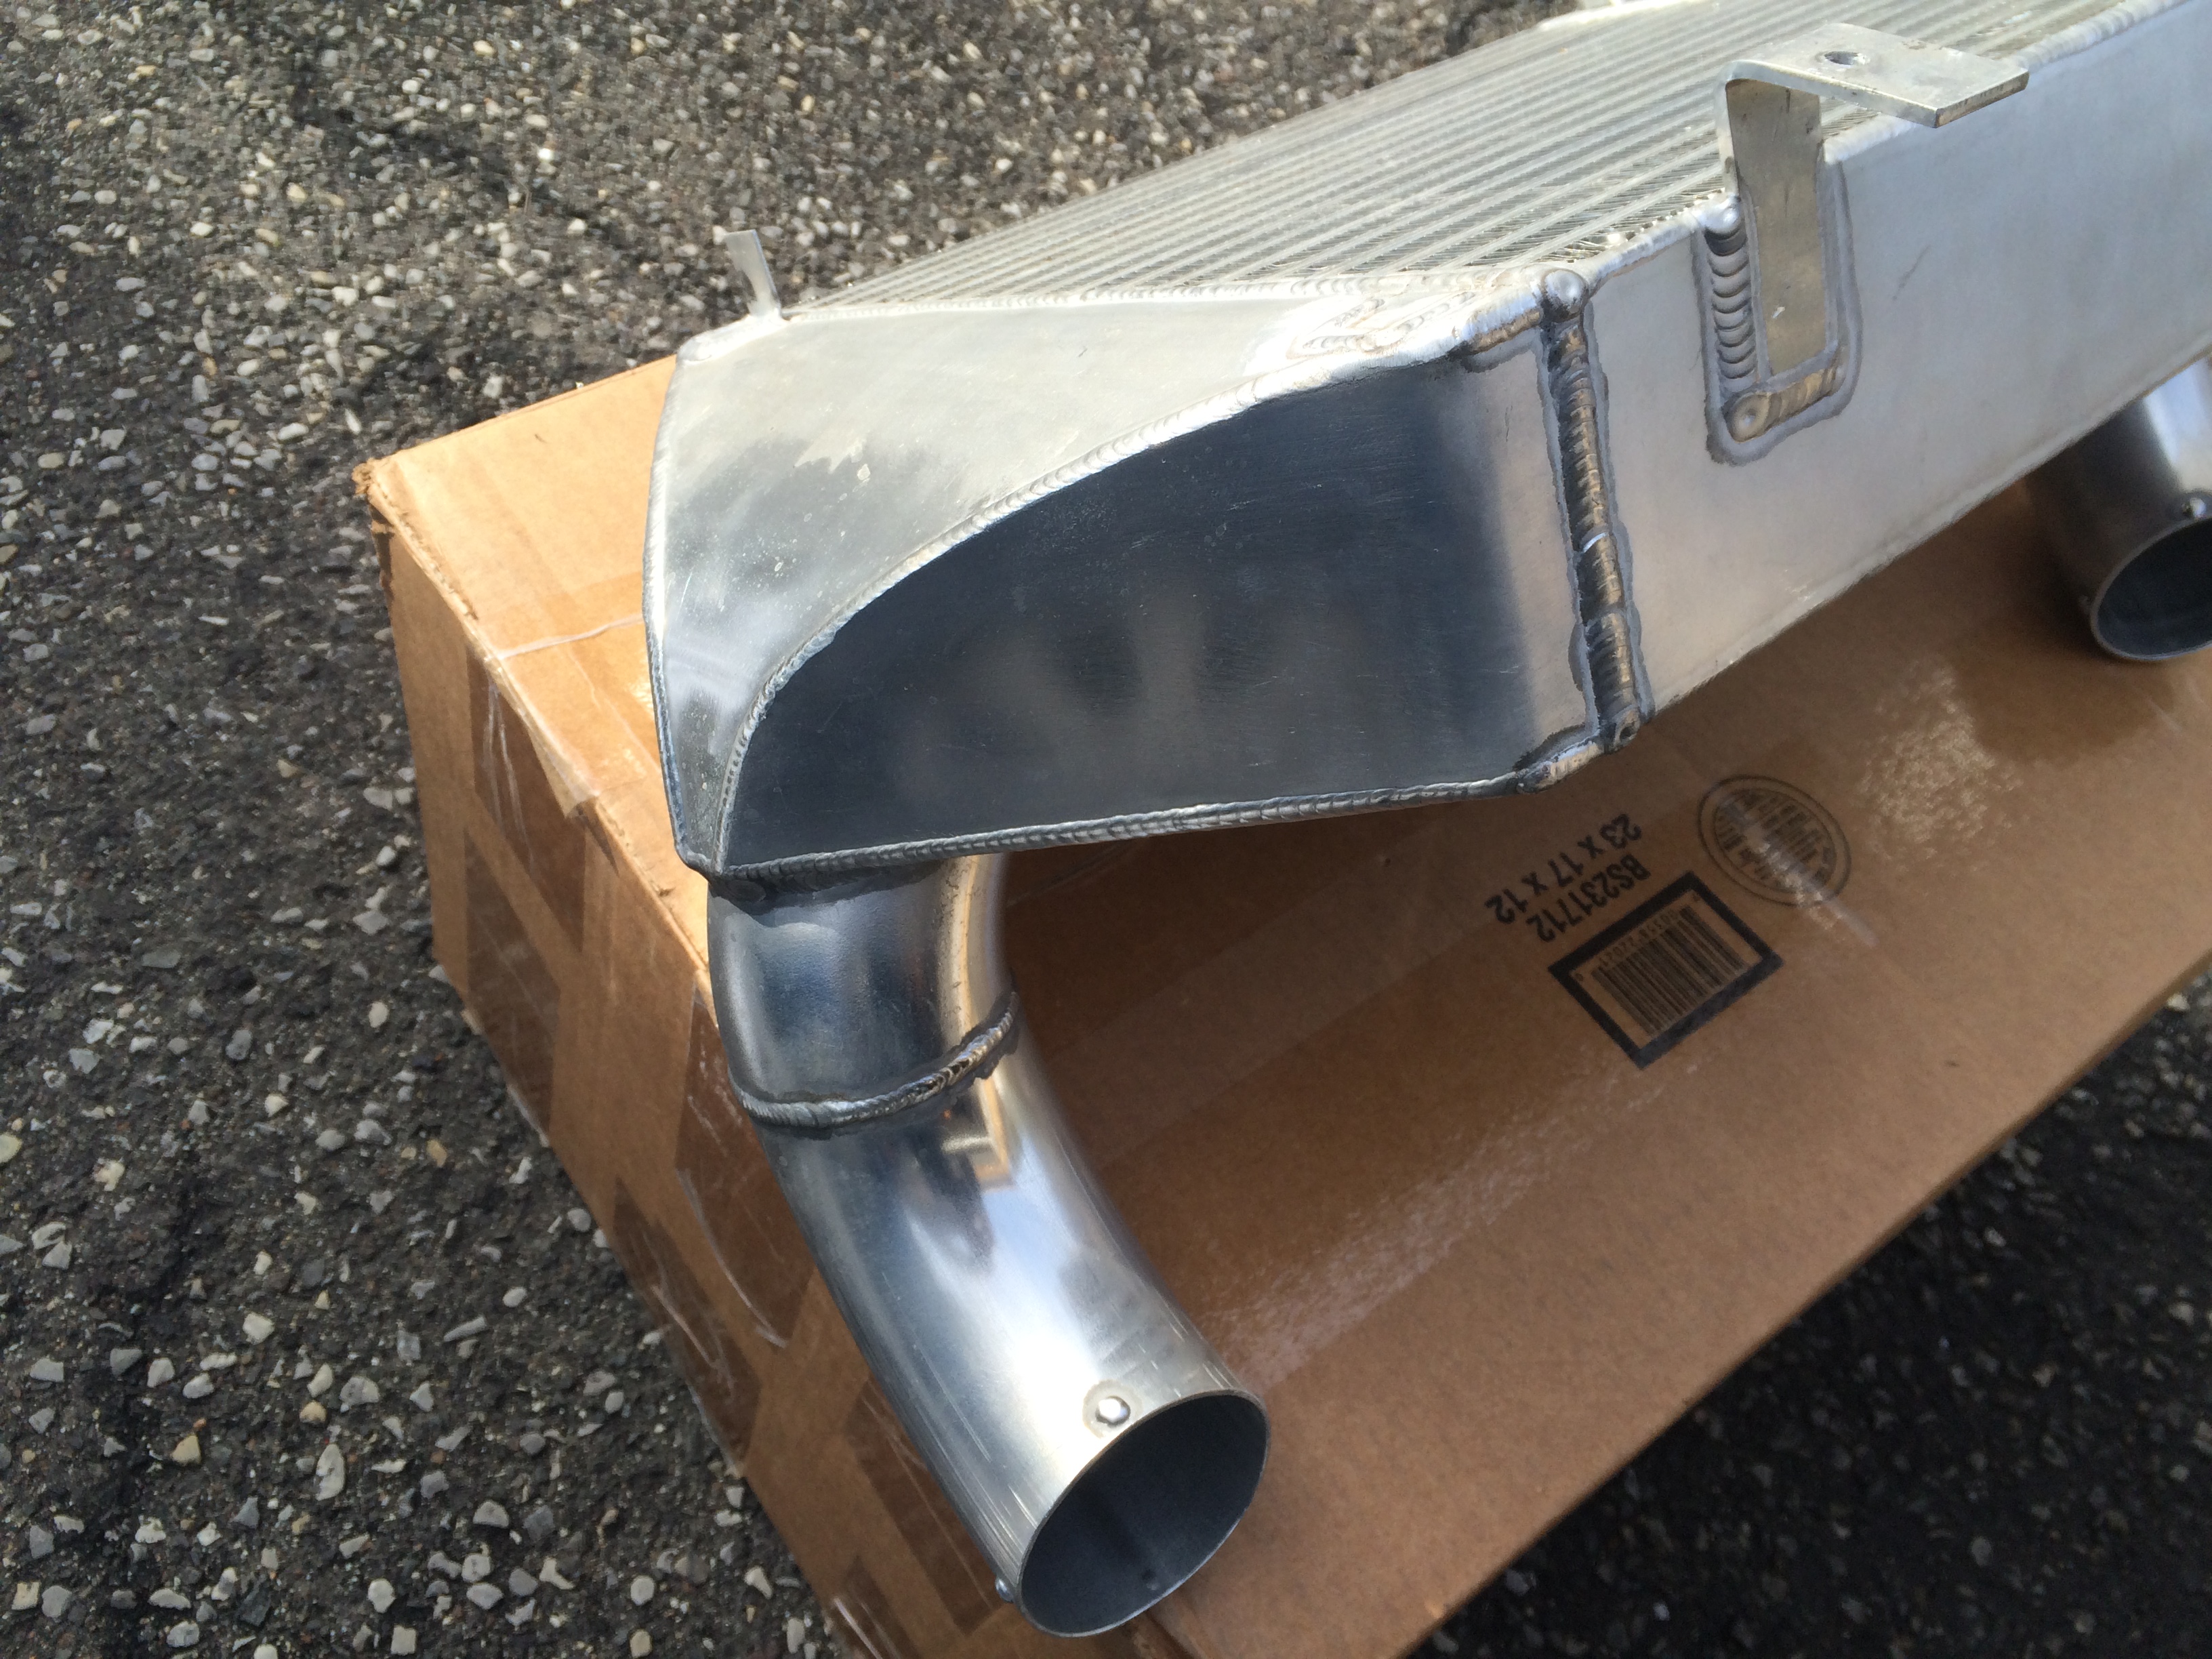
Including an old pic of the engine bay for reference, and then a few different angles of the bespoke A-Spec intercooler core, which was designed with boost response and flow in mind. Core dimensions are 14x12x3.5 inch for those interested

The bay on this car gets complements at local meets from exotic owners--- all well and good and much appreciated, but FD guys know (and can easily spot) the ****** in the armor on my current setup. It's bugged me for awhile that the engine bay on this Brilliant Black '95 FD is nowhere near approaching the bay on my old Vintage Red '93 R1.
So, time to finally change that
Not going too crazy, but first things first. Pulled out the A-spec V-mount intercooler and associated piping. Plan is to have a new cold side pipe fabricated without the eyesores (and potential boost leaks) of the dual not-used aquamist water injection bungs. Also going to move the AEM injection nozzle away from the Greddy elbow and to the cold side intercooler end tank. This does a few things--- gives the mixture more time to atomize before being ingested, and hides the nozzle from view. Also will place it so that it sprays more directly with the flow of the pressurized air, rather than at a 90 degree angle.
I'm examining different coating options for the IC endtanks and piping. Looking at possibly polishing and then a tinted clear over it all to give it a gunmetal appearance. May get the Black Label Engineering kanji characters engraved into the IC endtanks as well, to match the new shift **** and as a tribute to my buddy Big100
Also going to switch up my pulley setup, examining options. This includes the both idler pullies and the OEM plastic P/S pulley.
Next up is reroute/hide many of the bright red vacuum hoses (i'm sure Dan will be happy about this one
) and perform assorted heat shielding tweaks as well.I'm searching for a proper place for an Oil Catch Can as well, with an eye to mounting it as close as possible to the oil filler neck. On my VR R1 I had the advantage of deleted P/S and A/C, which made for a nice spot. On this setup it'll be a bit more challenging--goal is to have a single short bigboy dash 10 line.
Looking at possibly replacing the 90 degree coupler off the PT6466. The current piece works with no issues and I'm not convinced a welded 90 will give benefit. We shall see. I know Mr. Gorilla RE isn't a fan, I may look into one of his bespoke pieces.
After it's all buttoned back up, I plan to travel to the top of the mountain to visit with the Guru Rennapoo for some of his magic tuning
Including an old pic of the engine bay for reference, and then a few different angles of the bespoke A-Spec intercooler core, which was designed with boost response and flow in mind. Core dimensions are 14x12x3.5 inch for those interested
Last edited by GoodfellaFD3S; Feb 6, 2016 at 02:23 PM.
Thread Starter
Joined: Mar 2001
Posts: 30,818
Likes: 656
From: FL-->NJ/NYC again!
A bit of an odd update, but winter's been slow here and work's been keeping me slammed
Over the years as I've tried many different parts and many different shift *****, and I've learned that I personally really prefer the OEM **** size, shape and weight. It's not too big, not too small, it's just right for my medium-sized man hands
To that end I'm sending out an OEM shift **** and E-brake handle to be recovered and have been collecting up additional pieces to get done at the same time. The work is top notch and takes lots of skill, more than I have when it comes to this.
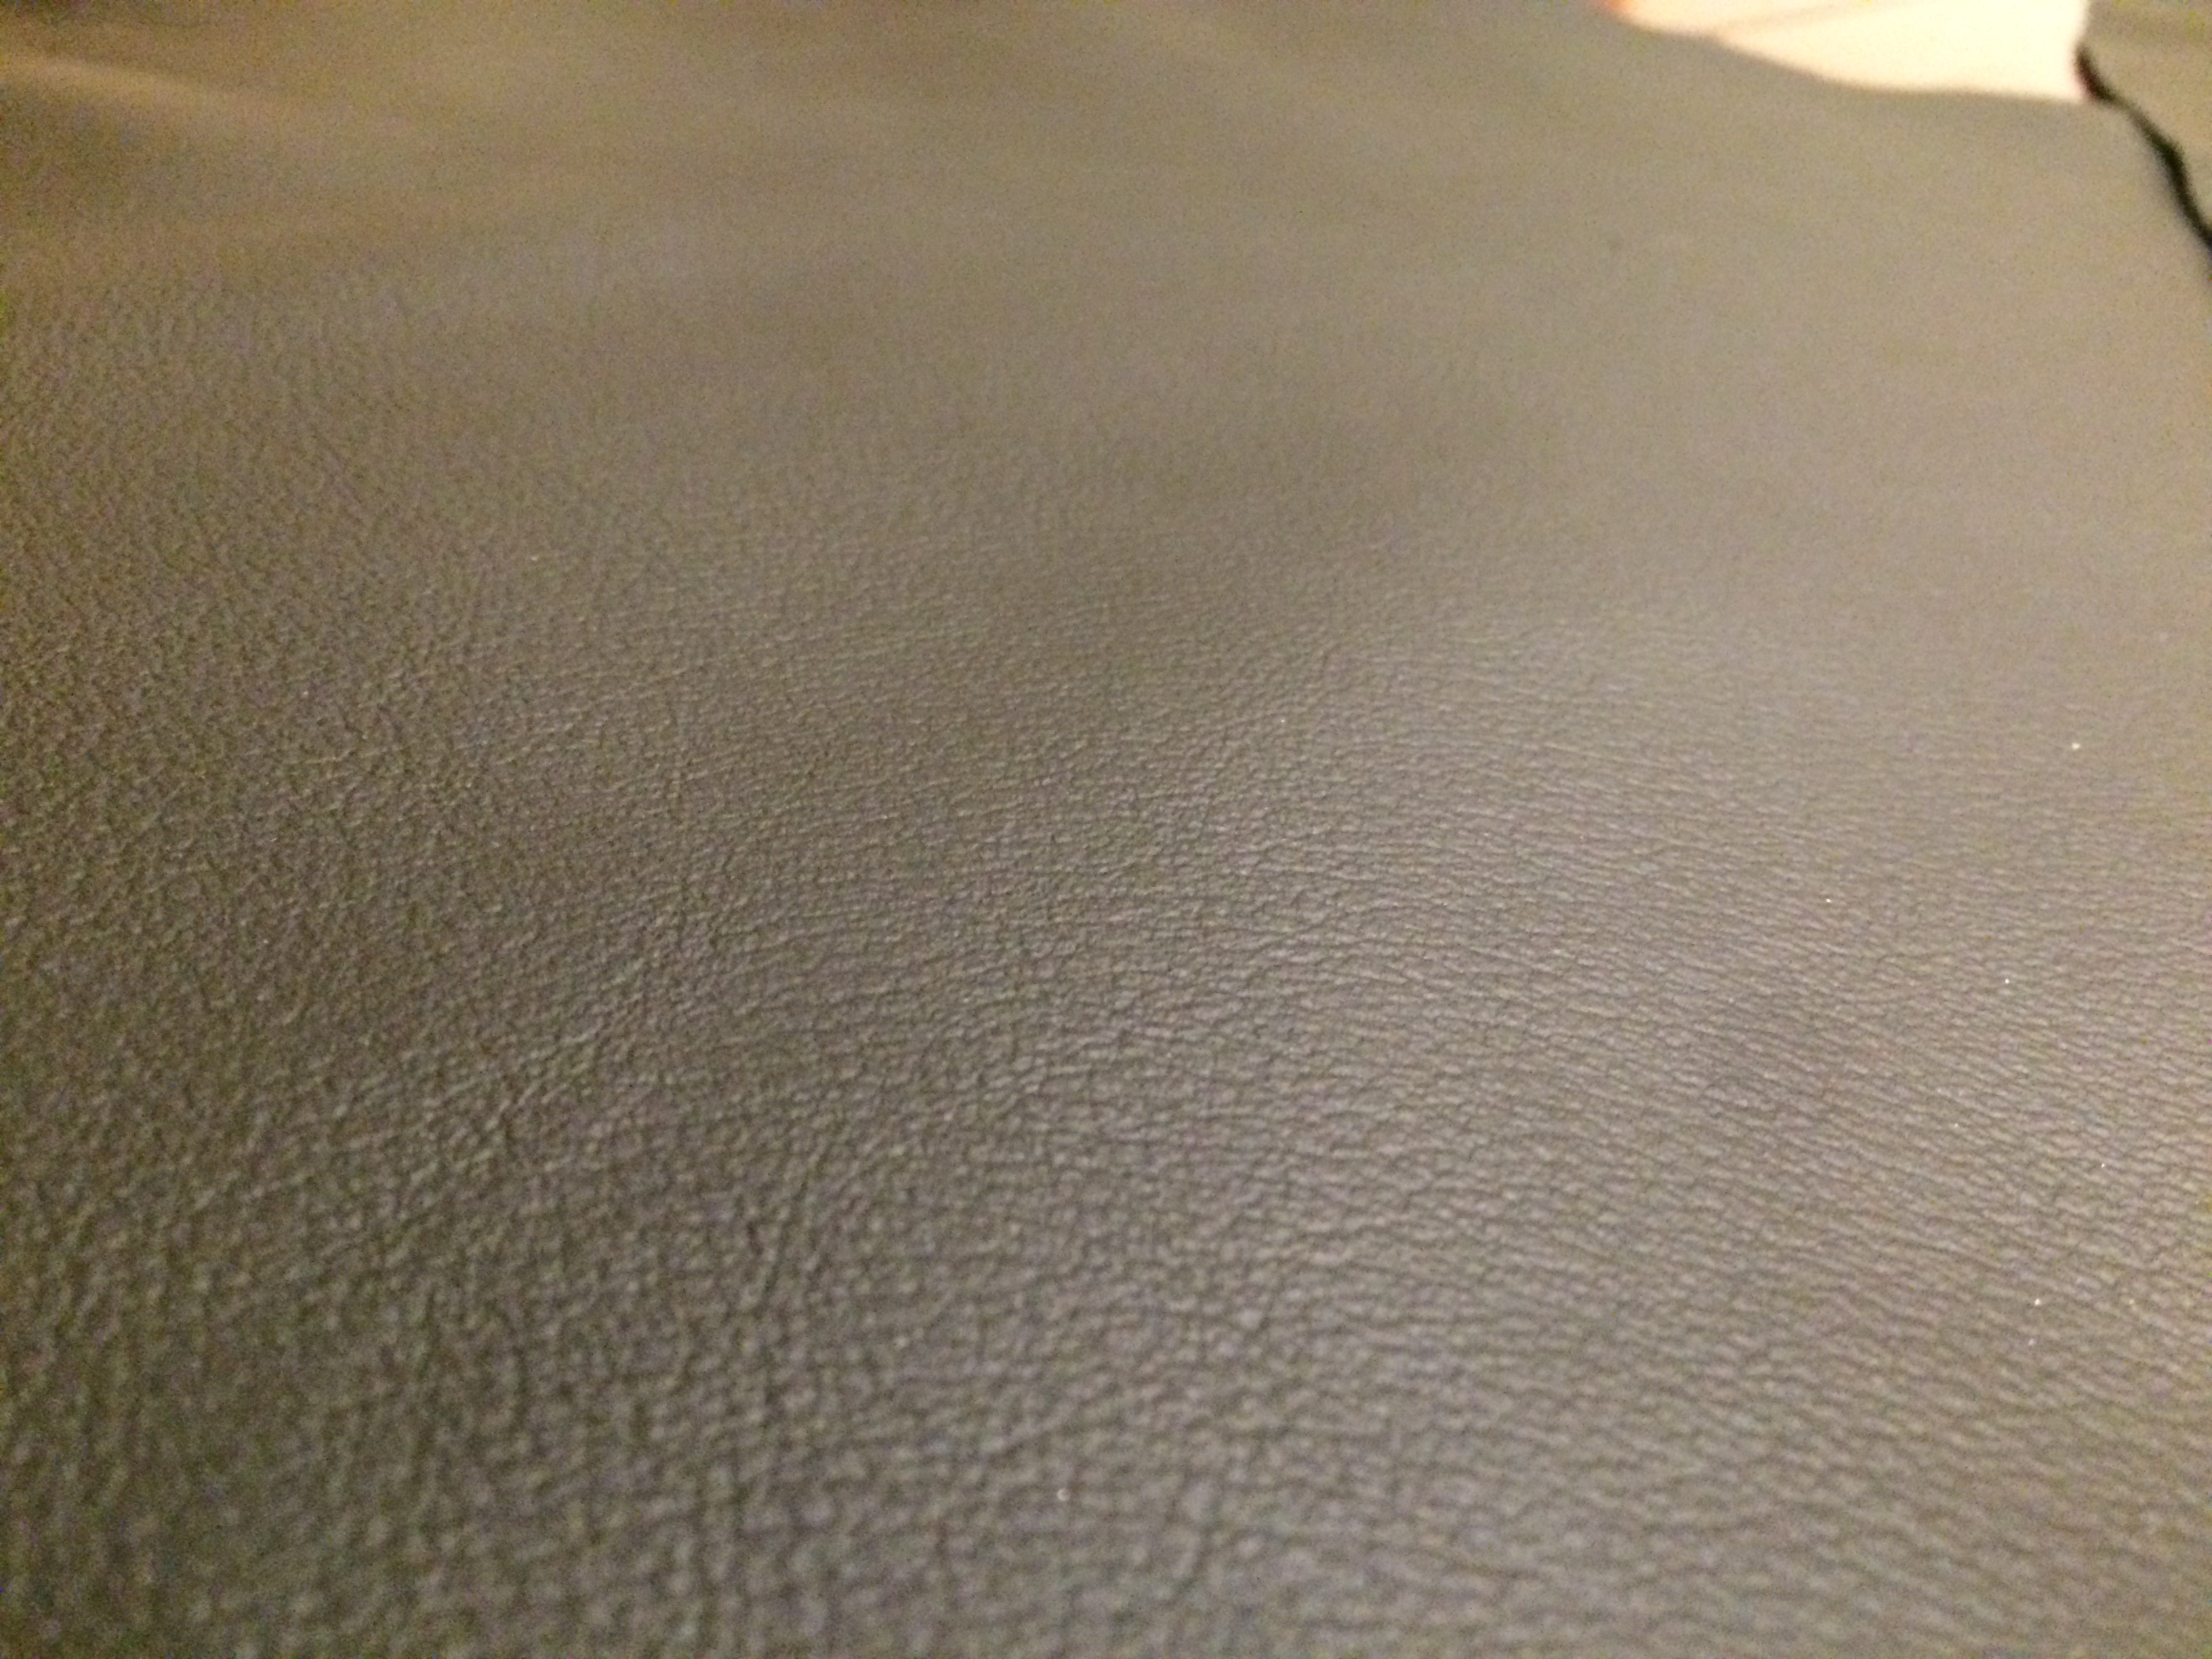
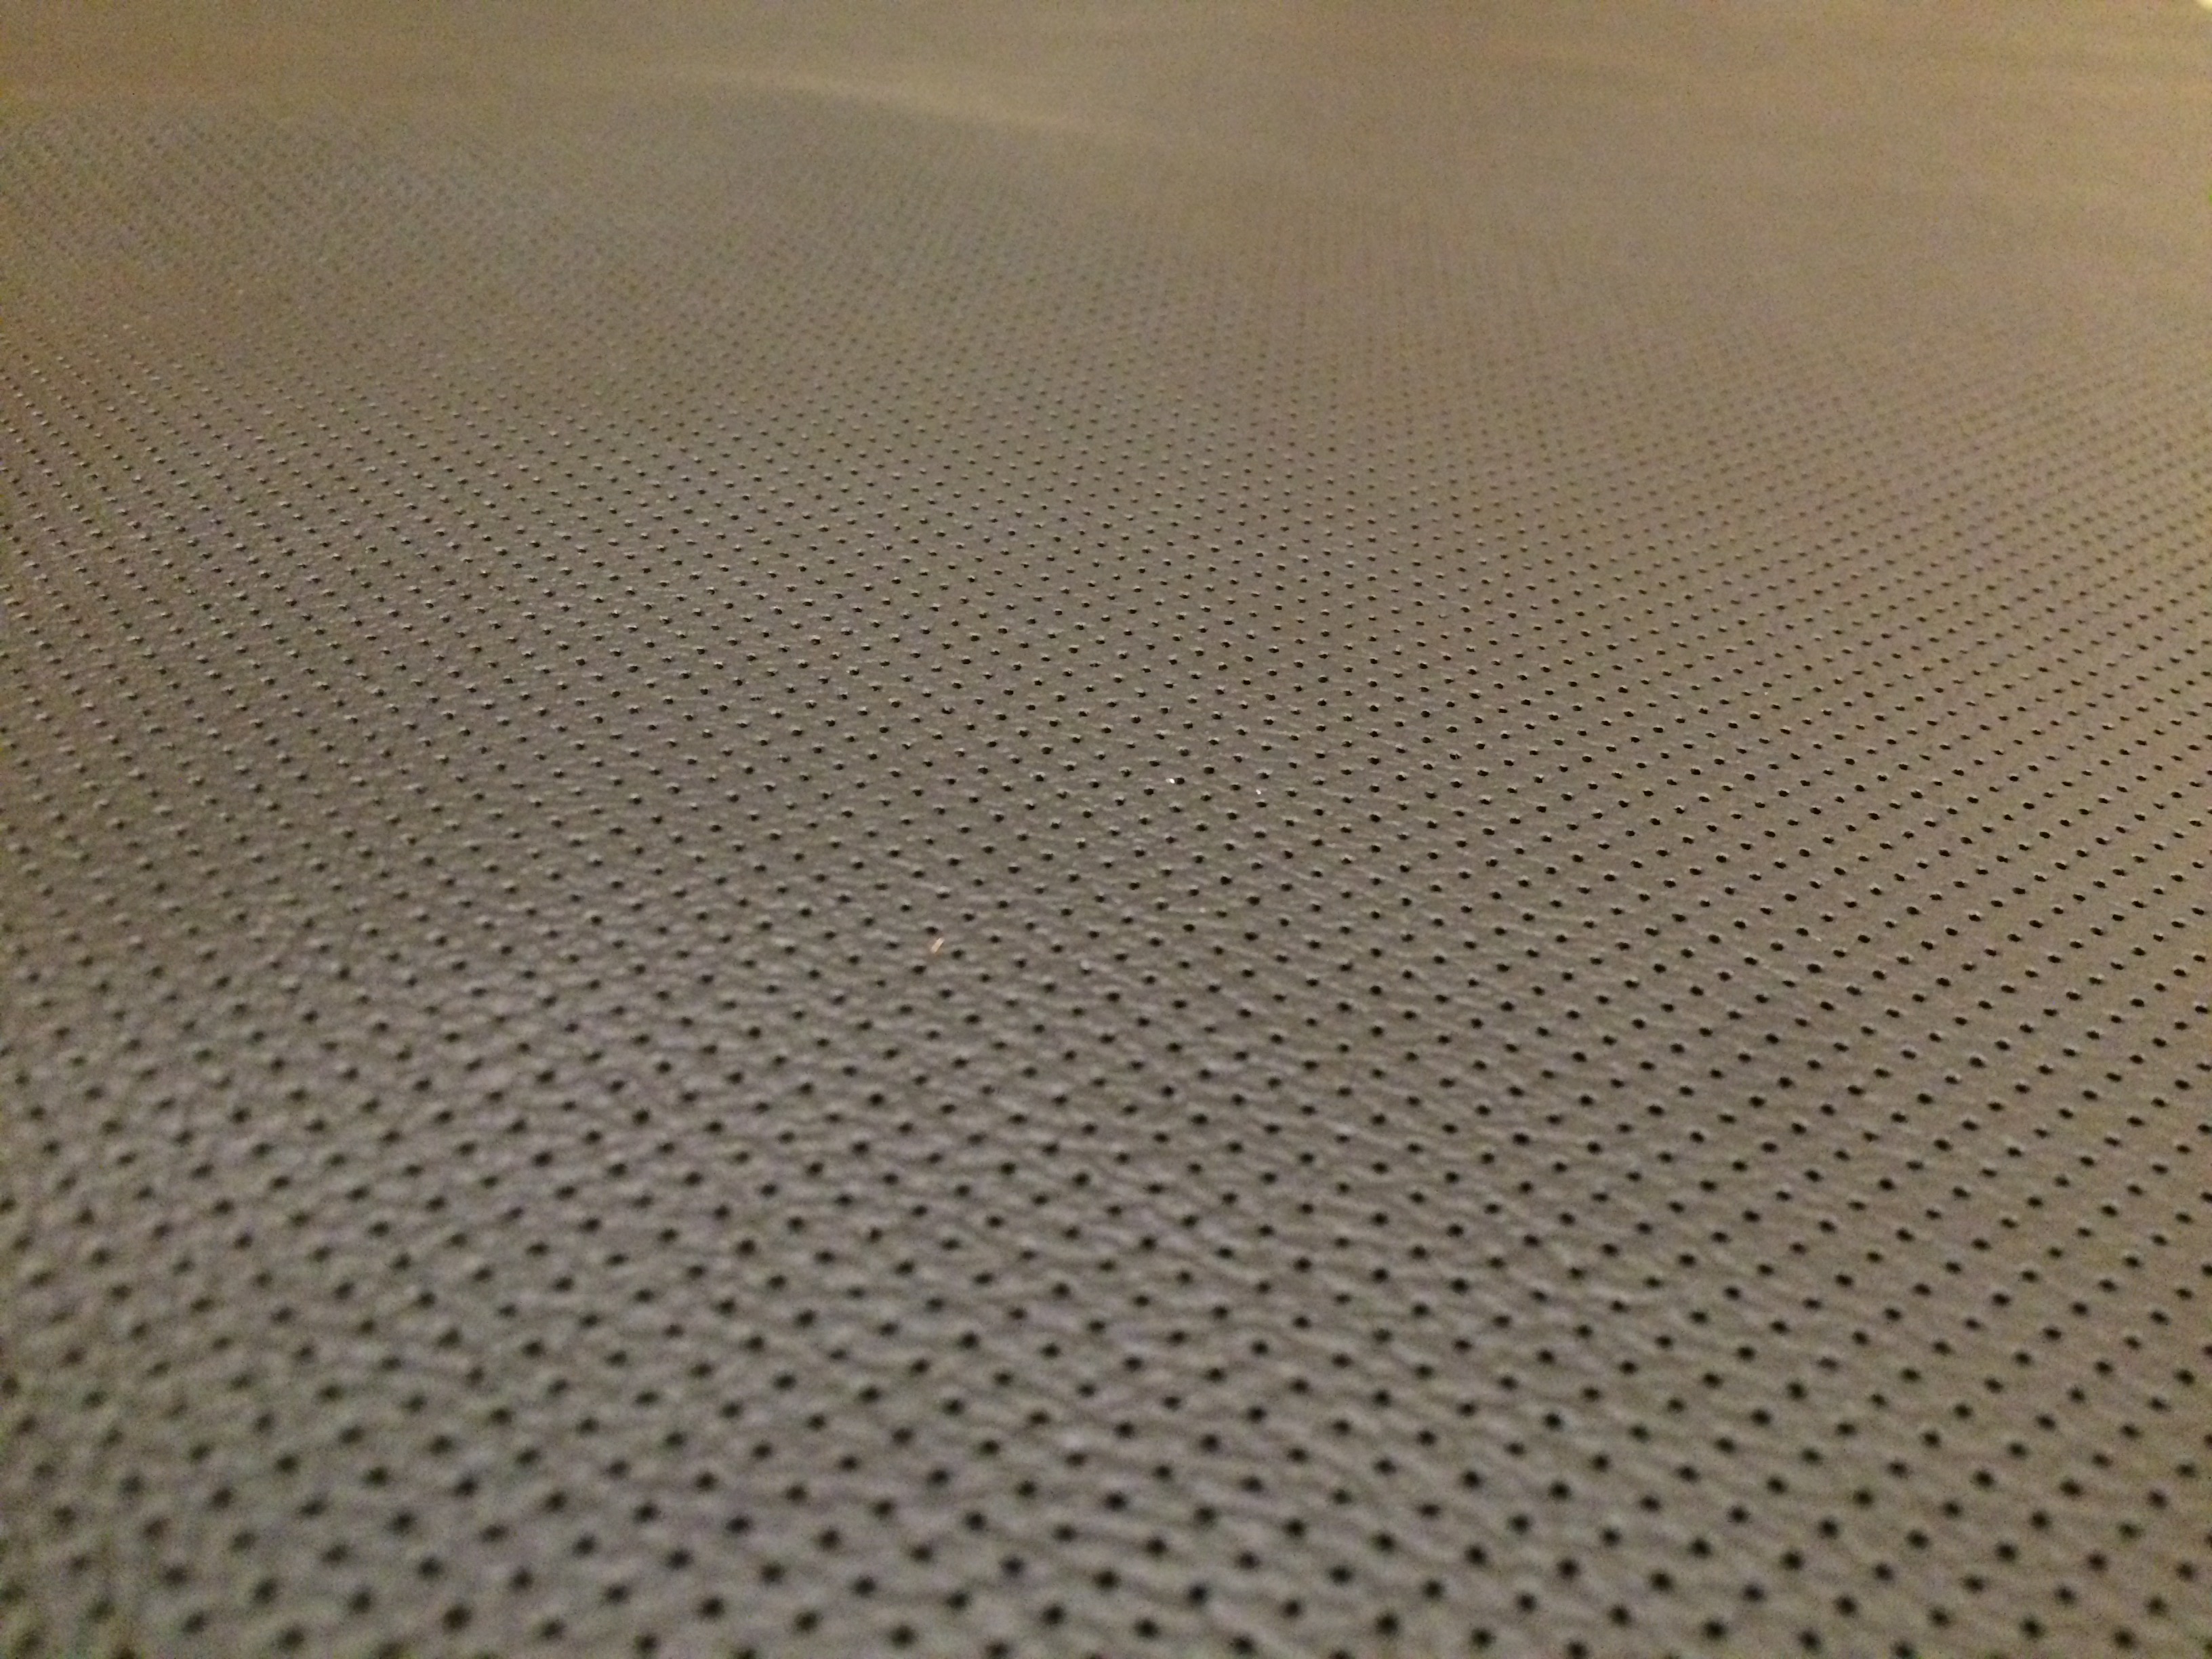
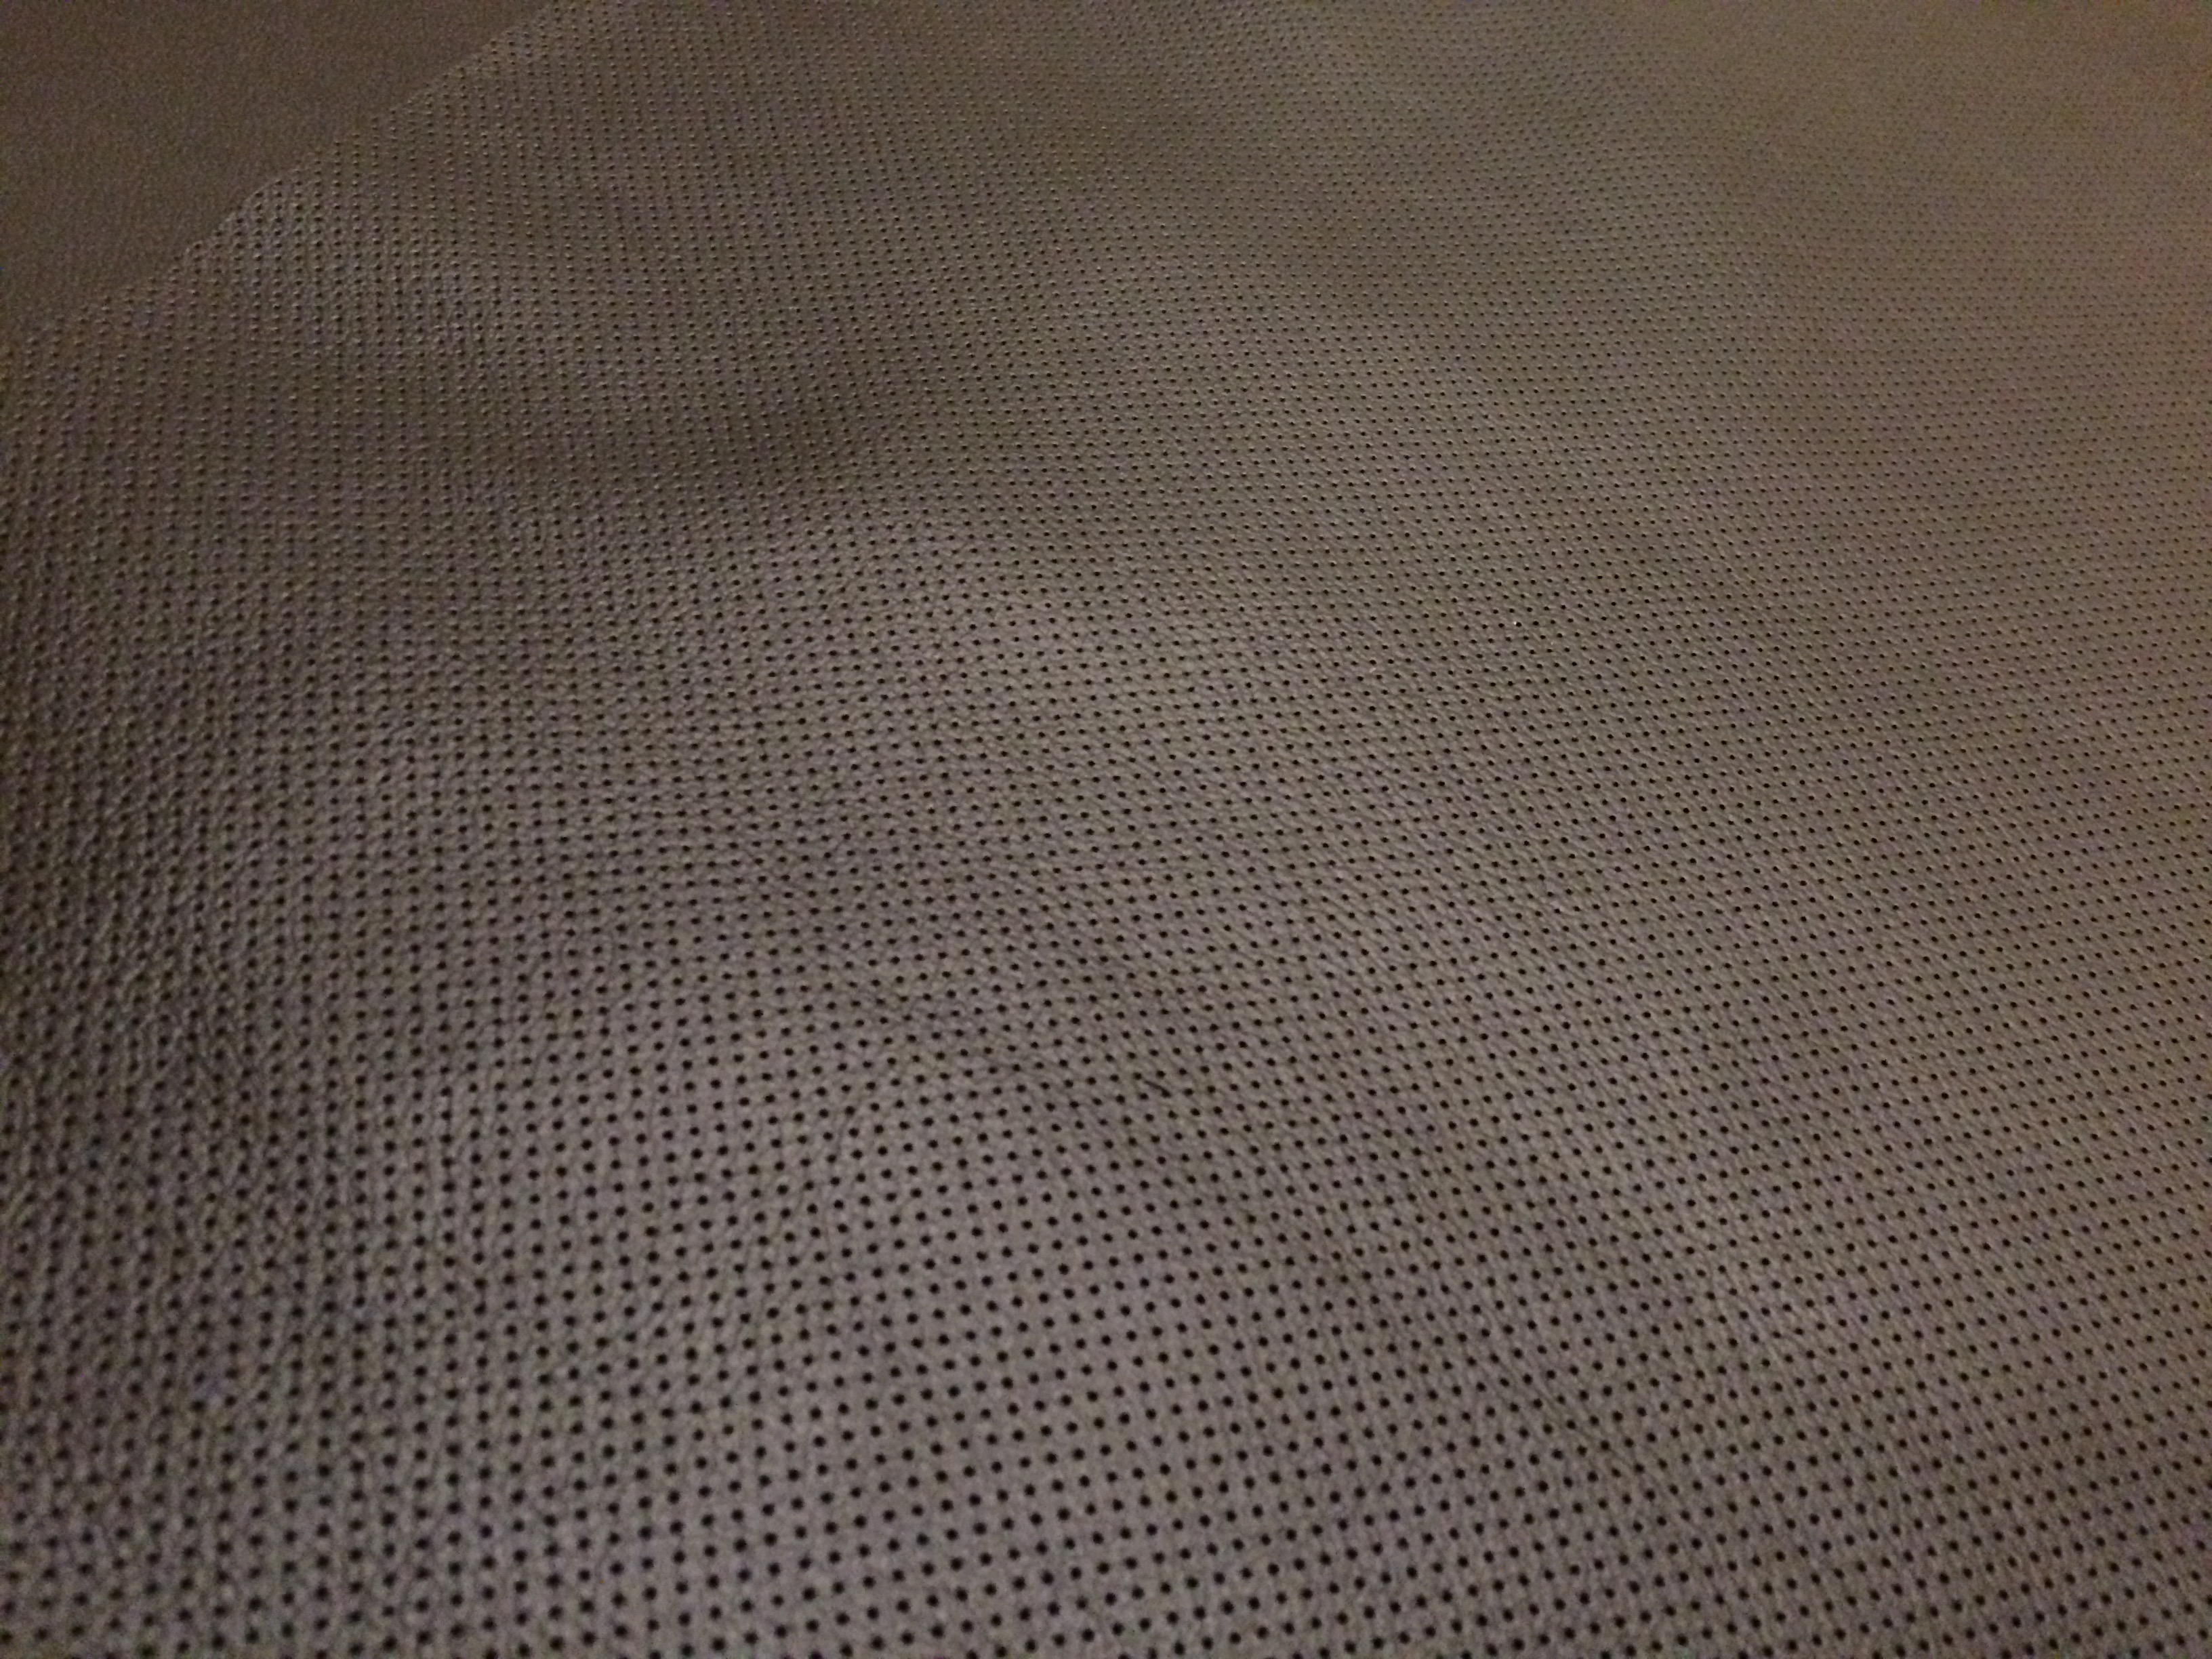
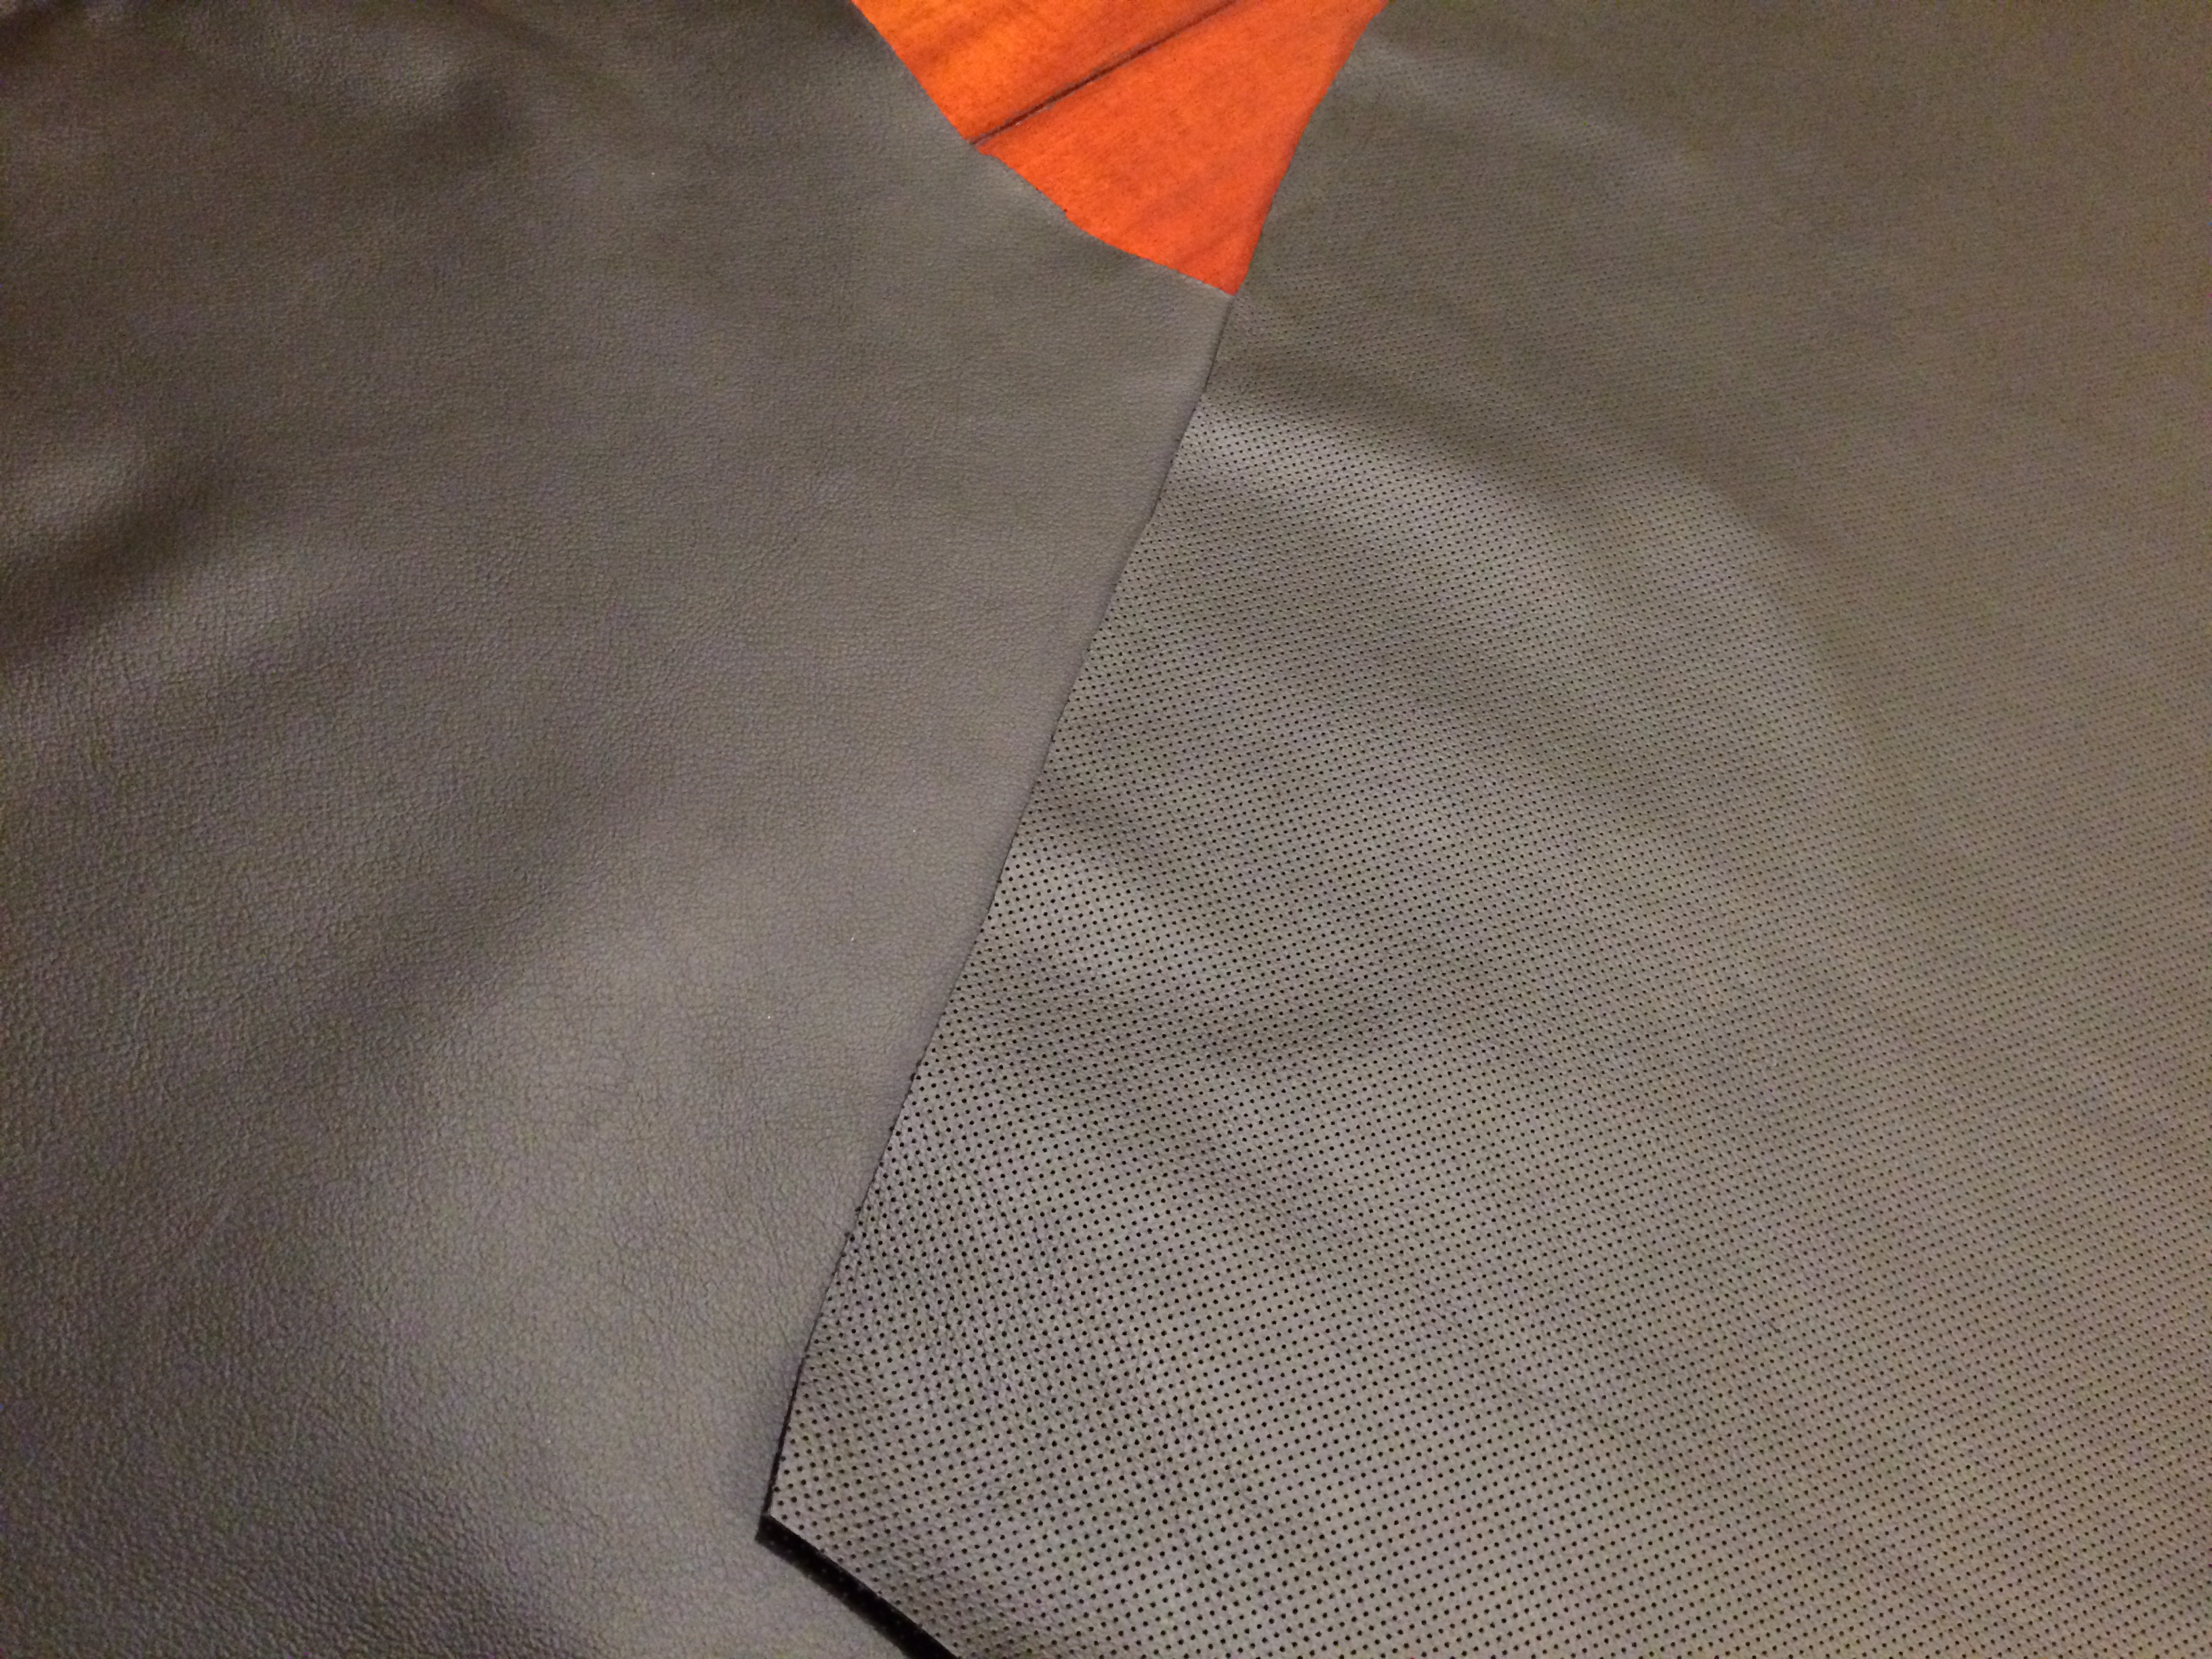
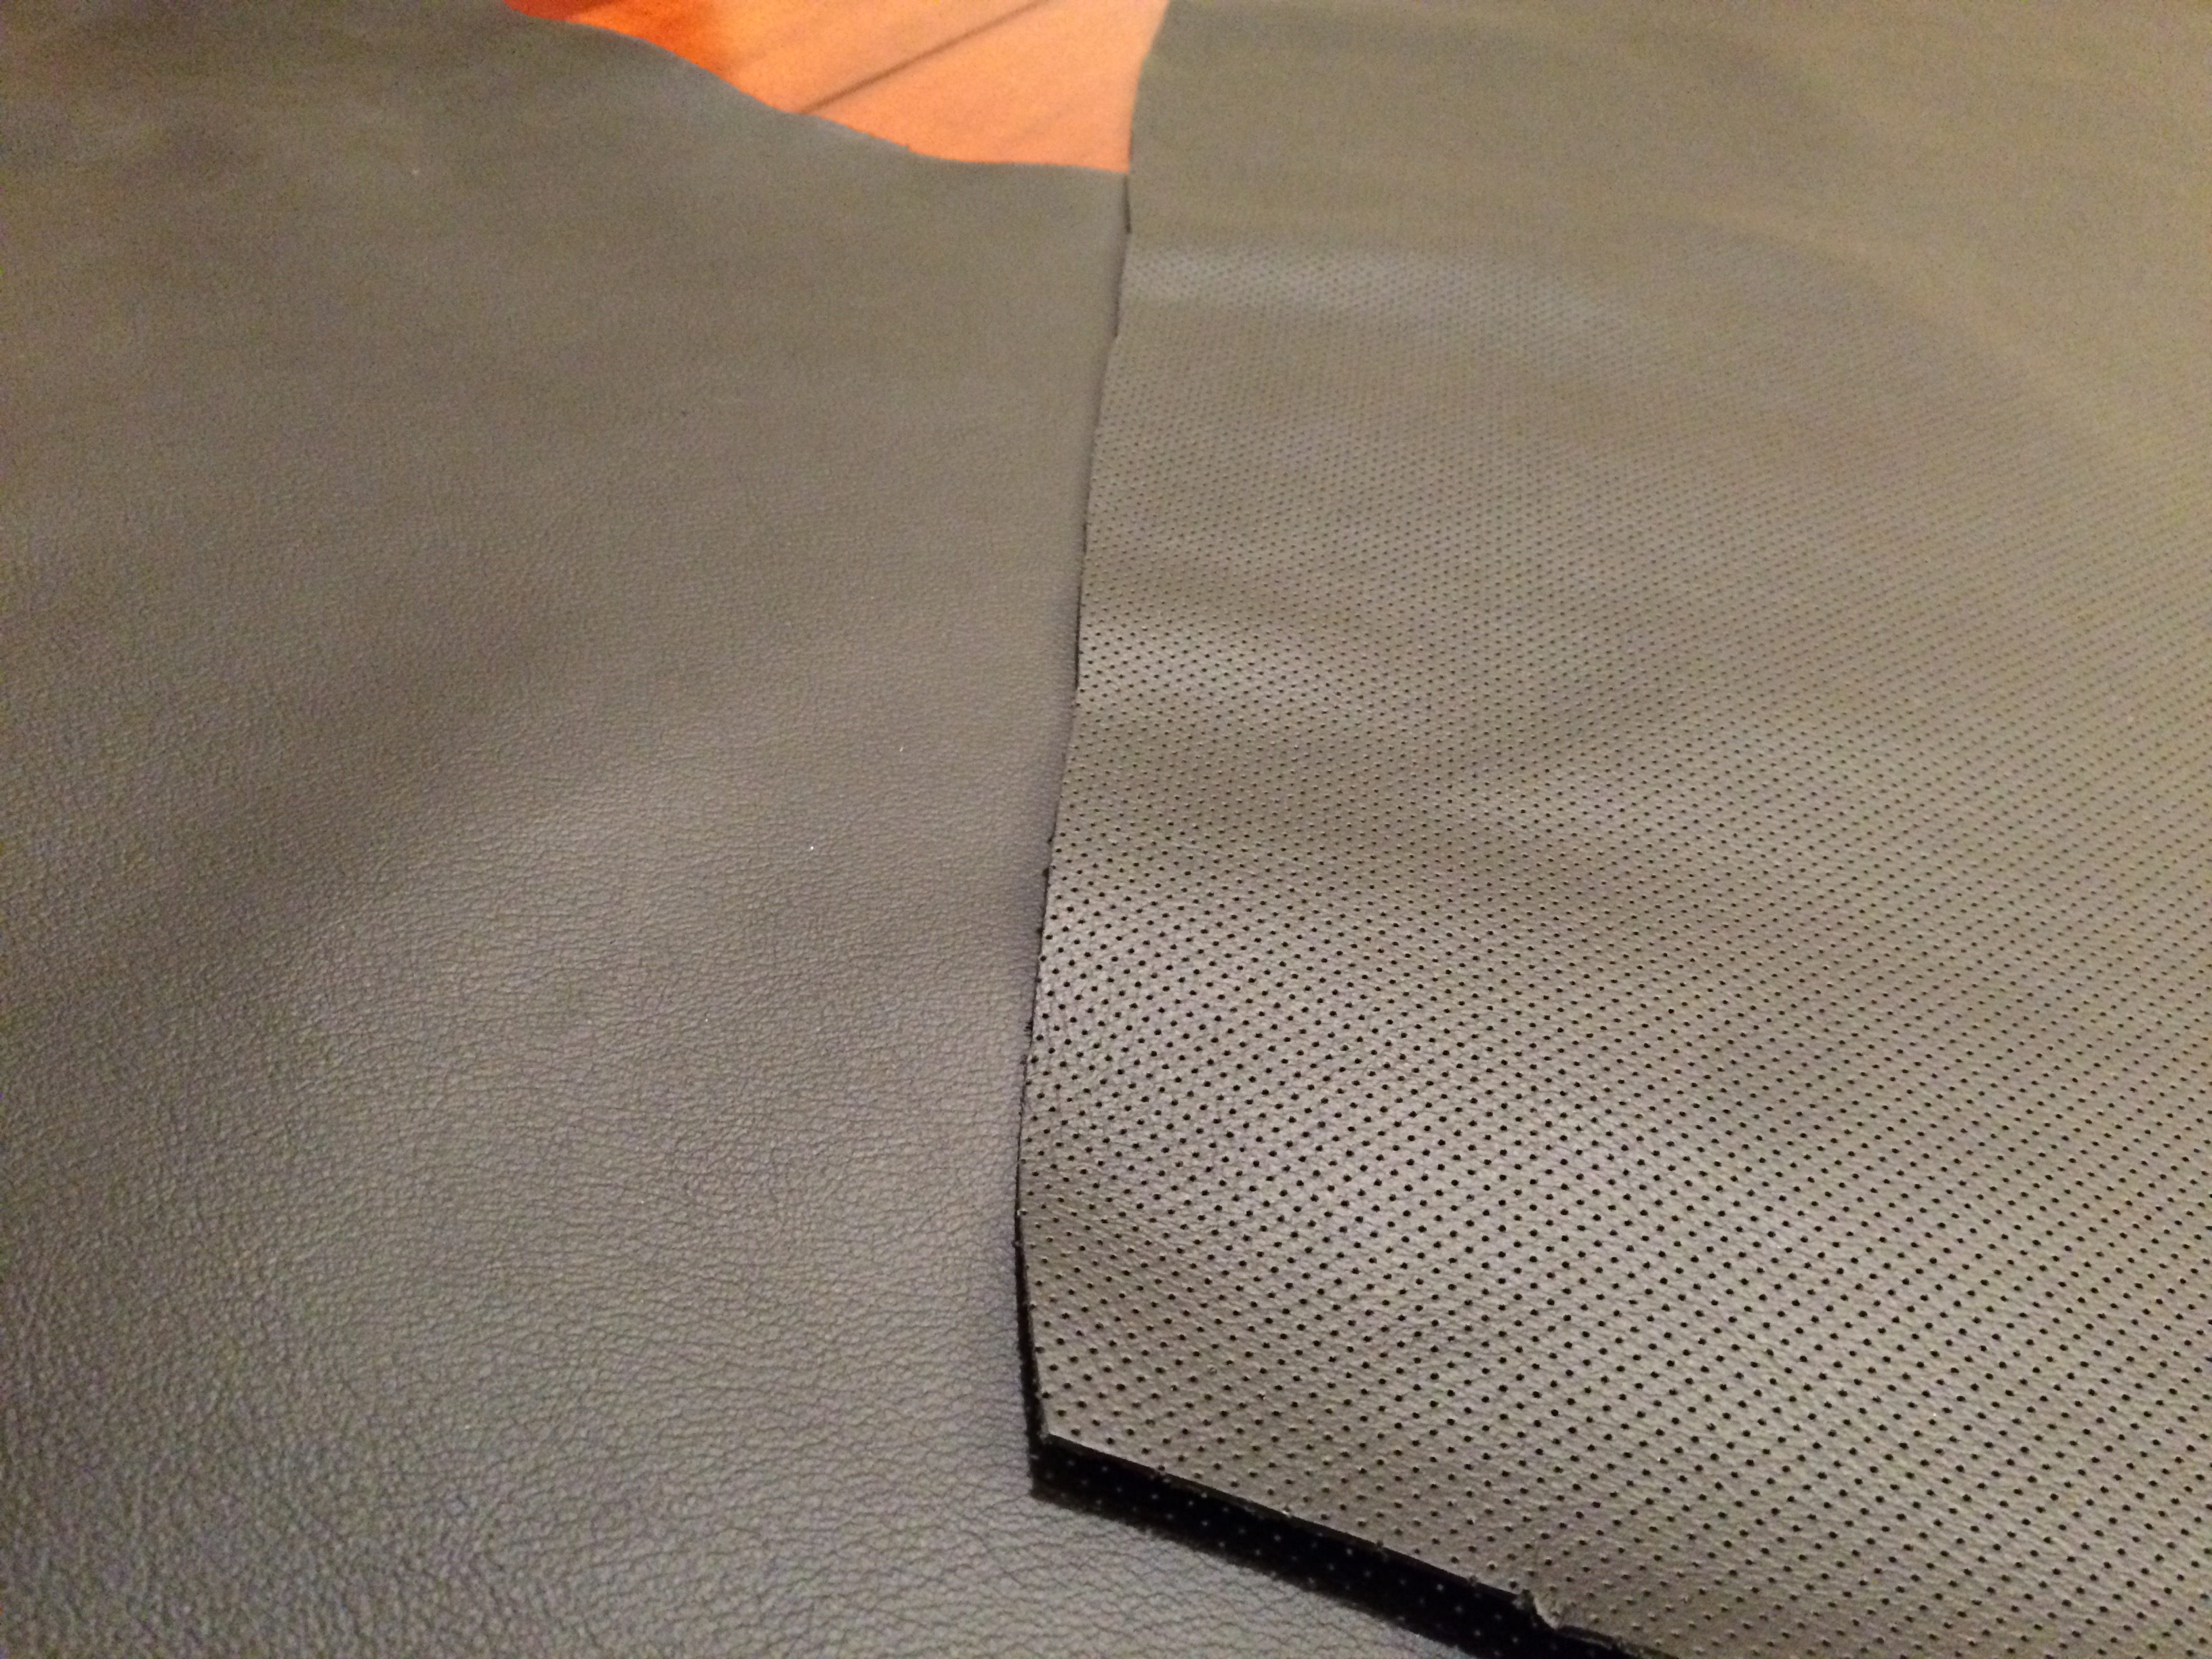
This time I'm going all out and sourced some top quality leather from my buddy Austin over at ESH upholstery. He had half of the hide sent out for perforation. This means I can now get OEM shift ***** recovered in matching leather to match the OEM style of perforated front and smooth grain rear, with any color stitching my little heart desires
If anyone following this build would like to get a piece o this action, PM me with your requests, to include pink stitching
Pics of the sexay leather:
And an example of how sweet the OEM recovered **** looks, this one in smooth leather front and back:


Over the years as I've tried many different parts and many different shift *****, and I've learned that I personally really prefer the OEM **** size, shape and weight. It's not too big, not too small, it's just right for my medium-sized man hands
To that end I'm sending out an OEM shift **** and E-brake handle to be recovered and have been collecting up additional pieces to get done at the same time. The work is top notch and takes lots of skill, more than I have when it comes to this.
This time I'm going all out and sourced some top quality leather from my buddy Austin over at ESH upholstery. He had half of the hide sent out for perforation. This means I can now get OEM shift ***** recovered in matching leather to match the OEM style of perforated front and smooth grain rear, with any color stitching my little heart desires
If anyone following this build would like to get a piece o this action, PM me with your requests, to include pink stitching
Pics of the sexay leather:
And an example of how sweet the OEM recovered **** looks, this one in smooth leather front and back:
Last edited by GoodfellaFD3S; Feb 27, 2016 at 08:55 AM.


I forgot the company who makes these. The Kanji lettering not my taste and would look better without it, IMO but to each his own. I wonder if they would make it with just the rotor symbol?
Thread Starter
Joined: Mar 2001
Posts: 30,818
Likes: 656
From: FL-->NJ/NYC again!
More updates to come soon, hoping to have the engine bay back together shortly then it's off to Mr. Renna for some of his patented OEM-Tunn Luvvin'


Thread Starter
Joined: Mar 2001
Posts: 30,818
Likes: 656
From: FL-->NJ/NYC again!
Added a few new items, and getting TUNNED later today by the Man the Myth the LEGENDDDD John Rennapoo 
Last edited by GoodfellaFD3S; Apr 22, 2016 at 08:04 AM.
Thread Starter
Joined: Mar 2001
Posts: 30,818
Likes: 656
From: FL-->NJ/NYC again!
So lots of changes coming up..... between IRP moving shops at the end of this month to a bigger better location and my impending move for a job with my company down to Florida, I've been jumping on the lift as much as possible and wrenching like crazy with the help of many friends to get my FD in tip-top shape
Lots of changes, maintenance, and parts installed. Street tuned with Mr. Renna to 14 psi and the car is running the best it ever has I'm happy to report
Installed the following, in no particular order:
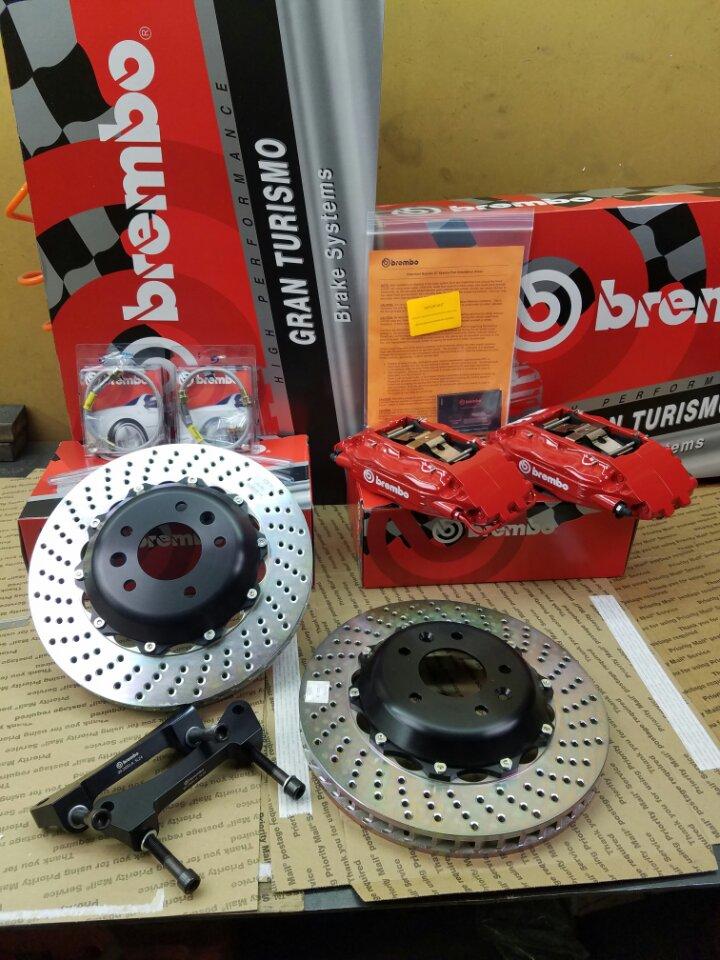
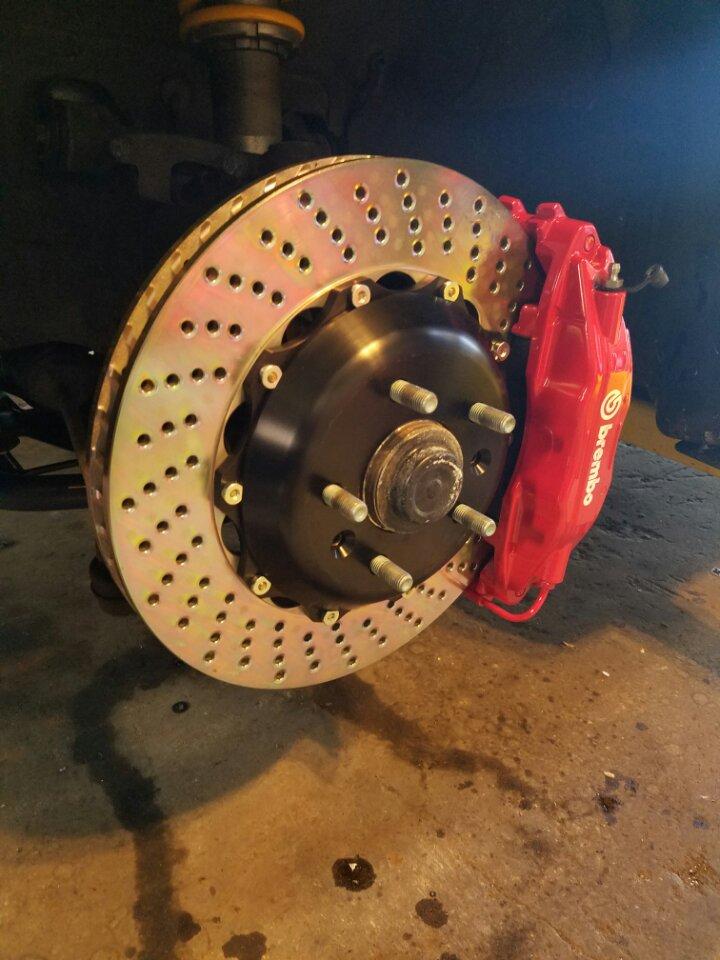
*Brembo Granturismo front BBK with cross drilled front rotors
*Banzai Racing transmission brace
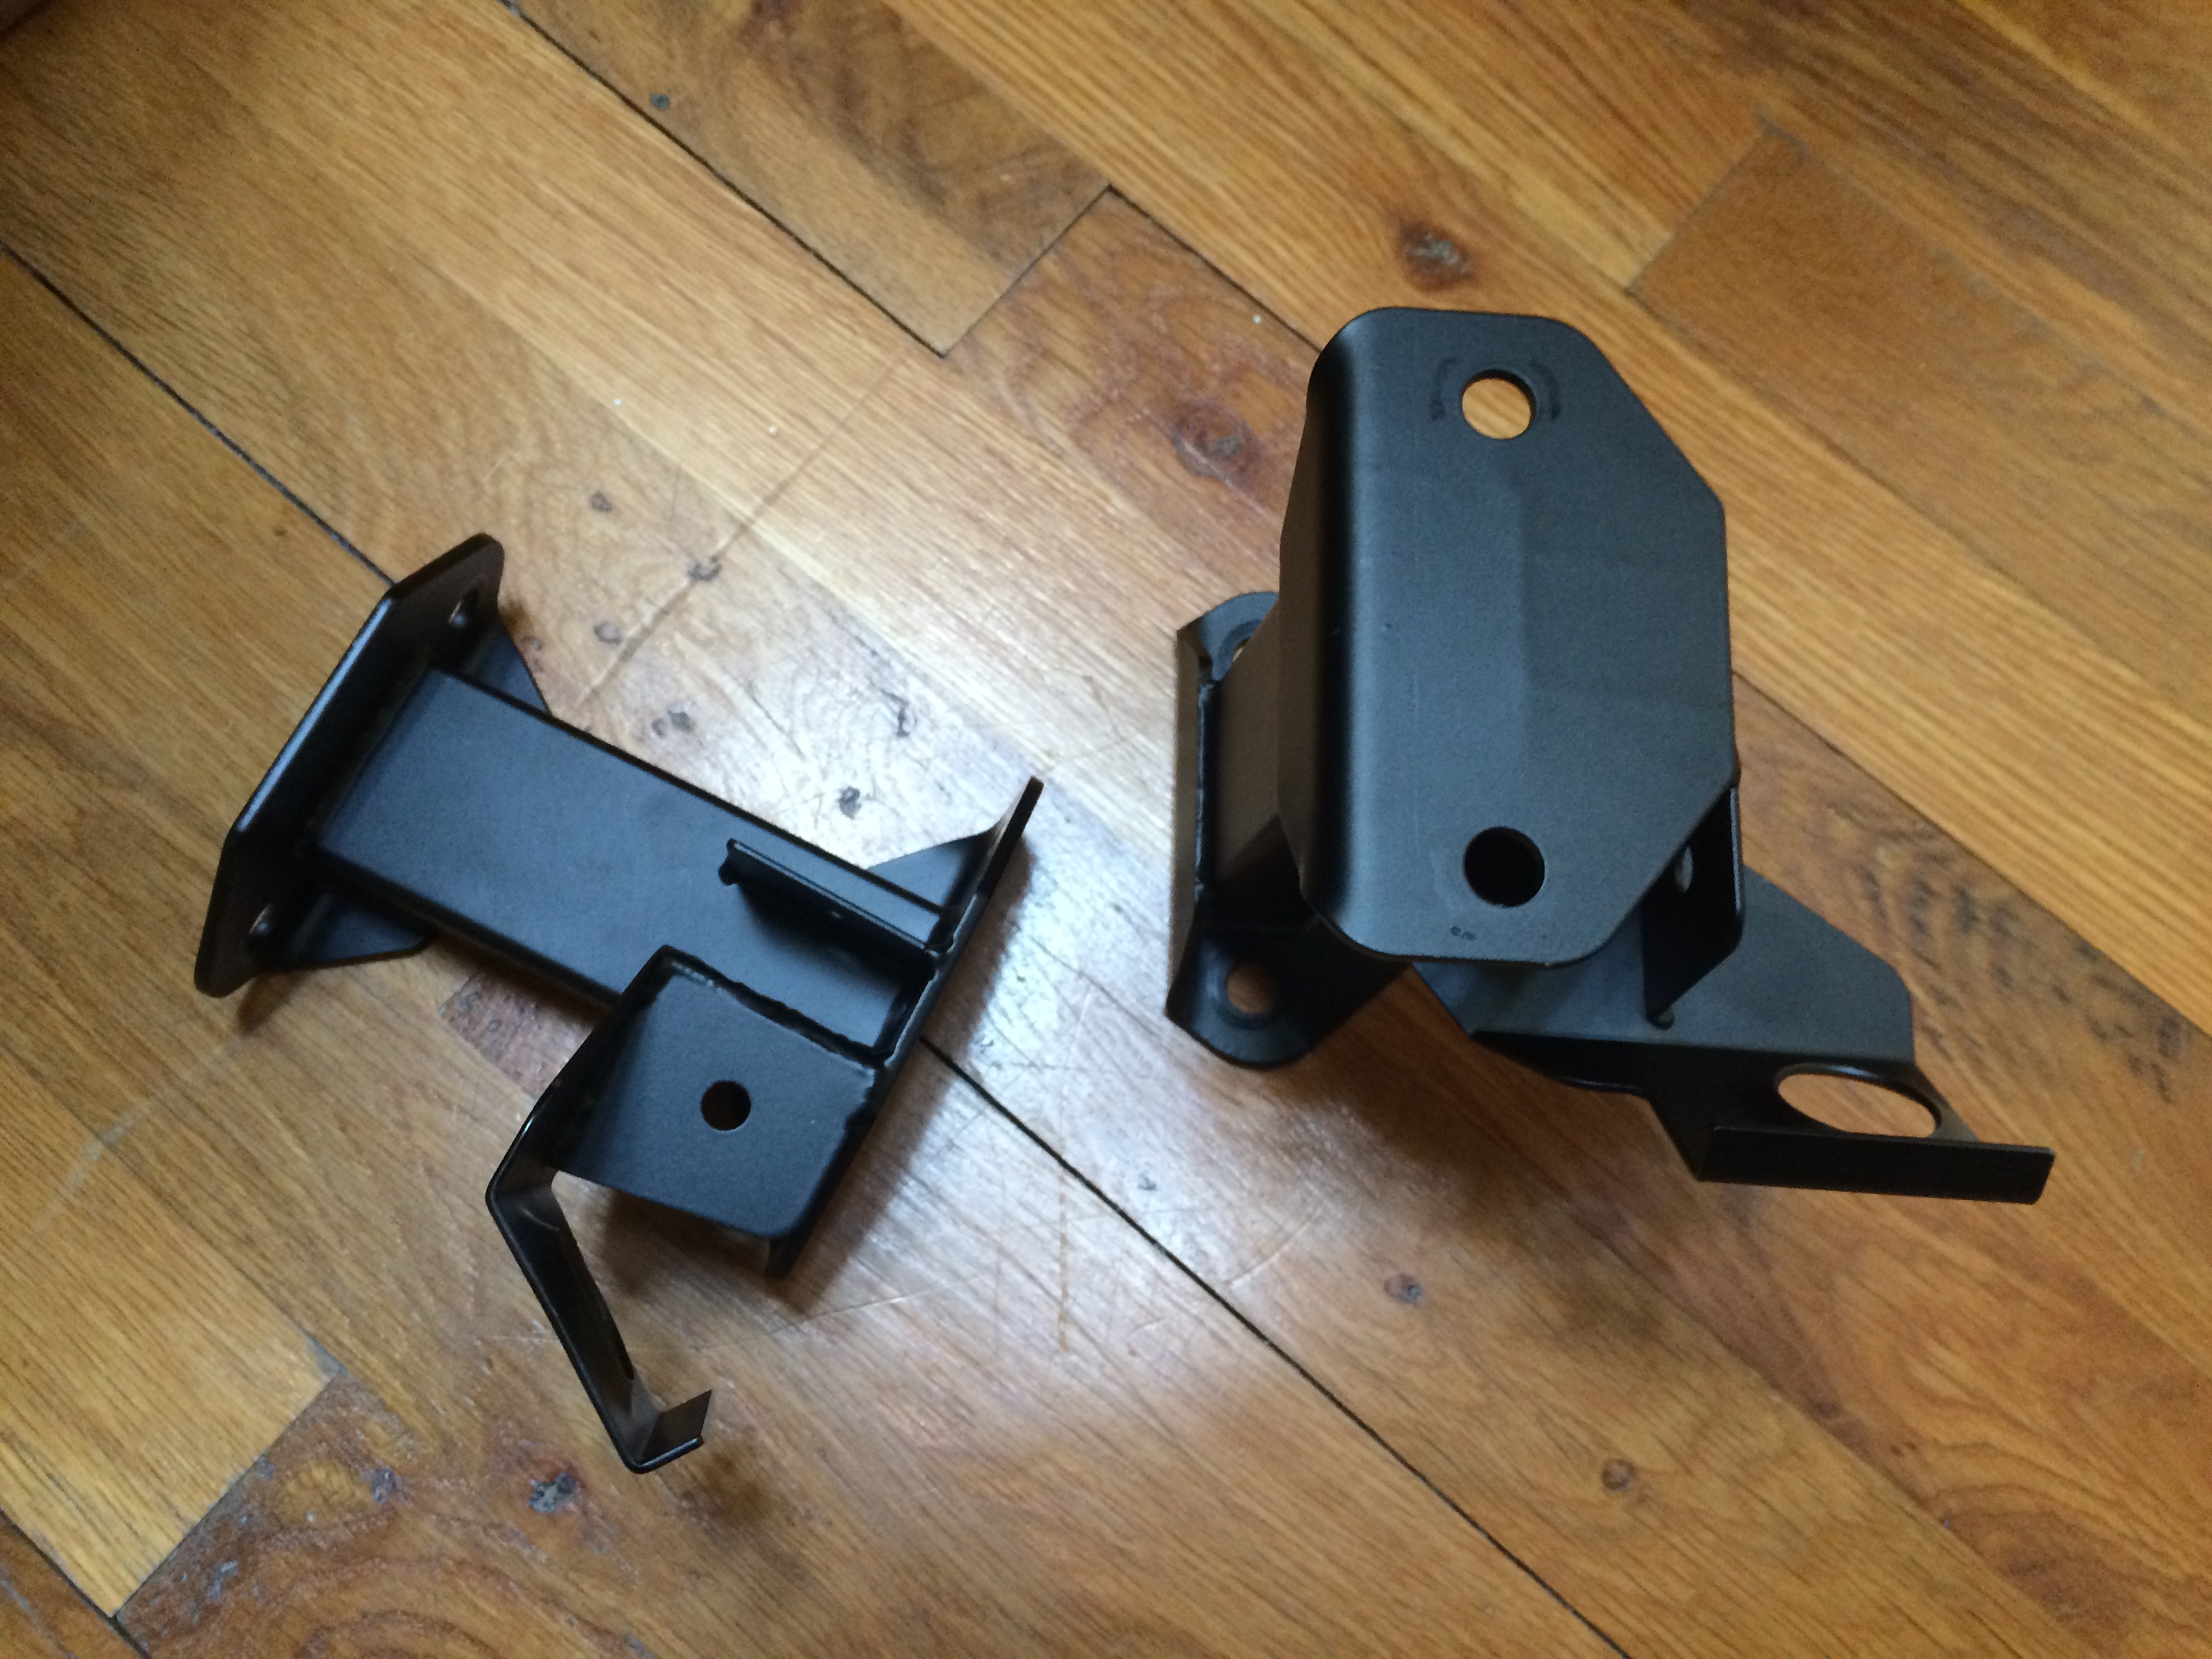
*Mazdacomp 'BeefyAsHell' sway bar mounts
*Modified (read:extensively hacked) OEM under tray to work with V-mount setup
*99 spec brake ducts to fit with SBG oil cooler kit
*Hotwired Bosch 044 fuel pump
*Spirit-R driver's seat with tilt rail----->being recovered by ESH Upholstery
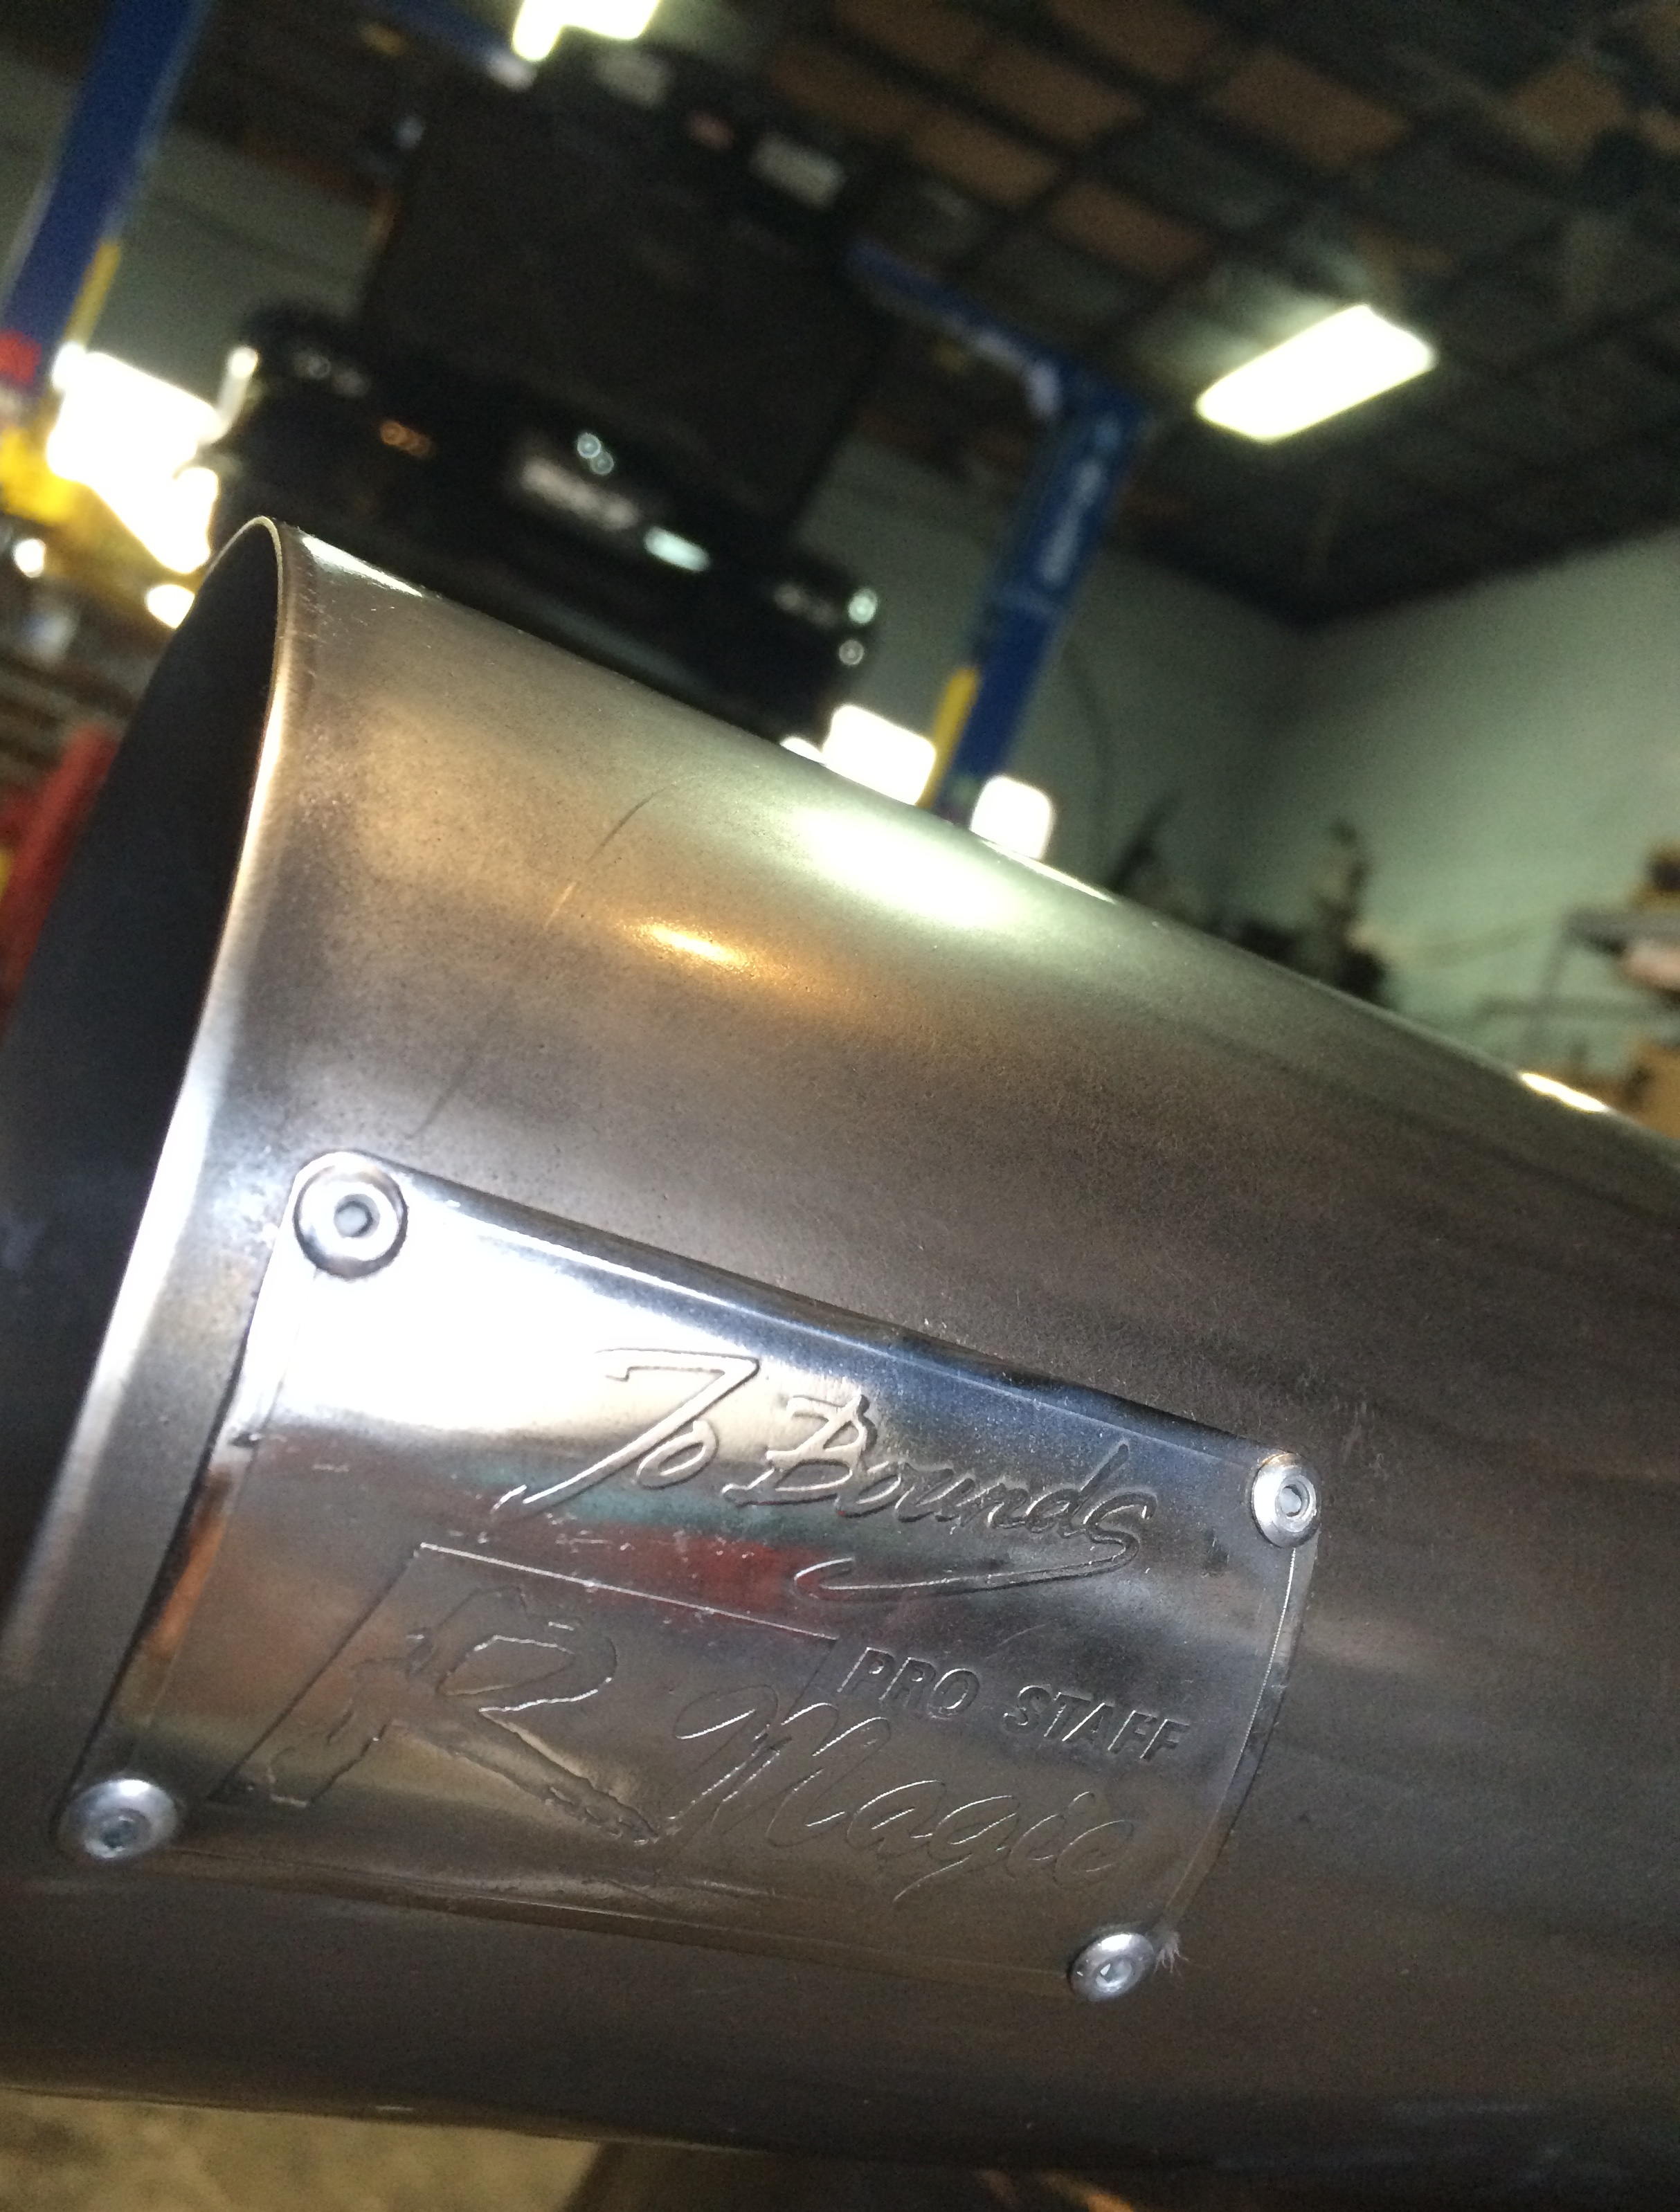
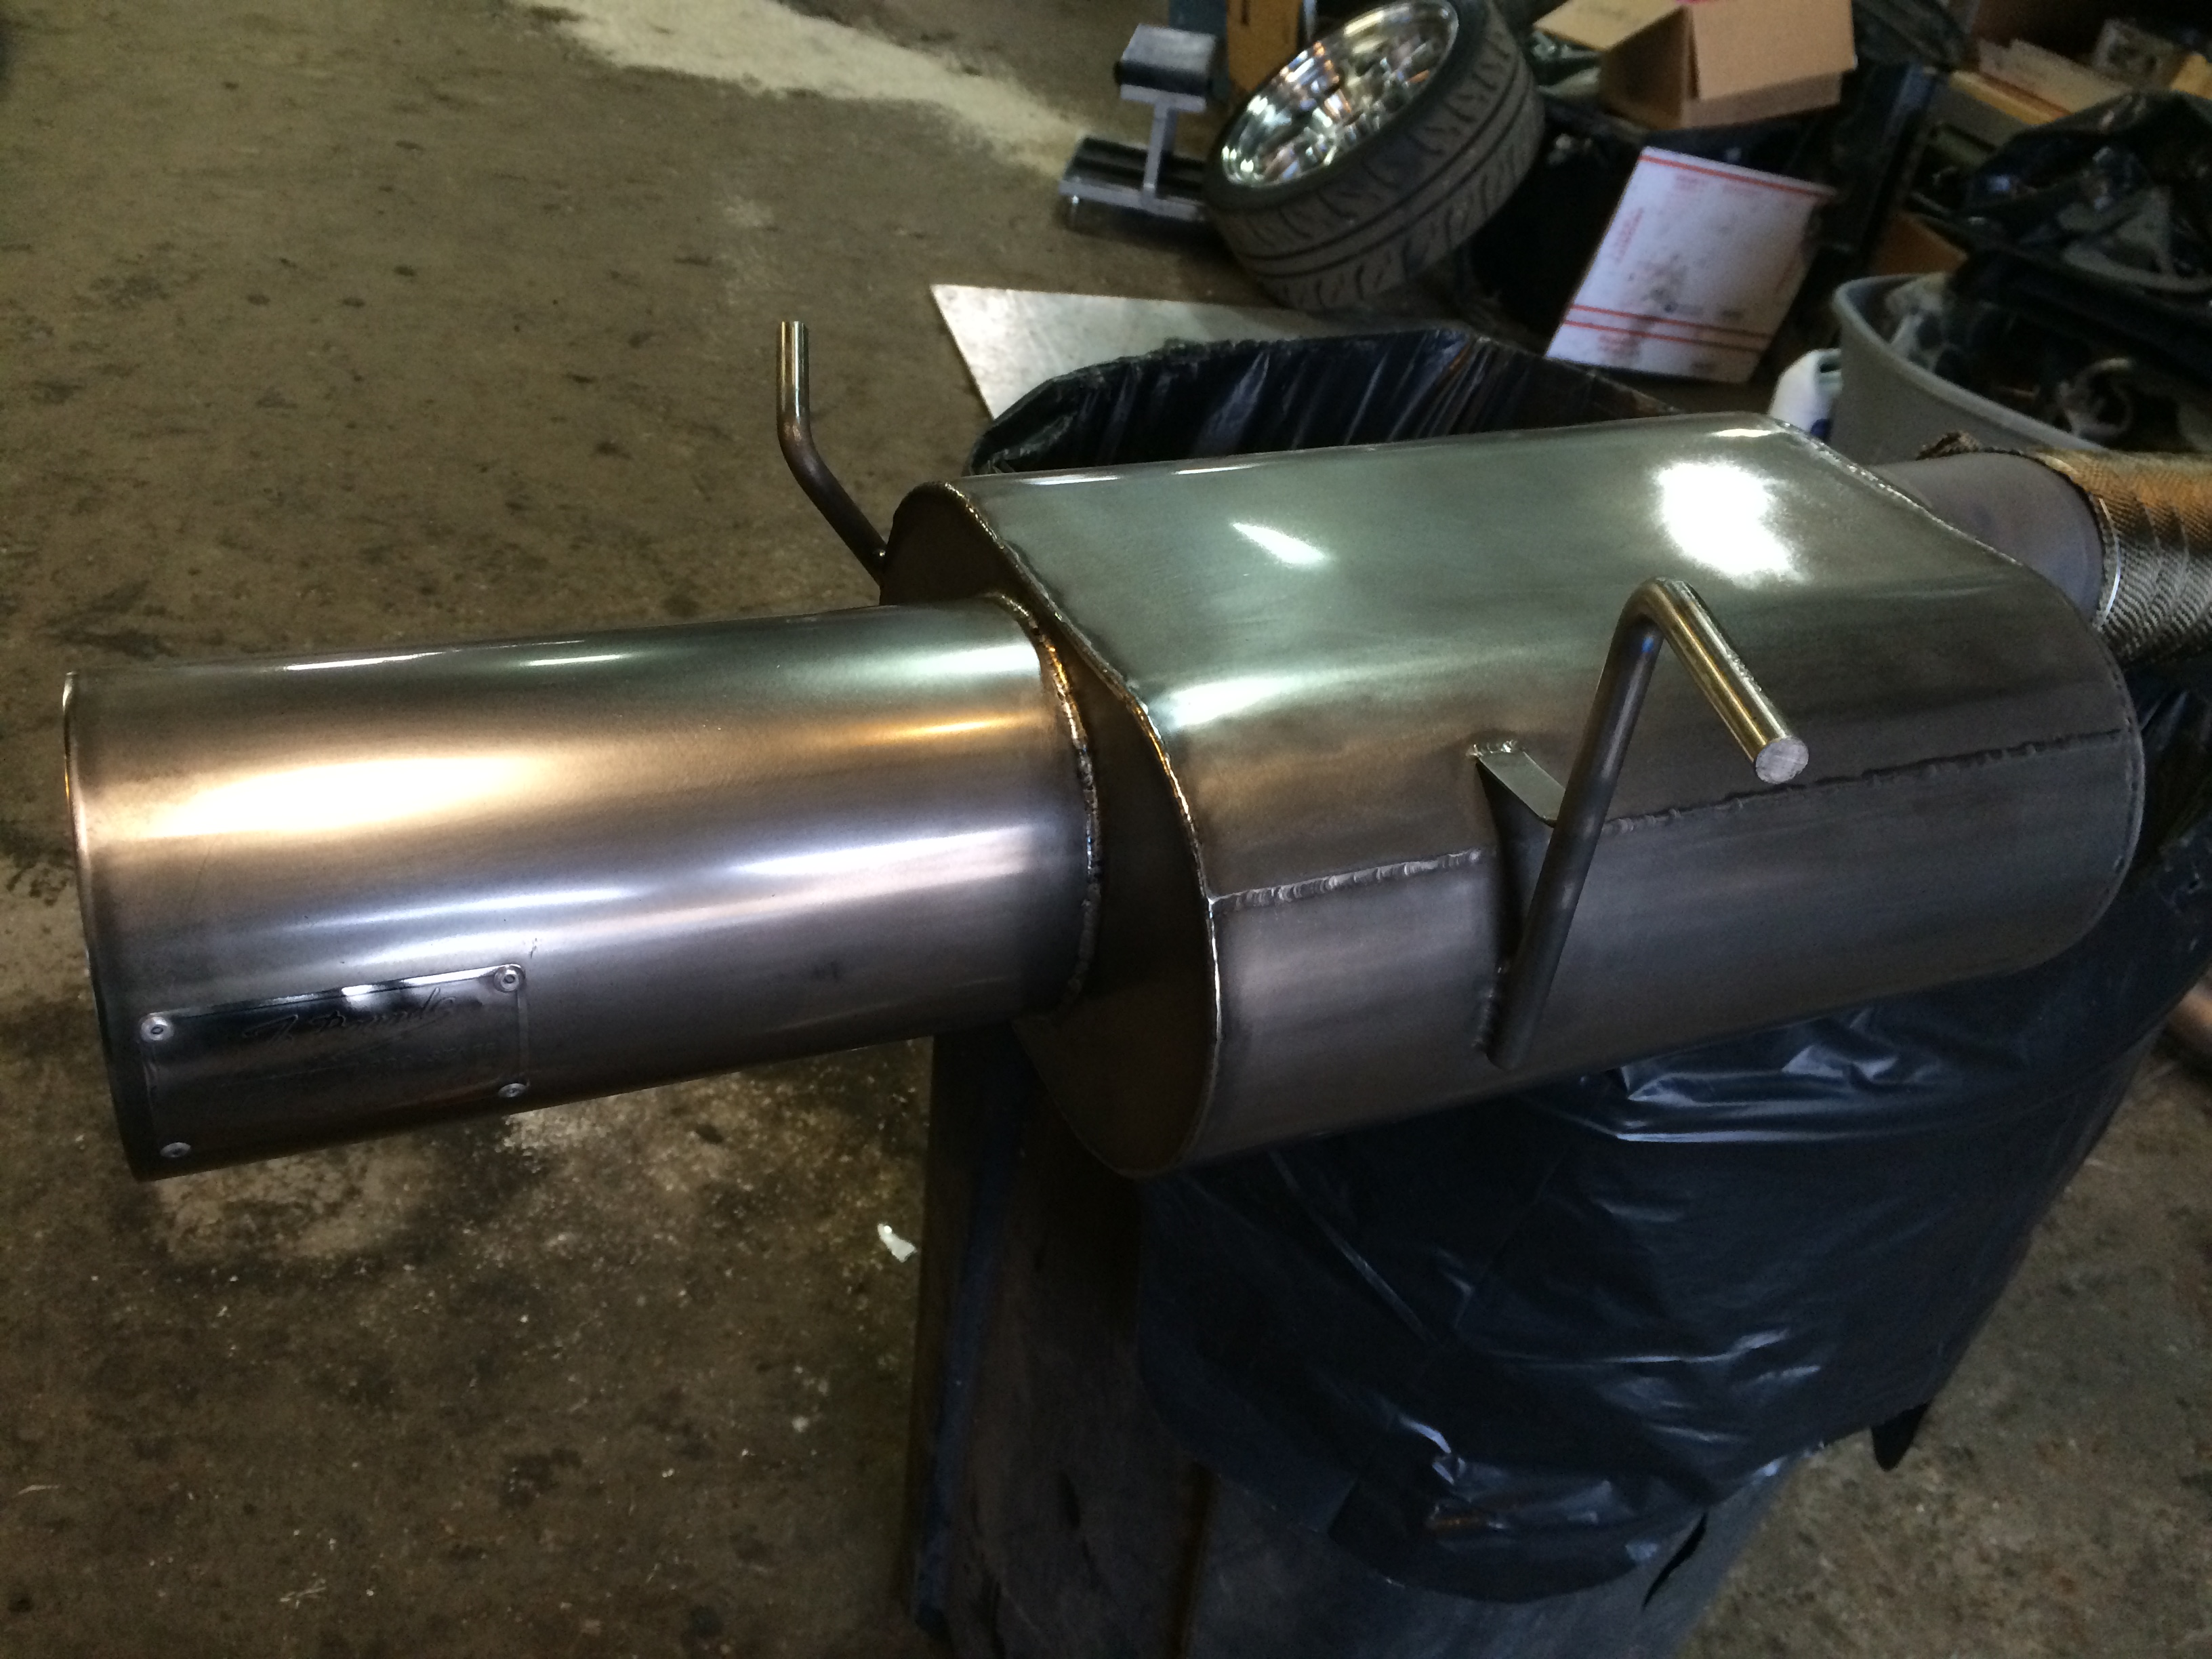
*R-magic Titanium resonated mid pipe and catback
*DEI Titanium wrap around entire exhaust system from downpipe to catback
On to the pics

Lots of changes, maintenance, and parts installed. Street tuned with Mr. Renna to 14 psi and the car is running the best it ever has I'm happy to report
Installed the following, in no particular order:
*Brembo Granturismo front BBK with cross drilled front rotors
*Banzai Racing transmission brace
*Mazdacomp 'BeefyAsHell' sway bar mounts
*Modified (read:extensively hacked) OEM under tray to work with V-mount setup
*99 spec brake ducts to fit with SBG oil cooler kit
*Hotwired Bosch 044 fuel pump
*Spirit-R driver's seat with tilt rail----->being recovered by ESH Upholstery
*R-magic Titanium resonated mid pipe and catback
*DEI Titanium wrap around entire exhaust system from downpipe to catback
On to the pics