
FD3S: Resurected from the dead!!

FD3S: Resurected from the dead!!
Long story short: I've had this project for about 6 months now and today I can finally say that everything that needed to be done is done. There are 3 minor things that still need fixing before I take it through the Japanese Compulsary Inspection (JCI) next week. 1. Left blinker isn't working, changed the bulb and still not working--I suspect the socket is bad; 2. My seat belt light does not turn on when I take off the seat belt--they check on this and will not pass the inspection uless the darn light comes on; 3. Need to paint the left side caliper to match the right--not critical, but needs to match!
Aside from the above, the car has been completely restored from a shell that was about to get junked to what you'll see below. Today I installed the rear seat belts, back support of the rear seat. Yesterday I installed the wing that I finally got in from main land Japan. As you'll see in the pics, I had part of the FEED wing, but decided against it as I didn't want to go have to paint--I did this with pretty much everything on this car, just waited until I found the part I needed in black.
Anyways, if anyone has questions about the car, please feel free to ask, I will answer them as they come.
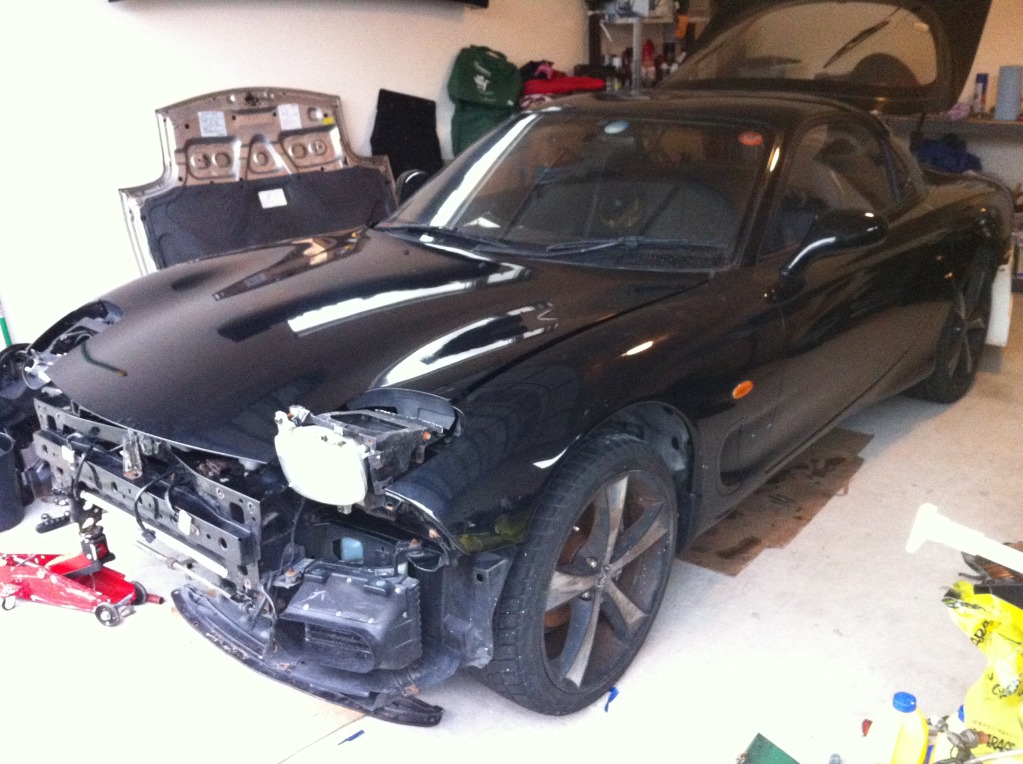
Here's when I first picked it up from my buddy's house.
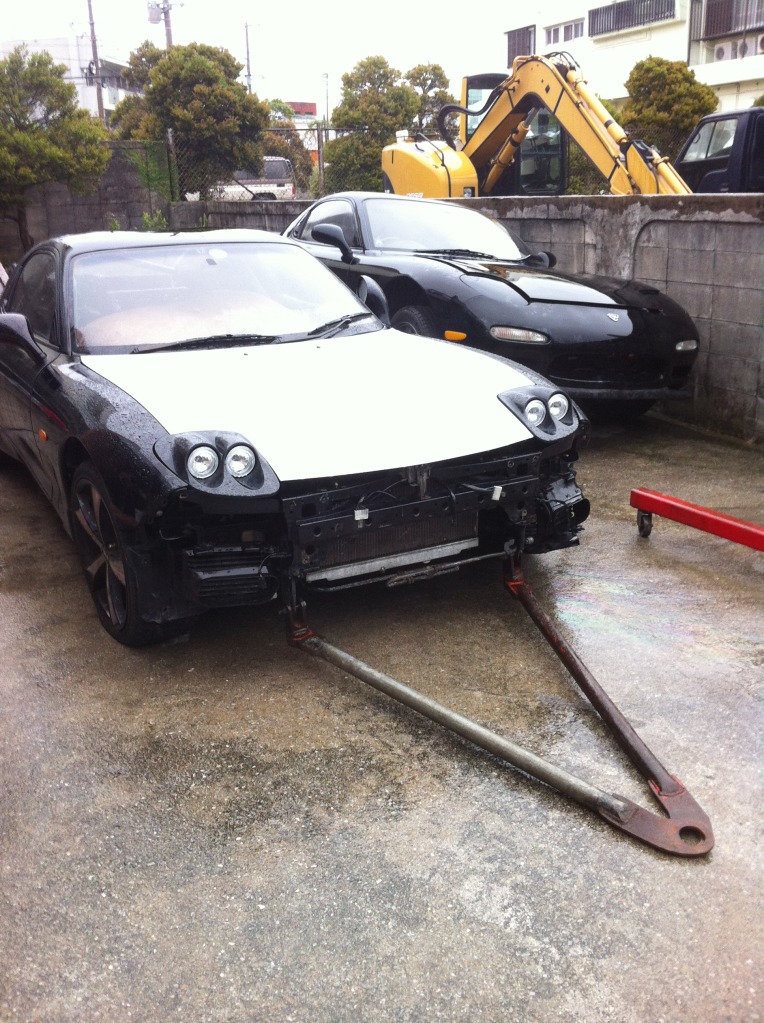
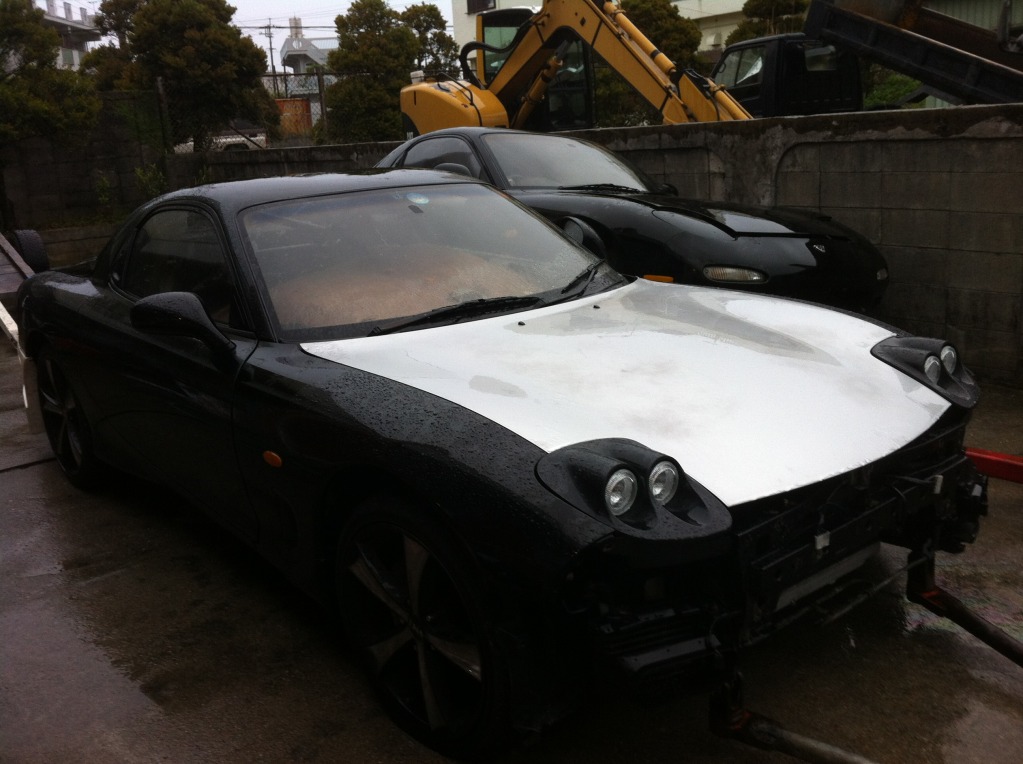
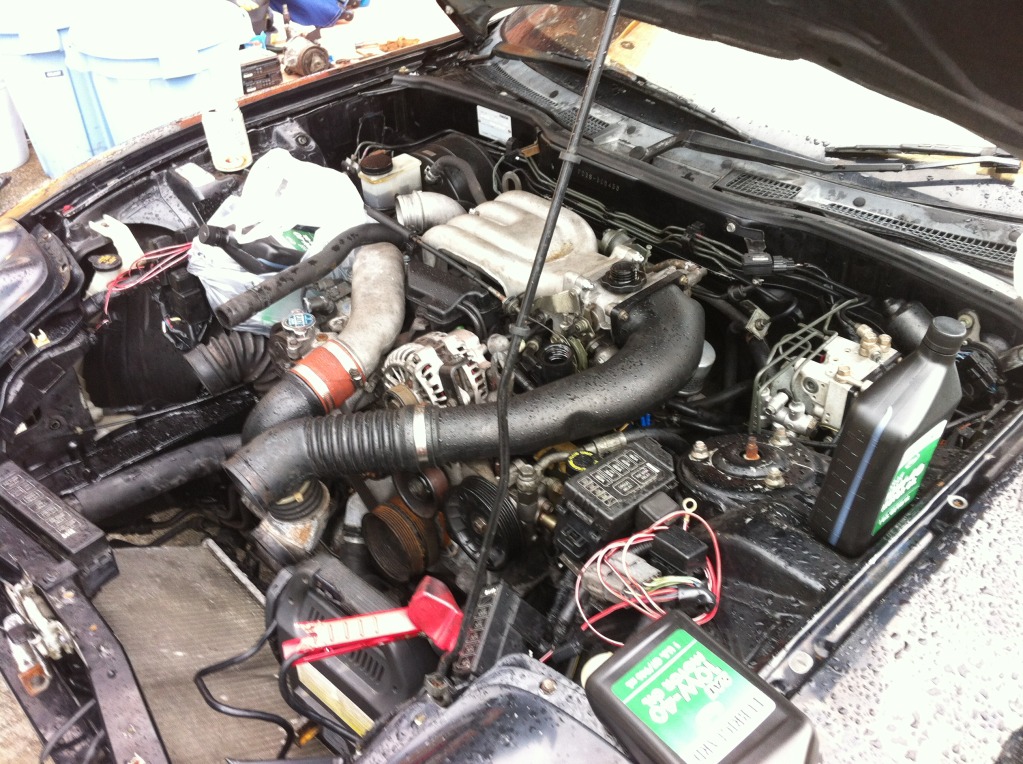
Shell had no engine, but I beleive they dropped in a 99 13B.
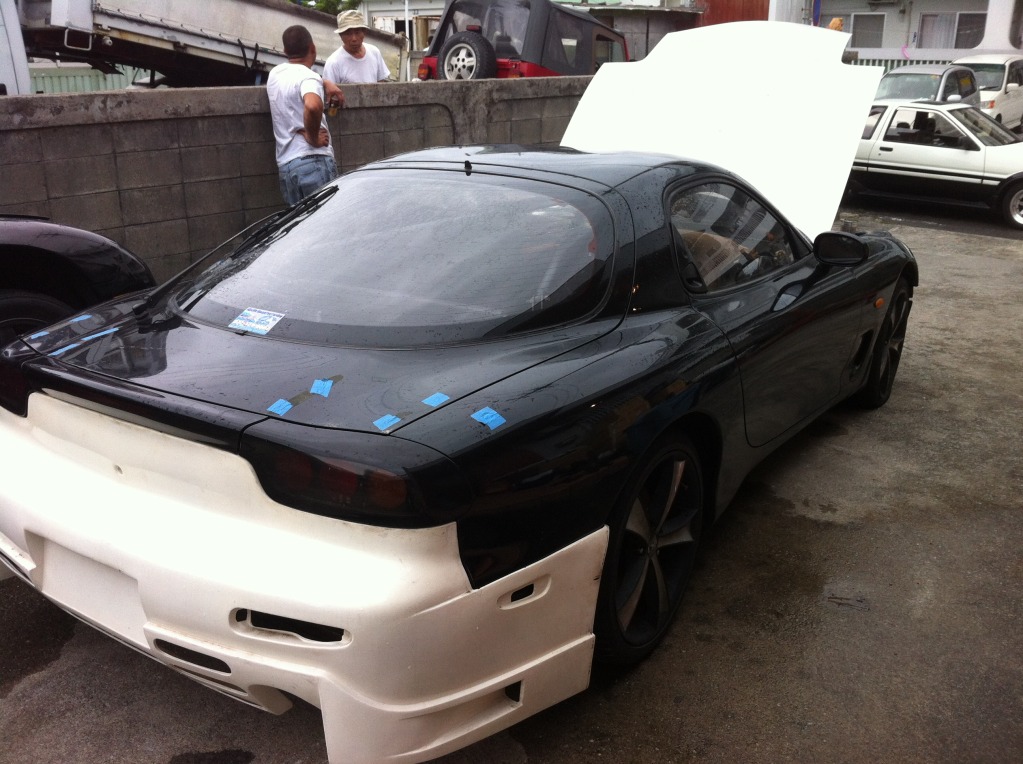
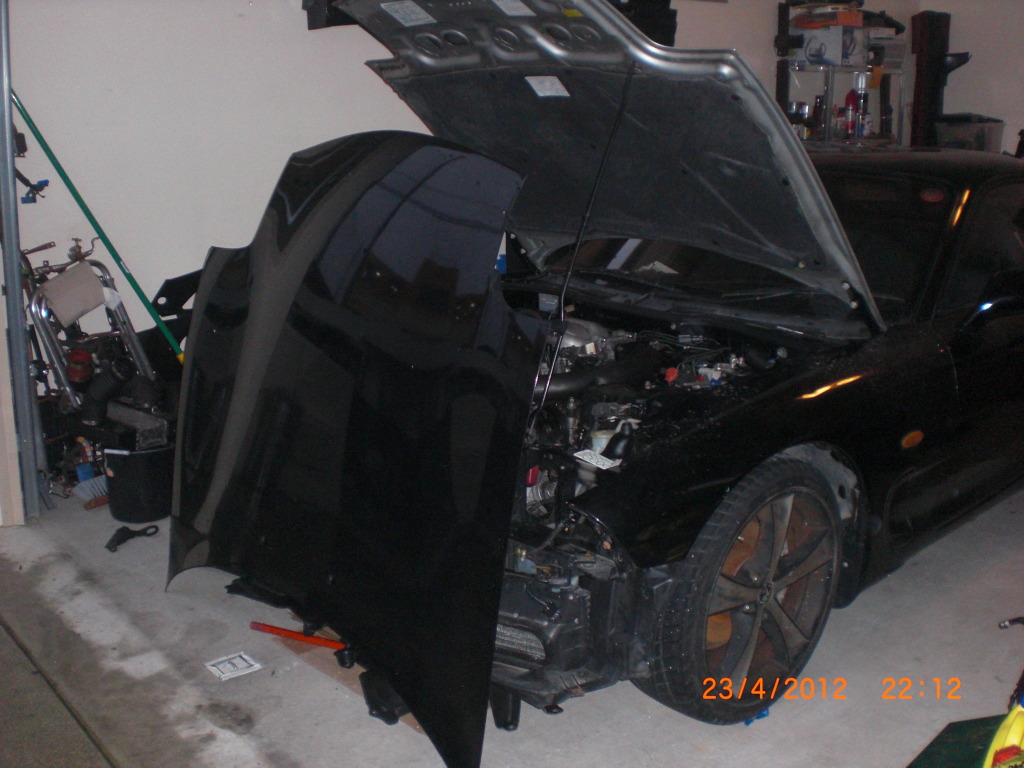
In My garage now and changed hood!!
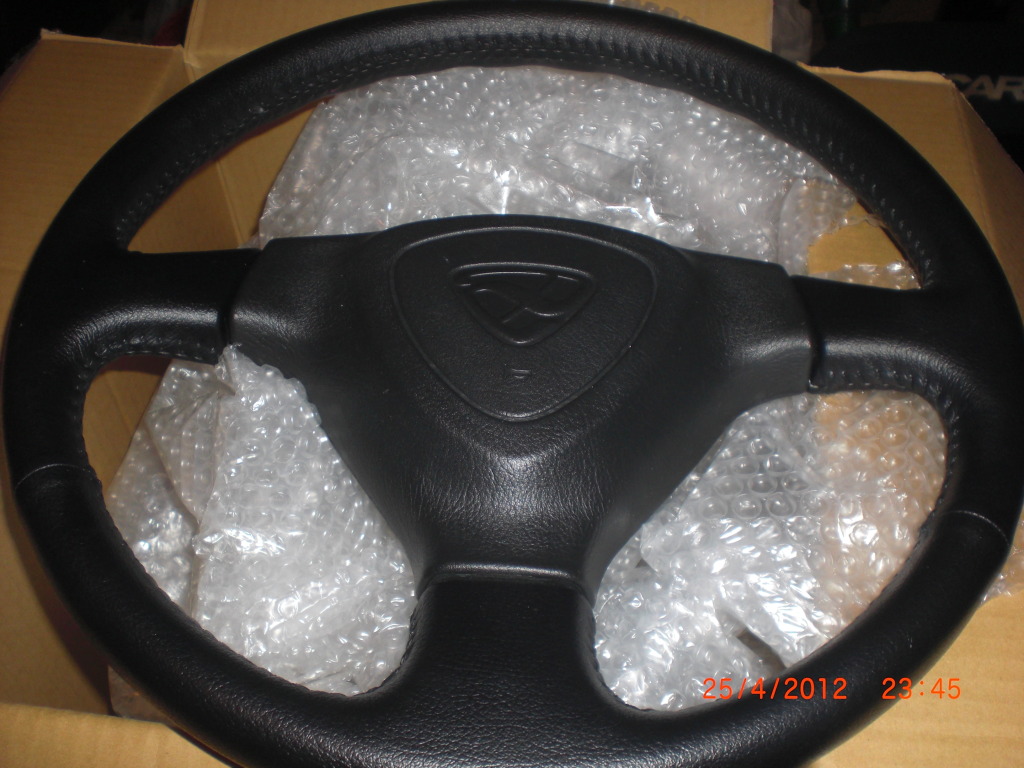
Steering wheel in to replace worn out momo replica like wheel
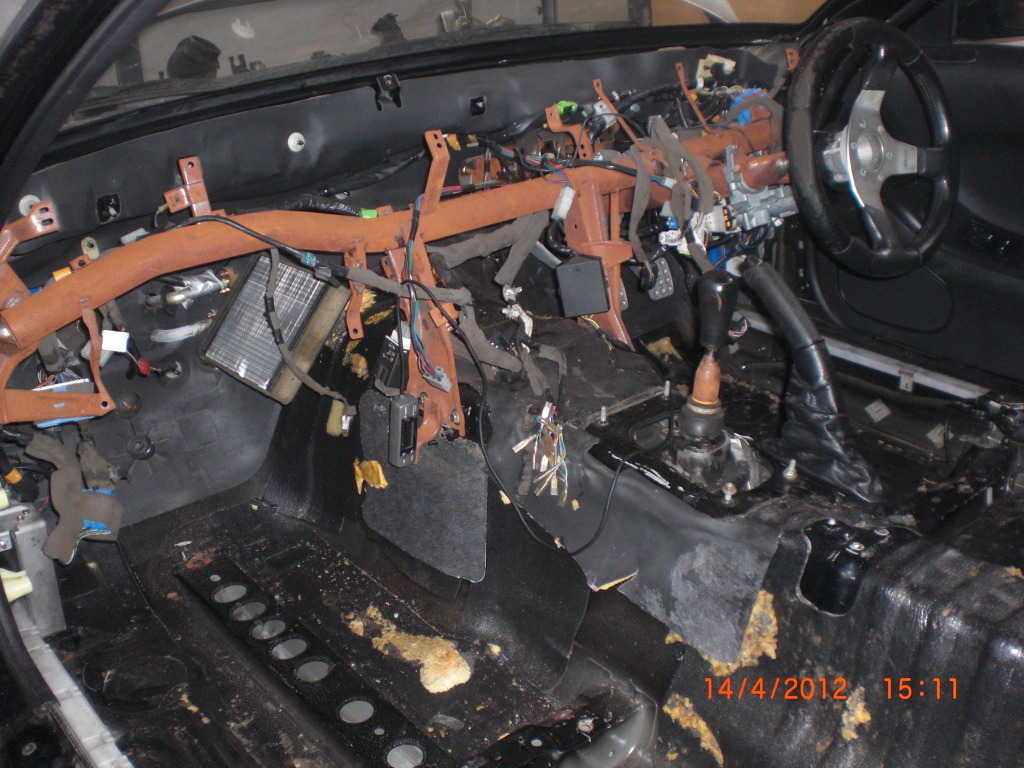
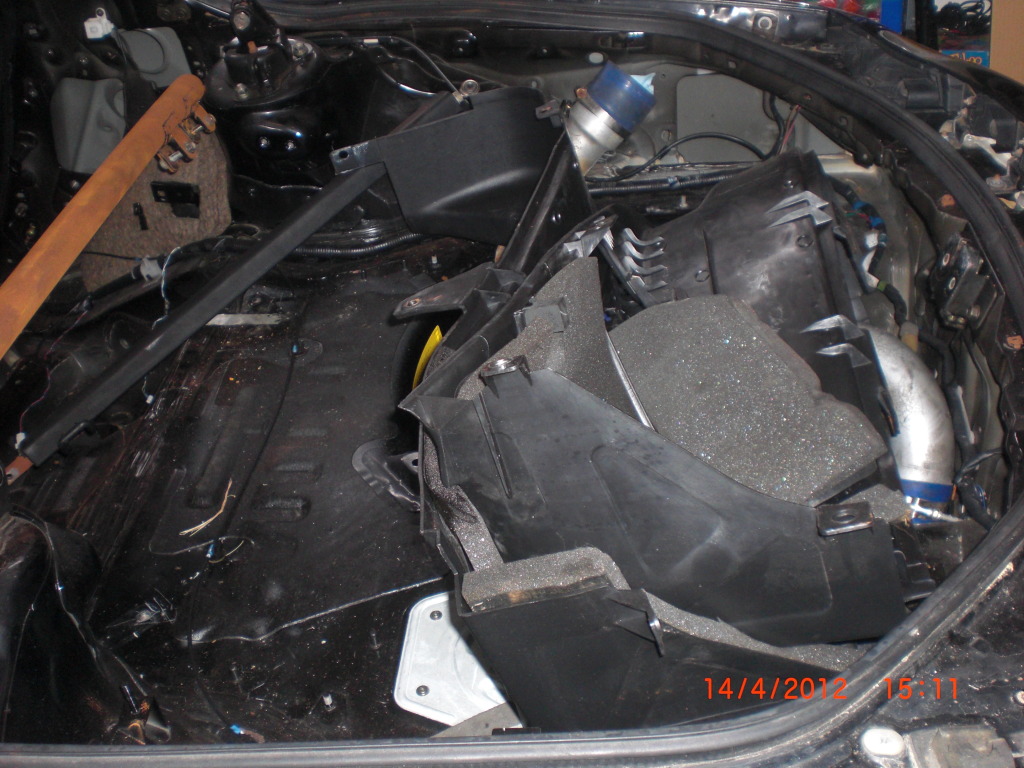
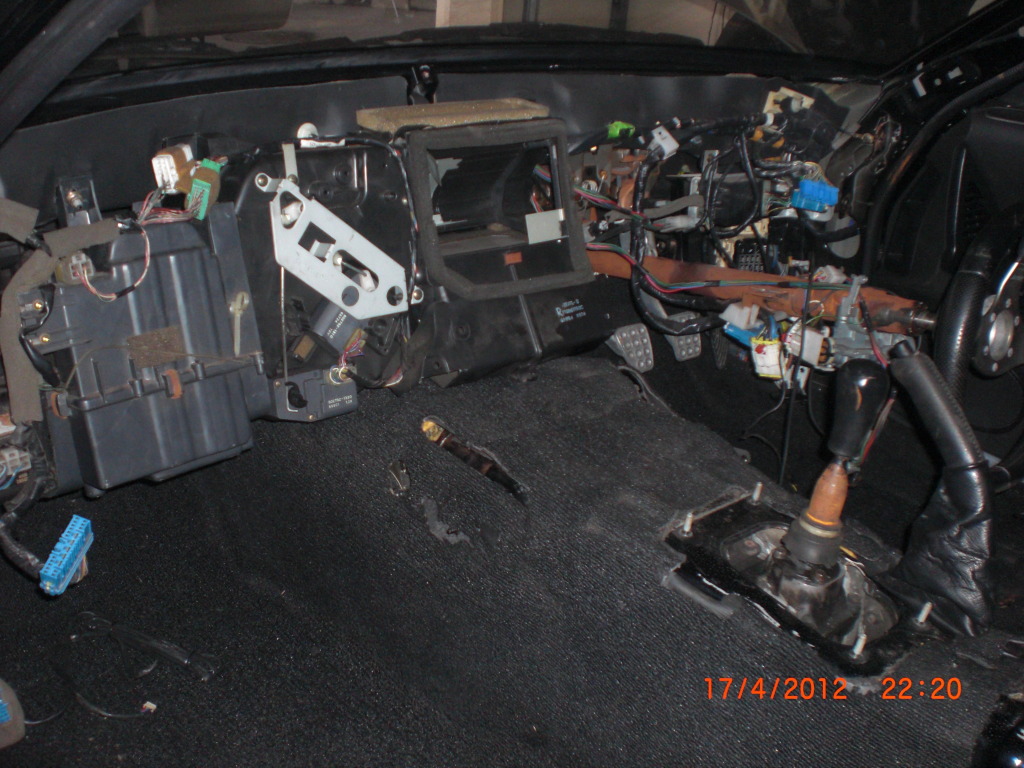
Pics of the gutted interior before I started buying the parts to put it back together
Aside from the above, the car has been completely restored from a shell that was about to get junked to what you'll see below. Today I installed the rear seat belts, back support of the rear seat. Yesterday I installed the wing that I finally got in from main land Japan. As you'll see in the pics, I had part of the FEED wing, but decided against it as I didn't want to go have to paint--I did this with pretty much everything on this car, just waited until I found the part I needed in black.
Anyways, if anyone has questions about the car, please feel free to ask, I will answer them as they come.
Here's when I first picked it up from my buddy's house.
Shell had no engine, but I beleive they dropped in a 99 13B.
In My garage now and changed hood!!
Steering wheel in to replace worn out momo replica like wheel
Pics of the gutted interior before I started buying the parts to put it back together
cont...
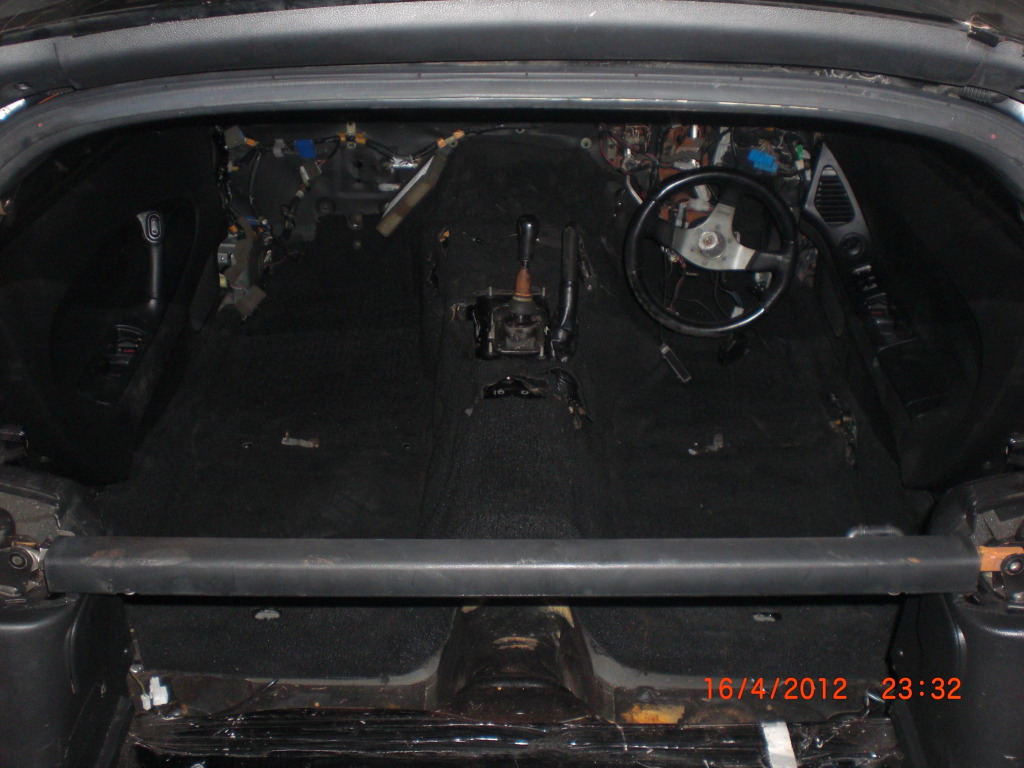
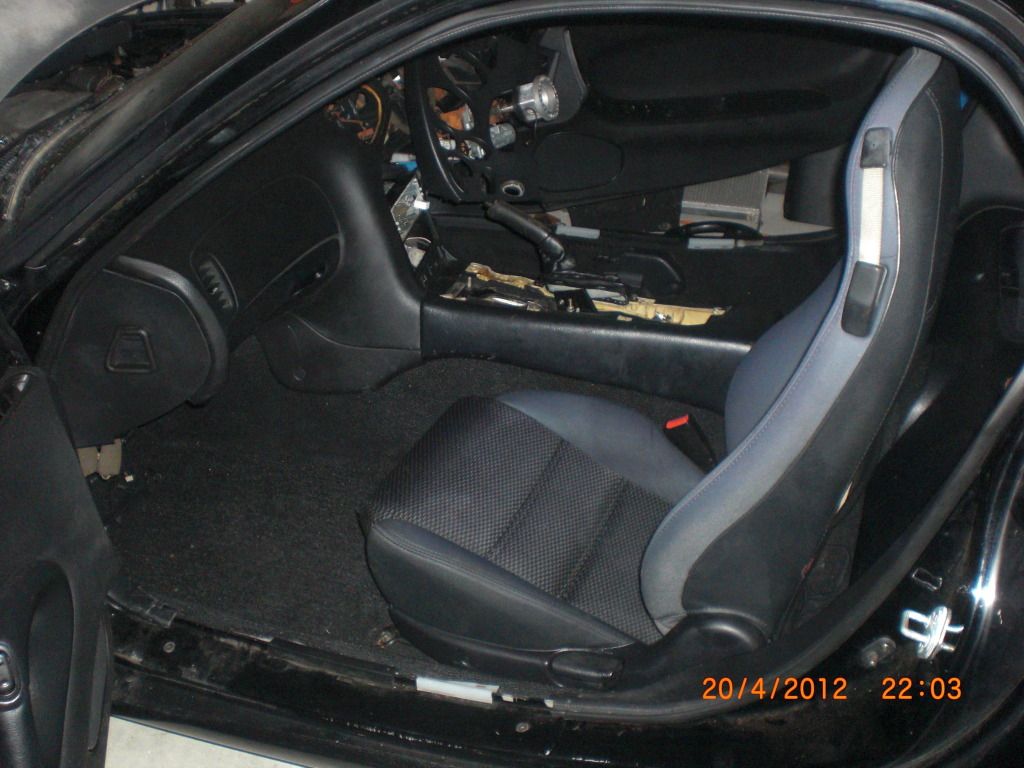
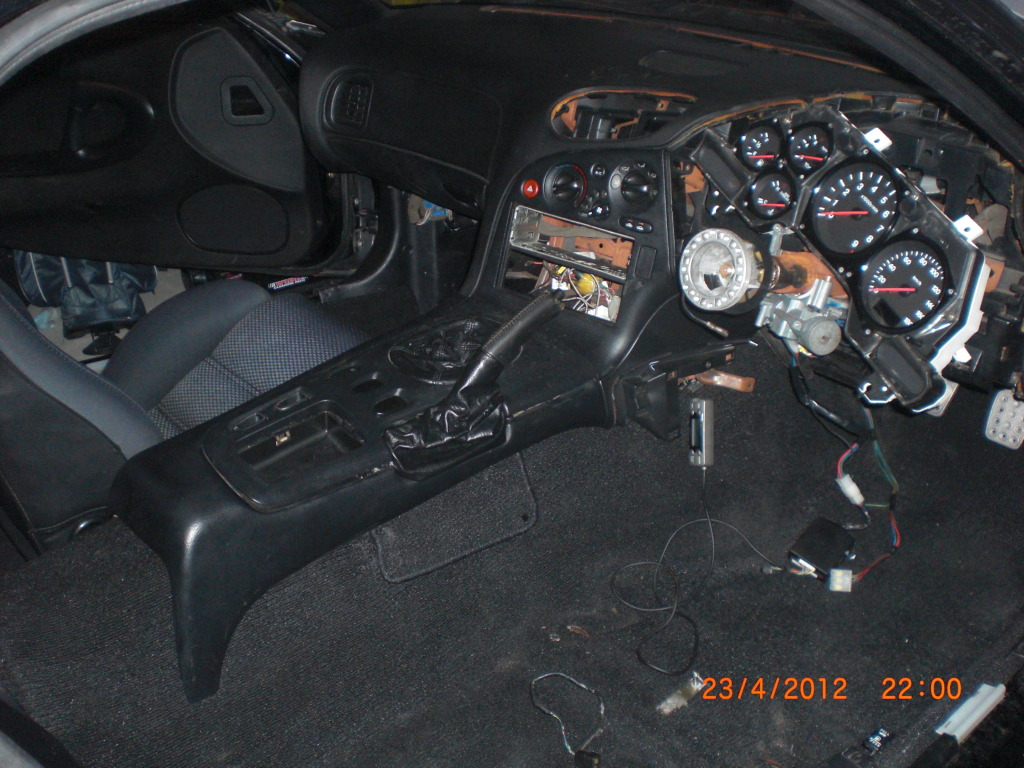
Interior coming together slowly, but surely!

When I first thought I would use the bins...
^^ I was thinking of making it a box for 1 8" JL Audio sub--never happened though
Pushed out of the garage for the first time, was looking for some air when trying to install the cat
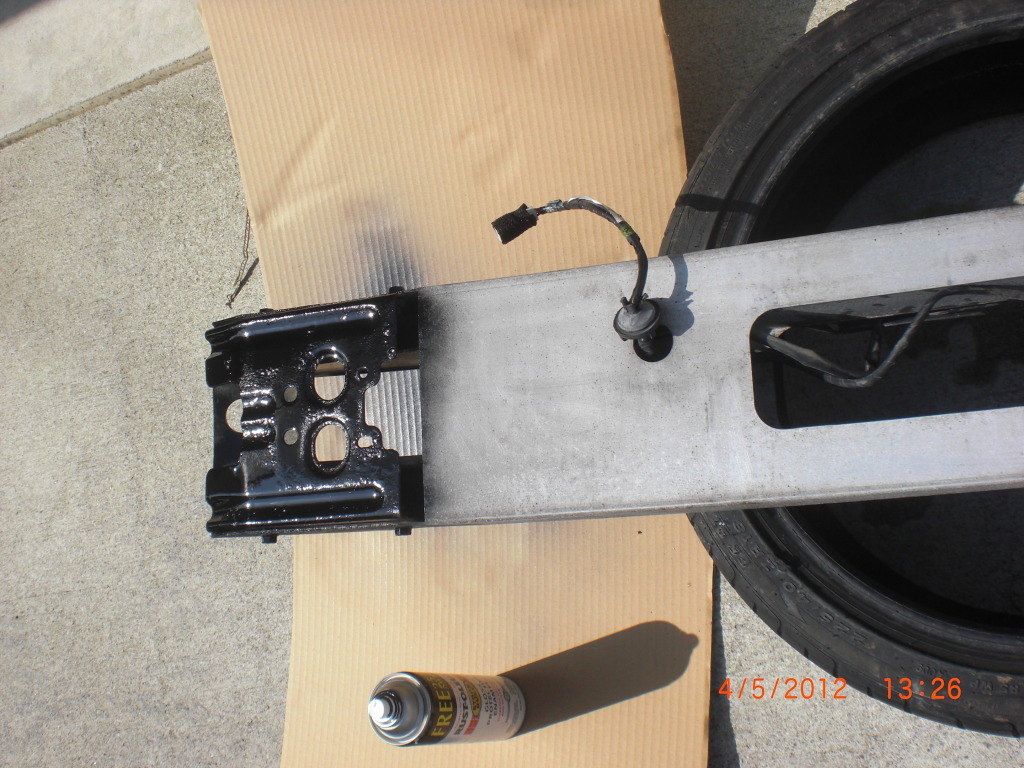
before taking it out I had installed the bumper, but needed to spray paint the brackets for rust control
Interior coming together slowly, but surely!
When I first thought I would use the bins...
^^ I was thinking of making it a box for 1 8" JL Audio sub--never happened though
Pushed out of the garage for the first time, was looking for some air when trying to install the cat
before taking it out I had installed the bumper, but needed to spray paint the brackets for rust control
cont...
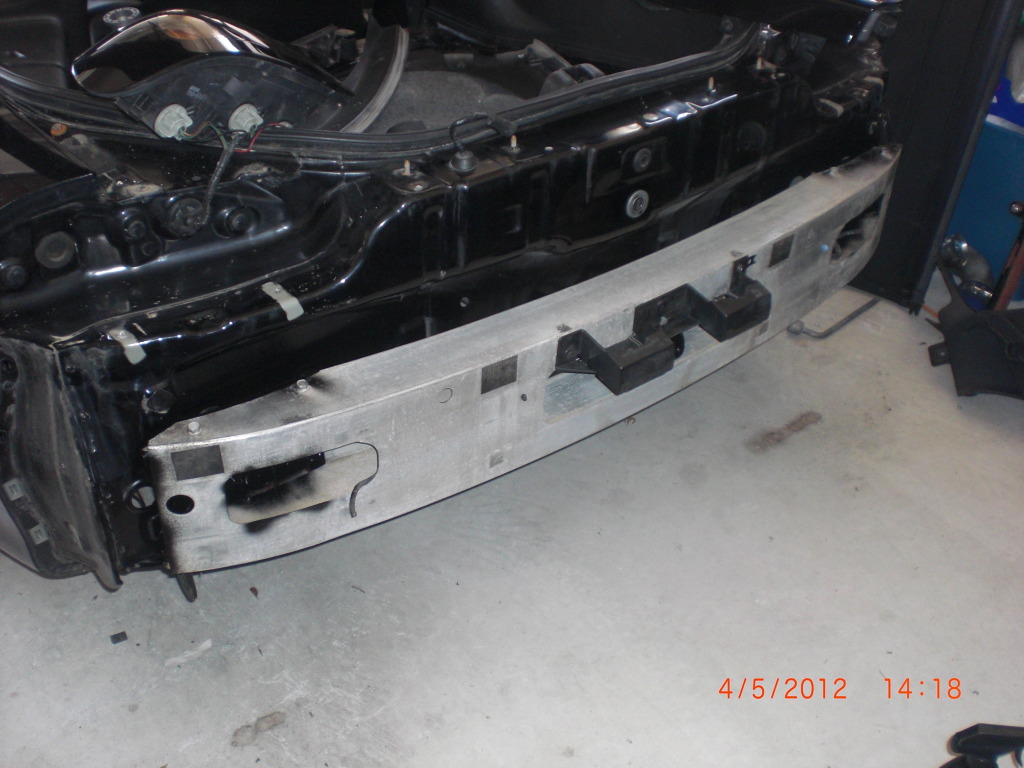
bumper support only
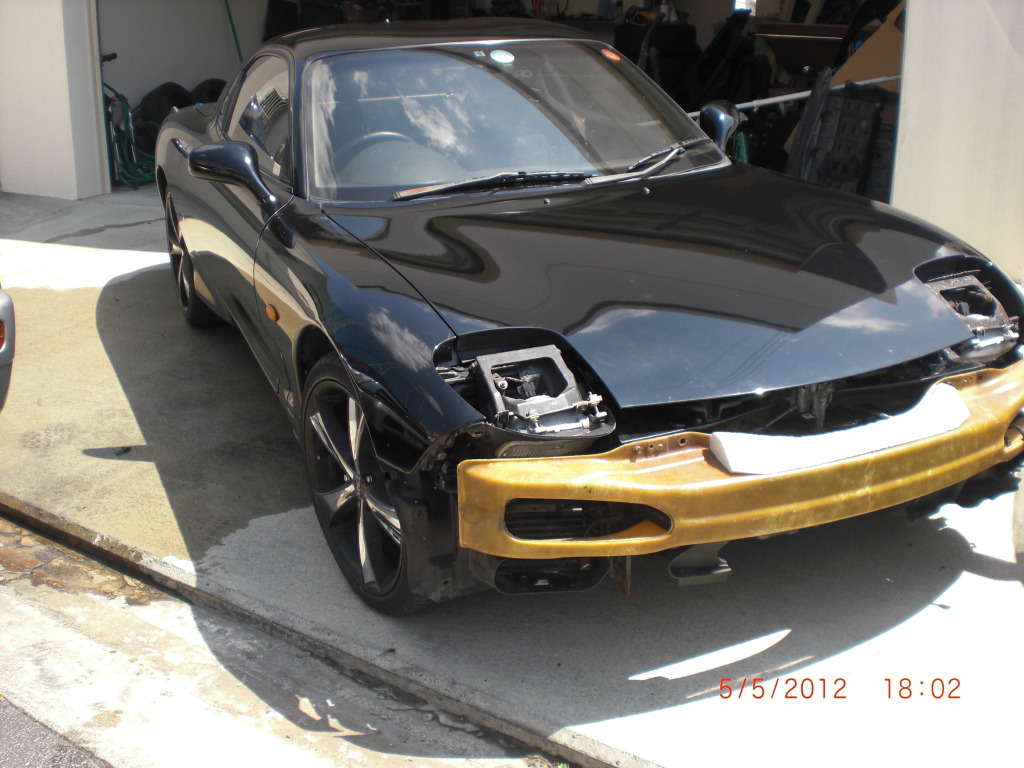
with aftermarket bumper I originally thought I would use, but getting this painted would have cost me around $300-$400!
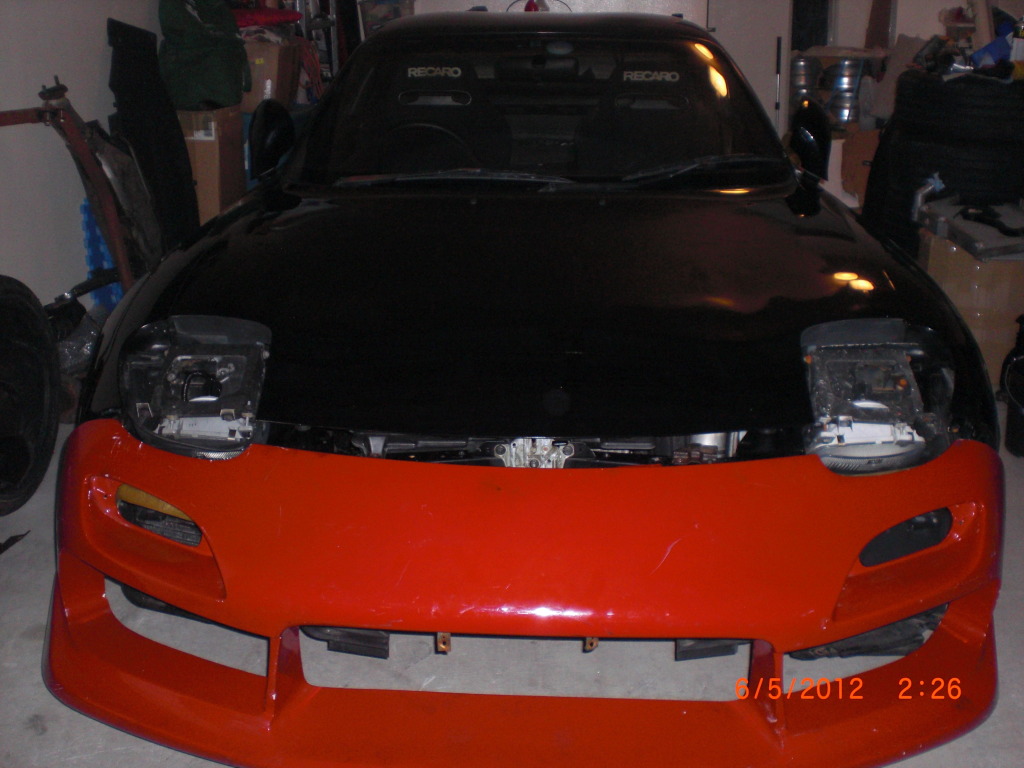
fast forward a few months and this is what I went with: stock bumper with aftermarket lip, much better looking if you ask me
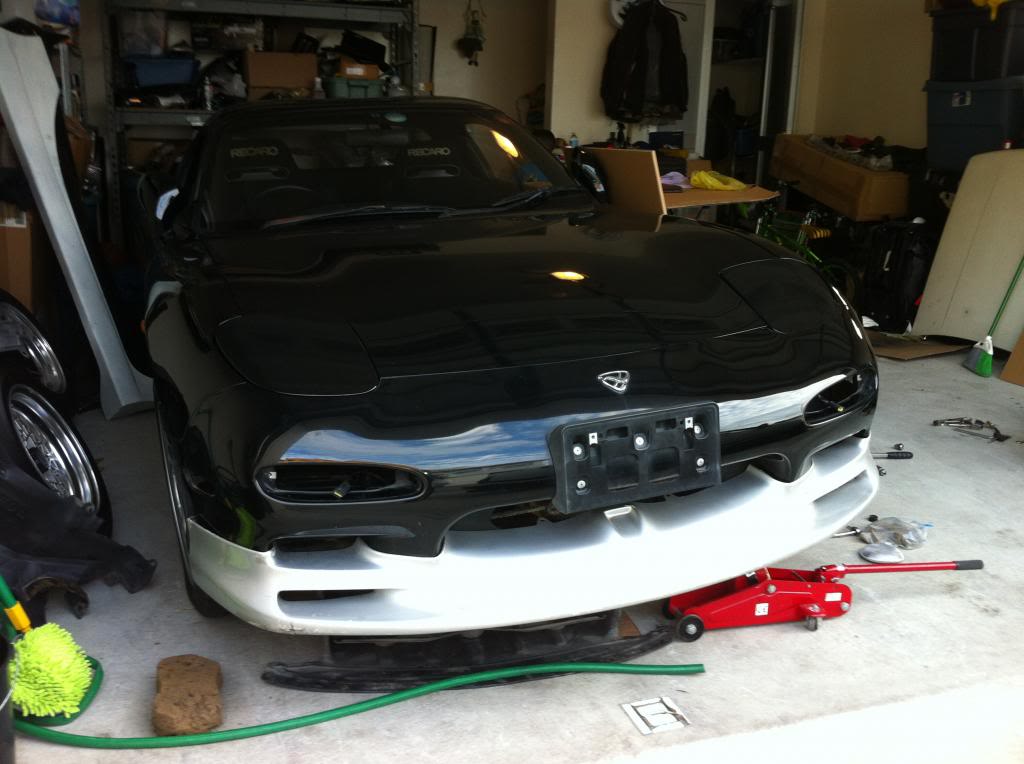
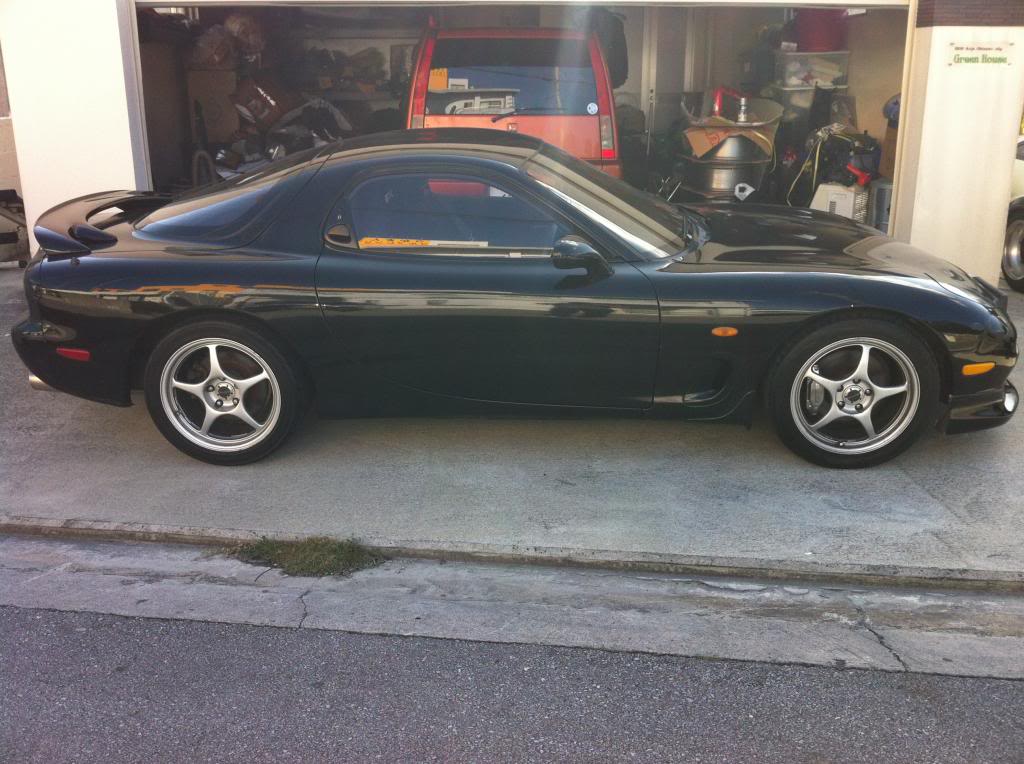
Out for a wash and notice parts of the feed wing, mainly to cover the holes. Oh, I also got rid of the nasty looking 18" chinese made wheels the car came with and replaced them with a more conservative enkei ones
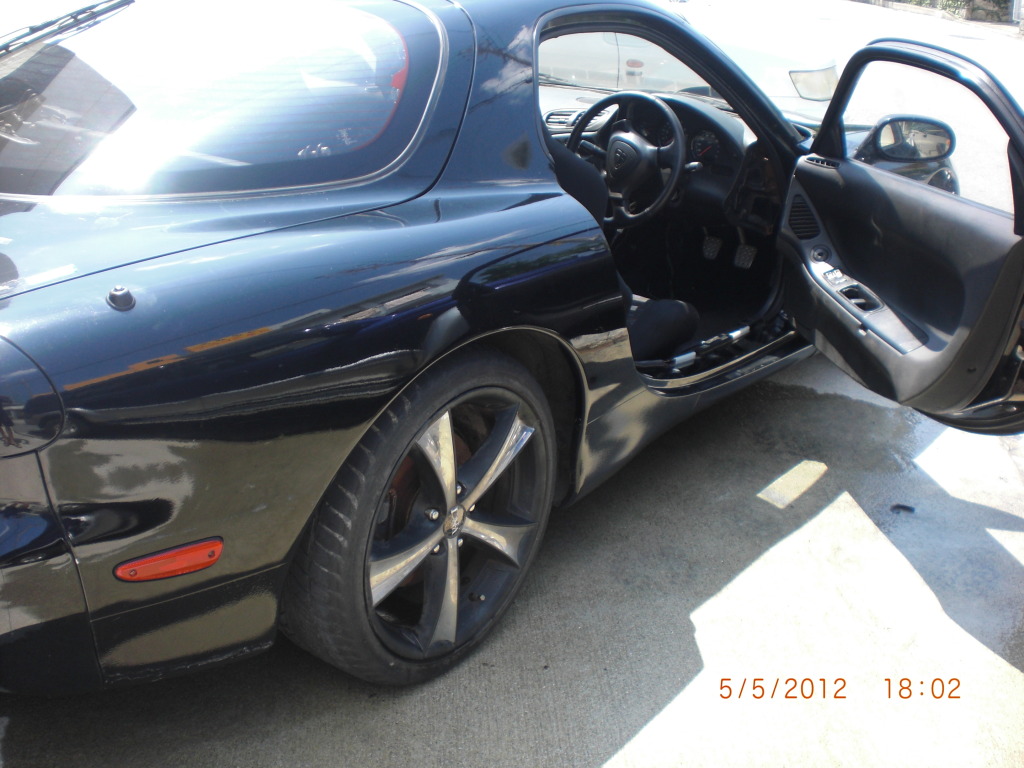
A more recent pic with the lip painted and complete bumper. The car had temporary plates on, so I was able to drive it for the first time and what a joy it was...this was last week.
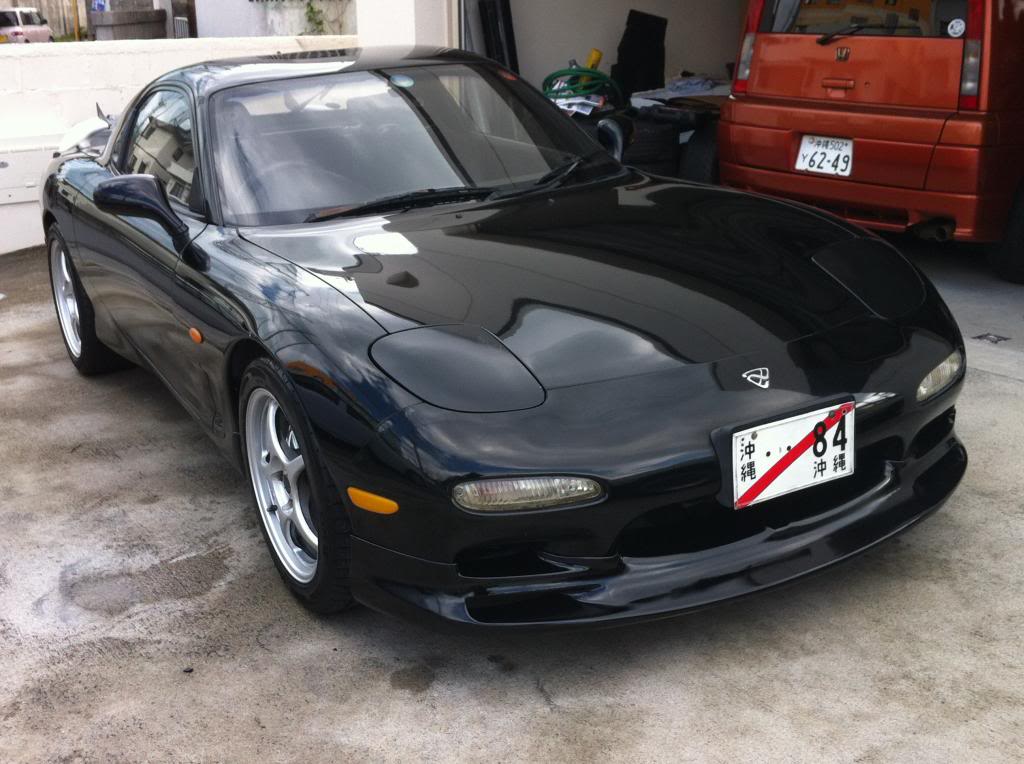
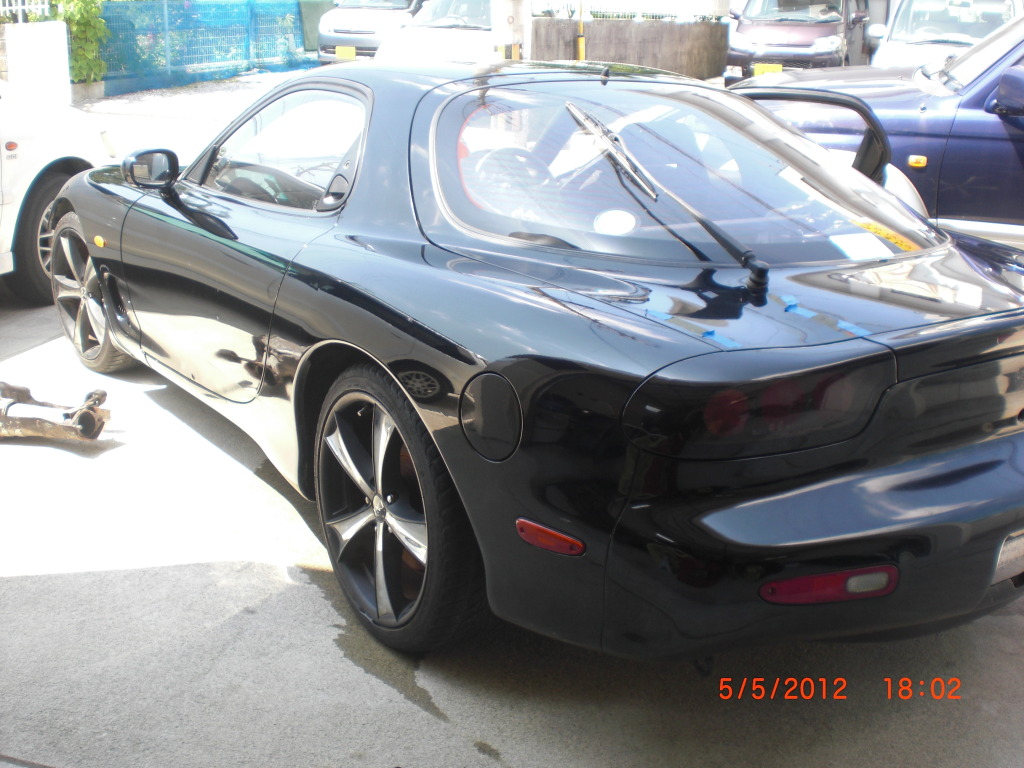
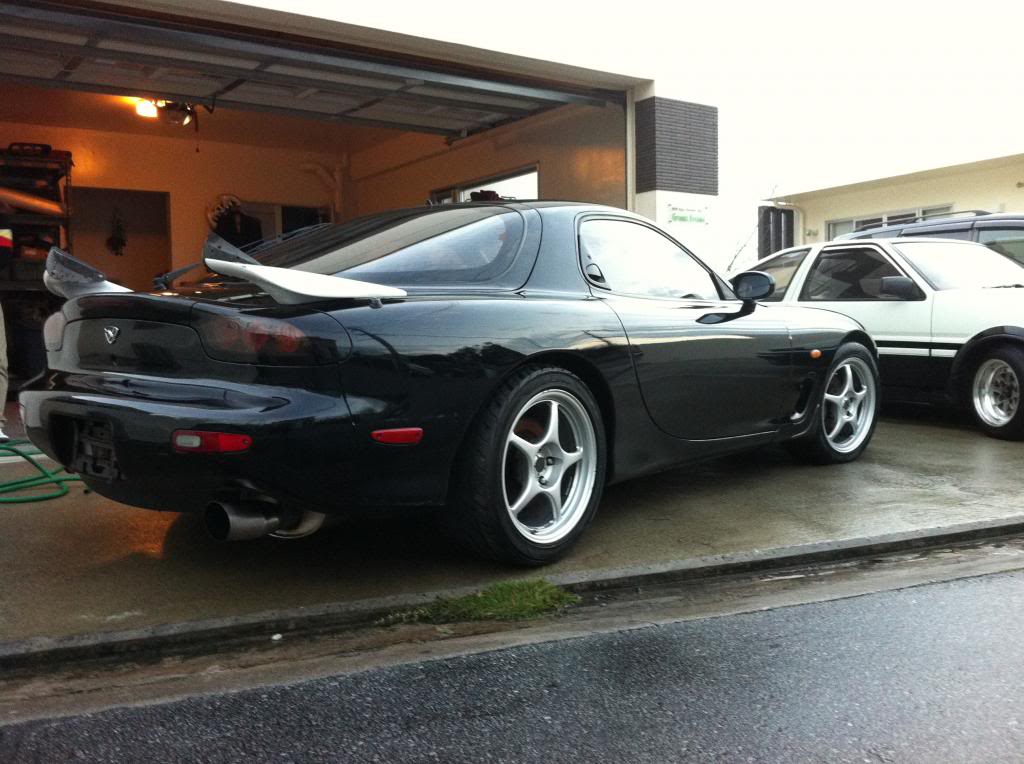
And this is how she sits today!!!!!
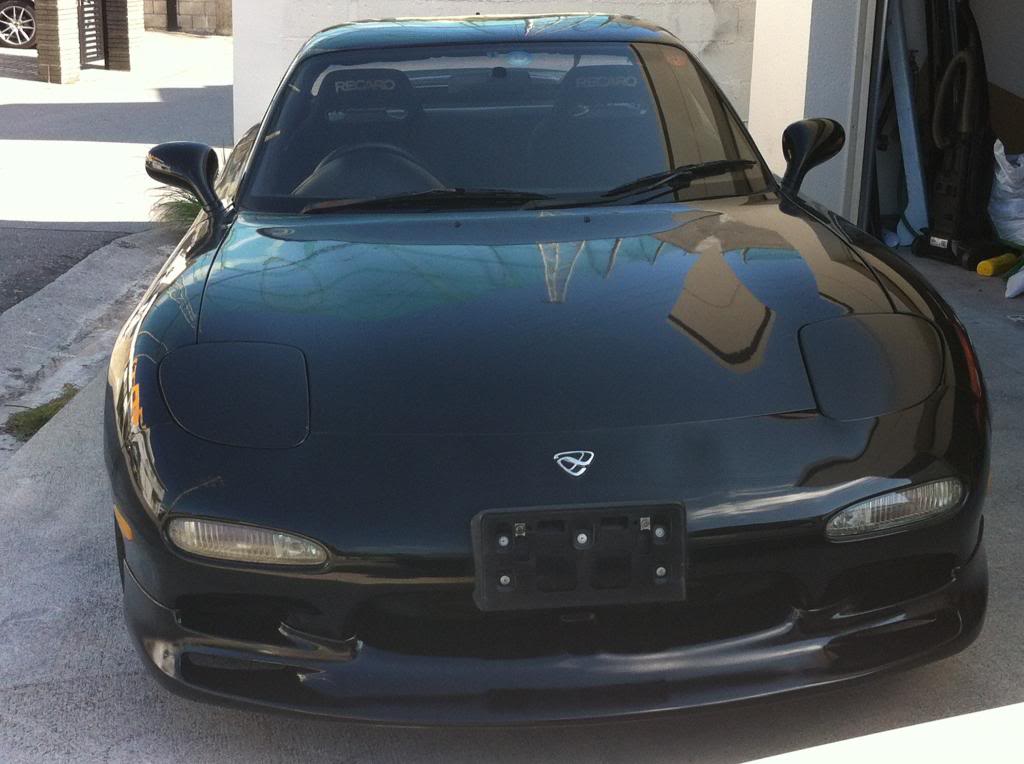
Notice the painted caliper
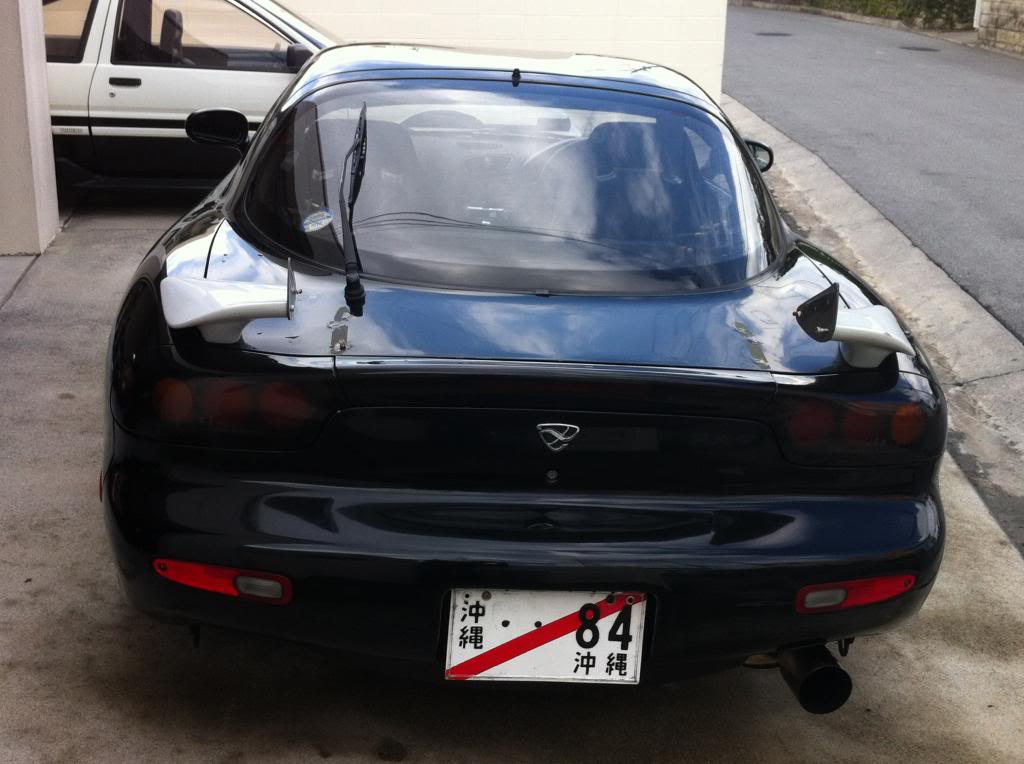
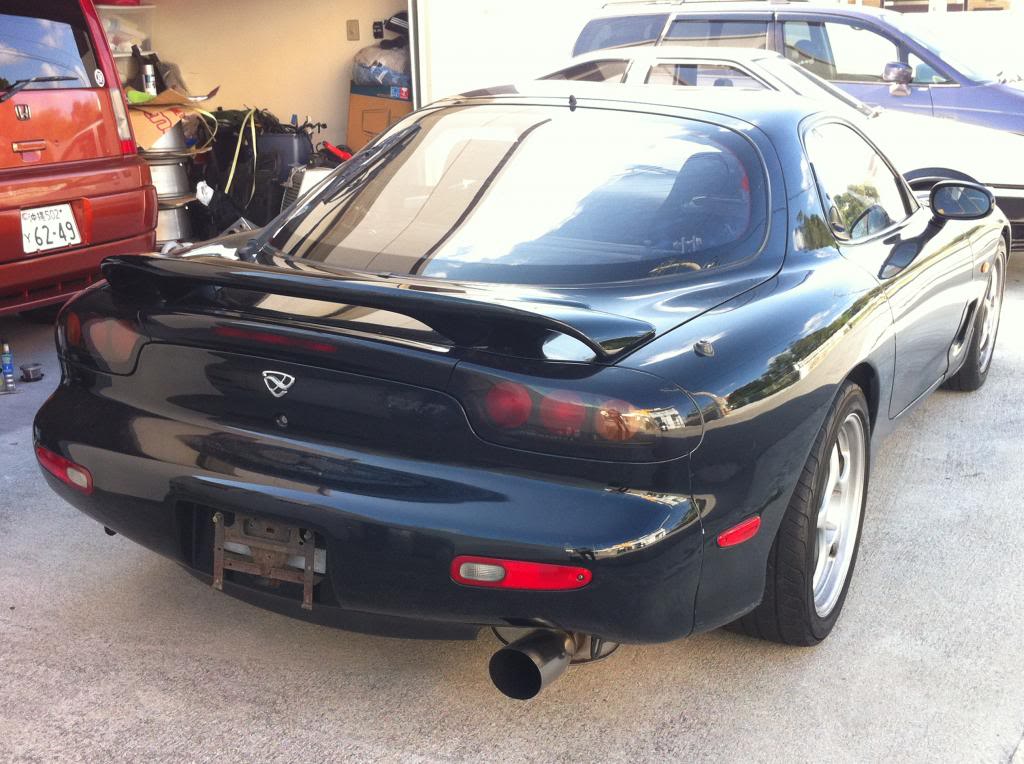
Finally got a wing that matches the car and it's like new, too!!
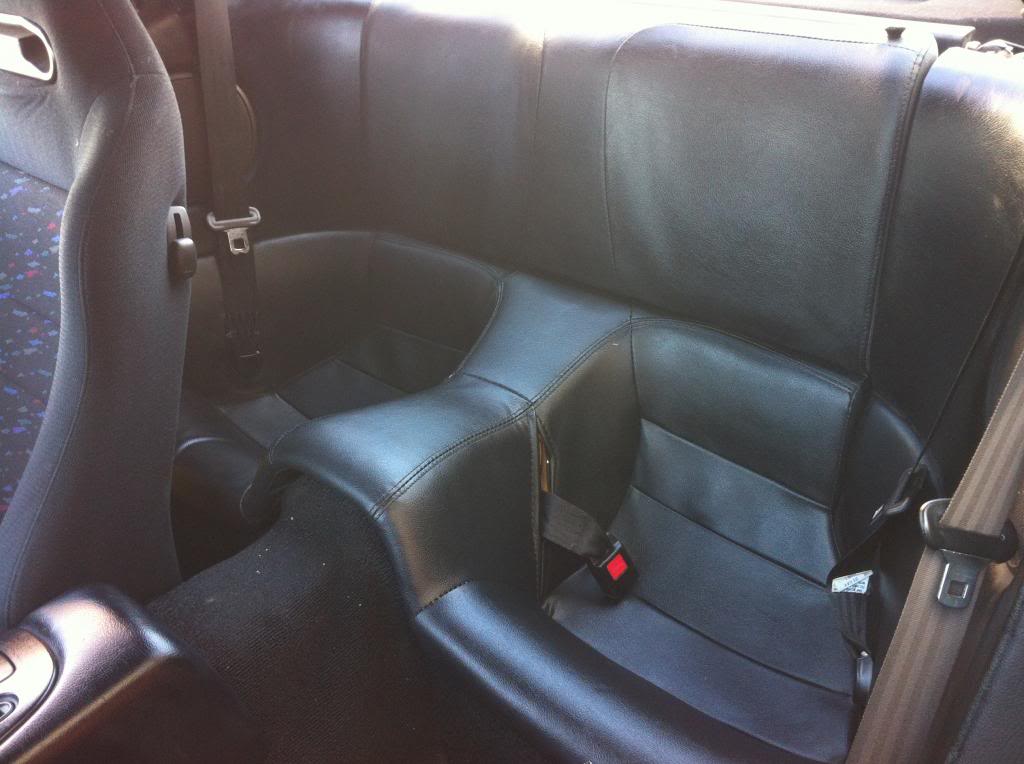
Clean rear seats and belts
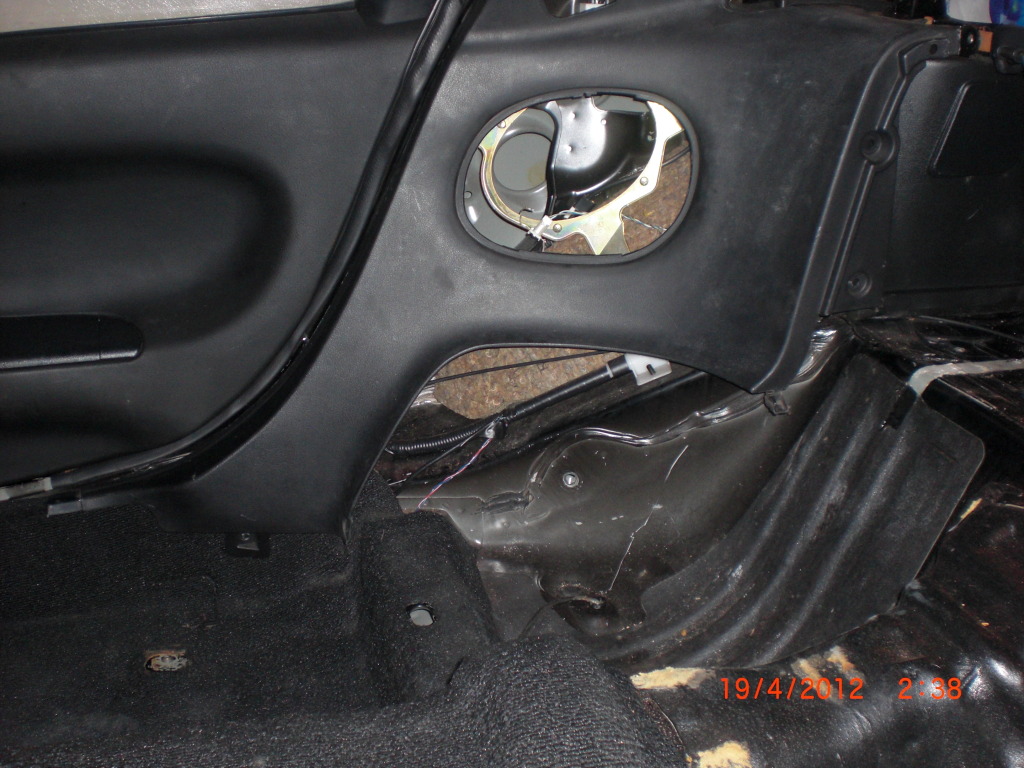
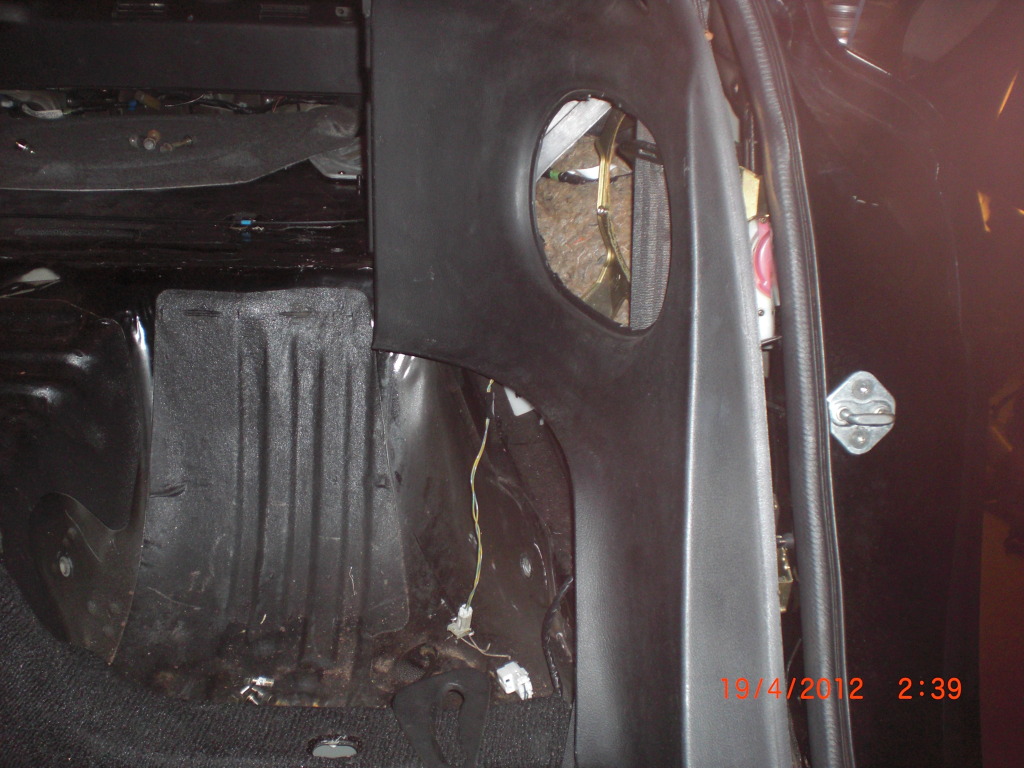
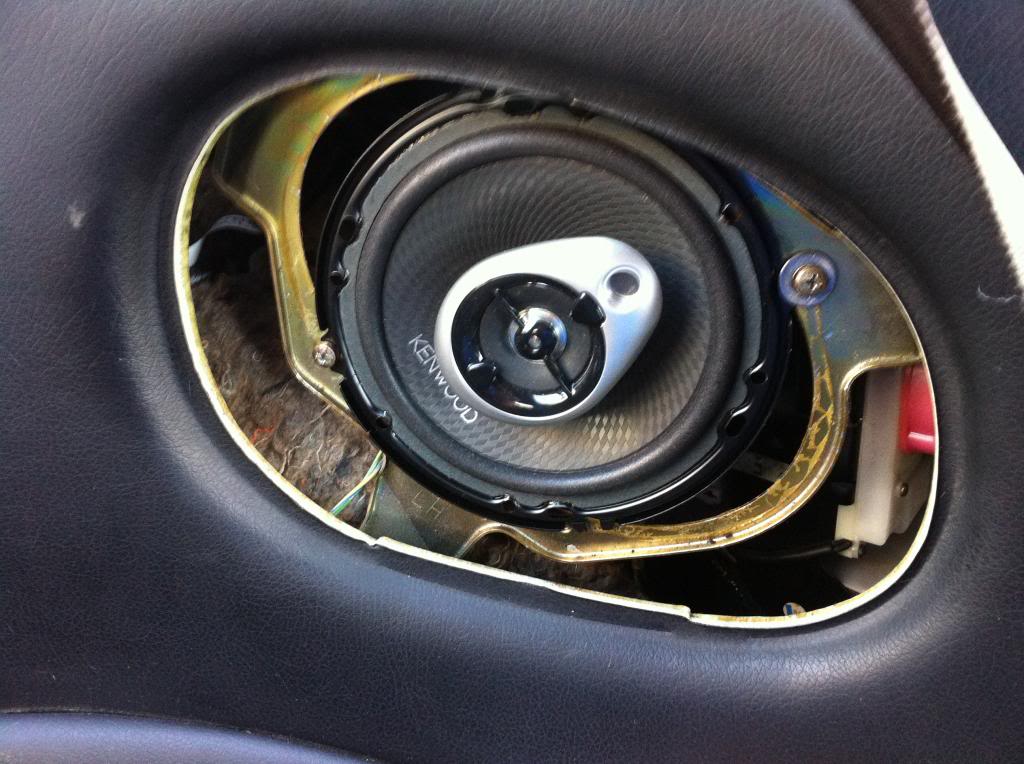
While at it, I replaced the rear speakers for something that actually fits the oval hole:
Before:
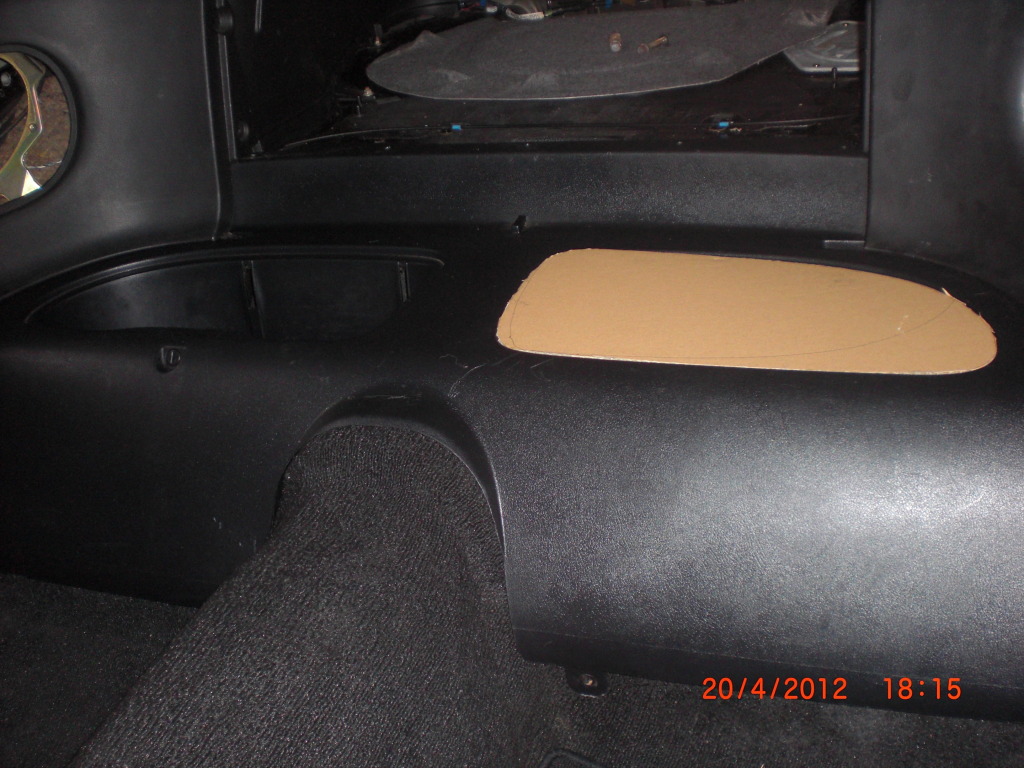
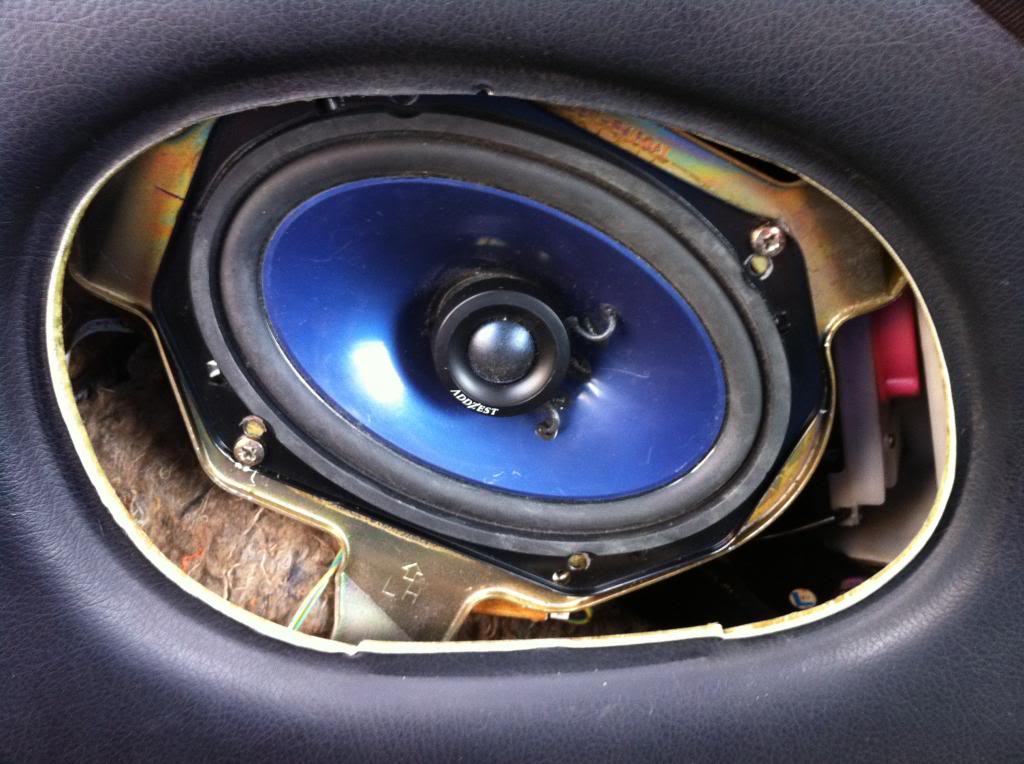
After:
bumper support only
with aftermarket bumper I originally thought I would use, but getting this painted would have cost me around $300-$400!
fast forward a few months and this is what I went with: stock bumper with aftermarket lip, much better looking if you ask me
Out for a wash and notice parts of the feed wing, mainly to cover the holes. Oh, I also got rid of the nasty looking 18" chinese made wheels the car came with and replaced them with a more conservative enkei ones
A more recent pic with the lip painted and complete bumper. The car had temporary plates on, so I was able to drive it for the first time and what a joy it was...this was last week.
And this is how she sits today!!!!!
Notice the painted caliper
Finally got a wing that matches the car and it's like new, too!!
Clean rear seats and belts
While at it, I replaced the rear speakers for something that actually fits the oval hole:
Before:
After:
cont...
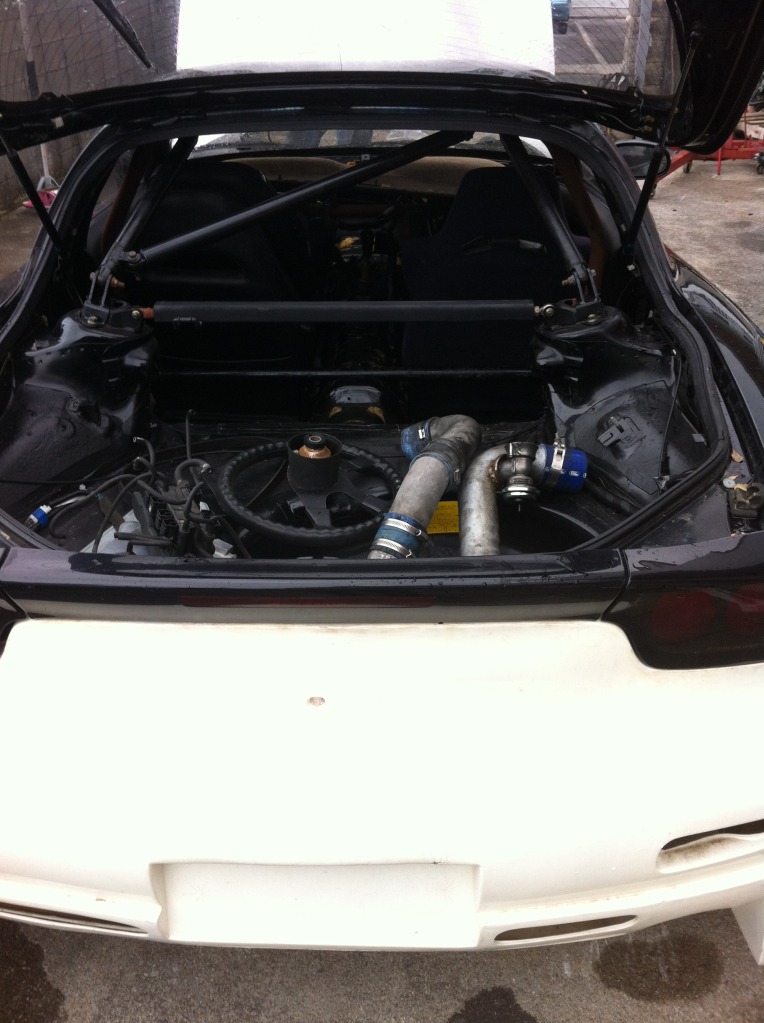
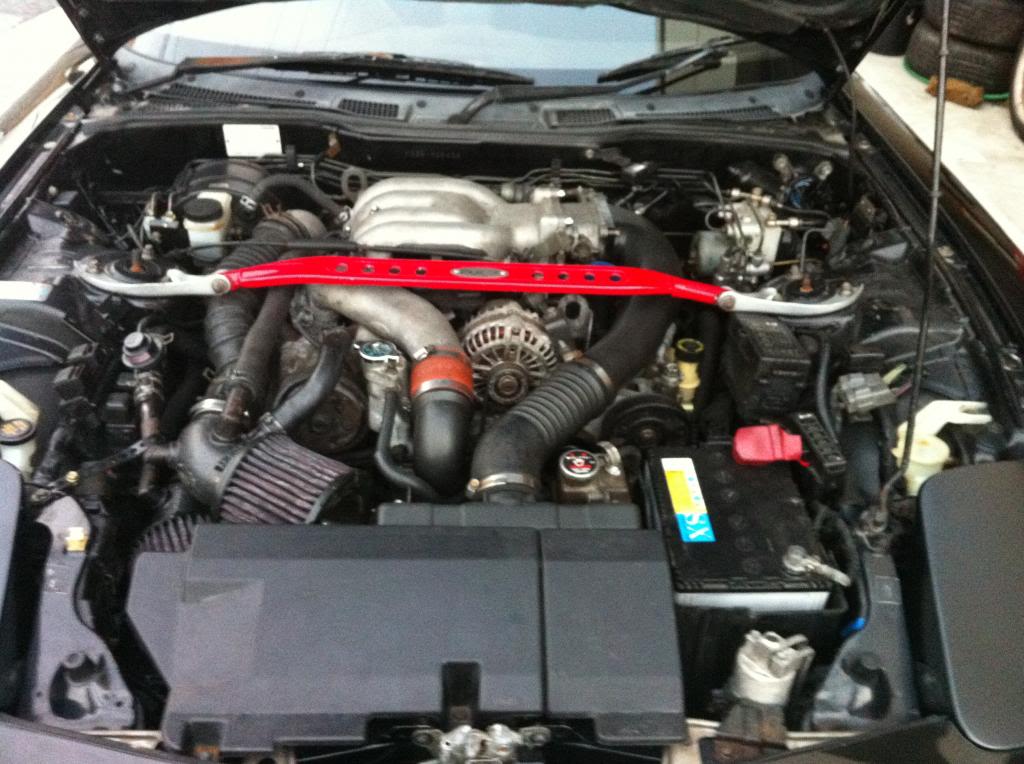
And this is how the engine presently looks
As I mentioned at the beginning of my thread, I installed the wing yesterday and finished the rear seat and seat belts today so I can pass inspection. I just got another set of temporary plates so I can drive it over the weekend and do a few things to it.
I don't think I mentioned this earlier, but this is a 95 RX7 Bathurst Edition with newer spec engine.
I will be posting more pics of the car sometime this weekend after I wash it and maybe give it a nice polishing.
Thank you all for looking at what has been my project for the last 6 months. This is my first FD and what can I say, no better way to learn about a car than to put it all together from sratch!!!
Cheers!!!


Trending Topics


Don't know who makes it, but you know them Japs, they've got stuff you'd never imagine was out there.
Haven't seen any aftermarket OEM carpet kits.
Haven't seen any aftermarket OEM carpet kits.


 Good call to put back to original those ugly parts (rear + front bumper, fugly frog eyes, etc)
So today after all the hard work I put on this car I had to let her go due to my move back to the US. All the knowledge I gained from building this car will be put to good use whenever I find another FD shell, will be more than ready to put another one together, maybe this time with my 3rotor engine. Thanks for all the comments. Until then....

