
CREEPENJEEPEN's 94 Montego Build


CREEPENJEEPEN's 94 Montego Build
I wasn't going to make a thread about this but thought some people might be interested in this build. Also I'd like to look back at my build and I figured the forums are a great place to document, so I'll just plant my **** here. 
I could not stand the A pillar gauge pods and figured I'd put the gauges somewhere else that came with this car that I bought in April 2017. Long story short, I found a rats nest of electrical wires and decided I'll fix it. That involved me taking out the dash and thought since I'm already this far, I might as well take out the carpet, heater box, evaporator, blower motor and install dynamat/dynaliner. So here is my progress.
Im also restoring the blower motor, heater box and evaporator.
https://www.rx7club.com/3rd-generati...photos-993190/
https://www.rx7club.com/3rd-generati...hotos-1001759/
I have a few more interesting custom made interior ideas. So check out this thread once in awhile for updates. Below is a link for a hint.
https://www.rx7club.com/3rd-gen-gene...-oled-1123256/
I could not stand the A pillar gauge pods and figured I'd put the gauges somewhere else that came with this car that I bought in April 2017. Long story short, I found a rats nest of electrical wires and decided I'll fix it. That involved me taking out the dash and thought since I'm already this far, I might as well take out the carpet, heater box, evaporator, blower motor and install dynamat/dynaliner. So here is my progress.

Im also restoring the blower motor, heater box and evaporator.
https://www.rx7club.com/3rd-generati...photos-993190/
https://www.rx7club.com/3rd-generati...hotos-1001759/
I have a few more interesting custom made interior ideas. So check out this thread once in awhile for updates. Below is a link for a hint.
https://www.rx7club.com/3rd-gen-gene...-oled-1123256/


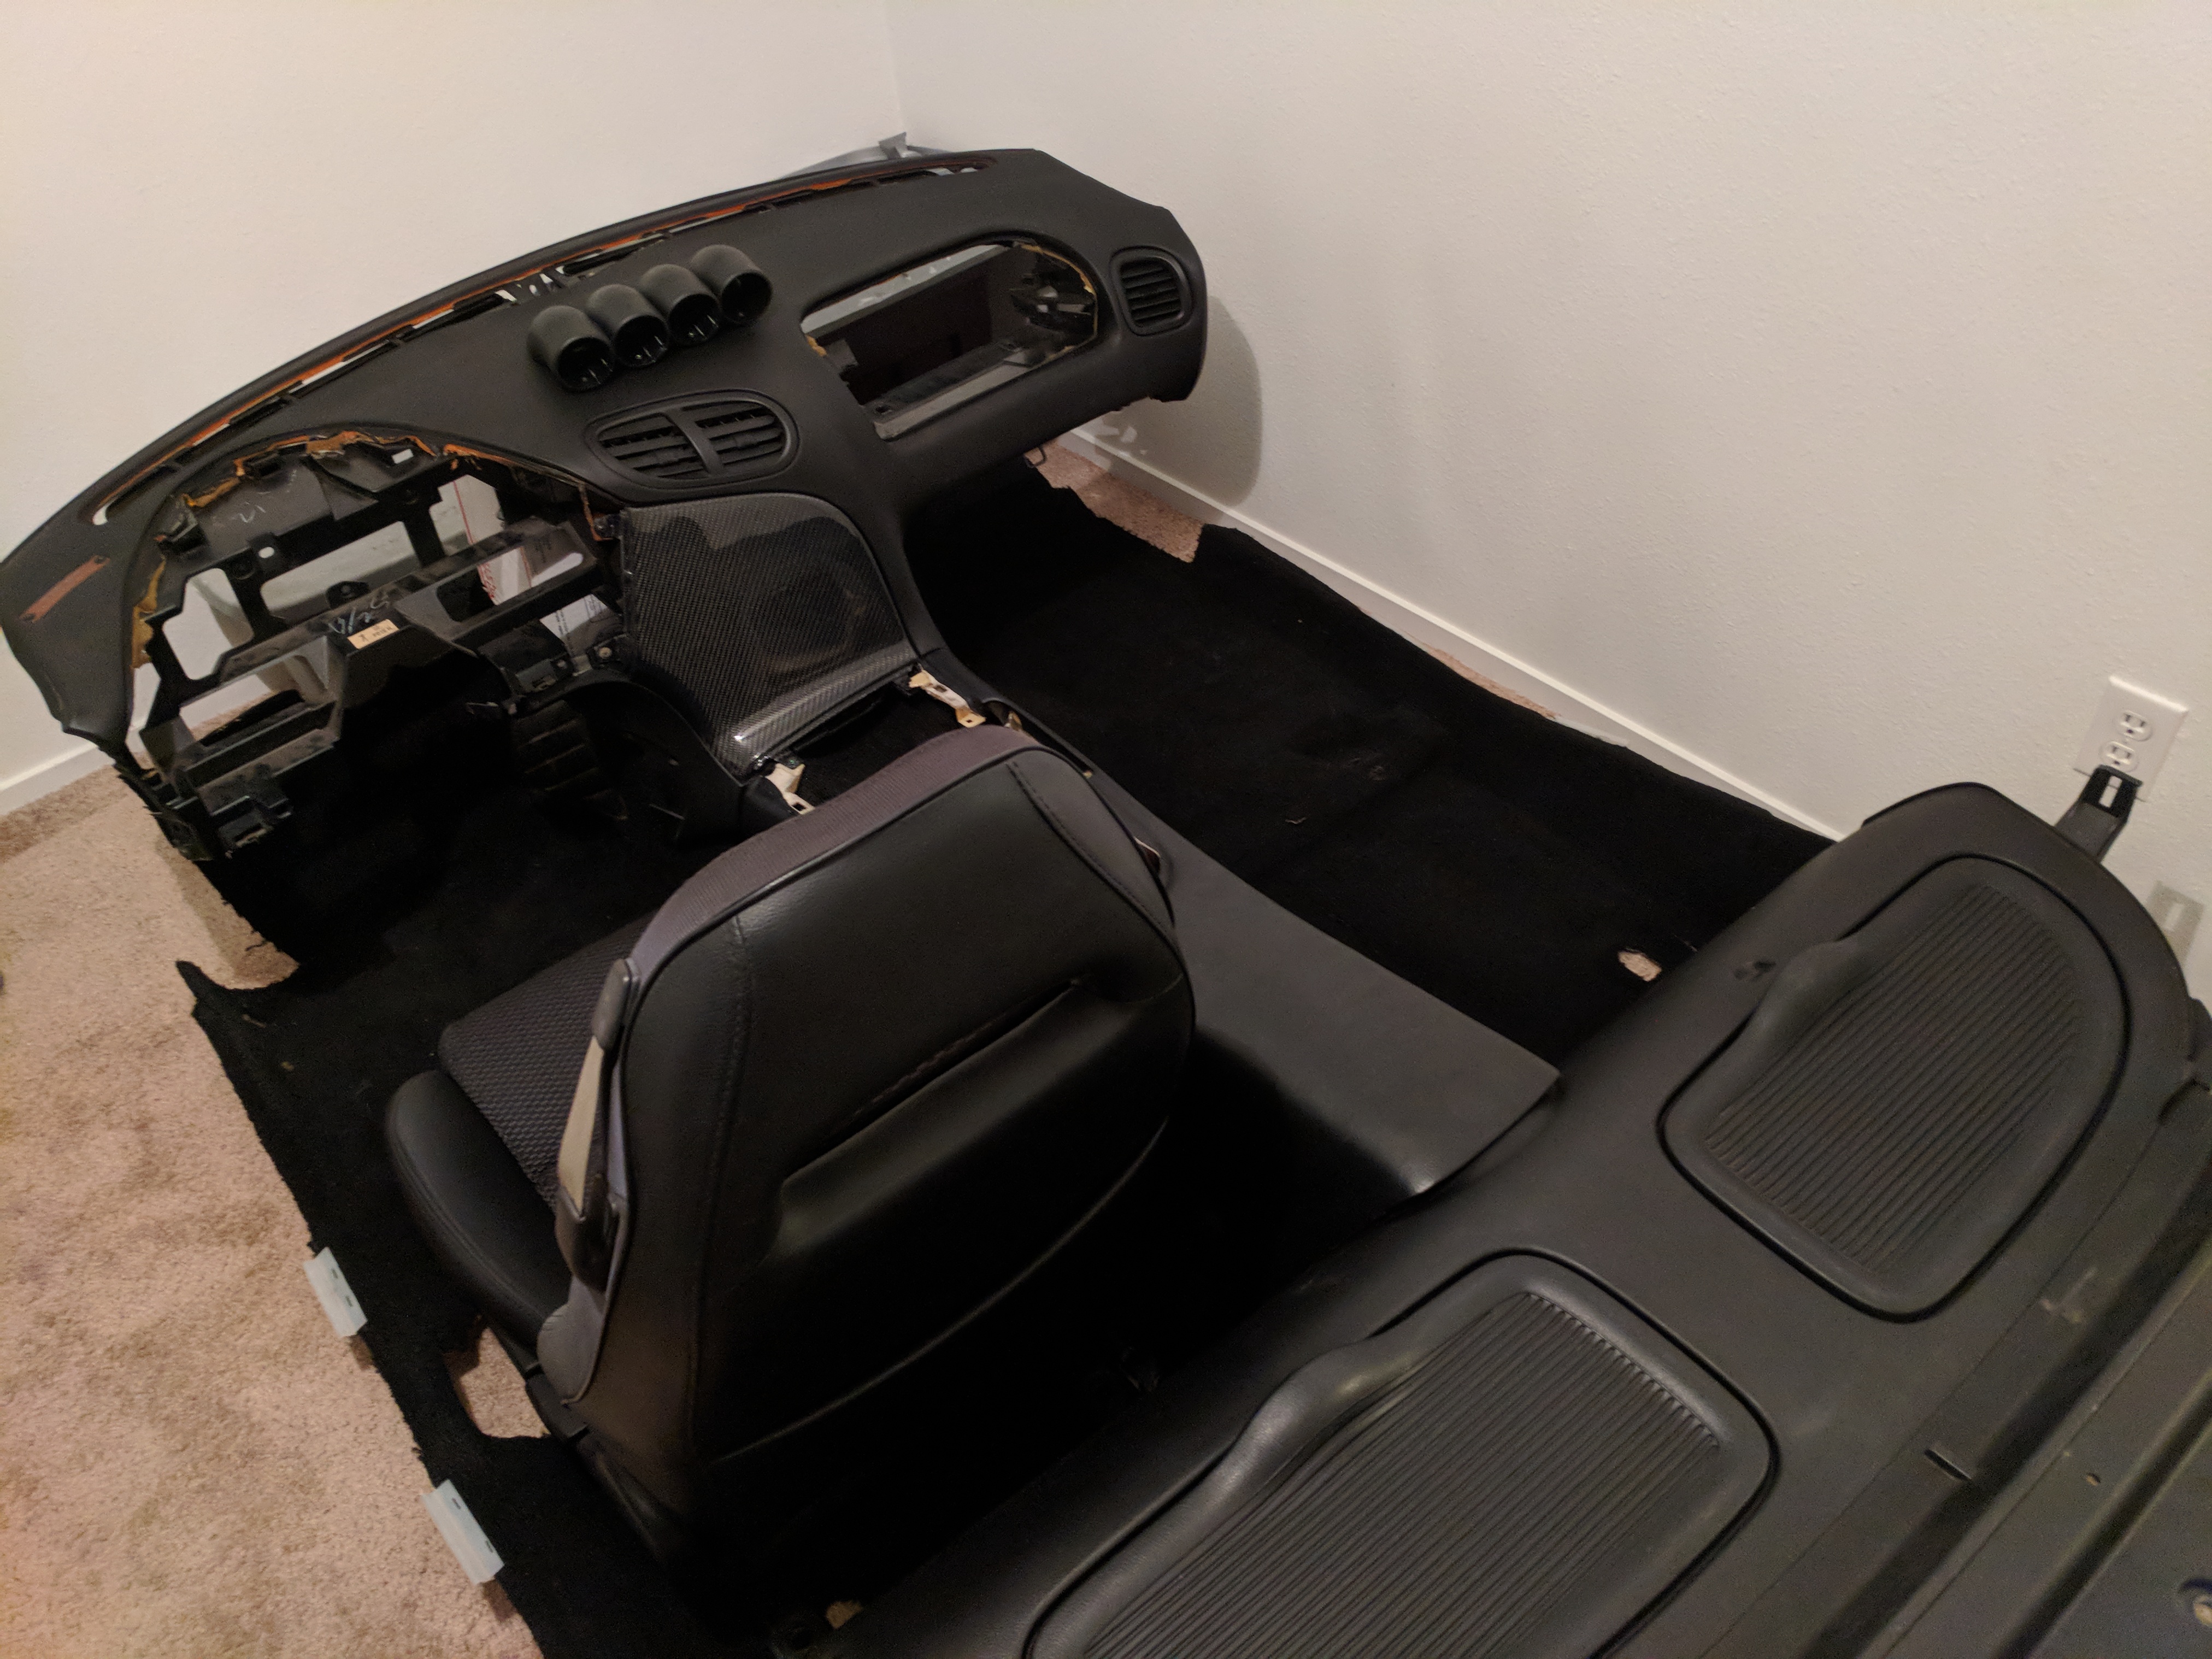
Progress update. What's a better way of designing your interior for your car? Have it in your house! (Wife wasn't happy) lol
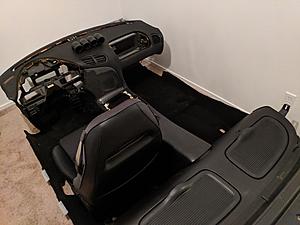
-Center 4 gauge pod (not digging that it sits facing center)
-Blank AC panal (Figuring out where to put my buttons)
-Center 4 gauge pod (not digging that it sits facing center)
-Blank AC panal (Figuring out where to put my buttons)
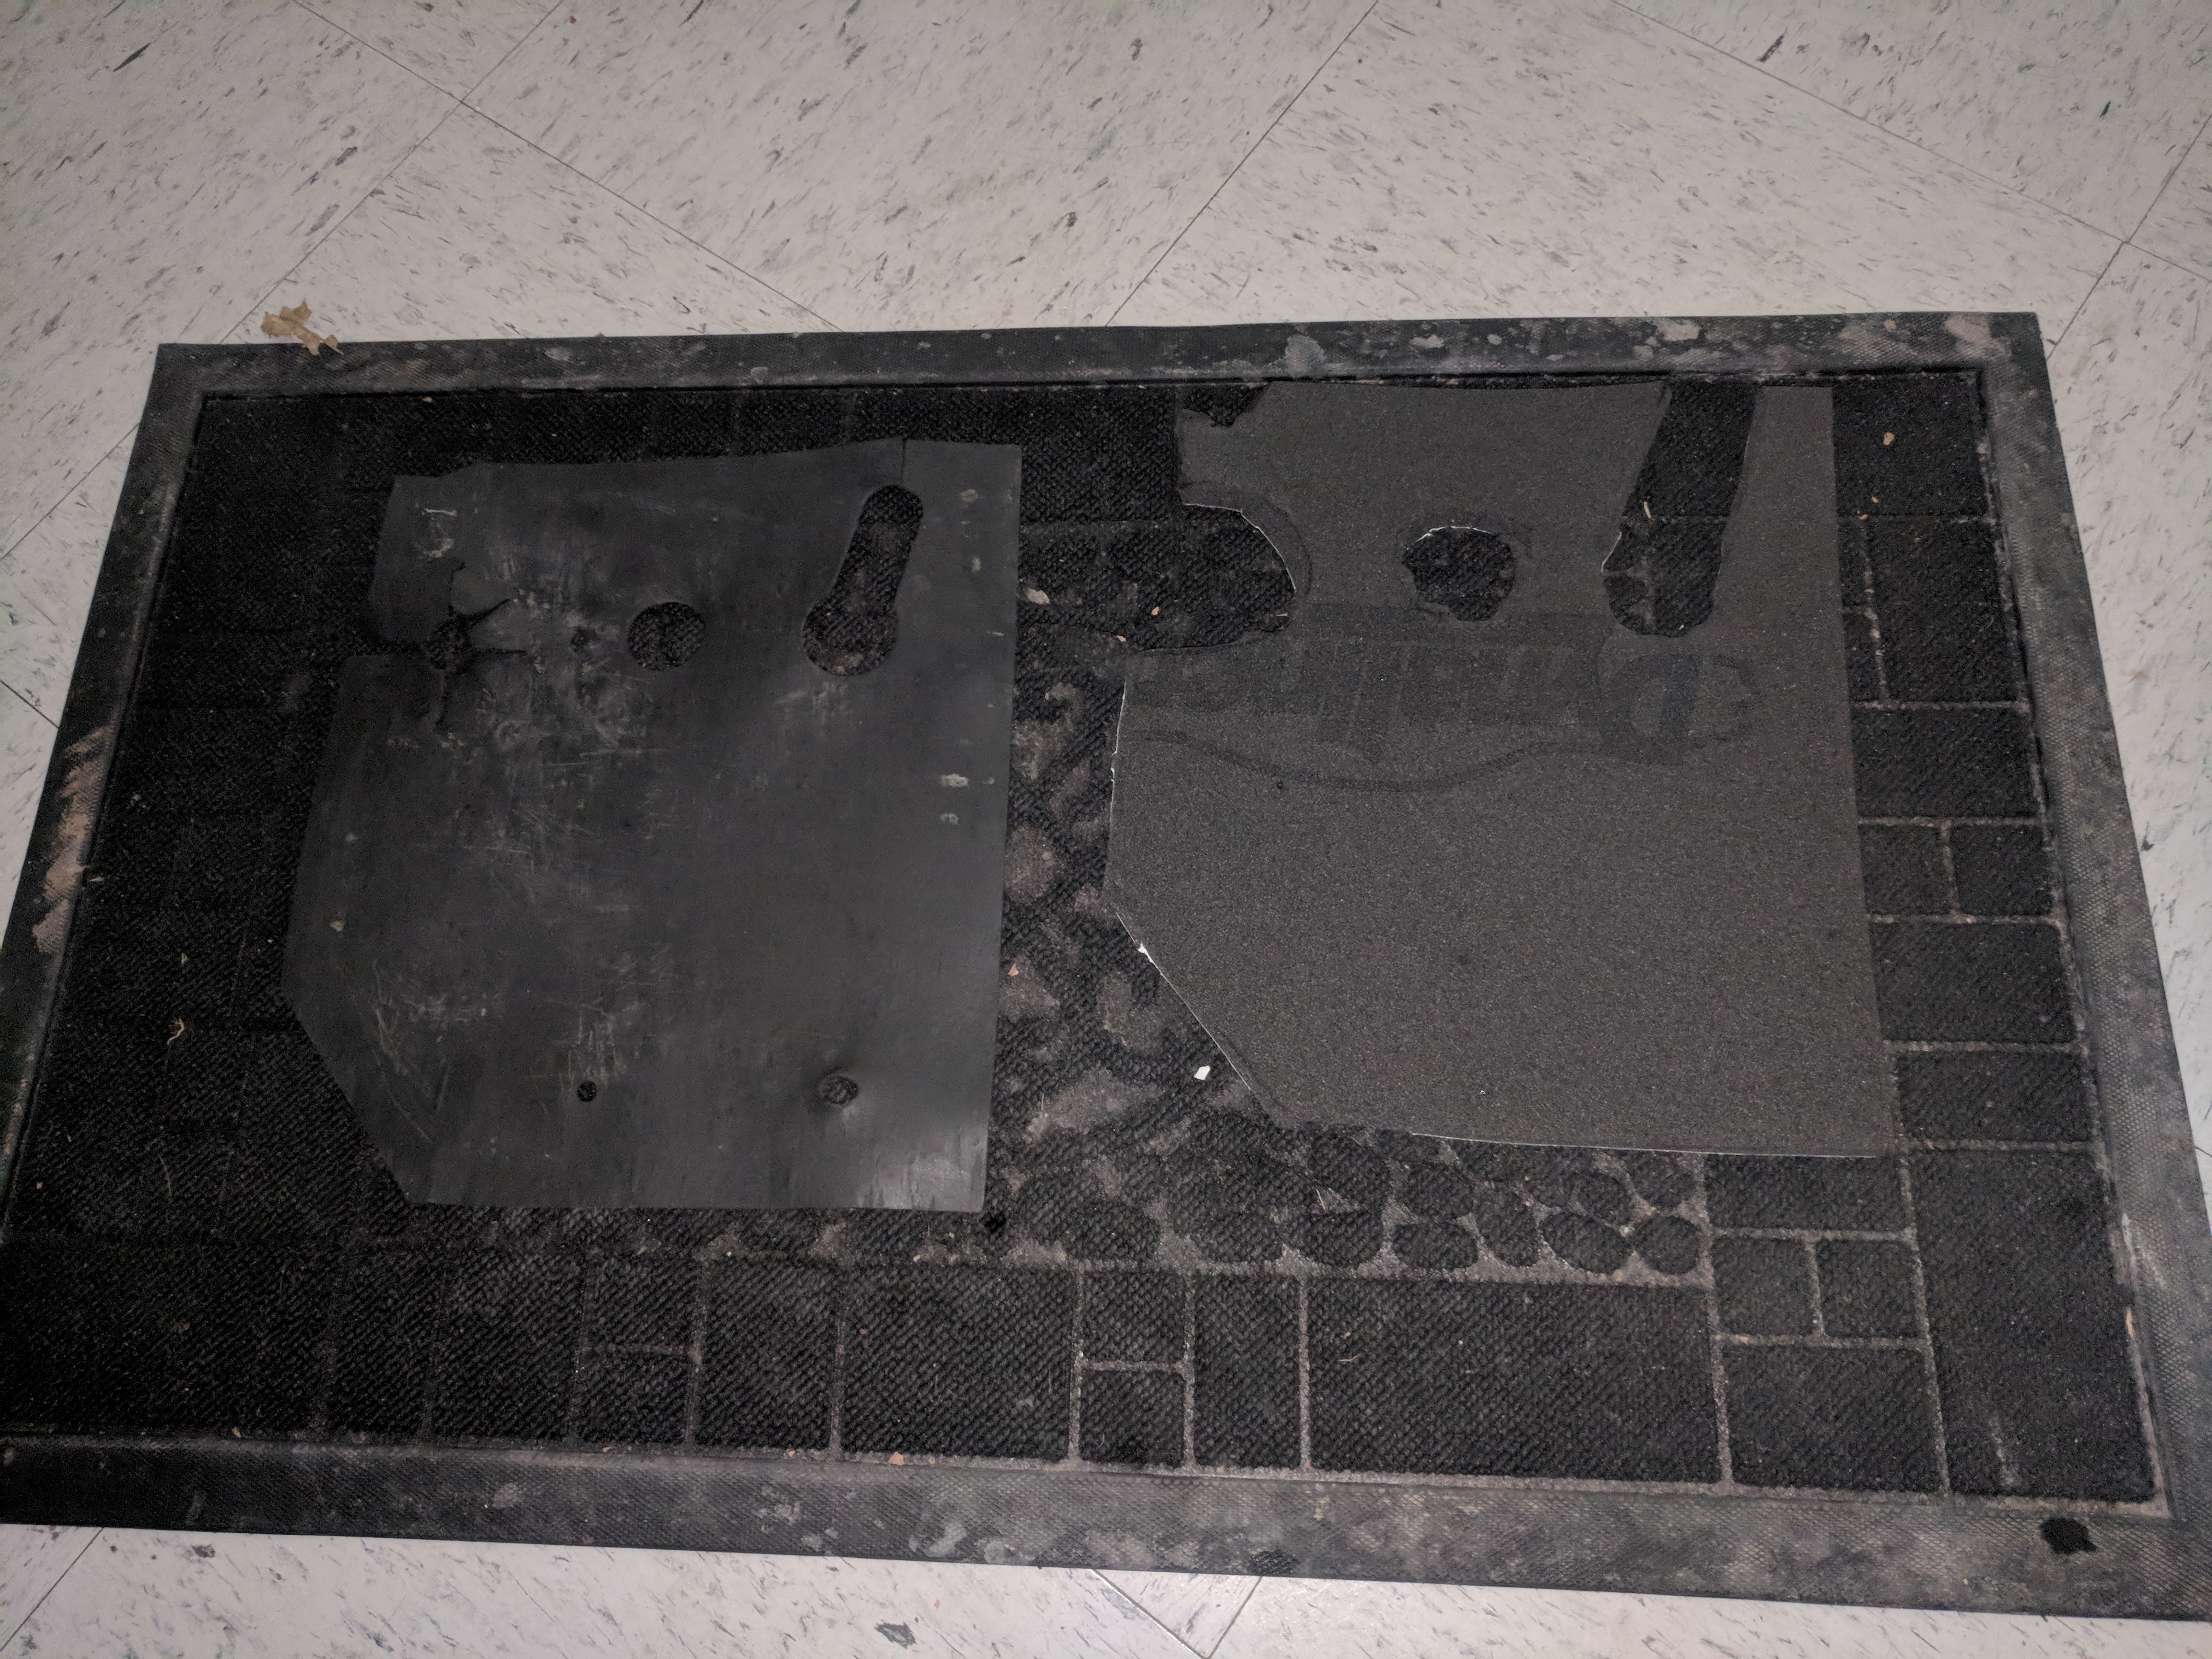
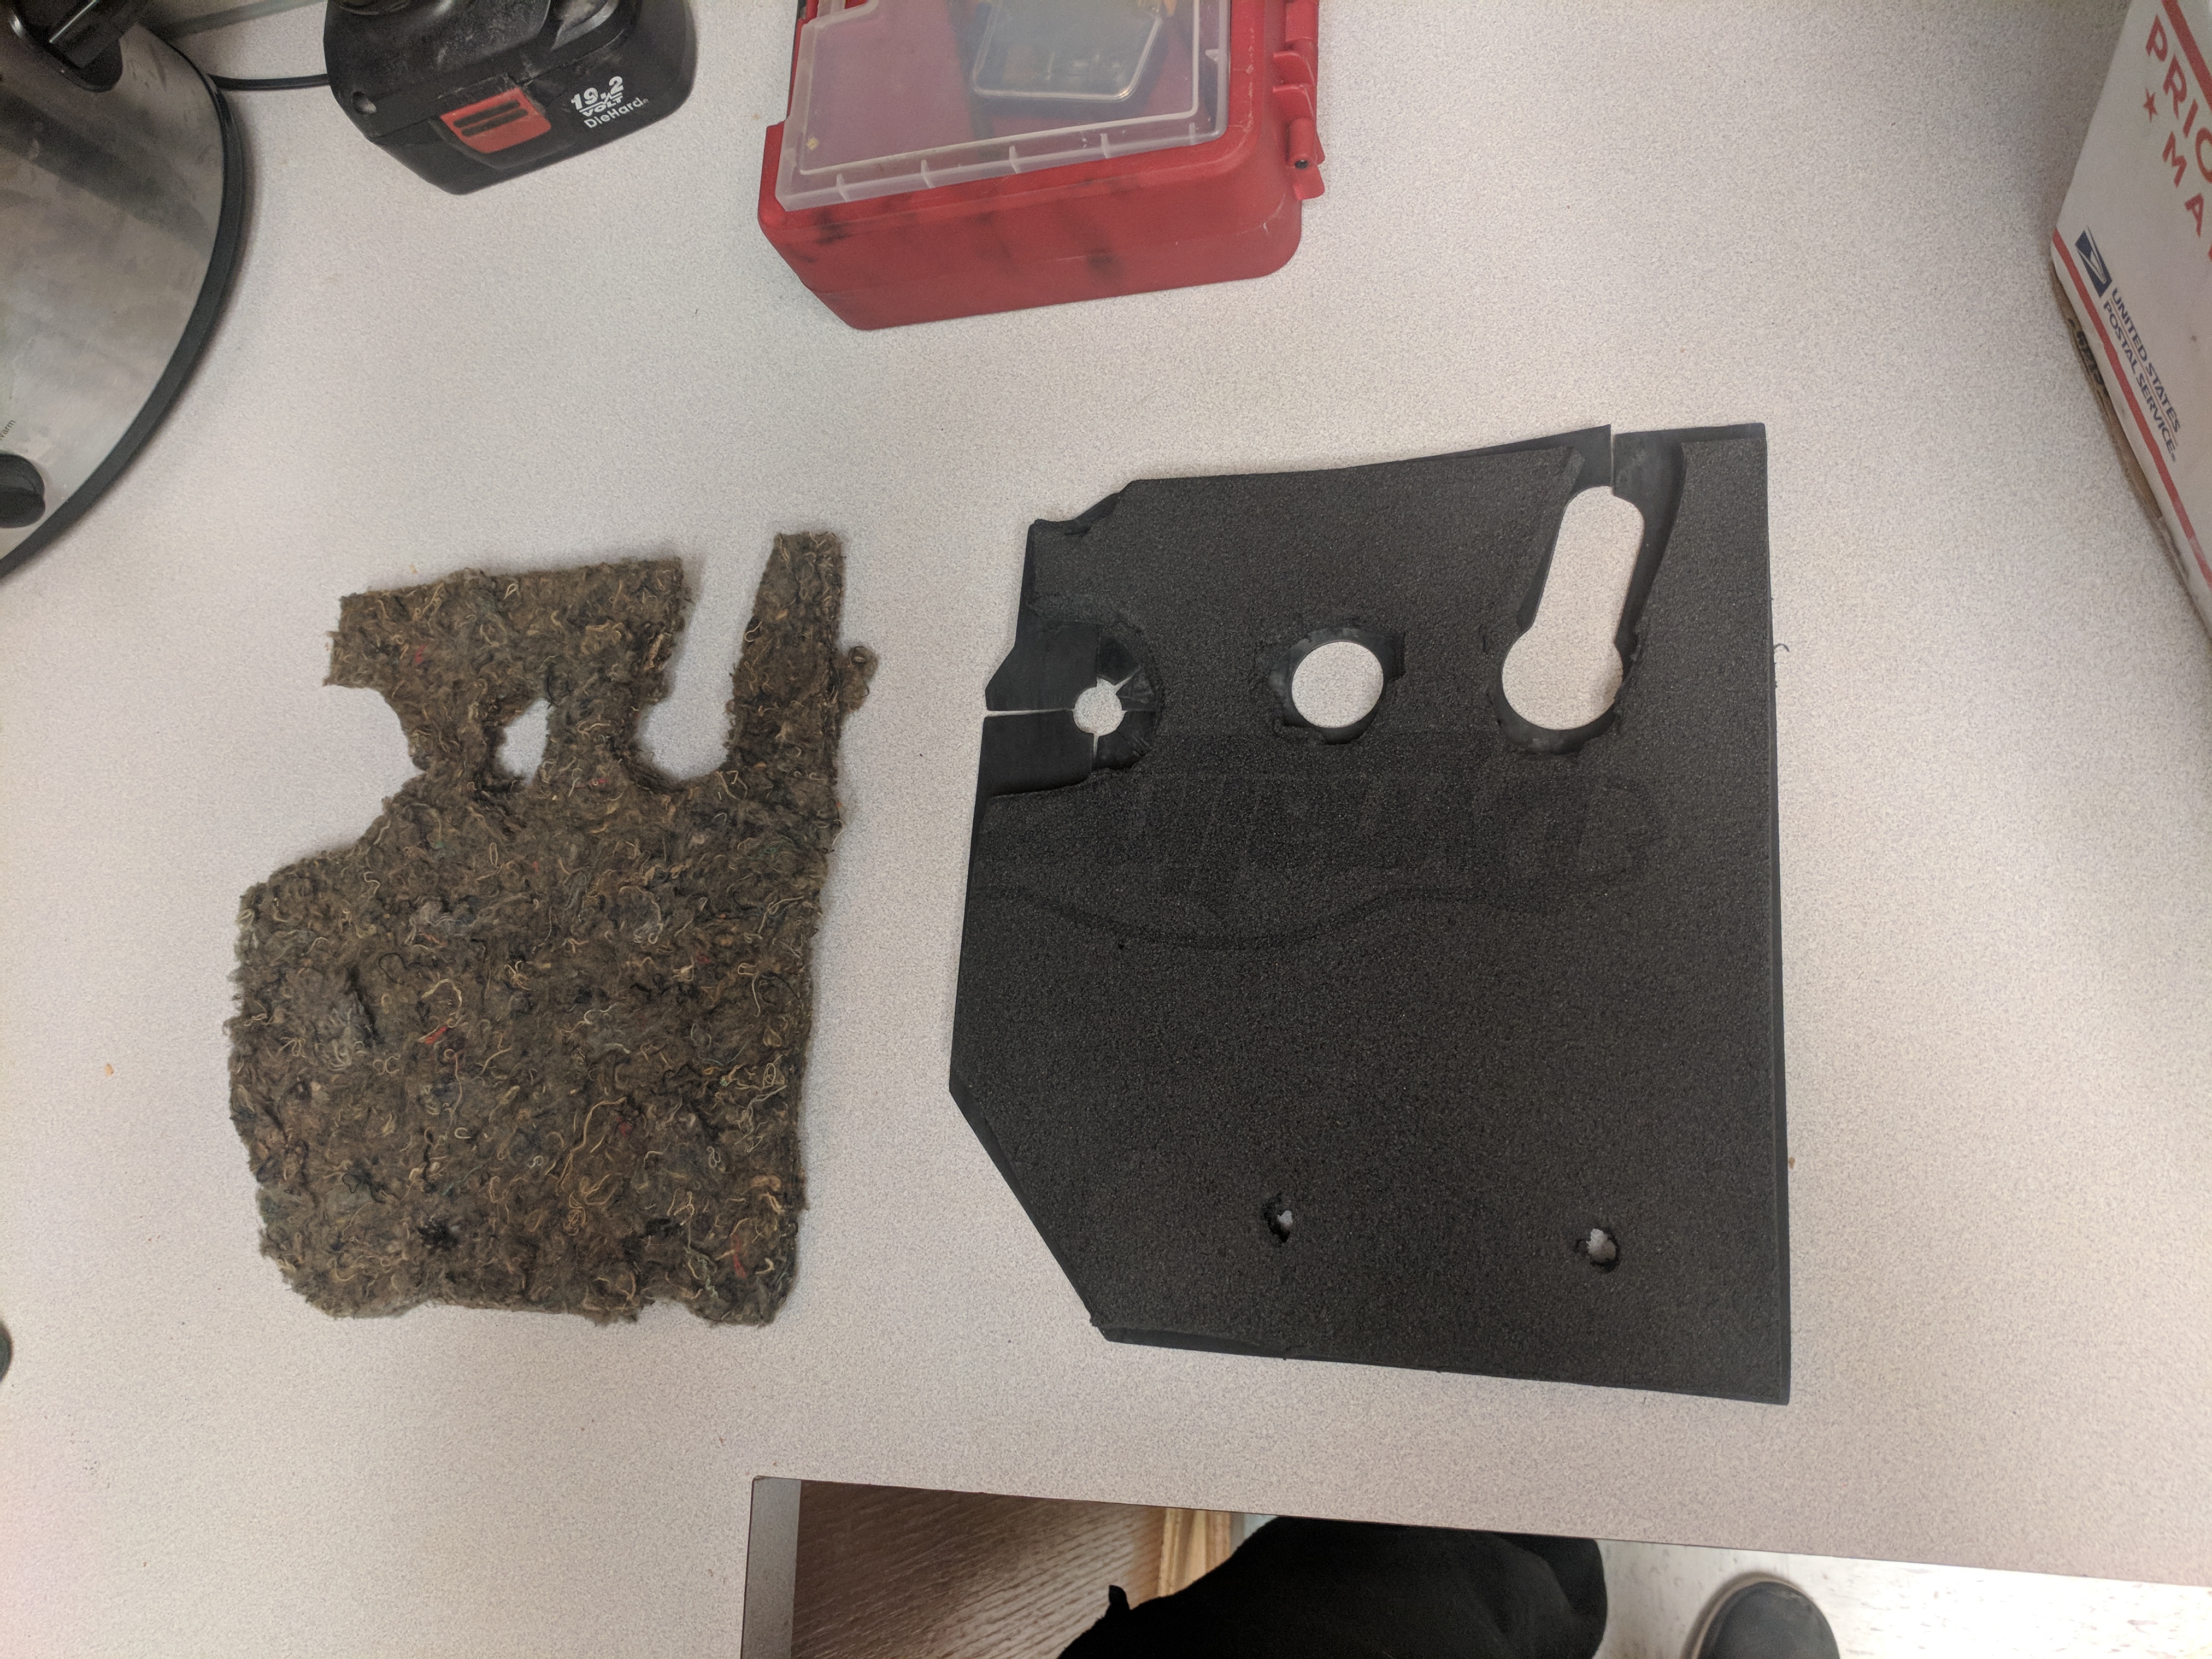
Slowly restoring the crappy anti sound padding that came from the factory. I'm using dynaliner 1/2 inch. I stuck it to the leather OEM piece that was holding the previous old padding (It be hard to remove if I put it directly on the car's metal, if I decide to remove it in the future.) I even cut the OEM shape of the old padding.
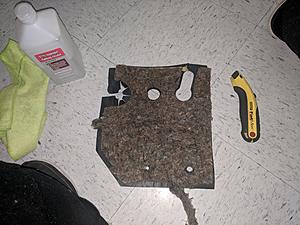
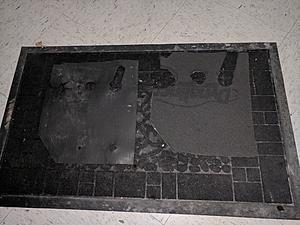
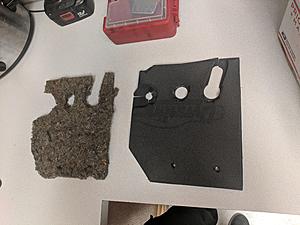
The glue holding the crappy sound padding to the leather piece is extremely hard to get off. I used a combination of Goo Gone, a razor blade and rubbing alcohol. Took 40 minutes. I'd soak it over night but I didn't feel like waiting.
Here is the end result. Fit like a glove. I'm very happy on how it turned out.

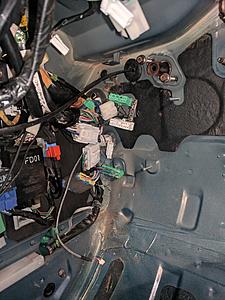
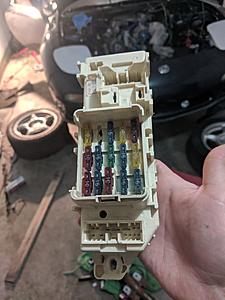
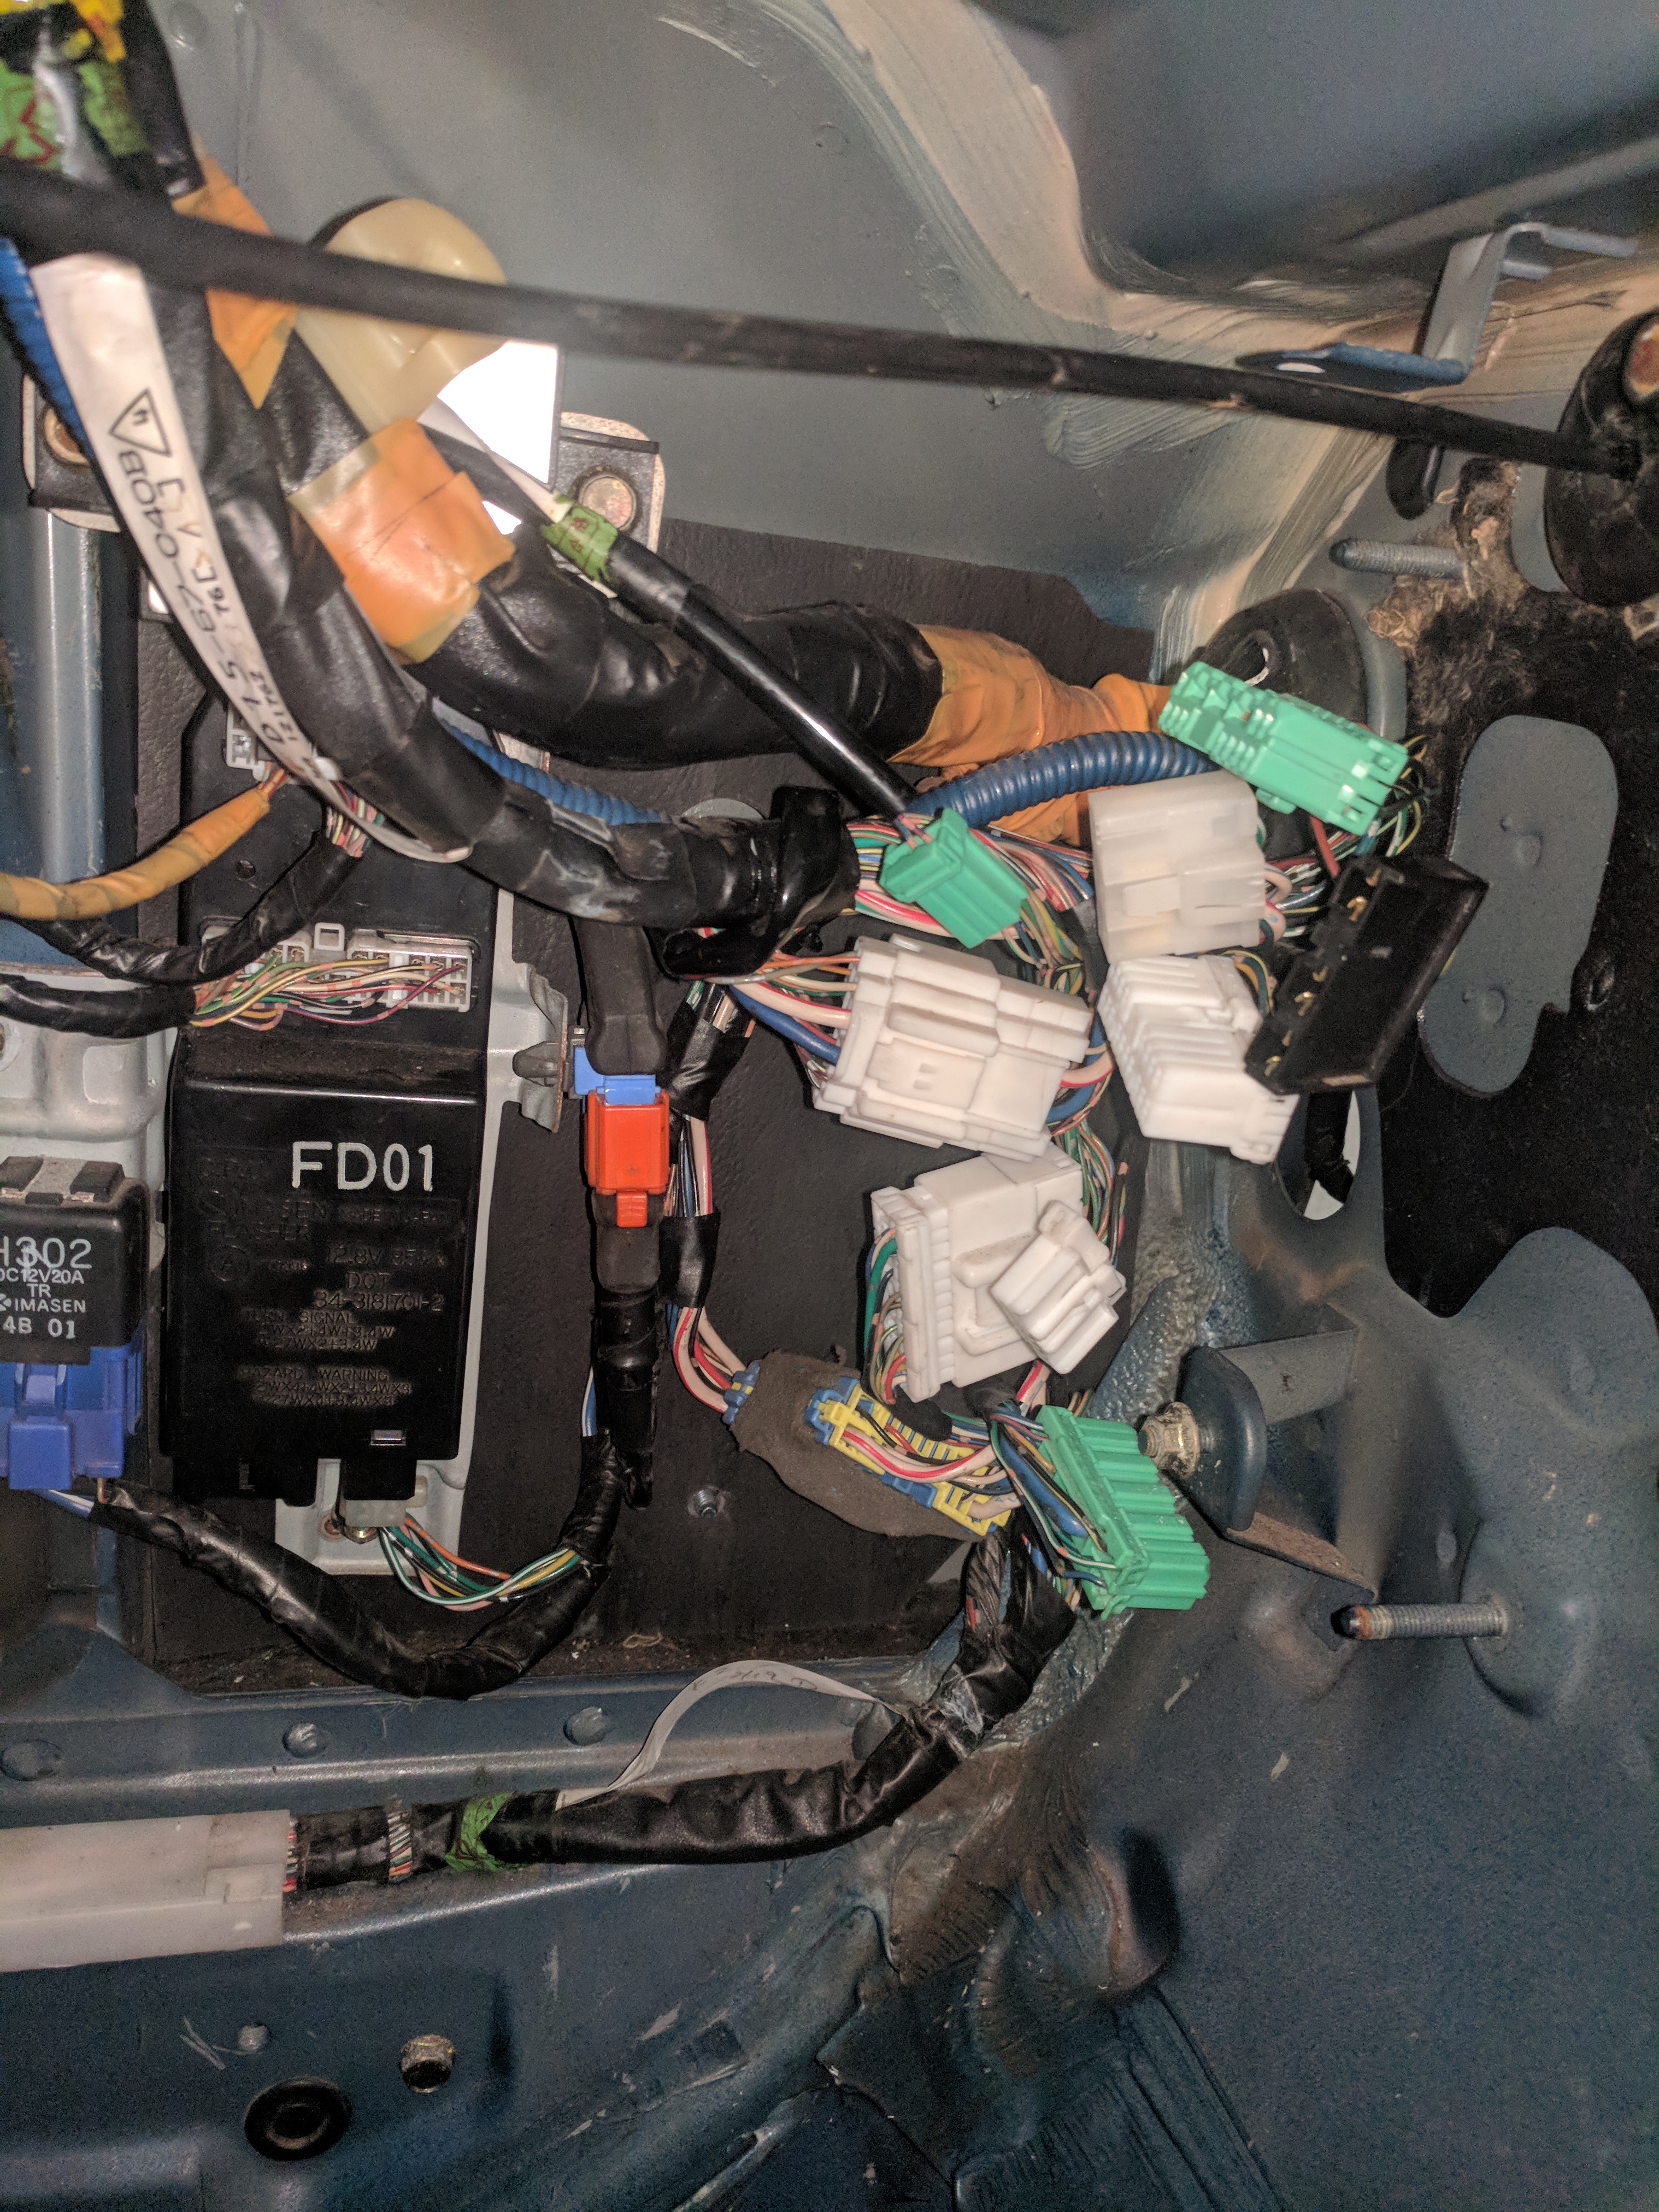
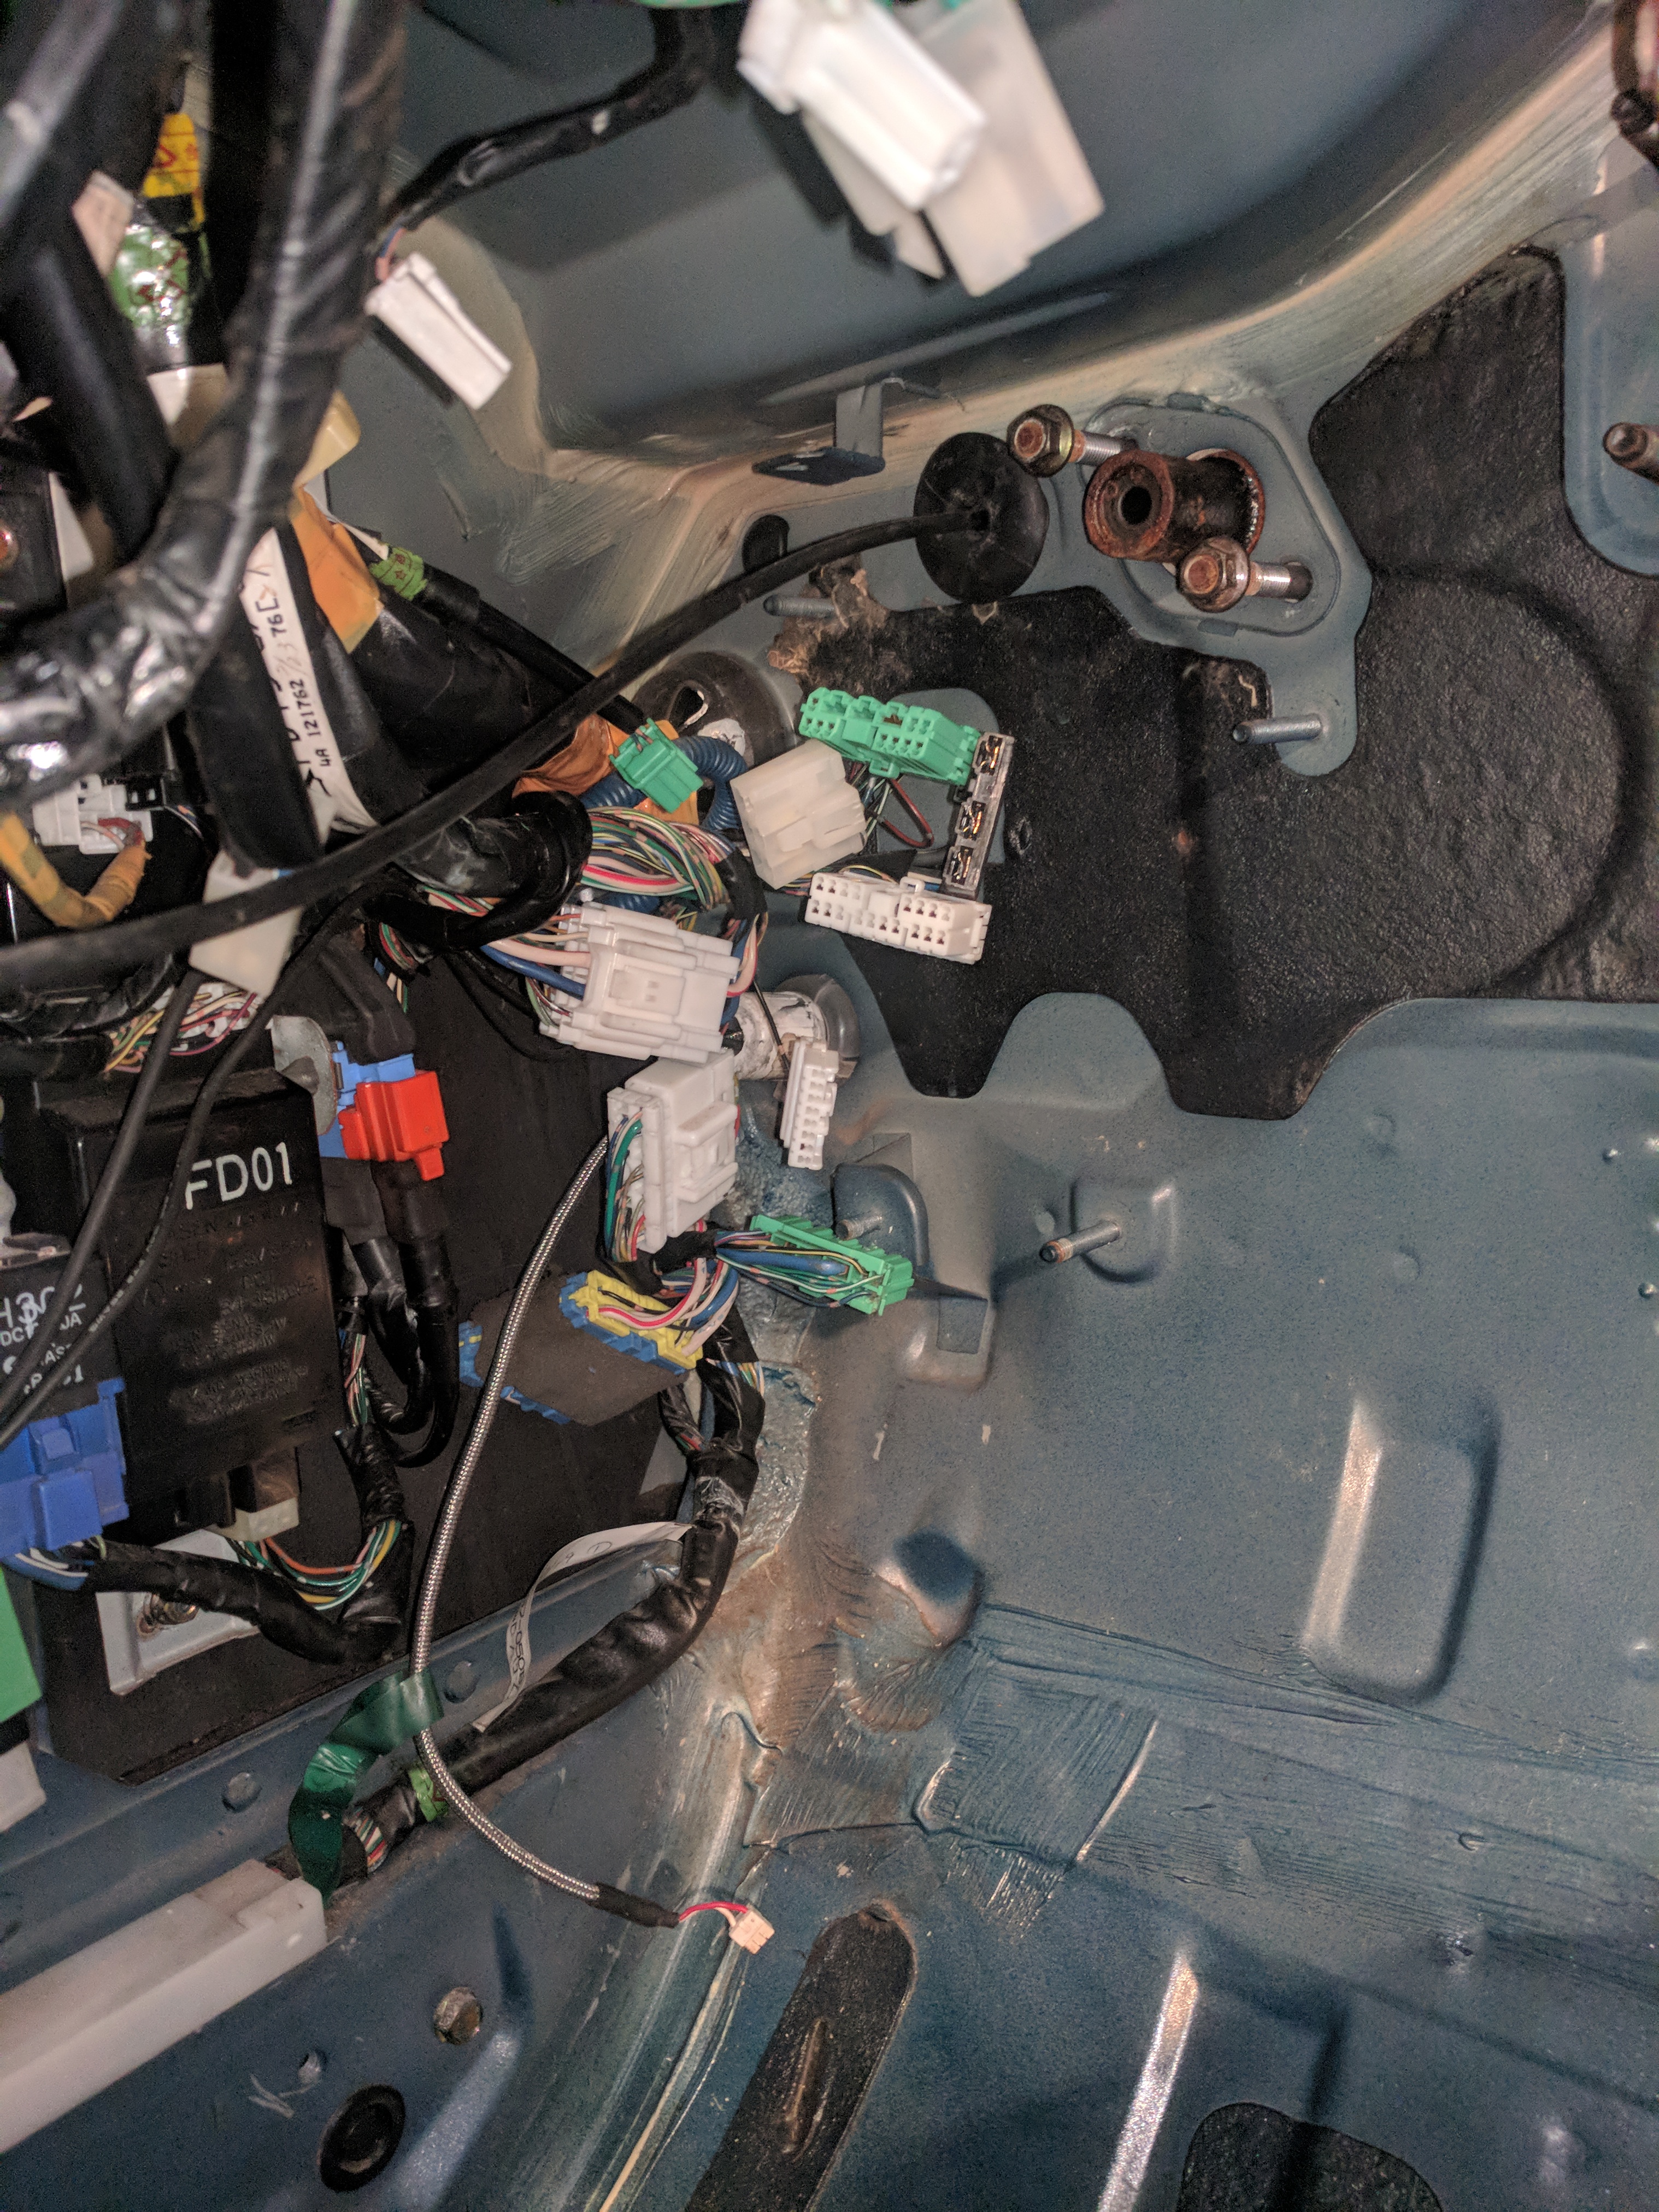
Also not to mention, It's easier to install if you remove the junction box. I used a pocket screw driver for removal. Be very careful not to break any plastic clips, so be careful with that metal screw driver. 4 clips in the front, 5 in the rear.

The glue holding the crappy sound padding to the leather piece is extremely hard to get off. I used a combination of Goo Gone, a razor blade and rubbing alcohol. Took 40 minutes. I'd soak it over night but I didn't feel like waiting.
Here is the end result. Fit like a glove. I'm very happy on how it turned out.
Also not to mention, It's easier to install if you remove the junction box. I used a pocket screw driver for removal. Be very careful not to break any plastic clips, so be careful with that metal screw driver. 4 clips in the front, 5 in the rear.


Trending Topics

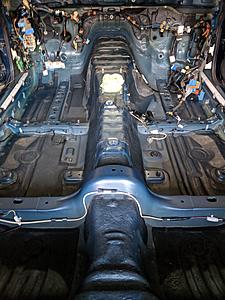
Also before the heat padding, I layed out sound proofing on the firewall/transmission tunnel. The floor boards I left alone because I felt the heat padding would be good enough for the noise cancelling. Not to mention this sound proofing is the PITA to get off. (I'm also doing the roof.)


New sound proofing foam! I'm going extra now but who cares. I'm building the ultimate rx7.

Here it is installed up close.

Then far away, I'm doing the whole car in the cabin obviously.

Ive done the ultimate heatercore box, blower motor AND evaporator box restoration with all new foam.

I've also used new white lithium grease in all moving parts for quietness and less wear and tear! Total hours invested in all 3 restorations 50. I also resprayed the metal bits that we're on the products with rust encapsulated paint.
Heres the how to link, good luck! Very tedious.
https://www.rx7club.com/3rd-generati...hotos-1001759/

This is gross and unacceptable.

The rust is gone and back to factory bare metal! It looked so good! Unfortunately, I had to paint it in rust encapsulated paint. I searched the web all over for keeping the natural metal look without rust but it was not as easy as you think.

Here's the painted product
 To keep the natural look, I had to maintain it every couple years, I just want my interior one and done . at least for 20 years lol.
Here it is with pedal installed, I've also done the clutch bracket.
Last edited by CREEPENJEEPEN; Jul 1, 2018 at 06:53 AM.

Ahhhhh, yes my favorite! Aluminum wide pedal from Levy Rotor Corp .It took 3 hours to make the pedals look the same. I've wet sanded the edges and circles to create a shiny effect. (Yes I took away material but this is how it's done.) Man it looks good! Hint: Windex is very good for cleaning aluminum!
I'll give another update in a month! This car is a slow working process since I'm going for quality! My build isn't just about going the fastest. I'm making this car drive and feel better from when it left the factory. This car is about being a "well rounded car" I'm paying to detail to every inch of this car. It's getting love where it needs it. It's the ultimate street car!
This car is going to be my peaceful space everytime I drive it.
This car is going to be my peaceful space everytime I drive it.

I have 3 total OLED screens, all serve a purpose. I'll be running 3 defi gauges and a wide band also. 1 boost defi gauge and 2 EGT's. The rest of the temperatures and pressures will be on 1 OLED screen to avoid gauge clutter (To many gauges look ricey). It's the defi ZD OLED. The other 2 OLED is for volts, the other one is how much water is in my water injection tank 😈

Here's that after first, lol.

What the previous light looked like. (Both sides were the same)

It was in the PITA to get the old plastic off. It was cheaper to buy just the lense. The housing isn't seen anyways and looks brand new inside .
Last edited by CREEPENJEEPEN; Jul 6, 2018 at 12:30 PM.

Directions on how to:
Tools I used,
Flat head
Grinder
Oven
Temperature Laser Sensor (20 bucks)
2 Cooking trays (Don't Tell the wife)
Gasket maker, (Gray fits the light the best)
Needle nose pliers
New lenses
1. Make a cut horizontaly in the lense with the grinder, careful not to hit anything inside! It's for putting a flat head in the lense and prying from the middle, you'll pry it later. (The housing plastic is very fragile so can't pry from the side much)
2. Take the light bulbs out and rubber hose for venting moisture. You can keep everything else on, including the wiring harness on the assembly.
3. Use a cooking tray and place the light with the lense faced down.
4. Pre heat oven to 200 degrees F.
5. Place tray in oven and keep an eye on it by measuring the housing closes to the metal tray.
(NOTE: Switch out the cooking tray every 3 min. with the second tray to avoid the housing melting.) Then switch back to the first tray since thin metal cools quickly.
6. Get the temperature on the housing closes to the tray to 180 F. (again, the bottom of the housing I'm referring to is the part around the lense, lense should be faced down on the metal.)
7. Once at 180 F. around the lense, pull out the light assembly out the oven. You have about 2 min. before the old glue becomes hard again. (You want it melted obviously)
8. Stick the flat head in the slit you made with the grinder and pry the light out. The plastic will shatter but this is what you want. It relieves the plastic in the housing.
9. Get needle nose pliers and pull the plastic out. It should come out in chunks.
10. Once the housing is clear of the old lense, it's time for the new lense but WAIT! There's more..
11. Now you have to melt the old glue again so the new lense sits flush against the housing.
12. Put the housing back in the oven and get the area of where the glue is located back to 180 F.
13. But!! Before you put the housing in the oven, get the new lense ready by sealing around the edges with your gasket maker. Wipe access off with a towel.
14. After you get the housing out the oven, place the new lense in the housing and press with your thumbs. You can also place the new lense in the housing facing down on a table and "roll" the lense in the housing, while putting pressure down on it.
15. Apply more gasket in the seam where the lense meets the housing and use your finger to work it in the seam to make a clean look. (It fills in nicely if you fill in the 1/8 inch seam in all the way.)
16. Finally wipe off the access, electrical cleaner helps with a micro fiber towel.
Enjoy
I wrote this without pictures but hopefully I explained this well enough. It's really easy, just do it safely.
Last edited by CREEPENJEEPEN; Jul 6, 2018 at 03:00 PM.

Restored rusty crash bar in dash.

Clean metal after grinding.

Here it is painted with dash harness clipped on. I have the dash installed with the crash bar, pics coming soon!
Good work on those turn signals. Good condition stock ones look better than anything on the aftermarket, IMHO. You could even ditch the orange lens and switch to orange bulbs, if you're into the clear signal look.
The Ancient
Joined: Mar 2001
Posts: 2,629
Likes: 244
From: Pennsylvania
Coming along great. Its all those little details. And there's nothing worse than getting an engine built and new wheels and tires and getting into the car and its gross inside. Working from the insidee out comes out better. I got some easy to slip on and off seat covers so that grease and dirt would ruin the seats while you're doing whatever in there.
Coming along great. Its all those little details. And there's nothing worse than getting an engine built and new wheels and tires and getting into the car and its gross inside. Working from the insidee out comes out better. I got some easy to slip on and off seat covers so that grease and dirt would ruin the seats while you're doing whatever in there.