When you click on links to various merchants on this site and make a purchase, this can result in this site earning a commission. Affiliate programs and affiliations include, but are not limited to, the eBay Partner Network.
These kinds of stories where an abused animal or car find a loving home are so gratifying to read.
At first I was looking at all the pictures thinking "Oh no, he doesn't know what he is in for- what if he does the logical thing and gives up on this mess?"
A month goes by, two, three, four, five....
But then oh, its back; driving around and looking all nice under the engine bay.
*Hi fives his cat* "He did it!"
Thanks! I hate it too and always said that it wouldn't be me to give up on this thing. If I could go back and do it again - maybe I wouldn't have chosen this particular car, although it was nice to inherit the turbo and v mount kit and... actually yeah that's it. Pretty much everything else got scrapped or will be replaced eventually.
It's been feeling great to put it all back together, and replacing what was rotten with fresh life. I get anxious as there are still things that are nagging at me (like bushings and wiring), but those will eventually be replaced as well and I need to keep reminding myself that it can't happen overnight (labor or money-wise).
Originally Posted by Red94fd
I dont understand why in the hell someone paint the inside of the irons.. specially center iron oil feeler. I discovered similar stuff in my broken engine.
good for you that you are enjoying your car..
Yeah I don't get it either... I think they just didn't block anything off and it just sprayed around. Just overall sloppiness everywhere, and from a supposedly reputable shop that had this 2 owners back at that.
Originally Posted by aplscrambles
Great updates. Hope all your "surprises" are over. I was feeling your pain. Cars looking awesome. Keep up the good work.
There's not much left to be surprised by at this point I hope! Replace, upgrade, replace, upgrade has been the path so far and I don't see that stopping if anything else goes wild. Get your car on the road bro!
Originally Posted by Johnny Kommavongsa
Nice, I had a set of Tein Basics on the red FD and they ride great. I honestly think they ride just as good Ohlins.
The slotted rotors looks good. Wished I upgraded when I did the brake stuff on the white FD.
Thanks for the reaffirmation. If they're riding as good as Ohlins that's good to hear. I discovered when taking my wheels off that I've been bottoming out and rubbing into the tire tread area from the fenders, so hopefully the new spring rates are also strong enough to keep that from happening.
We'll see how the brakes go. IMO slots are really just for appearance since nothing is going to work quite as well as solid iron, but they do indeed look nice. Hoping to have the brakes all installed before the new year!
I started putting the car on jack stands for the brake job, but also set off to look at an exhaust leak that was coming from the v-band or header, and broke my V-Band bolt while tightening things down. A replacement is on the way but now that it's not being held together, I see the downpipe not wanting to sit flush with the turbo housing, so this is an opportunity to break it loose at the midpipe, center it, and figure out what's necessary to get things lined up.
Also started compiling a list of other stuff that yet needs to be done, some of which I'll do with the car in the air this particular time.
Replace Fuel Lab -6 micron fuel filter (this one was slightly used when I installed it, but who knows what crap came out of the tank even though I cleaned it as well as I could).
Replace Diff Fluid - haven't done this one at all since getting the car. Valvoline 75w90 Synthetic going in.
Maybe replace WB02 sensor for the AEM UEGO gauge. This sensor was used when I got it and I have been going through alot of richness getting things tuned. It's probably not super healthy and actually doesn't even appear to be sitting flush, like the bung is cross threaded, so I'll need to check that out while working on the DP.
Fix odometer capacitors. I thought I had potentially corrected this while waiting on the engine to get ported, but it didn't work and the numbers are still not there. Speedo is also not working so I need to pull that out and maybe re-solder everything, although I'm not very good at this and a little concerned I could make something worse.
Possibly Plasti-Dip the wheels black to see how they look. If I like it I may get them powdercoated, but I don't believe I'll keep them very long as I would prefer a wide, square setup in the 255-275mm width range, and these wheels are setup staggered with 225/45/17 and 265/40/17.
Replace passenger door handle with aluminum Nador piece. My driver door handle detonated on me the other week when I tried to open the door and I went ahead and replaced that one already, but left the passenger handle plastic due to time constraints, but hey, since I have it I might as well.
I bought a front bumper support ( the car only has the cover at the moment). Need to install that but not looking forward to all the "fun" bolts holding the bumper on.
V-Mount Ducting. The car has what I believe is a Rotary Extreme V Mount Kit but it isn't ducted at all. Not an issue in the winter but summer will be here before I know it and it will be difficult keeping temps where I want them. As it is I never see over 85c, although I believe the PFC temp display has some kind of lag to it, as power cycling the car causes the temps to leap up.
Turbo Air Filter. This one is dirty and came with the car. Not sure if I should just find something generic at a local auto parts store, or push after some kind of Greddy or other GT35R filter.
I think that's all for now. We'll see how much I can get done with the time off work, although family is in town!
There's not much left to be surprised by at this point I hope! Replace, upgrade, replace, upgrade has been the path so far and I don't see that stopping if anything else goes wild. Get your car on the road bro!
I've been working on it here and there. Maybe one of these days I'll update my build thread.
So I haven't made nearly the progress I had originally hoped to the last time I dug into the car. Somewhere about midway through the brake job I threw my back into spasms that had me glued to the bed for days. Odd feeling that I've never gone through before and don't hope to ever again.
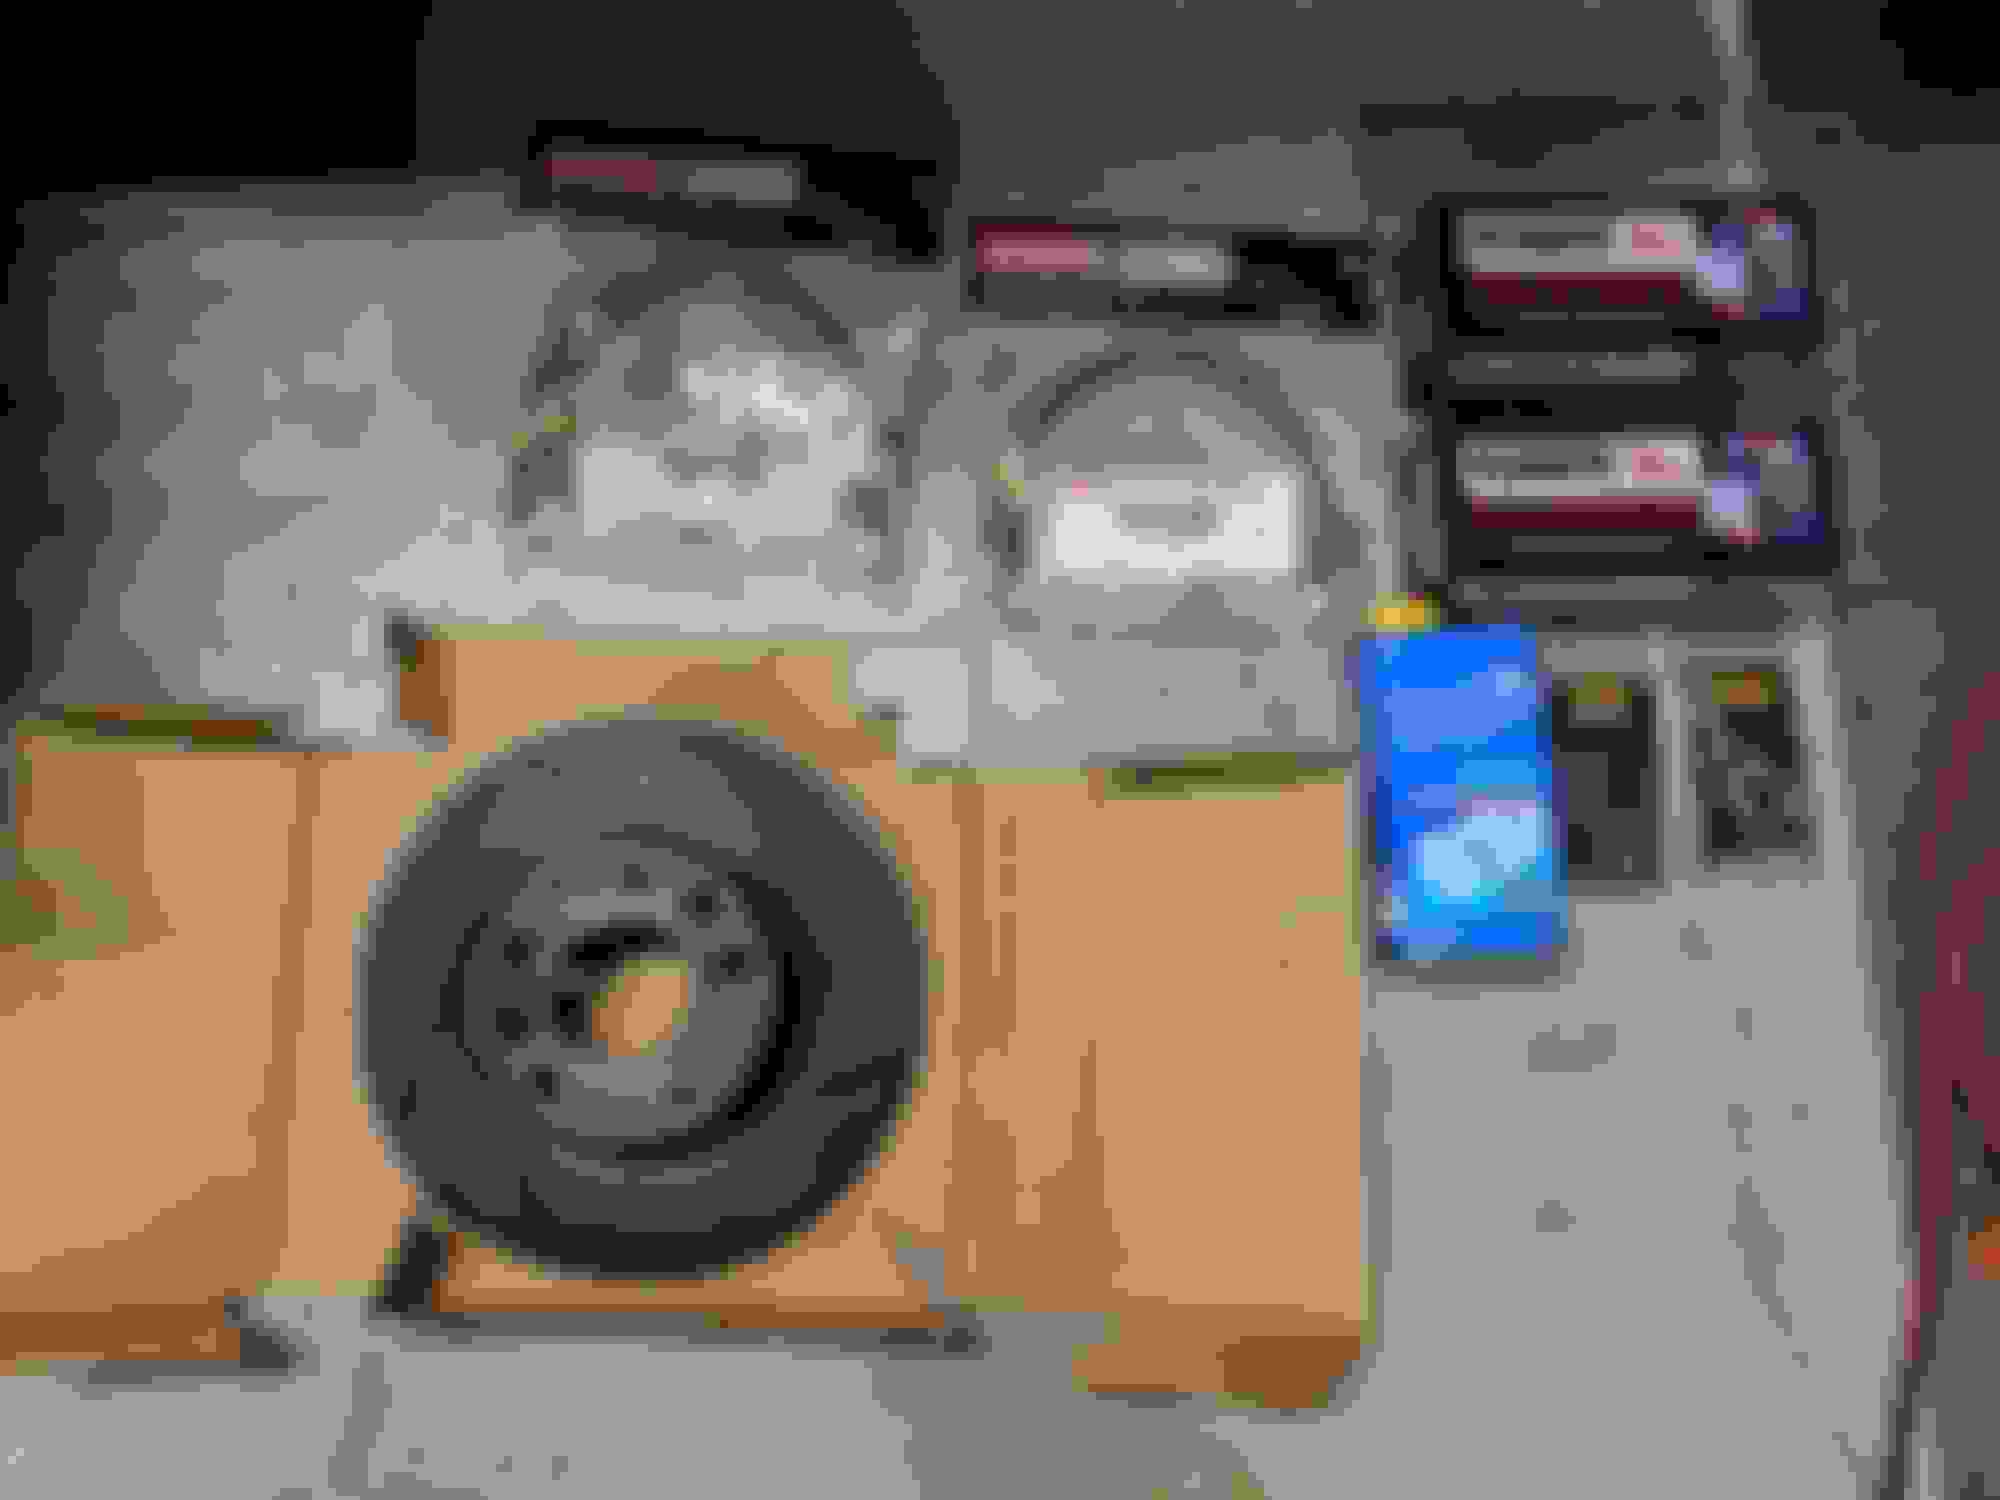
After a couple weeks I felt brave enough to keep pushing and finished up everything brake related - new r1 concepts slotted rotors, Hawk HP+ pads, Stoptech stainless lines, and speed bleeders all around. I had some old ATE Super Blue left in the garage as well so that went into the system(I know old fluid is bad), but will make it alot easier to bleed in the new bottle of ATE Typ 200 fluid soon. Didn't take a ton of pics but also painted the rear calipers black. The front calipers are still red from a previous owner, and I didn't want to deal with more aircraft paint remover getting in my eyes at the time so I figured I would send it all off to get blasted and powder coated properly when it's convenient.
I picked up an almost full set of Powerflex bushings to replace all of the old groaning, squeaking, and loose OEM bushings, so that process will begin once I get a hydraulic press. At this point I'll probably be following jimlab's how-to process pretty closely when the time comes. Hopefully I'll have the patience to complete that process without too much swearing haha.
I'm also going to hopefully have my Greddy Profec b spec 2 boost controller connected up within the next few days, and can keep dialing in my tune up to about 14-15 psi on pump gas, although my wastegate spring (I though it tested at 12psi) seems to want to creep up there on its own, so I may need to find an HKS 50mm low PSI spring to incorporate with the controller. Not an easy find though! I don't want to go any higher without some kind of alternative fueling situation, although I don't really want to go water/meth since e85 will be down the road anyways. who knows, that may change. GT35r probably isn't super great for much over 400HP anyways without high EGTs and hopefully 14-15 will put me in the upper 300s conservatively which will be more than enough for a while.
I'll try and get some more photos going foward, I just get my hands dirty and keep on trucking through instead of stopping to take pictures as I go.
Little 2 month update and made a few changes since my last post! I'll summarize here and hopefully update soon with photos and more info.
Powerflex Bushings - all that were applicable except Diff and Steering Rack, have them, but need to install.
TGS Tuning Dolphin Tail exhaust and midpipe
650CC FIC Primary Injectors - couldn't get the ID1050x to behave easily enough with the PFC, will hold on to them until I get a better ECU.
Greddy Profec B Spec 2 controller - finally got this one installed tonight. What a difference! Will post back with more info soon.
PasswordJDM rear wiper delete
K&N Stubby air filter
Began retuning the car completely with the new 650cc primaries.
I've tried to be photo detailed as I go along so stay tuned.
Car just needs some tires now for DGRR and she'll be ready to rock! Currently thinking about going Federal 595RS-RR 235/40/17 in the front and 255/40/17 in the rear.
Car drove like a champ at the the Dragon and DGRR this year! All this work has been building up to a dragon run as the ultimate test and it passed with 99% flying colors. I had a faint coolant leak back near the firewall that looks like it may have spurted from the heater core hose briefly, but was gone and didn't happen again after we finished our dragon runs. Still pending a major update!
So I've been procrastinating on taking the time to write up the progress summarized a few posts back in bullet points, so I'll use that as a reminder of what's gone on and go from there.
PowerFlex Bushings - The car sounded and felt like an old Buick from the day I got it. Squeaking, groaning, popping, you name it. I had a rattle in the driver front wheel, lots of bouncing in the suspension travel and just a general disconnected feeling from the road even though the mechanical steering still did it's best to communicate everything. A deal on a combo set of PowerFlex bushings kind of fell in my lap(I really paid close to full price, but someone didn't want to pay the restocking fees and gave me a mild discount). I got pretty much every bushing possible for the car including some that weren't necessary since I have solid trailing/toe arms. Purples all around except the compliance bushings on the pillow-ball arms(the one that has two pillow ***** each) in the rear, which has the Black Race bushings. I believe the Purples are 80a and the Blacks are 95a on the duro scale. I can definitely tell that the black bushings are stiffer than stock, far more than your typical polyurethane alternative. It feels great and very communicative but hitting road bumps with my pregnant wife in the car definitely results in some "OOPH"s.
I bought a 20 ton Harbor Freight hydraulic press to help with the pressing process, and rented a 20 piece ball joint tool set from Autozone and that part of the process was easy. What I didn't expect was how time consuming removing all of the old and crusty suspension arms and such would be. I probably spent 20-25 hours from start to end on removing the arms, cleaning them (within reason, no photographic art shots here), pressing out the old bushings, pressing in the new bushings (by hand) and super-lubing everything with a bucket of Energy Suspension grease. The Powerflex came with their own grease packets but after reading online a lot of folks seem to like the Energy grease and it was nice that it came in an 8 oz tub. I probably used about 3/4 on everything so far. The only bushings I still need to install are the diff cradle, and the power steering rack bushings. Both of which seem to be a bit of a hassle, and other threads are to believed the steering rack may actually require cutting or modification of the bushing itself as the driver side supposedly needs and has a "D" shape to the inner race and I'm unsure yet if the new PowerFlex bushings will fit without some work. While I was in there I also replaced the outer tie rods and replaced the boots on the control arms and re-filled them with grease. New bushings installed. Old bushing graveyard New ride height adjusted.
Initial reactions were a major wow but.... what is that? Is it STILL squeaking?? Turns out I forgot to lube my rear sway bar (I just realized I also didn't have new bushings for that as well), and it turns out that was already running some other brand of poly bushings, but they had been bone dry for probably years and after cleaning and lubing those up the car now makes no additional noise with suspension travel, and feels incredible. At this point I was still on old tires that had been heatcycled out, but the steering feel and body communication was so much more connected to the road that it almost felt like a different car.
Exhaust - During the bushing install, I went down to Atlanta to watch and hang out with some buddies while a friend dyno'd his car on a new turbo set up and overall completely 180 of a build from the way it was the last time he drove it. While I was there another friend sold me his TGS Tuning dolphin-tail exhaust and midpipe to replace the grapefruit cannon and no-name midpipe that came with the car. I realized during this process I really need a flex joint on my downpipe and will have to deal with some chassis-contact with the corner of the midpipe (increasing in-car rumble) until I can get a flex fitting welded on. Initial impressions were both how much better and how much quieter the car is now, although I suspect the midpipe piece of the exhaust is really the one to thank in that process. The resonator of the new vs old midpipes is pretty wild. Top - old no-name MP, Bottom - TGS Tuning MP.
The new MP is also a bit longer and that's probably contributing to how it's making contact with the chassis as well, but I was still able to get everything to seal up better than ever before with the old set up and now have no major exhaust leaks. New exhaust sounds great and looks awesome too.
650CC Primary Injectors - I previously had ID1050x primary injectors on the car, and while they are awesome and worked very well, with the PowerFC ECU I just wasn't quite able to get them dialed in enough to idle anything other than super rich (high 10s, low 11 AFRs). Introducing negative lag to assist with the flow resulted in poor transition and throttle response and just wasn't worth the effort for now. Long term plans are to switch to a more modern and competent ECU like a Haltech 1500 or Fueltech FT450, so I'll hold onto the 1050s until that time comes, but for now the FIC 650's that I got from the same guy who sold me the exhaust (thanks Mark!) are doing great and the car is almost 100% re-tuned now. I've learned alot on the second go-around and was able to correct all kinds of things this time that I just couldn't figure out on the initial ID1050x tune. Idle is now happily between 13.5-14 AFR, my oil is fouling much less, and low-load cruise is much more smooth and less jerky. I ran into a minor hiccup getting the 650s installed, they're a longer body than the 1050x injectors I had, so I had to wait on some injector seat adapters for the Full Function Engineering rail to come in. In the grand scheme it wasn't a big deal at all.
Fuel Bulkhead Leaks - I had been smelling faint whiffs of gasoline after coming to stops and even just around the back of my car after turning it off, but never really noticing any puddles or drips. Curiosity got the better of me and I took off the rear upper fuel tank panel(the one from the trunk area to the above-tank space where all the fuel lines are connected) and noticed there was fuel all over the top of the tank bulkhead. I couldn't tell right then where it was coming from but after lots and lots of removals, I finally figured out that fuel was being pushed up and through the wire sleeves that were coming through my ATP Bulkhead passthrough connector. I was using the wires that came with the fuel pump connector that came with the Walbro 450, assuming they were fuel safe, but I guess not. So I cut that off and switched over to that Fuel and Oil safe wire you can get at Lowe's, and the issue still happened. Turns out there's something with the Walbro 450 and the way the wires are internal to the pump and not something you clamp on that's forcing fuel up and through them. A buddy had one of those Racetronix harnesses lying around and sent it to me for a good deal so I installed it beside the ATP connector (Racetronix was smaller diameter and couldn't use the same hole as the ATP) and the issue has since gone away. I sent multiple emails to TI/Walbro about it possibly being a pump issue and never heard back. I'm not getting any pressure drops or fuel flow issues so it really must just be some weird internal tank pressure issue. My charcoal canister is present but I believe some of the lines may be clogged because the tank let out a good ol' hiss every time I'd open the gas cap after driving. I drilled a very tiny hole in the gas cap and placed some painter's tape over the hole to act as a breathable filter and the hissing is gone and I don't seem to have any additional pressure leaks from the cut wires that are filling the pass-through holes on the old ATP pass-through. My fuel level sensor wiring has gone a little screwy after all the adds and removes of the bulkhead and connectors so may end up using the ATP pass-through for new fuel level wires or just a second pump down the road, assuming I don't switch to something fancy like a CJ or Radium hangar.
All of the above kind of happened between February 2019 to April 2019, and I will update again very soon with the other changes and nuisances that happened leading up to DGRR at the beginning of May. Thanks for reading!
Contemplating this myself and will probably go with depinning the stock connector
As for the vent, a vented cap is old school but works. You can probably get one that's purposely vented if being publicly shamed on this forum bothers you. Another option is to connect the stock system back into the intake with a check valve for when the intake is under boost.
I've installed steering rack bushings on a few FD's, the Superpro ones are direct drop in. You can easily do it from under the car - remove belly pan, remove the 4 bolts that hold the steering rack in place, there you go.
Looking good! I won a full set of Superpro bushings at DGRR this year and need to start in on the install!
Having installed Superpros all around, I find it makes for a very solid car, maybe too solid. For a street car, i would go with OEM (or Mazda comps) on the wheel linkages.
You drilled a hole in your gas cap and put painters tape on it?
Yup. And works great. Far better than a car that has some kind of evap clog that is building perpetual pressure and robbing the system of proper flow. It was more of a quick fix before DGRR because I didn't want to keep venting the gas cap through the hole left behind by the ATP connector.
Contemplating this myself and will probably go with depinning the stock connector
As for the vent, a vented cap is old school but works. You can probably get one that's purposely vented if being publicly shamed on this forum bothers you. Another option is to connect the stock system back into the intake with a check valve for when the intake is under boost.
Like the dolphin tip catback BTW
Thanks! So far I've been really happy with the Racetronix harness although it's only using 14ga wires, so if that's an issue for you then you may want to go with a different route.
As for the forum shaming... Nah, doesn't bother me one bit. My car runs and very, very well at that - not alot of people around here can say that unfortunately.
Originally Posted by DaleClark
I've installed steering rack bushings on a few FD's, the Superpro ones are direct drop in. You can easily do it from under the car - remove belly pan, remove the 4 bolts that hold the steering rack in place, there you go.
Looking good! I won a full set of Superpro bushings at DGRR this year and need to start in on the install!
Dale
Dude that's awesome! I believe the Powerflex and Superpro's are supposedly very similar in performance. Don't think you can go wrong with either one. For the past couple years I've had to leave early on Saturday before the banquet so I hate missing out on the raffles and giveaways. As long as the event happens in early May the odds of being able to stay for the entire event are very slim, my anniversary is on the 4th. Hopefully I'll get a chance soon to try the rack bushing and see if the Powerflex is drop in like the SuperPros.
Originally Posted by TomU
Having installed Superpros all around, I find it makes for a very solid car, maybe too solid. For a street car, i would go with OEM (or Mazda comps) on the wheel linkages.
Yeah, I'm beginning to wonder if OEM wouldn't be a bettery way to go specifically for the wheel linkage (or whatever trailing arm has the two pillowballs attached to it). It really is quite solid.


 I had a faint coolant leak back near the firewall that looks like it may have spurted from the heater core hose briefly, but was gone and didn't happen again after we finished our dragon runs. Still pending a major update!