When you click on links to various merchants on this site and make a purchase, this can result in this site earning a commission. Affiliate programs and affiliations include, but are not limited to, the eBay Partner Network.
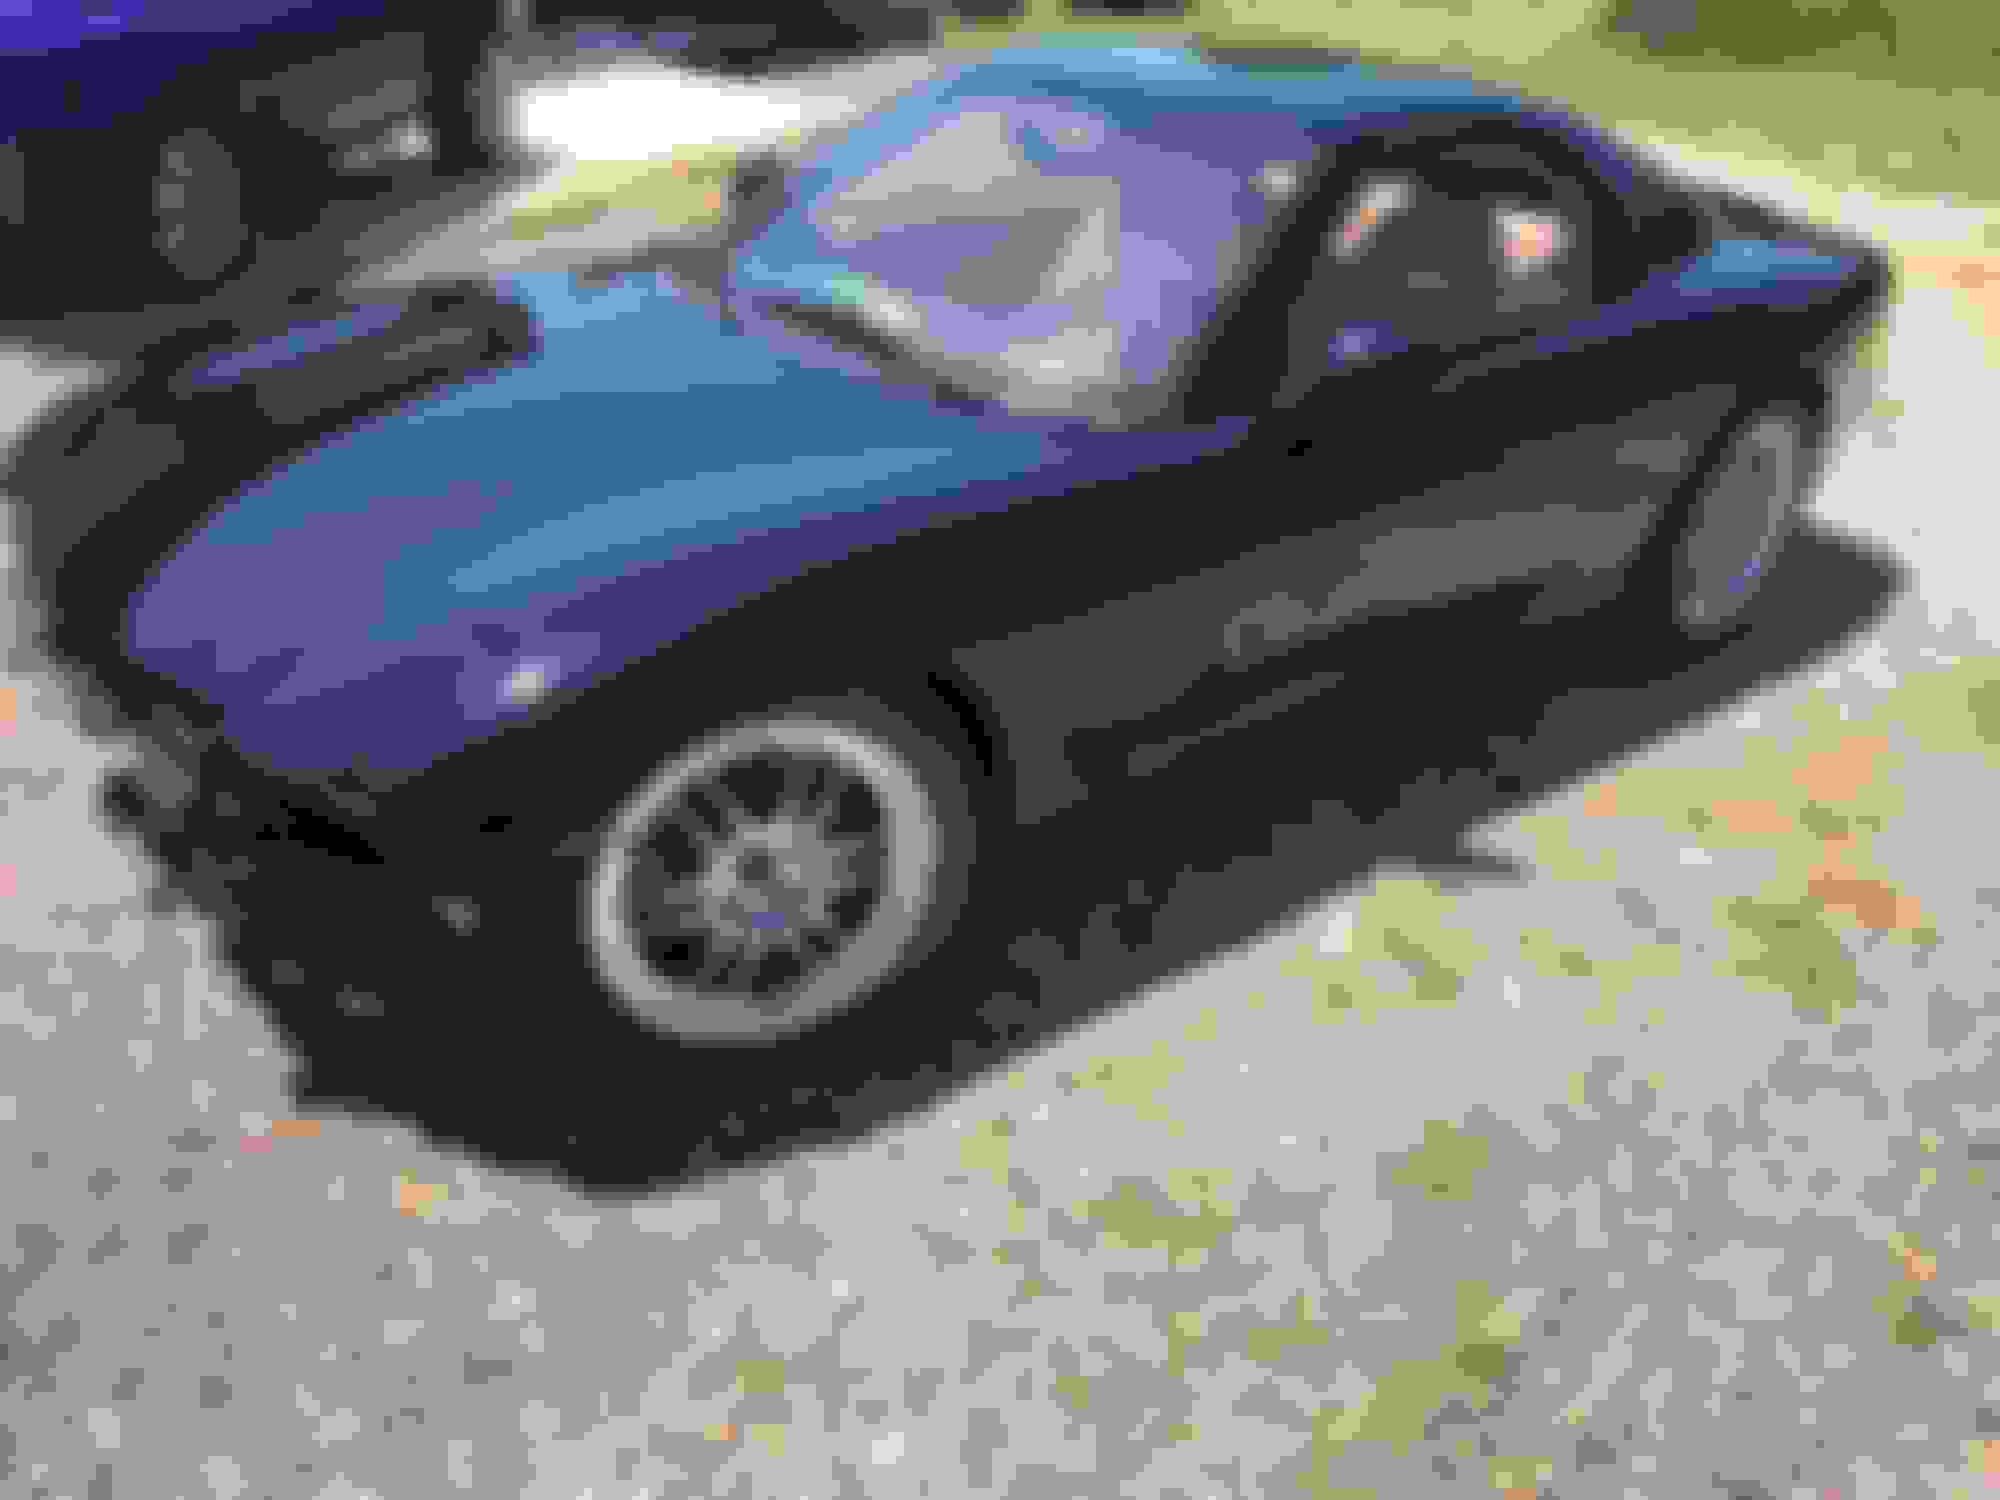
Hey guys so ive finally decided on a direction to take my fd that i picked up a while back. Its running solid on factory twins with 67000 miles on it. It came with an RE body kit that looks pretty badass but just needed a little tlc and touch up. the car was a total barn find and had been sitting for a long time. it was hard to start but i worked some rotary magic got it started and made the 100 mile trek home without a hitch.
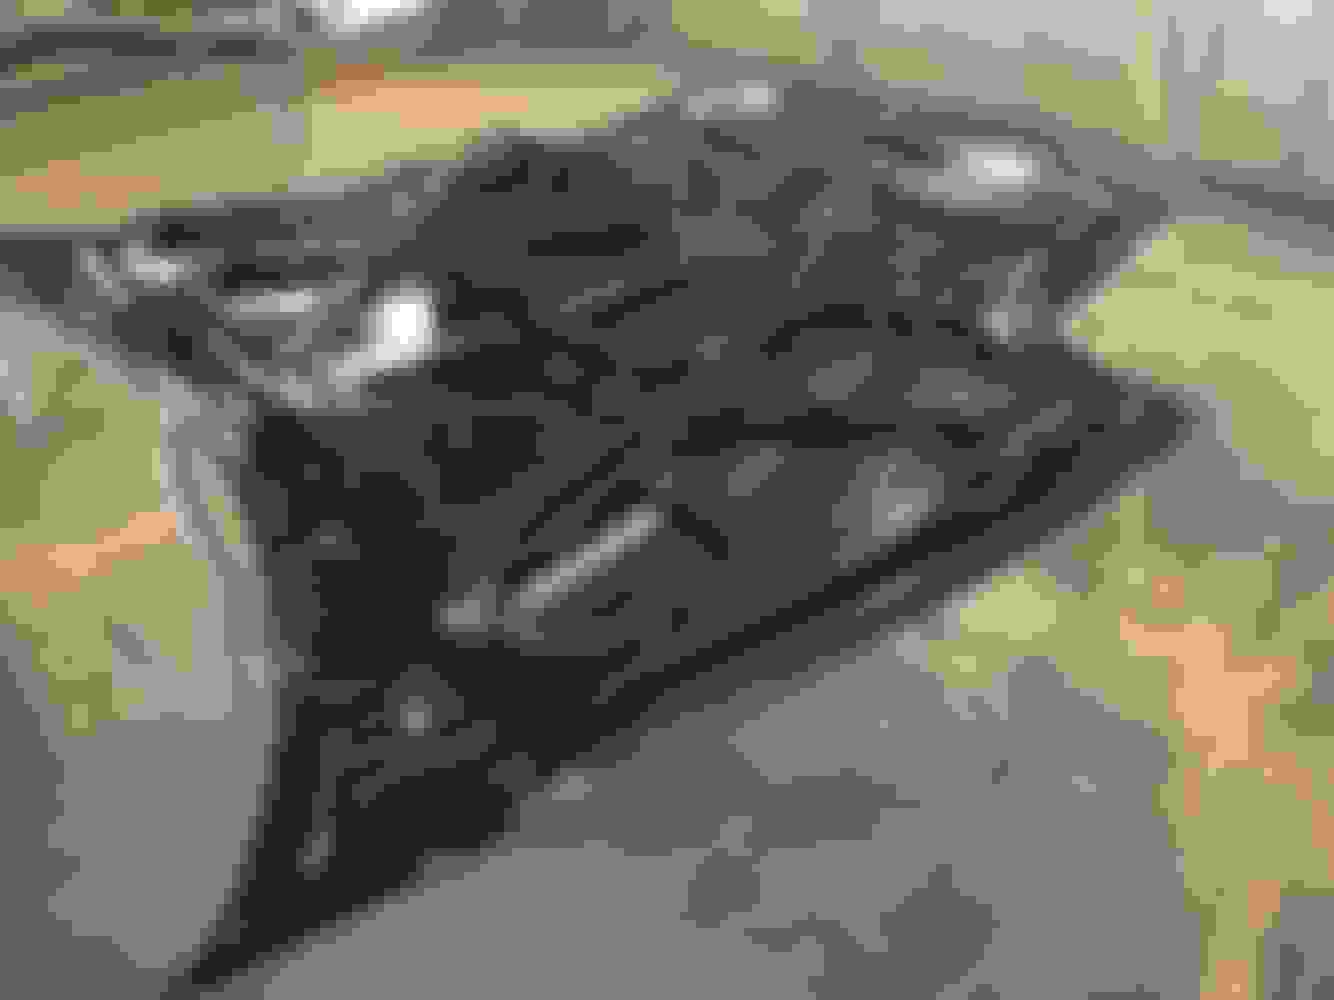
After a couple meetings with the paint guy that now has the carfixing some hail damage (which i replaced the hood all together) I decided on painting a jet black base with purple pearl mixed in. The inner ricer in me has always wanted to build a purple accented car and i figured this would be the perfect platform to do a tasteful but colorful build. anyhow here is some pics of the car at the shop getting a facelift and the paint to be applied. I have decided on the nickname the Black Pearl!
in the near future i will be going big single but first the looks department.
Sorry i travel all accross the usa for work so i wont be able to update but like 1once a week. I should be back home tomorrow and going to the body shop to take more pictures. My 99 spec wing was delivered while ive been out of town i know that.
wow its been a while since I have gotten around to updating this thread...for a number of reasons, not the least of which is my fami9ly was involved in na bad car accident this summer where 2 kids street racing put all 4 of us in a hospital for a while. I am also in the middle of building a house and detatched shop for the 7 which is almost done...mean while the paingt is done and i have tons of pics to upload. I have also been collecting parts to go single once the house is complete so that should be fun! But here we go with the pictures to date!
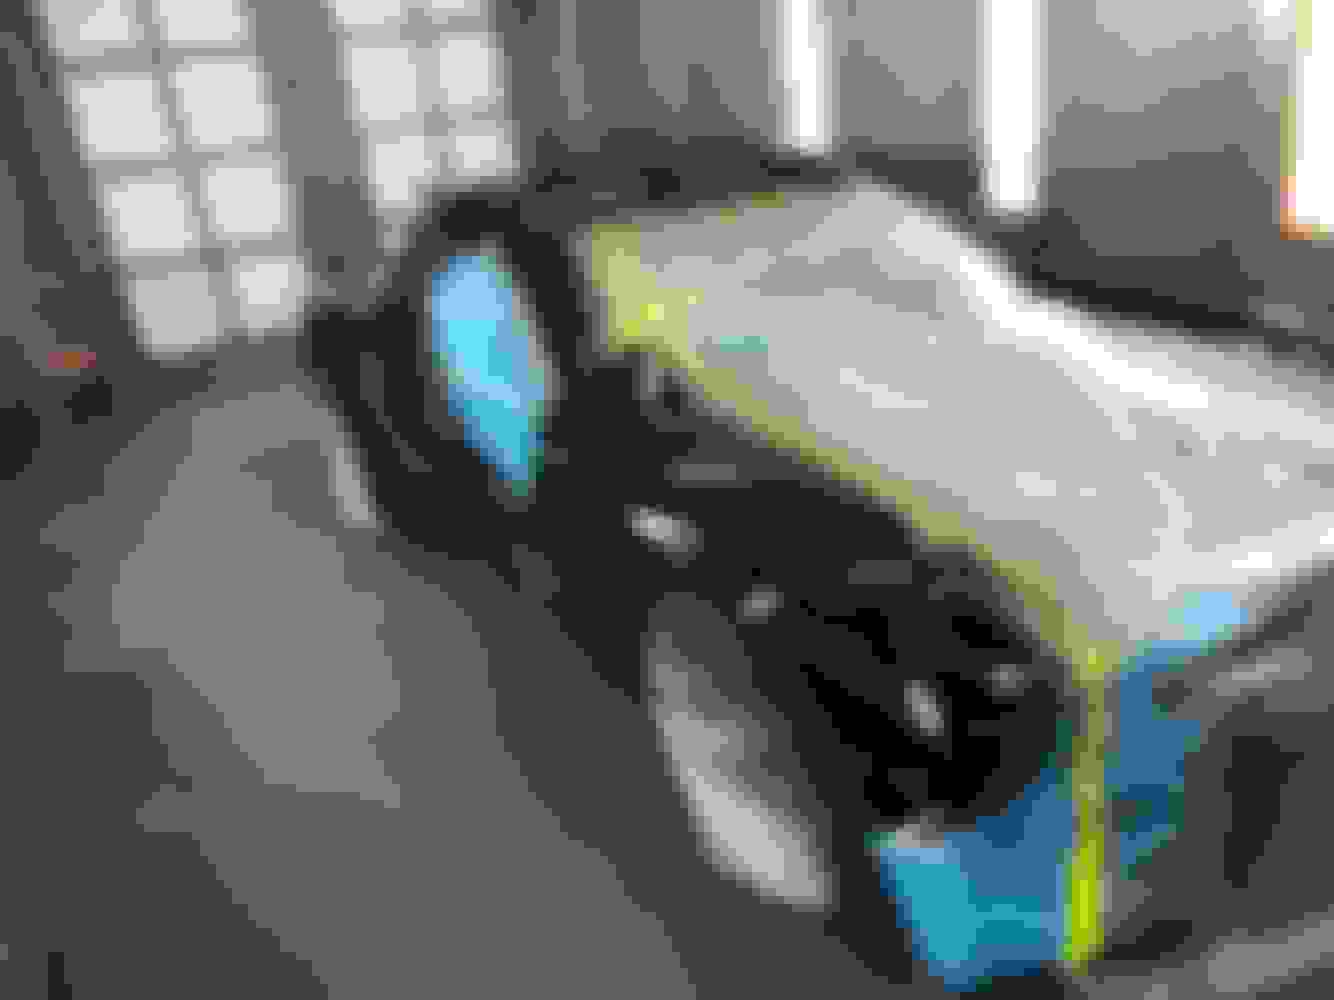
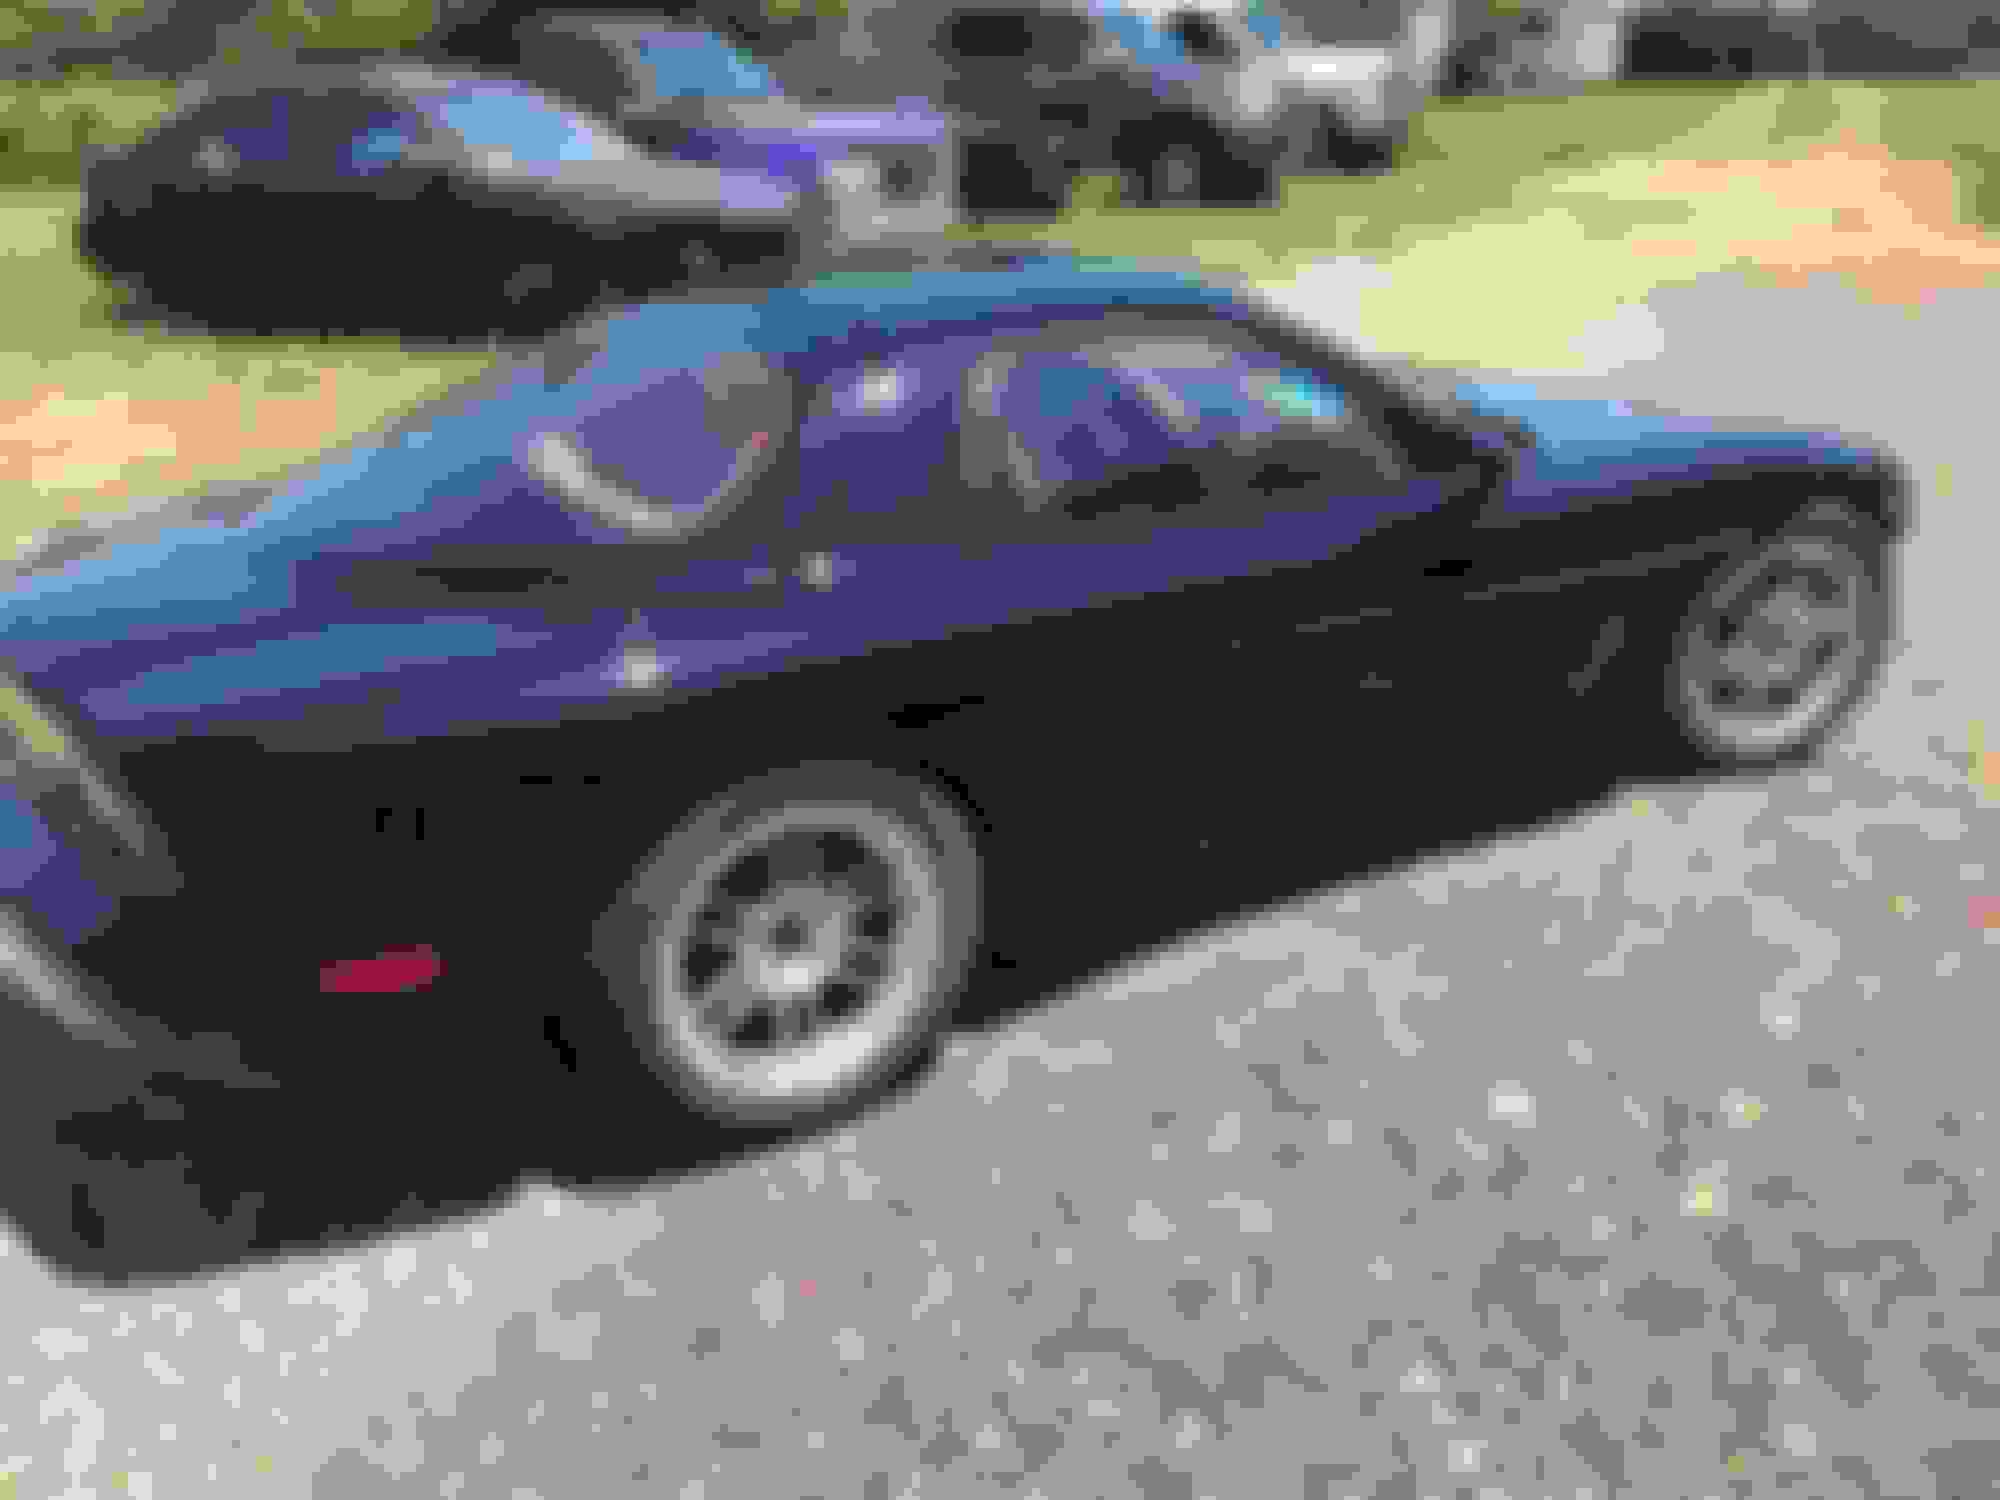
Here are some final shots of the car back together and in the sun where the color really pops. I ended up being very happy with how it turned out. I also added a few exterior items to the build list after paint:
1) New windhsield and molding kit
2) Had the same glass company pull and reseal the rear hatch glass and add the Mazda hatch molding to it.
3) 99 spec wing
I am on the fence about re installing the body kit, but I am thinking I will get some Feed style side steps and the rear mud guards and the r1 front lip. Maybe for christmas???
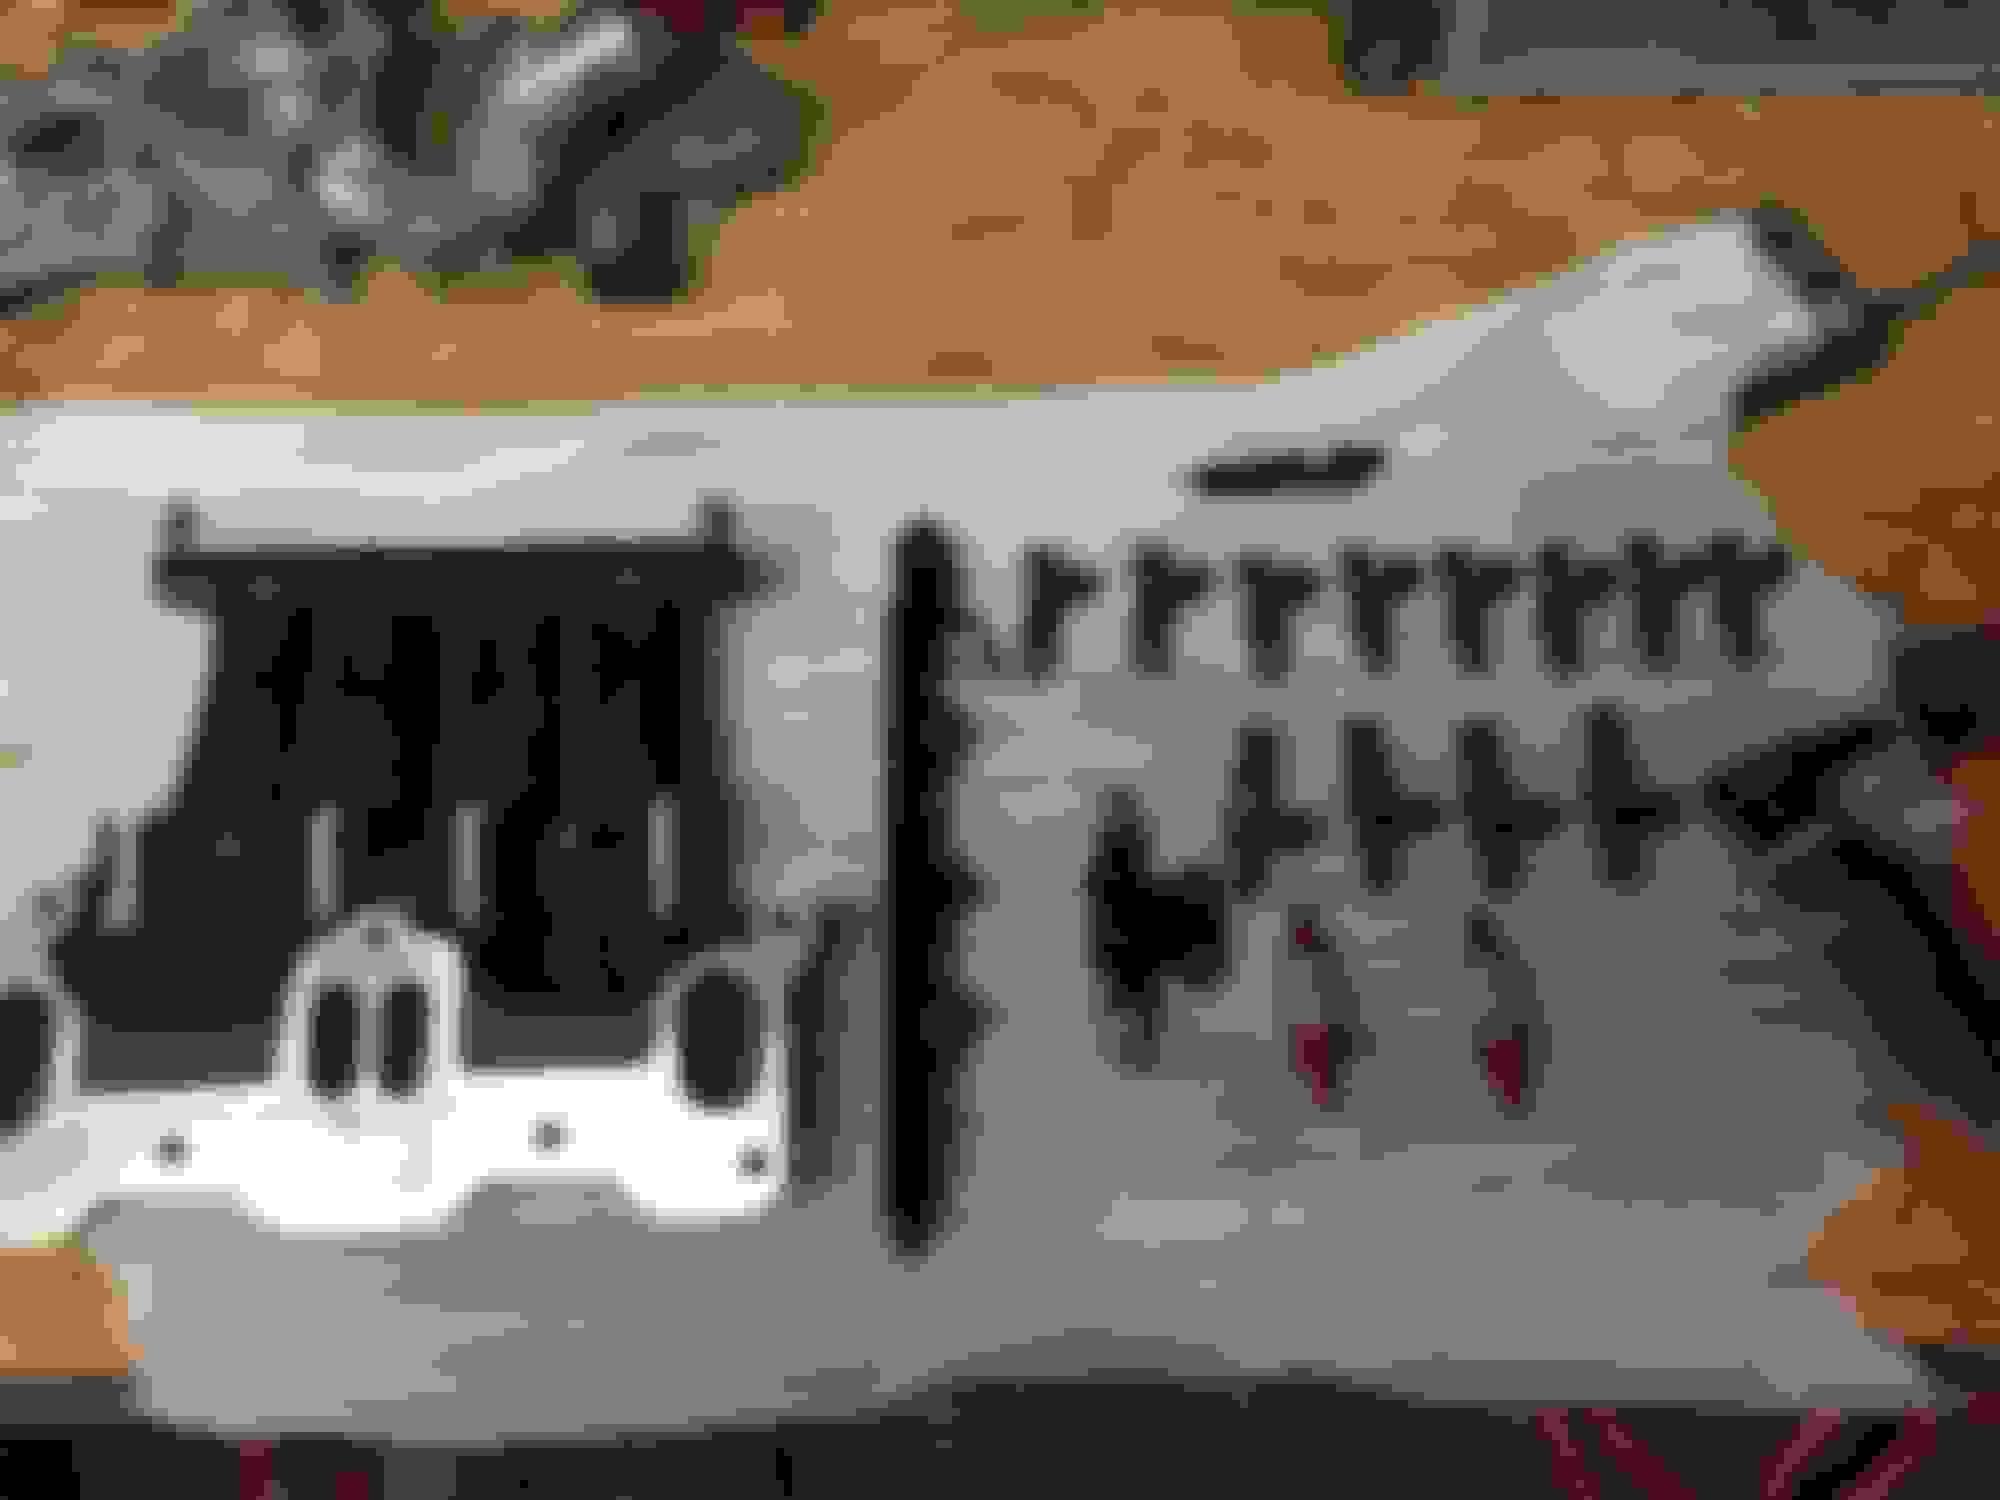
As for upgrades on the car, when I got the car it had been converted to simplified sequential so i took it a step further and removed the rest of the solenoids and with non sequential. I removed and sold the PFC ecu and am running an Adaptronic PNP unit and installed a wide band at the same time. It had a pretty extensive list of nice upgrades including a downpipe and custom exhaust (which i will be re doing) . It has a cheap after market fuel system on it as well as stainless steel brake lines. I also installed a set of new smart coils with one of my harnesses and brackets.
I have sitting in my garage a fluidyne radiator, a greddy fmic kit, and an excessive LIM with Some very nice CJM fuel lines ID2000's and a purple anodized fuel labs FPR. I also work for Staubli, and I was given some clean break fuel quick disconnects and some also for the break lines which are awesome! Im holding out till we move into the new house and shop to get a new welder and a lift installed (maybe not immediately on the lift).
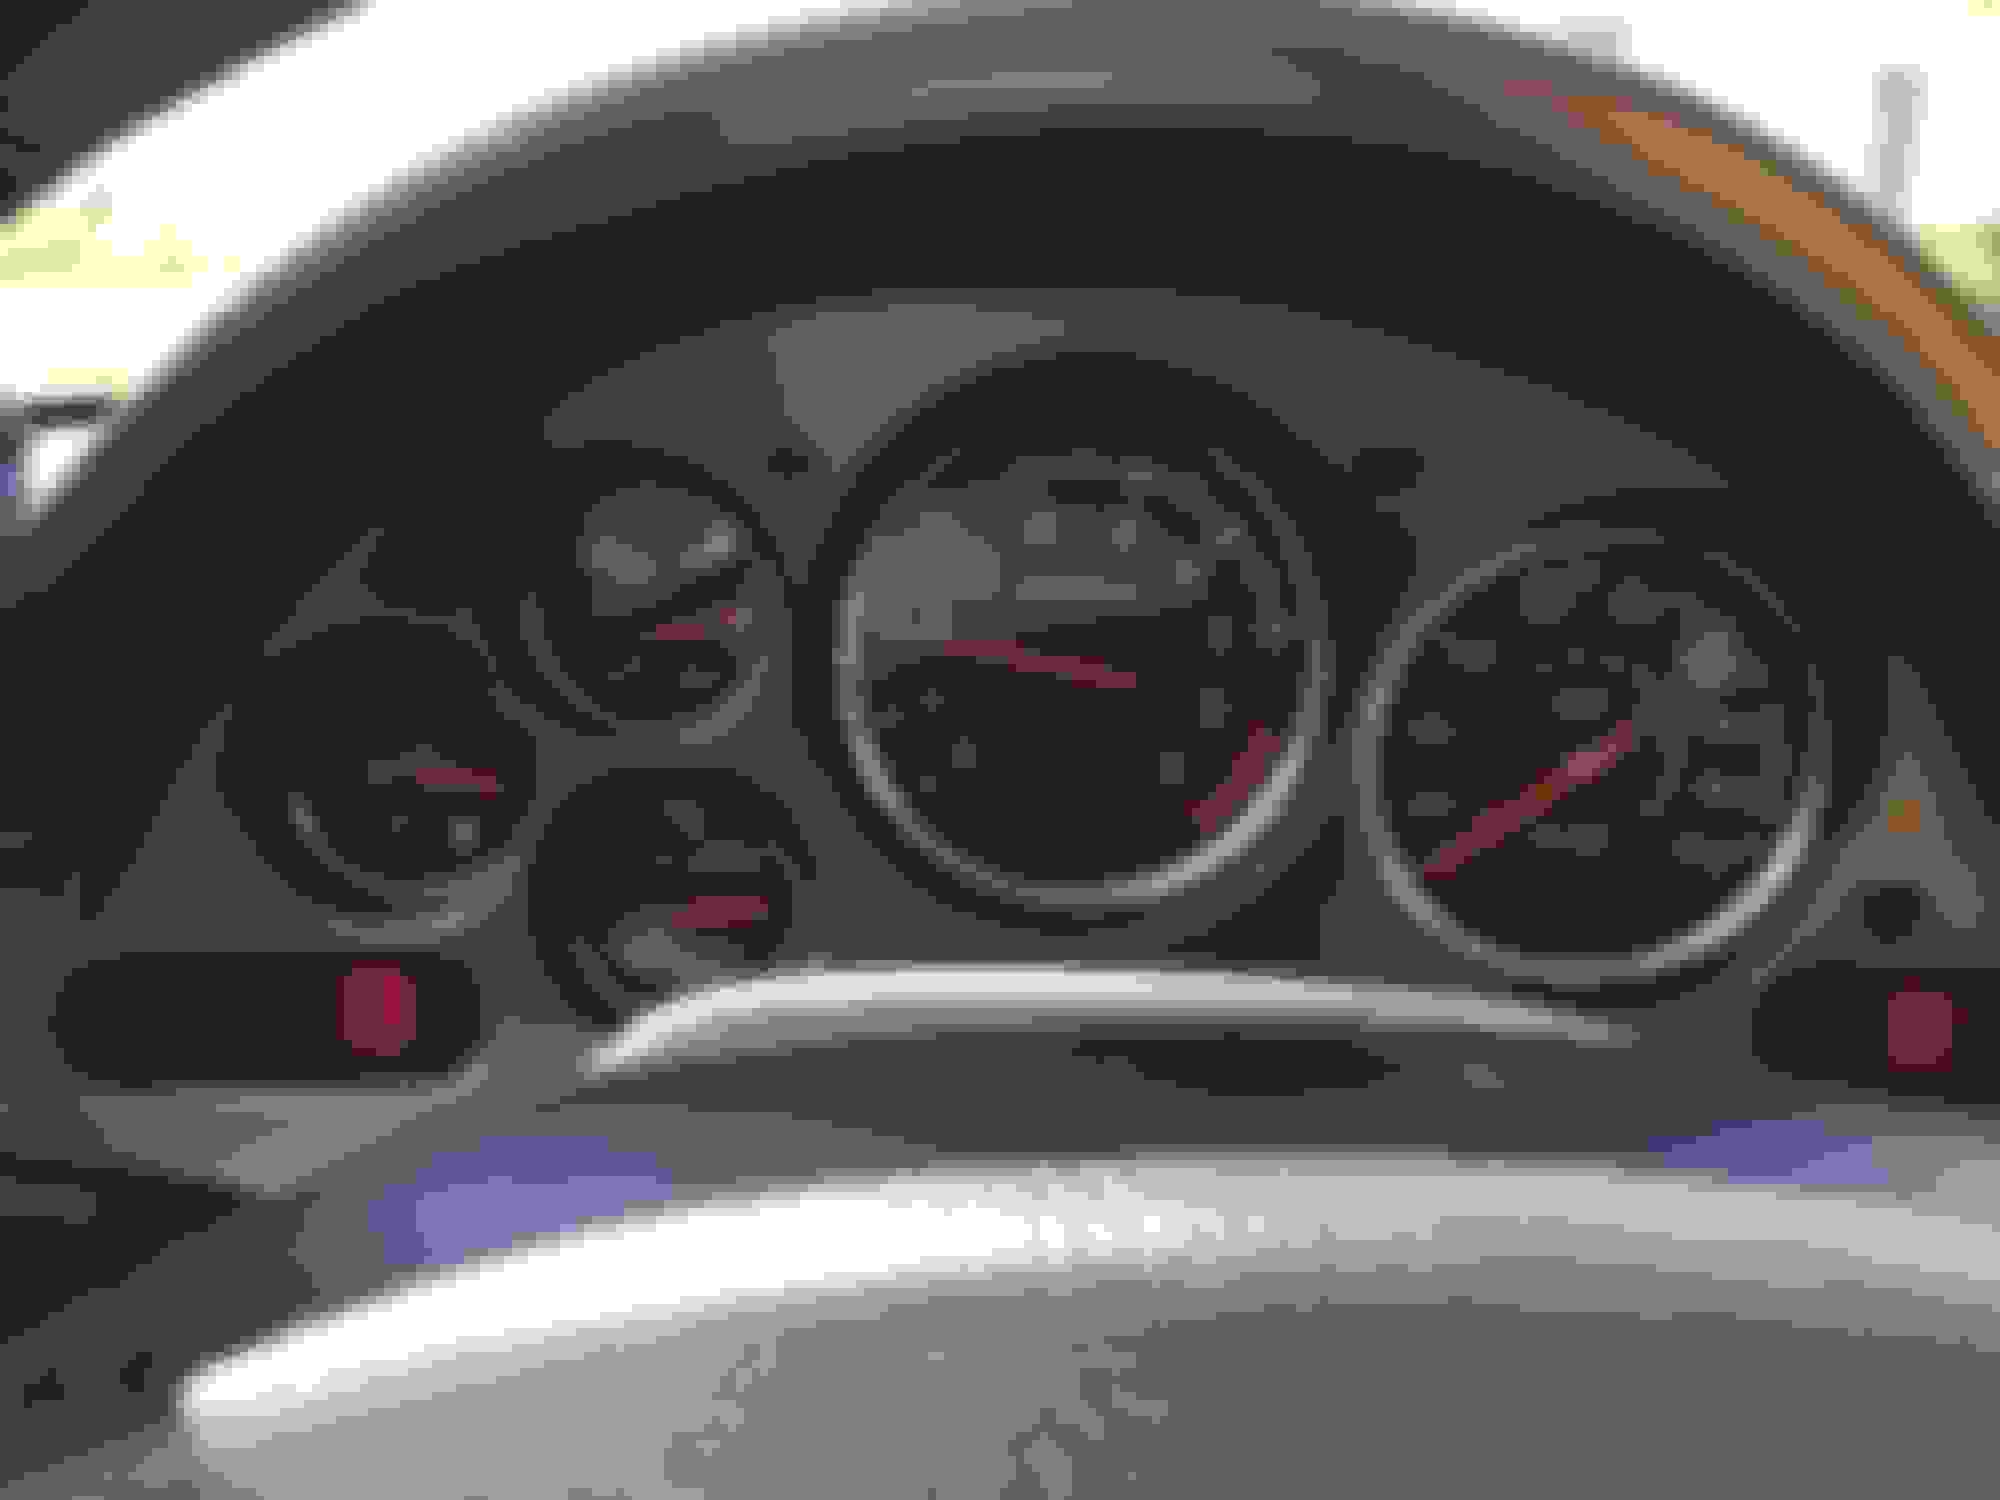
Just realize i hadnt added any interior shots. As you can see it haas a floating tach issue i need to fix....but it also has one of the coolest interior plastic kits ive ever seen. cant find anything like it online!
I could go get 2 more hatches tomorrow and have them painted. Not worried about it even a little bit lol
edit: Not trying to be rude I just already thought about that when I was on the fence of whether or not to install, and There's a local guy with a few parts cars with good condition hatches that I went to pick up some other parts for and I checked out the hatches for that very purpose lol
Last edited by zensation; Dec 11, 2017 at 07:25 AM.
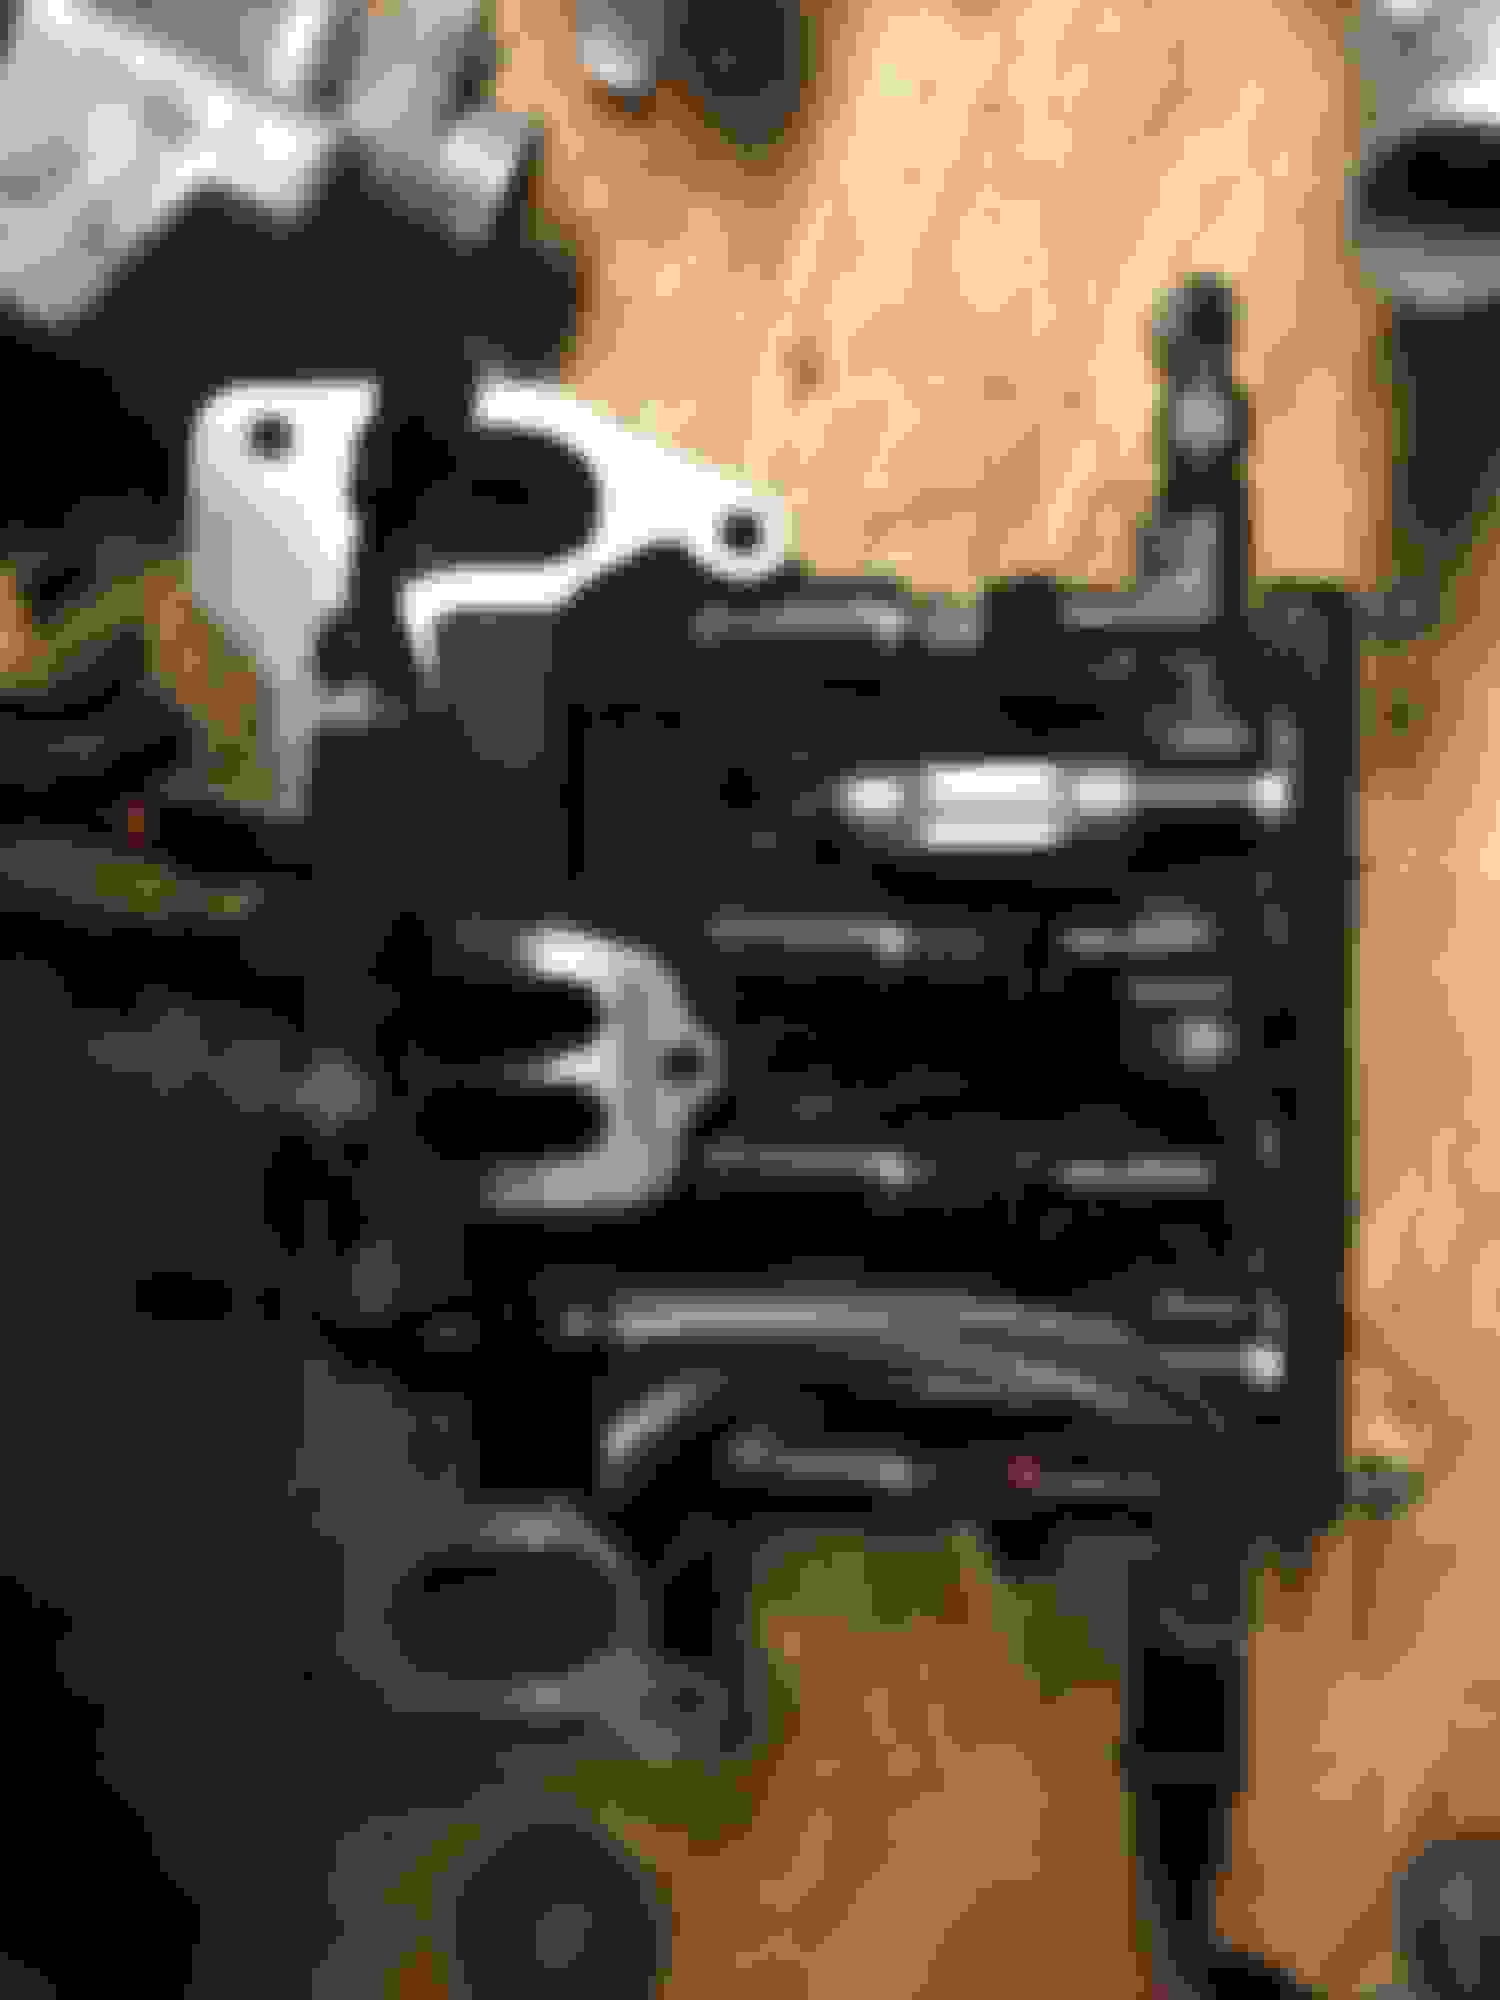
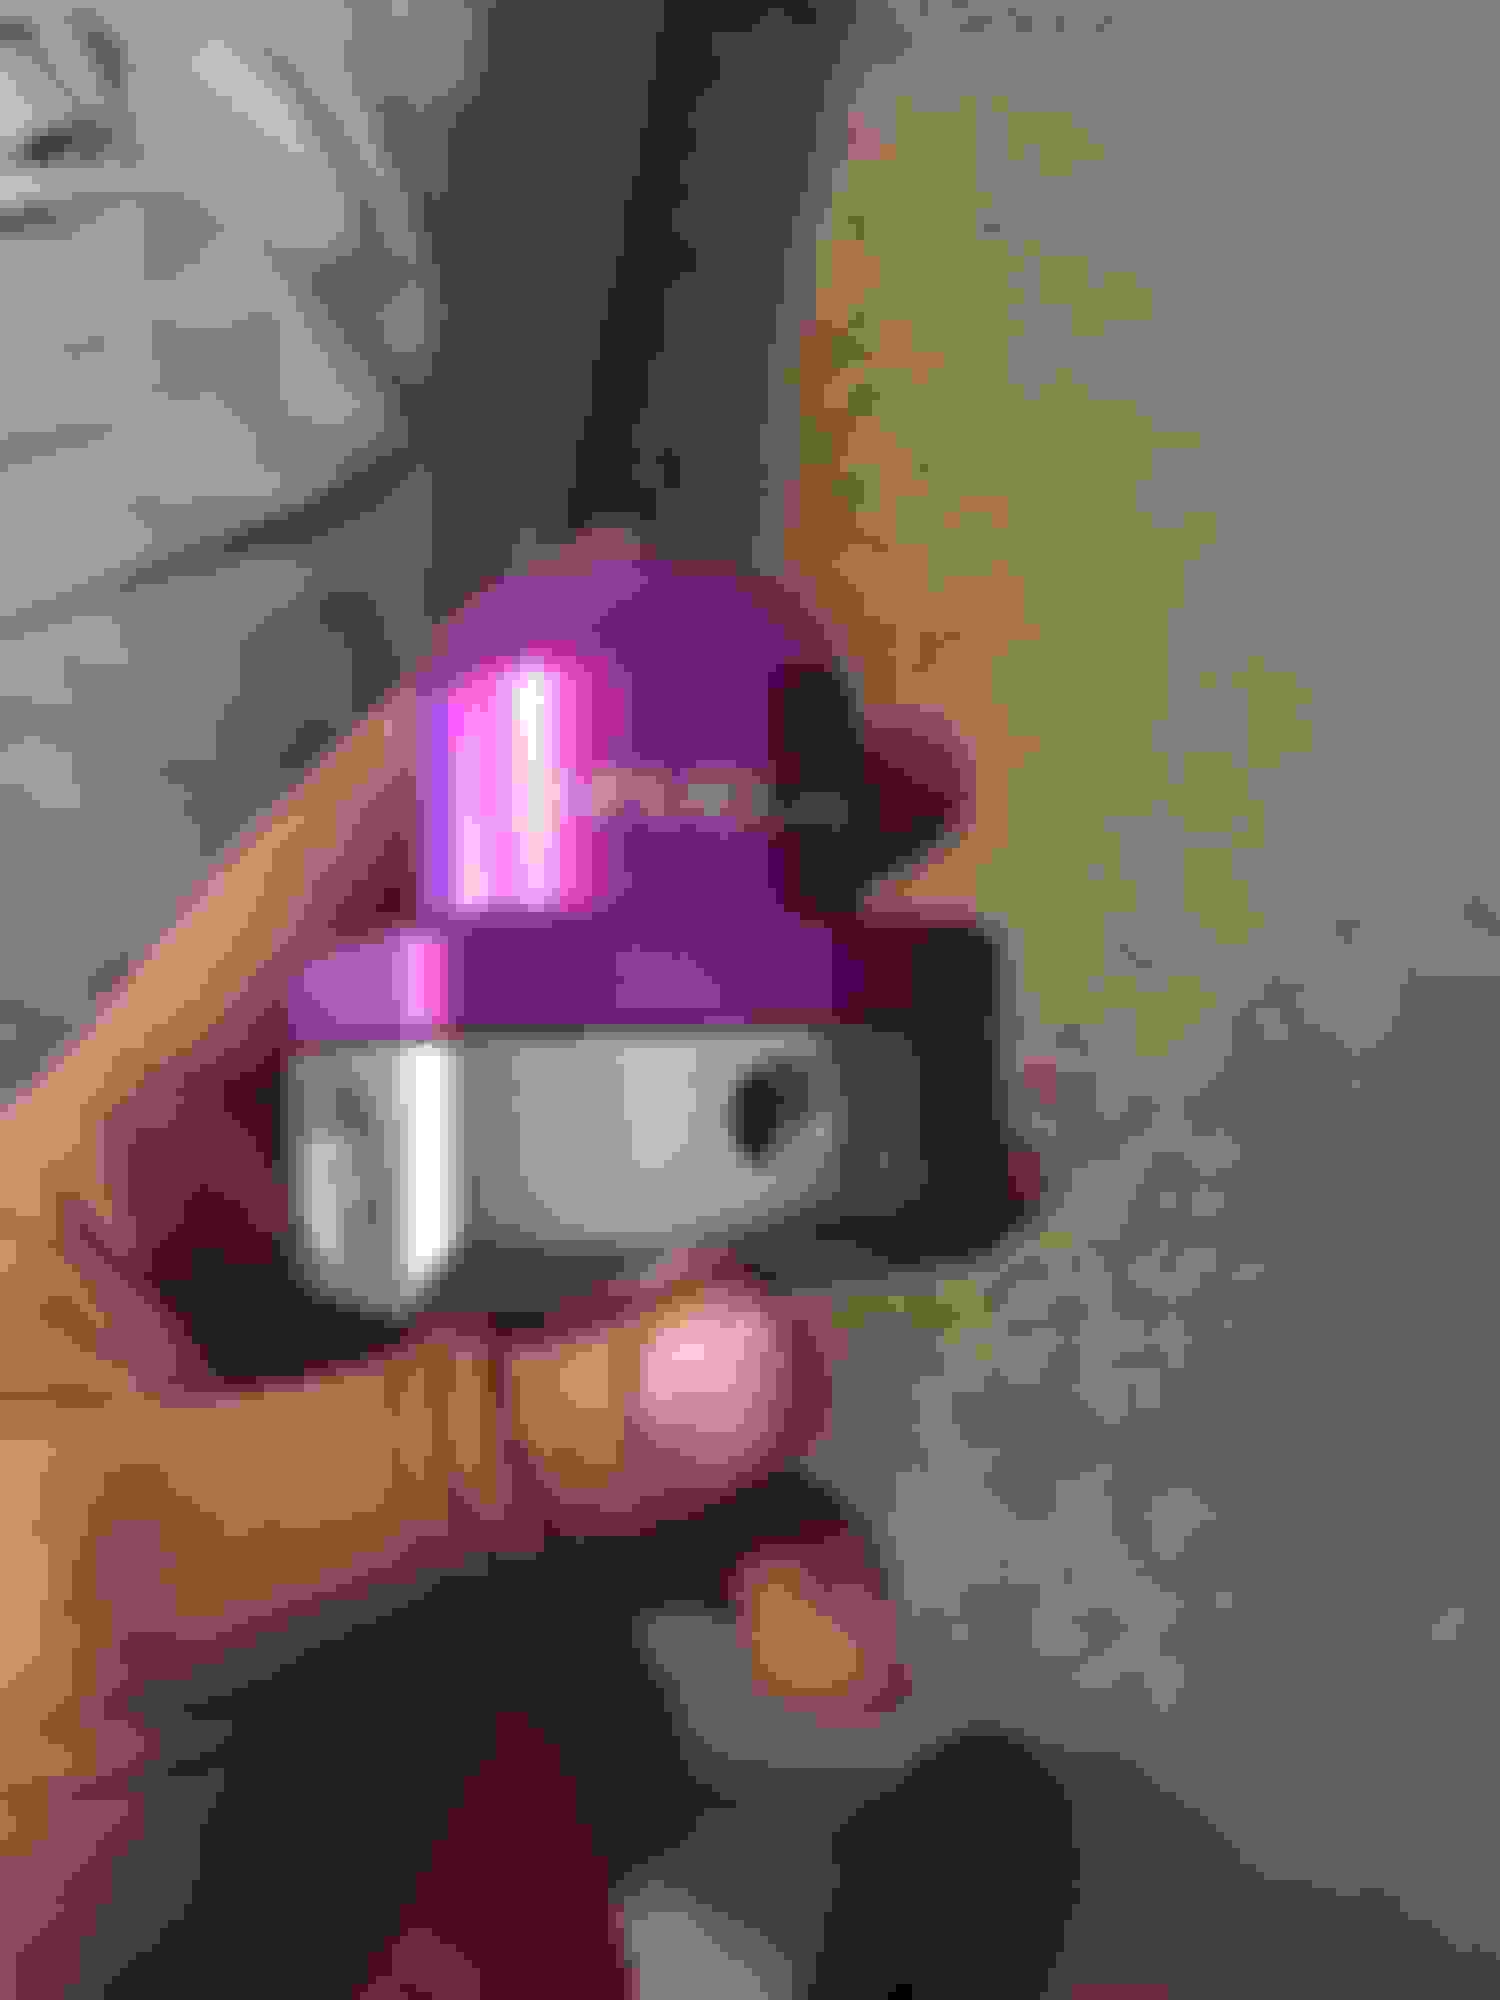
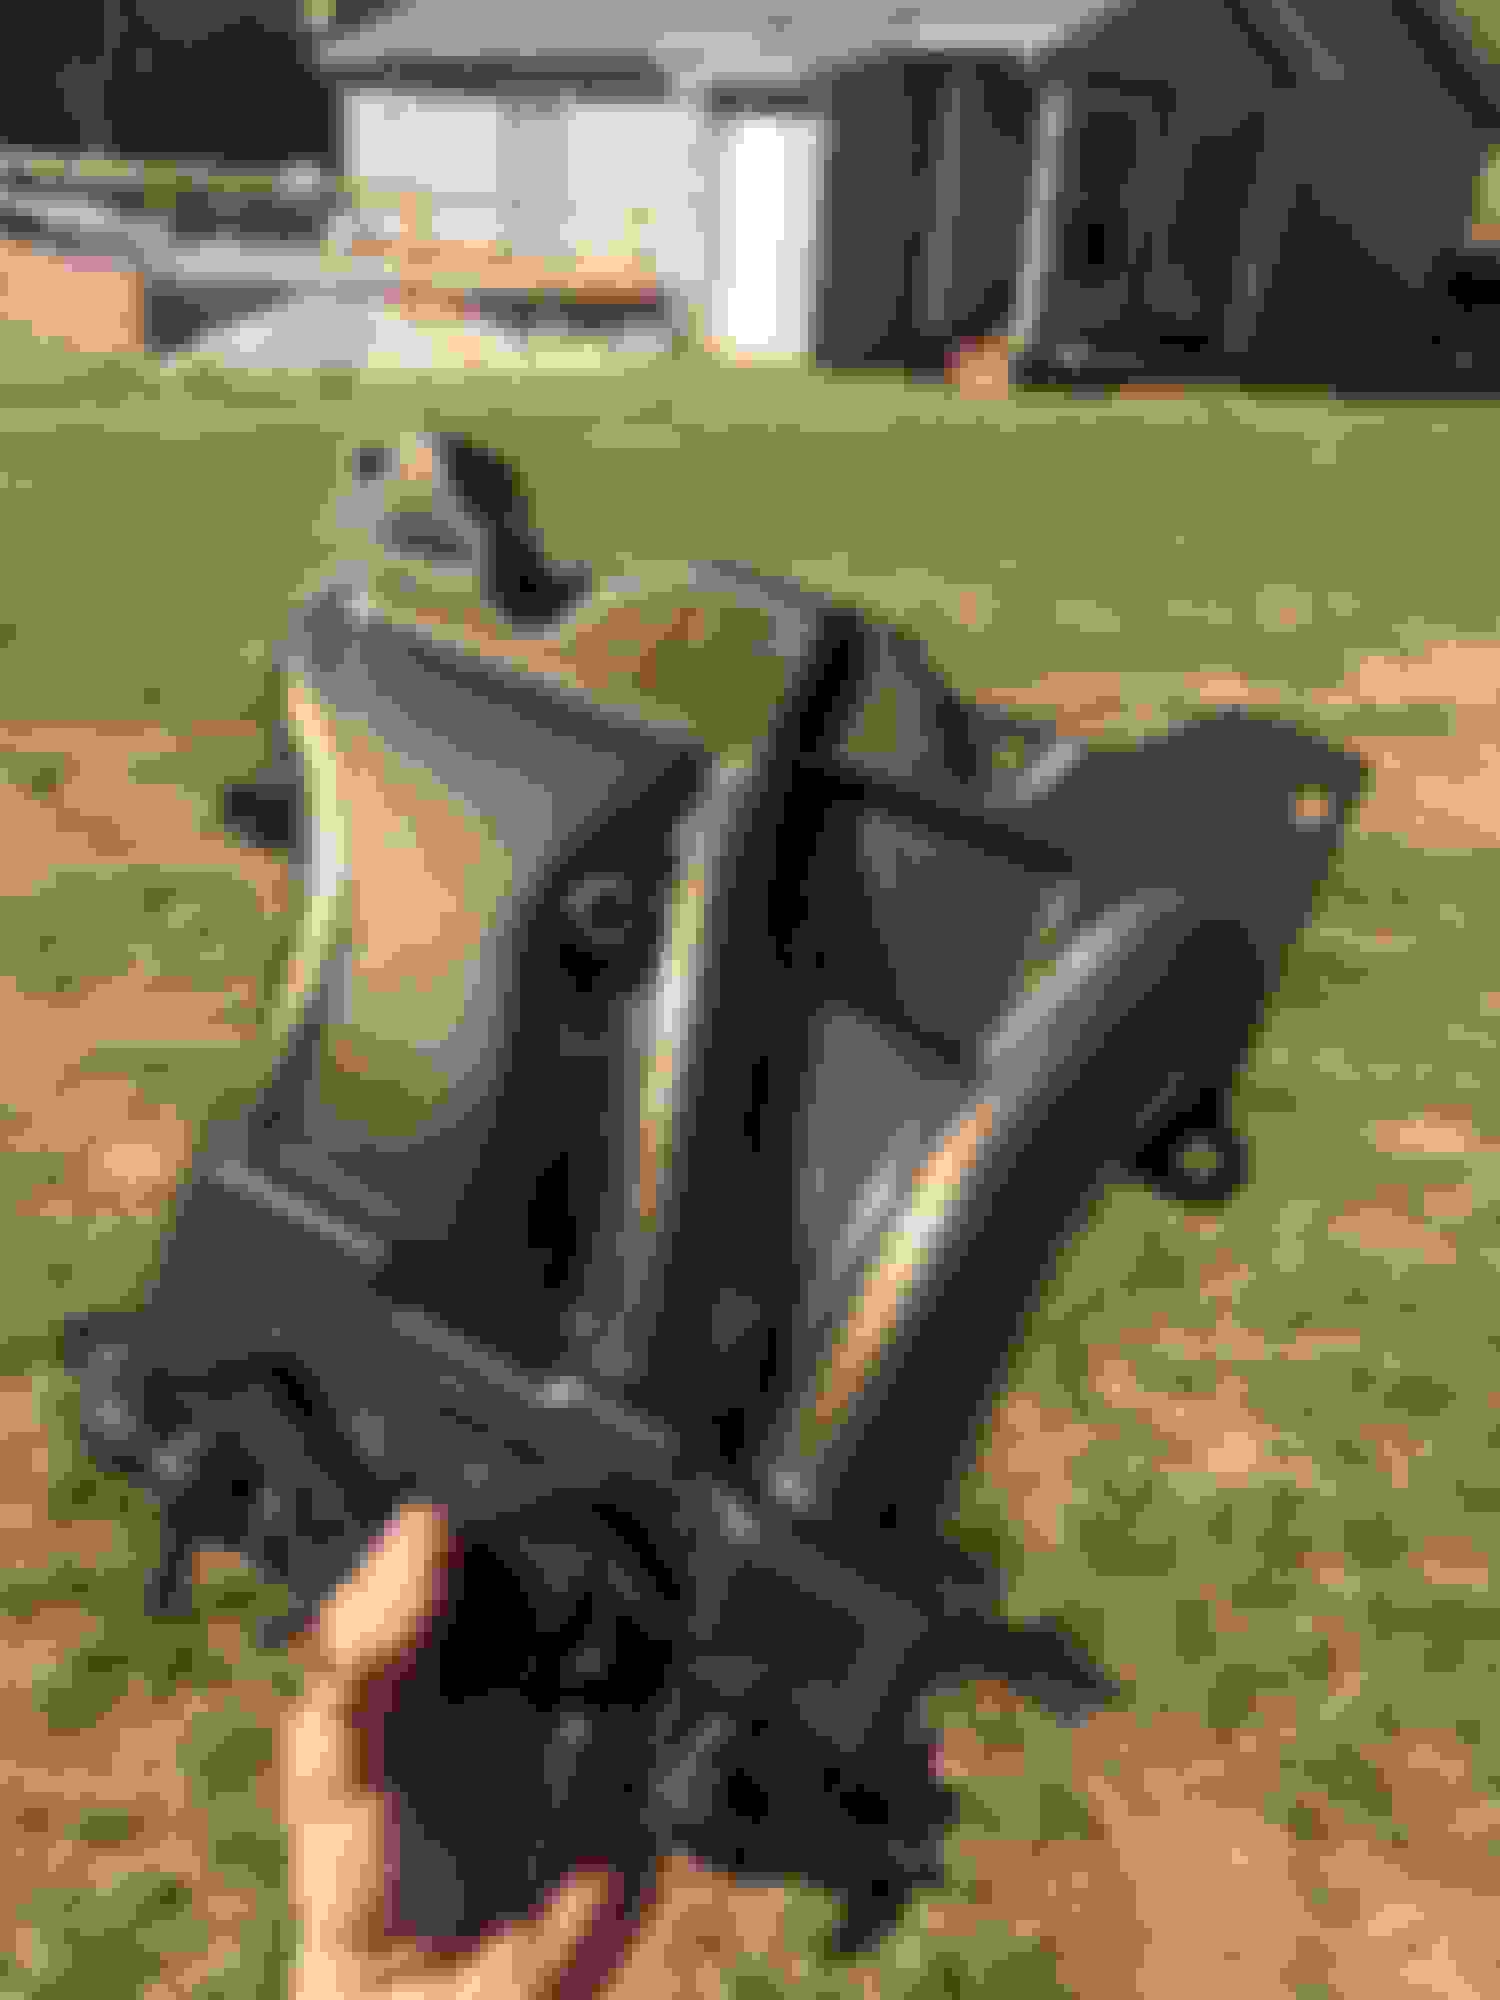
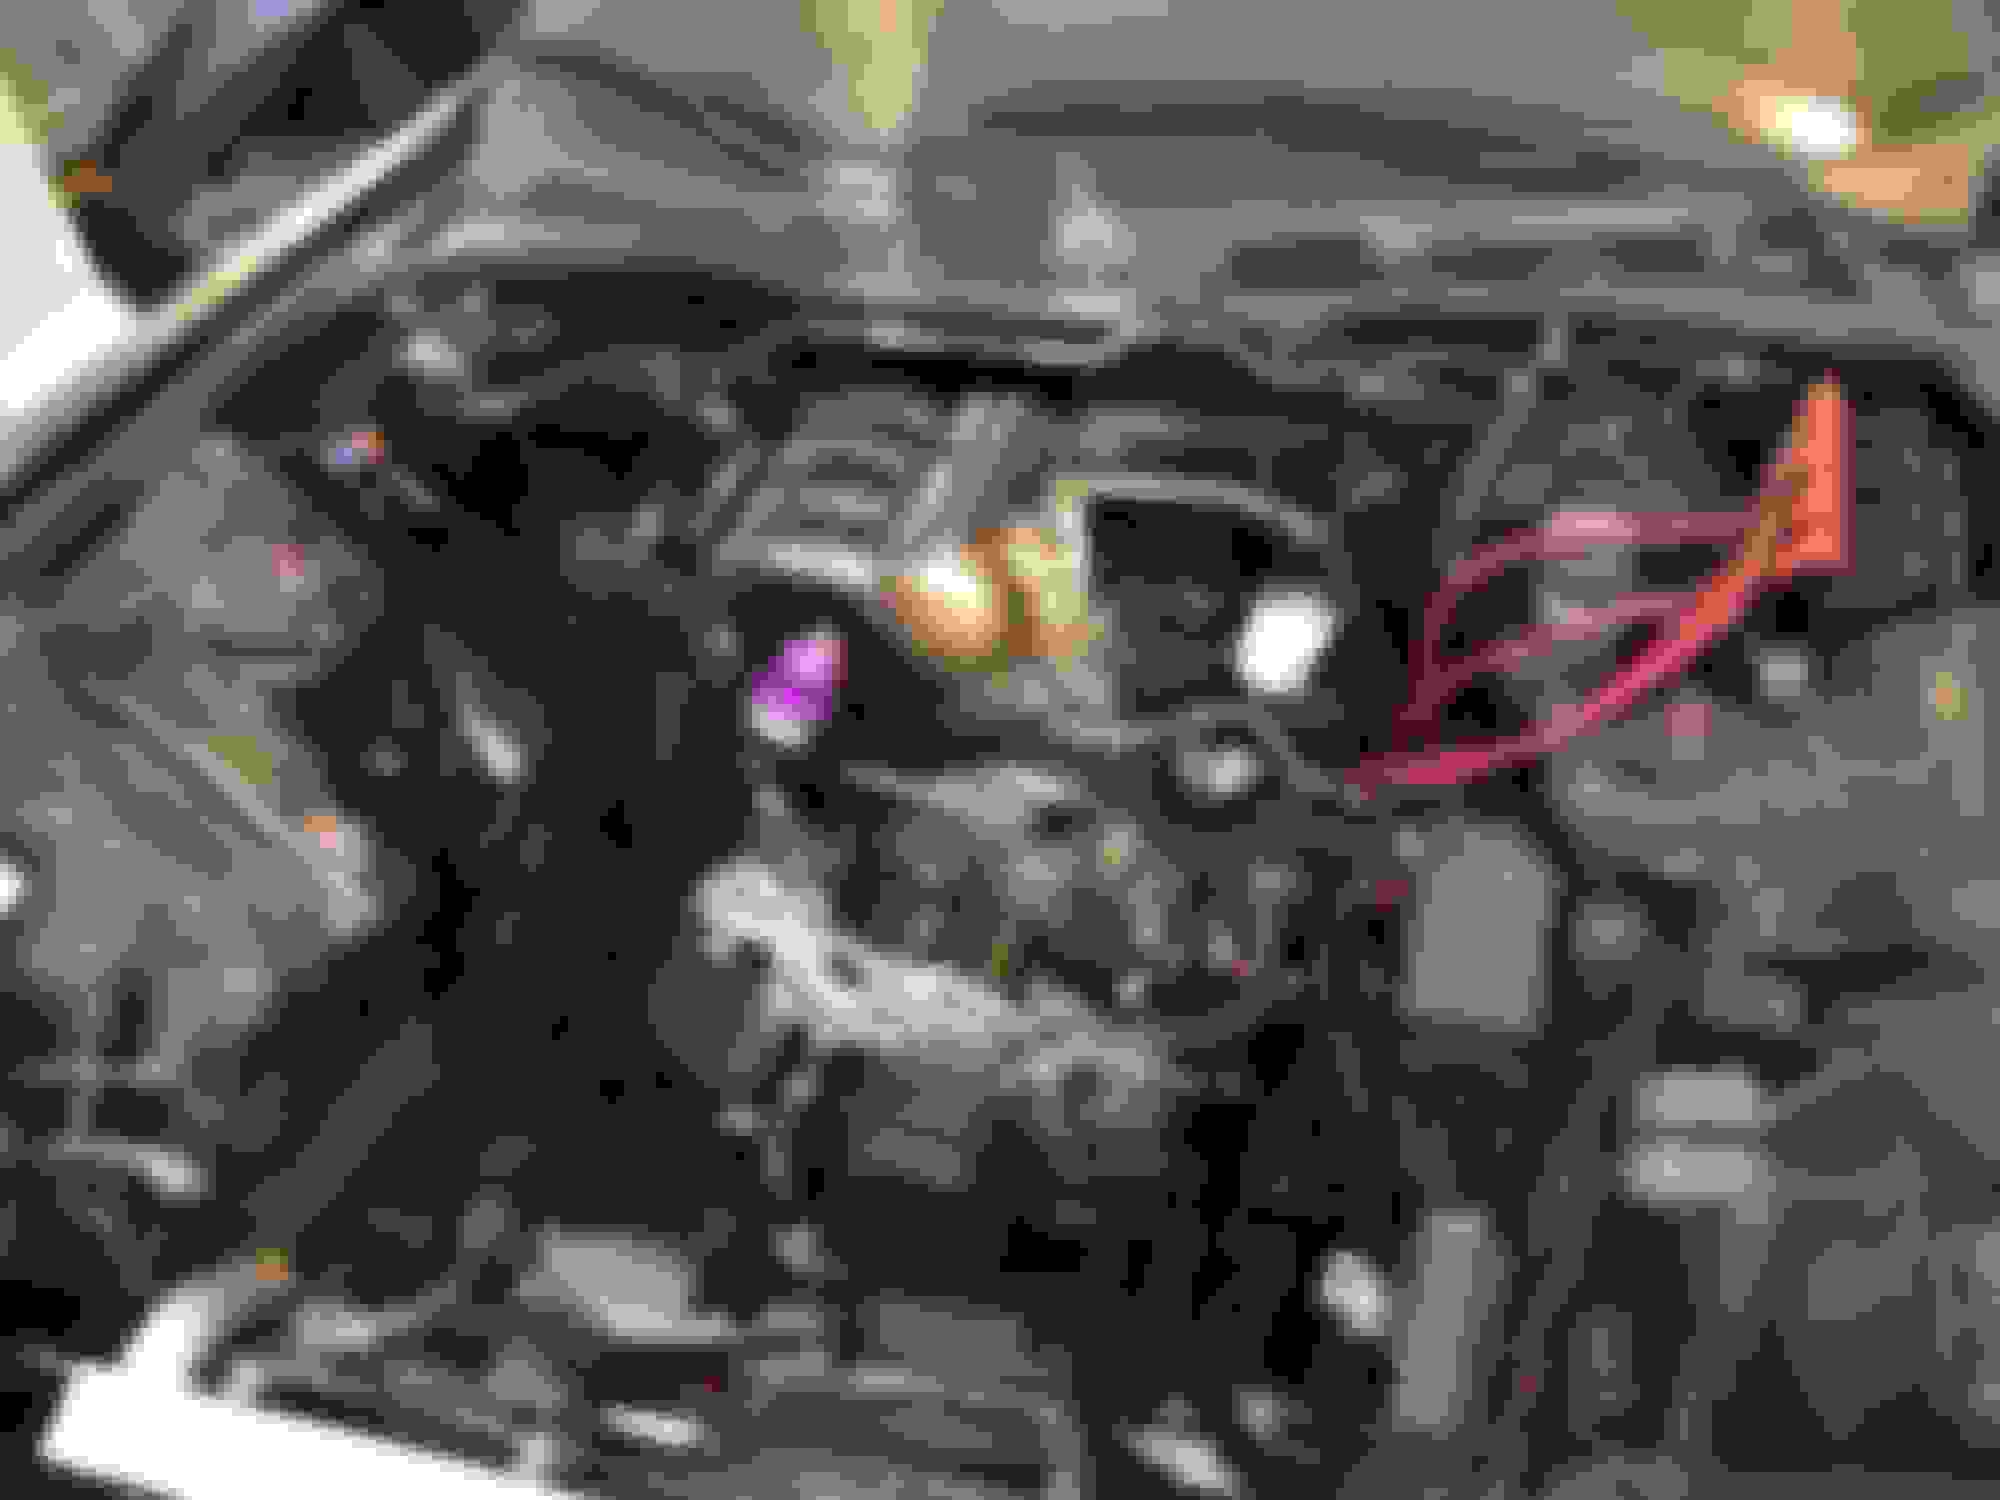
Its been a while again so i suppose its time for an update....I picked up an re manifold a while back so i had a buddy of mine powder coat a custom bronze color that should really set off the black/ purple theme as well as the wheels i picked out for the build. Aside from that the quick release fuel system is going togethjer so i will upload som pictures of that as well when i get it all together. I am using Staubli Quick release fuel fittings with viton seals. they are FIA safety certified as well. Awesome connectors to say the least!
manifold color in the sun
I also took apart the alternator and had it coated the same color as with the water pump housing and fill neck. the accessory bracket however was powdered high gloss black
a shot of it being dry fitted before the fuel lines are added.
Hope you can make it to DGRR with your car sometime, maybe next year!
Dale
Thanks Dale, I was hoping to get it together by this DGRR but that wont happen obviously at this point. I should definitely have it running by next year barring any tragic unforeseen circumstances. At any rate here is a test fit of the new intake, tb, elbow, and bov... I have also completed the fuel system with the Staubli no spill quick release fittings on the feed and return. those things are sweeeet.
Sort of bummed i wont be making it to dgrr but today was my daughters birthday so i wouldnt have gone anyways. Next year i will be going for sure. So i decided to work on my fan relay delete tonight. I am developing a controller to keep the stock fans but run them continuously variable depending on water temp signal from the ecu. I have somefans taken apart and ive already driven them with an initial prototype. I have some videos i may post up.
Ok after a long stent of not working on the car I have finished the harness and ECU connections for the variable fan speed controller. I was able to order a ton of other parts as well for the purposes of continuing the build...Here is a link to the youtube vid i posted using the adaptronic software to maniupulate the outputs since the car wasnt actually running.
Wassup yall! its been a terribly long time so its time for my annual update lol. where to begin??!
well I got the car back together. I ended up going with a Link Fury ECU (which i freaking love!) and Ill probably never use anything different from now on. I bought a turblown turbo kit with a borg sxe turbo because i wanted to stay away from water cooling this time. I ended up deleting the abs module as well. Again the goal for this car is just a clean simple engine bay and around 400-450 hp at the wheels. (the blue silicone lines will vanish as its all i had laying around at the time to get it running and start tuning)
In 2010 i was an engineer at a large corporate manufacturing company making custom seals and gaskets for automotive and aerospace/military applications and learned way more than i would ever need to know about rubber compounds.. One of the engineers I worked with decided to take his side gig to the next level and started his own small biz called circuit board medics that now employs 40 ish people. A while back he called me up and made me a very competitive offer to come on board and get an r&d group going. so thats where i am now. well my ODO screen went out so you can see where this is heading....Basically we reverse engineered the board and were able to come up with standard repair procedures to fix about 99% of the clusters weve seen from 93-02 rx7's. I cant share any more detail than that as the information is protected. However for my cluster I decided to do a color change of the dated orange odometer background and made it a nice cool blue which looks great on the dash! heres a taste...
Along with the link ecu I decide to make a completely new harness concentric twisted and heat shrink wrapped. I spent probably 40 hours pinning out the FD and then 40 more sourcing all the factory connectors so i wouldnt have to cut connectors off and repin. i wanted everything nice and PNP....
Laying everything out...
cabin side patch harness with milspec quick disconnect at the firewall....
engine side harness....
link fury tucked nicely into the factory location.
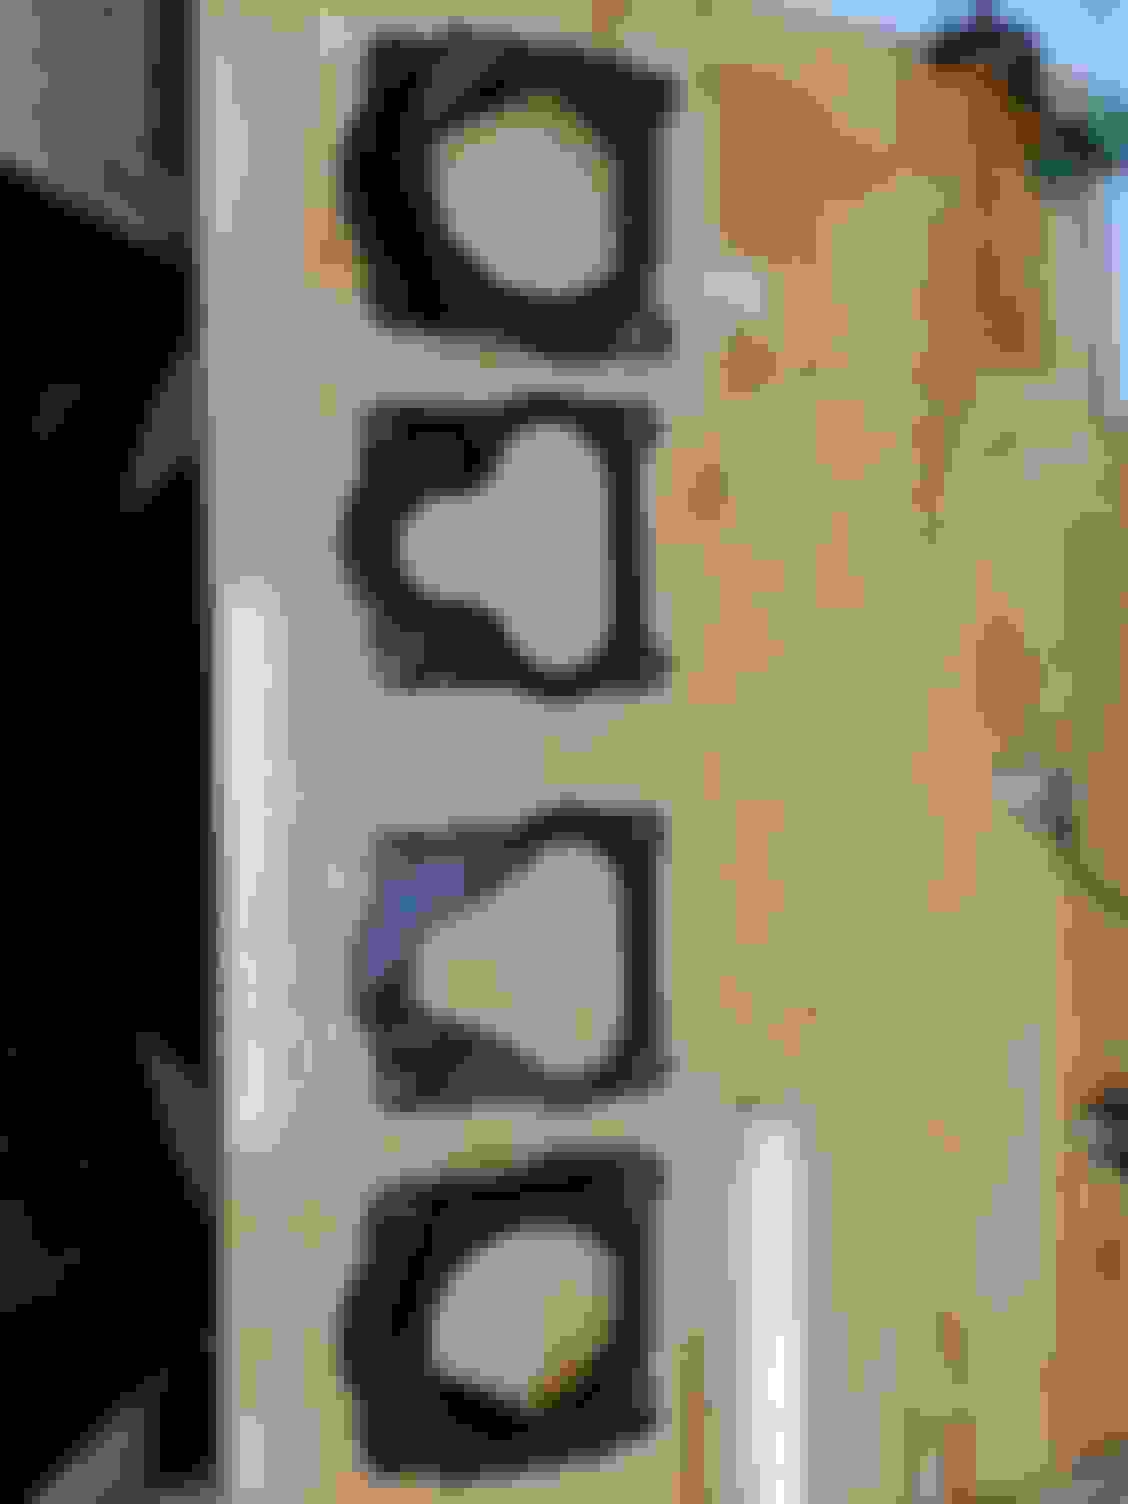
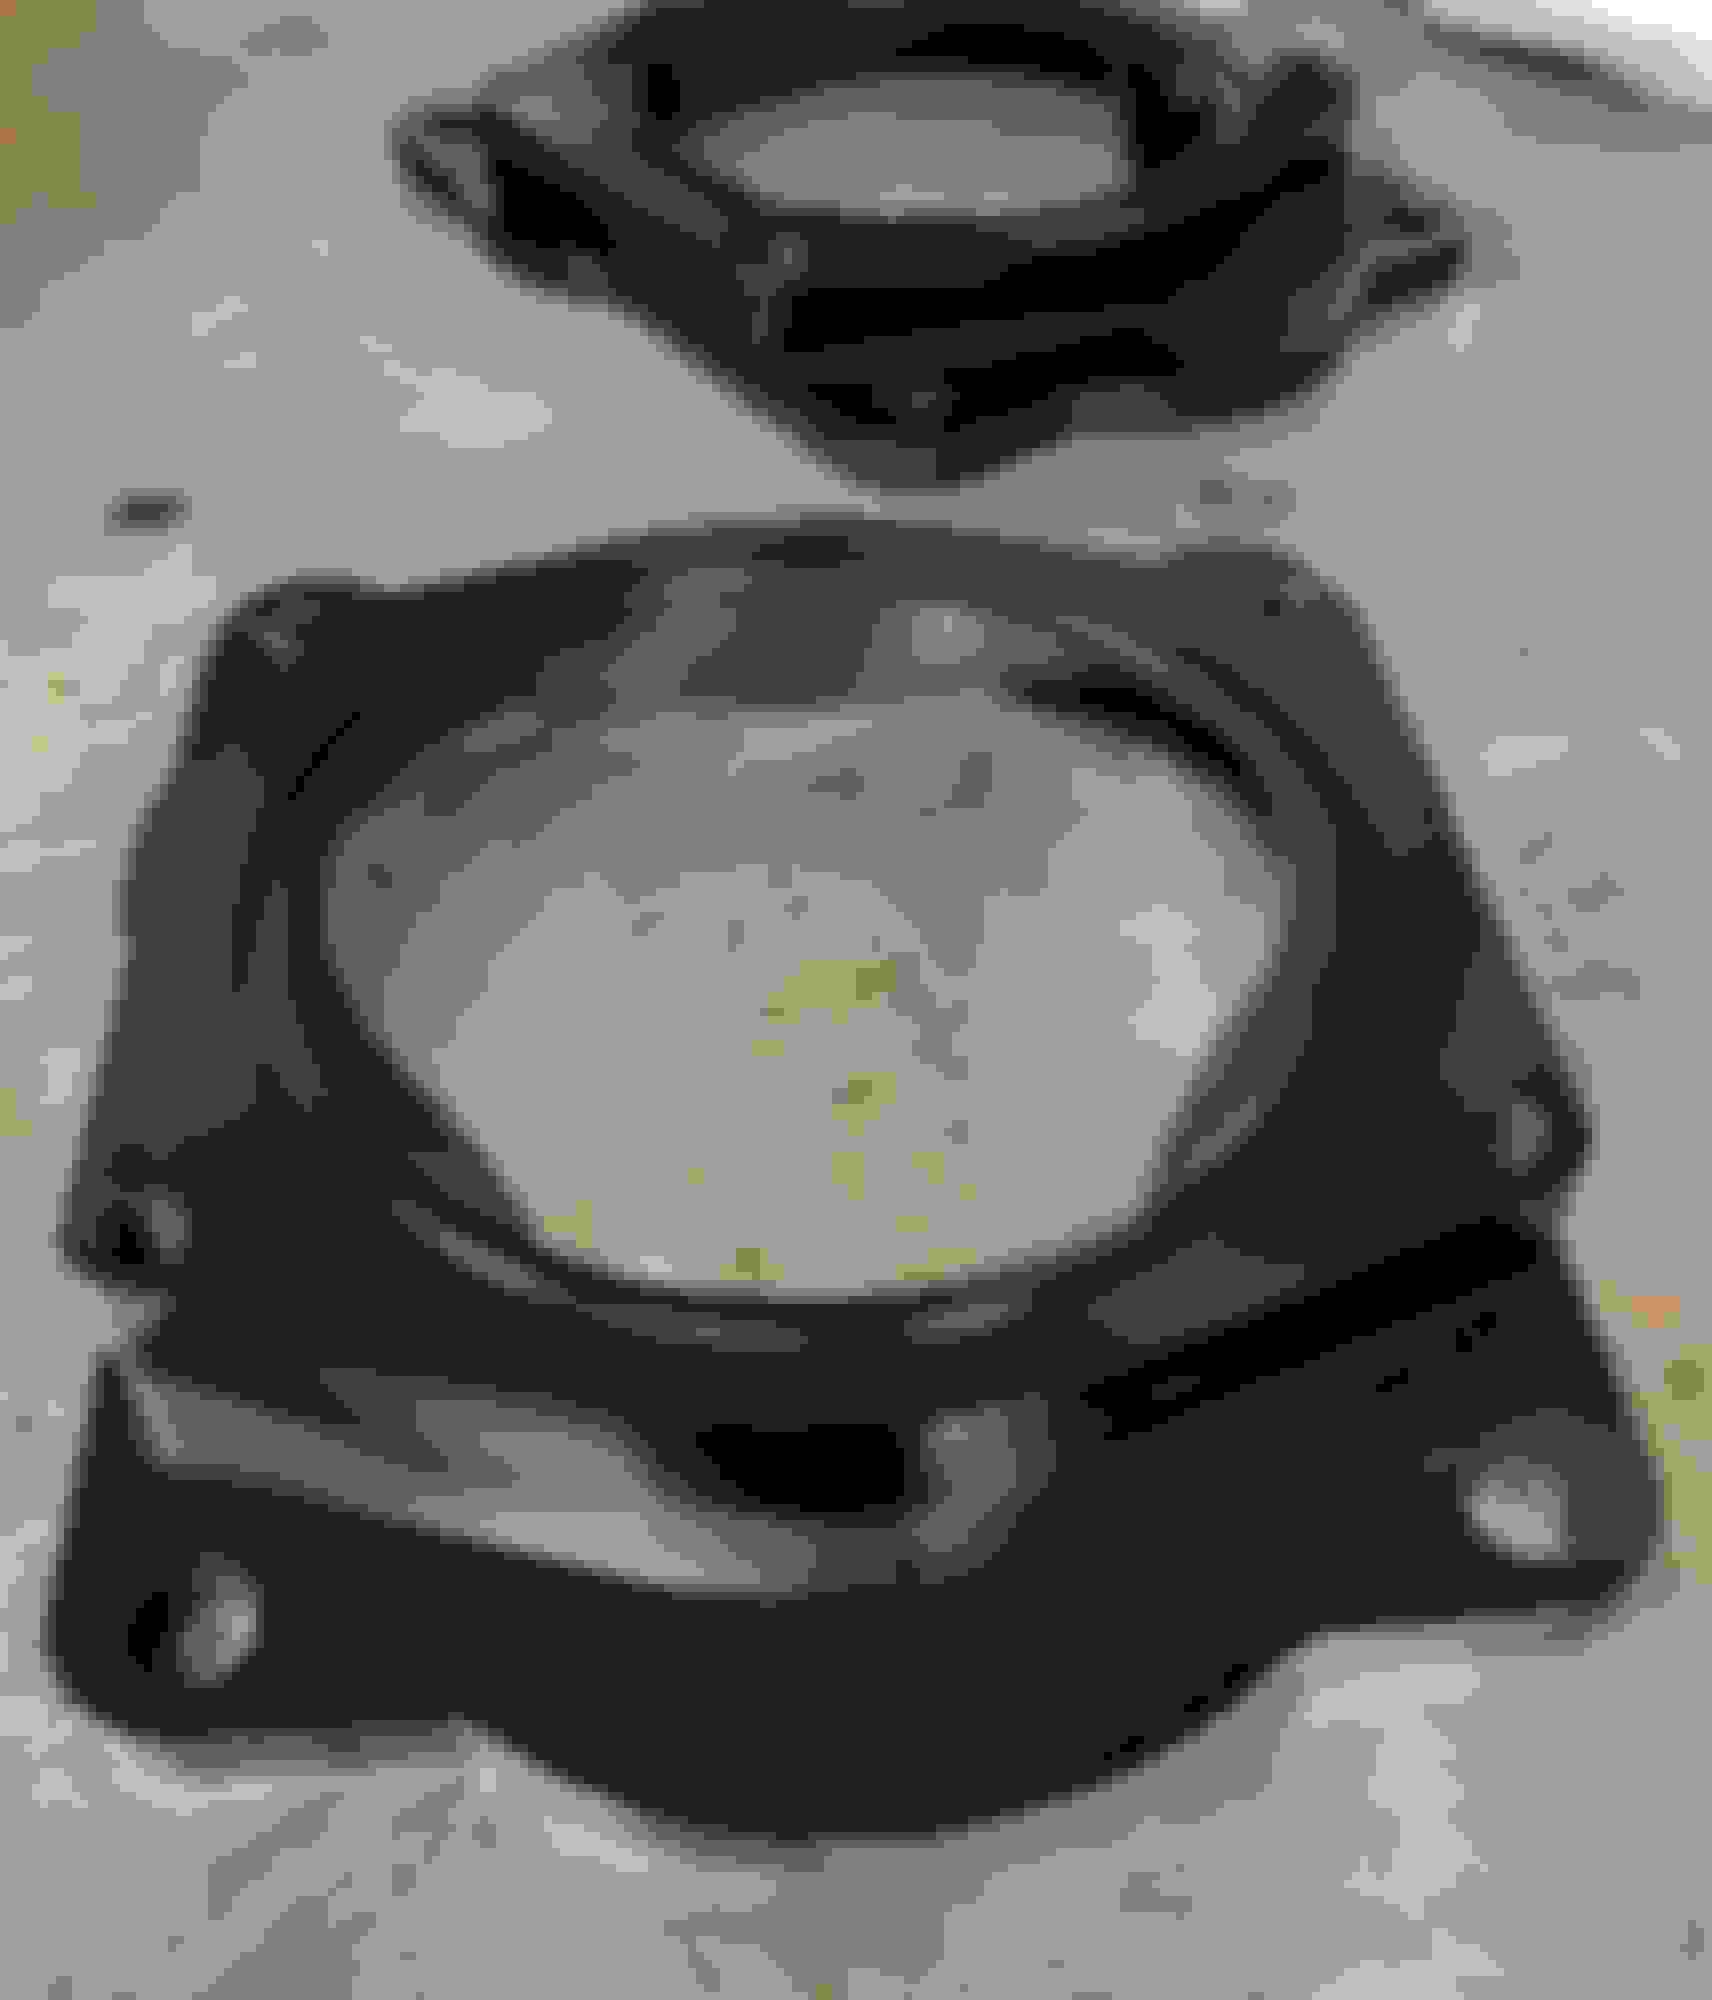
I decided that I want to utilize my link ecu more and go DBW but no solution existed that worked for both the Cosmo intake as well as the FD intake so I designed a few with a 3d printer and once it was finalized I had them machined. Made a few extras 😉. I'm very excited as the are a smother transition from the trip blade shape port directly to the 90mm GM profile.