
Billys 93 black on black base


Junior Member
Joined: Jan 2013
Posts: 2
Likes: 0
From: Northern VA
LOL. Funny story about that car. I had an arrangement with the guy on price and date/time i was going it pick it up. I already had a flight and everything set in motion then the guy sent me a text message a few days before I was scheduled to arrive saying "sorry it sold"! Good find you you though. I found another one that same day and drove straight to pick it up. 

Thread Starter
Joined: Oct 2008
Posts: 1,223
Likes: 0
From: Chicago
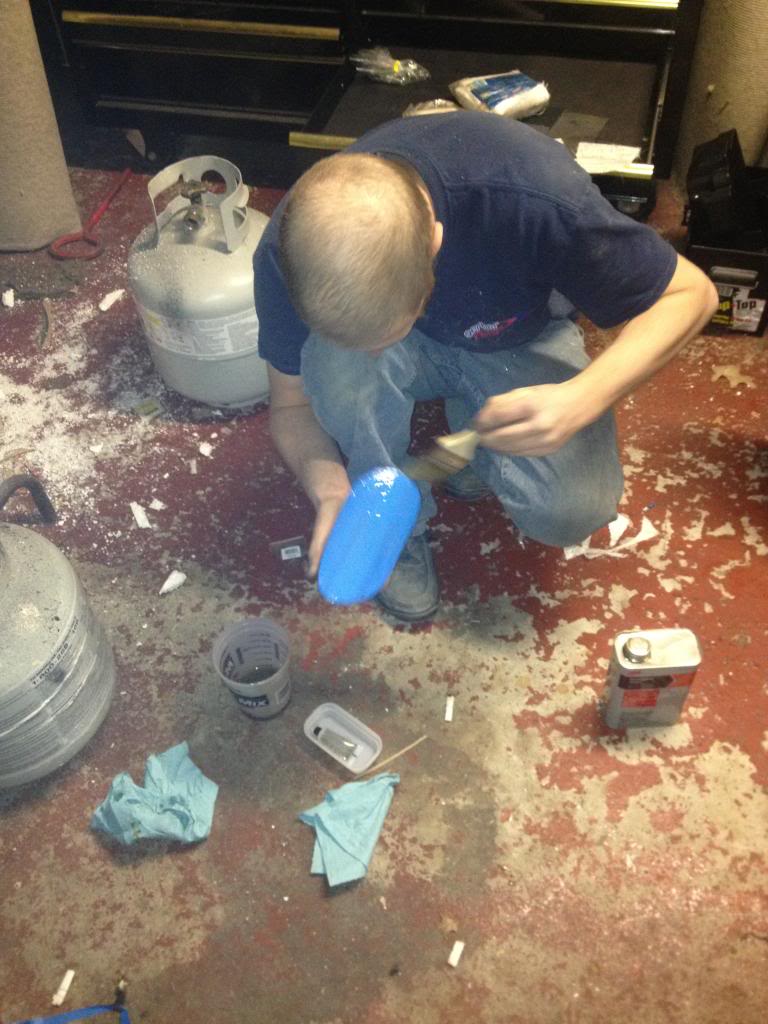
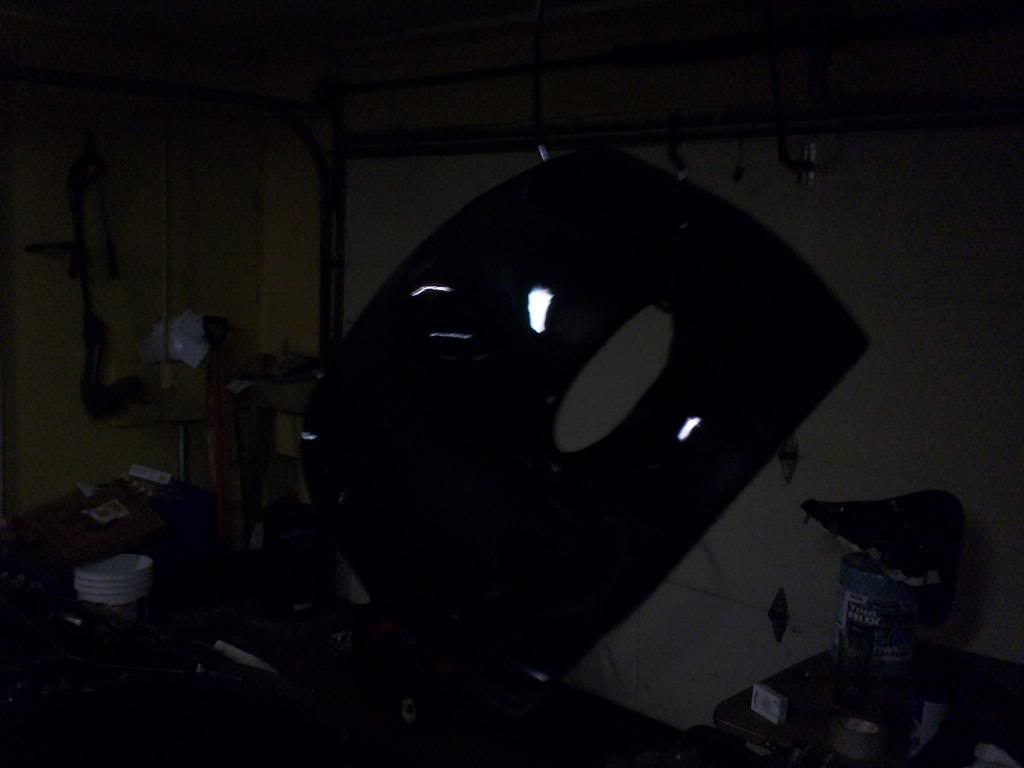
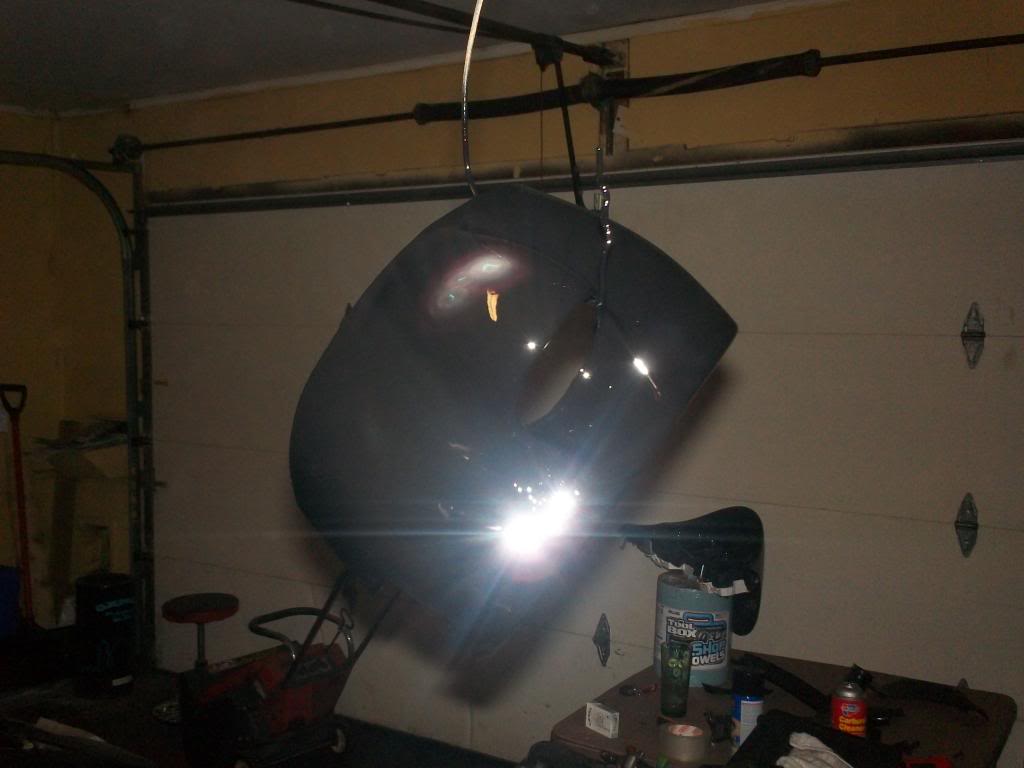
Few more things done tonight. If you notice the earlier pics Im missing the center AC vent.. yea im not paying $85 for a new piece so fiberglass we go! Itll serve the purpose of a LED or two for the meth tank warning lights. No thats not me in the picture, thatd be my fiberglass guy.. oh ya, I have a guy for that. I replaced the rear speakers with pioneer 6x8s as well.
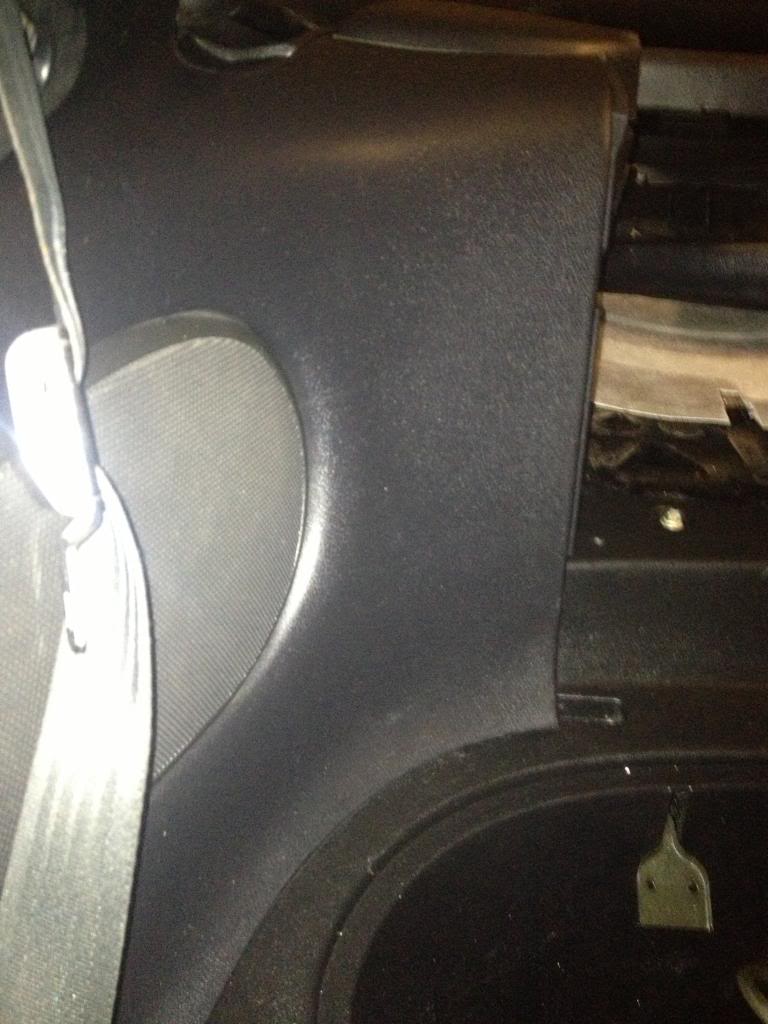
Back end interior is all in except the hatch carpet (have to swap fuel pumps first). Side panels I just cleaned up but the bins got the plastidip treatment. Looks great!
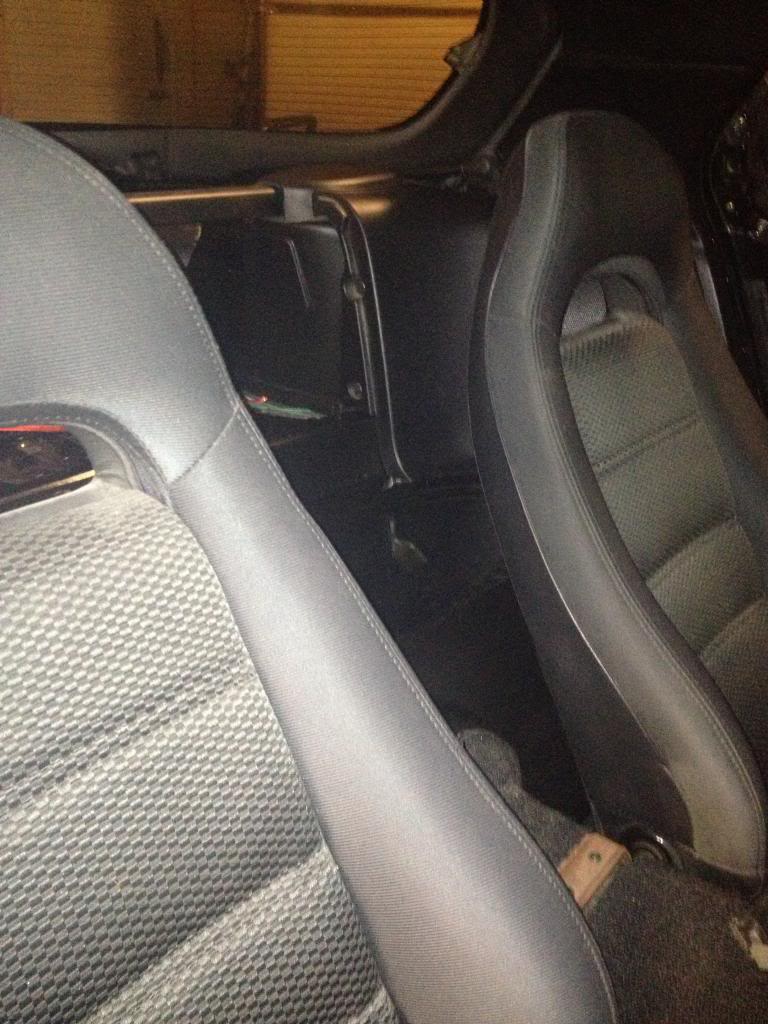
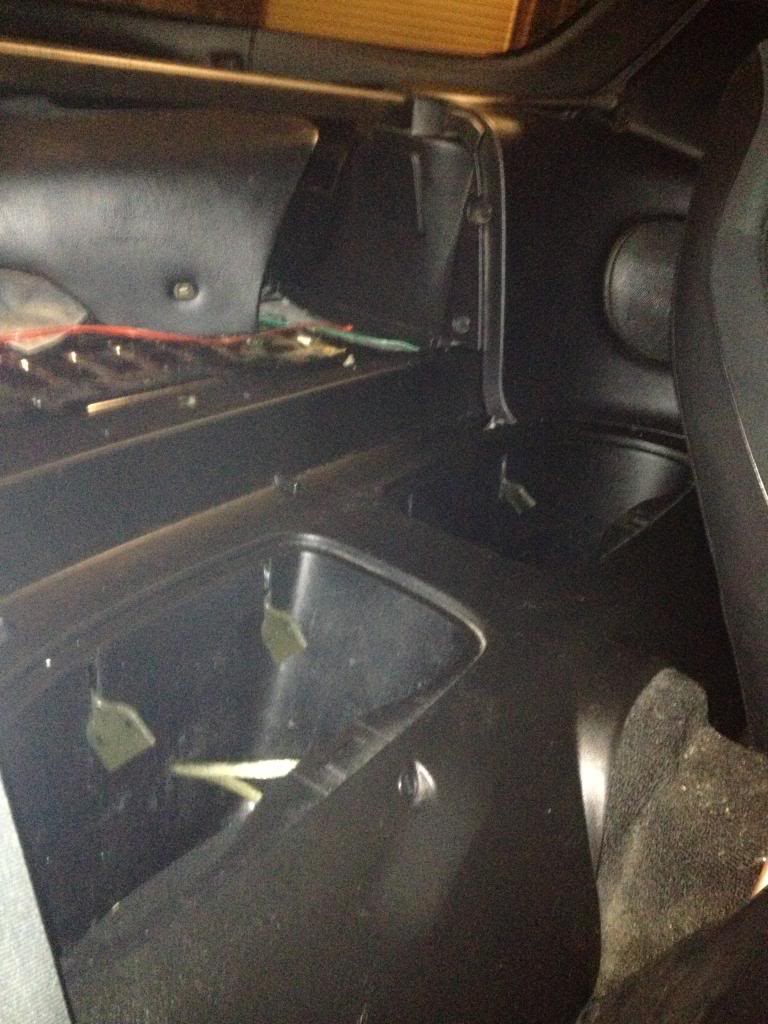
More this weekend with the center panel piece and my gauges should show up by then. I needed to put 1 more coat on one of the bin covers so thats why they arent on in this pic. Ill need to find a battery to put in the passenger bin since thats where I ran my relocation wires to.
Back end interior is all in except the hatch carpet (have to swap fuel pumps first). Side panels I just cleaned up but the bins got the plastidip treatment. Looks great!
More this weekend with the center panel piece and my gauges should show up by then. I needed to put 1 more coat on one of the bin covers so thats why they arent on in this pic. Ill need to find a battery to put in the passenger bin since thats where I ran my relocation wires to.
Funny... that same guy is also my plasma cutting, metal fabrication, paint repairing, and metal welding general cool dude guy too. I think they call him "ole man Hinze....."


Thread Starter
Joined: Oct 2008
Posts: 1,223
Likes: 0
From: Chicago
Well my birthday is over so its back to the grind. Although I have a problem now..
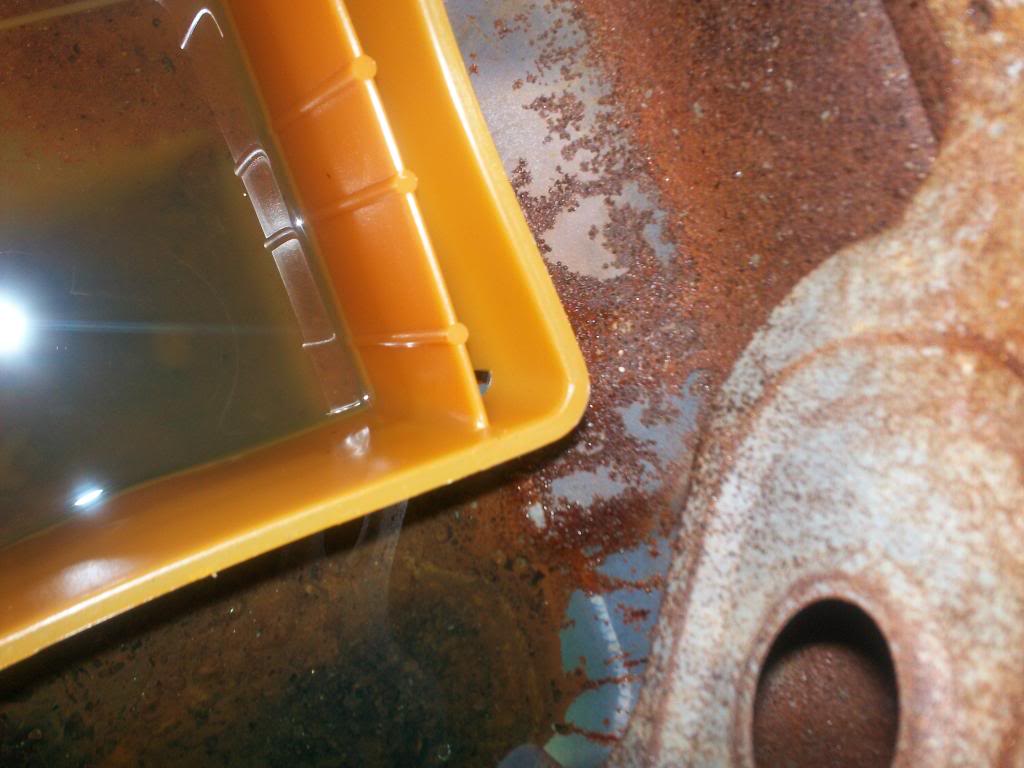
This is the inside of my fuel tank:
This is my pump hangar:
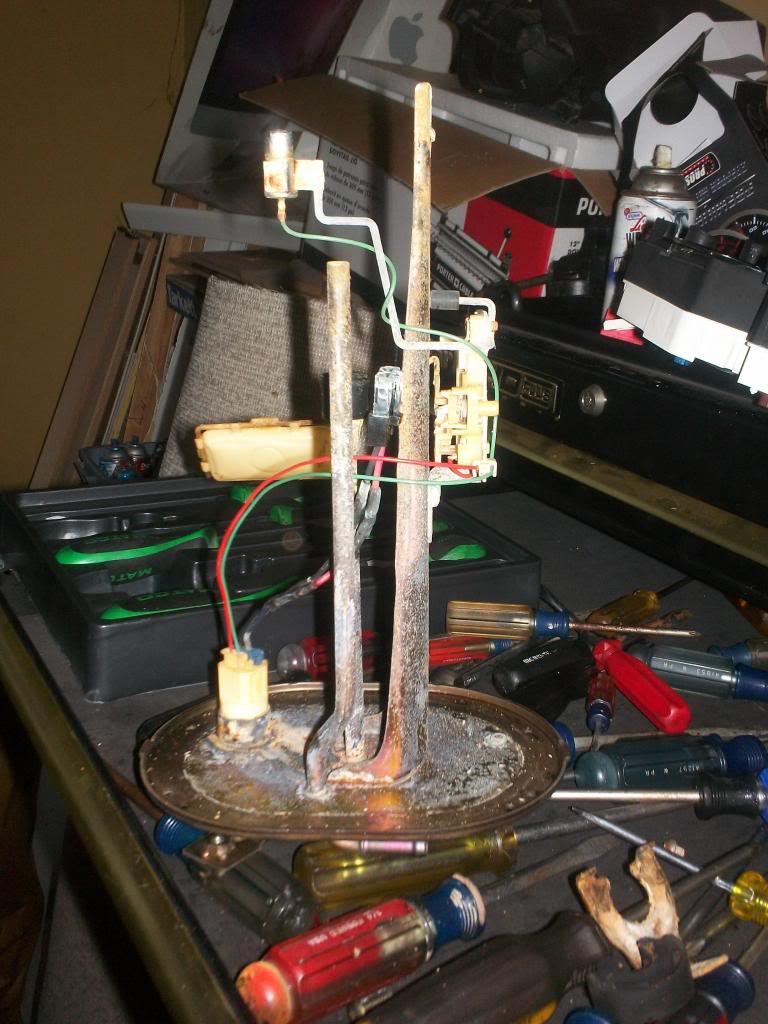
Looks like Im in the market for a new pump hangar and tank
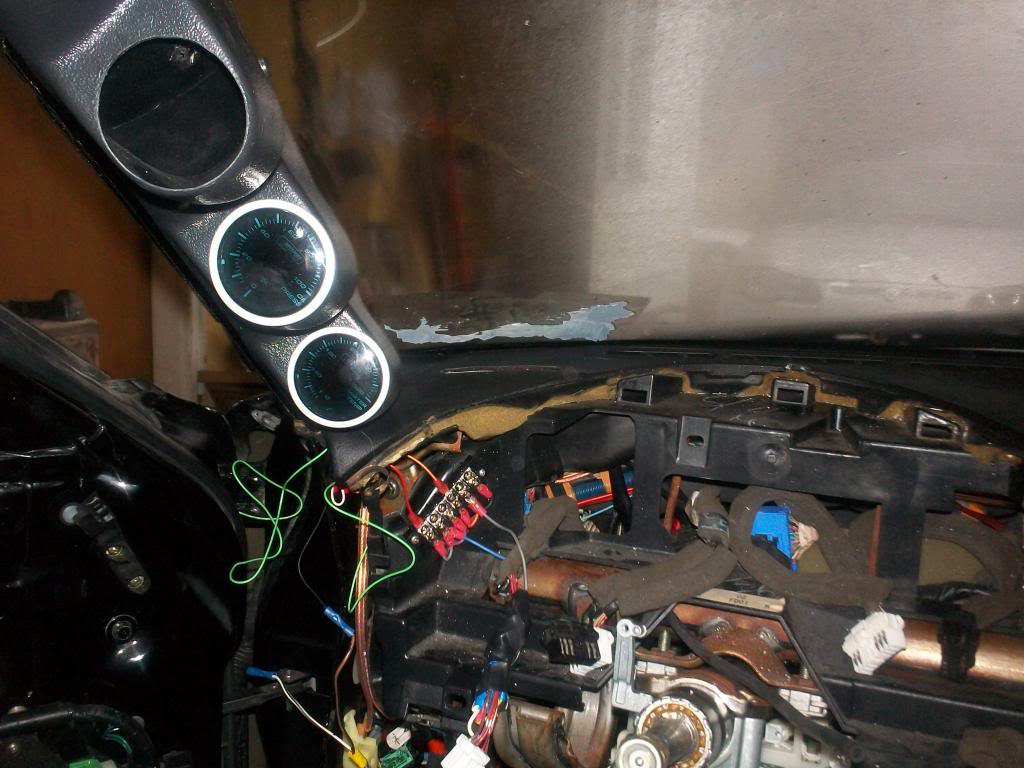
Finished up the pettit column guage holder with epoxy. Its nice and snug now! It just needs primer and paint and ready to go back in.
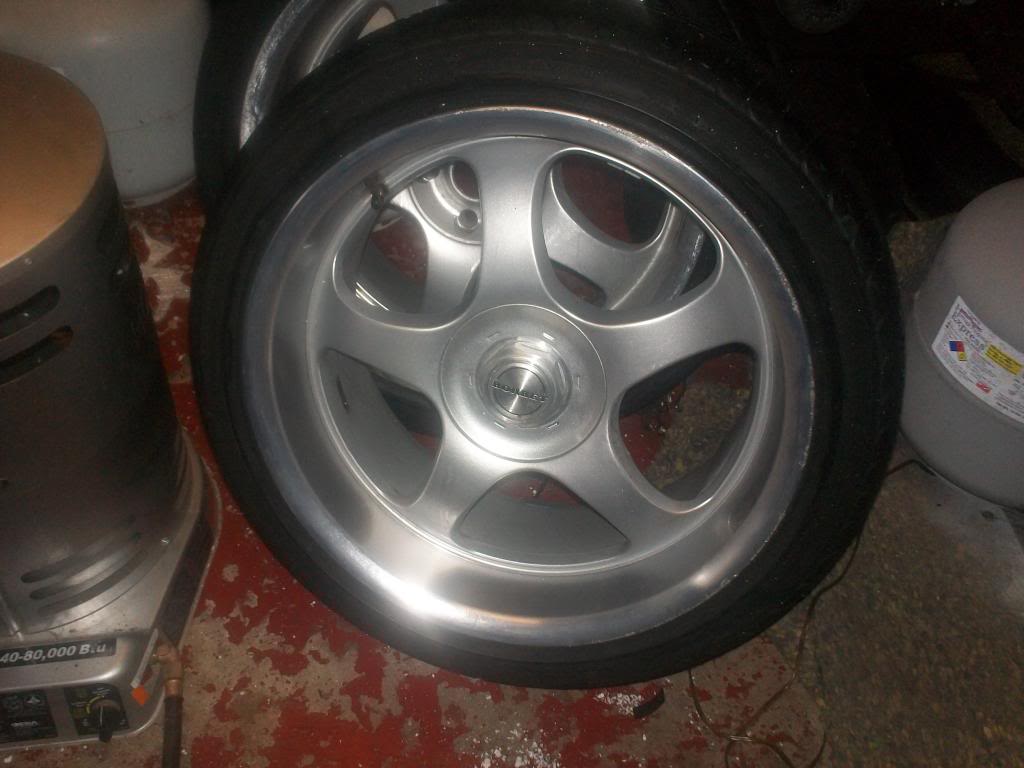
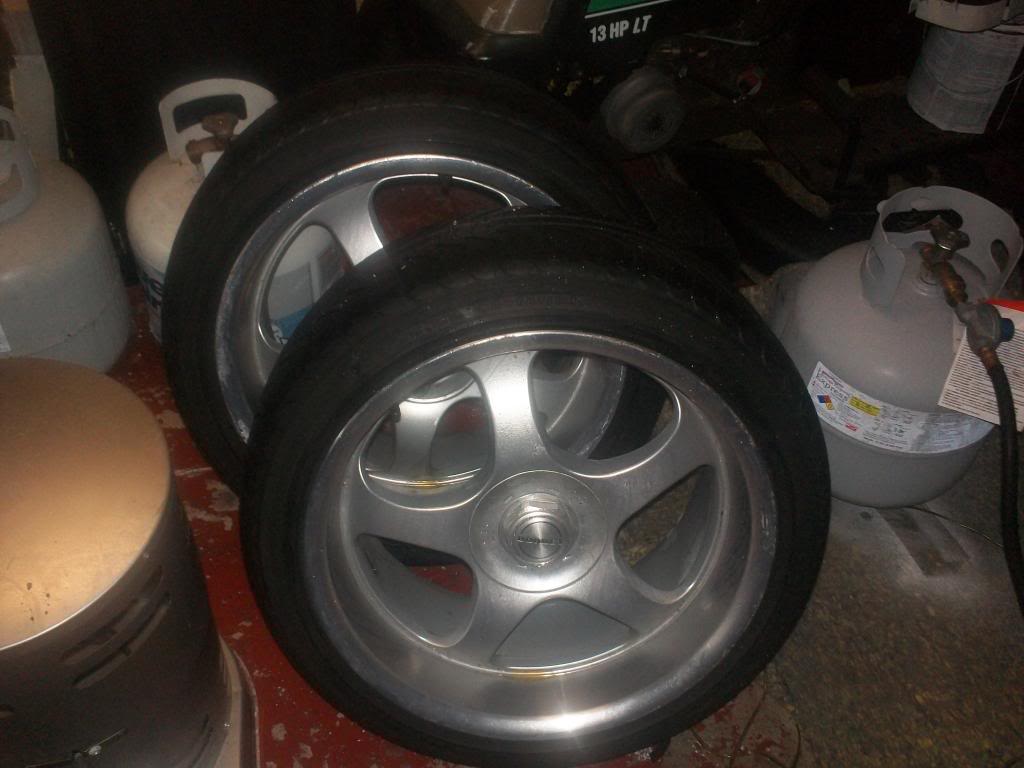
Rubber mounted on the old school borbets 225/45/18 on the fronts currently, couldnt beat $50 for both of them:
3 holder pod mounted, wiring ran to junction block. Im a tad leary about running 4 gauges illumination off of the switch so I may throw a relay in there since its easy enough to access.
Thats it for now. Next batch of things to do is put the cluster back in, mount the center console, remove the steering rack and do a proper de-power.
This is the inside of my fuel tank:
This is my pump hangar:
Looks like Im in the market for a new pump hangar and tank
Finished up the pettit column guage holder with epoxy. Its nice and snug now! It just needs primer and paint and ready to go back in.
Rubber mounted on the old school borbets 225/45/18 on the fronts currently, couldnt beat $50 for both of them:
3 holder pod mounted, wiring ran to junction block. Im a tad leary about running 4 gauges illumination off of the switch so I may throw a relay in there since its easy enough to access.
Thats it for now. Next batch of things to do is put the cluster back in, mount the center console, remove the steering rack and do a proper de-power.


Thread Starter
Joined: Oct 2008
Posts: 1,223
Likes: 0
From: Chicago
Im going to ohm out my sending unit and see if its any good. The guys at CJ are trying to talk me into putting their dual pump hanger in my car... I dont wanna run that much fuel line! lol
Thread Starter
Joined: Oct 2008
Posts: 1,223
Likes: 0
From: Chicago
Steering column cover with some paint:
Took off the rear tires. Quite a bit of rust. May take it apart and clean it all up:
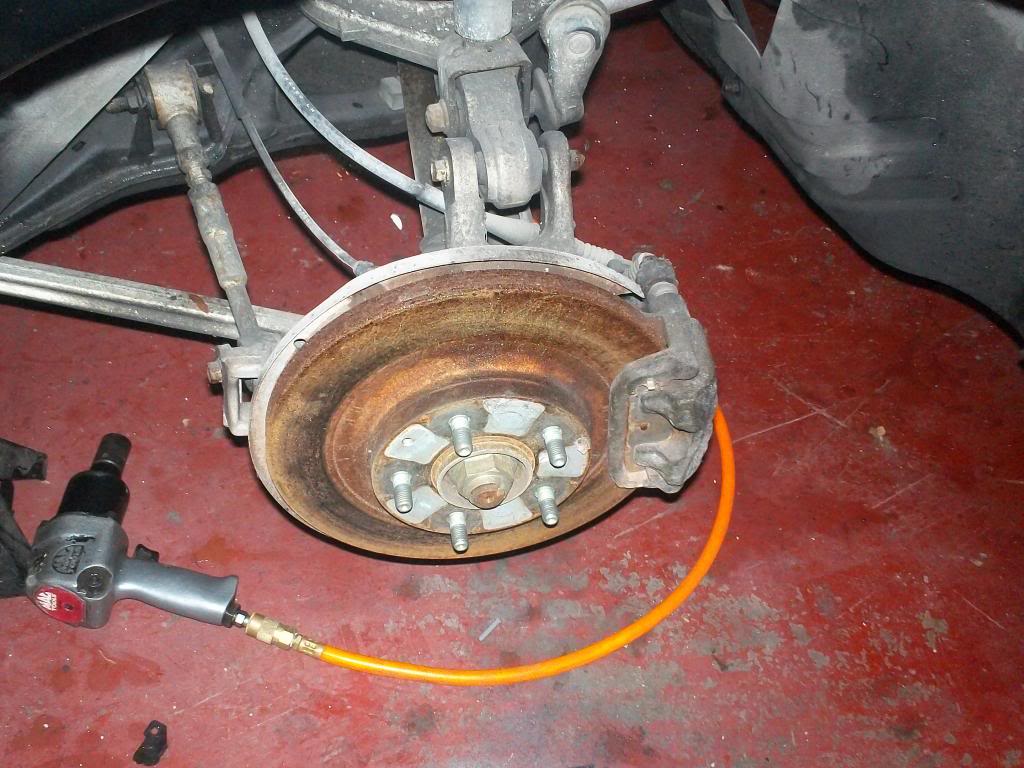
Interior going back together (AC conrols/radio surround, center console). The reason most of these parts look dirty again is they have a bit of condensation on them. Chicago hit 65 degrees the other day while the garage was still chilly so it got a tad damp.
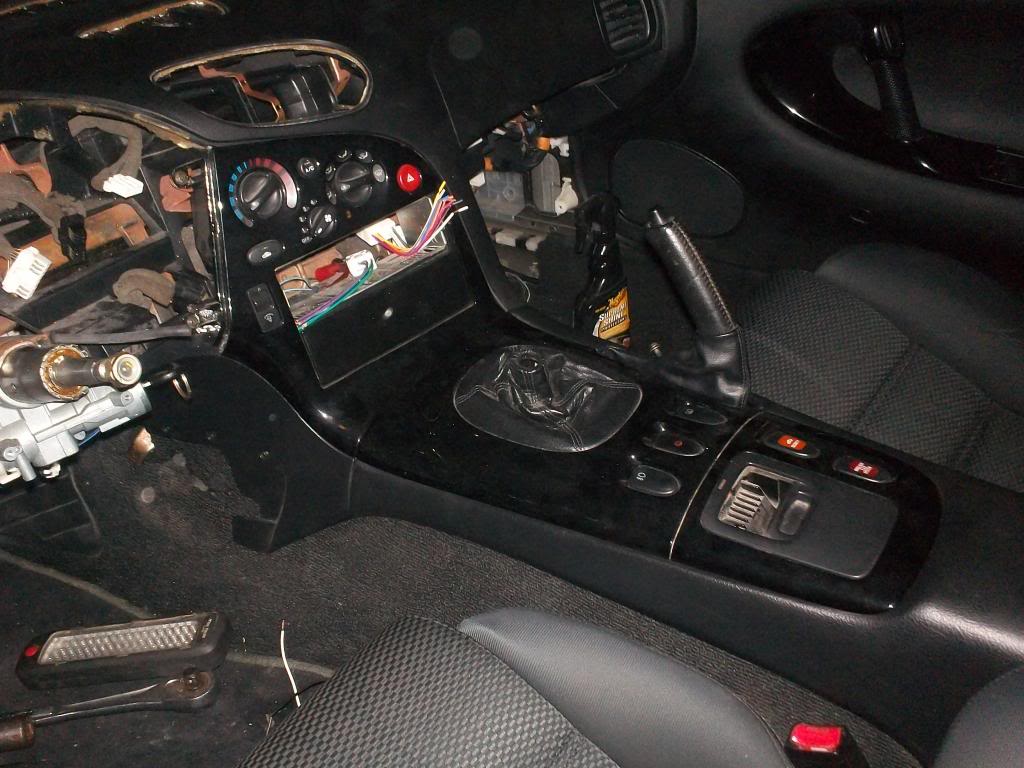
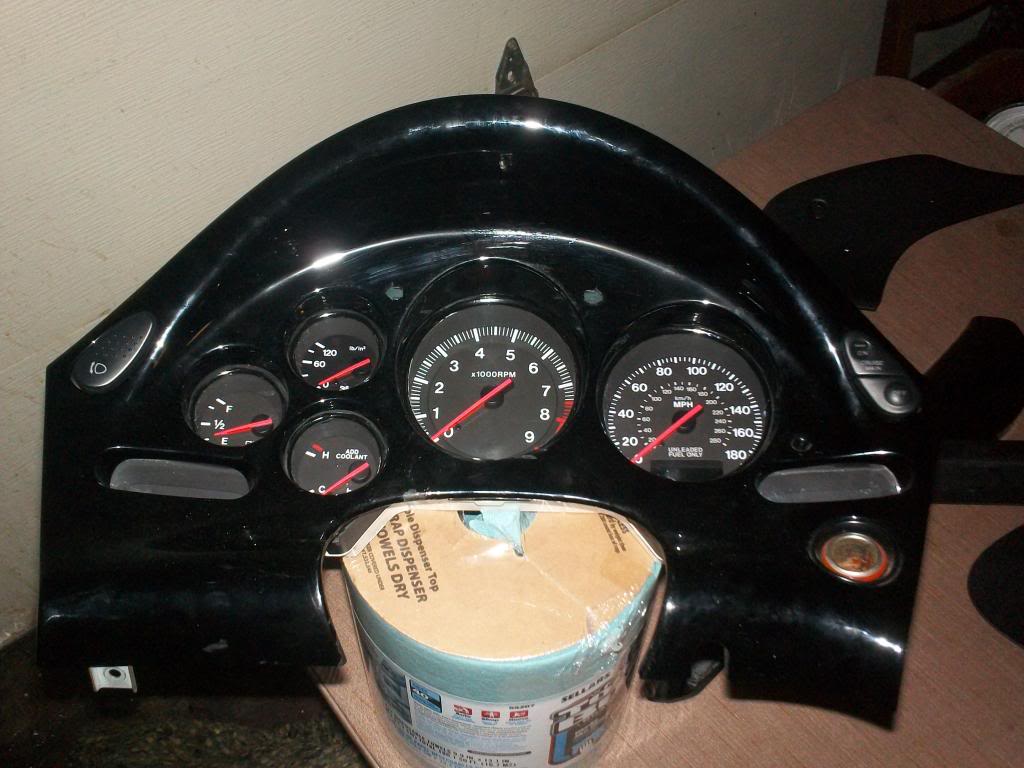
Cluster is back together, few more items behind it and it can go back in. E-V-E-R-Y screw point behind the top cover was broken and needed repair. Some dowel, time, dremel and gorilla glue and she mounts solid again.
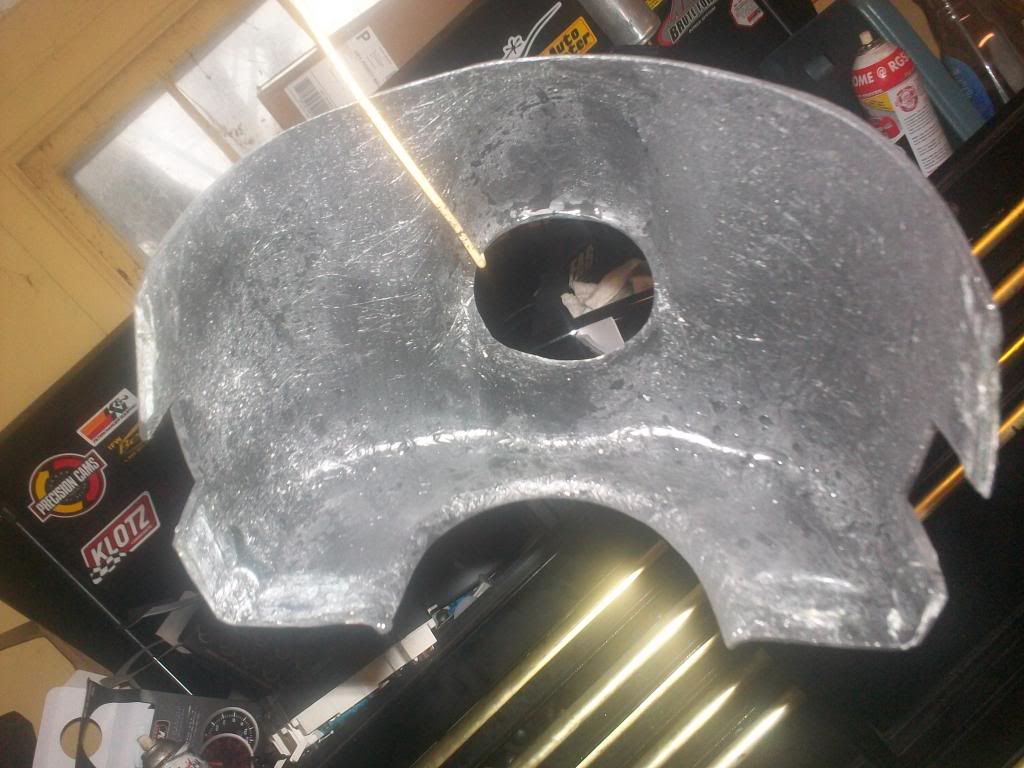
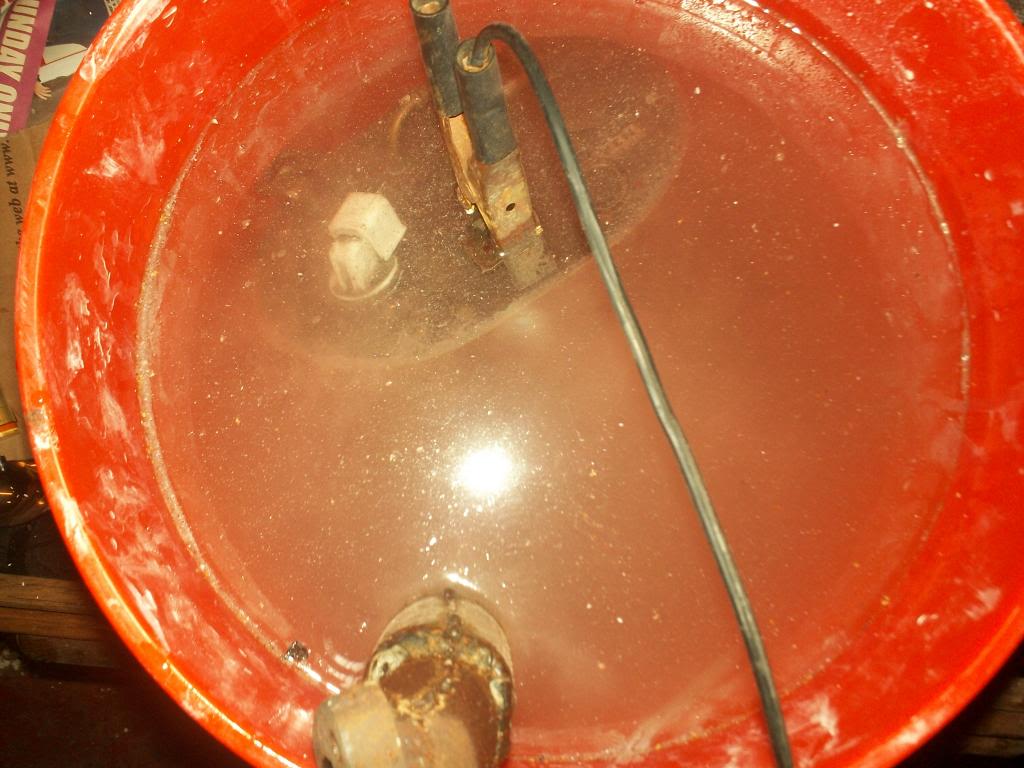
Heres the plan for that rusted pump hangar, electrolytic cleaning. Seems to be working so far. Ill run it over night and see if it gets to a satisfactory place for me. I can already tell the rust is coming off.
Took off the rear tires. Quite a bit of rust. May take it apart and clean it all up:
Interior going back together (AC conrols/radio surround, center console). The reason most of these parts look dirty again is they have a bit of condensation on them. Chicago hit 65 degrees the other day while the garage was still chilly so it got a tad damp.
Cluster is back together, few more items behind it and it can go back in. E-V-E-R-Y screw point behind the top cover was broken and needed repair. Some dowel, time, dremel and gorilla glue and she mounts solid again.
Heres the plan for that rusted pump hangar, electrolytic cleaning. Seems to be working so far. Ill run it over night and see if it gets to a satisfactory place for me. I can already tell the rust is coming off.
looking good... you really saved this car... my friend just bought a similar project that we get to put back together from poor choices on the PO part..
do you mind elaborating or explaining in further detail how you fixed them...
when you mention dowl my first thought goes to wooden dowl, I'm assuming that is incorrect....
Thanks
J.
do you mind elaborating or explaining in further detail how you fixed them...
when you mention dowl my first thought goes to wooden dowl, I'm assuming that is incorrect....
Thanks
J.

Thread Starter
Joined: Oct 2008
Posts: 1,223
Likes: 0
From: Chicago
looking good... you really saved this car... my friend just bought a similar project that we get to put back together from poor choices on the PO part..
do you mind elaborating or explaining in further detail how you fixed them...
when you mention dowl my first thought goes to wooden dowl, I'm assuming that is incorrect....
Thanks
J.
do you mind elaborating or explaining in further detail how you fixed them...
when you mention dowl my first thought goes to wooden dowl, I'm assuming that is incorrect....
Thanks
J.
staying black. some of the interior pieces are already painted black (no idea the color code) so ive been updating some other pieces black as well (the pettit steering wheel gauge holder).
Thread Starter
Joined: Oct 2008
Posts: 1,223
Likes: 0
From: Chicago
Heres a couple new goodies. 150a breaker, 18" power cable, some 2 prong and 4 prong connectors (i could only order them in quantaties of 30 so if anyone needs some let me know!) and 100' of 3/4" split loom tubing to redo a single turbo harness


Thread Starter
Joined: Oct 2008
Posts: 1,223
Likes: 0
From: Chicago
Ya. I was at brandons shop today dropping off 2 housings that arent junk for him and helping him plan his attack prior to steve getting up here. Its getting harder and harder to keep his head on straight. LOL. So that would make me the "Bill" he refers to when the name comes up

Congrats on the purchase Bill! Looks like a ton of work, but I'm confident you'll get the car sorted  .
.
I'll have to see how you refurbished those brittle plastic tabs on the gauge face surround, since i'm sure all of us would want to fix that.
.I'll have to see how you refurbished those brittle plastic tabs on the gauge face surround, since i'm sure all of us would want to fix that.