When you click on links to various merchants on this site and make a purchase, this can result in this site earning a commission. Affiliate programs and affiliations include, but are not limited to, the eBay Partner Network.
Looks good dude! Can't wait to see you out at the track. I'll be out in the S13 for awhile until the S14 and FD are done. You'll get through the HPDE ranks pretty quickly I'm sure.
Steve! I literally dying trying to wait until the season starts!
Nice work and sick track car. That cage looks very well put together.
I love the worm gear clamps holding the stock IC together!
There's an old school ASP/M2 medium SMIC and intake setup in the 3rd gen for sale section right now. I have the exact same setup - I love mine and would buy it again. My only gripe was I had to get a local fabricator to add mounting brackets cuz the M2 SMICs never came with them and I'm particular about that kind of thing.
Yes, I do think an upgraded SMIC is on the radar shortly
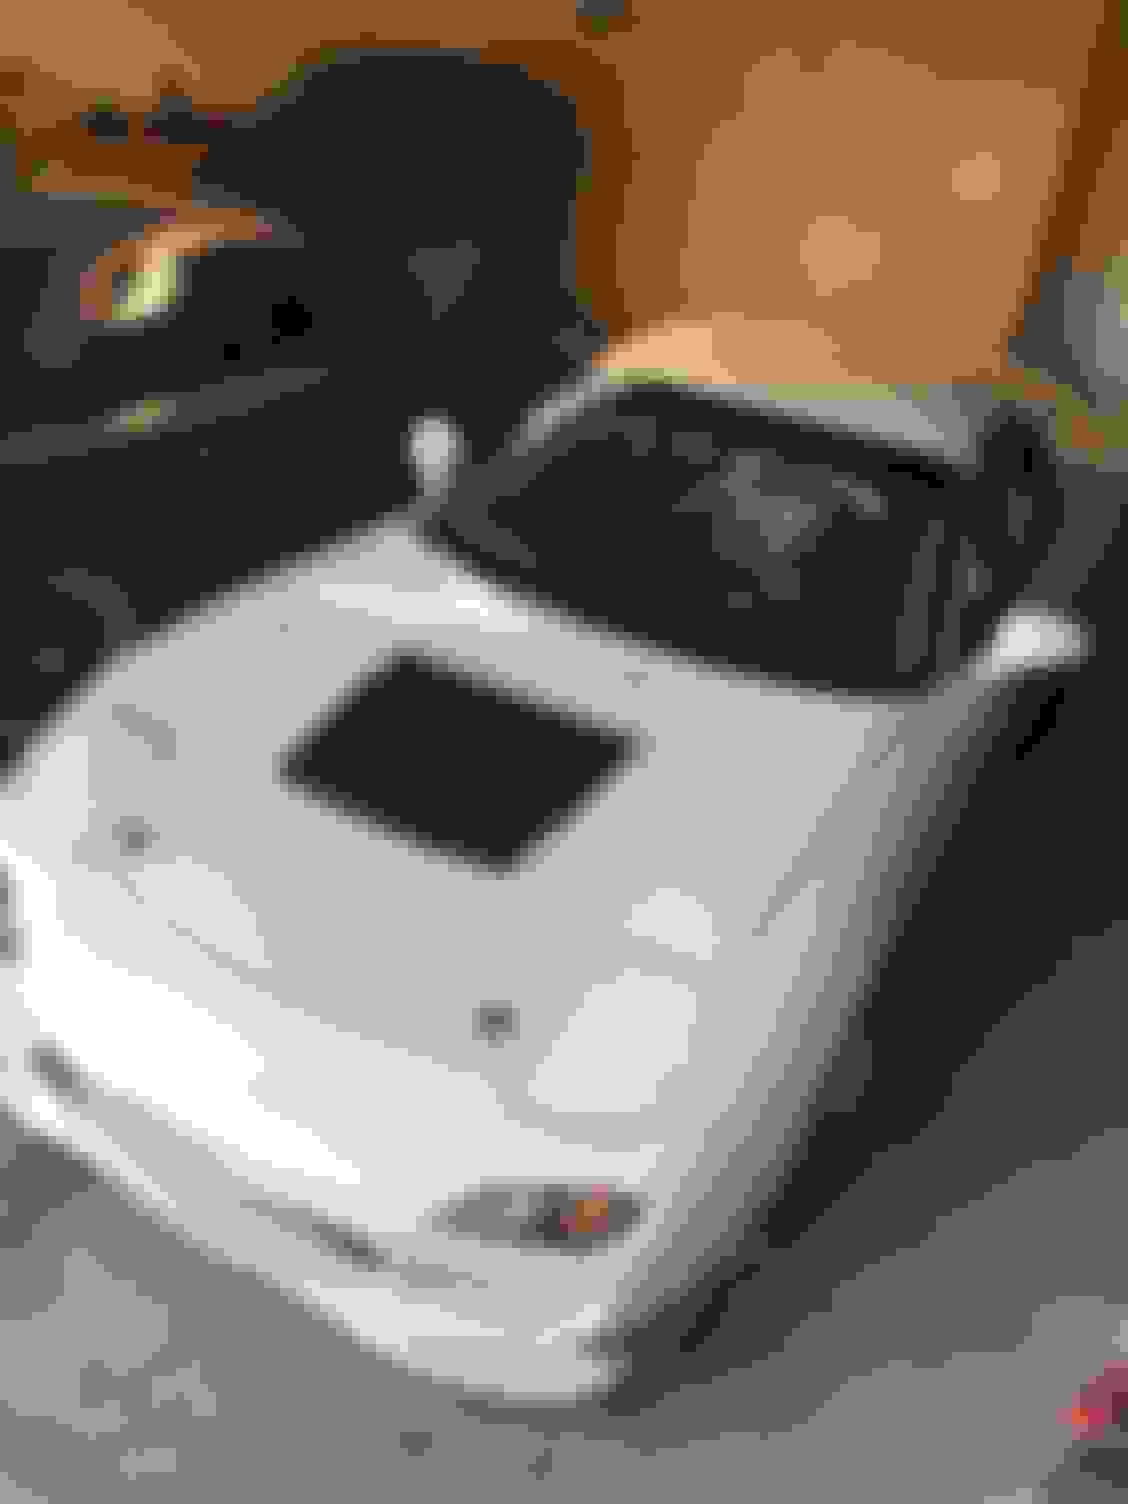
I had some free time to install the Trackspec hood louvers yesterday. The kit was from a newer style Mustang, but install was fairly straight forward, I had to do a tiny bit of clearancing on the bottom of the vents to clear the strut bar is all.
Once I figure out what intercooler setup I'll be running I'll work on some underhood ducting to vent out of it.
And yes, I know - I forgot to trim the center bumper support lol.. I'll do that next time the bumper is off!
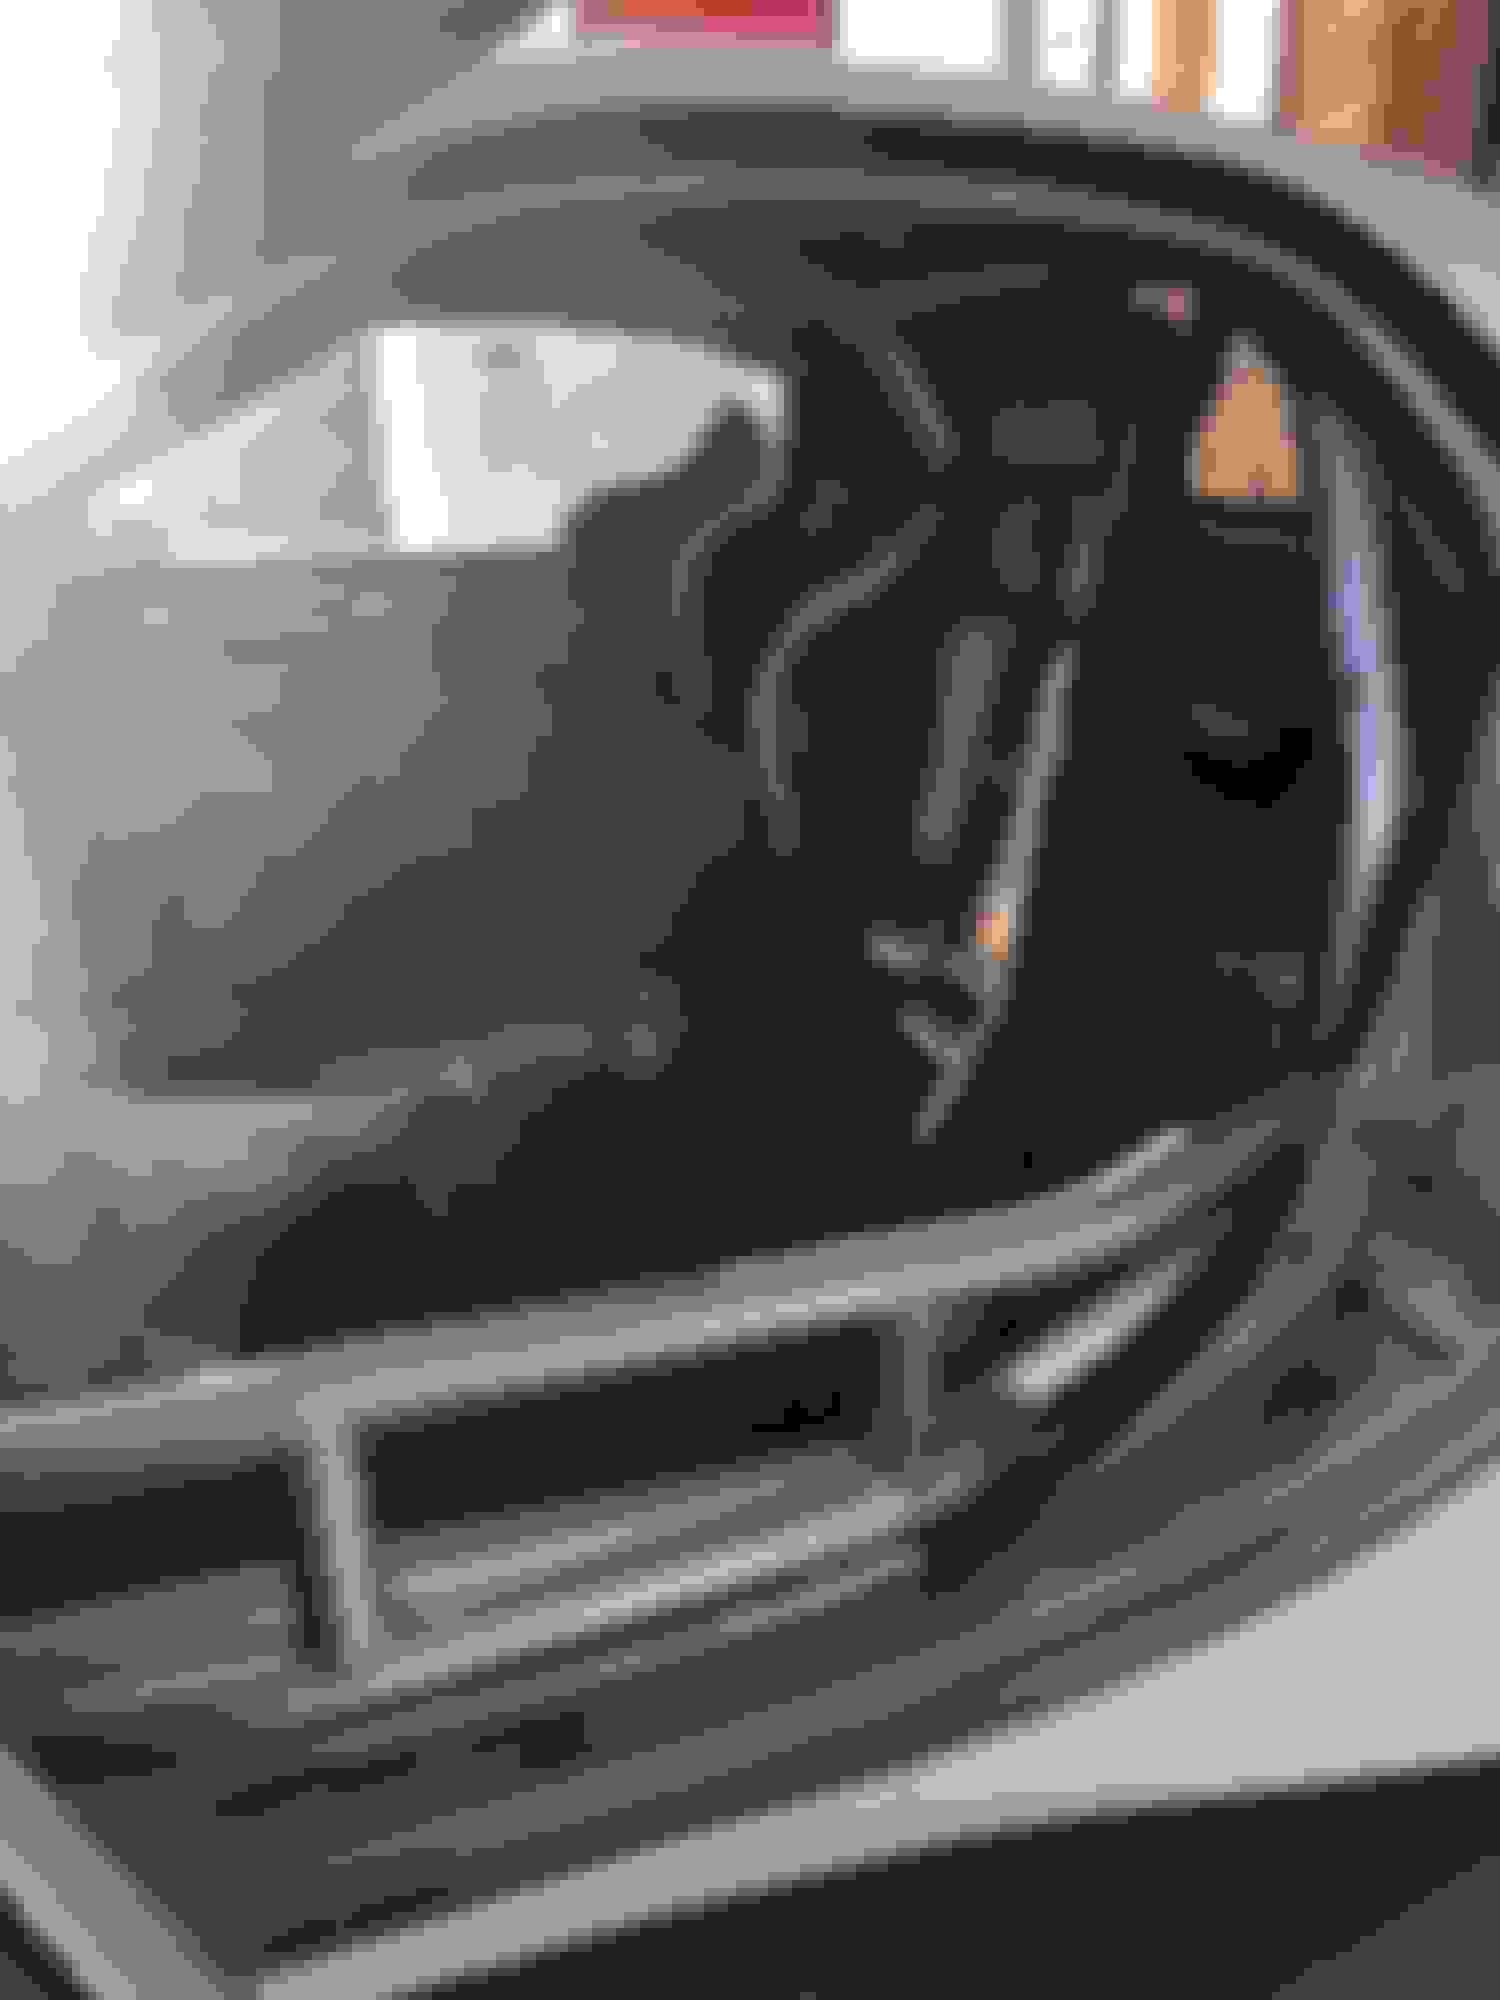
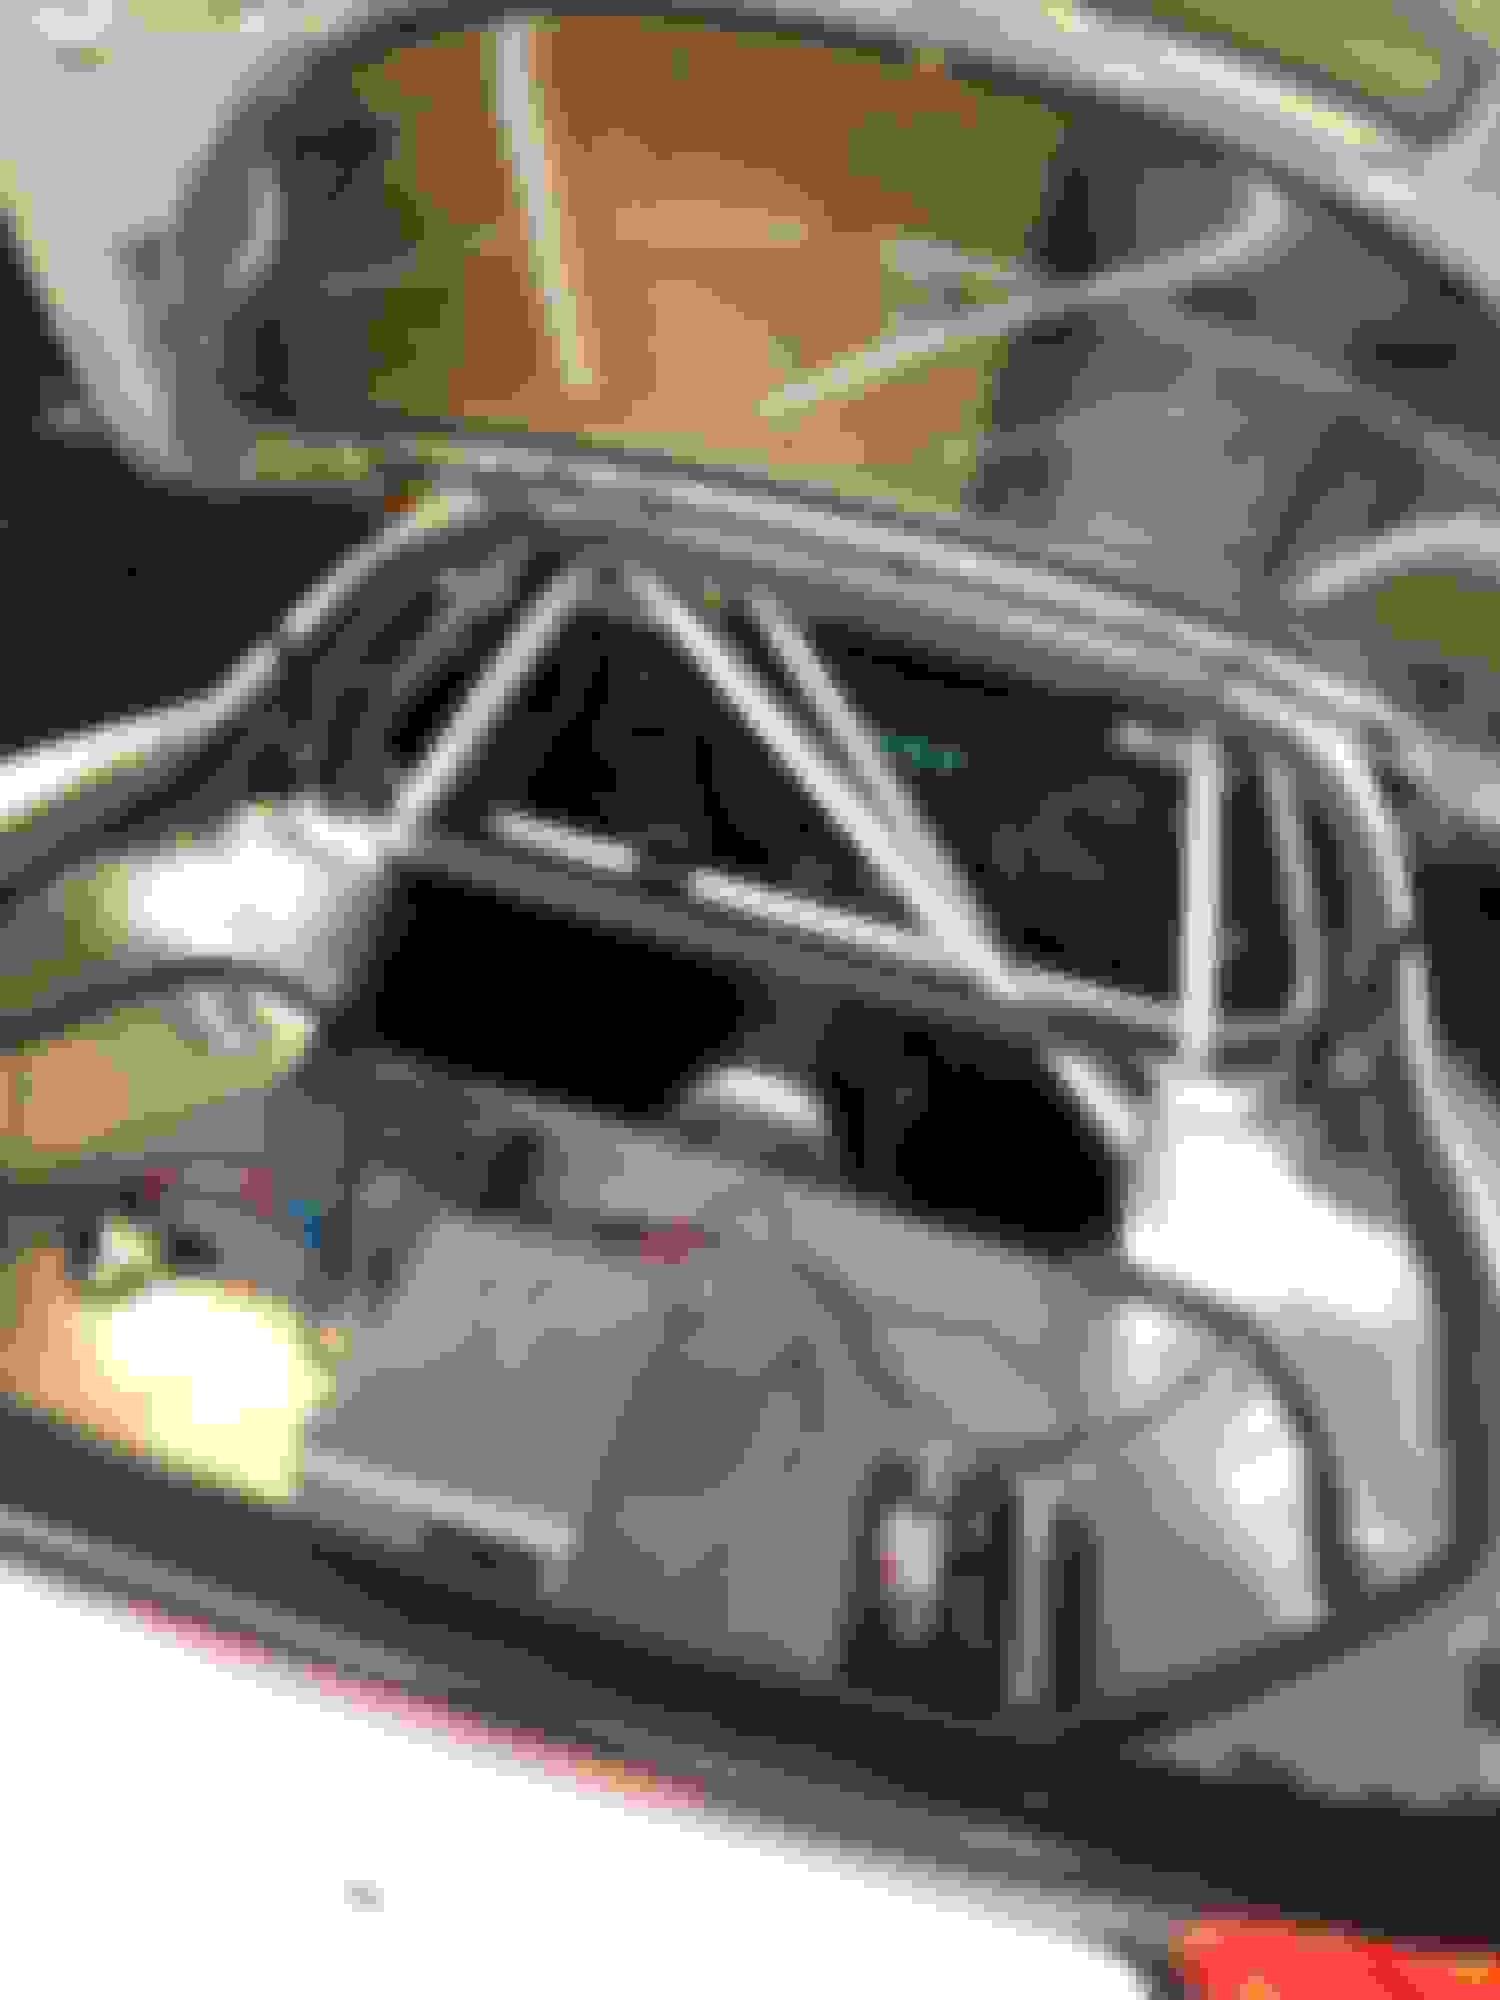
Finally got the new seat installed and somehow managed to get the other seat installed on the passenger side. Crazy because there was absolutely no way that seat fits on the drivers side, but gave me little problems on the passenger side(I did have to trim the shell in a few spots to fit).
The drivers side is as low and as far back as the settings allow, but I need to figure out how to get it at least another inch(or more) back. And preferably at least a half inch down. It works as is just not ideal, sucks being tall.
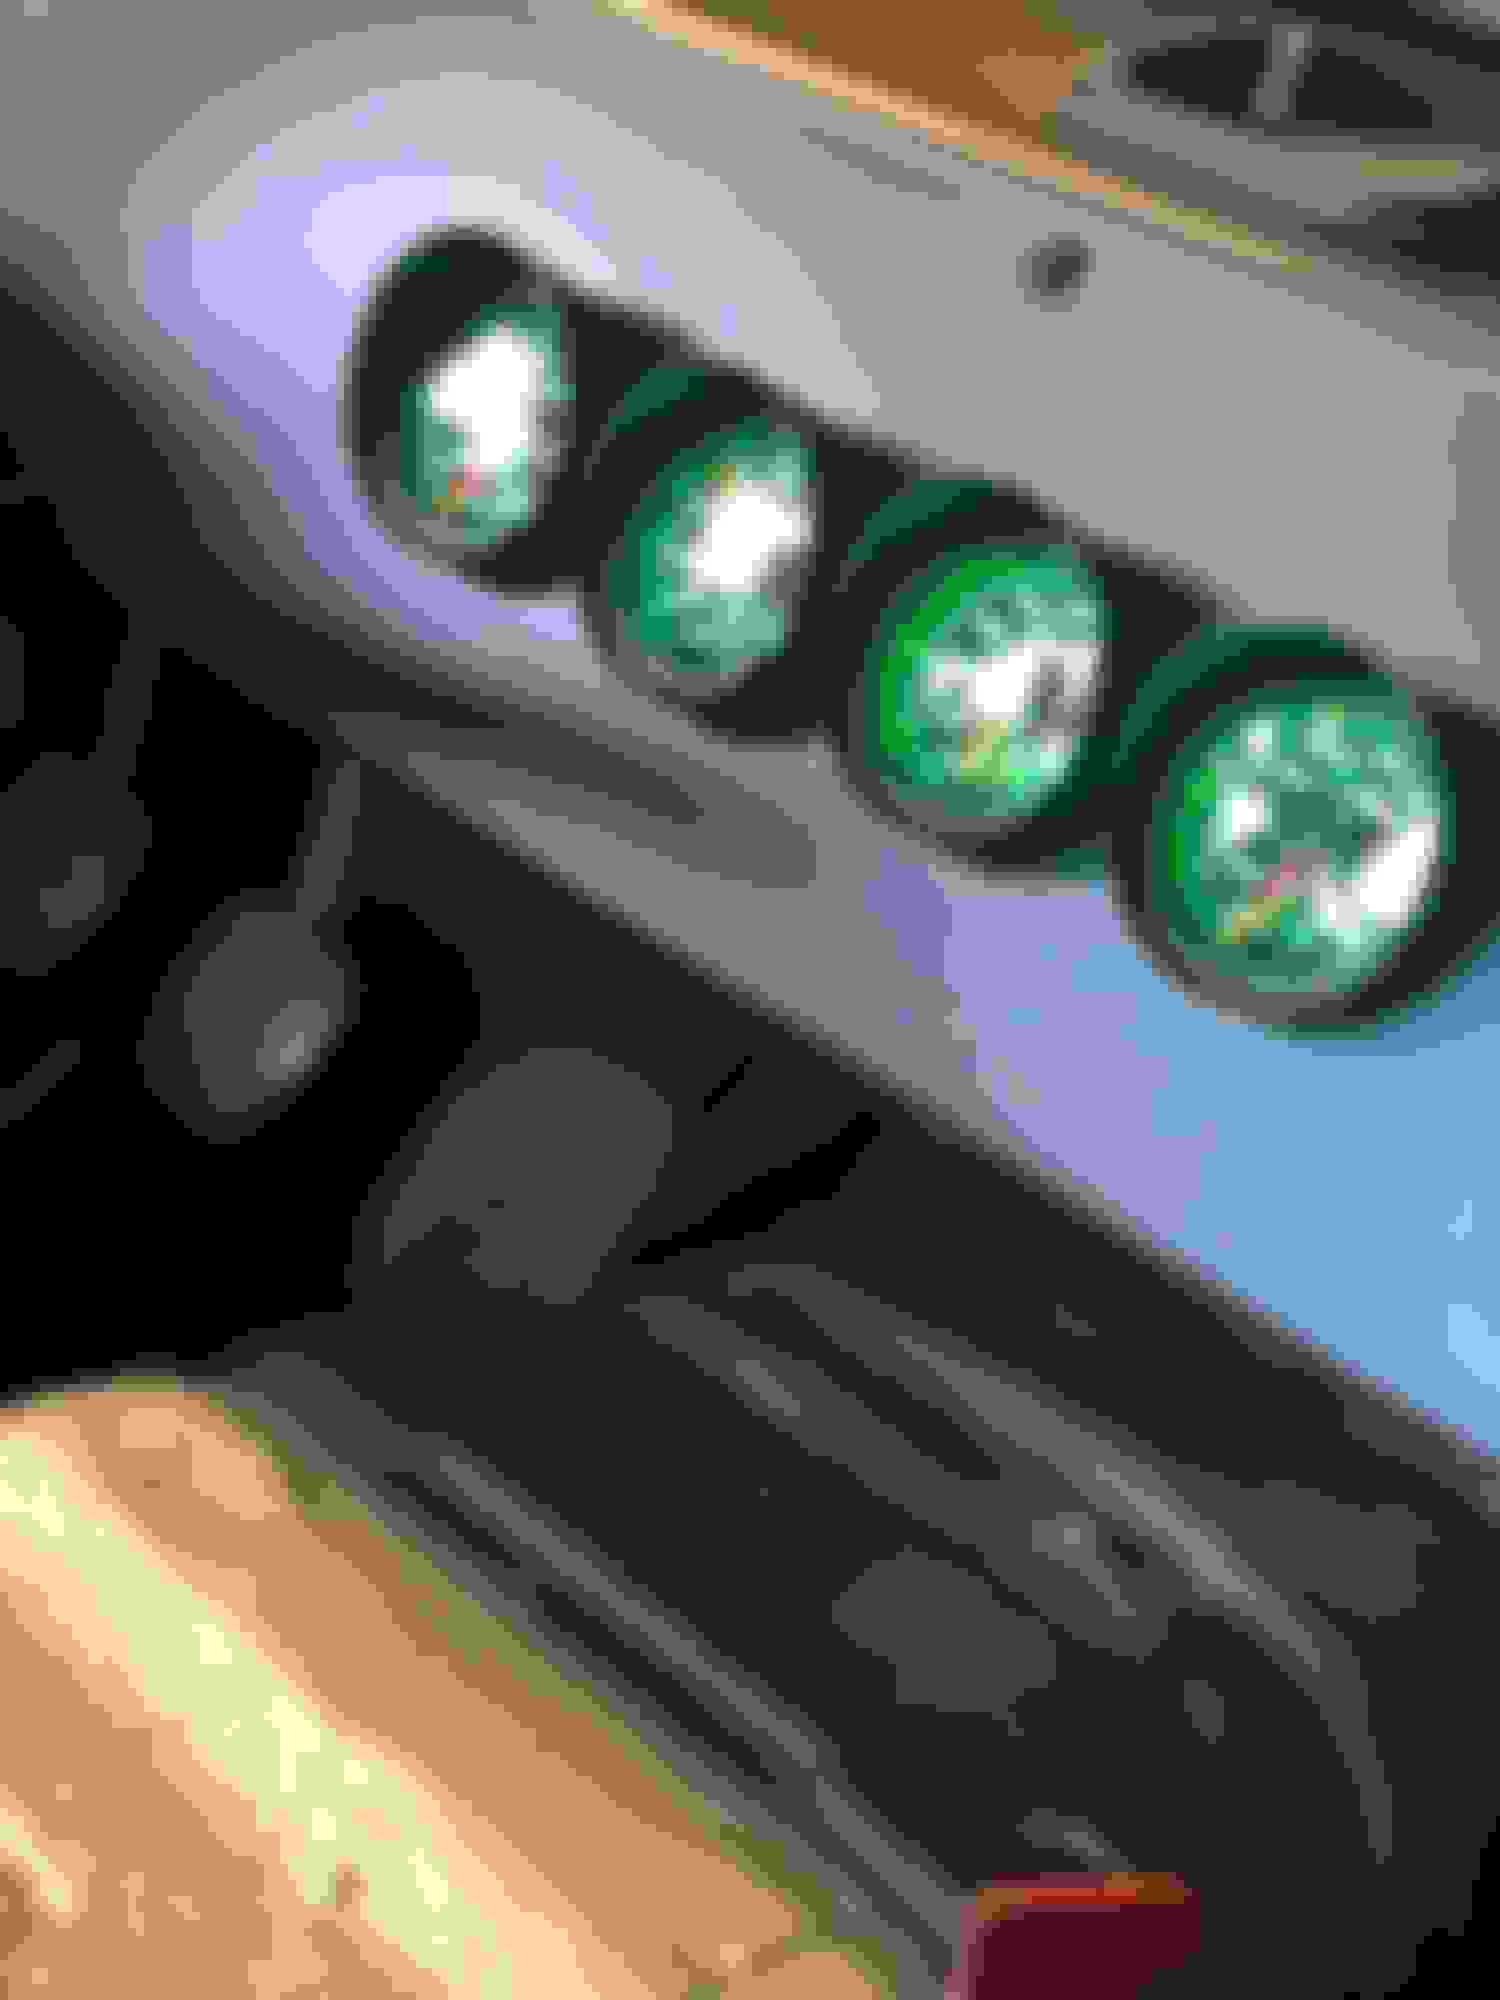
I also mounted my guages finally. I was going to build a panel coming off the dash, but figured it'd be cleaner and easier to just mount them straight on the dash.
Now that I have seats, I no longer have any excuses on getting some track time! I do need to get harnesses or at least a seatbelt for the passenger seat though.
I had some time this weekend to address something that has been driving me nuts!
The previous owner must have driven over a tire or heavy cone or something at some point. The lower rocker panel was crazy wavy. It looks lie at some point they tried fixing it but just chucking on mass amounts of body filler.
I'm not a body guy but I, and this is not perfect but it's a lot better than where it started! I thought it would be a one day job but two days later I'm still not done, I have a new found respect for body work guys haha
I should have taken a better before photo, but you can see here how wavy it is. Just the beginning of the mess Thicc Down to bare metal. I probably put 100+ studs on there when all said and done.
What do you pull on the studs with after you tack them on? At least I presume you yank on them to pull the dent out..?
I used a slide hammer. You slide it over the end of the stud then lock it on then start hammering/pulling it backwards. It's really tedious as you can only pull it a little bit at a time, a few millimeters maybe, then move on to the others so it stays even. I should have time-lapsed it!
installed the front fenders since I had the car semi taken apart. They are just in primer but actually match pretty well, hopefully at some soon I�ll decide on a color to wrap it.
Found a HKS HiPower exhaust locally for crazy cheap last week that I couldn�t miss out on, plus a buddy of mine had a new 3� downpipe he gave me(score!). Soooo much better than the old janky home made system that was on the car.
Also picked up some C West style headlights for the time being, will go RE eventually.
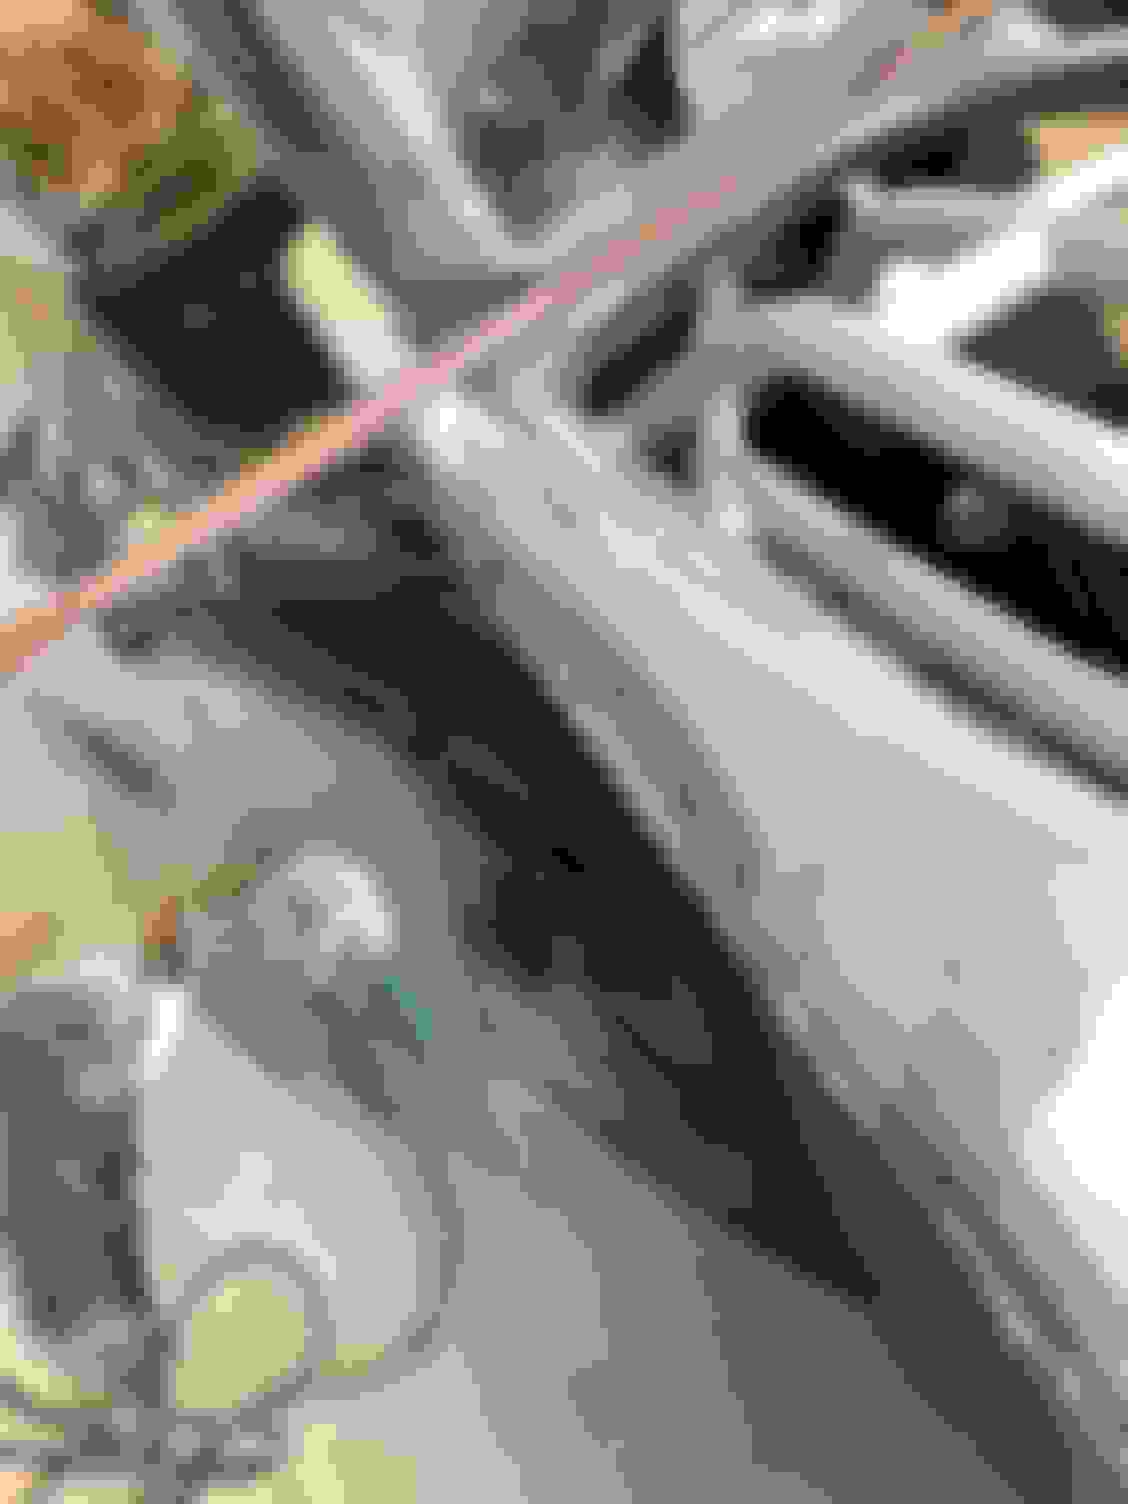
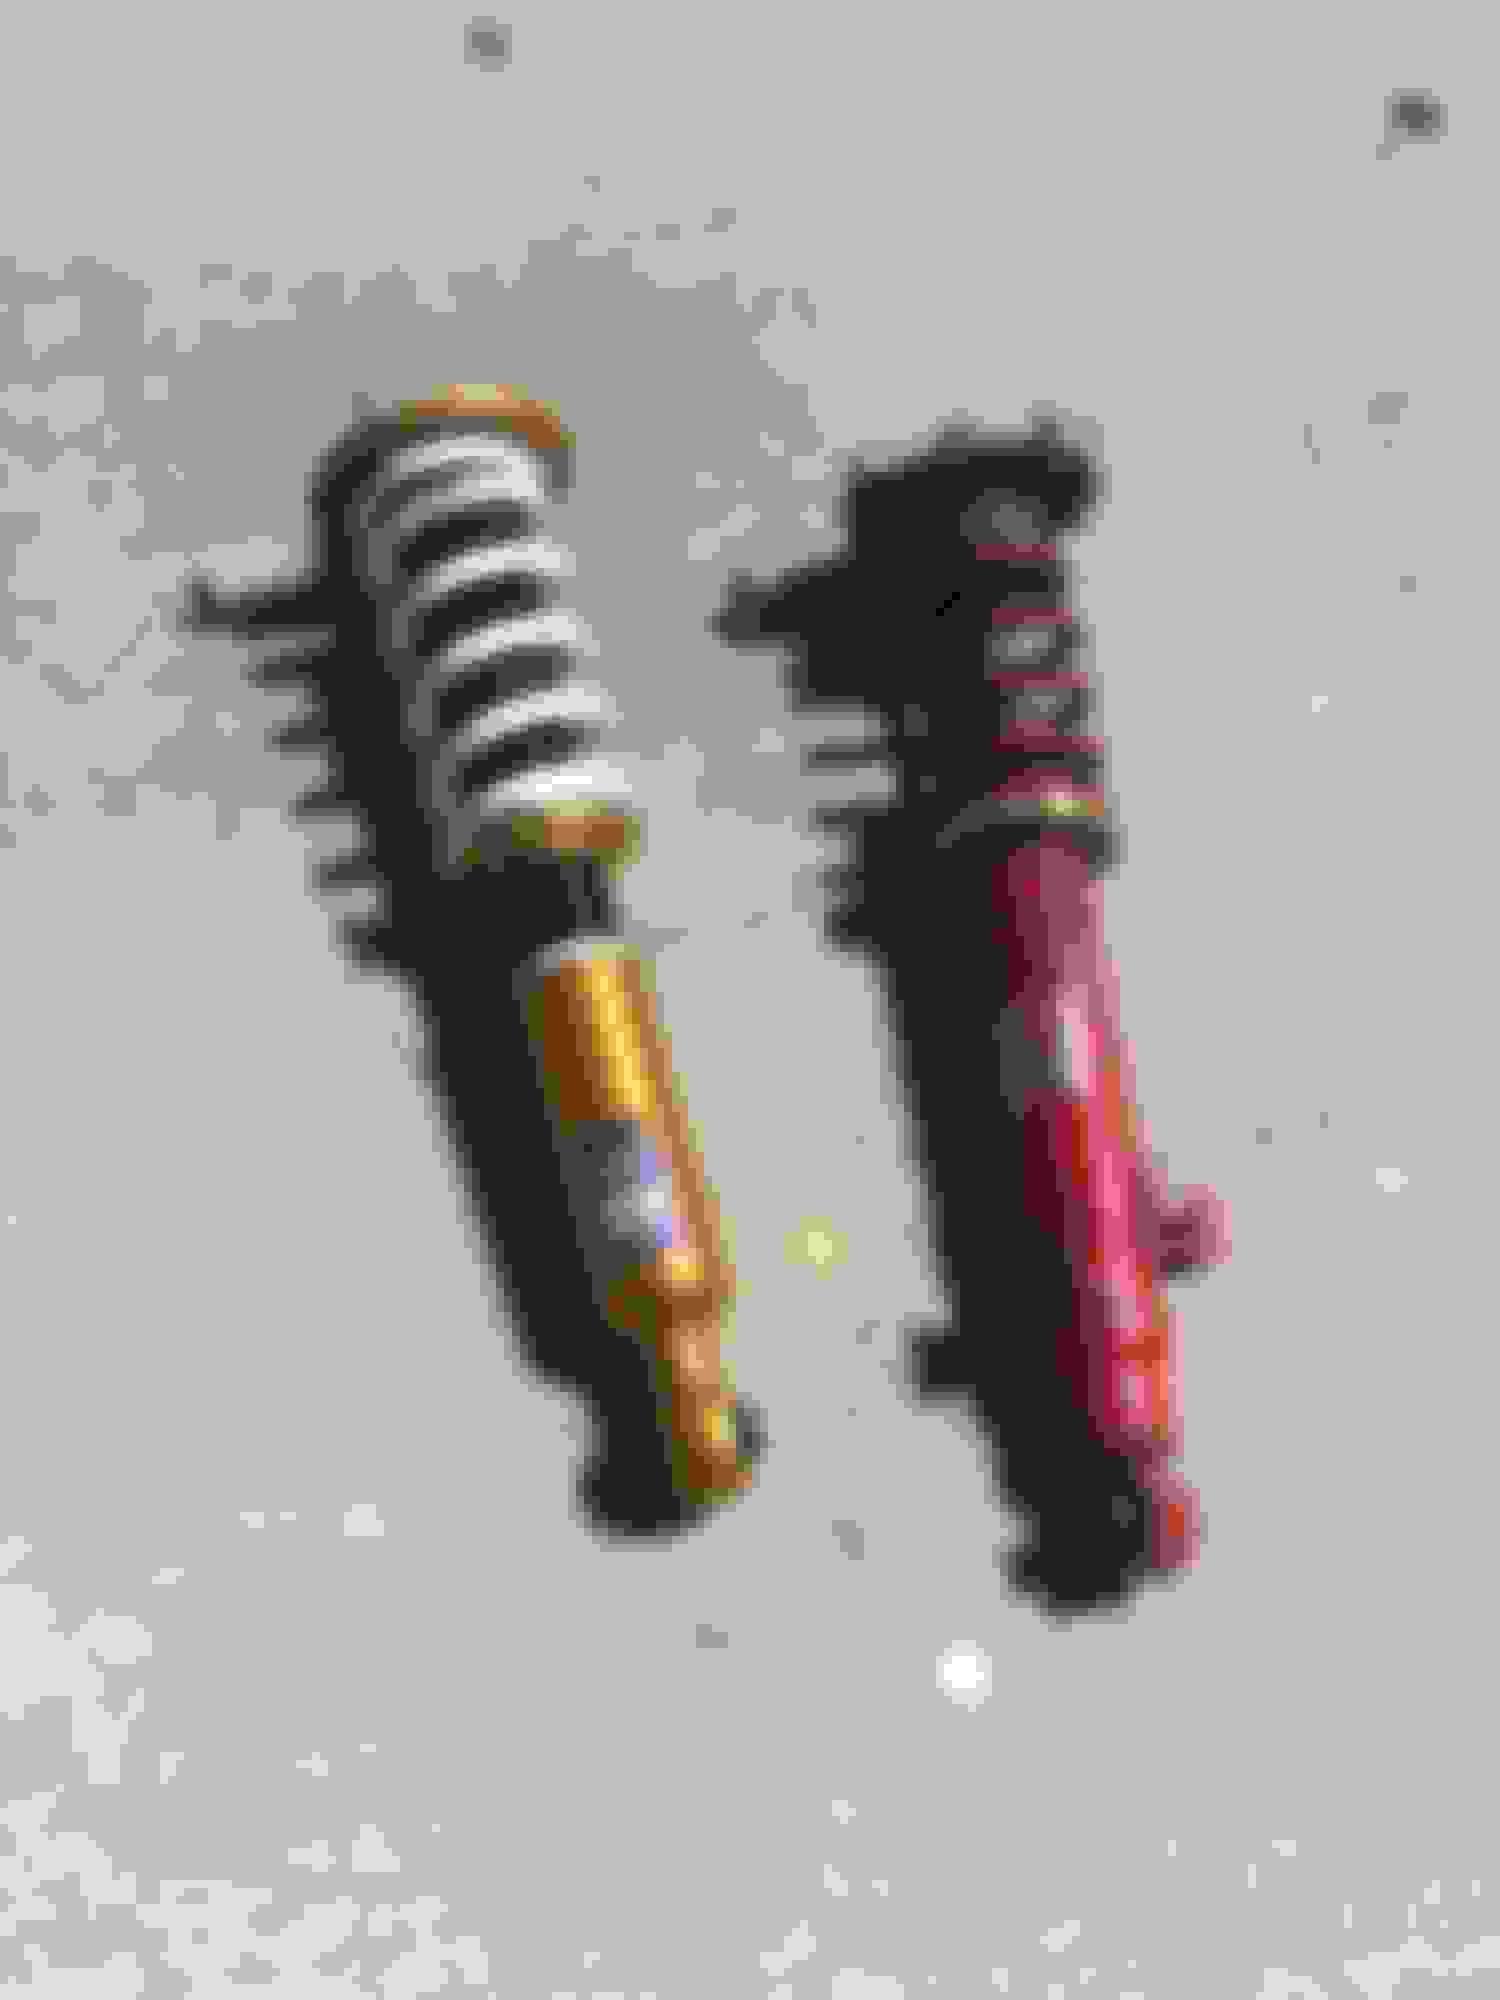
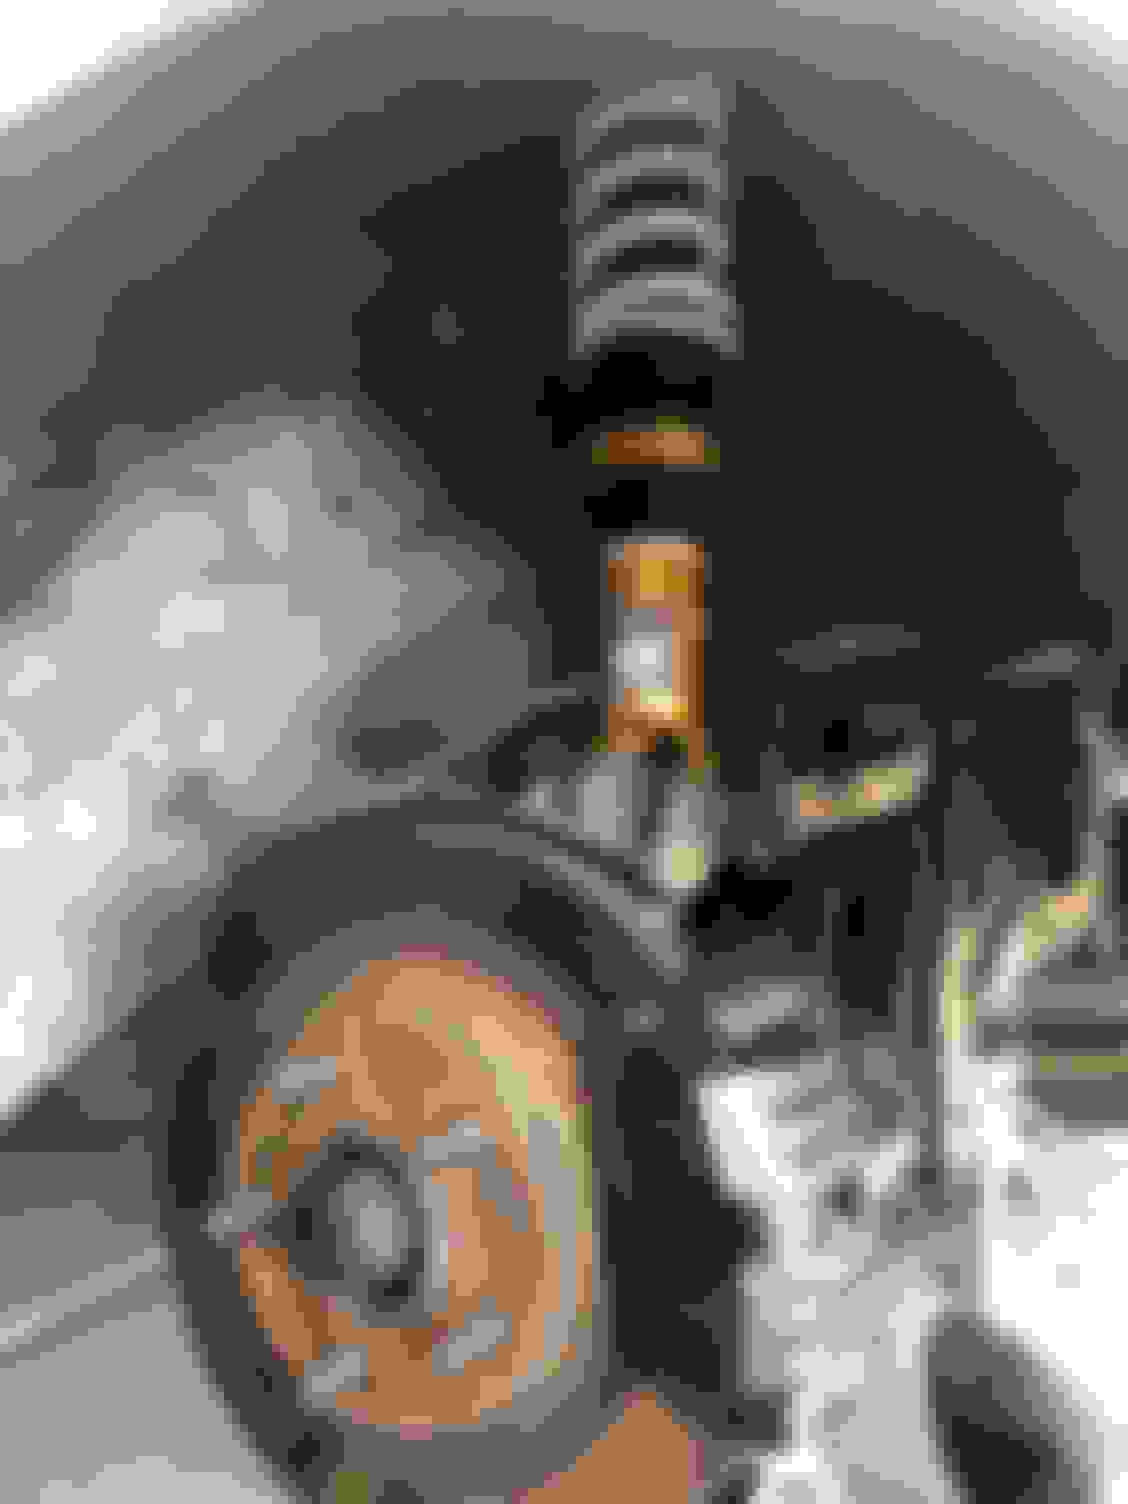
And last, I installed the new HKS coilovers, great improvement over the old GABs.
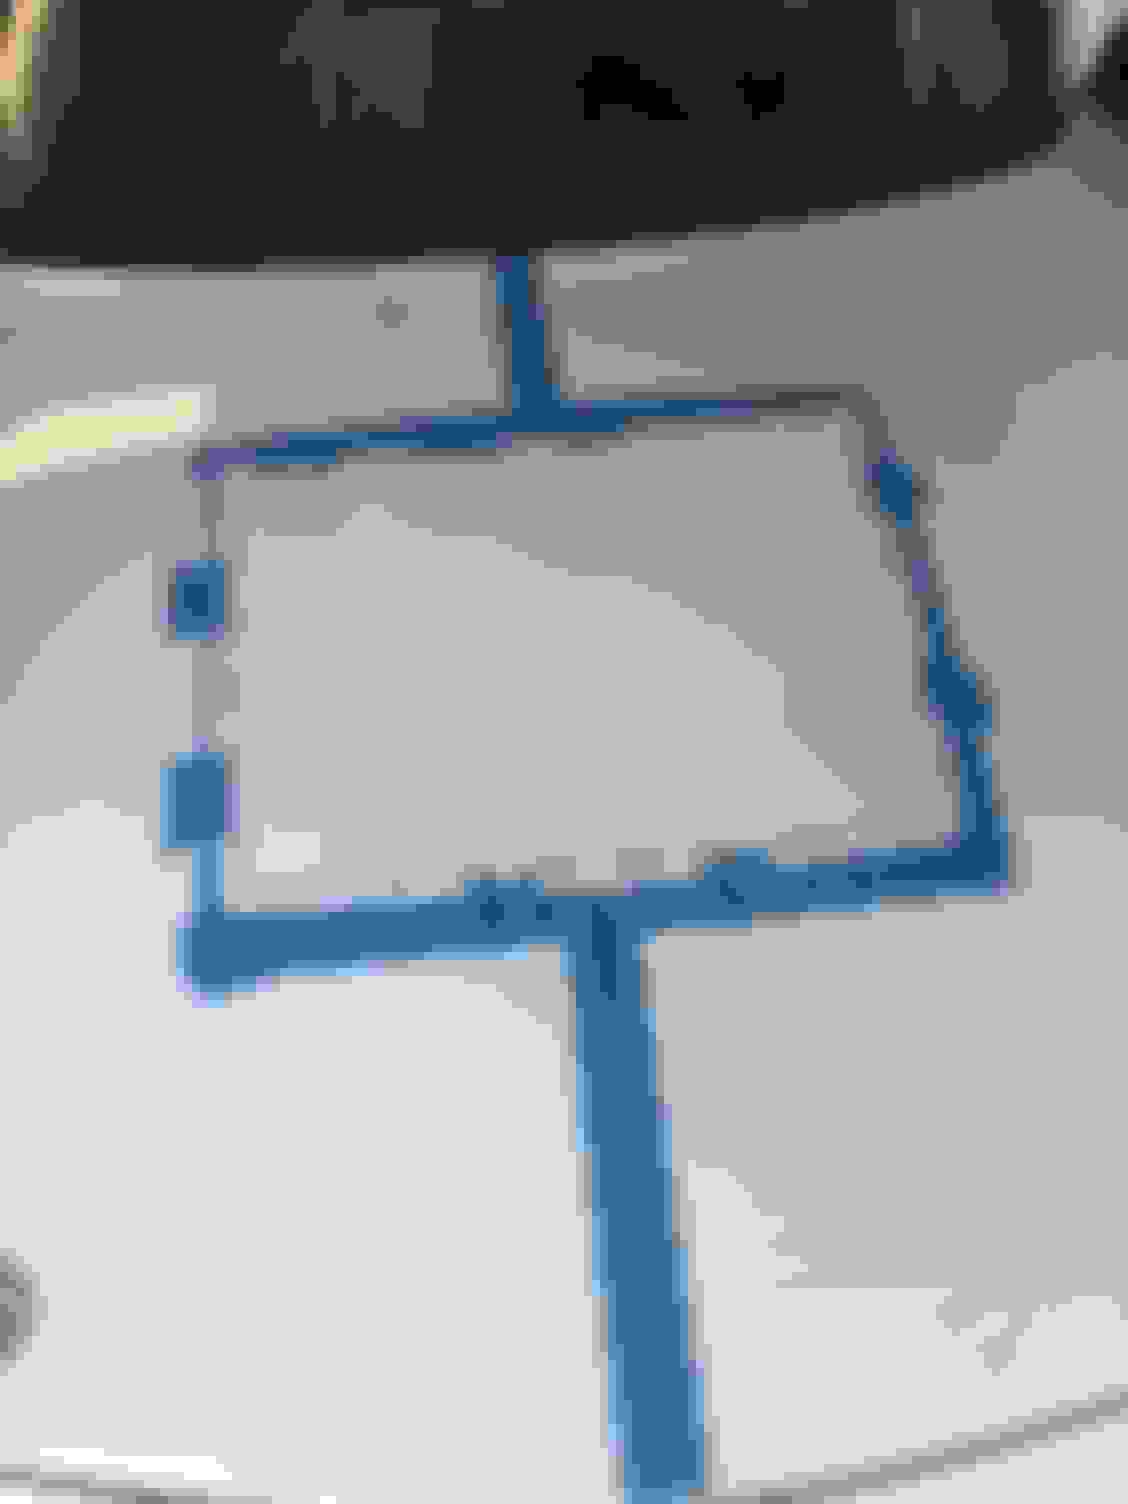
The OEM fans have never worked so the car would get hot idling. So I bought a cheap aluminum fan shroud from Amazon and some pretty heavy duty Mishimoto fans that�s push out 1600cfm each.
Seems to be crazy effective so far! I may need to install a higher switch as these come on at 180deg and keep temps in the 170�s even when it�s 100f outside!
It comes with �fans� however mine literally disintegrated upon opening the box lol. Never planned running them. The shroud also came with bent tabs so I had to bend those back. On the plus side it fit perfect, the holes for the fans are 11� not 12� which is why I went Mishimoto vs spal. Shipping was fast too.
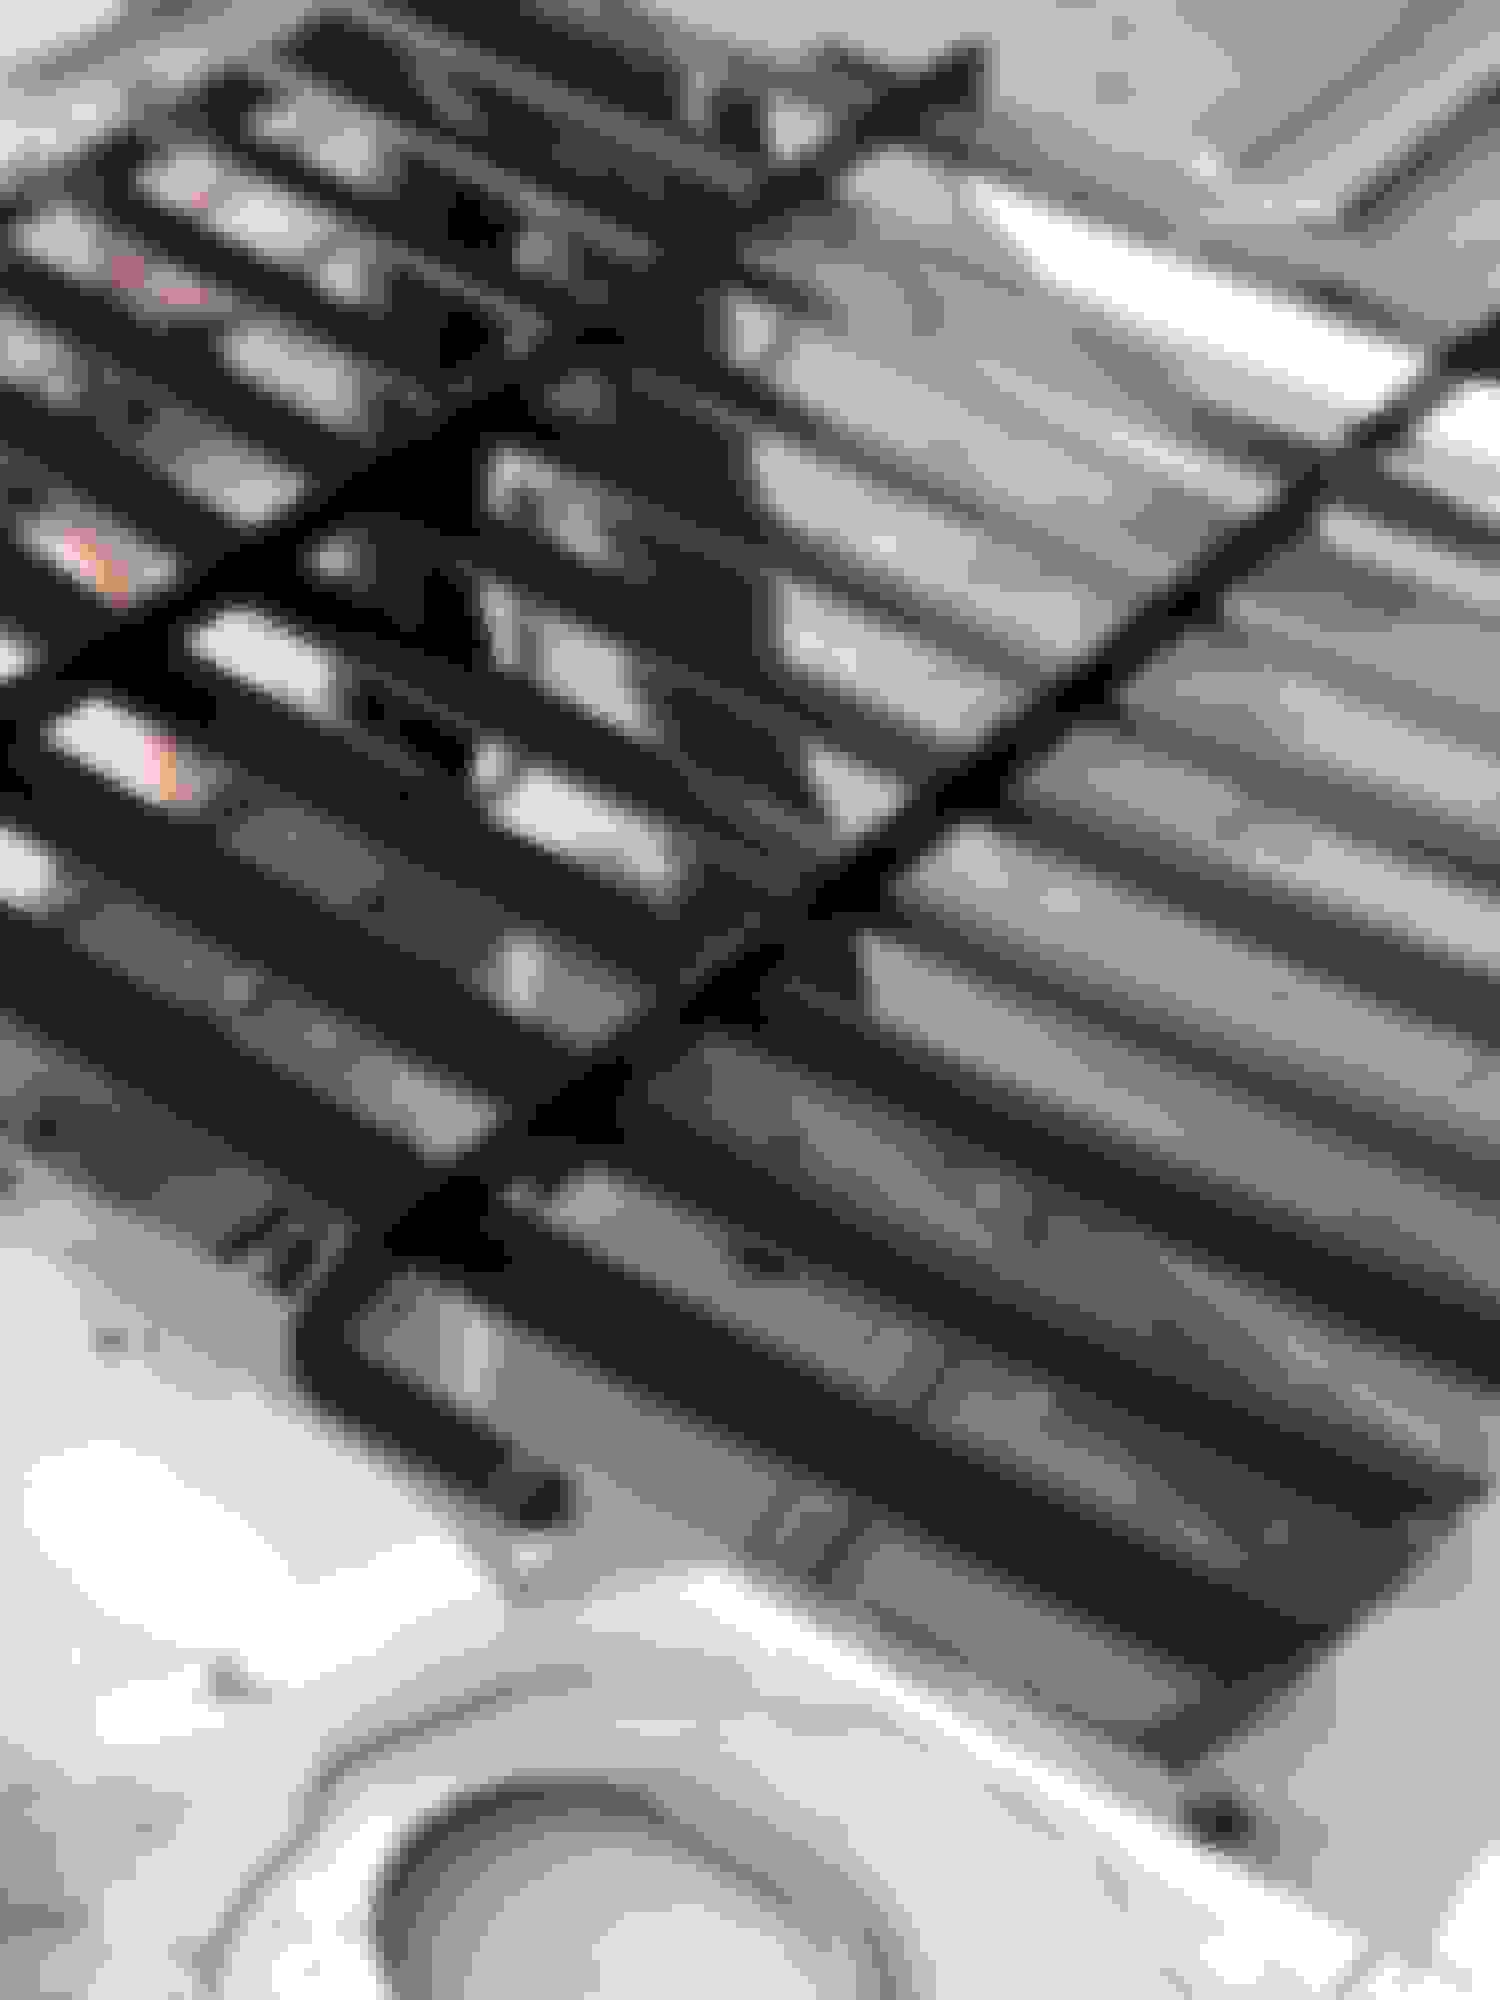
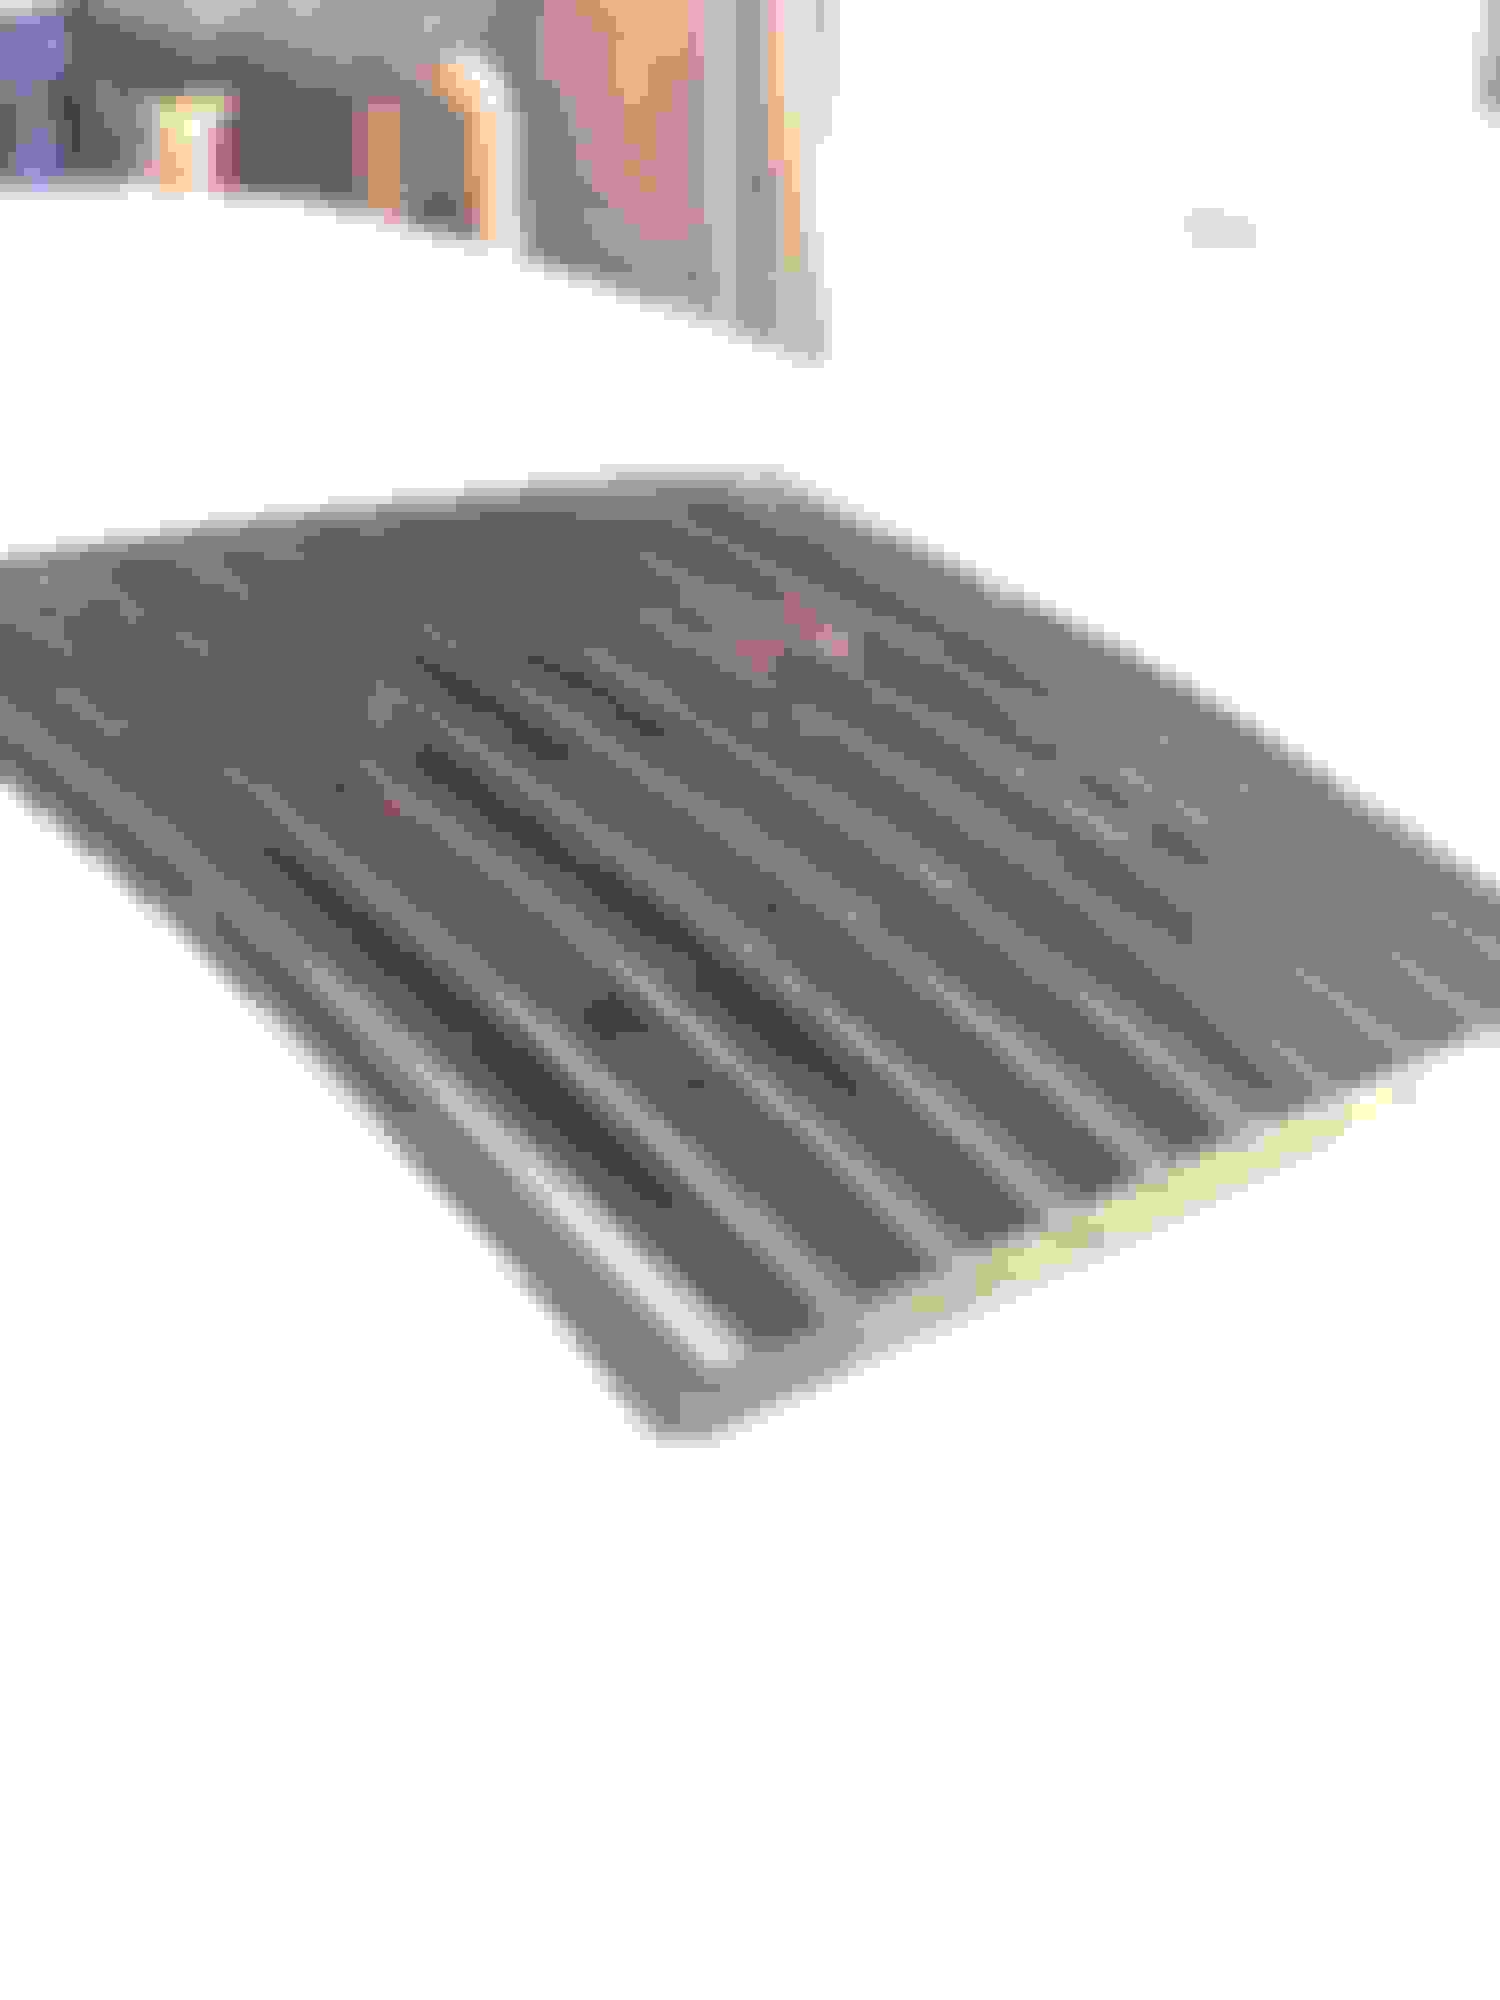
Finally got around installing a working tach and speedometer! The tach is from Summit Racing, super easy to install and program. The speedo is a GPS based unit from AEM. The backing plate is a 8x12 carbon plate(1.5mm) from amazon, spaced it 1.5� off the dash to make it a bit closer and stand out more. Pretty happy with how it turned out.
I also picked up a 200a alternator so it can keep up with the new fans, didn�t get around to installing yet though.
I also finally registered the car for its first track day as well on Nov 8th.
Last edited by mk3design; Oct 18, 2020 at 10:53 PM.


 I like it.