
93 VR parking lot find....

Thread Starter
Joined: Apr 2011
Posts: 806
Likes: 288
From: Millersville Md
Keeping up with the updates
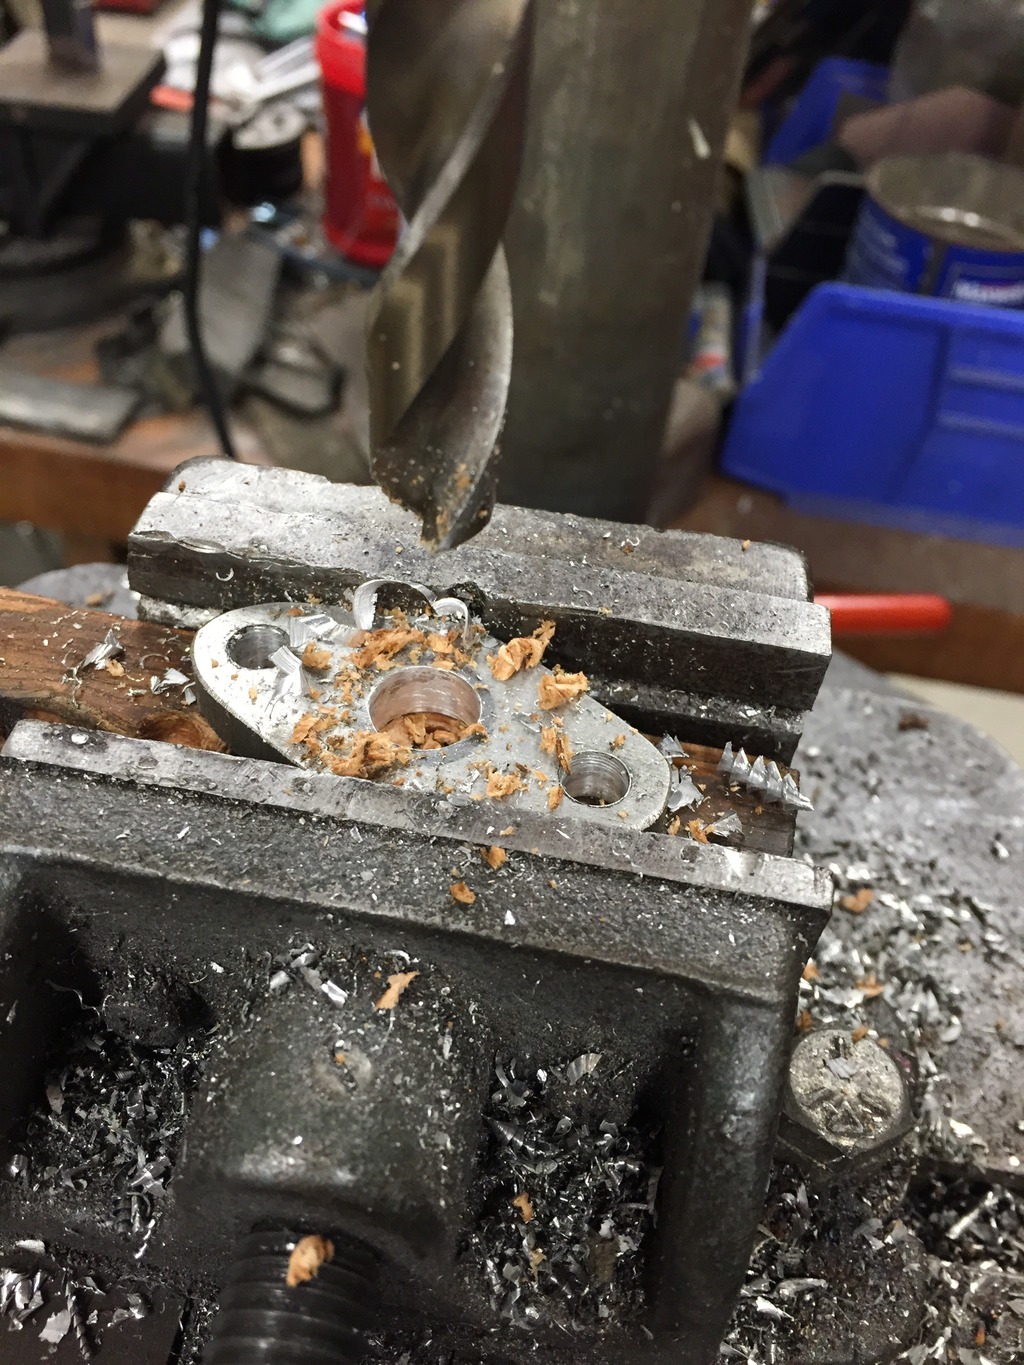
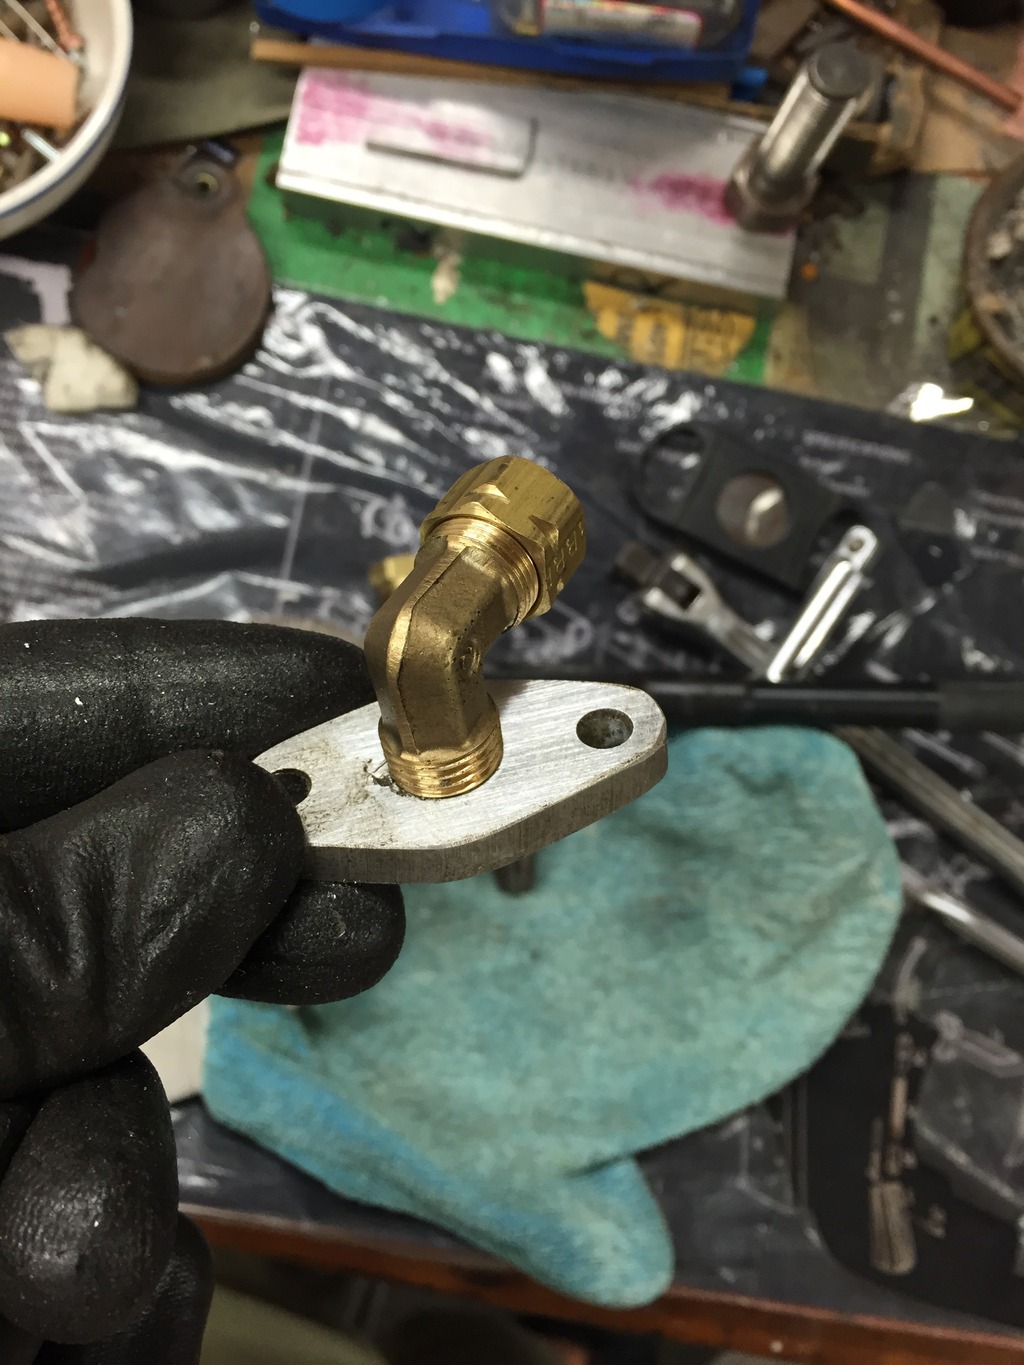
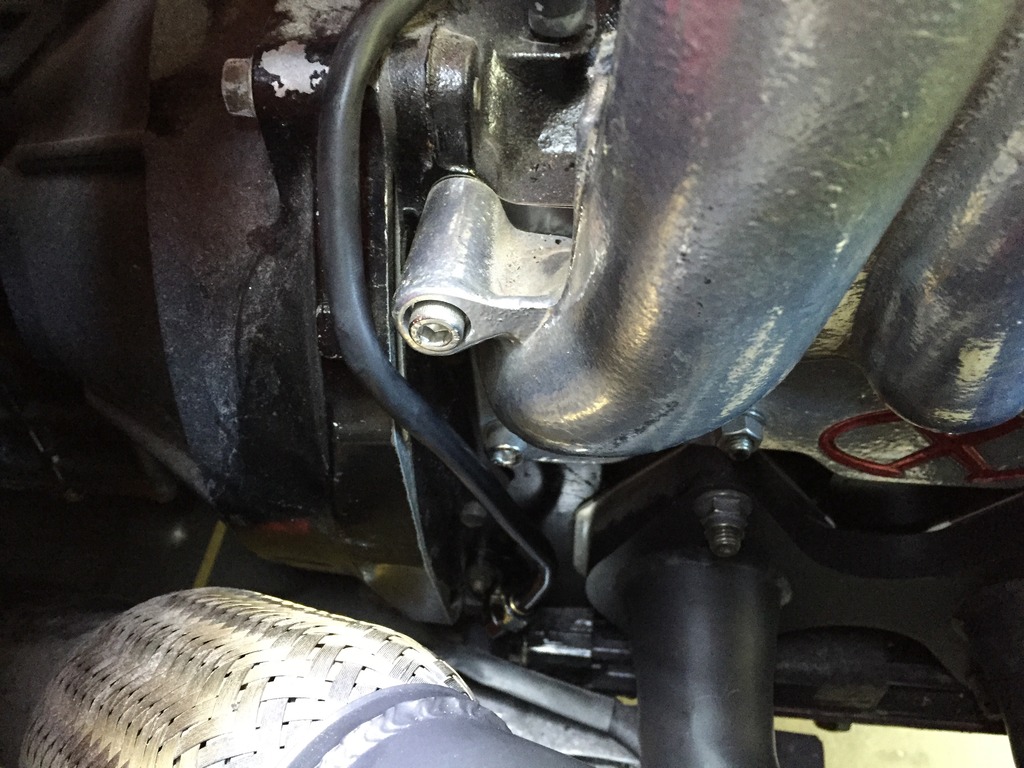
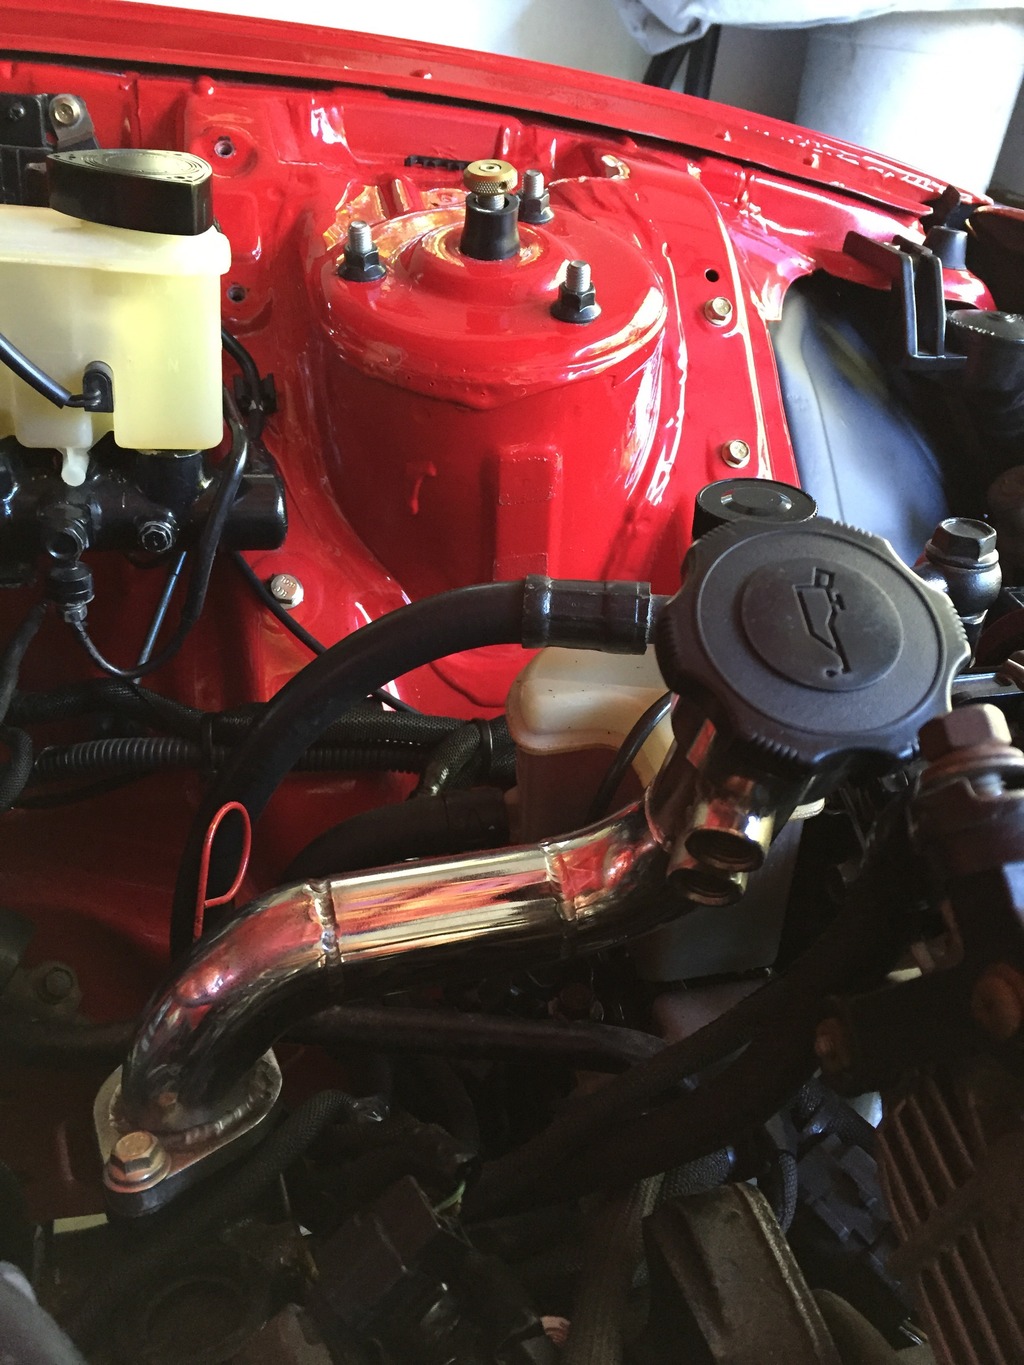
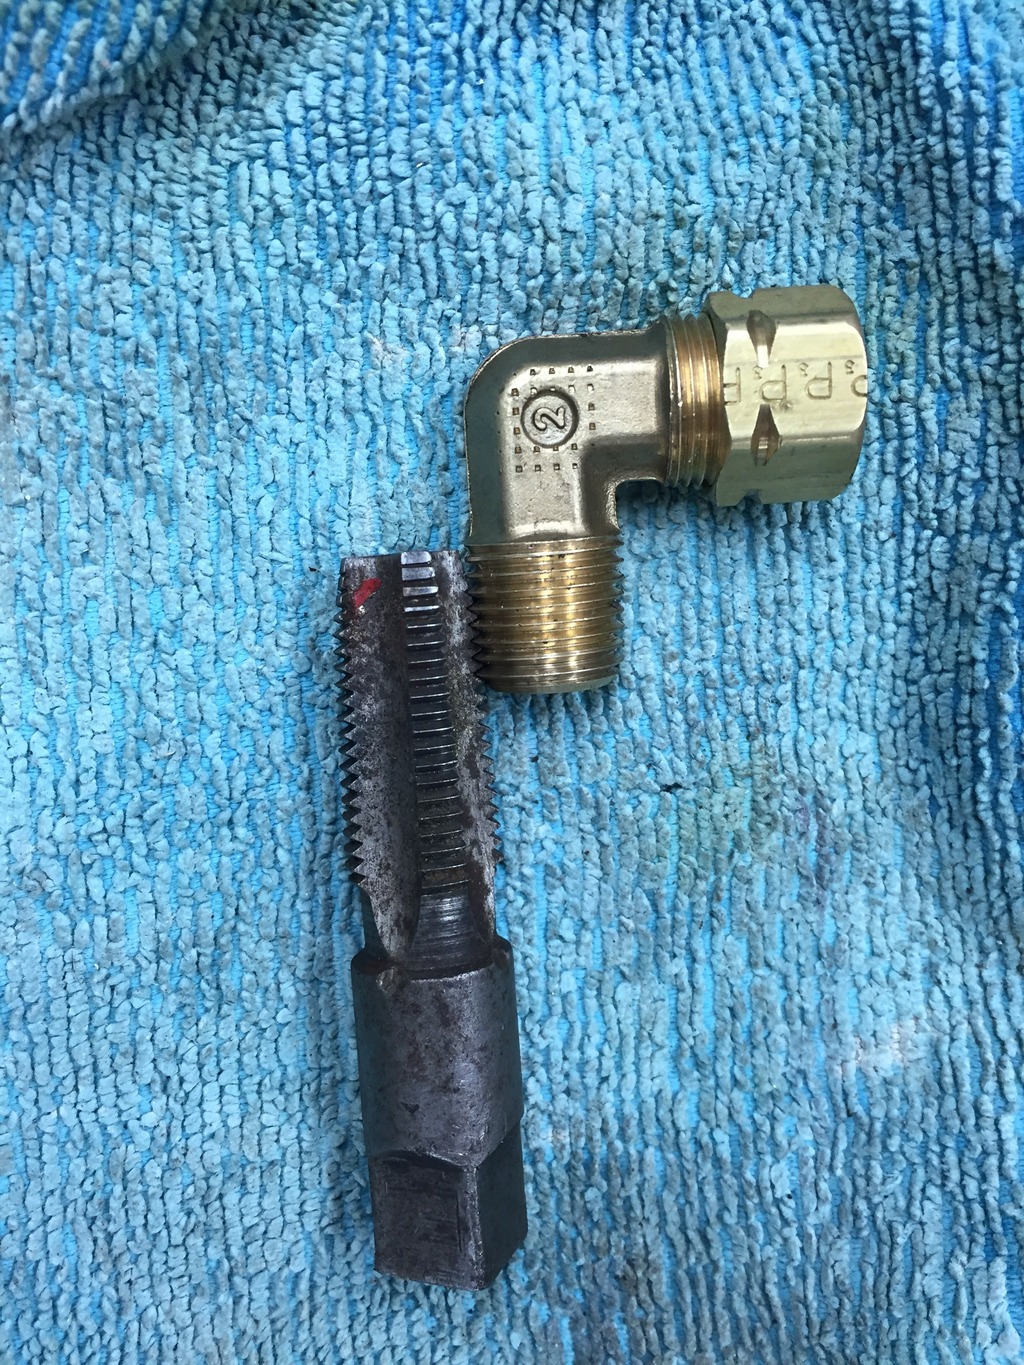
Moving along.... I've been working on the small odds and ends of the engine bay. I did some searching about catch can setups, so I made a block off plate for the rear turbo drain that I won't be using and taped it 1/4" npt. I used a 90* with a hard copper line to loop it up to the filler neck. My center iron had a nipple from the factory on the top side which is where I tied the two together at. This should help vent both sides and prevent pressure buildup during cornering. I checked a spare center iron that came off a reman I had and found out that it did not have the nipple like the one in my car did. Odd and not sure why.


Thread Starter
Joined: Apr 2011
Posts: 806
Likes: 288
From: Millersville Md
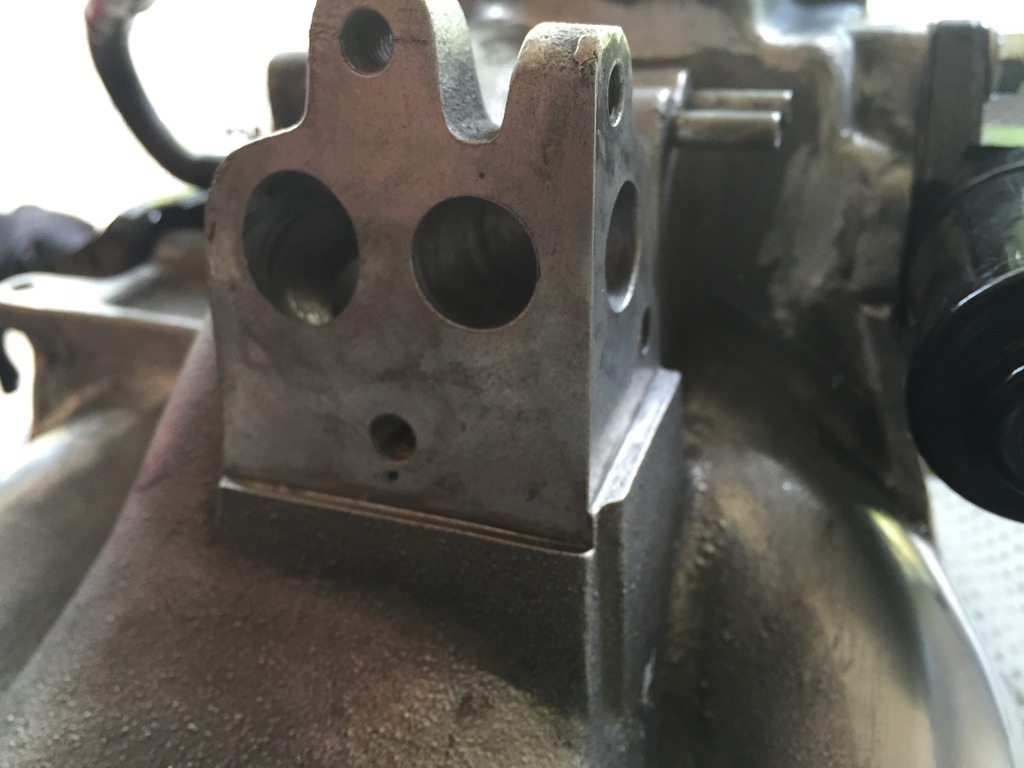
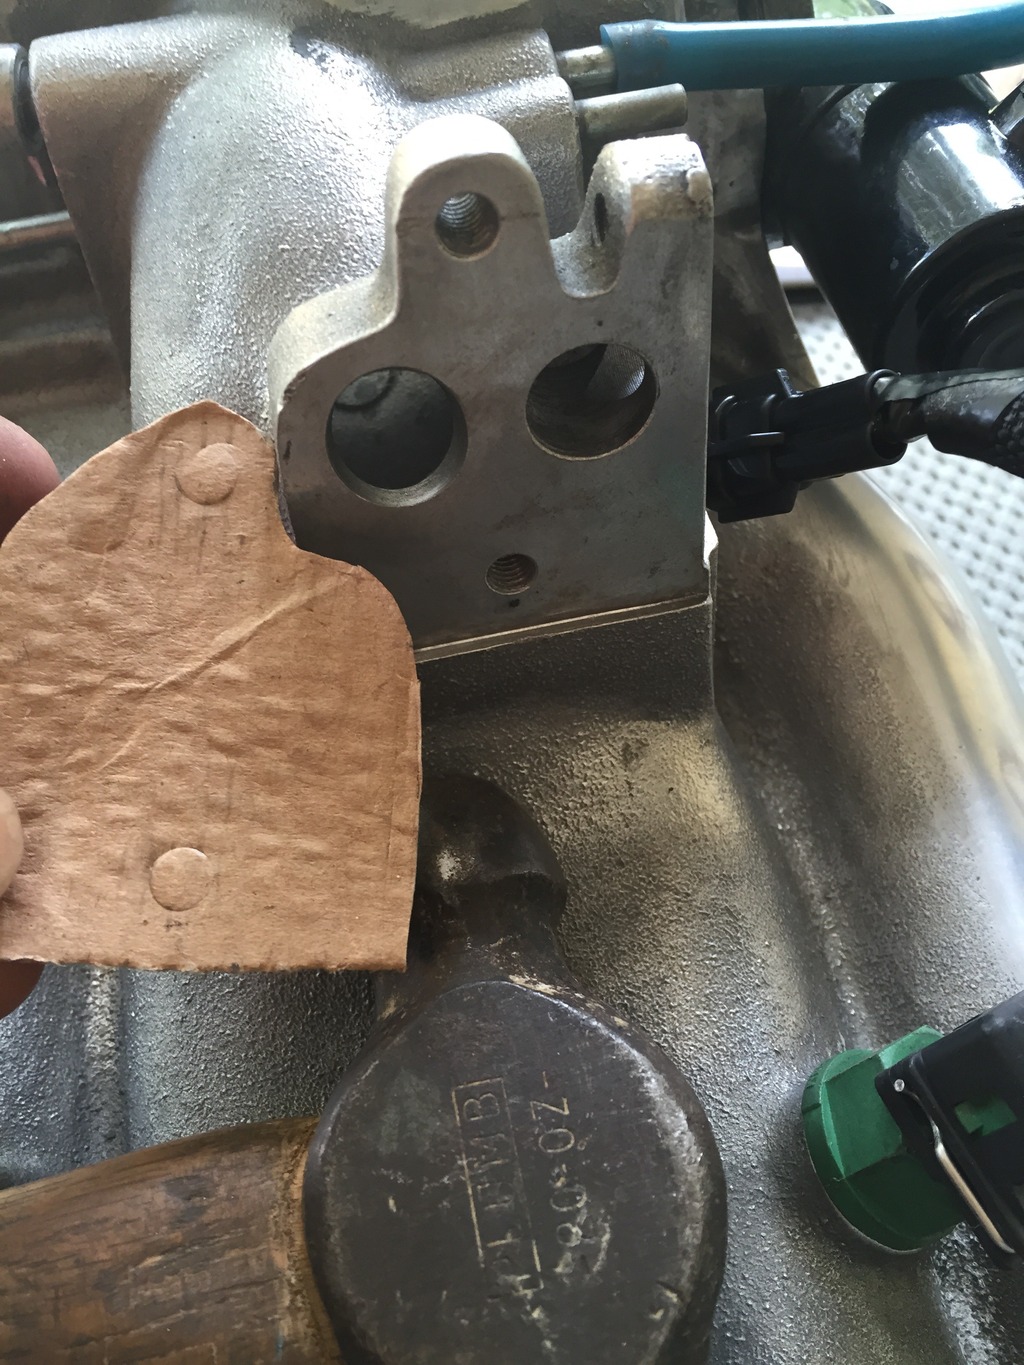
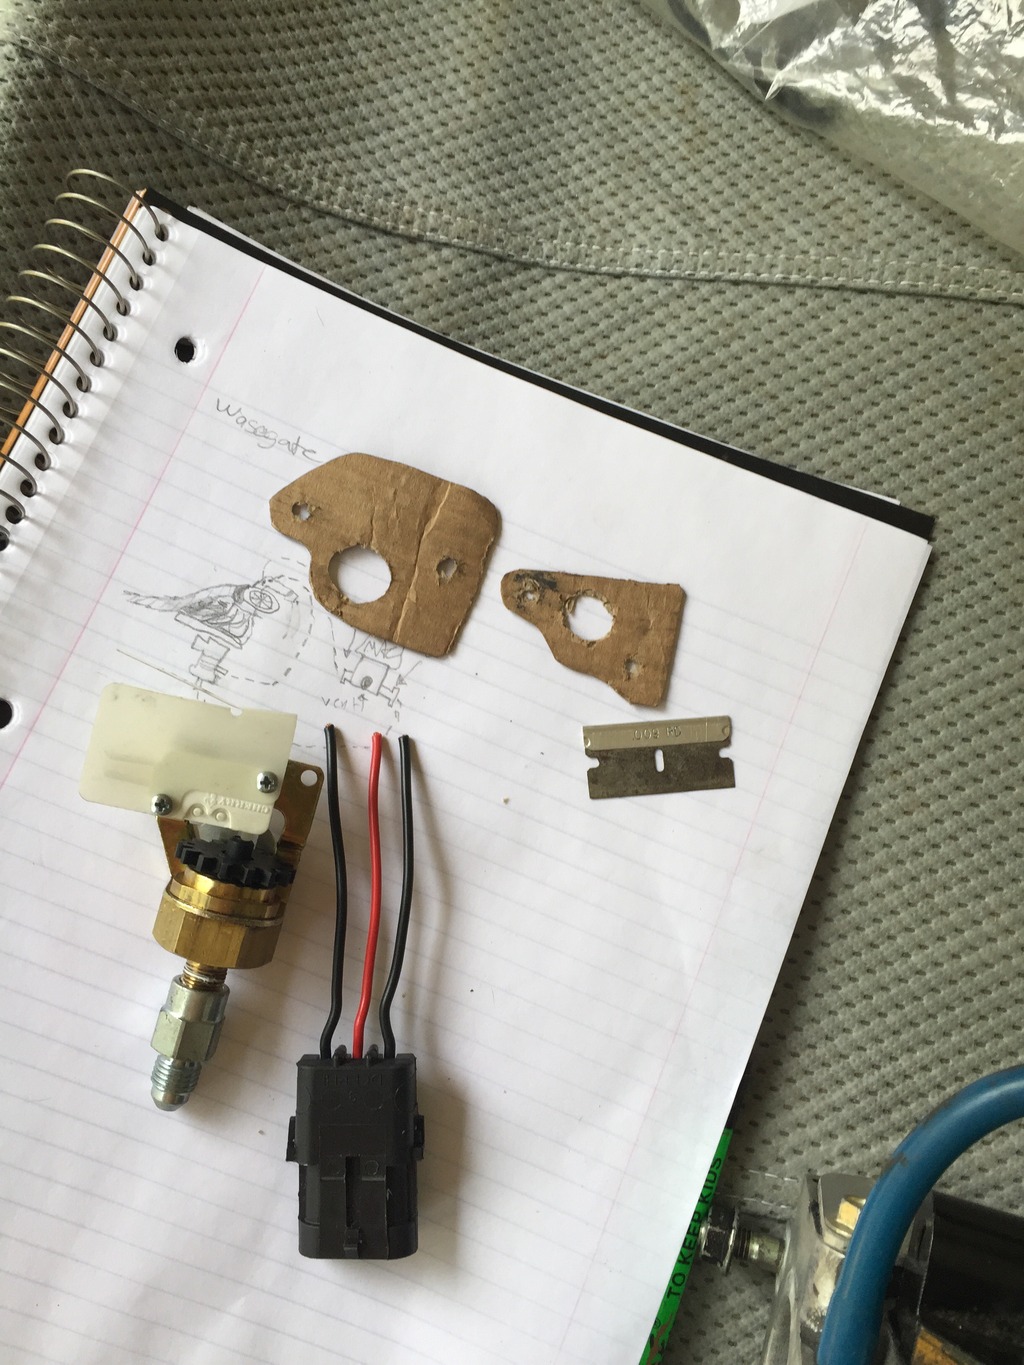
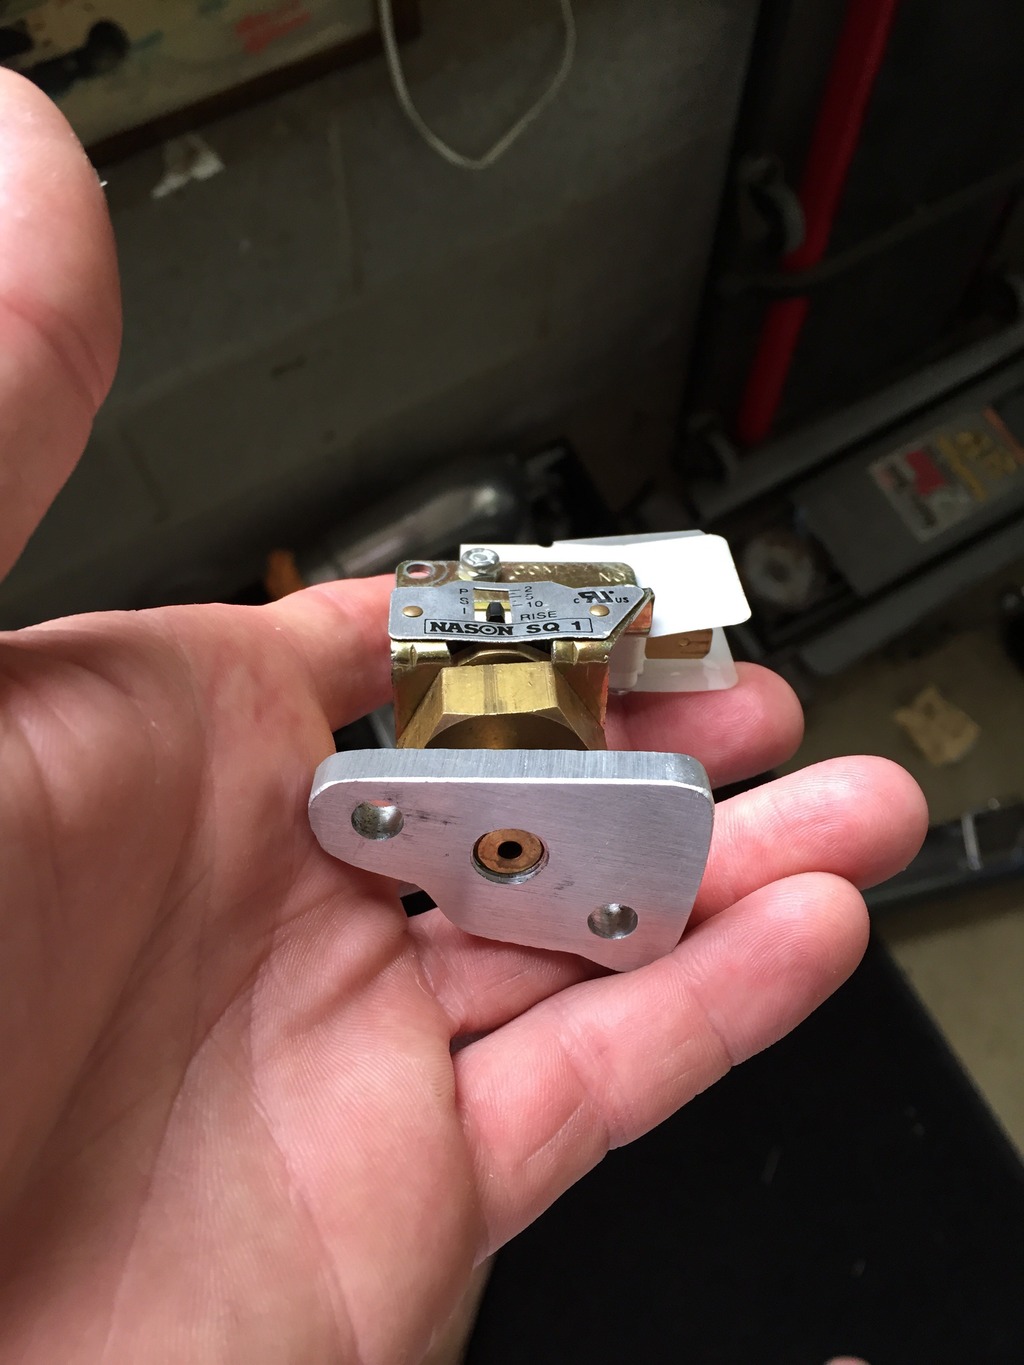
While I was at it I fabed up the two block off plates I needed for the uim. These plates were for the original accelerated warm-up system. I also tapped one of the plates to accommodate my adjustable pressure switch that will control the water solenoid for my pre-turbo water injection. The side I put the pressure switch did not have a vac/pressure source so I machined a slot out of the back side of the block off plate to tie together the two passageways. ( so the switch will see pressure when needed ). I did not have gaskets to trace for the aws so here is an old skool trick I learned. Take a piece of cardboard bigger then what you want to make. Use a Ball peen hammer to gently tap around the corners and across the face. Doing so will flatten the cardboard in the areas that are supported giving you a nice outline to trace. Then use scissors to cutout. Now you have a template to use.
Thread Starter
Joined: Apr 2011
Posts: 806
Likes: 288
From: Millersville Md
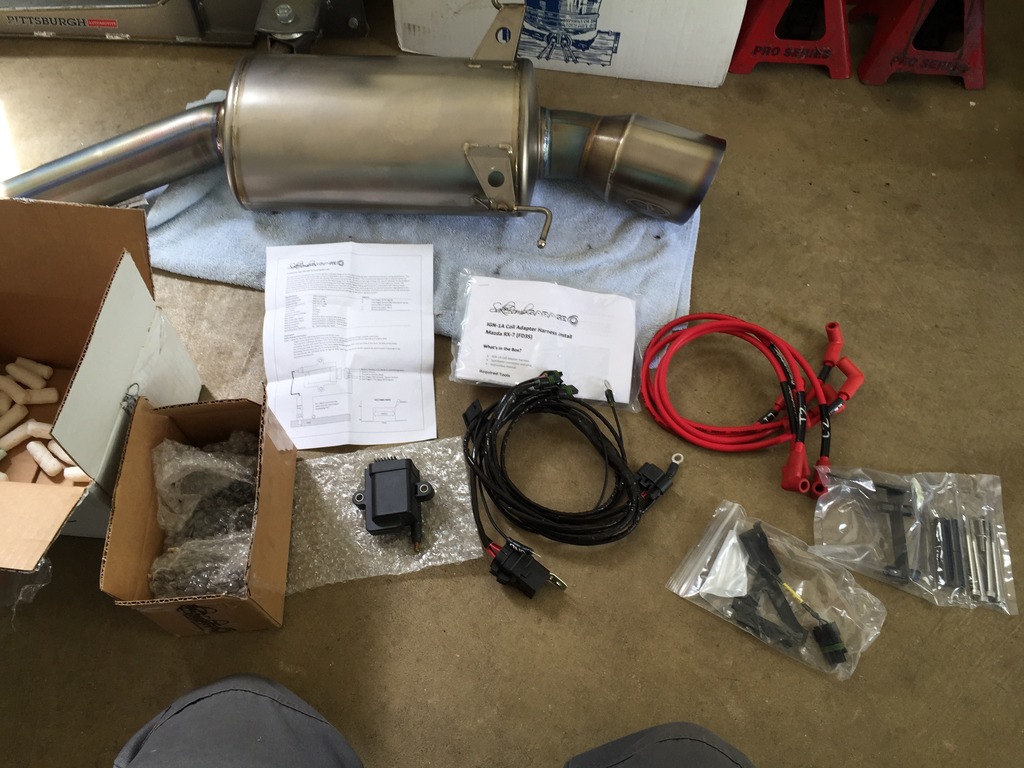
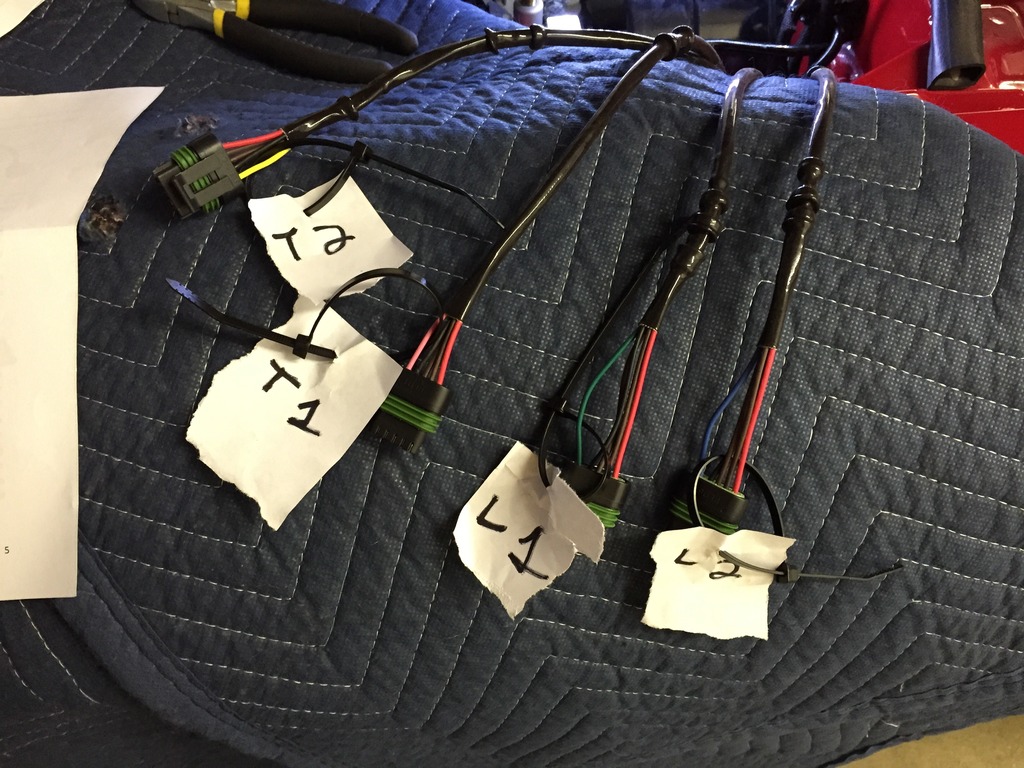
I got a few thing in the mail awhile ago and decided to finally start putting them on. When I got the car the original coils and harness were shot. The coils tested way outside the fms maximum allowance. An from what I've heard is odd because most last the life of the vehicle. I priced up new coils, a mount and a harness. The price was right around the same as the mercury marine smart coil conversion so I decided to go that route. Sakebomb garage makes some great products and the customer service is second to none. It came in a well packed box with everything wrapped individually. Let me say this stuff was very well built and the fit / finish is excellent. I grabbed a three bar map sensor mount and a plug & play harness while I was at it.
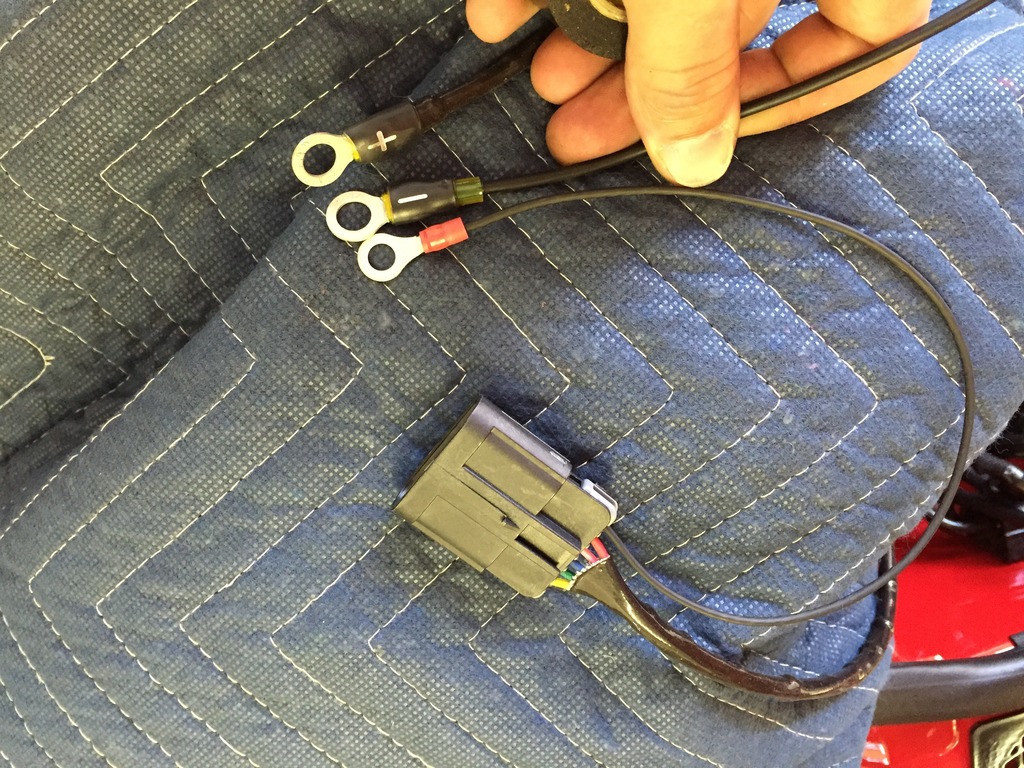
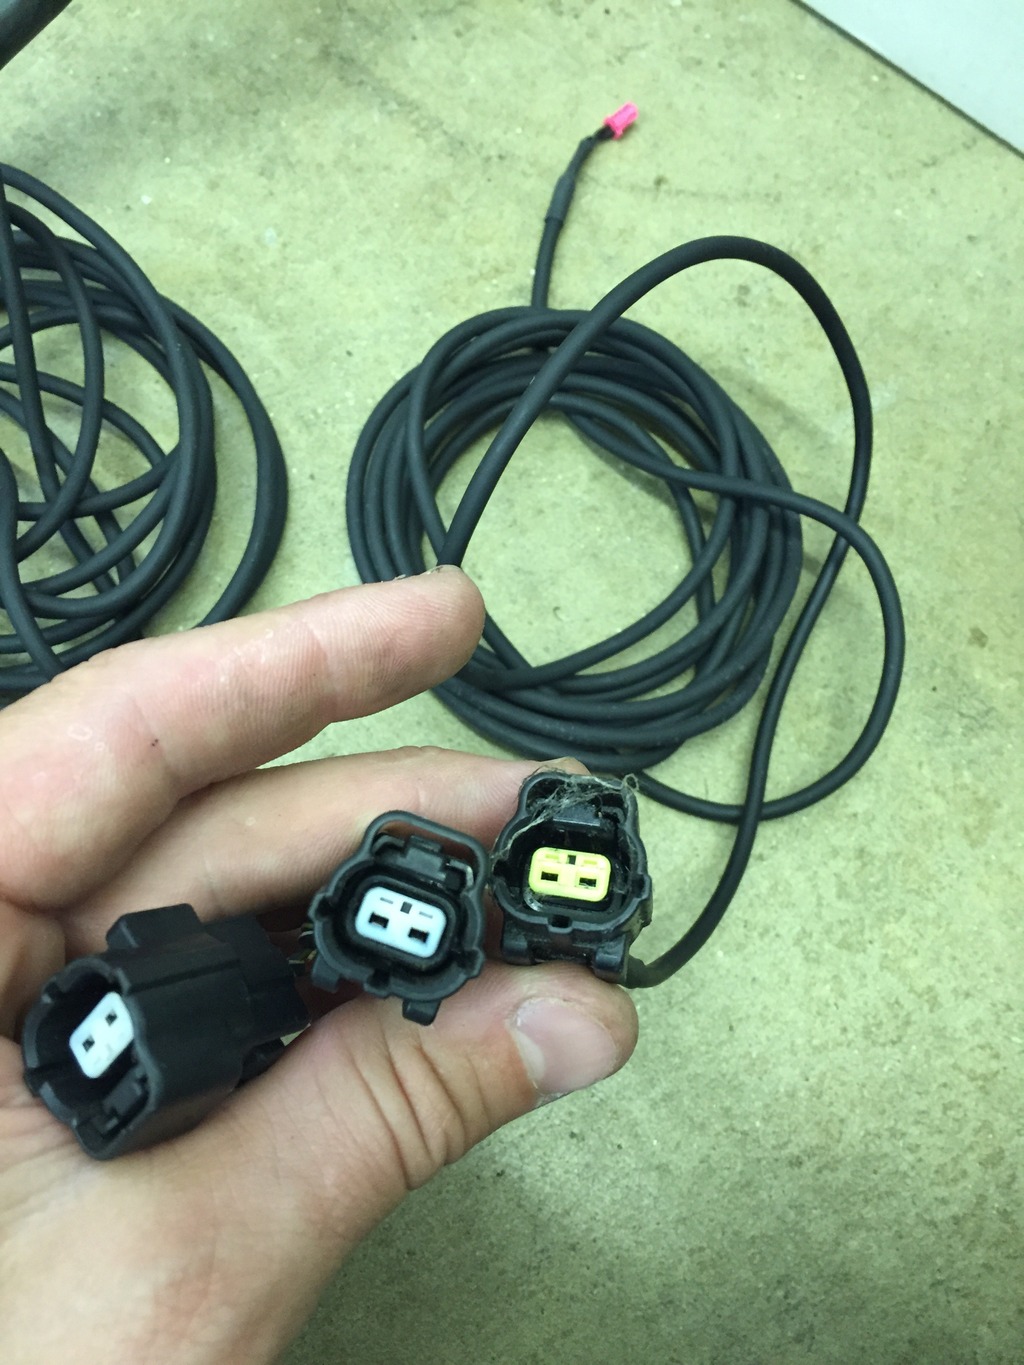
The coil harness requires you to de pin your exsisting connector and use the new one supplied. A few of the pins are not used and I choose to heat shrink the ends for a nice weather proof seal. Trick tip ~ when using heat shrink on a dead end like this, take two fingers before it's totally cooled off and pinch it close. This allows the small hole in the end to be totally closed and prevent anything from entering. I did this on all the un used pins and then again to hold all the un used pins together. I perfected this then electrical tape or leaving the original connector attached and tucked away.
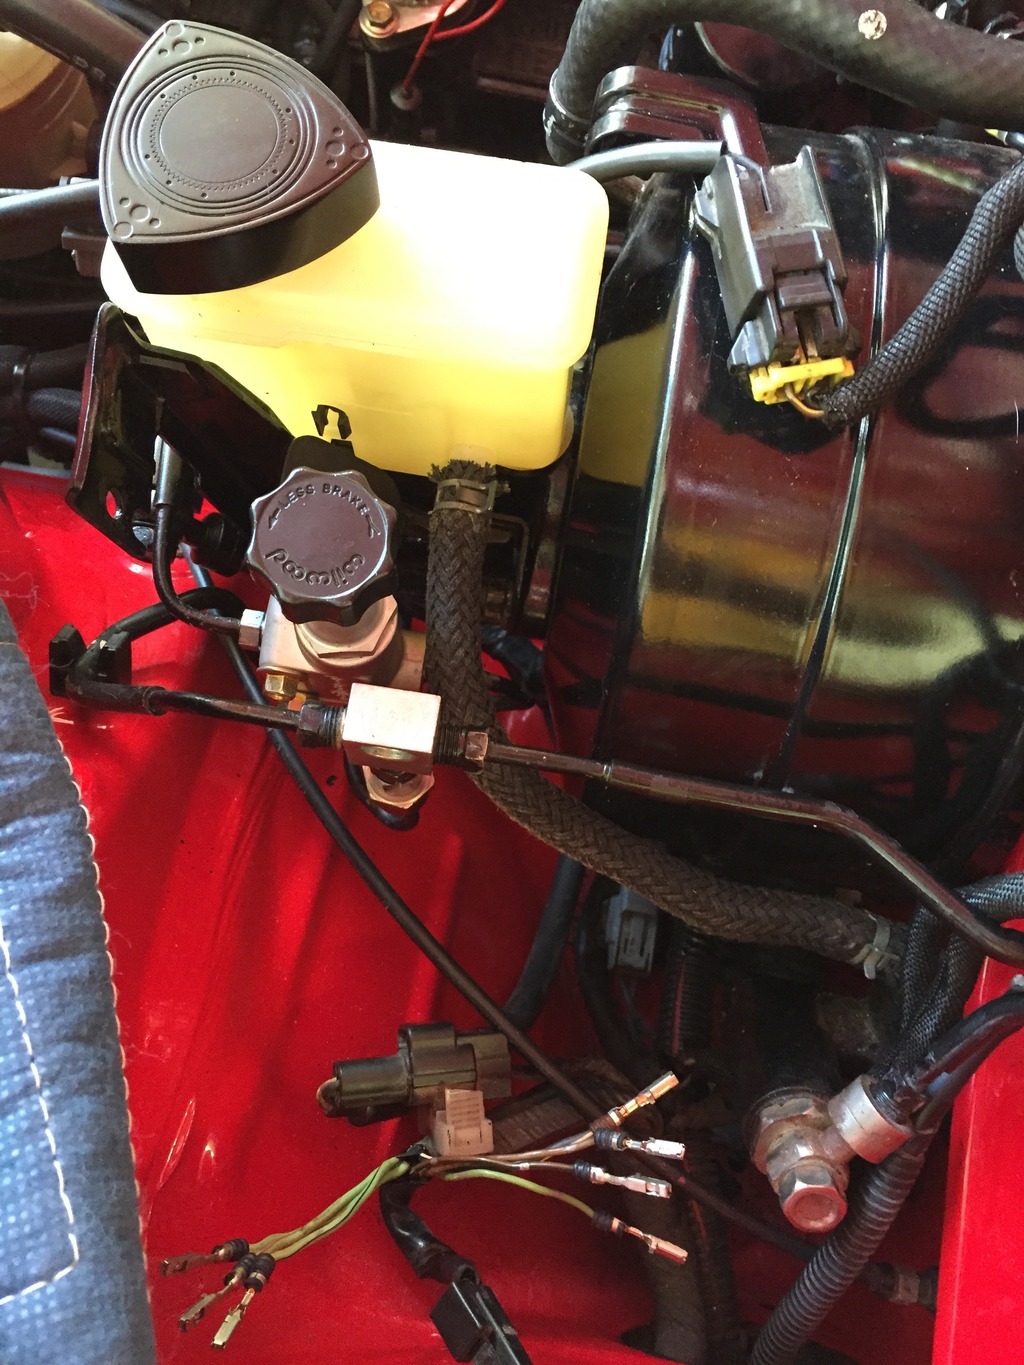
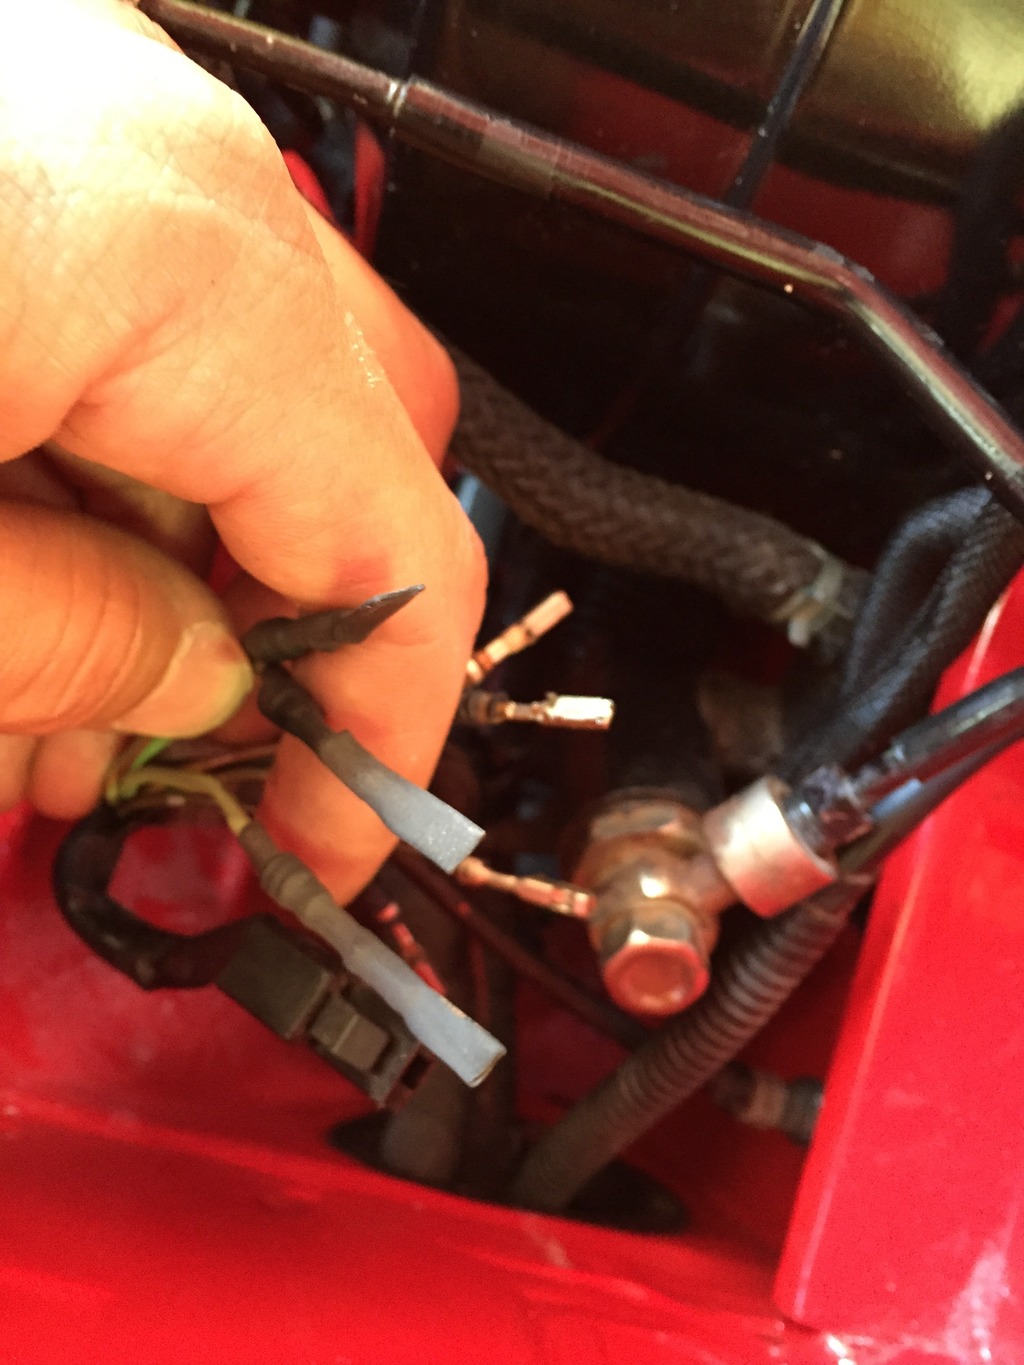
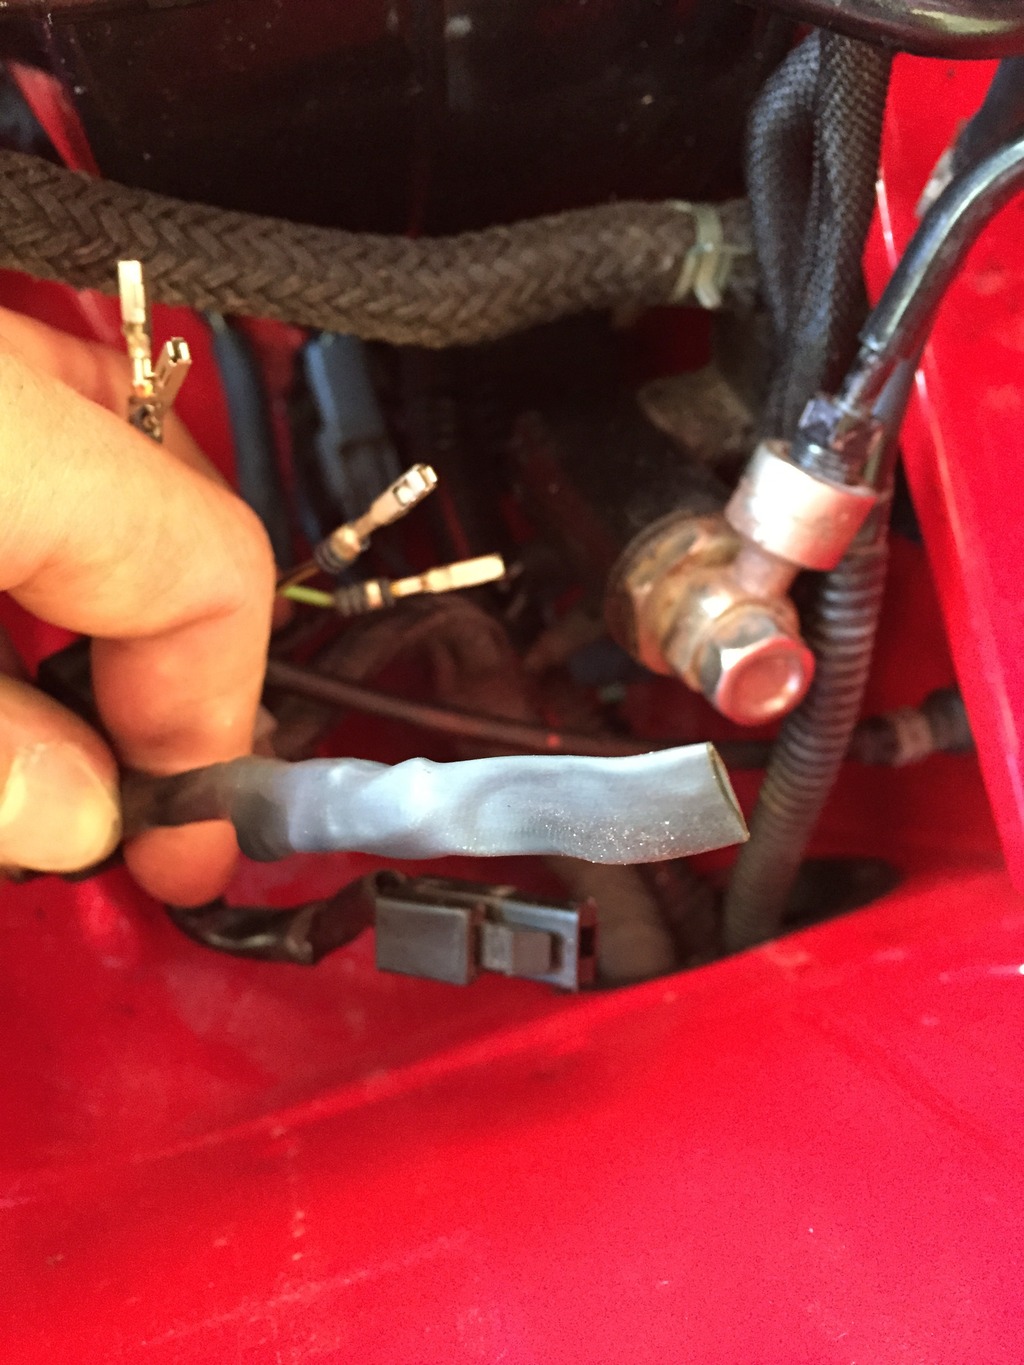
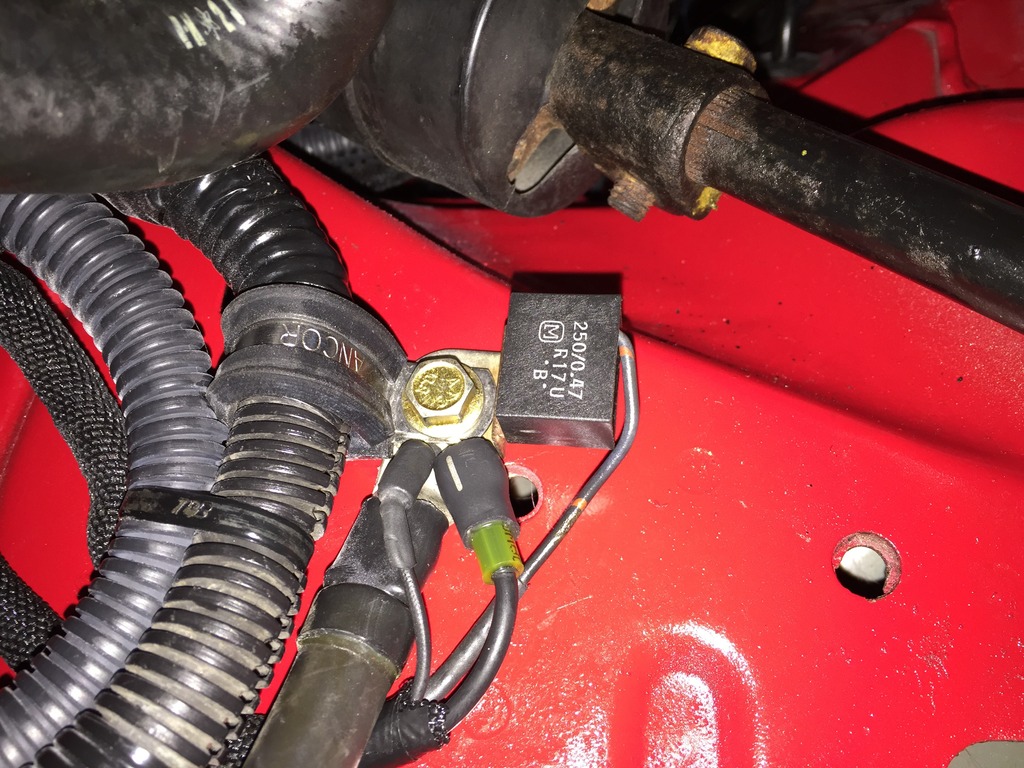
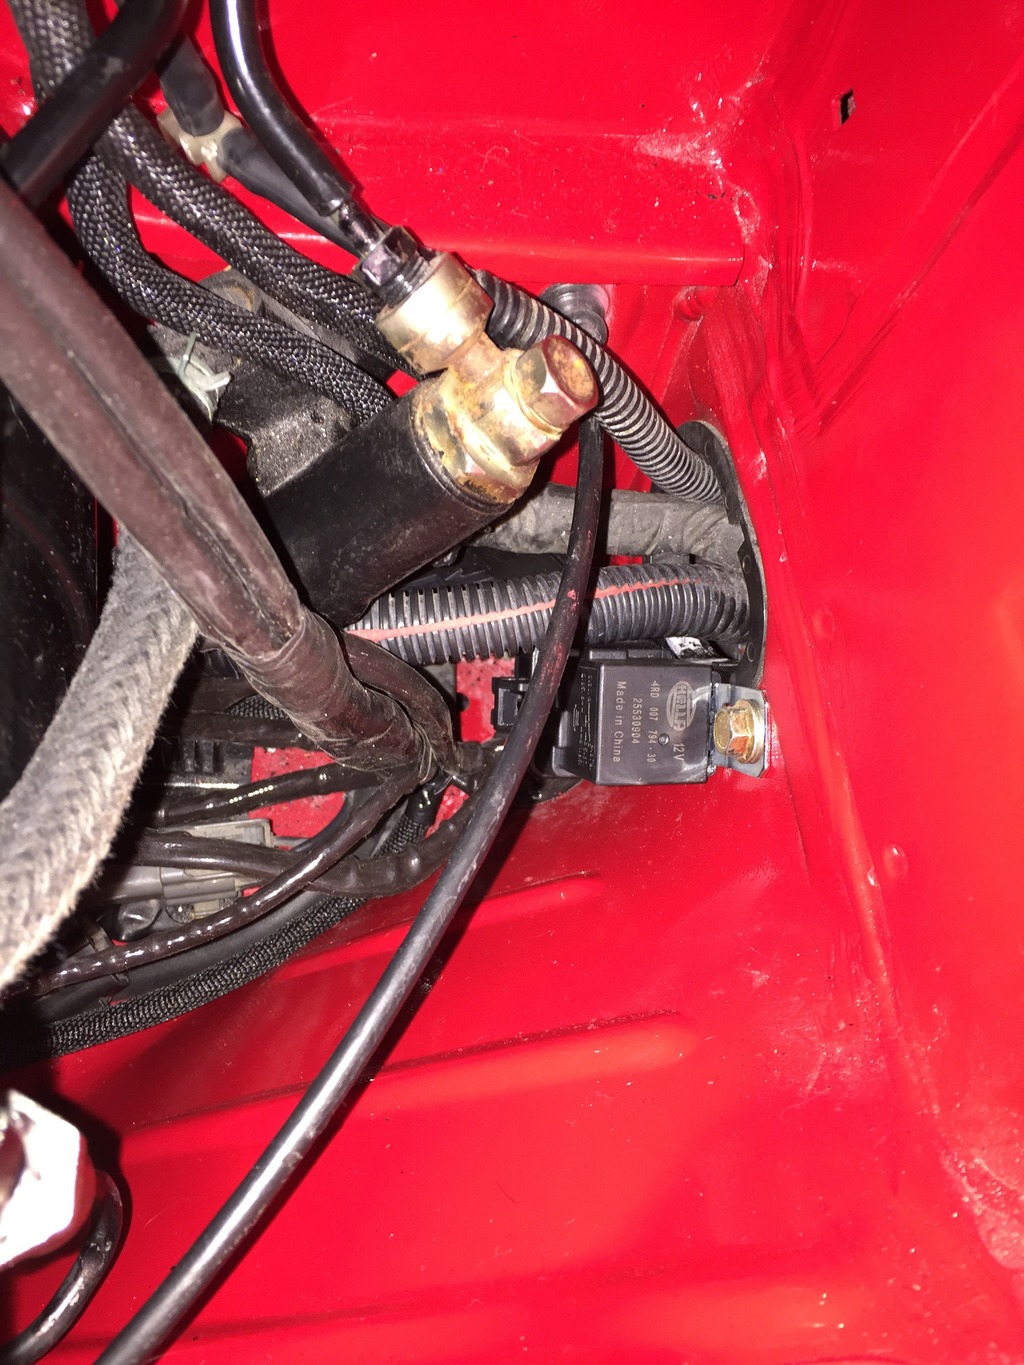
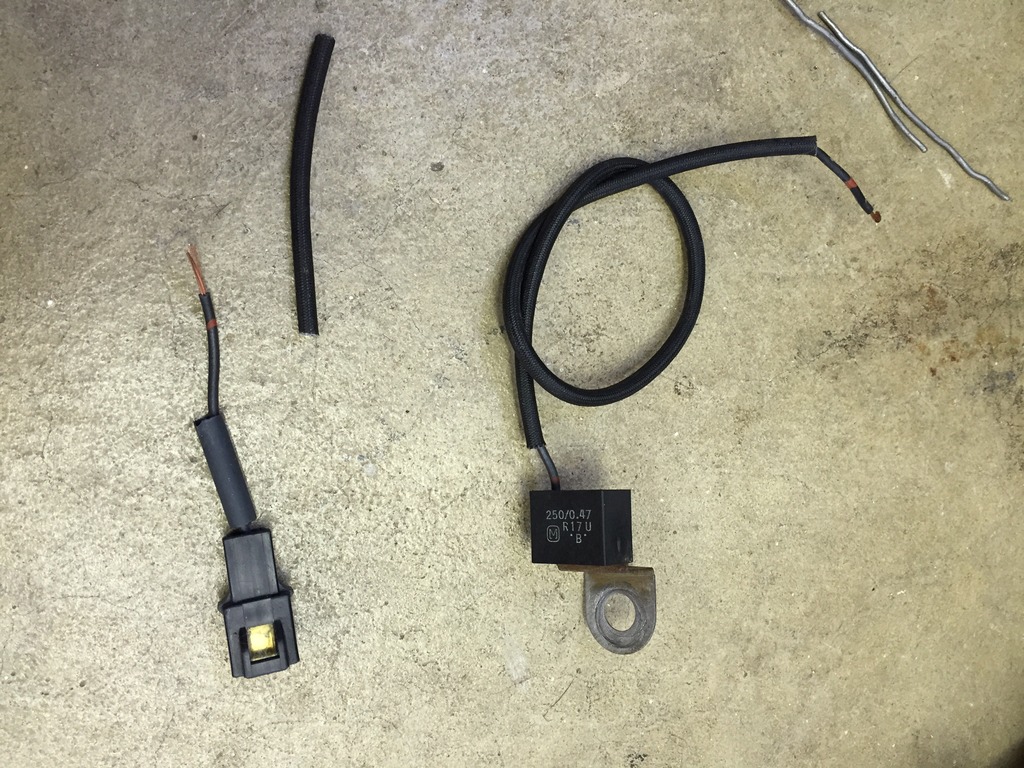
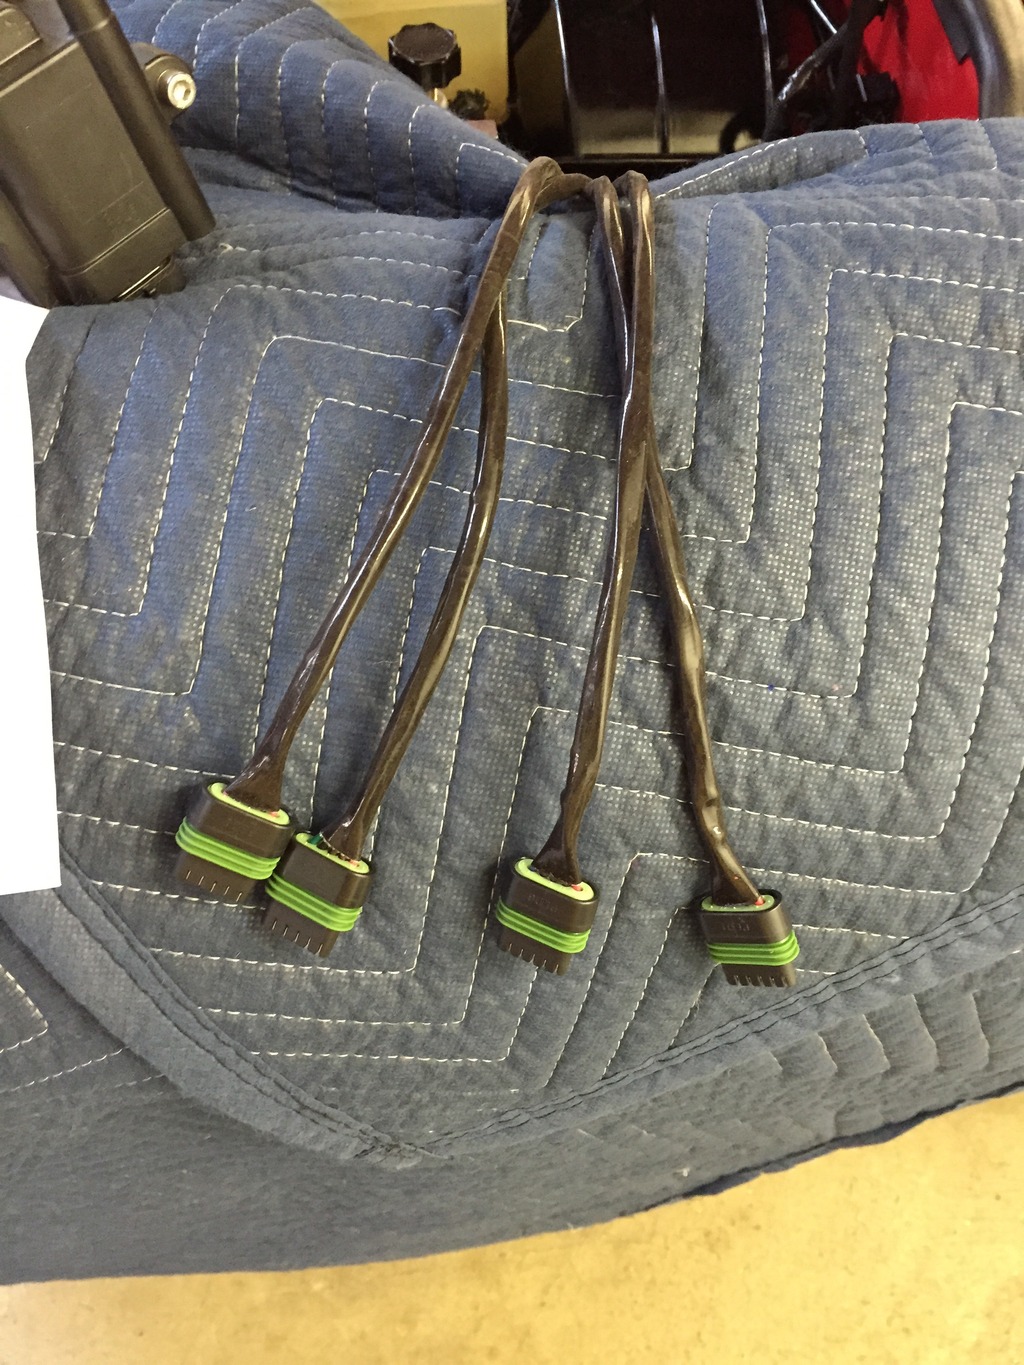
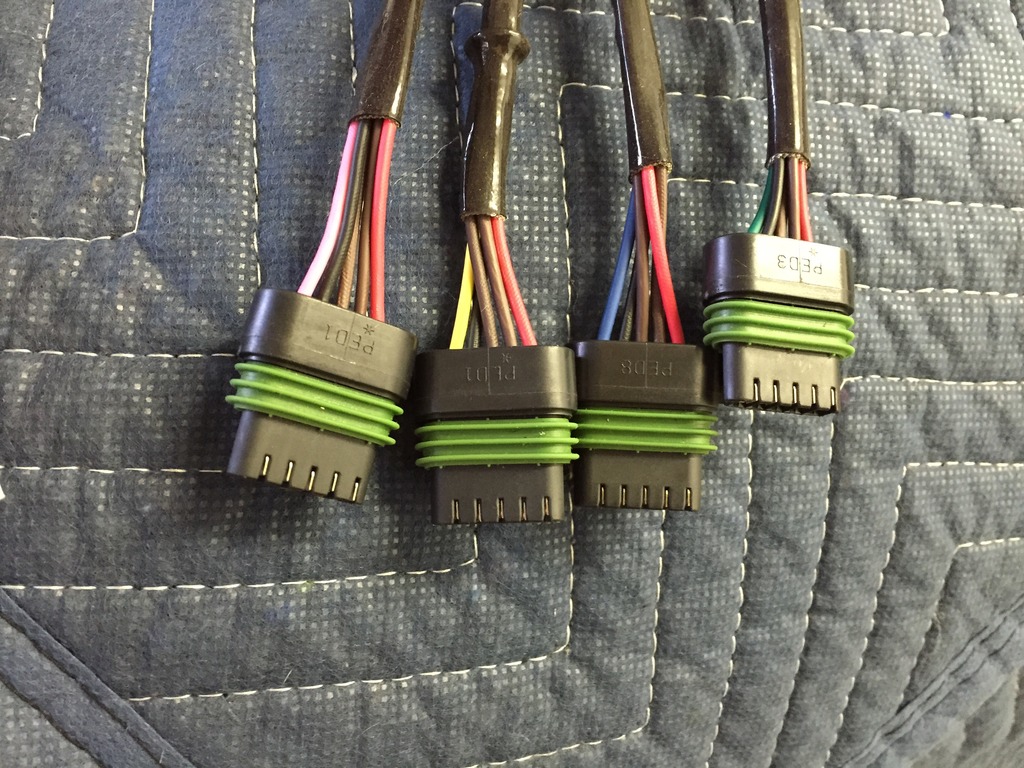
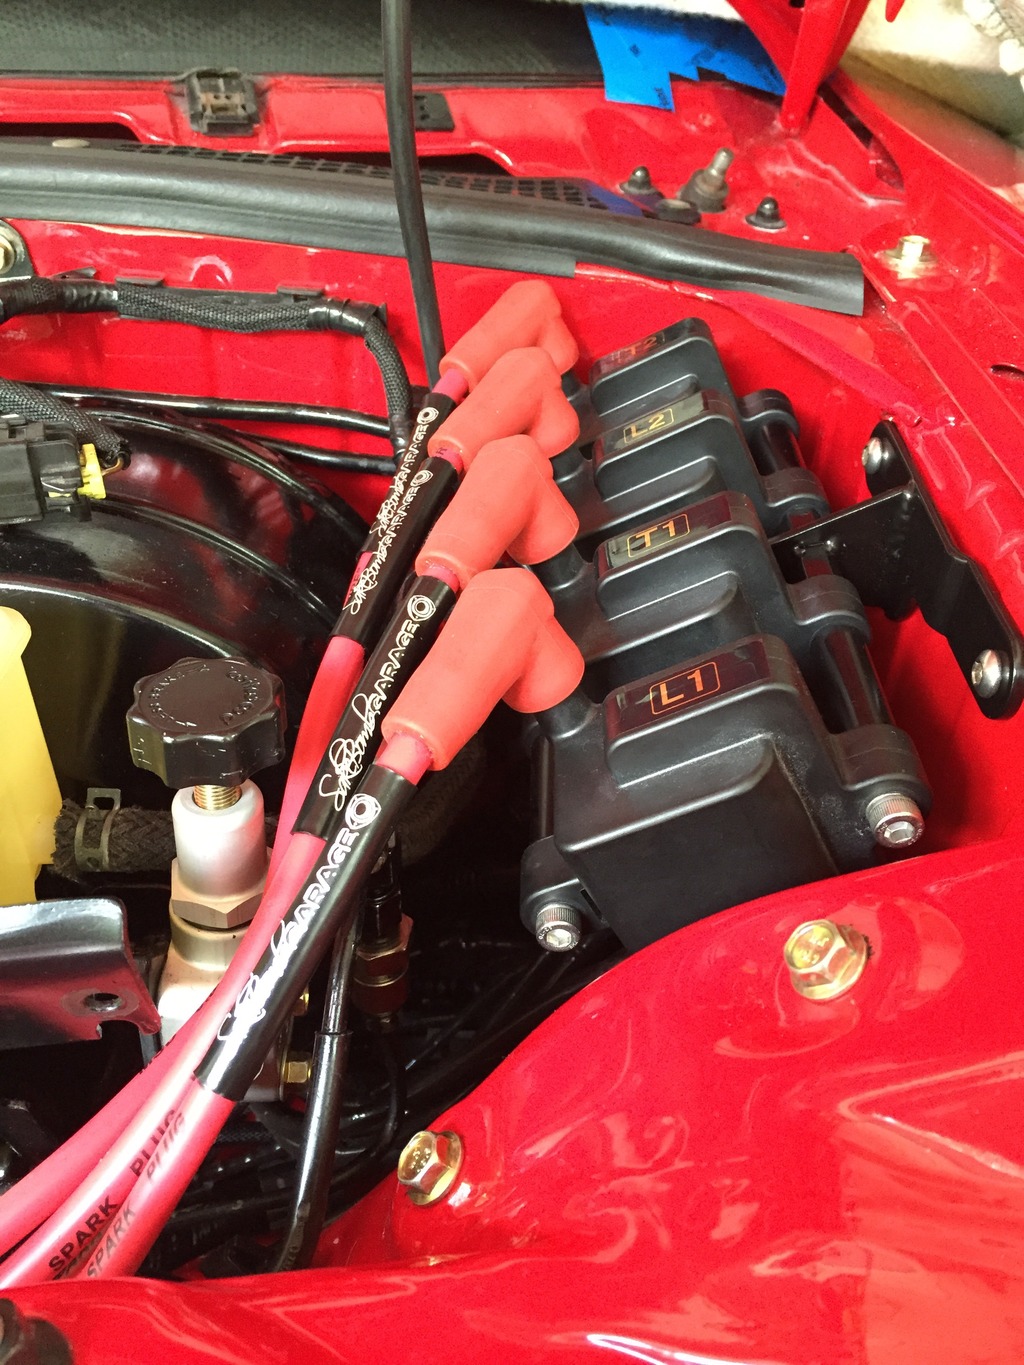
I installed the harness, assembled the coil mount, tagged the coil harness plugs and individual smart coils. I didn't want put the factory resistor back above the coils so I extended the wiring and relocated it to the new chassis ground from when I relocated the battery. I mounted the weather proof relay they used to trigger power where they suggested at the bolt just in front of the brake reservoir next to the shock tower. After looking at it I wasn't happy with how it looked to I mounted it back under where the coils mount. This help hide it, shield it from the weather and direct heat from the engine.
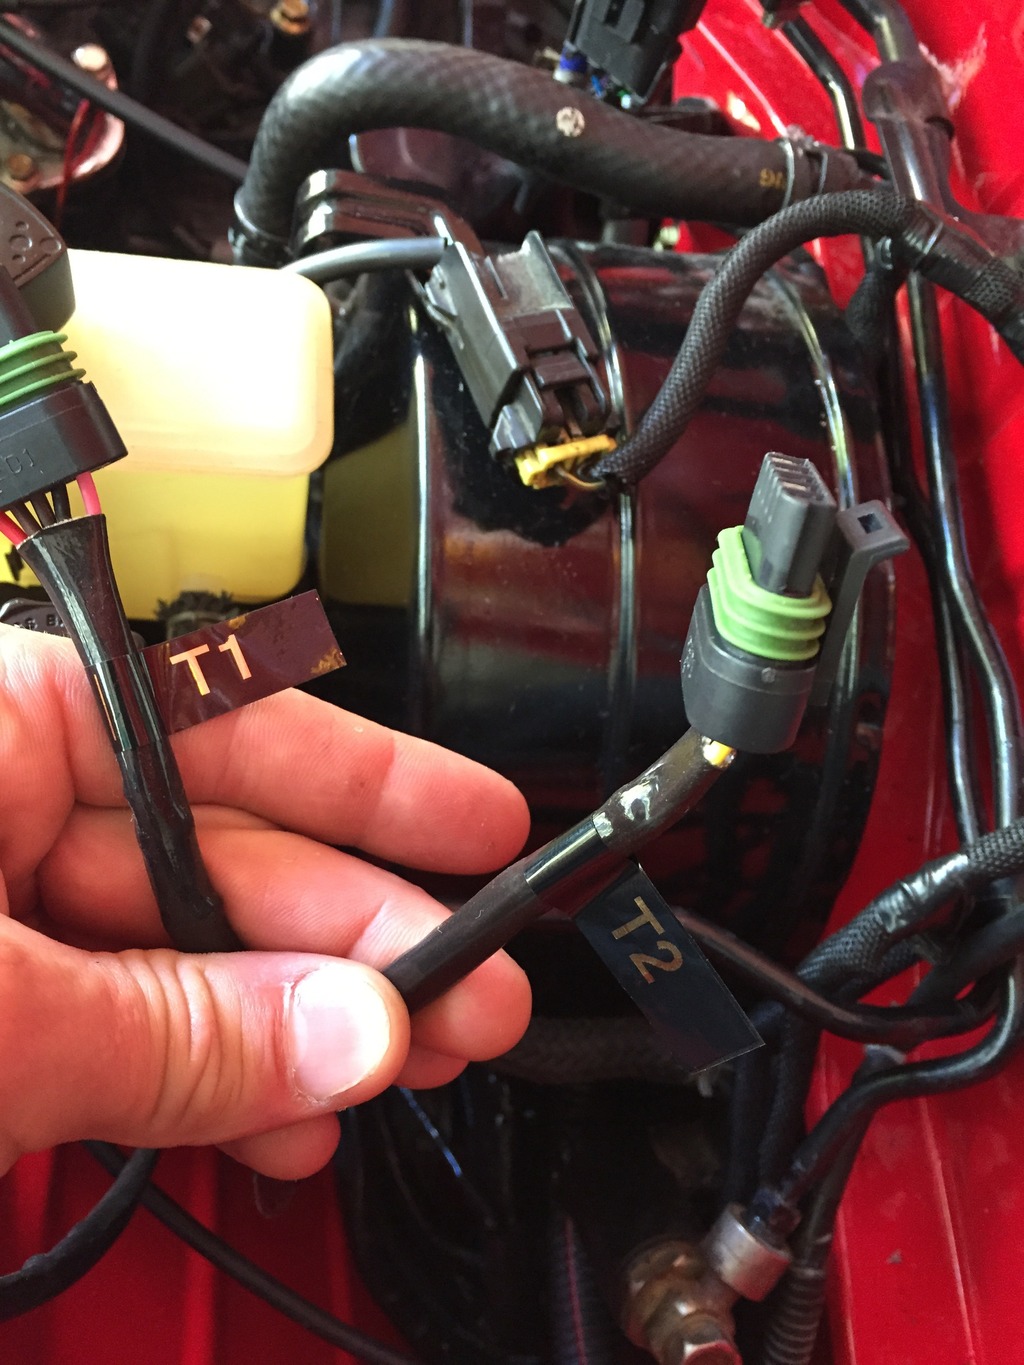
The coil harness requires you to de pin your exsisting connector and use the new one supplied. A few of the pins are not used and I choose to heat shrink the ends for a nice weather proof seal. Trick tip ~ when using heat shrink on a dead end like this, take two fingers before it's totally cooled off and pinch it close. This allows the small hole in the end to be totally closed and prevent anything from entering. I did this on all the un used pins and then again to hold all the un used pins together. I perfected this then electrical tape or leaving the original connector attached and tucked away.
I installed the harness, assembled the coil mount, tagged the coil harness plugs and individual smart coils. I didn't want put the factory resistor back above the coils so I extended the wiring and relocated it to the new chassis ground from when I relocated the battery. I mounted the weather proof relay they used to trigger power where they suggested at the bolt just in front of the brake reservoir next to the shock tower. After looking at it I wasn't happy with how it looked to I mounted it back under where the coils mount. This help hide it, shield it from the weather and direct heat from the engine.
Thread Starter
Joined: Apr 2011
Posts: 806
Likes: 288
From: Millersville Md
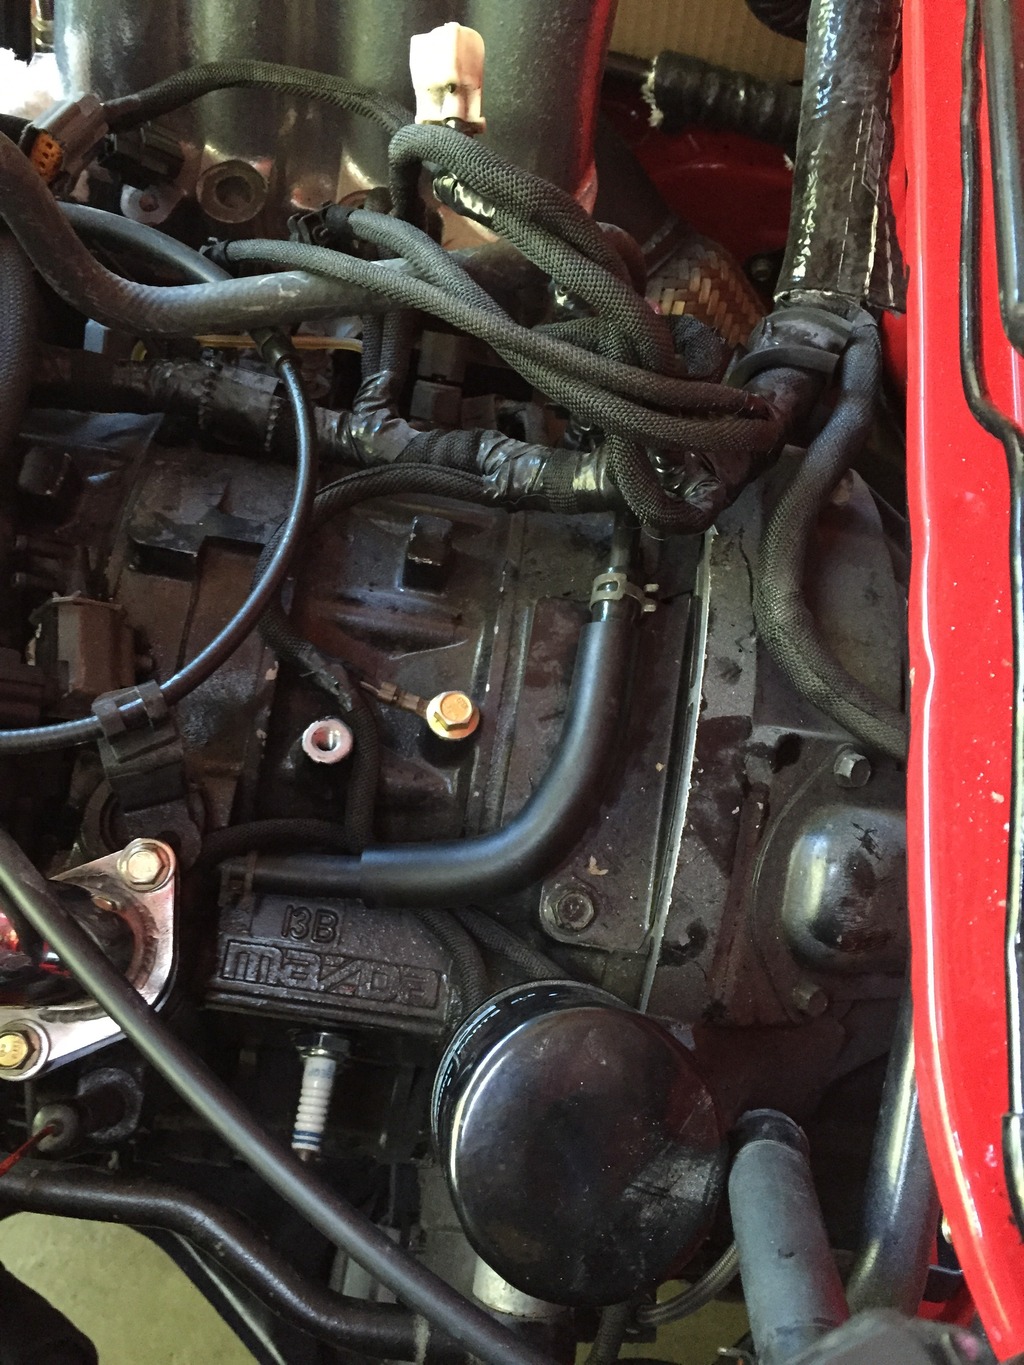
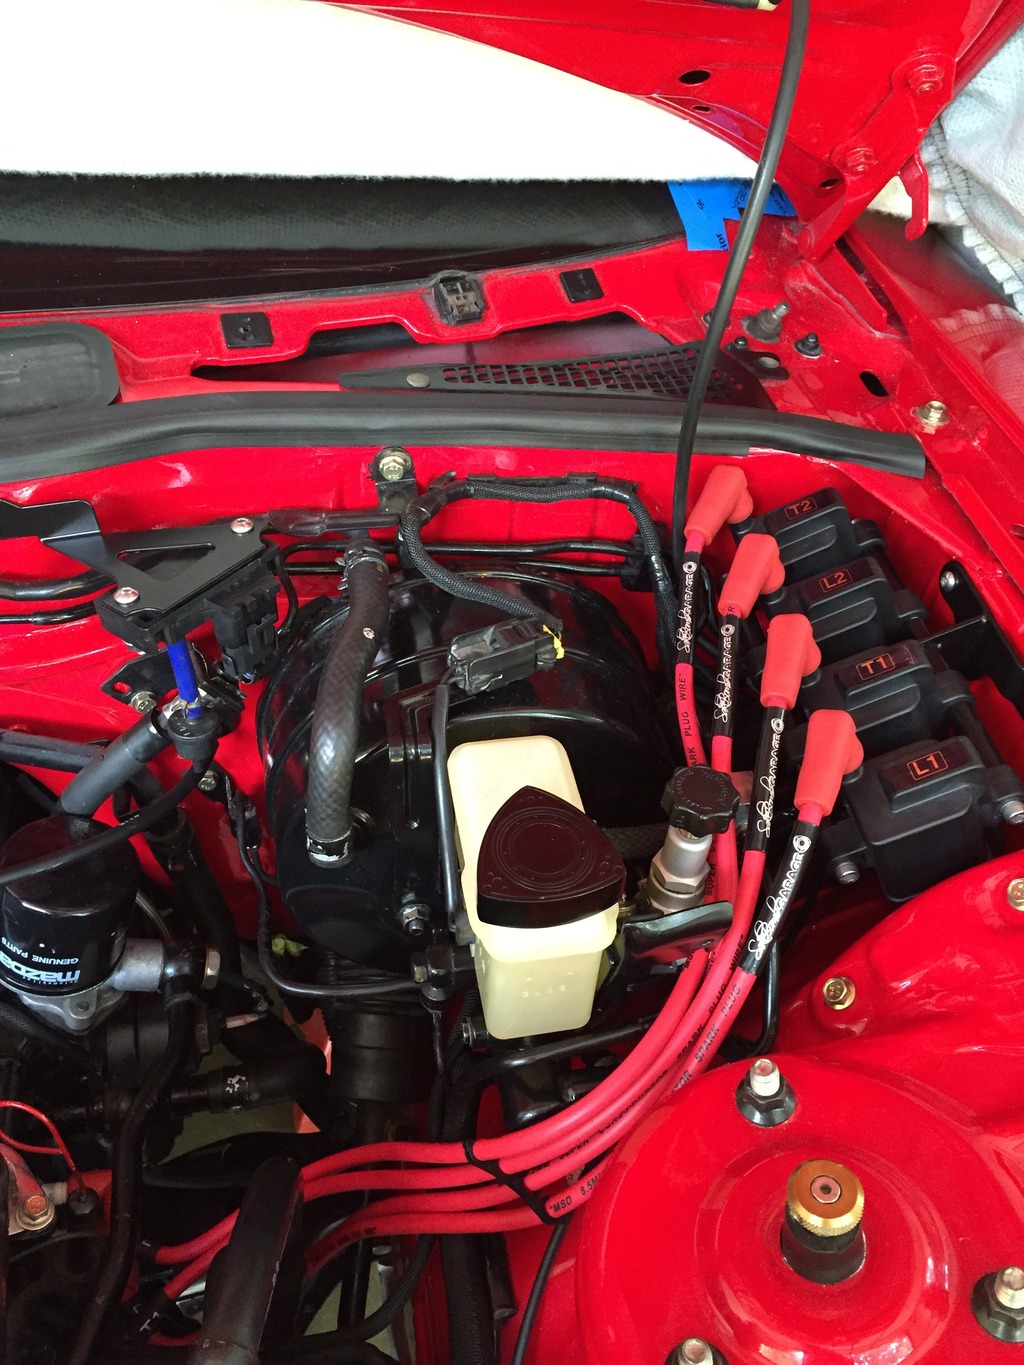
I wrapped everything that looped down to the grounding point with Russell wrap it then tucked the wiring harness back under the coil mount then zip tied it down. Here is a shot of everything installed. Also a shot of the map sensor mounted. Excuse the blue hose... It's what came on it and is not staying. 
Thread Starter
Joined: Apr 2011
Posts: 806
Likes: 288
From: Millersville Md
While I was feeling motivated, I filled the engine with some 10-30 conventional oil, removed my spark plugs and then proceeded to crank the engine over to prime the oil system. When I went to push in the clutch it seemed like a lot of slop before it took up so I grabbed the fms and adjusted the pedal as described. It took about four twenty second burst of cranking and refilling of the pan before I got about ten to fifteen pounds of pressure while the tack was bouncing around 250 rpms or so. I cracked the turbo oil feed and oil cooler lines to check for oil. Both had oil bleeding out so it looks like everything is a ok so far. Five quarts is at the half mark on the stick. I'm sure it will drop some after the oil coolers open up when warm. I did have a leak at the oil pedestal but it was because I did not tighten down the top oil cooler line bolt enough.
My "to do" list is shrinking and I'm hoping to wrap up the fuel system and the other tid bits so I can get it running this fall. Just so it can move around under its own power would be nice. It's only been three years so it's not really like I'm in a rush.
My "to do" list is shrinking and I'm hoping to wrap up the fuel system and the other tid bits so I can get it running this fall. Just so it can move around under its own power would be nice. It's only been three years so it's not really like I'm in a rush.
Last edited by gdub29e; Aug 30, 2015 at 06:15 PM.
Wow, I like the Skatebomb kit! That is my next modification on the list.
Also, where did you get the bracket that holds your 3-bar map sensor? I like it but I would want it more tucked away.
Also, where did you get the bracket that holds your 3-bar map sensor? I like it but I would want it more tucked away.
Thread Starter
Joined: Apr 2011
Posts: 806
Likes: 288
From: Millersville Md
Thanks! I will as time permits. I do have a few updates coming.
Thread Starter
Joined: Apr 2011
Posts: 806
Likes: 288
From: Millersville Md
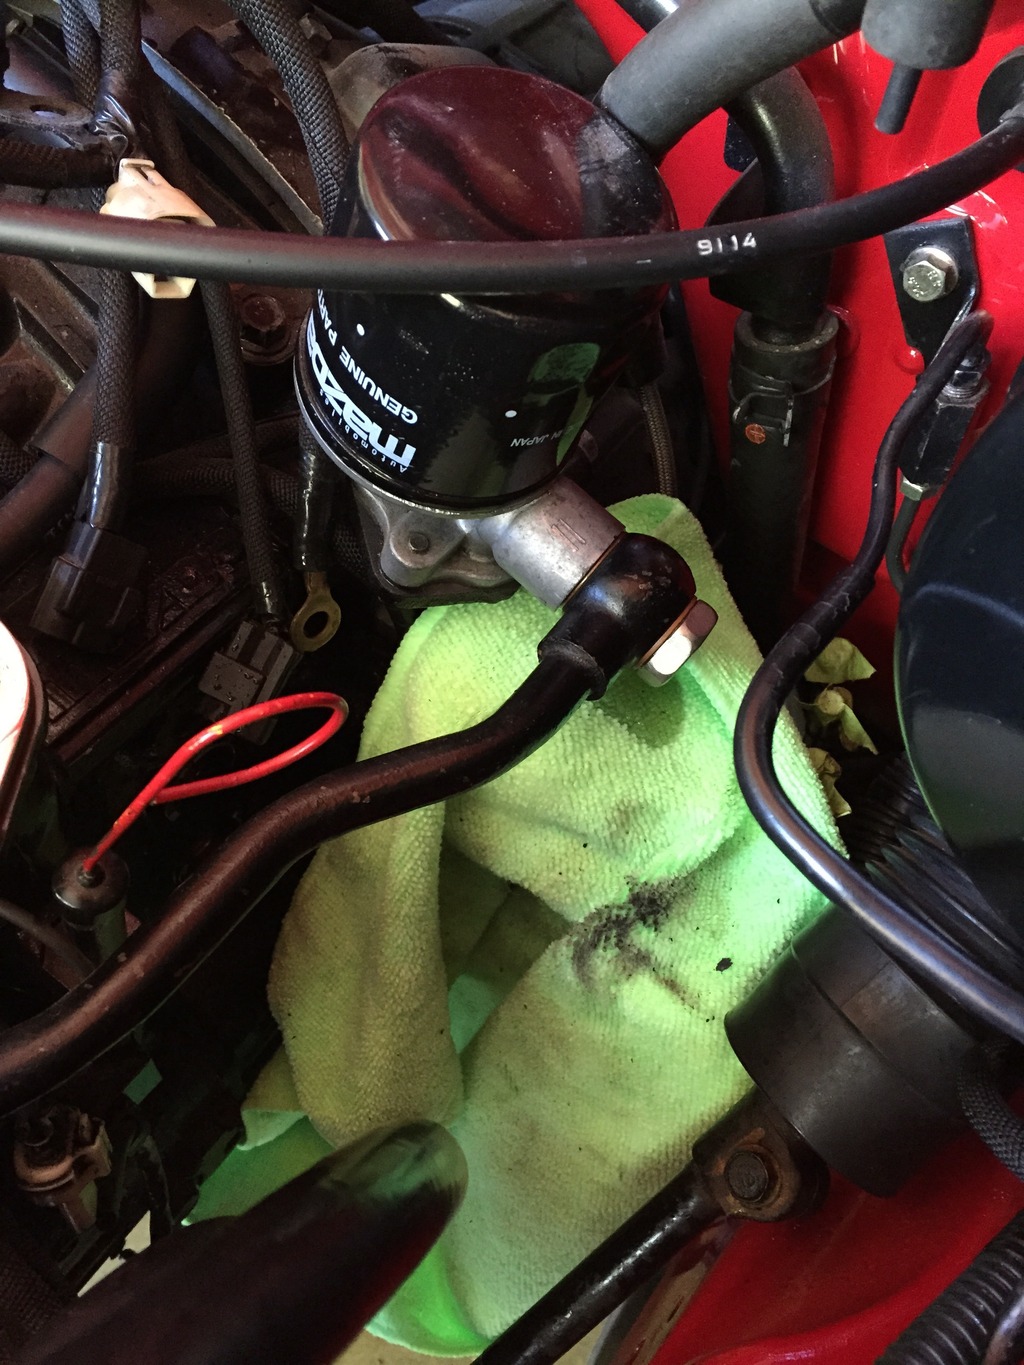
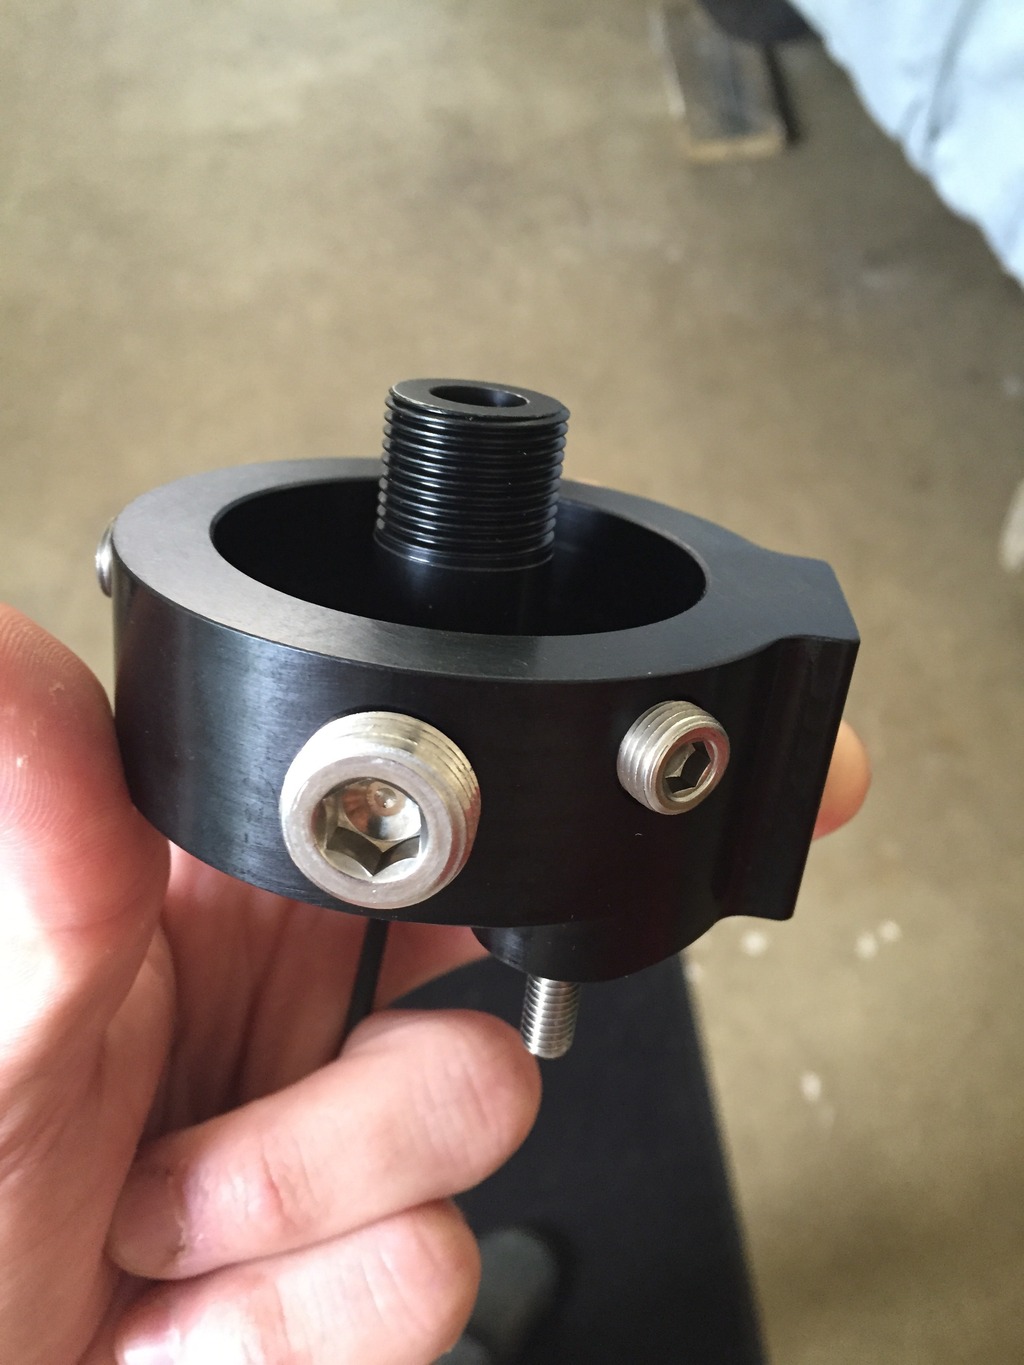
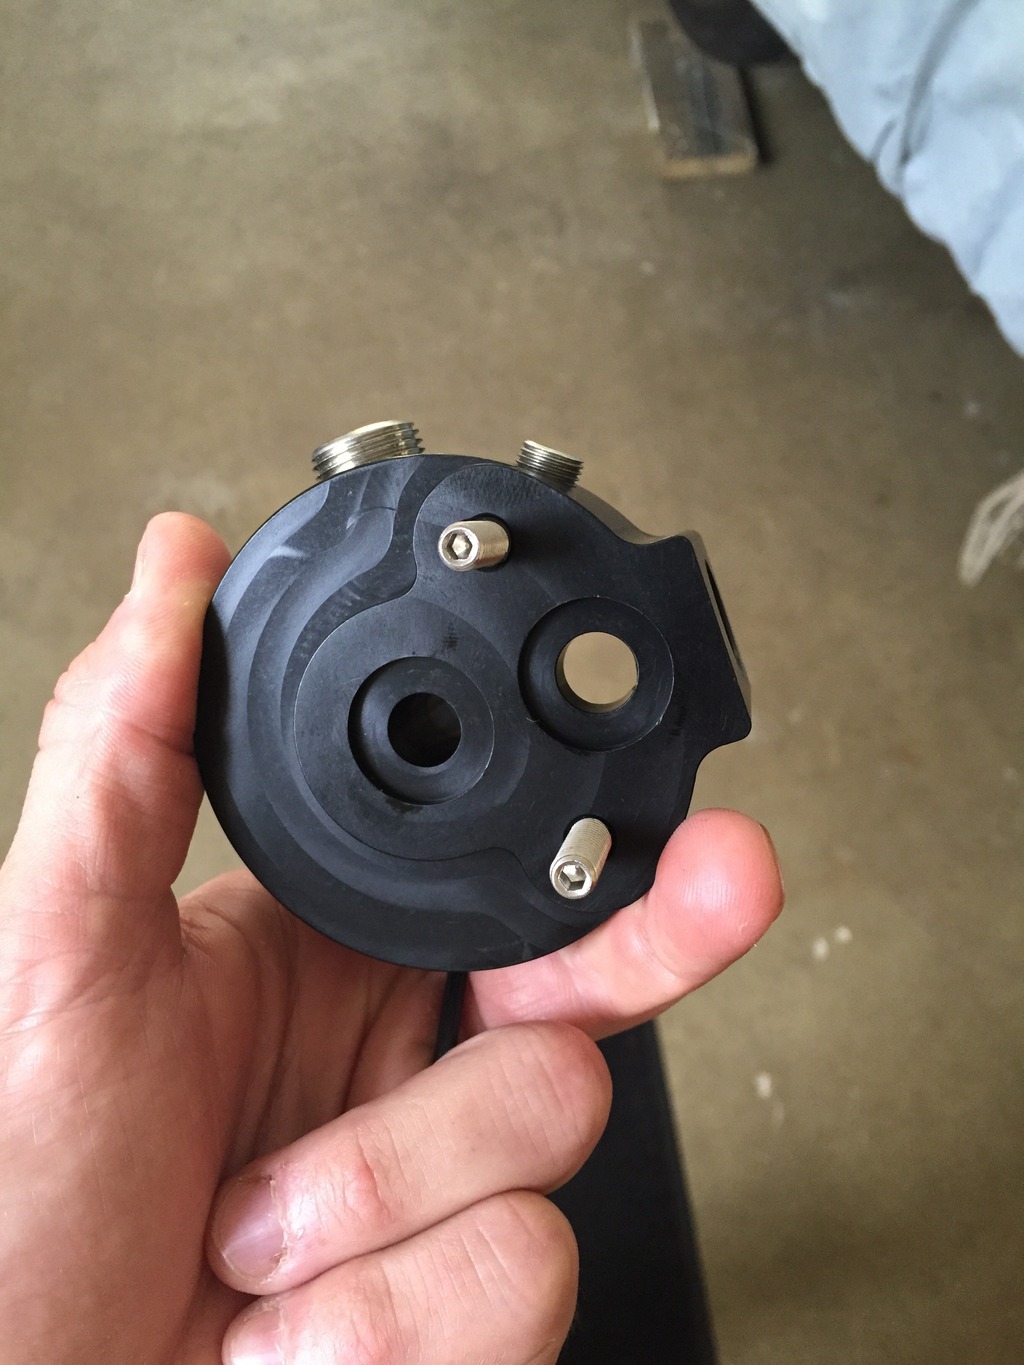
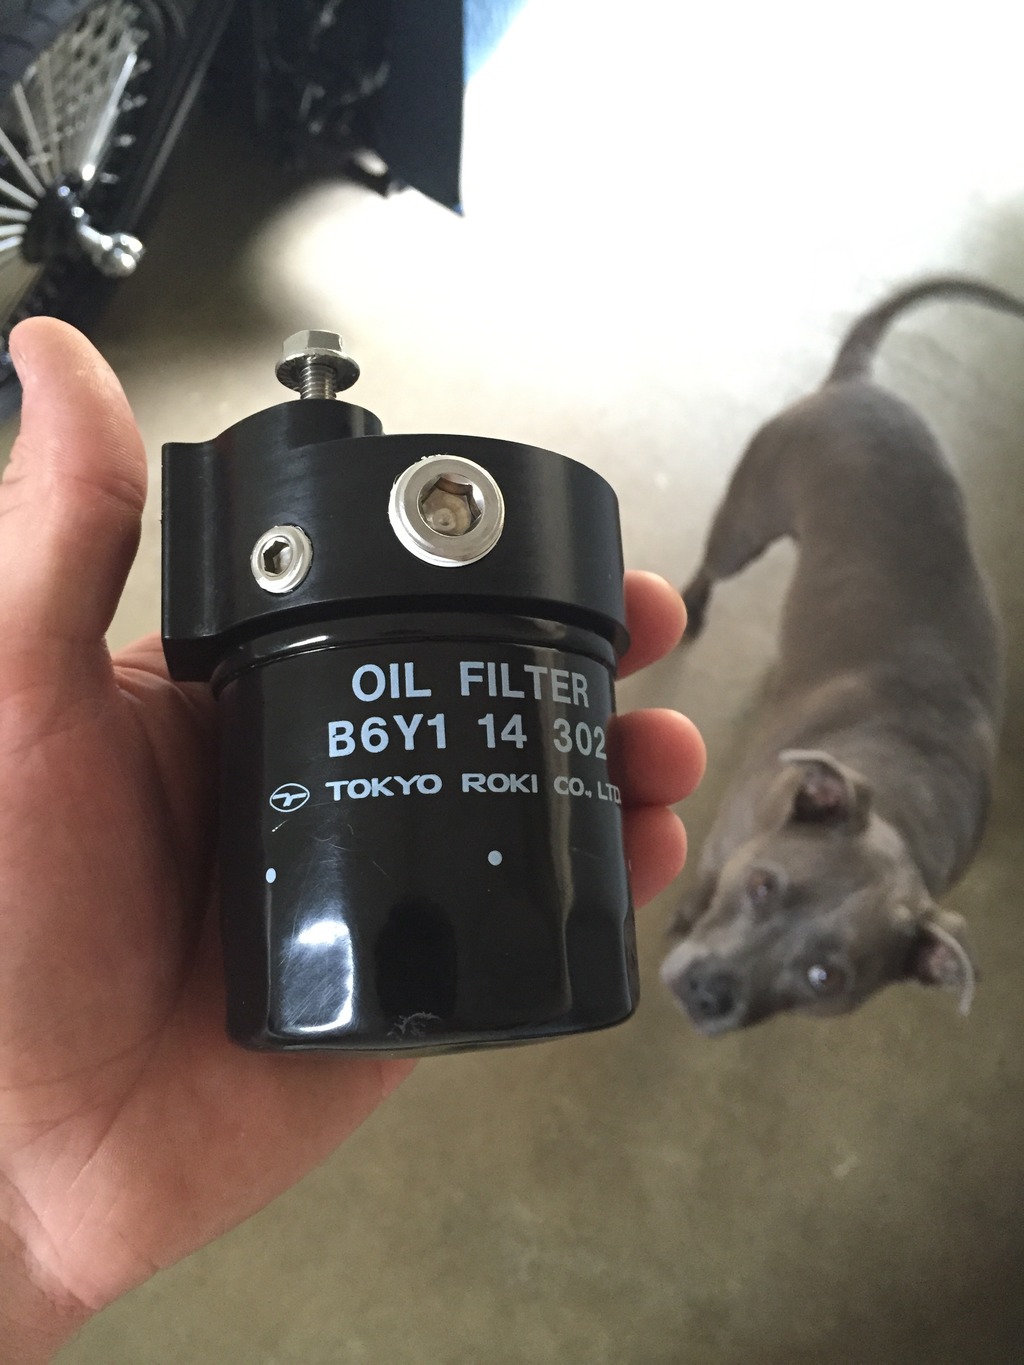
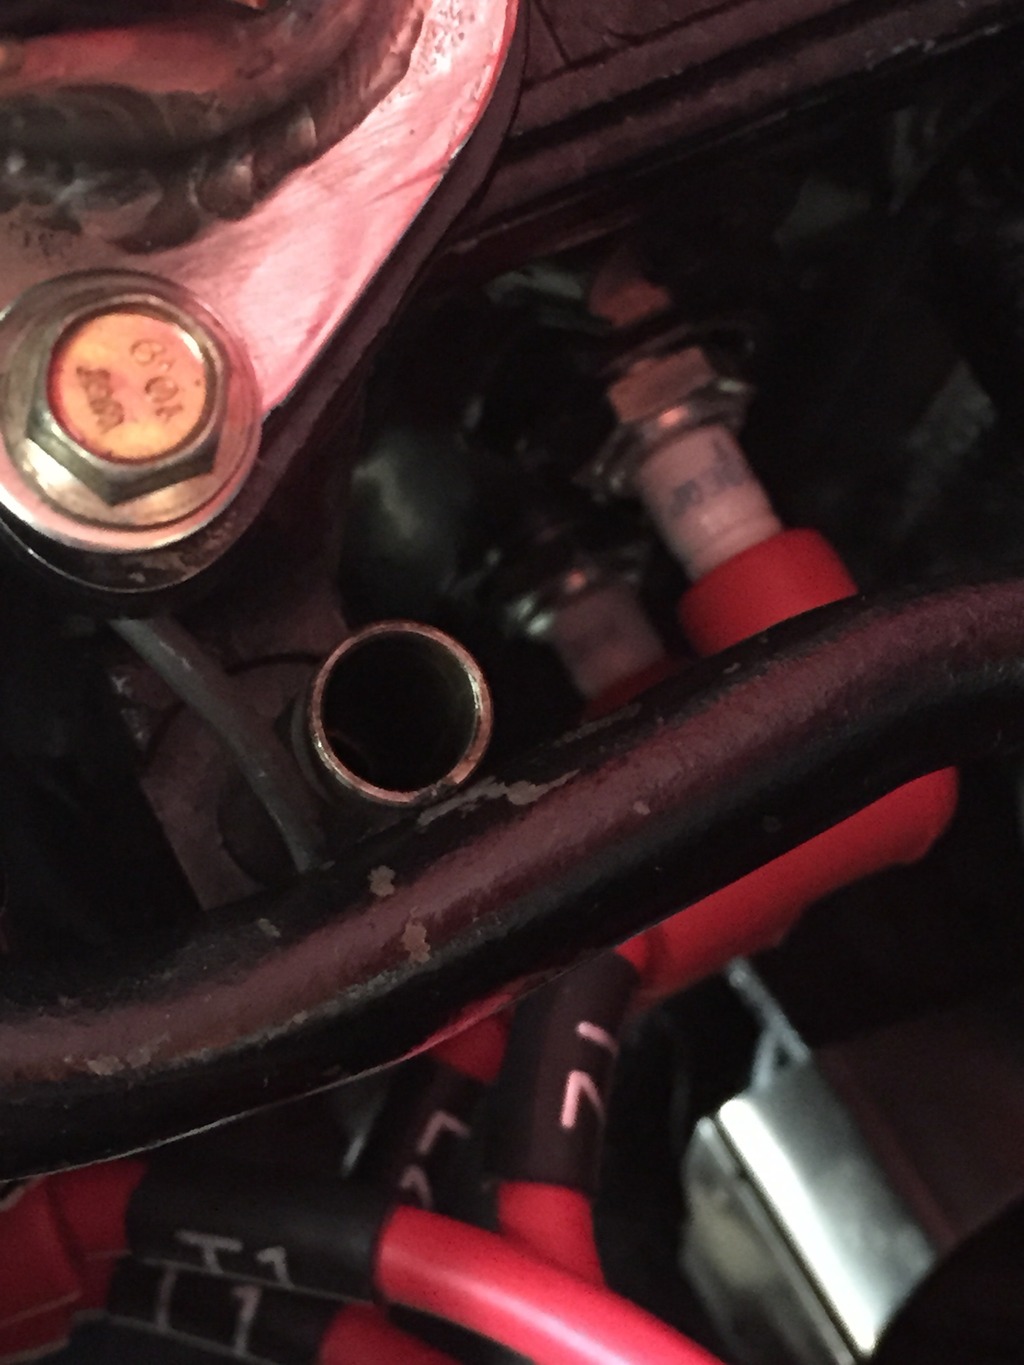
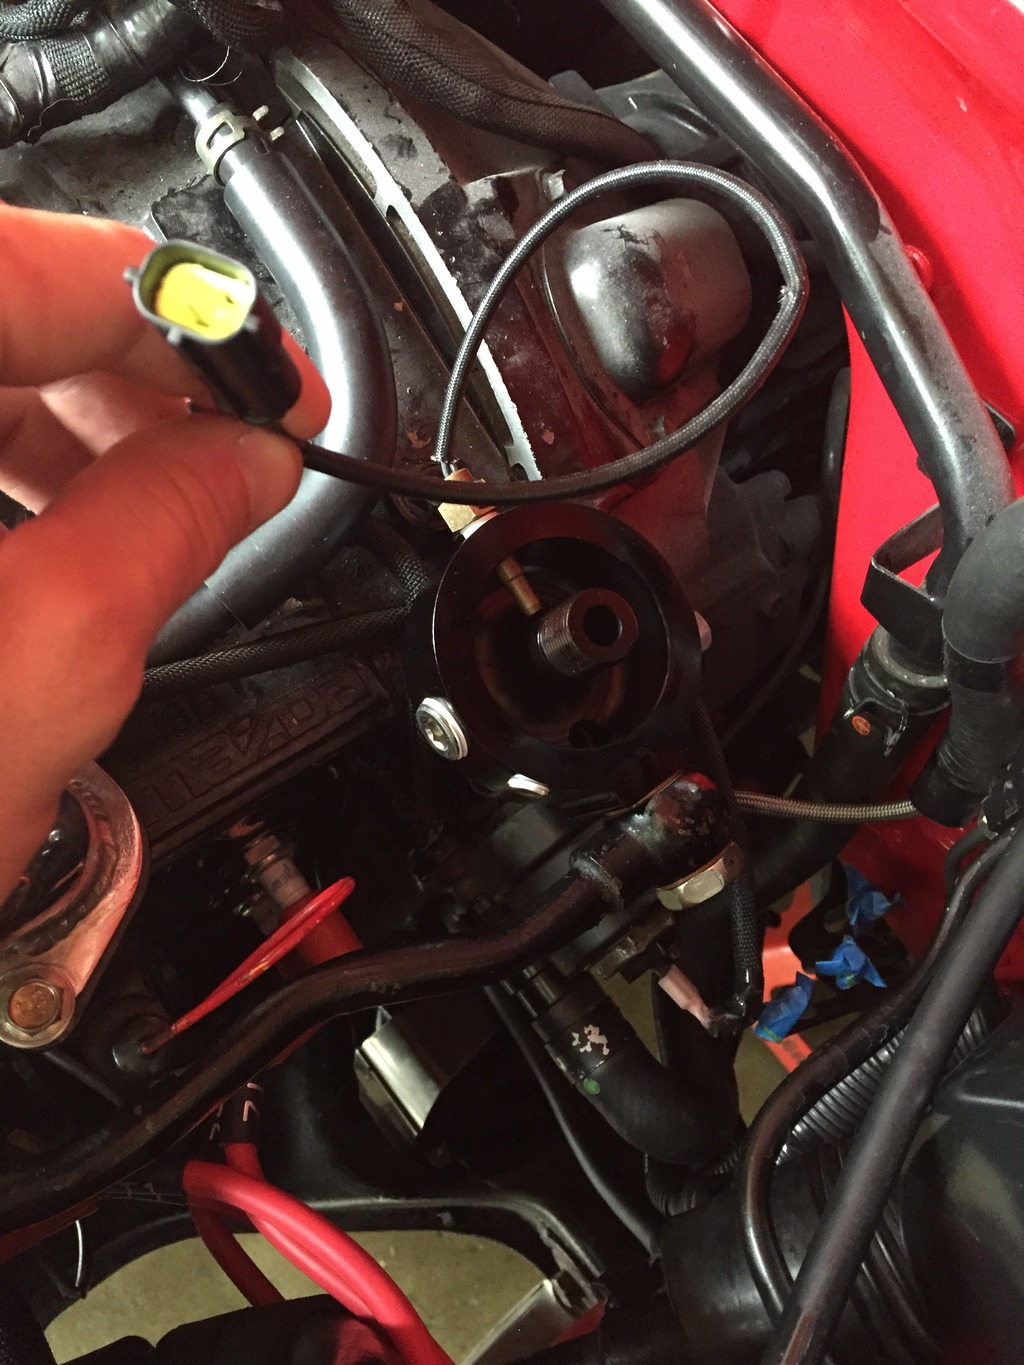
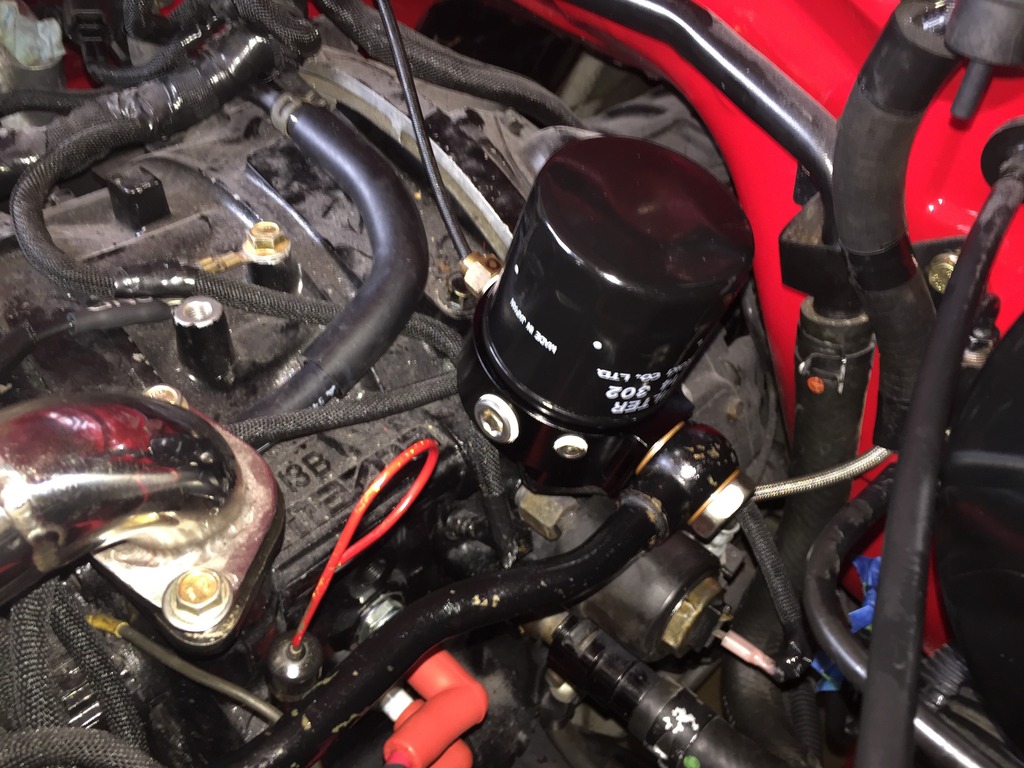
As I start to wrap up more of the engine bay I started on my gauge probe install. First I needed a way to insert a temp sensor into the oil pathway. I bought an oil pedestal from sake bomb that has a few options to do that. It has two holes tapped 1/8" npt for standard probes and a 3/8" npt for the bigger gm style sensor. My defi gauge uses the smaller of the two. It's shorter then the oem for use with a taller oil filter if you decide, but the stock one works as well. I removed my oem pedestal and installed the new one. Unfortunately even though it is supposed to be a bolt on a fair, and for the most part it was I did run into a slight issue. My oem oil cooler line that attaches the side of the new pedestal now was rubbing on my oil dipstick tube. I was worried that it would eventually rub a hole thru and cause an issue. I'm not sure if this is an isolated issue or not. But I did have to use a bar with a rubber foot to bend it away enough to to clear. After that everything was copacetic.
Last edited by gdub29e; Sep 12, 2015 at 02:21 PM.
Thread Starter
Joined: Apr 2011
Posts: 806
Likes: 288
From: Millersville Md
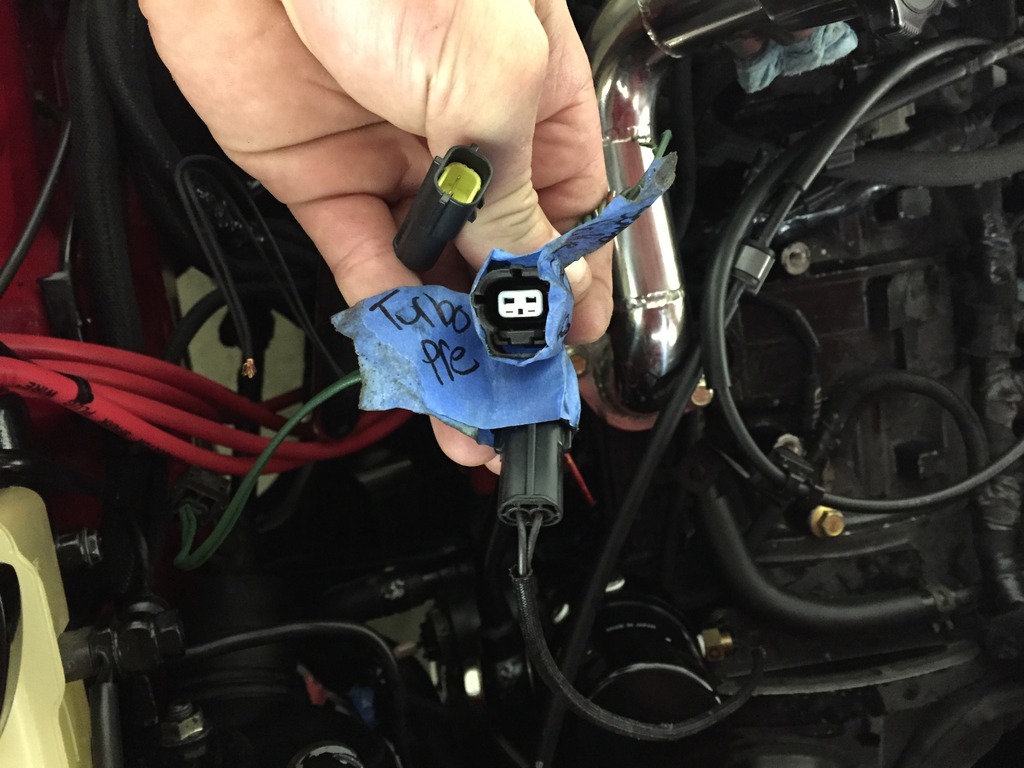
With the addition of my new oil pedestal and my never-ending battle of chasing perfection with this car I started on my gauge wiring. The defi oil temp gauge comes with a pre-built lead. I did not want to splice in or run extra wires. Defi uses the same plug ends both male and female that mazda uses. So I dug out some female ends I saved from my single turbo harness I built and male ends that I bought when I put together my Mac boost control solenoid. ( they are the pre control plug ends ) I then soldered the female plug end to some of the spare wires I left for future in my engine harness. On the other end I put the male, this making it a total plug and play weather proof system. I did this for all the gauge leads making for a clean install.

Thread
Thread Starter
Forum
Replies
Last Post
edmcguirk
NE RX-7 Forum
3
May 30, 2018 06:50 PM
AMOC
SE RX-7 Forum
1
Sep 10, 2015 09:42 AM
ls1swap
3rd Generation Specific (1993-2002)
15
Sep 8, 2015 05:30 PM