Build Threads The place to discuss complete builds

93 RX7 Tesla Swap

Thread Tools
 
Search this Thread
 
Old Dec 1, 2021 | 08:50 AM
  #51  
rjmcdermott81's Avatar
Thread Starter
Full Member
Liked
iTrader: (2)
 
Joined: Nov 2021
Posts: 187
Likes: 43
From: Austin
My neighbor caught me working on the battery base.....


Last edited by rjmcdermott81; Dec 1, 2021 at 08:55 AM.
Reply
Old Dec 1, 2021 | 09:24 AM
  #52  
rjmcdermott81's Avatar
Thread Starter
Full Member
Liked
iTrader: (2)
 
Joined: Nov 2021
Posts: 187
Likes: 43
From: Austin
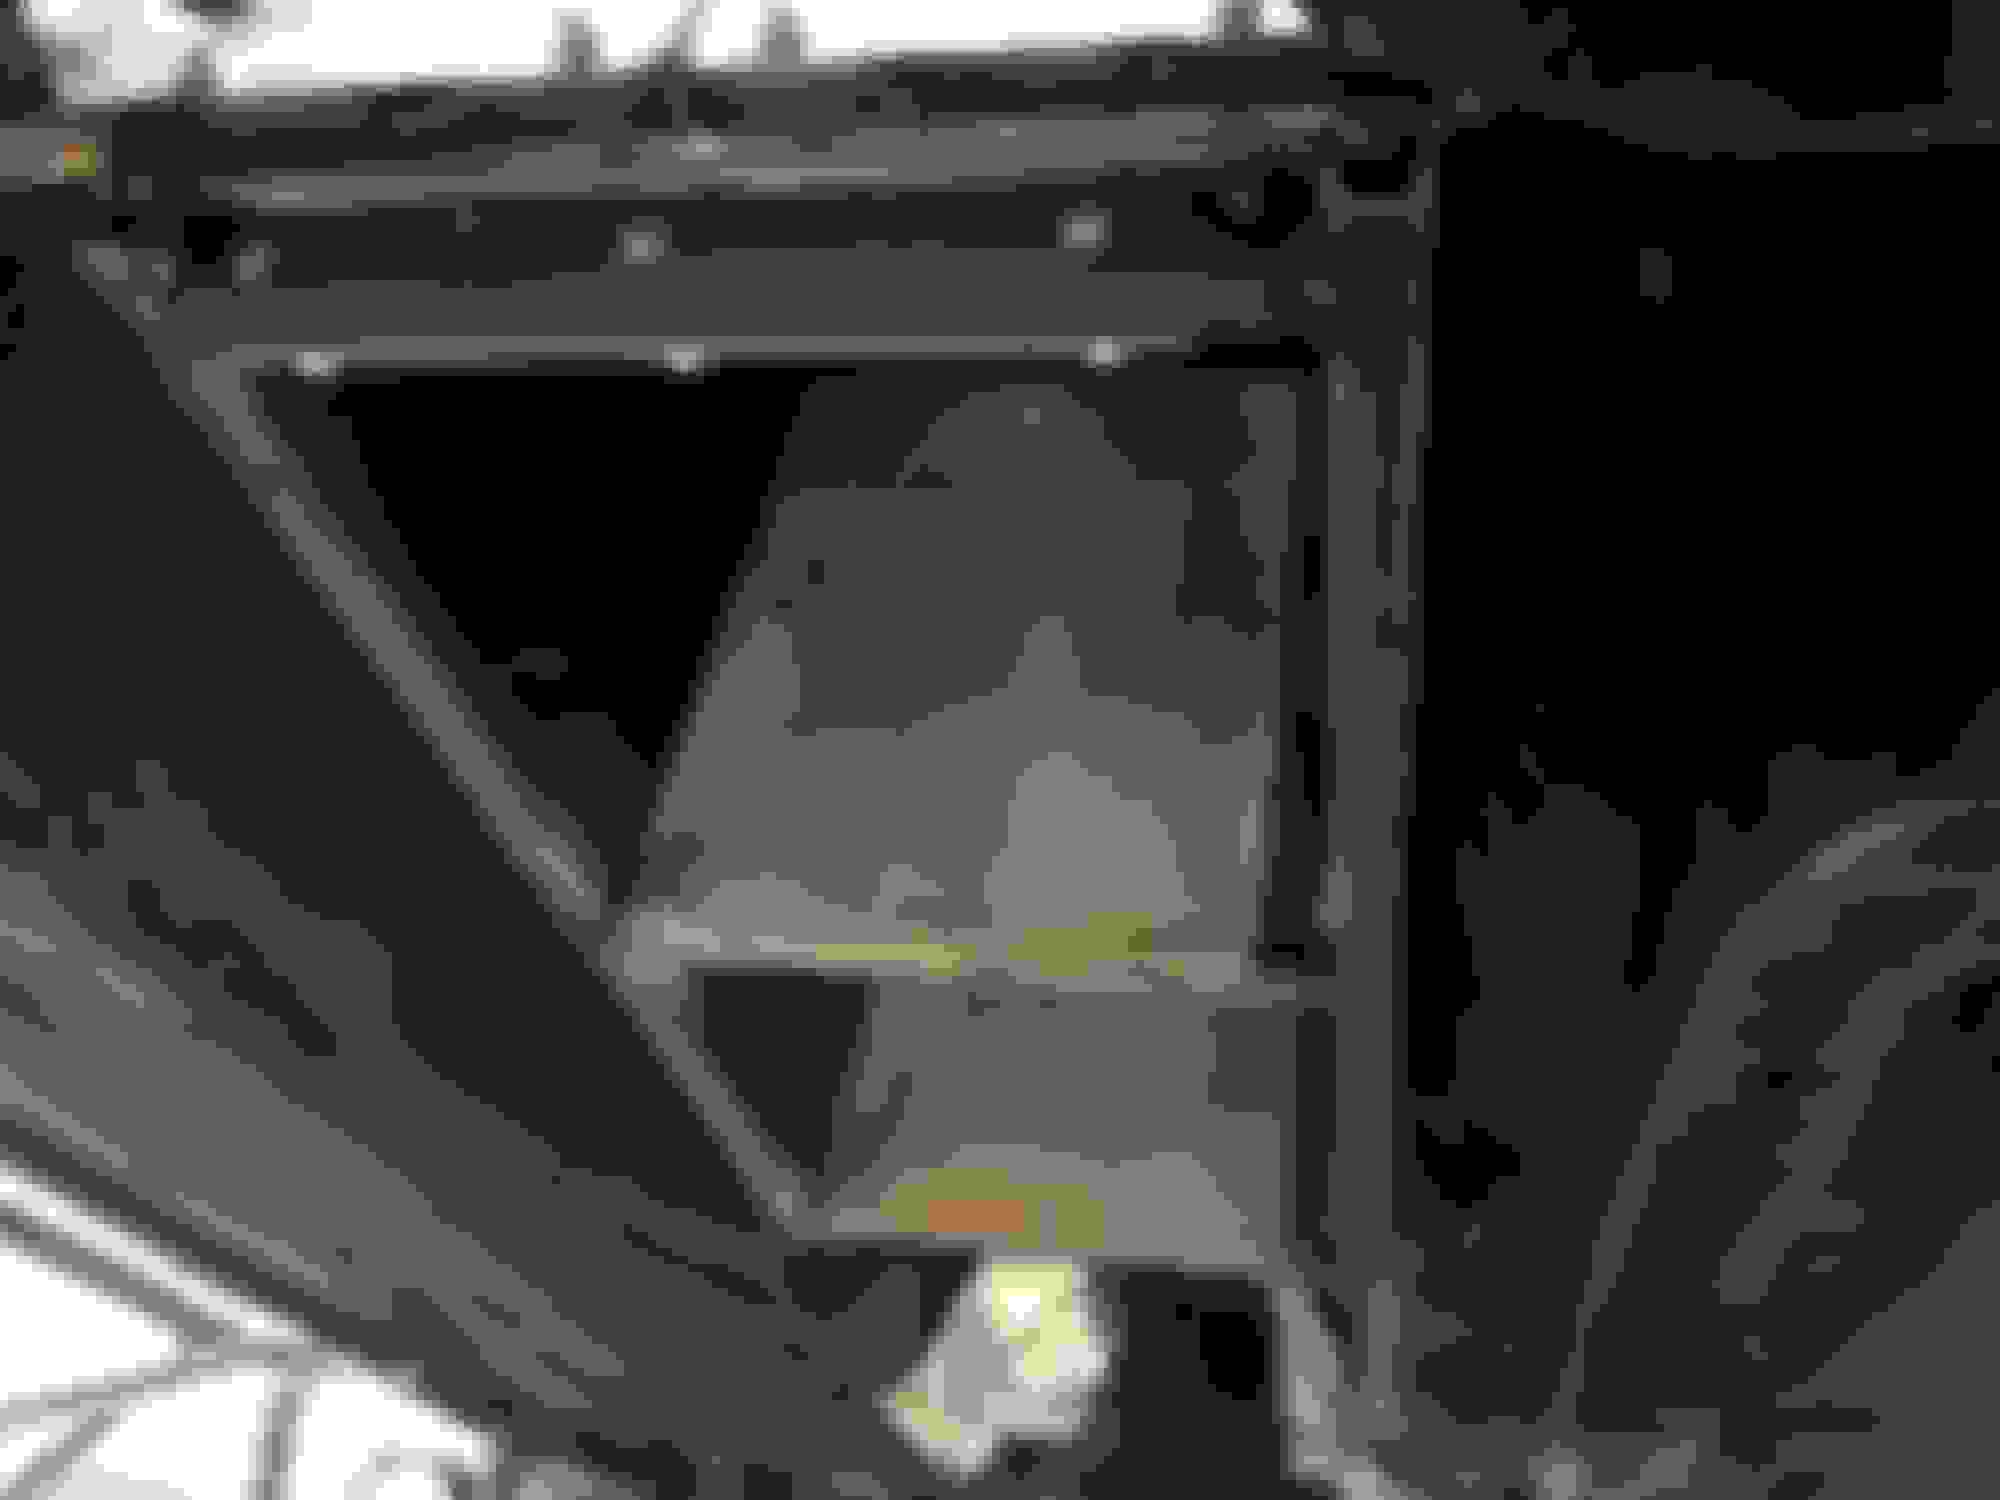
k, progress on the battery mount has been slow. The first design had the batteries sitting too high so now I have a steel base that will mount directly to the subframe.

Base on subframe


Batteries mounted to base (this is upside down)


Base in car


Testing with batteries


Now with bracket on top batteries


Test fitting other 6 batteries


Clearance under the hood

Reply
Old Dec 1, 2021 | 09:26 AM
  #53  
rjmcdermott81's Avatar
Thread Starter
Full Member
Liked
iTrader: (2)
 
Joined: Nov 2021
Posts: 187
Likes: 43
From: Austin
Boxed out the lower section of the battery box.


Reply
Old Dec 1, 2021 | 09:28 AM
  #54  
rjmcdermott81's Avatar
Thread Starter
Full Member
Liked
iTrader: (2)
 
Joined: Nov 2021
Posts: 187
Likes: 43
From: Austin
More progress. I have the steel mounts in place for the top 3 batteries. (everything is just tack welded for now as I build out the whole box)


Set in the car


Placement of remaining batteries in the engine compartment

Reply
Old Dec 1, 2021 | 09:31 AM
  #55  
rjmcdermott81's Avatar
Thread Starter
Full Member
Liked
iTrader: (2)
 
Joined: Nov 2021
Posts: 187
Likes: 43
From: Austin
More progress before I head out of town for the next couple of days. The 4-battery box will be attached to the rest after I test fit it in the car.


Reply
Old Dec 1, 2021 | 09:35 AM
  #56  
rjmcdermott81's Avatar
Thread Starter
Full Member
Liked
iTrader: (2)
 
Joined: Nov 2021
Posts: 187
Likes: 43
From: Austin
Alright - 11 batteries placed so far with 5 more to go.


Reply
Old Dec 1, 2021 | 09:36 AM
  #57  
rjmcdermott81's Avatar
Thread Starter
Full Member
Liked
iTrader: (2)
 
Joined: Nov 2021
Posts: 187
Likes: 43
From: Austin
2 more in the bay which makes 13. 3 more to fit in the trans tunnel to get to 40+ kWh.


and the hood clears everything:

Reply
Old Dec 1, 2021 | 09:39 AM
  #58  
rjmcdermott81's Avatar
Thread Starter
Full Member
Liked
iTrader: (2)
 
Joined: Nov 2021
Posts: 187
Likes: 43
From: Austin
Alright, feeling positive. All 16 fit without changing anything on the car. So far the only modification to the car has been to cut out the spare tire well which could easily be put back.

Three batteries in the trans tunnel


Here is the box back out of the car


Next step is to make sure I can bolt all the batteries back with the cooling plates and hoses.
Reply
Old Dec 1, 2021 | 09:43 AM
  #59  
rjmcdermott81's Avatar
Thread Starter
Full Member
Liked
iTrader: (2)
 
Joined: Nov 2021
Posts: 187
Likes: 43
From: Austin
All good - everything fits.


Finished the welds on everything


Reply
Old Dec 1, 2021 | 09:43 AM
  #60  
rjmcdermott81's Avatar
Thread Starter
Full Member
Liked
iTrader: (2)
 
Joined: Nov 2021
Posts: 187
Likes: 43
From: Austin
Since this is my first time, it has taken me a while to get all the mounts fabricated. I have everything together now and just need to clean things up. Most of the weight will fall on the motor mount points on the subframe in the center, then I have two mounts attached to the transmission mount in the trans tunnel with the stock bolts, and then the front sits on a cross member in the engine bay and is held in place with two small bolts.


Last edited by rjmcdermott81; Dec 1, 2021 at 09:48 AM.
Reply
Old Dec 1, 2021 | 09:50 AM
  #61  
rjmcdermott81's Avatar
Thread Starter
Full Member
Liked
iTrader: (2)
 
Joined: Nov 2021
Posts: 187
Likes: 43
From: Austin
k, I'm done working on the battery cage. I added thru-bolt holes and nuts that will allow me to secure the external shell and cleaned up the welds. Next up is painting and then I can start assembly.


Reply
Old Dec 1, 2021 | 09:50 AM
  #62  
rjmcdermott81's Avatar
Thread Starter
Full Member
Liked
iTrader: (2)
 
Joined: Nov 2021
Posts: 187
Likes: 43
From: Austin
Painting done - just a simple epoxy primer to protect everything.

Reply
Old Dec 1, 2021 | 09:52 AM
  #63  
rjmcdermott81's Avatar
Thread Starter
Full Member
Liked
iTrader: (2)
 
Joined: Nov 2021
Posts: 187
Likes: 43
From: Austin
Okay making progress on the exterior of the battery box. Aside from making fiberglass in the lab I don't really have much experience so I'm learning as I go. This is the bottom so I didn't spend a ton of time on aesthetics, when I work on the top of the box that will be visible I'll spend quite a bit more time on a mold. I think once the bottom is painted it will work fine.


Reply
Old Dec 1, 2021 | 09:53 AM
  #64  
rjmcdermott81's Avatar
Thread Starter
Full Member
Liked
iTrader: (2)
 
Joined: Nov 2021
Posts: 187
Likes: 43
From: Austin
k, the surface finish on this isn't great but it's the underside of the battery box. I'm more using this to experiment with how I can give the top cover a cool look.

Quick sand and cleanup with the DA


I wanted to paint it flat black but the only single-stage flat black at the PPG store was this fancy ratrod black. I paid too much for it's intended purpose.


Reply
Old Dec 1, 2021 | 09:56 AM
  #65  
rjmcdermott81's Avatar
Thread Starter
Full Member
Liked
iTrader: (2)
 
Joined: Nov 2021
Posts: 187
Likes: 43
From: Austin
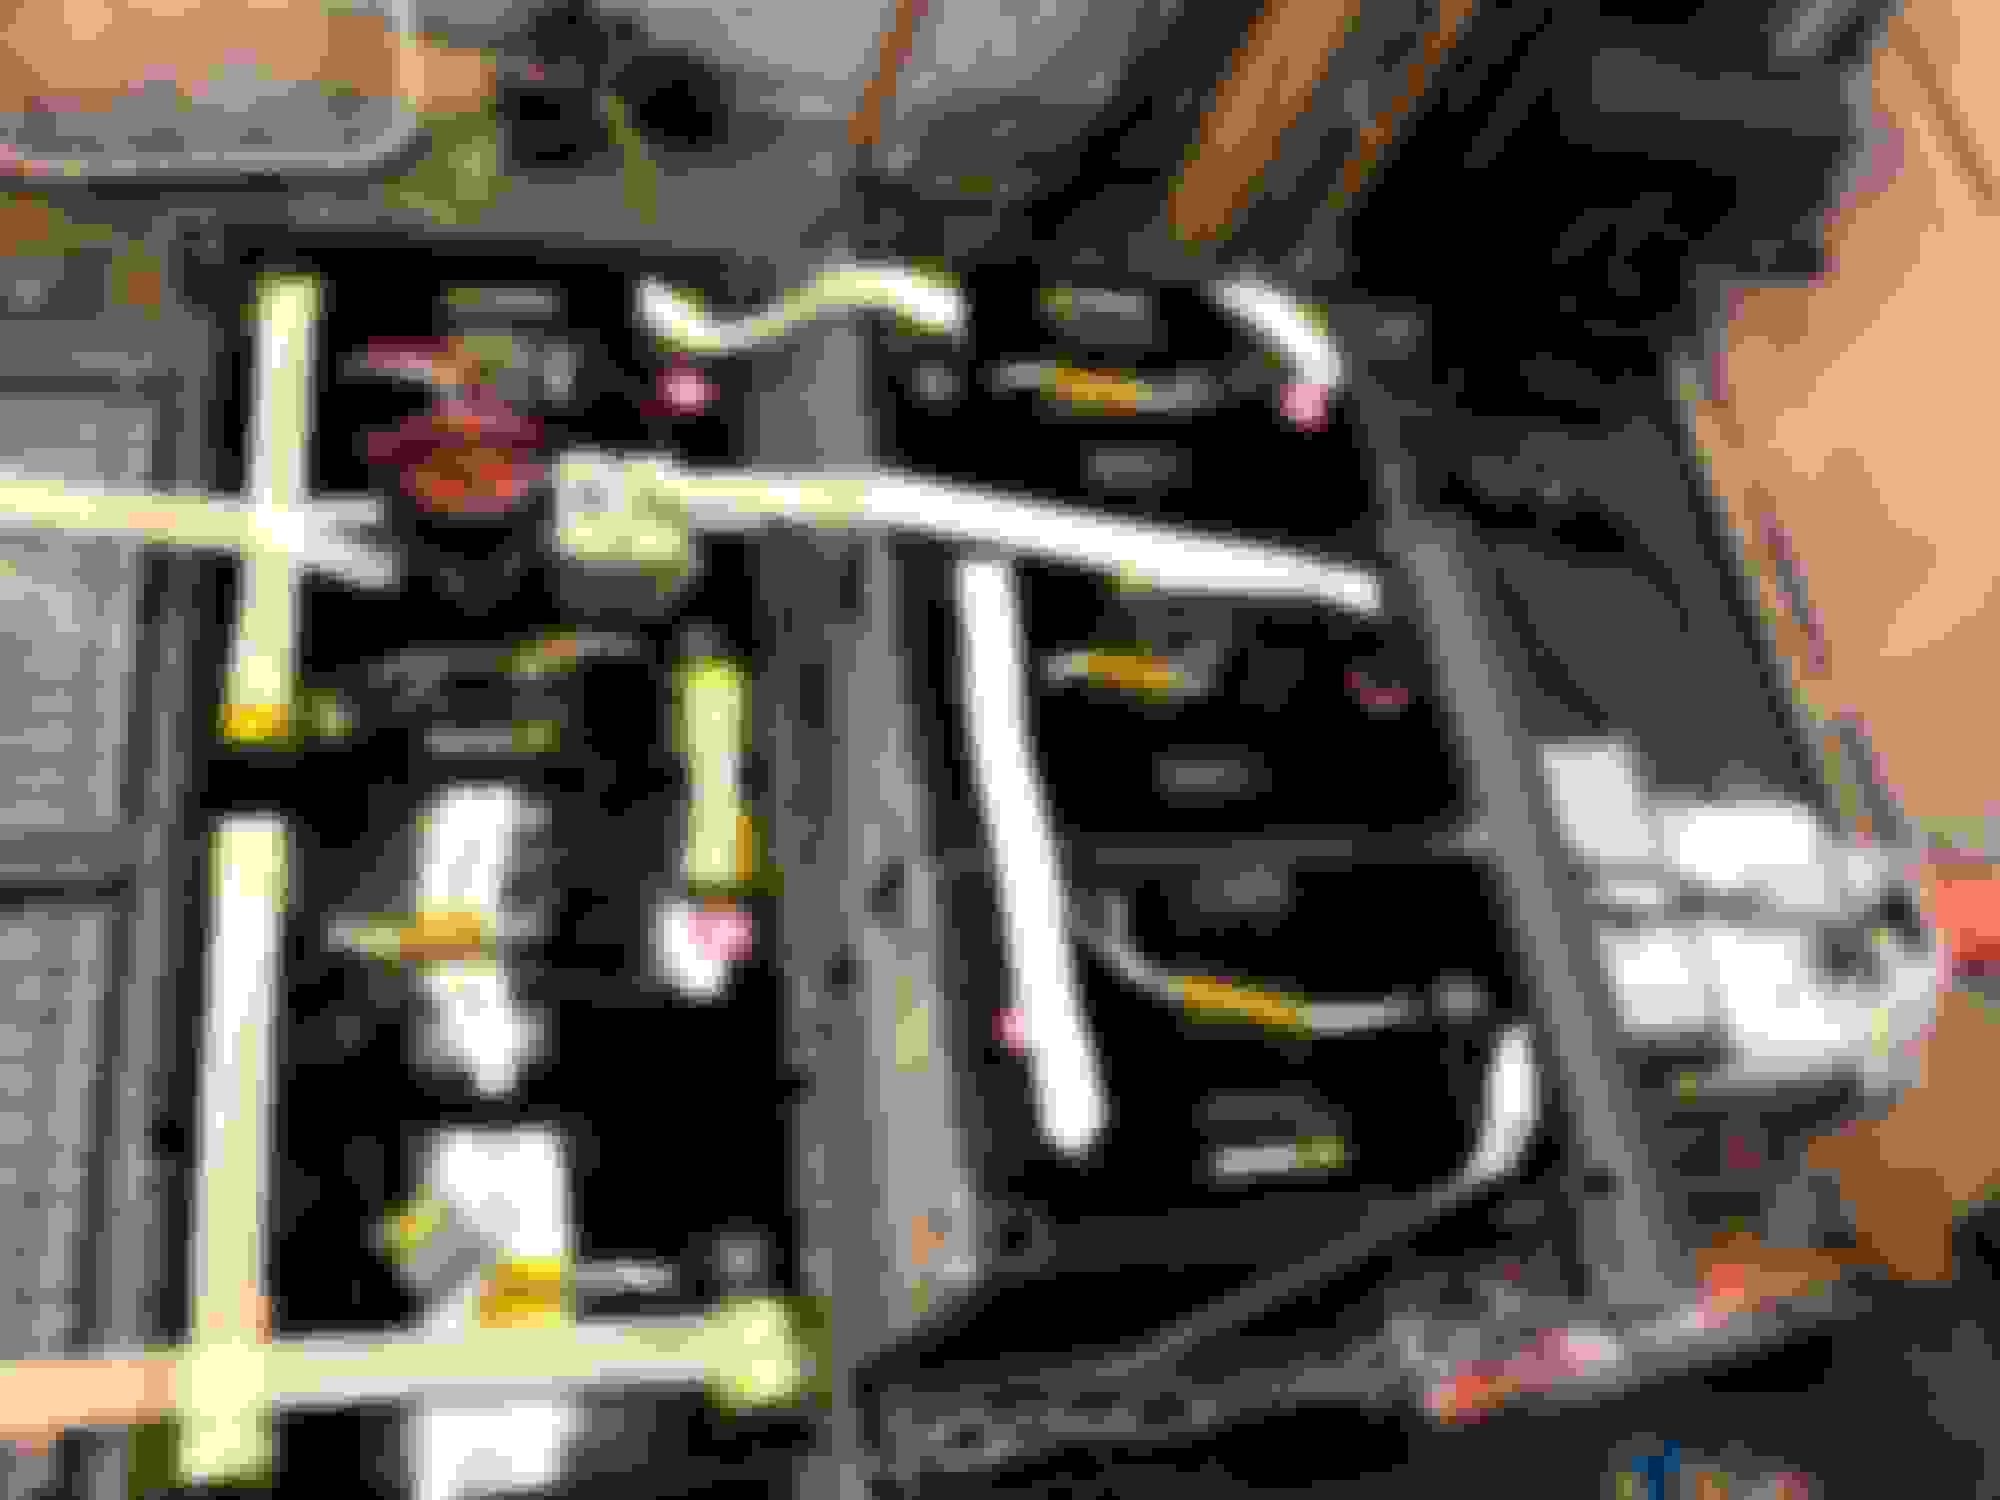
The plan is to have the pack split in half by a contactor that is actuated when the key is turned + a manual shutoff switch that is external to the battery pack in case of an emergency. I also placed a fuse on the most positive point of the battery in case there is some sort of short.

Here is the pack:


Contactor and manual shutoff:


Fuse:

Reply
Old Dec 1, 2021 | 10:01 AM
  #66  
rjmcdermott81's Avatar
Thread Starter
Full Member
Liked
iTrader: (2)
 
Joined: Nov 2021
Posts: 187
Likes: 43
From: Austin
Cabling planning


Reply
Old Dec 1, 2021 | 10:02 AM
  #67  
rjmcdermott81's Avatar
Thread Starter
Full Member
Liked
iTrader: (2)
 
Joined: Nov 2021
Posts: 187
Likes: 43
From: Austin
Starting the fiberglass top cover for the battery box.


Reply
Old Dec 1, 2021 | 10:18 AM
  #68  
rjmcdermott81's Avatar
Thread Starter
Full Member
Liked
iTrader: (2)
 
Joined: Nov 2021
Posts: 187
Likes: 43
From: Austin
More progress on the exterior of the battery box.


Reply
Old Dec 1, 2021 | 10:21 AM
  #69  
rjmcdermott81's Avatar
Thread Starter
Full Member
Liked
iTrader: (2)
 
Joined: Nov 2021
Posts: 187
Likes: 43
From: Austin
The battery box made a perfect place to safely away the rotary for later.


Reply
Old Dec 1, 2021 | 10:24 AM
  #70  
rjmcdermott81's Avatar
Thread Starter
Full Member
Liked
iTrader: (2)
 
Joined: Nov 2021
Posts: 187
Likes: 43
From: Austin
Test fitting the batteries. This is not anywhere near final form.


Reply
Old Dec 1, 2021 | 10:26 AM
  #71  
rjmcdermott81's Avatar
Thread Starter
Full Member
Liked
iTrader: (2)
 
Joined: Nov 2021
Posts: 187
Likes: 43
From: Austin
Hey check it out - it's still powered by Doritos!


Reply
Old Dec 1, 2021 | 10:28 AM
  #72  
rjmcdermott81's Avatar
Thread Starter
Full Member
Liked
iTrader: (2)
 
Joined: Nov 2021
Posts: 187
Likes: 43
From: Austin
Planning the mounting for the Charger, DC-DC converter, and HV box. Keeping the weight centered in the car.


Final bracket:

Reply
Old Dec 1, 2021 | 10:30 AM
  #73  
rjmcdermott81's Avatar
Thread Starter
Full Member
Liked
iTrader: (2)
 
Joined: Nov 2021
Posts: 187
Likes: 43
From: Austin
HV wiring. Keeping it compact.


Reply
Old Dec 1, 2021 | 10:41 AM
  #74  
rjmcdermott81's Avatar
Thread Starter
Full Member
Liked
iTrader: (2)
 
Joined: Nov 2021
Posts: 187
Likes: 43
From: Austin
First drive.... note that I had R and D mixed up and nearly barrelled through my toolboxes.

Reply
Old Dec 1, 2021 | 10:42 AM
  #75  
rjmcdermott81's Avatar
Thread Starter
Full Member
Liked
iTrader: (2)
 
Joined: Nov 2021
Posts: 187
Likes: 43
From: Austin
Flicked the throttle a tiny bit during my testing and the tires just absolutely let loose. This shall be a monster.


All times are GMT -5. The time now is 03:34 PM.