When you click on links to various merchants on this site and make a purchase, this can result in this site earning a commission. Affiliate programs and affiliations include, but are not limited to, the eBay Partner Network.
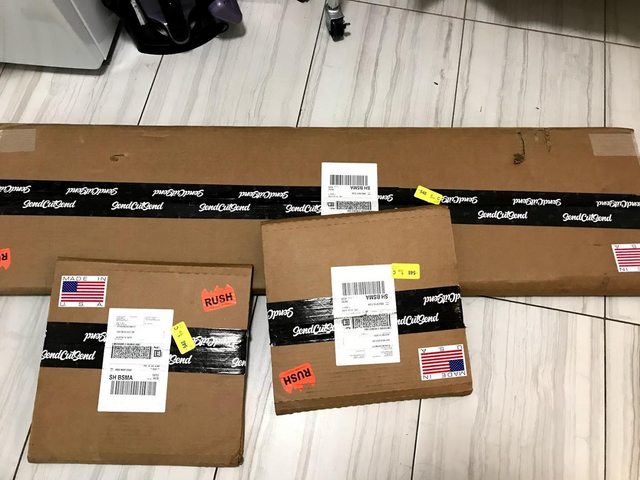
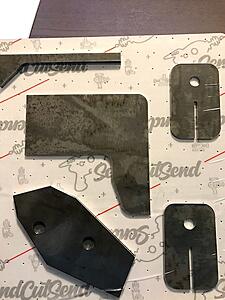
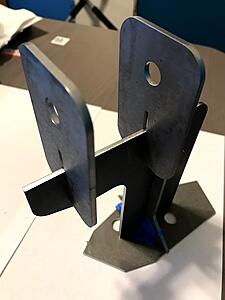
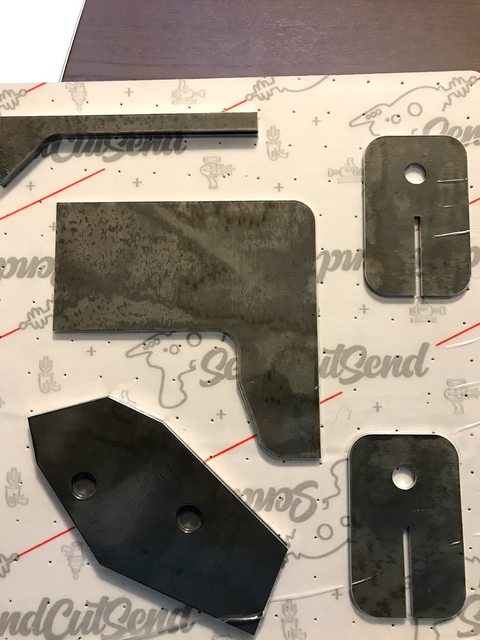
I toyed with fabricating it in my garage but with my limited equipment it would have meant tons of grinding. Instead I did it in CAD and had it laser cut from 1/8" steel using SendCutSend. Incredible experience. I sort of want to go back and redo my front mount this way.
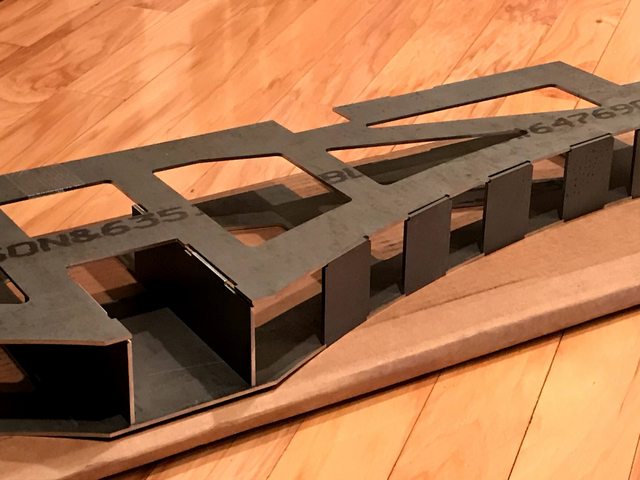
Cardboard engineering:
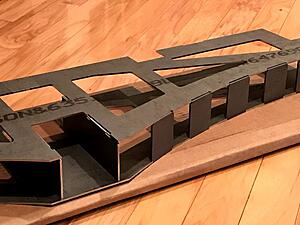
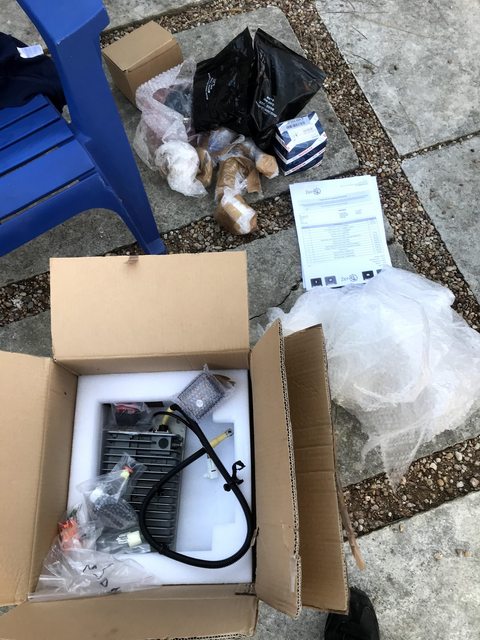
Parts came in a week. The packaging says a lot about the quality of work these guys do
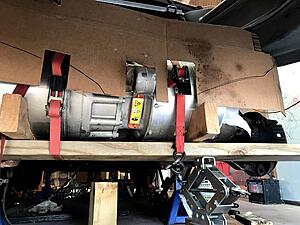
Side and rear motor mount mocked up
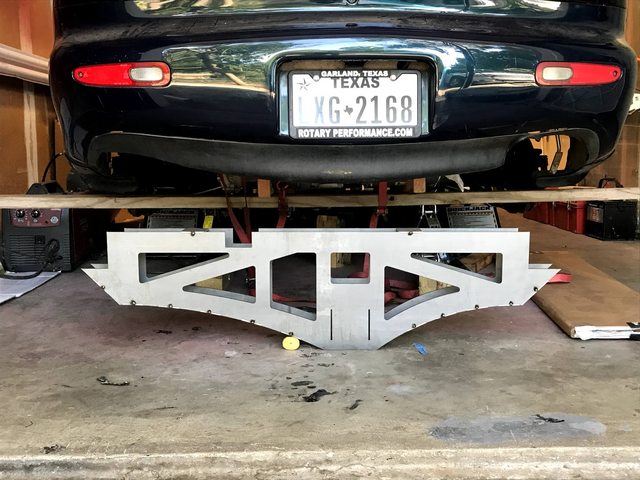
Tacked and ready to test fit
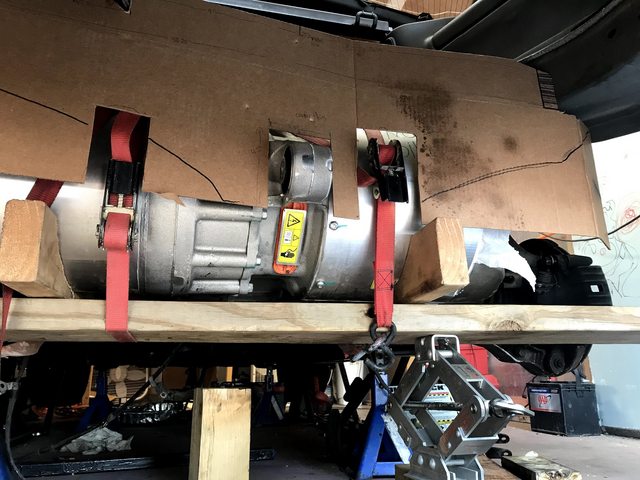
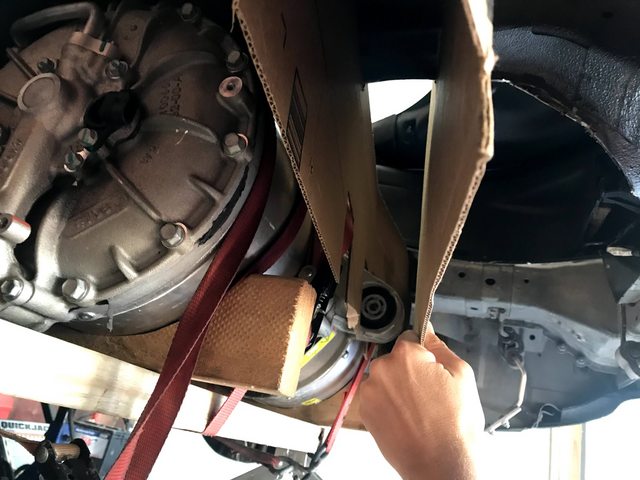
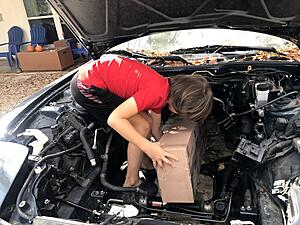
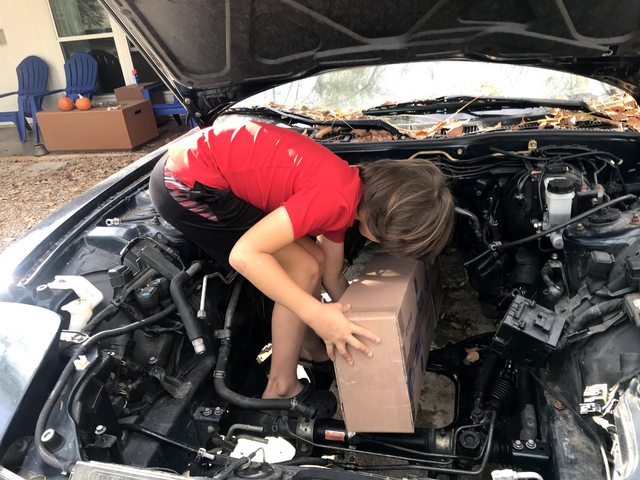
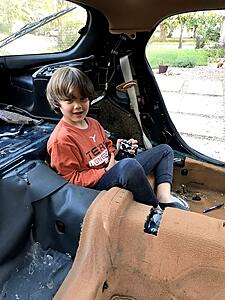
I put extra material on it in case my measurements were off so there was a good bit of test fitting and grinding. Luckily my kids helped by holding it up for me as I measured
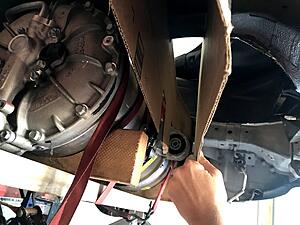
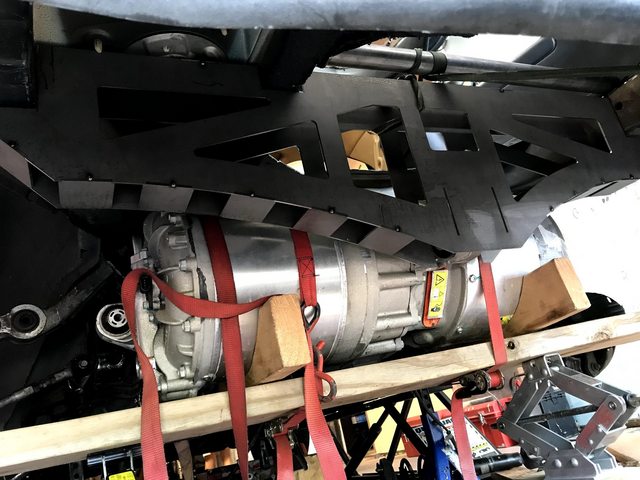
And now we're in. I have the holes for the bolt drilled and I'm doing final welding before welding it to the frame rails
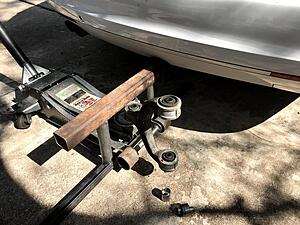
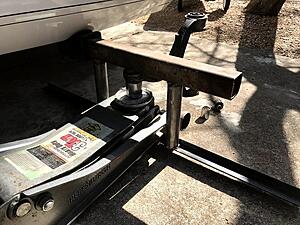
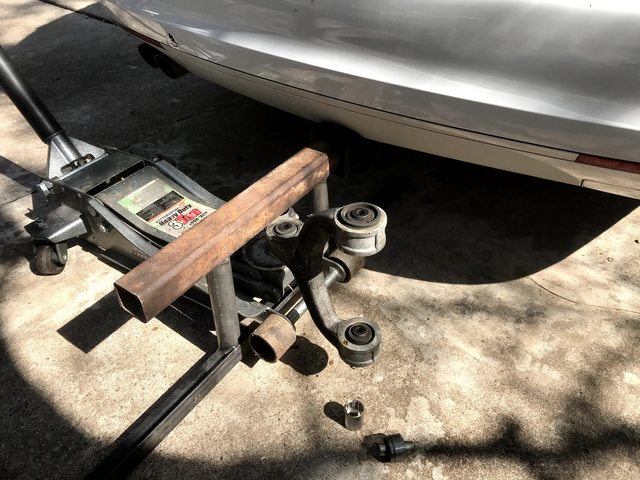
Pillow ball bushing replacement - I managed to press them all out without a bolt and socket but one was super stuck so I welded together some spare tubing and used my floor jack as a makeshift press. It actually worked really well so I'm going to keep this thing around.
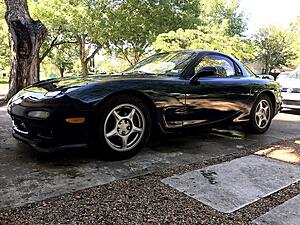
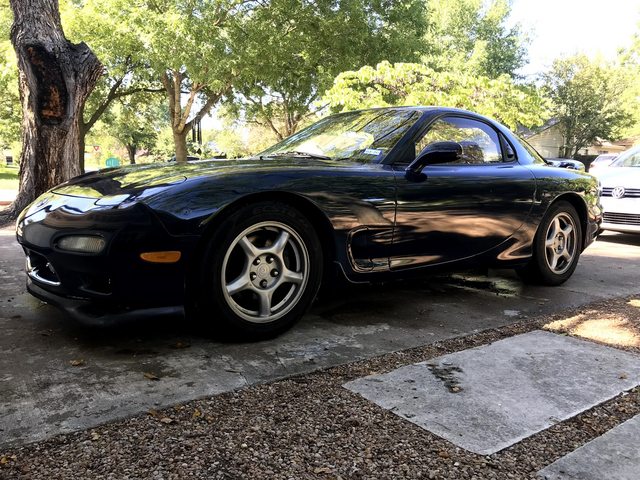
Carwash...man this is a good looking car
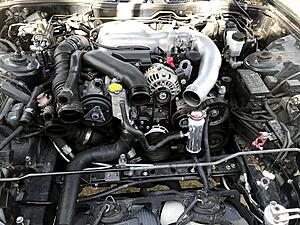
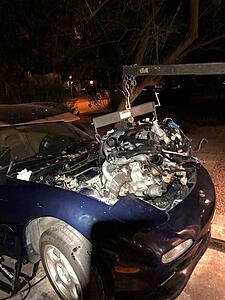
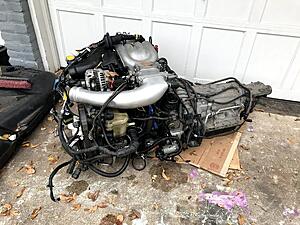
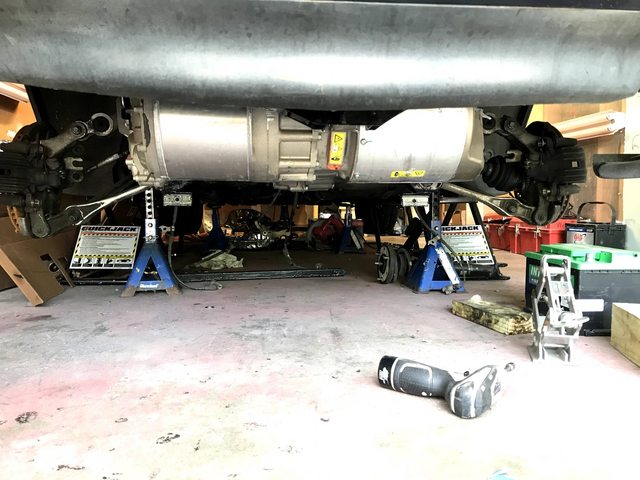
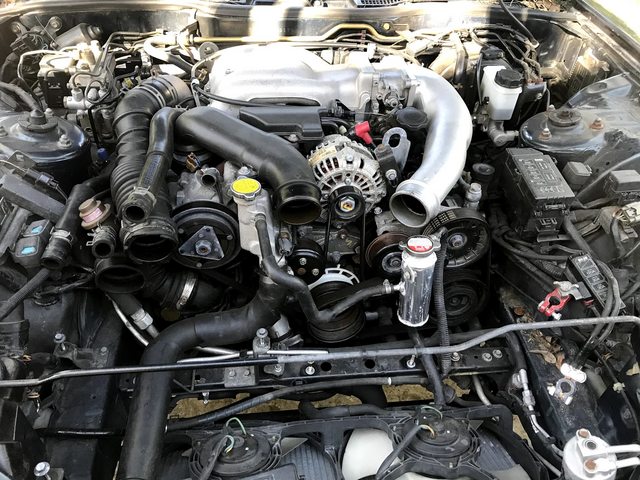
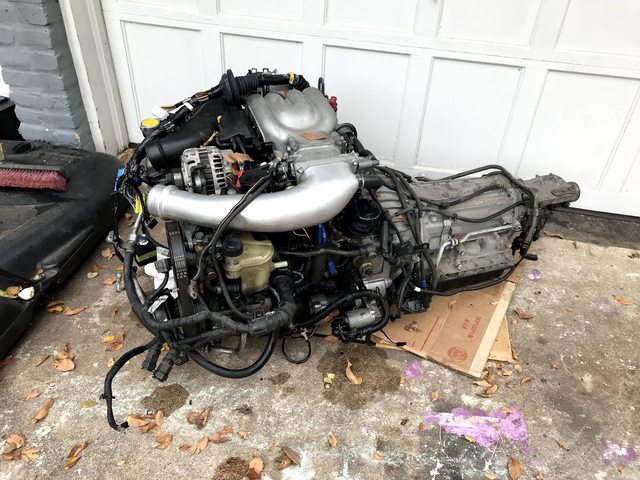
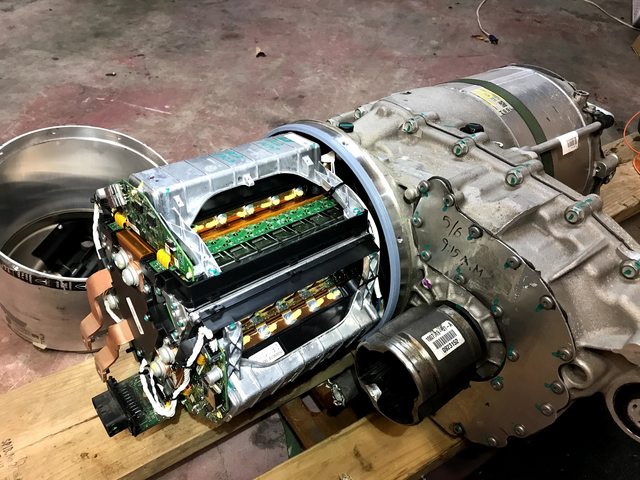
Engine pull - finally committing so I can get ready for batteries:
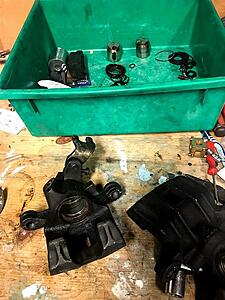
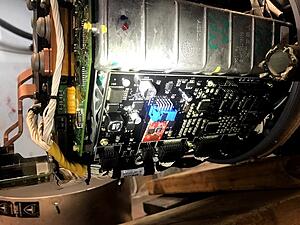
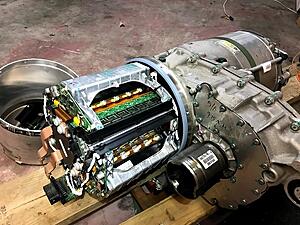
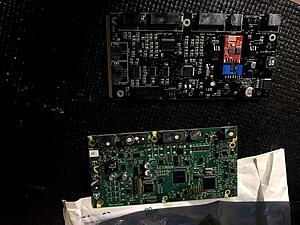
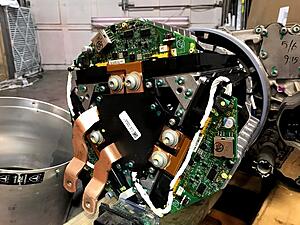
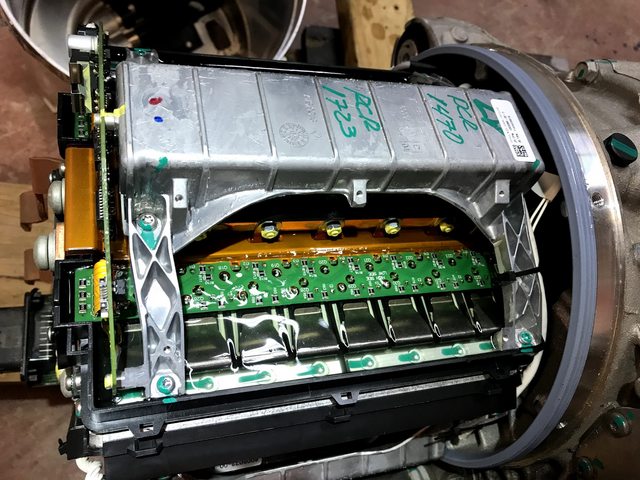
Prepping the Tesla motor. In other to control it I'm swapping out the control board with one created by Damien Maguire in Ireland. It's a direct replacement for the OEM board and a really easy swap.
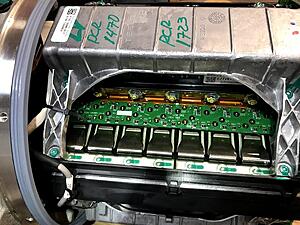
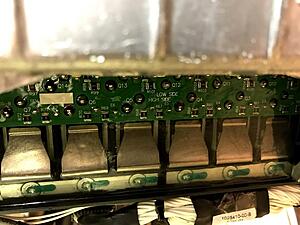
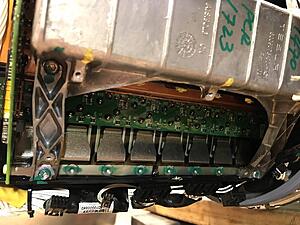
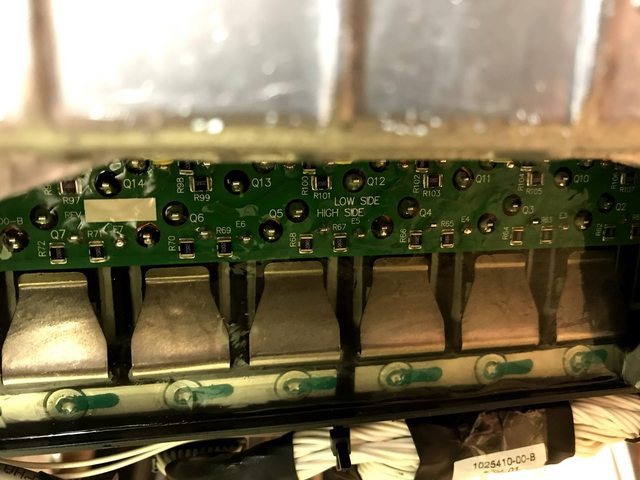
I also took pictures of the IGBTs in the inverter to document the state.
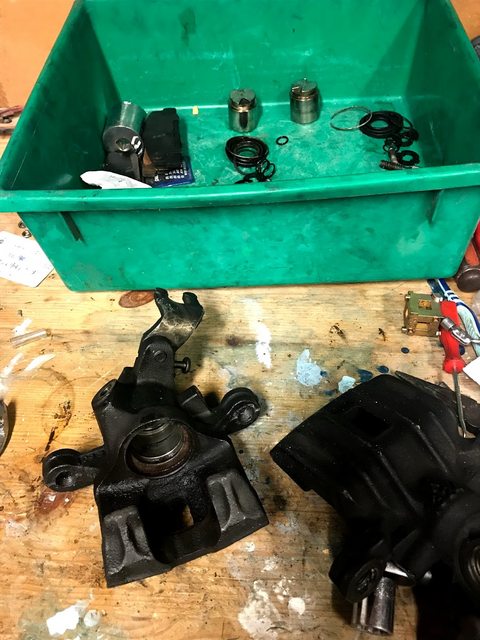
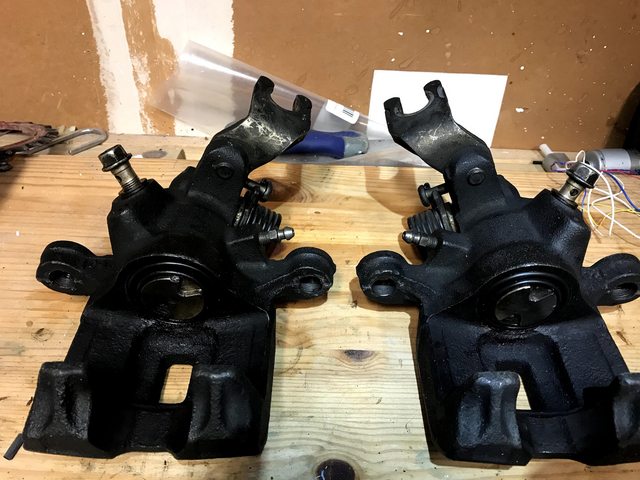
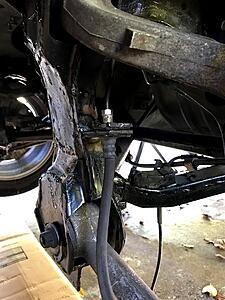
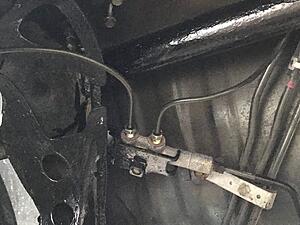
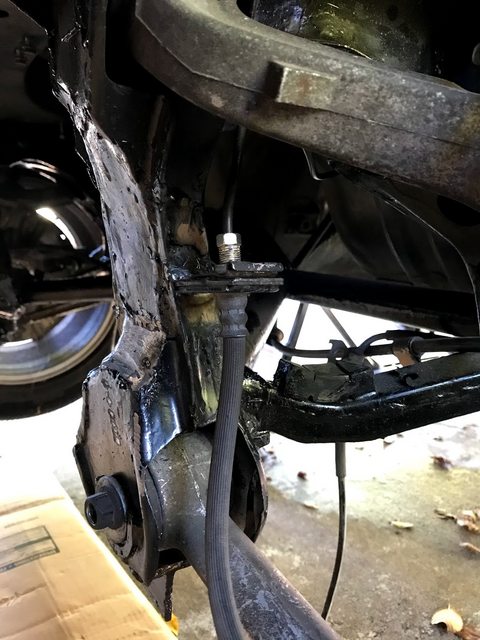
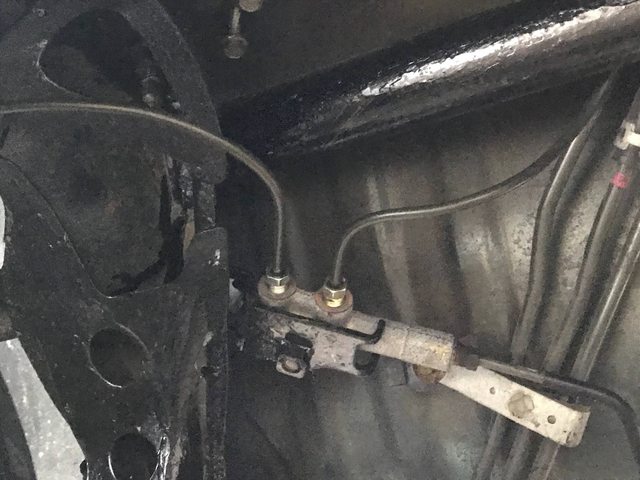
Brakes - the axle relocation required me to move the mount points for the brakelines and bend new lines. It was relatively easy.
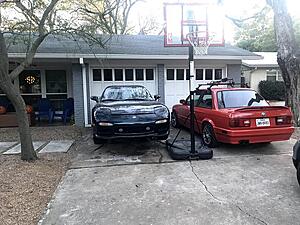
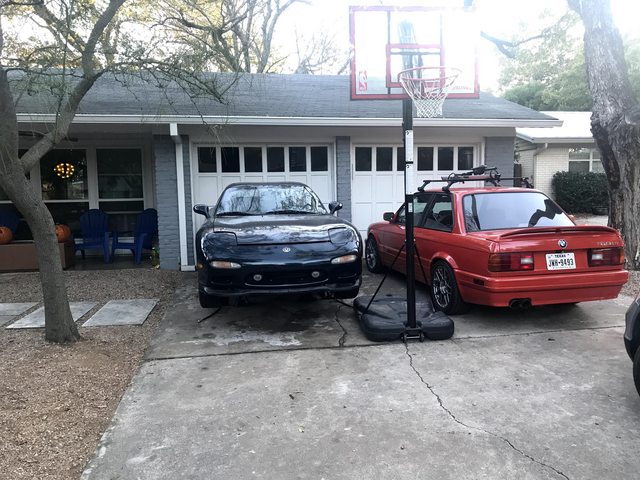
The 90s... (that's my e30 that I engine-swapped, painted, etc. before this project.
Awesome idea. I like that you are not cutting the car up and it can be reversed. Will you be putting the batteries in front? How much range are you expecting?
The next big big step is the batteries. I'm glad I've waited because the options continue to evolve and get better. The options available of course also depend on what you want. Here is my current criteria:
1. High performance - I want to be able to pull 300+hp out of the motor easily. This requires batteries with high amperage.
2. Decent range - 40kwh should get me ~150 miles of range...driving like a normal person. I fully expect when i go out and hammer it that range will be a fraction of that so 40 kwh is really a bare minimum.
3. Space/weight - the car is small and not purpose built for batteries. All EV cars put their batteries on the floor but this isn't an option for me so I need to stuff them everywhere I can.
Here are the options I've been able to come up with so far:
Honestly, the best bang for the buck - quality, power, value are the Tesla modules. They have built in cooling and they will always have great resale value because people are using them for powerwalls, conversion, etc. BUT, there is absolutely no way to fit all 16 Tesla modules in the Rx7 without taking the passenger seat out or something ridiculous like that. You have to use all 16 modules to get to the right voltage if you want the car to be powerful.
I think I'm pulling the trigger on the new batteries from ElectricGT. With these batteries I'll get to 42kwh at ~528lbs. Honestly, I don't know that the car is going to gain nearly as much weight as I expected when I use these batteries.
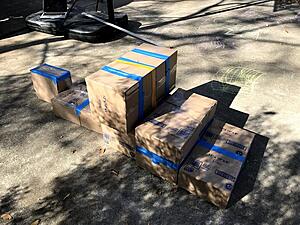
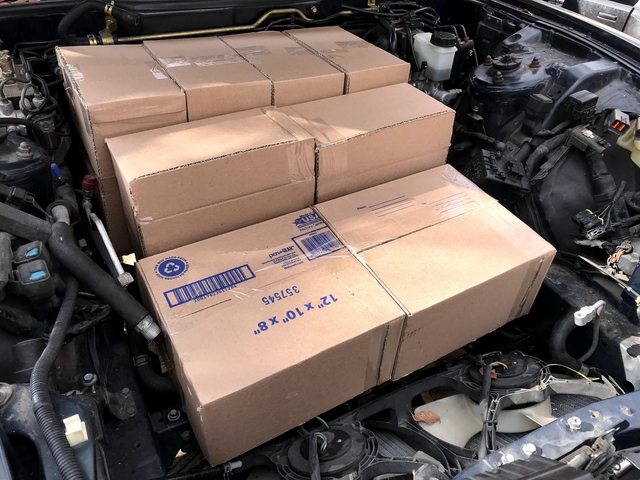
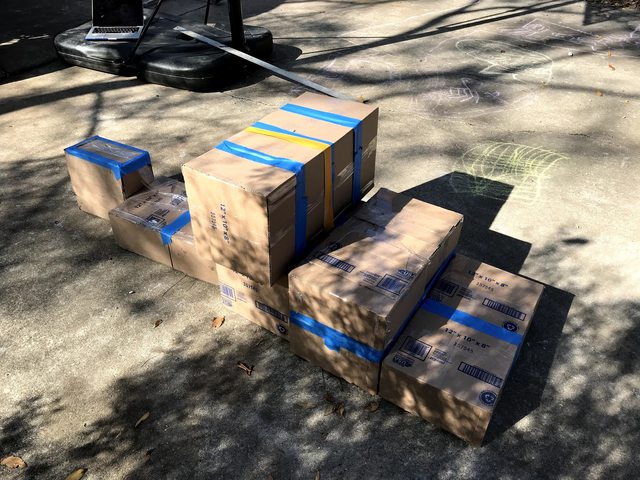
My son and I cut boxes to the 6in x 11in x 10 in size of the ElectricGT batteries to see if we could fit 16 modules in the car. We managed to get the majority in the engine bay and then a few in the trans tunnel. I'll need to build a structure to hold the batteries and encase them for safety.
Updates.
1. Batteries are ordered - should be here in 7 weeks or so. I'll have 42.5 kwh which should be enough for some fun.
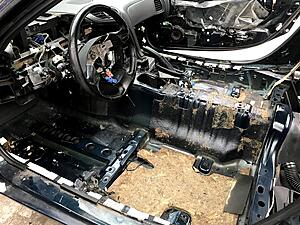
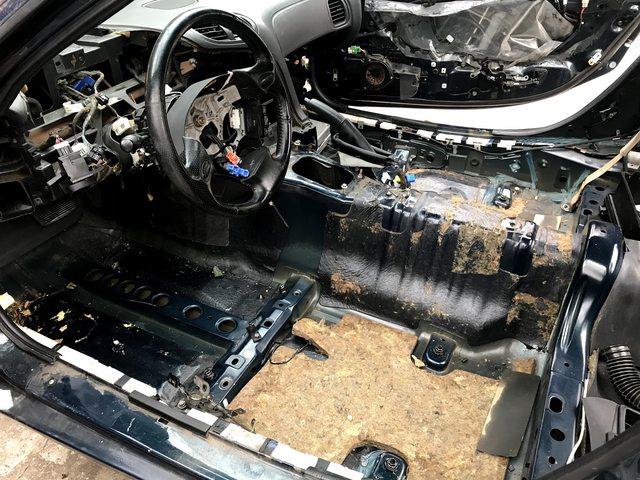
2. I was bothered by the smell of the carpet....because at some point somebody put a ton of fragrance in there. So...you know...to get the carpet out you have to strip the interior. I will also repaint all the panels before putting it back together.
3. When I had everything apart I realized that the car has all the provisions for rear seats (seatbelt mounts, etc.). They sold cars in Japan with rear seats for insurance purposes, certainly not anything you'd want to put somebody in but for a kid around the neighborhood I think it's worth it. Found a used seat on ebay and it's on the way.
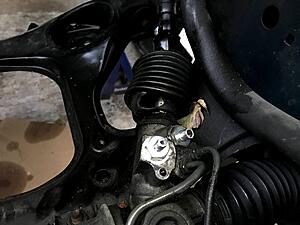
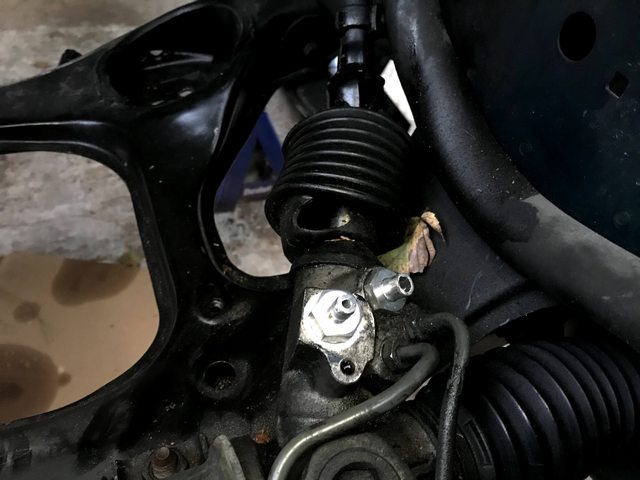
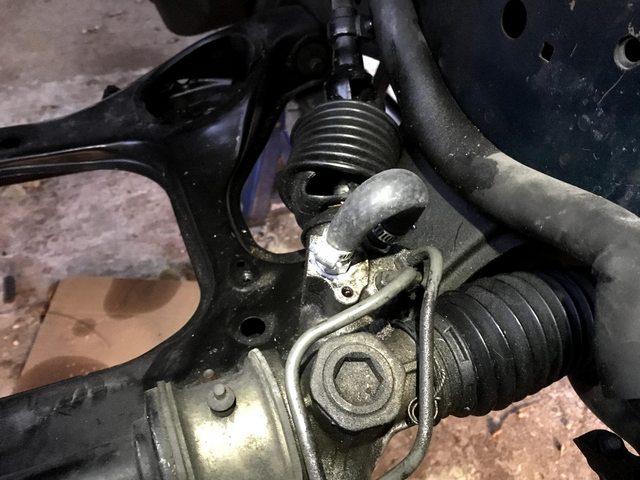
4. Converting steering rack to manual the quick and fast way. I'll see how I like it. There is apparently a more thorough method of doing it by taking the rack apart and removing the seal. I'm doing the quick and dirty method in case I decide I want to go back to power steering later.
5. I've ordered all the basic electronics from ZeroEV (contactors, resistors, fuses, etc.) and they should be here this week. This will allow me to get my drive unit up for testing on low voltage (~50 volts).
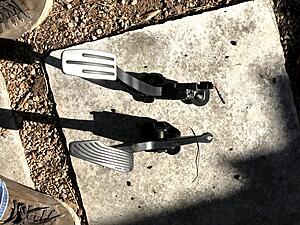
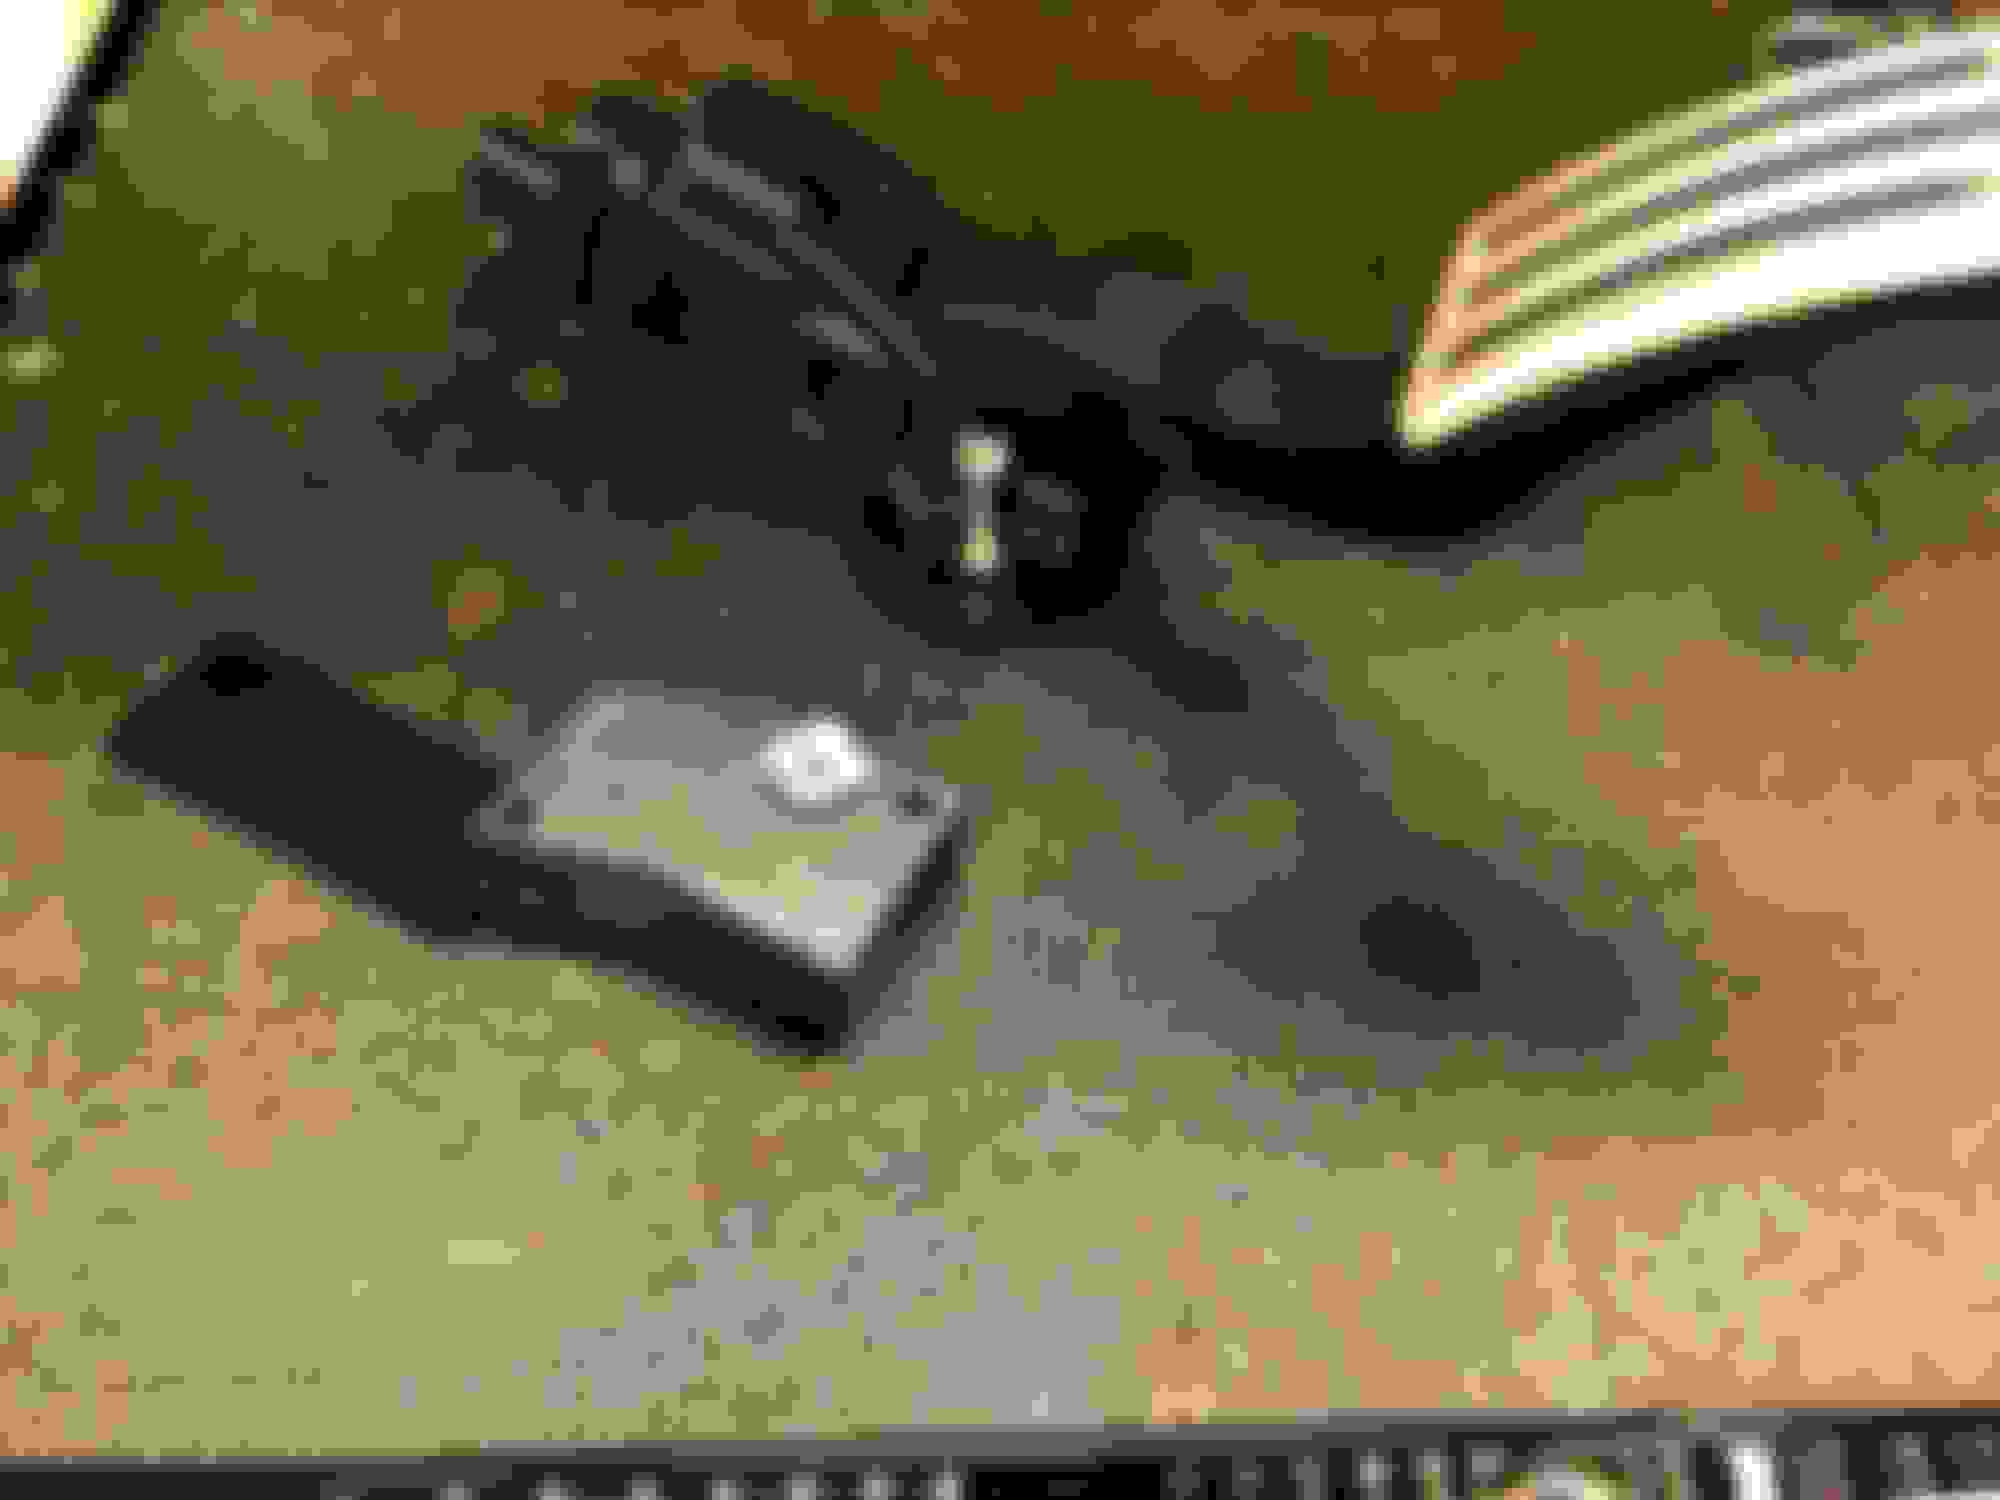
Many moons ago I bought an e46 pedal for the swap because I was familiar with it. Same pedal I used in my e30 but, of course I didn't look at the pedal and compare how it mounted vs what is in the car. Obviously, with a top mounted pedal fitting the e46 pedal would have required a bunch of work to get it to sit right in the pedal box:
So I took a chance and bought a tesla pedal. Much closer in mounting style and position:
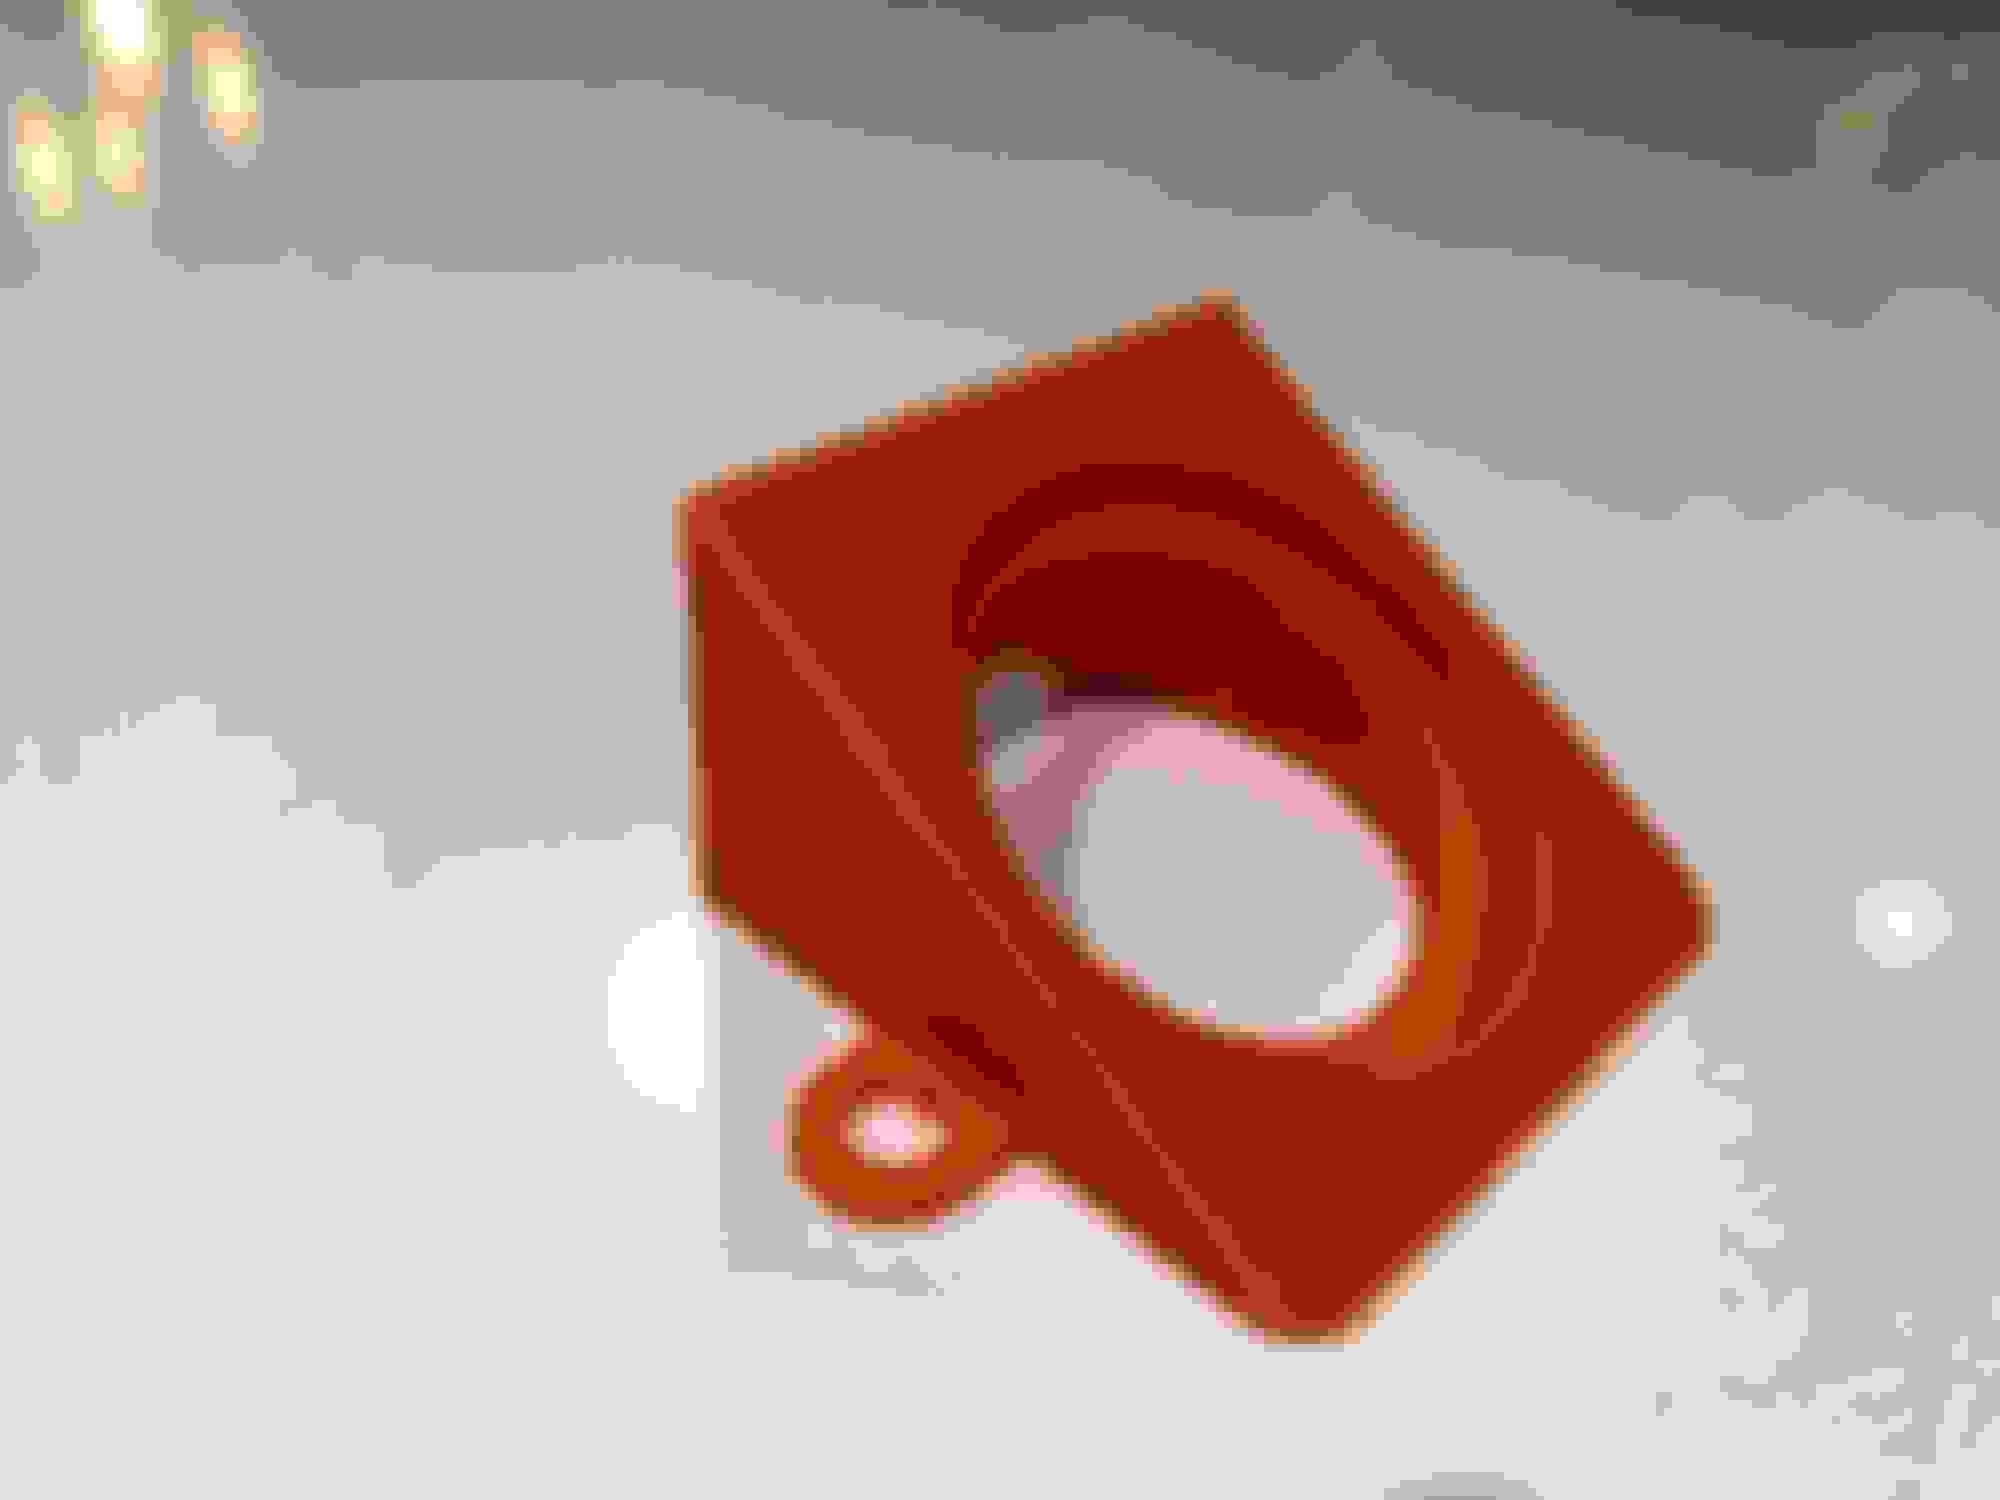
I'm working on a bracket to 3D print because this pedal needs to be mounted higher.
Success! Johannes did a support session with me this morning and quickly diagnosed the issue. The root cause was that my board wasn't getting any signal from the encoder at all. This was a quick fix because I was suspicious that I didn't have the pins fully engaged. It's possible that because there wasn't a signal coming from the encoder, the motor kept pulling more current to spin which overheated my under-spec'd wires.
We ran the test with 60v (5 x car batteries) and 2/00 wiring on the HV side. Everything is now working great.
In hindsight, if I had to do it all over again I would pay for a few hours with Johannes to be there for the first test runs. Really great resource to have. Thanks Johannes!
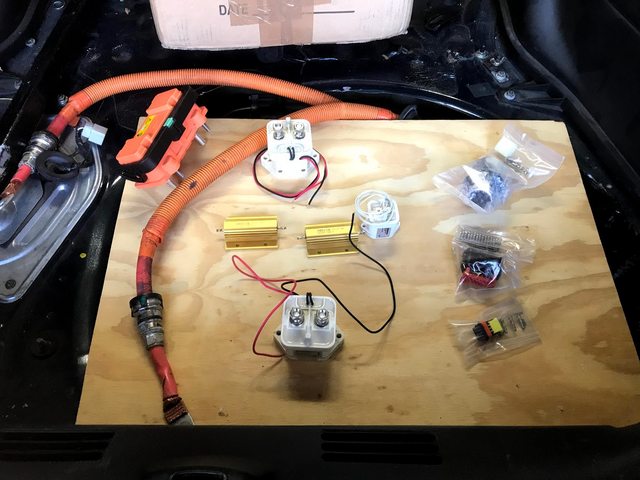
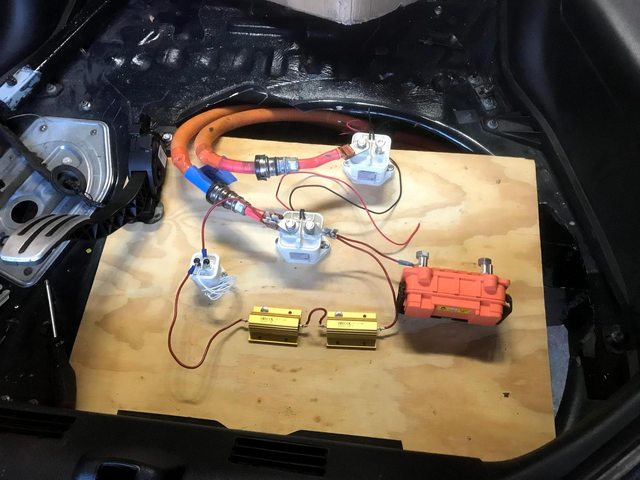
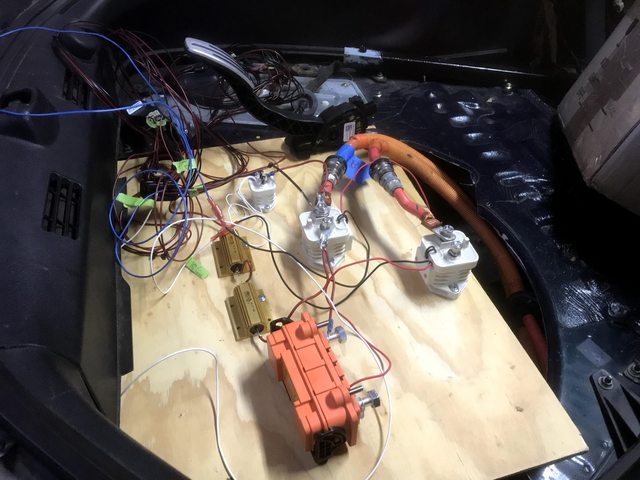
A couple updates. These feel like trivial things in the whole project but figuring out where and how to mount everything is taking time. I have the fuse/relay box wired in and working for testing but not mounted yet.
1. Brake Vacuum Pump - I mounted the vacuum pump in front of the radiator in hopes that having the radiator full of water between myself and the pump will dampen the noise. I put together a bracket by cutting thin steel and welding it. The hardware is temporary for now.
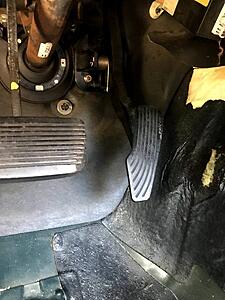
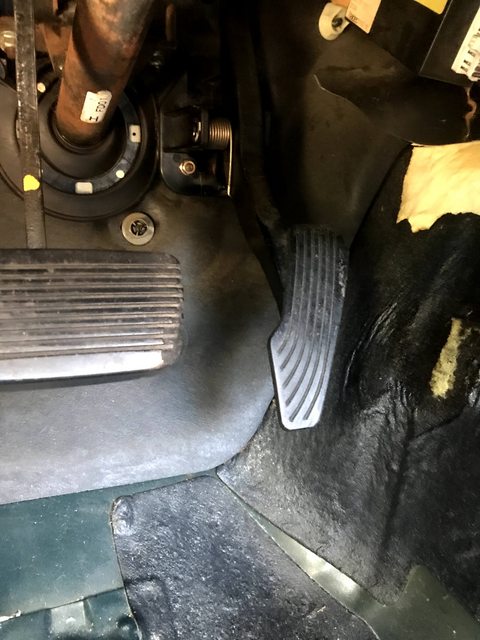
2. Accelerator Pedal - I printed a bracket to mount the Tesla pedal in the car. Overall, placement looks similar to stock.
After mounting I zero'd in on the hole placement and I'm printing a beefier bracket with a higher infill:
Last edited by rjmcdermott81; Dec 1, 2021 at 06:41 AM.
Awesome idea. I like that you are not cutting the car up and it can be reversed. Will you be putting the batteries in front? How much range are you expecting?
Batteries in the engine compartment and trans tunnel. Hoping for ~150 miles of range.
I mounted and wired in an engine start button from a Honda s2000 to send the start signal. I'm sure I overpayed by using one from an s2000 but I have nostalgia because it was my first real sports car.
This mounted in the cigarette lighter hole really easily. I just had to dremel out a few grooves so it would slide in. Wiring was easy as well, I used the existing pos/neg from the cigarette lighter since it is already switched power. Then when pressed it sends 12v out.
J1772 connector is mounted (the label is upside down because I had to swap the door to the other side...I'll cover this up later). It was much easier than I expected. I just needed to alter the angle so the charging connector wouldn't hit the body.
Another small update, working on the details. I created a design to hold the 2/00 high voltage wires. I'll adapt the design based on placement after I get the batteries.
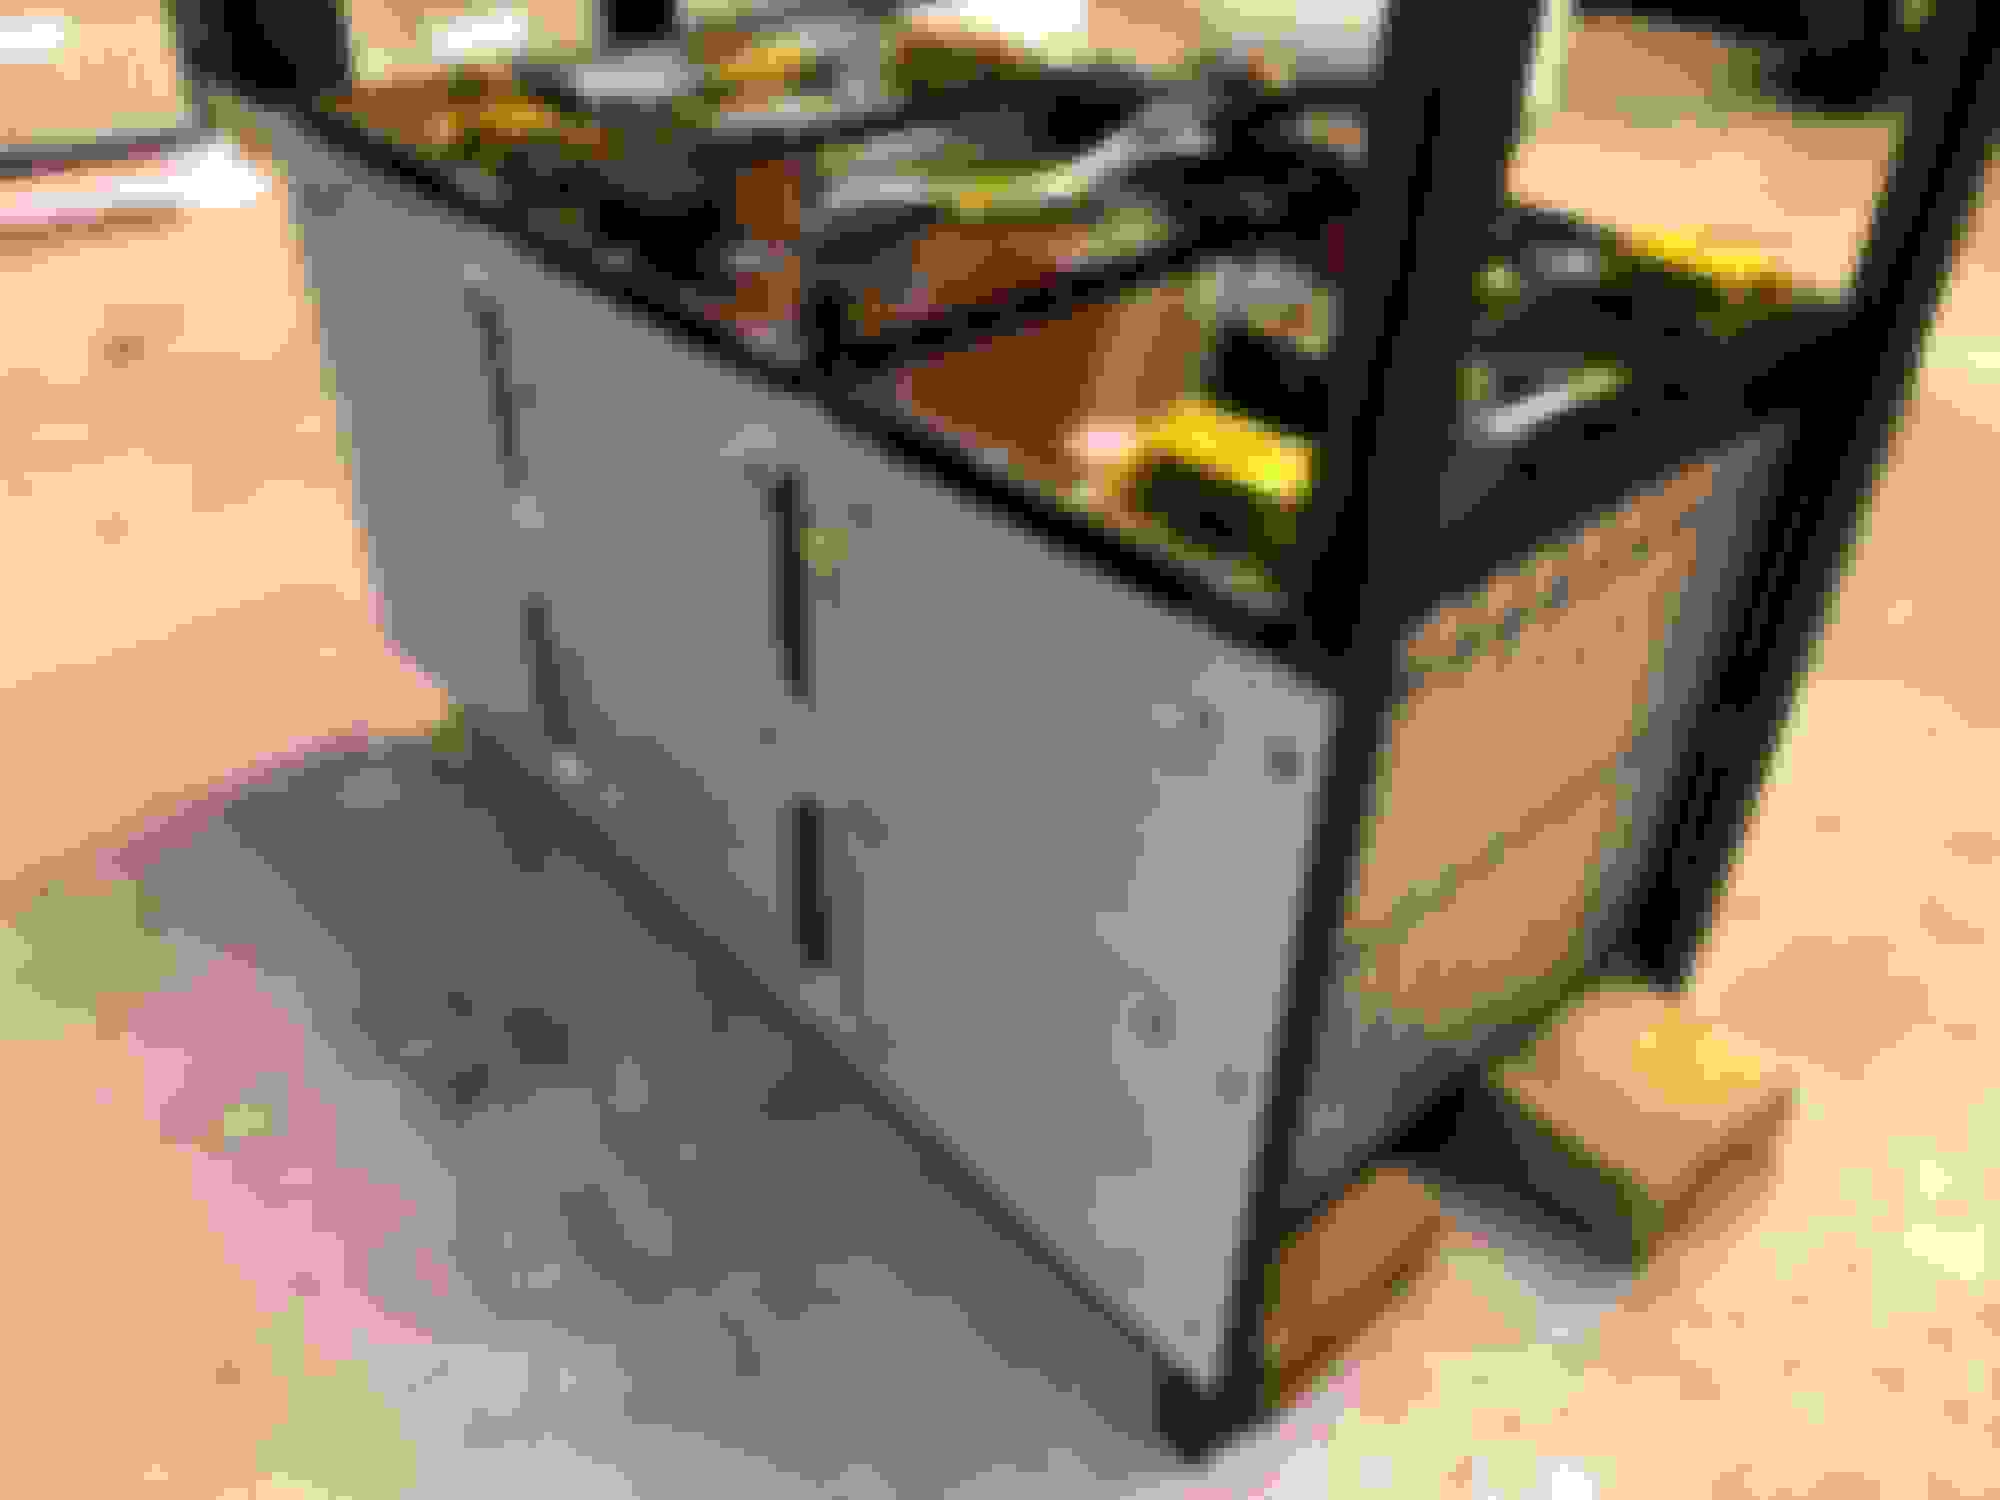
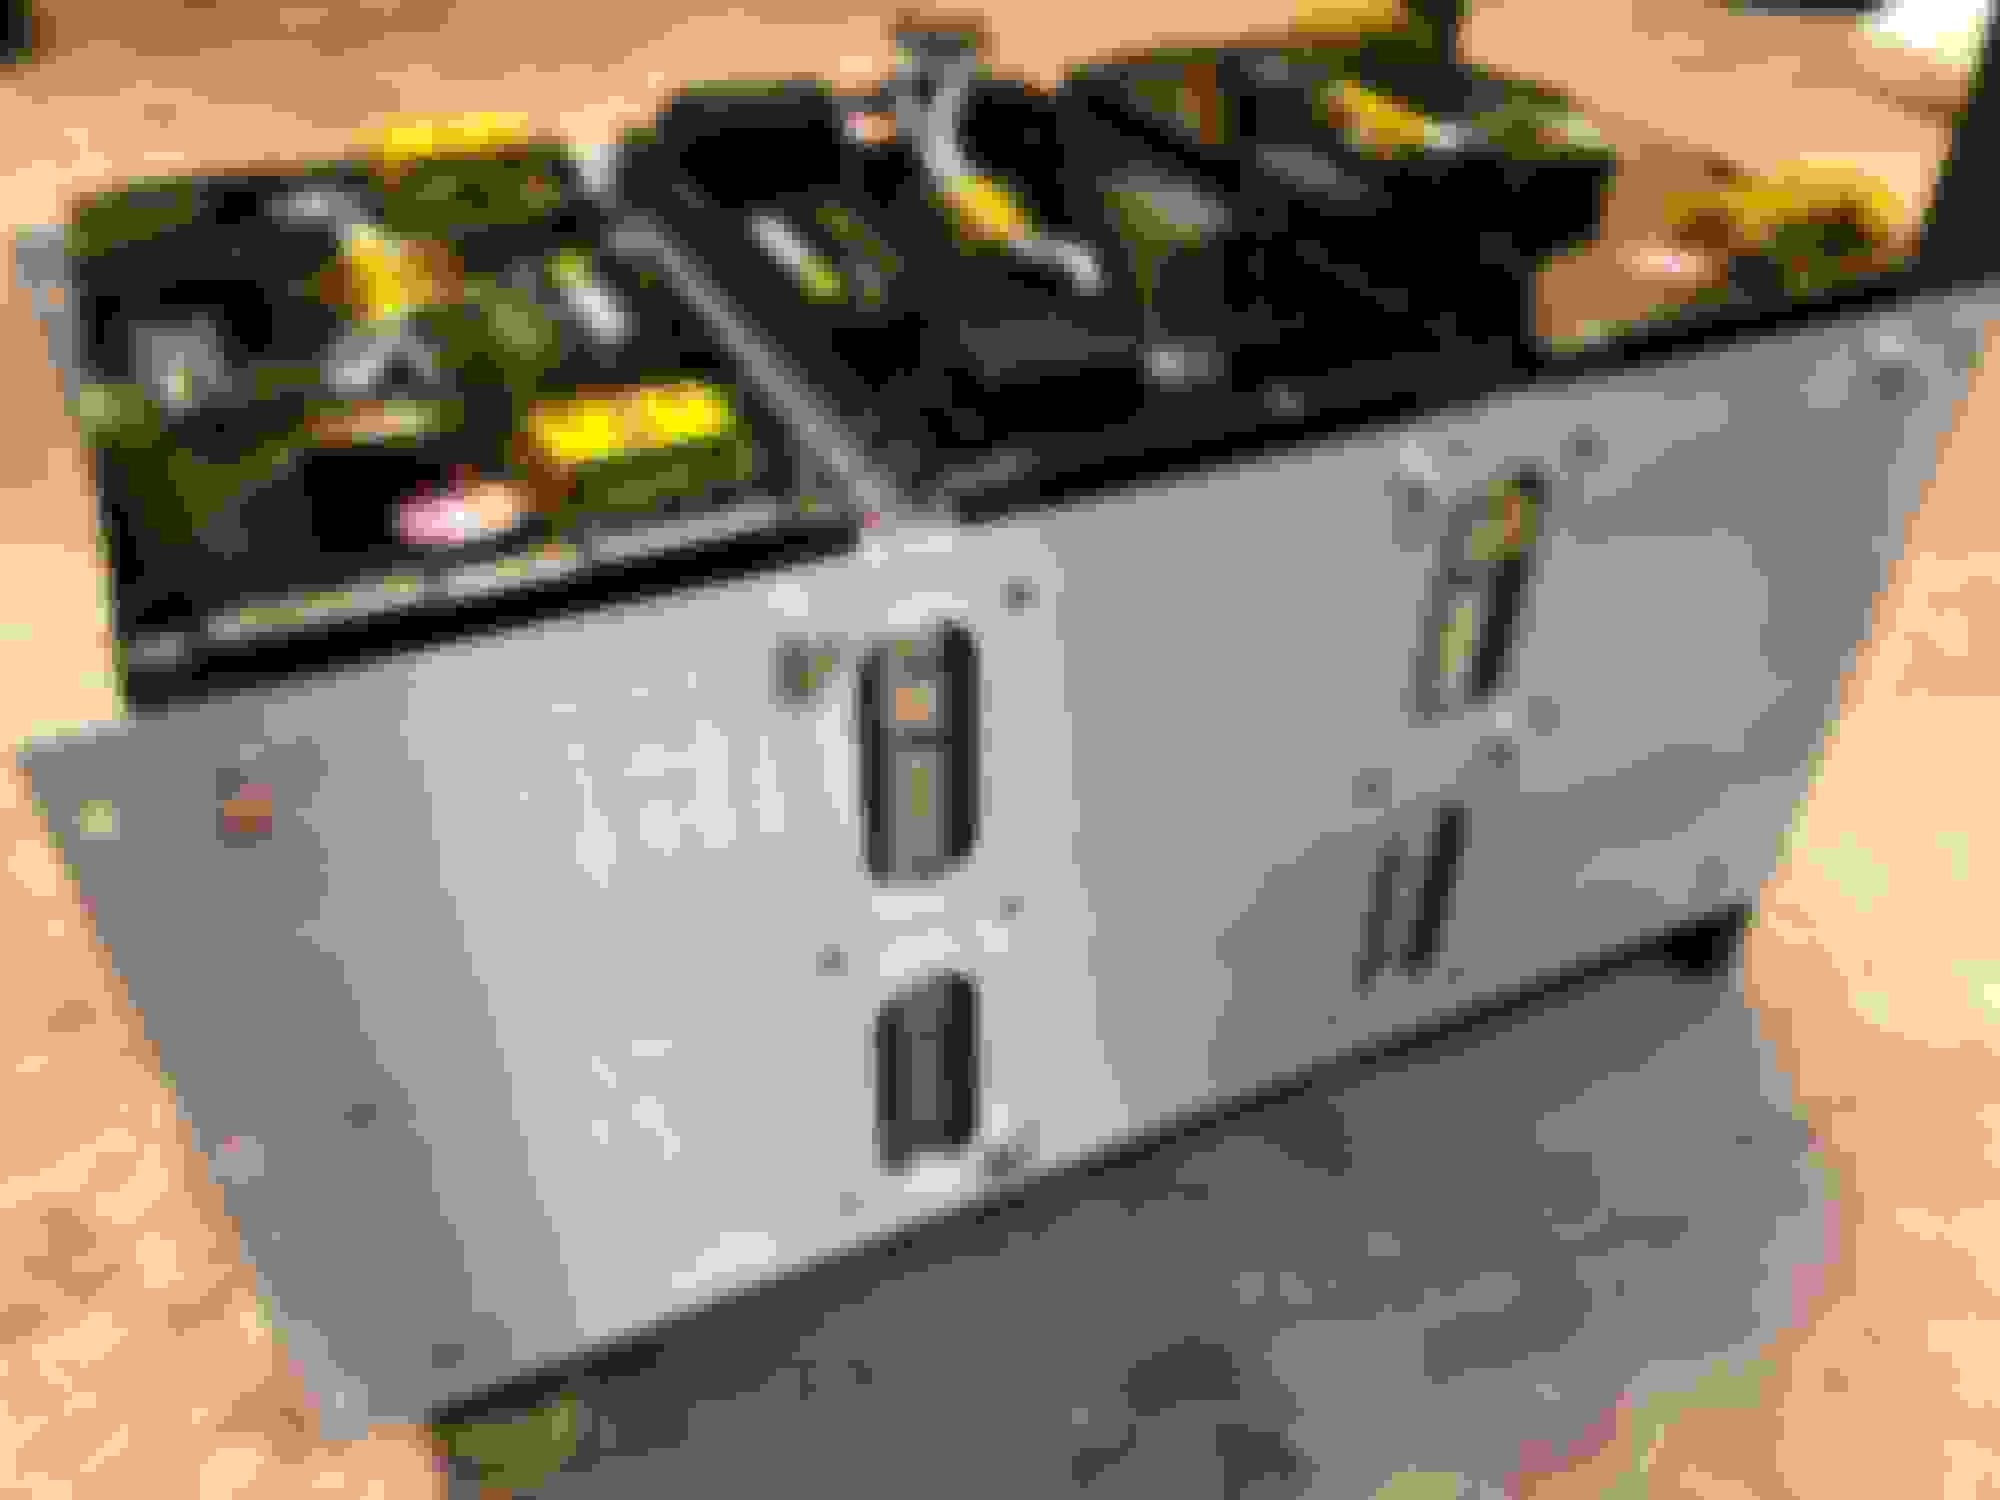
Battery mounts and steel square tube are in to make the battery box. I plan to build it one battery section at a time test fitting in the vehicle to squeeze it all in.
These brackets will hold the chill plates on the single batteries
Here is a section of three batteries with chill plates sandwiched in between
Here it is with the square tube on the side. I will cut, drill and then mount to this.