93' FD Feed Version V. Conversion


 09-09-16, 12:15 AM
#204
Full Member
Thread Starter
Join Date: Feb 2012
Location: Las Vegas
Posts: 78
Likes: 0
Received 0 Likes
on
0 Posts
What's up, your car is super clean! These are just pics of the last time we pulled the engine, the car is currently assembled. Are you goin to Supra Invasion this month?
 09-21-16, 09:32 PM
#206
Full Member
Thread Starter
Join Date: Feb 2012
Location: Las Vegas
Posts: 78
Likes: 0
Received 0 Likes
on
0 Posts
OKAY, so I have a hell of a lot of catching up to do. I'm going to start where I left off, and catch you up to where we are now.
I'm going to go back 3 years..
The car had been Painted, I pushed in all new bushings at home. The PPF, subframes had been powder coated. The OEM control arms that we are using had been polished, also aftermarket arms, and braces installed. I repainted the hubs my self, and pressed in new bearing, and installed the CF driveshaft, and upgraded axles.
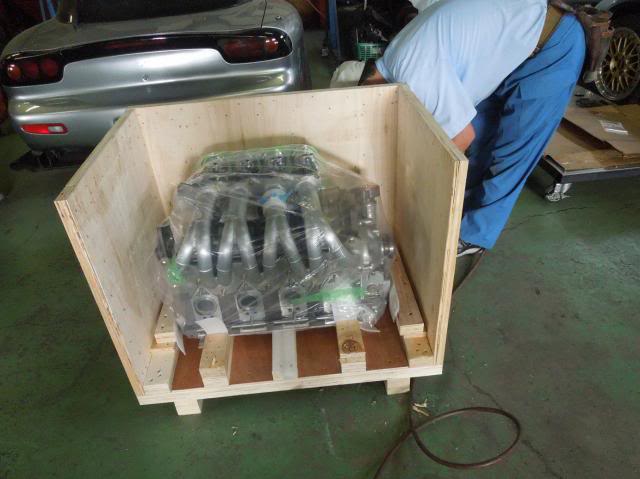
We were going through a year long tango with US customs regarding the 4 rotor from Scoot in Japan, considering we really didn't know what we were doing at the time. l never had to import a engine over seas, I would look for it state side. The engine was sent back to Scoot and disassembled. When the engine came back, we had Dave at Mazdatrix take care of customs for us, and it was reassembled in his shop by Kyle Mohan. At Mazdatrix they also installed a dry sump, painted the housings/ irons, and polished the intake runners. They had to extend one of the dry sumps pick ups to make it work. Drove to California to pick it up, and took it home.
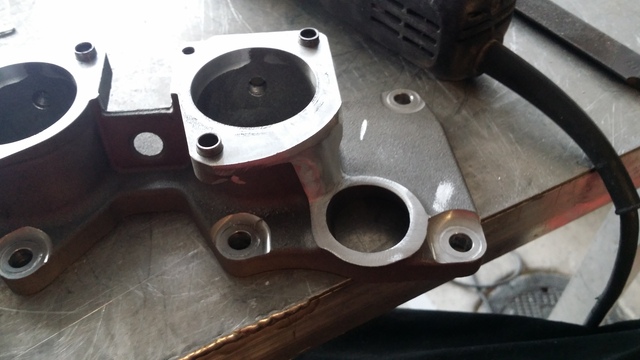
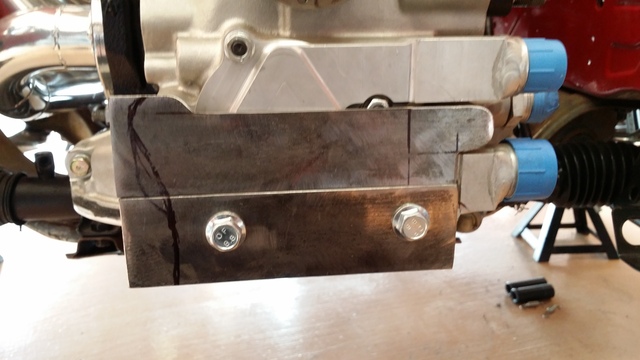
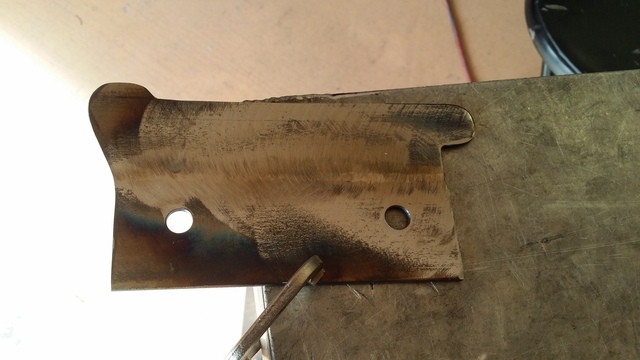
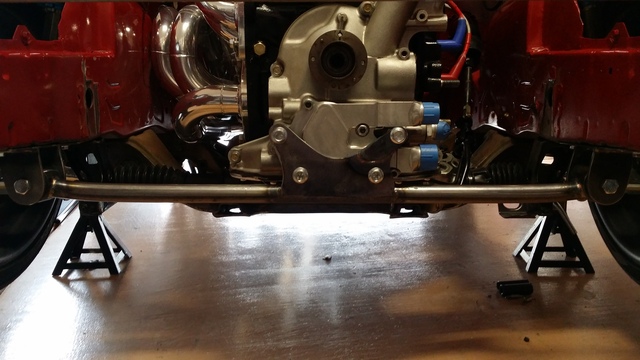
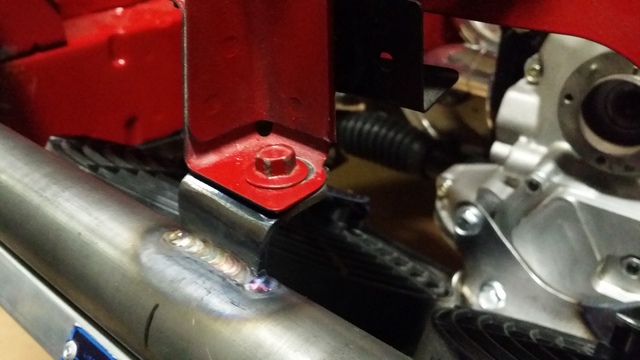
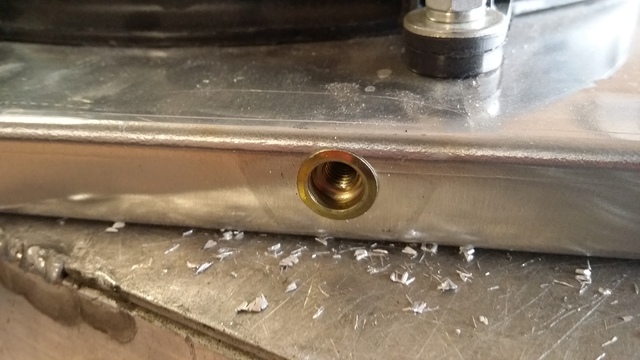
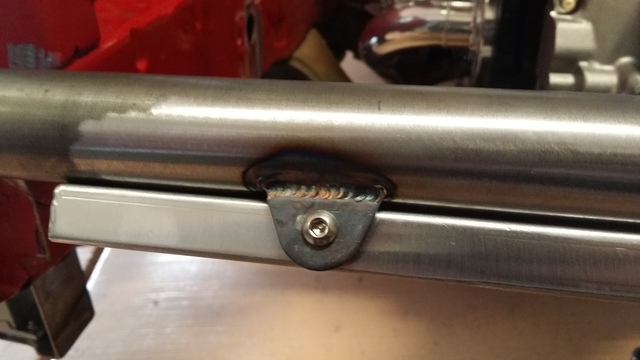
I had the 4 rotor just sitting in the car without a steering rack, trying to figure out if we were going to buy a new subframe or have the stock one modified. I call all around for a fabricator, even in neighbor states. A friend of mine gets me in contact with Justin Merrill. I didn't know then he would be a HUGE help getting the car where it is now. He helped connect a lot of the dots during this build. He also came to our house to build it all. Here is part of the mounting solution.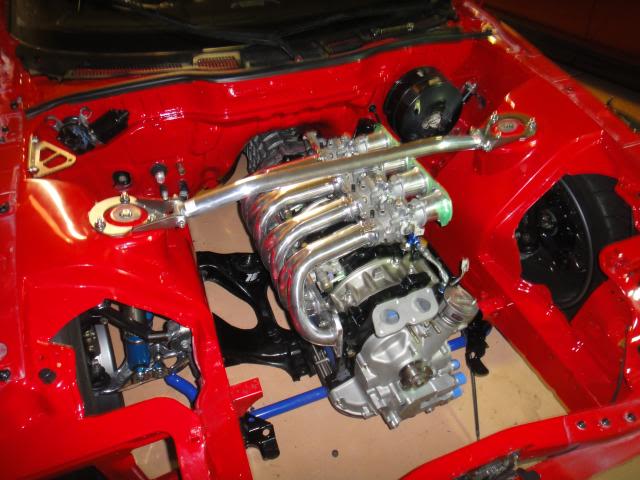
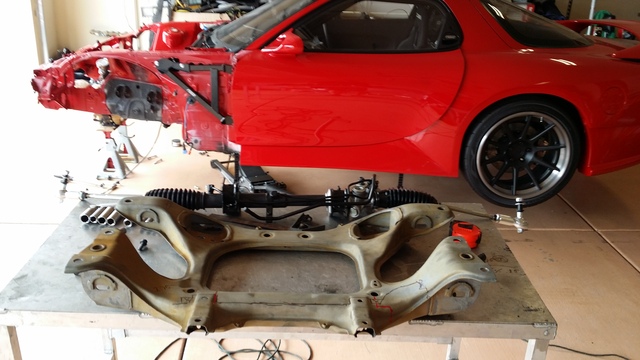
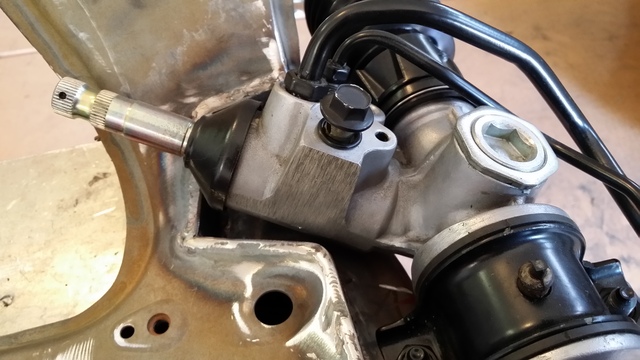
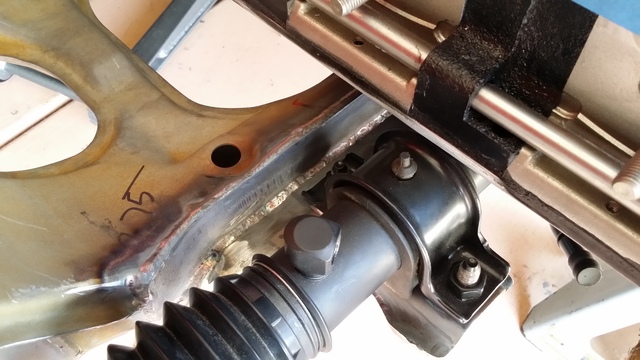
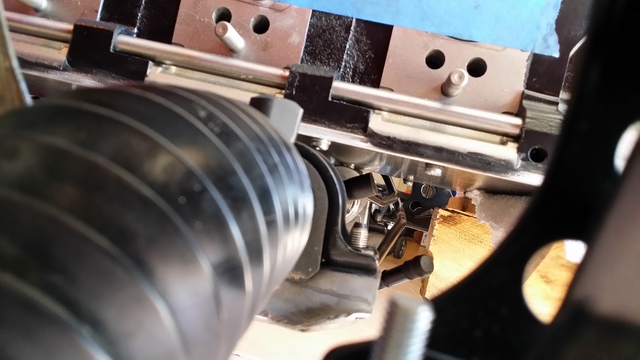
The steering rack was lowered a 1.5" ,and the steering rod had to be extended as well
I'm going to go back 3 years..
The car had been Painted, I pushed in all new bushings at home. The PPF, subframes had been powder coated. The OEM control arms that we are using had been polished, also aftermarket arms, and braces installed. I repainted the hubs my self, and pressed in new bearing, and installed the CF driveshaft, and upgraded axles.
We were going through a year long tango with US customs regarding the 4 rotor from Scoot in Japan, considering we really didn't know what we were doing at the time. l never had to import a engine over seas, I would look for it state side. The engine was sent back to Scoot and disassembled. When the engine came back, we had Dave at Mazdatrix take care of customs for us, and it was reassembled in his shop by Kyle Mohan. At Mazdatrix they also installed a dry sump, painted the housings/ irons, and polished the intake runners. They had to extend one of the dry sumps pick ups to make it work. Drove to California to pick it up, and took it home.


I had the 4 rotor just sitting in the car without a steering rack, trying to figure out if we were going to buy a new subframe or have the stock one modified. I call all around for a fabricator, even in neighbor states. A friend of mine gets me in contact with Justin Merrill. I didn't know then he would be a HUGE help getting the car where it is now. He helped connect a lot of the dots during this build. He also came to our house to build it all. Here is part of the mounting solution.


The steering rack was lowered a 1.5" ,and the steering rod had to be extended as well
09-21-16, 10:43 PM
#207
Full Member
Thread Starter
Join Date: Feb 2012
Location: Las Vegas
Posts: 78
Likes: 0
Received 0 Likes
on
0 Posts
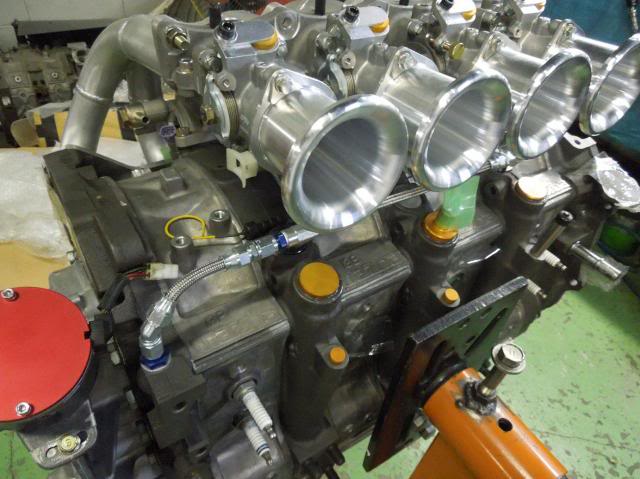
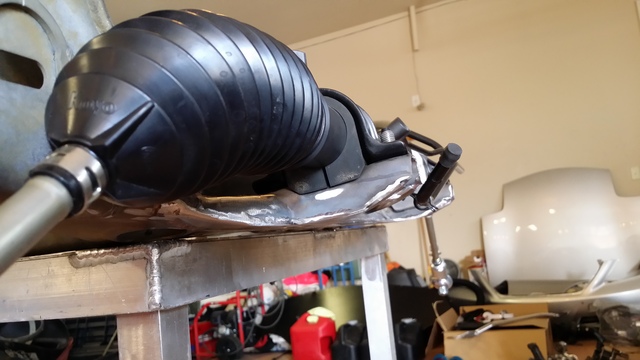
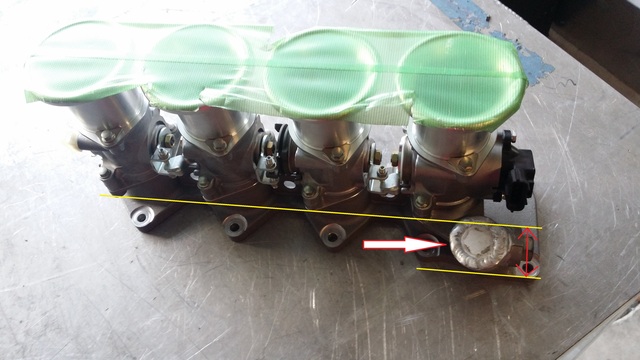
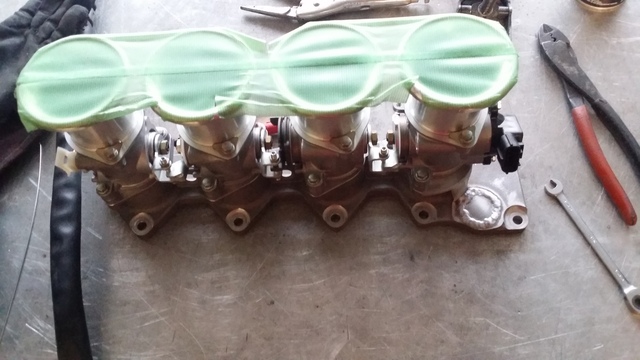
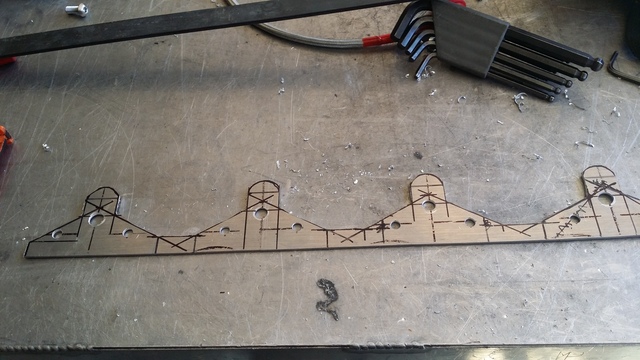
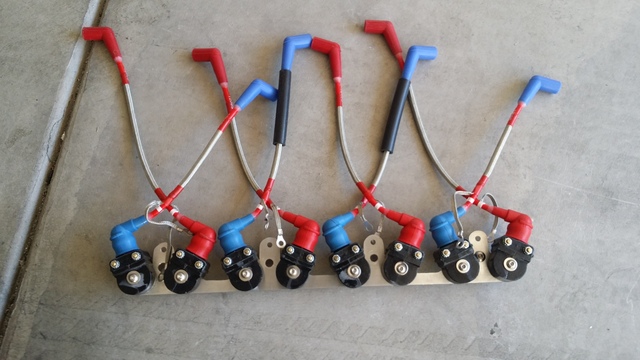
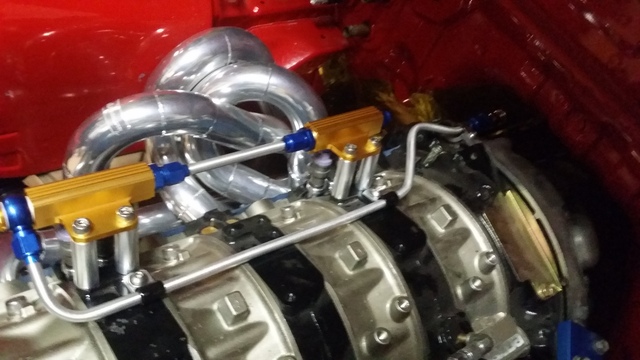
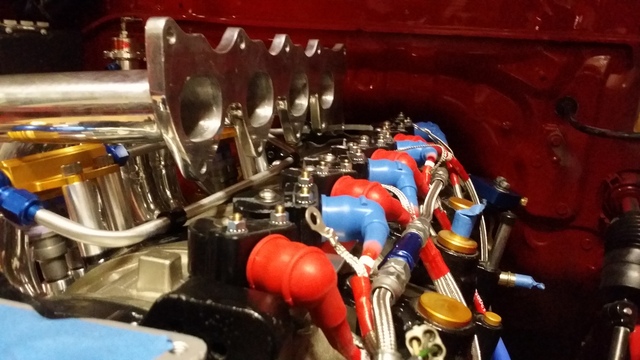
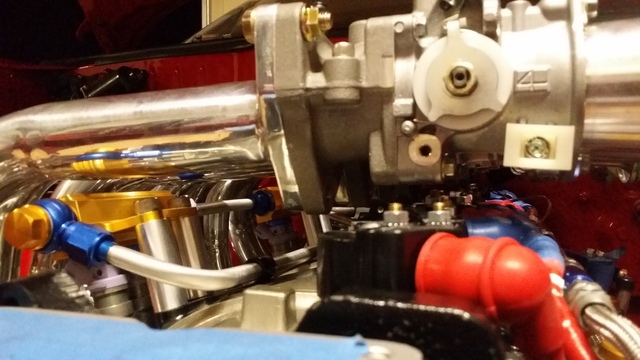
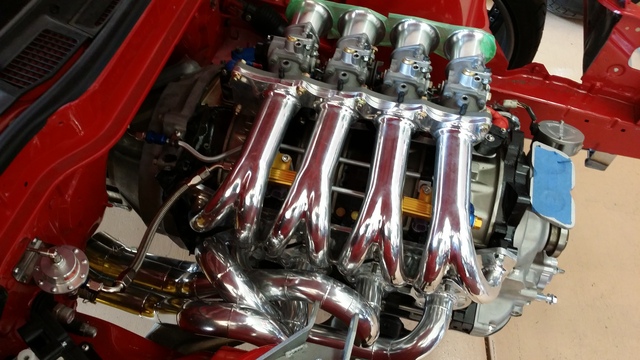
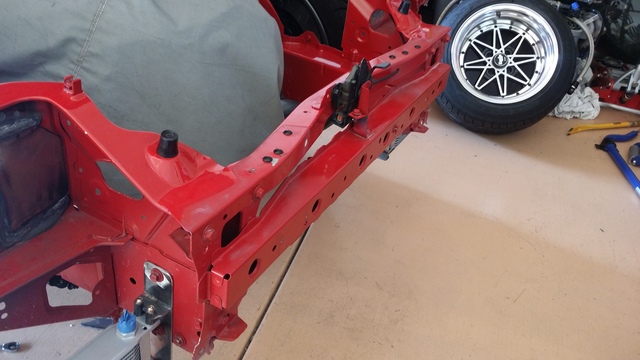
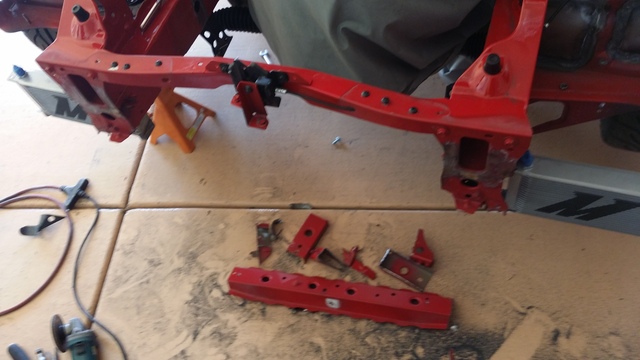
The front engine mount was not made yet, because we weren't sure what we wanted to do as for cooling. There needs to be plenty of room on the ITB side for a plenum, so Justin made a coil pack mount that bolts directly under the intake runners, and made the fuel lines to the new Sard fuel rails. He had to make some clearance with the ITBs, but it all fit beautiful afterwards.


 09-23-16, 05:54 PM
#209
Full Member
Thread Starter
Join Date: Feb 2012
Location: Las Vegas
Posts: 78
Likes: 0
Received 0 Likes
on
0 Posts
Hahaha
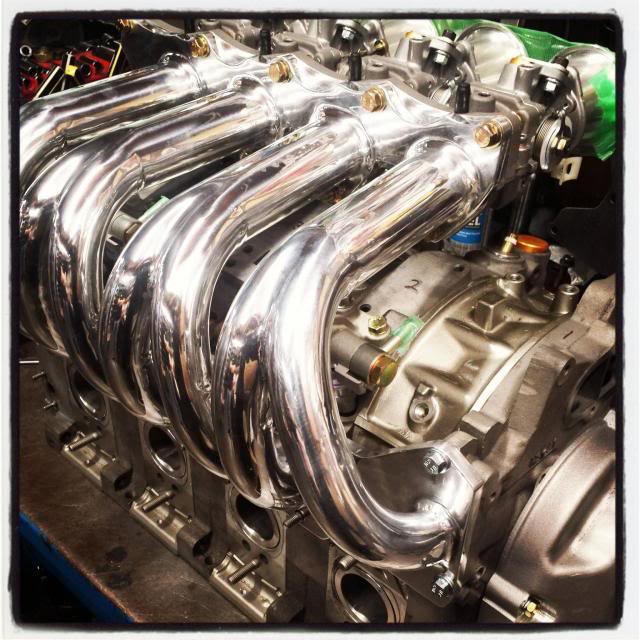
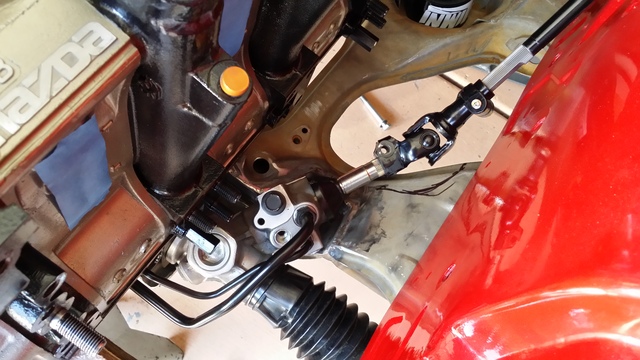
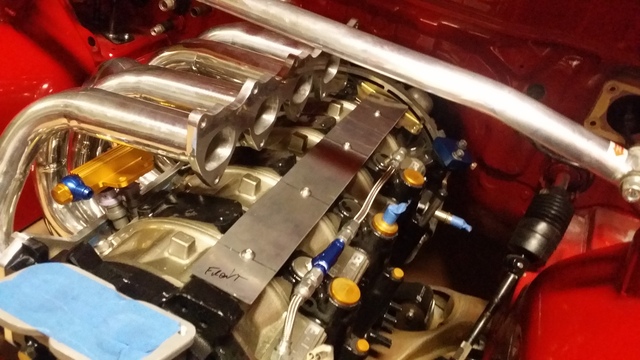
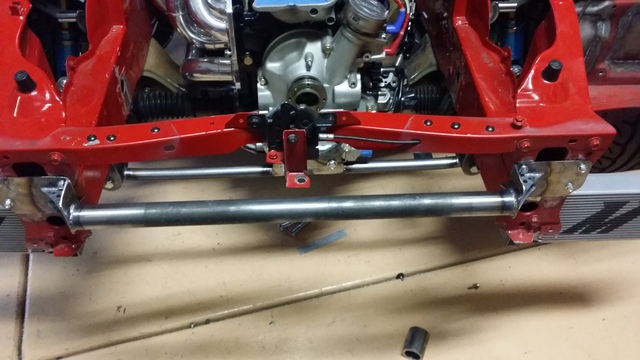
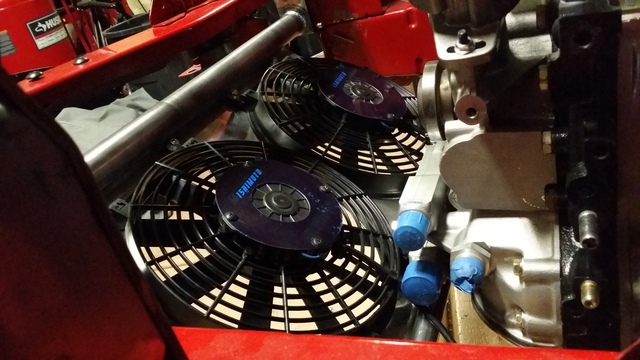
I forgot to mention in the background you see the custom header that was made by Bisimoto Engineering. Has 3ft of runner length before the collector. Burns stainless was used to make it.
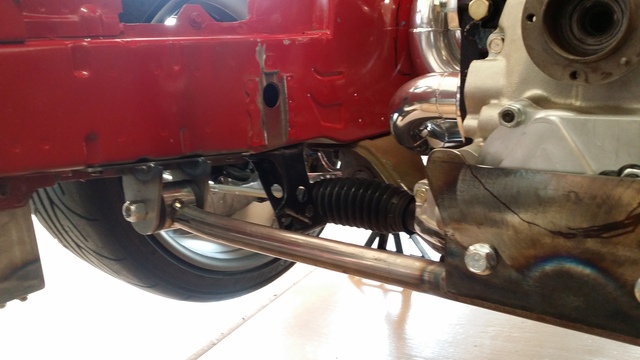
Justin here is making room for a custom radiator he fabricated. He also fabricated a front engine mount that would mount the EWP, and Mishimoto fan shroud we received from our sponsor. The original plan was to run AC but that idea was scratched, so the firewall needed to be shaved as well. Also he made mounts for the Mishimoto oil coolers


 09-23-16, 07:38 PM
#213
Full Member
Thread Starter
Join Date: Feb 2012
Location: Las Vegas
Posts: 78
Likes: 0
Received 0 Likes
on
0 Posts
bufferovrflo- the oil coolers are going to be changed out, so they never were ducted. The radiator Justin Merrill fabricated. I post some pics in a bit


Thread
Thread Starter
Forum
Replies
Last Post
Turblown
Vendor Classifieds
12
10-17-20 03:25 PM