When you click on links to various merchants on this site and make a purchase, this can result in this site earning a commission. Affiliate programs and affiliations include, but are not limited to, the eBay Partner Network.
Some overdue updates. I�ve been remodeling a house, so cars were on the back burner.
1. black auto FD is completely disassembled, body work done and paint done. It is now Petrolix Blue, similar to montego blue but less green. I took the motor out of the twincharged car, studded and ported by pineapple racing around 2008 (I bought it in 2009 from a guy in georgia that never used it when I originally bought the car with a bad oil control ring). Was cool to be able to drive to pineapple sewing as I bought it on the east coast so long ago. Was also fun to see the pineapple shop and meet Rob. This motor is getting refreshed and go into the freshly painted car.
2. twincharged car that I stole the motor from is now no longer twincharged. It will be getting the 20B with DCT 7 speed transmission. This car is way more aggressive than the other, so it deserves the 20B
3. Another FD has joined the stable. It hasn�t run since 2007 and has a sieved motor. But it is stock, silver with red interior. And I got it from RAD Dan if anyone is familiar with professional drifting, you�ll know he�s a Supra guy. This was a surprise buy. I was watching his YouTube video one night and it was title ultimate barn finds, and the outlines of the cars looked a bit like FDs. So I watch it, and notice he�s driving through my town to get on a ferry, and formula drift was in town that weekend. Turns out he was getting 2 FDs and a Supra that had been hidden away for 10 years after his friend had passed away. He mentioned he was keeping the Supra and selling the FDs, before the video was over I was emailing him, and he called me right away. A couple days later I picked it up at the race track before formula drift qualifying started. Going to drop in a new engine, replace all hoses, new clutch, change brakes, and leave it as is. It�s not perfect, but doesn�t need to become a big project until the others are done.
Video explaining it: https://m.youtube.com/watch?v=A9wdgO1dzkg
Bringing home from bodyshop Some sun on the pearl Next to the new silver one, with the twincharged car hiding in the garage
Twincharged Pinapple engine coming out
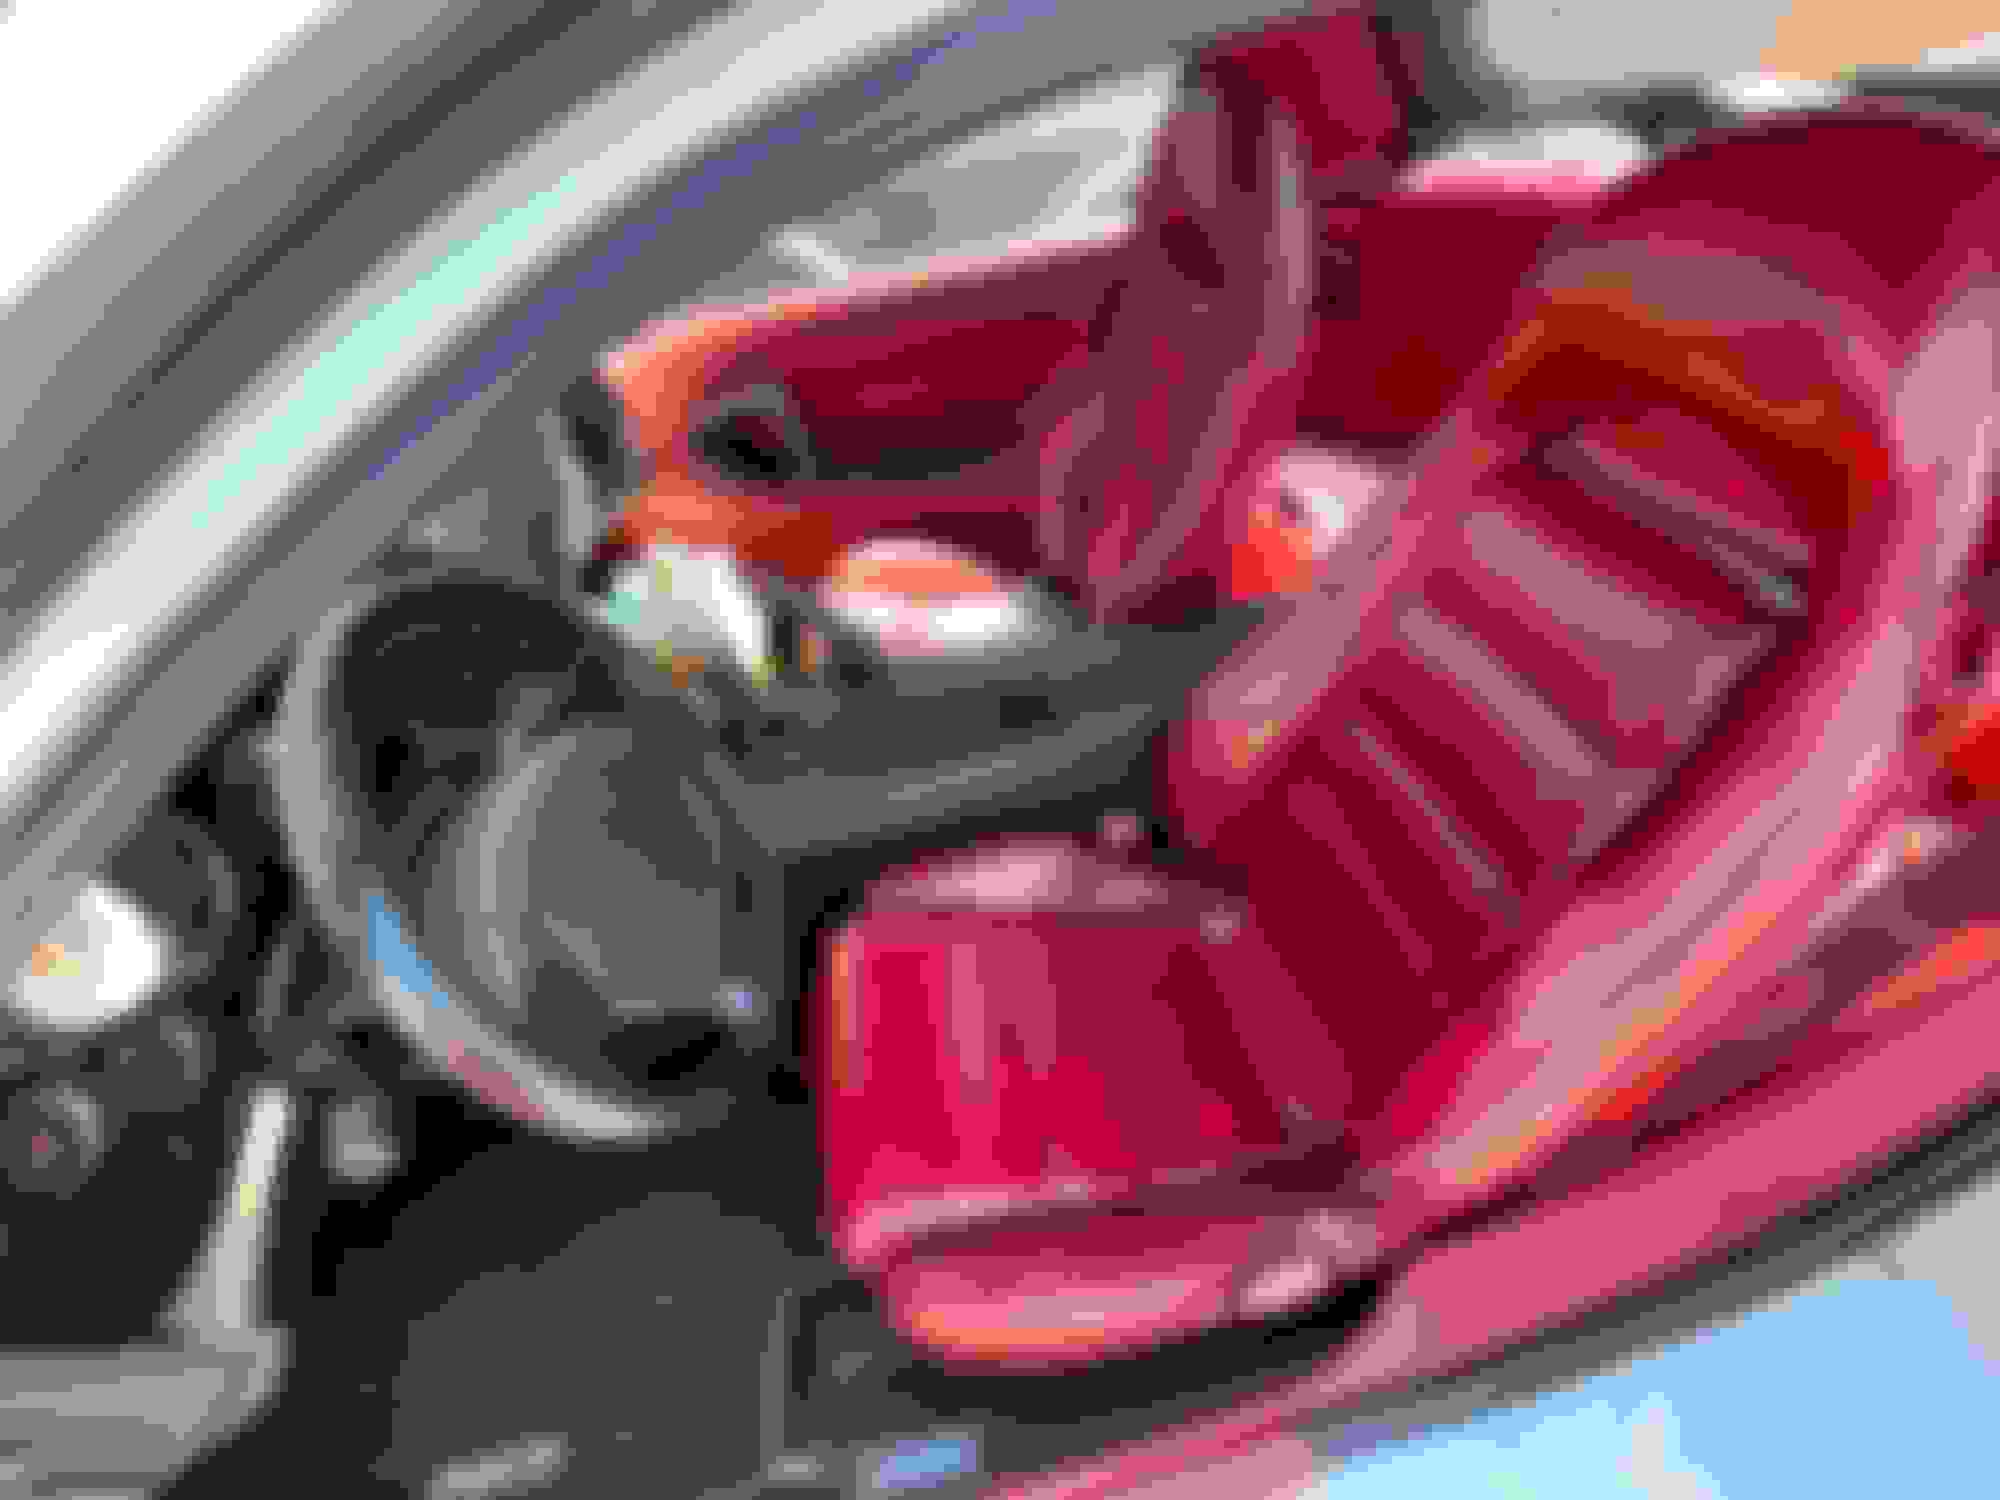
SSM Always wanted the red interior and I like the 93 in this case because red wraps around to the bins and rear panels and has black carpet. Unlike the 94/95 Some barn finds for sale before the race weekend
Final pic of the twincharged FD actually being twincharged.
Last edited by TwinCharged RX7; 09-19-21 at 12:05 AM.
Not much work to update, but some new parts in. The rest of the PartsShopMax front suspension came in (lower control arms were on back order). These (plus the uppers and knuckles) are amazing. Very adjustable, car is not for drifting, but with the widebody, this allows me to push the pivot point of the front wheels out up to 3 inches on each side, so I avoid weird wheel sweeping when turning).
Engine installation tool added (way easier than chains since I rarely have an extra hand in the garage. 20b with Xcessive mounts mocked up and H7 DCT adapter and BMW M4 DCT 7 speed bolted on.
next is to mock up in the engine bay and figure out how to avoid moving the steering rack.
It�s from Macs Tie Downs. Used it for the first time today. I love it, although the weight of the DCT puts it at the limit of getting it completely horizontal. If I move the attach point back any further to balance it then I can�t clear the fire wall with the crane. If it was a stock 5 speed then it�s be no problem. But it worked great overall. Much better than the normal screw balancer with chains.
test fitting the 20B for the first time today. Trying to avoid moving the steering rack.
new part for the blue 2 rotor car. But not sure if a knock off. The stamp for the serial number on the mazdaspeed plate is unreadable. Bar seems legit, but name plate serial number seems weird.
Engine and trans are in for test fit. I have a ronin subframe on the way to help lower the steering rack and make room for an oil pan. Everything clears the hood, an extra inch drop from the sub frame and I can adjust the engine mounts to fifth the sub frame.
About 3/4� clearance, need another inch for the oil pan Motor is about 1� forward from stock. It will go back a bit once the subframe is in and I can lower it down a bit Thin oil pan solution to clear the steering rack without dropping it much. Ronin sub frame. Once I have it in, I plan to make a rear cross bar that bolts to it and has the motor mounting points. A really nice piece. ProJay bully and EFR 9280 just clear the hood. DBW throttle body on the ProJay manifold.
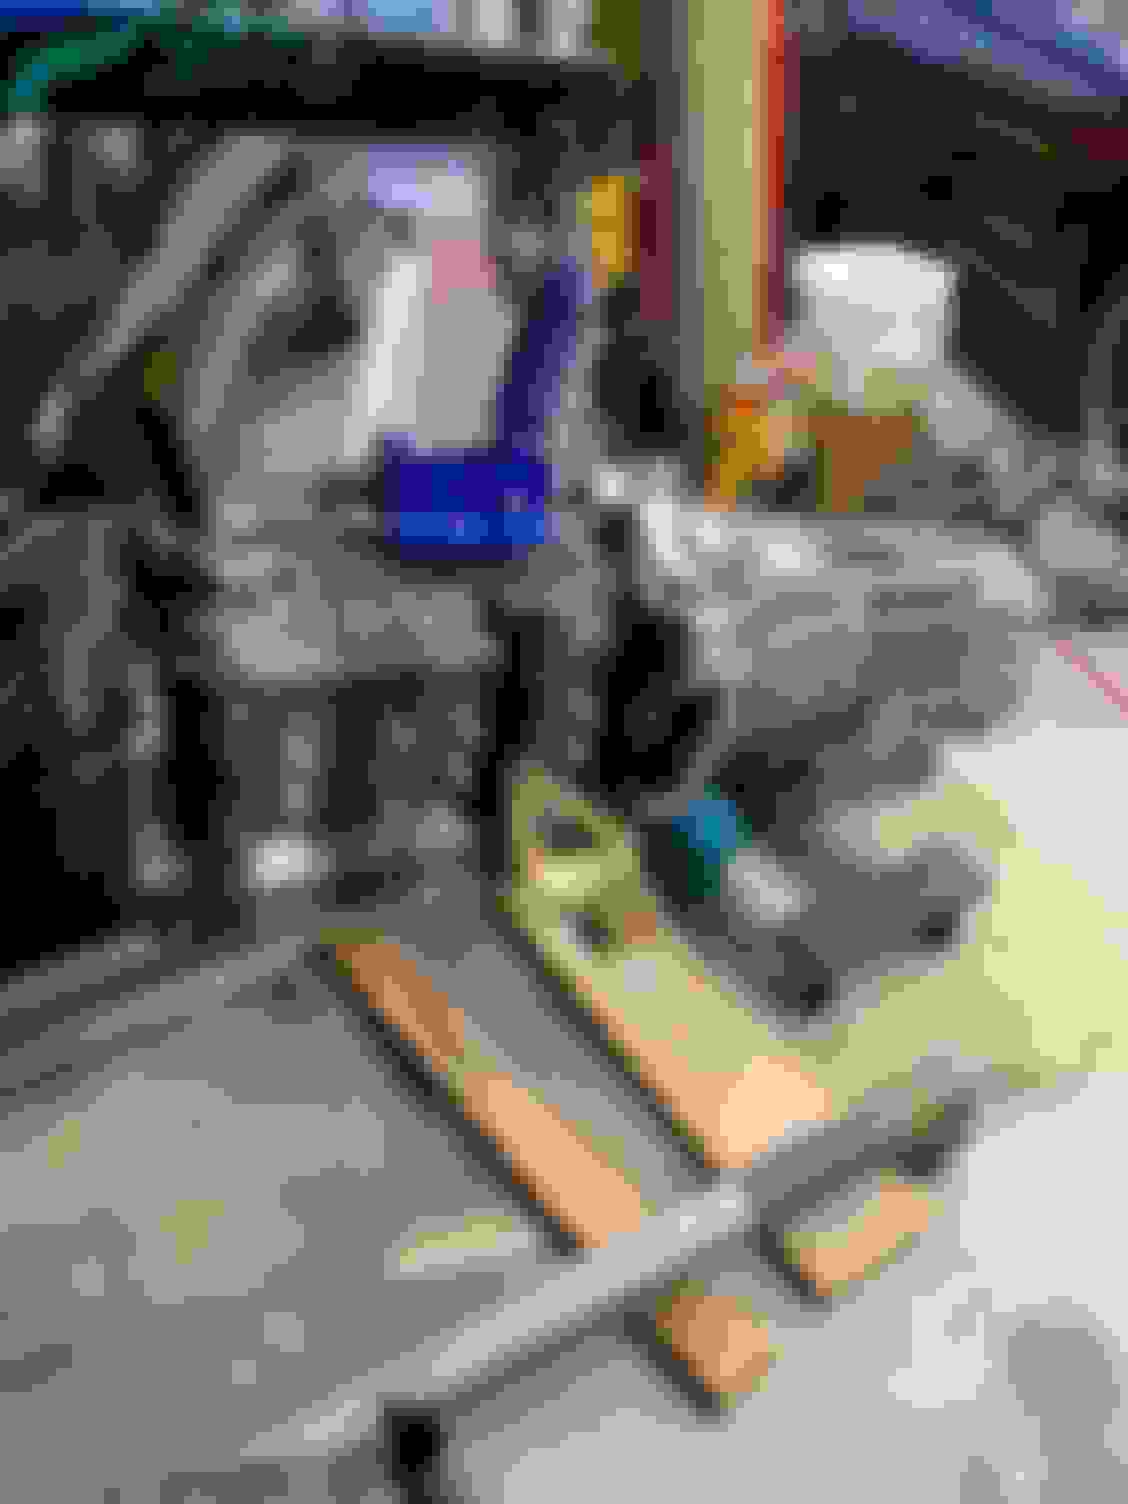
Trans and motor are back out while we wait for the Ronin sub frame. It�s been a long time since I took the subframe out. Forgot how much of a pain it is when trying to leave the control arms in place.
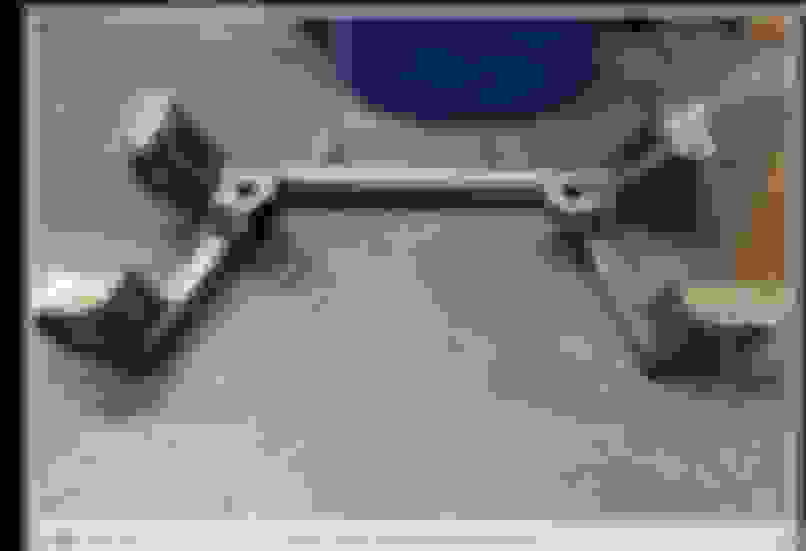
Ronin subframe came in. It�s a really nice piece. I installed it and mocked up the motor and trans again. Much more room this time around. Still not final until I decide on the oil pan though. But now there is a little over an inch clearance with the steering rack, and there are 2 aftermarket oil pans that I�m considering. JDL manufacturing and Spyder�s design with Pineapple racing.
Stock Ronin (builder kit without the LS mounts welded on) Stock rough measurement from bottom of steering rack to bottom of frame rail Gained about 1.5� with the Ronin subframe (lowers the rack). Also comes with a bump steer correction kit. Installed. Room for activity. Plan to make a rear crossbar that bolts to the bottom of the subframe, will be where the motor mounts to. Beautiful subframe. Nicely made. Every weld looks great. Going in This is with the trans bolted to the car and engine lifted up as high as it will go. More room for oil pan The two pans I�m looking at should fit, I can gain another .5� without much trouble if I need to though (add spacer to trans mount to lower it down so the front of the engine can lift up more, and the subframe has flat mounting points for the steering rack, where OEM has space for the steering rack bushing to sink in a bit, I could shave a little off the bushing to seat it flush and gain 3/16�)
So I have some nice new harnesses (engine and charge/battery). But the front harness that wraps around the front of the car with the relay box is no longer available. While these hold up better over time than the engine harness (not as crispy), I�d like to swap in new connectors.
does anyone know if you can order the corresponding connectors to these big gray ones on the charging harness?
Haha. I wish. I'm not willing to go with an external belt driven oil pump though. MFR covers are not available. And if I go with a billet cover, it'll be like $8k by the time I factor in the tank.
The other issue is this is a street car with interior and im struggling to think of a good spot for a 2 gallon oil tank.
I also heard the original MFR covers don't flow enough for a 20b and you need to be sure to get a newer version. But I have no idea how to tell them apart even if I could find one. I remember the days when they would sell for $2k. That's long gone.
A few updates while we figure out the oil pan situation.
got the chase bays radiator in. Fits great and clears up a lot of room in the engine bay. Note, you have to remove 2 small AC brackets from the frame rail by drilling out the spot welds, and if you still have the stock from wire harness with the relay box, you need to move it. You can�t just drop this into a stock FD without these changes. They run this on their drift cars, dual pass, 3� thick. Should be good as long as I have proper ducting and fans.
Got the intercooler core in, garret, 26.8�x10.5�x4� thick, rated for 900+hp. Wanted to find one with end tanks already welded, but there is nothing that would fit with the inlet and outlet going between the radiator (27.5� wide) and the oil coolers. About 5� clearance between side of Setrab 25 row and edge of radiator (where the stock tow hooks are).
also, going with the RX8 A/C condensor with built in dryer. And also adapter brackets to bolt up a new RX8 compressor on an FD front cover. was worried about the condensor fitment, but it�s actually perfect with this radiator, still need to make mounts for it though.
Radiator in place Rear of radiator. Will be adding dual 12� brushless fans, which are 2.5� thick Bracket removed Clearance between radiator and oil cooler where the intercooler inlet needs to go. Will need to get aftermarket tow hooks that don�t hang so low and are bent to go through the oil cooler opening. Distance between front cover and radiator. Bumper mocked up. Vent panel to be molded in to give more air due to the FMIC/AC condensor/radiator stack. All will be well ducted and then high flow brushless fans. Rx8 condensor mocked up. This is mocked up the wrong way (bottom is actually the top). Once flipped over, inlet and outlet are accessible. Got lucky there. About quarter inch of clearance to the radiator, which will have weatherstripping/foam to seek the air flow. Bottom view of A/C fitment with radiator. Need to remove the stock brackets and mount it. Garret intercooler core. Just sitting on a box. It will be raised up and mounted to the front cross member, will have cast end tanks, with back door inlet and outlet that go under the frame rails just to the sides of the radiator and then curve into the engine bay.
Last edited by TwinCharged RX7; 02-18-22 at 12:25 AM.
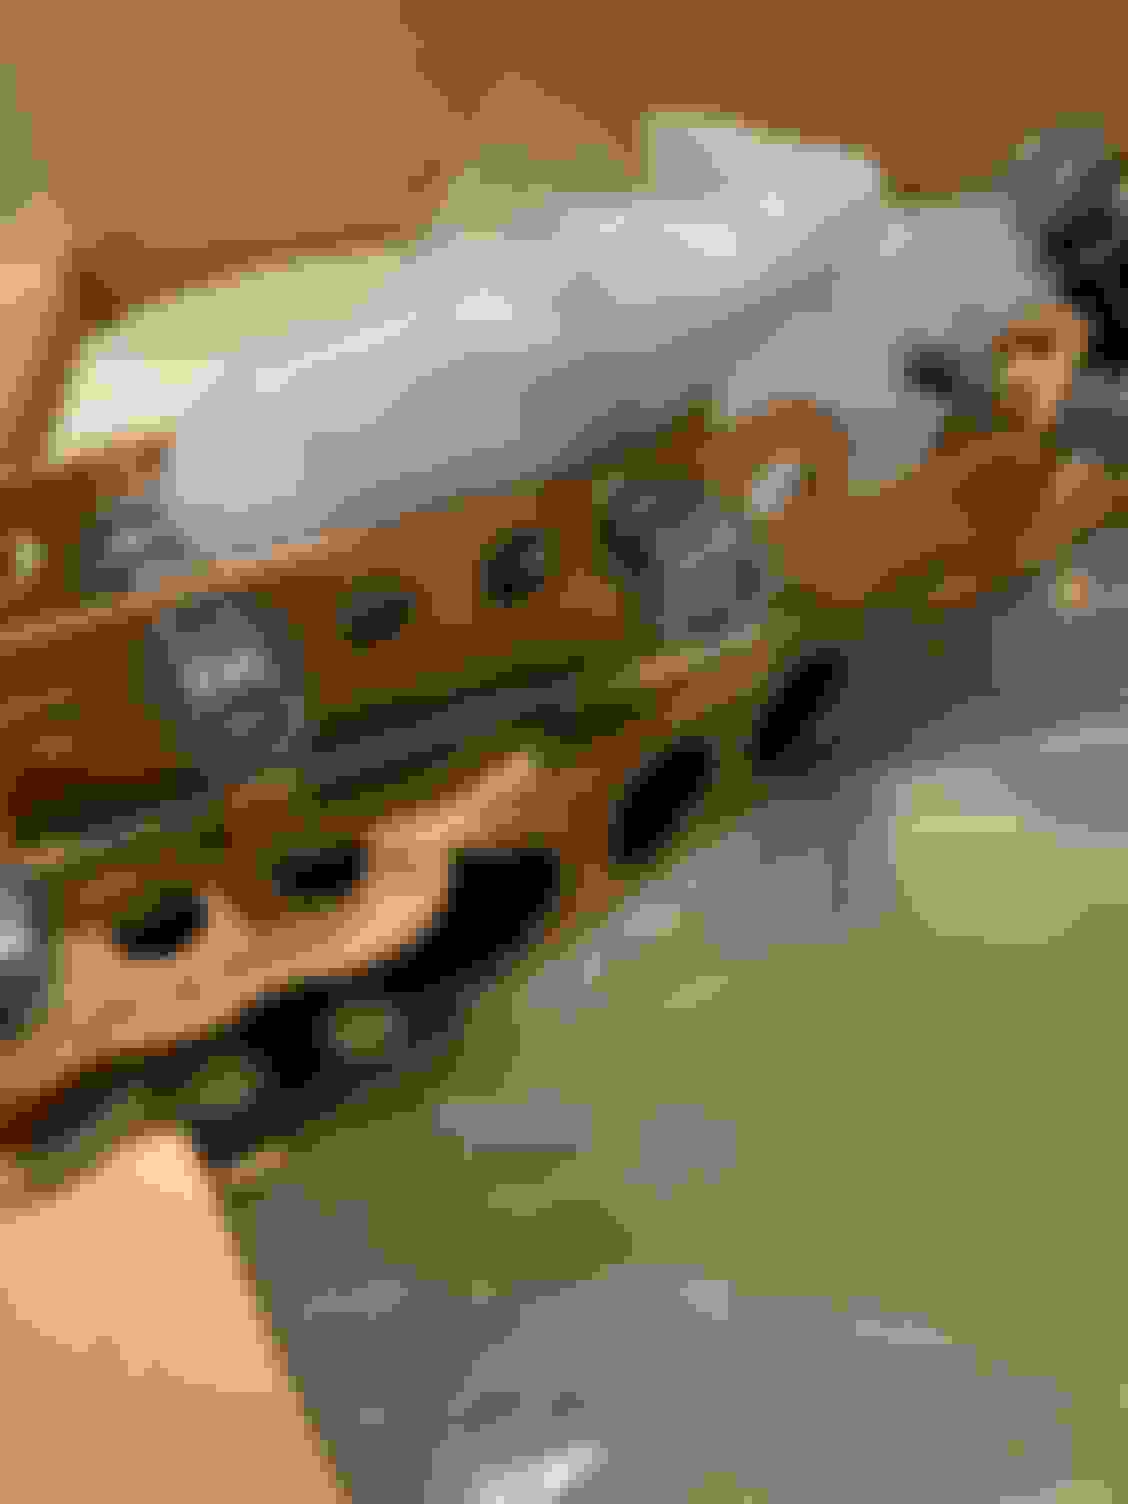
Switched gears a bit. Pineapple racing has my engine ready, so have been spending a little time on the SSM getting the old seized motor ready to come out.
Had been sitting since 2007 when I picked it up. Mostly in a garage. had a blown engine, not sure from what. Fully sieved though. A real rats nest Mummy Appears to be the only mod on the car. It did come with a never used koyo radiator sitting in the hatch which will come in handy. Halfway ready to come out.
 09-18-21, 11:53 PM