
1993 RX-7 R1 Revival

As for the bushings, I have yet to find a solution, I've have been trying to fit energy suspension bushings left over from my other projects (I don't want to just buy bushings and throw money away testing them) and have not found something to satisfy my needs. New oem bushings I believe you can still buy at Mazda.
My next step is going to check out rhdjapan to see if there are any supernow or similar bushing kits.
If you happen to find some let me know
 .
.-Nick

Thread Starter
Full Member
Joined: Apr 2015
Posts: 140
Likes: 5
From: Great Falls, MT
Alrrriiiggghhhttt, lots of updates. To begin with, I finished up the wiring on the car. Soo much better now
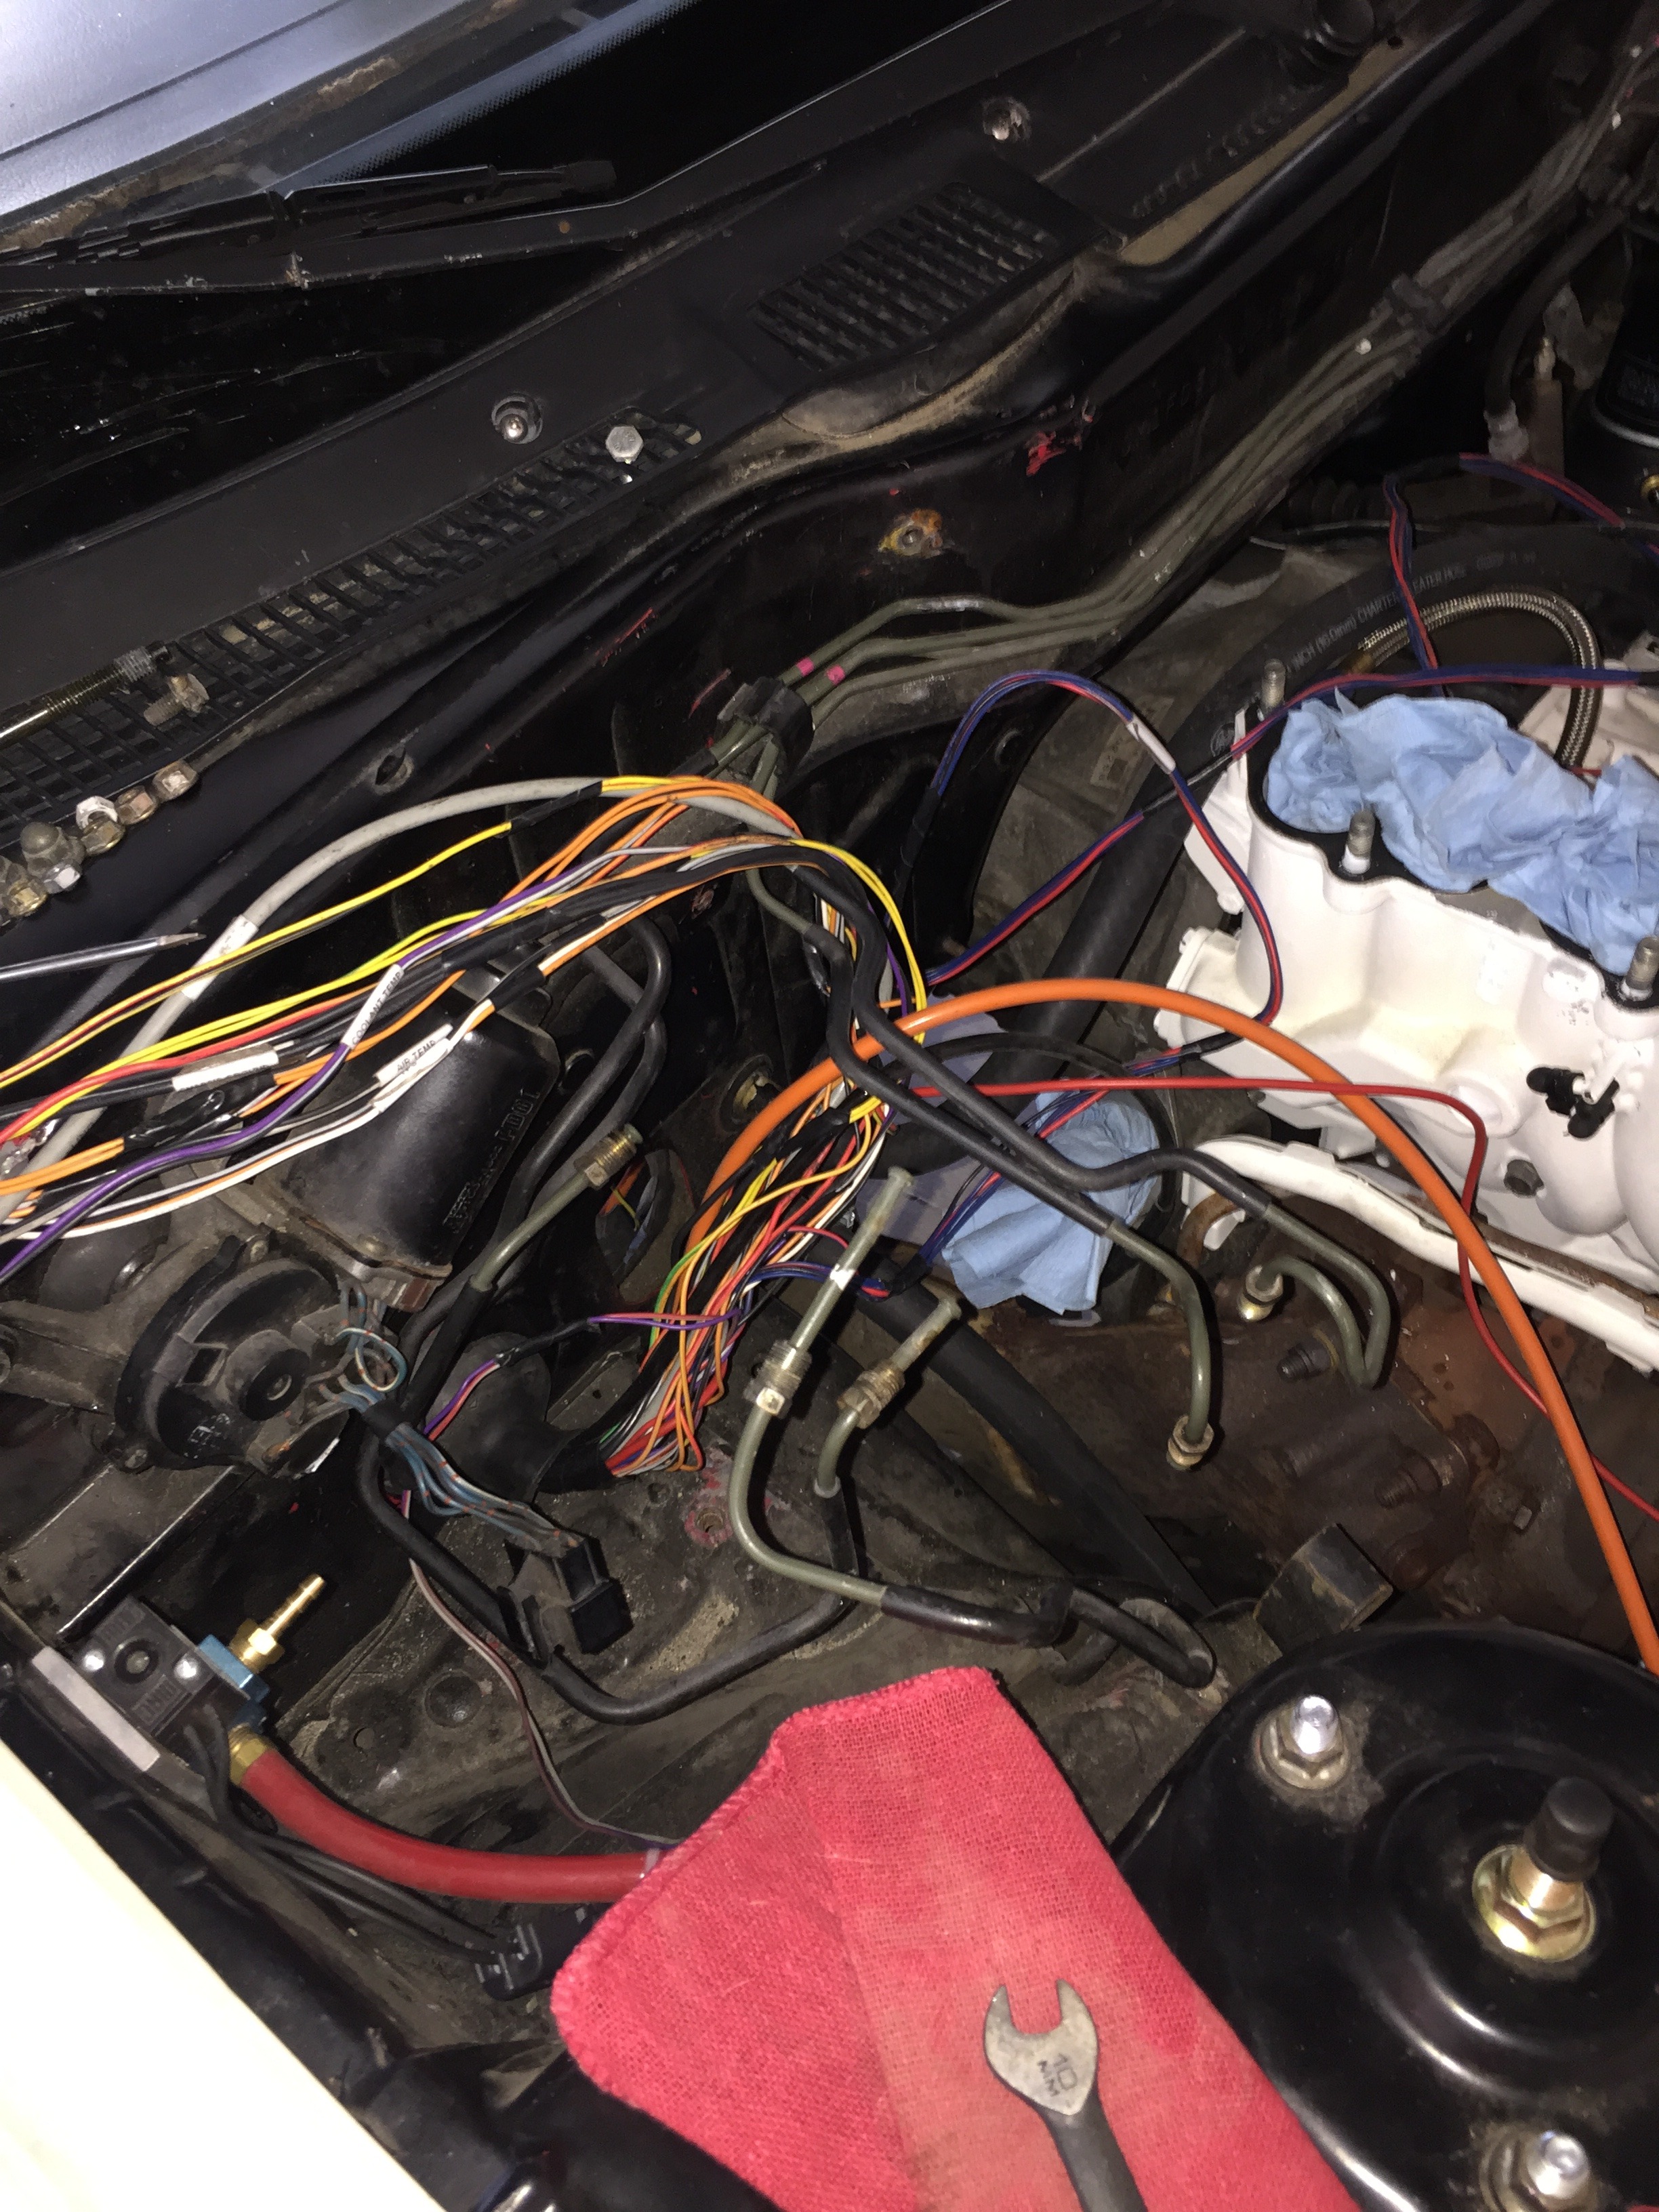
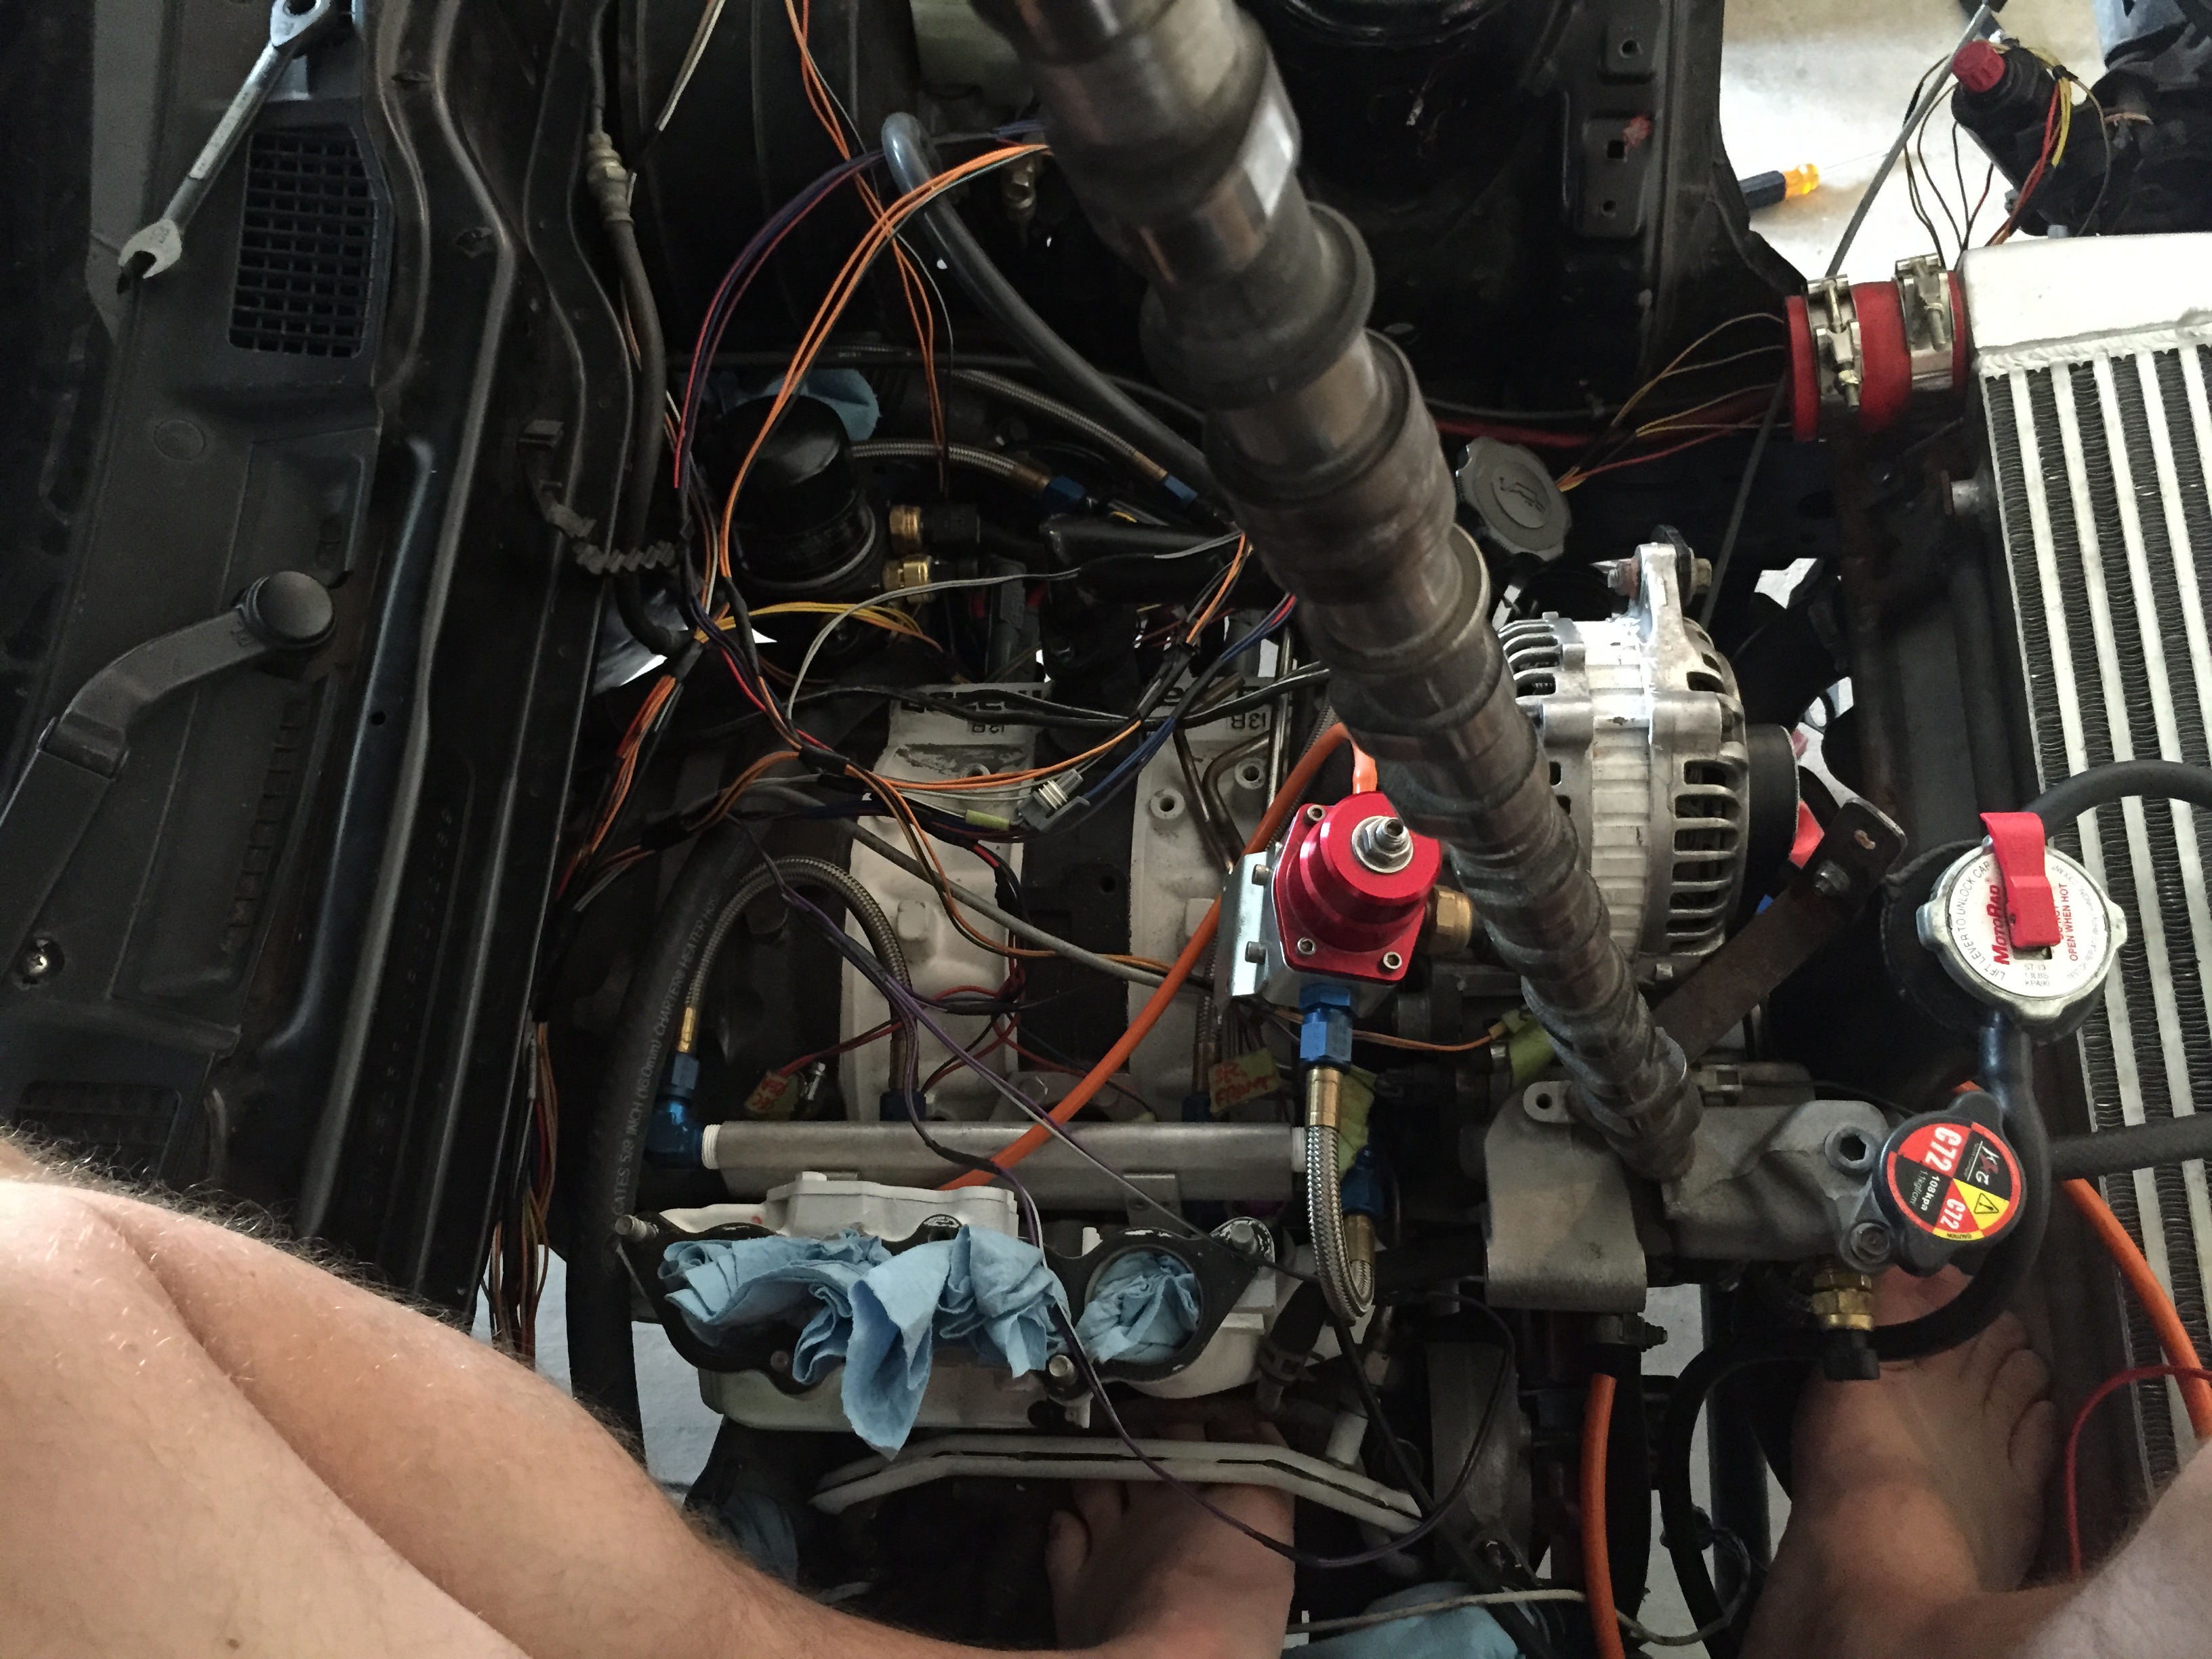
Well, thats about it for wiring I suppose. Finally got the ecu and fuse box mounted in the stock location and got everything cleaned up. So far so good, I did one wire at a time to make sure there were no mistakes made. Now every wire in the entire car has been gone over by me and either kept for later use or eliminated.
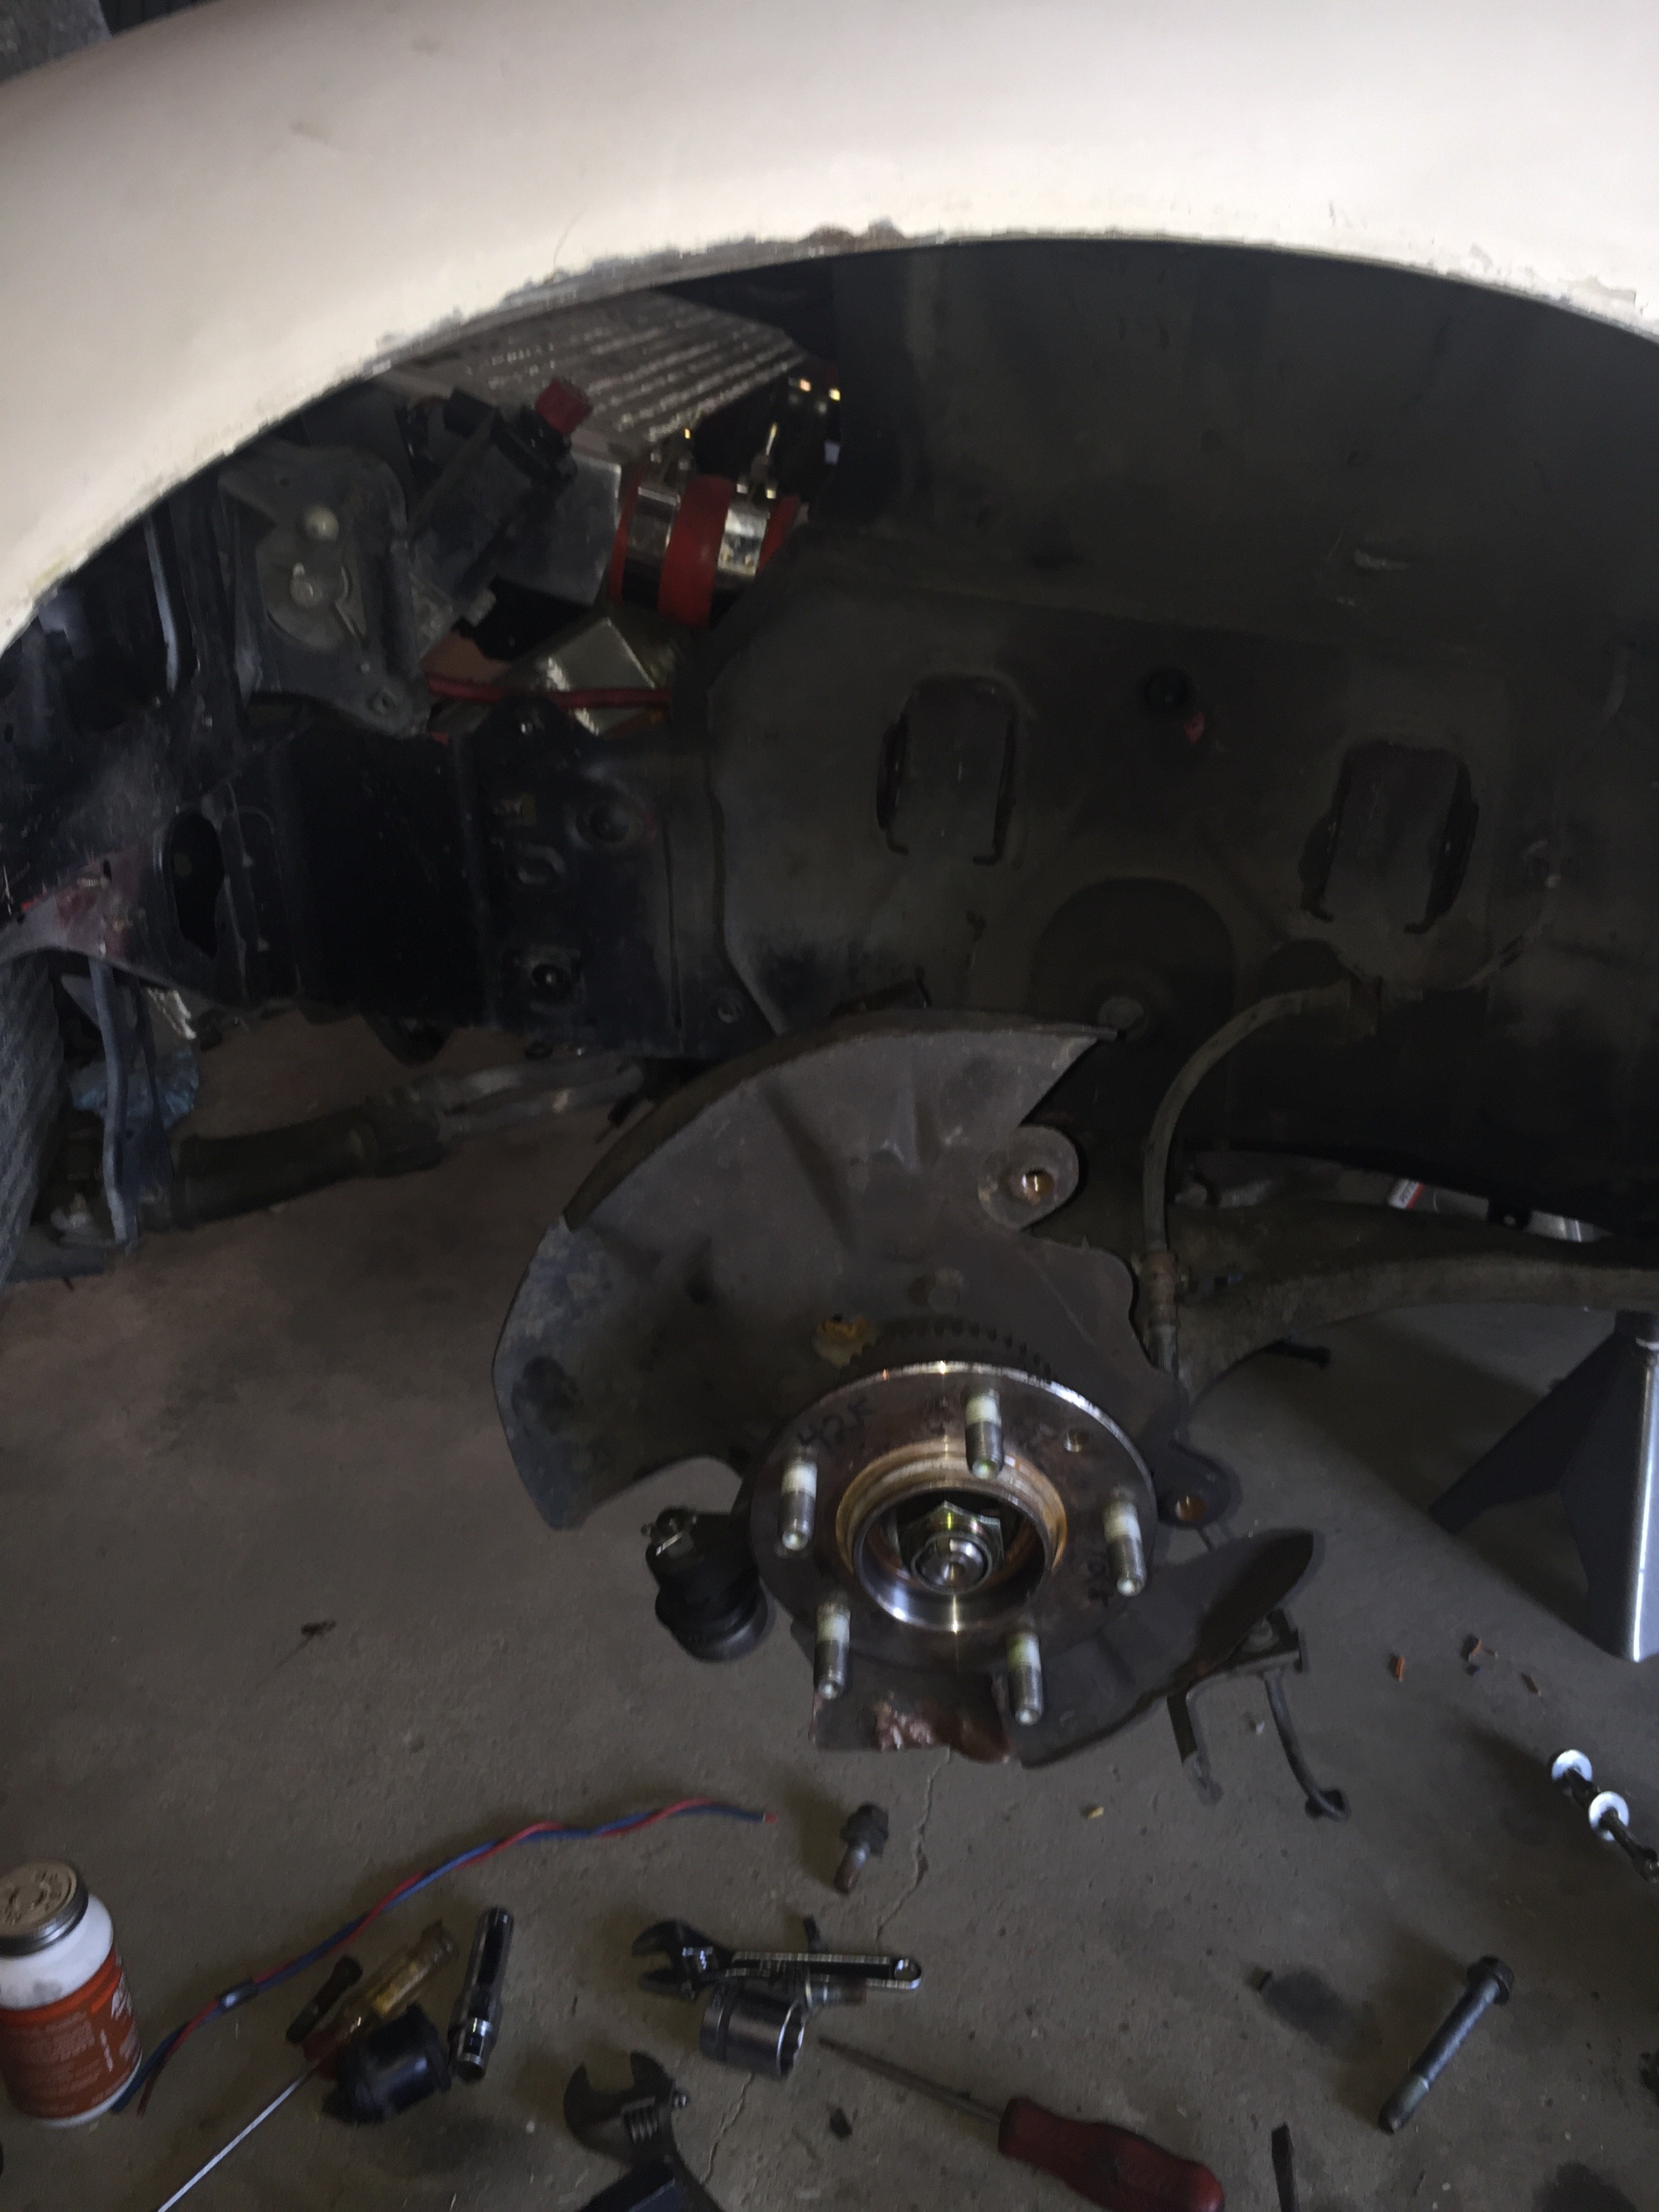
Moving on. I kept hearing a popping sound when I would back out of my driveway. Couldn't figure out what it was so I decided to check out the front suspension to be safe. It's a good thing I did because the lower coilover bolt was hand tight and the A arm balljoint was bad. Oh, and the wheel bearing was bad as well. Errthing bad up in there. So I got some replacement parts from Fritz and got it all good to go. Swapped out the prothane bushings before install
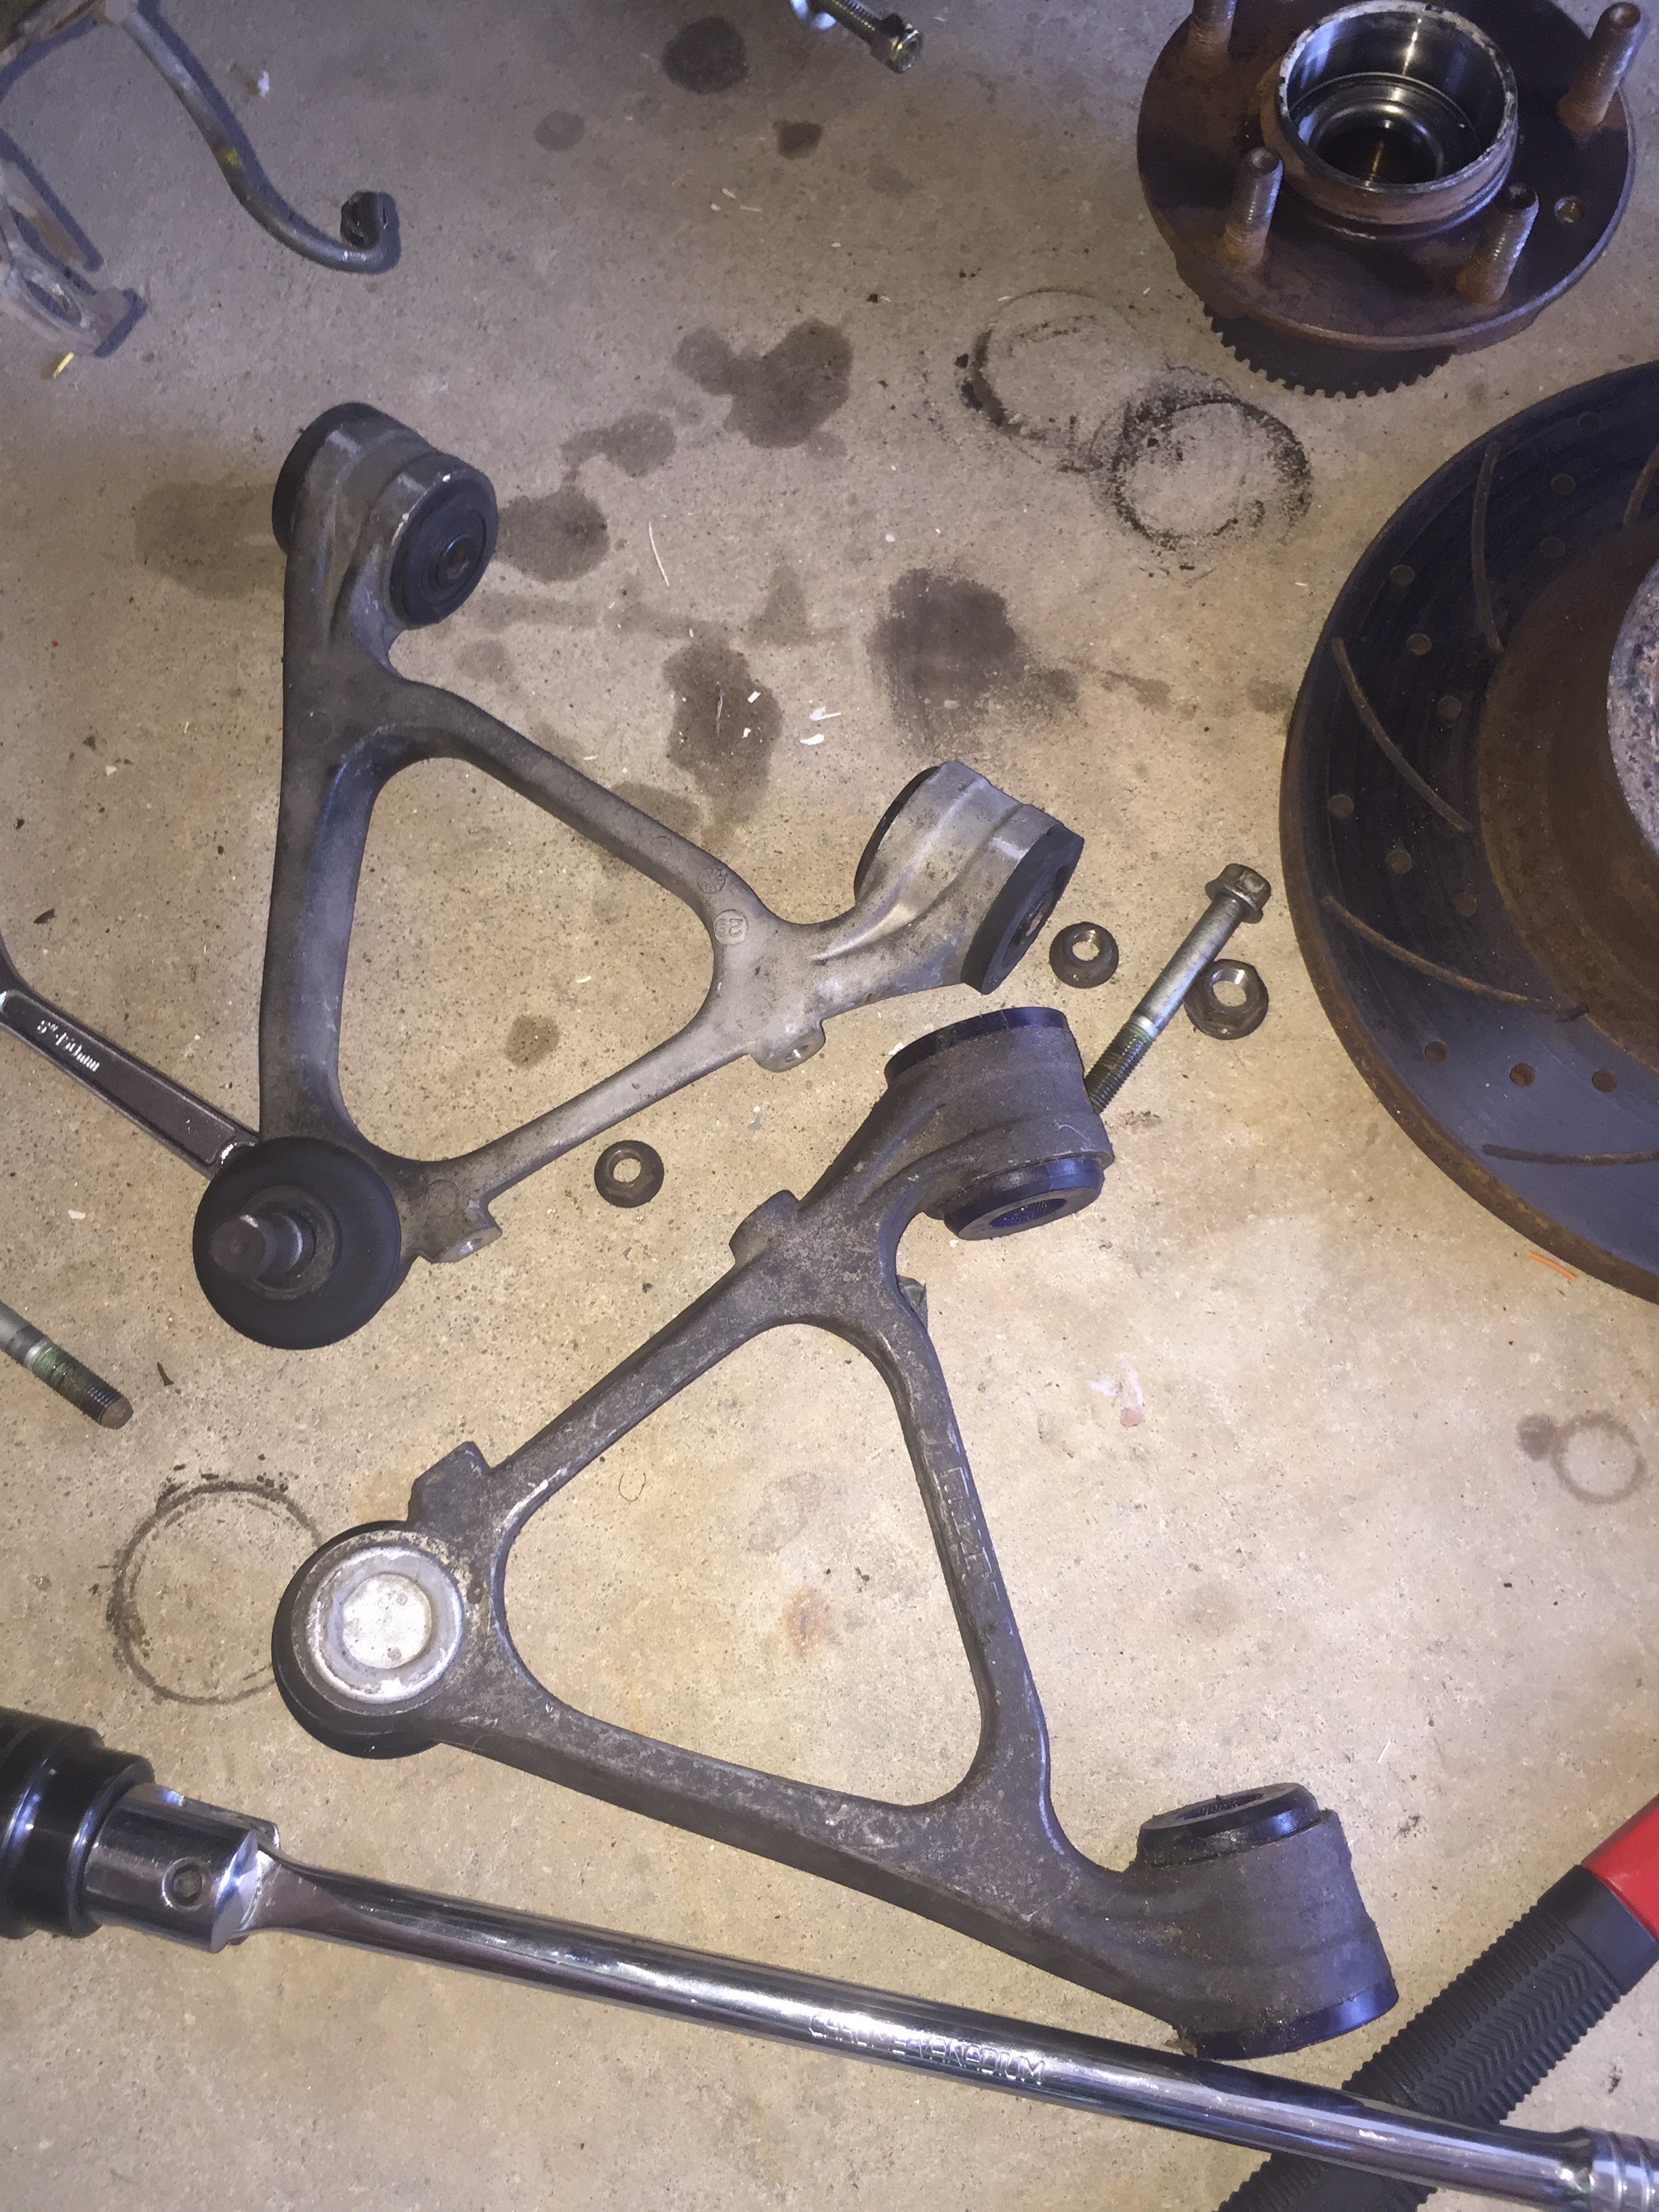
I had to get crafty getting the prothane bushings out

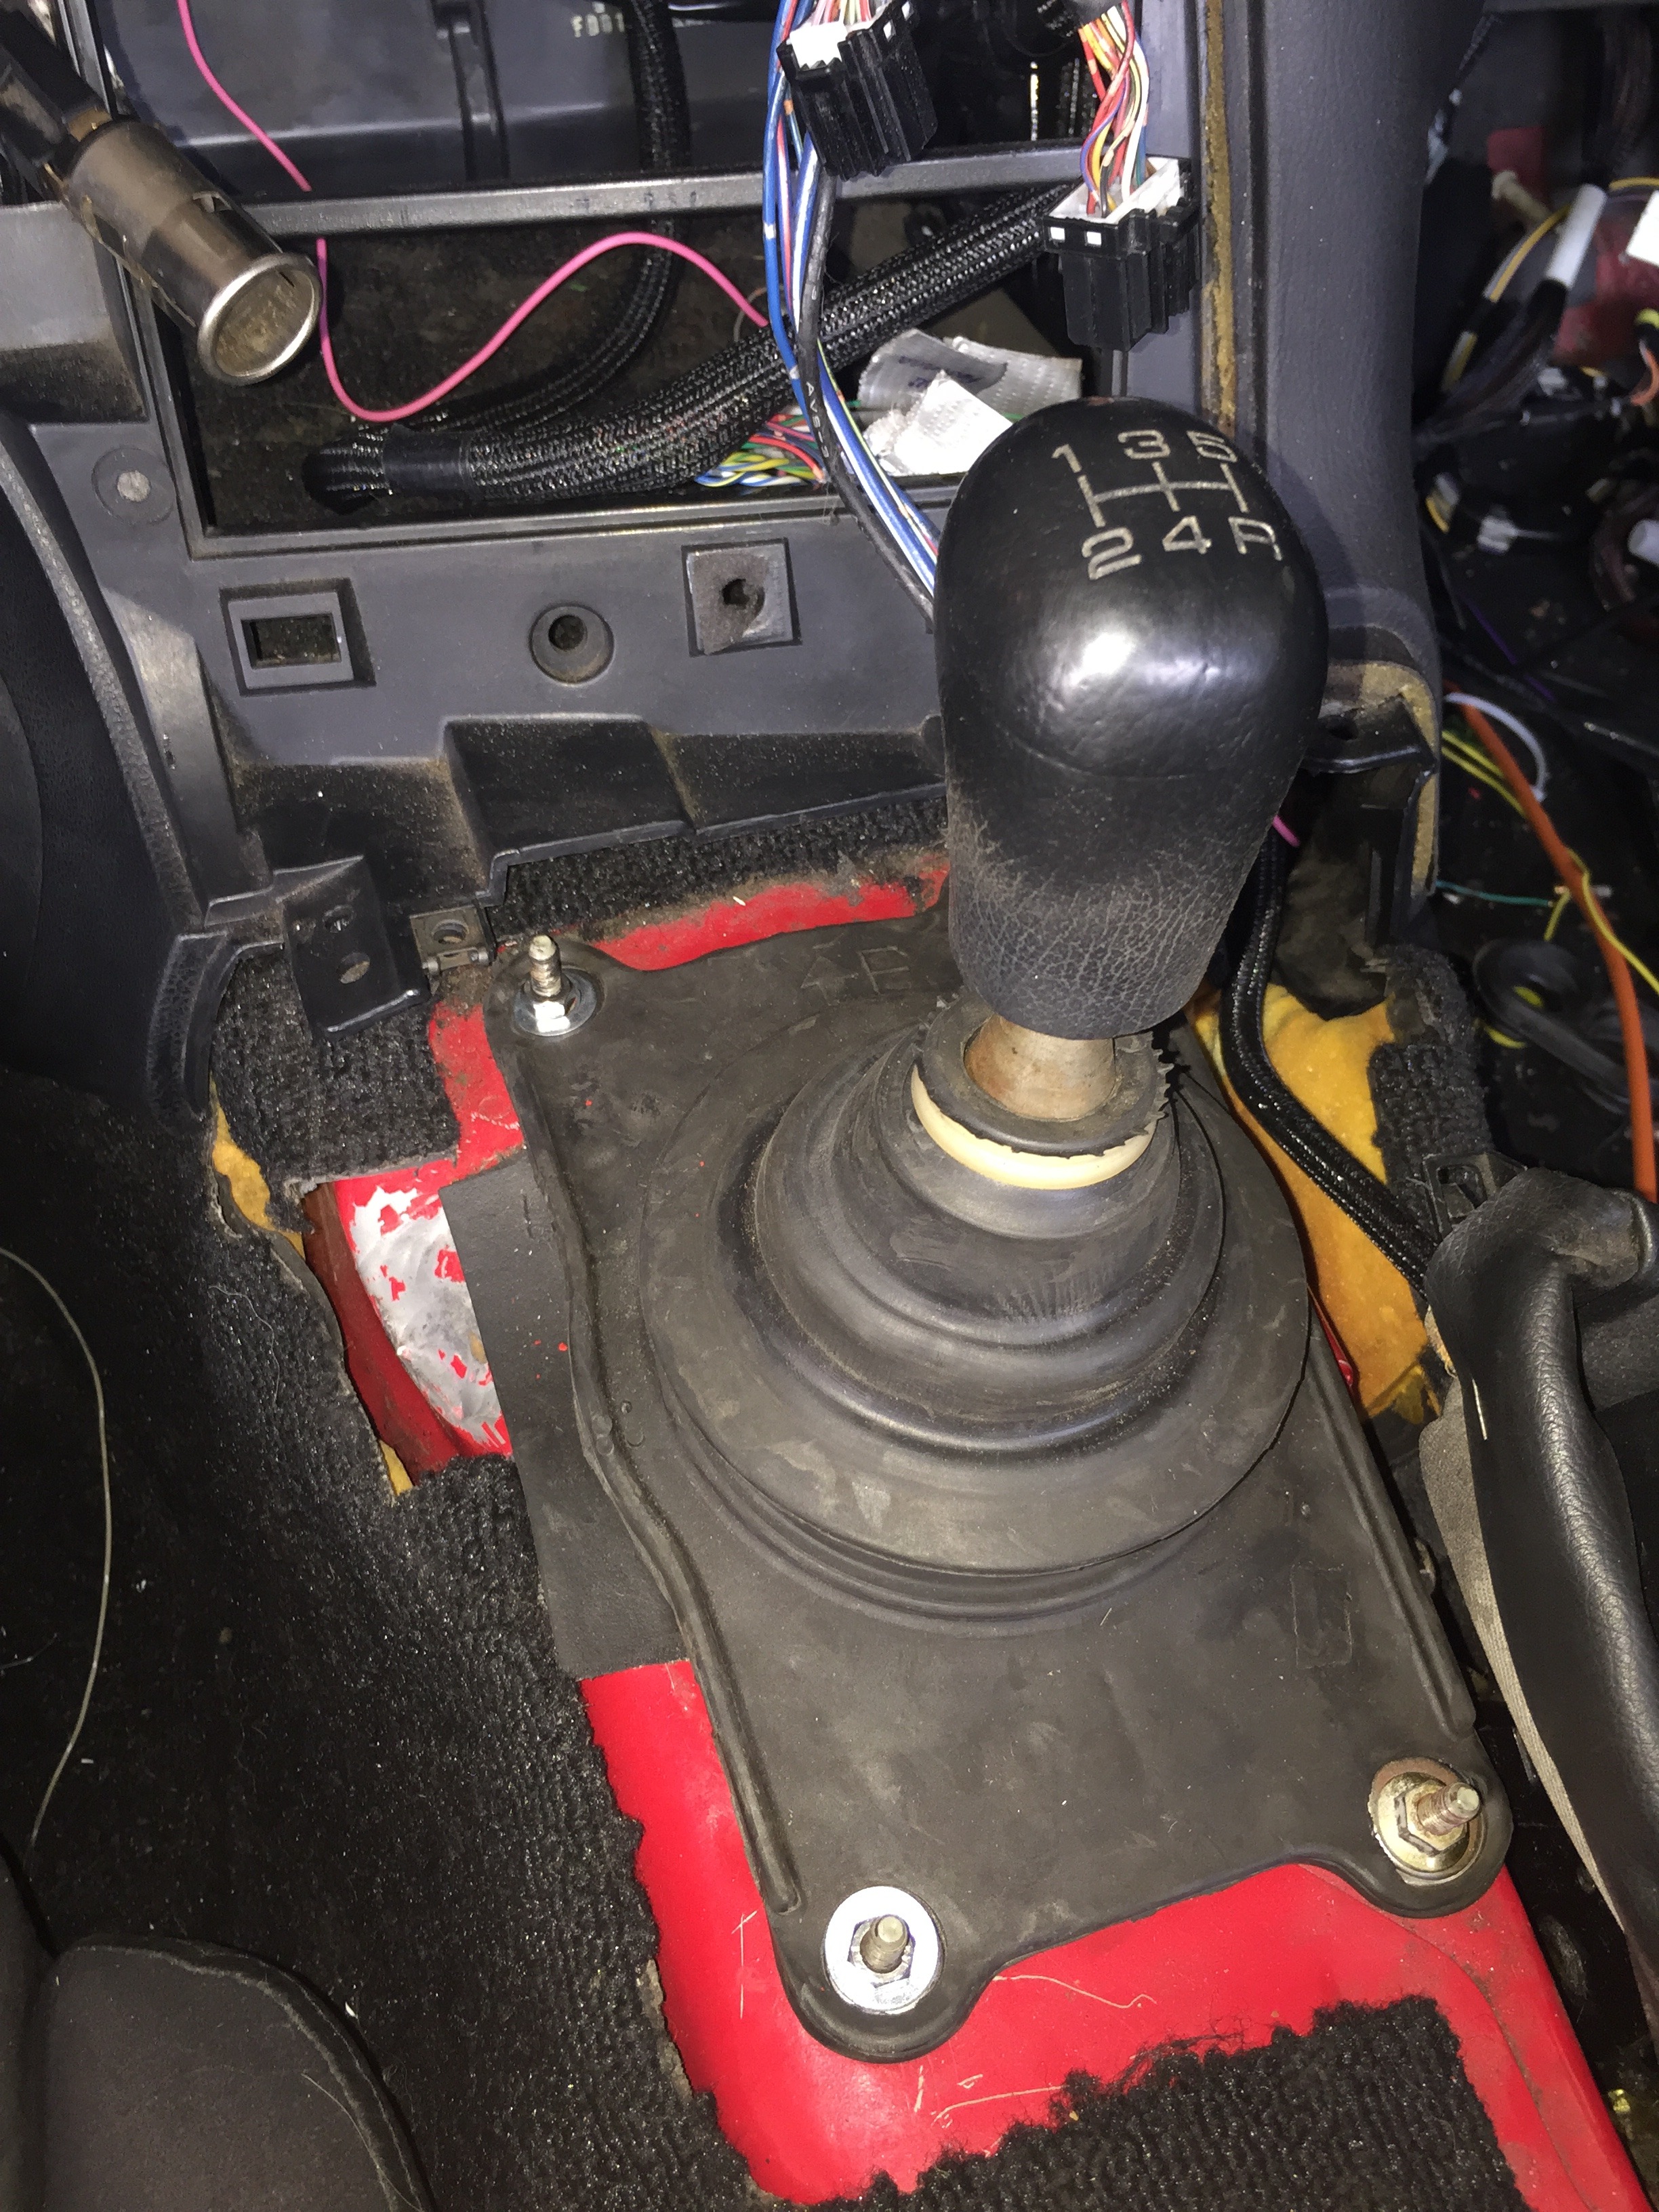
While I was waiting for parts from Fritz I also decided the abs didnt need to be there anymore. Bought the V1 Alex Rodriguez kit for cheap on here and got it installed. I dont like how it doesnt replace the actual brake lines in the wheel well as well, so I will be ordering some -3an lines to extend down to the caliper over winter. Also bought a trans tunnel cover since mine was missing.
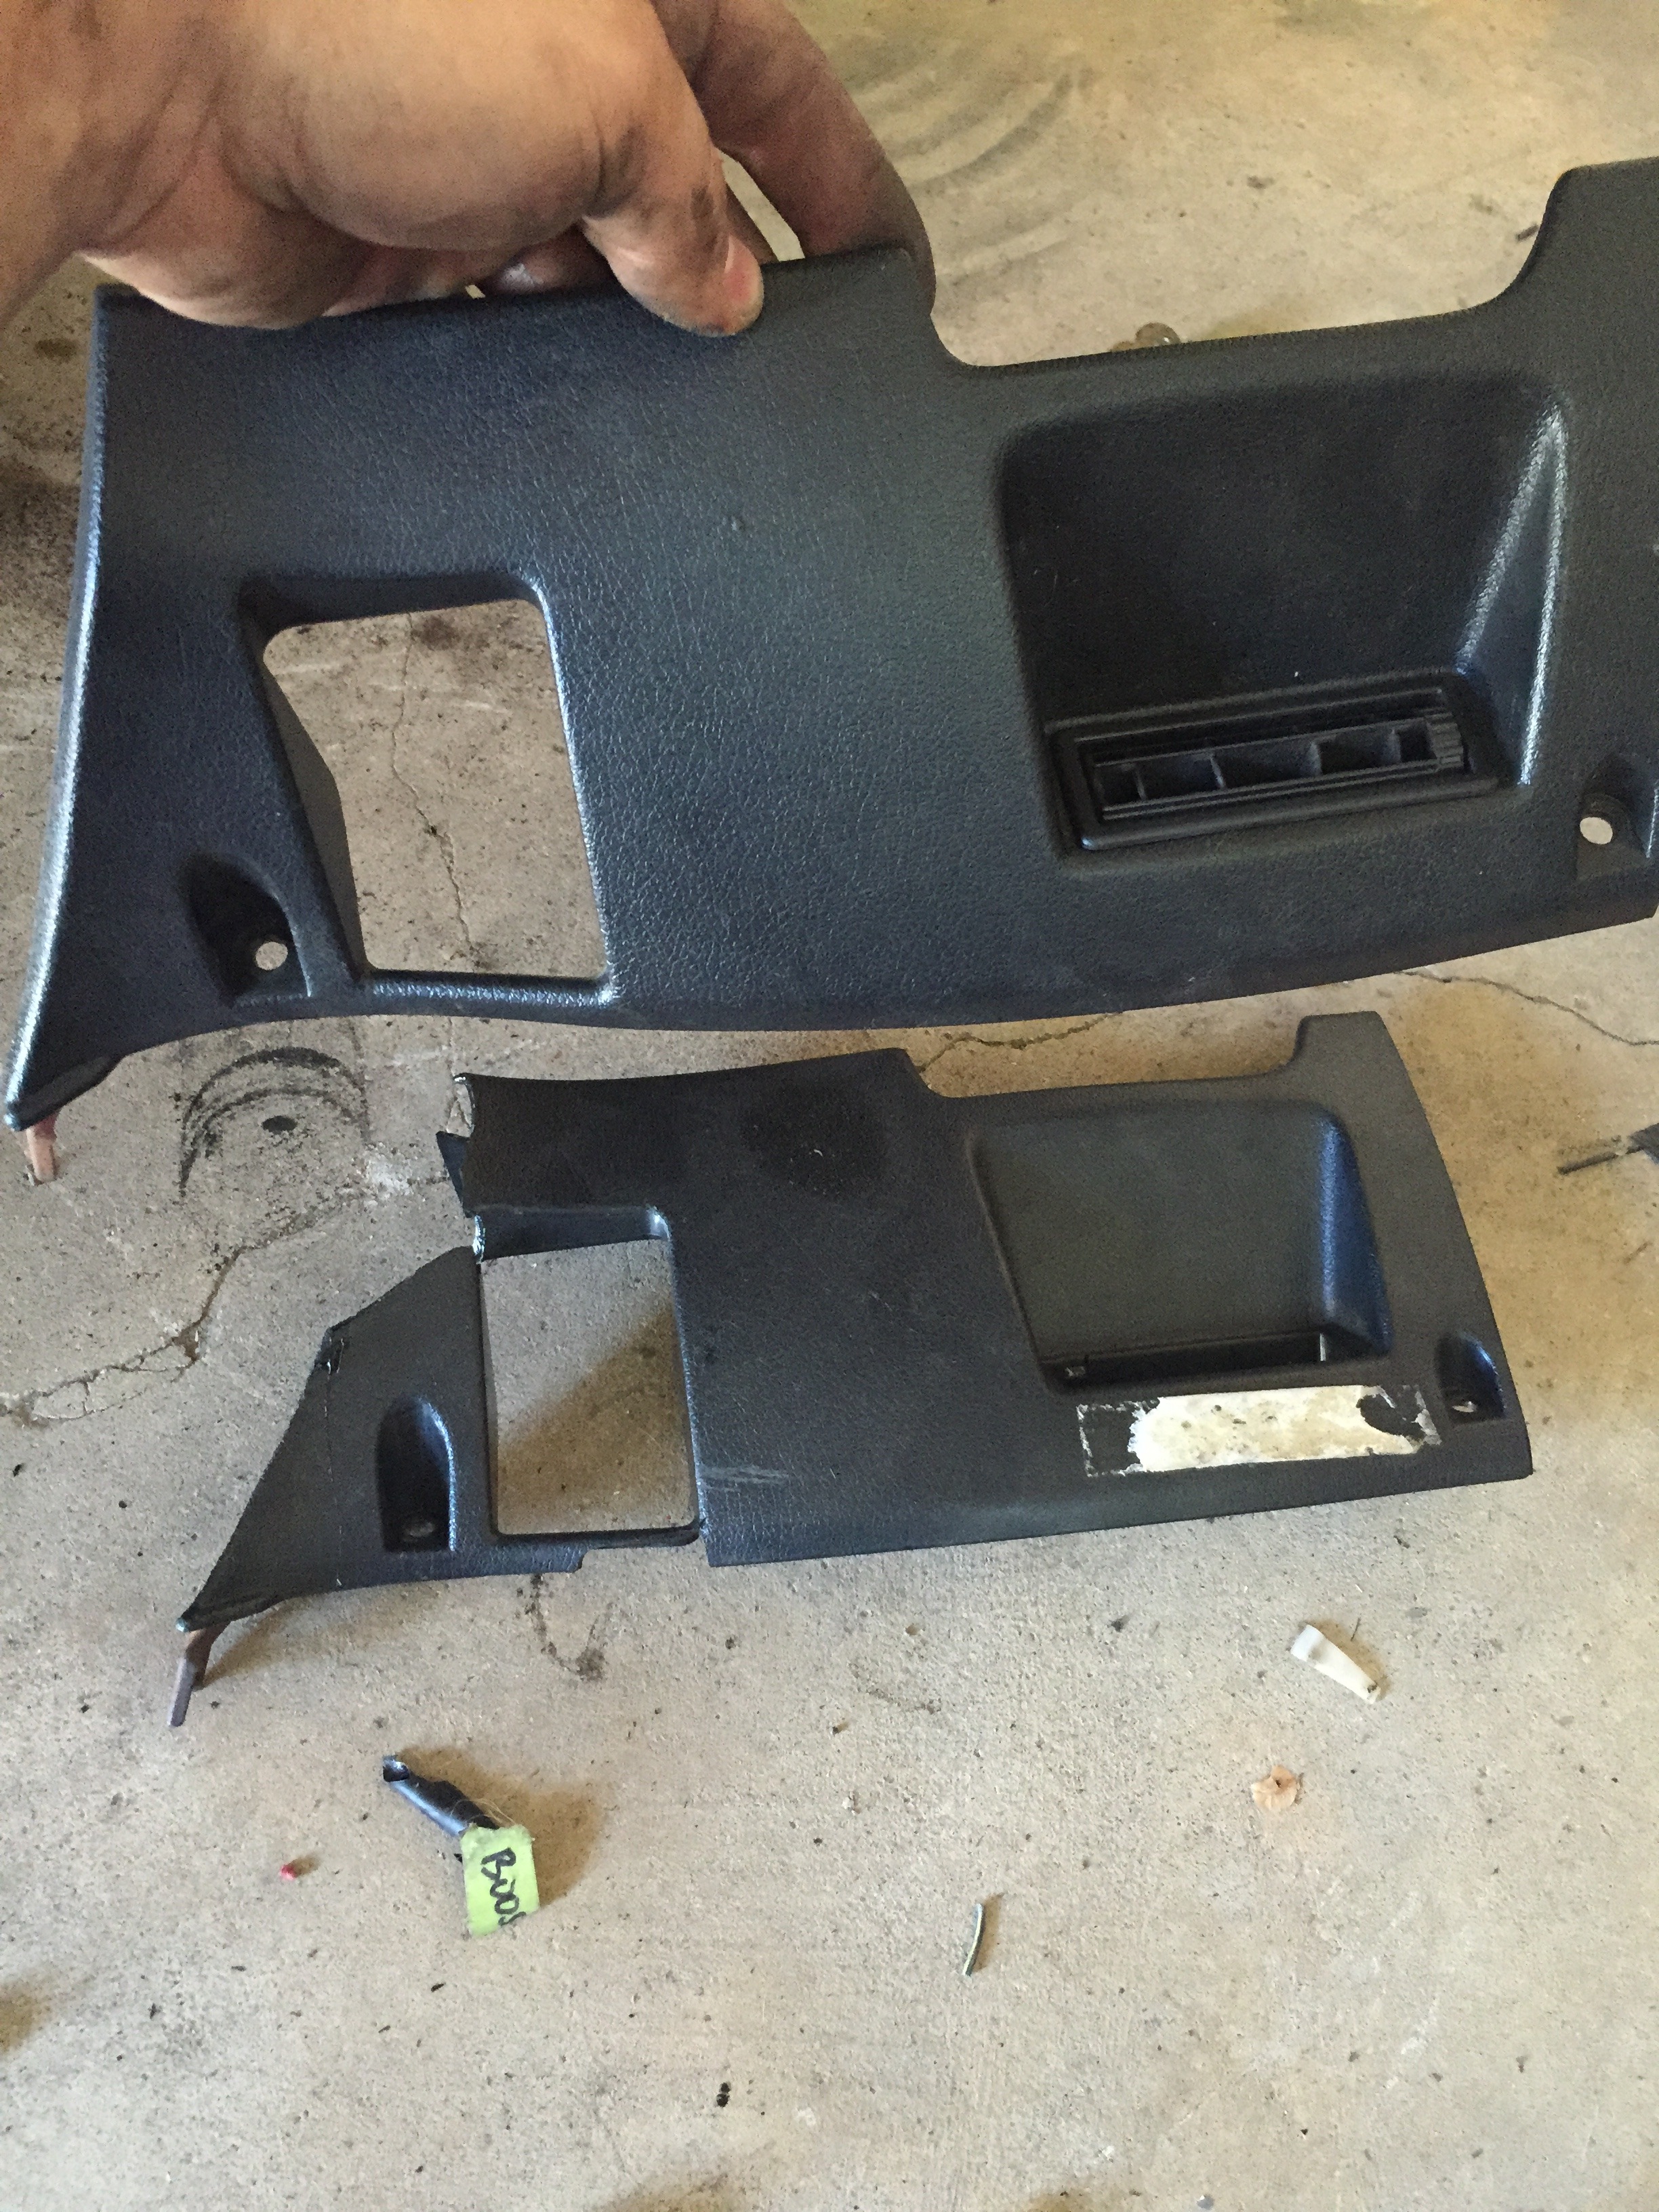
Lets see, what next...oh, the piece that goes under the steering wheel was cracked so I ordered a new one of those as well
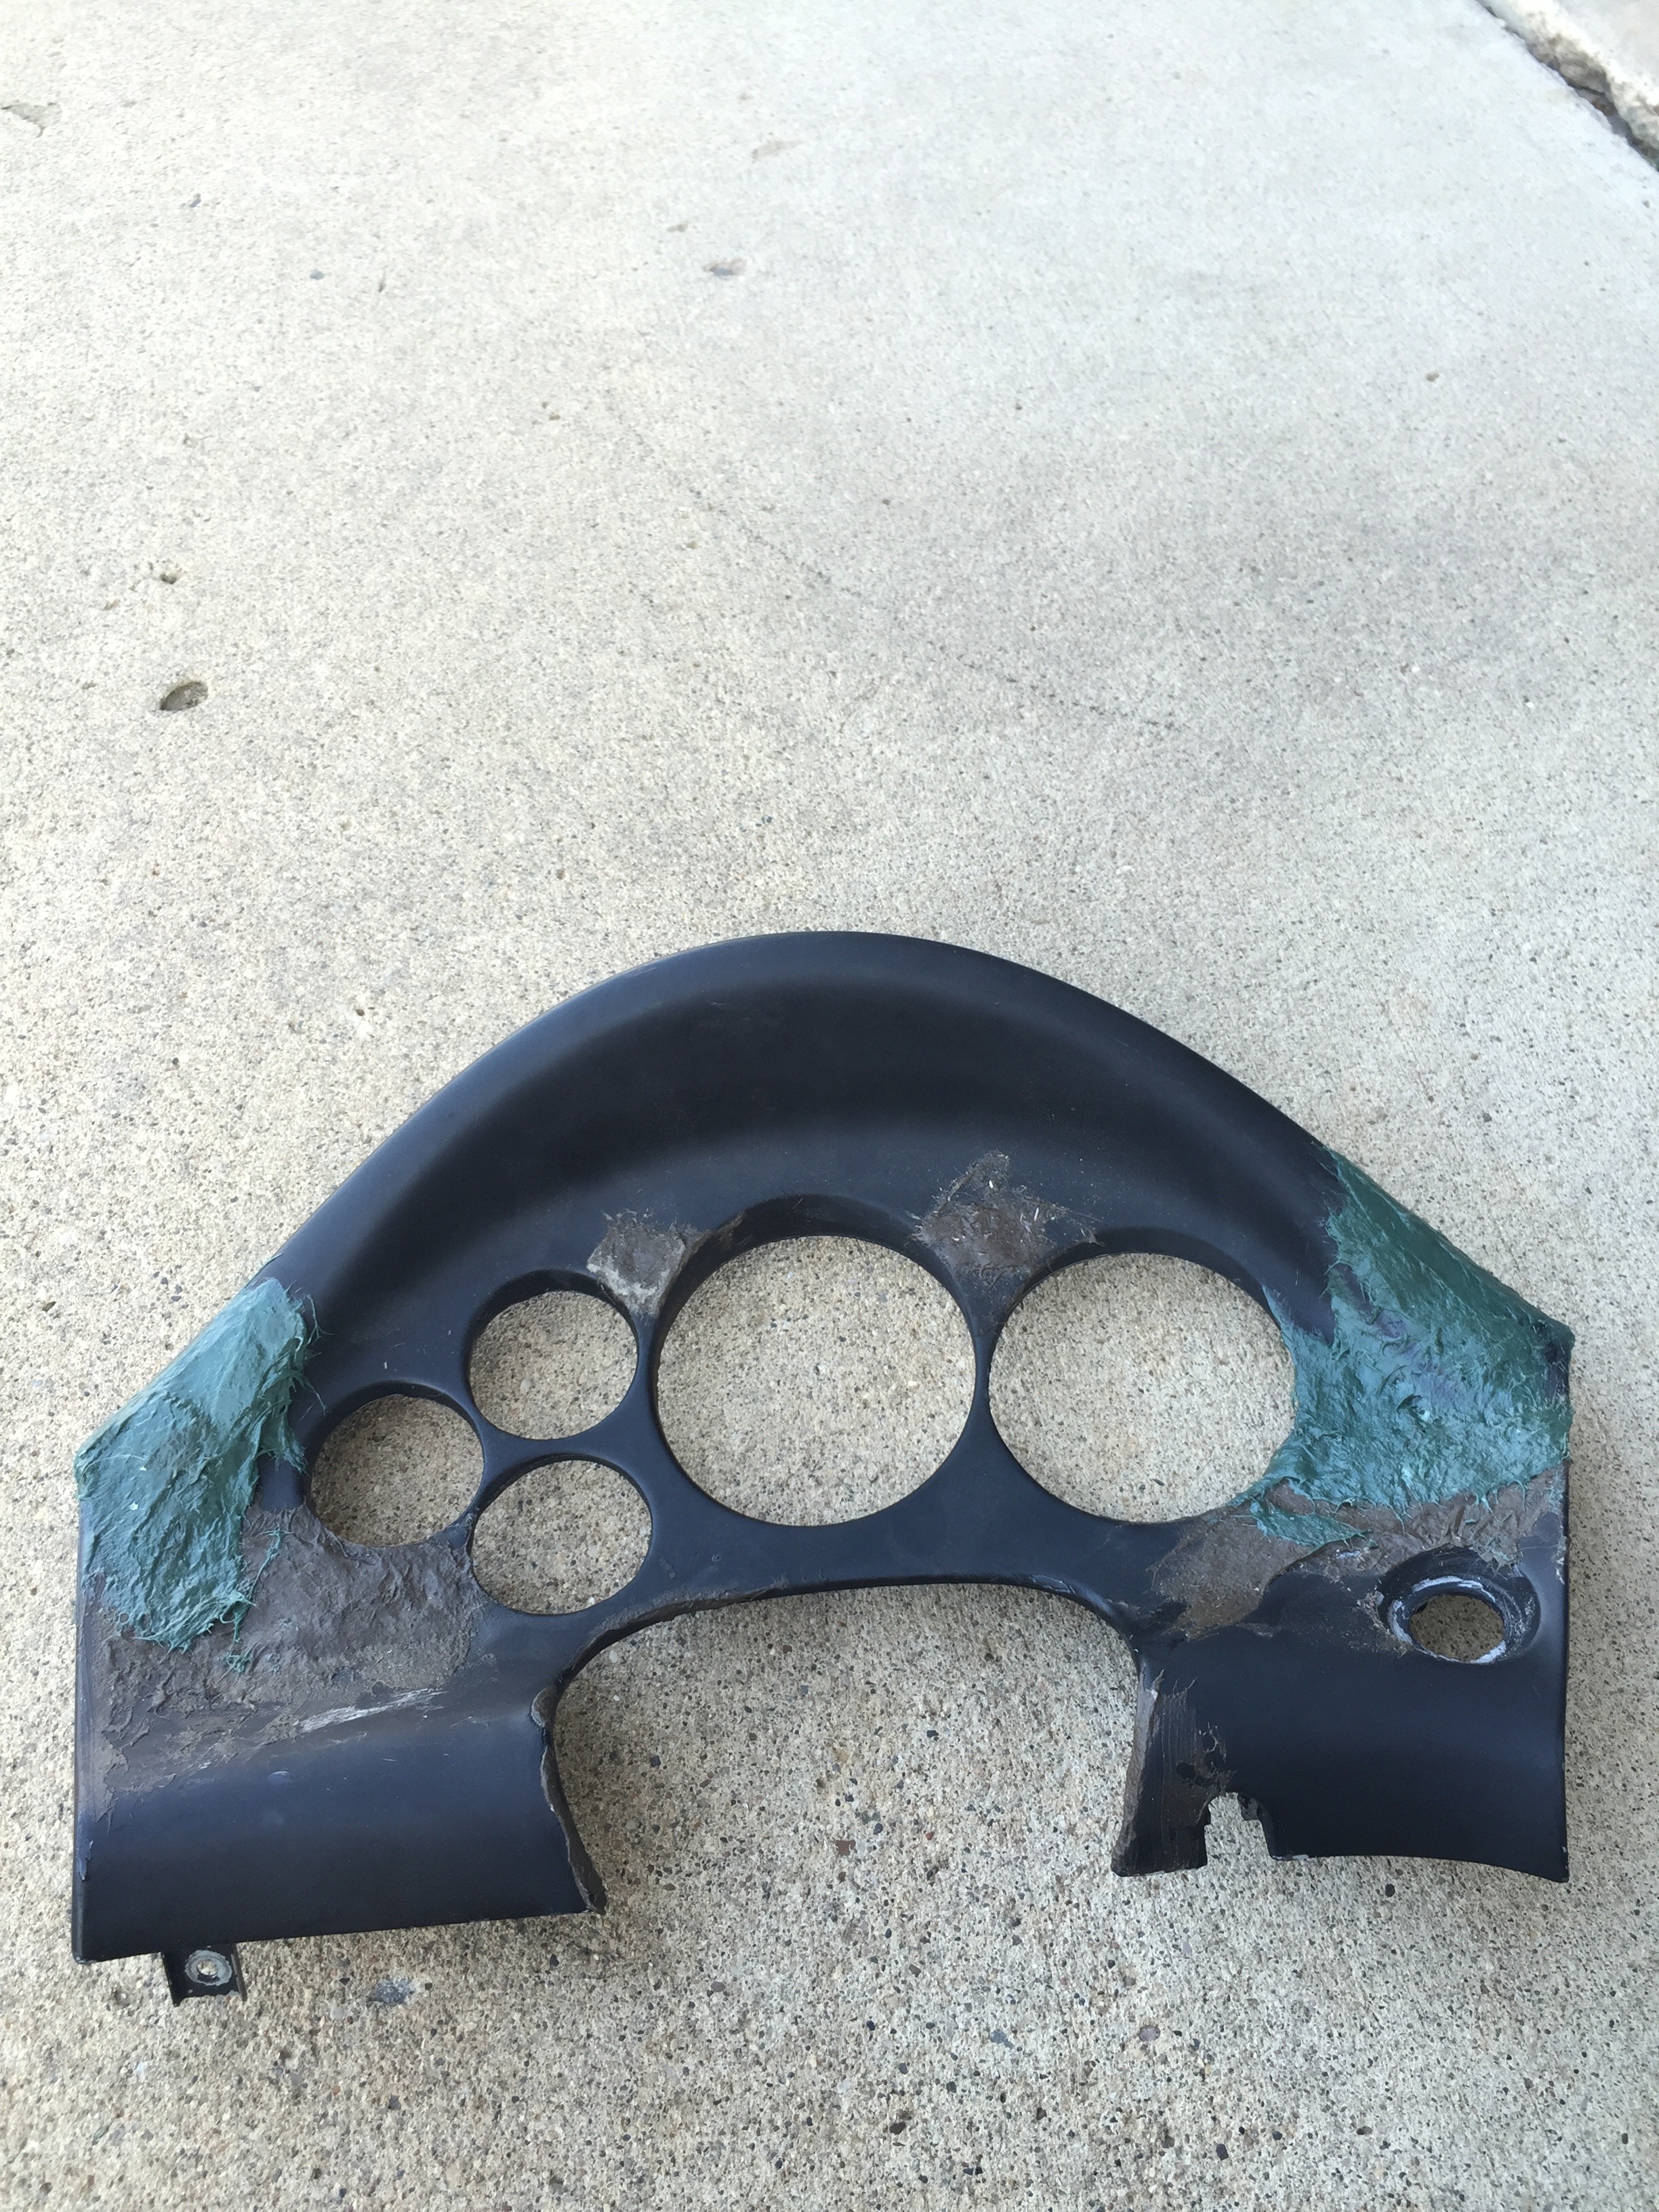
I was tired of my gauges being zip tied in place so I did a really quick job on the cluster surround just to get the gauges mounted up so I can enjoy the car before winter

Got the quarter panel smoothed out for the most part. Still some work left to do, but again, waiting for winter (winter here is really long).
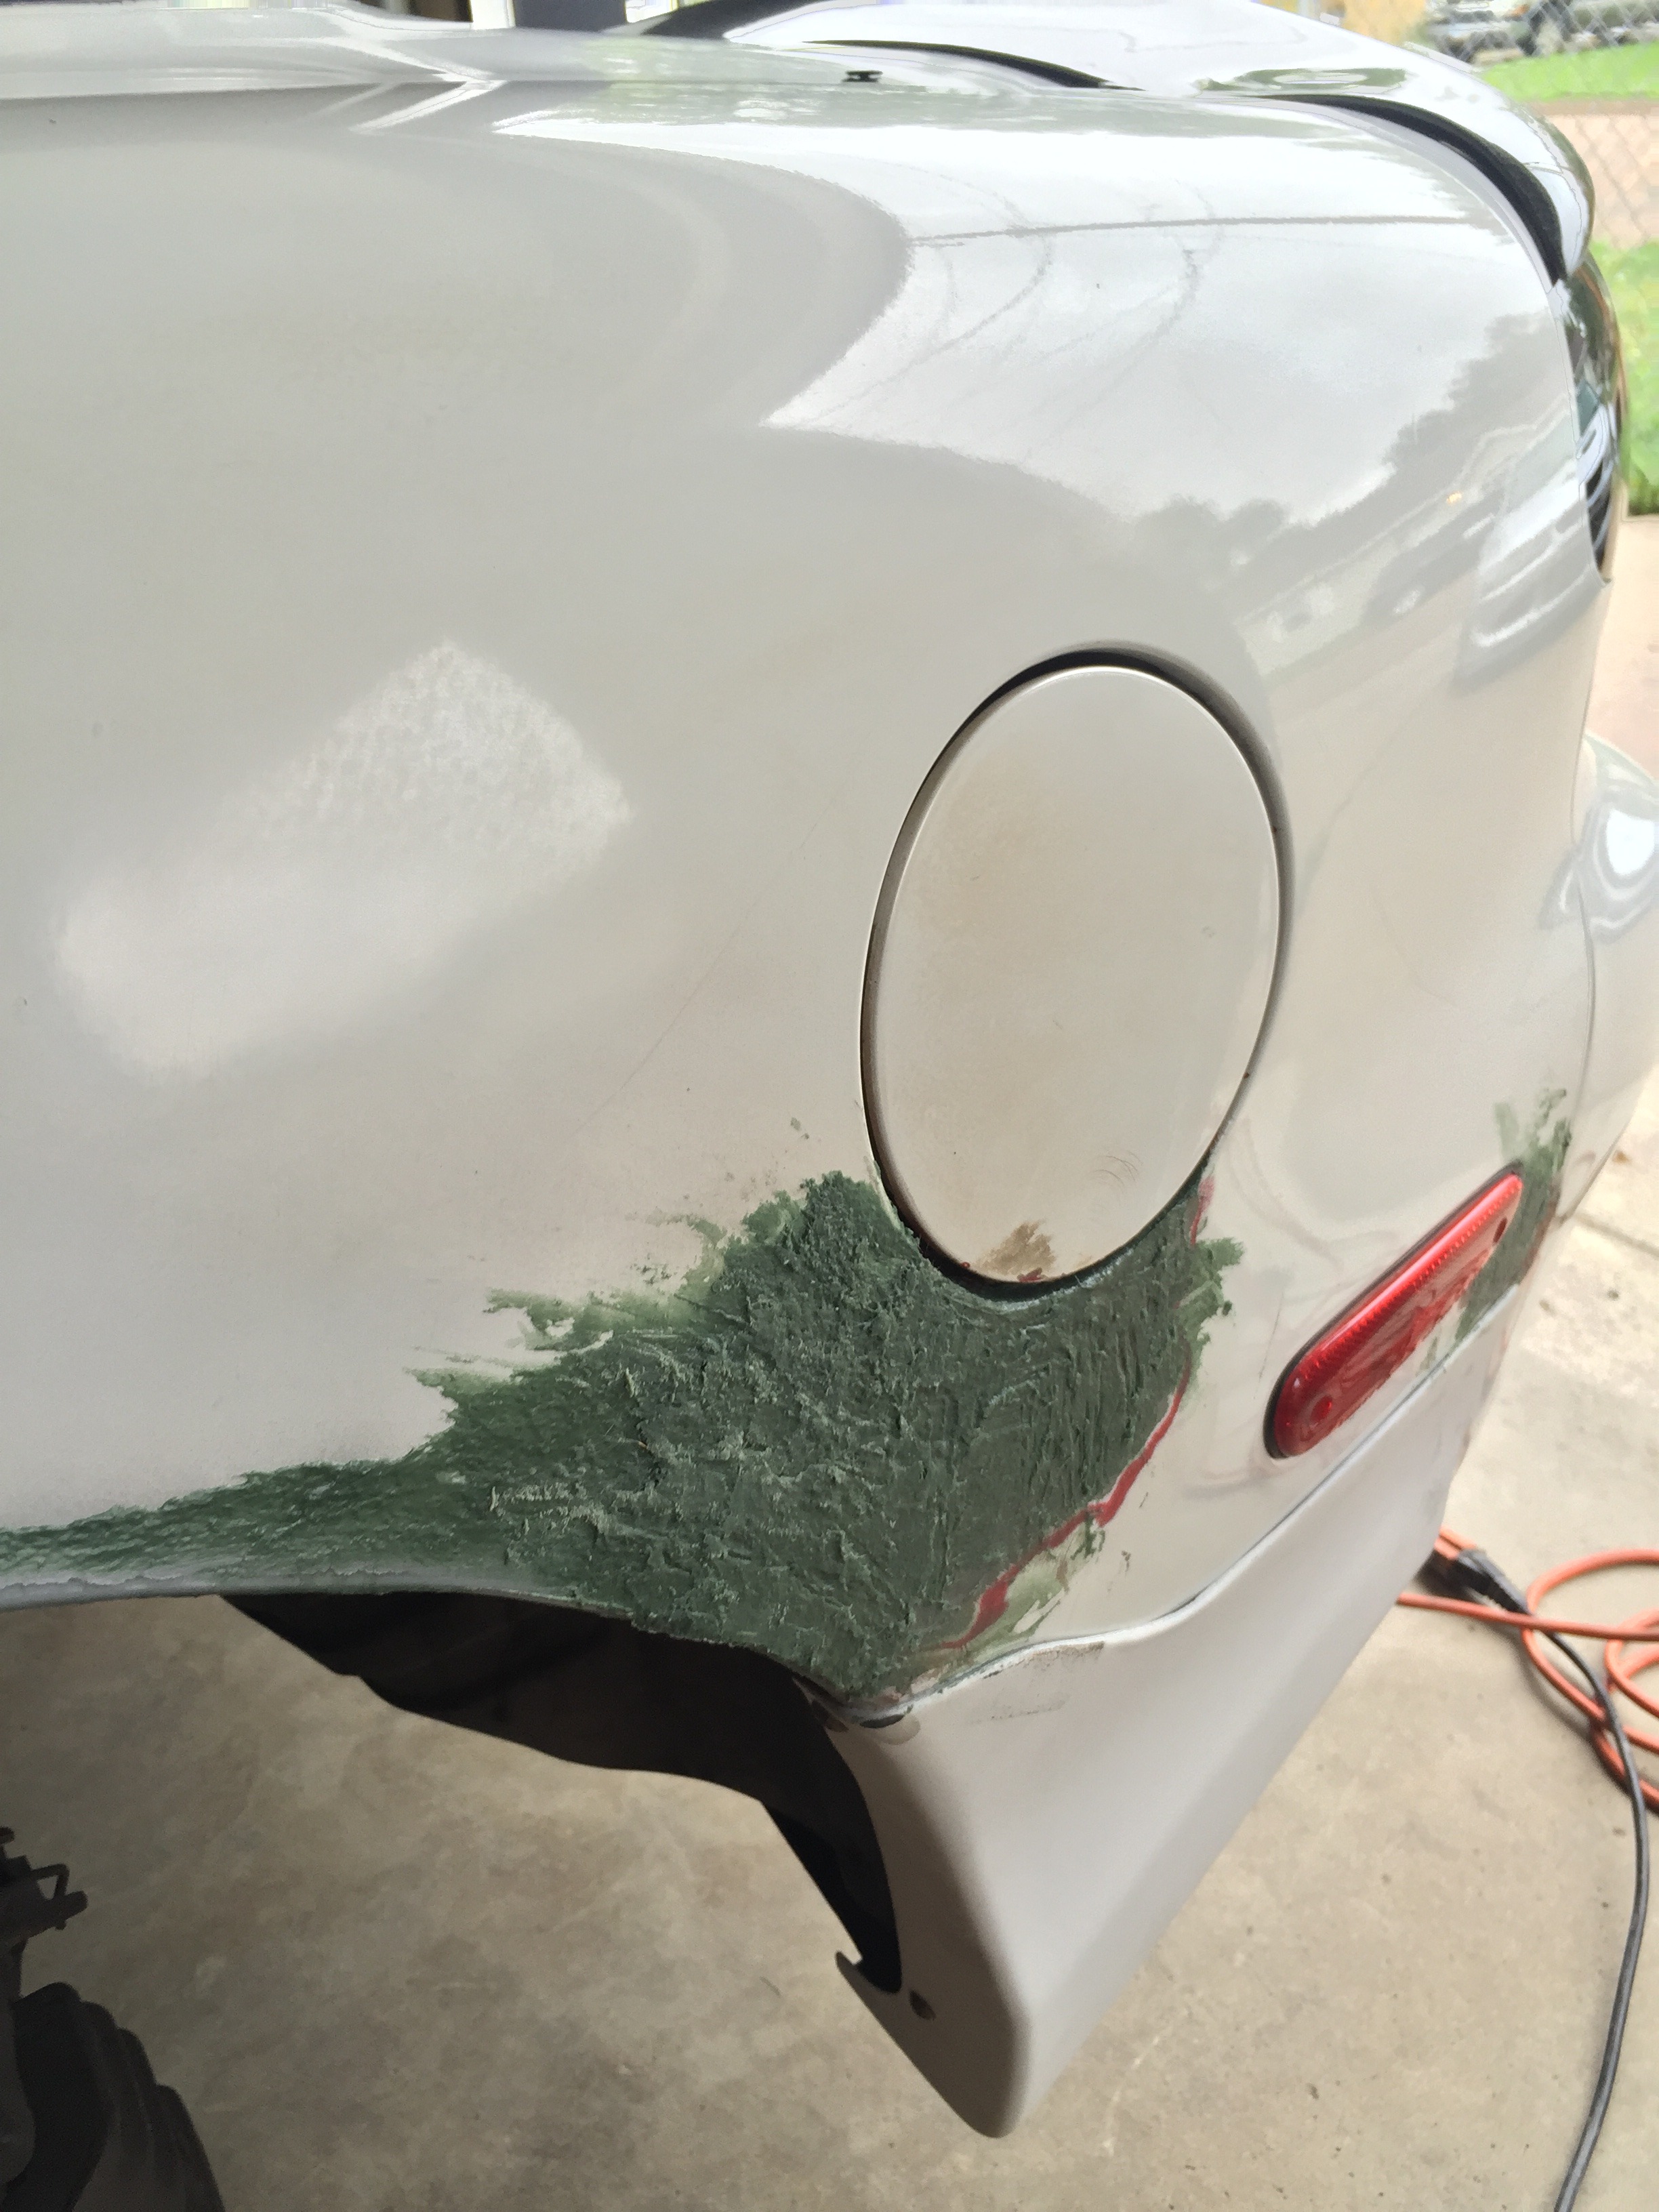
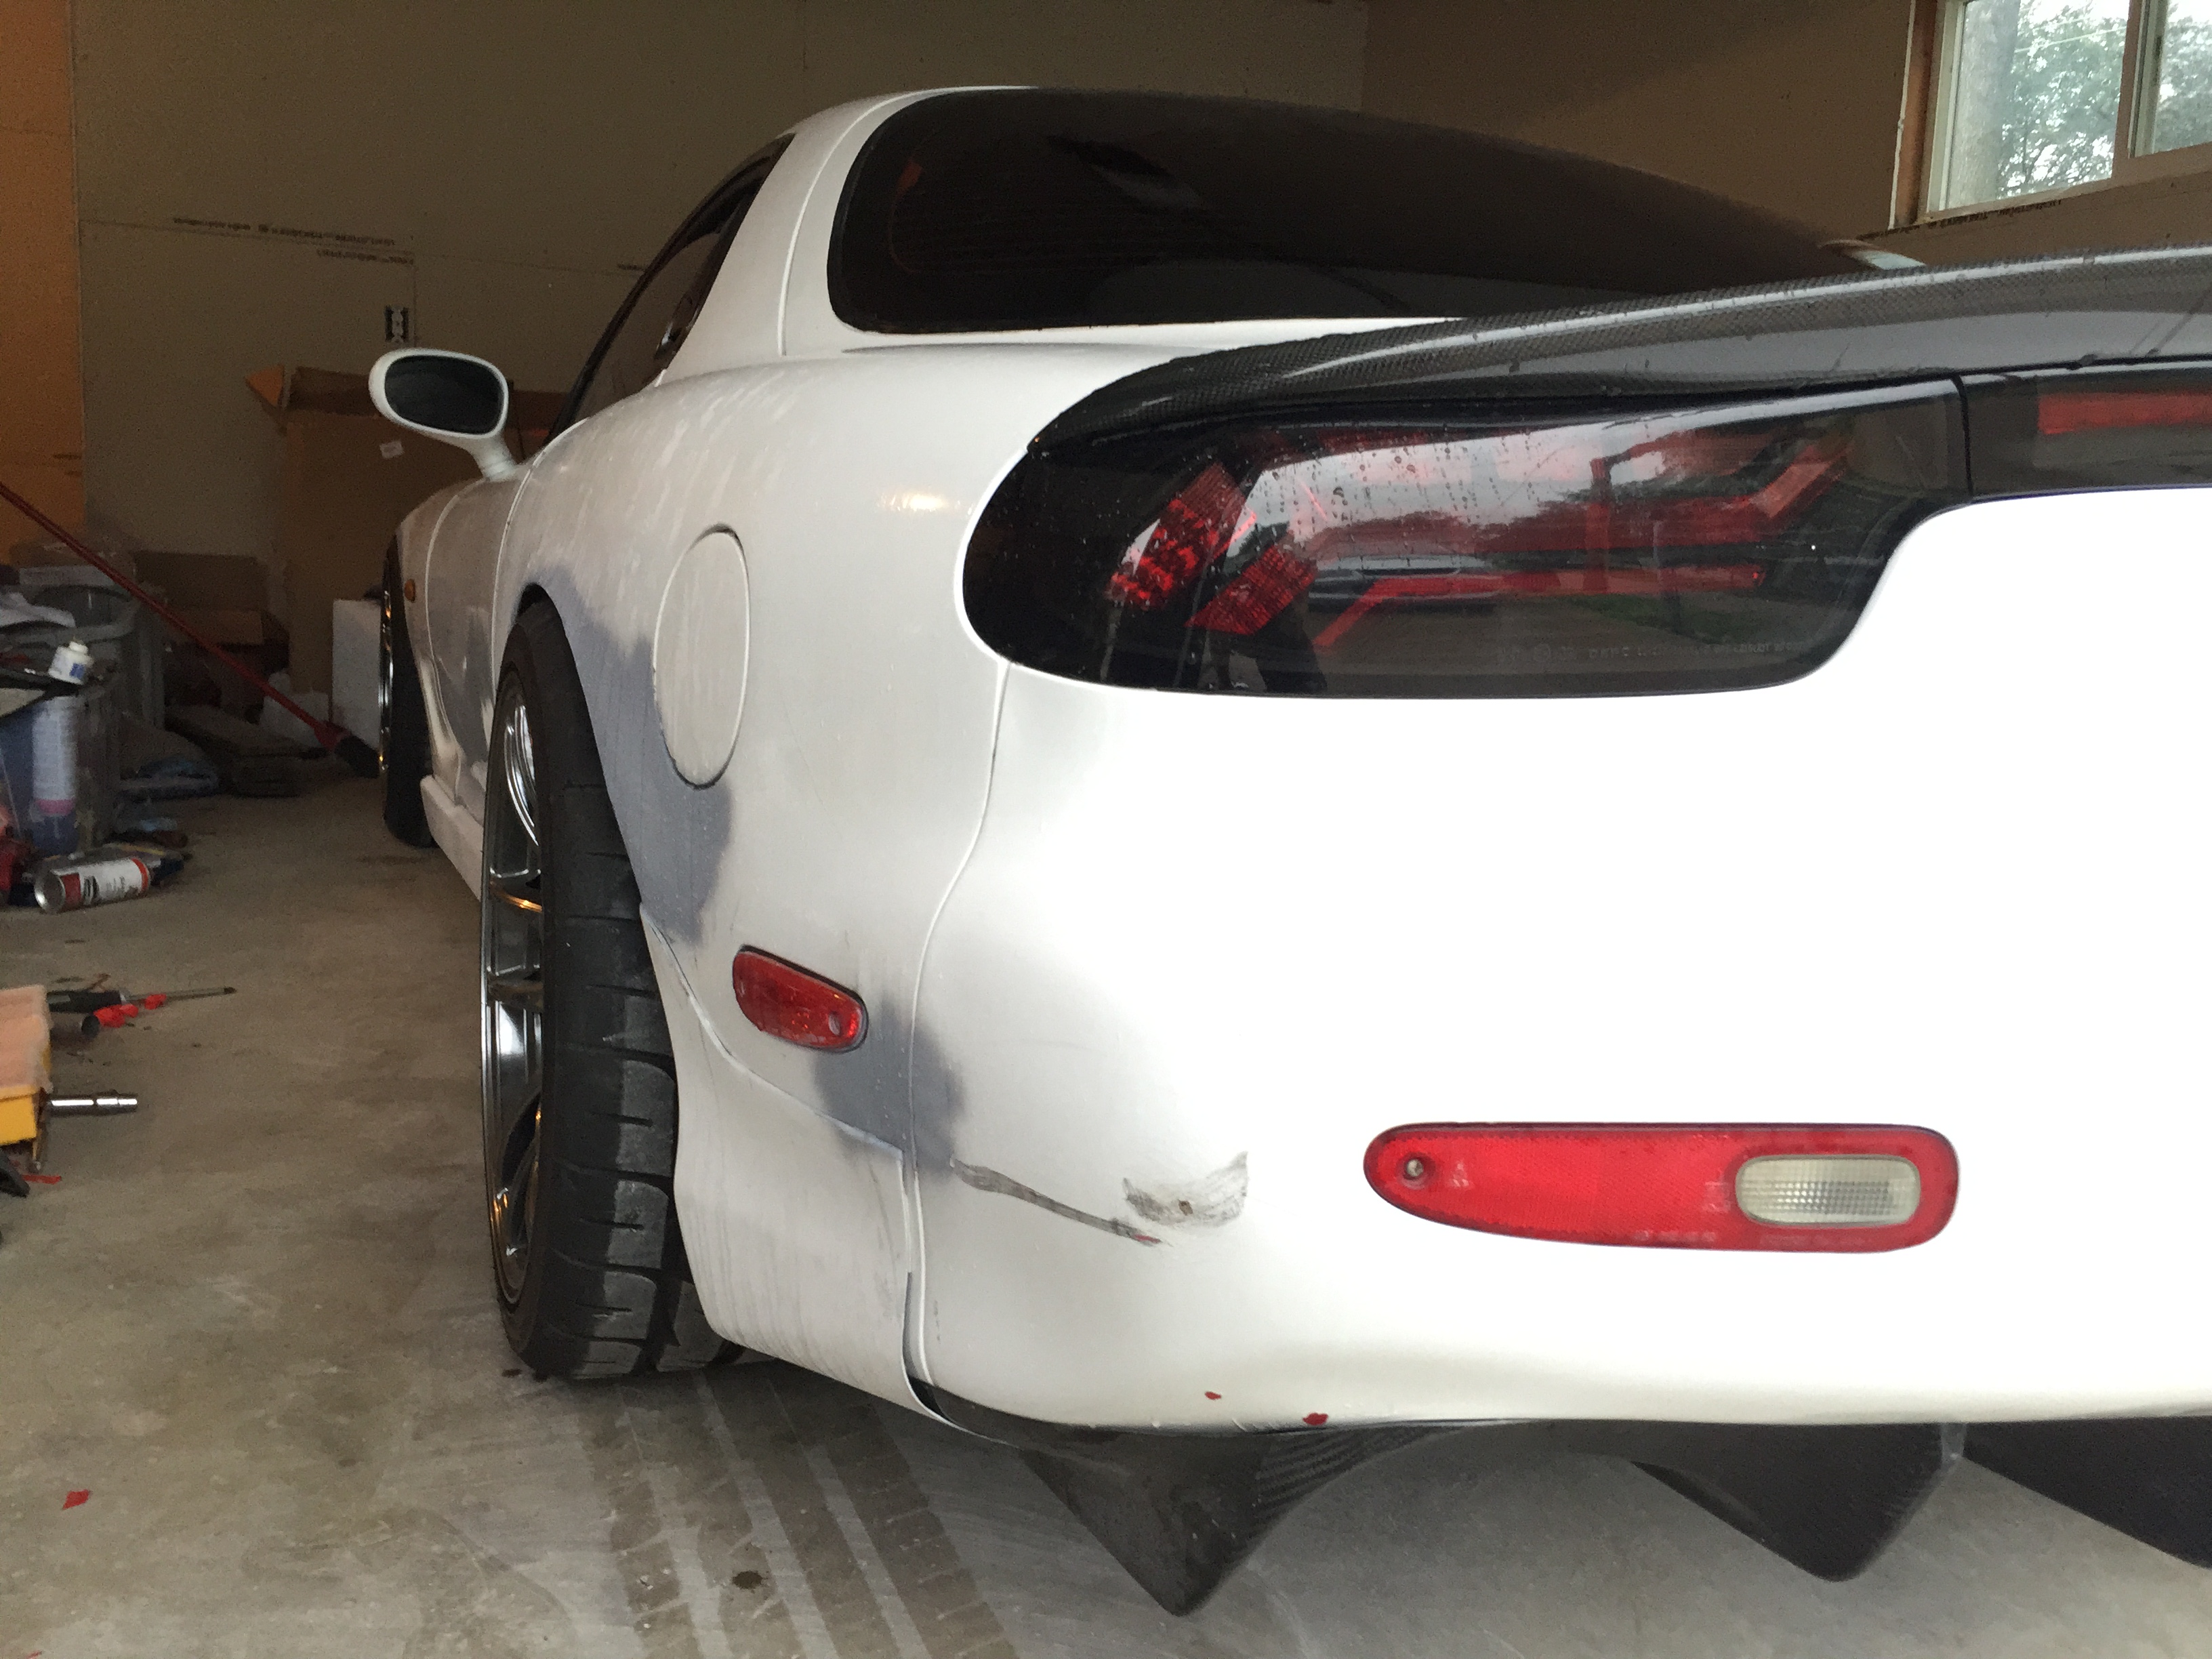
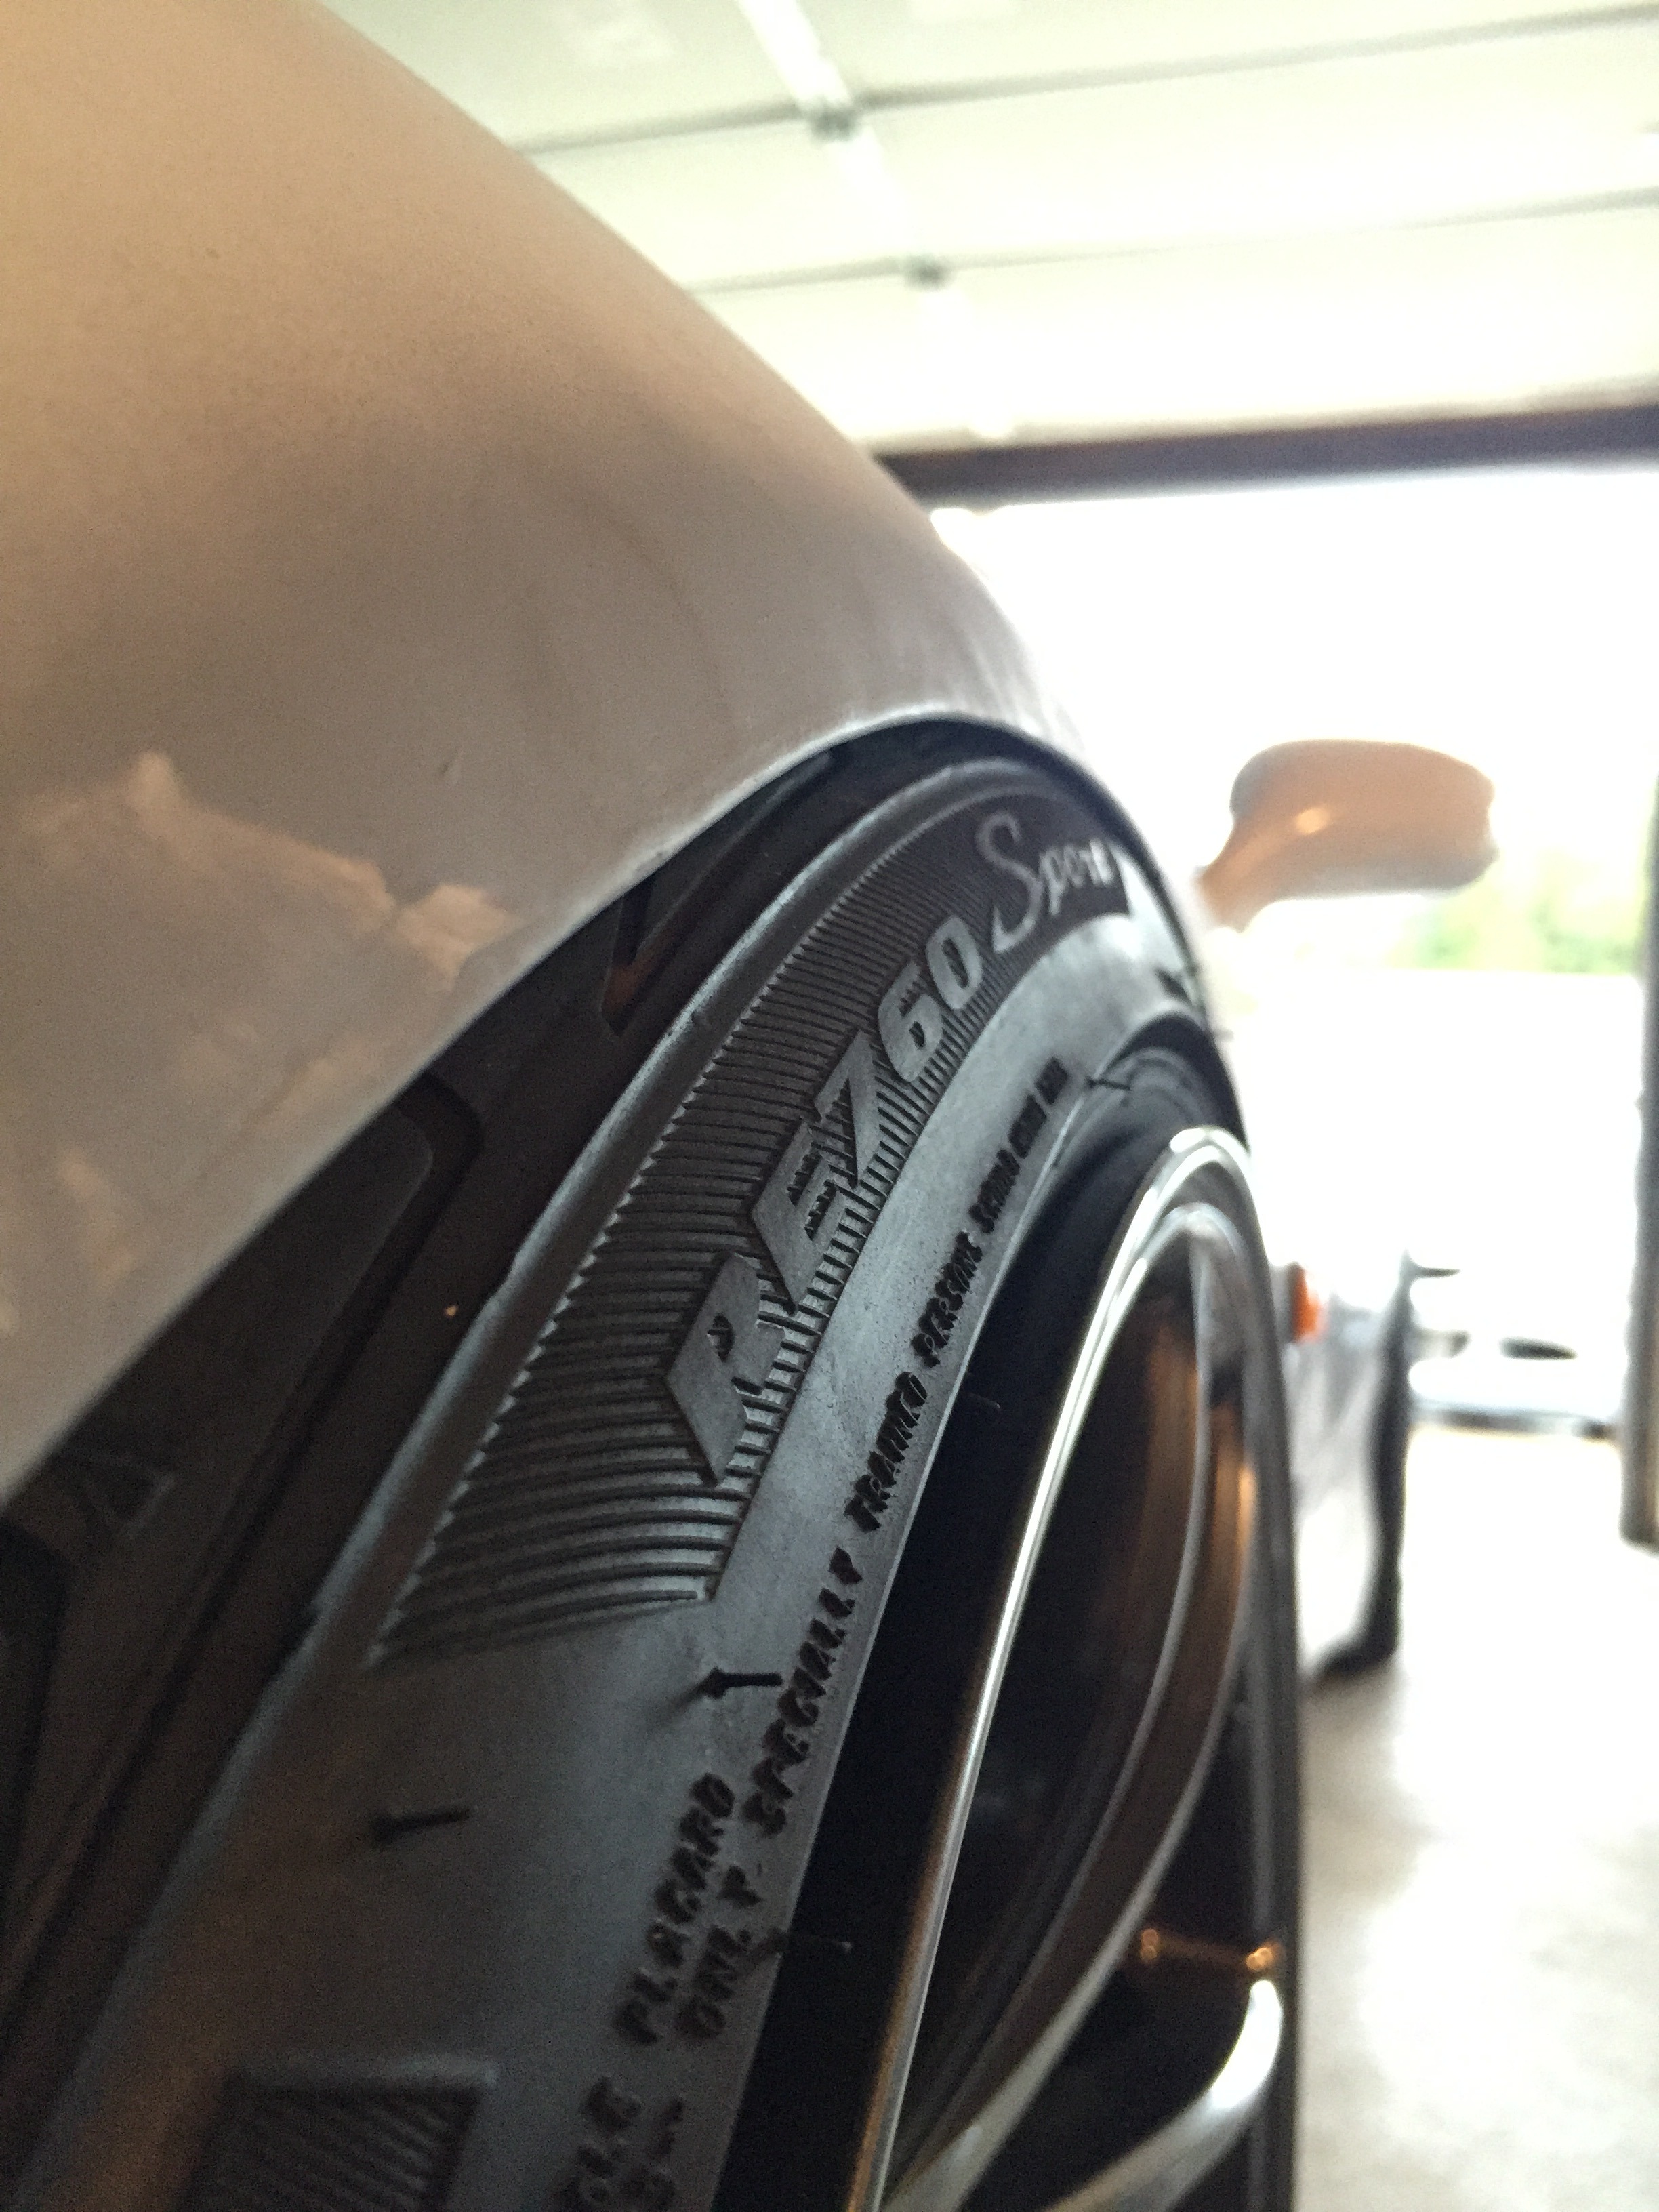
Decided to put the stock front fenders back on since I didnt have the rear flares installed yet and it didnt match front to rear. I would say my fitment is pretty tight :p


Well, thats about it for wiring I suppose. Finally got the ecu and fuse box mounted in the stock location and got everything cleaned up. So far so good, I did one wire at a time to make sure there were no mistakes made. Now every wire in the entire car has been gone over by me and either kept for later use or eliminated.
Moving on. I kept hearing a popping sound when I would back out of my driveway. Couldn't figure out what it was so I decided to check out the front suspension to be safe. It's a good thing I did because the lower coilover bolt was hand tight and the A arm balljoint was bad. Oh, and the wheel bearing was bad as well. Errthing bad up in there. So I got some replacement parts from Fritz and got it all good to go. Swapped out the prothane bushings before install


I had to get crafty getting the prothane bushings out

While I was waiting for parts from Fritz I also decided the abs didnt need to be there anymore. Bought the V1 Alex Rodriguez kit for cheap on here and got it installed. I dont like how it doesnt replace the actual brake lines in the wheel well as well, so I will be ordering some -3an lines to extend down to the caliper over winter. Also bought a trans tunnel cover since mine was missing.

Lets see, what next...oh, the piece that goes under the steering wheel was cracked so I ordered a new one of those as well

I was tired of my gauges being zip tied in place so I did a really quick job on the cluster surround just to get the gauges mounted up so I can enjoy the car before winter


Got the quarter panel smoothed out for the most part. Still some work left to do, but again, waiting for winter (winter here is really long).


Decided to put the stock front fenders back on since I didnt have the rear flares installed yet and it didnt match front to rear. I would say my fitment is pretty tight :p

Thread Starter
Full Member
Joined: Apr 2015
Posts: 140
Likes: 5
From: Great Falls, MT
Exciting stuff here! My Evo-R taillights came in 
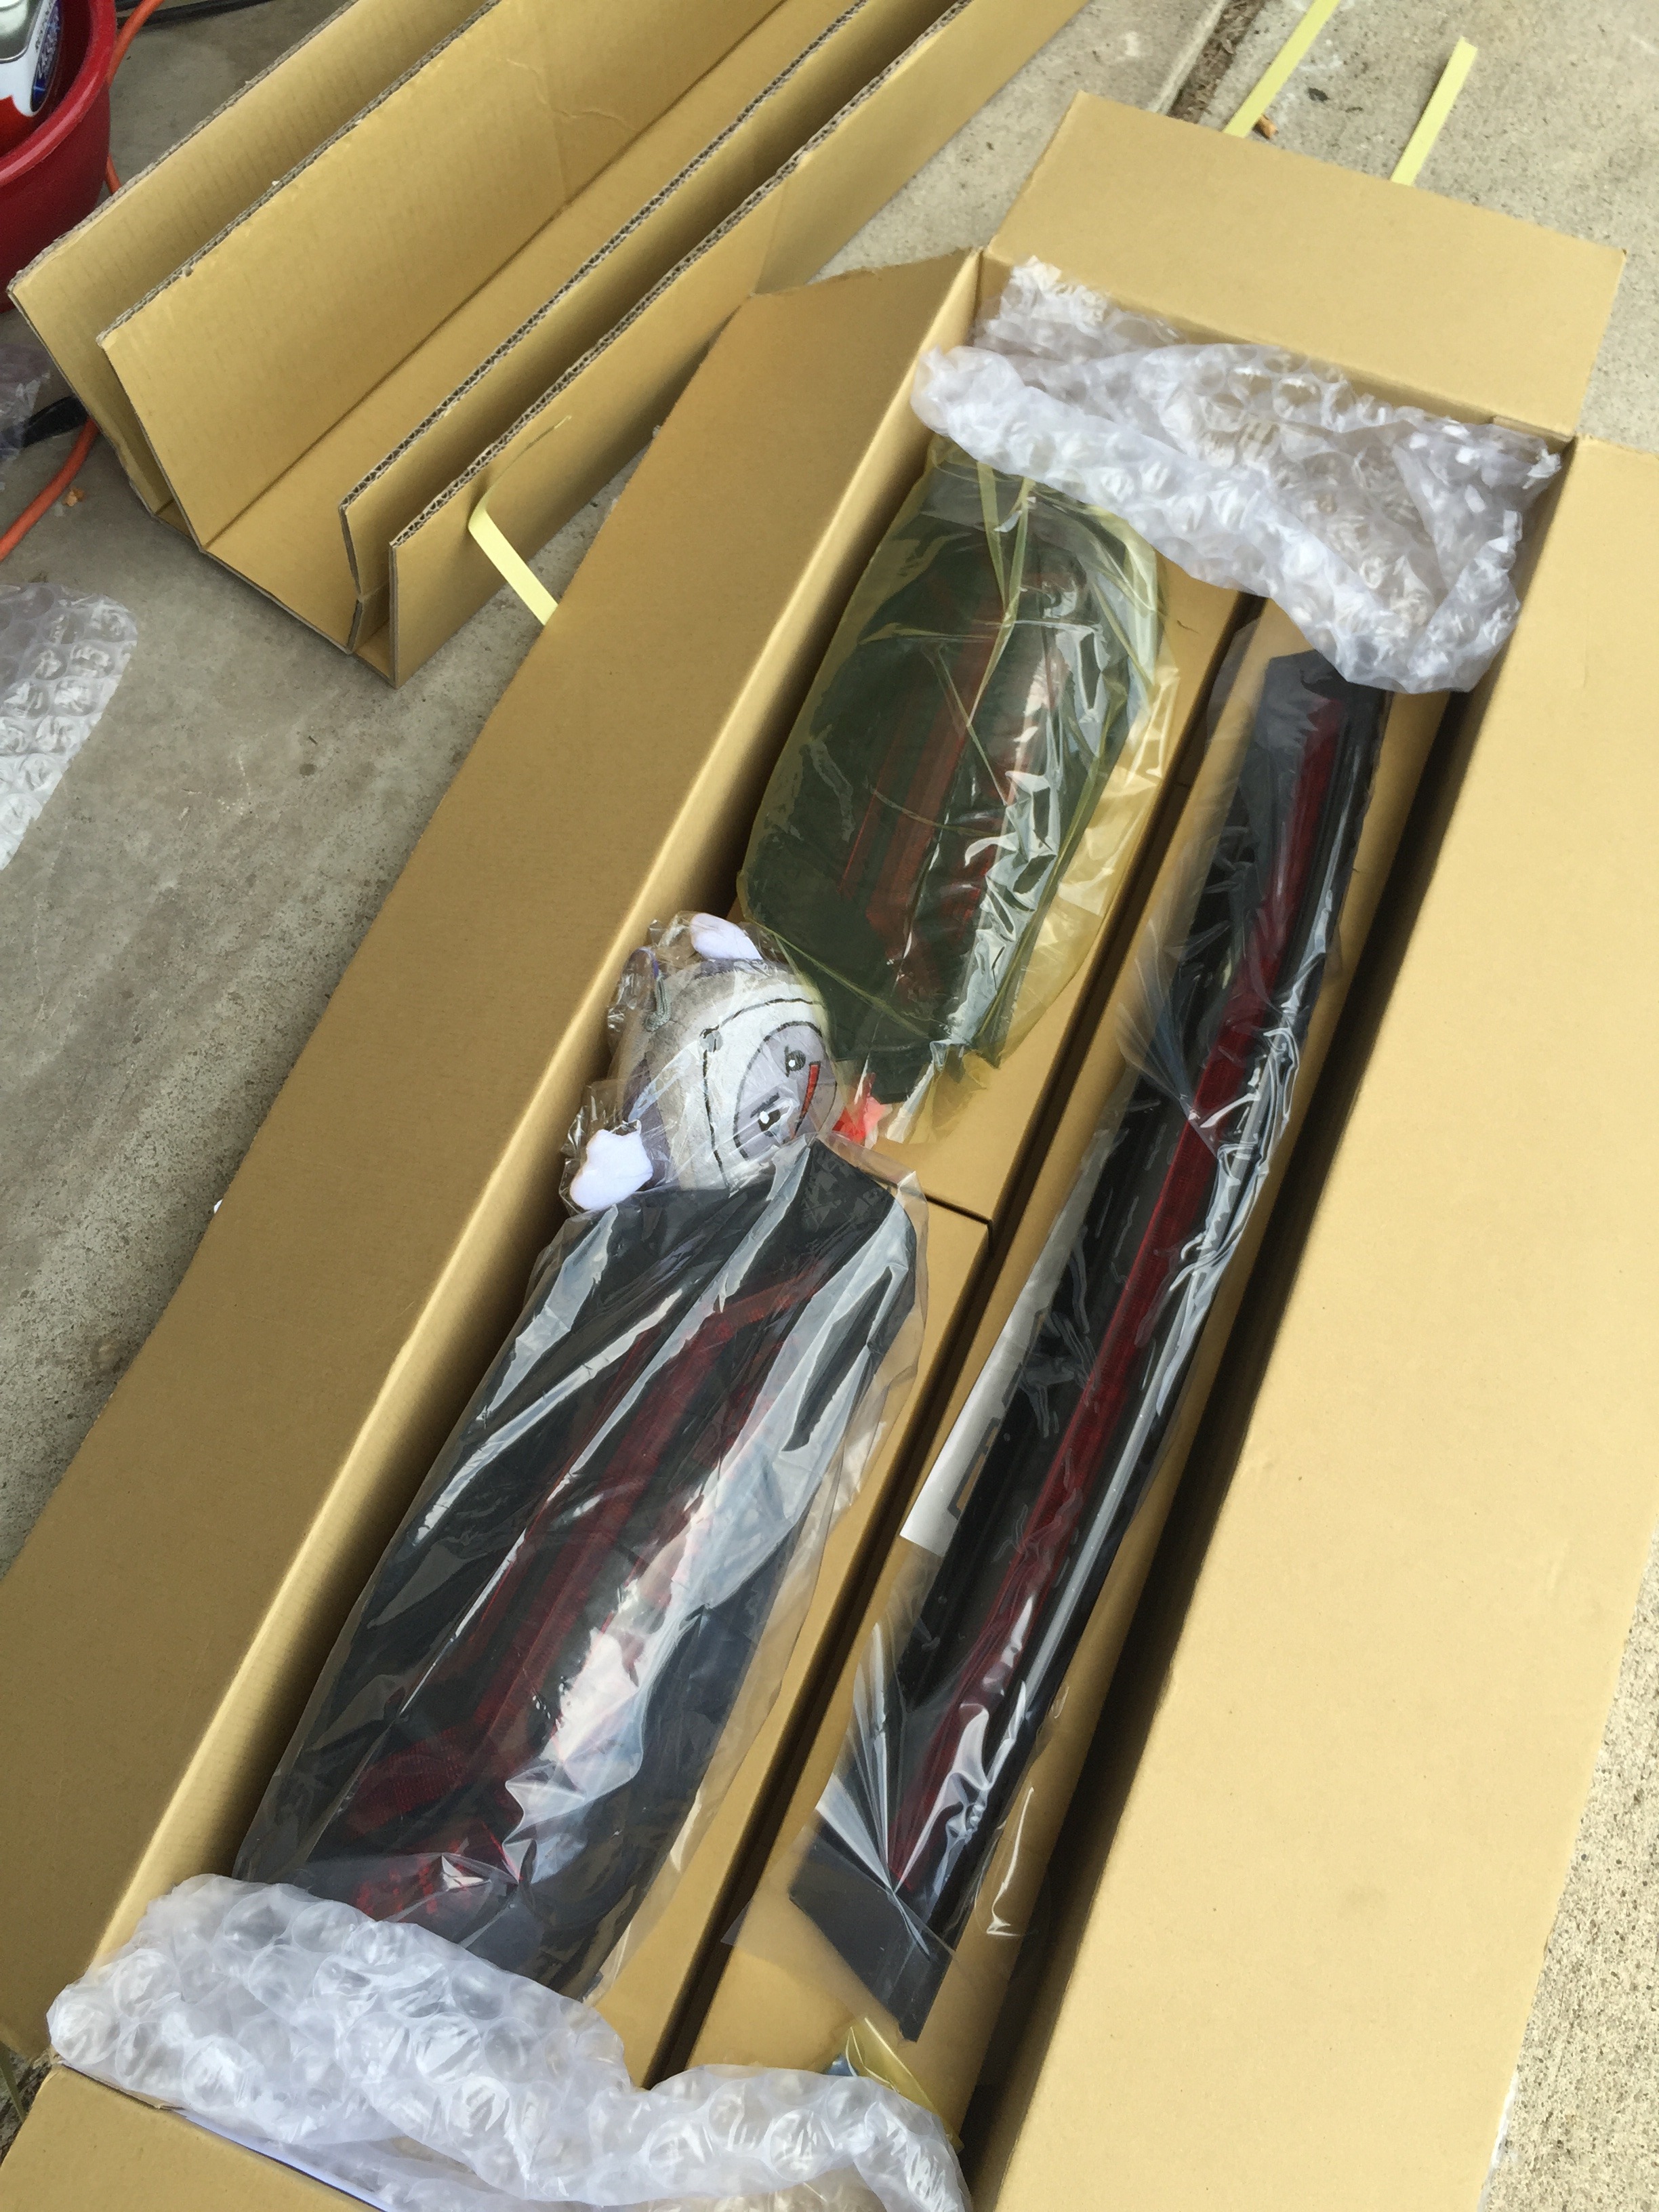
Mmmmmmmmmm
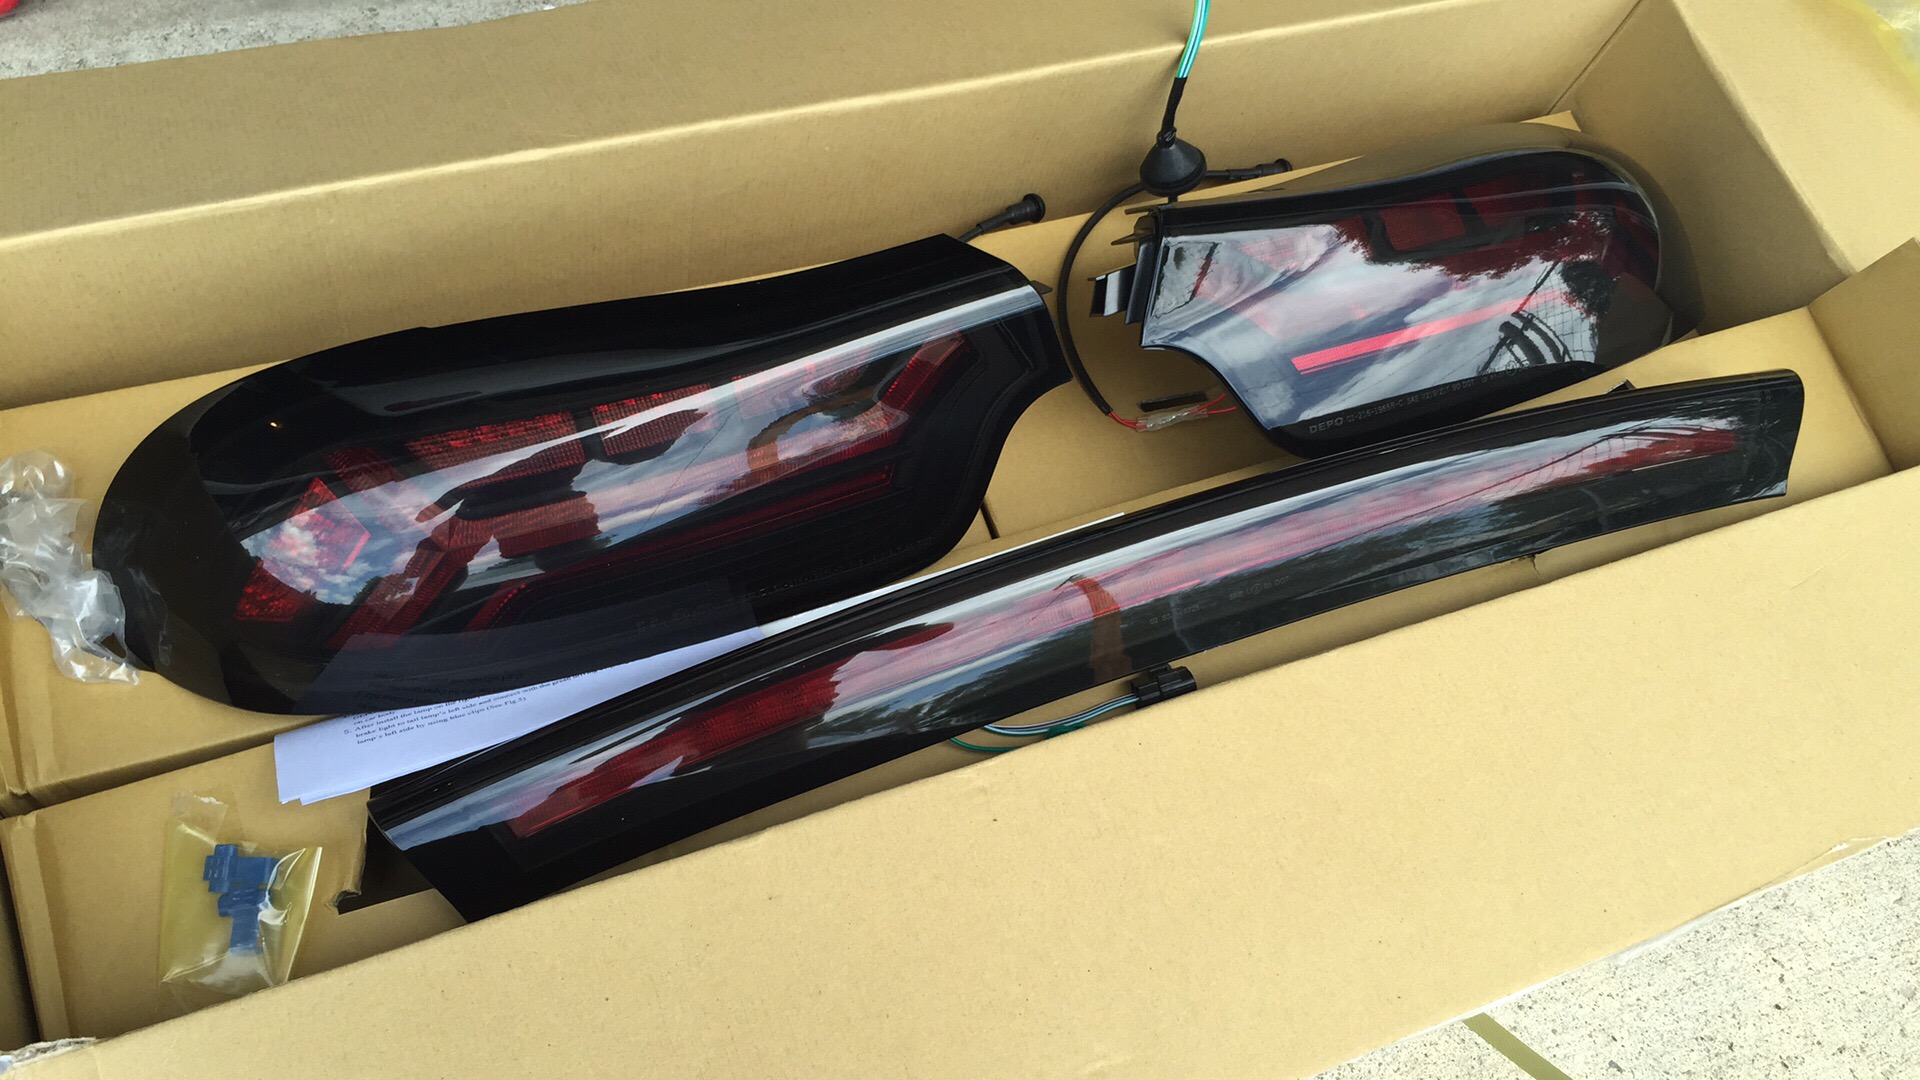
Legit!!
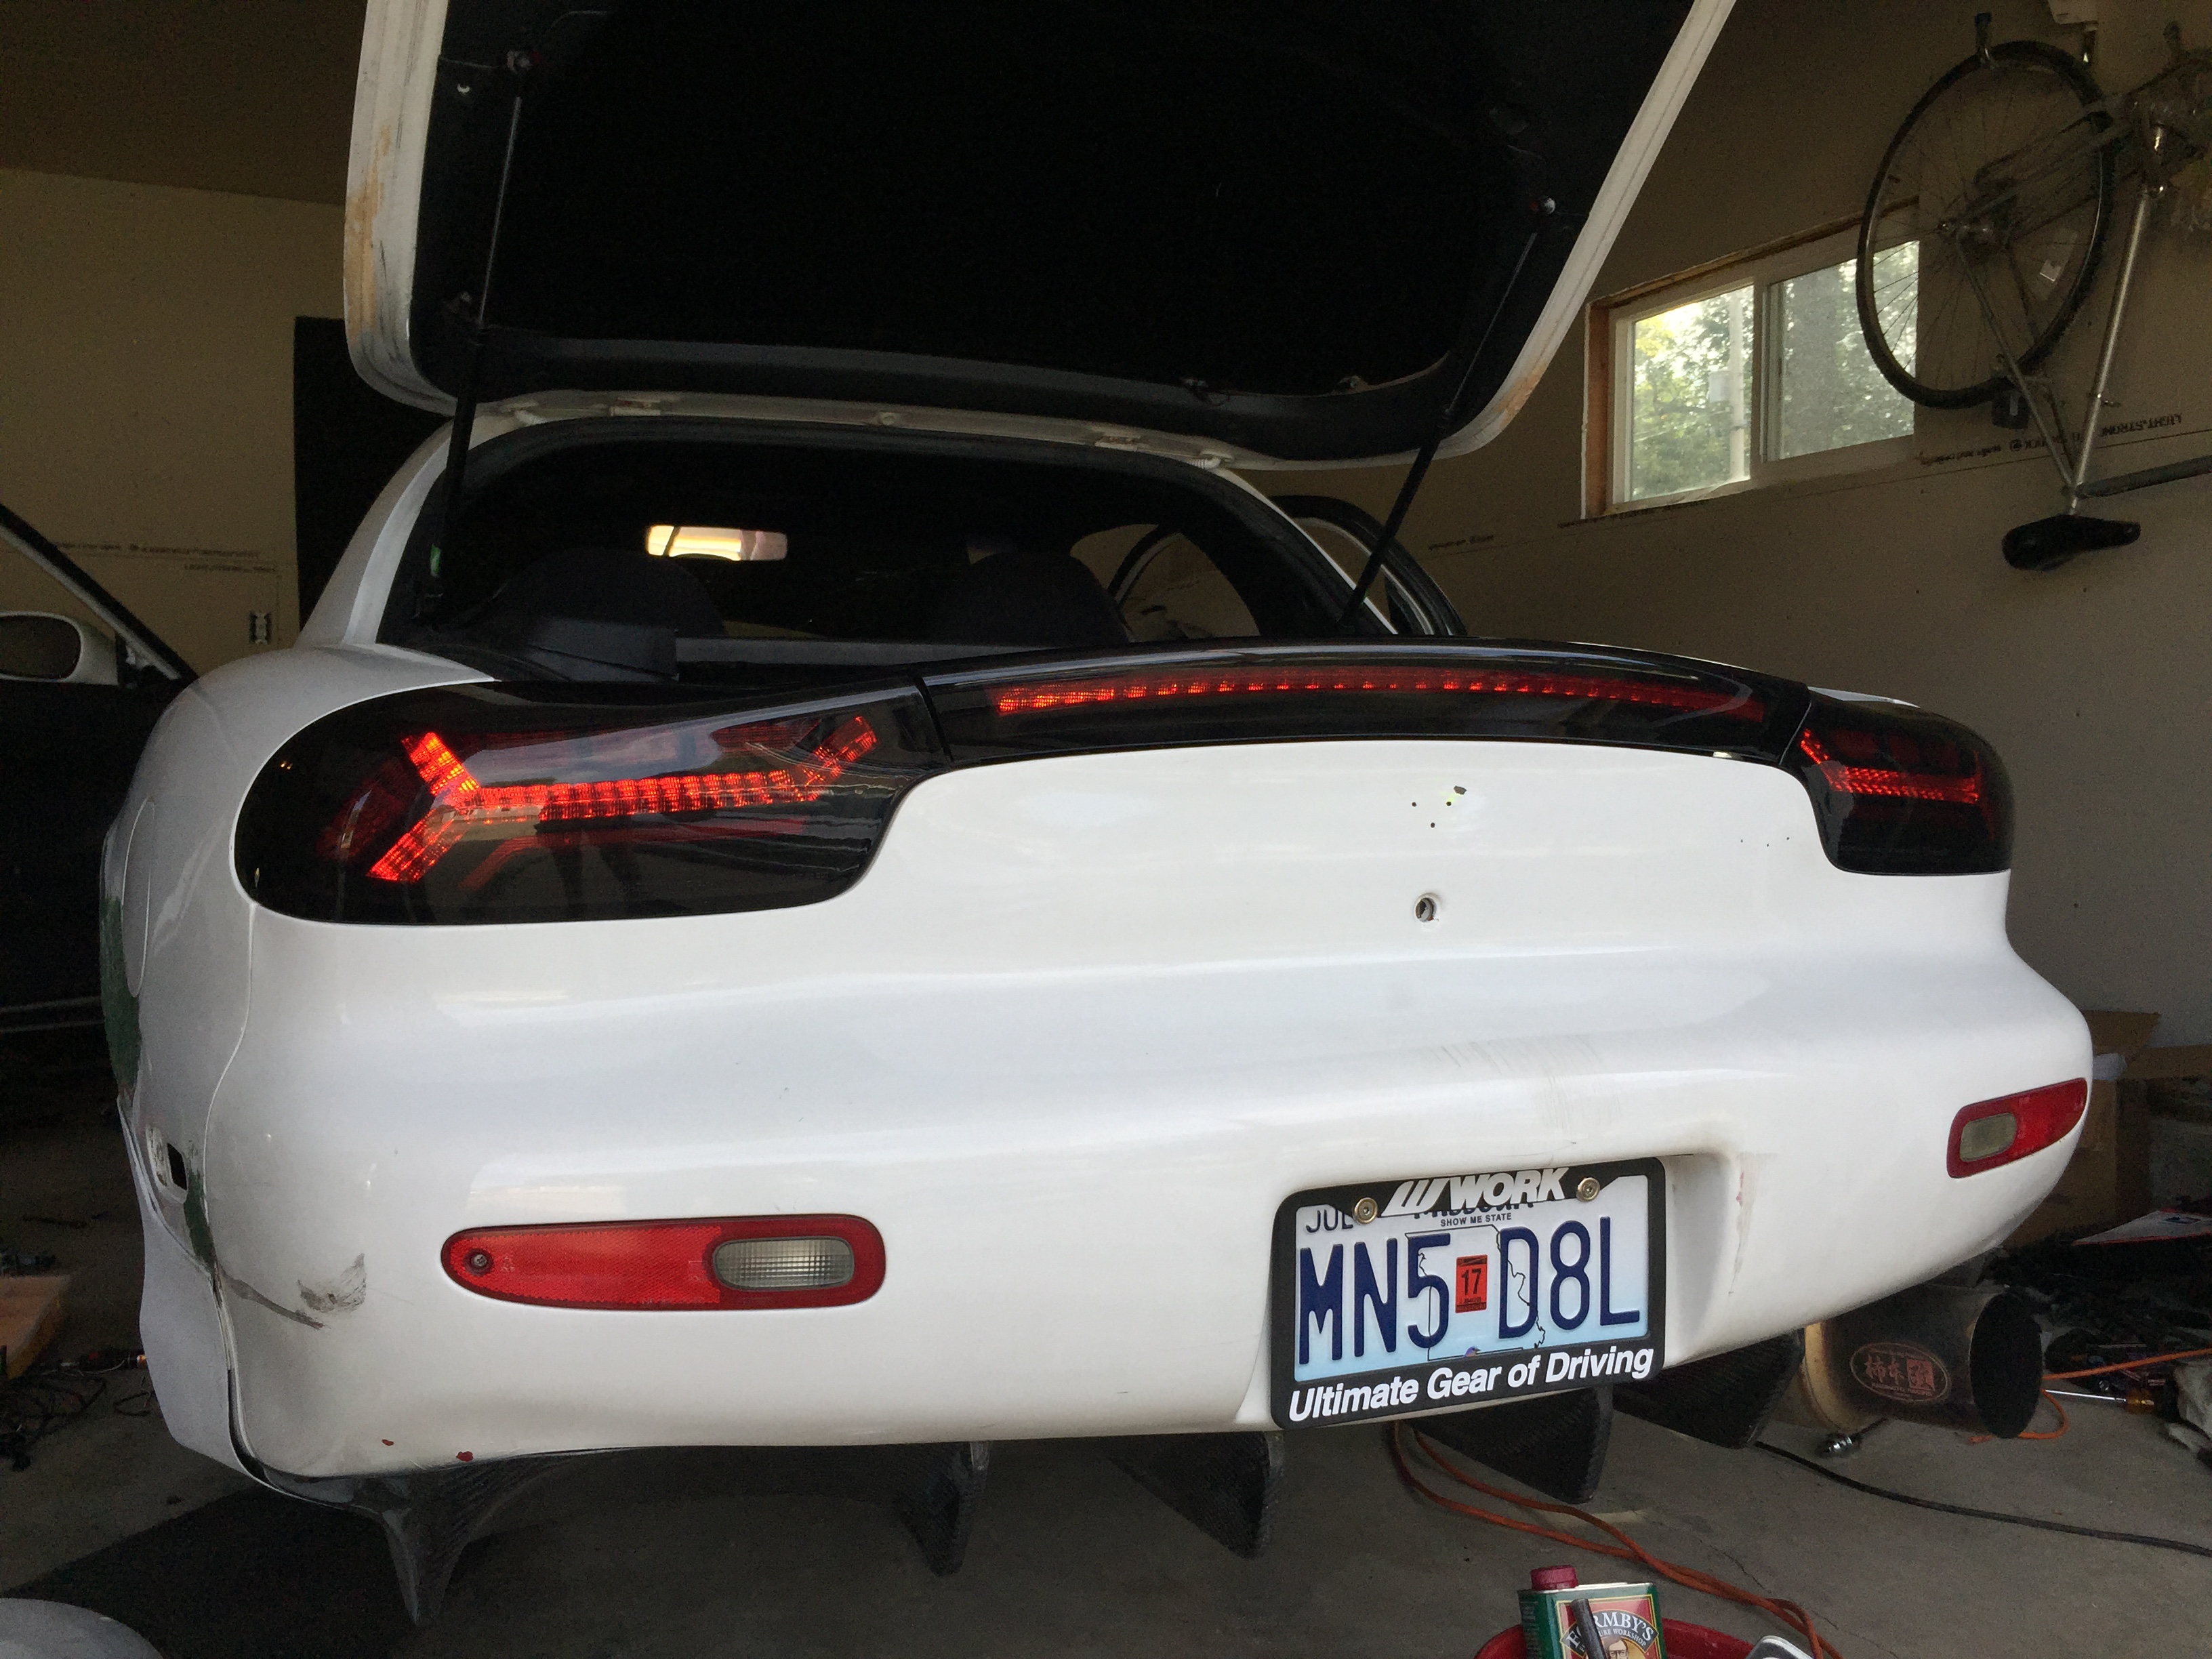
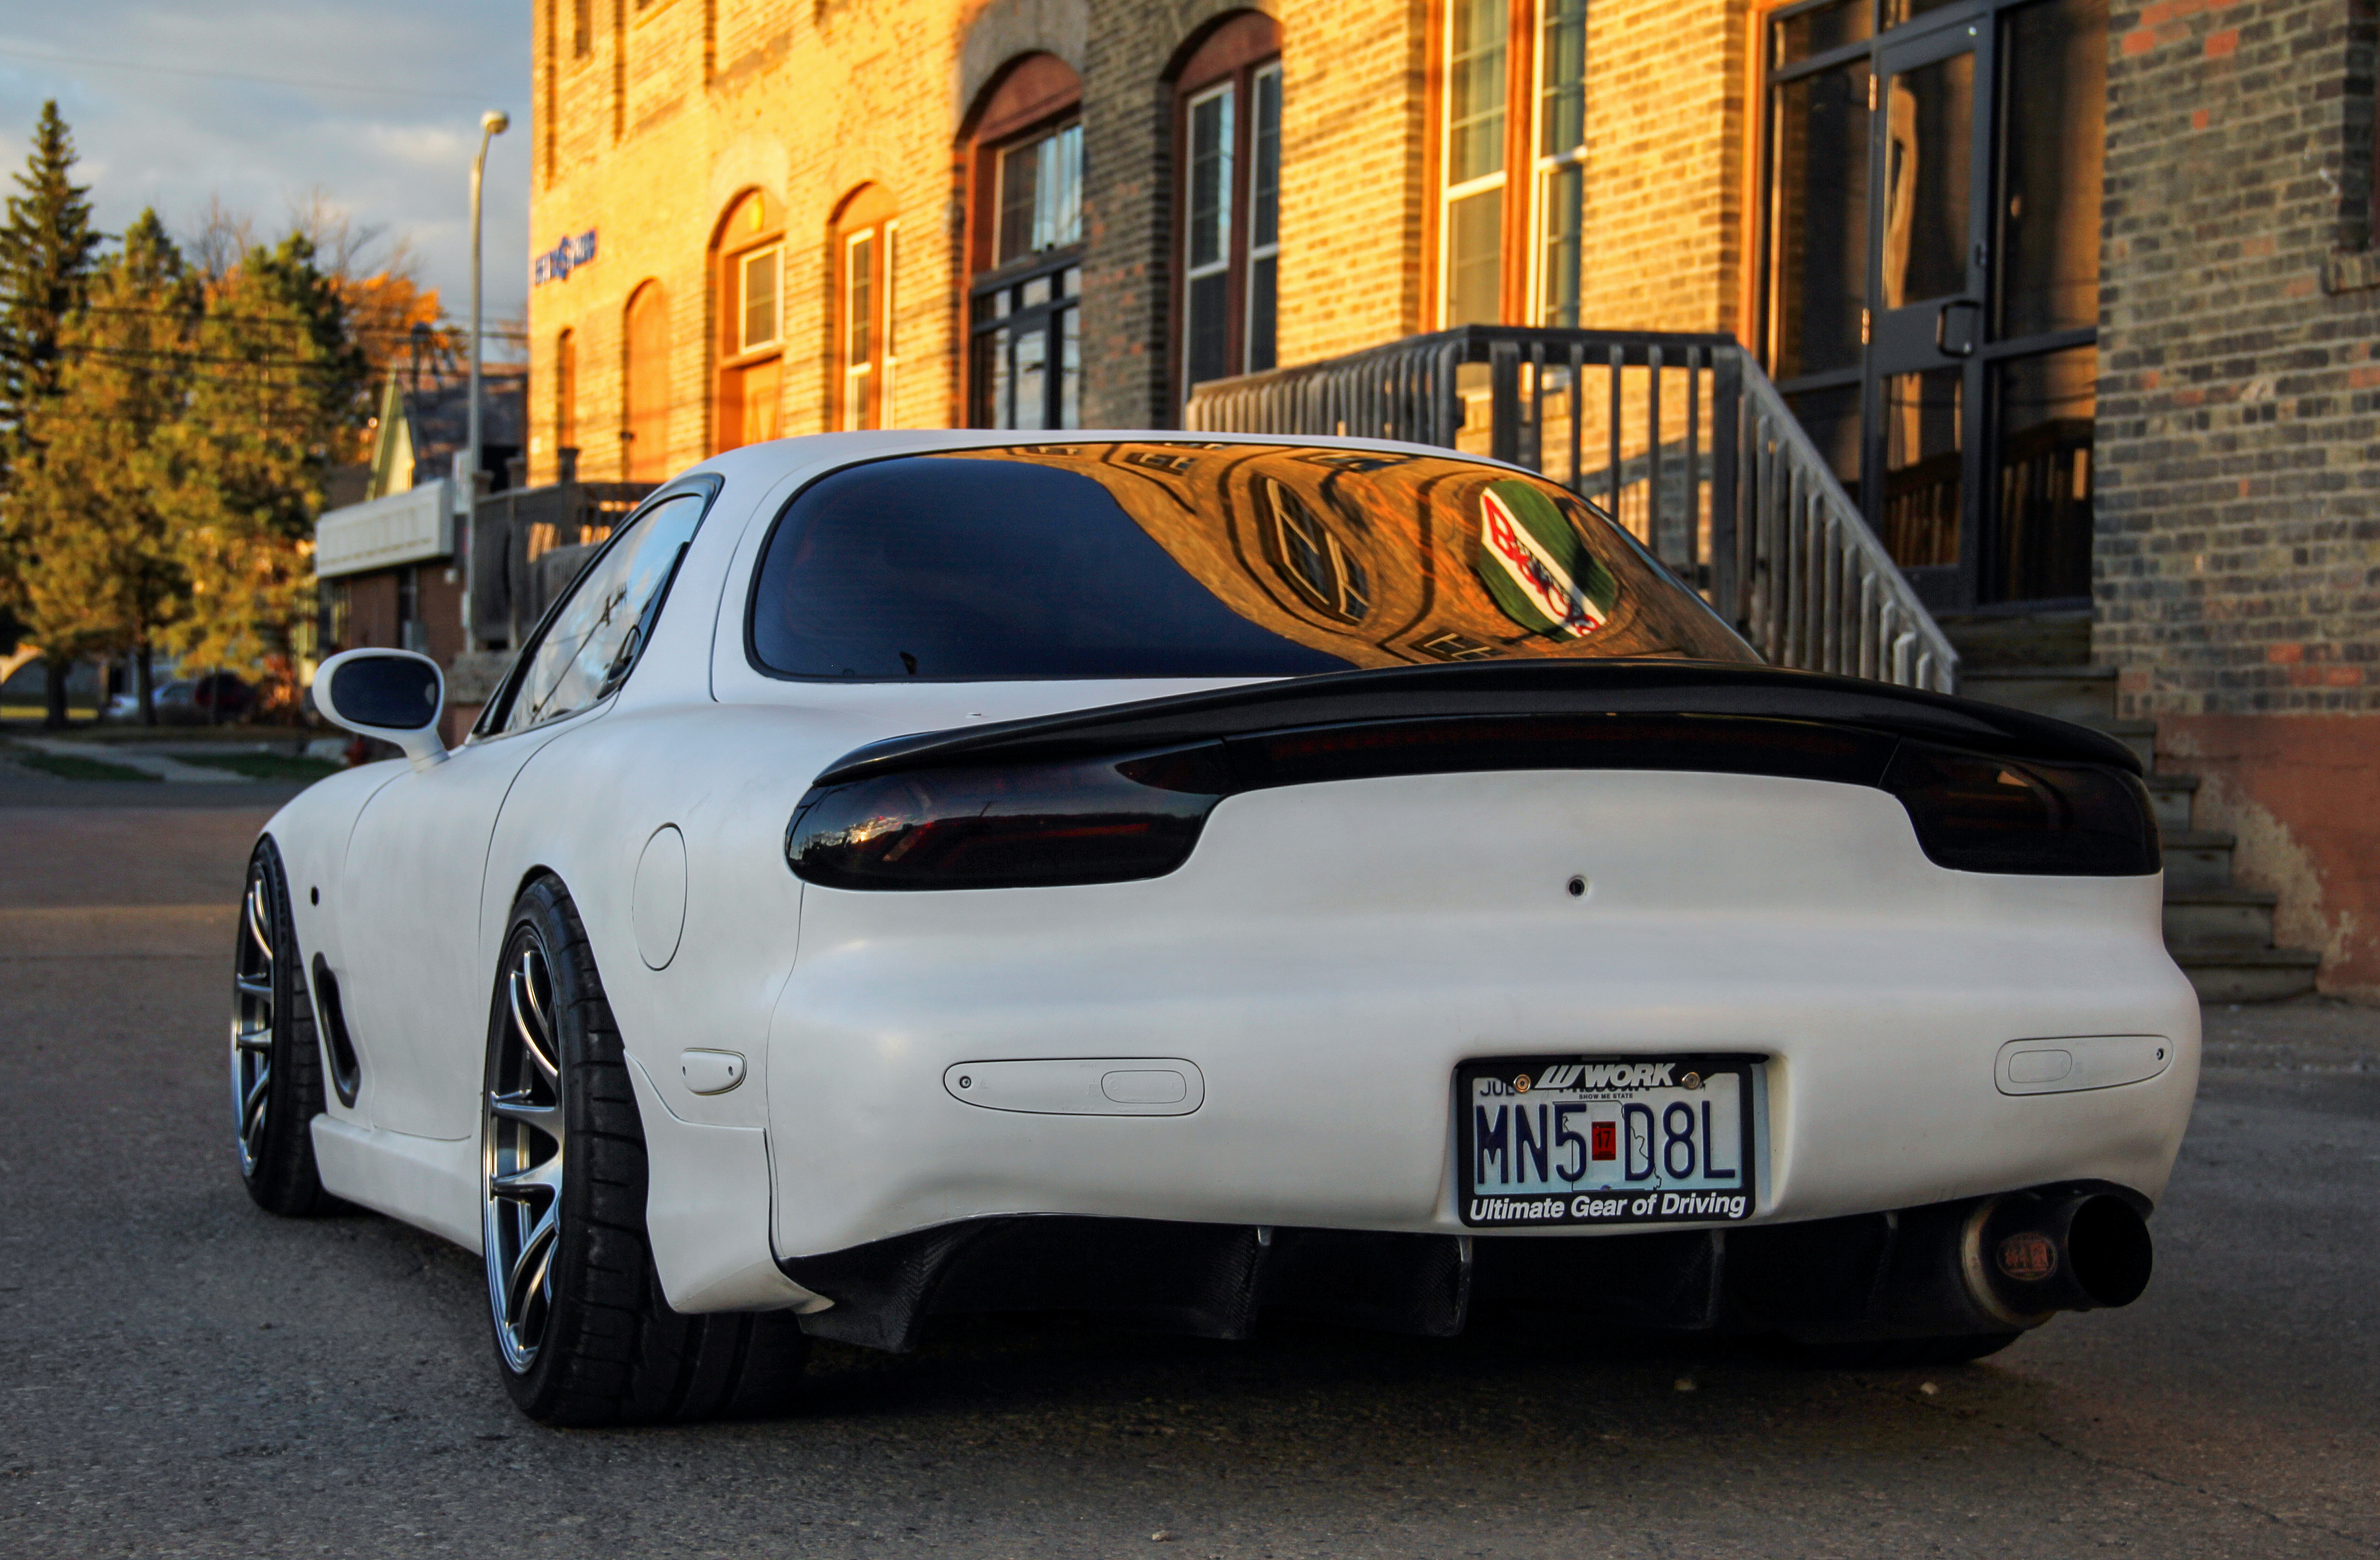
Alright, last thing before some more pictures. The car was multiple shades of white with the various body parts on it, so I decided to go ahead and plastidip it.
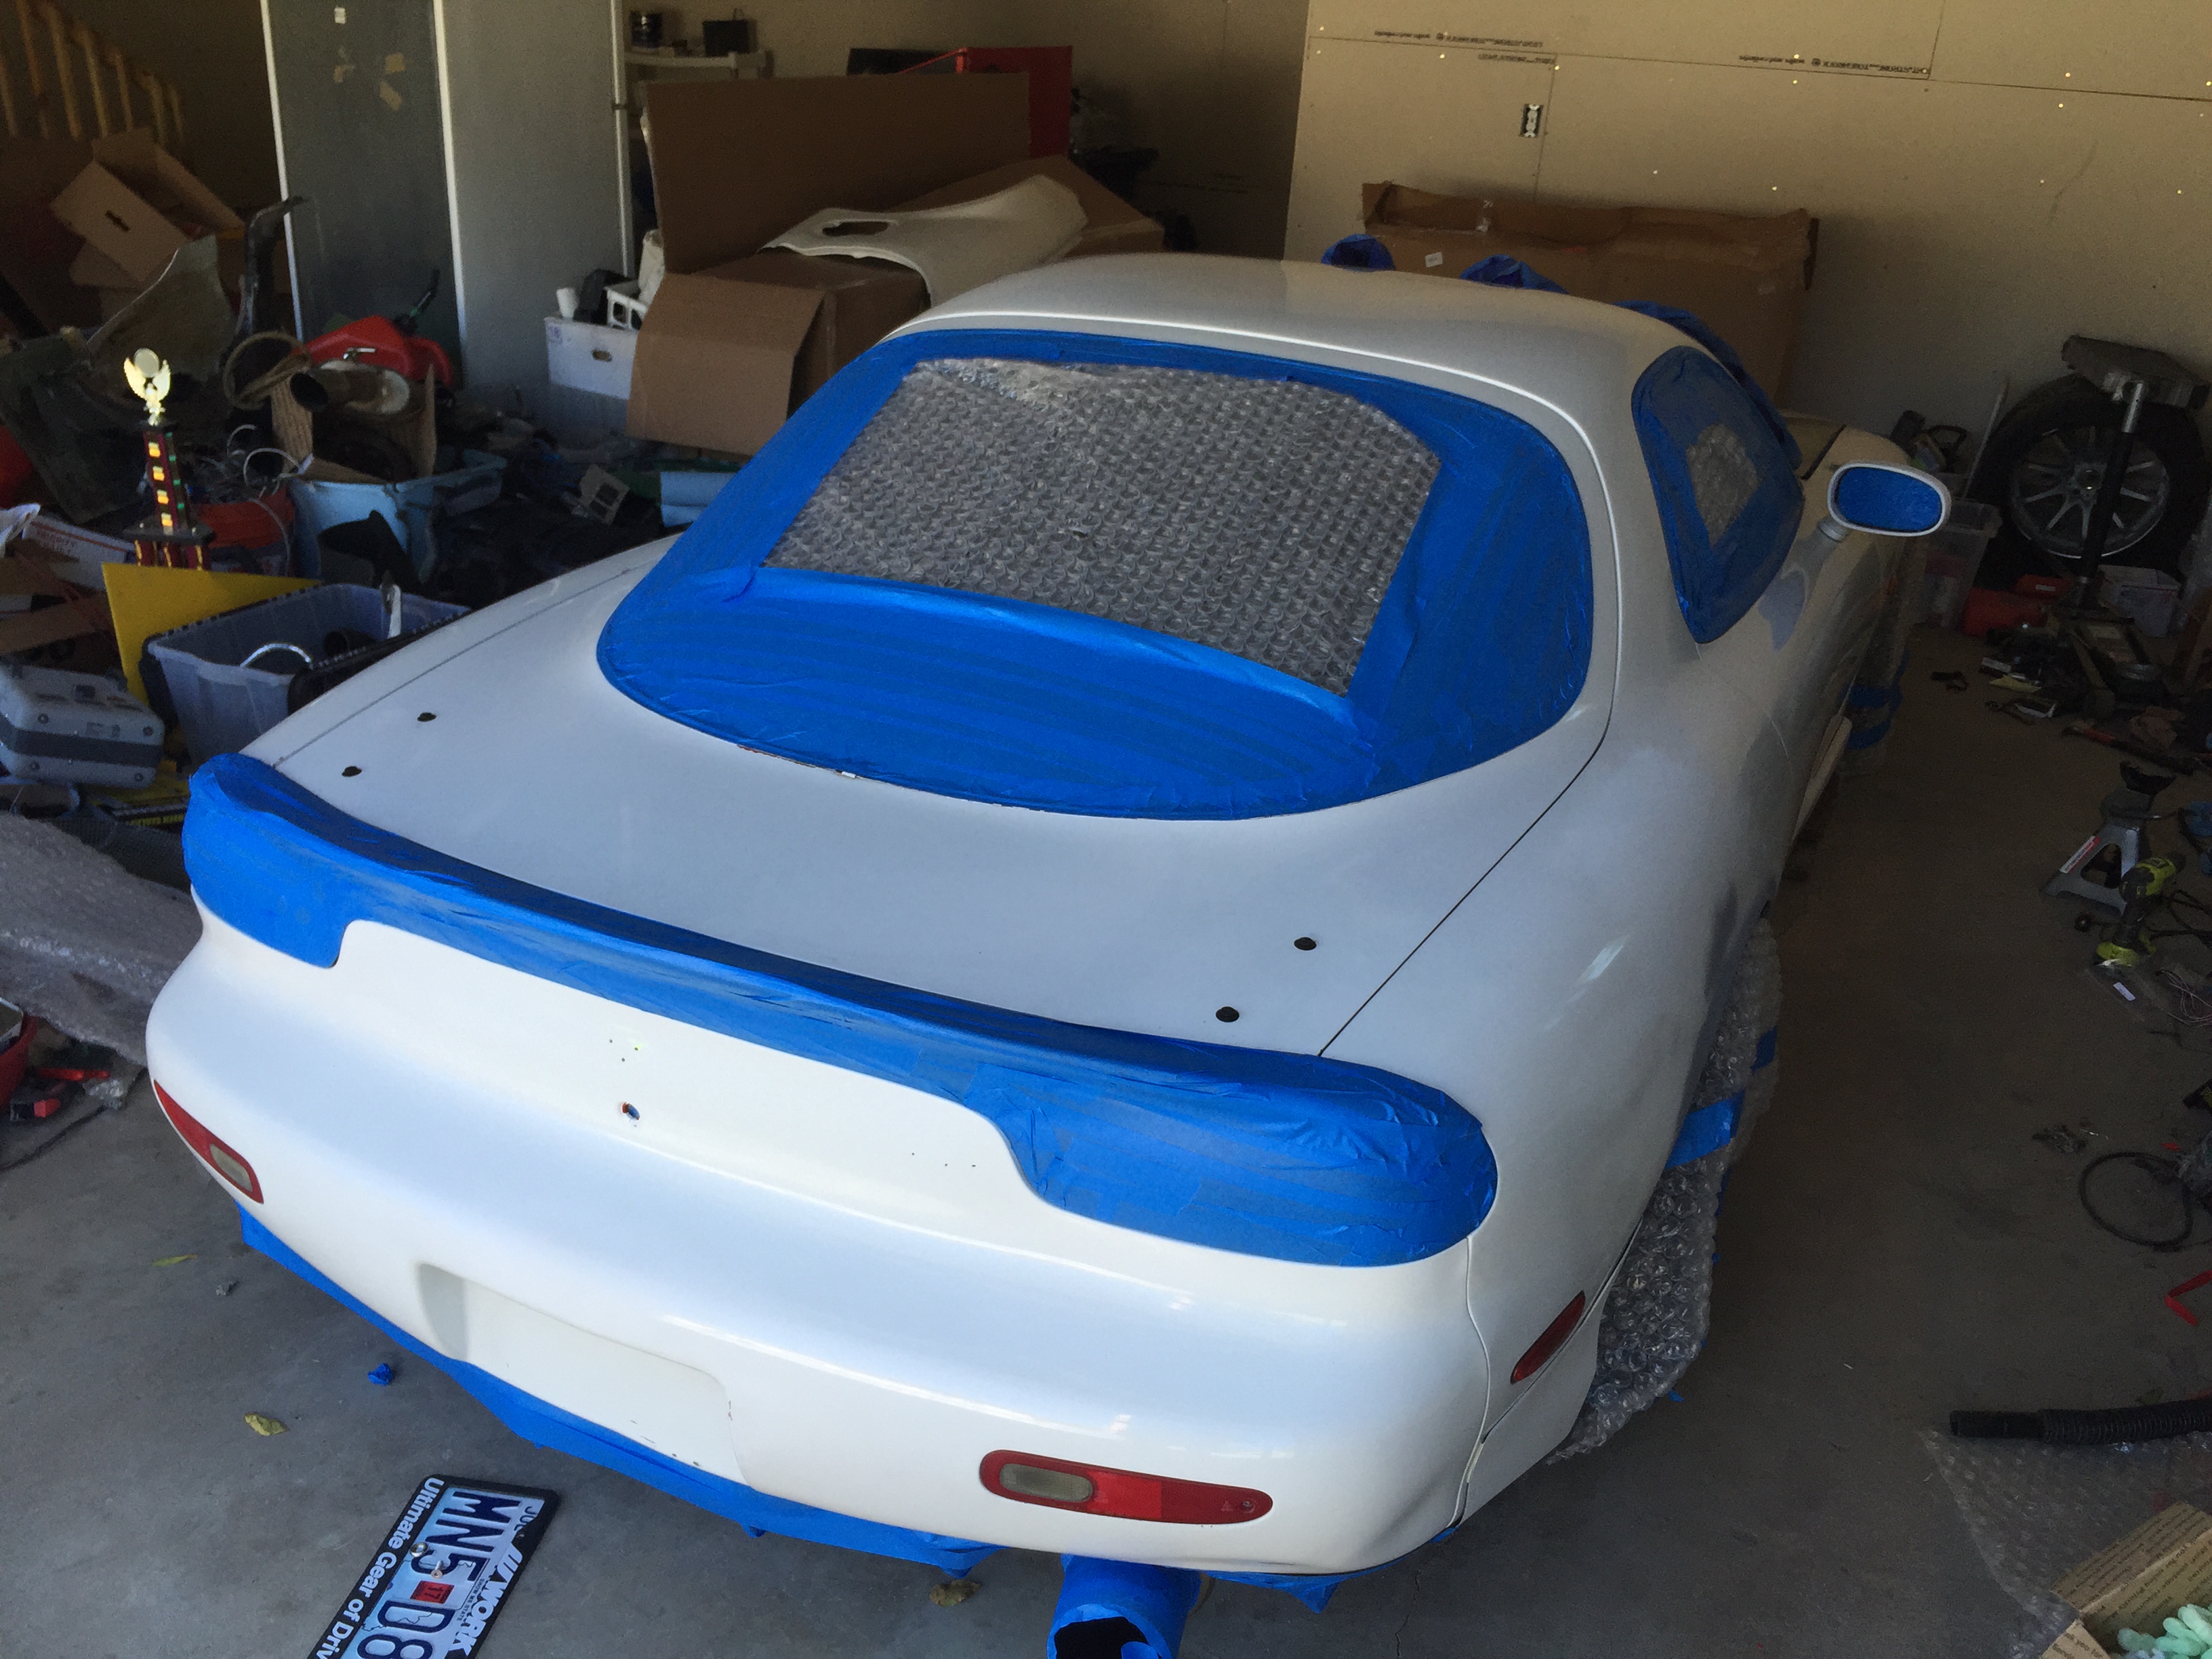
Did a light coat of black so I could see how my coverage was
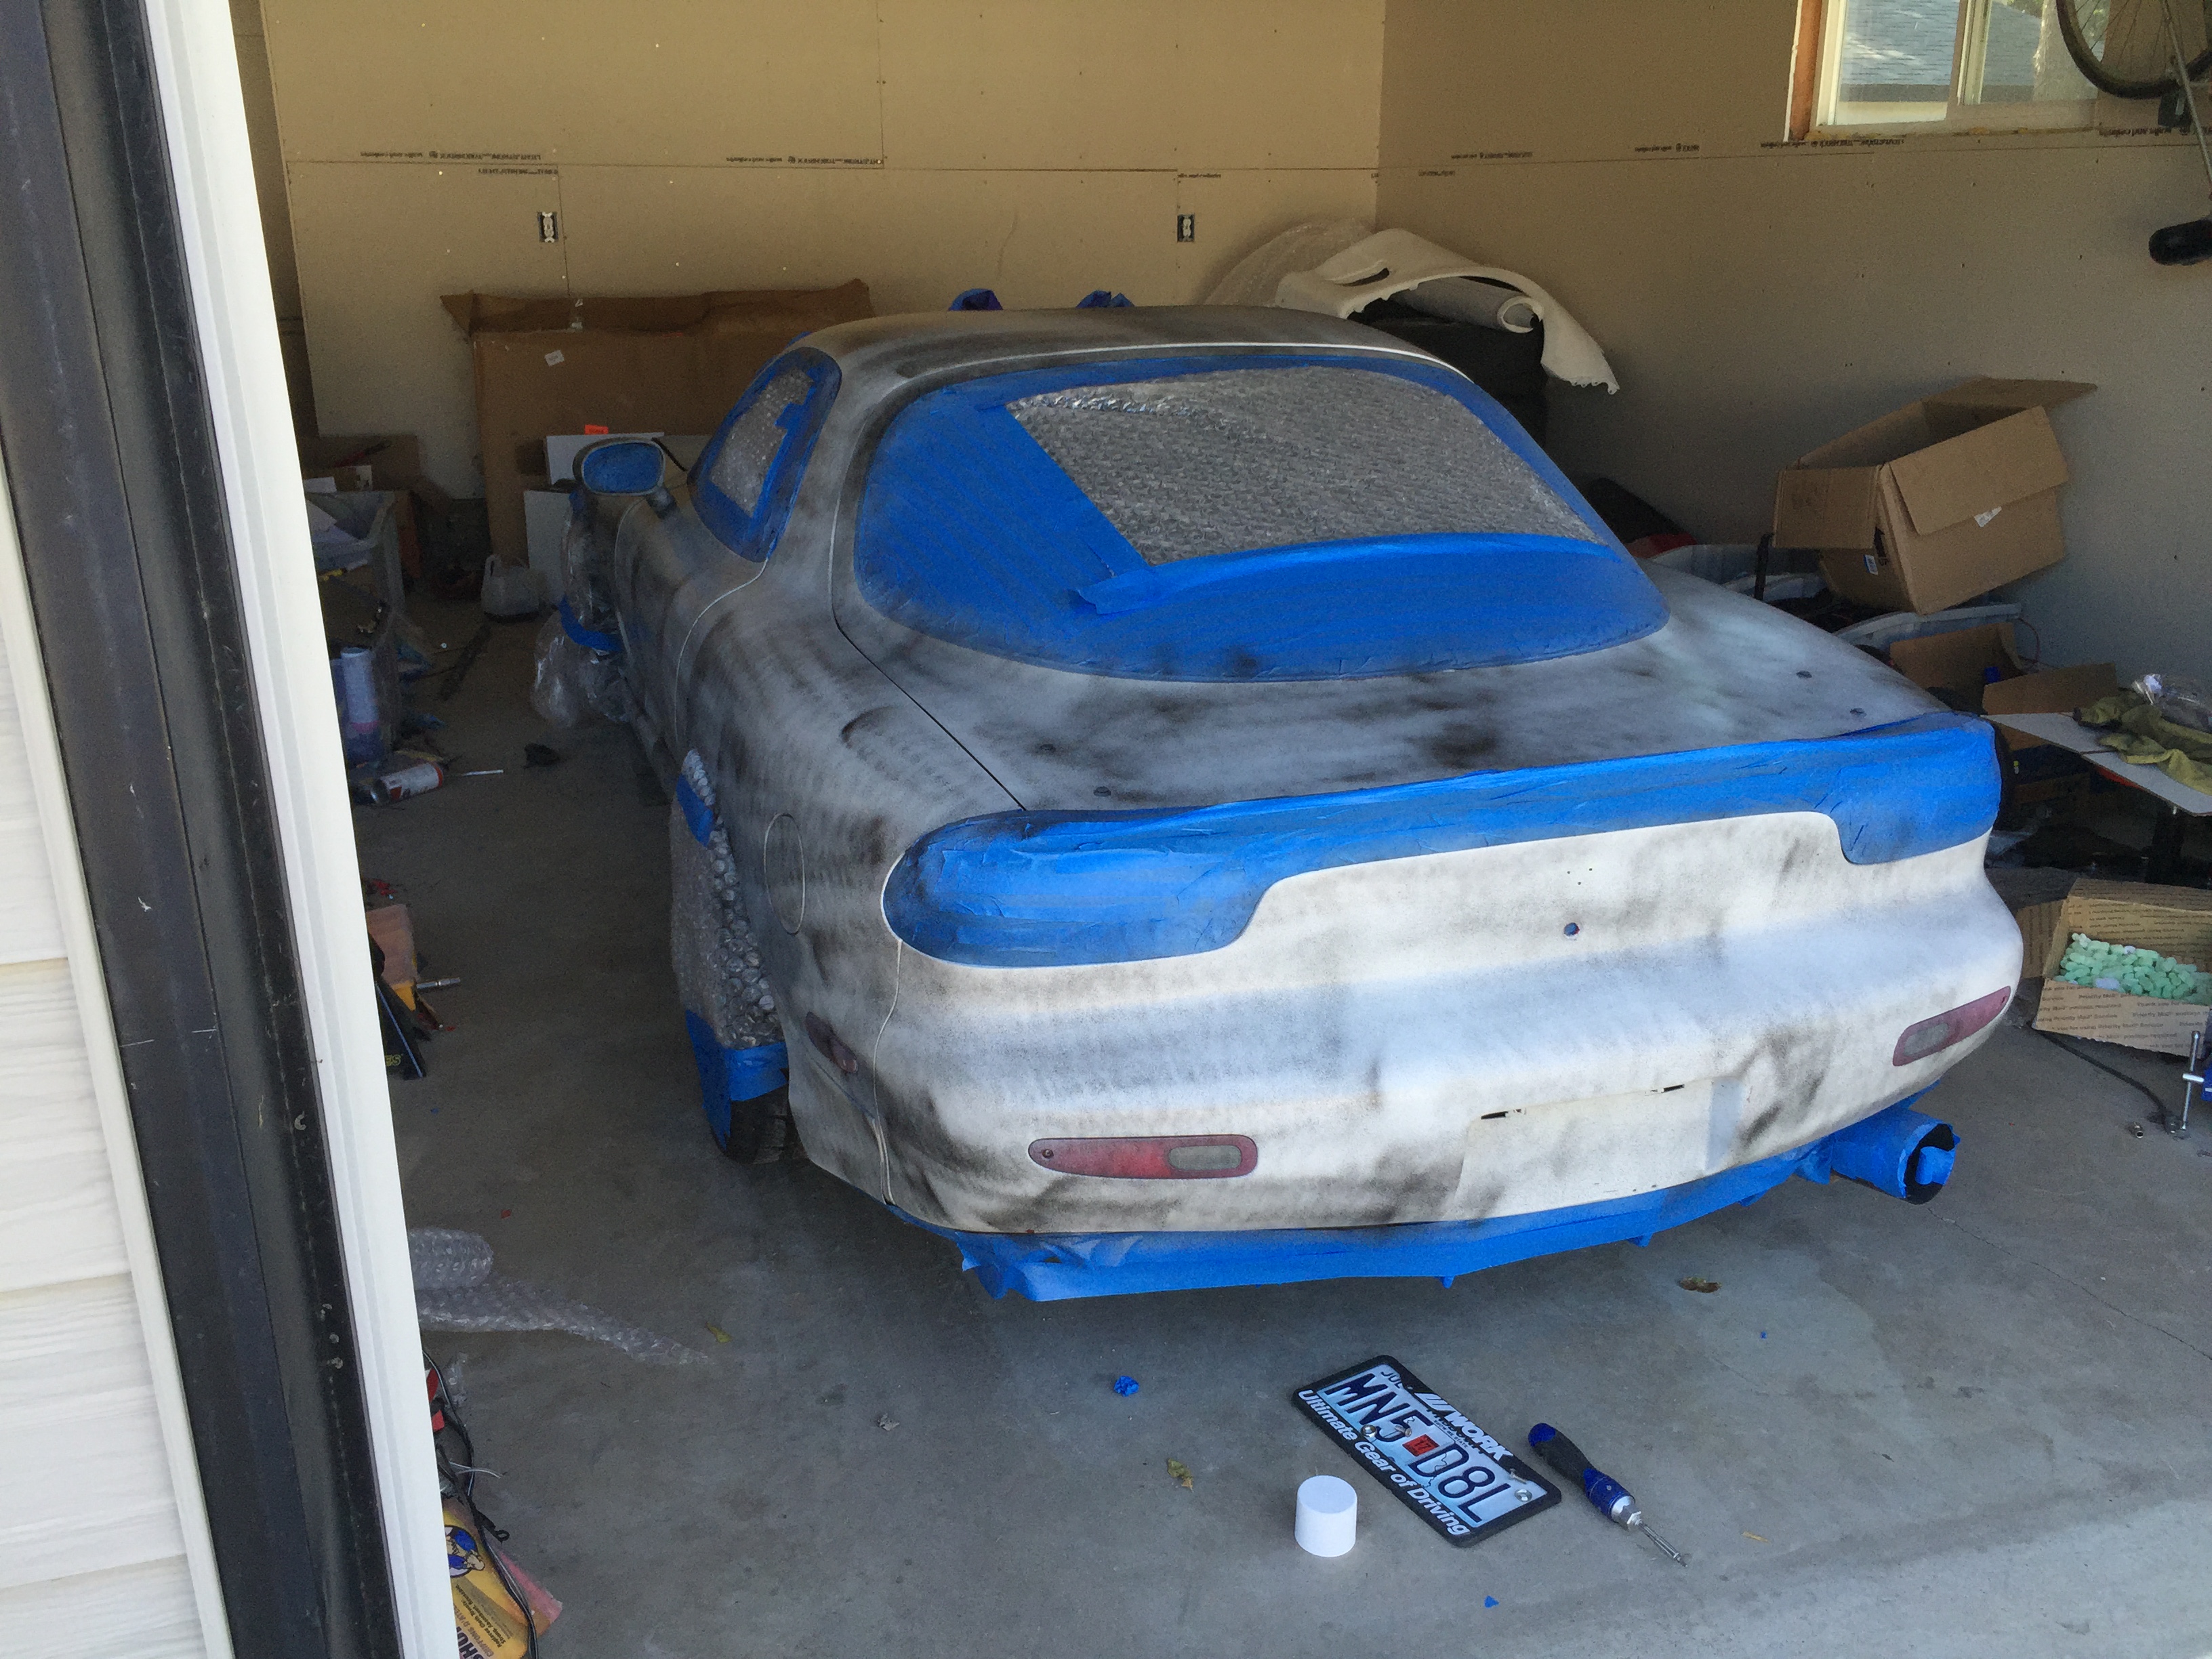
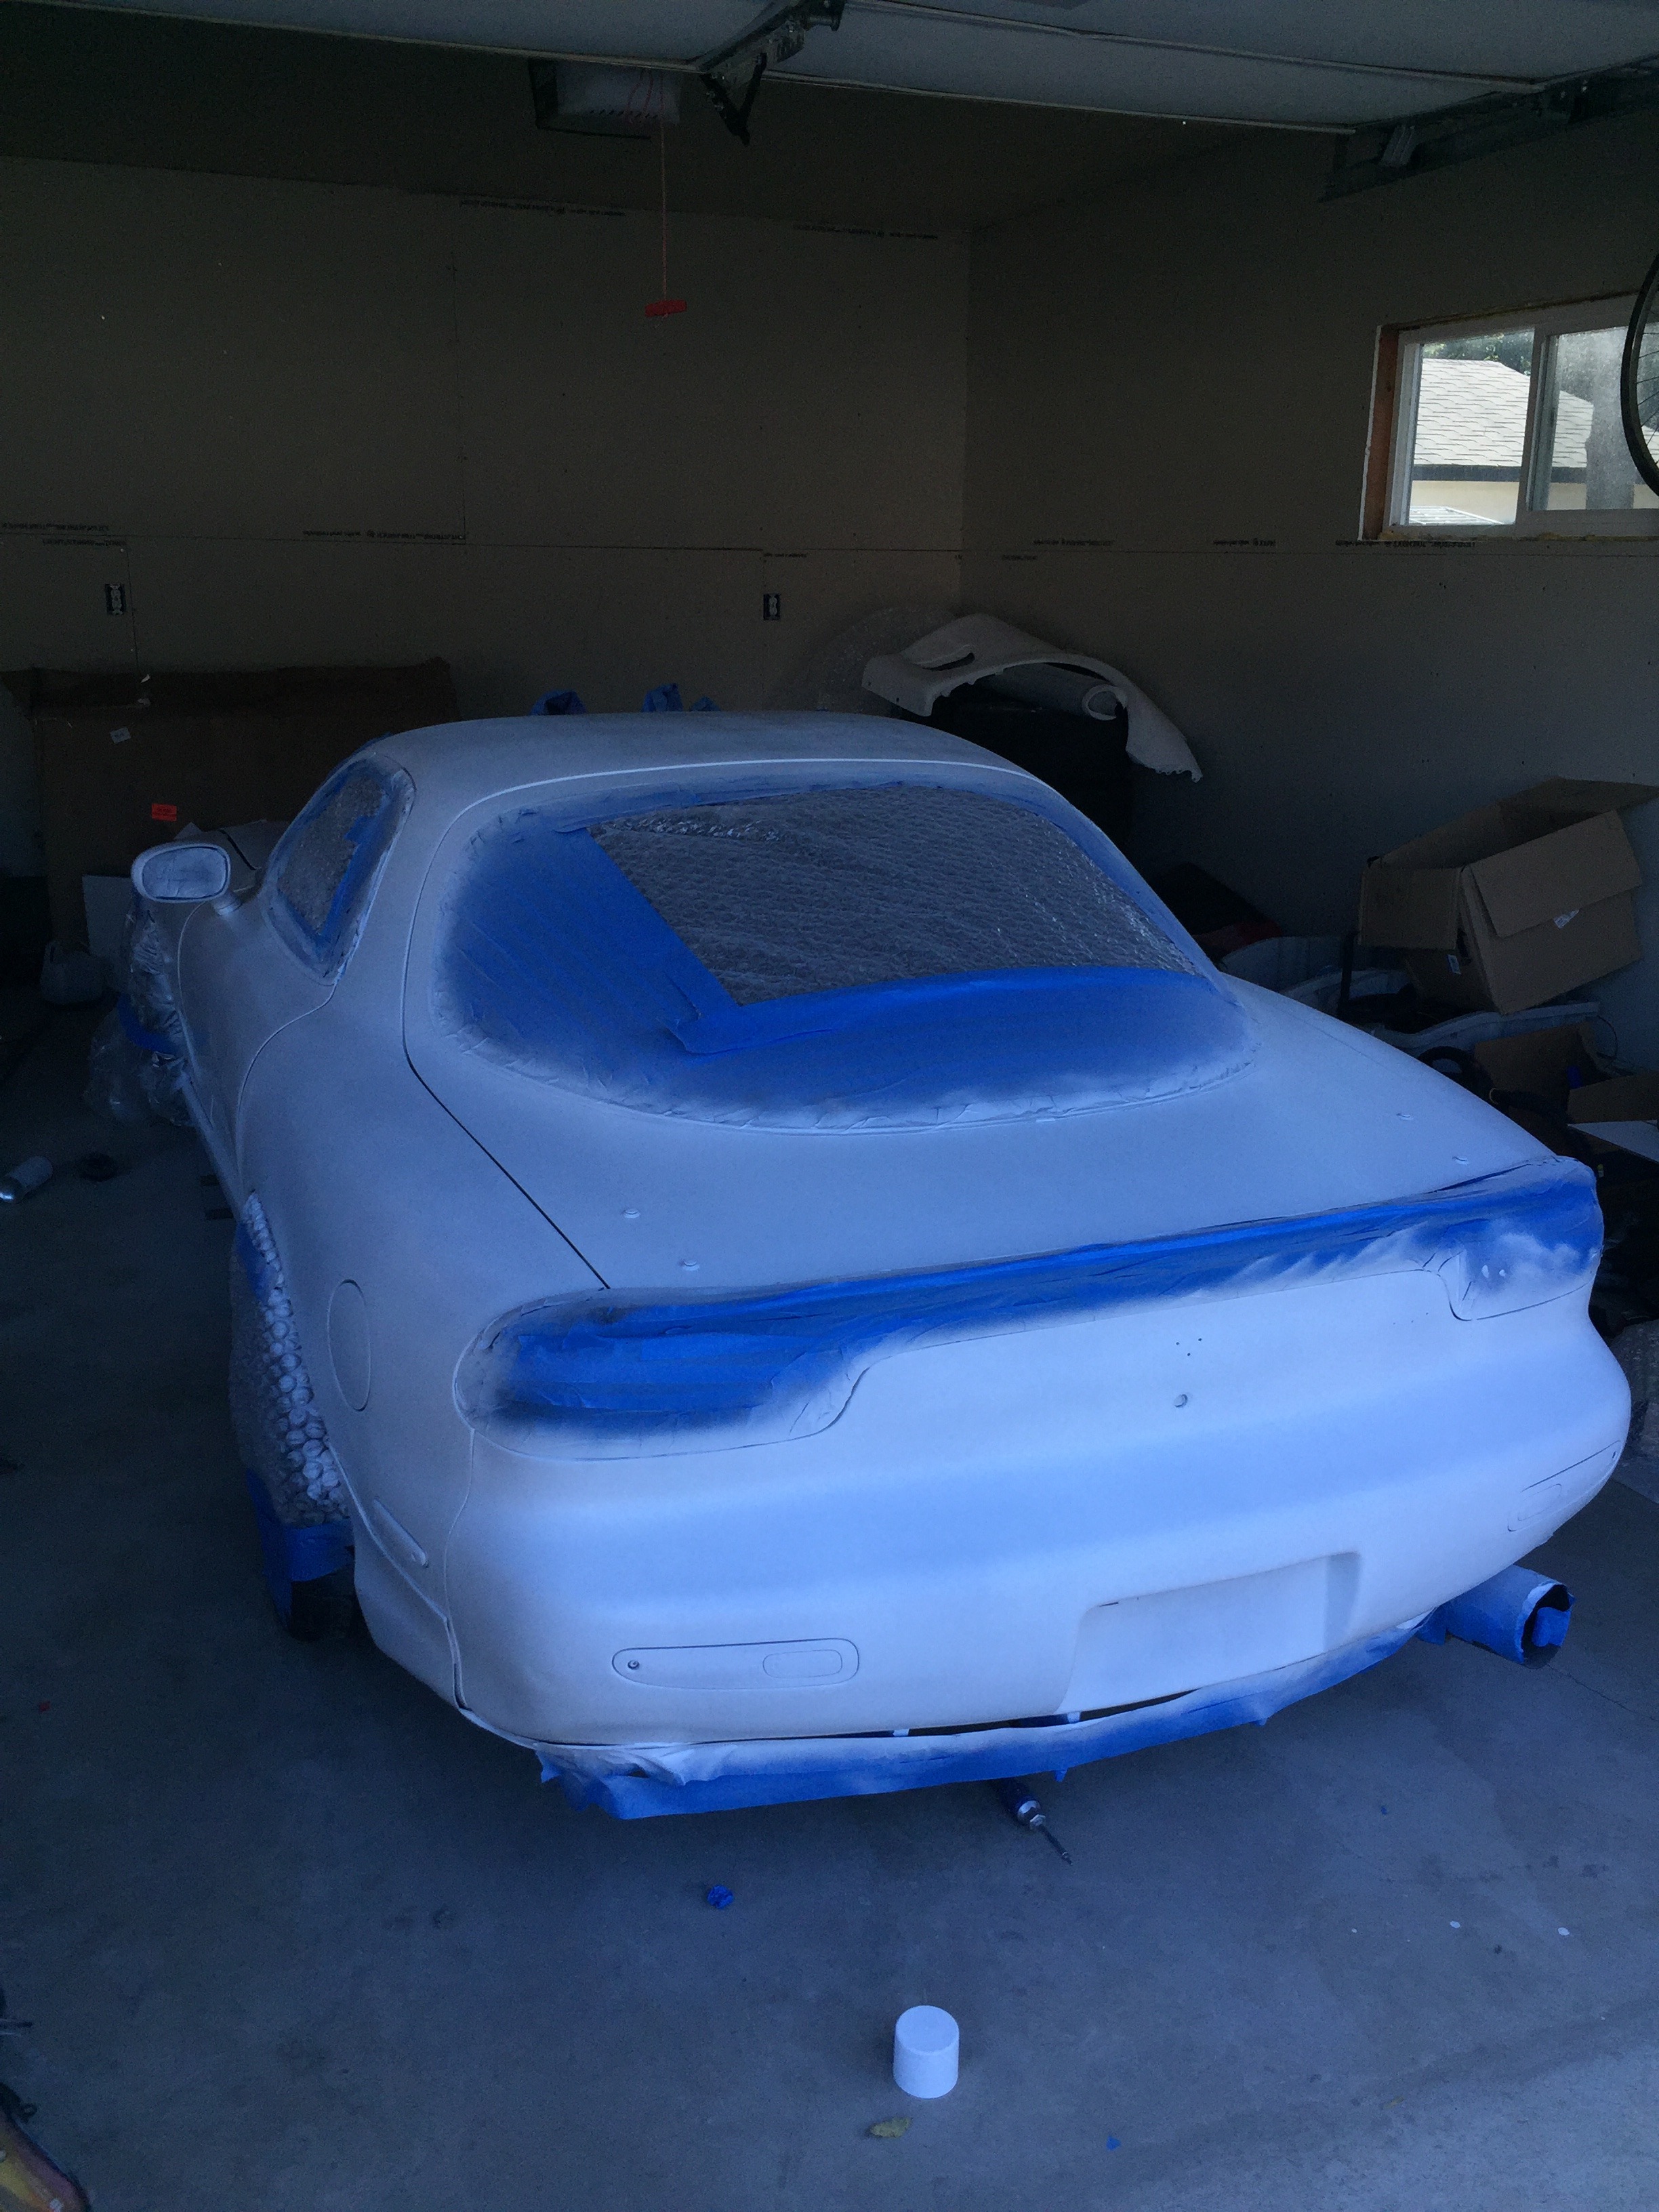
Done!
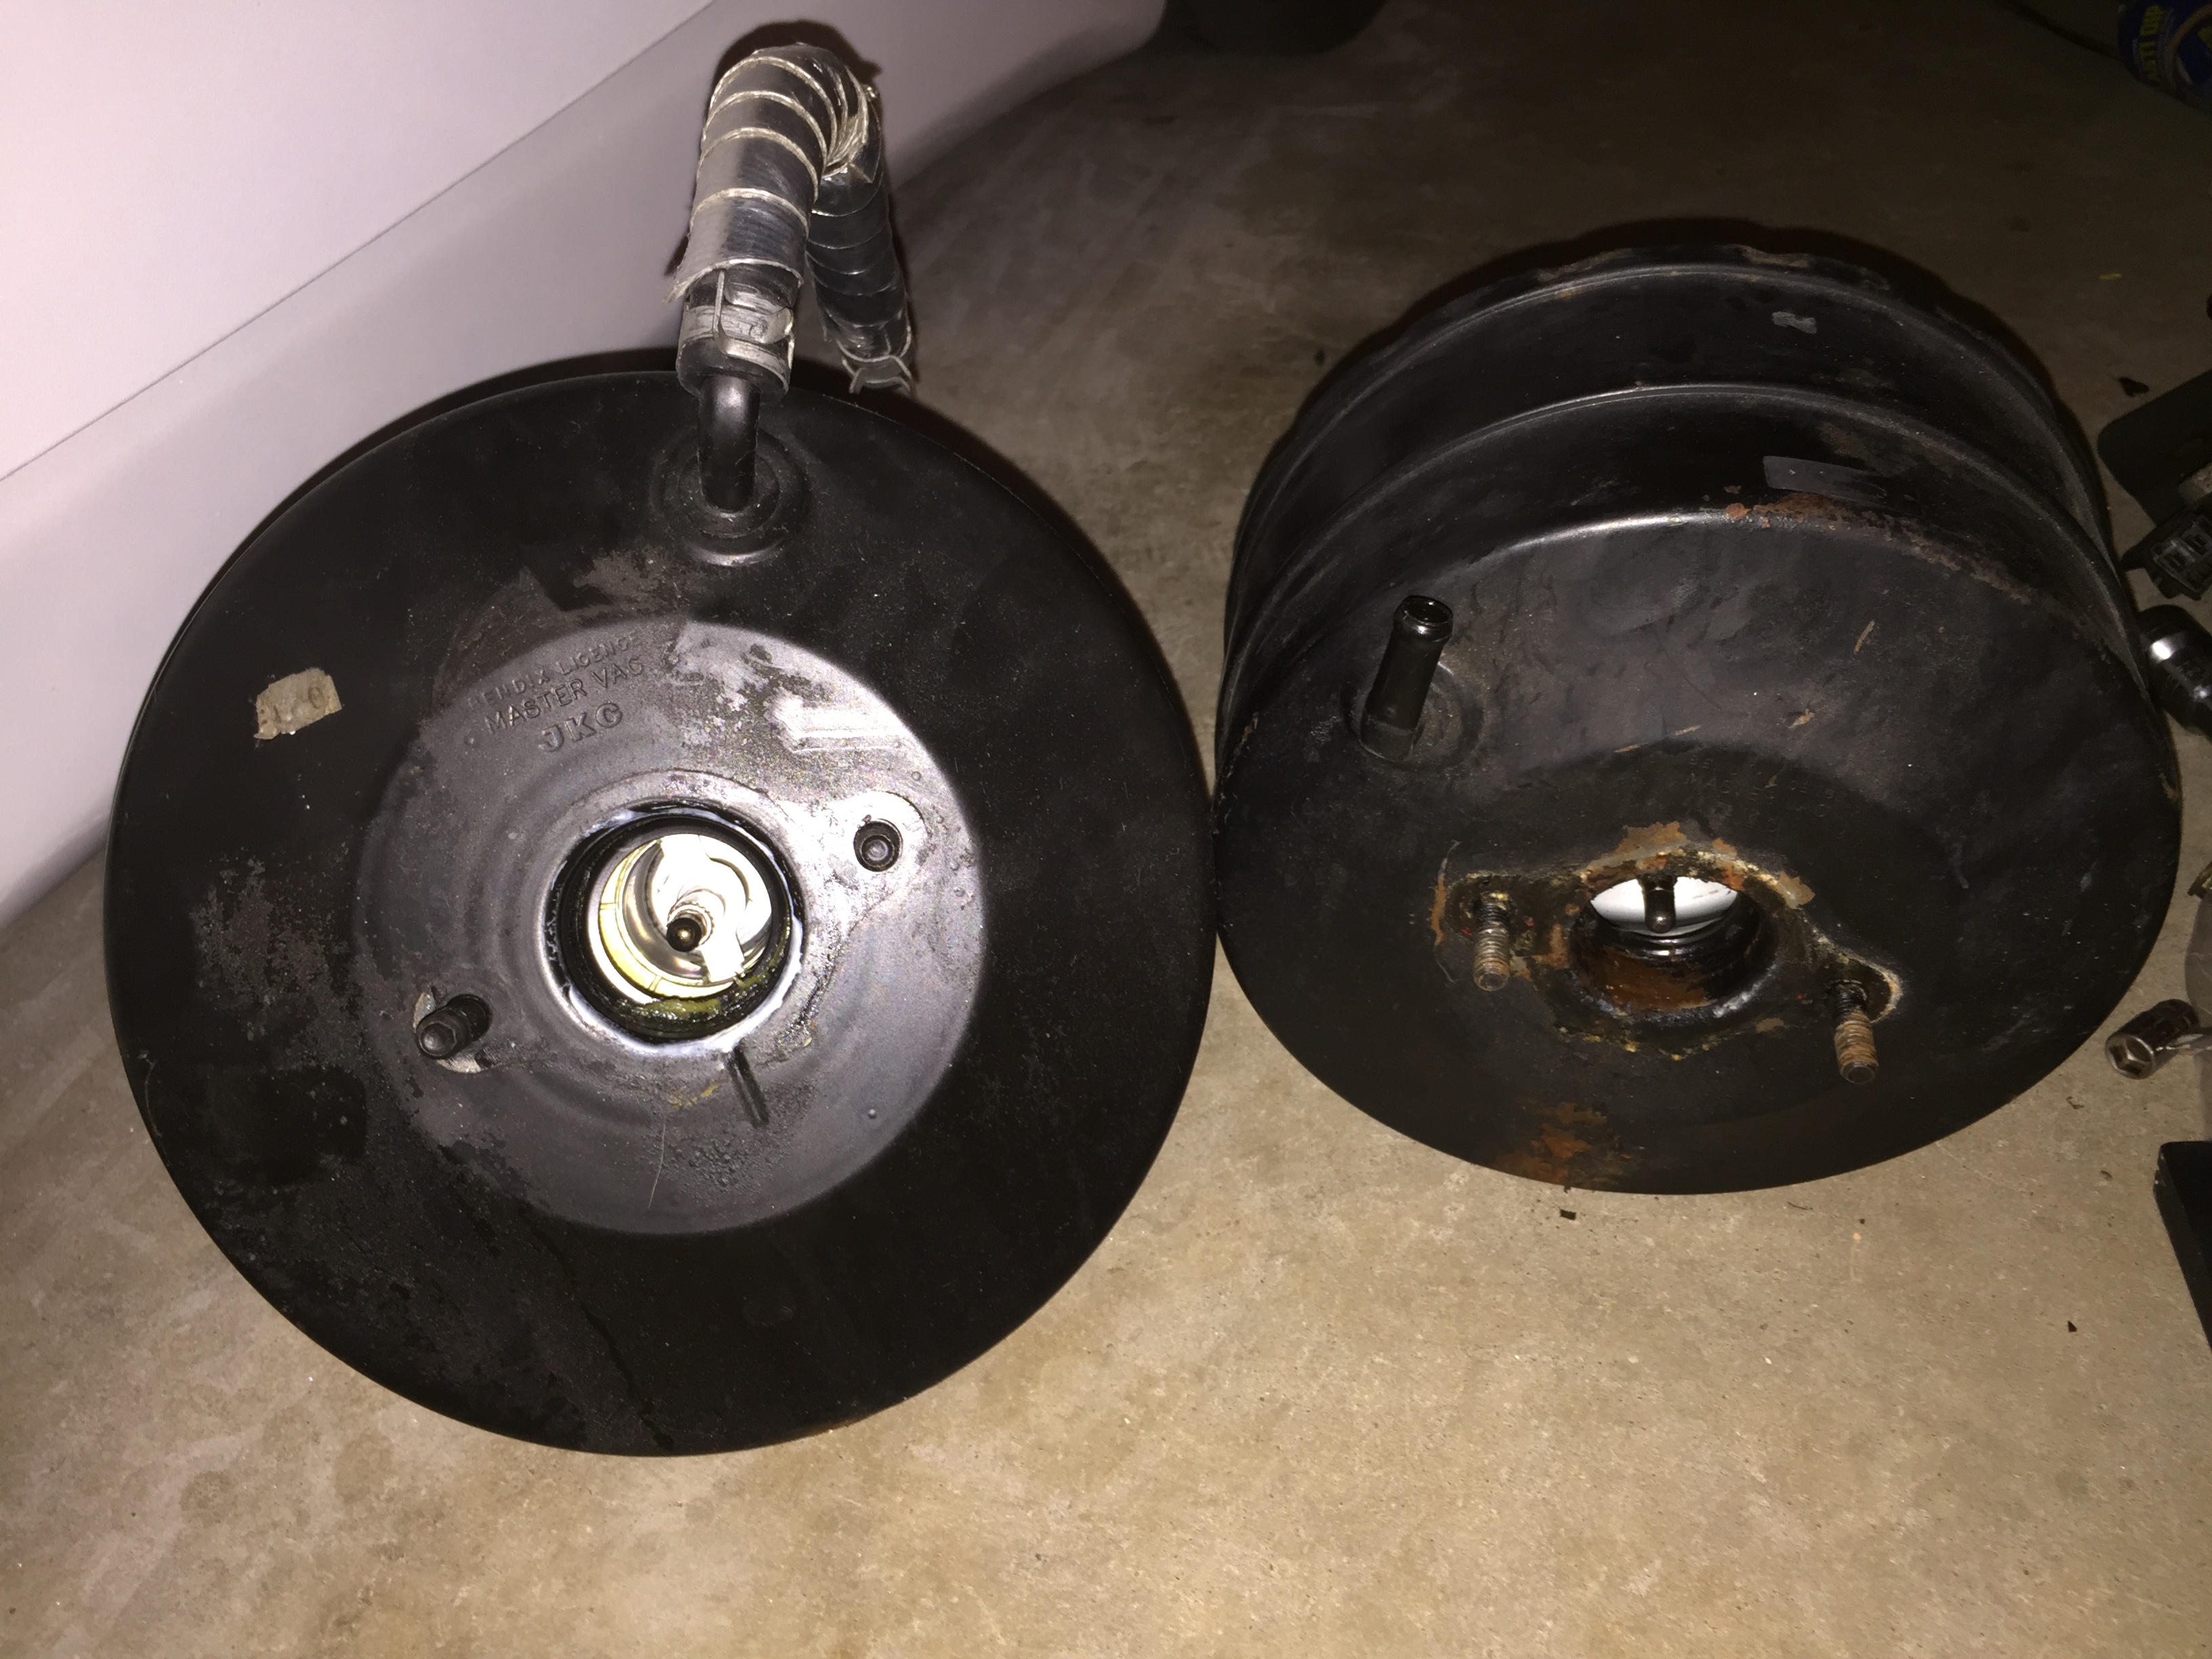
Took the car for a drive to take some pictures of it after everything was finished and started noticing a wooshing noise coming from near my brake pedal...turns out the previous owner didn't have a check valve installed in the booster line so once positive pressure entered that line, and therefore the booster, it decided to pop. Luckily I had a spare at home so I swapped them out real quick. Looks like it is a RHD booster, but it bolted up without issue.

Old vs New
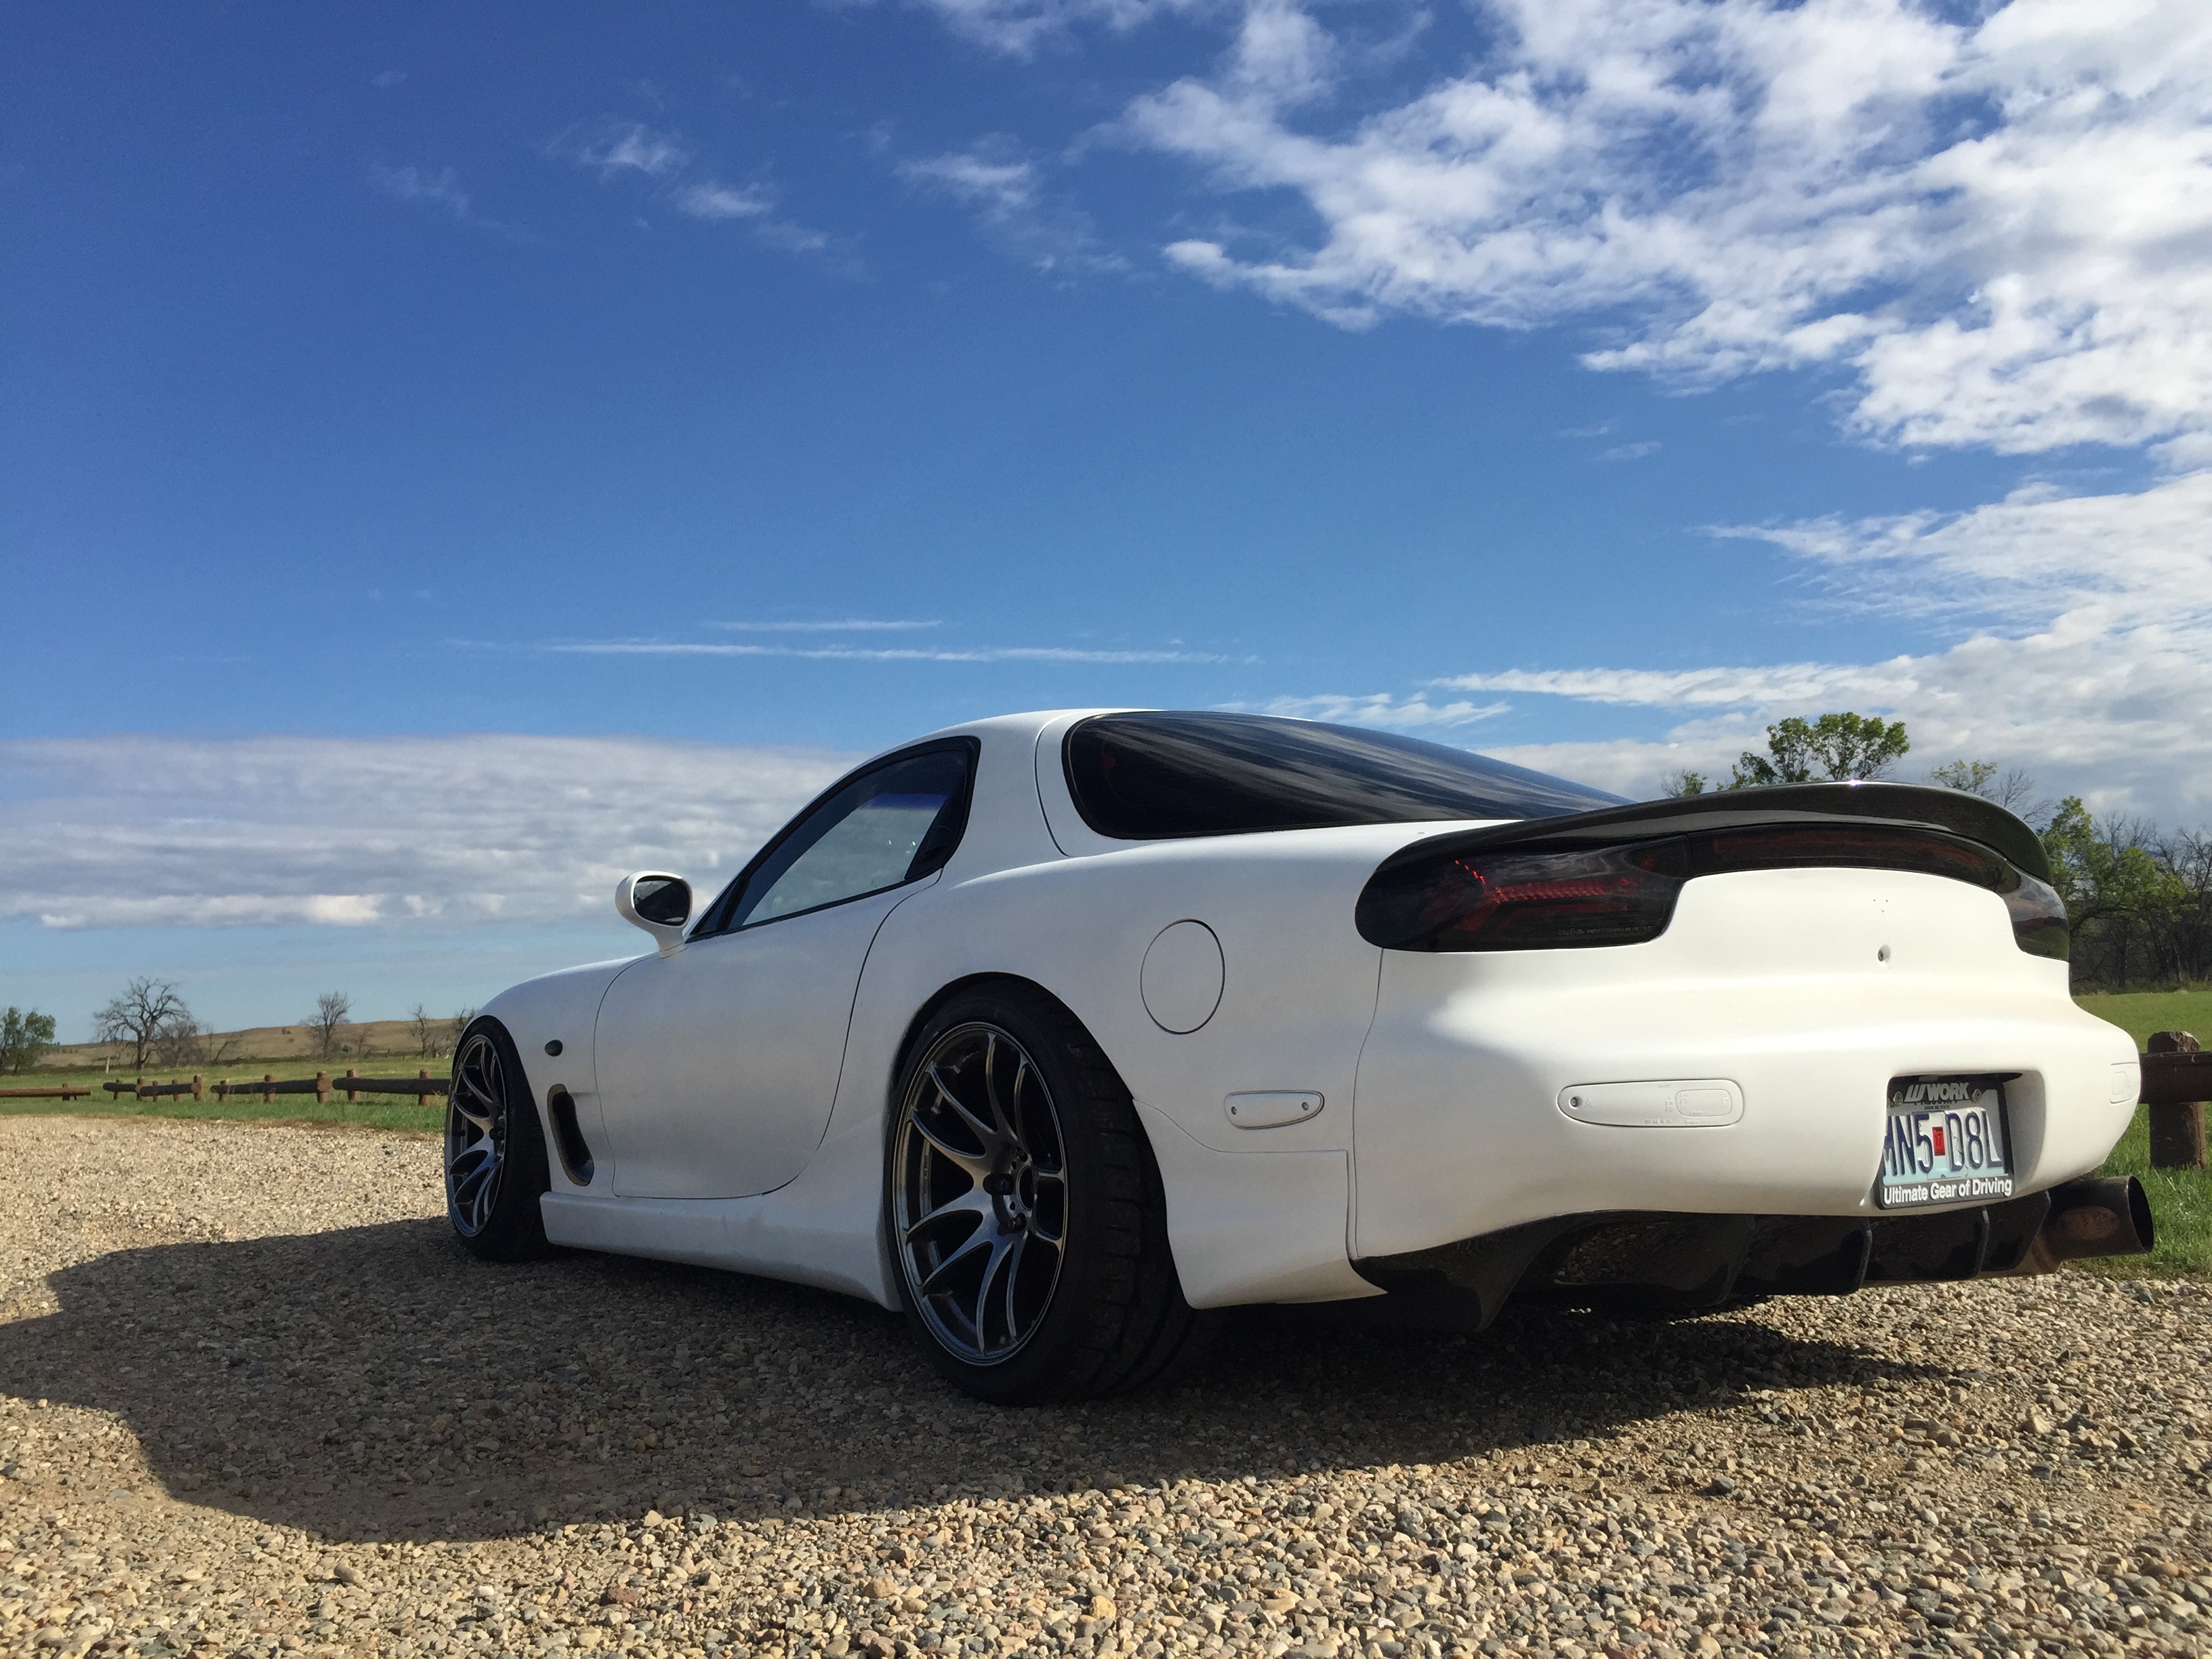
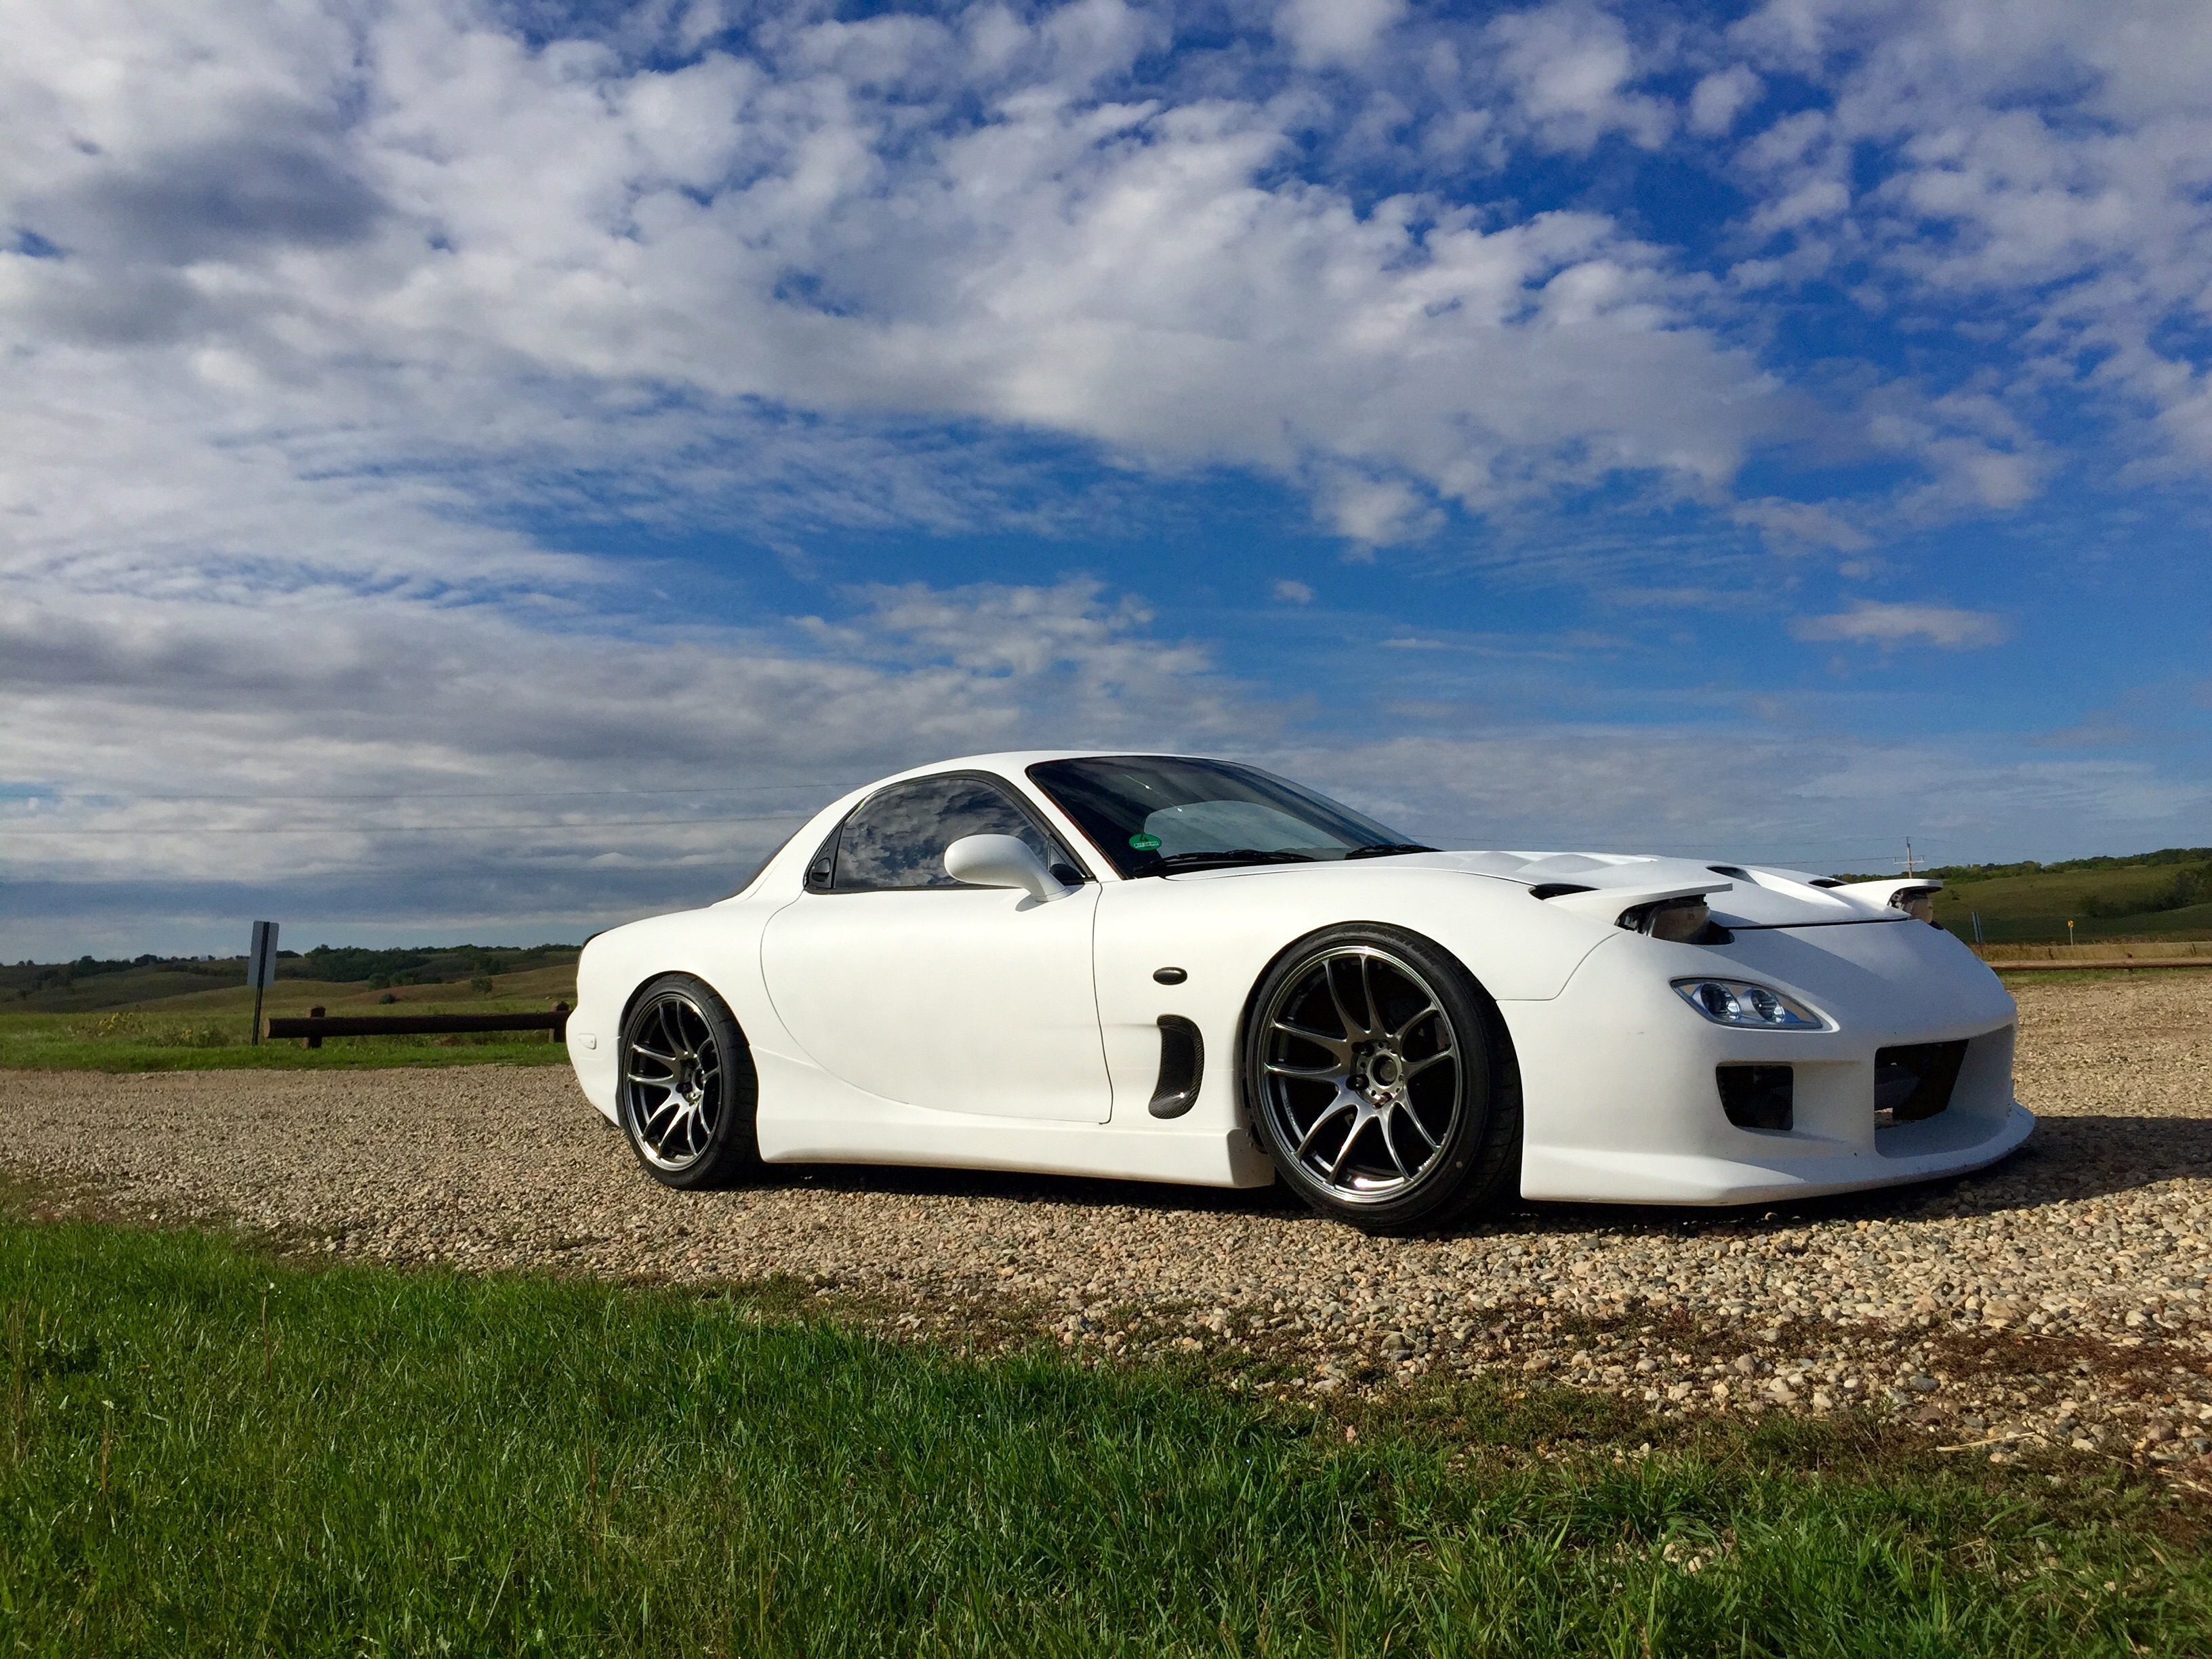
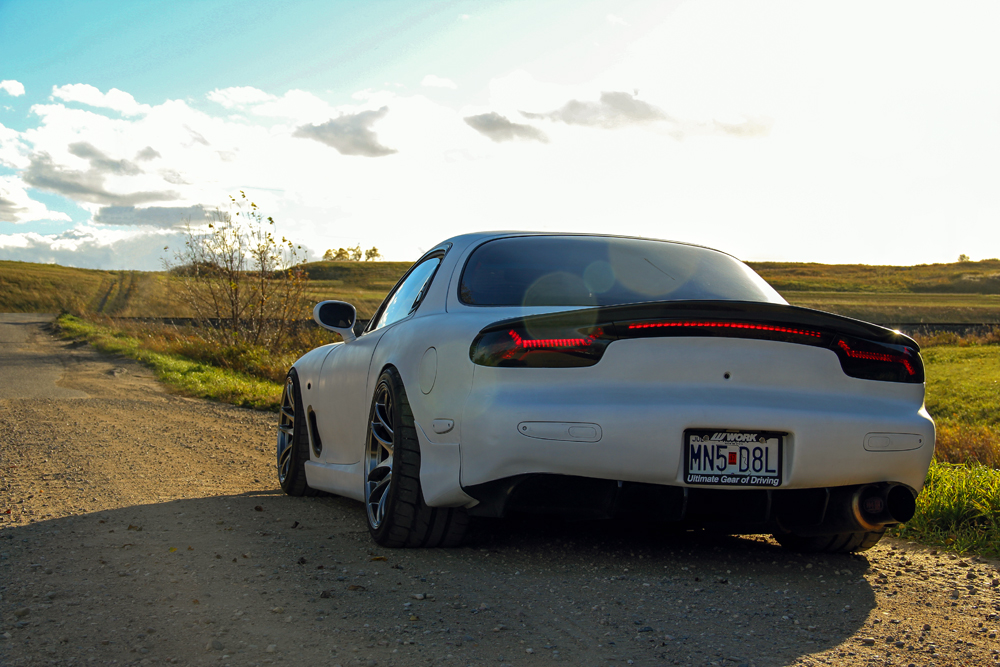
And now lots of random pics after taking it on drives

Mmmmmmmmmm

Legit!!

Alright, last thing before some more pictures. The car was multiple shades of white with the various body parts on it, so I decided to go ahead and plastidip it.

Did a light coat of black so I could see how my coverage was

Done!

Took the car for a drive to take some pictures of it after everything was finished and started noticing a wooshing noise coming from near my brake pedal...turns out the previous owner didn't have a check valve installed in the booster line so once positive pressure entered that line, and therefore the booster, it decided to pop. Luckily I had a spare at home so I swapped them out real quick. Looks like it is a RHD booster, but it bolted up without issue.

Old vs New

And now lots of random pics after taking it on drives


Thread Starter
Full Member
Joined: Apr 2015
Posts: 140
Likes: 5
From: Great Falls, MT
Thread Starter
Full Member
Joined: Apr 2015
Posts: 140
Likes: 5
From: Great Falls, MT
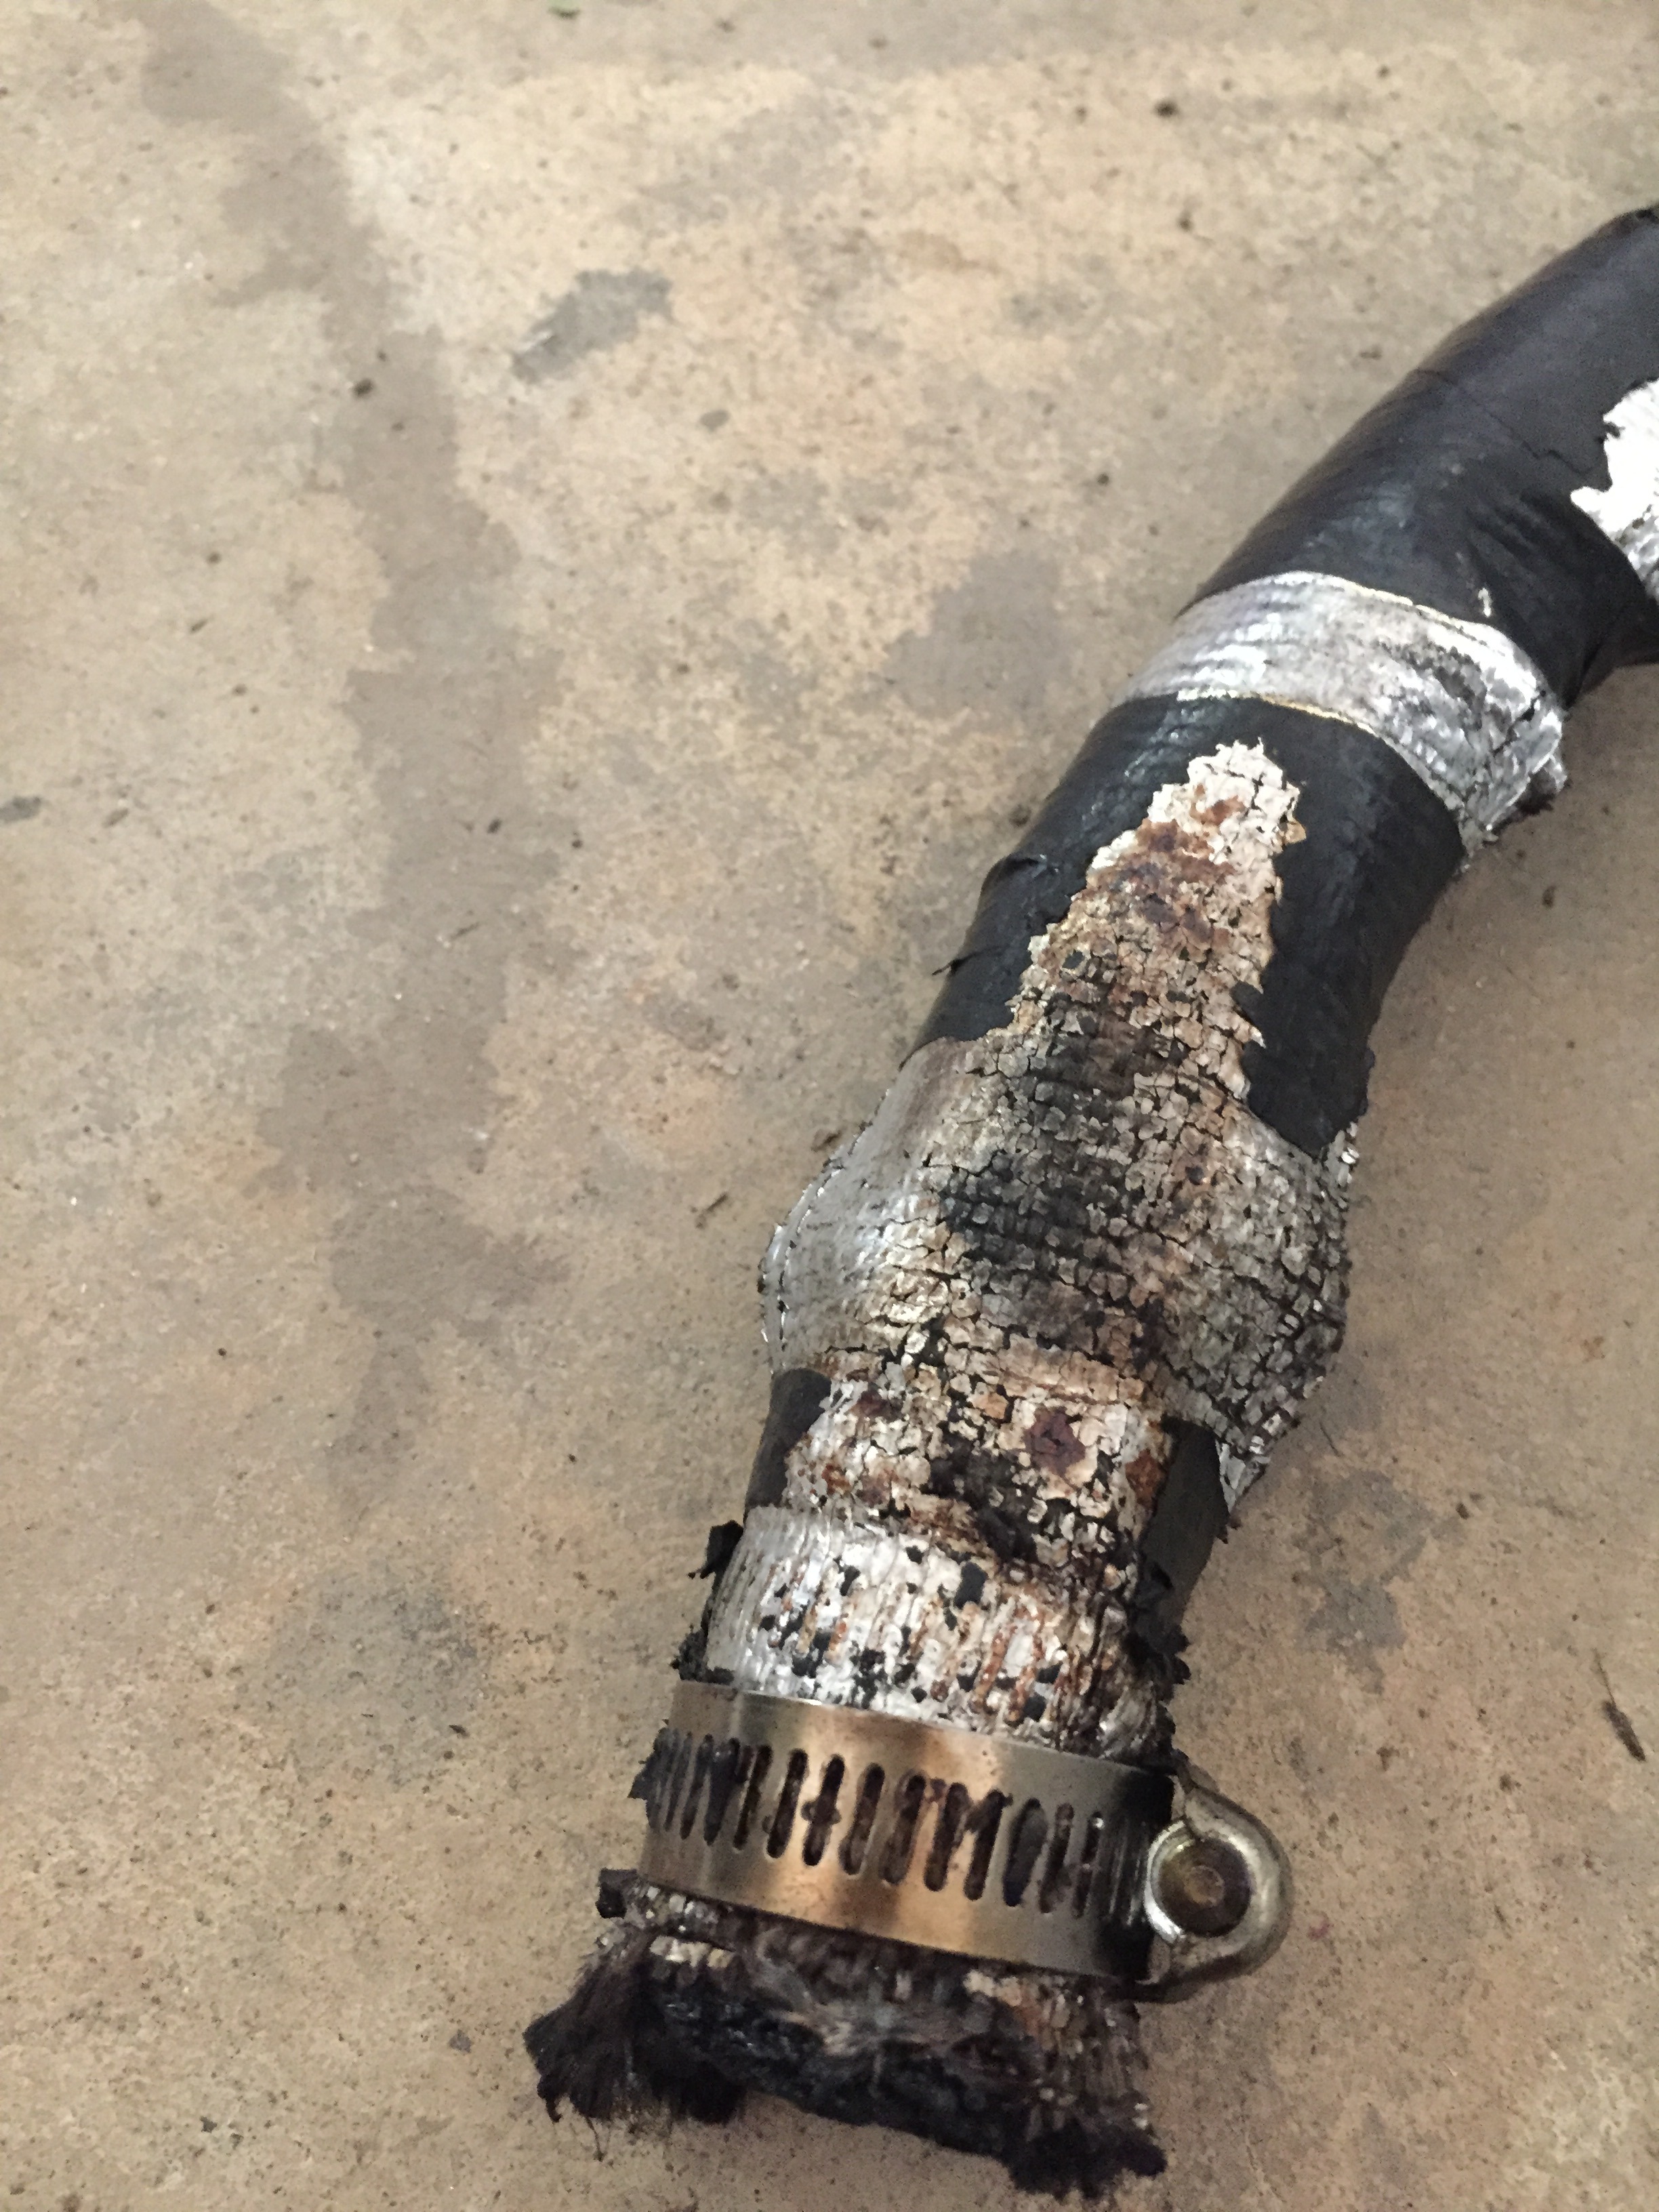
Well bit of an update here. The stock turbos decided to die on me...both sets that I had lol. Previous owner only planned to use them for break in with no boost, so I guess I couldn't have expected too much. Anyhow, the second set decided to die after I changed the oil. Pulled out of my garage and looked in my rear view mirror and it was like a freaking smoke screen. Found the perpetrator
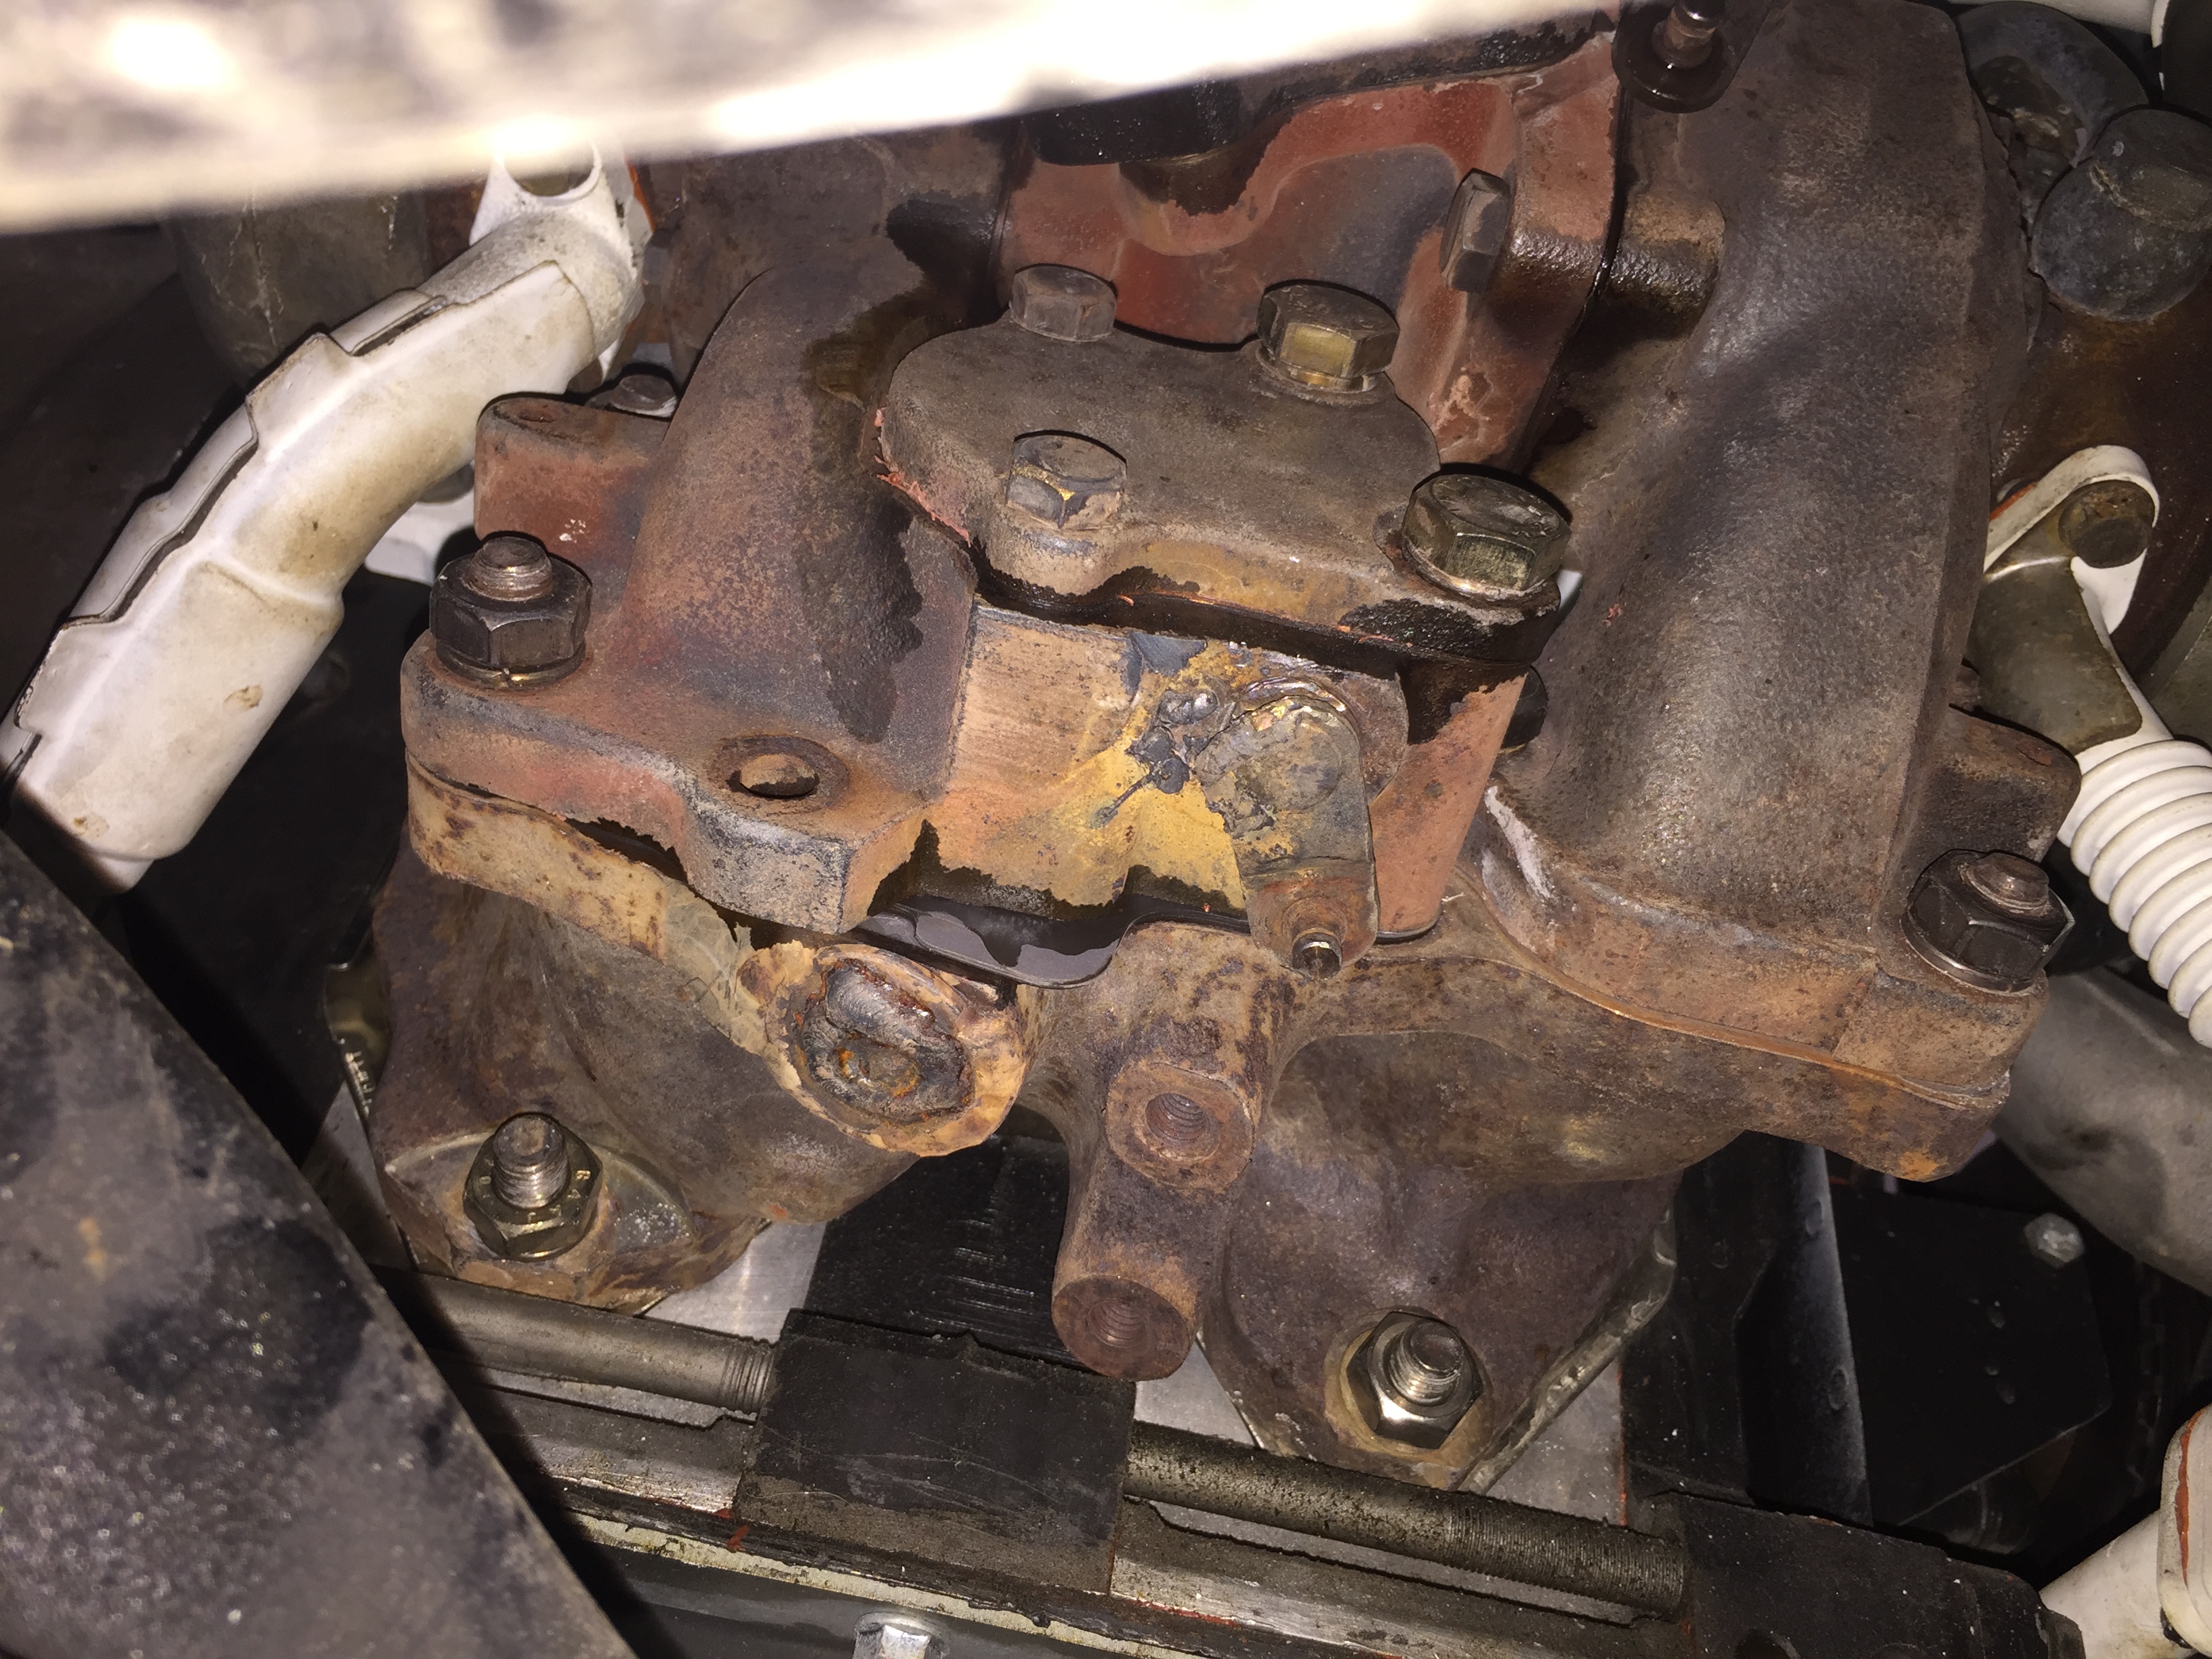
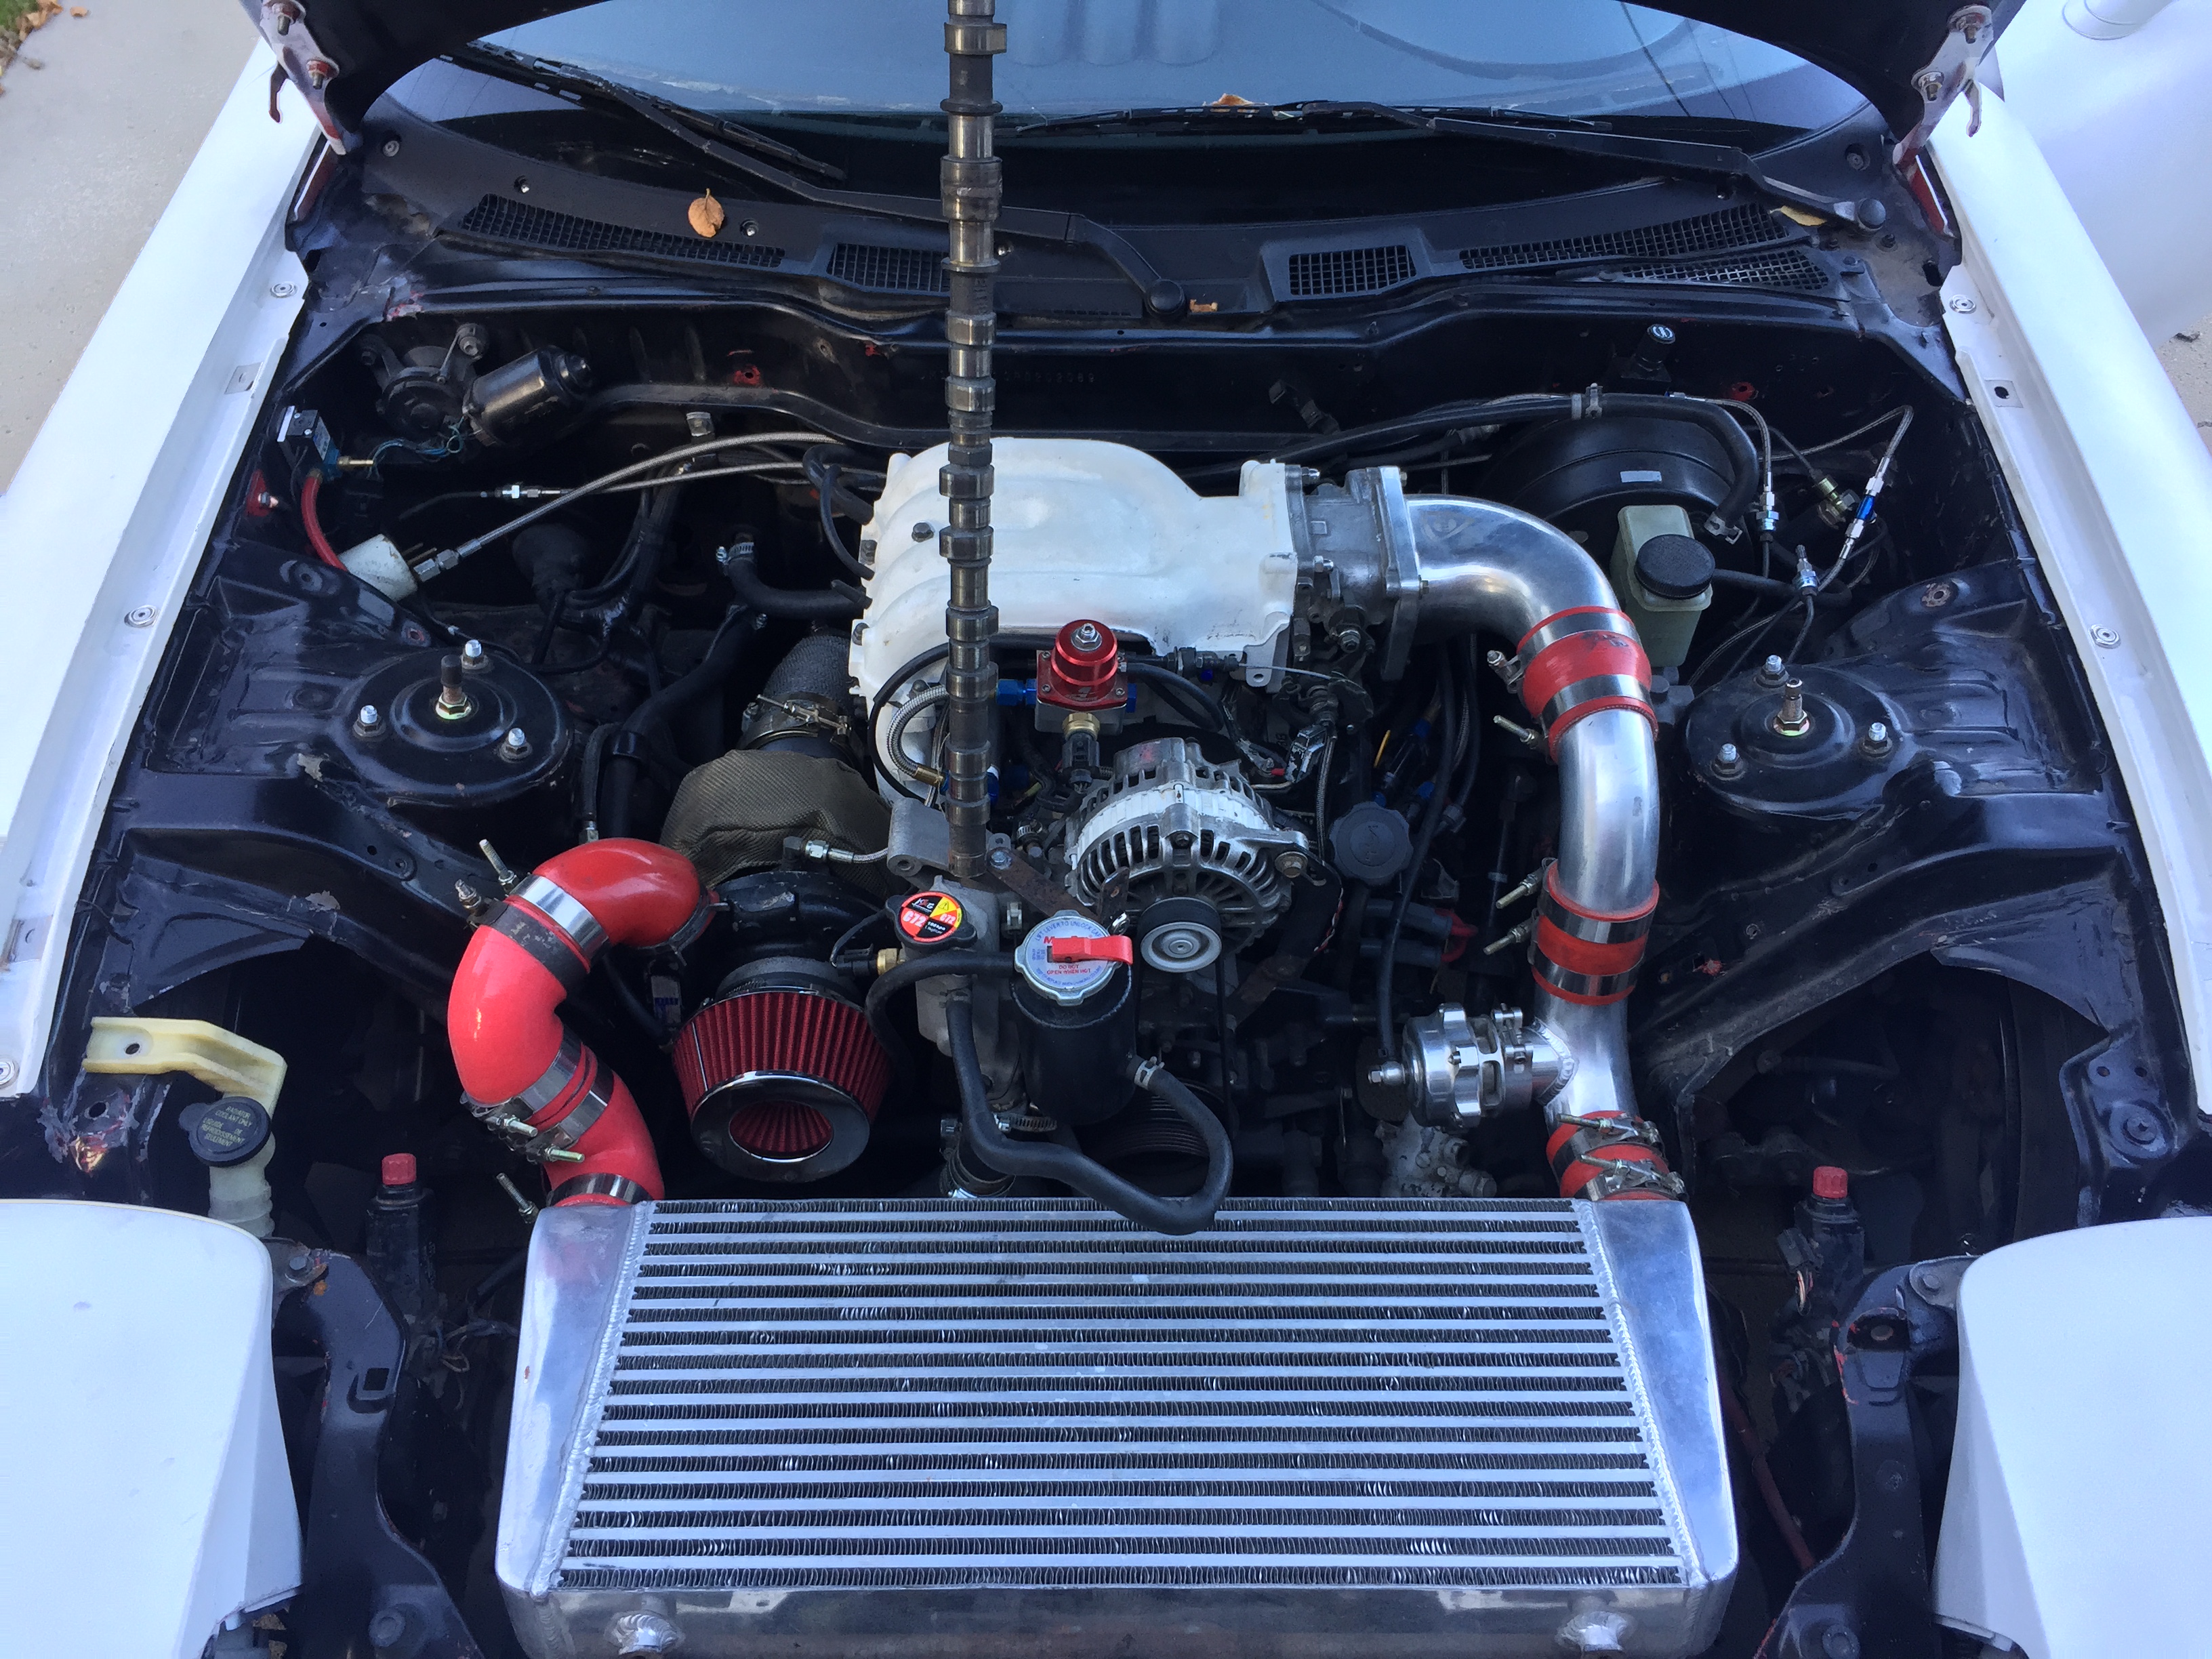
Doin work, single turbo time
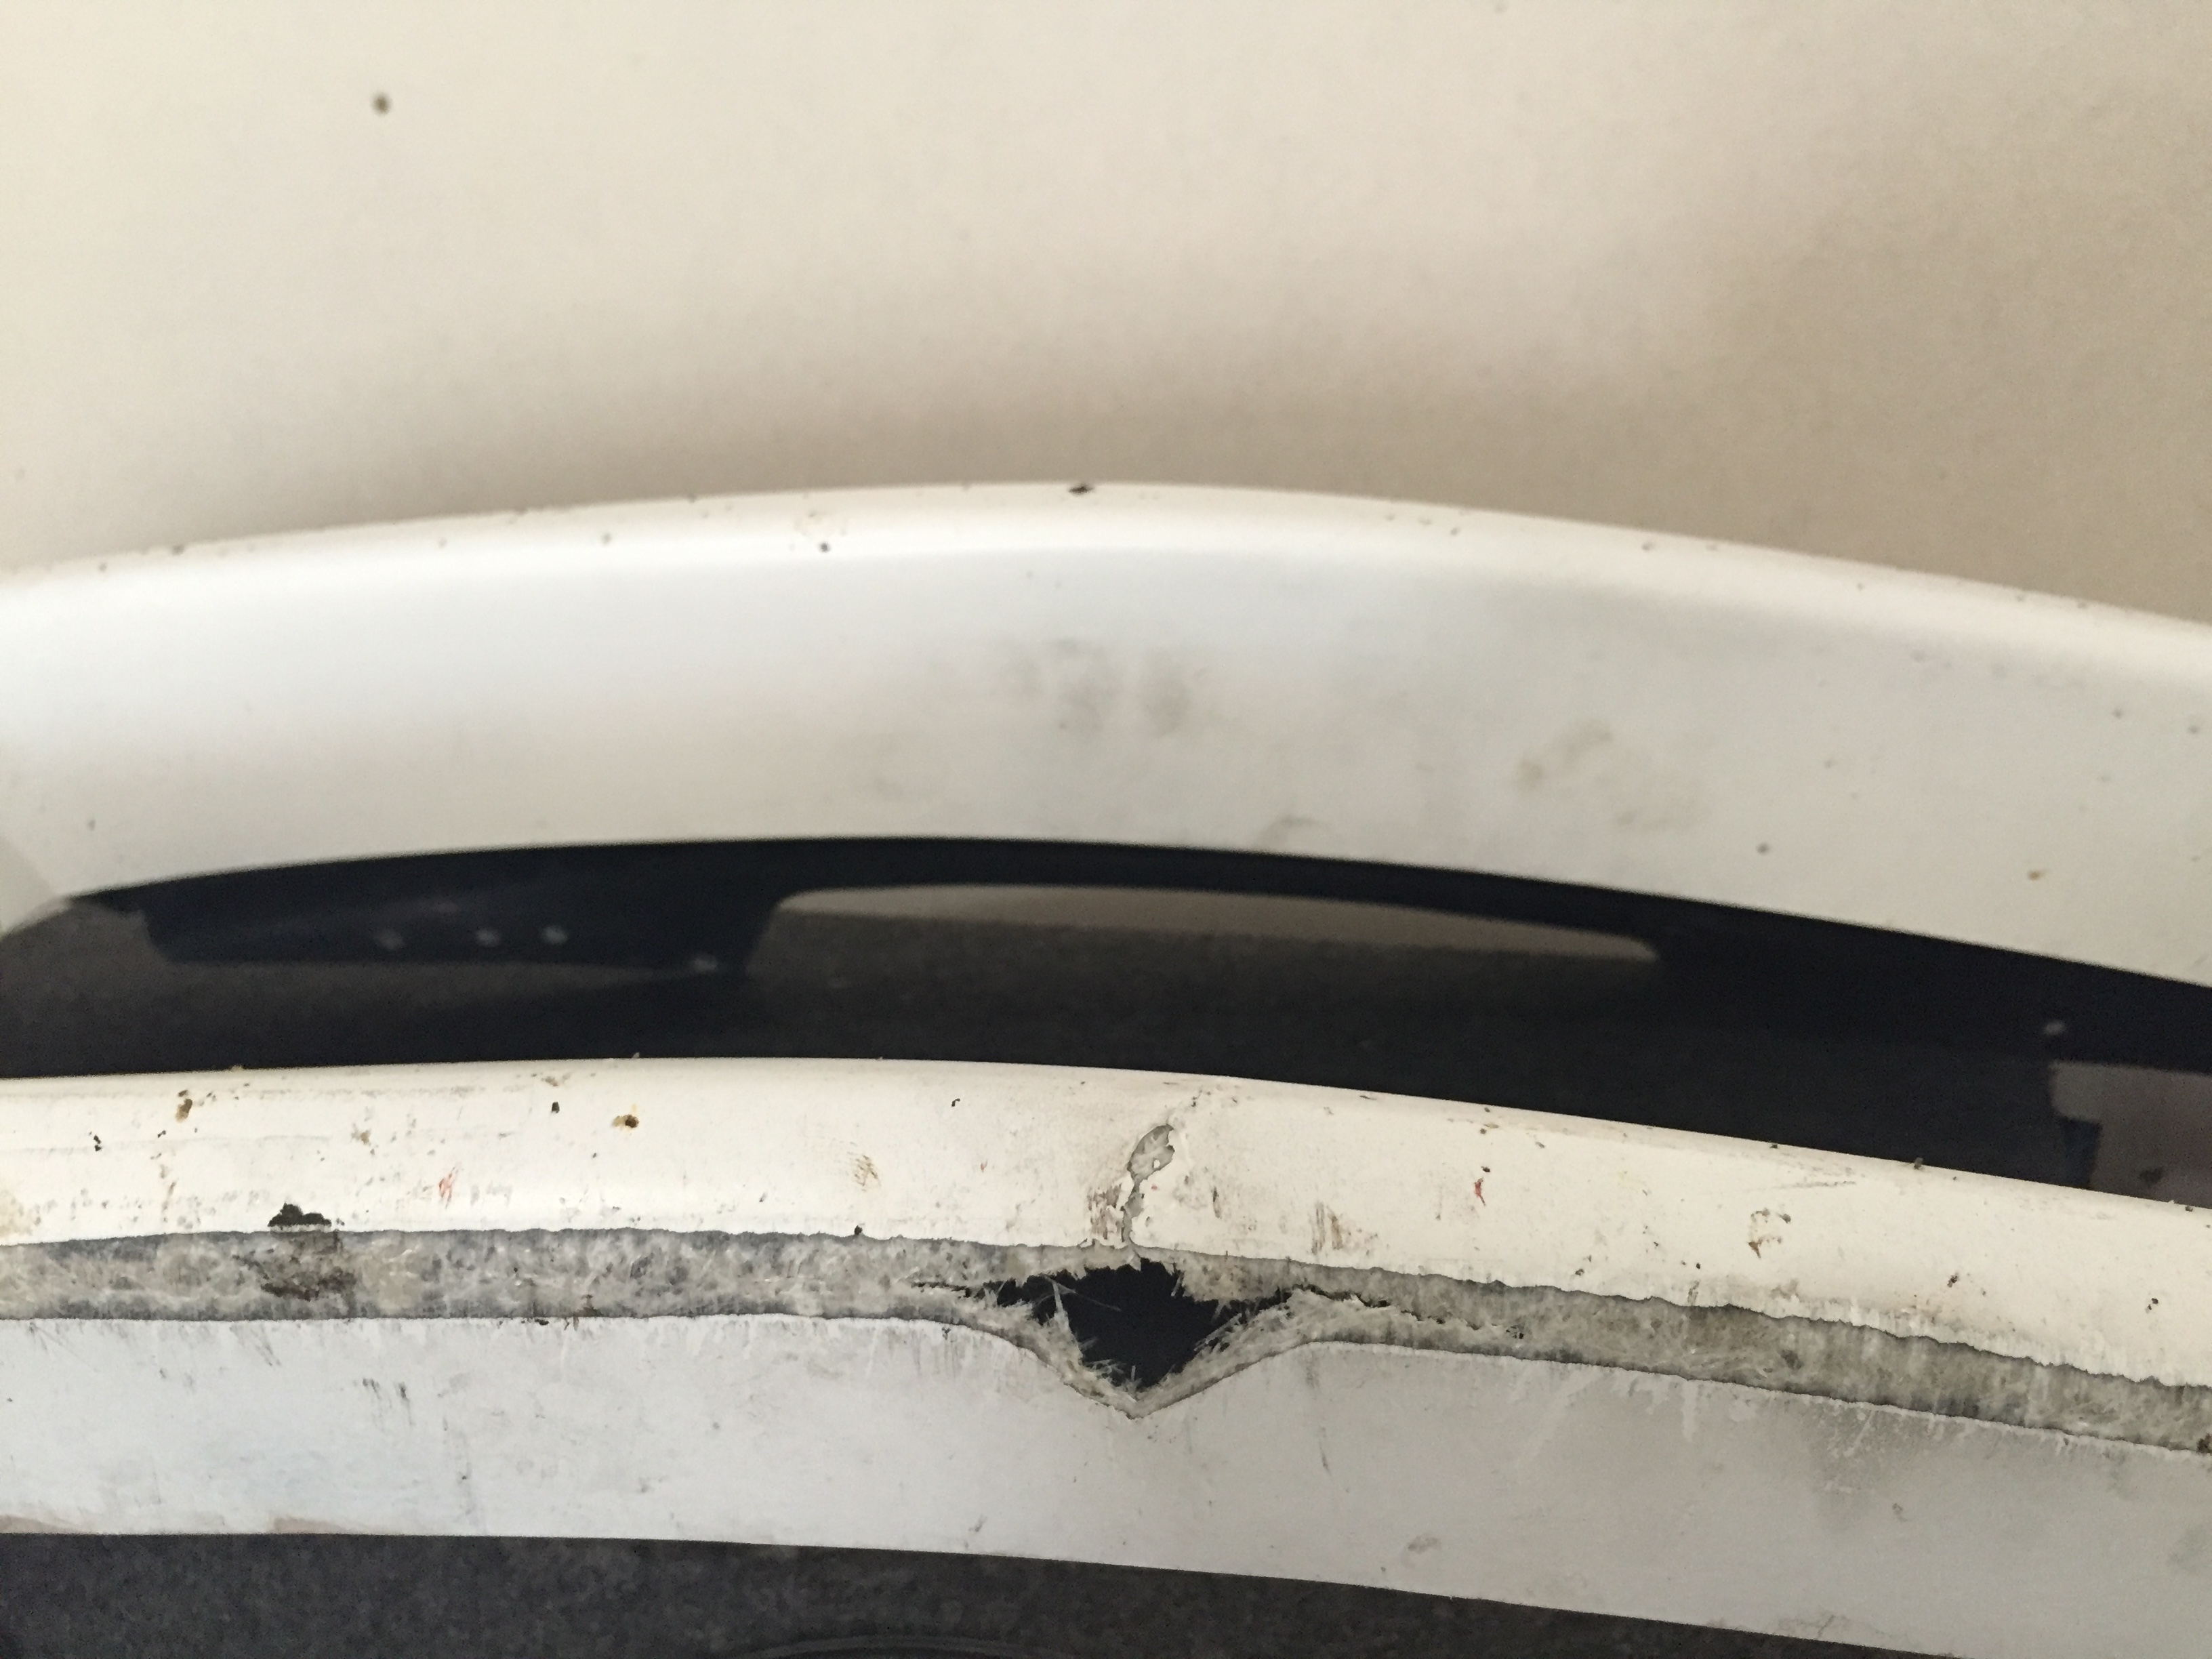
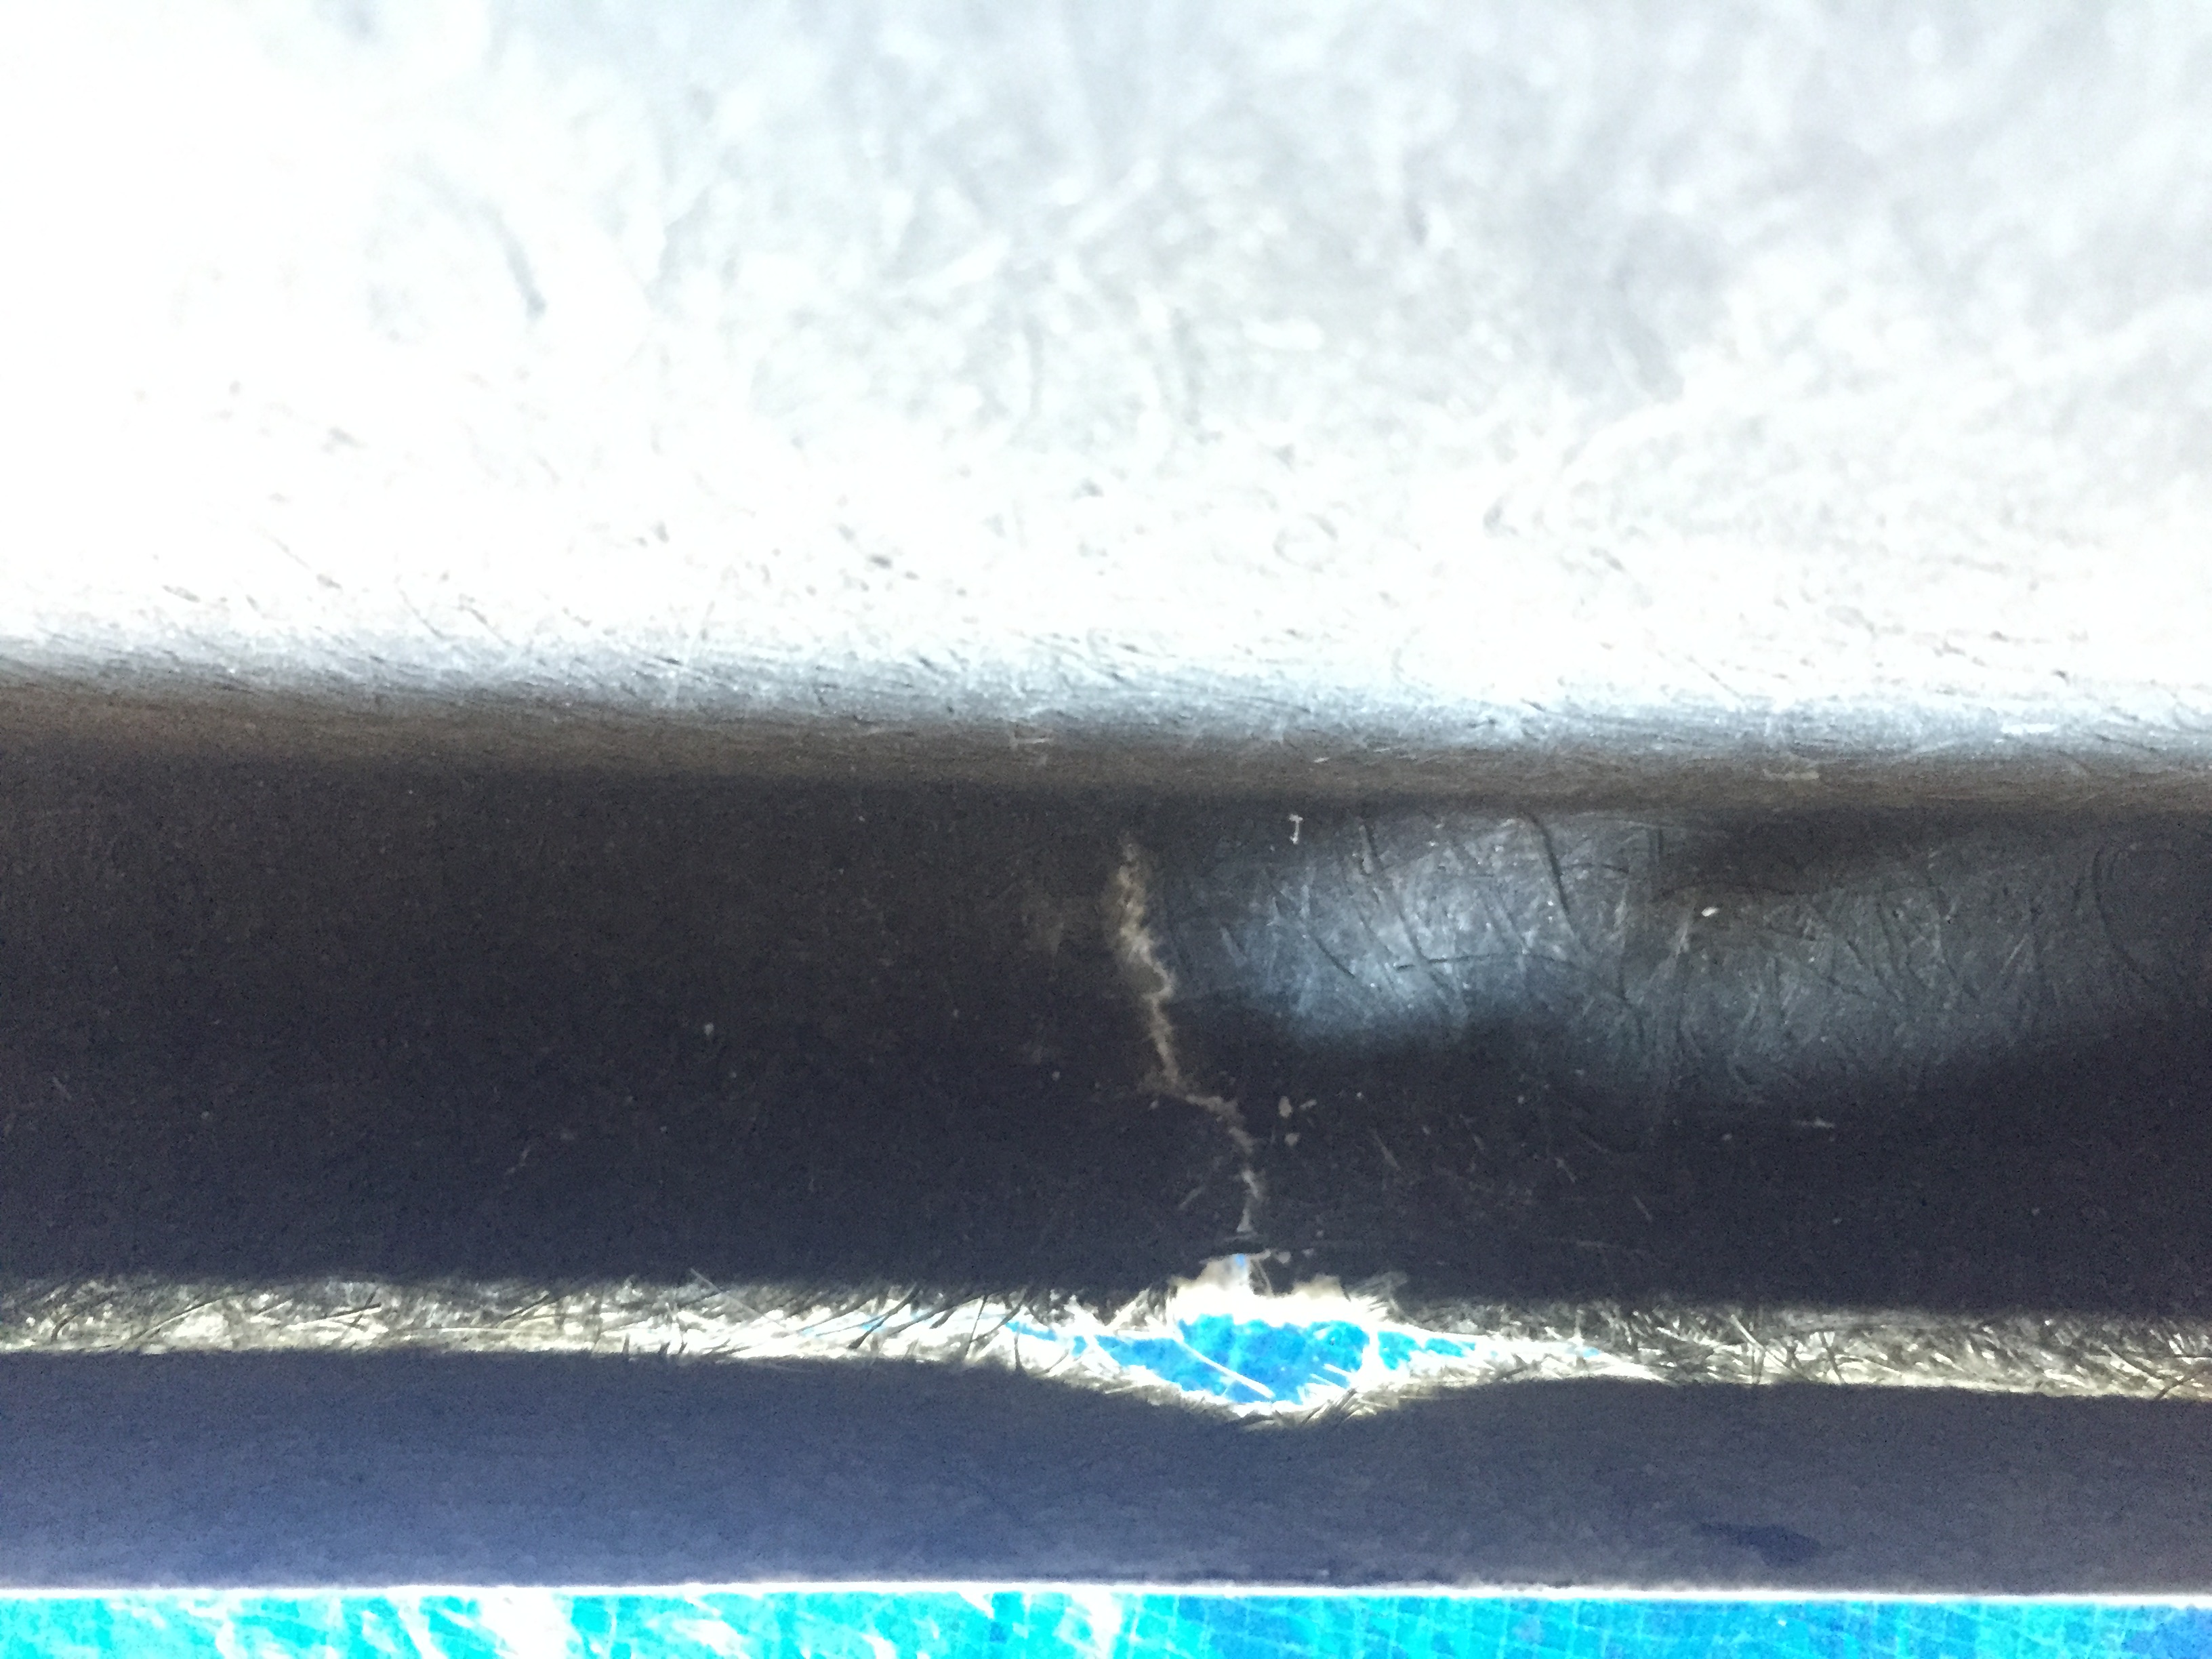
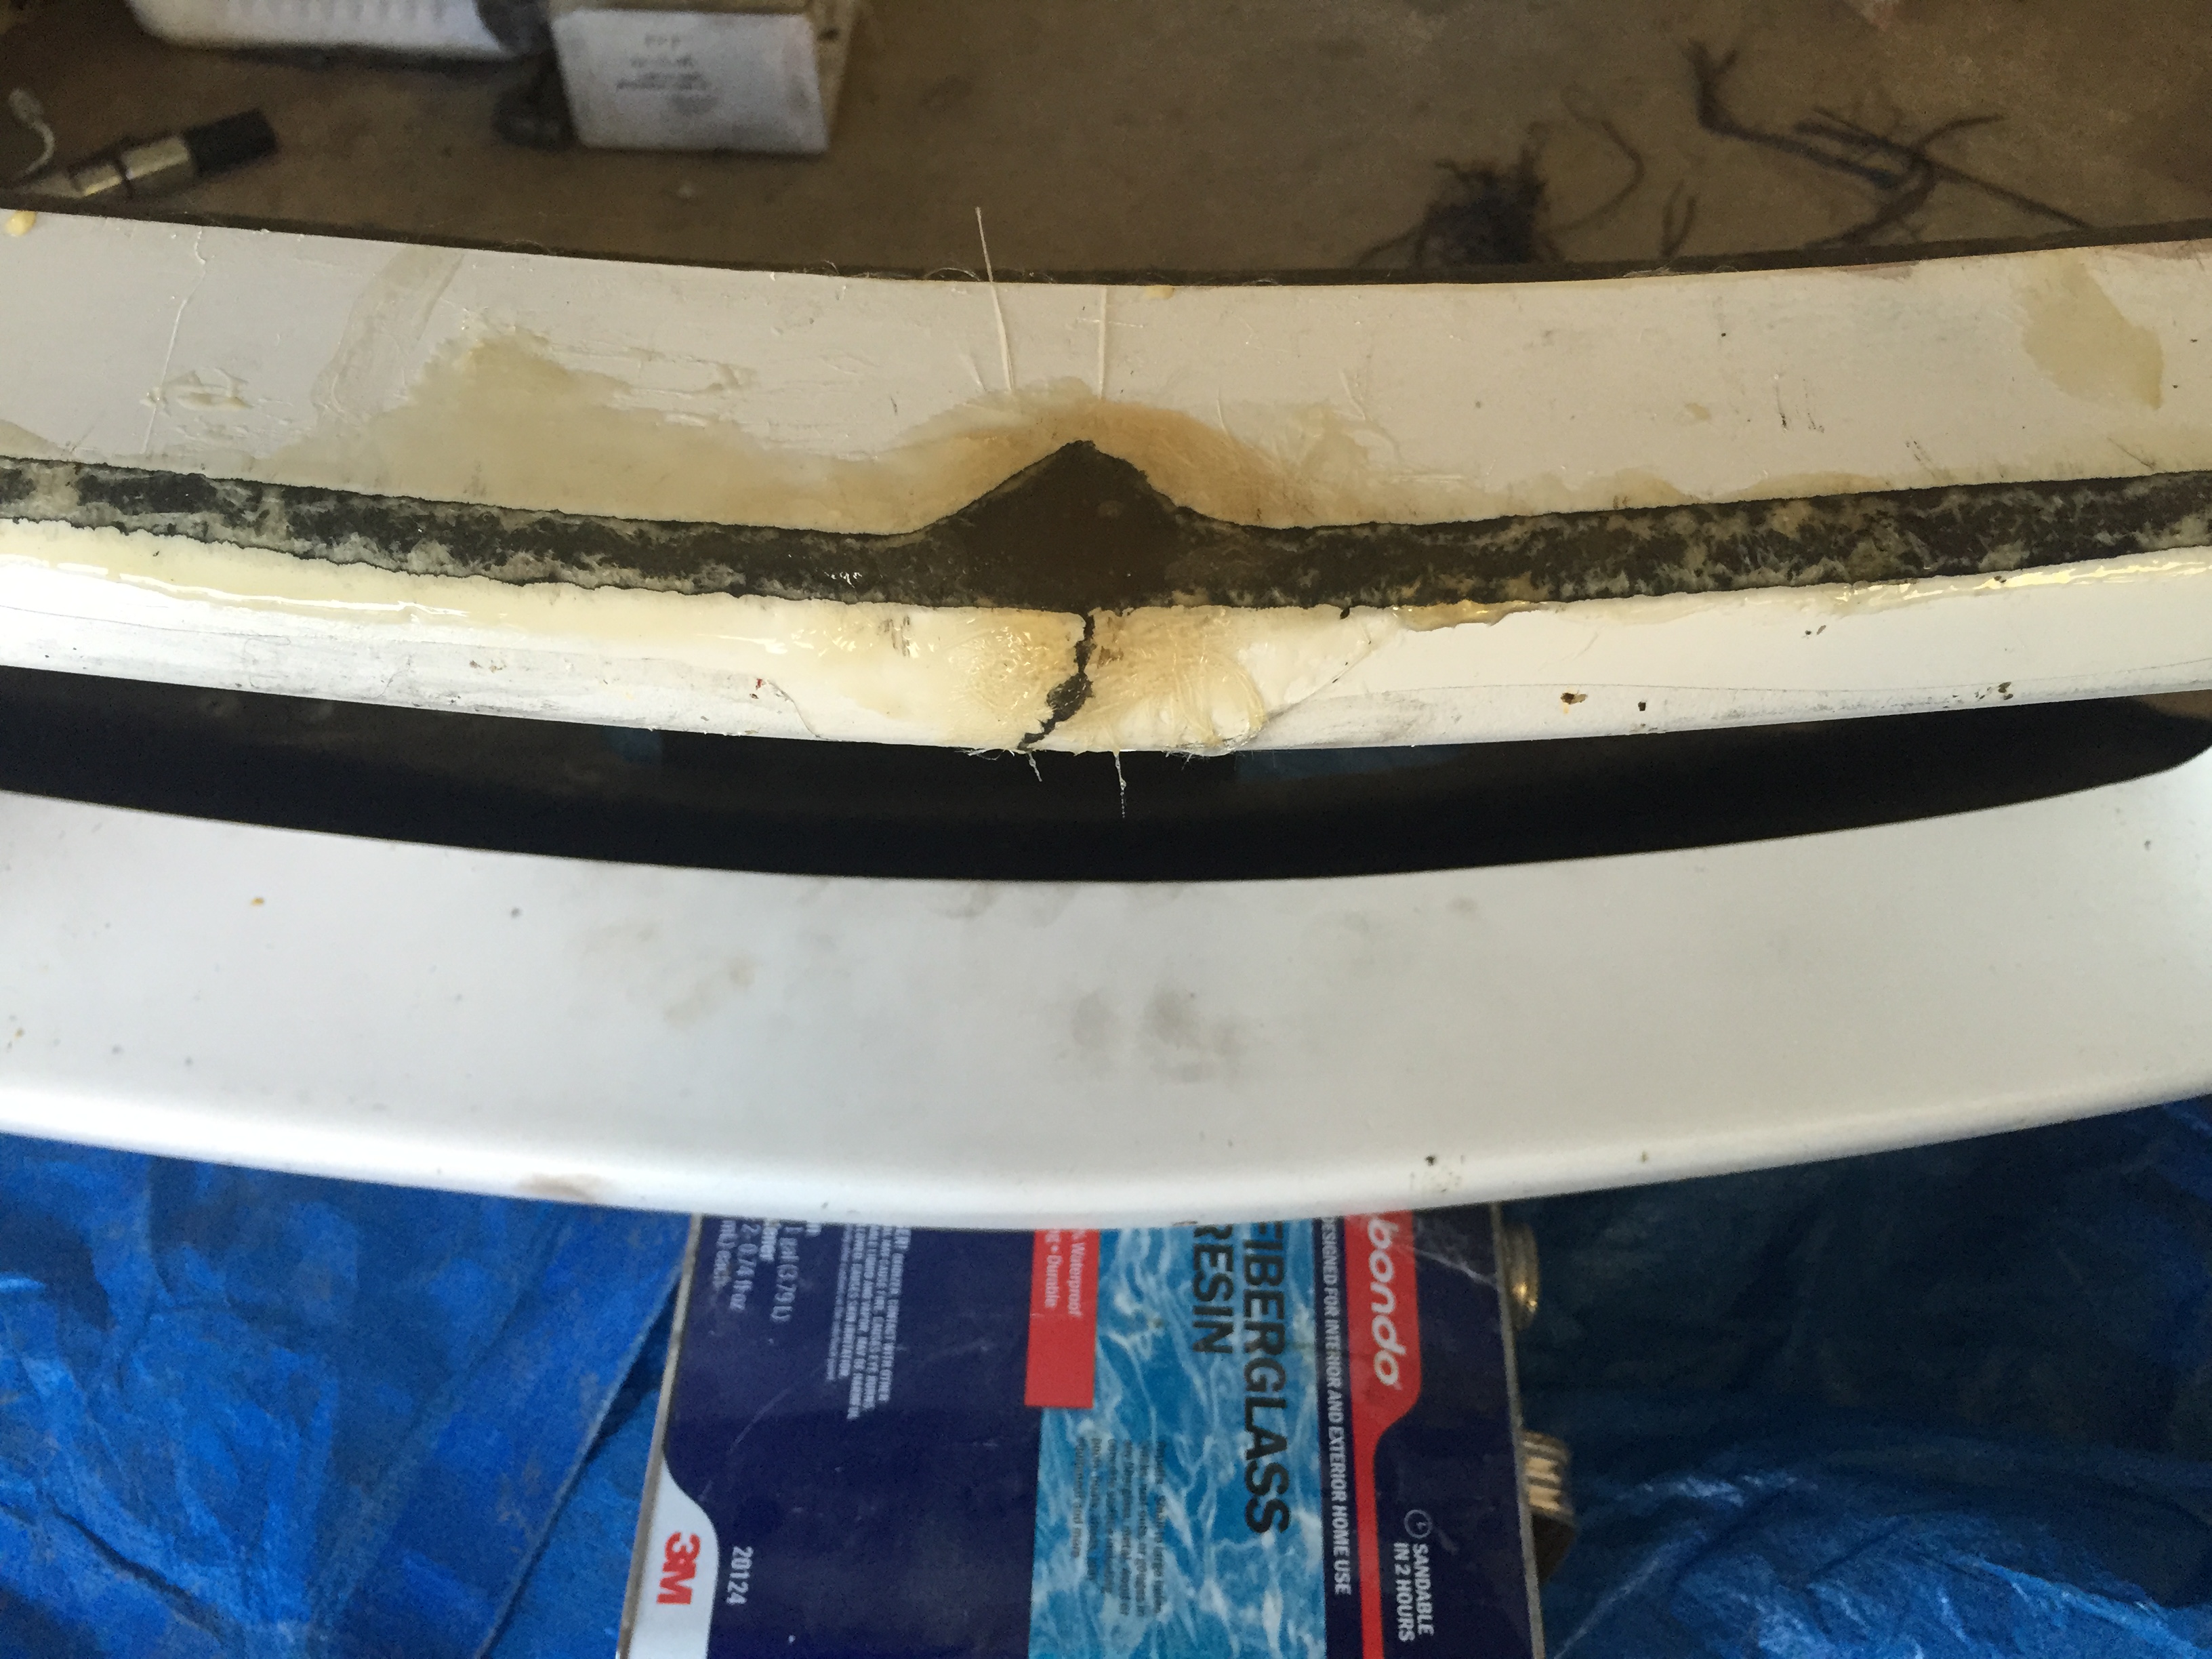
I think I need to reinforce the center of my bumper a bit...it bends down with the wind and scrapes pretty easily
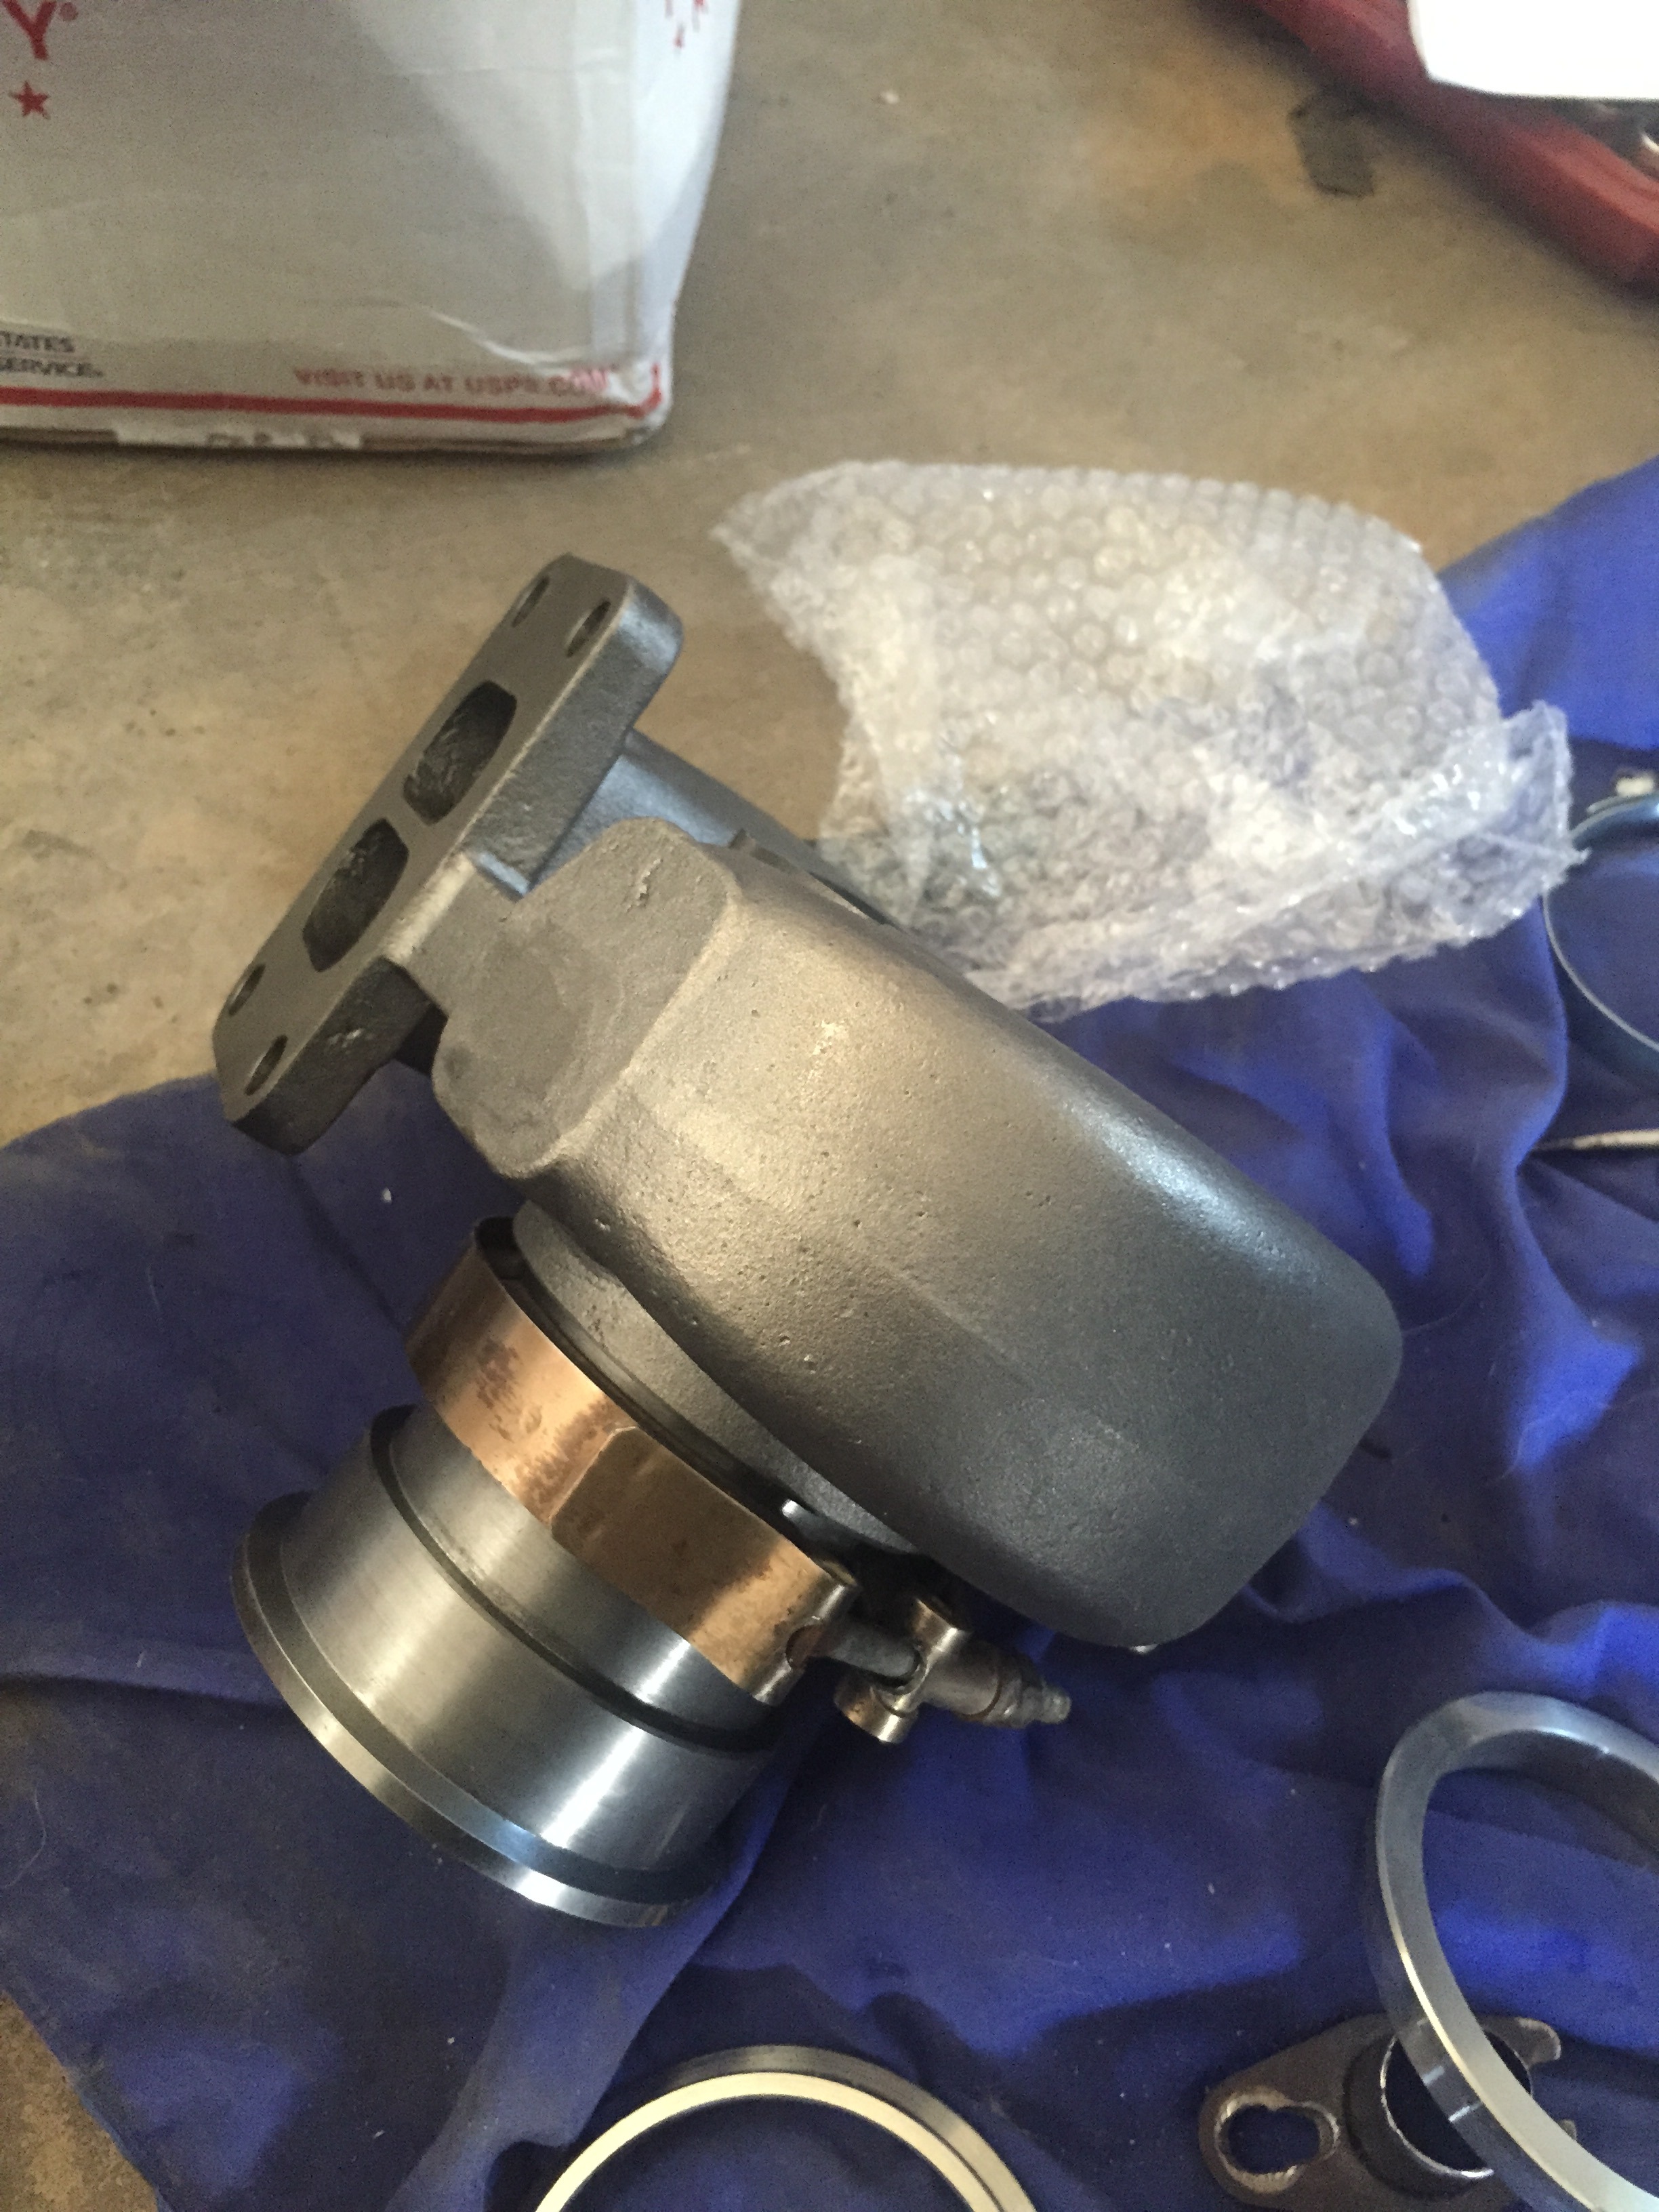
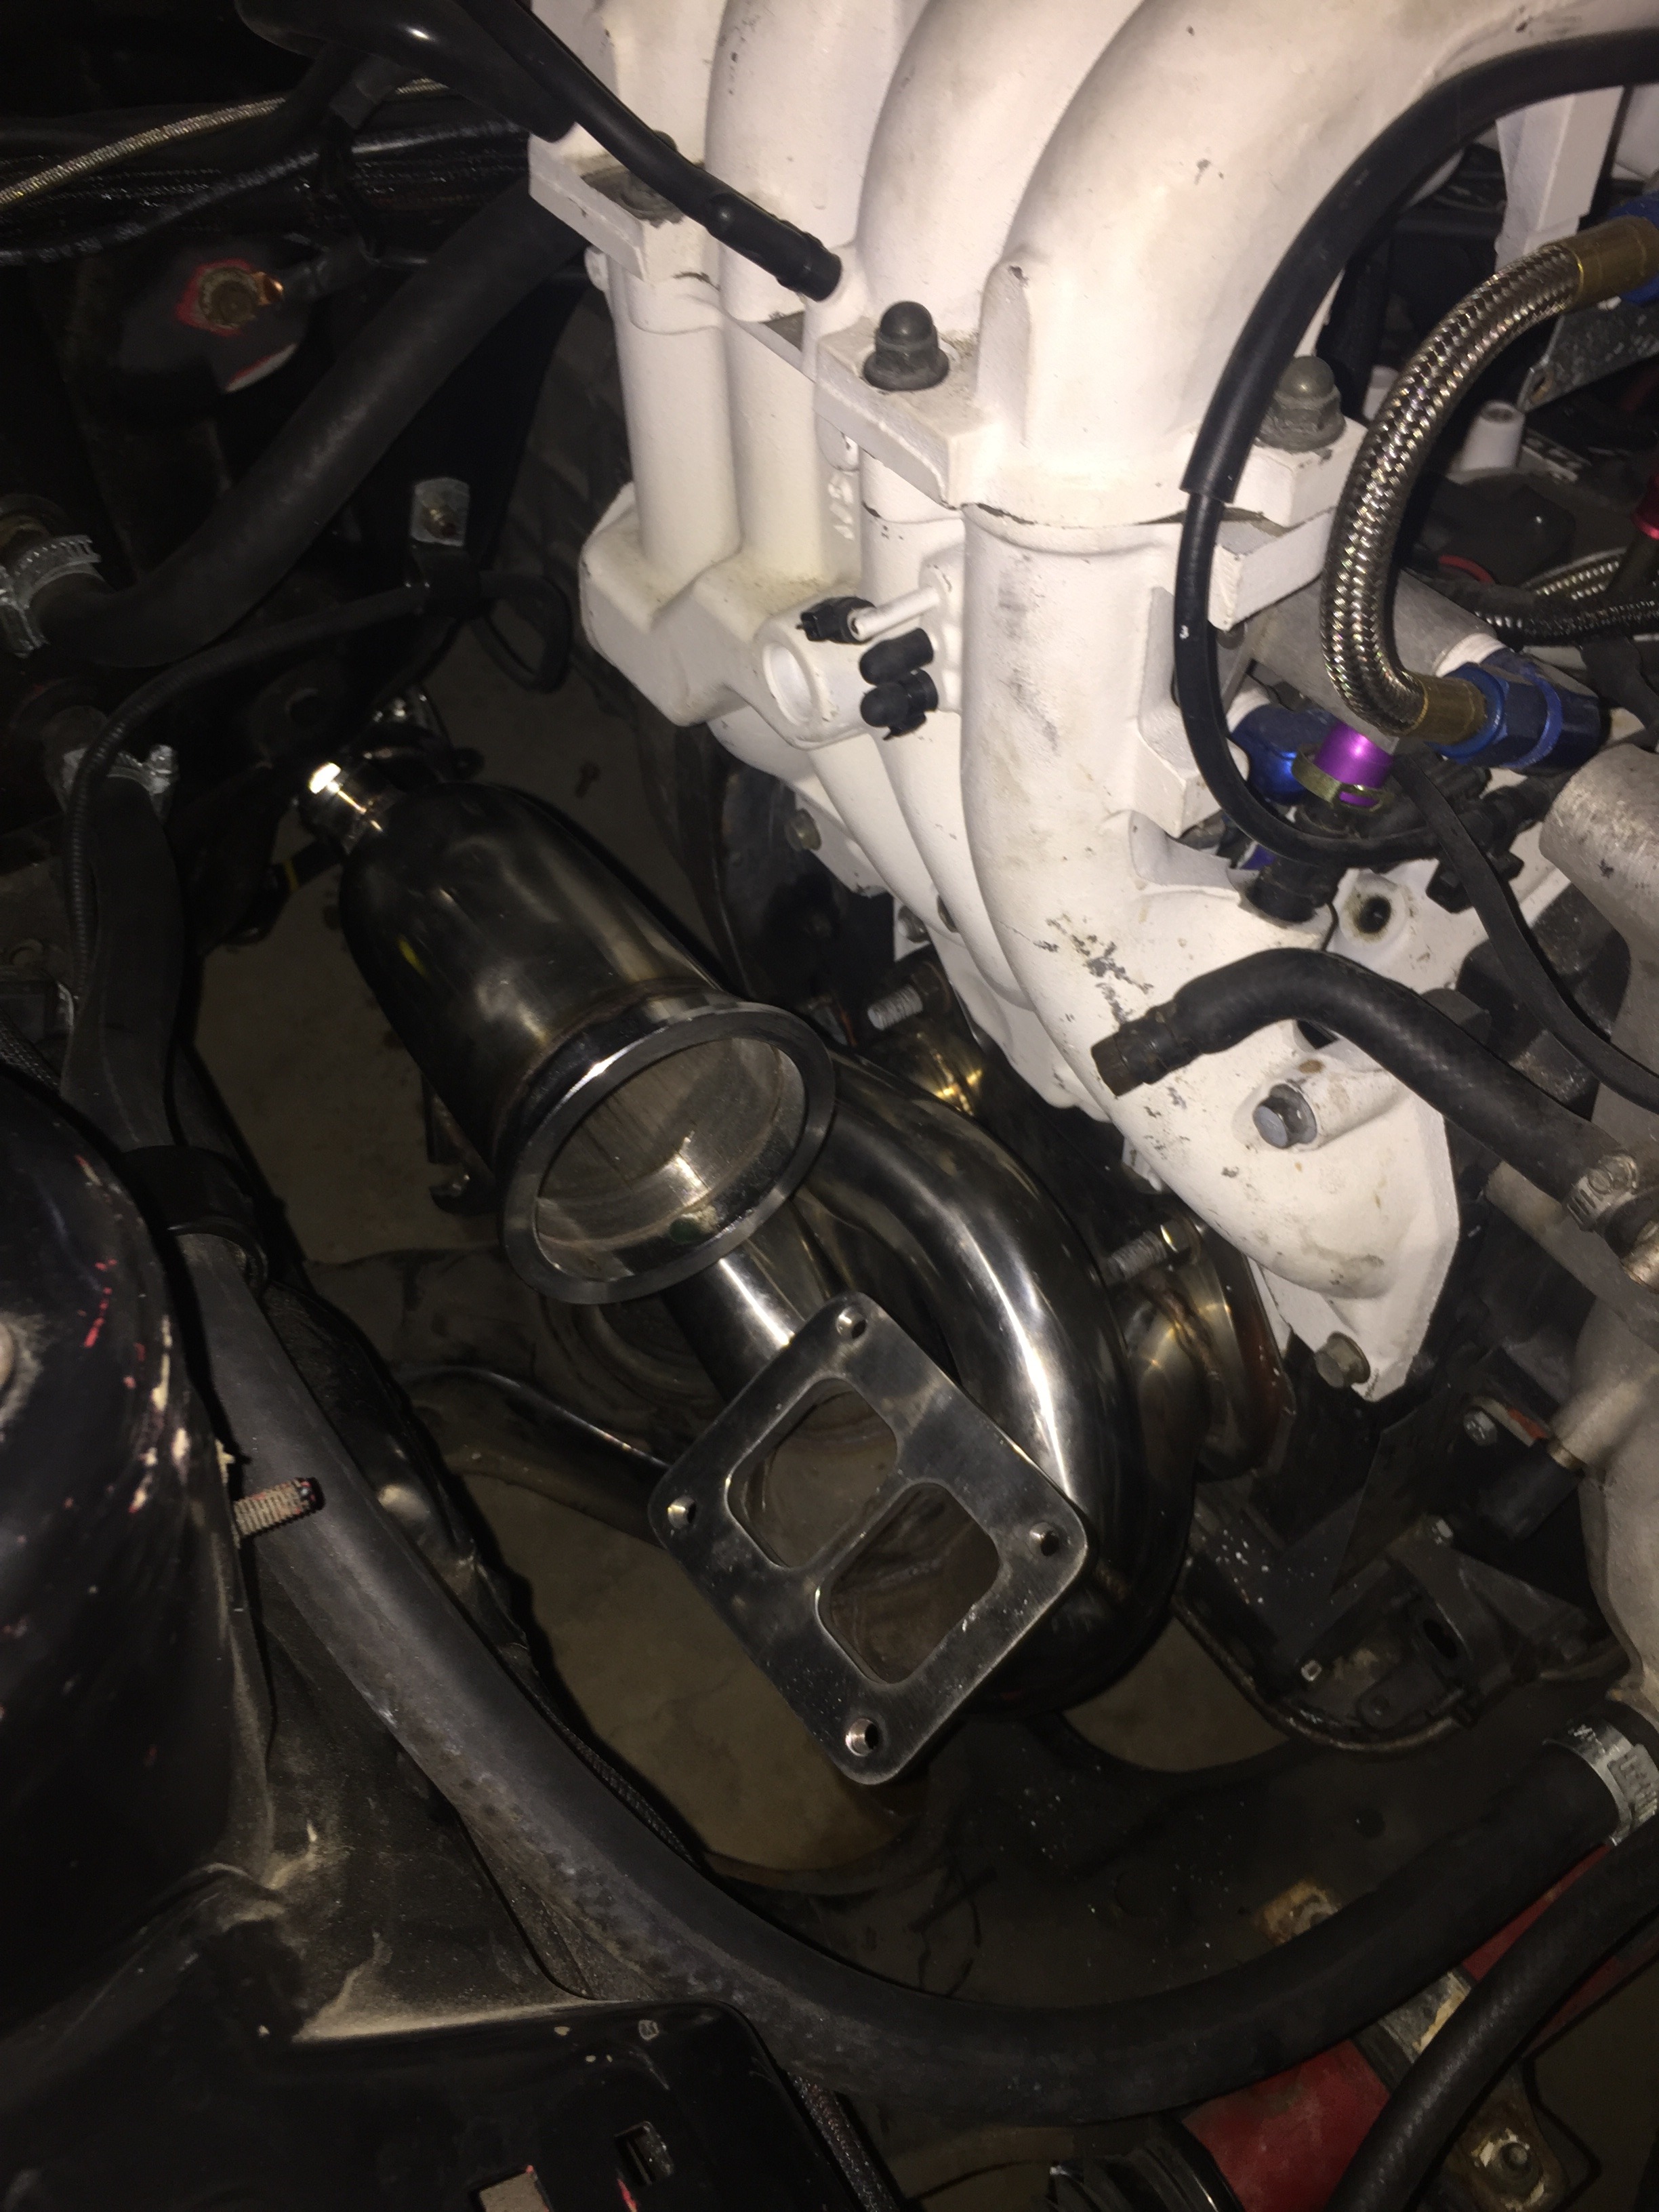
Just doing something cheap for now since I may do an LS swap, haven't decided yet. Already had the manifold and downpipe. Also had the turbo lying around from my DSM so I just needed a new exhaust housing. Using a t3 16cm housing with a t4-t3 adapter and 2.5"-3" vband adapter to the downpipe
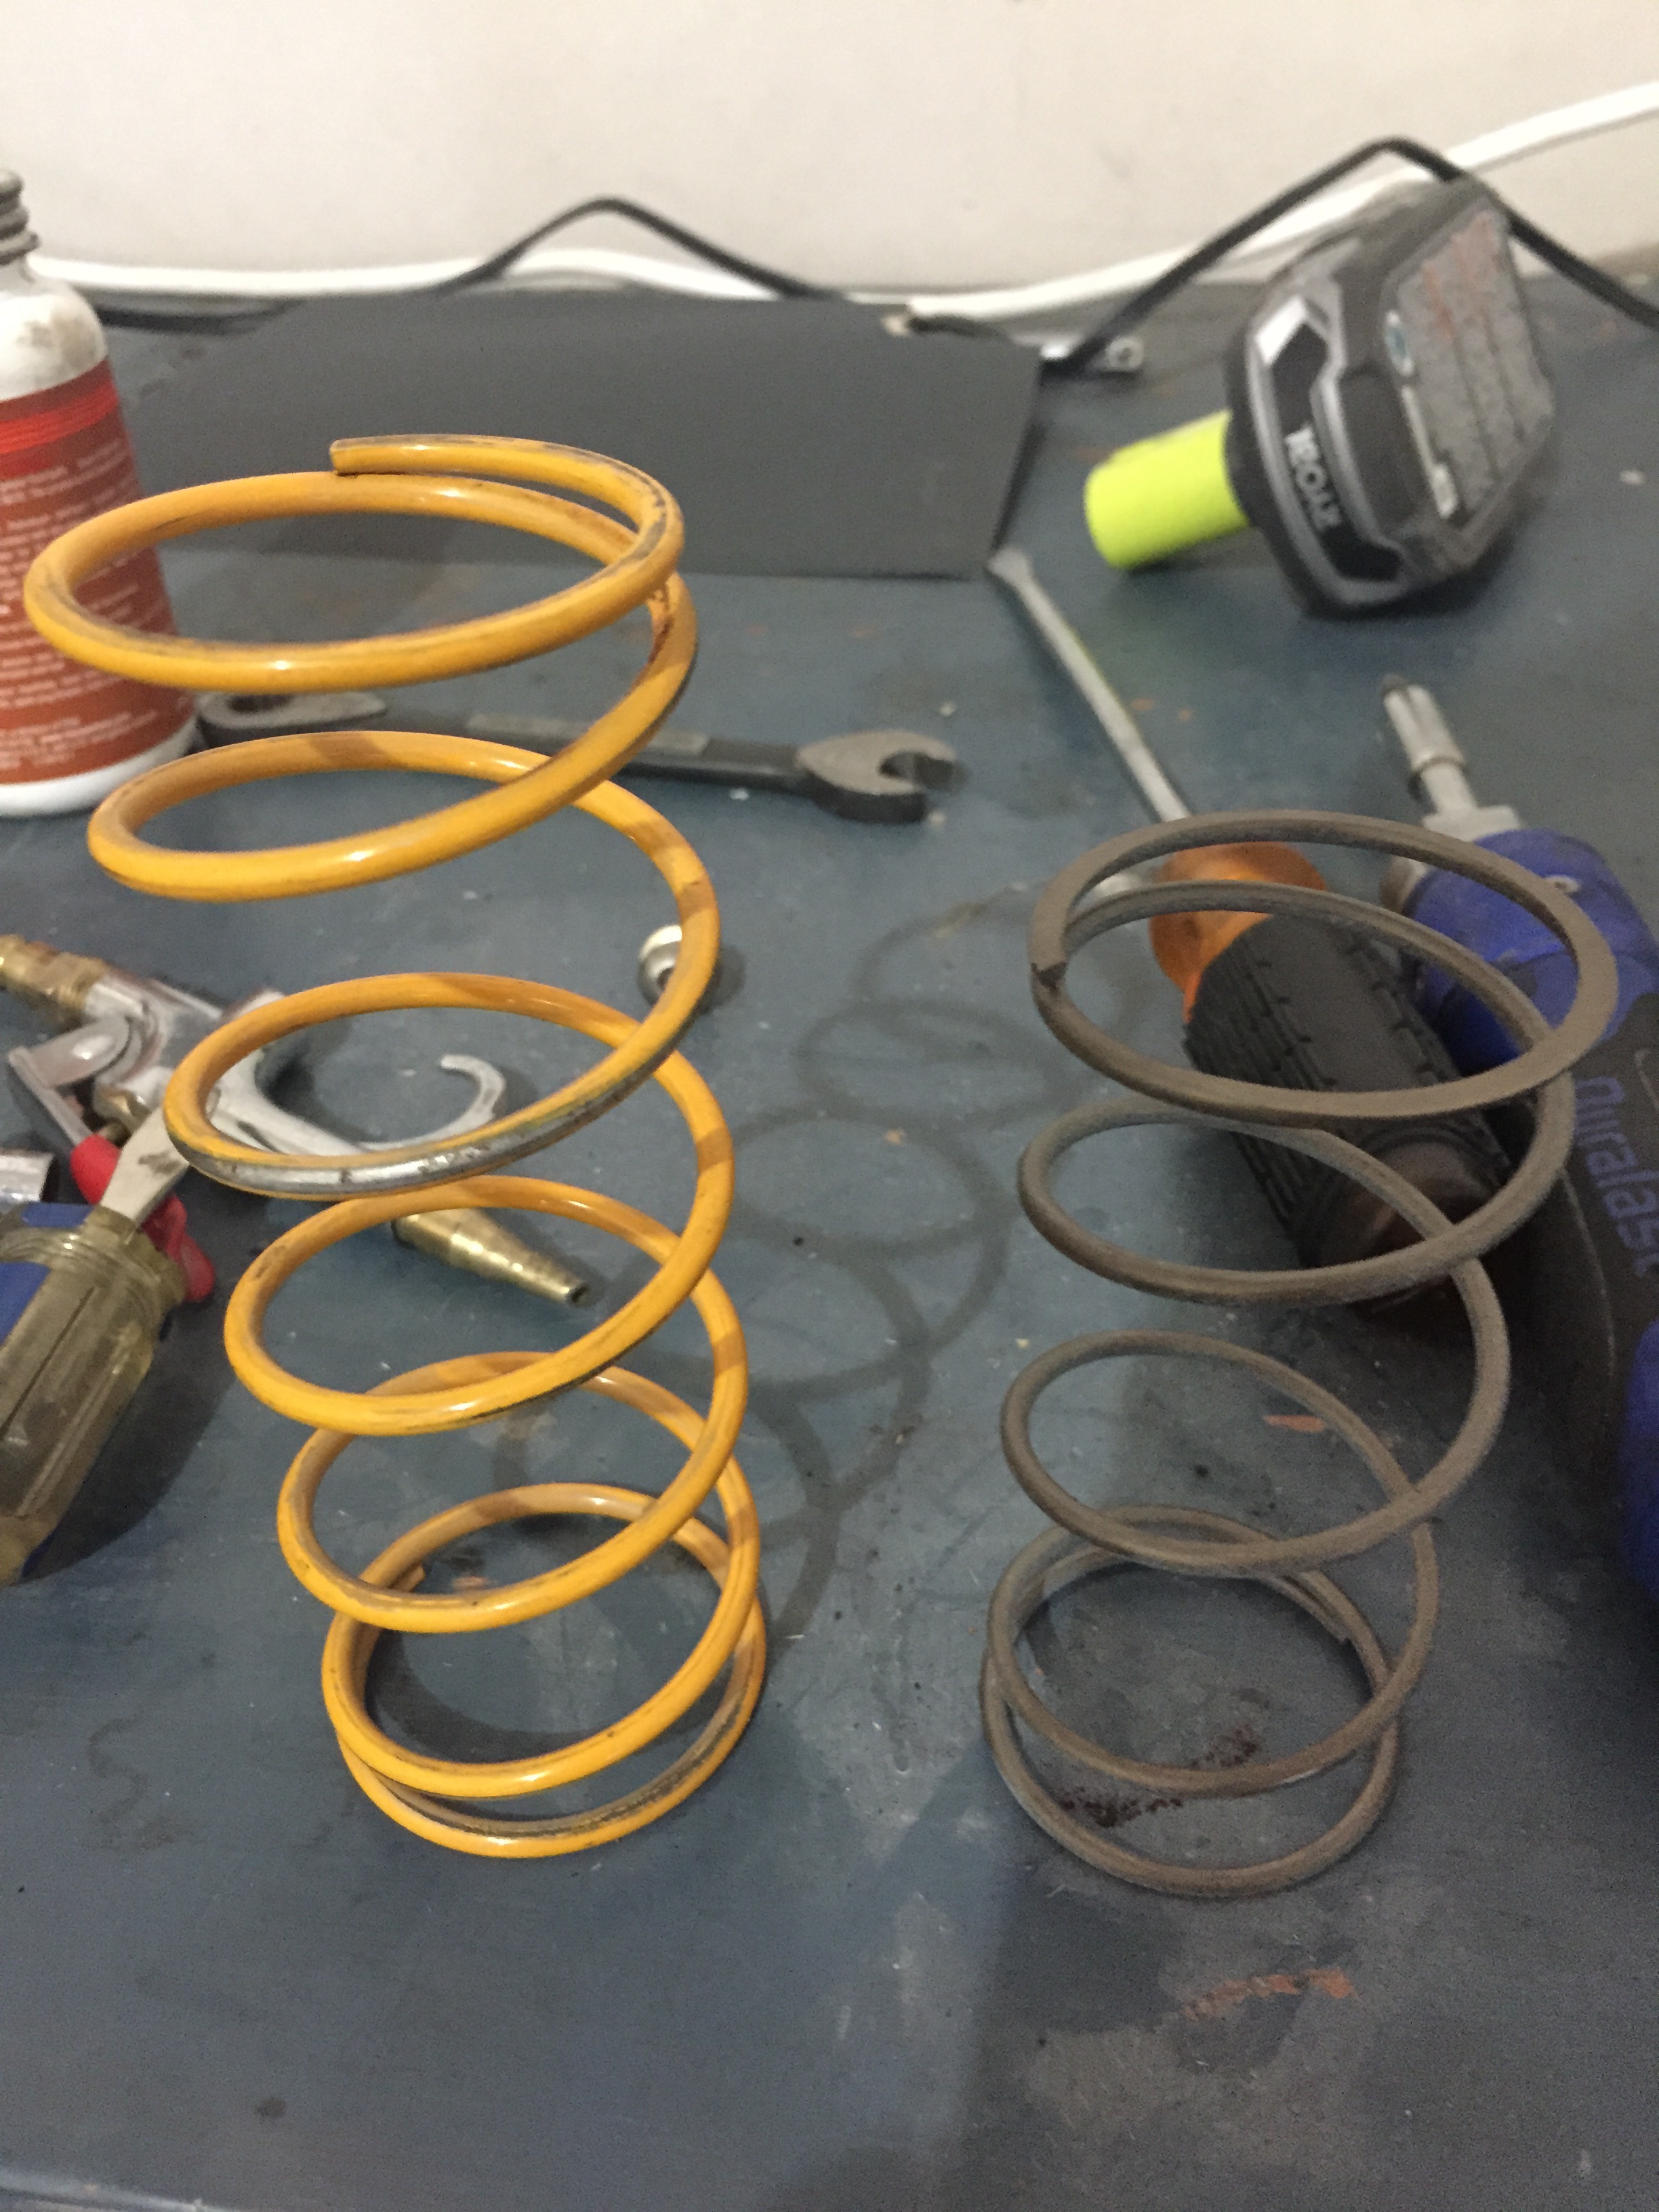
Picked up a used greddy wastegate and decided to take it apart to clean everything. The spring in it only goes down to .8 bar so I decided to throw in a tial spring I had lying around. Once I have done a bit more break in I'll throw the original spring back in.
Manifold and downpipe on
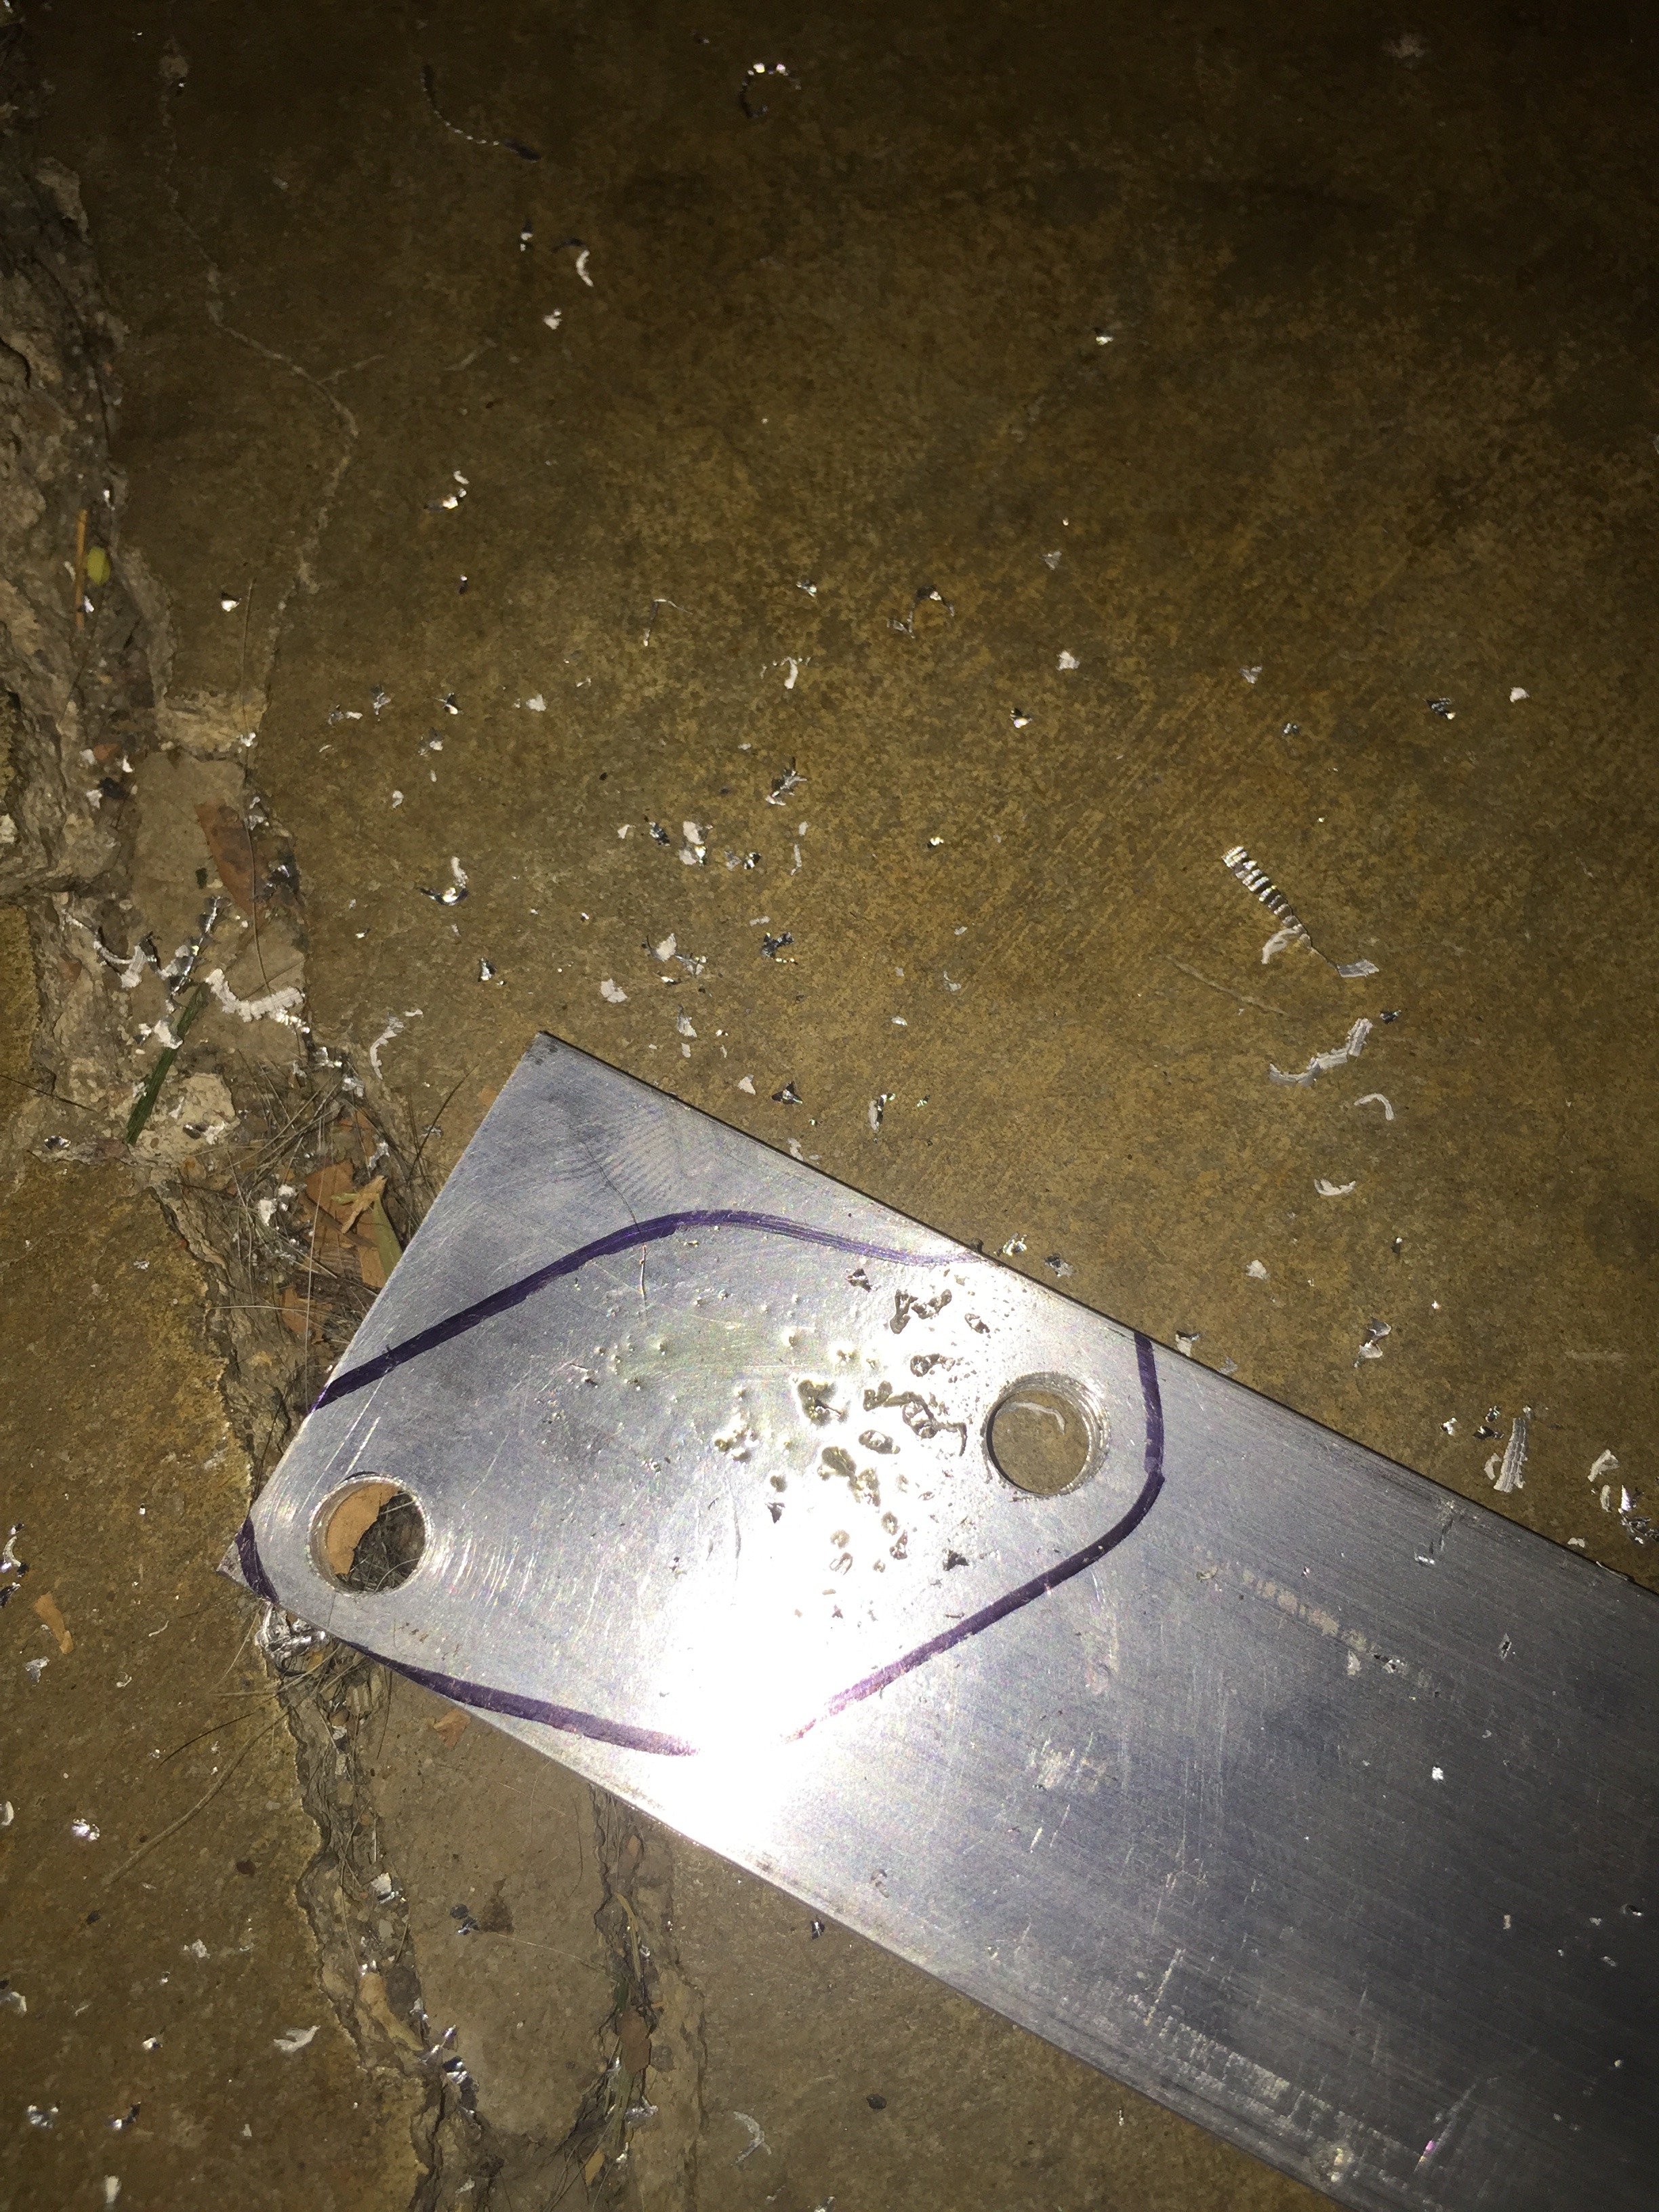
Made a rear oil drain plate
Getting closer


Doin work, single turbo time

I think I need to reinforce the center of my bumper a bit...it bends down with the wind and scrapes pretty easily

Just doing something cheap for now since I may do an LS swap, haven't decided yet. Already had the manifold and downpipe. Also had the turbo lying around from my DSM so I just needed a new exhaust housing. Using a t3 16cm housing with a t4-t3 adapter and 2.5"-3" vband adapter to the downpipe

Picked up a used greddy wastegate and decided to take it apart to clean everything. The spring in it only goes down to .8 bar so I decided to throw in a tial spring I had lying around. Once I have done a bit more break in I'll throw the original spring back in.

Manifold and downpipe on

Made a rear oil drain plate

Getting closer


Thread Starter
Full Member
Joined: Apr 2015
Posts: 140
Likes: 5
From: Great Falls, MT
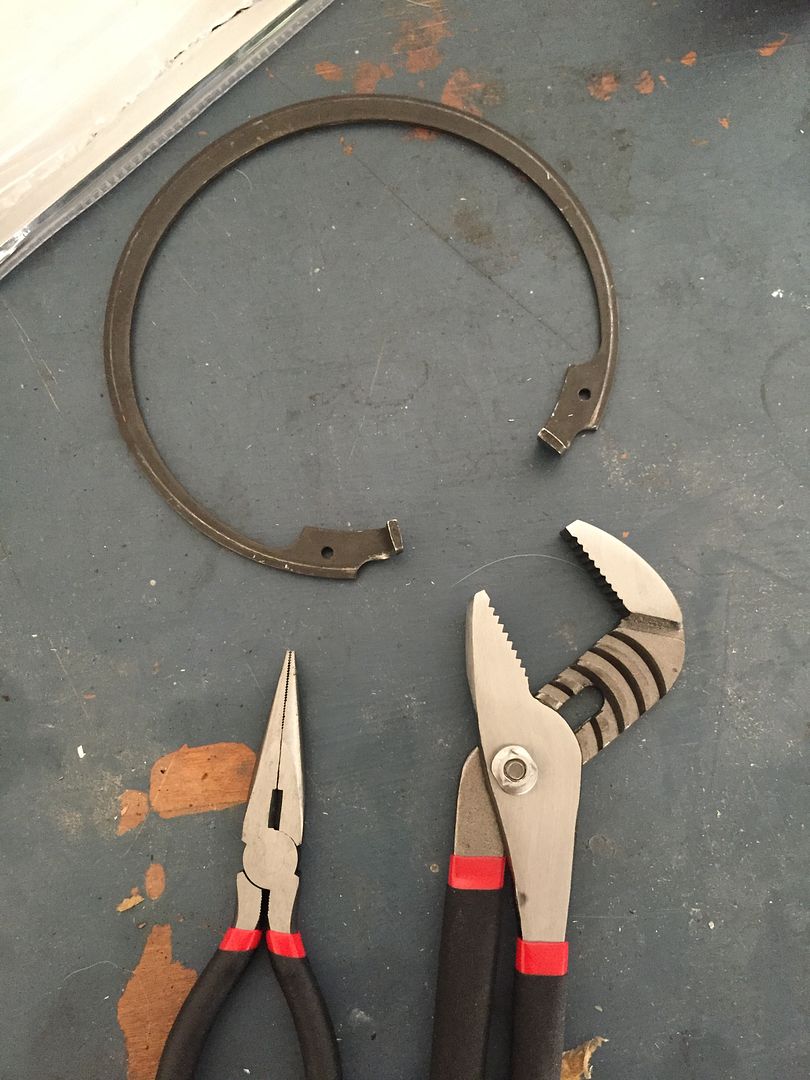
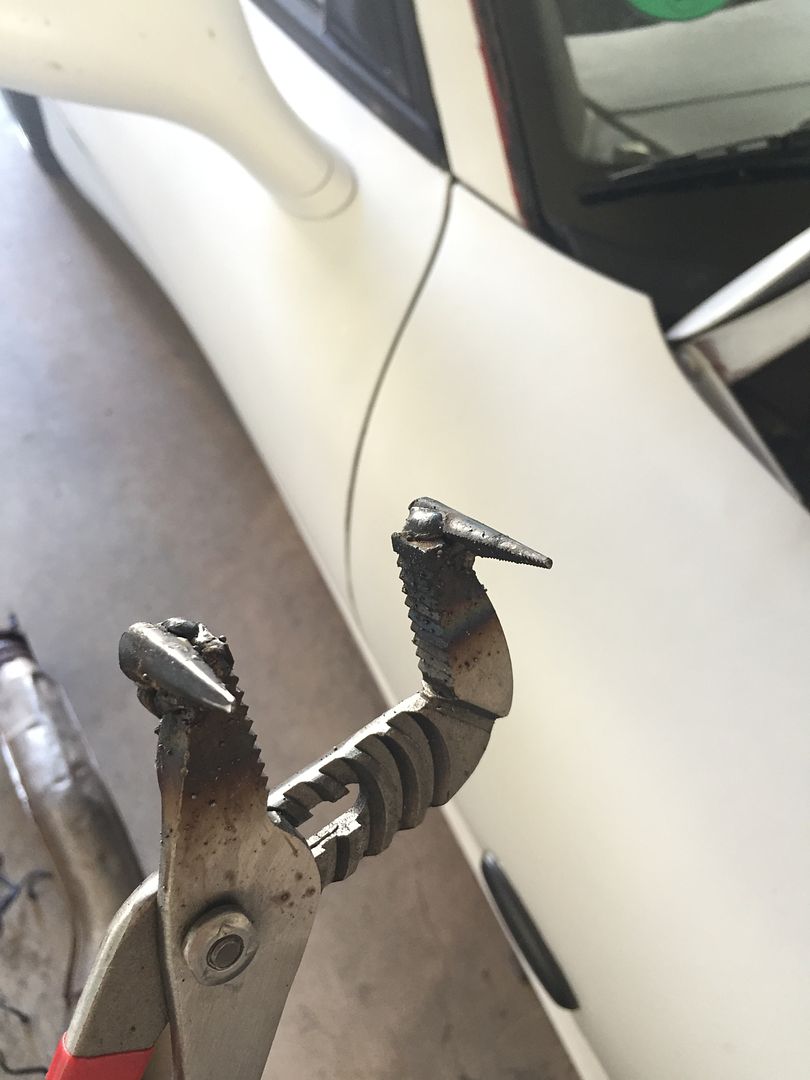
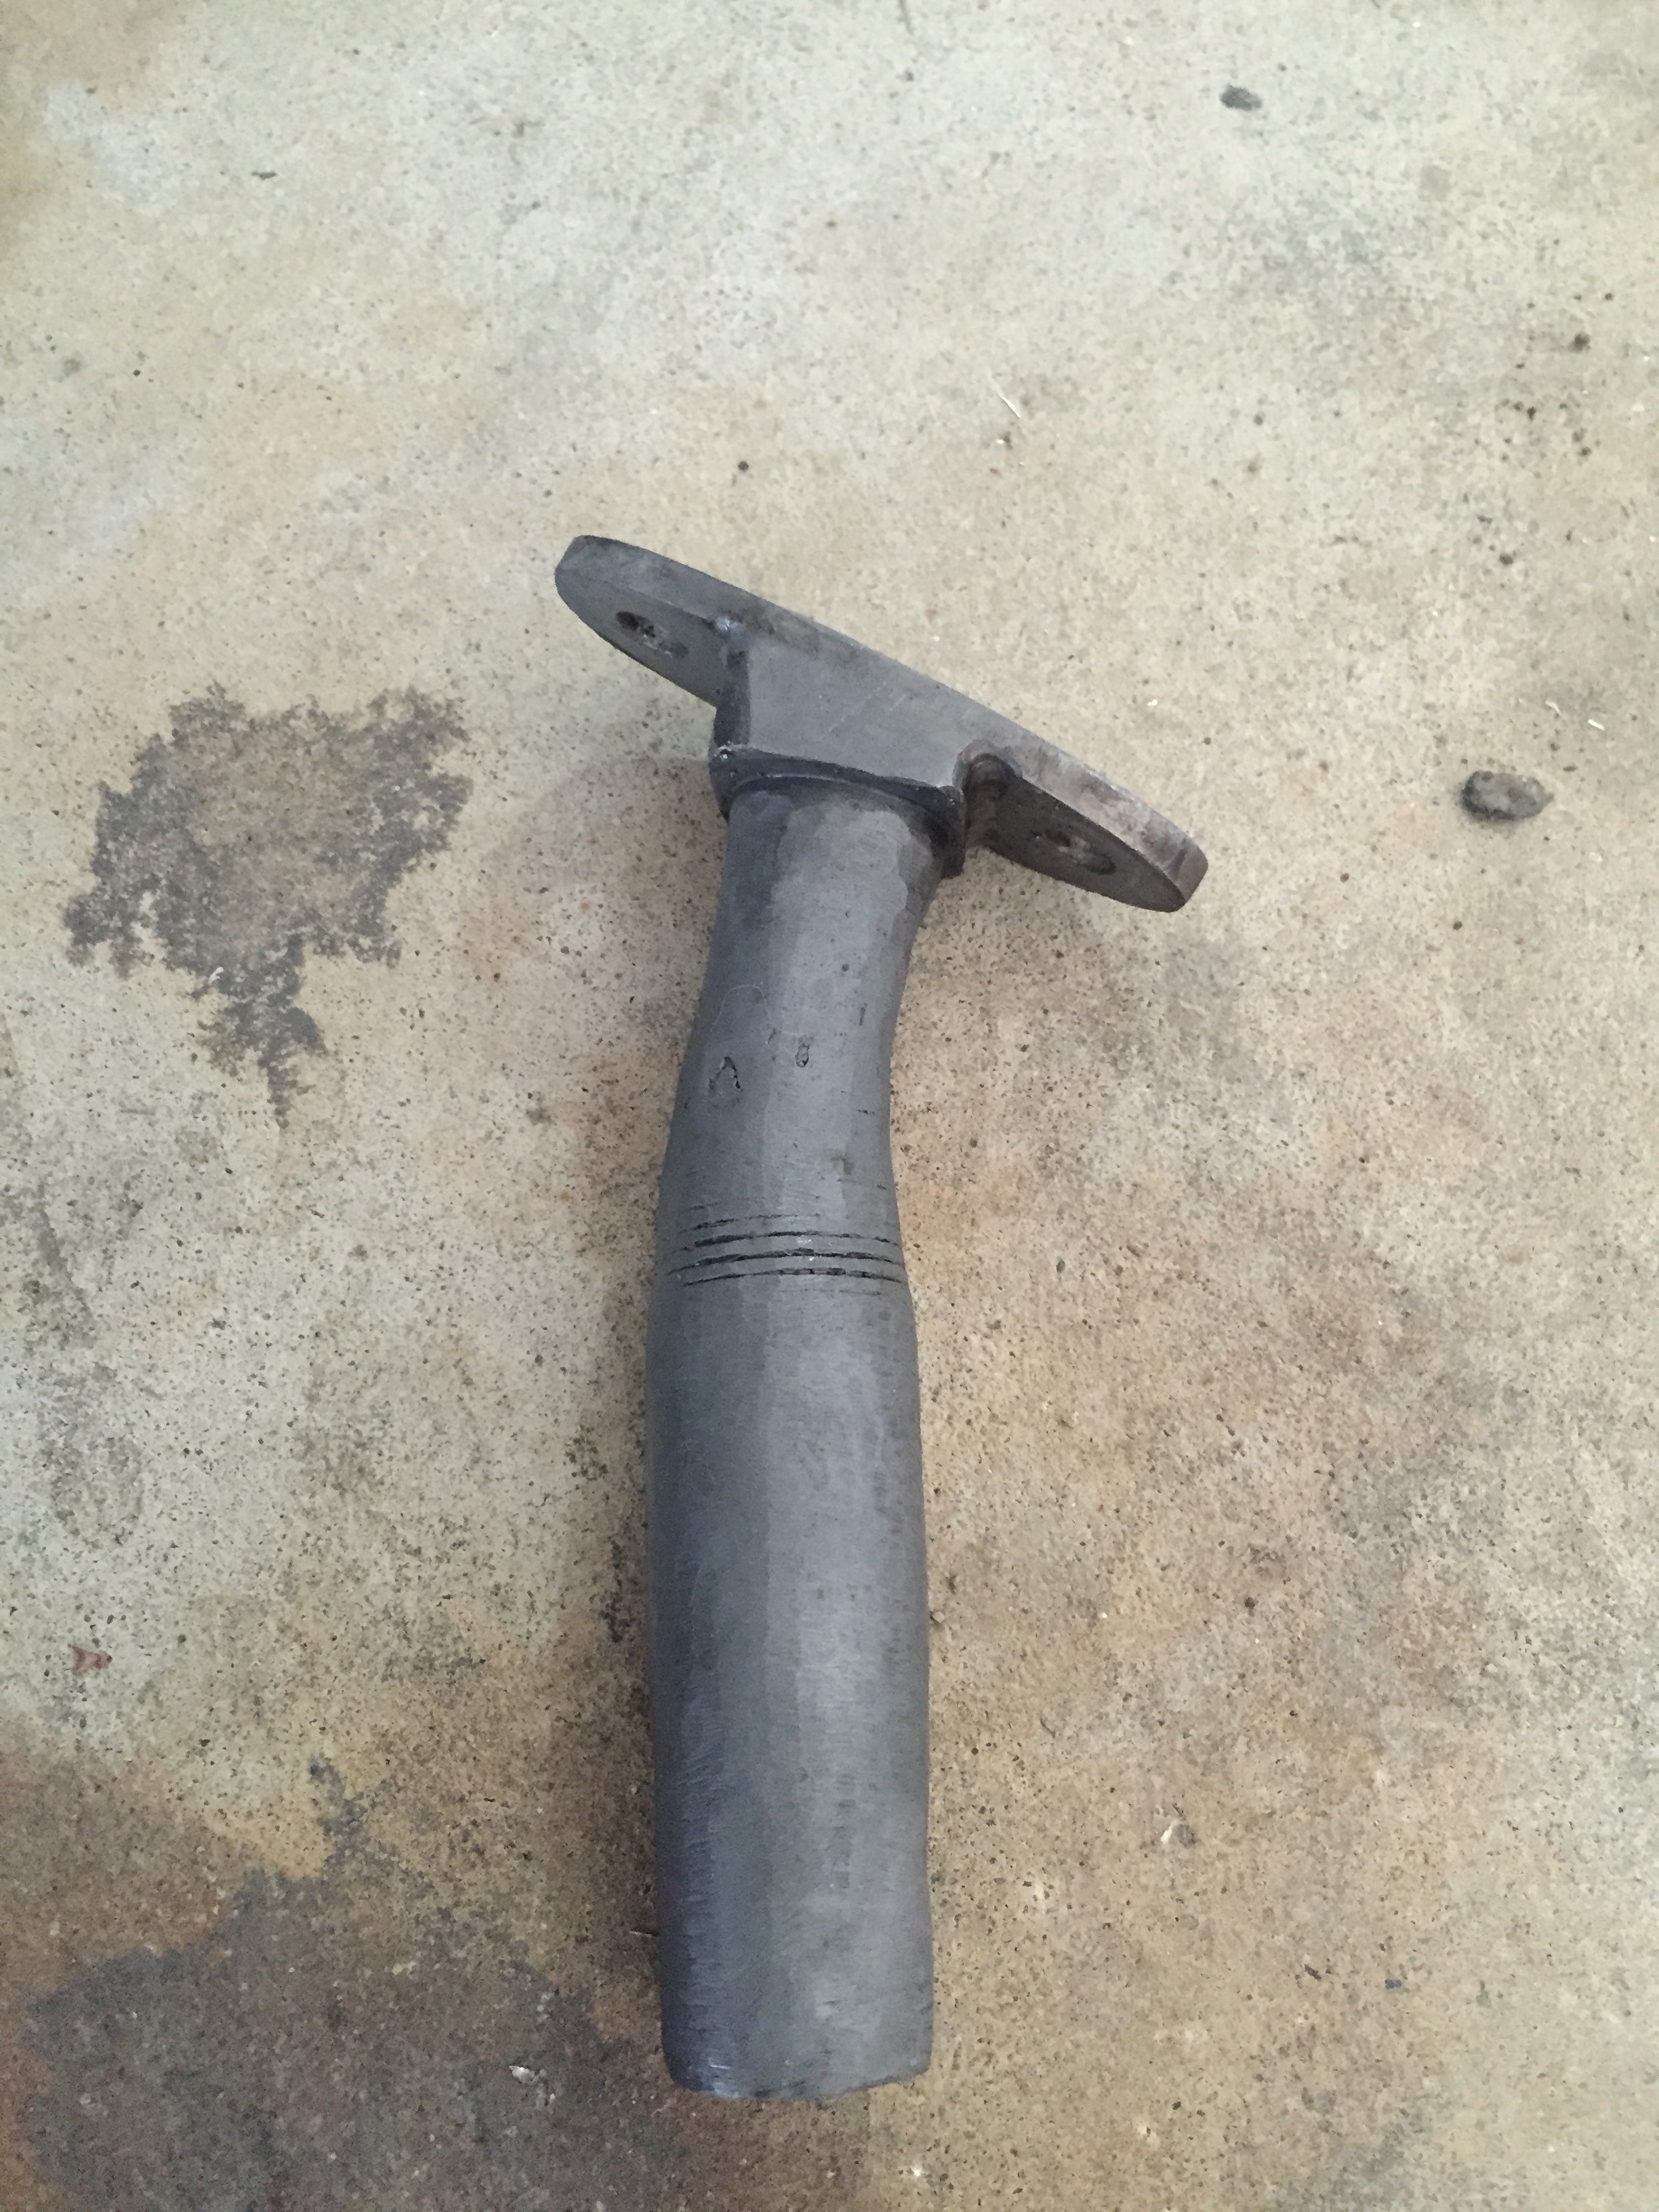
I'm not sure if anyone here has ever dealt with the Holset snap rings, but they are a big pita. So I decided to make a tool to ease the process a bit
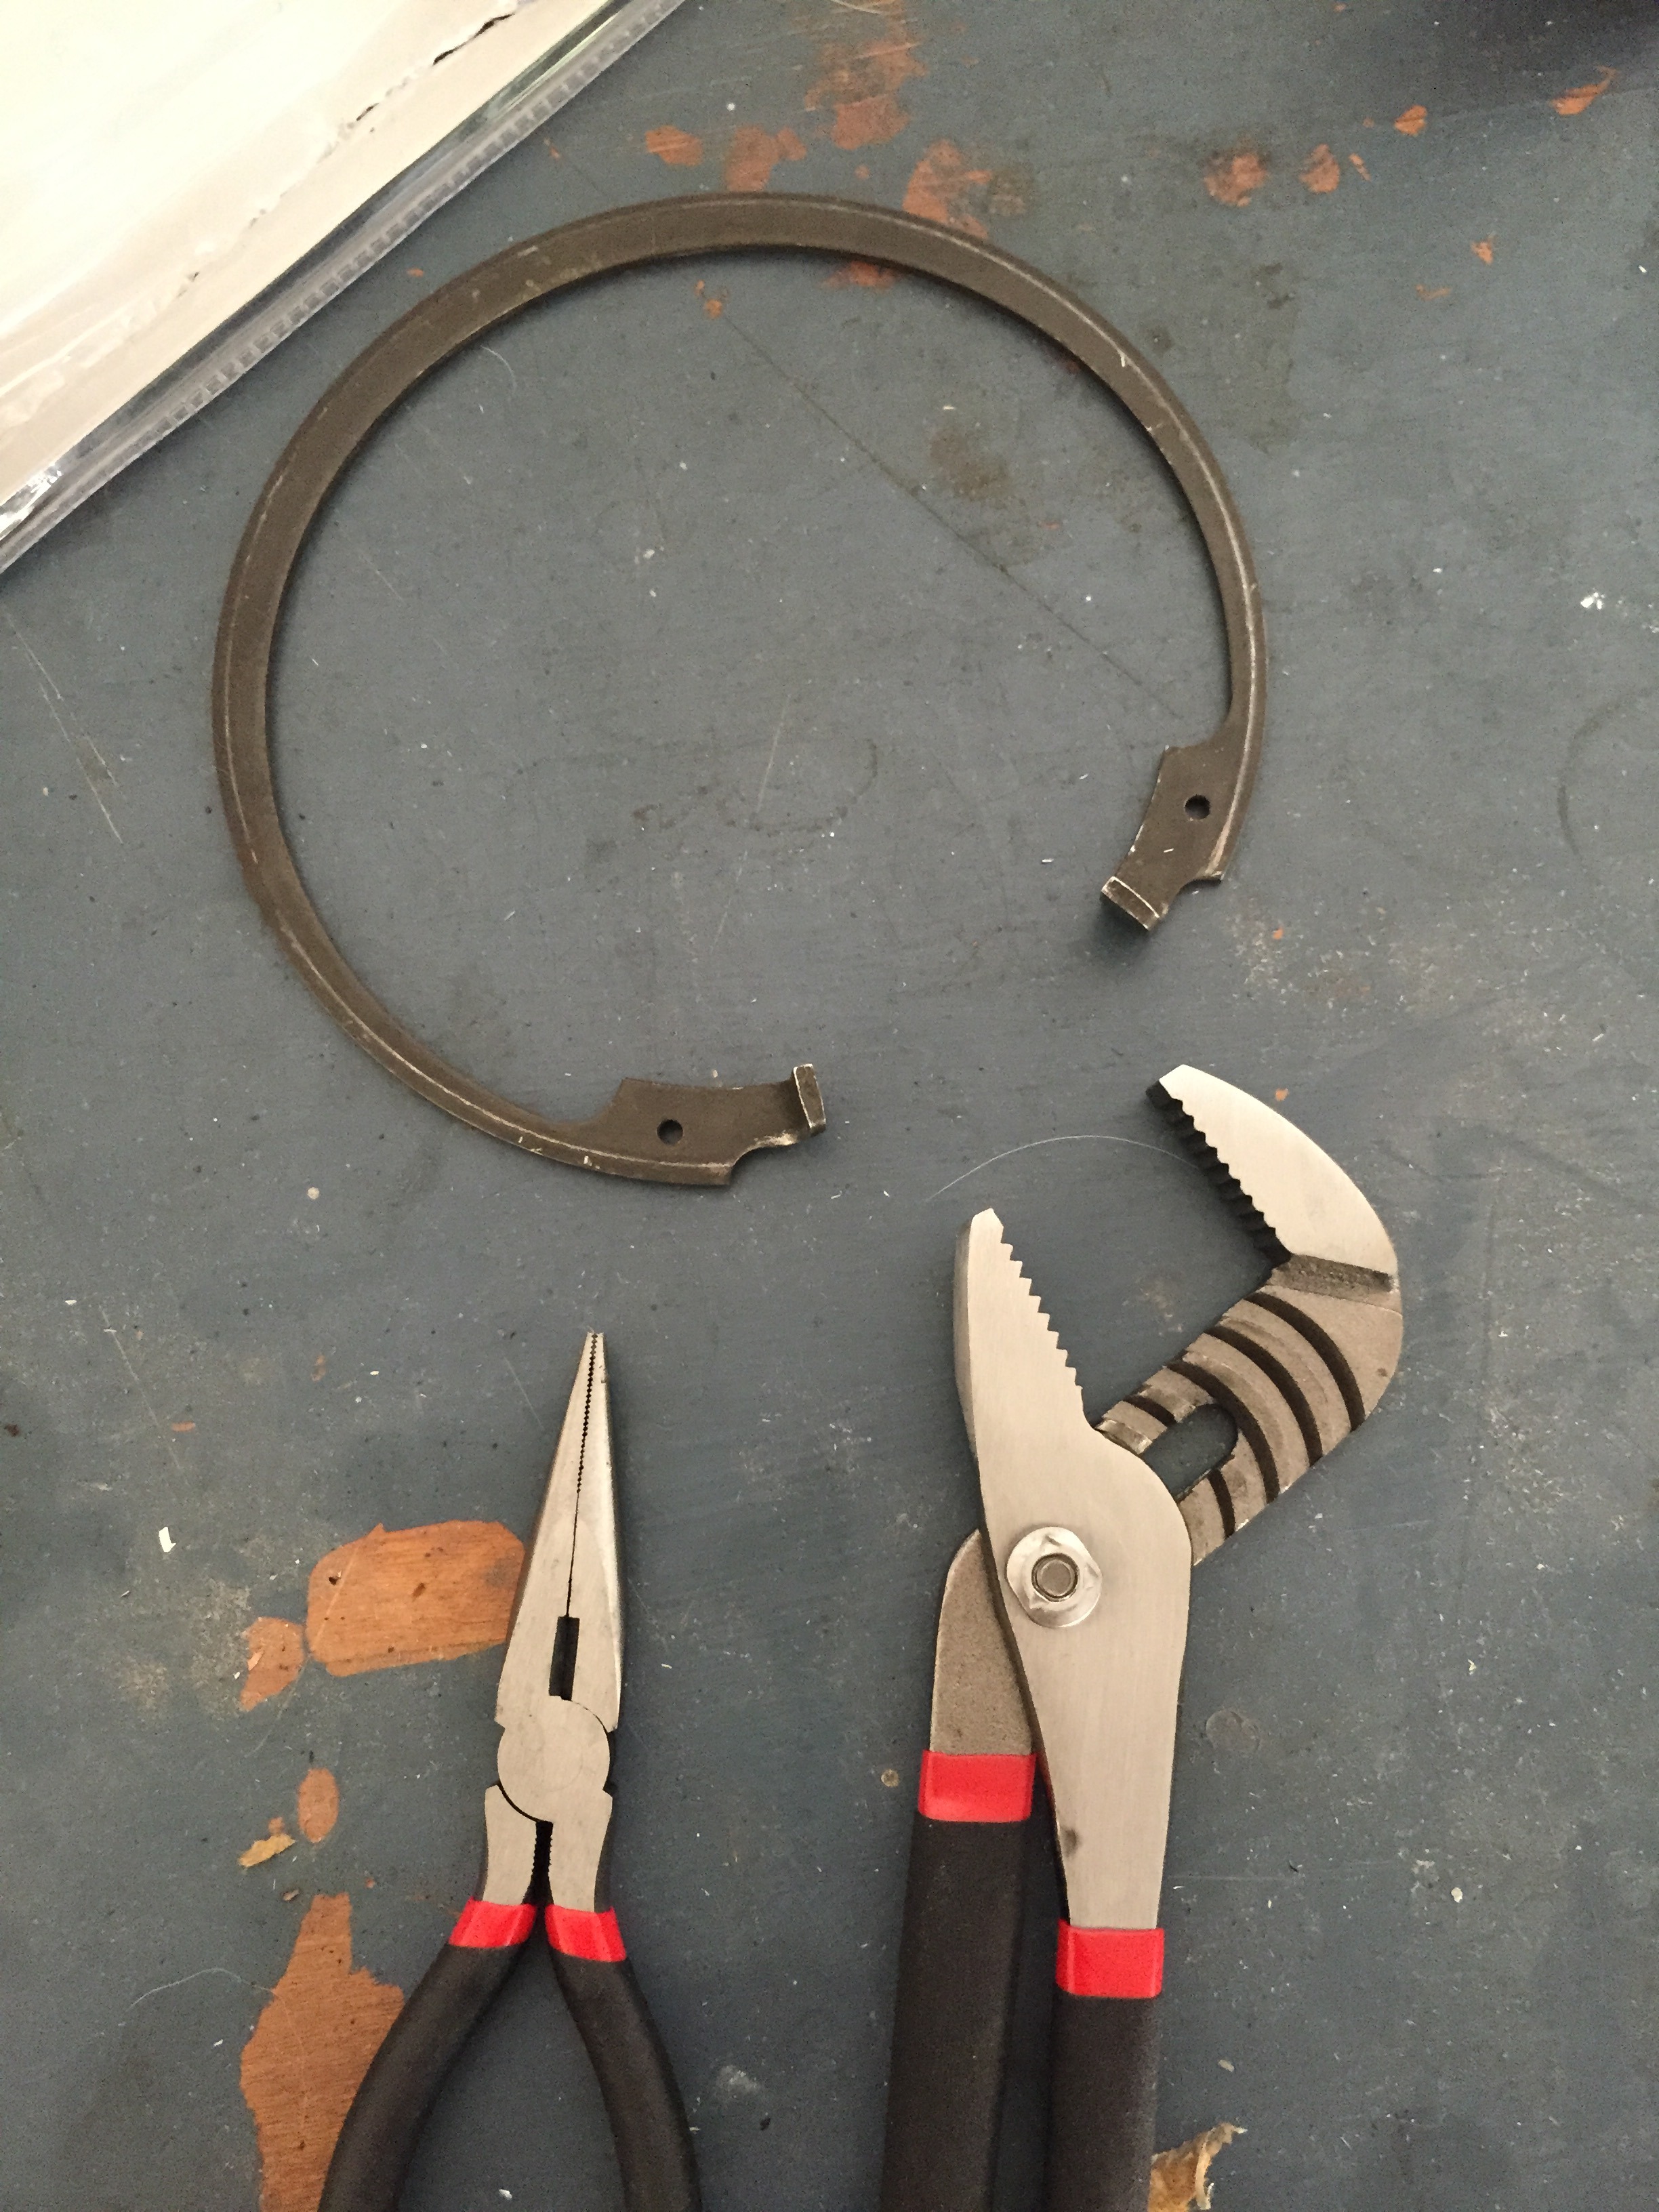

Nearly finished!

Downpipe cut and ready to weld back up

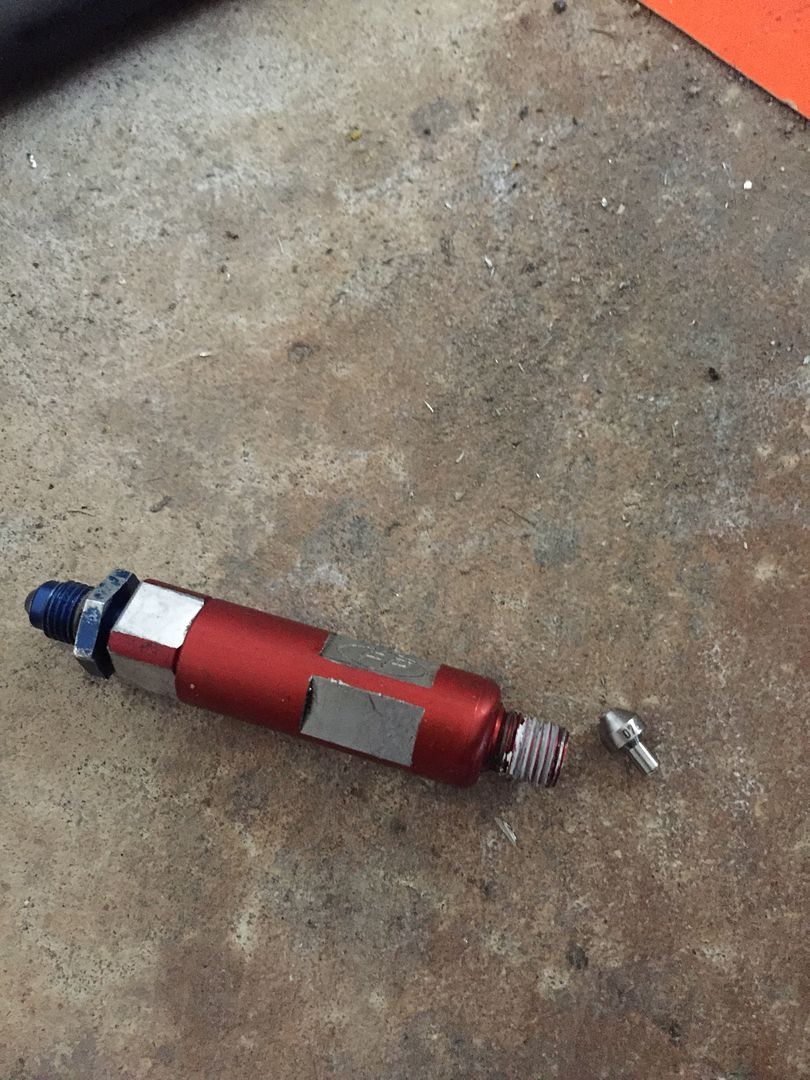
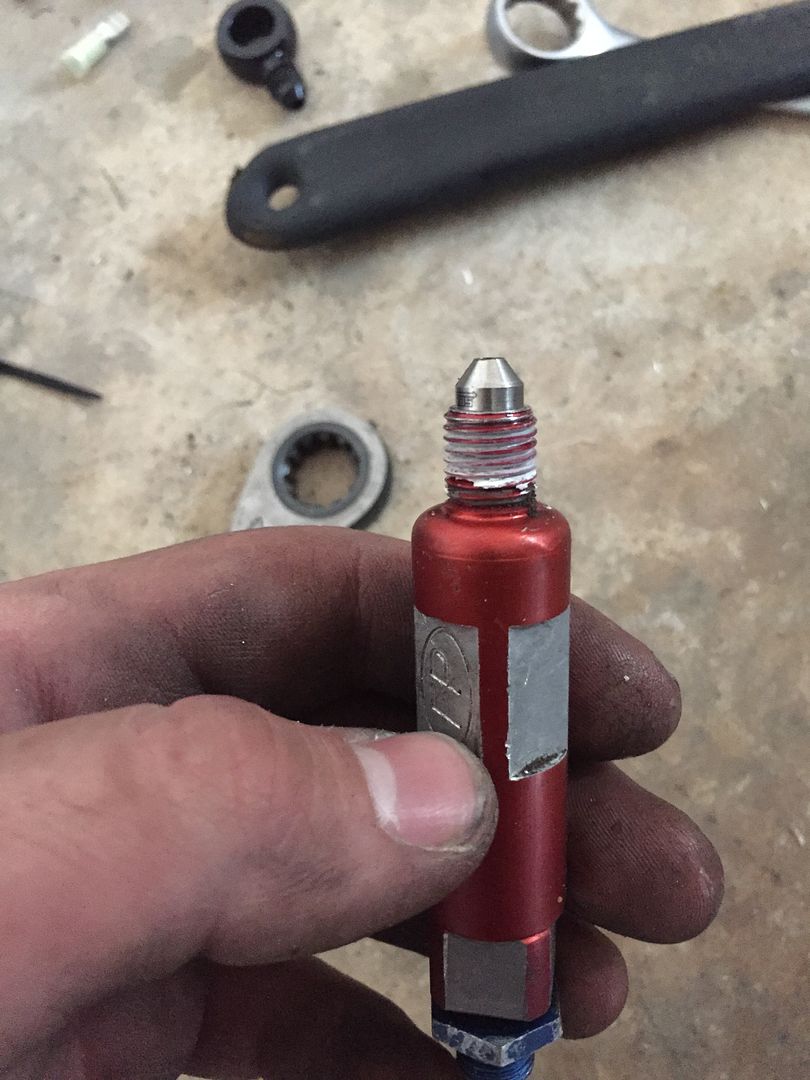
Having the proper oil pressure for a holset is essential, so I used the setup from my DSM to dial in pressure as well. I use a fp filter with the tip cut off and various sizes of jets to get the oil pressure where I need it.


I'll snap a few more pictures tomorrow of the completed setup. It seems to be working pretty well. I've driven about 50 miles on it so far and no issues yet!


Nearly finished!

Downpipe cut and ready to weld back up

Having the proper oil pressure for a holset is essential, so I used the setup from my DSM to dial in pressure as well. I use a fp filter with the tip cut off and various sizes of jets to get the oil pressure where I need it.


I'll snap a few more pictures tomorrow of the completed setup. It seems to be working pretty well. I've driven about 50 miles on it so far and no issues yet!
I'm not sure if anyone here has ever dealt with the Holset snap rings, but they are a big pita. So I decided to make a tool to ease the process a bit
Nearly finished!
Downpipe cut and ready to weld back up
Having the proper oil pressure for a holset is essential, so I used the setup from my DSM to dial in pressure as well. I use a fp filter with the tip cut off and various sizes of jets to get the oil pressure where I need it.
I'll snap a few more pictures tomorrow of the completed setup. It seems to be working pretty well. I've driven about 50 miles on it so far and no issues yet!
Why is there a camshaft by your coolant filler neck?


Nice build, I cant wait for the finish results.
Thread Starter
Full Member
Joined: Apr 2015
Posts: 140
Likes: 5
From: Great Falls, MT
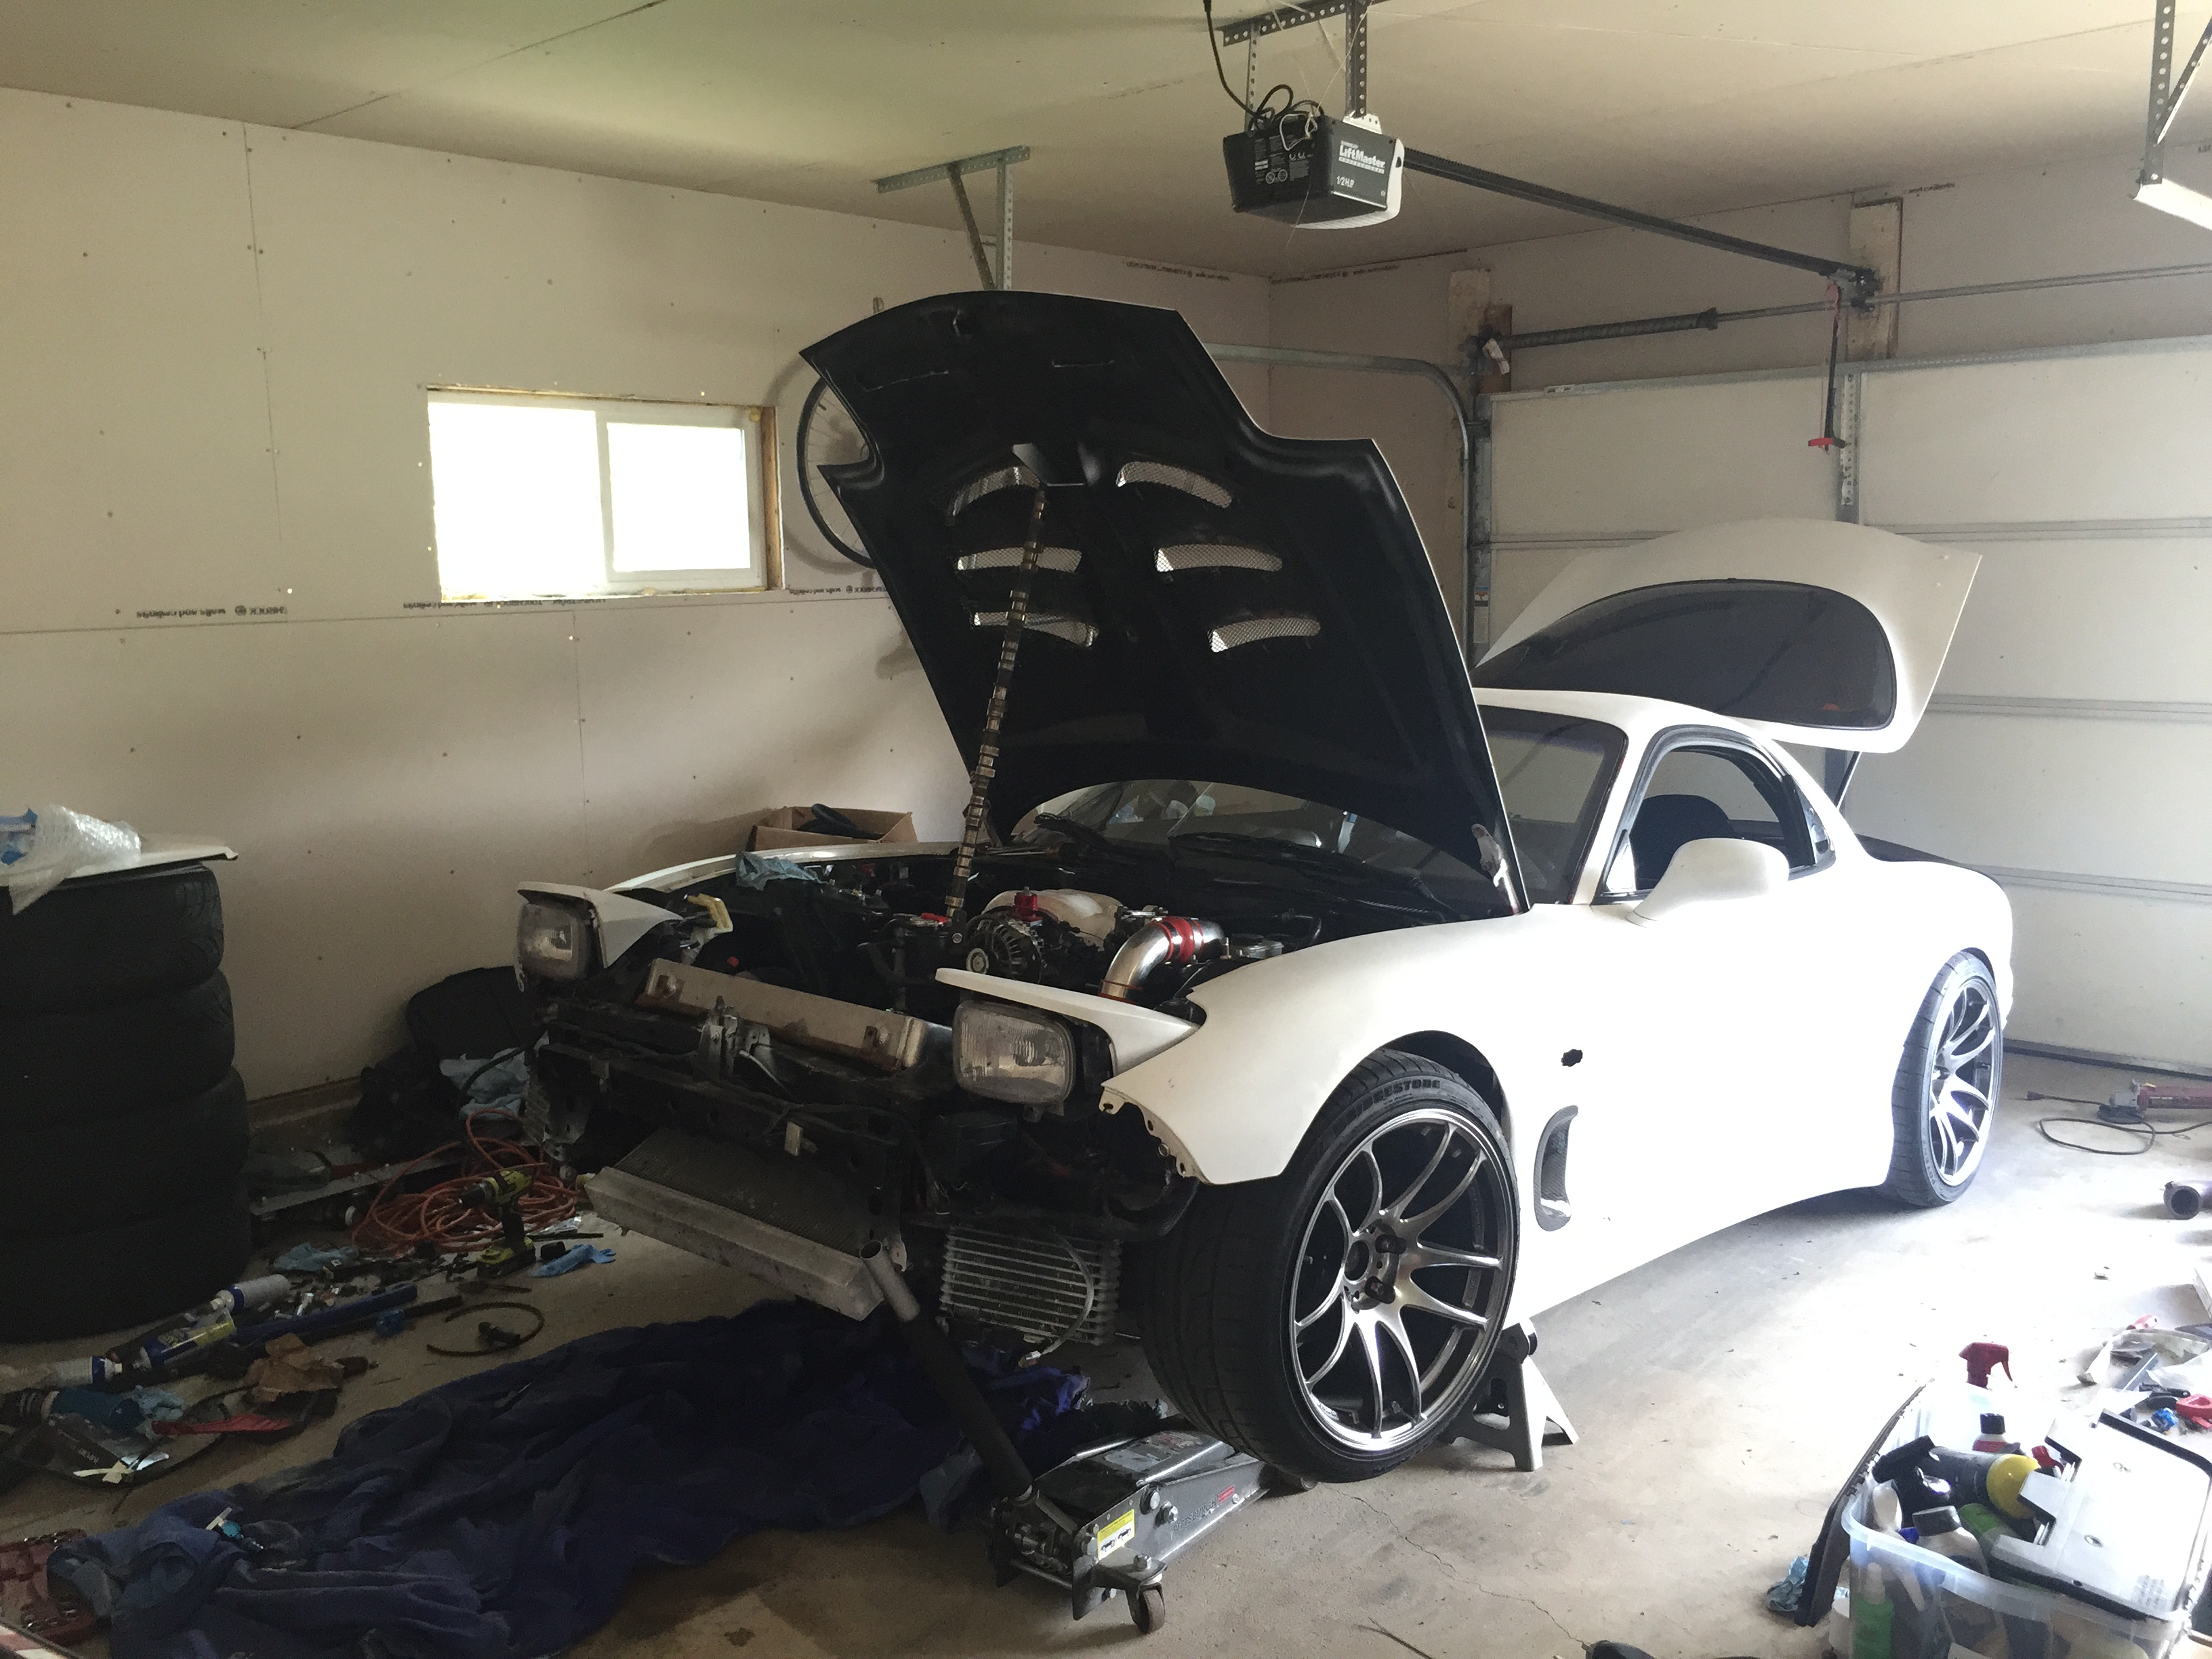
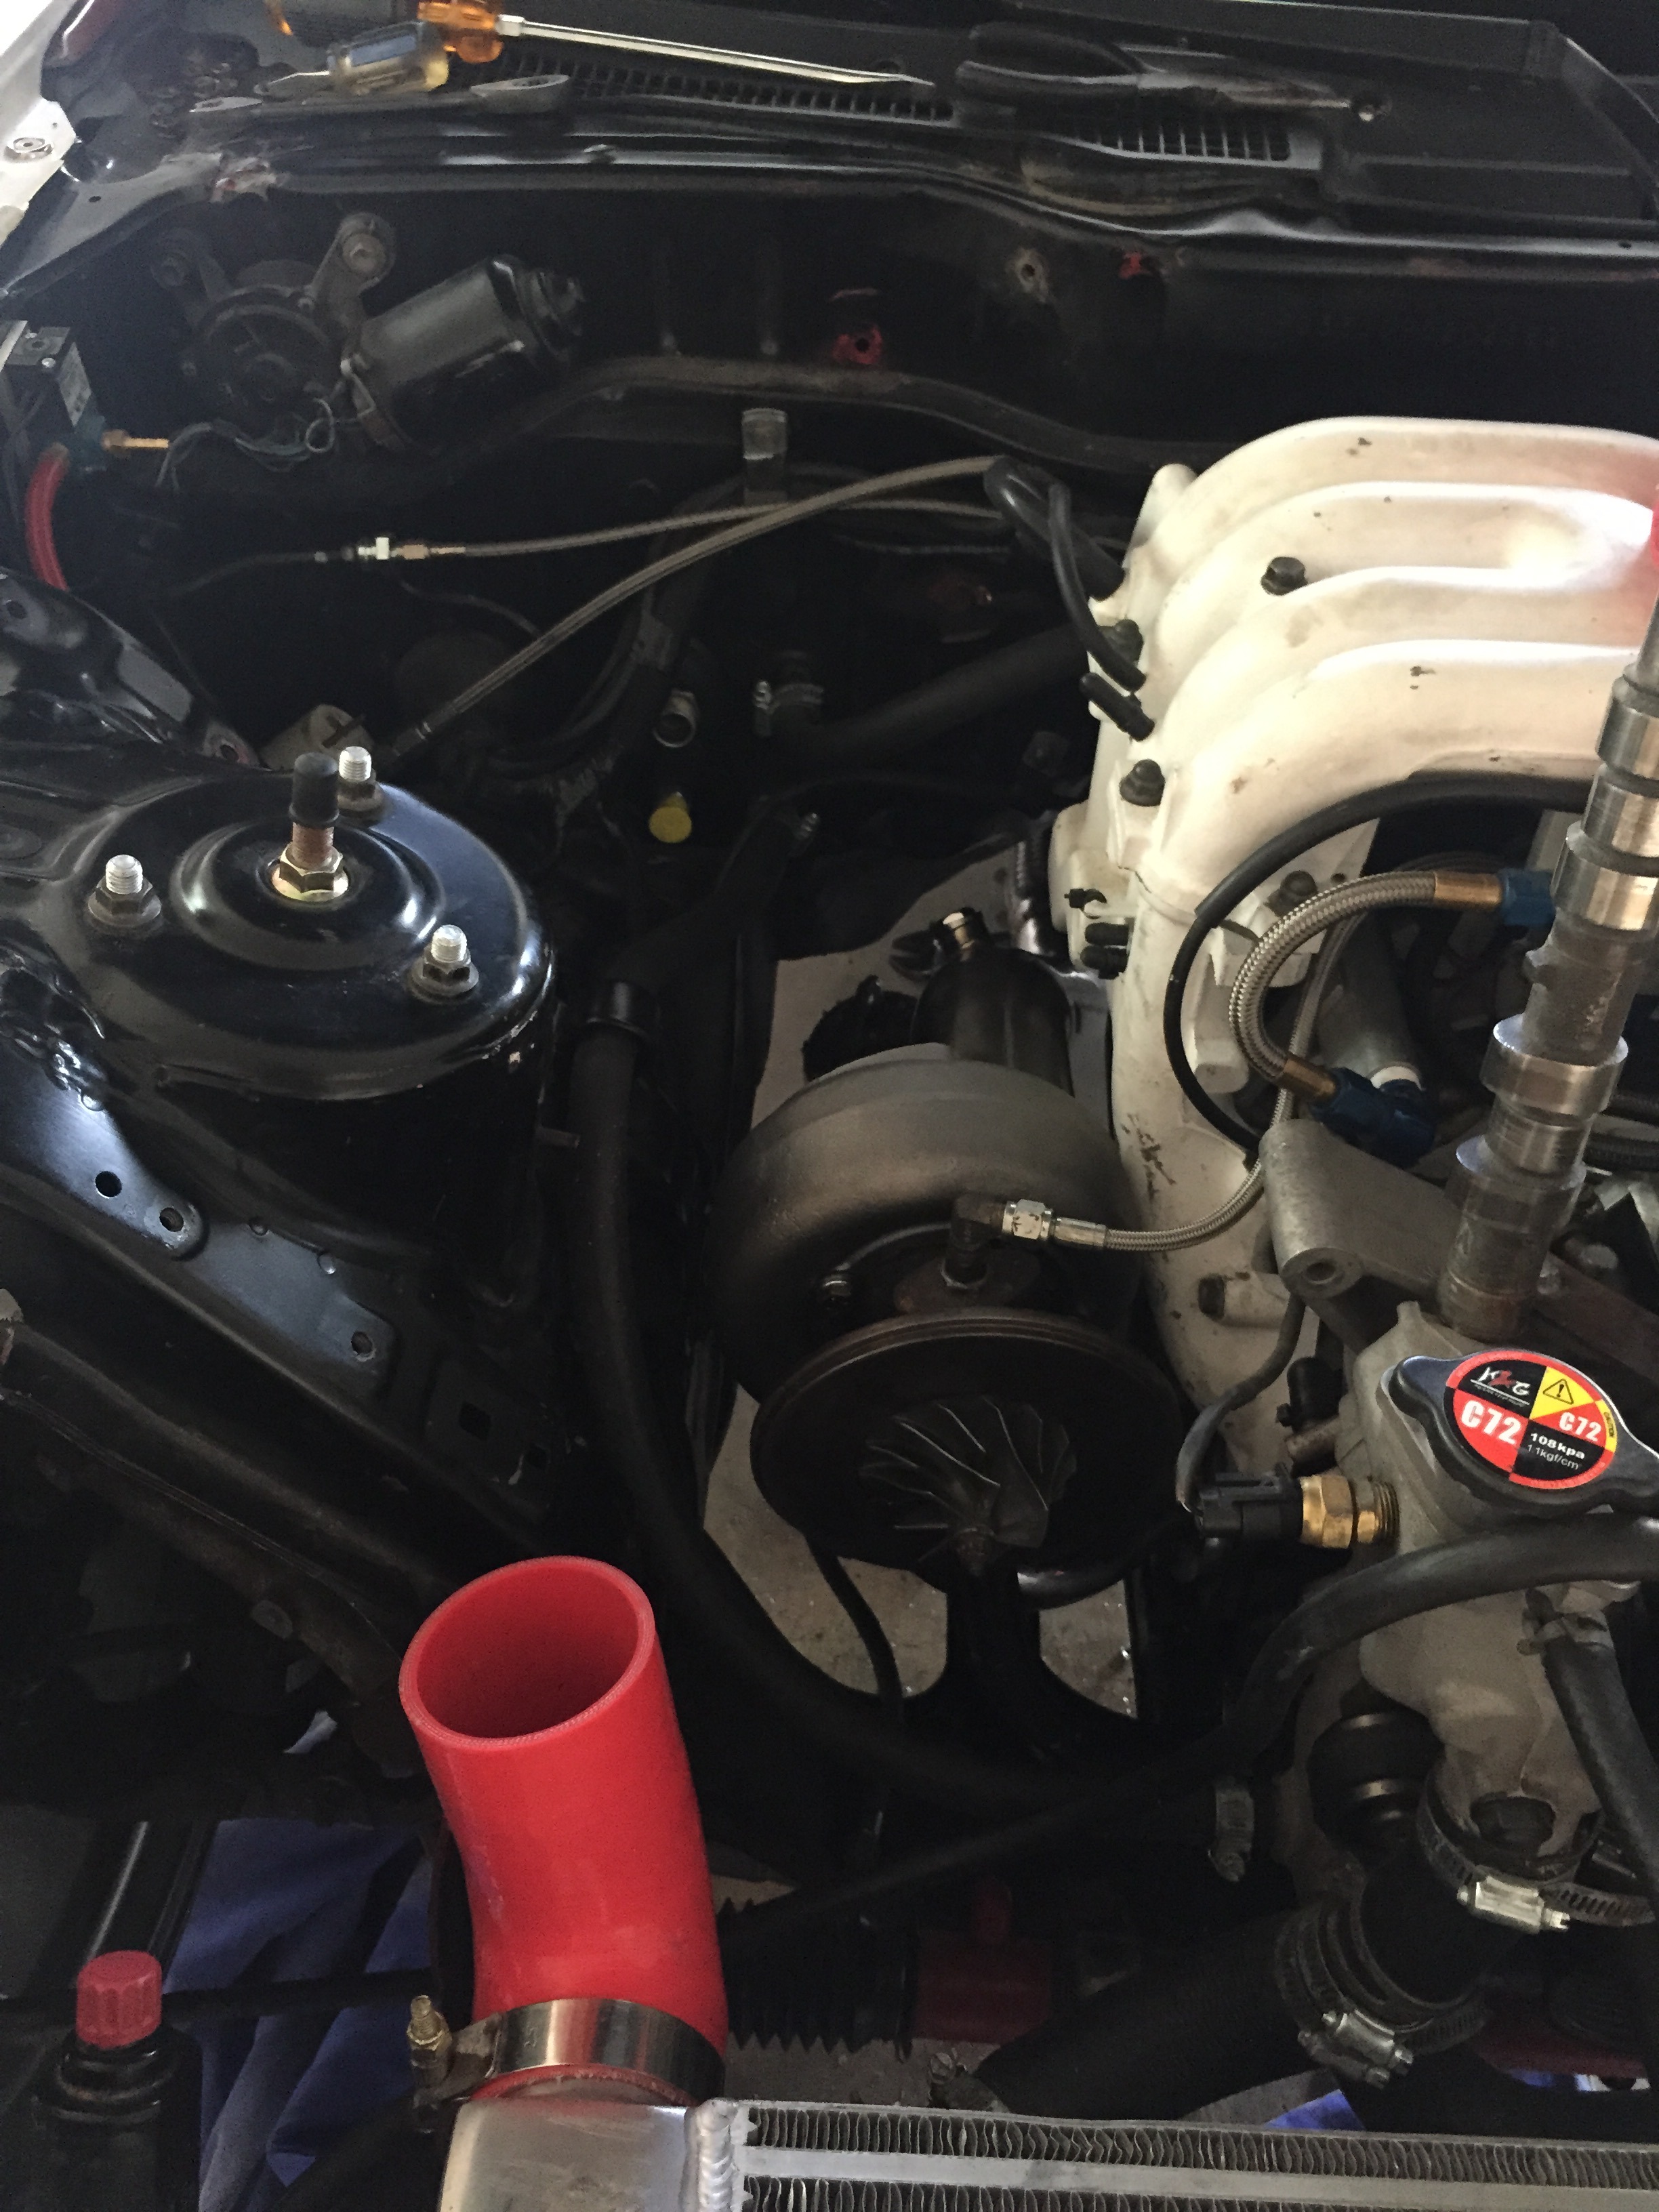
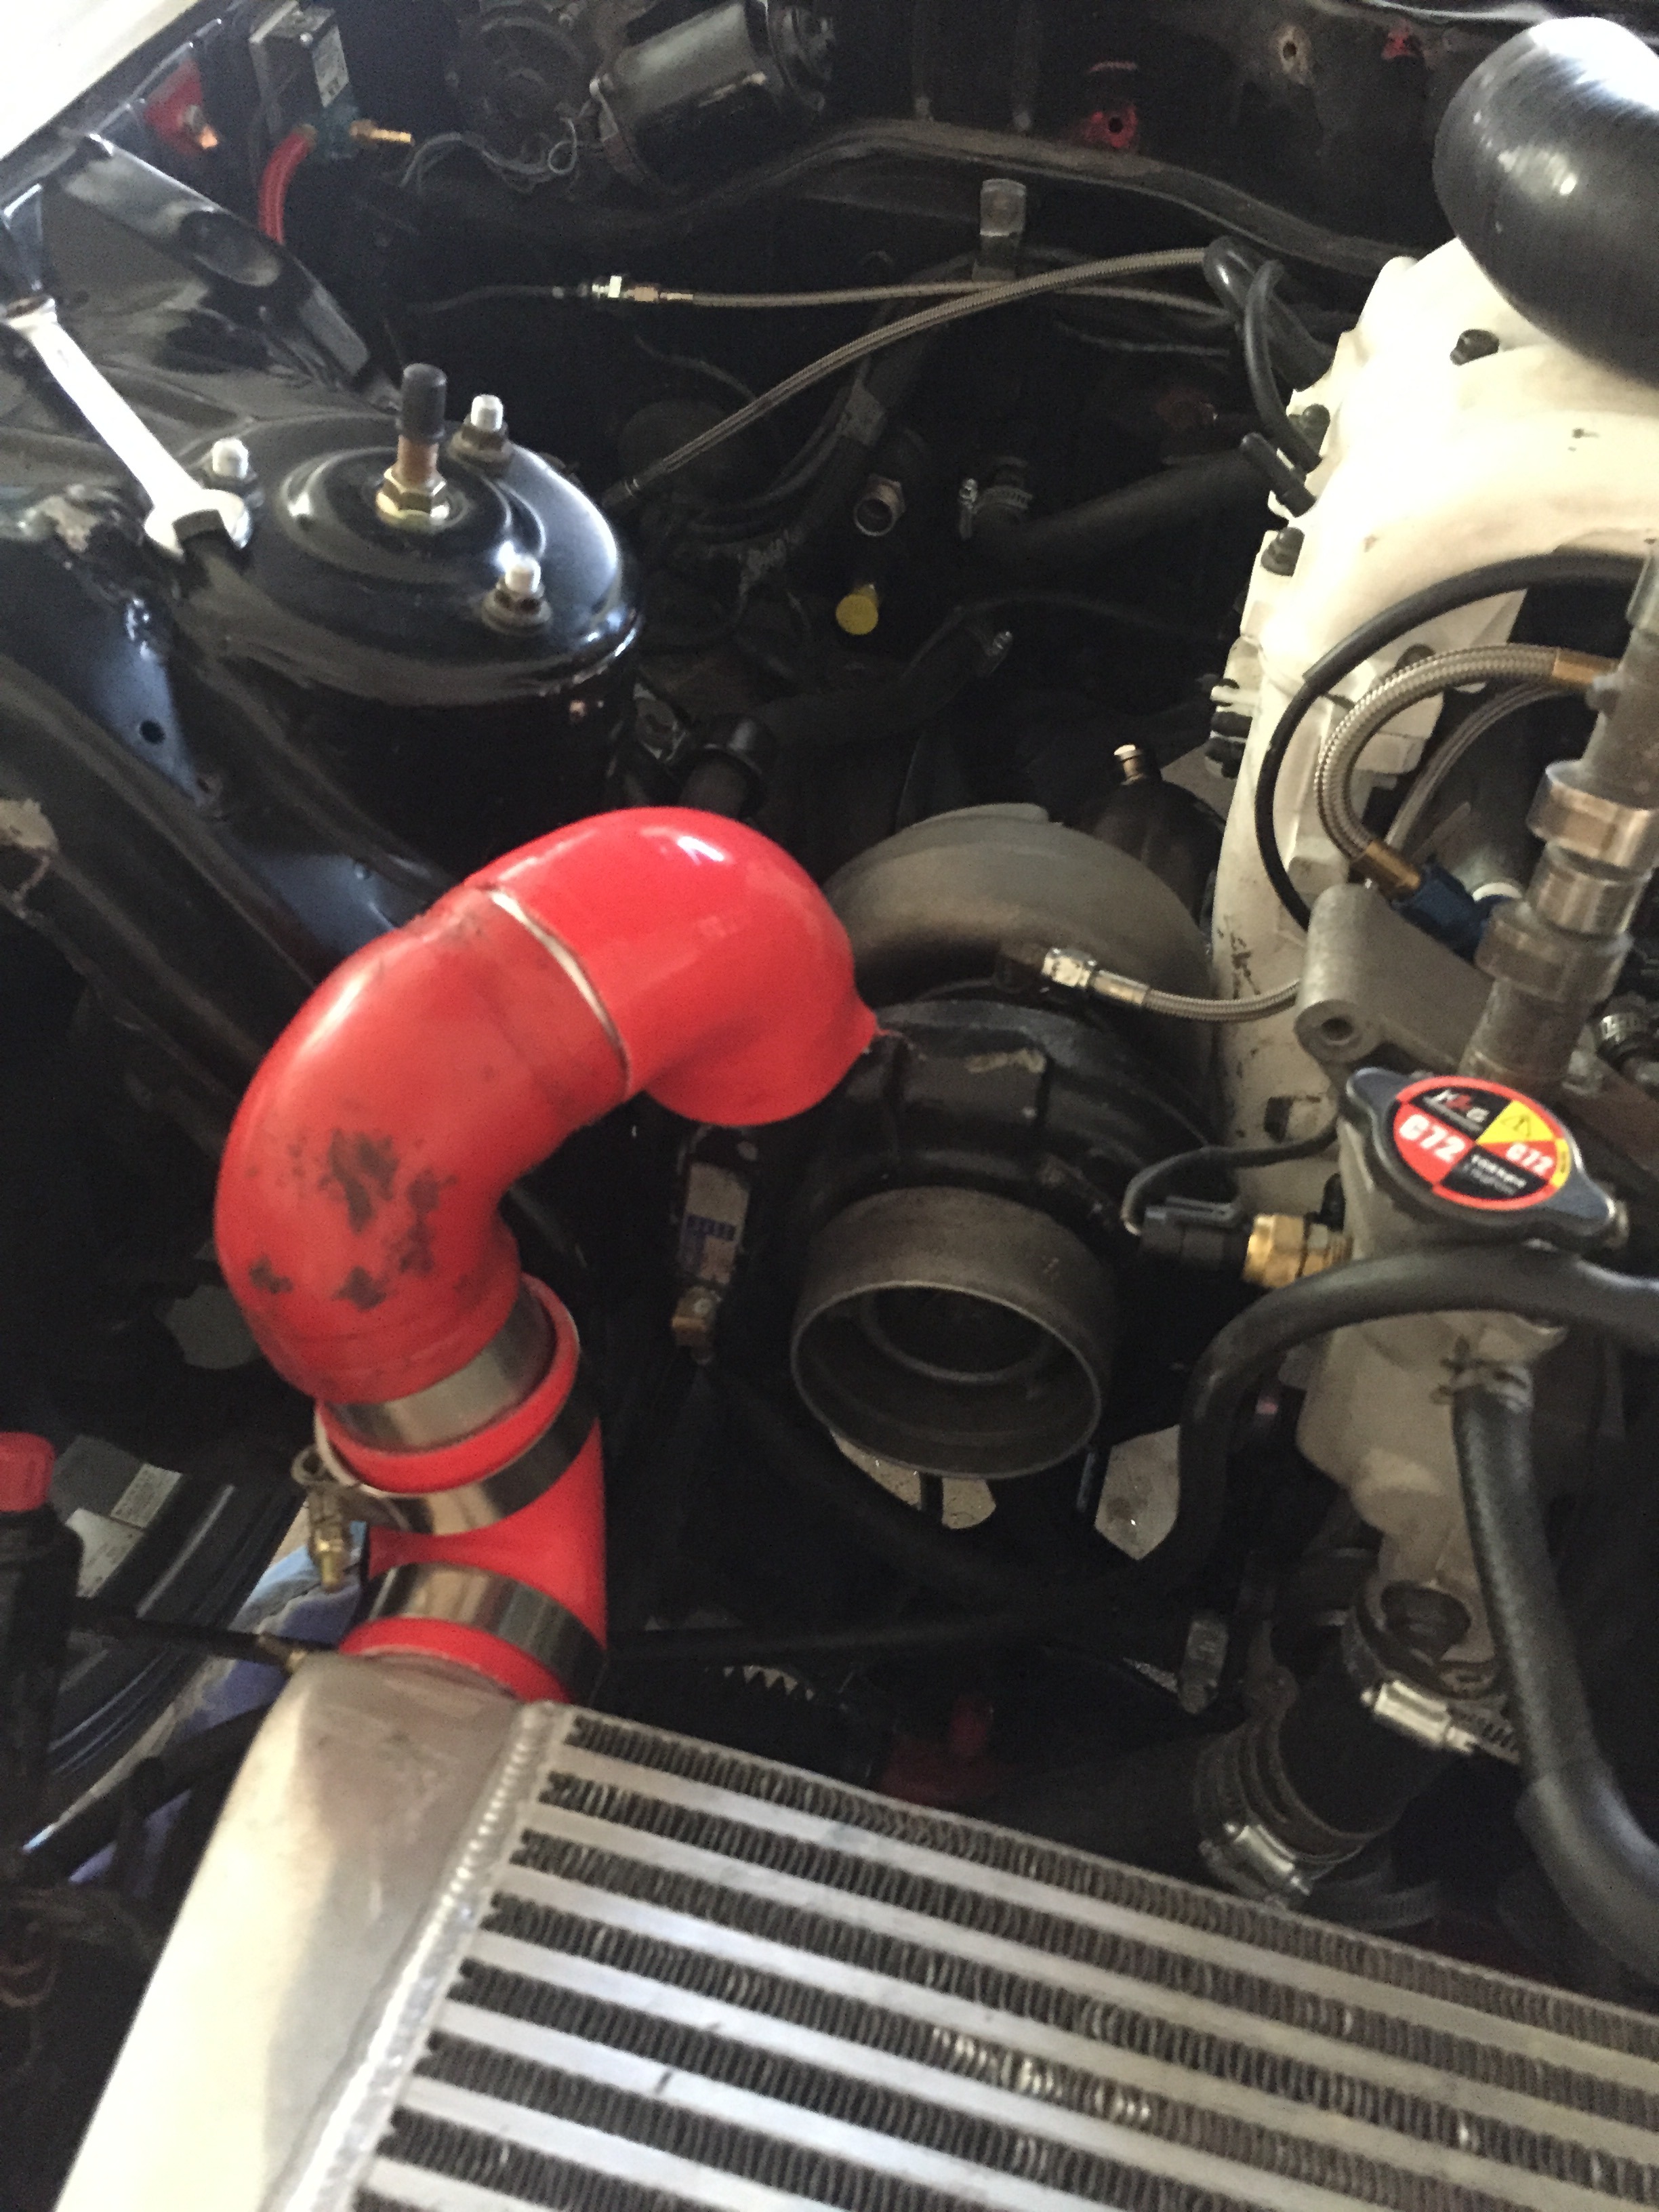
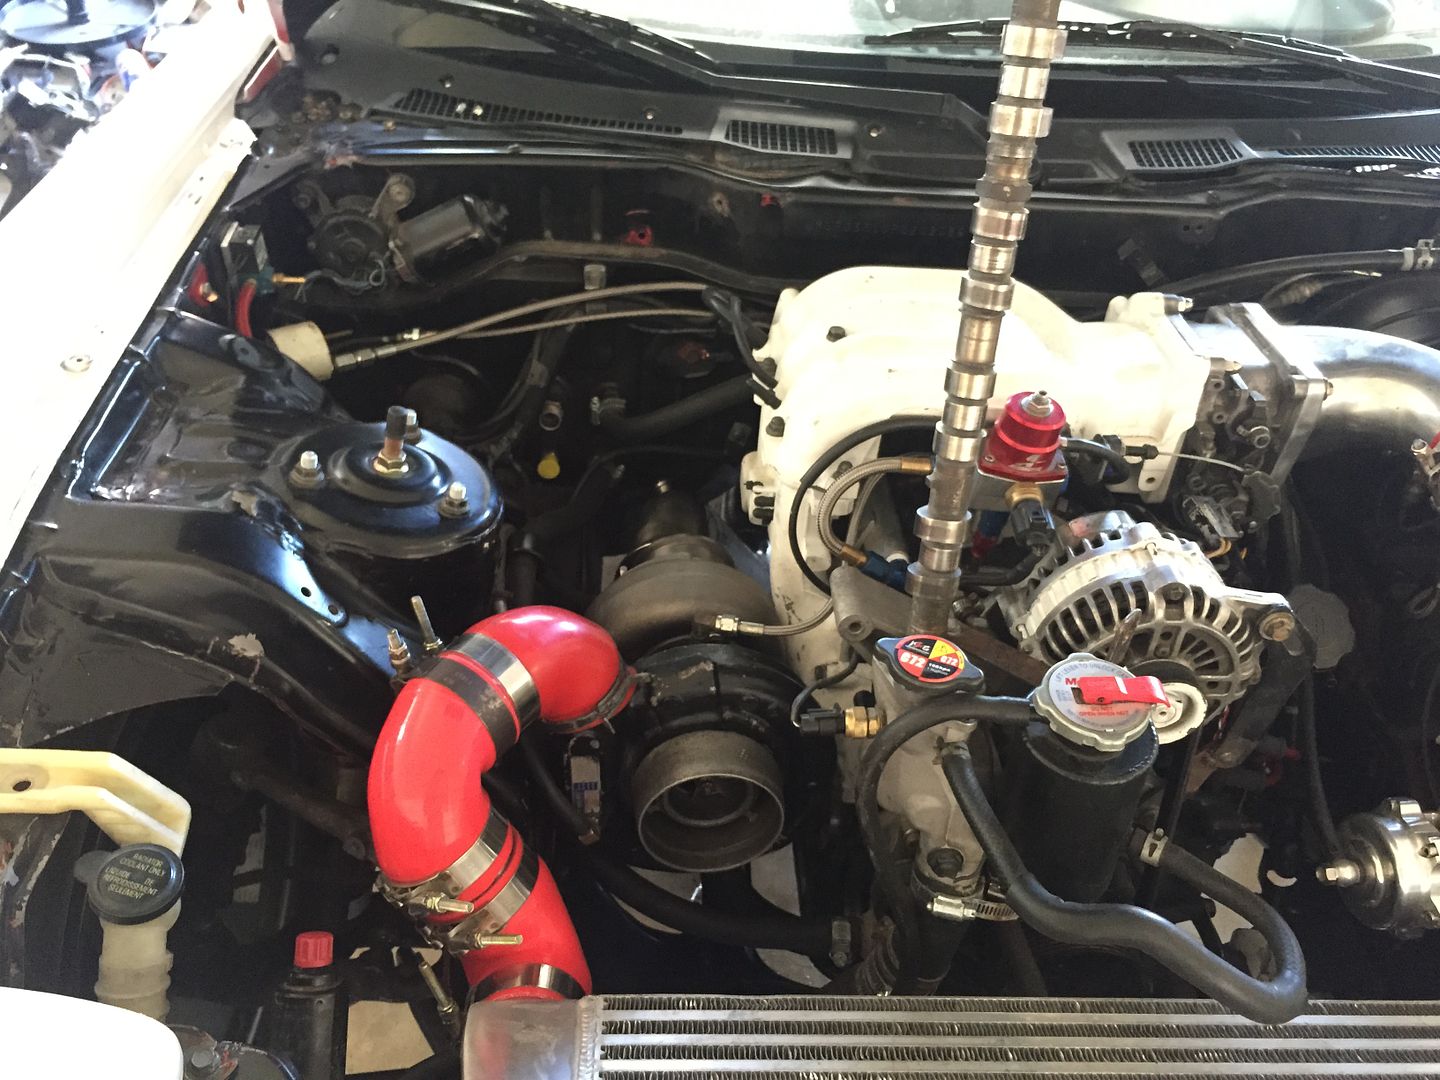
Picture of the bay after the single setup was finished
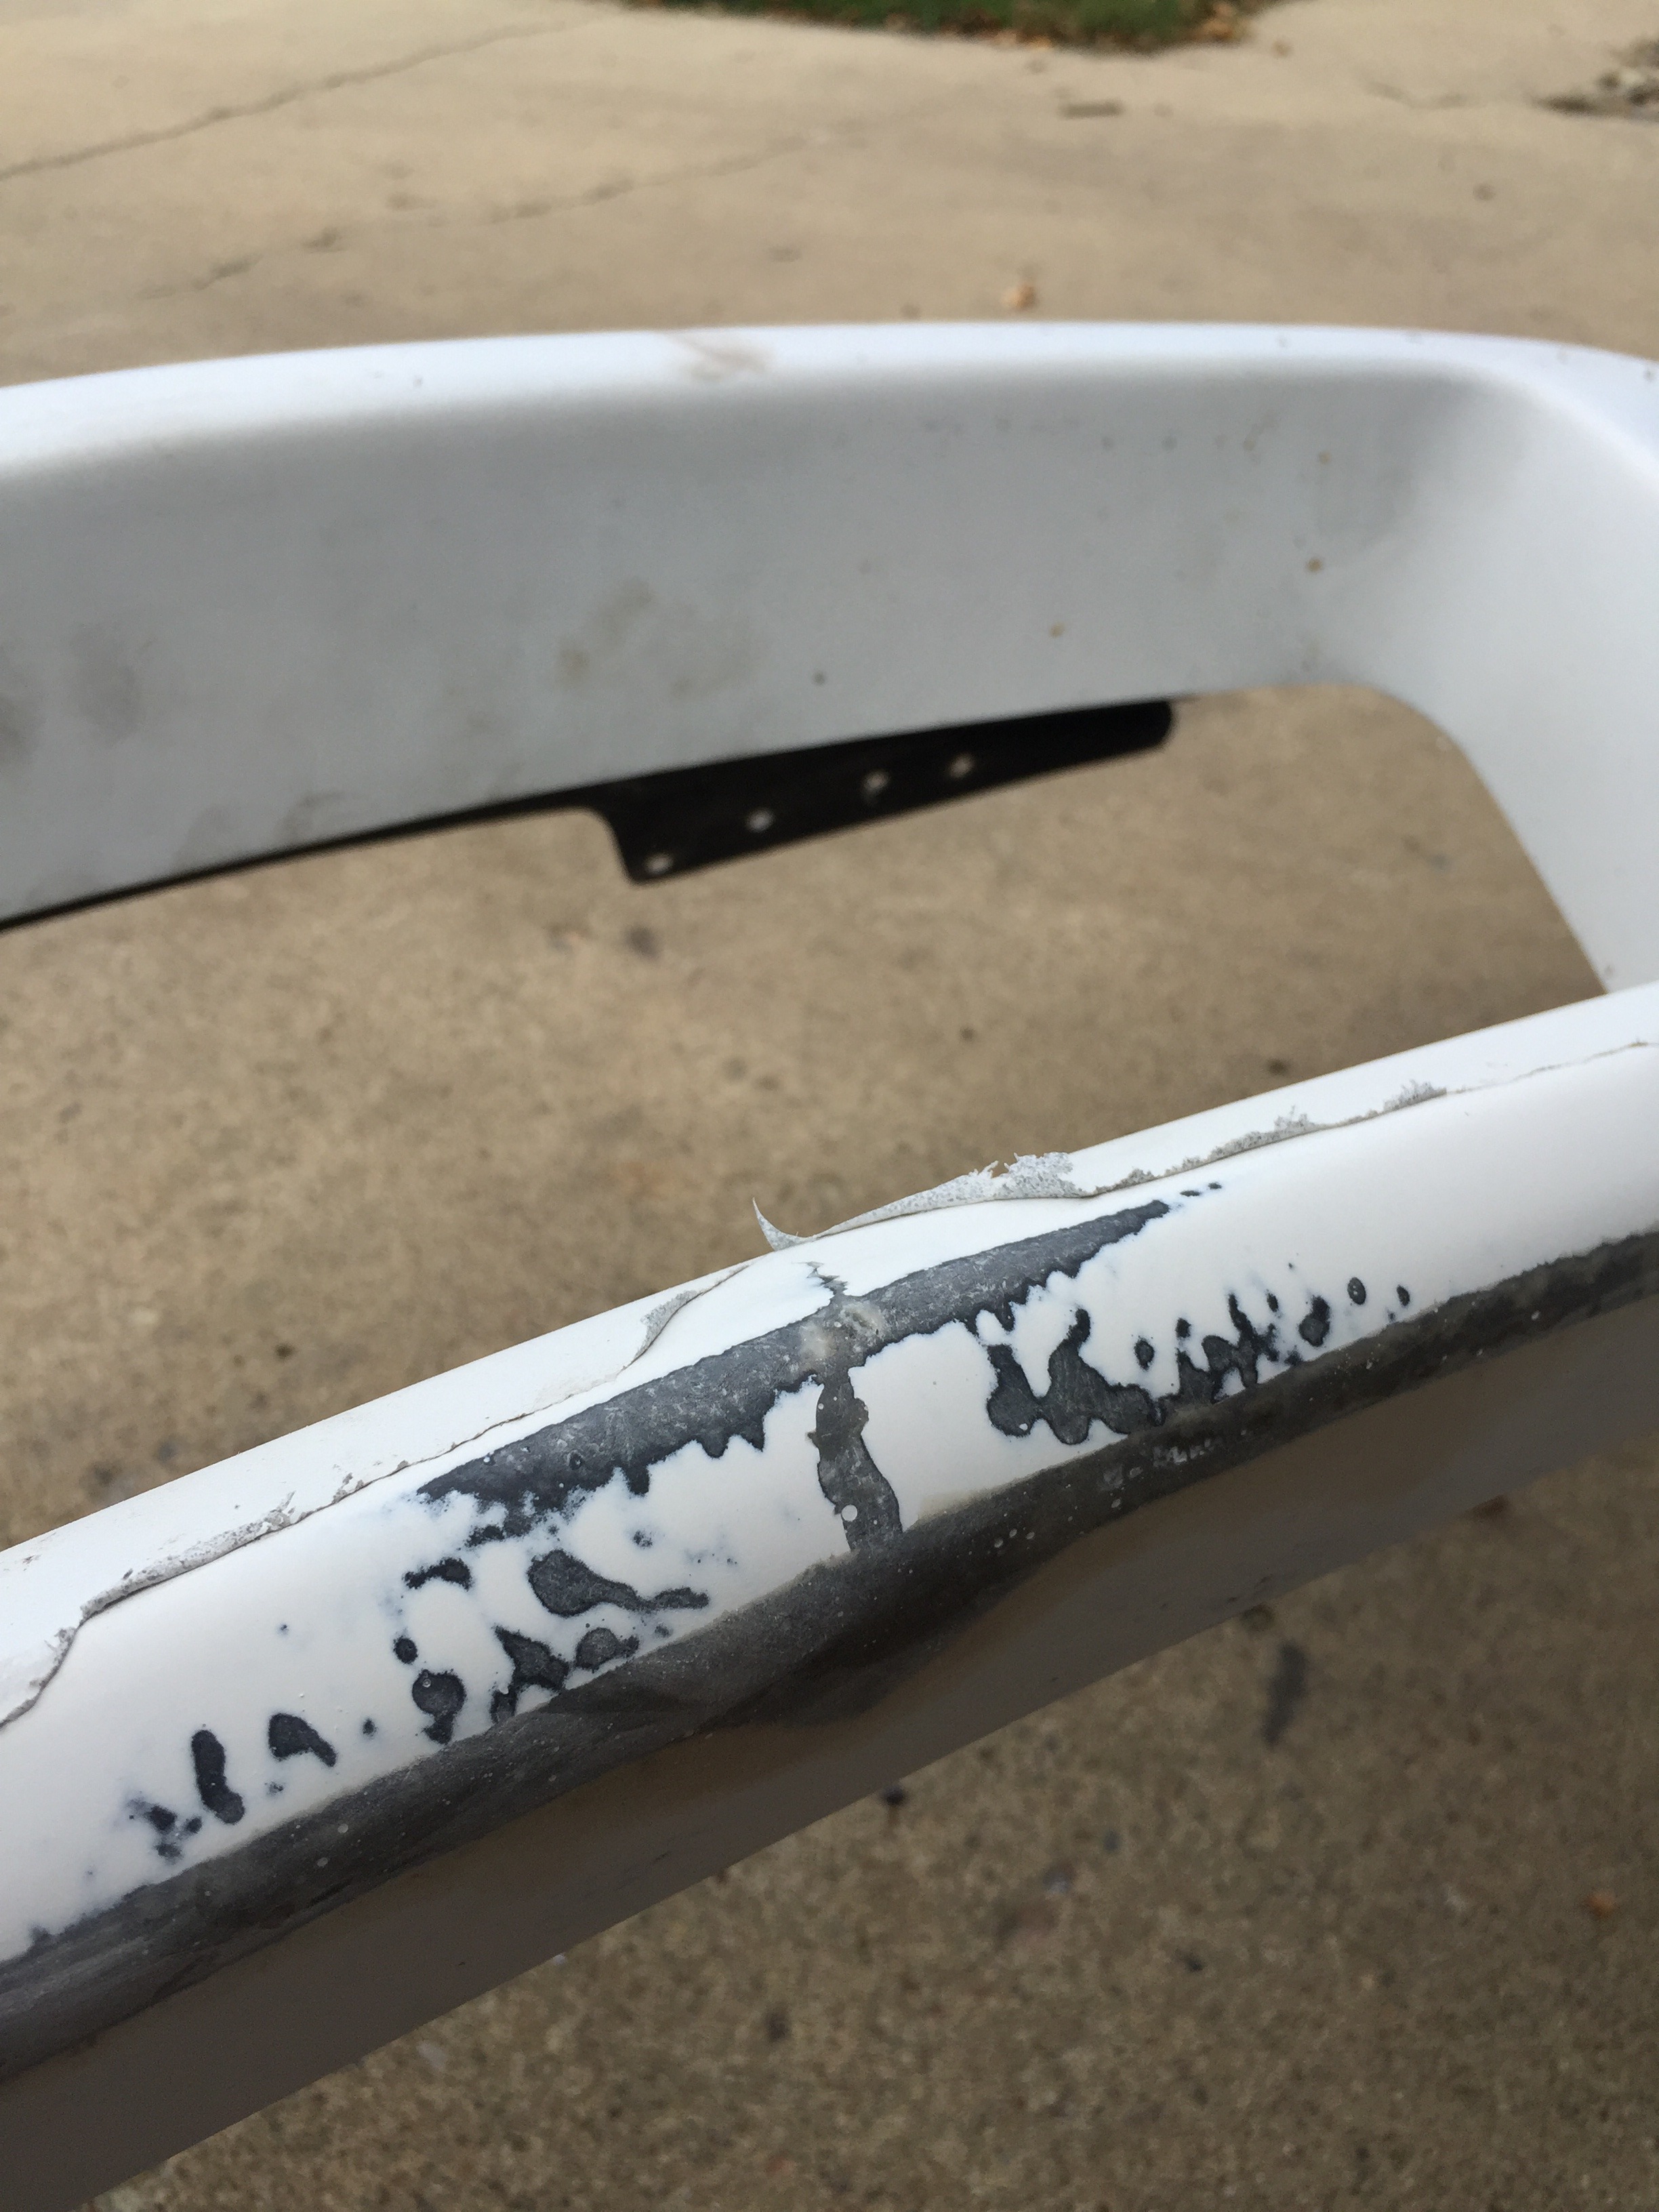
Fixed a crack in my bumper, stupid Minot roads
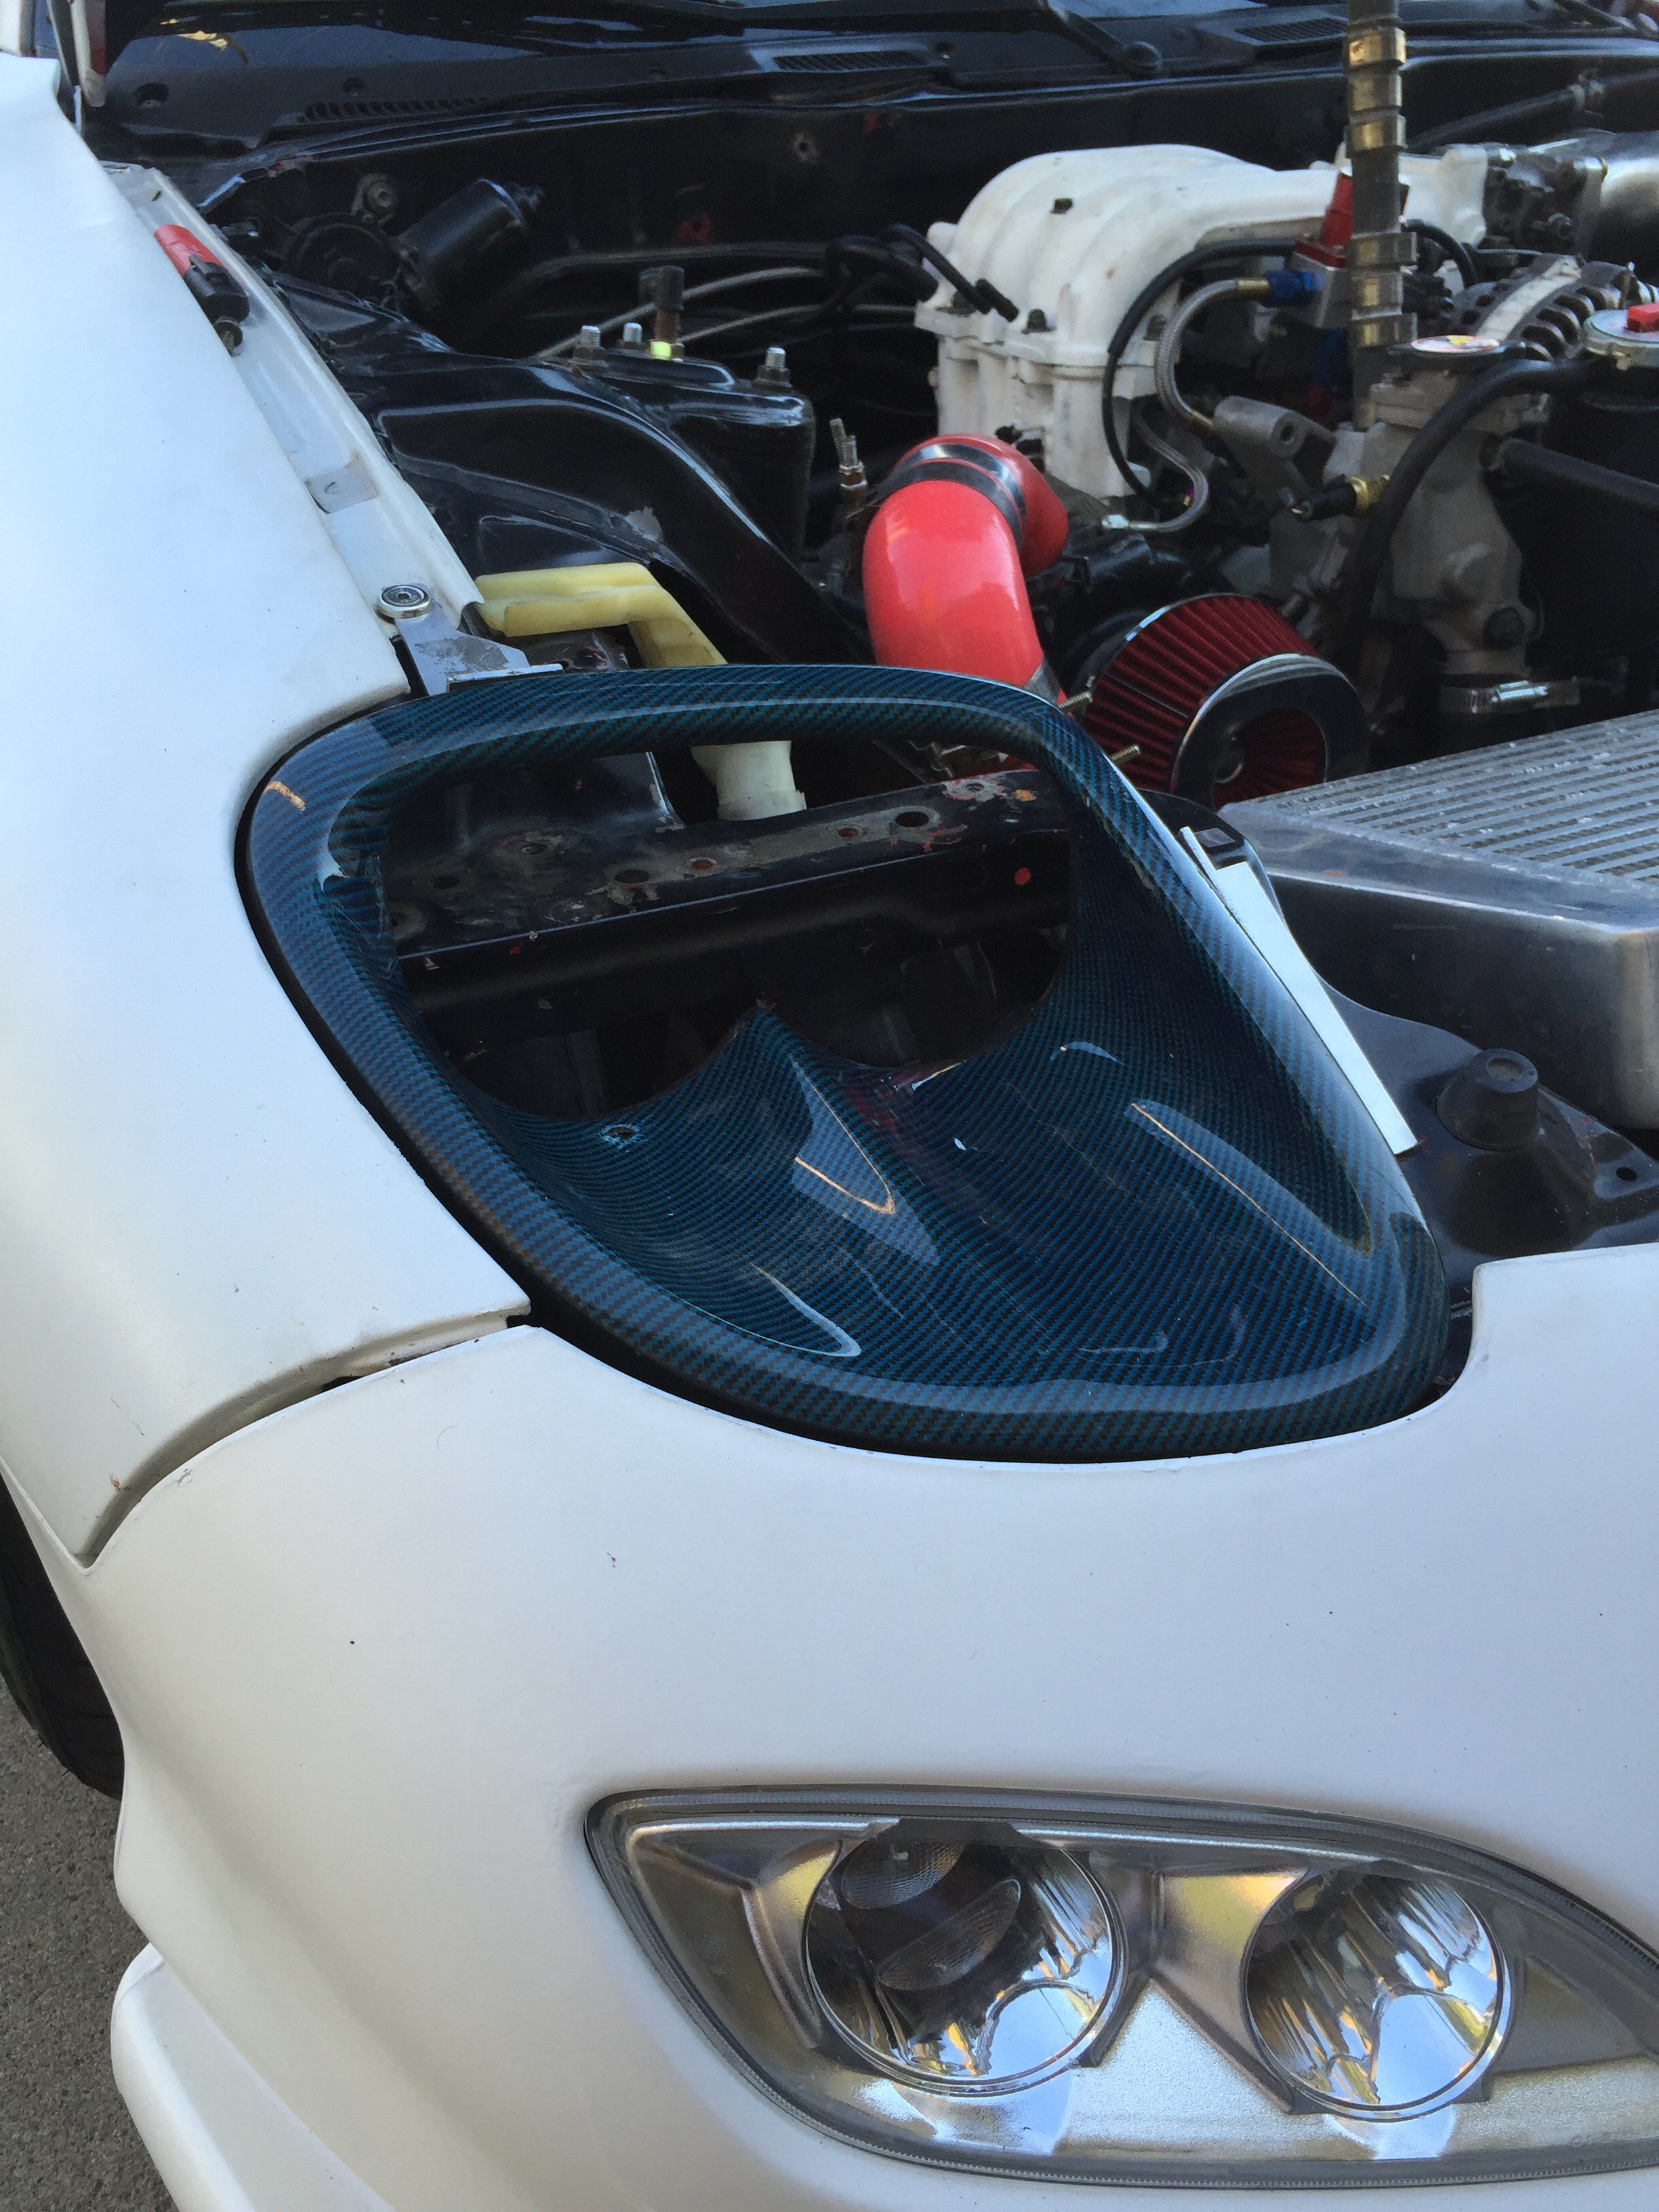
Picked up some "sleek" headlight buckets, so made up some quick brackets and installed those
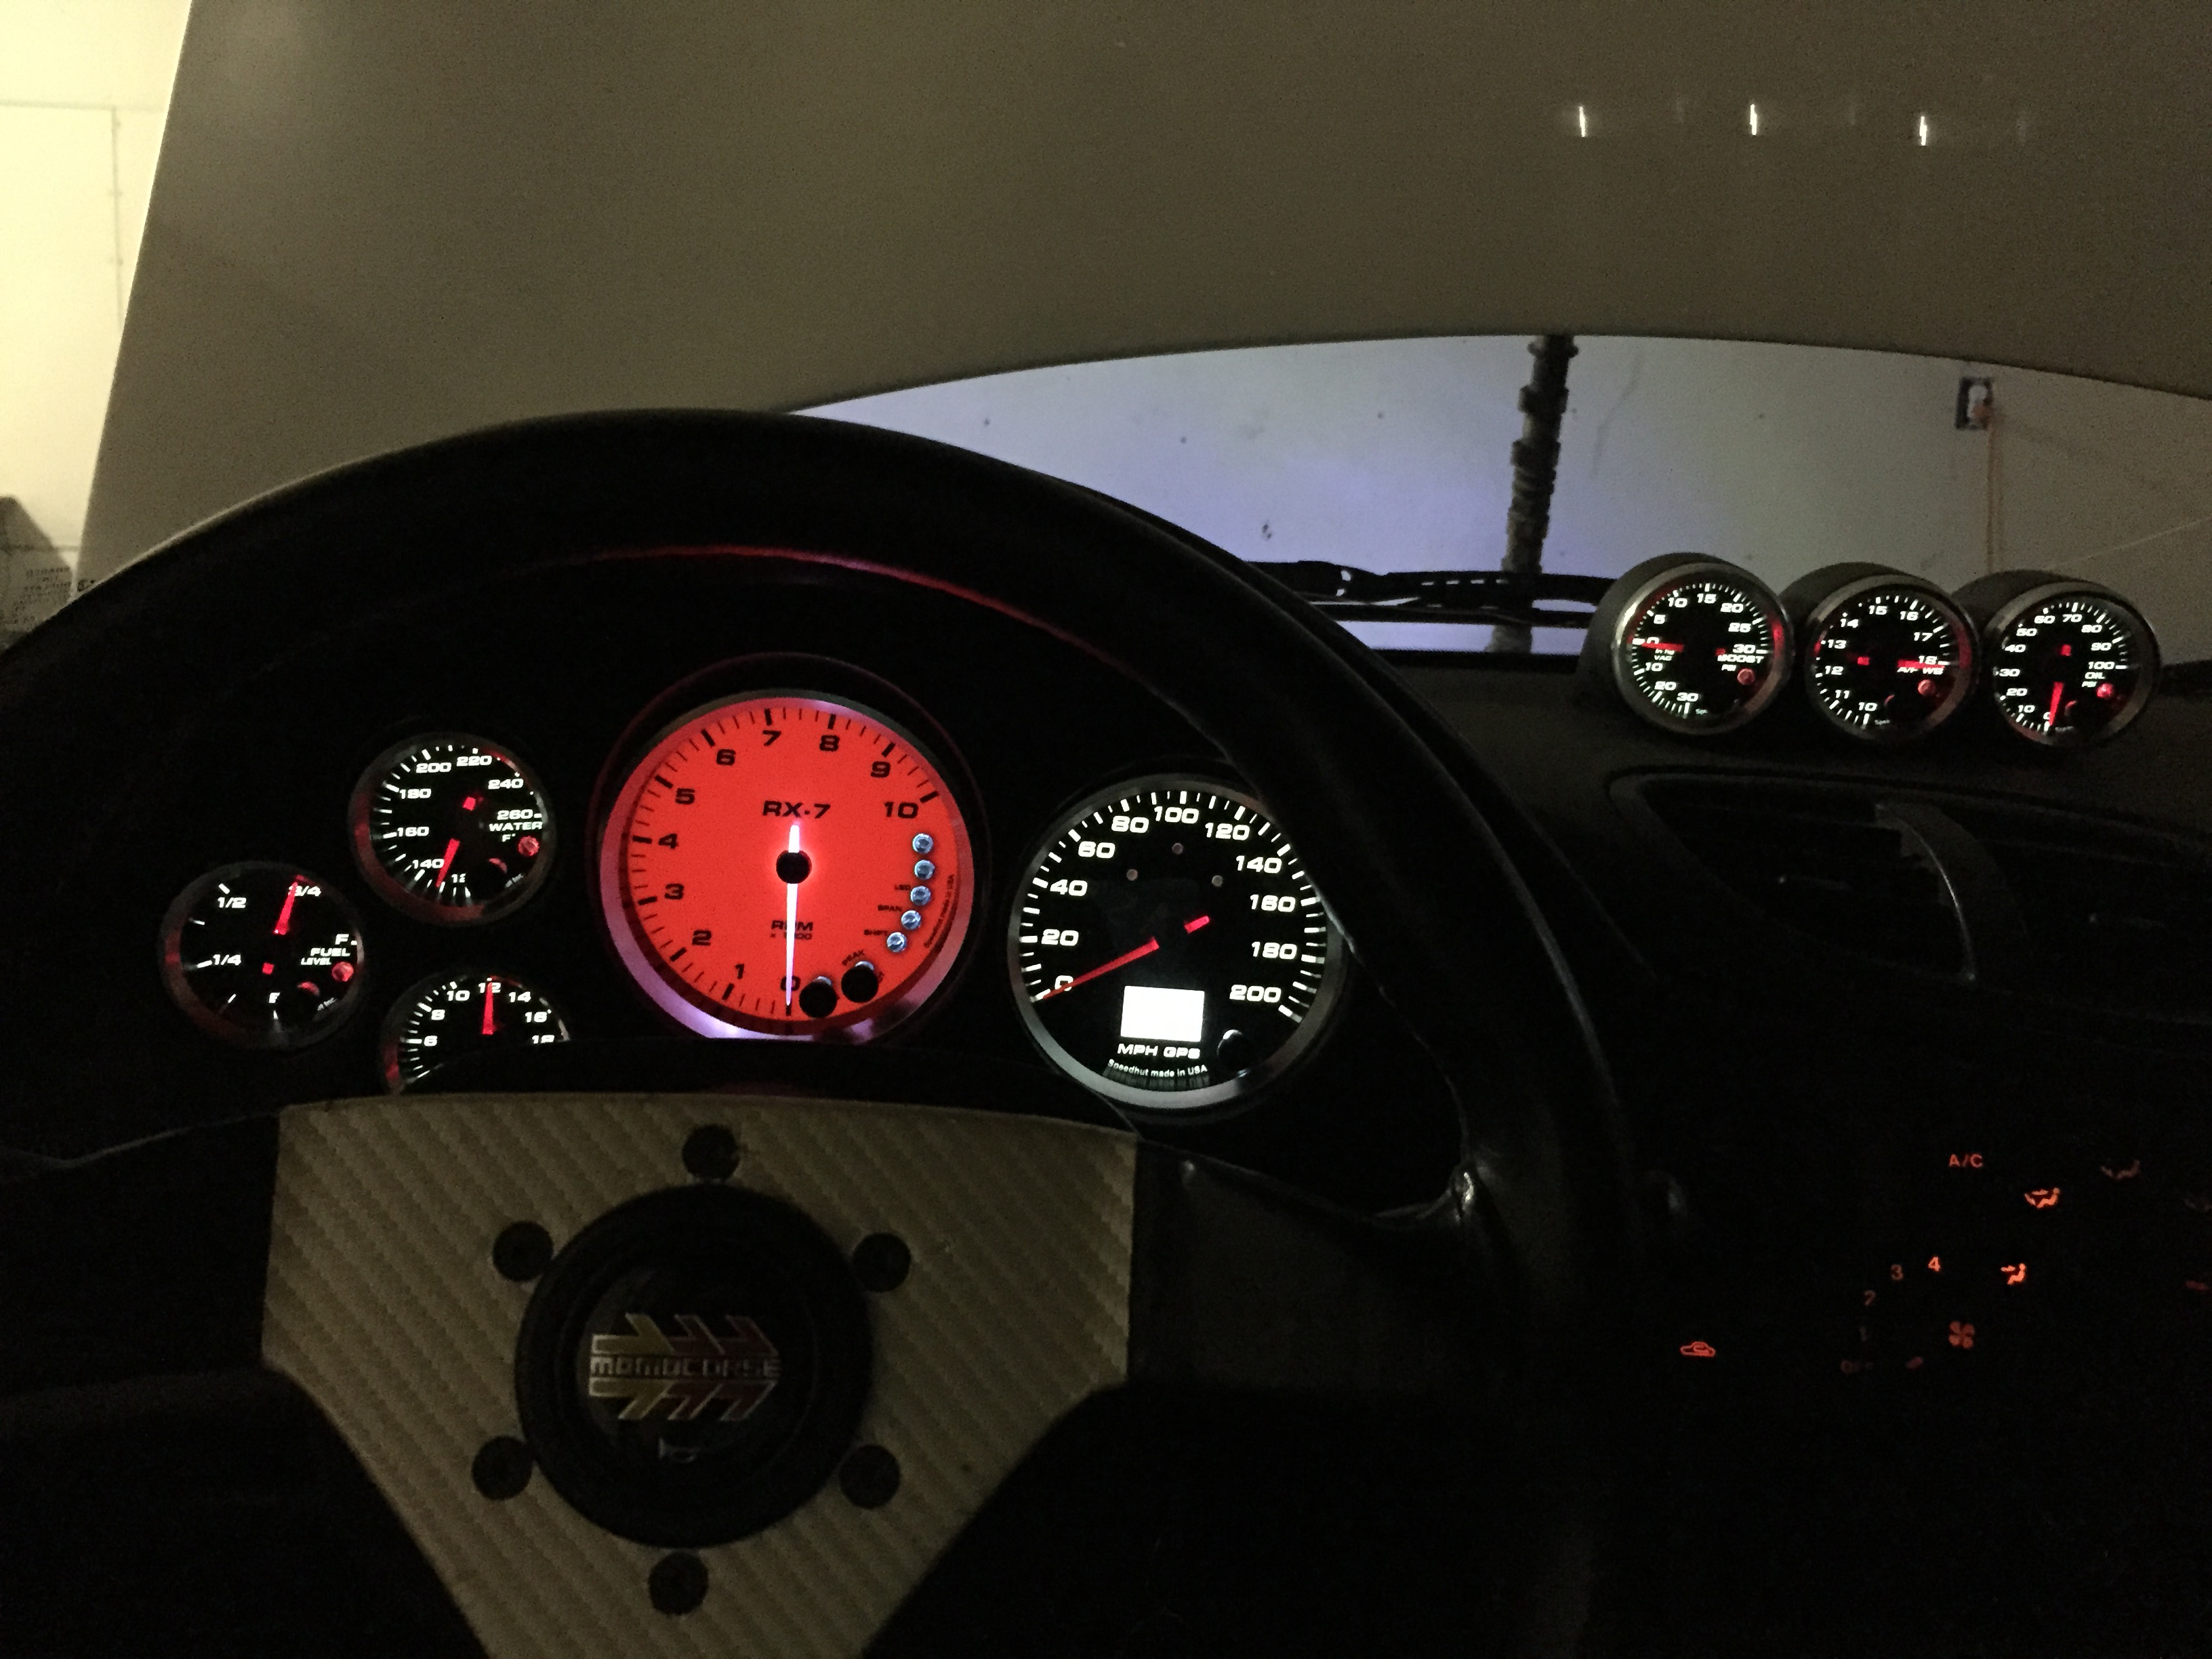
Night pic of my Speedhut gauges
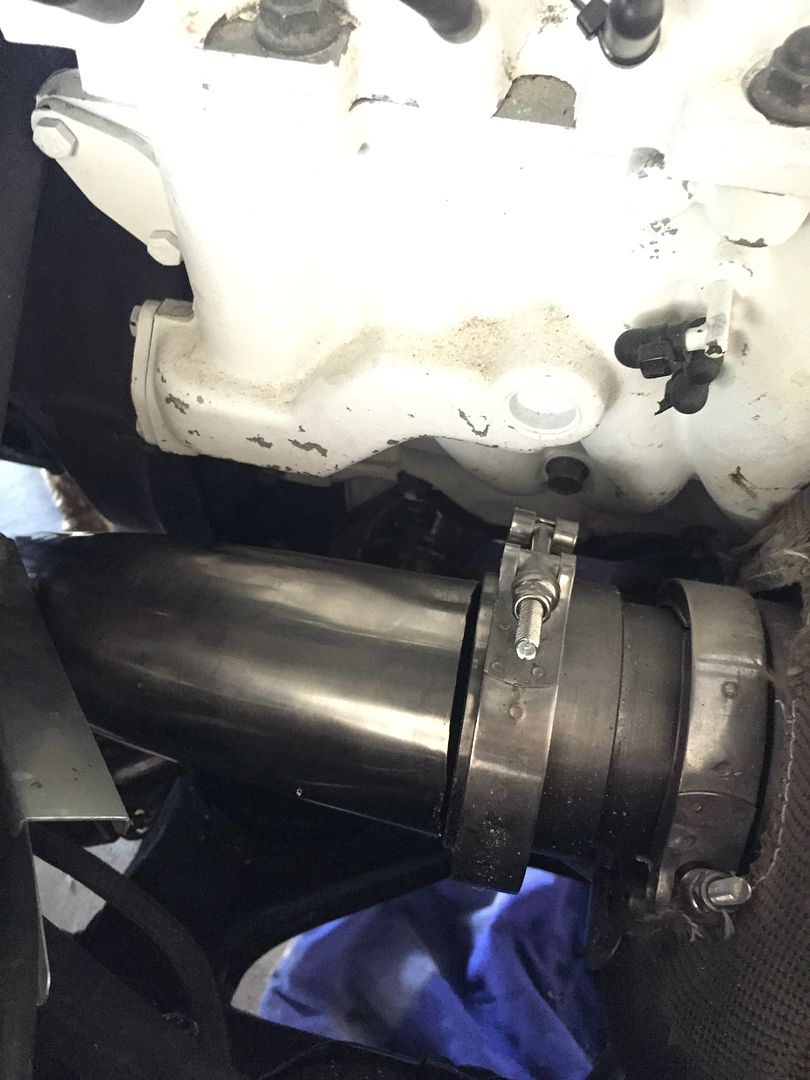
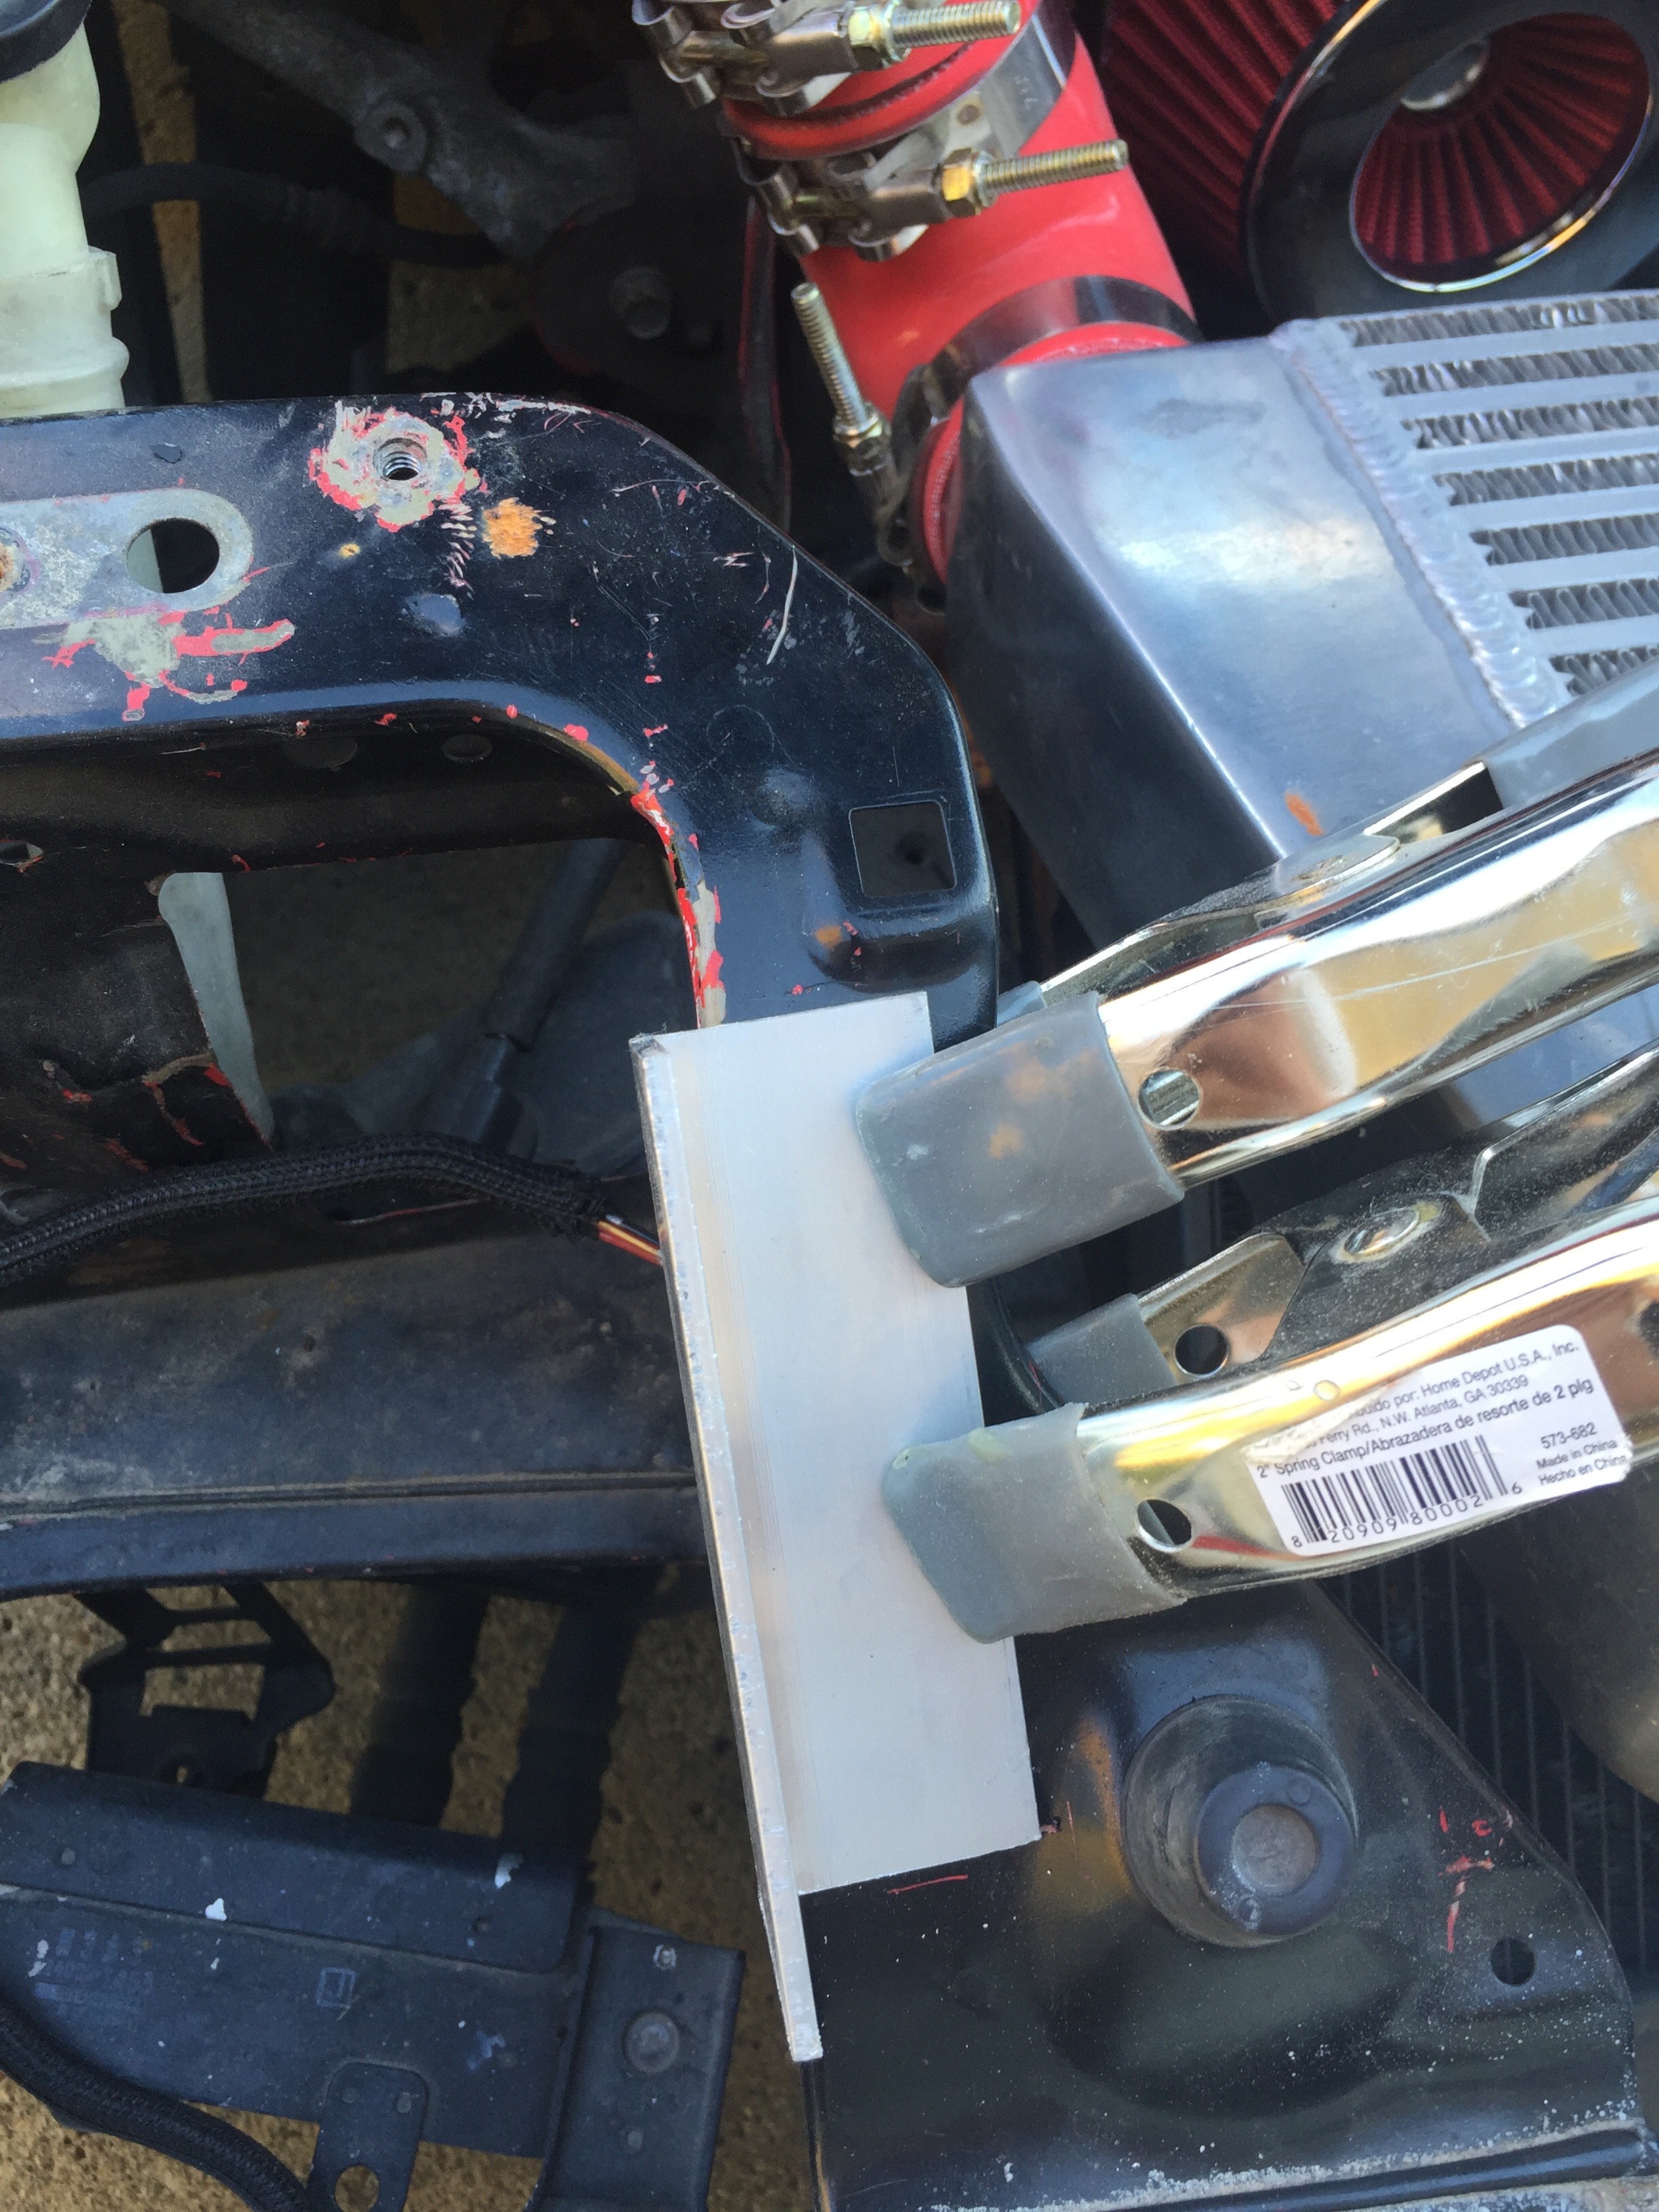
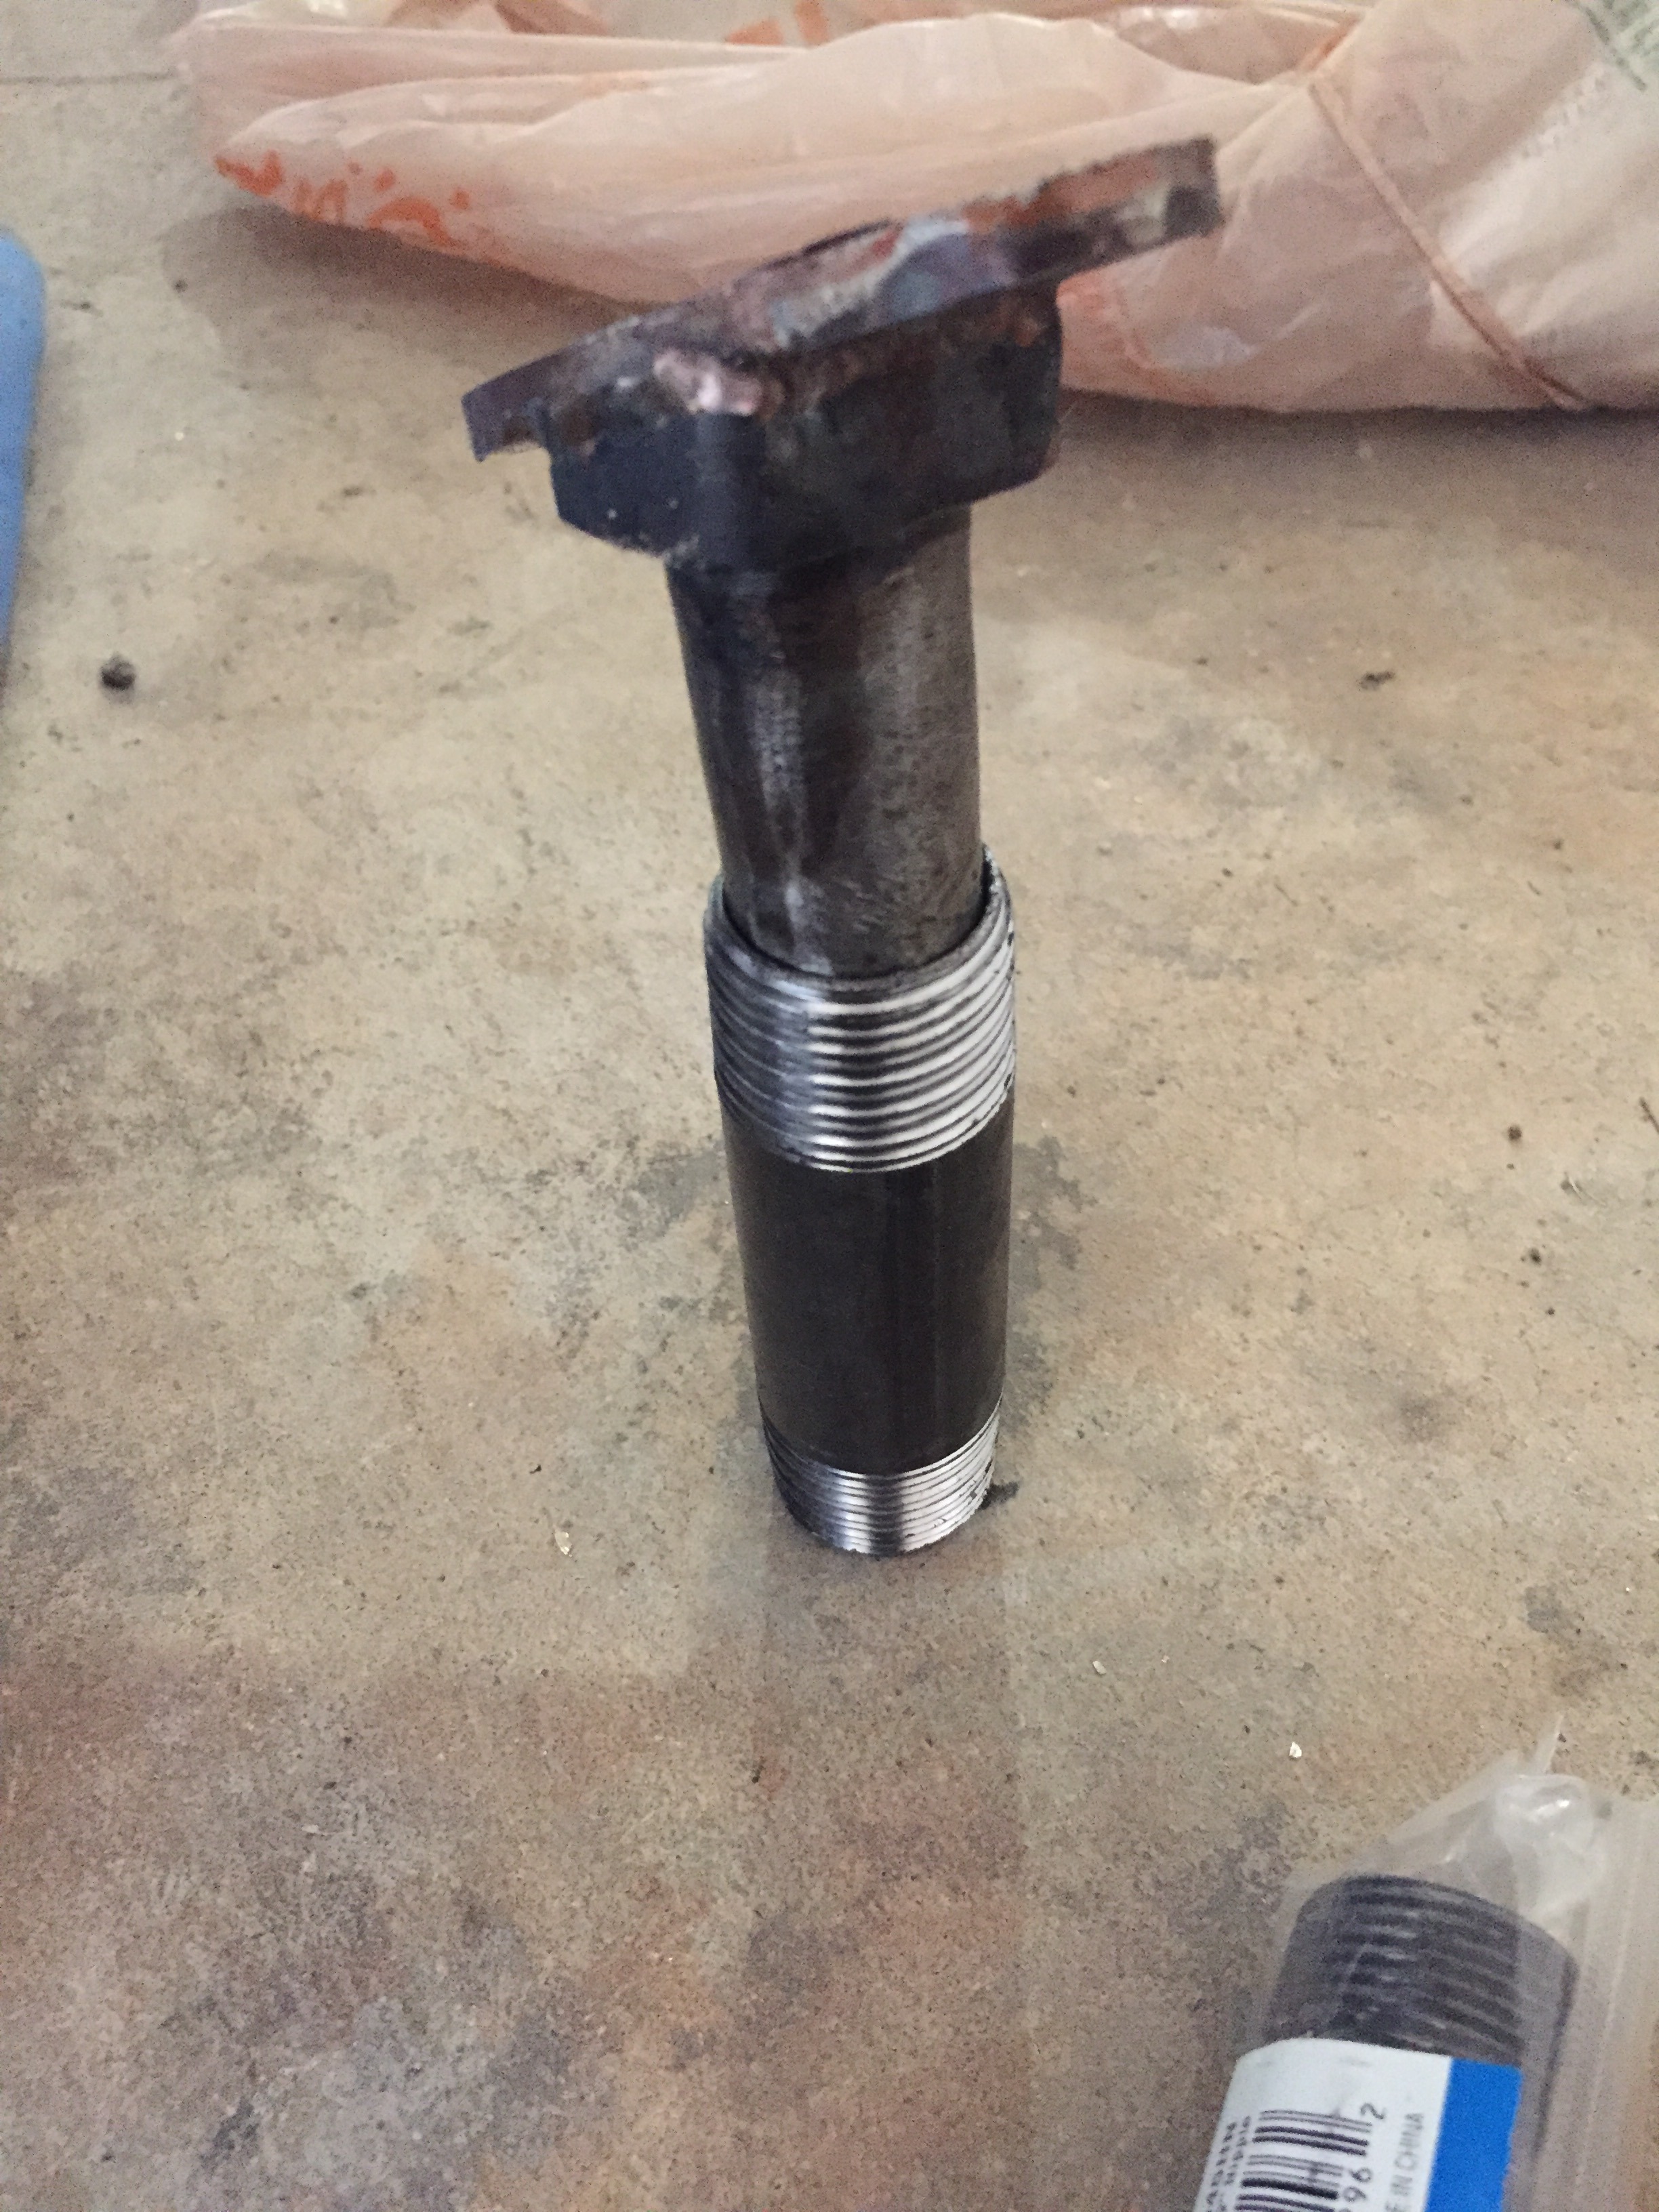
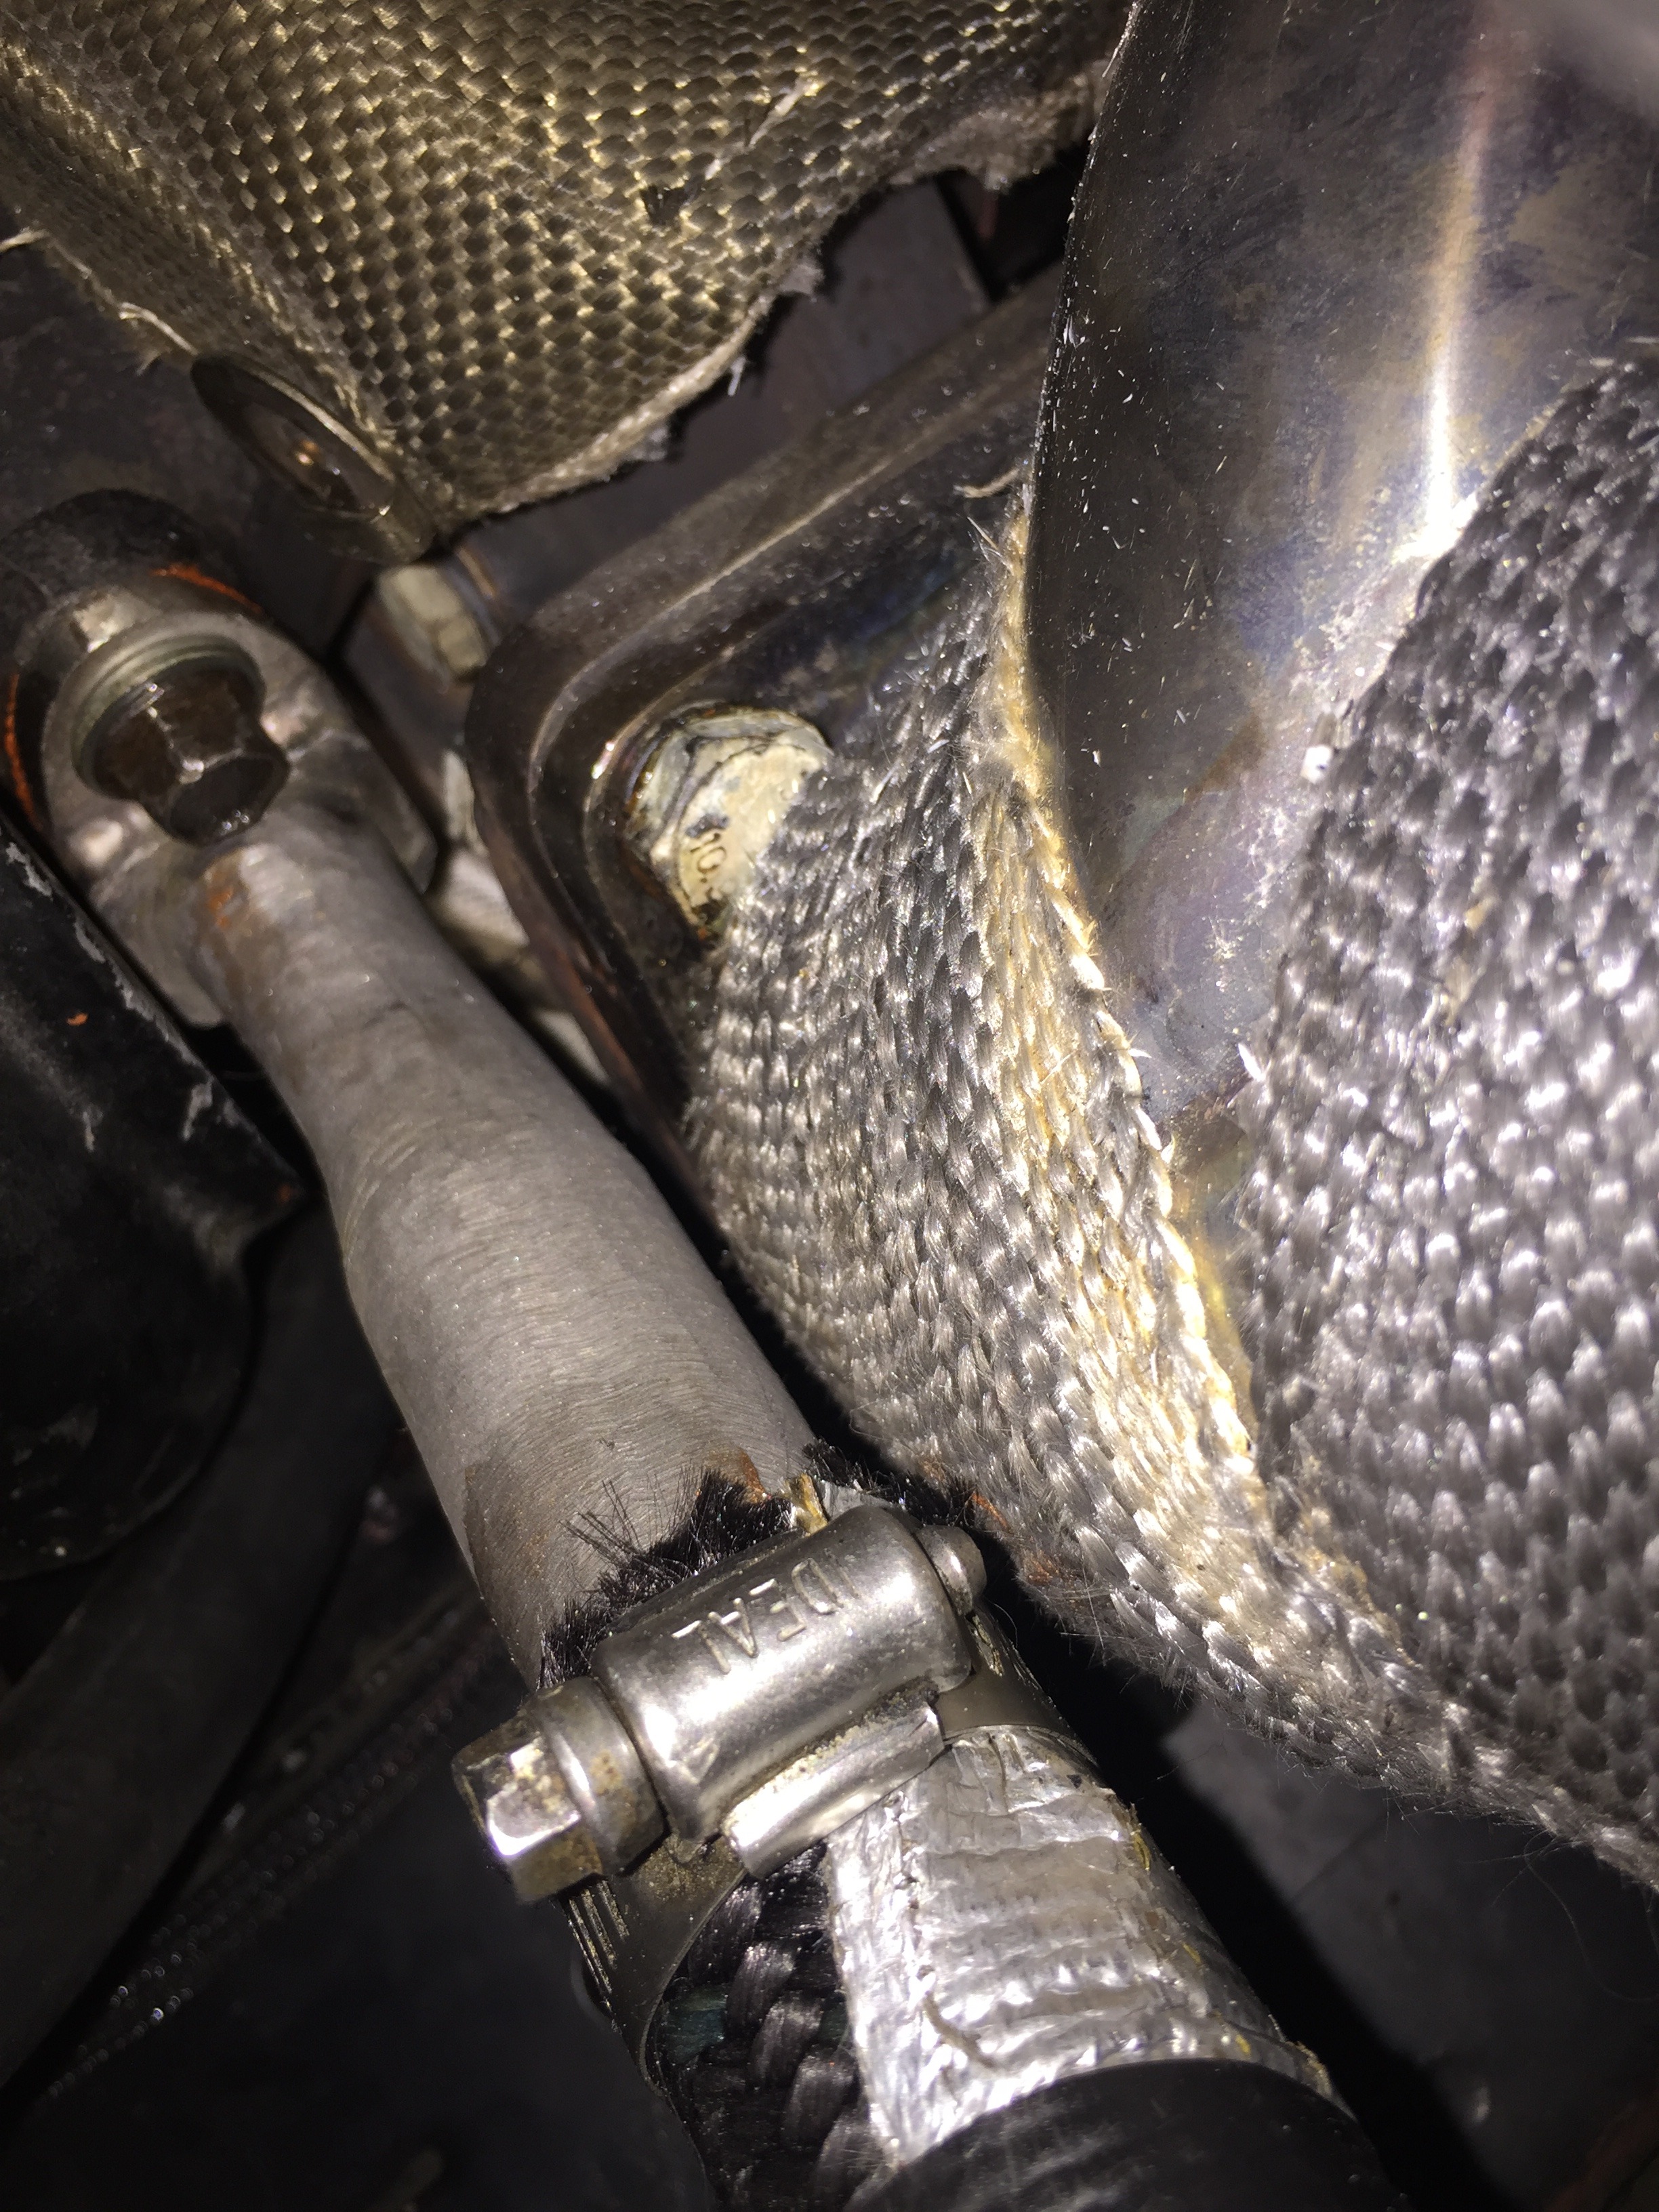
When I put together the single setup the oil drain was way too close to the exhaust. I wrapped the manifold and put some reflective heat wrap on the drain, but it wasnt enough.
So I picked up some pipe from Home Depot and welded it onto my drain fitting

Fixed a crack in my bumper, stupid Minot roads


Picked up some "sleek" headlight buckets, so made up some quick brackets and installed those


Night pic of my Speedhut gauges

When I put together the single setup the oil drain was way too close to the exhaust. I wrapped the manifold and put some reflective heat wrap on the drain, but it wasnt enough.

So I picked up some pipe from Home Depot and welded it onto my drain fitting


Thread Starter
Full Member
Joined: Apr 2015
Posts: 140
Likes: 5
From: Great Falls, MT
Thanks!
Not yet, but I am getting the morimoto matchbox projectors over winter to retrofit in there, along with modifying the stock covers to fit these buckets. Right now they are just cheap walmart lights in there, which actually aren't working too bad.
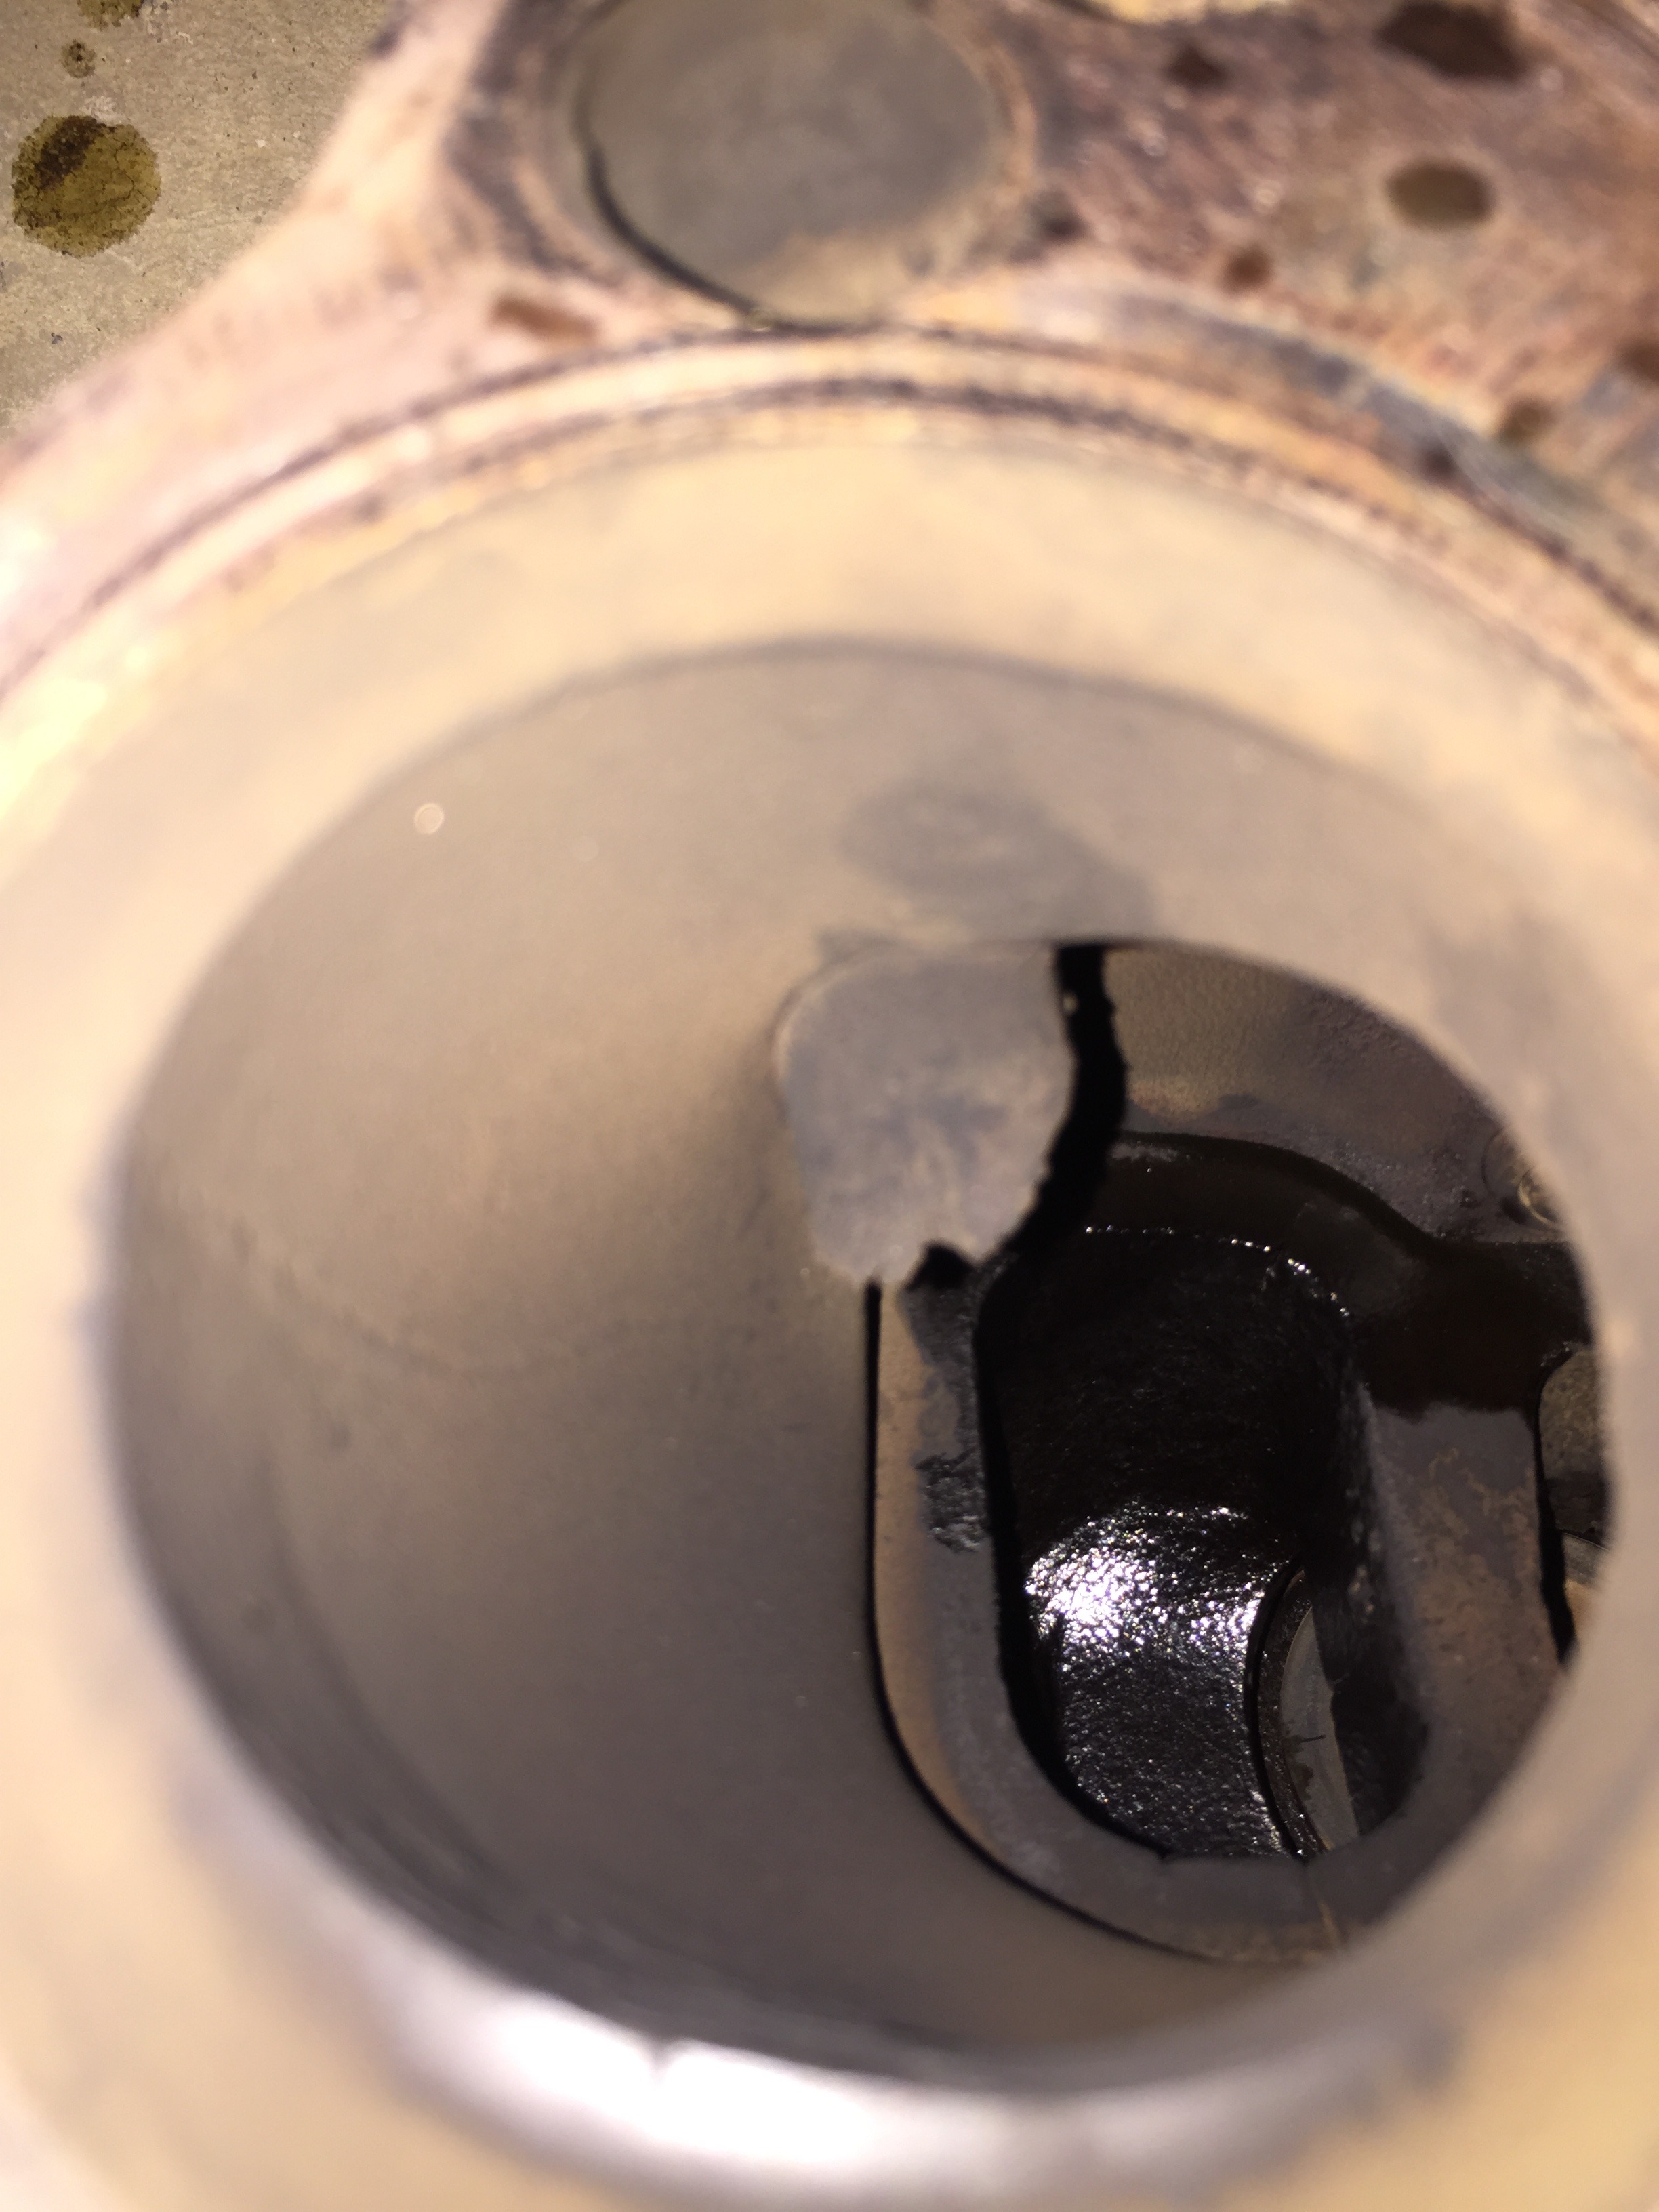
On another note, I do believe I will be doing the ls1 swap this winter as well. Did a compression test on this motor and it was at 60psi on both rotors. Not exactly sure what happened :/ Car still idles well and has great vacuum, just has a little hard hot starts. I considered just doing a half bridge motor since this one needs rebuilt, but in all reality, an ls1 is just far more practical for me. I know I can reach my power goals with the rotary without a doubt (500hp, arbitrary number), but that is going to reduce reliability a bit and would require meth injection or e85. Wife and I are trying to have a kid too, so I need something a bit more practical that doesn't need tinkering all the time. At least for the next few years. So, LS1 it is
Not yet, but I am getting the morimoto matchbox projectors over winter to retrofit in there, along with modifying the stock covers to fit these buckets. Right now they are just cheap walmart lights in there, which actually aren't working too bad.
On another note, I do believe I will be doing the ls1 swap this winter as well. Did a compression test on this motor and it was at 60psi on both rotors. Not exactly sure what happened :/ Car still idles well and has great vacuum, just has a little hard hot starts. I considered just doing a half bridge motor since this one needs rebuilt, but in all reality, an ls1 is just far more practical for me. I know I can reach my power goals with the rotary without a doubt (500hp, arbitrary number), but that is going to reduce reliability a bit and would require meth injection or e85. Wife and I are trying to have a kid too, so I need something a bit more practical that doesn't need tinkering all the time. At least for the next few years. So, LS1 it is
Thanks!
Not yet, but I am getting the morimoto matchbox projectors over winter to retrofit in there, along with modifying the stock covers to fit these buckets. Right now they are just cheap walmart lights in there, which actually aren't working too bad.
On another note, I do believe I will be doing the ls1 swap this winter as well. Did a compression test on this motor and it was at 60psi on both rotors. Not exactly sure what happened :/ Car still idles well and has great vacuum, just has a little hard hot starts. I considered just doing a half bridge motor since this one needs rebuilt, but in all reality, an ls1 is just far more practical for me. I know I can reach my power goals with the rotary without a doubt (500hp, arbitrary number), but that is going to reduce reliability a bit and would require meth injection or e85. Wife and I are trying to have a kid too, so I need something a bit more practical that doesn't need tinkering all the time. At least for the next few years. So, LS1 it is
Will keep an eye out for the projectors. Sucks about the motor too
At least we will have more parts for sale

I forgot, what are the specs on those rims again?
Thread Starter
Full Member
Joined: Apr 2015
Posts: 140
Likes: 5
From: Great Falls, MT
They are 18x10.5 +15
Thread Starter
Full Member
Joined: Apr 2015
Posts: 140
Likes: 5
From: Great Falls, MT
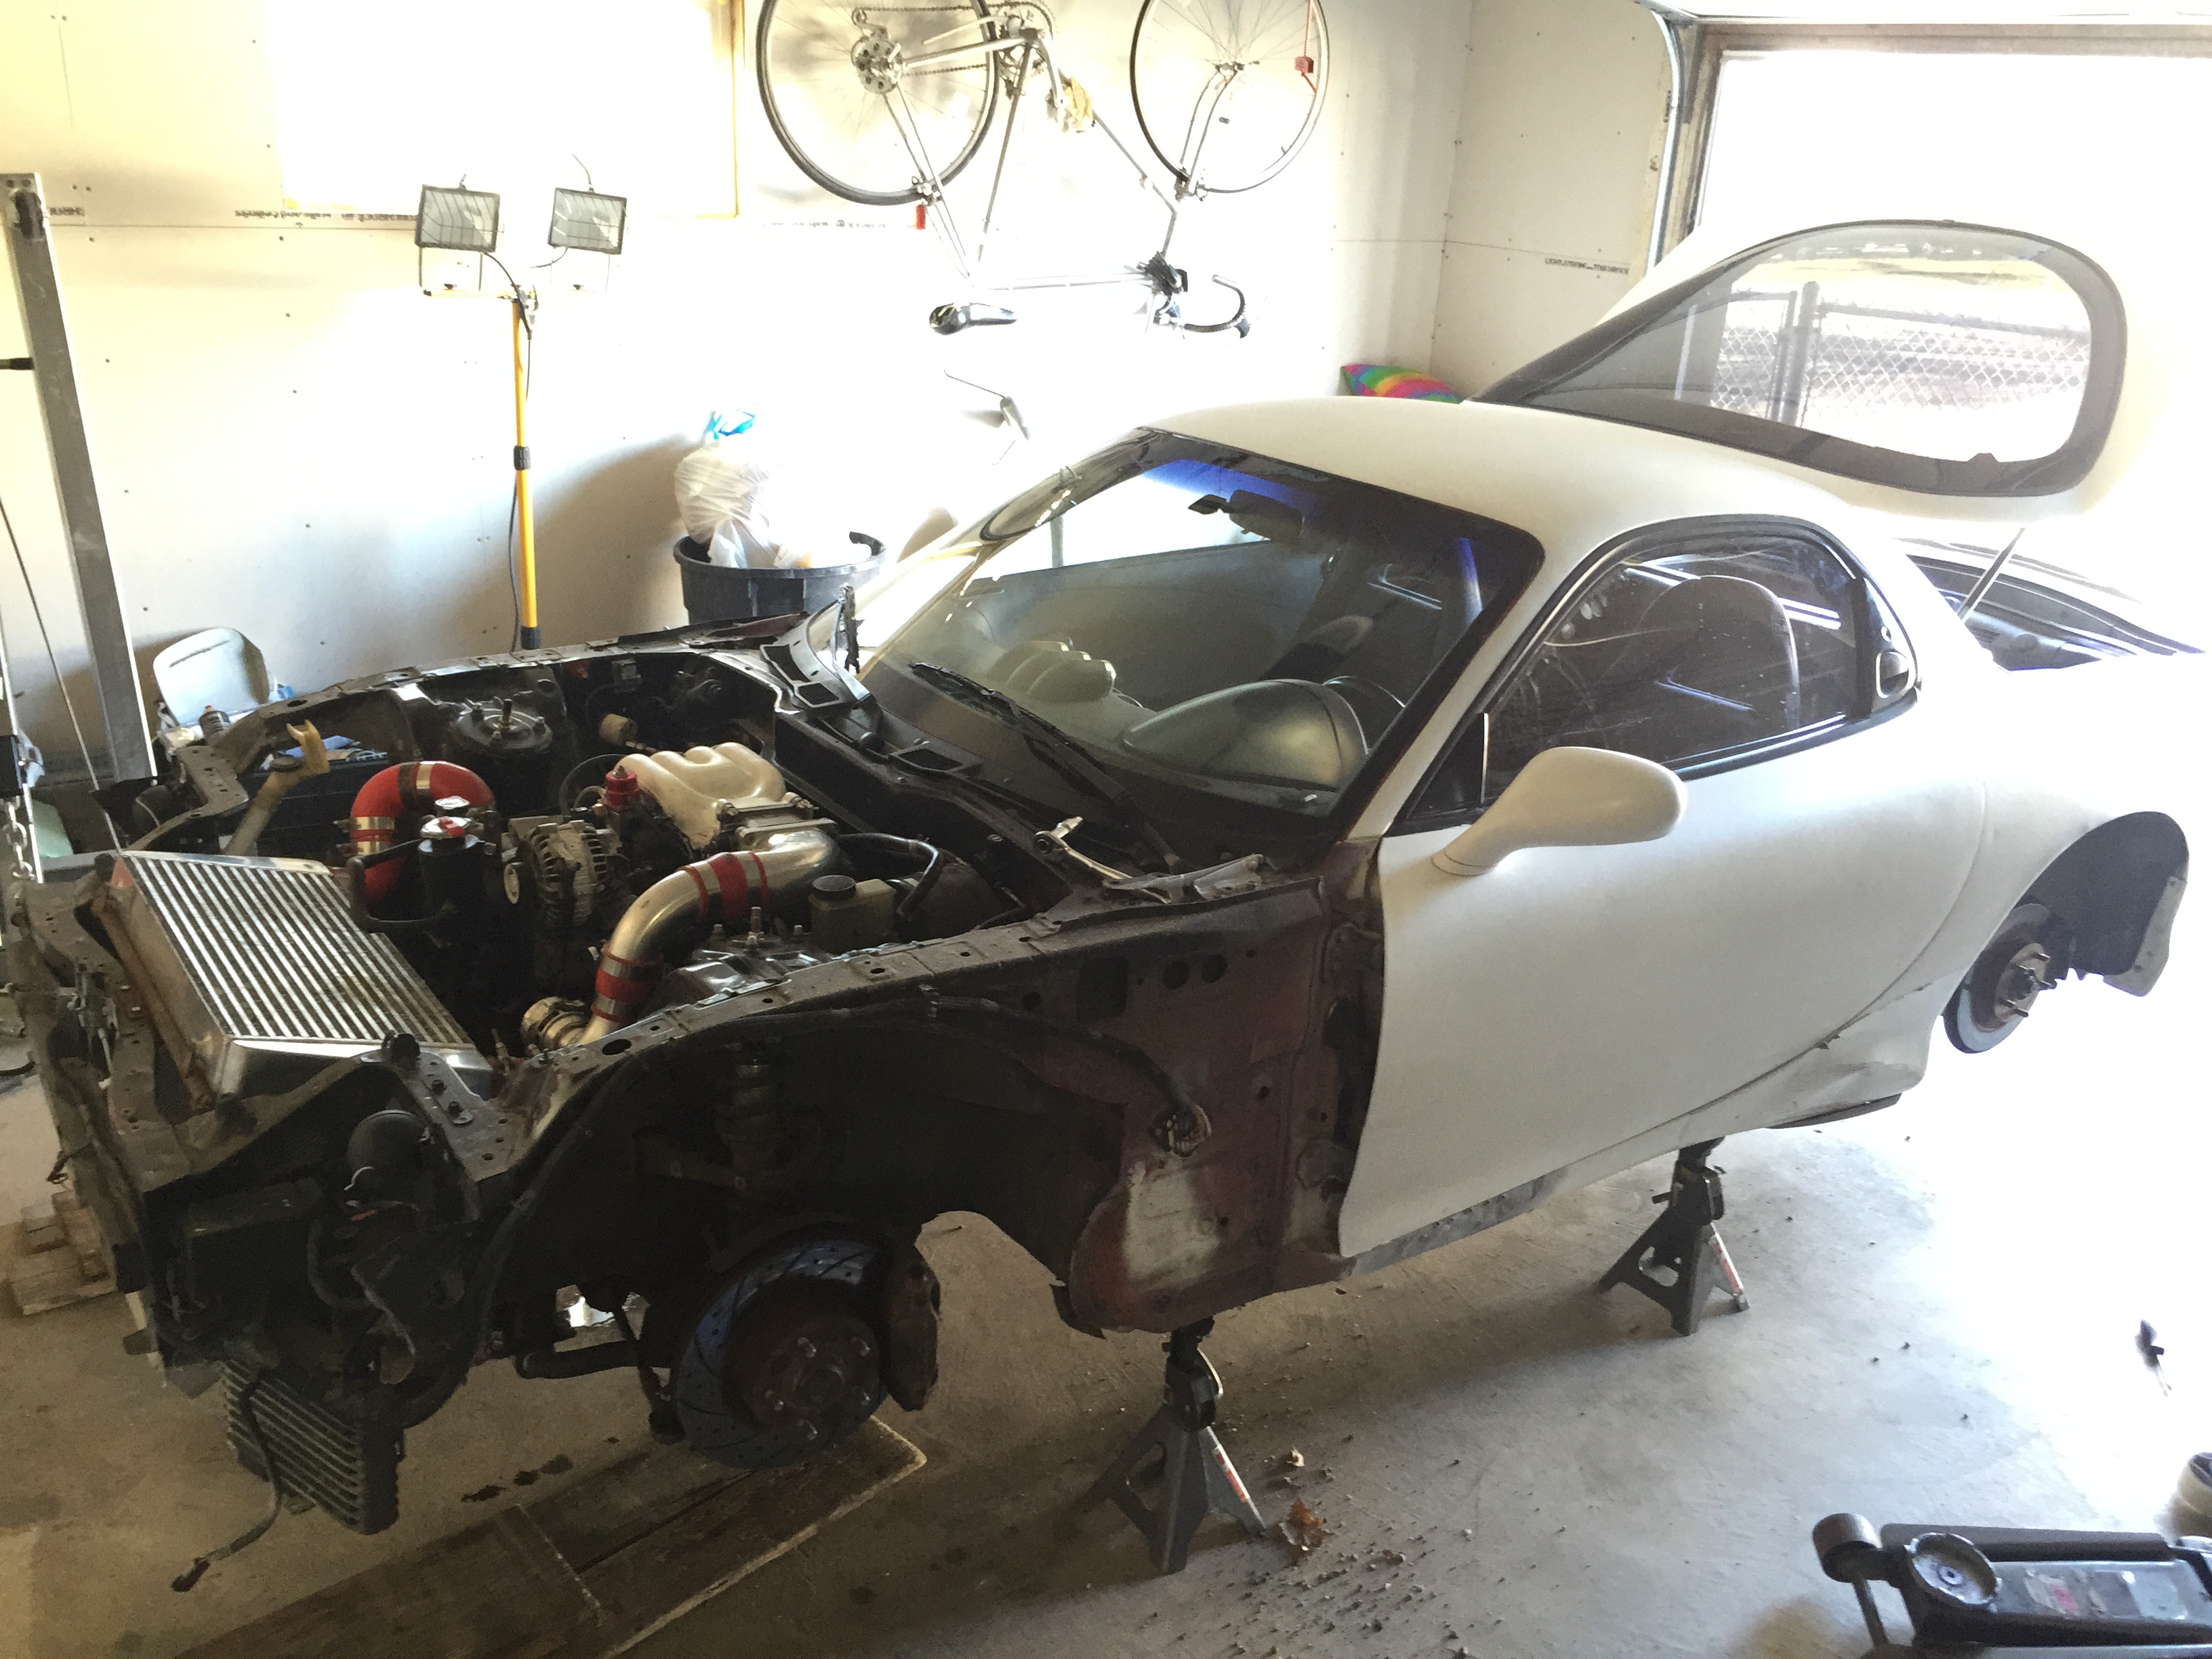
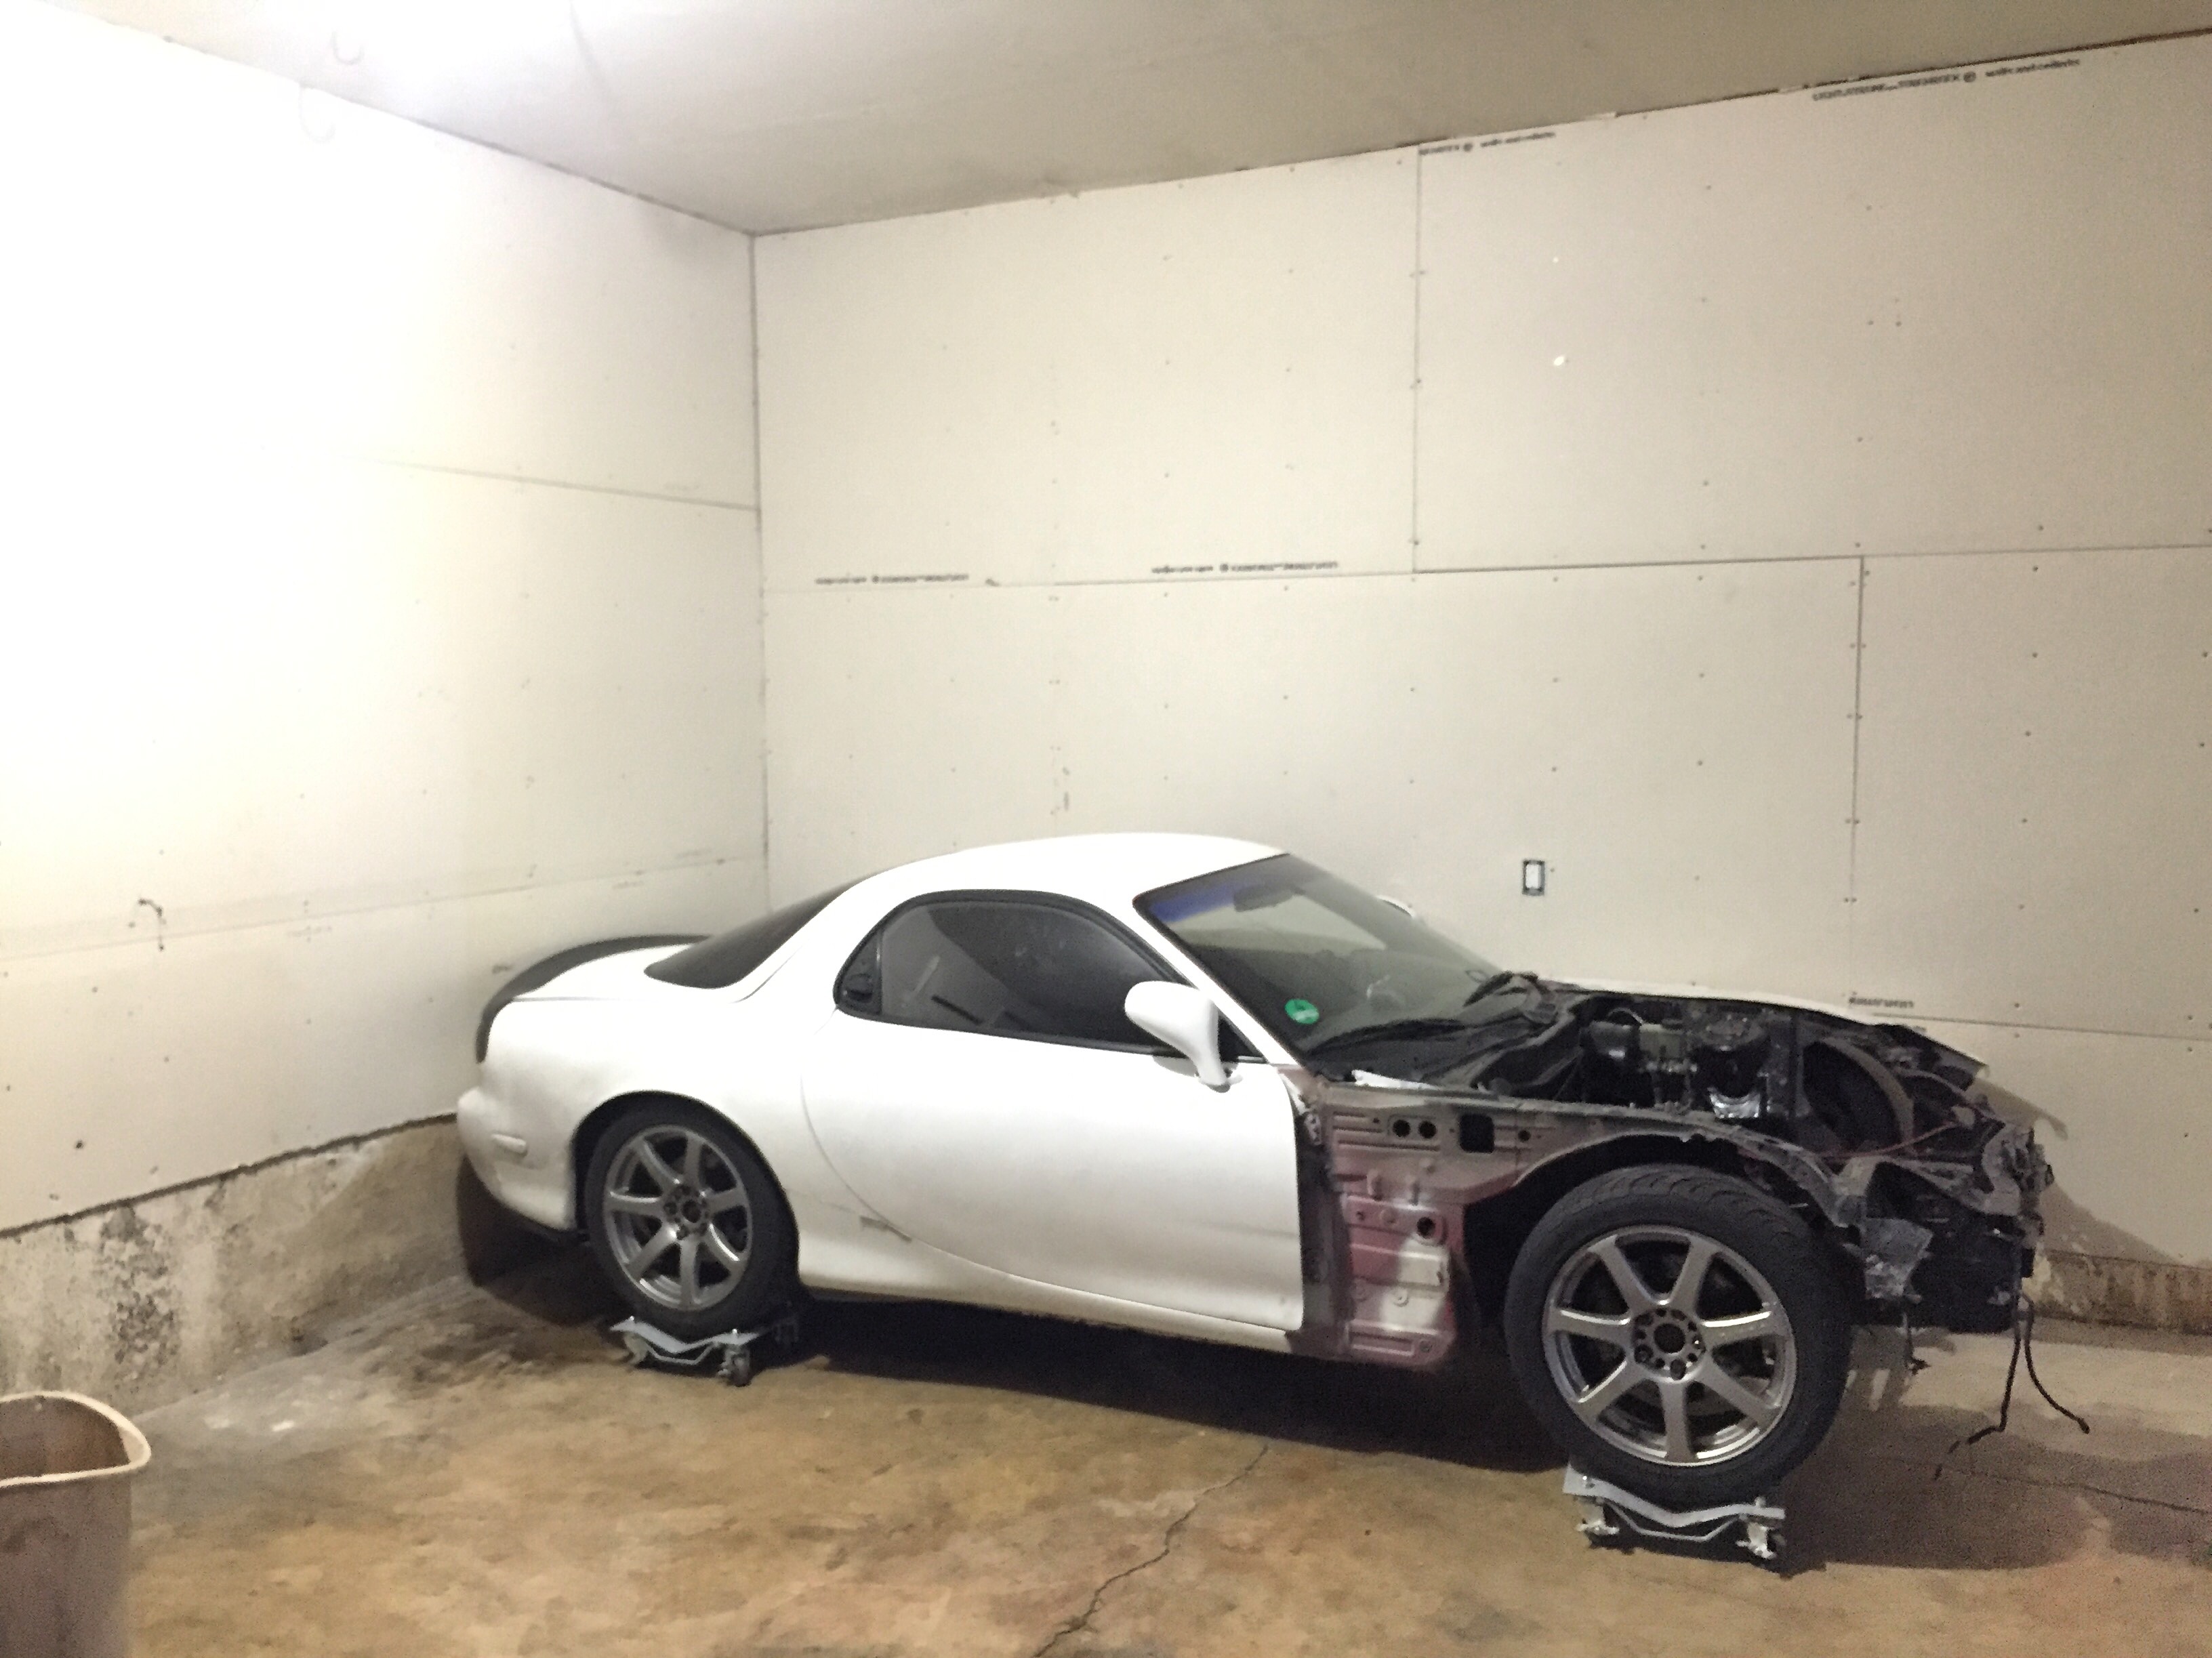
About time I updated this. Couple pictures before I tore it down for winter
Motor was bad so the tear down began.
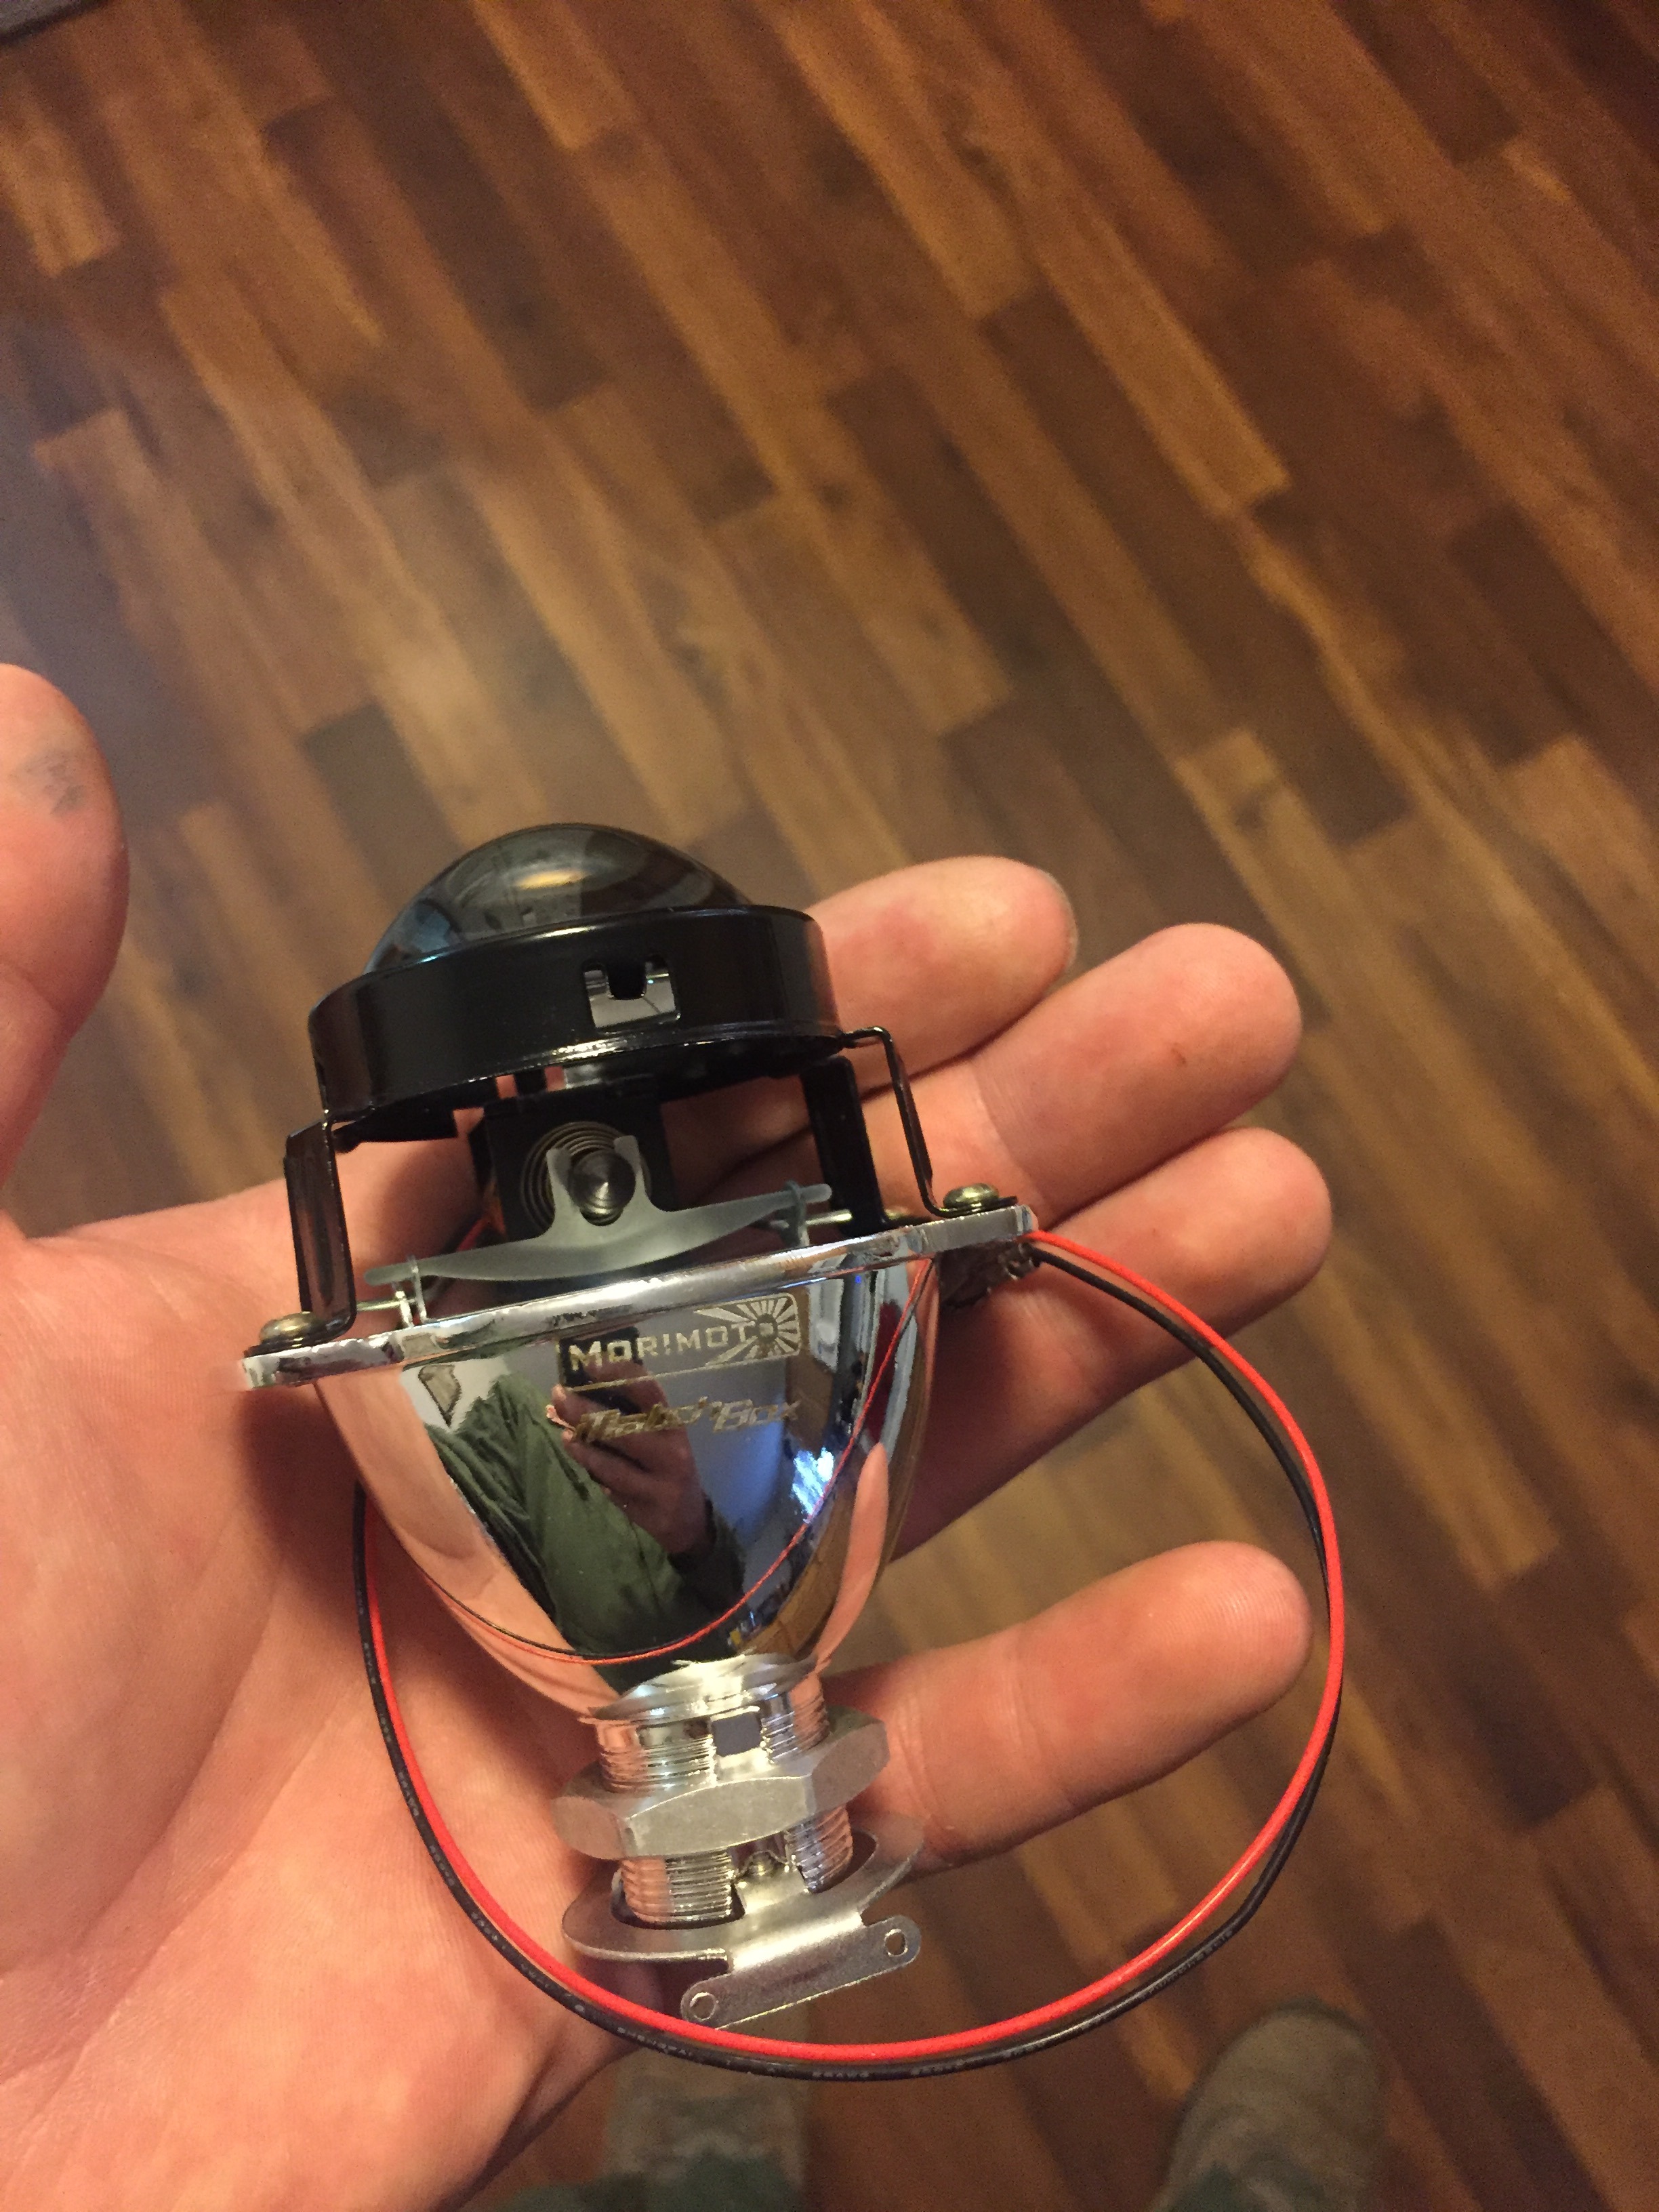
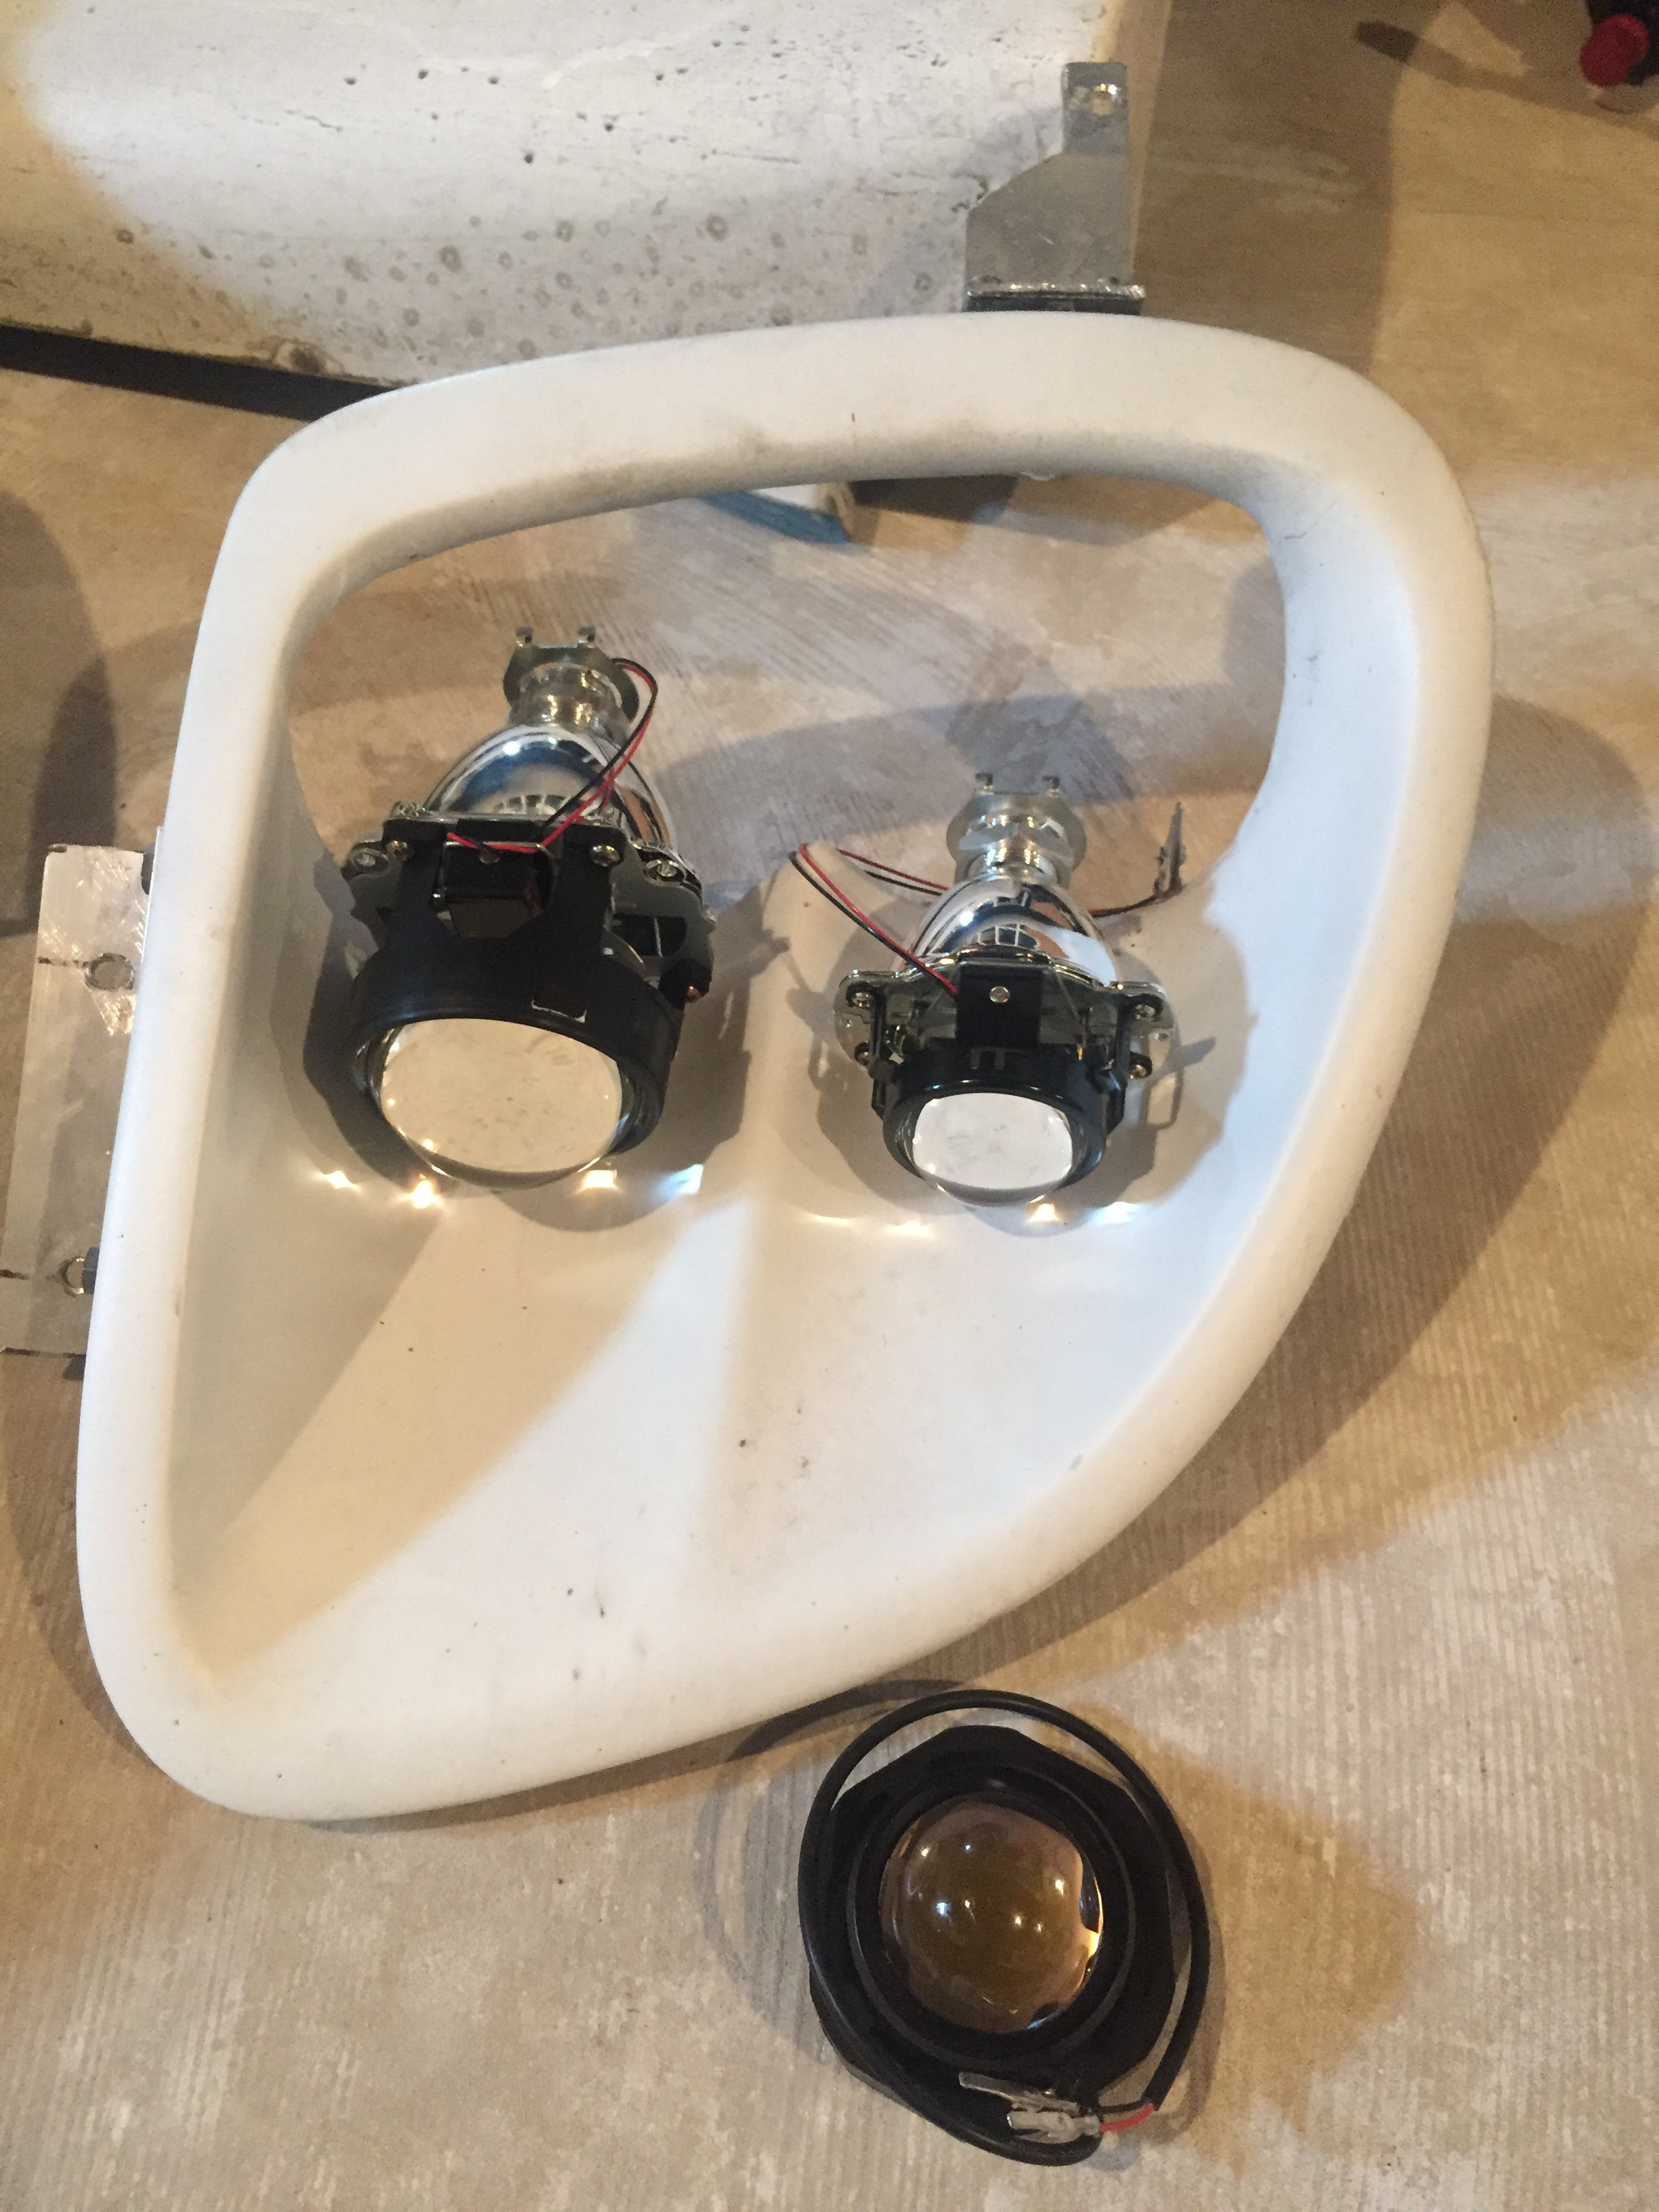
Got my matchbox projectors in! These things are extremely small. They should fit in my headlight bucket perfectly. I also bought a larger projector to go in the other side so I will have dual bi-xenon projectors
Tucked away in the corner of my garage. Unfortunately this is how it sat for about 2-3 months. I kind of lost motivation/was collecting parts. I finally saved up the money to buy the mounting kit so I can make more progress now.
I also sold my current daily and picked up a new one
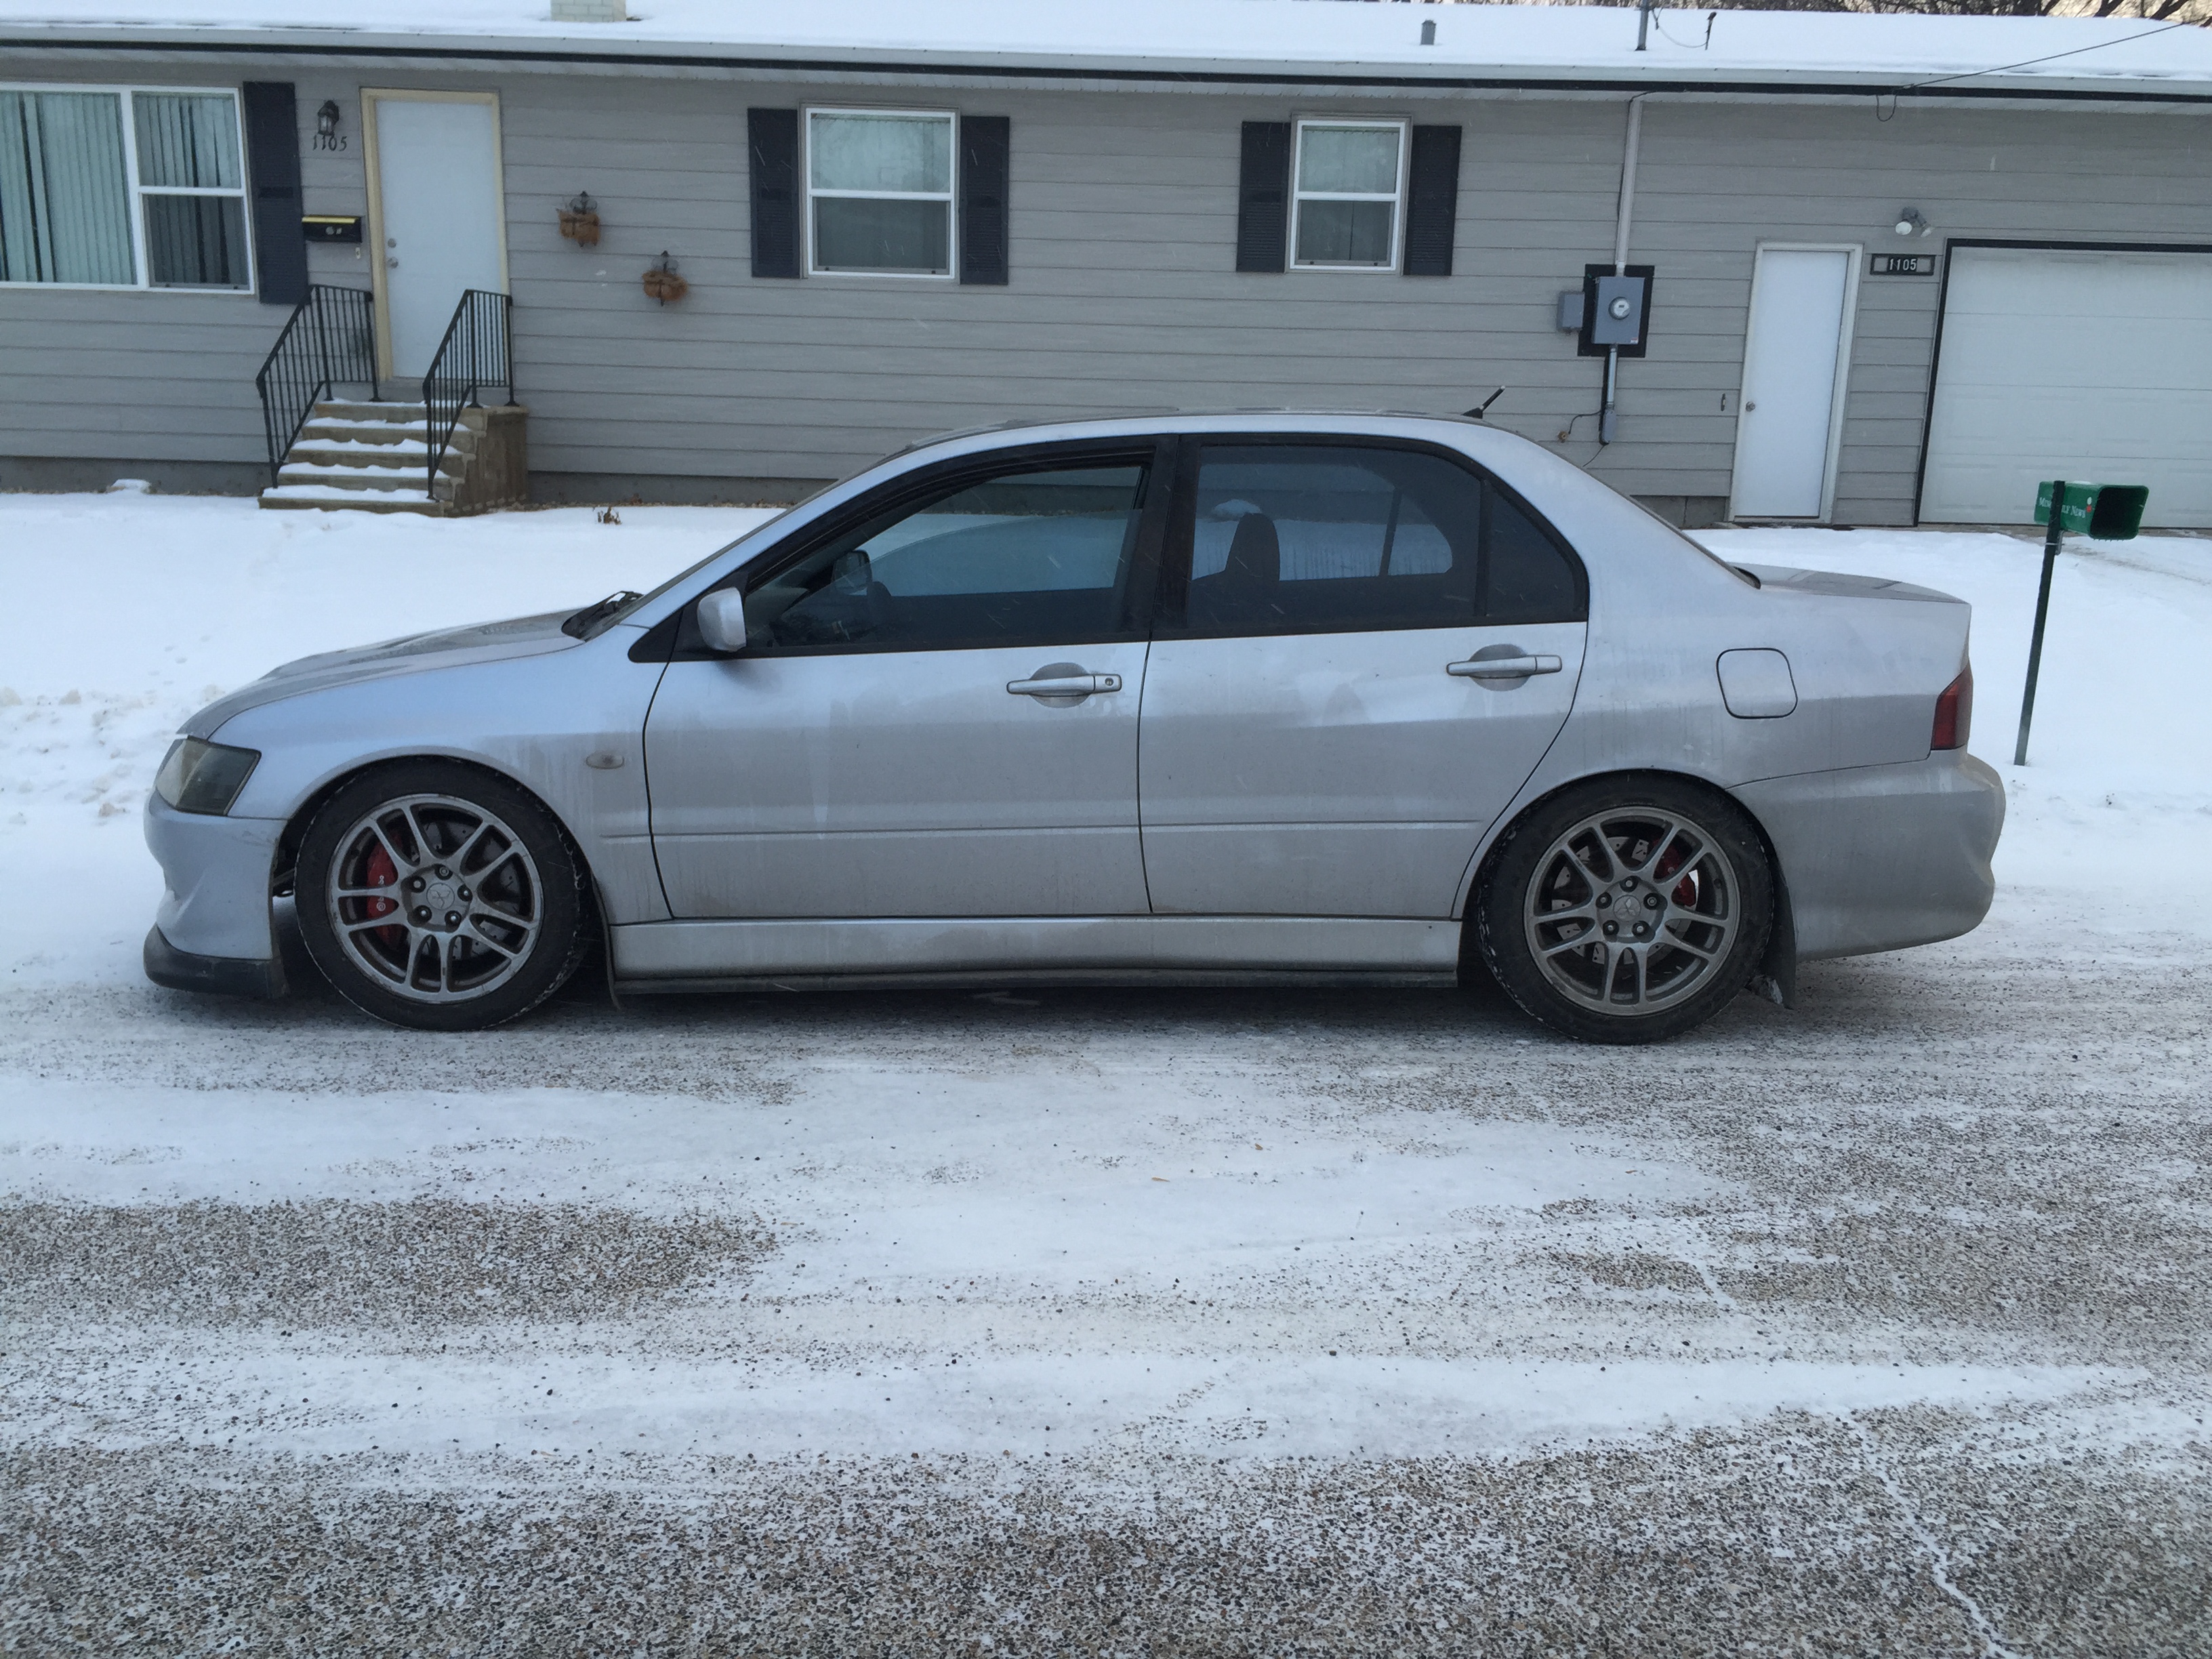
I'll miss this car
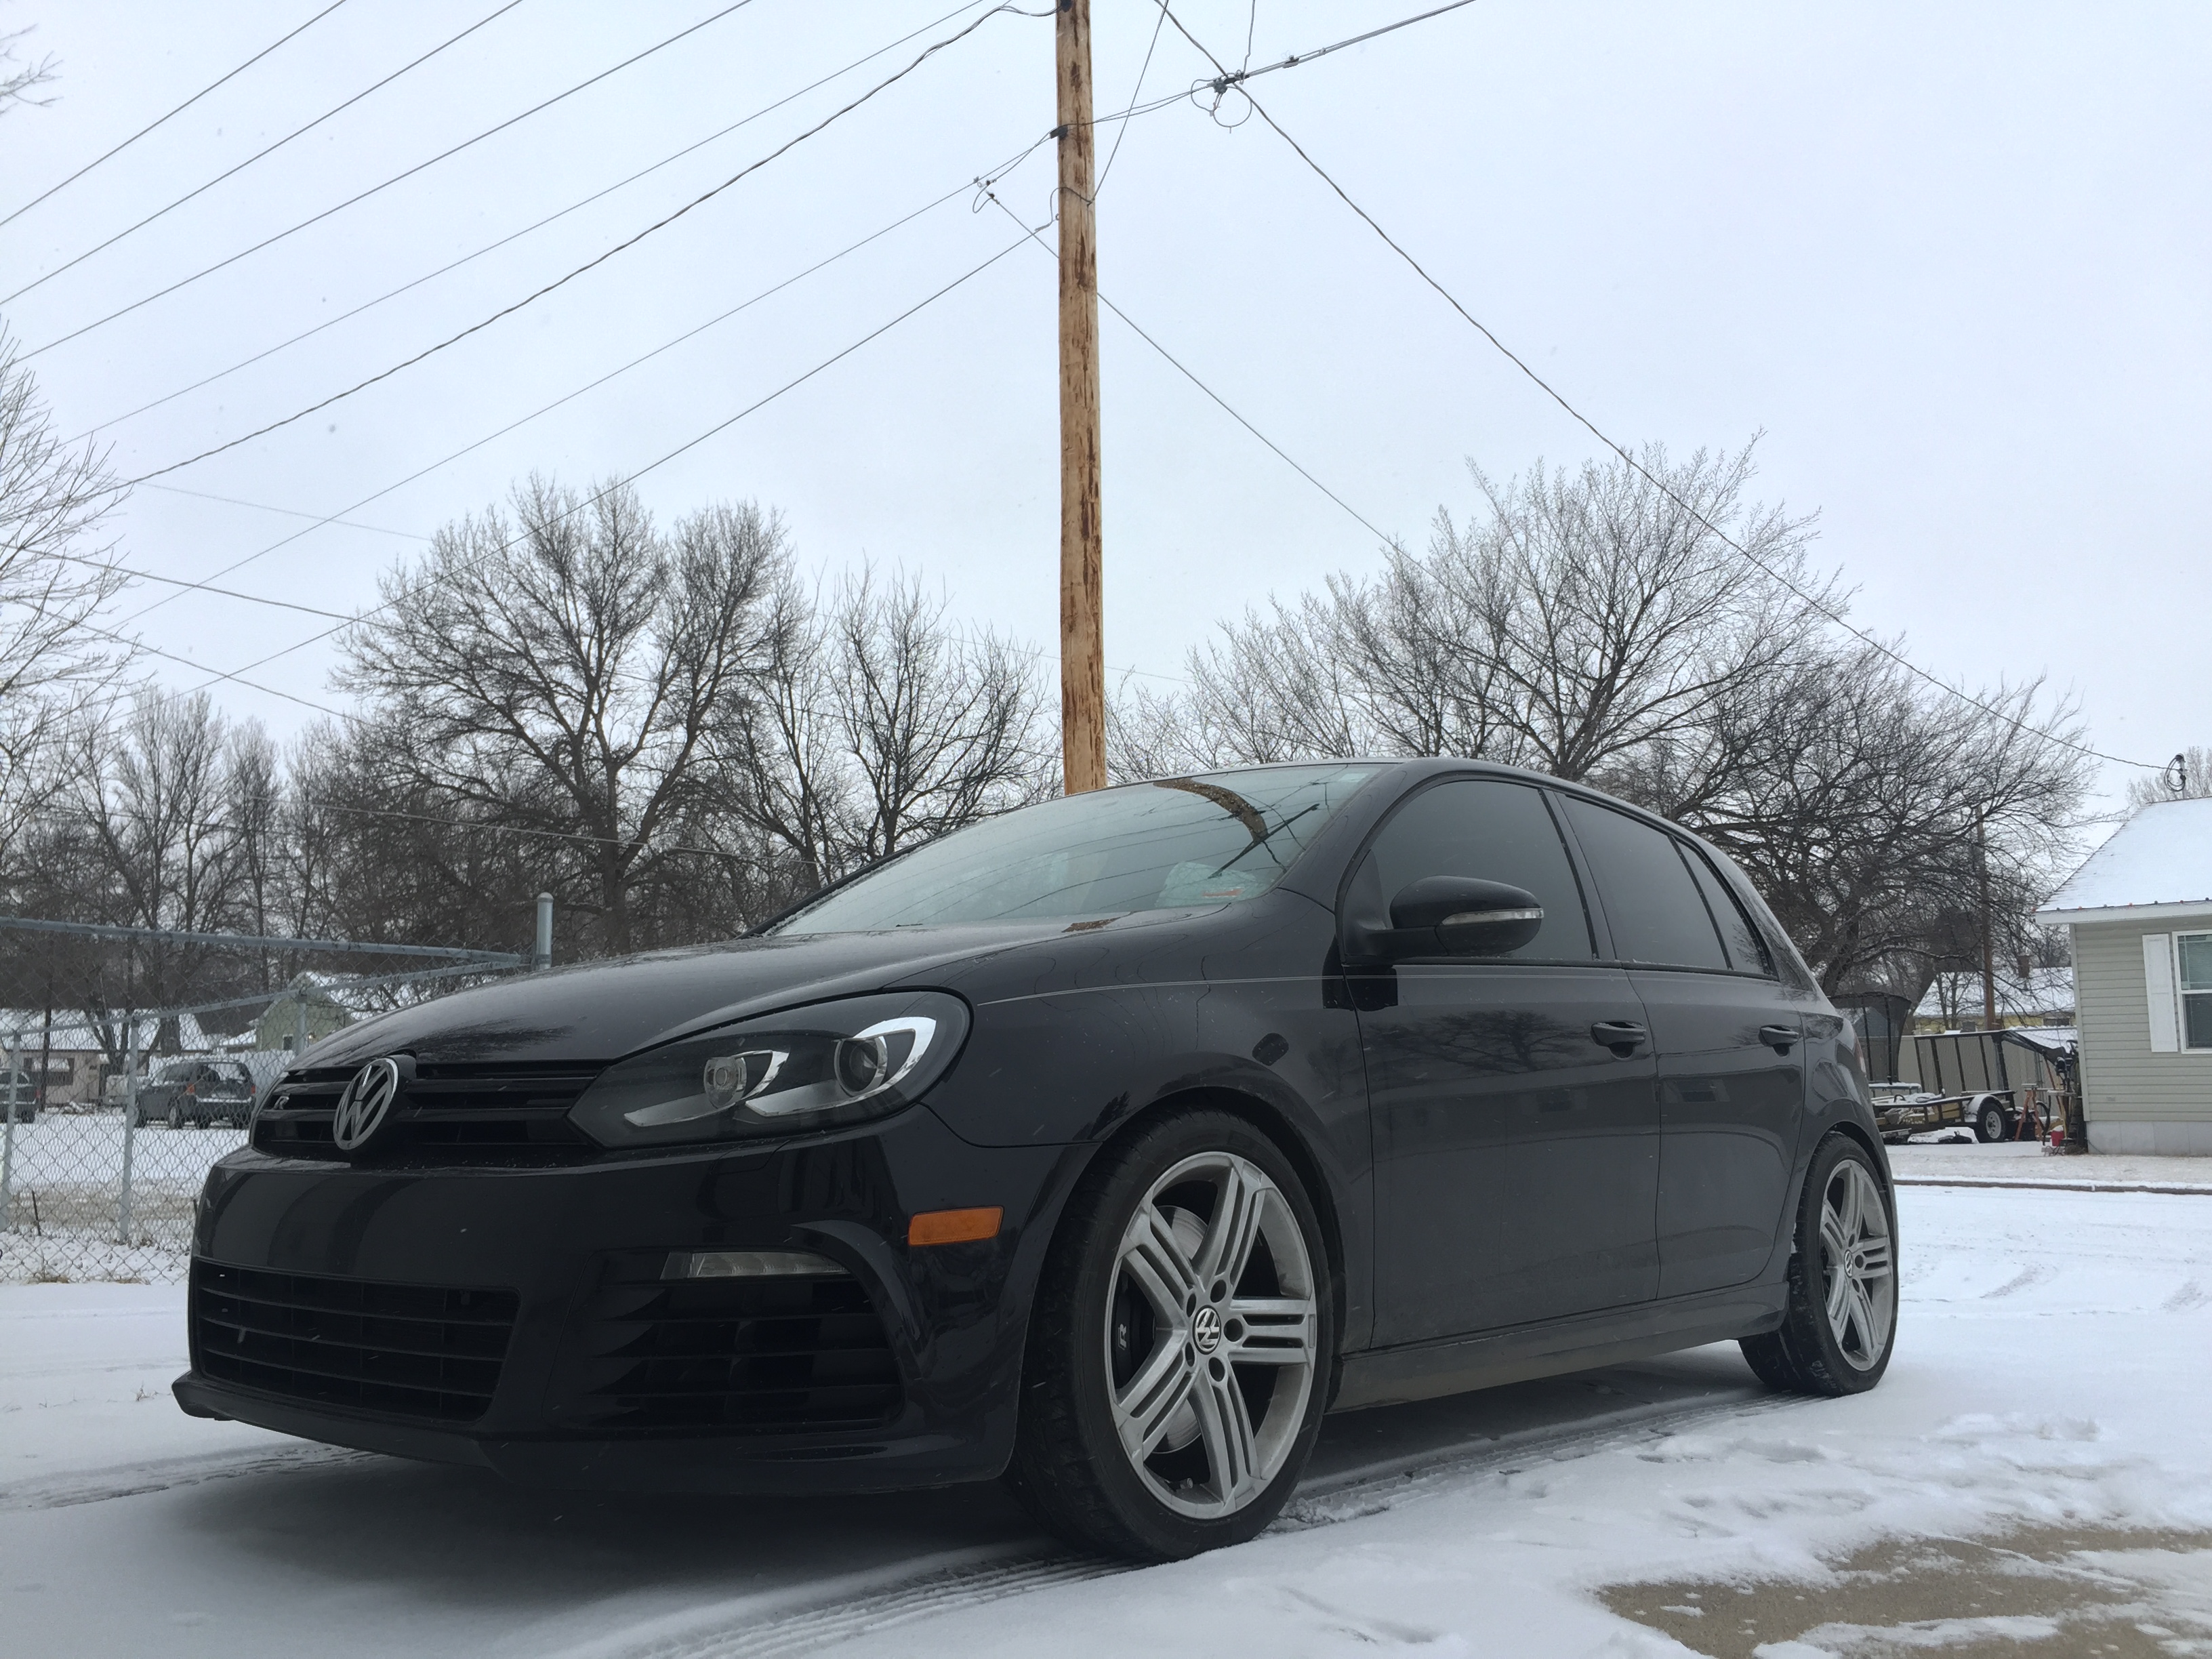
But I love the new one! 2012 Golf R with 17,500 miles at time of purchase. Made a bit of money selling the evo too
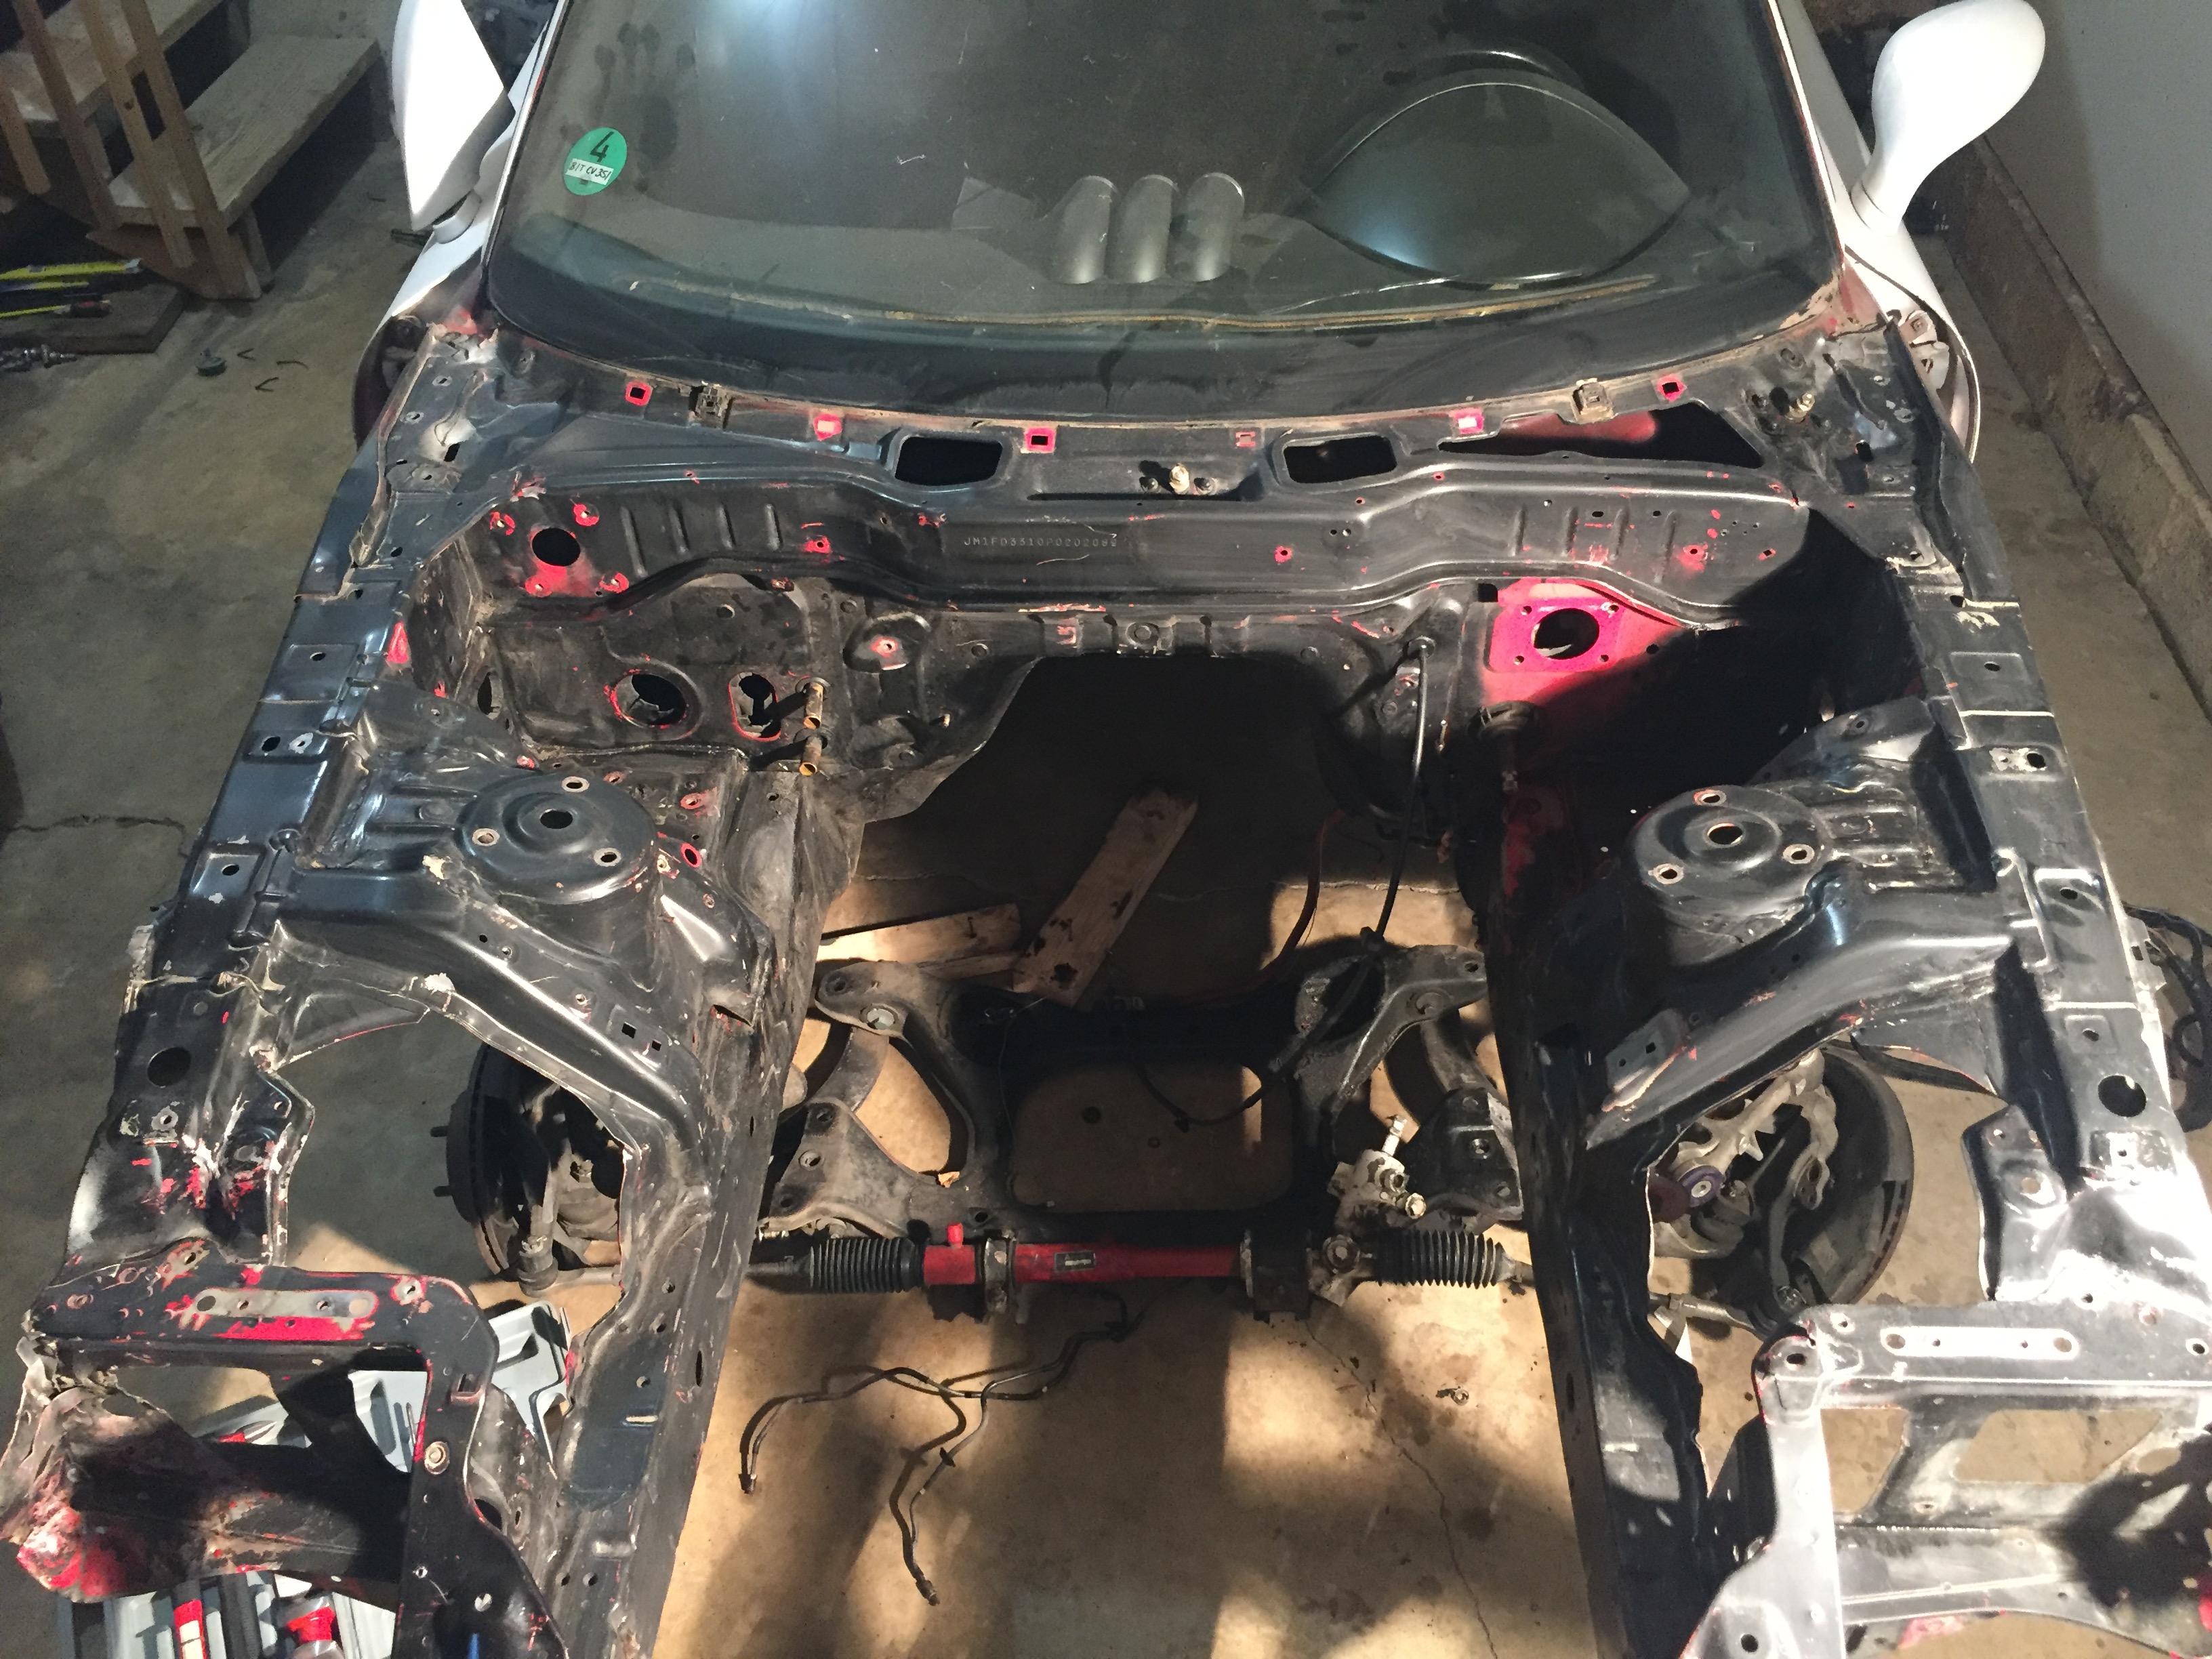
Engine bay is almost bare now so I can start sanding it down to bare metal and filling in holes. Bought a sandblaster and paint gun from harbor freight to finish it up. I'll hopefully have more progress pics soon.
I've purchased a looott of parts over the winter. Hinson radiator, clutch cylinder for swap, plastidip kit, granny torque arm, hpp 2in1 diff brace, kaaz 1.5 diff, origin/chargespeed rep widebody, .660 valvesprings, fast 92mm intake, 42lb injectors, holley fuel rails, samberg mount kit, new pillowball bushings...I think that's it. Still a lot left to purchase though.
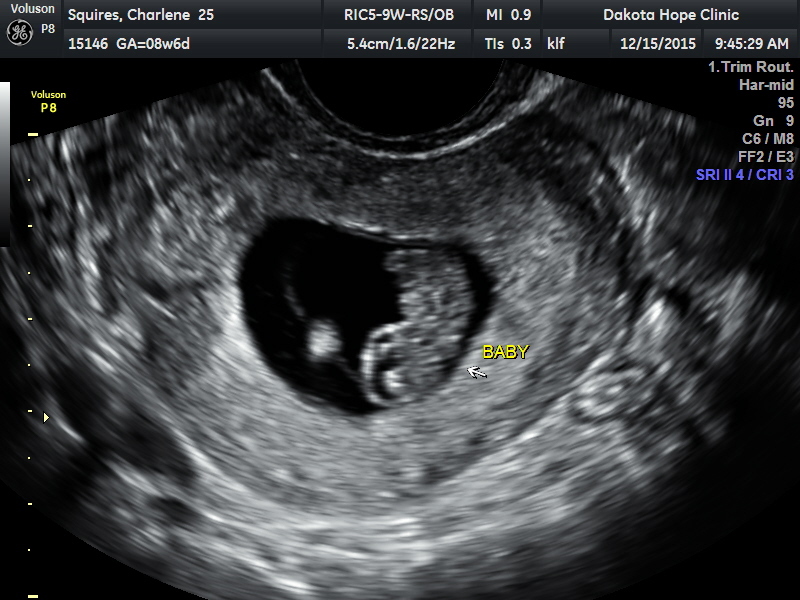
Oh, and here is my little boy


Motor was bad so the tear down began.

Got my matchbox projectors in! These things are extremely small. They should fit in my headlight bucket perfectly. I also bought a larger projector to go in the other side so I will have dual bi-xenon projectors


Tucked away in the corner of my garage. Unfortunately this is how it sat for about 2-3 months. I kind of lost motivation/was collecting parts. I finally saved up the money to buy the mounting kit so I can make more progress now.

I also sold my current daily and picked up a new one

I'll miss this car
But I love the new one! 2012 Golf R with 17,500 miles at time of purchase. Made a bit of money selling the evo too

Engine bay is almost bare now so I can start sanding it down to bare metal and filling in holes. Bought a sandblaster and paint gun from harbor freight to finish it up. I'll hopefully have more progress pics soon.

I've purchased a looott of parts over the winter. Hinson radiator, clutch cylinder for swap, plastidip kit, granny torque arm, hpp 2in1 diff brace, kaaz 1.5 diff, origin/chargespeed rep widebody, .660 valvesprings, fast 92mm intake, 42lb injectors, holley fuel rails, samberg mount kit, new pillowball bushings...I think that's it. Still a lot left to purchase though.
Oh, and here is my little boy


Thread Starter
Full Member
Joined: Apr 2015
Posts: 140
Likes: 5
From: Great Falls, MT
Congrats on the baby! My wife and I just had ours in October and it changes your life! I had my engine all rebuilt and my build squared away before he was born... and then 900 miles later it let go and my car has been in pieces ever since. Hopefully you have better luck!
And now for the typical advise... get your sleep now! lol
And now for the typical advise... get your sleep now! lol
Congrats on the baby in the oven!!!! And I've learned first hand that FD's have a knack for sitting in garages in multiple stages of undone-ness forevvvvveeerrrrr so don't get too demotivated!