
1993 RX-7 R1 Revival


Thread Starter
Full Member
Joined: Apr 2015
Posts: 140
Likes: 5
From: Great Falls, MT
1993 RX-7 R1 Revival
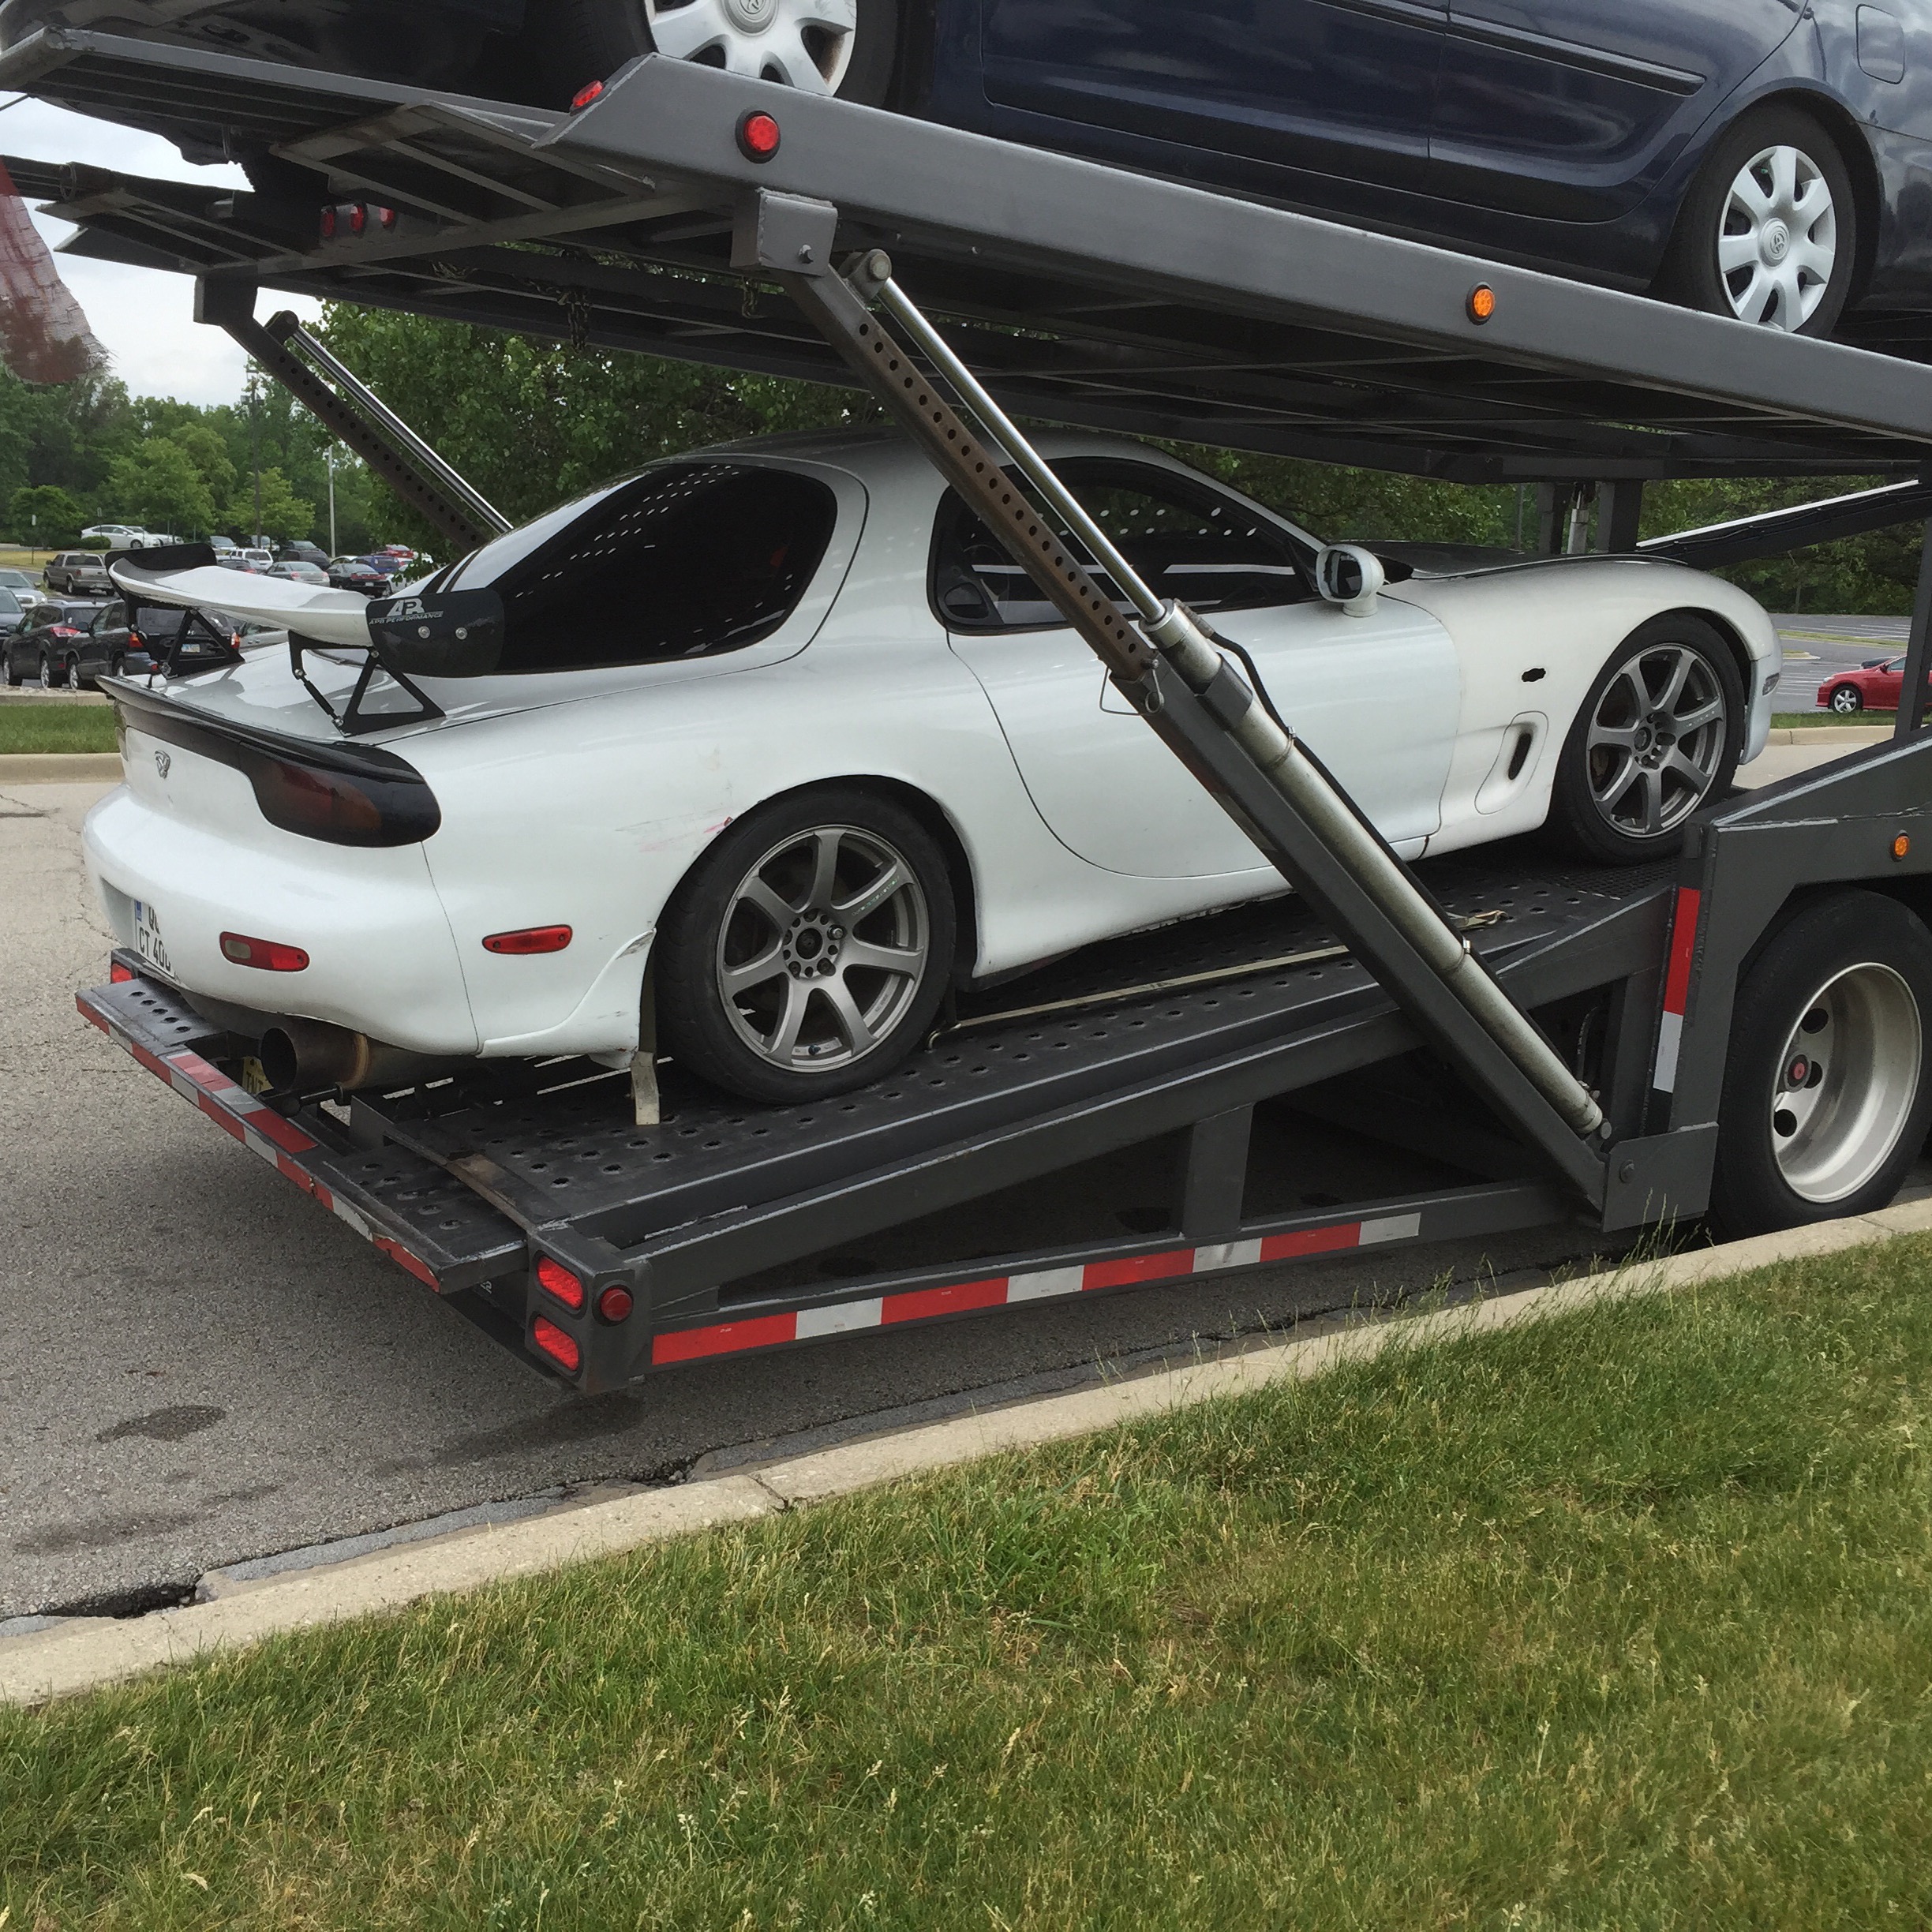
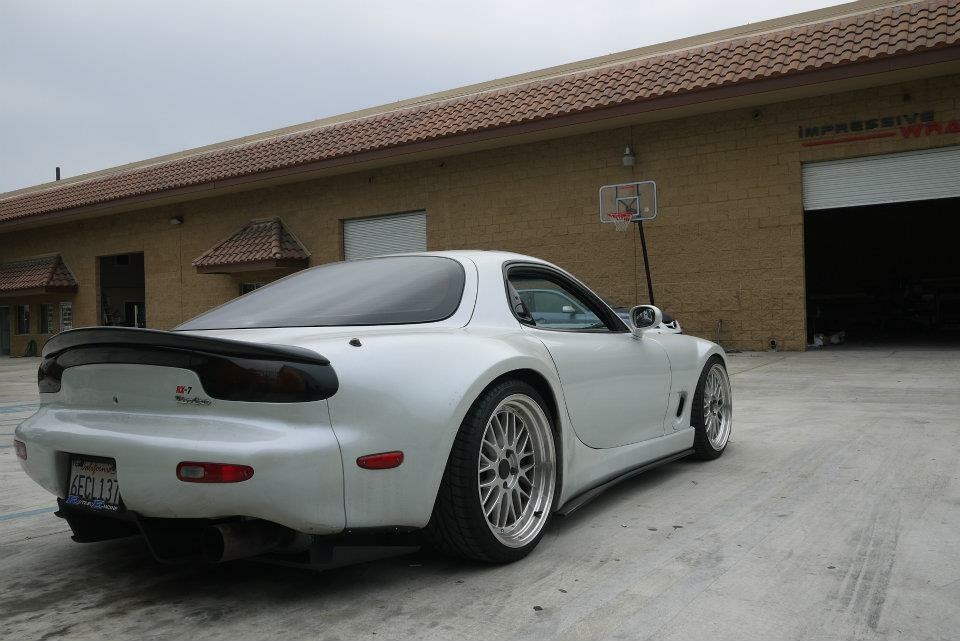
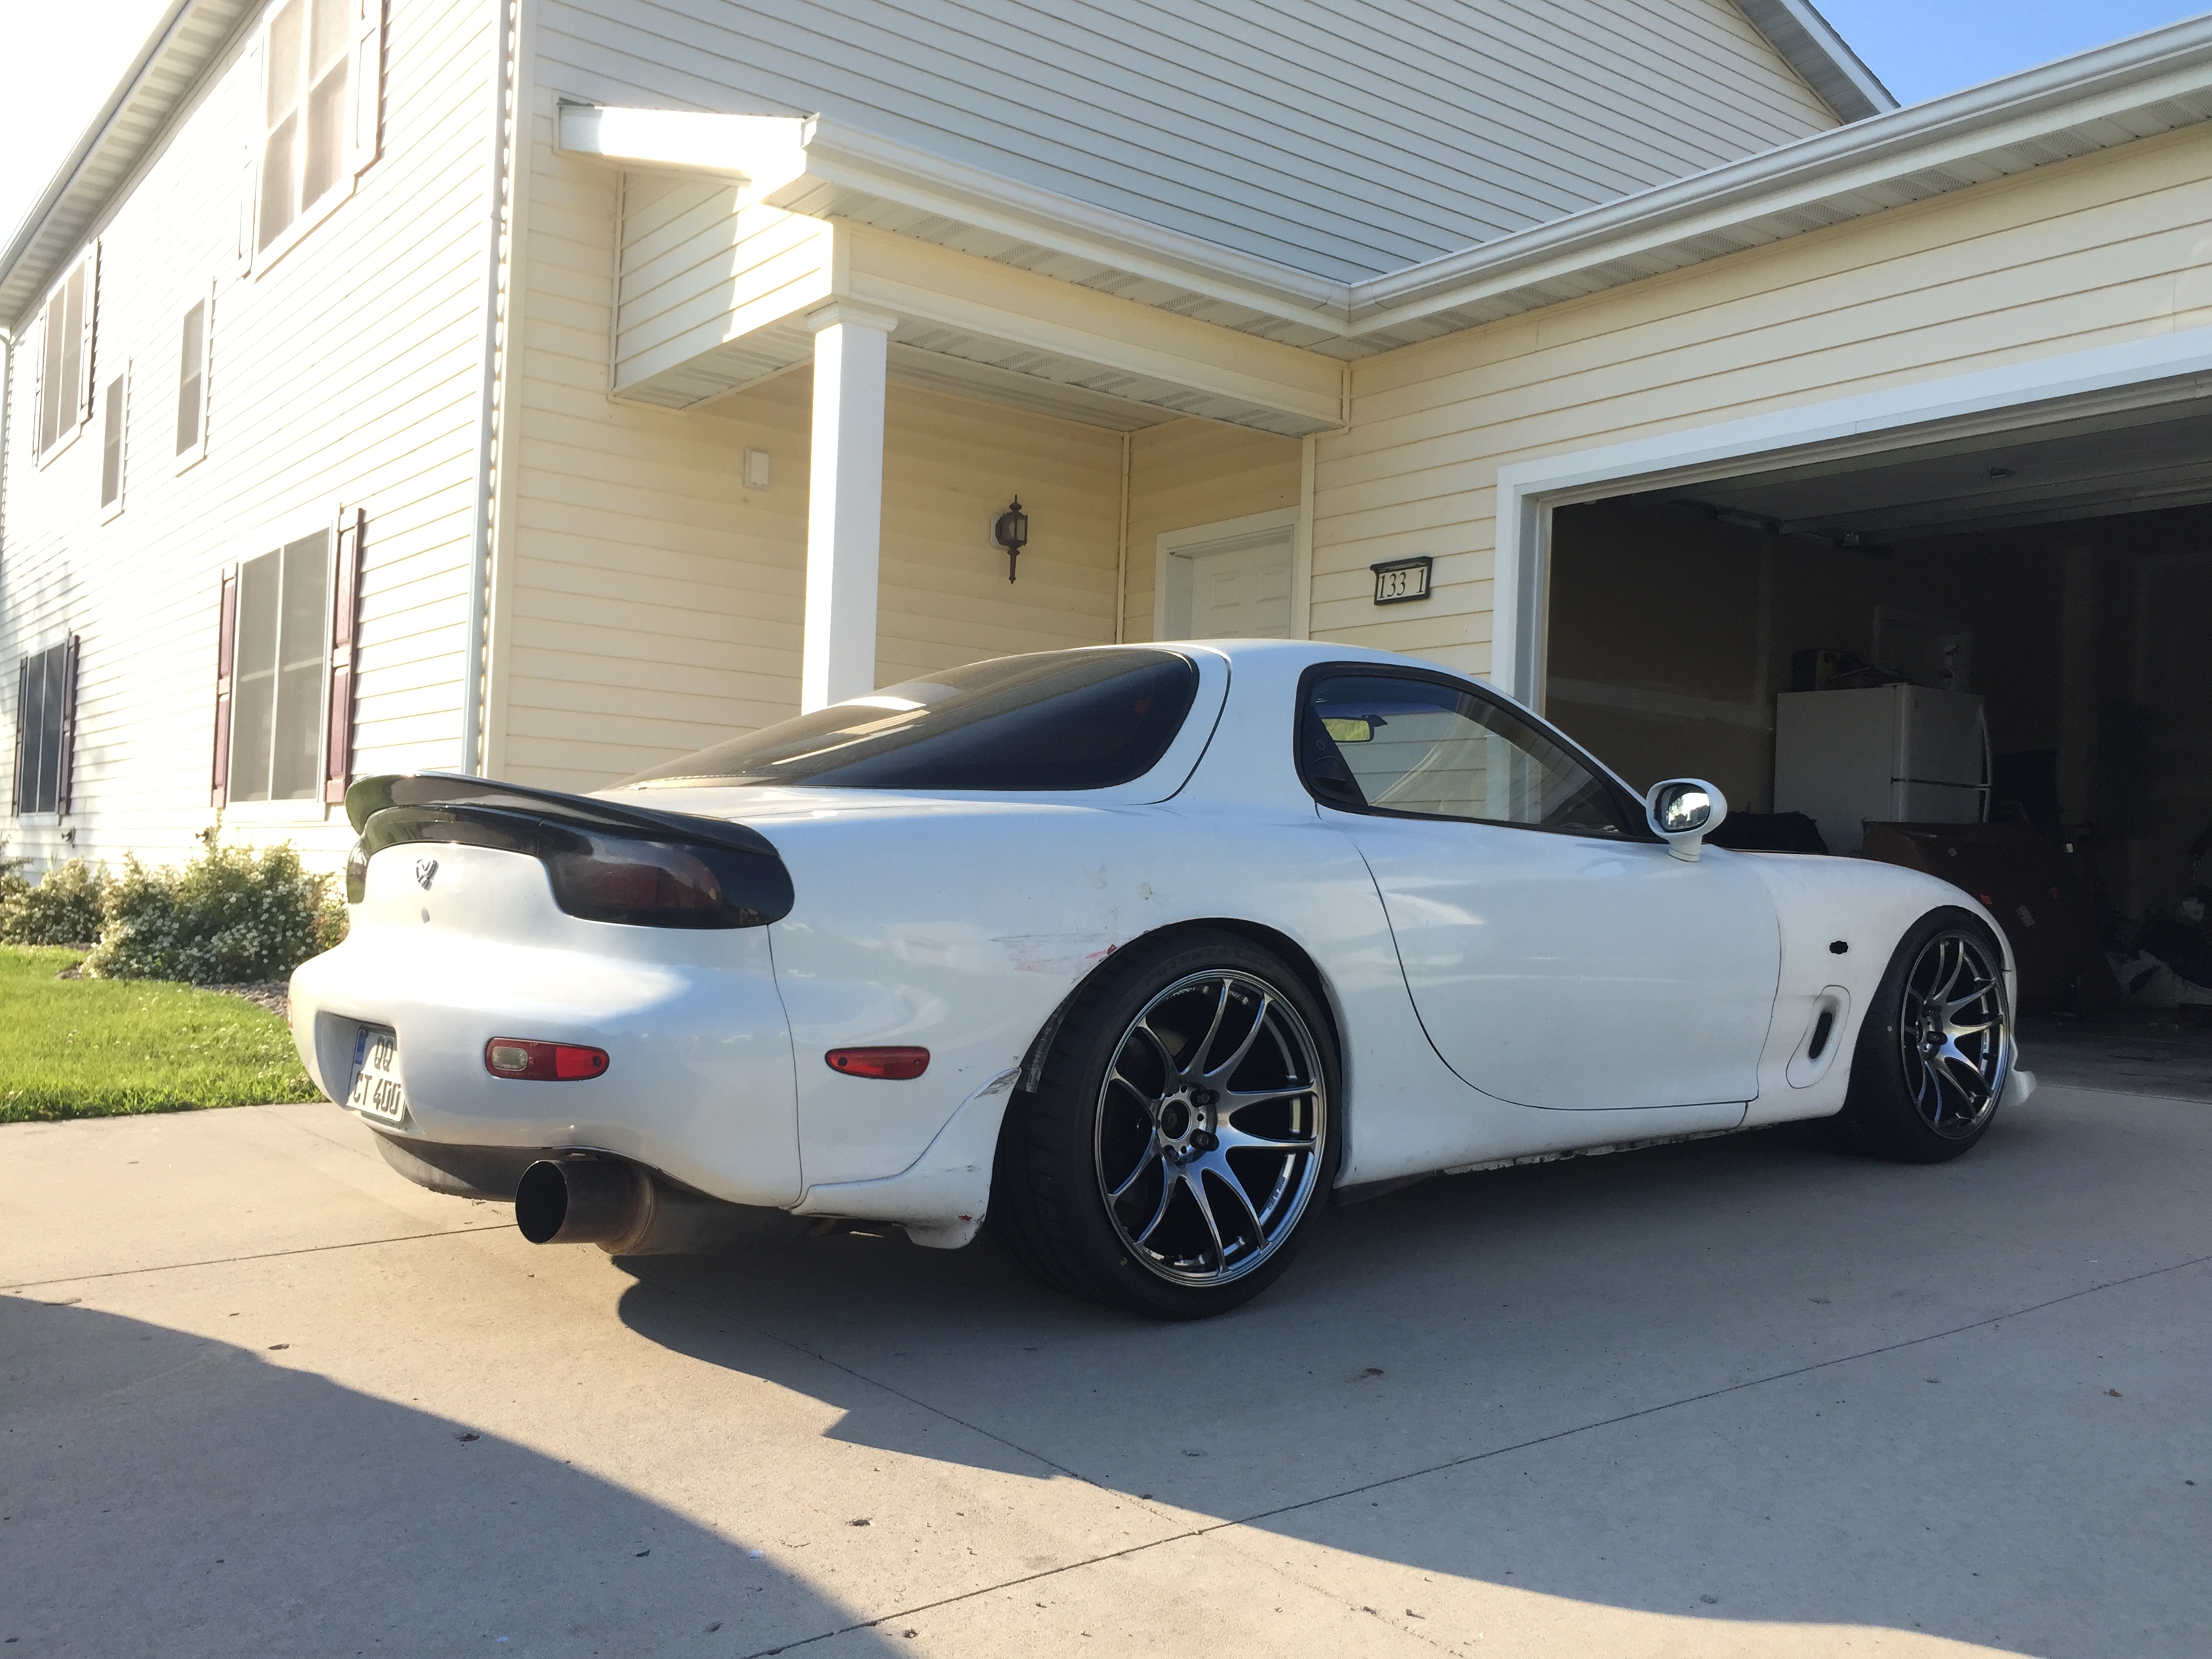
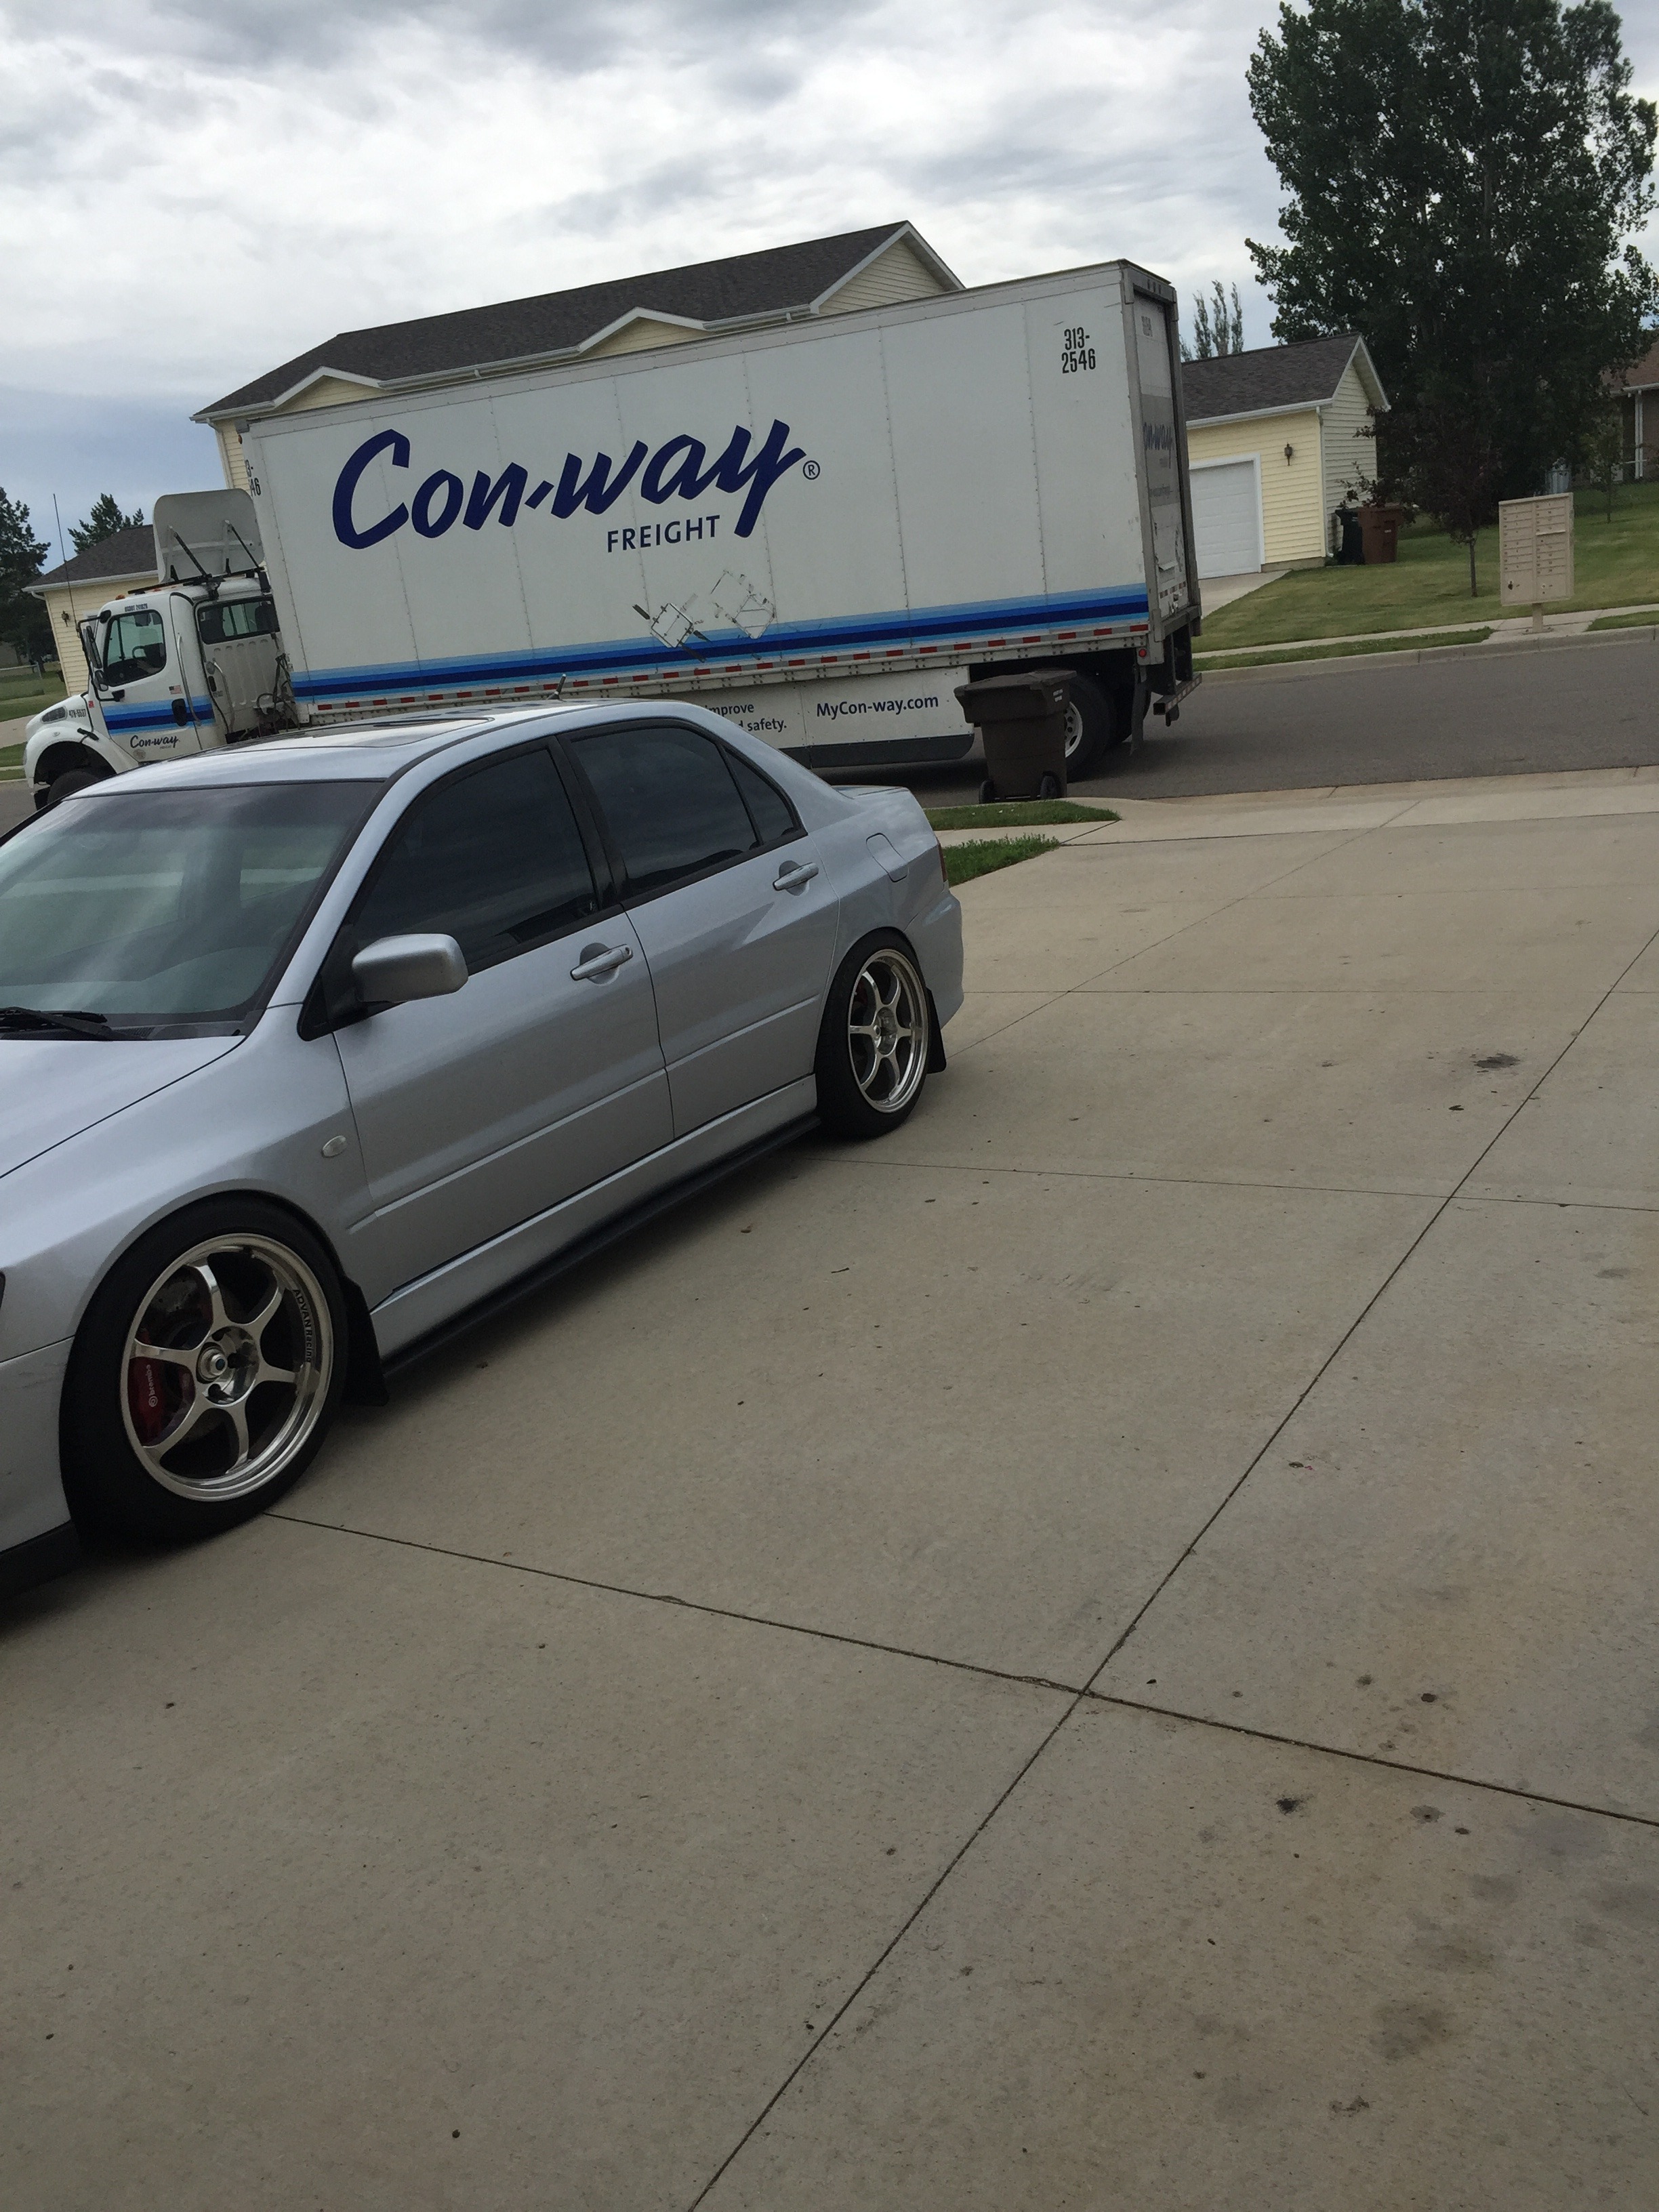
Hello all, recently picked up a 1993 Rx-7 R1 from the classifieds here and finally got it in the other day (had it shipped from out of state).
Not exactly sure on mileage because carfax shows 18x,xxx as the last mileage and the cluster isn't original to the car and shows 8x,xxx. I wasn't worried about mileage though since nearly everything was replaced (and I won't feel bad driving the car a lot and racking up the miles). Previous owner rebuilt the motor, made a vmount setup, installed ID 750/1000cc injectors, walbro 255 fuel pump, rebuilt differential, all new superpro bushings, os giken twin plate clutch, stance coilovers, haltech ps1000, 3" exhaust, ST sway bars, and a few other things. It came with a spare transmission and stock turbos as well. Oh, and it has work xt7 wheels which I will be selling here soon. I picked it up for what I thought was a steal, but upon getting the car here I feel it was still a good deal, but not as good as I thought. ( I knew I was taking a chance buying it without being able to see it)
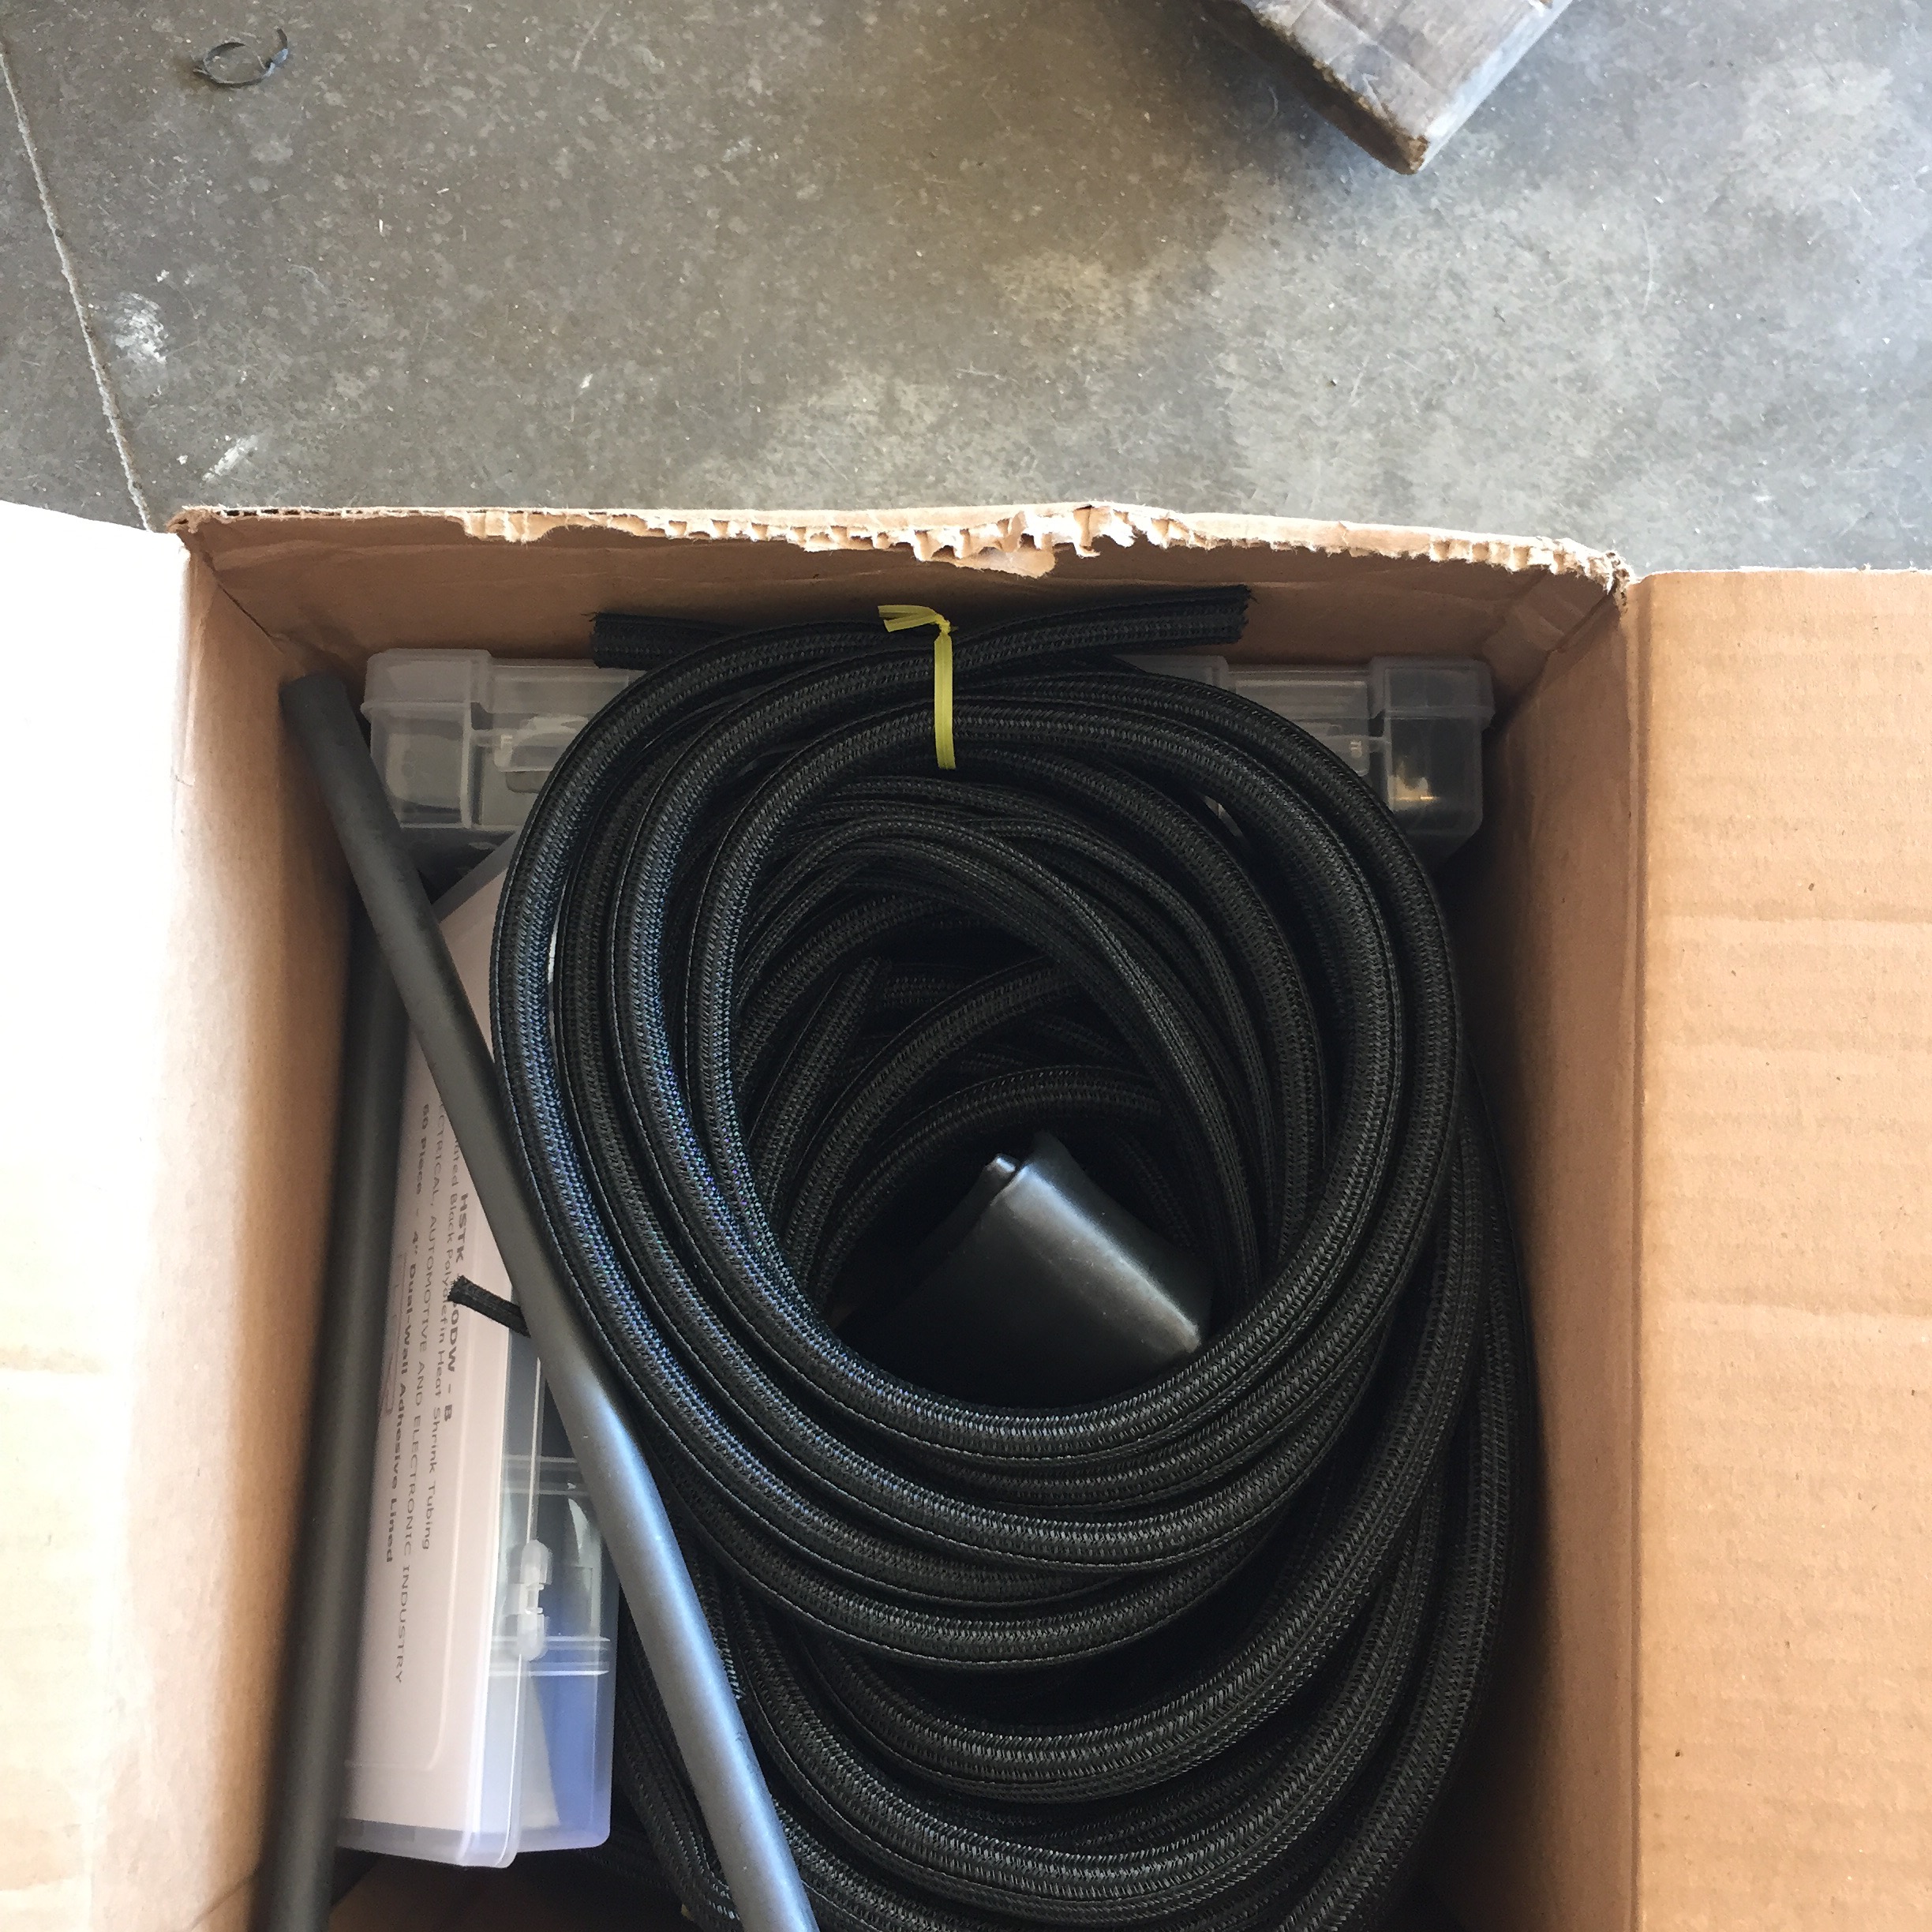
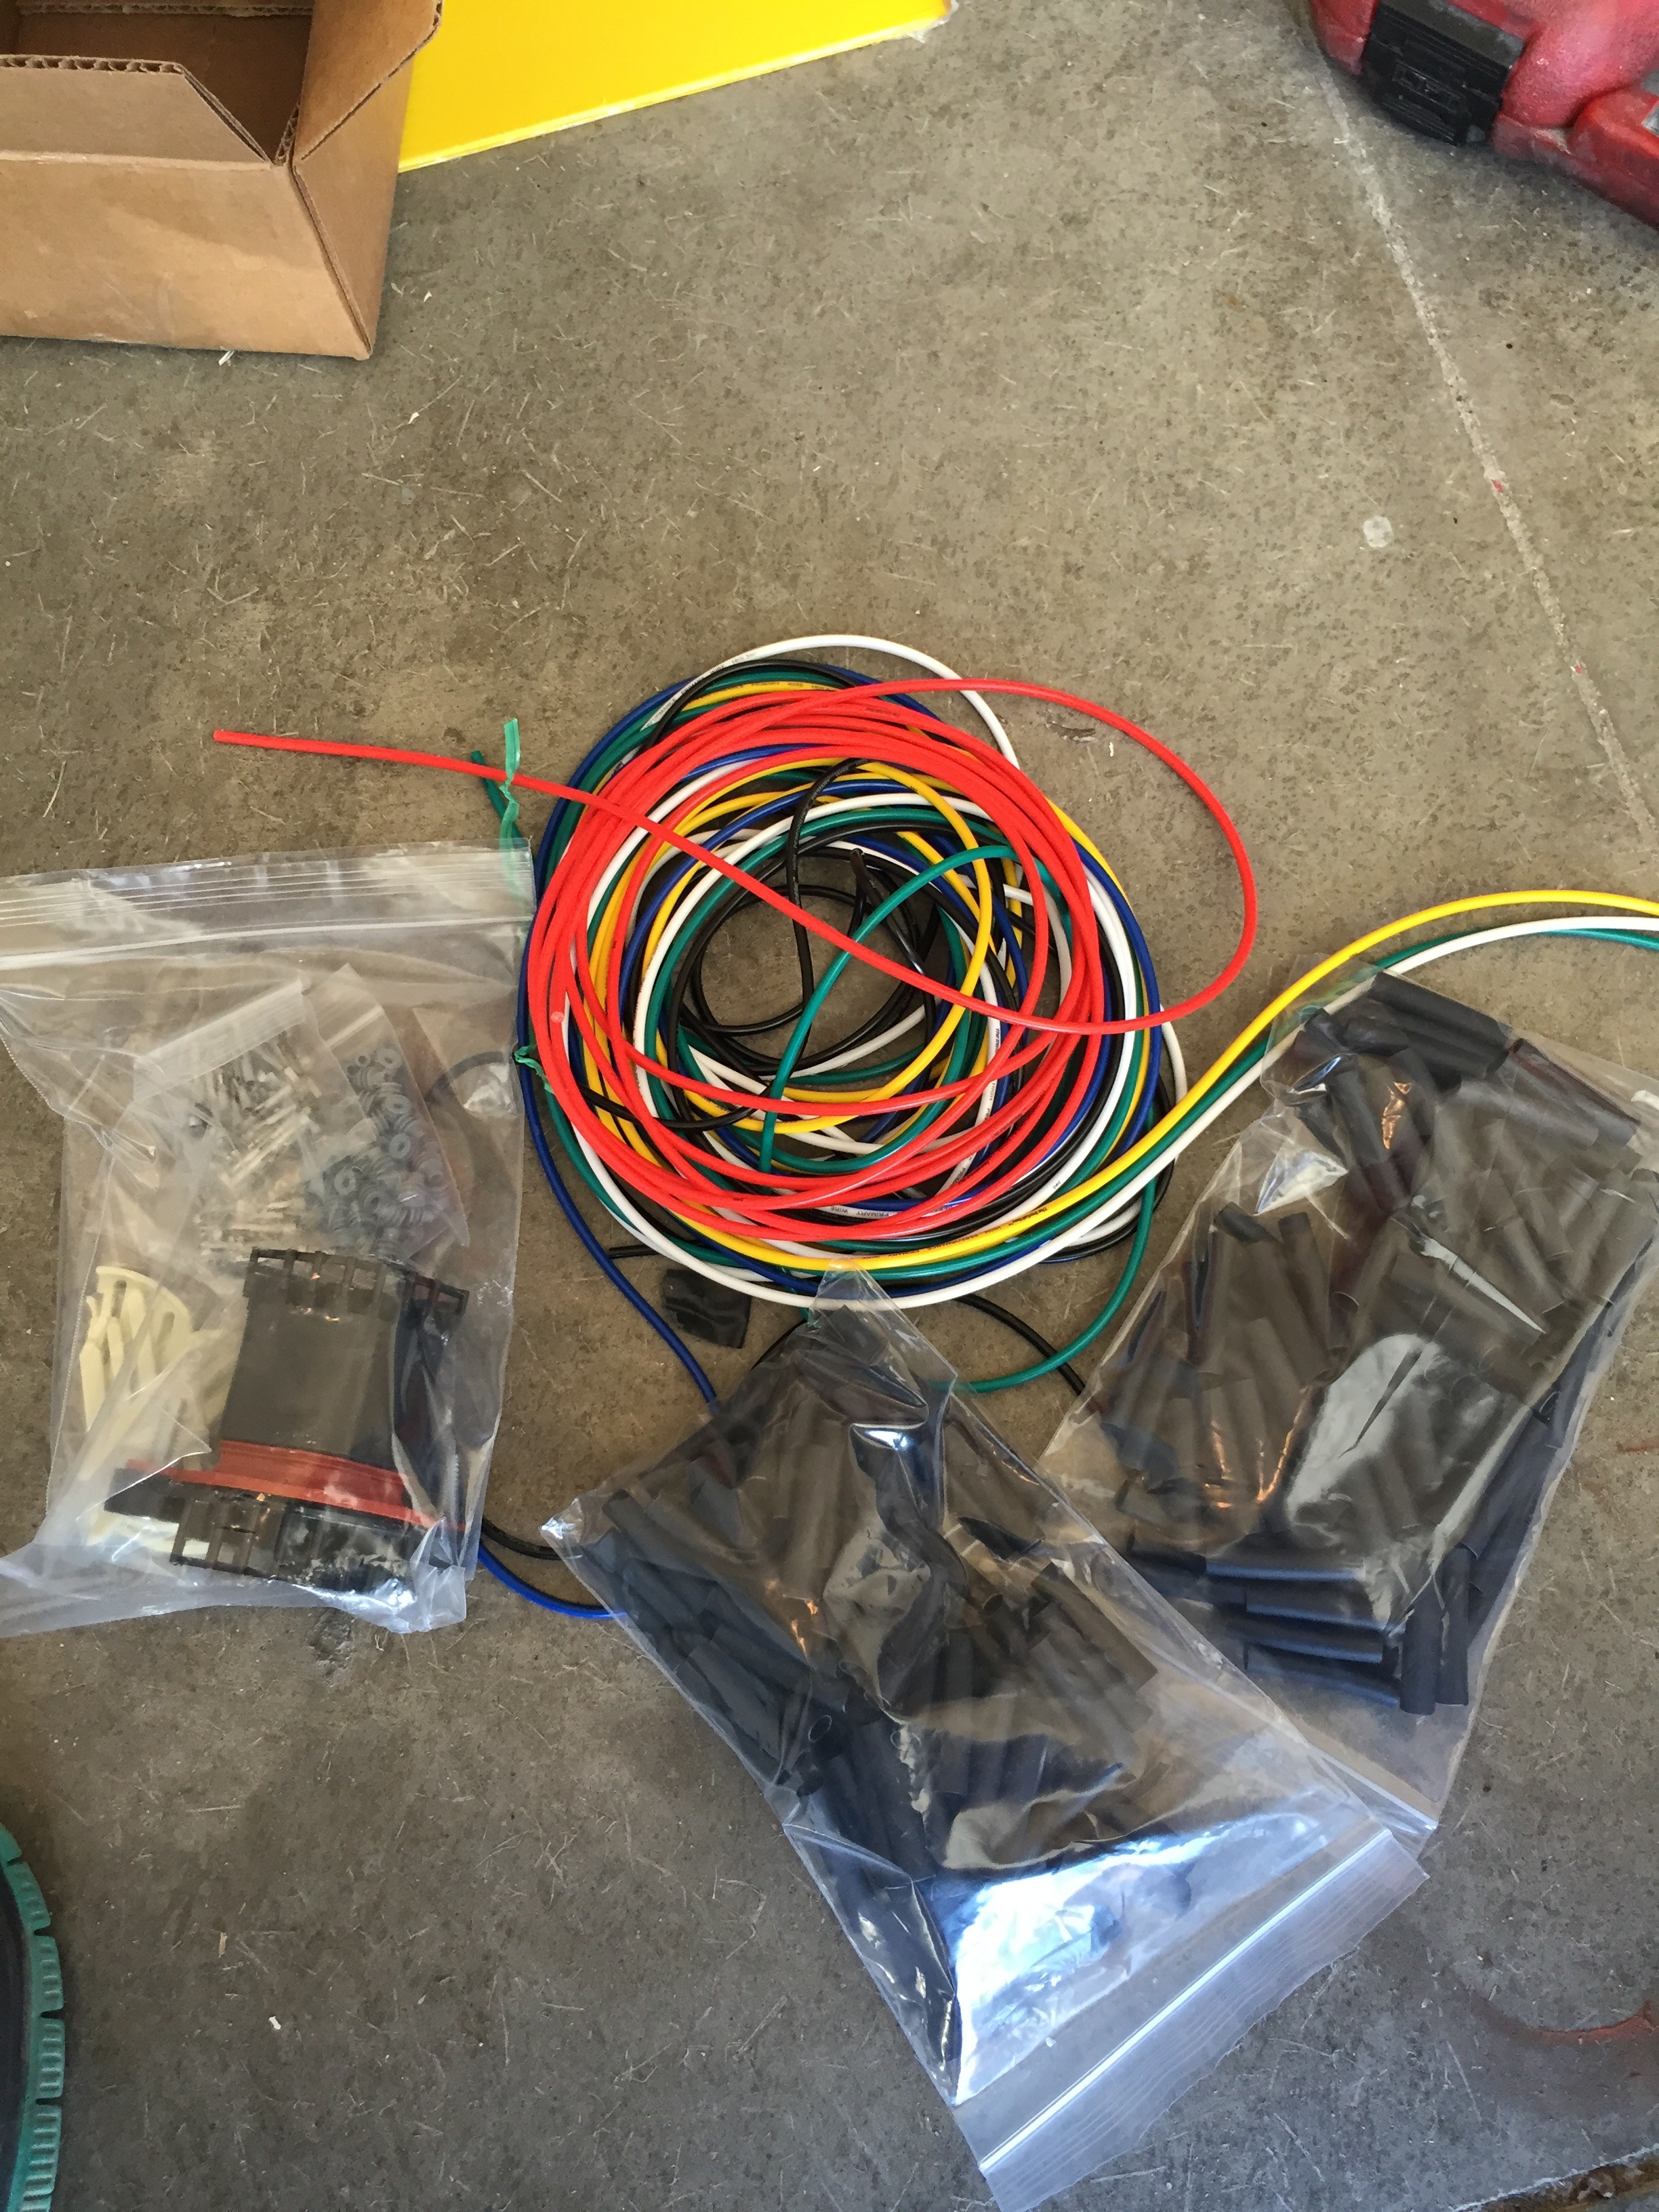
I knew it needed the wiring redone so I went ahead and ordered loom and adhesive lined heatshrink.
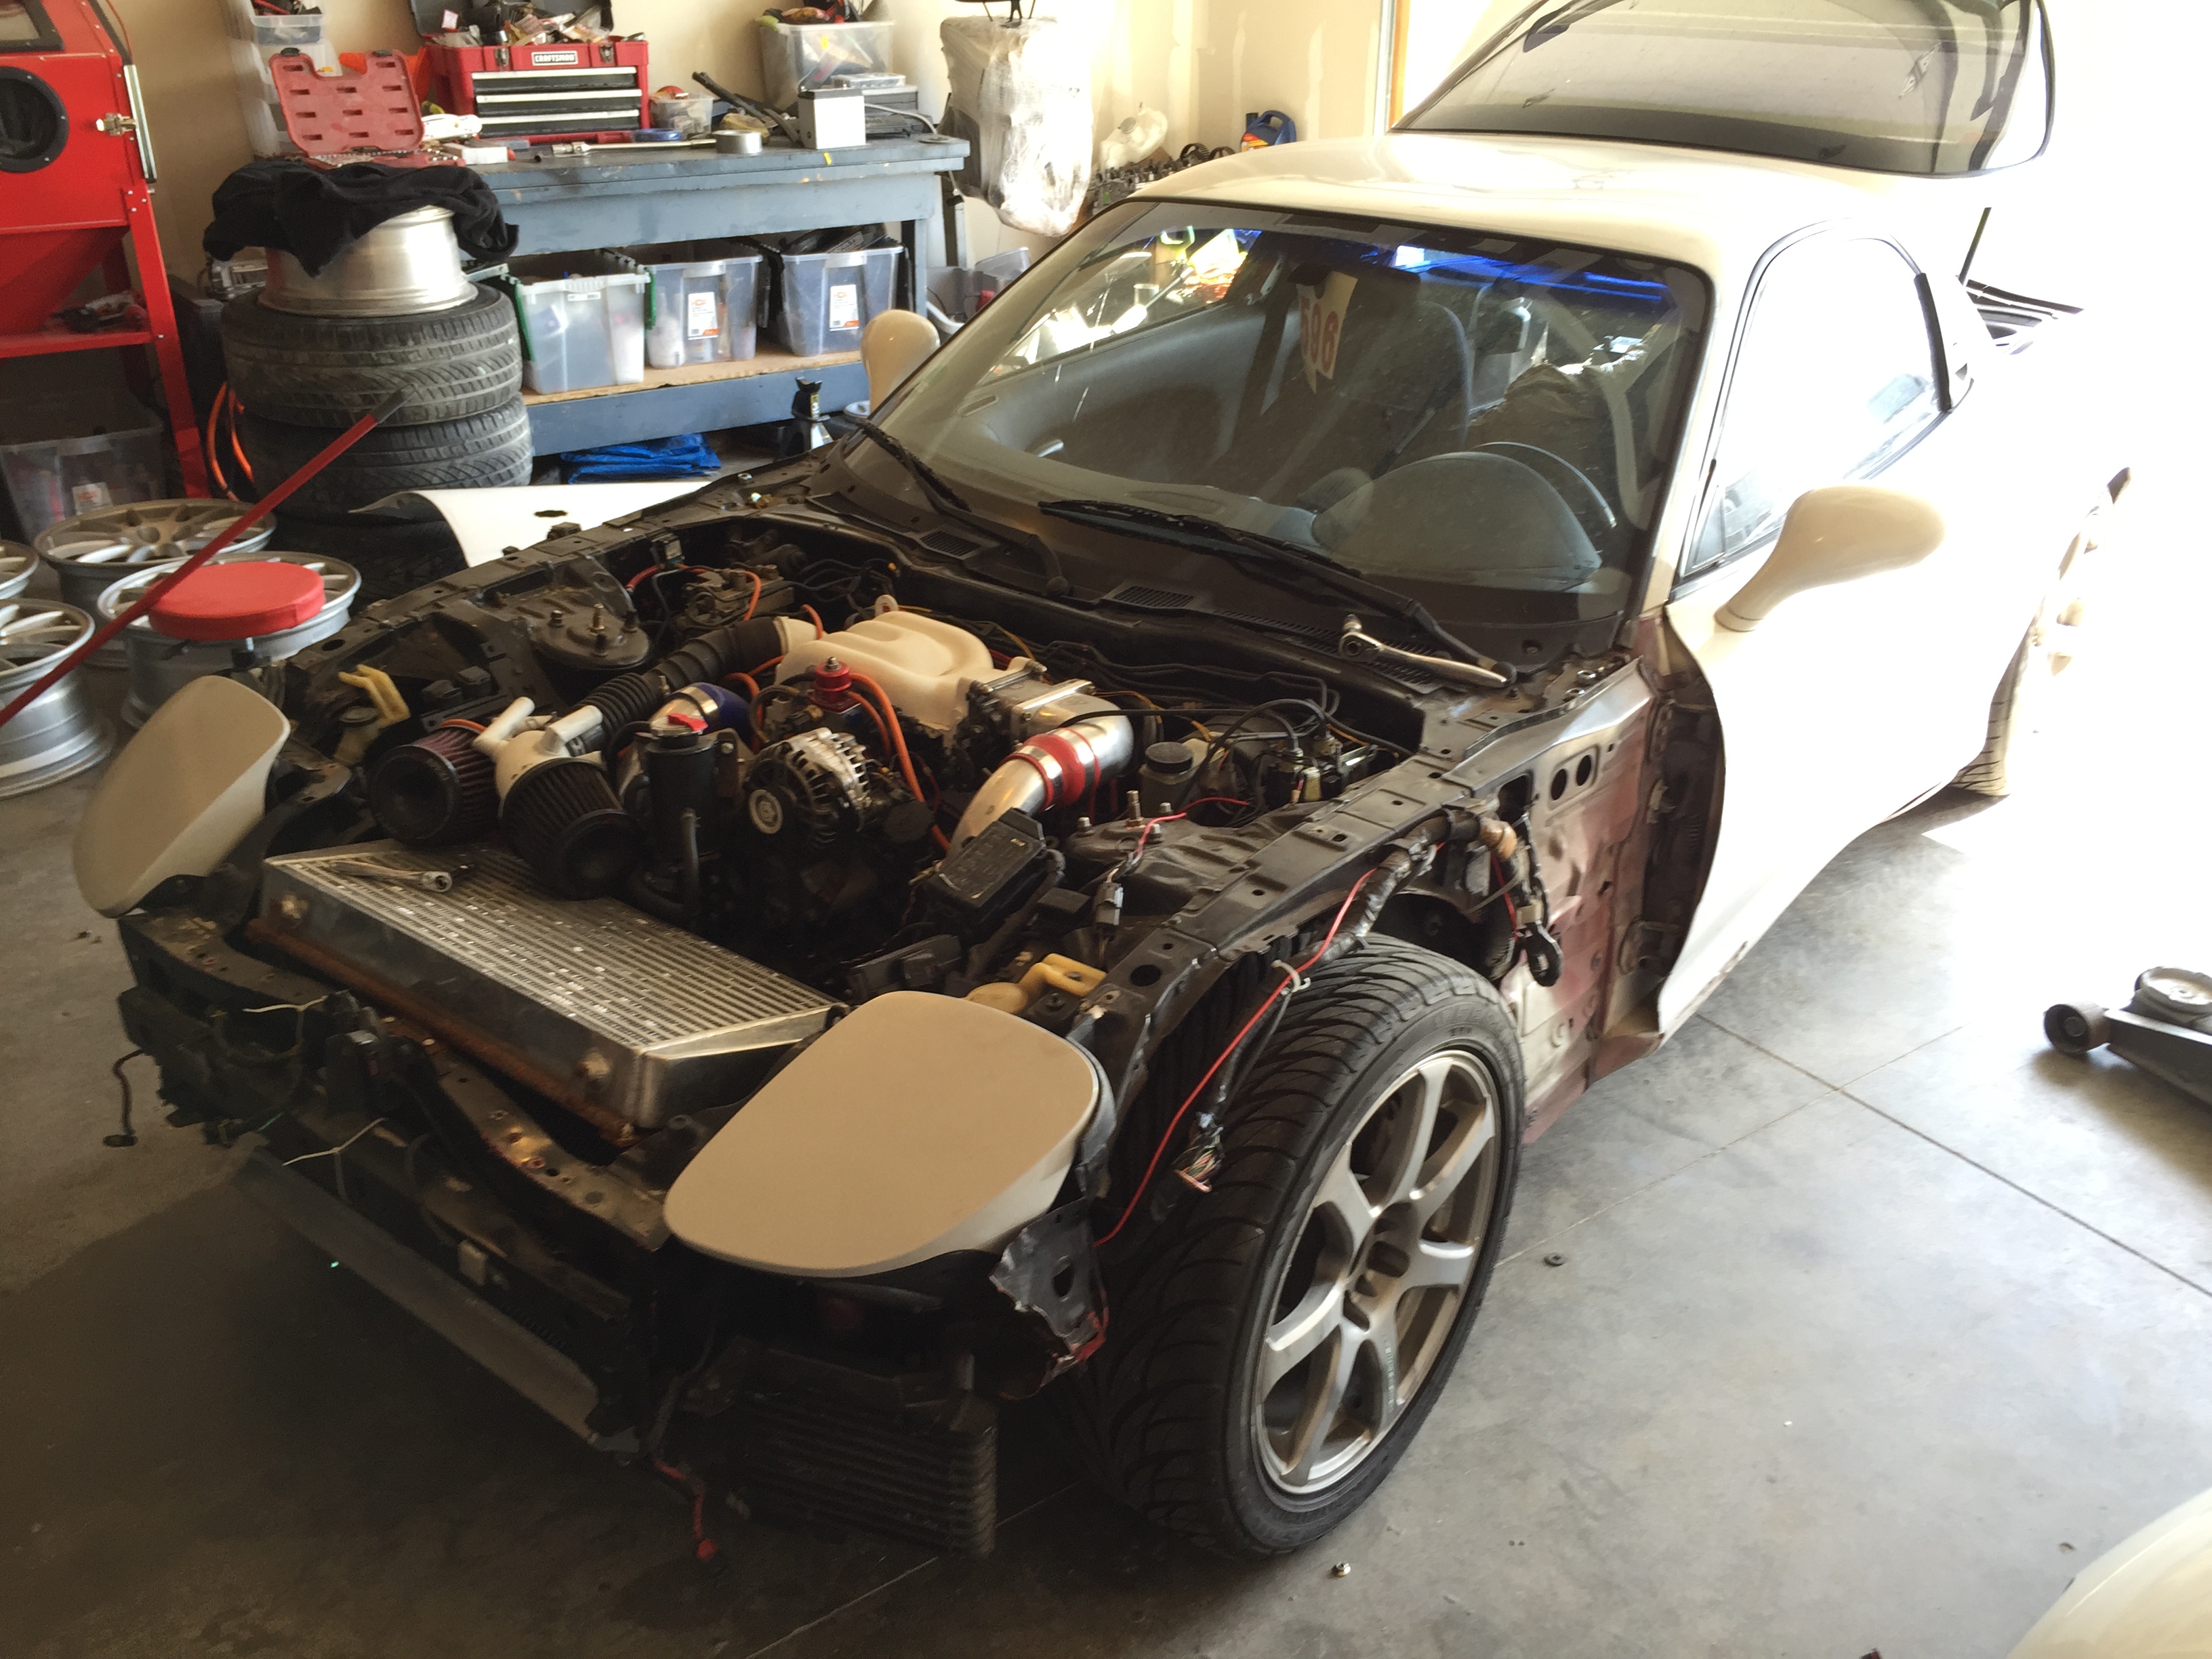
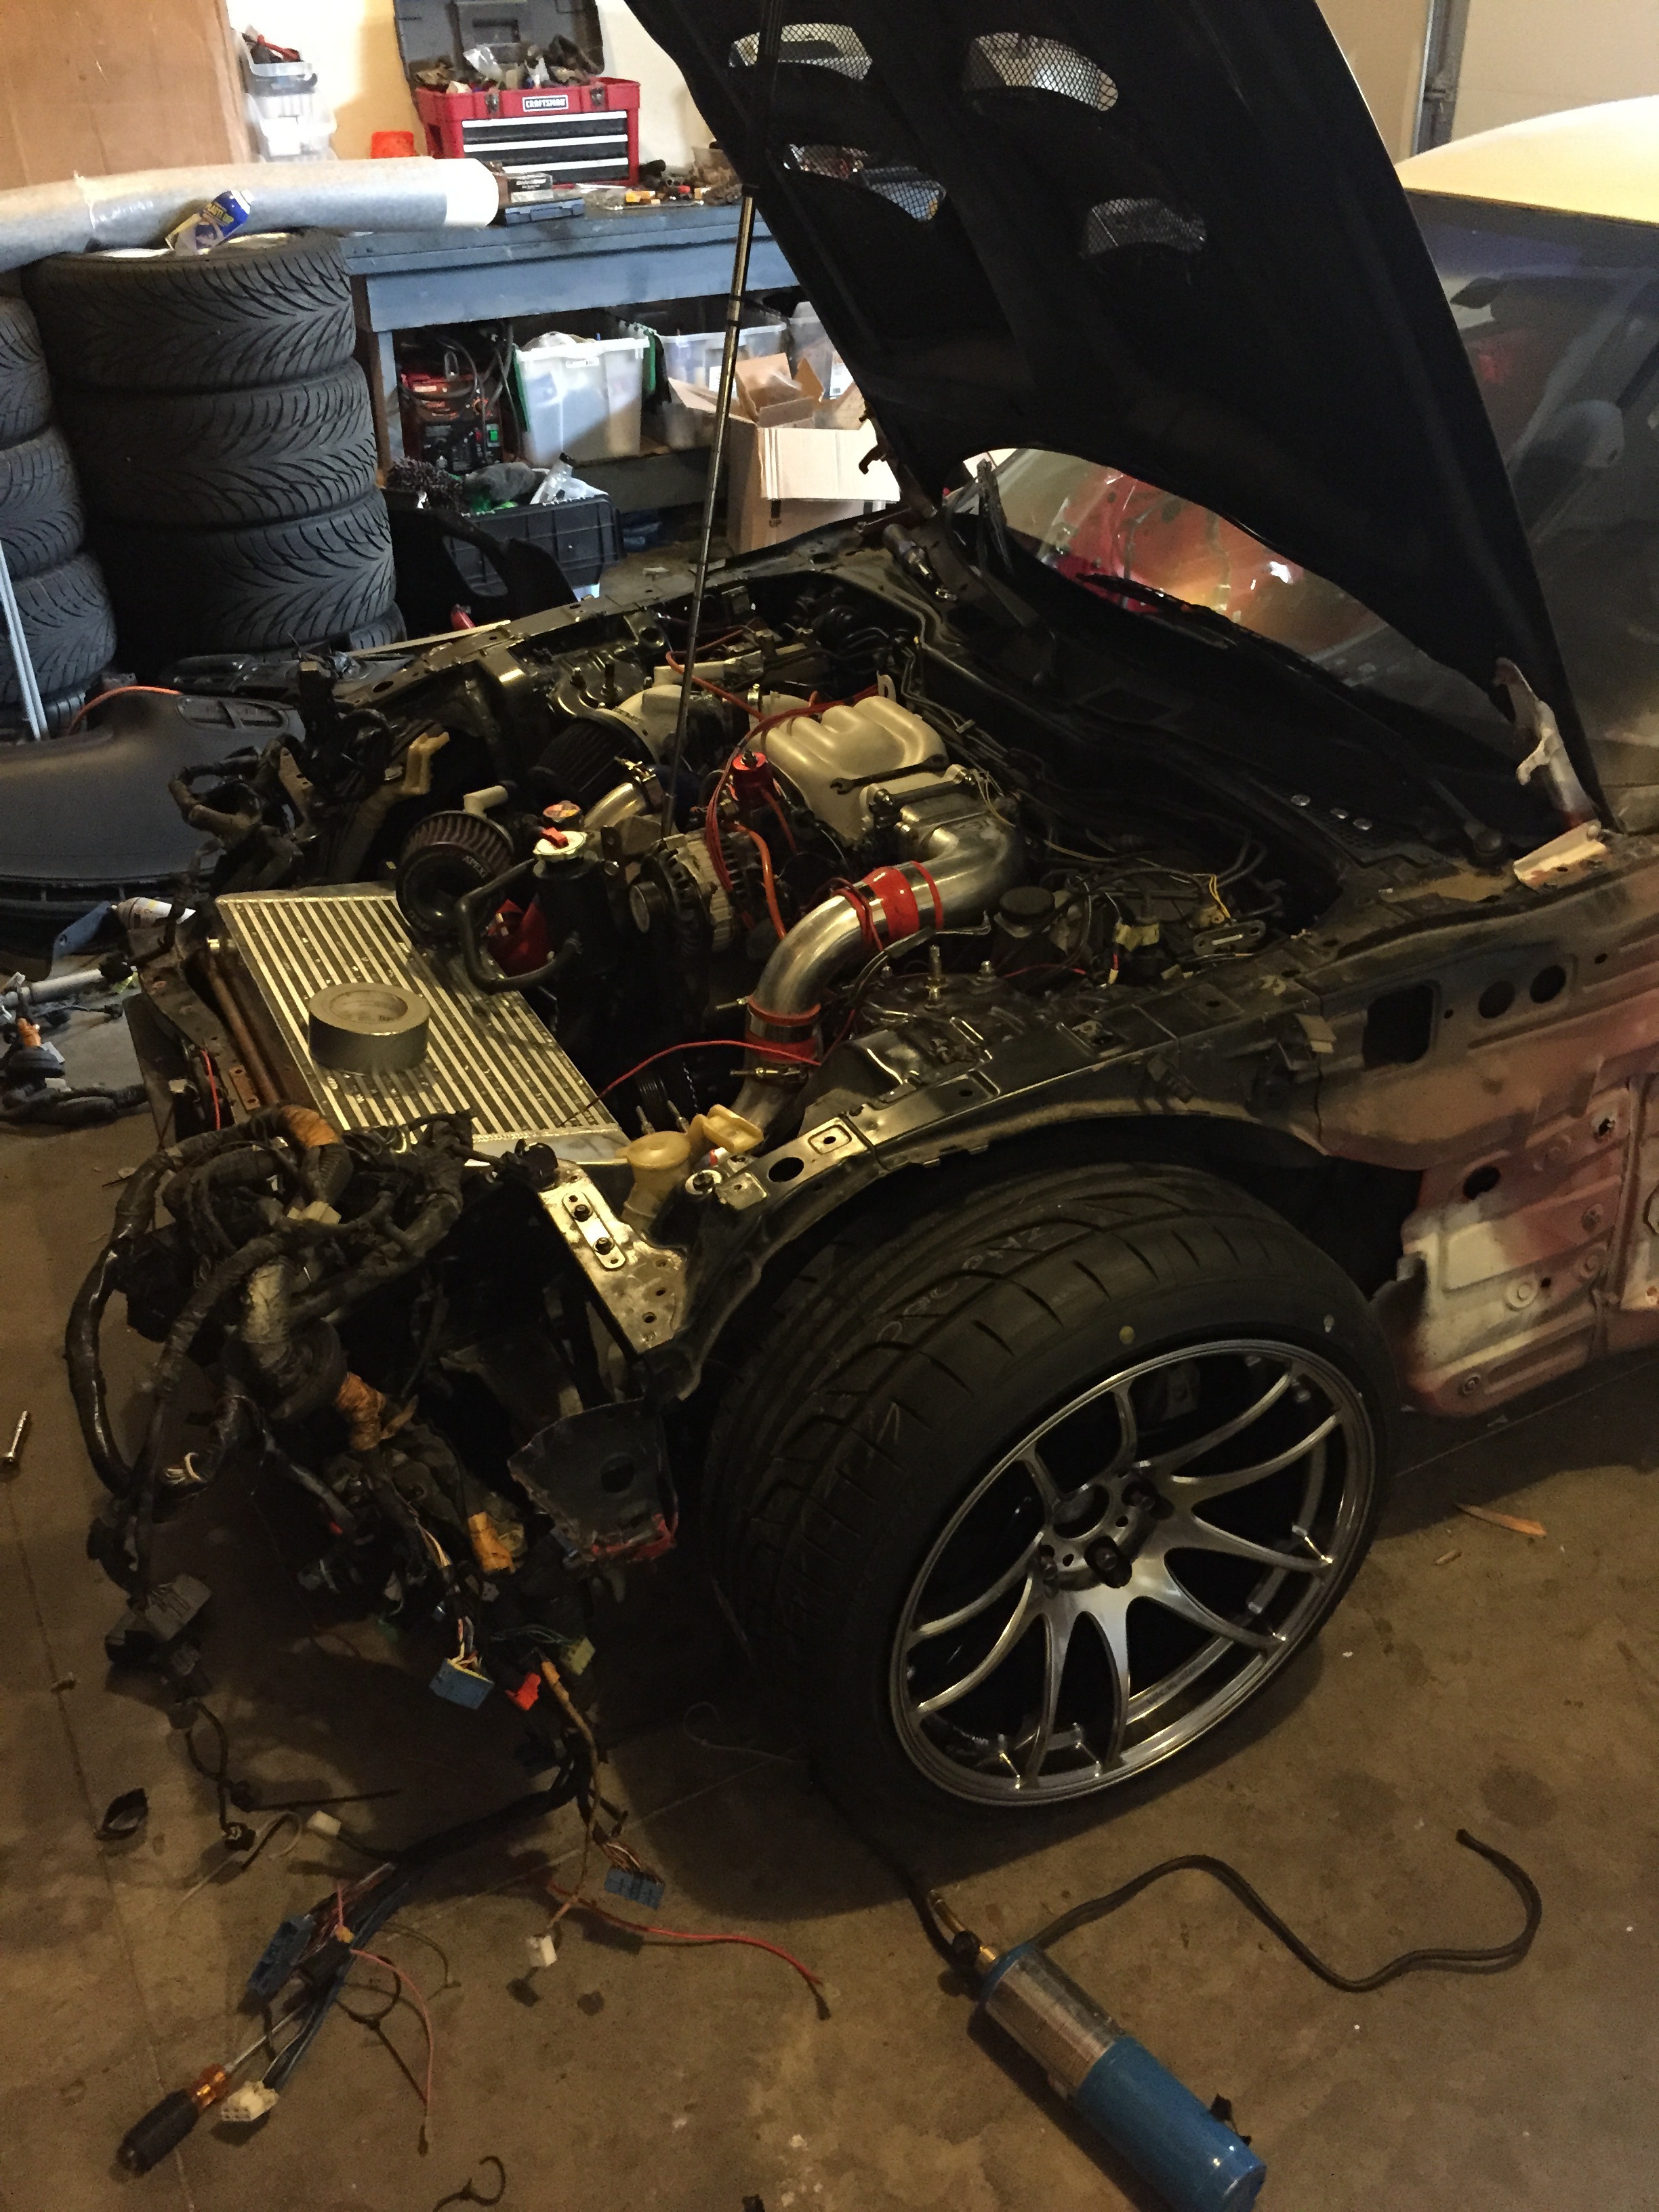
I drove the car from the trailer into my garage and started tearing it down (wiring was laying on the front tires, no way I was driving it).
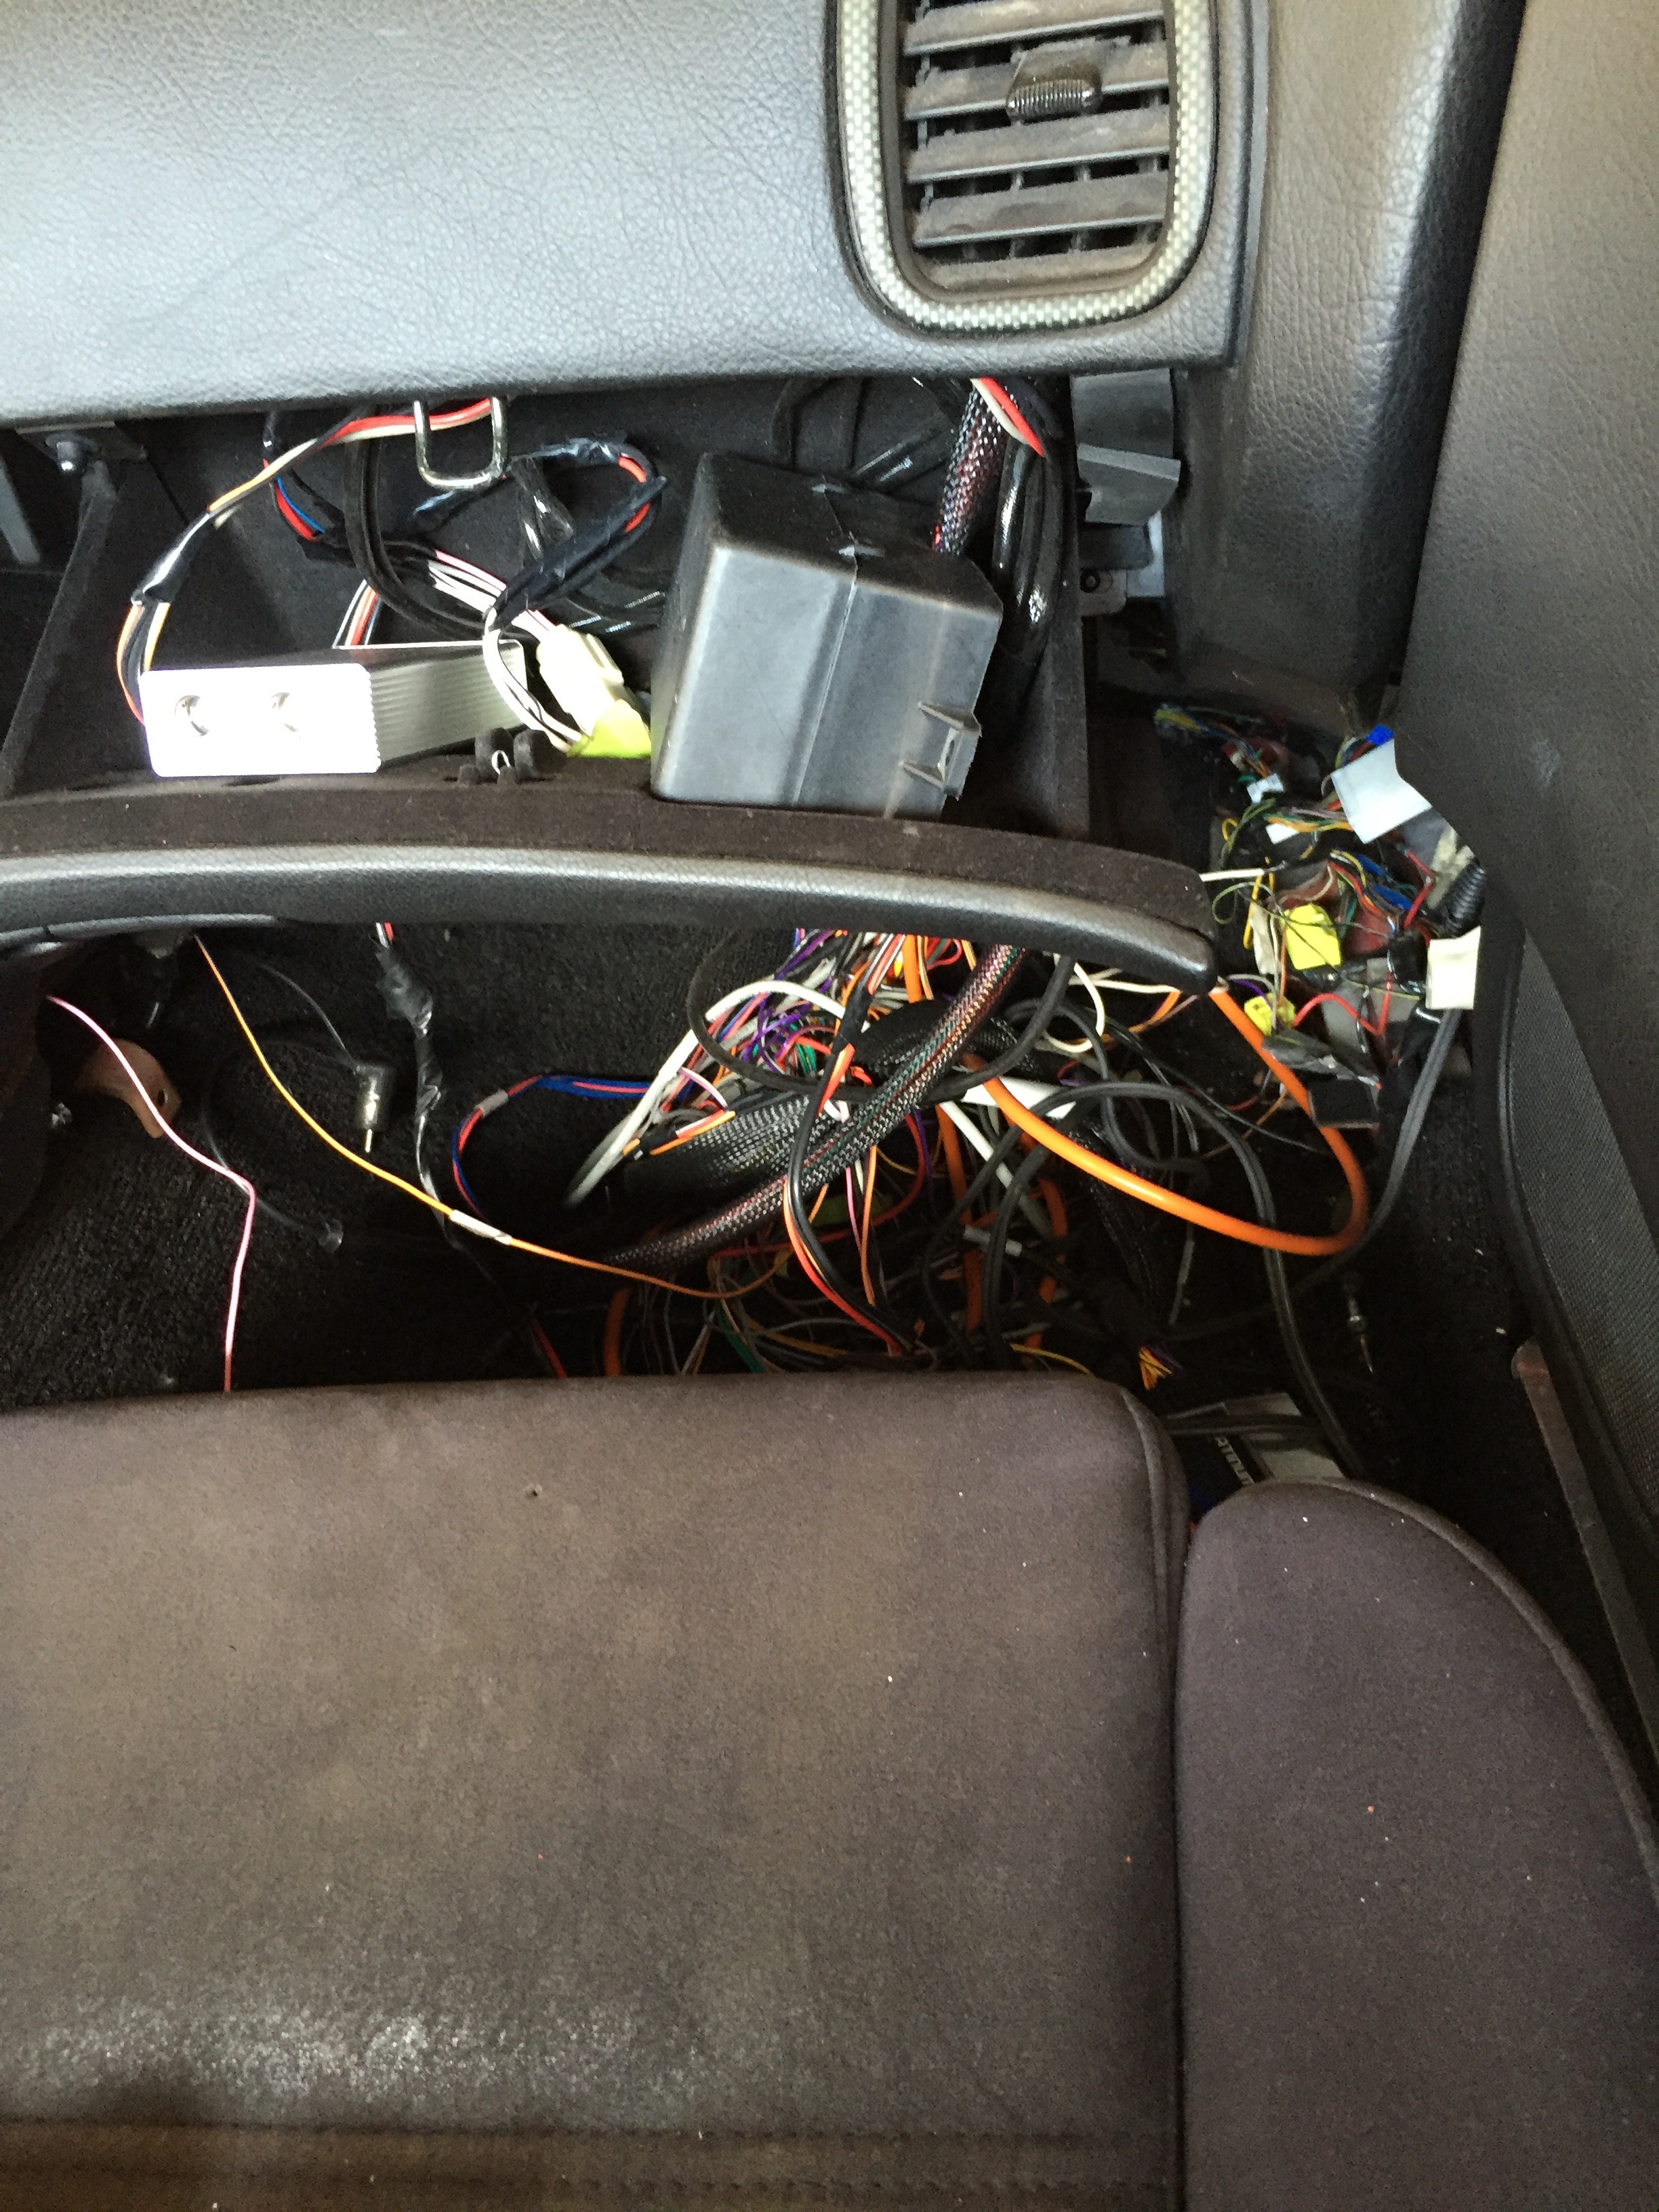
Haltech wiring was just laying in the floorboard ( I knew this, hence I ordered loom before even getting the car in)
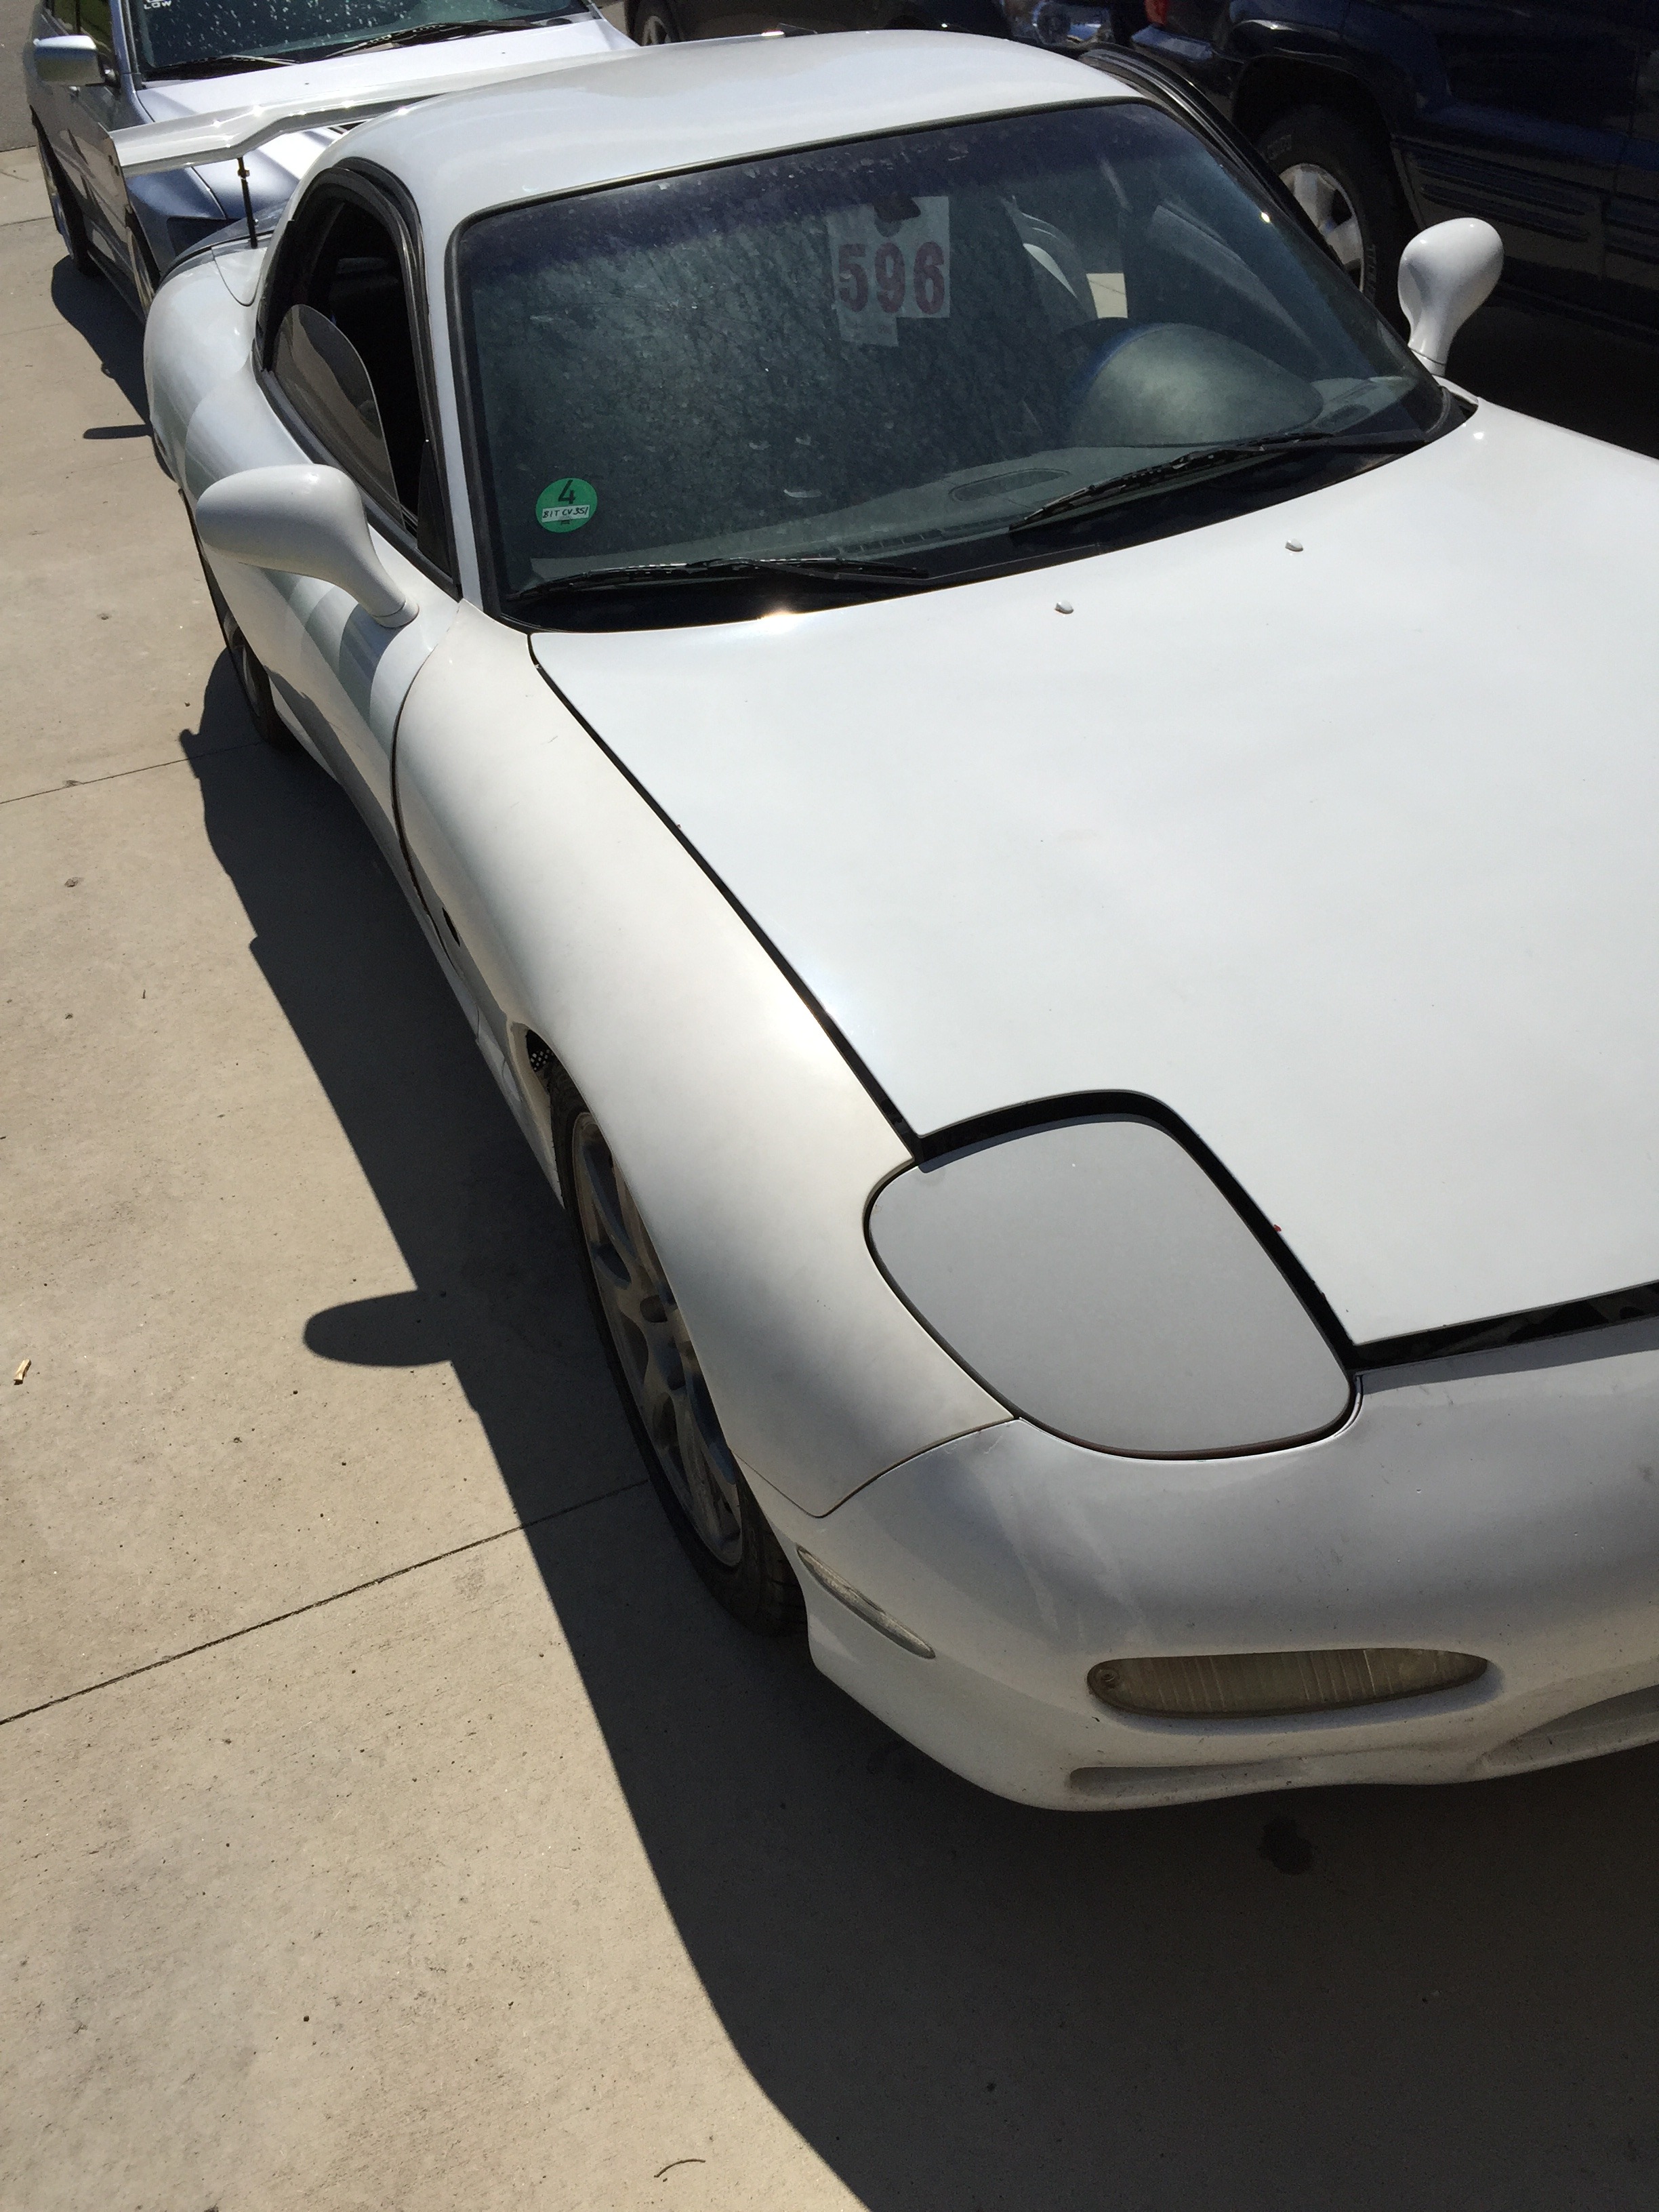
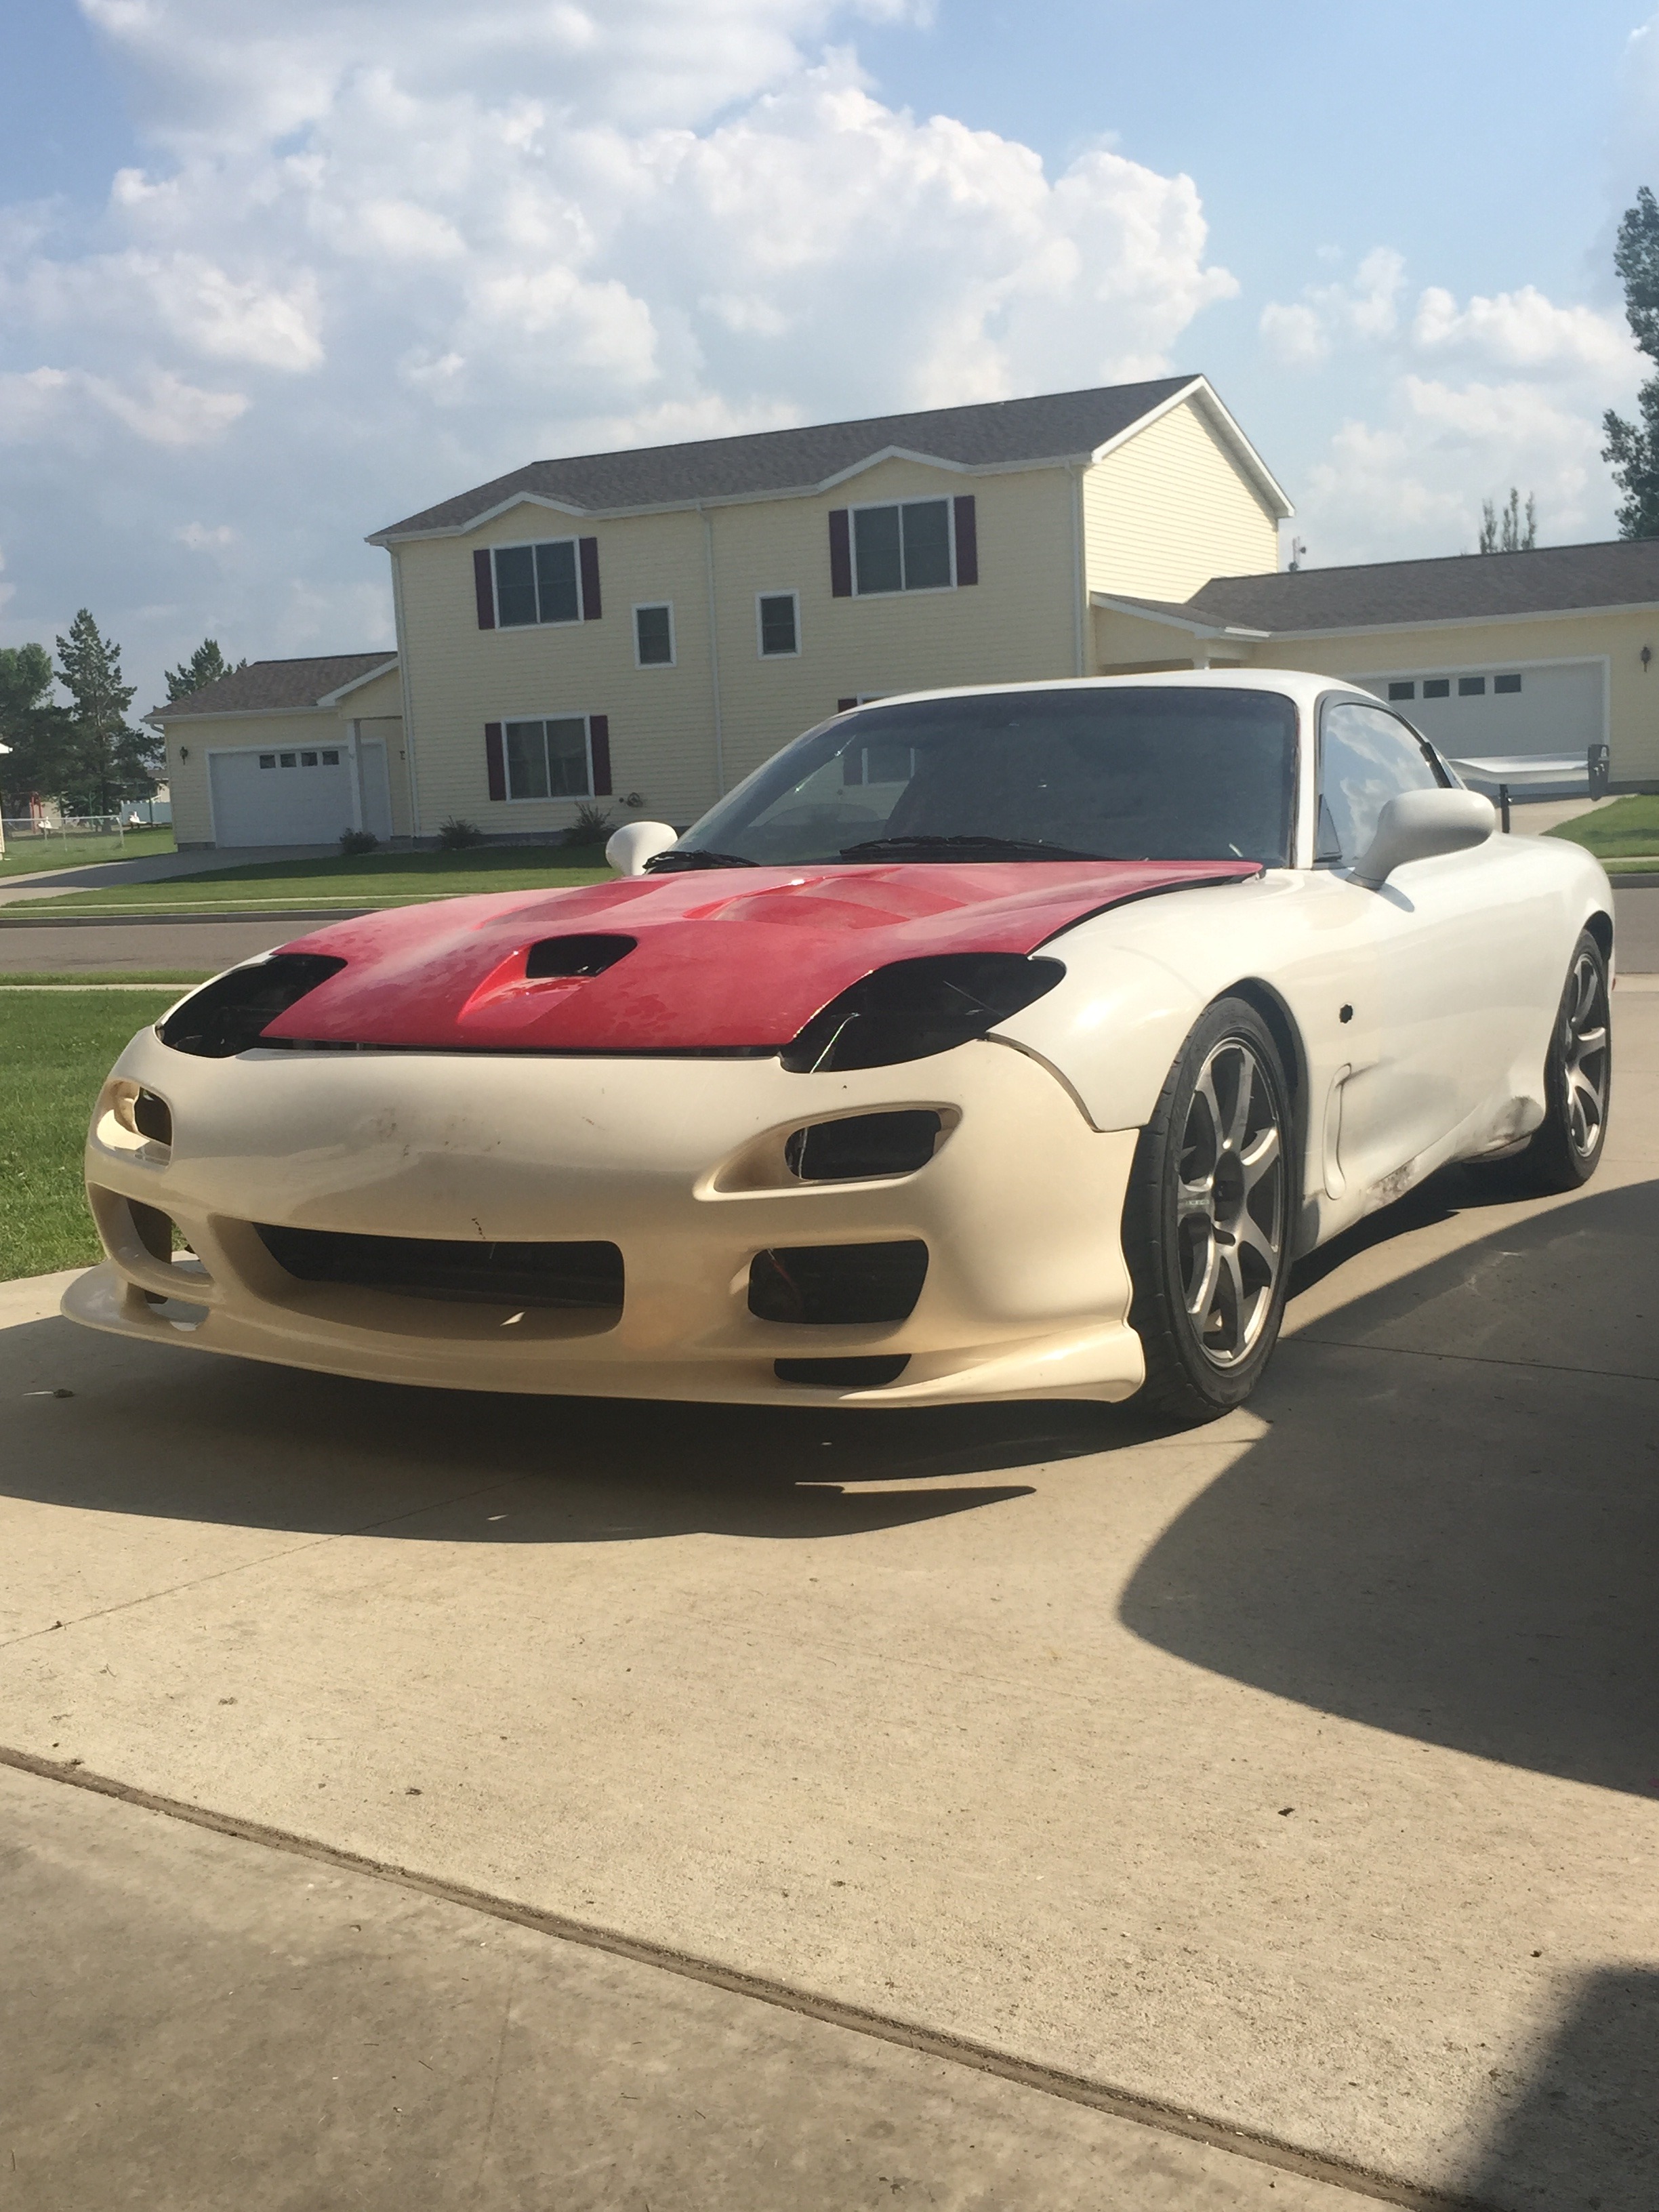
I was a bit surprised to find two different color doors
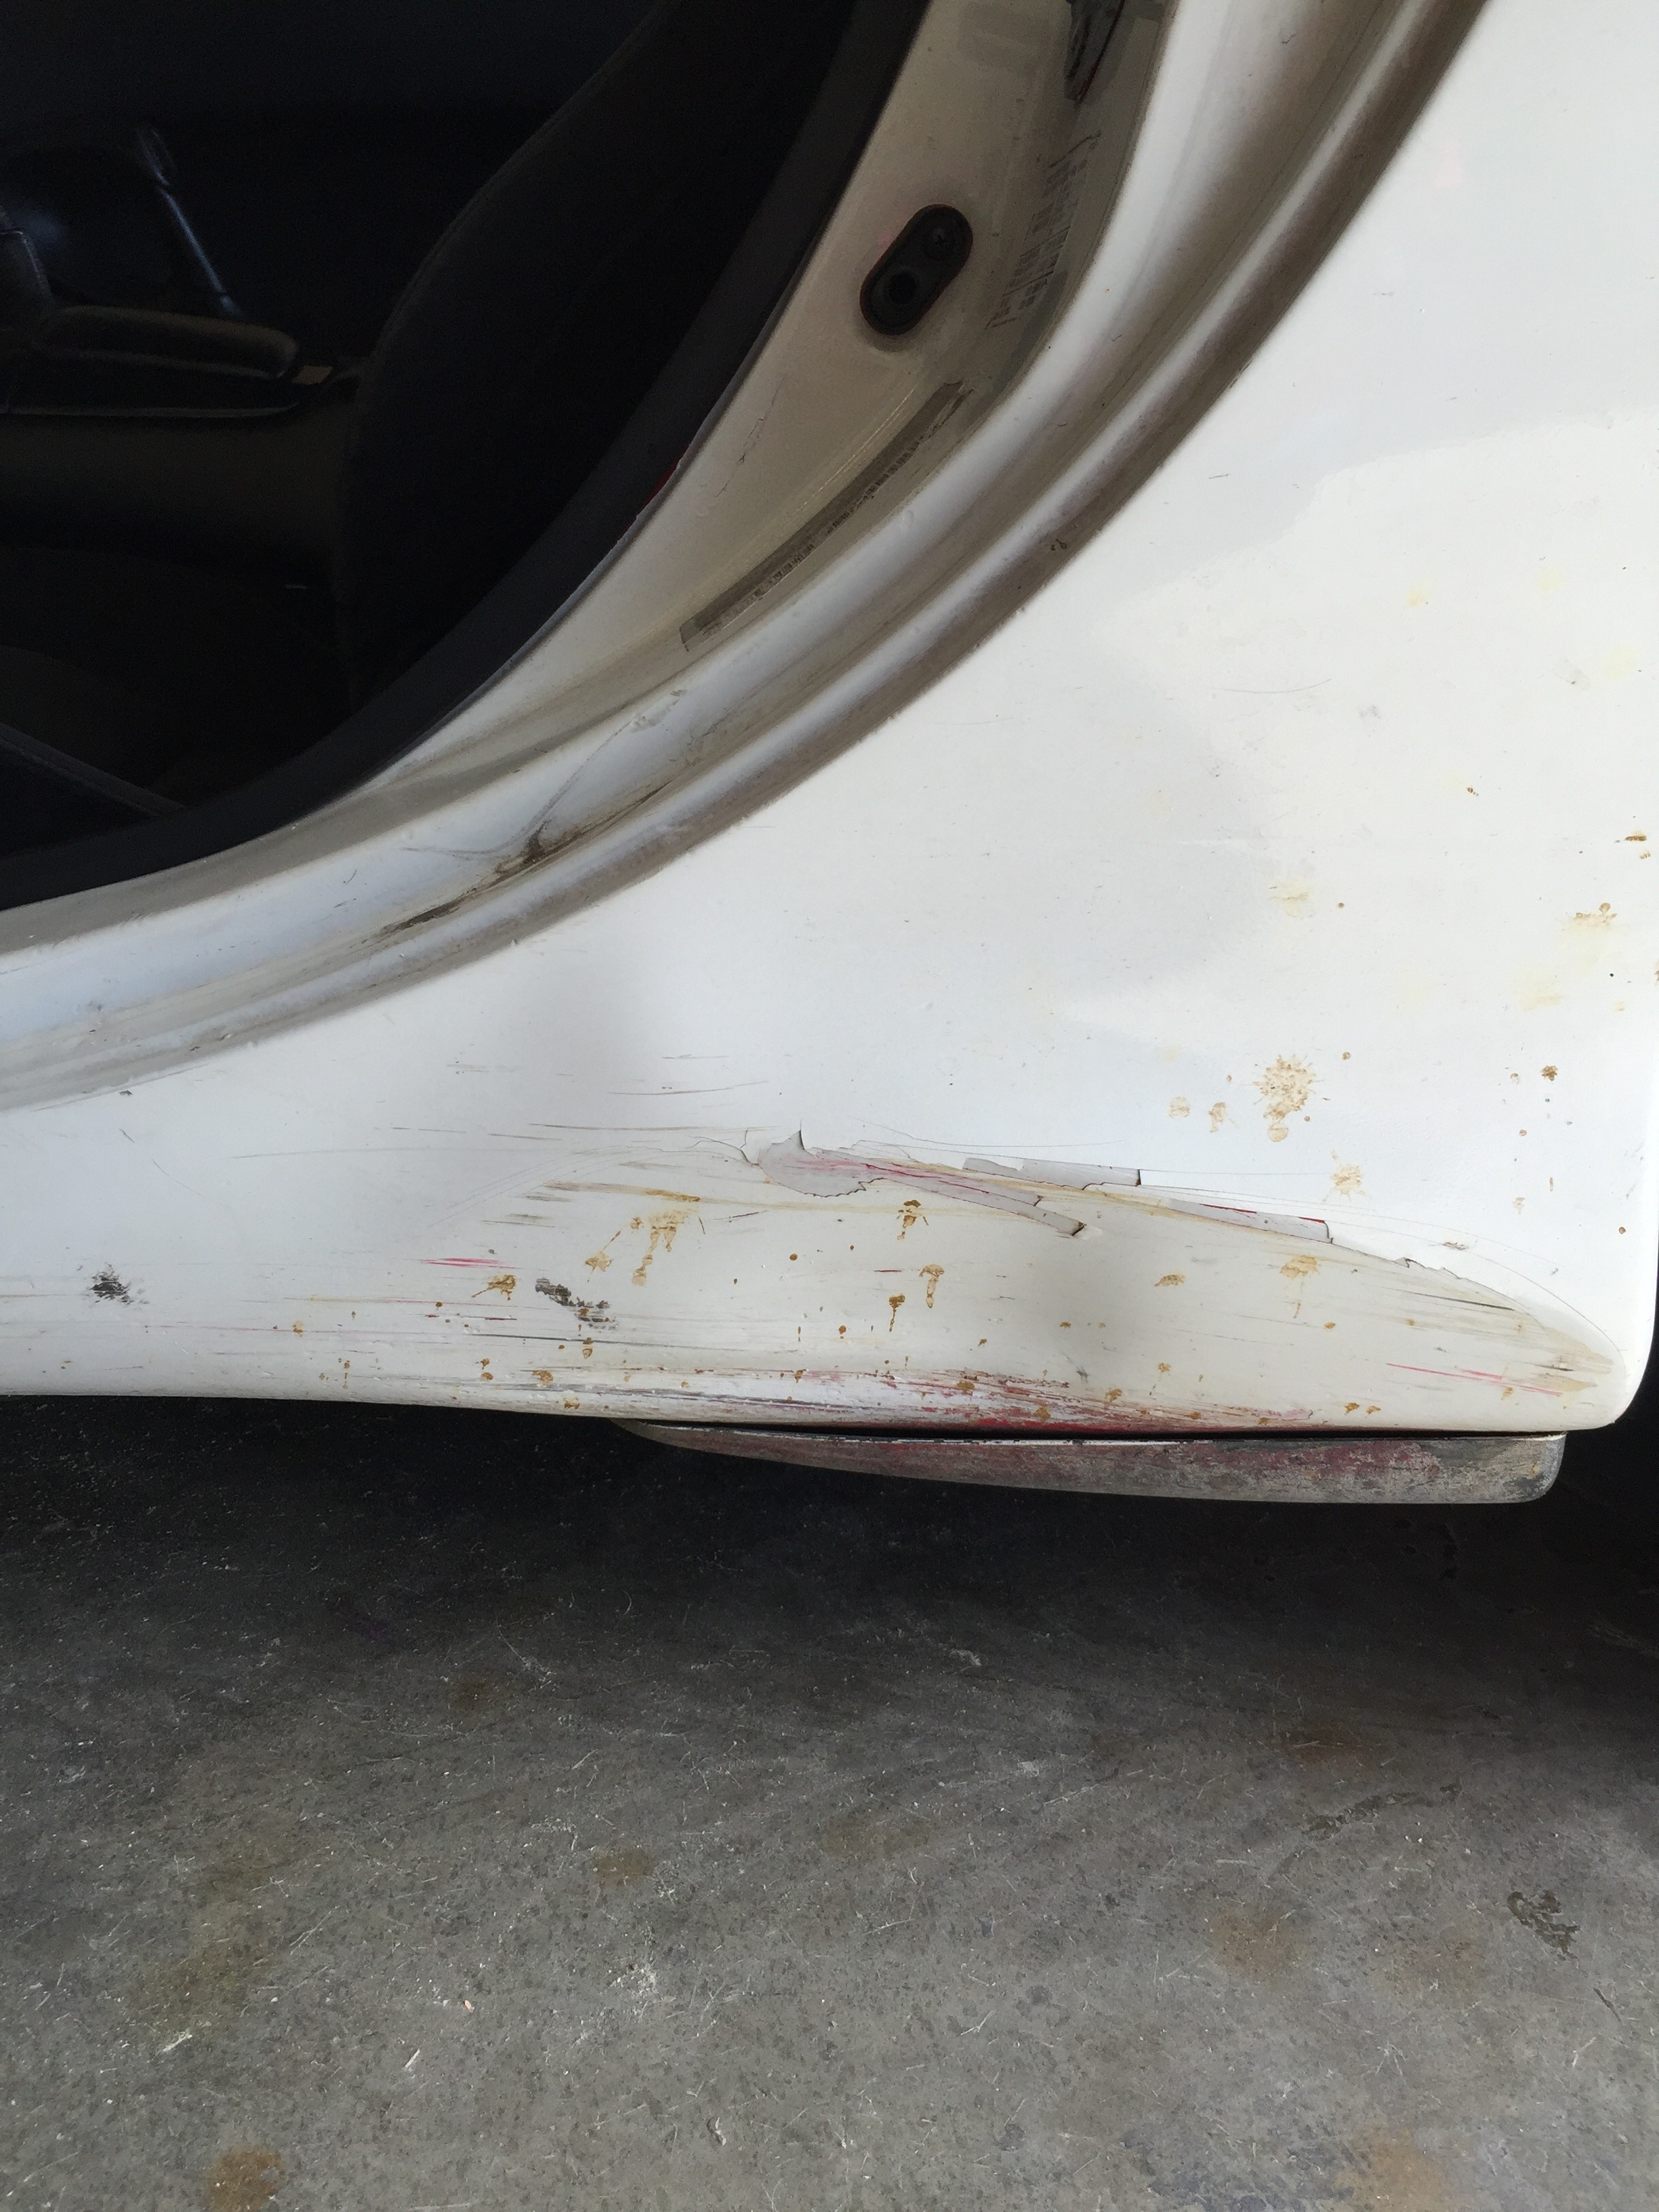
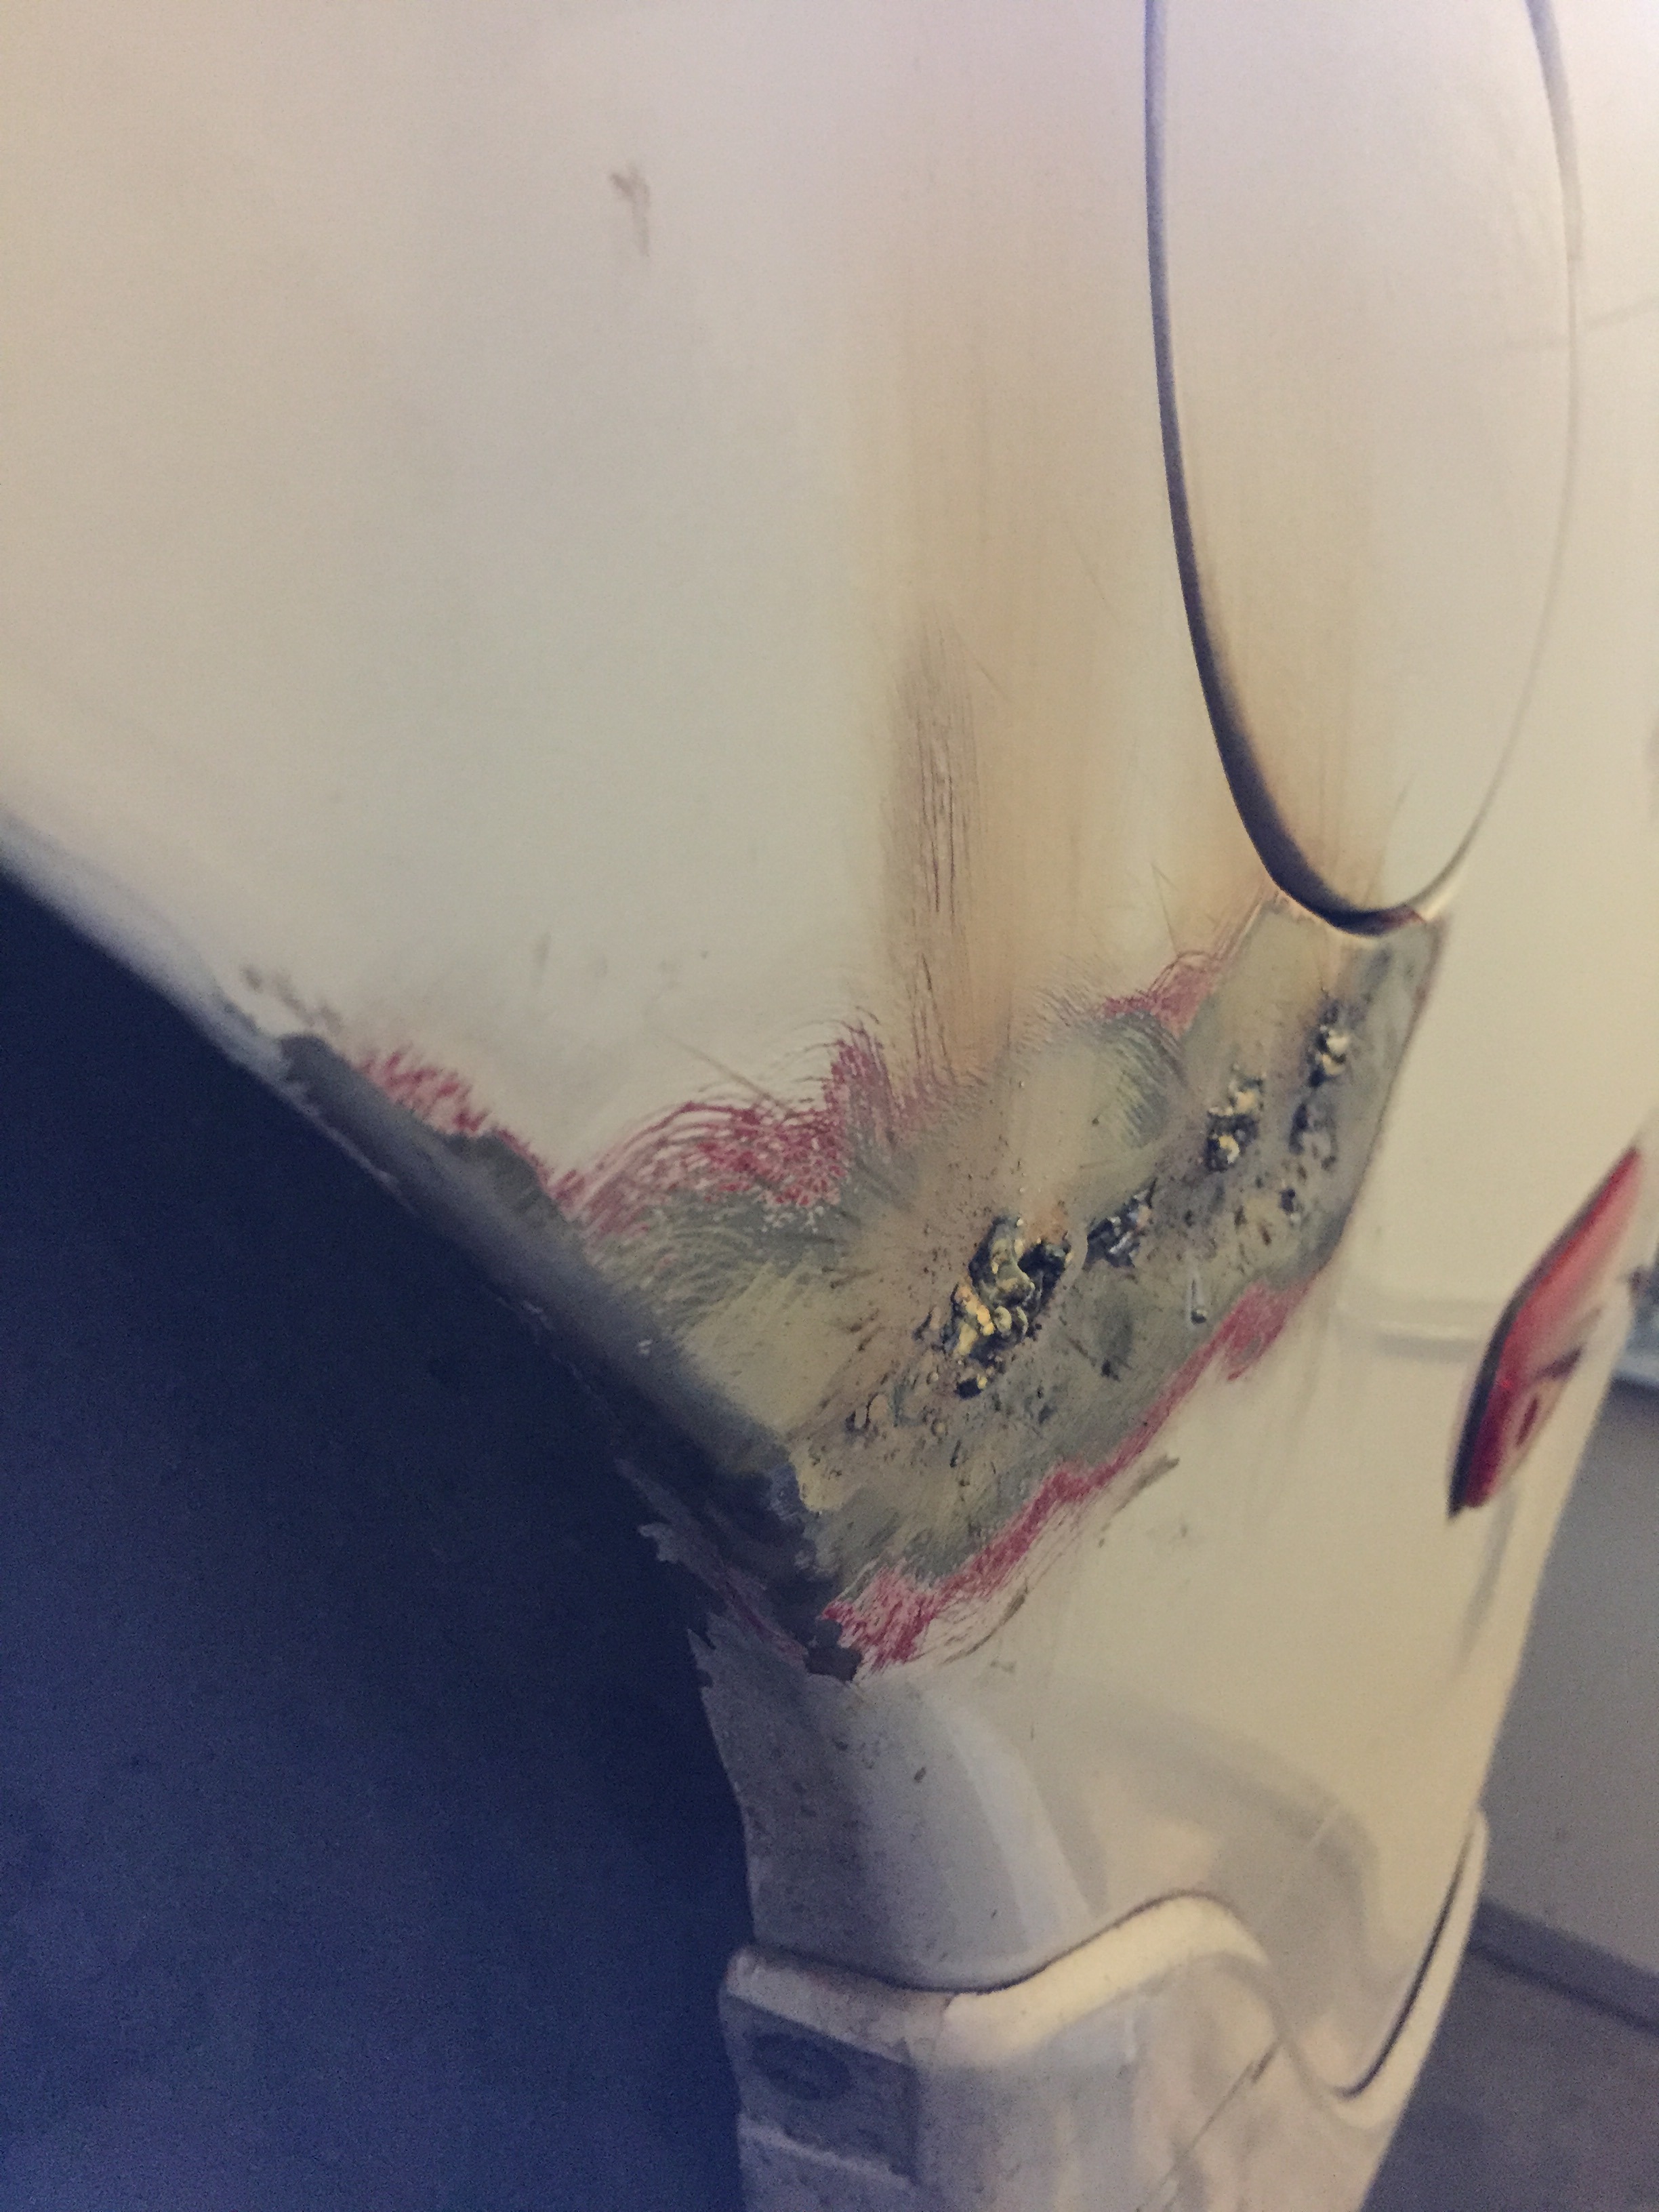
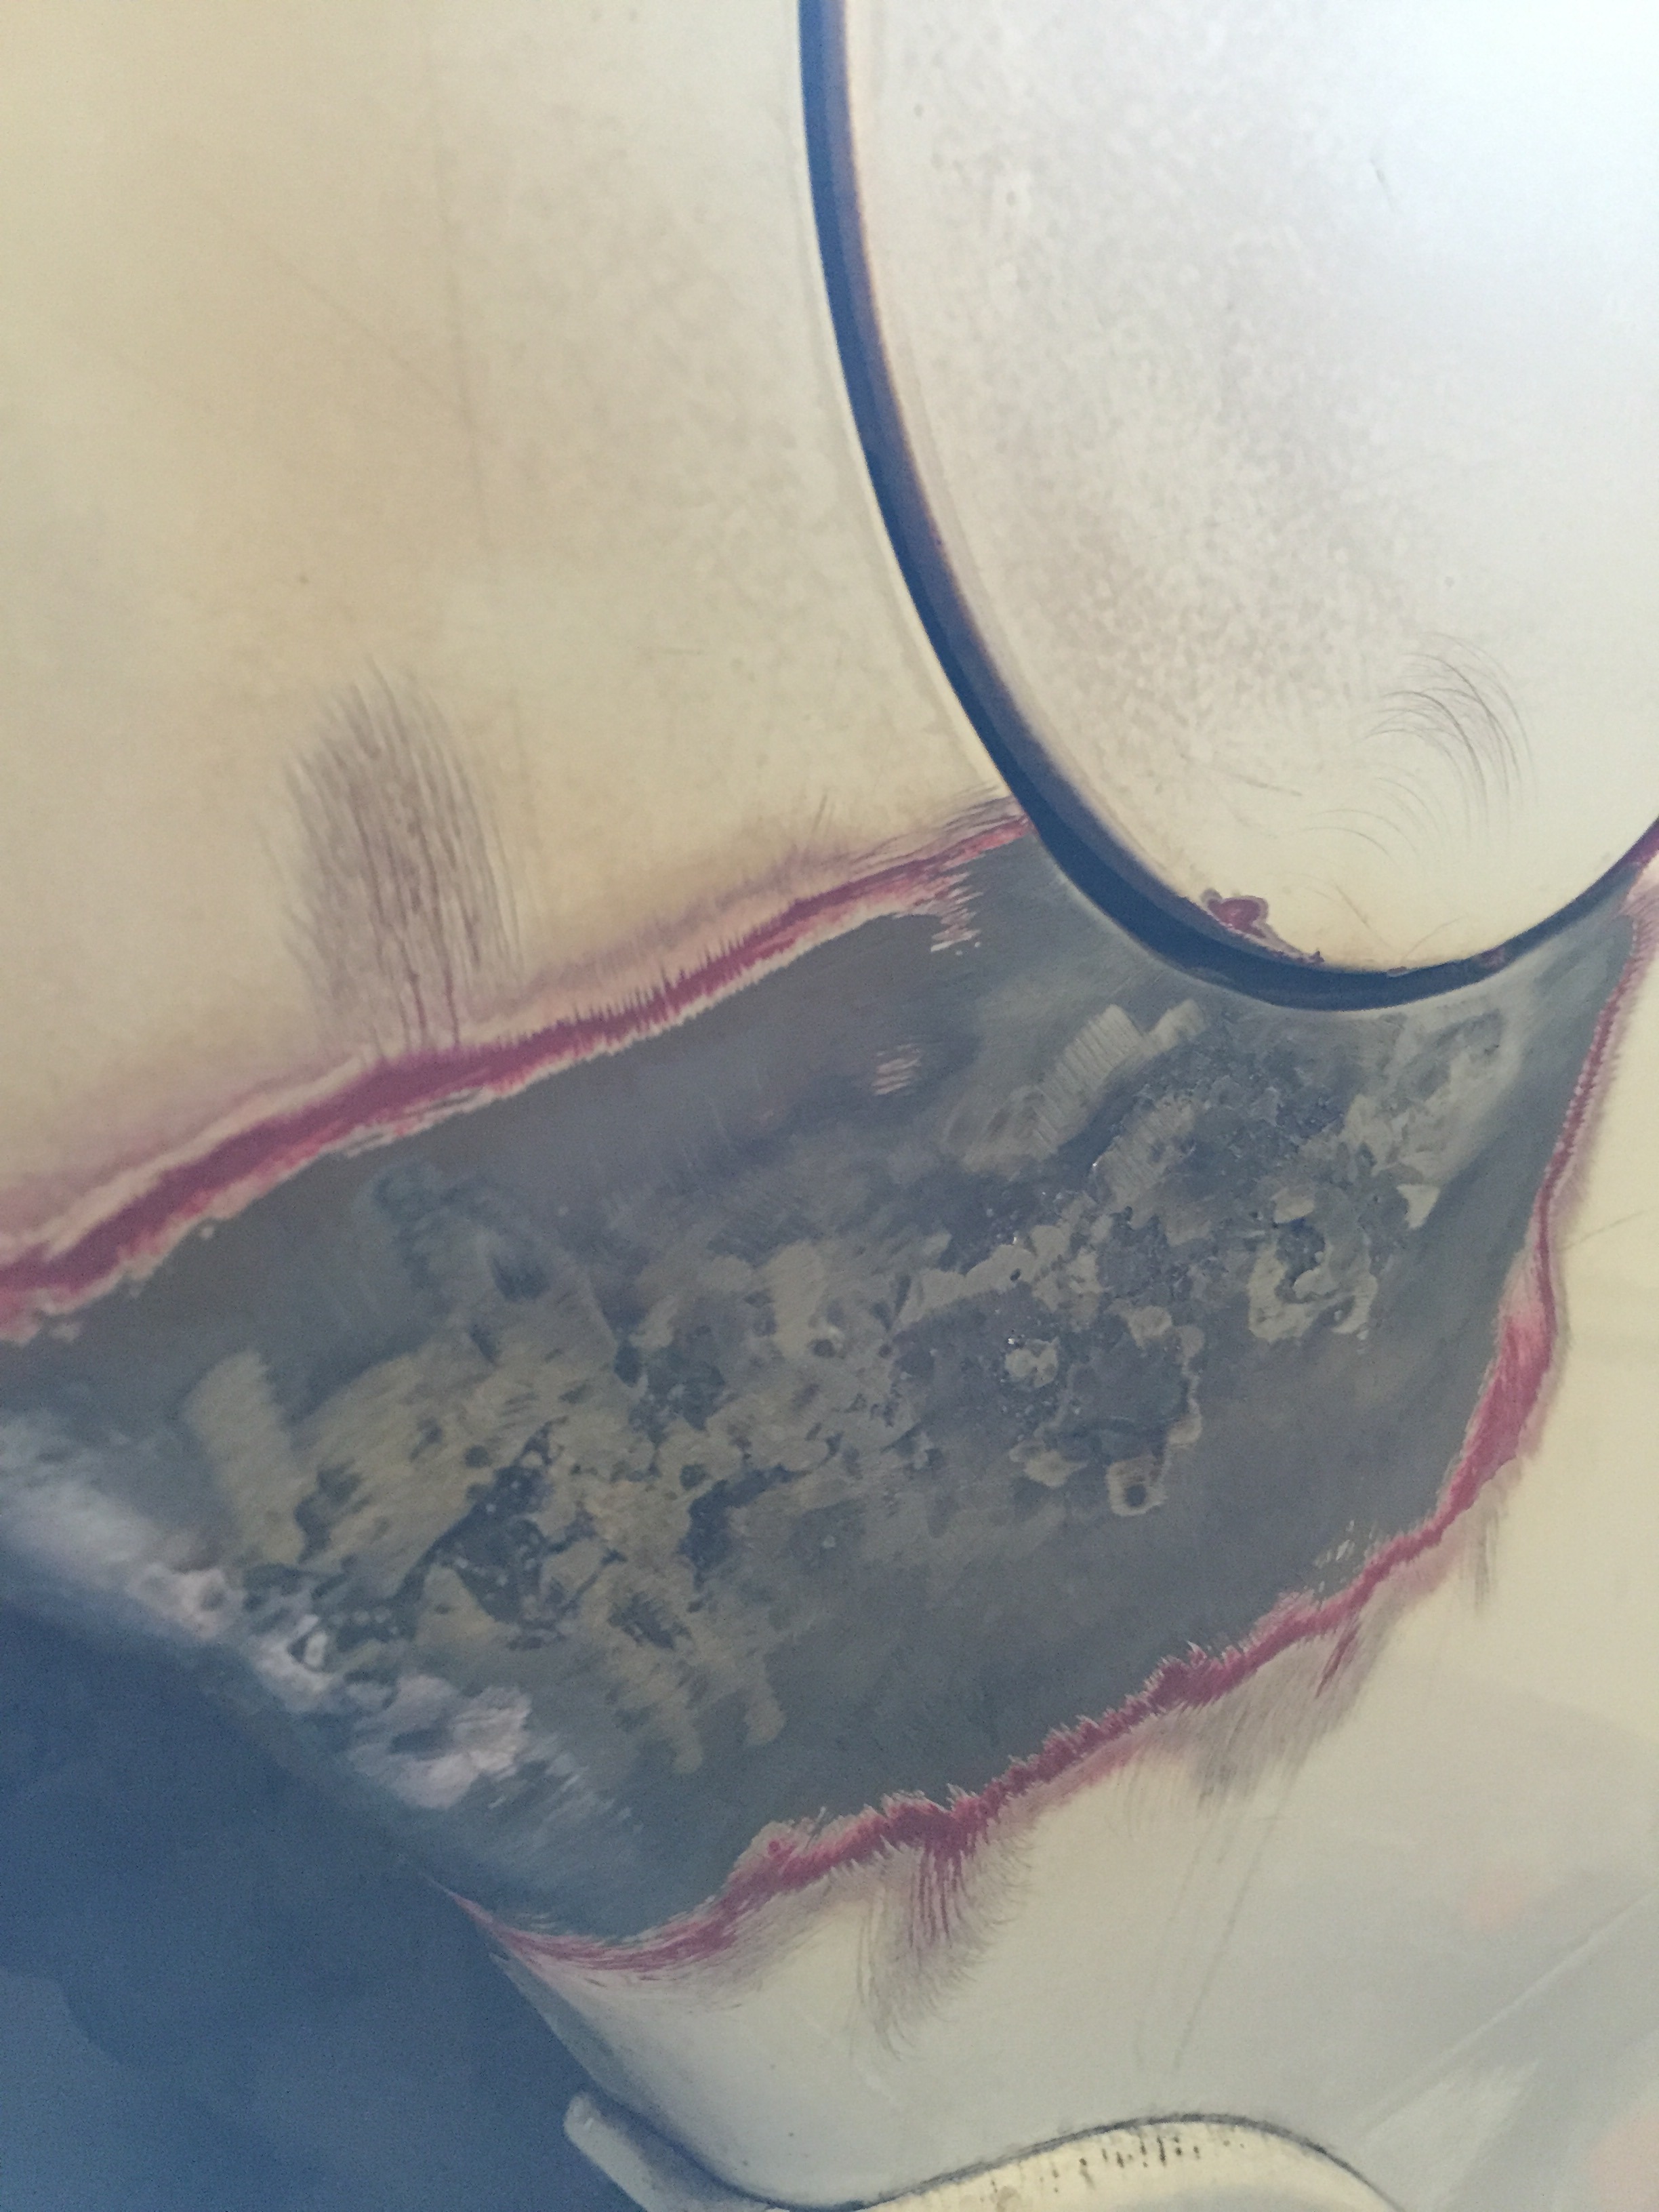
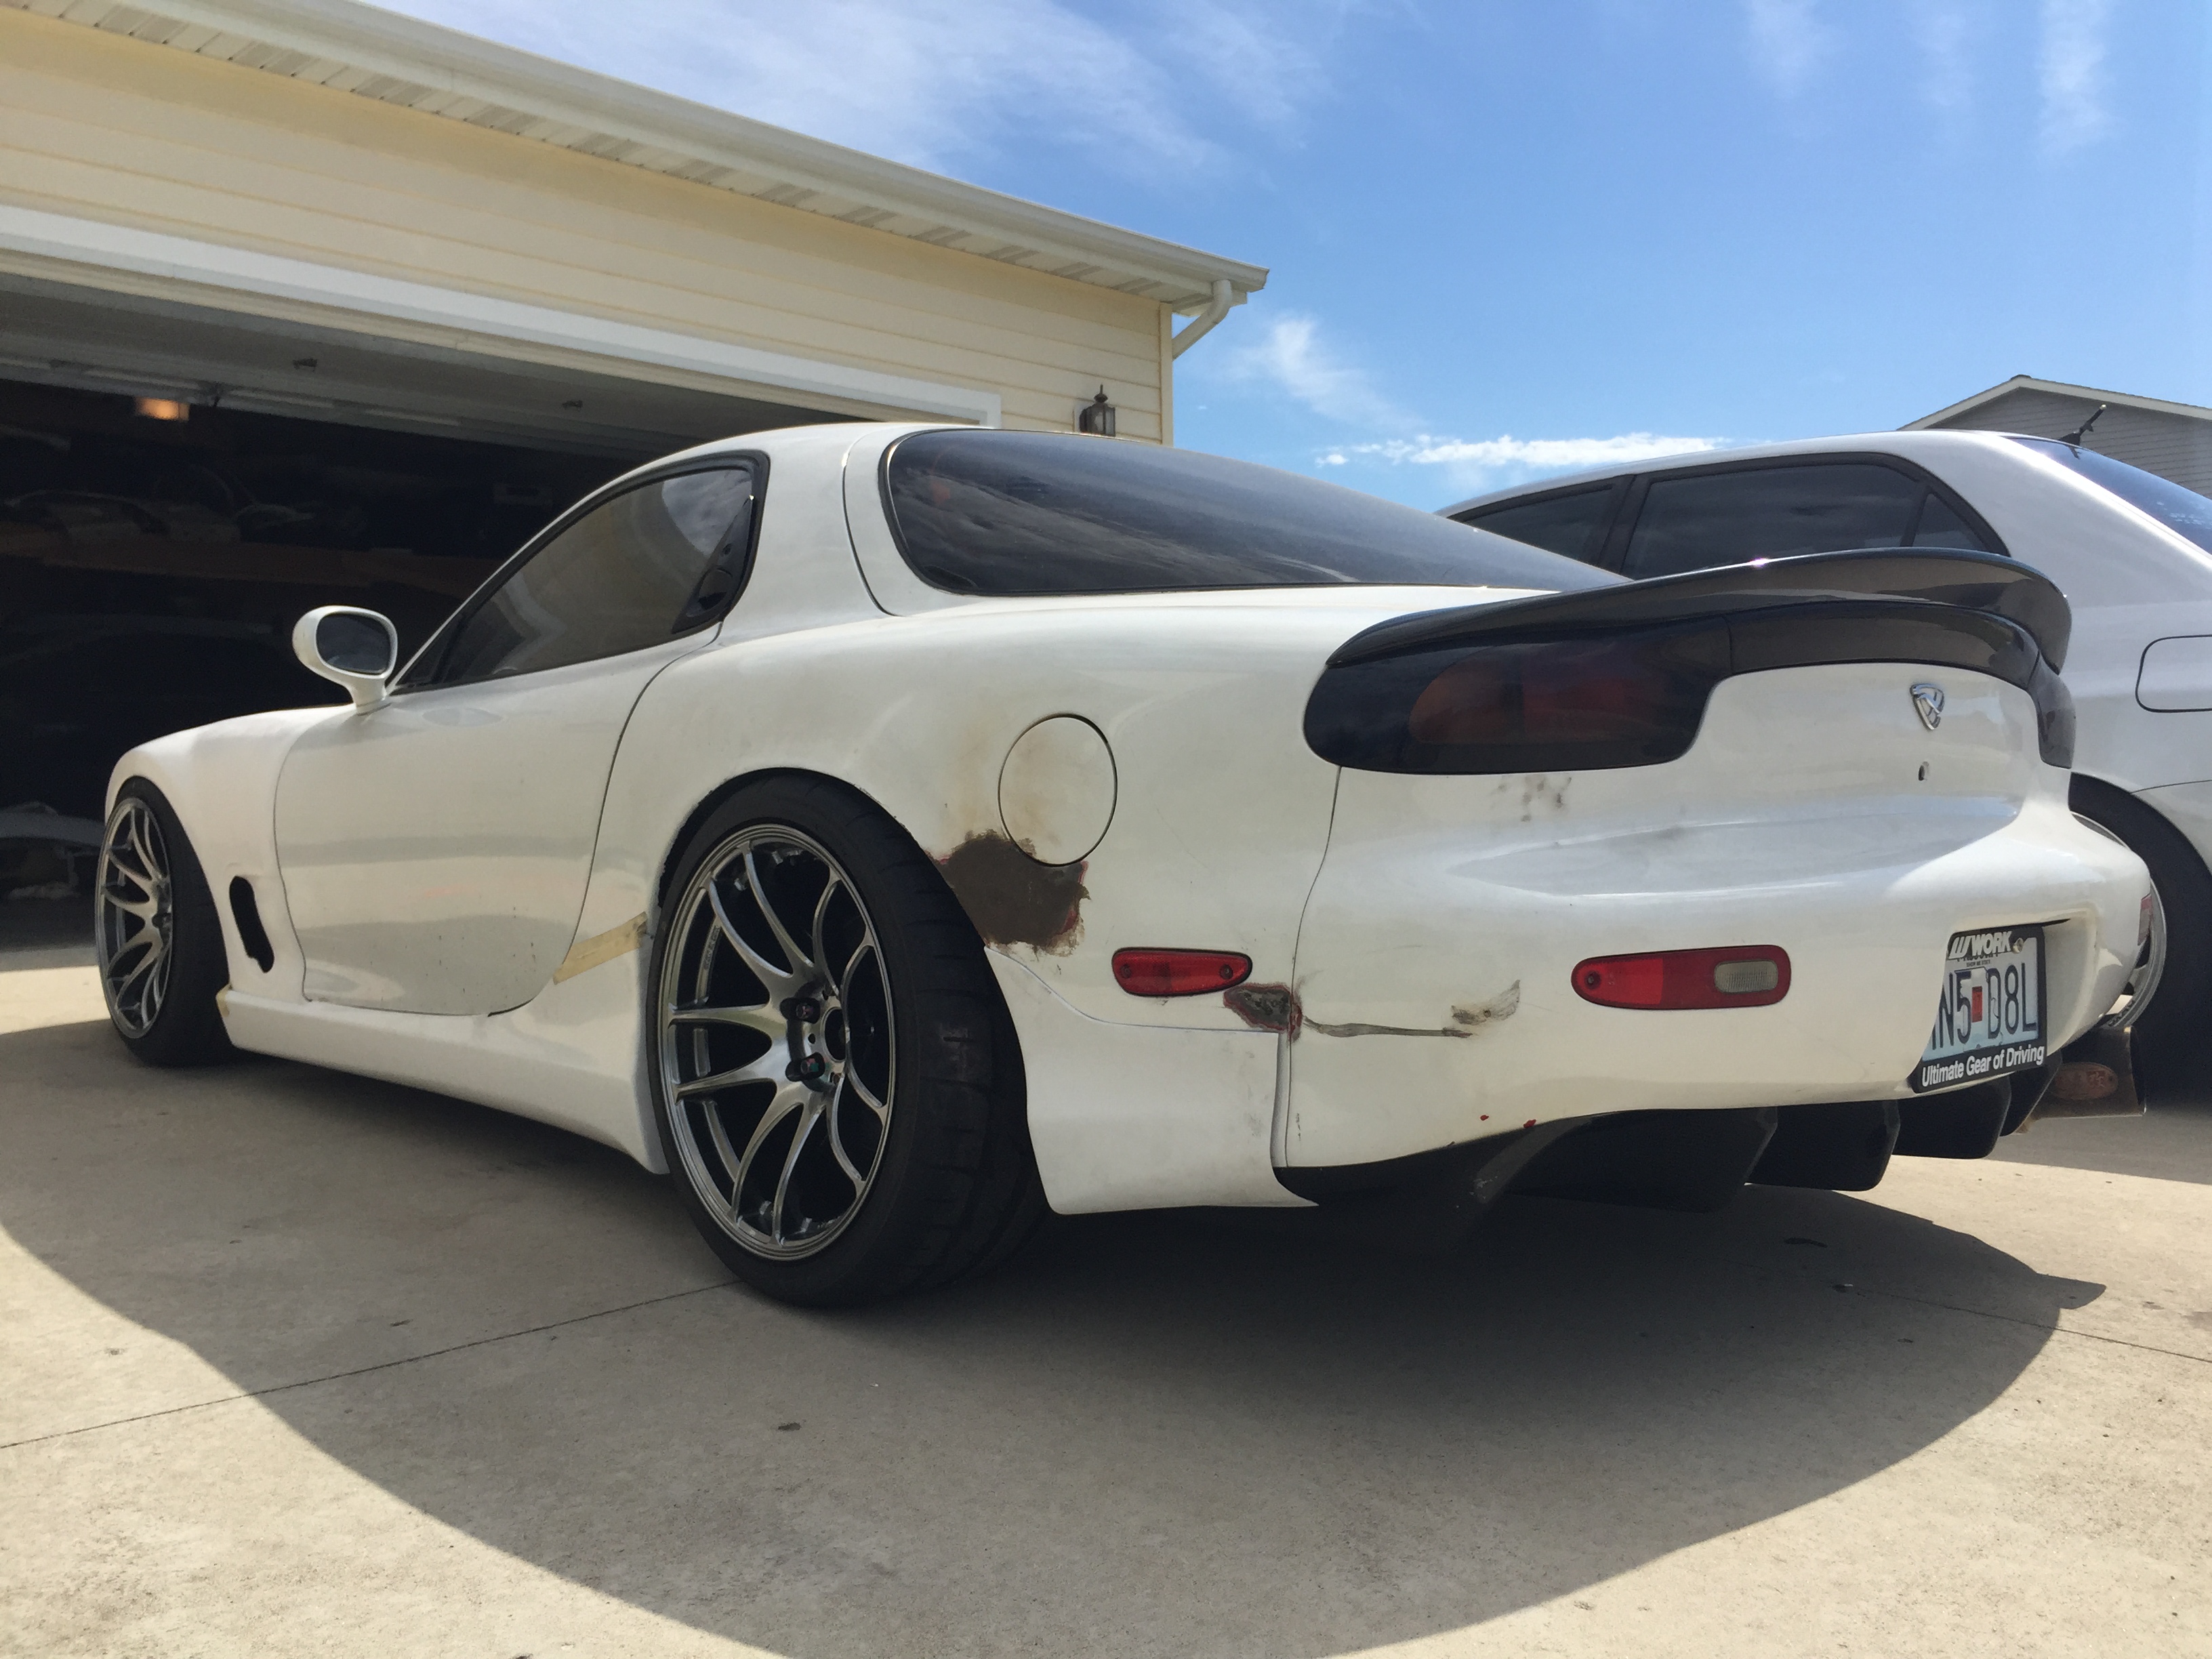
So I started investigating some more. The carfax showed clean, no wrecks at all. I knew it had recently clipped the wall at a track in Germany and was aware of that damage (for the most part), but the door threw me off. So I started investigating the side skirt area with a magnet and what do ya know, tons of bondo from some shitty body work long ago
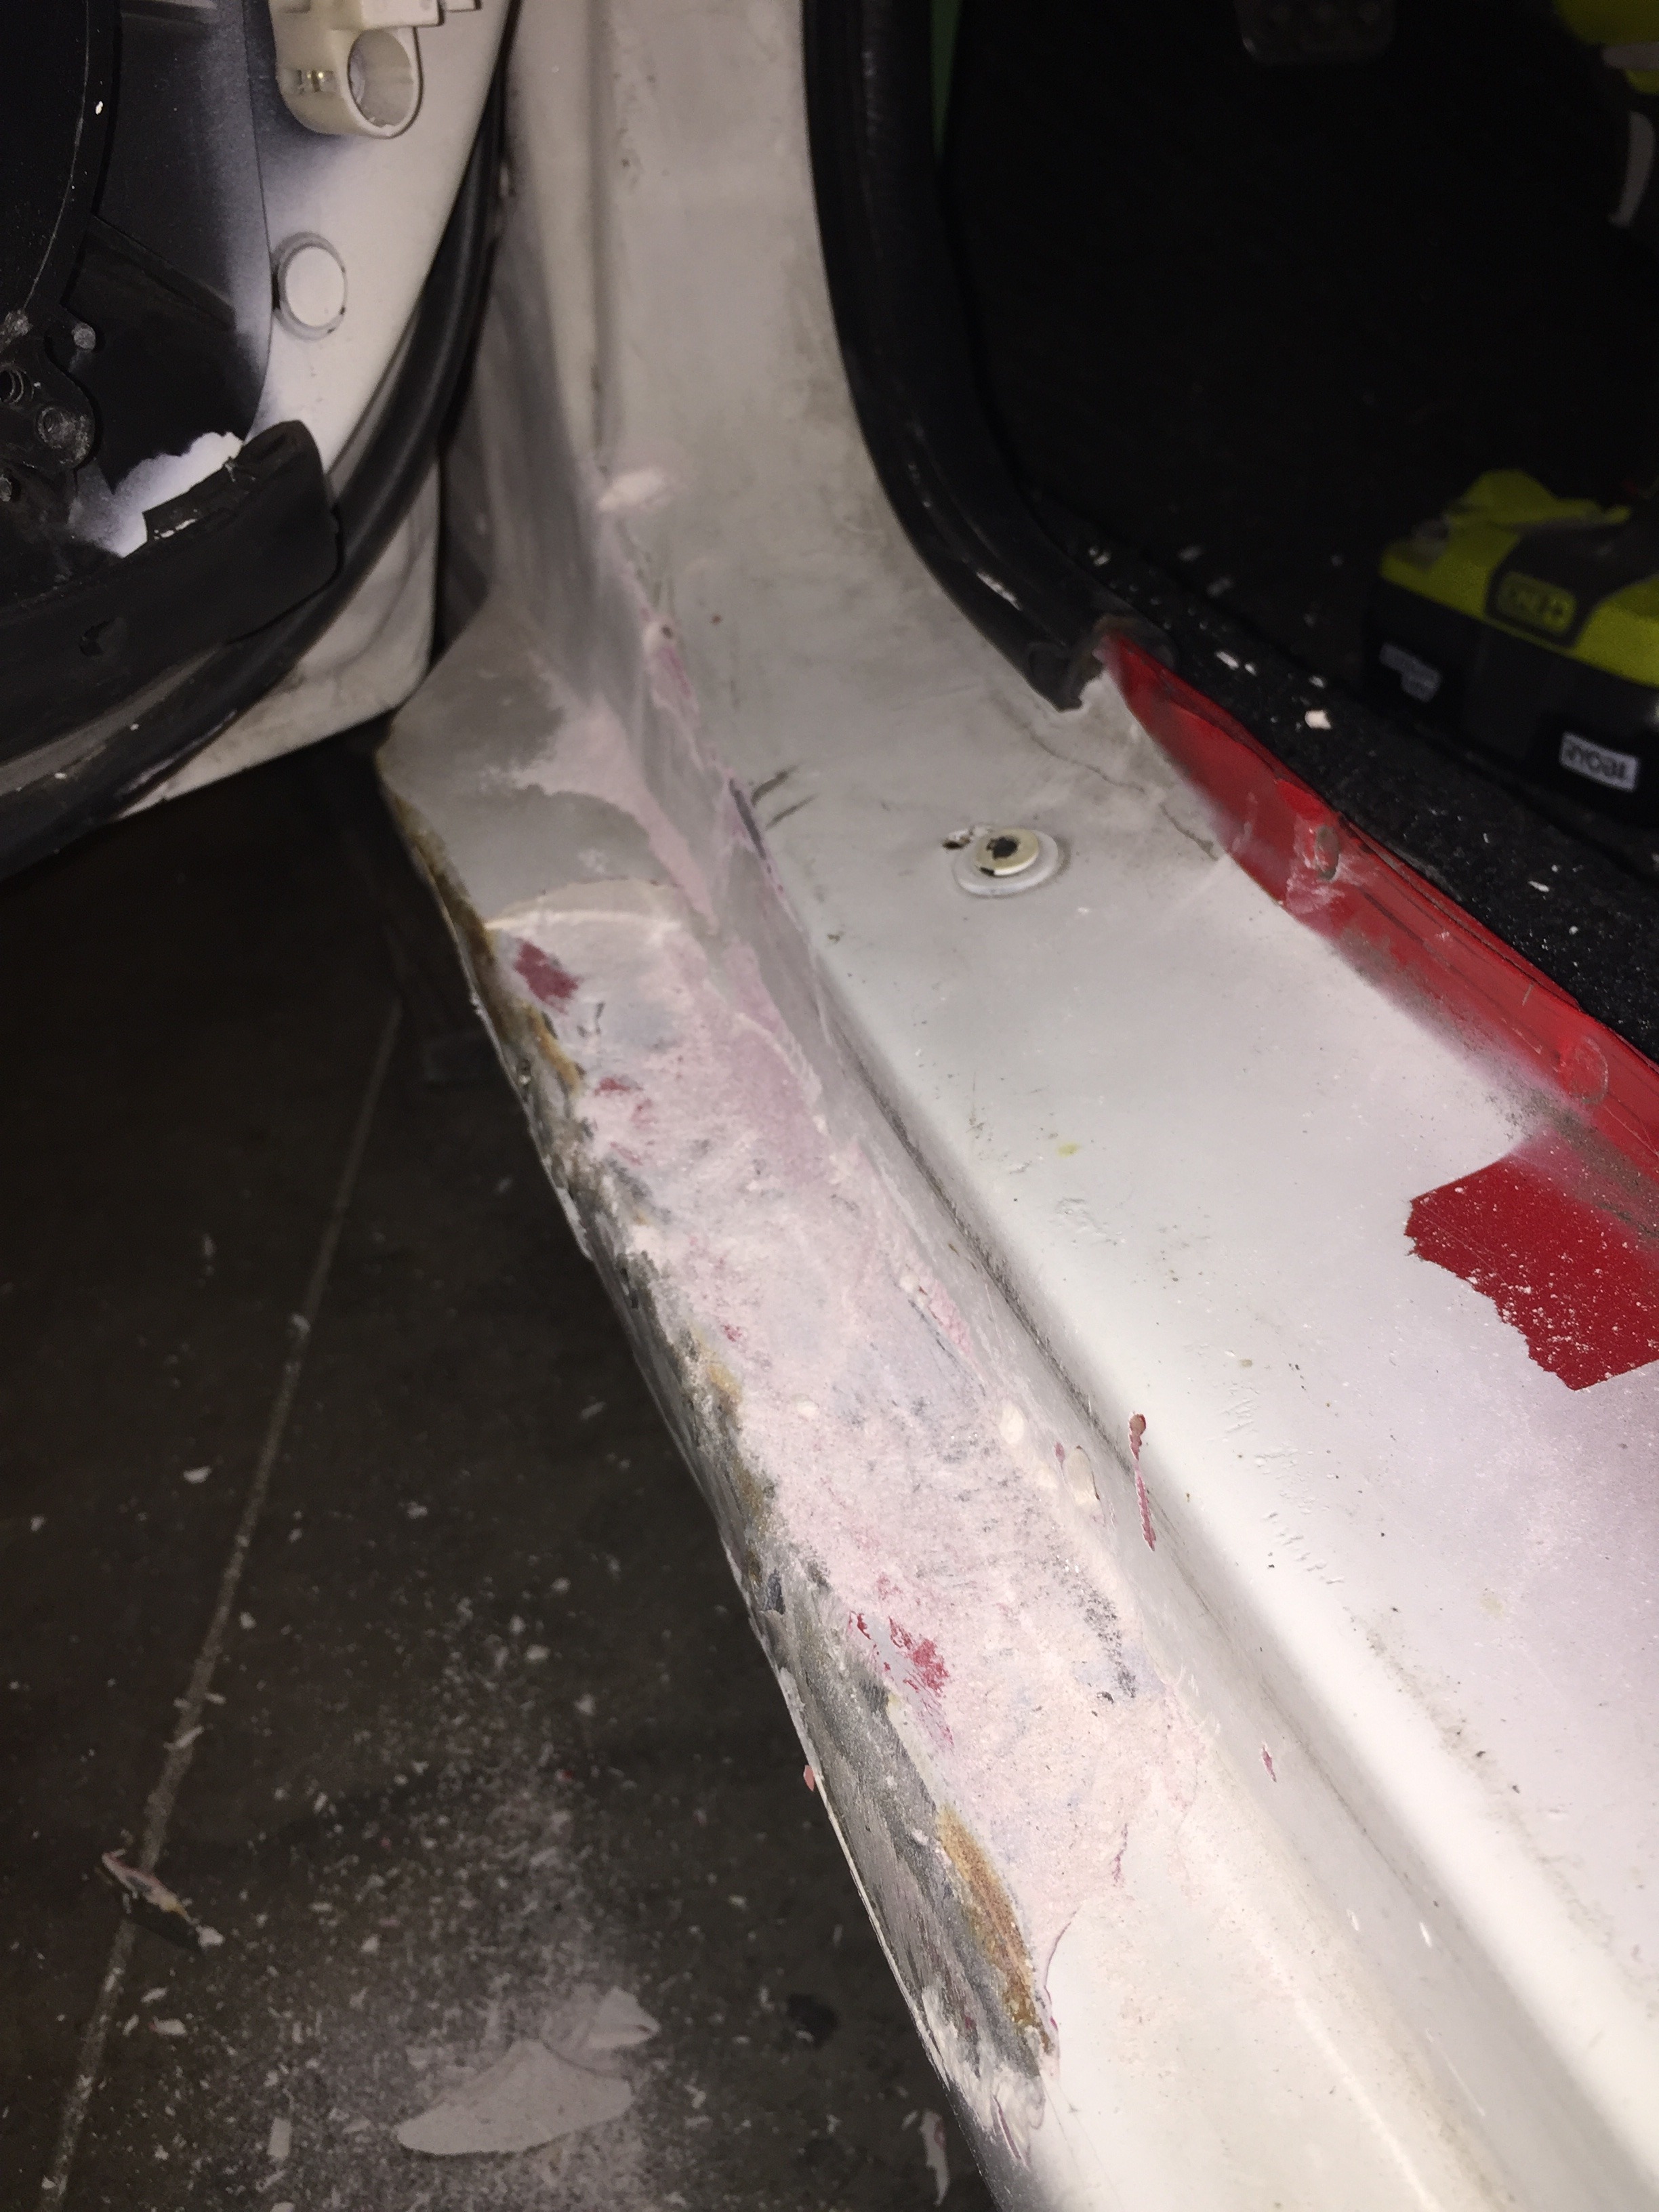
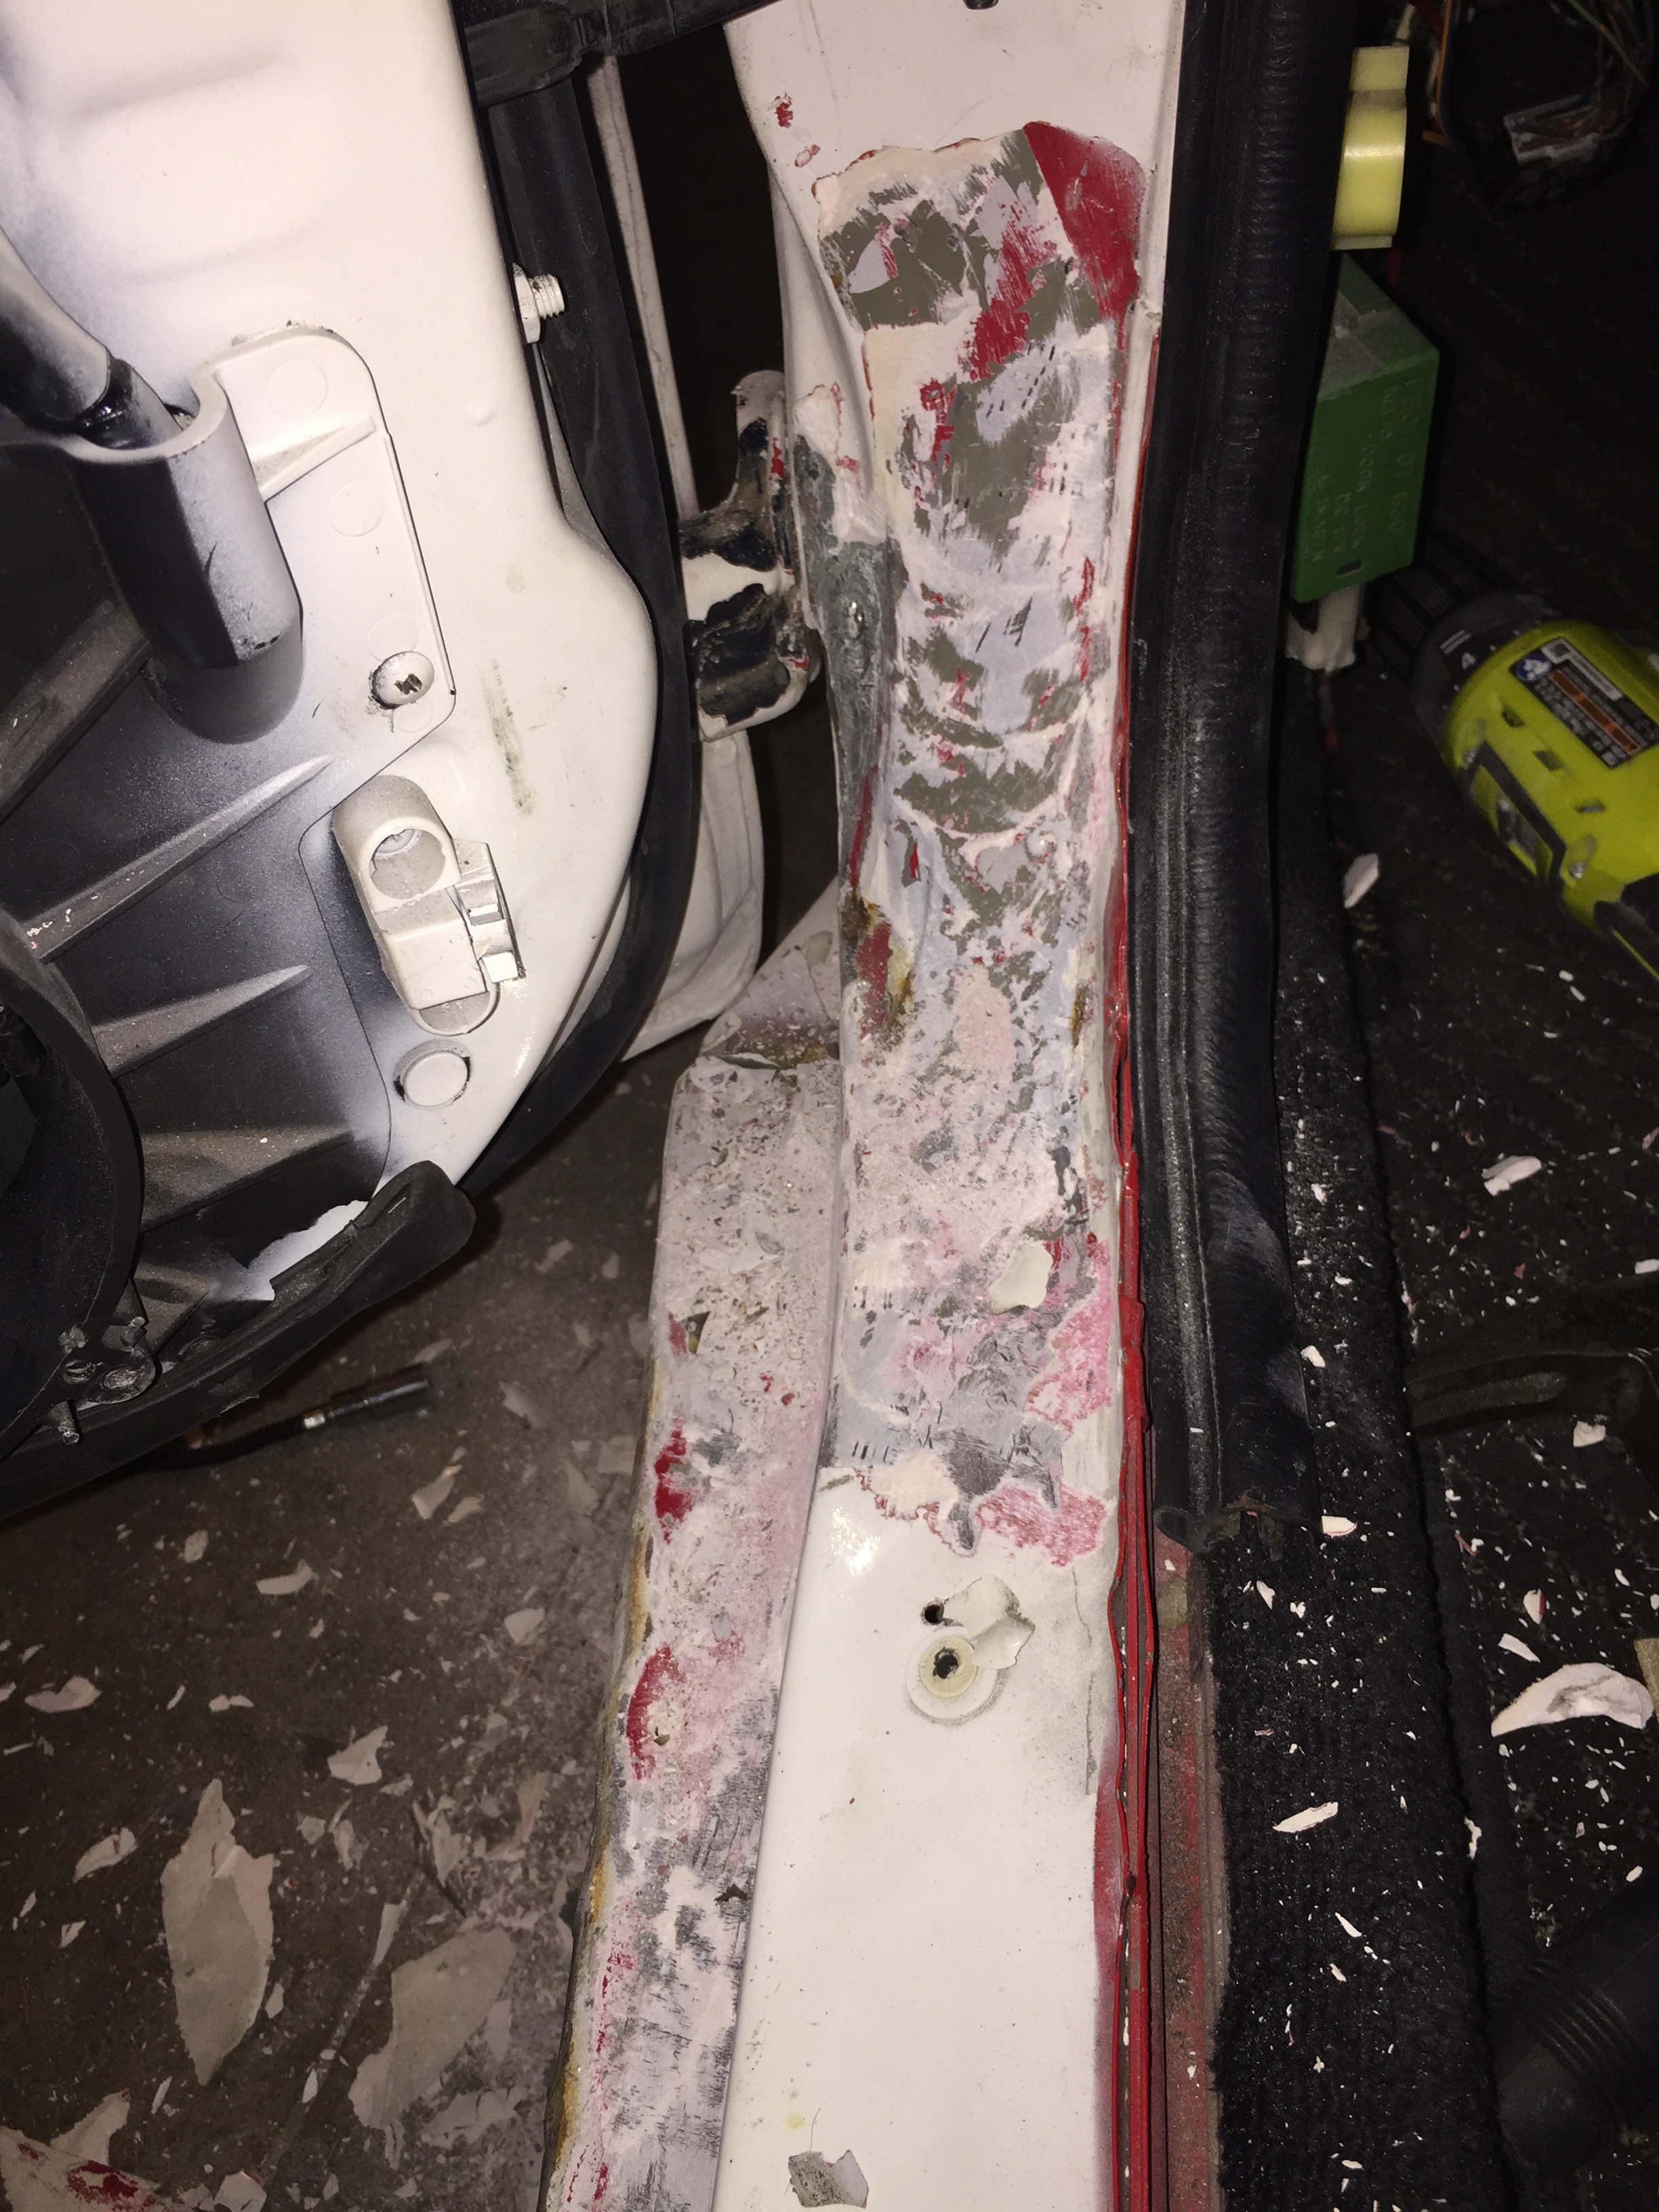
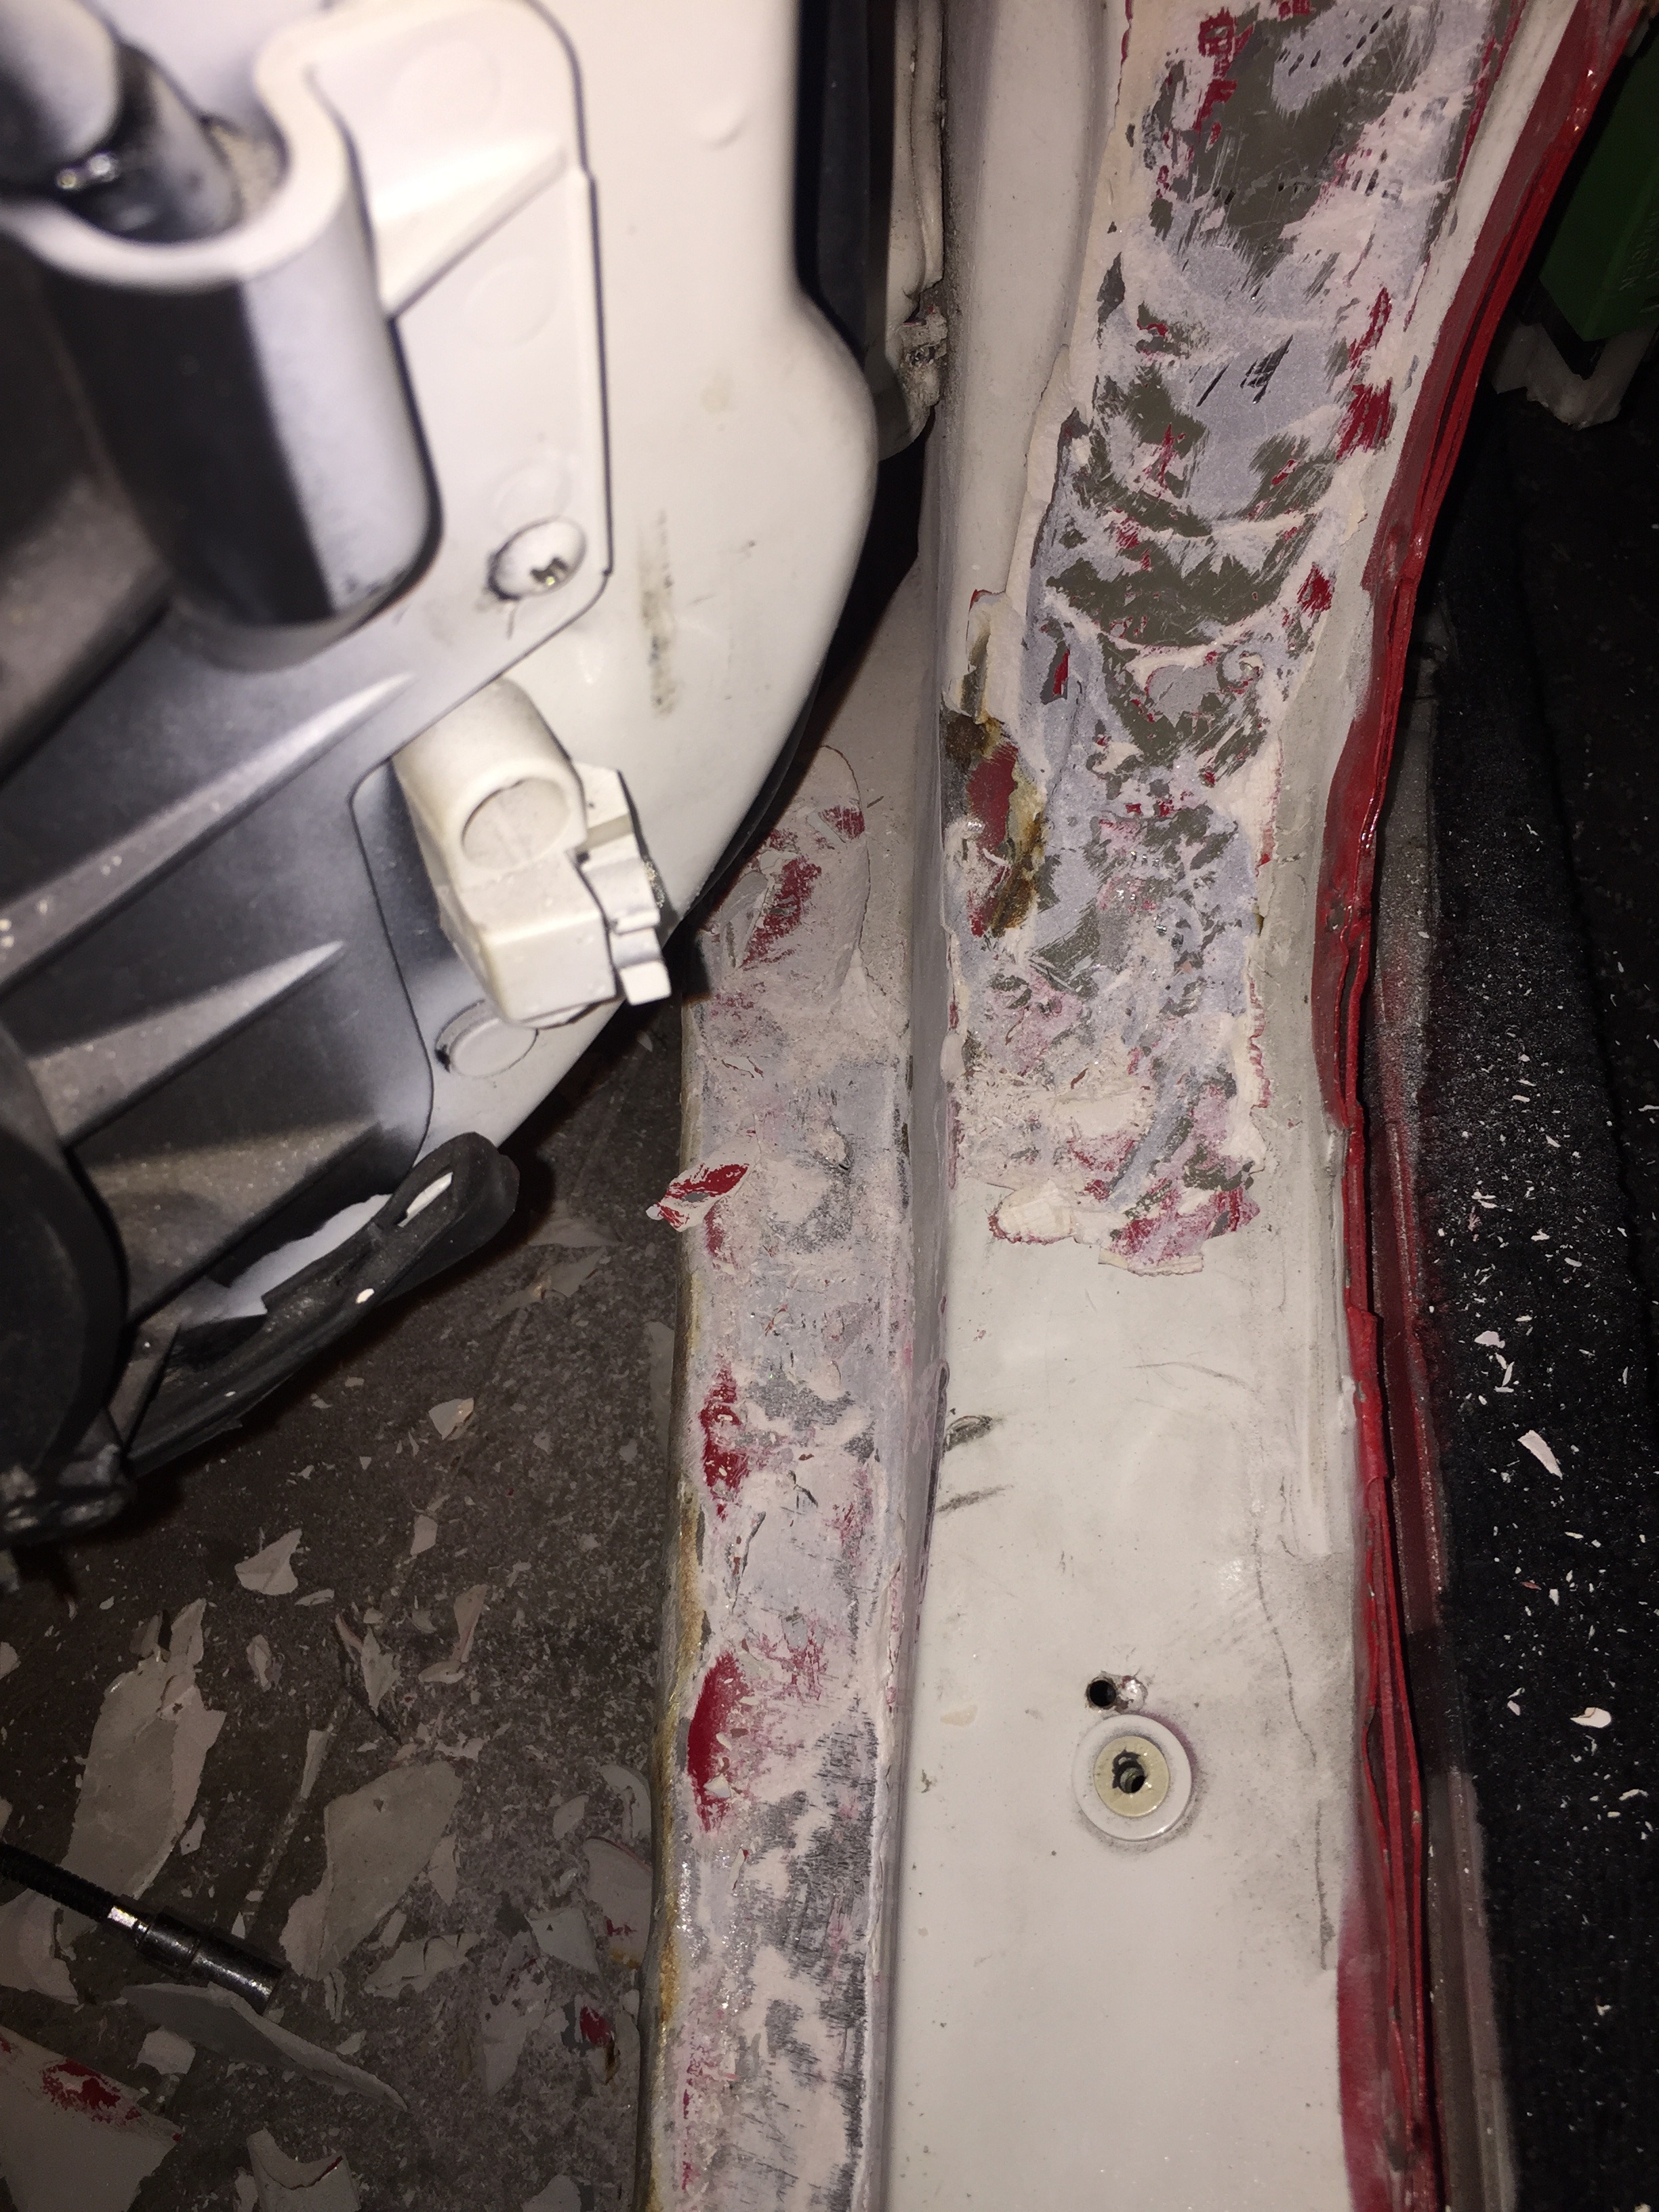
So that sucked. I am going to strip down that whole area and pull the metal out as much as possible and then resmooth it with much less bondo. I recently started getting into bodywork as a side hobby (started making a widebody for my 1995 Eclipse GSX before I decided to part it out and buy this car) so this will give me the opportunity to delve into that a bit more.

Not exactly sure on mileage because carfax shows 18x,xxx as the last mileage and the cluster isn't original to the car and shows 8x,xxx. I wasn't worried about mileage though since nearly everything was replaced (and I won't feel bad driving the car a lot and racking up the miles). Previous owner rebuilt the motor, made a vmount setup, installed ID 750/1000cc injectors, walbro 255 fuel pump, rebuilt differential, all new superpro bushings, os giken twin plate clutch, stance coilovers, haltech ps1000, 3" exhaust, ST sway bars, and a few other things. It came with a spare transmission and stock turbos as well. Oh, and it has work xt7 wheels which I will be selling here soon. I picked it up for what I thought was a steal, but upon getting the car here I feel it was still a good deal, but not as good as I thought. ( I knew I was taking a chance buying it without being able to see it)
I knew it needed the wiring redone so I went ahead and ordered loom and adhesive lined heatshrink.

I drove the car from the trailer into my garage and started tearing it down (wiring was laying on the front tires, no way I was driving it).


Haltech wiring was just laying in the floorboard ( I knew this, hence I ordered loom before even getting the car in)

I was a bit surprised to find two different color doors

So I started investigating some more. The carfax showed clean, no wrecks at all. I knew it had recently clipped the wall at a track in Germany and was aware of that damage (for the most part), but the door threw me off. So I started investigating the side skirt area with a magnet and what do ya know, tons of bondo from some shitty body work long ago


So that sucked. I am going to strip down that whole area and pull the metal out as much as possible and then resmooth it with much less bondo. I recently started getting into bodywork as a side hobby (started making a widebody for my 1995 Eclipse GSX before I decided to part it out and buy this car) so this will give me the opportunity to delve into that a bit more.
Thread Starter
Full Member
Joined: Apr 2015
Posts: 140
Likes: 5
From: Great Falls, MT
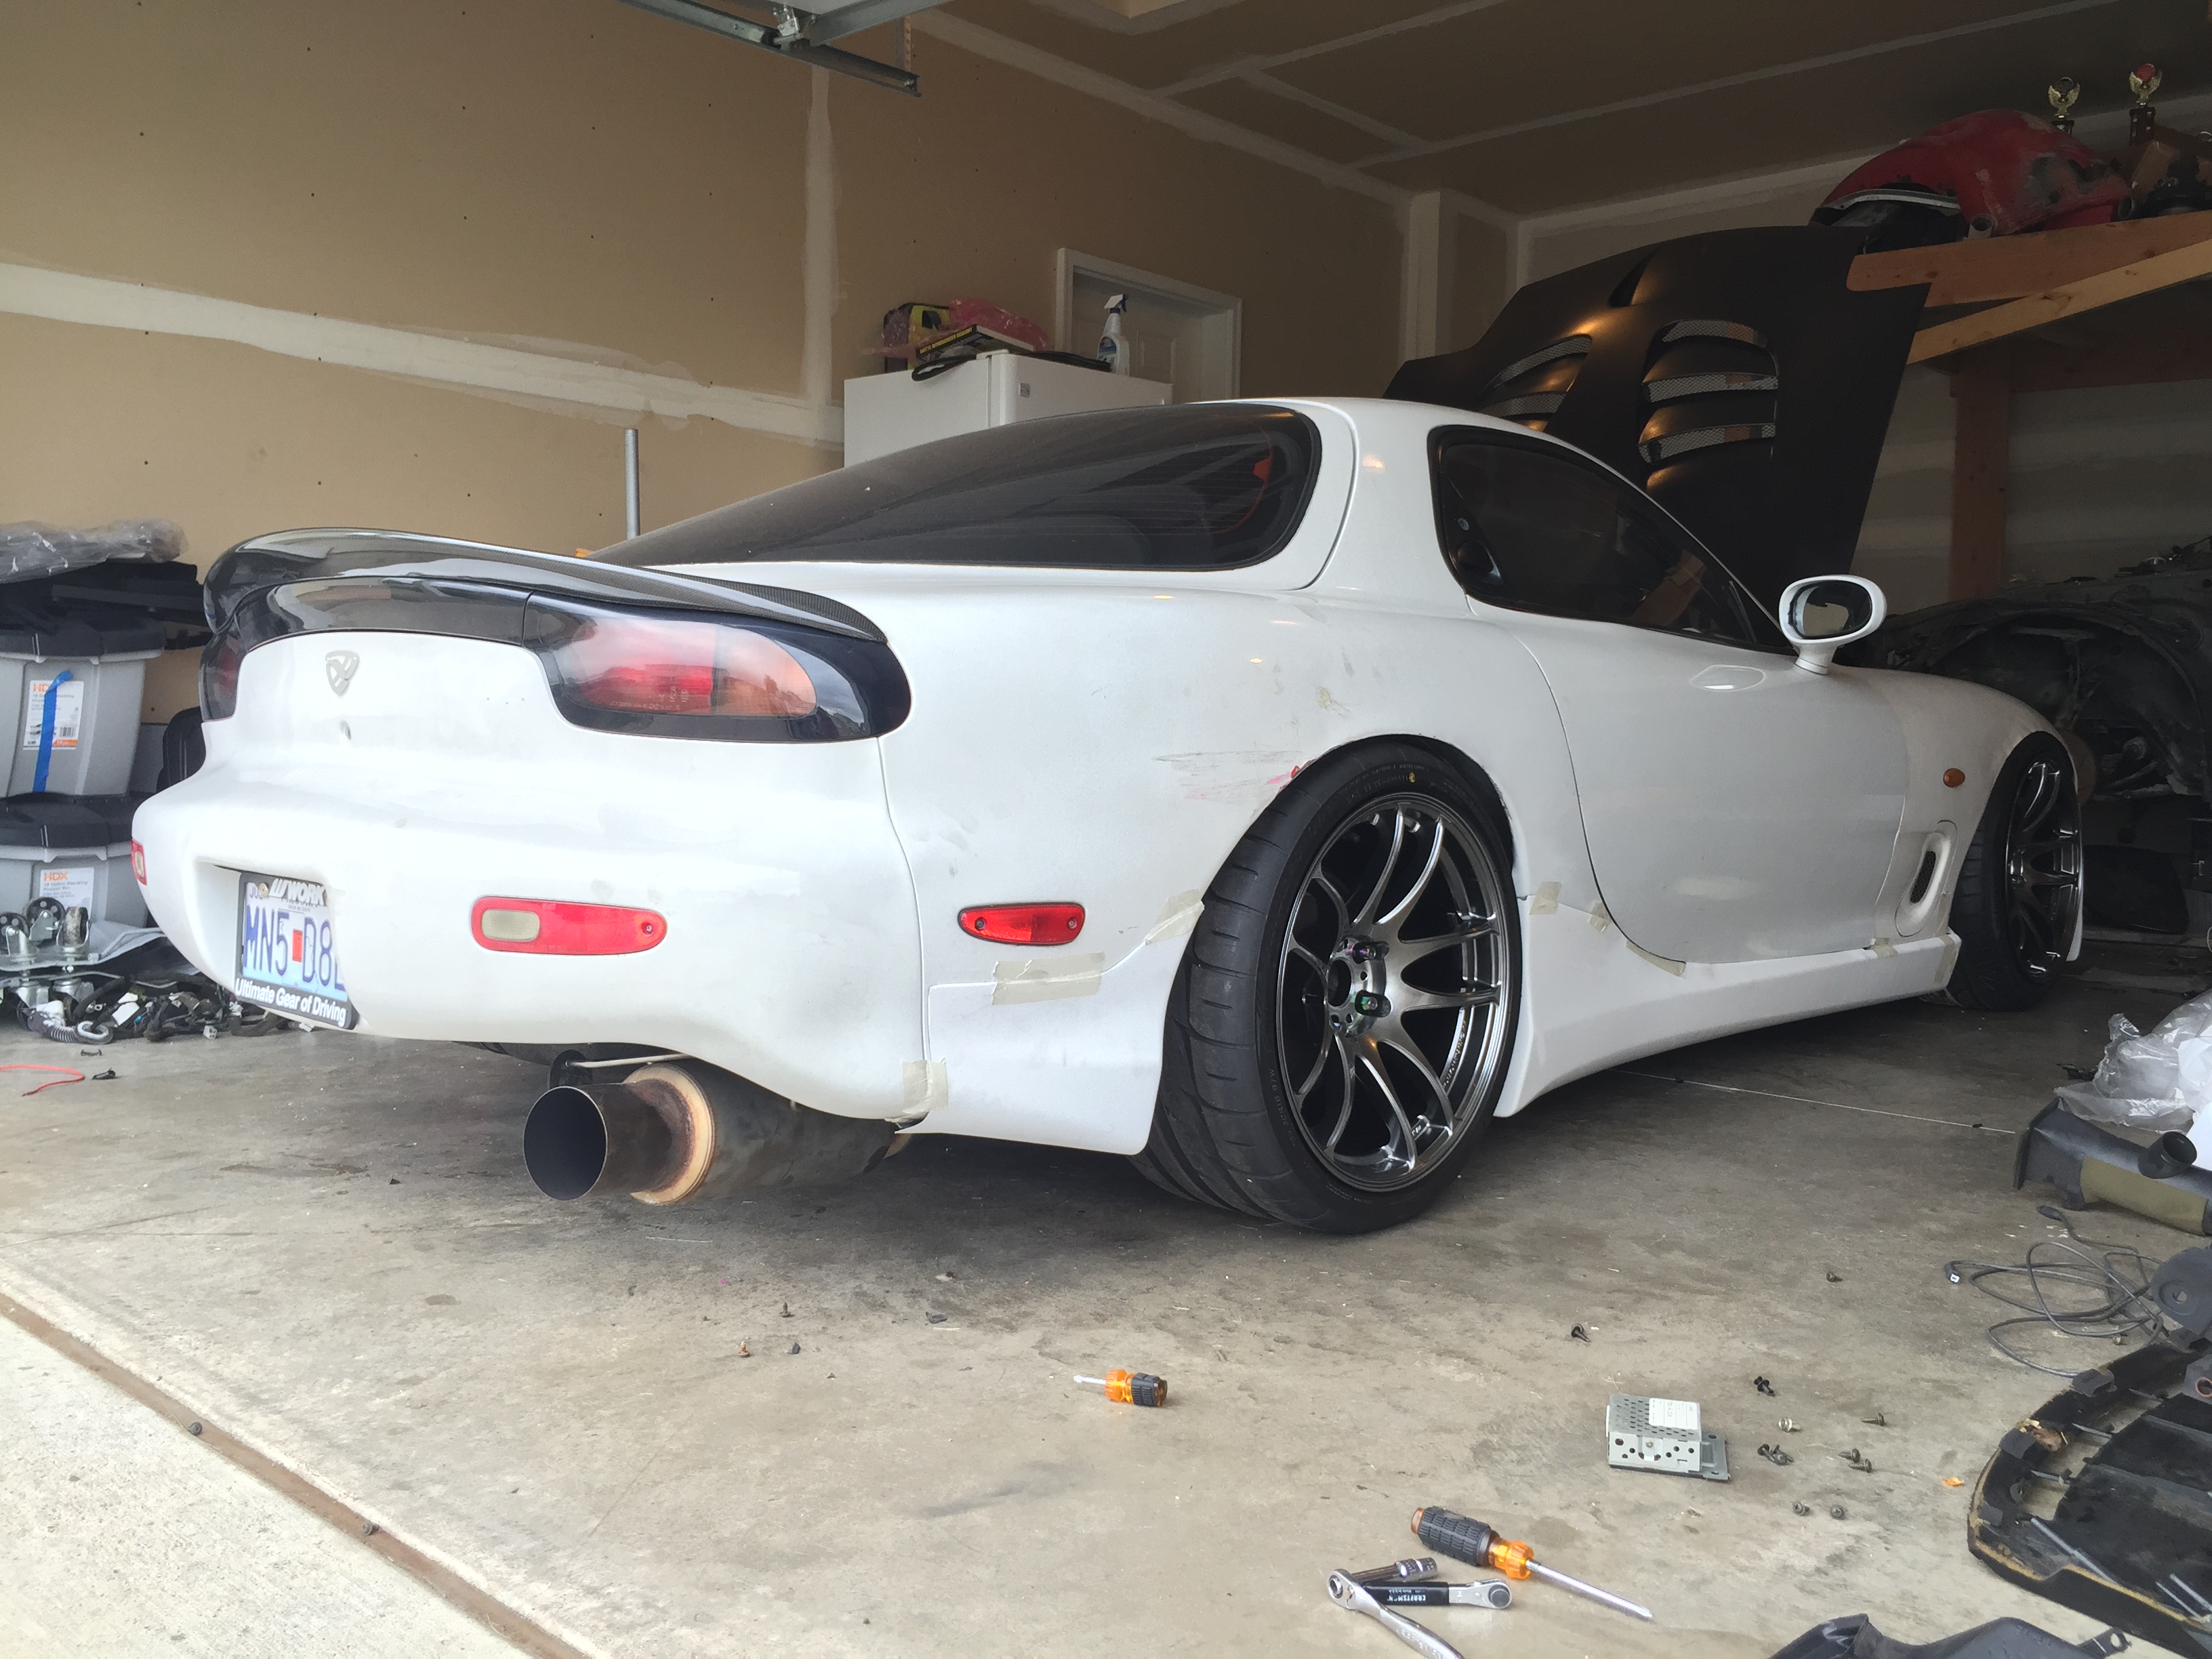
Anyhow, here is the damage I knew about. I plan on doing a widebody kit so it didn't worry me since it would all be covered up/cut/molded anyhow
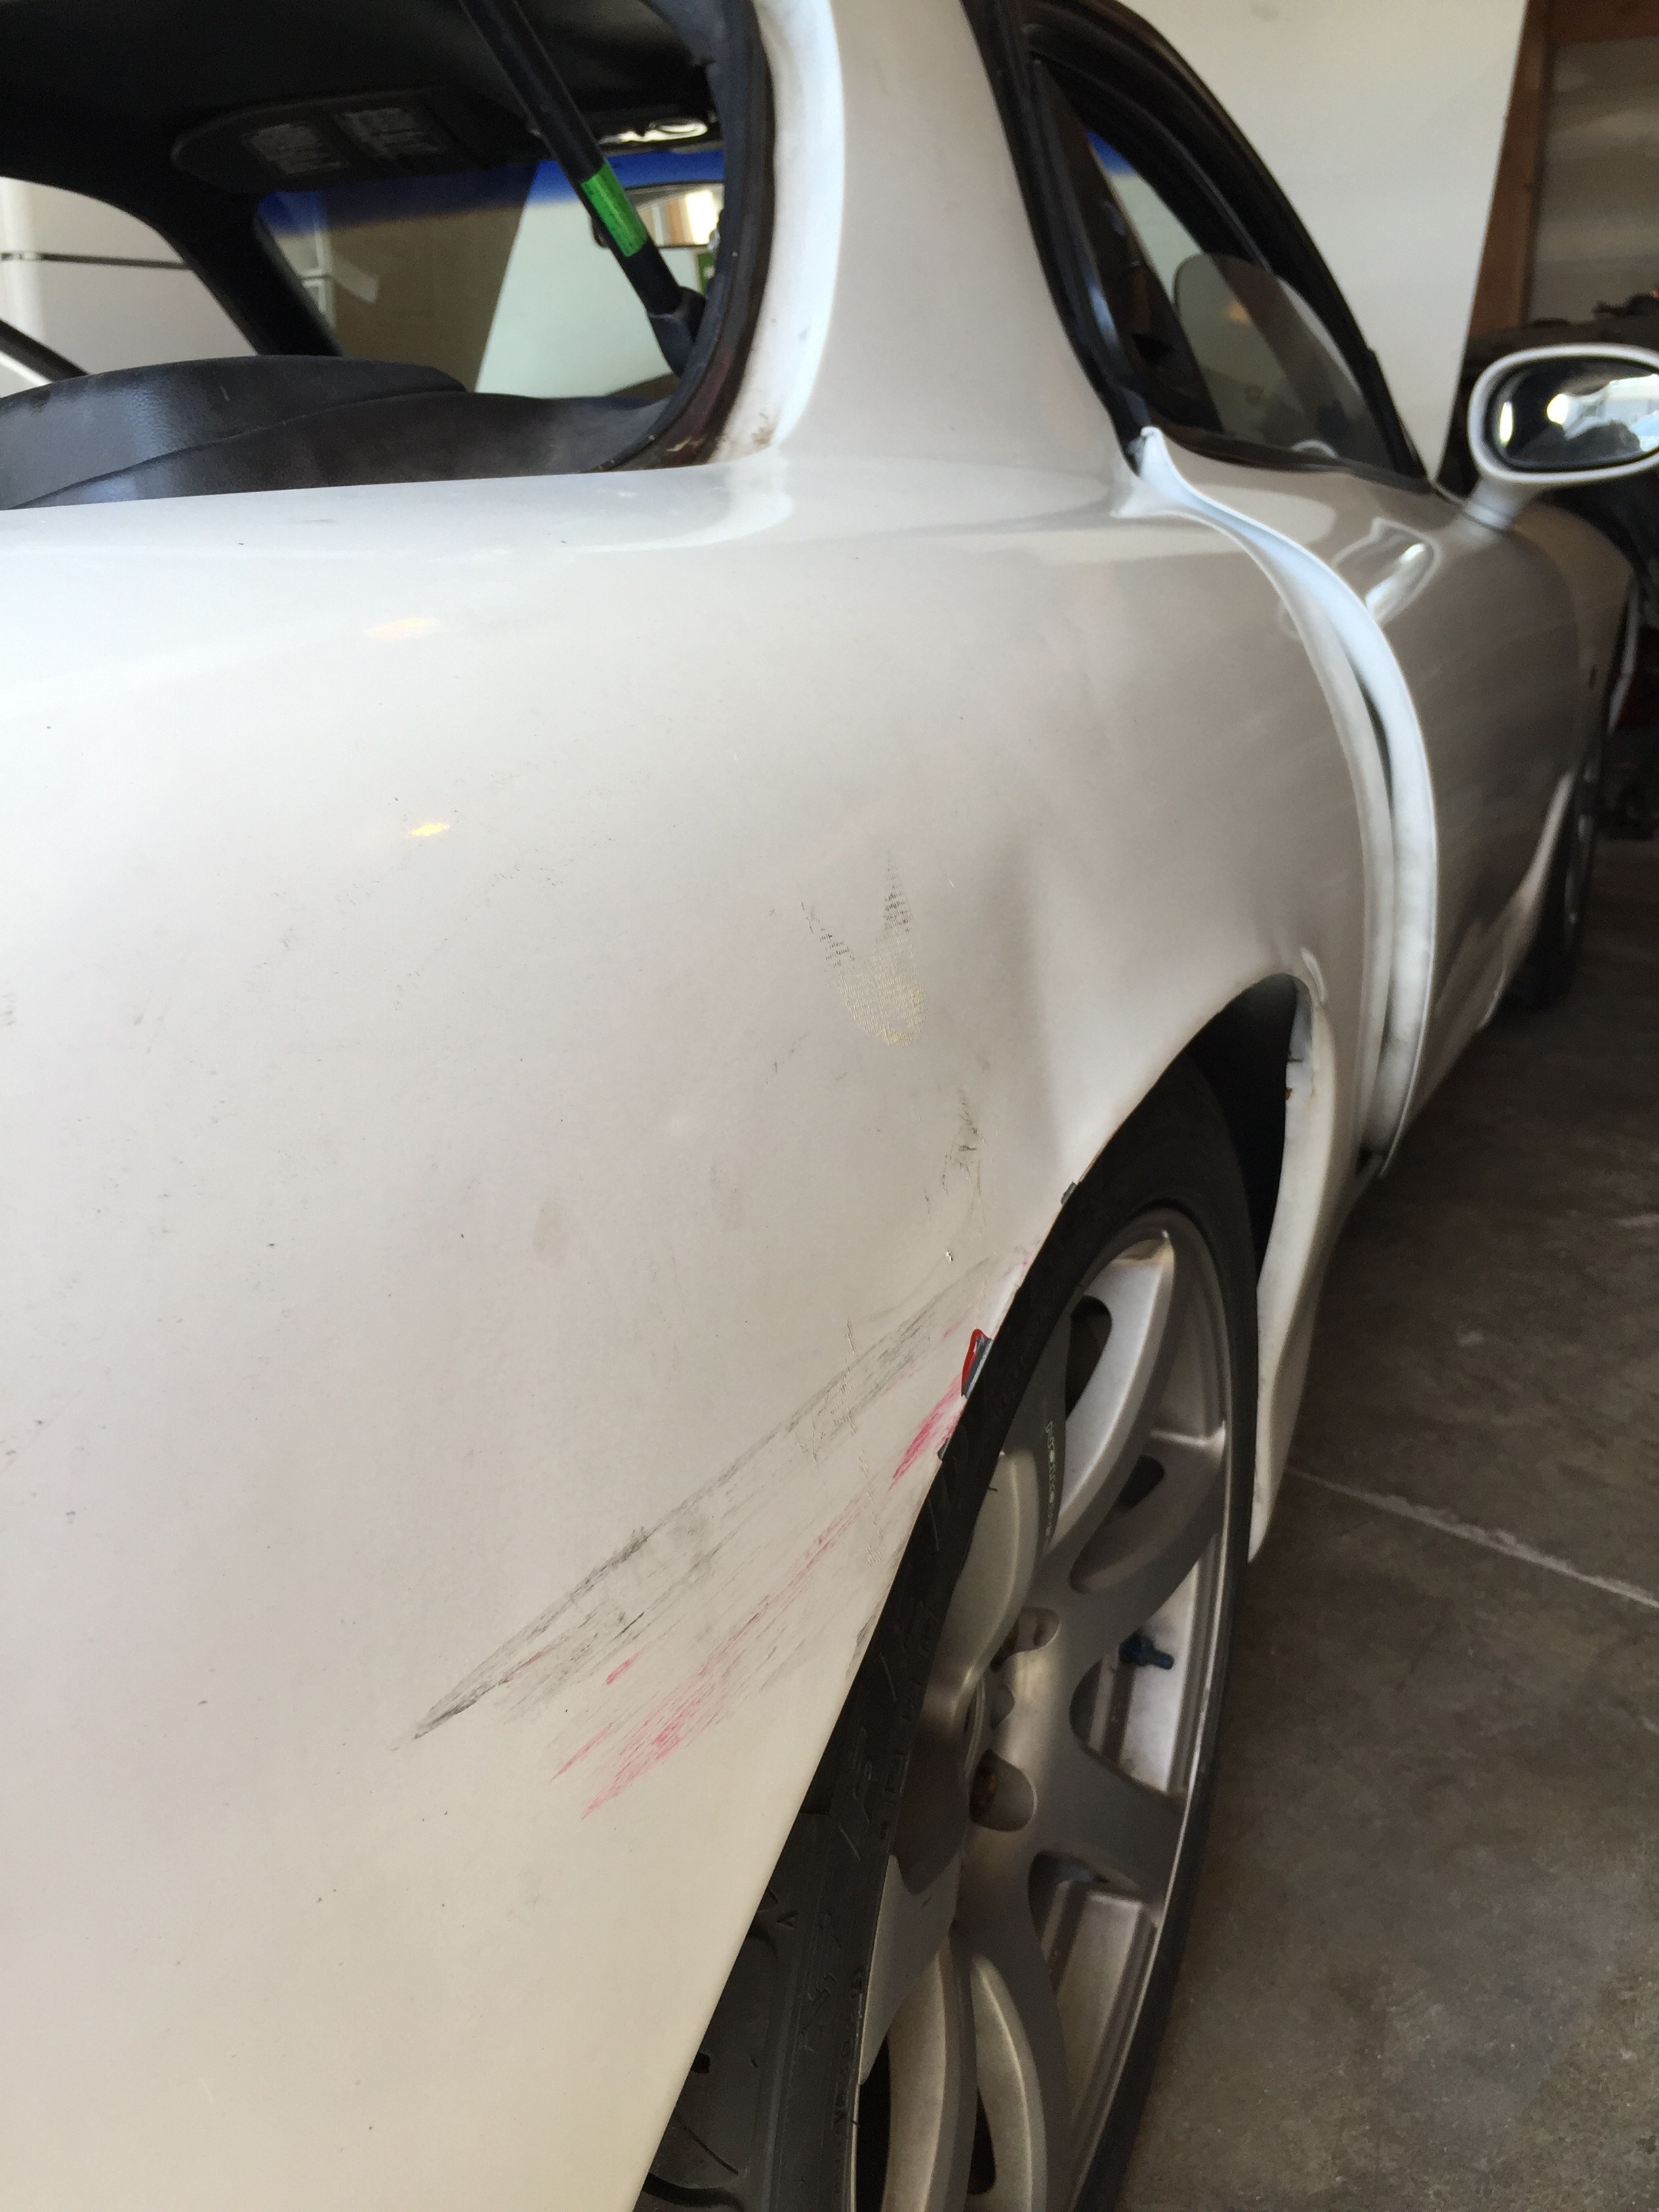
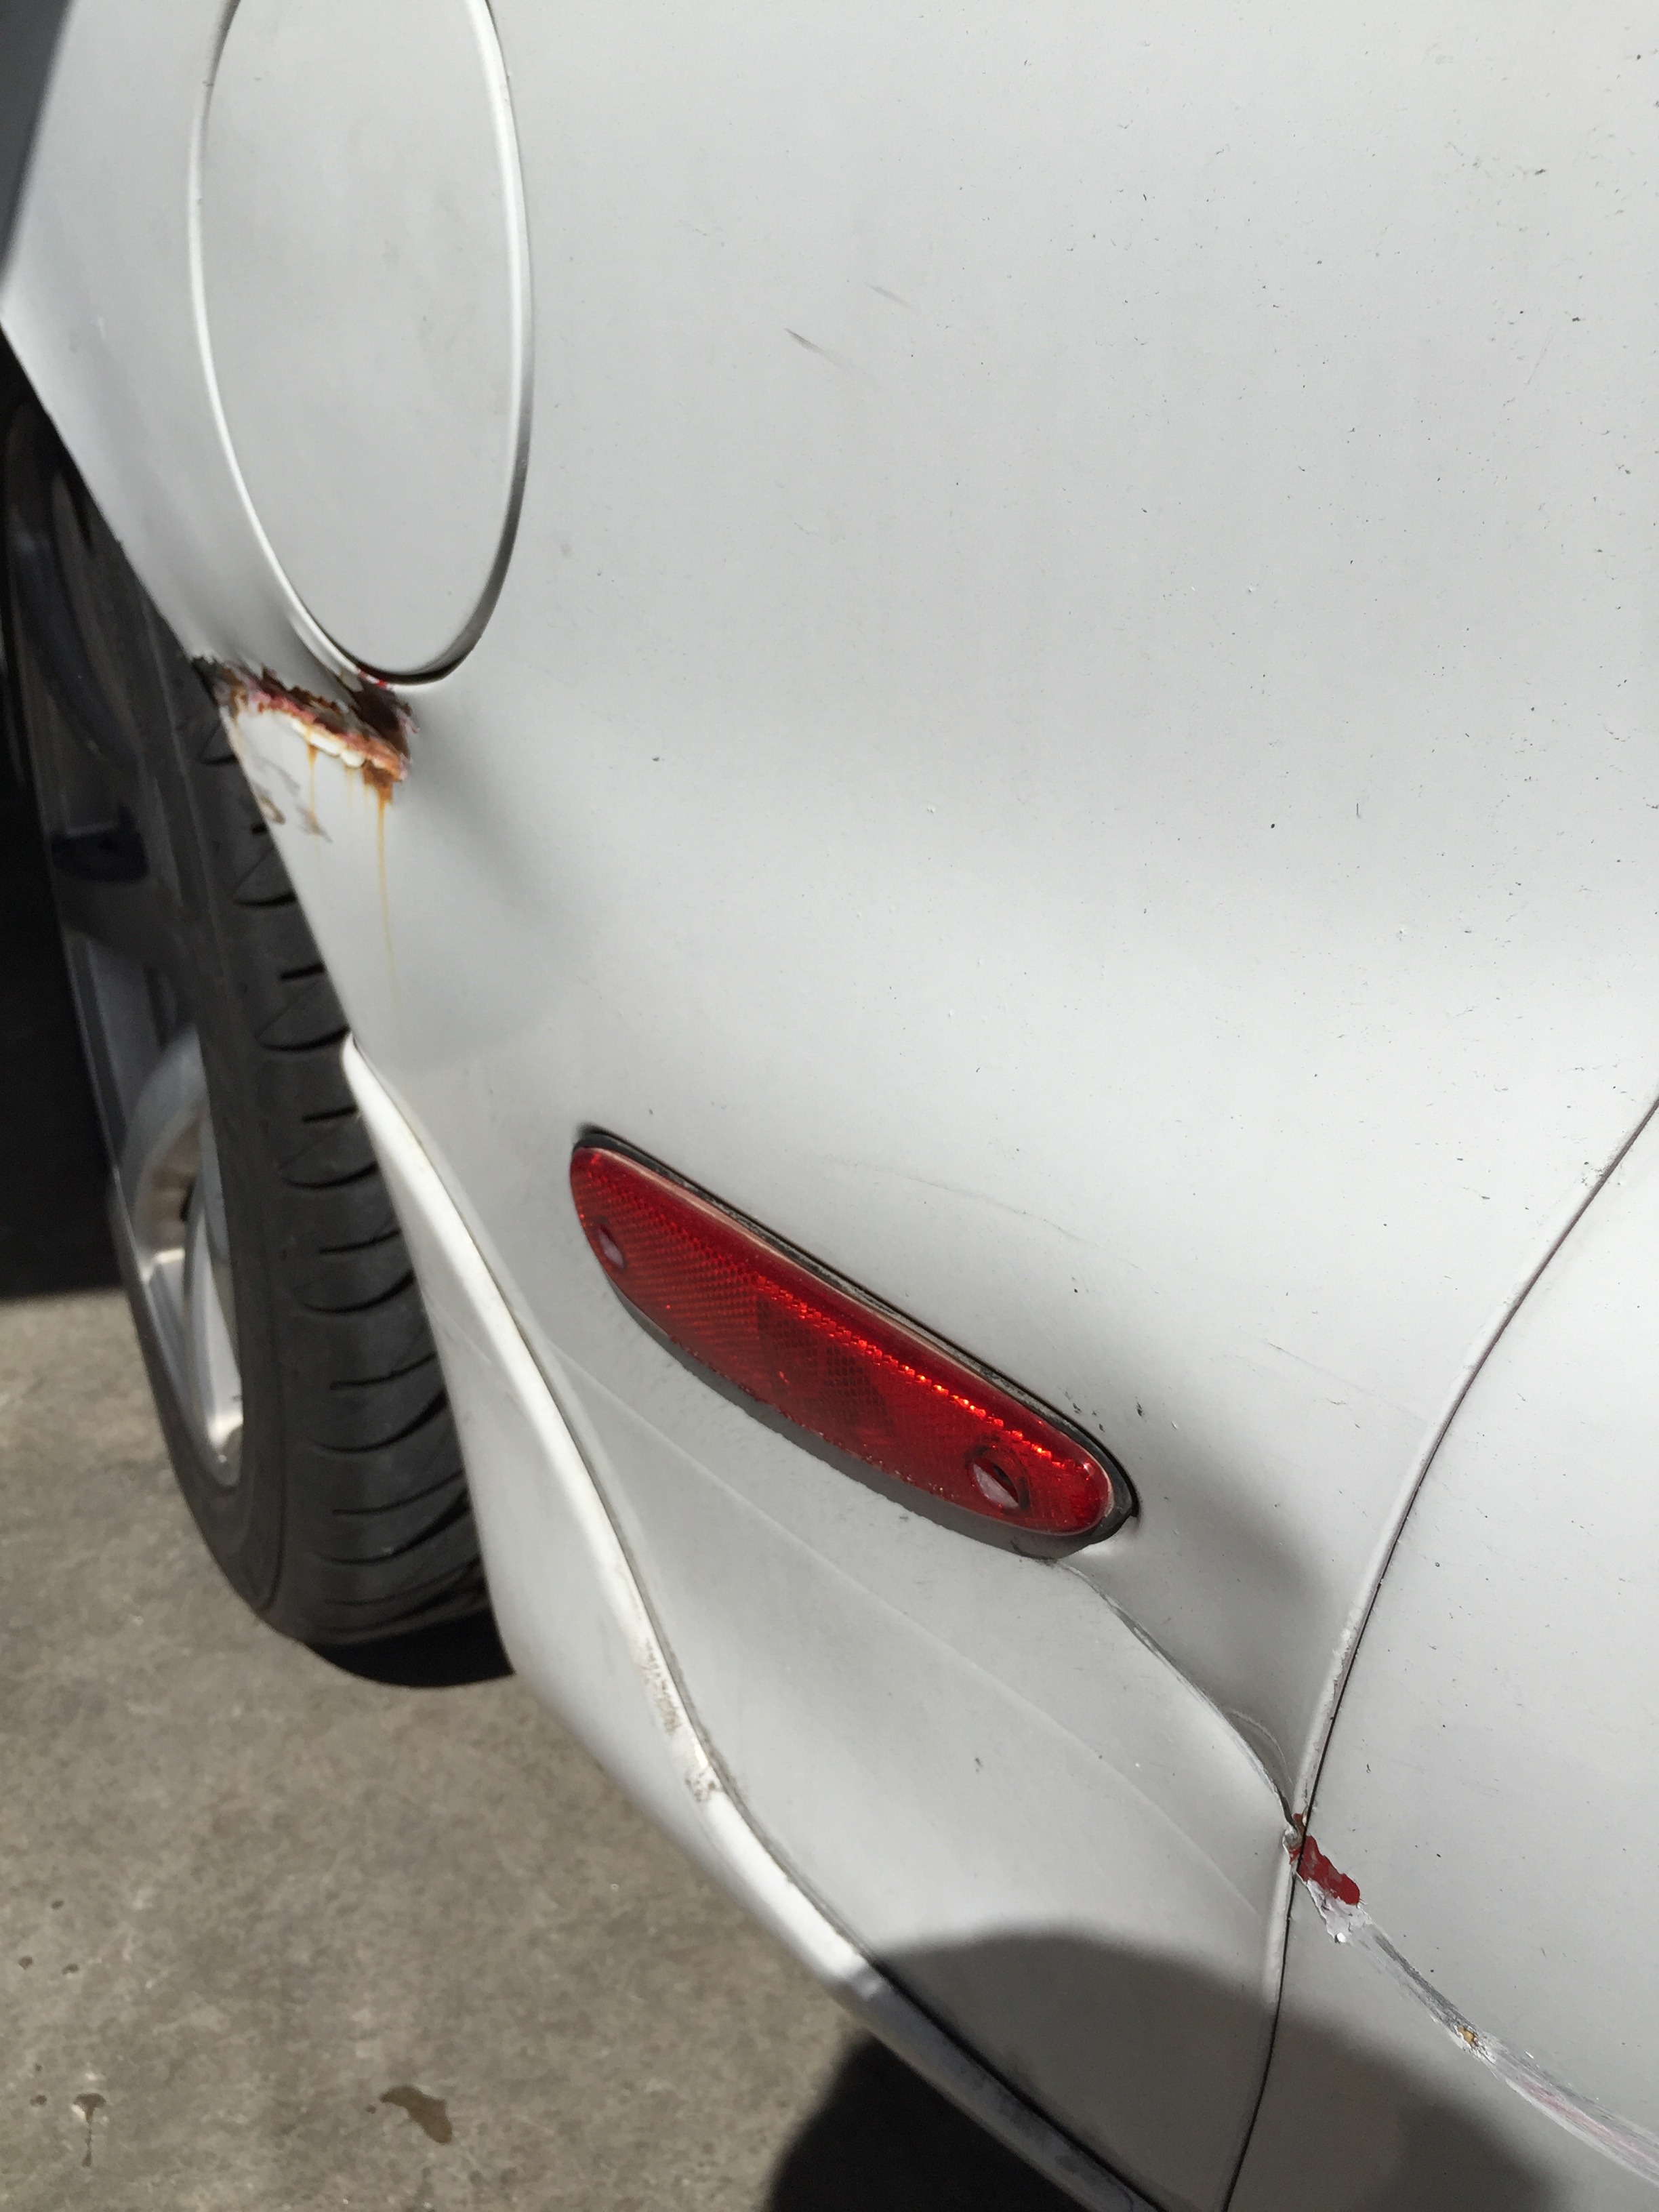

I wasn't told about this though, which kind of irritated me (I was told there was nothing to really see when I asked for pictures of this area -_-)
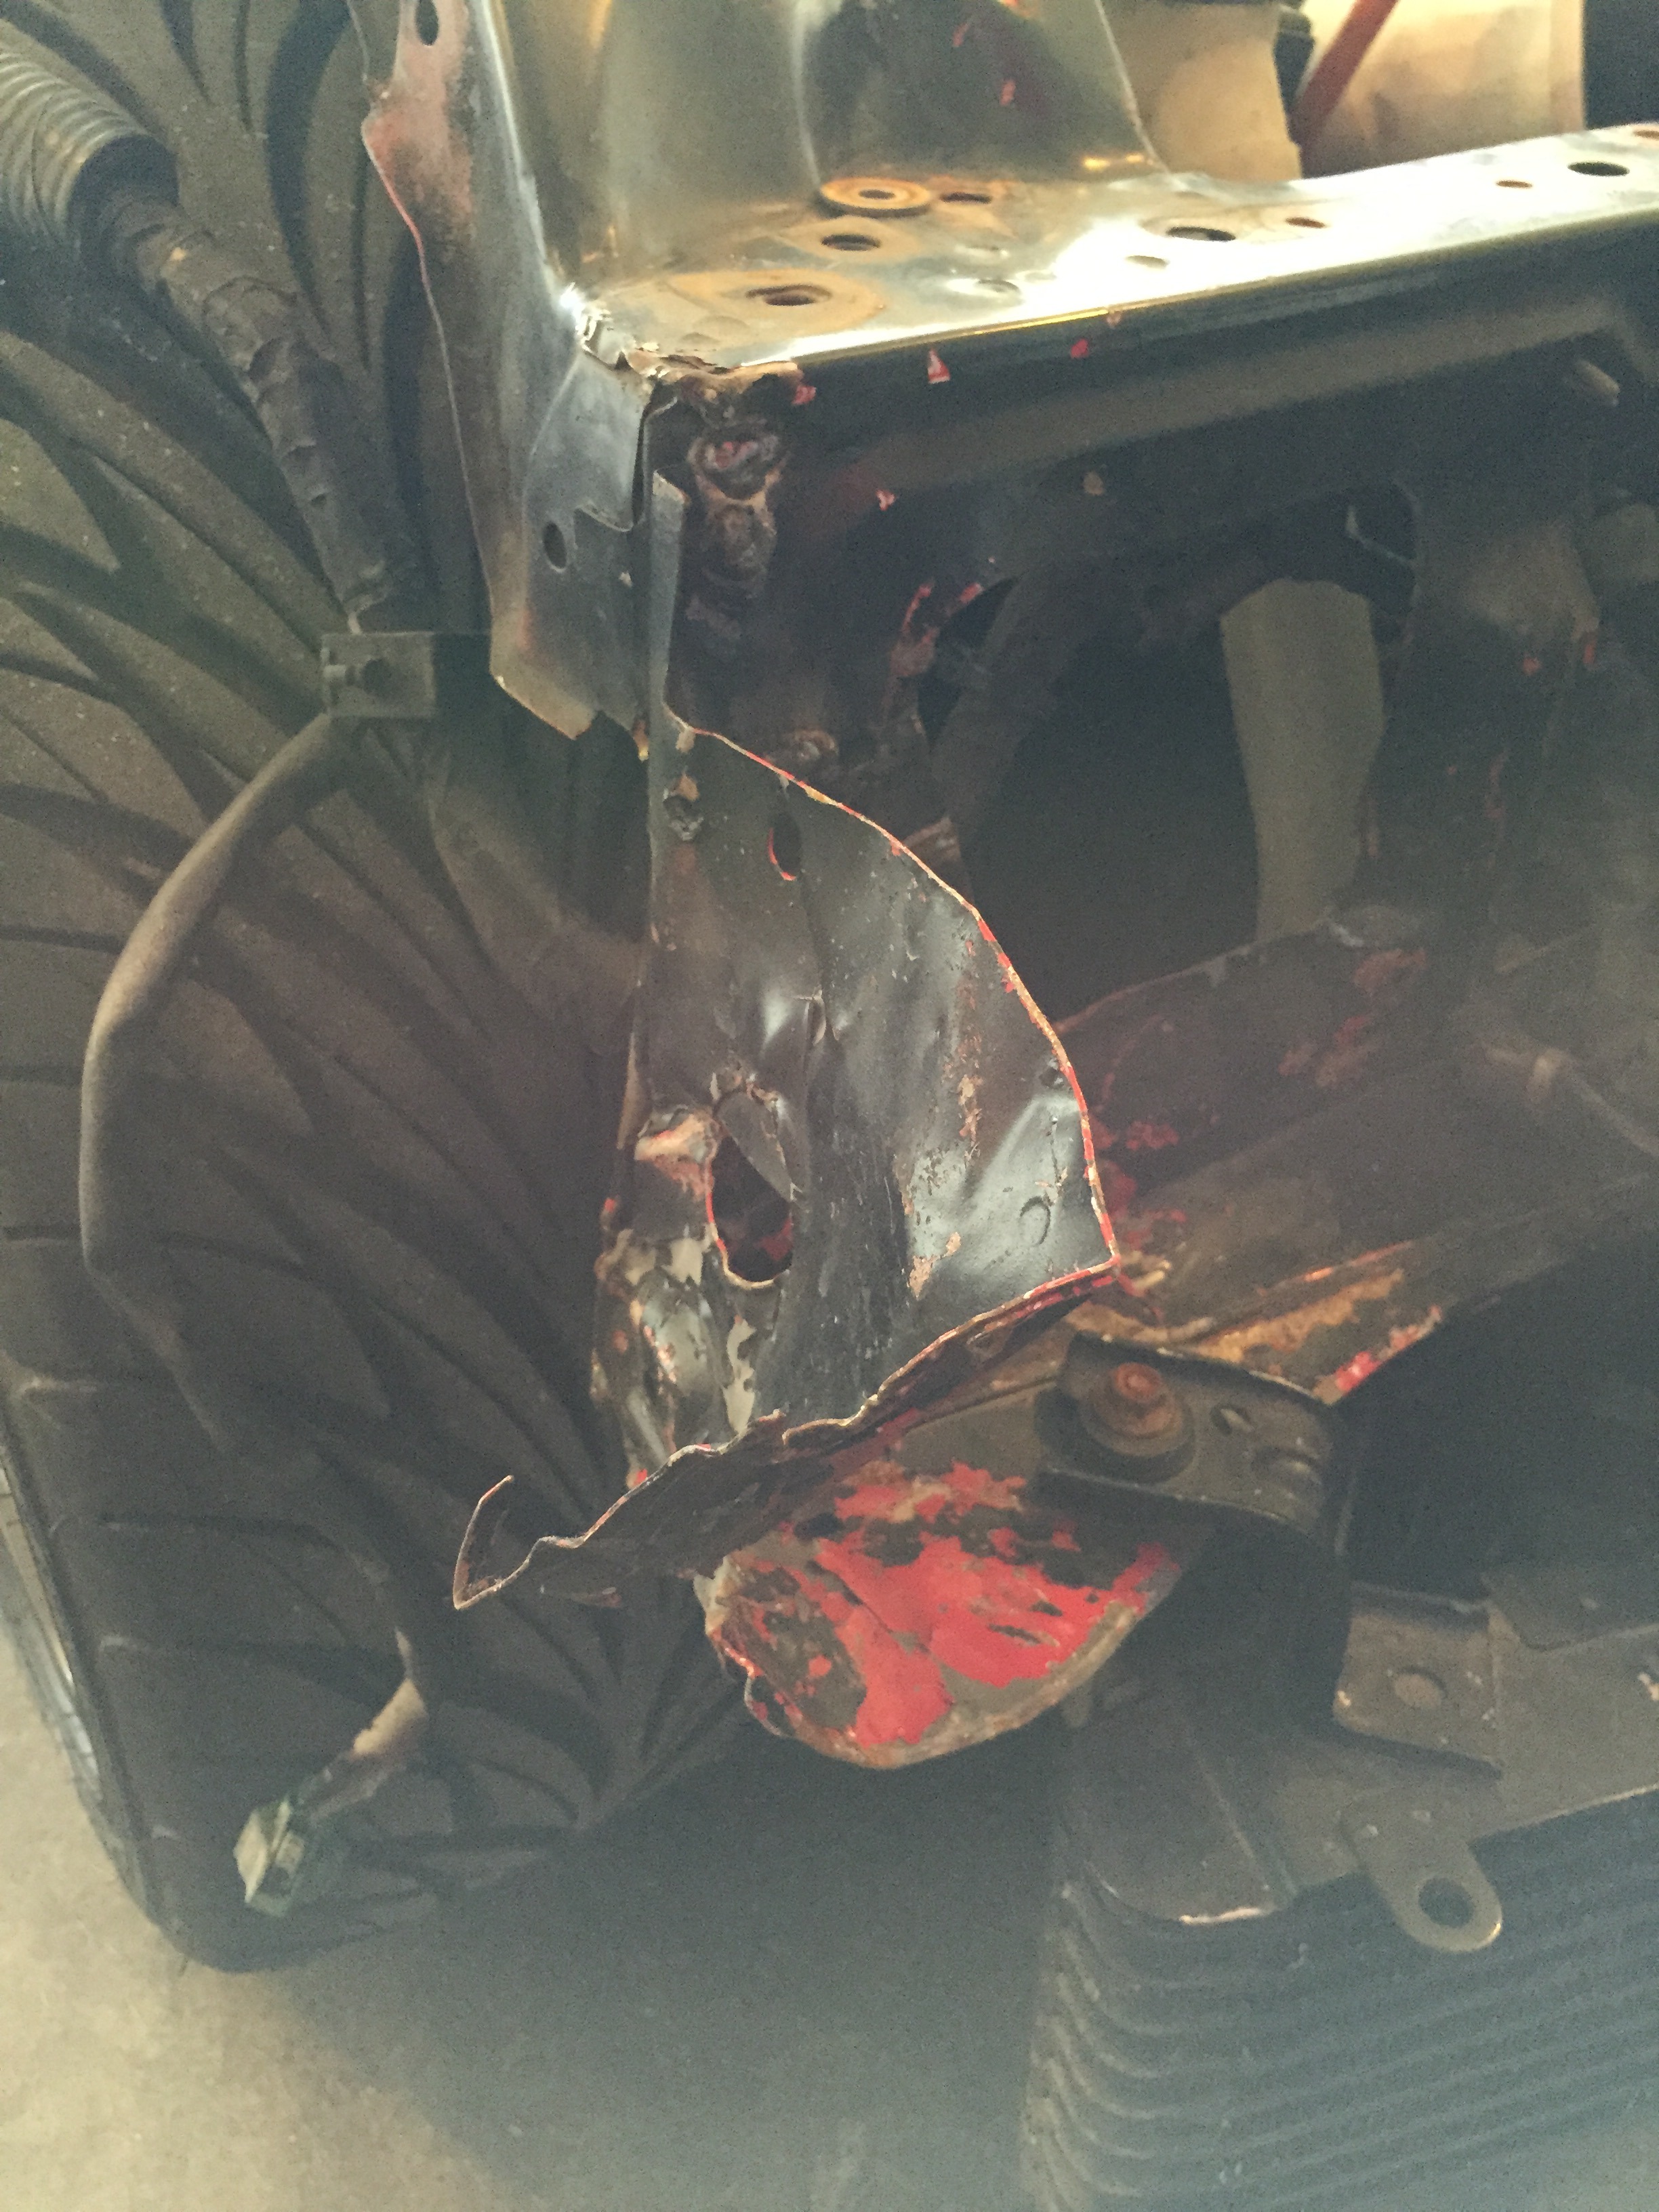
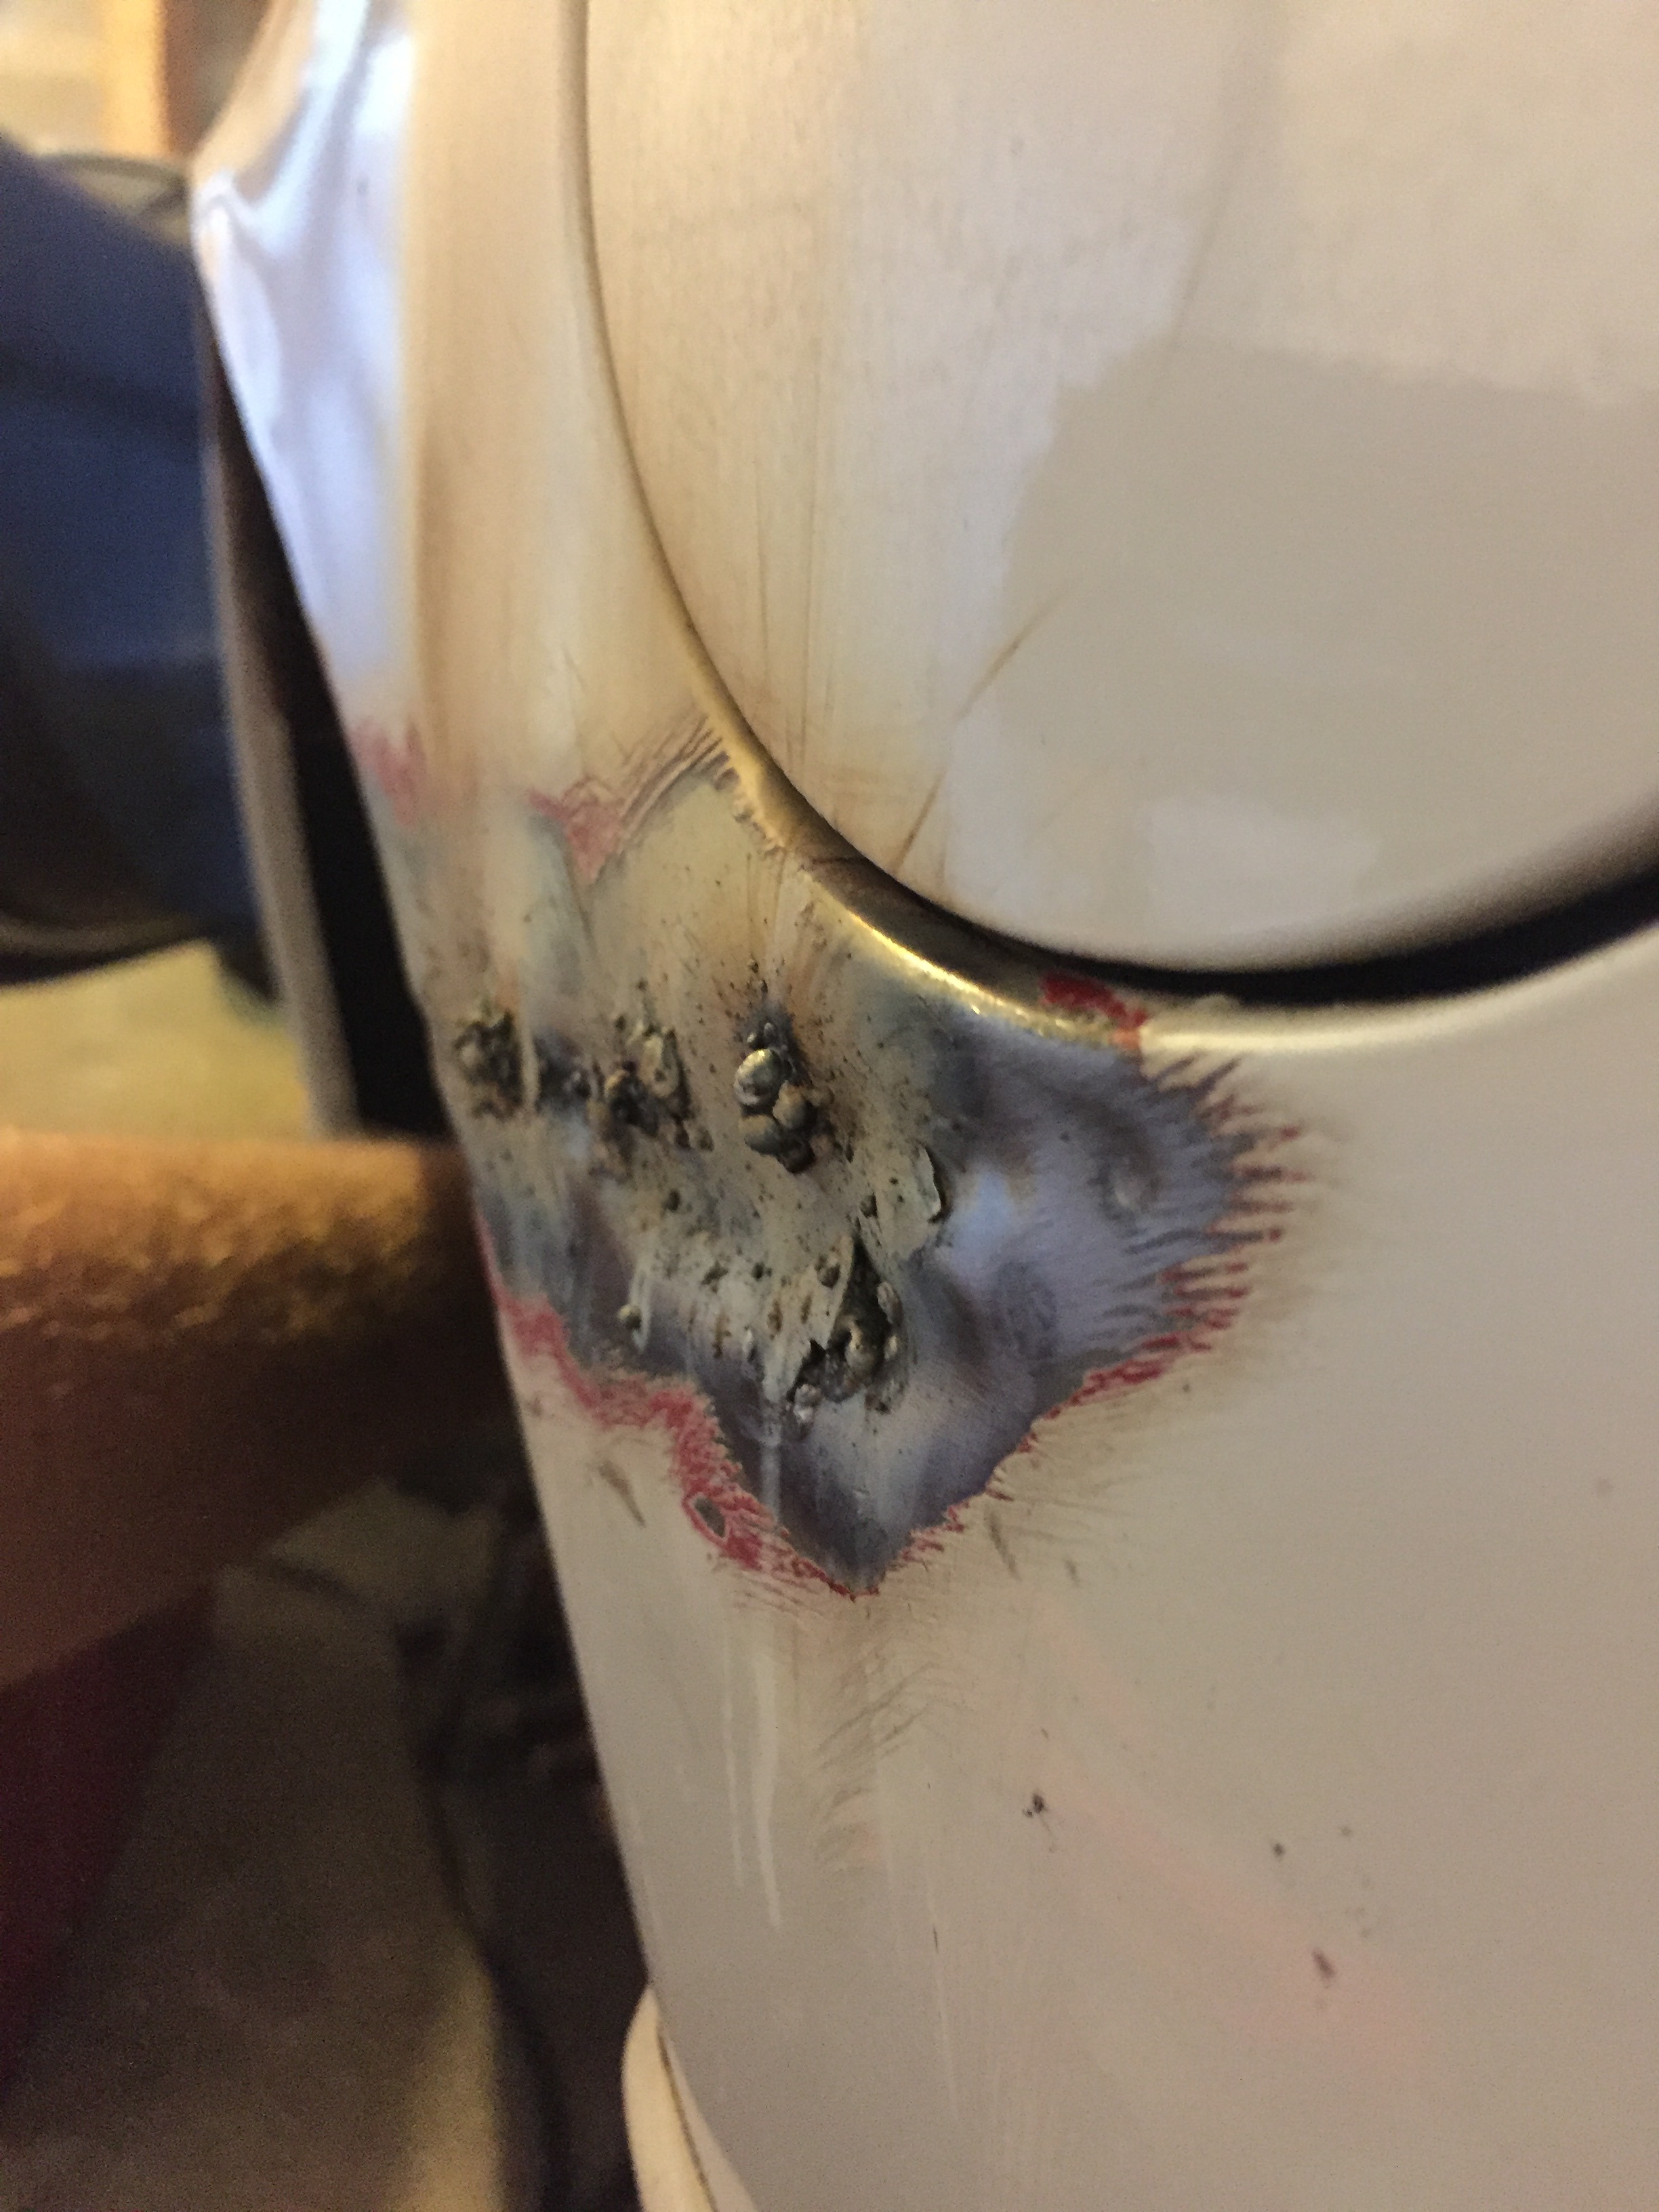
I'm going to buy a hammer and dolly set to flatten out that metal and then strip it for repainting so it won't look as ghetto.
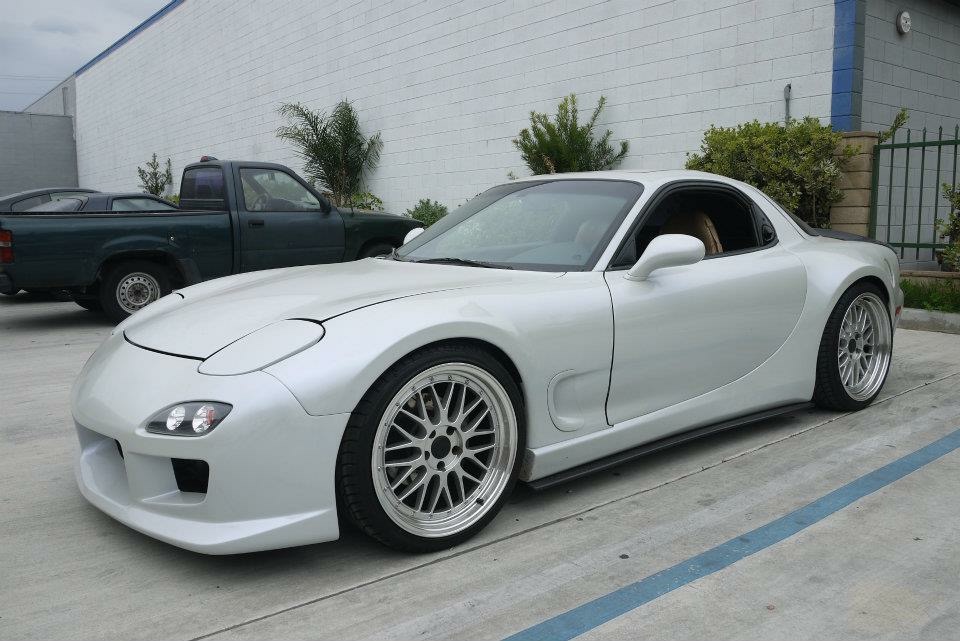
I already ordered burnout front bumper, burnout front fenders, burnout rear flares, sanai side skirts, sanai rear bumper pieces, carbon twill street diffuser, carbon twill fender ducts, and 3 piece undertray. Lead time on a few things is 10 weeks so it will be a bit before I can get started on the widebody. This is the look I will be going for (I will be molding the rear flares similar to this)
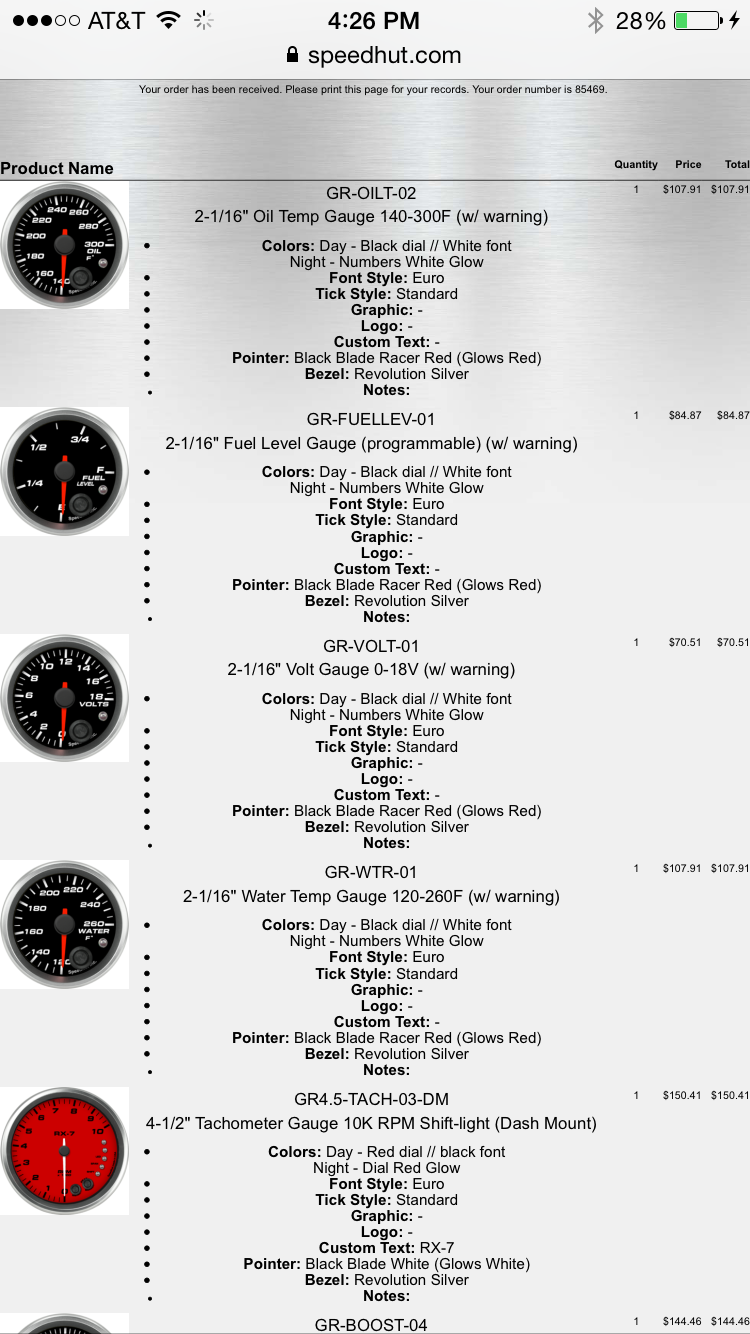
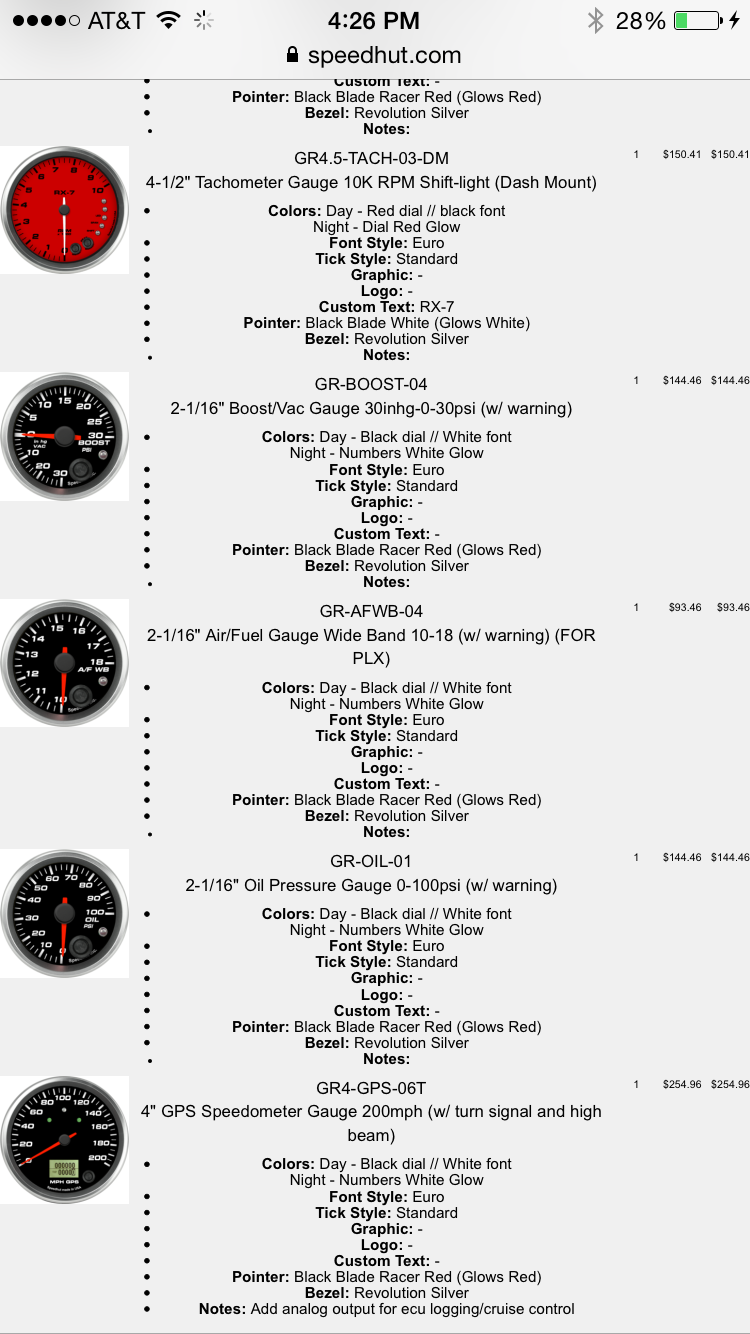
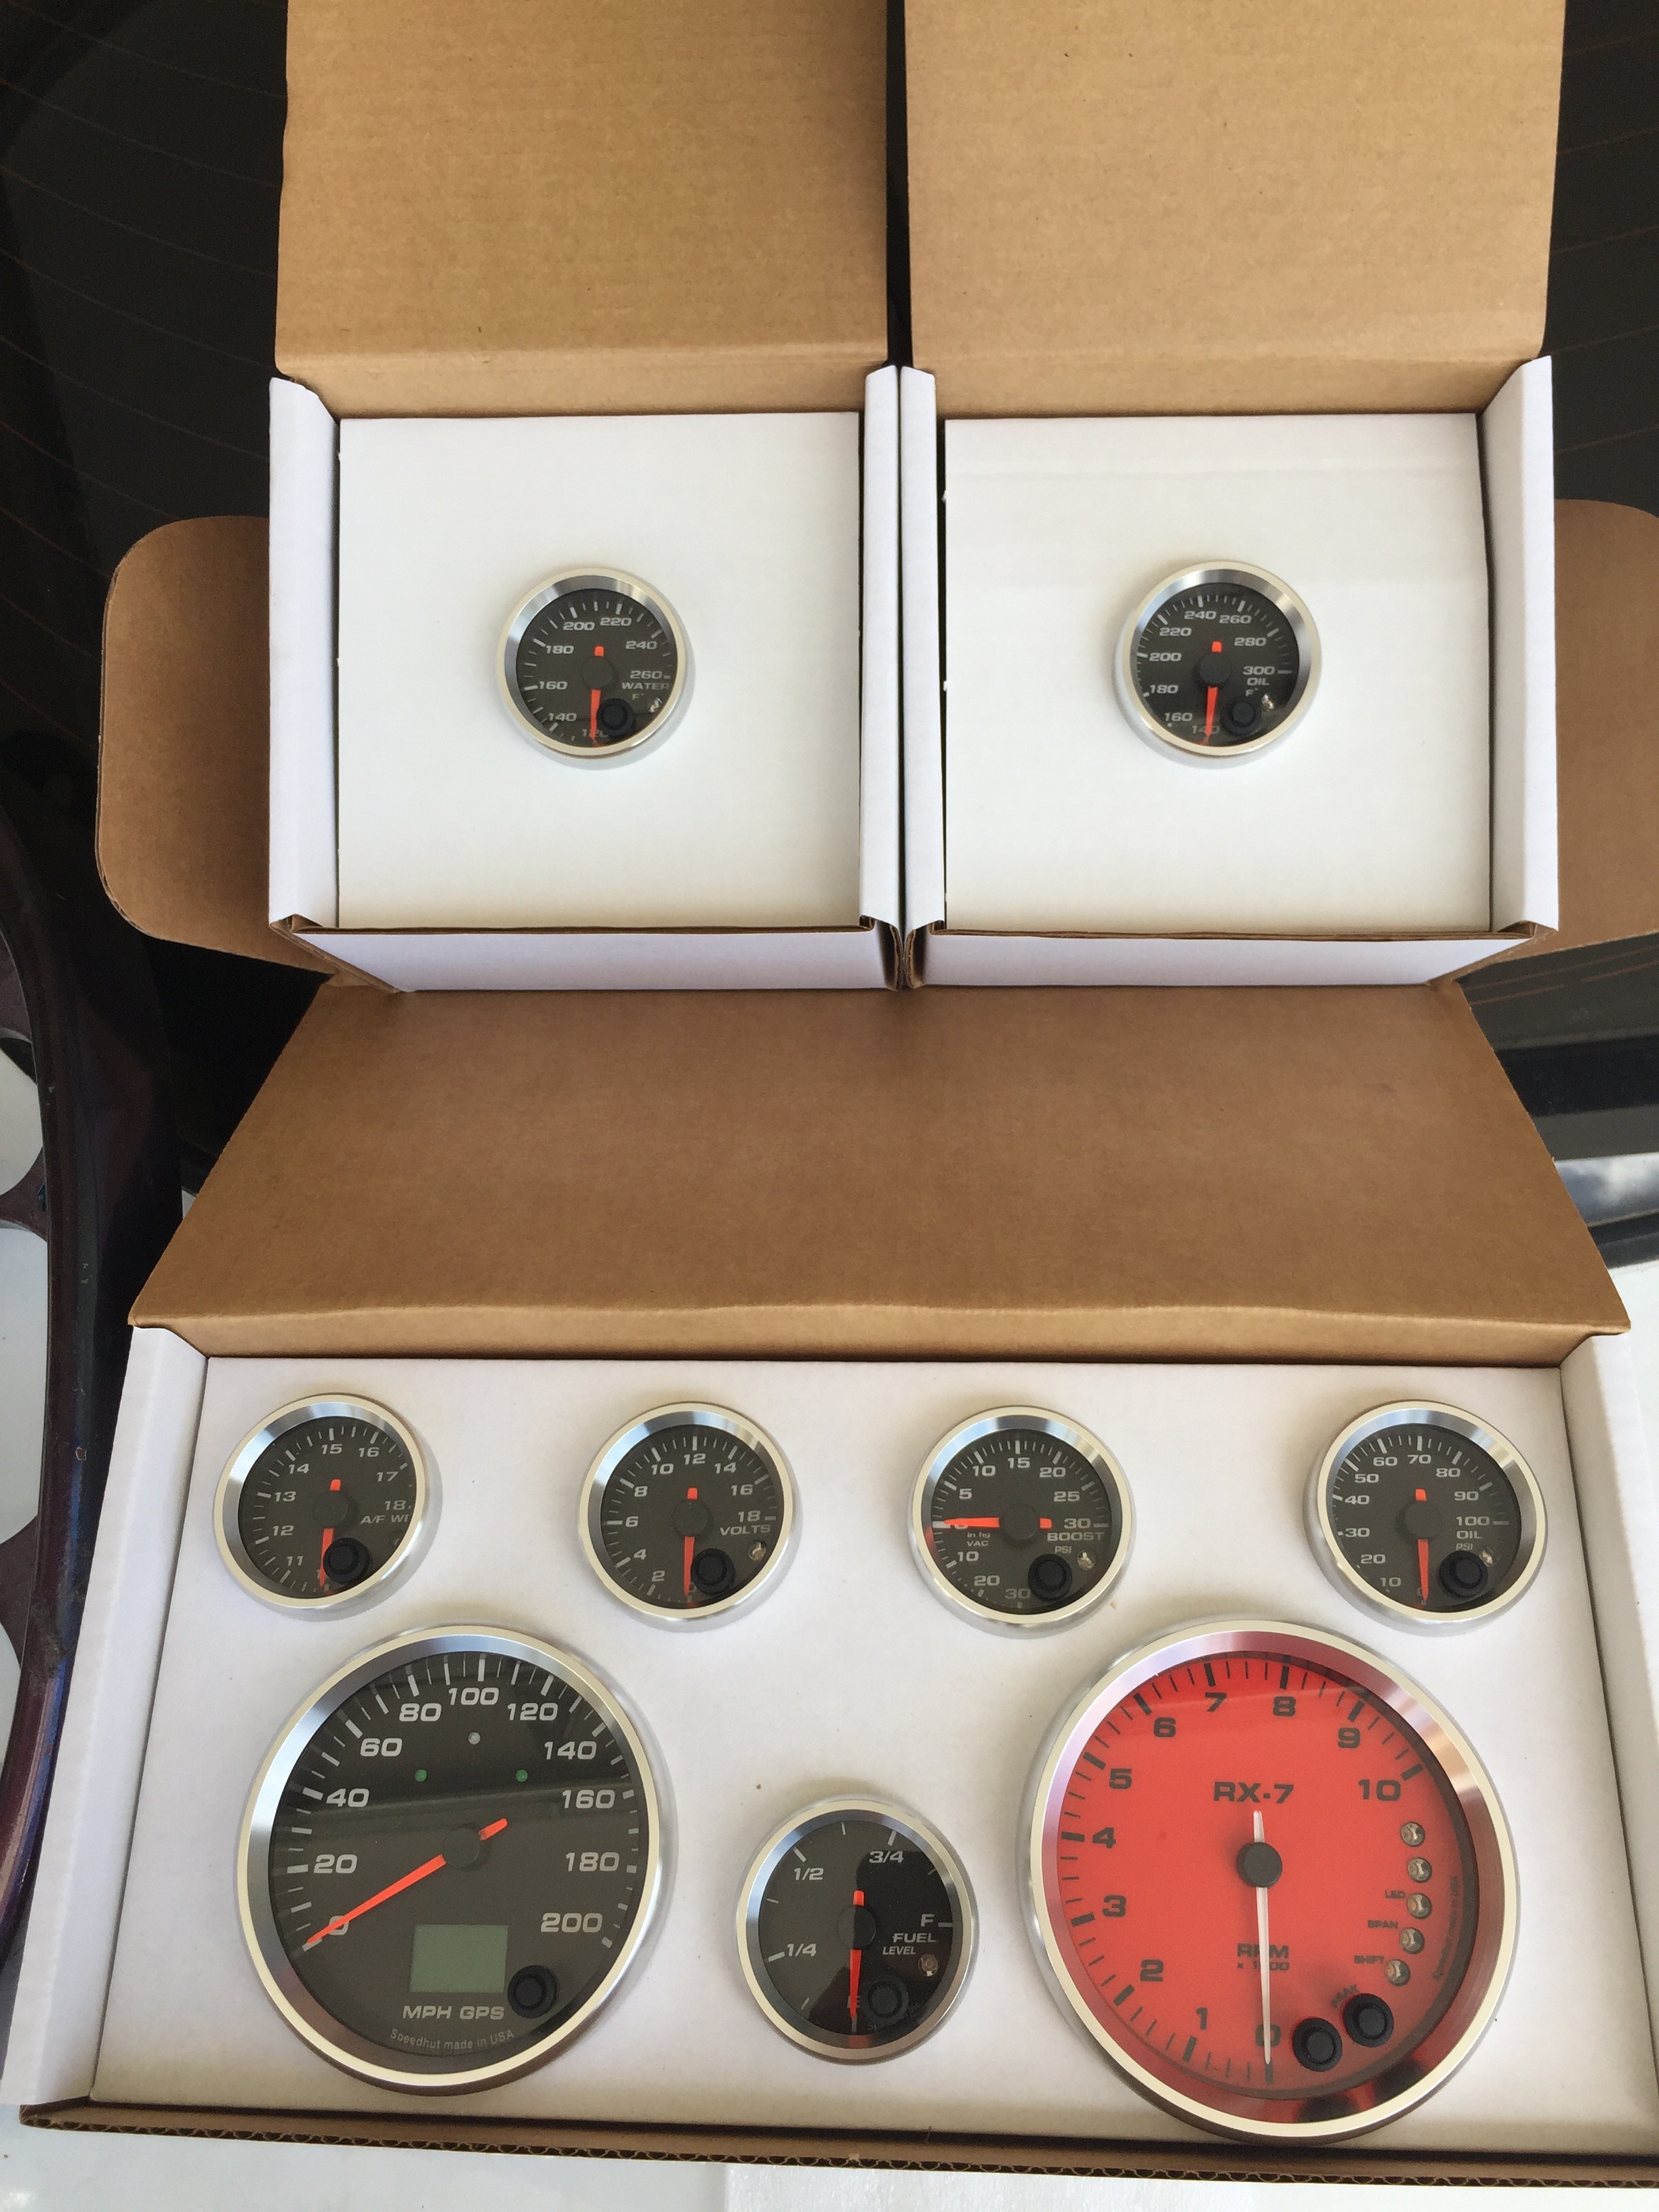
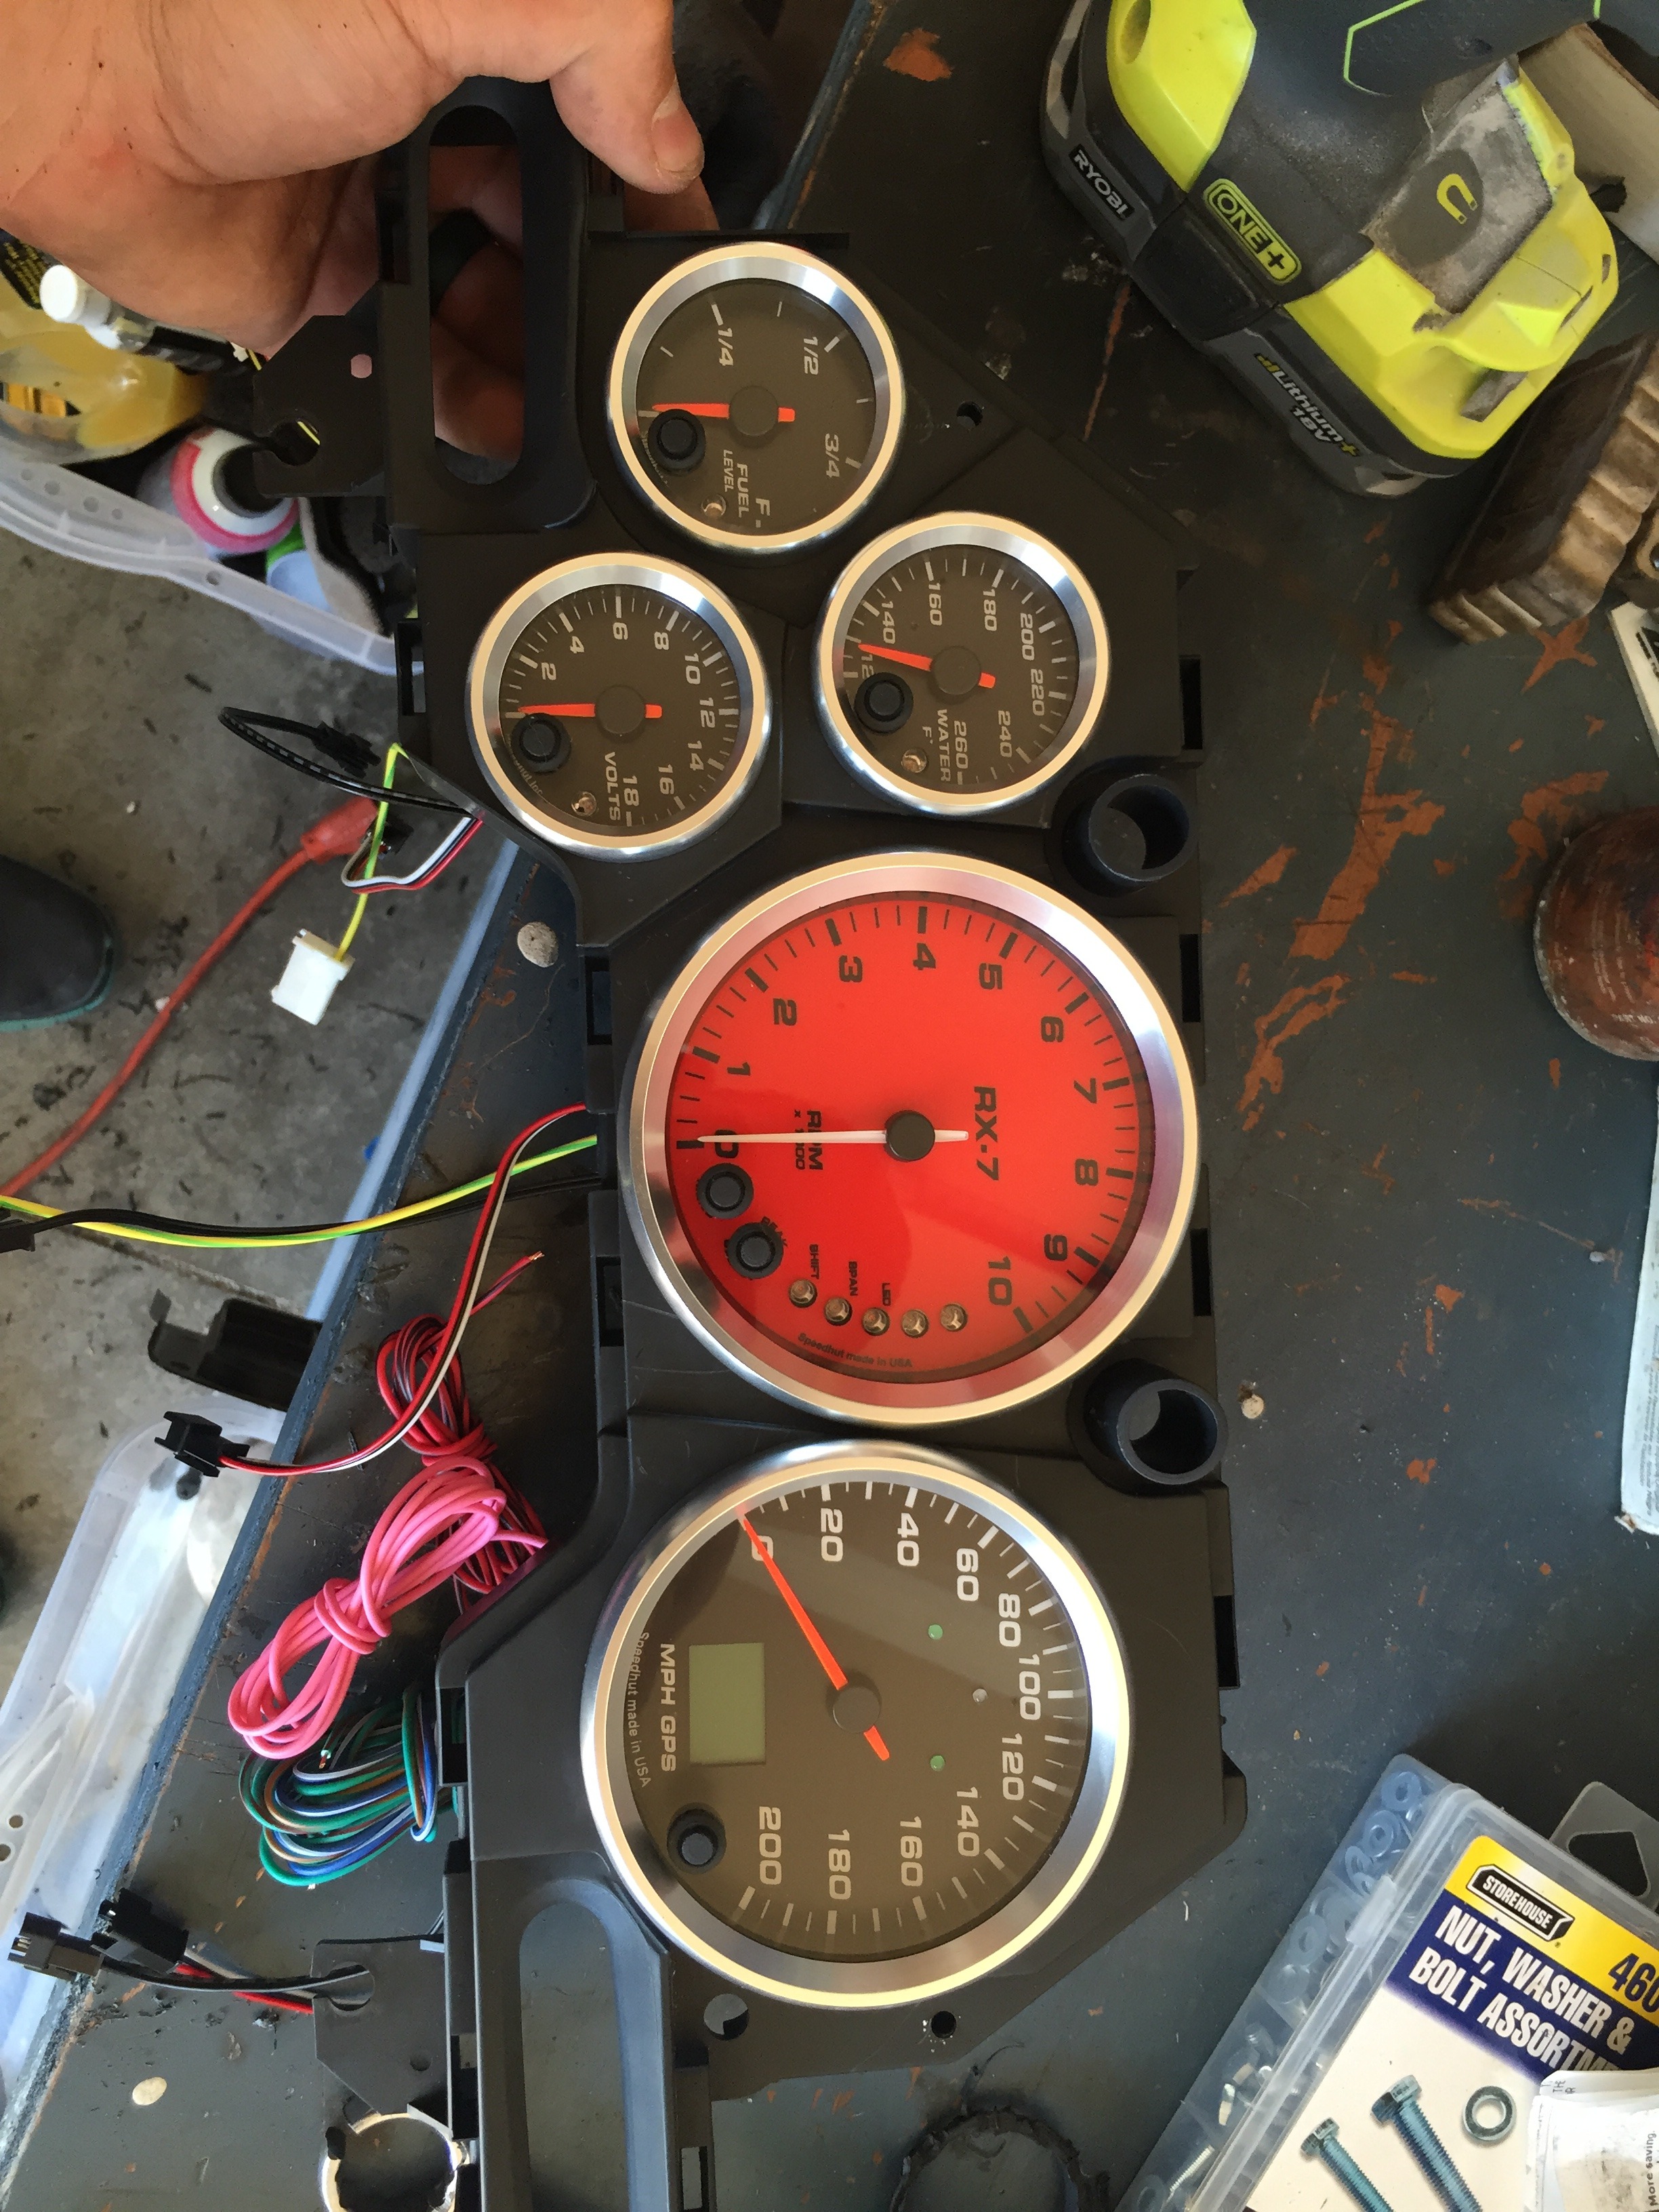
Until the widebody gets here I will be busy getting all of the wiring redone and wiring up my gauges when they get here. None of the factory gauge wiring is hooked up or even ran since the Haltech used a flying lead harness and not one made for the 13b, so I went ahead and ordered Speedhut gauges so I will be good to go for the LS1 swap down the road.
Besides the wiring I will be pulling out all of the dents and sanding down the car. I want to get all of the oem panels aligned correctly before I put the widebody parts on so I will be attempting that within the next few weeks. They lined up decently from what I could tell, but the hood was spaced up in the back so I couldn't really see the gaps all too well. The core support/fender mount area seems like it should move a bit to get everything into alignment fairly easily so we shall see.
Well that's that, stay tuned for updates. If you want to see how motivated I am with my builds, take a look at what I brought my eclipse back from here.
1995 GSX Build - Journey to a 450awhp daily driver | DSMtuners


I wasn't told about this though, which kind of irritated me (I was told there was nothing to really see when I asked for pictures of this area -_-)

I'm going to buy a hammer and dolly set to flatten out that metal and then strip it for repainting so it won't look as ghetto.
I already ordered burnout front bumper, burnout front fenders, burnout rear flares, sanai side skirts, sanai rear bumper pieces, carbon twill street diffuser, carbon twill fender ducts, and 3 piece undertray. Lead time on a few things is 10 weeks so it will be a bit before I can get started on the widebody. This is the look I will be going for (I will be molding the rear flares similar to this)


Until the widebody gets here I will be busy getting all of the wiring redone and wiring up my gauges when they get here. None of the factory gauge wiring is hooked up or even ran since the Haltech used a flying lead harness and not one made for the 13b, so I went ahead and ordered Speedhut gauges so I will be good to go for the LS1 swap down the road.


Besides the wiring I will be pulling out all of the dents and sanding down the car. I want to get all of the oem panels aligned correctly before I put the widebody parts on so I will be attempting that within the next few weeks. They lined up decently from what I could tell, but the hood was spaced up in the back so I couldn't really see the gaps all too well. The core support/fender mount area seems like it should move a bit to get everything into alignment fairly easily so we shall see.
Well that's that, stay tuned for updates. If you want to see how motivated I am with my builds, take a look at what I brought my eclipse back from here.
1995 GSX Build - Journey to a 450awhp daily driver | DSMtuners
Thread Starter
Full Member
Joined: Apr 2015
Posts: 140
Likes: 5
From: Great Falls, MT
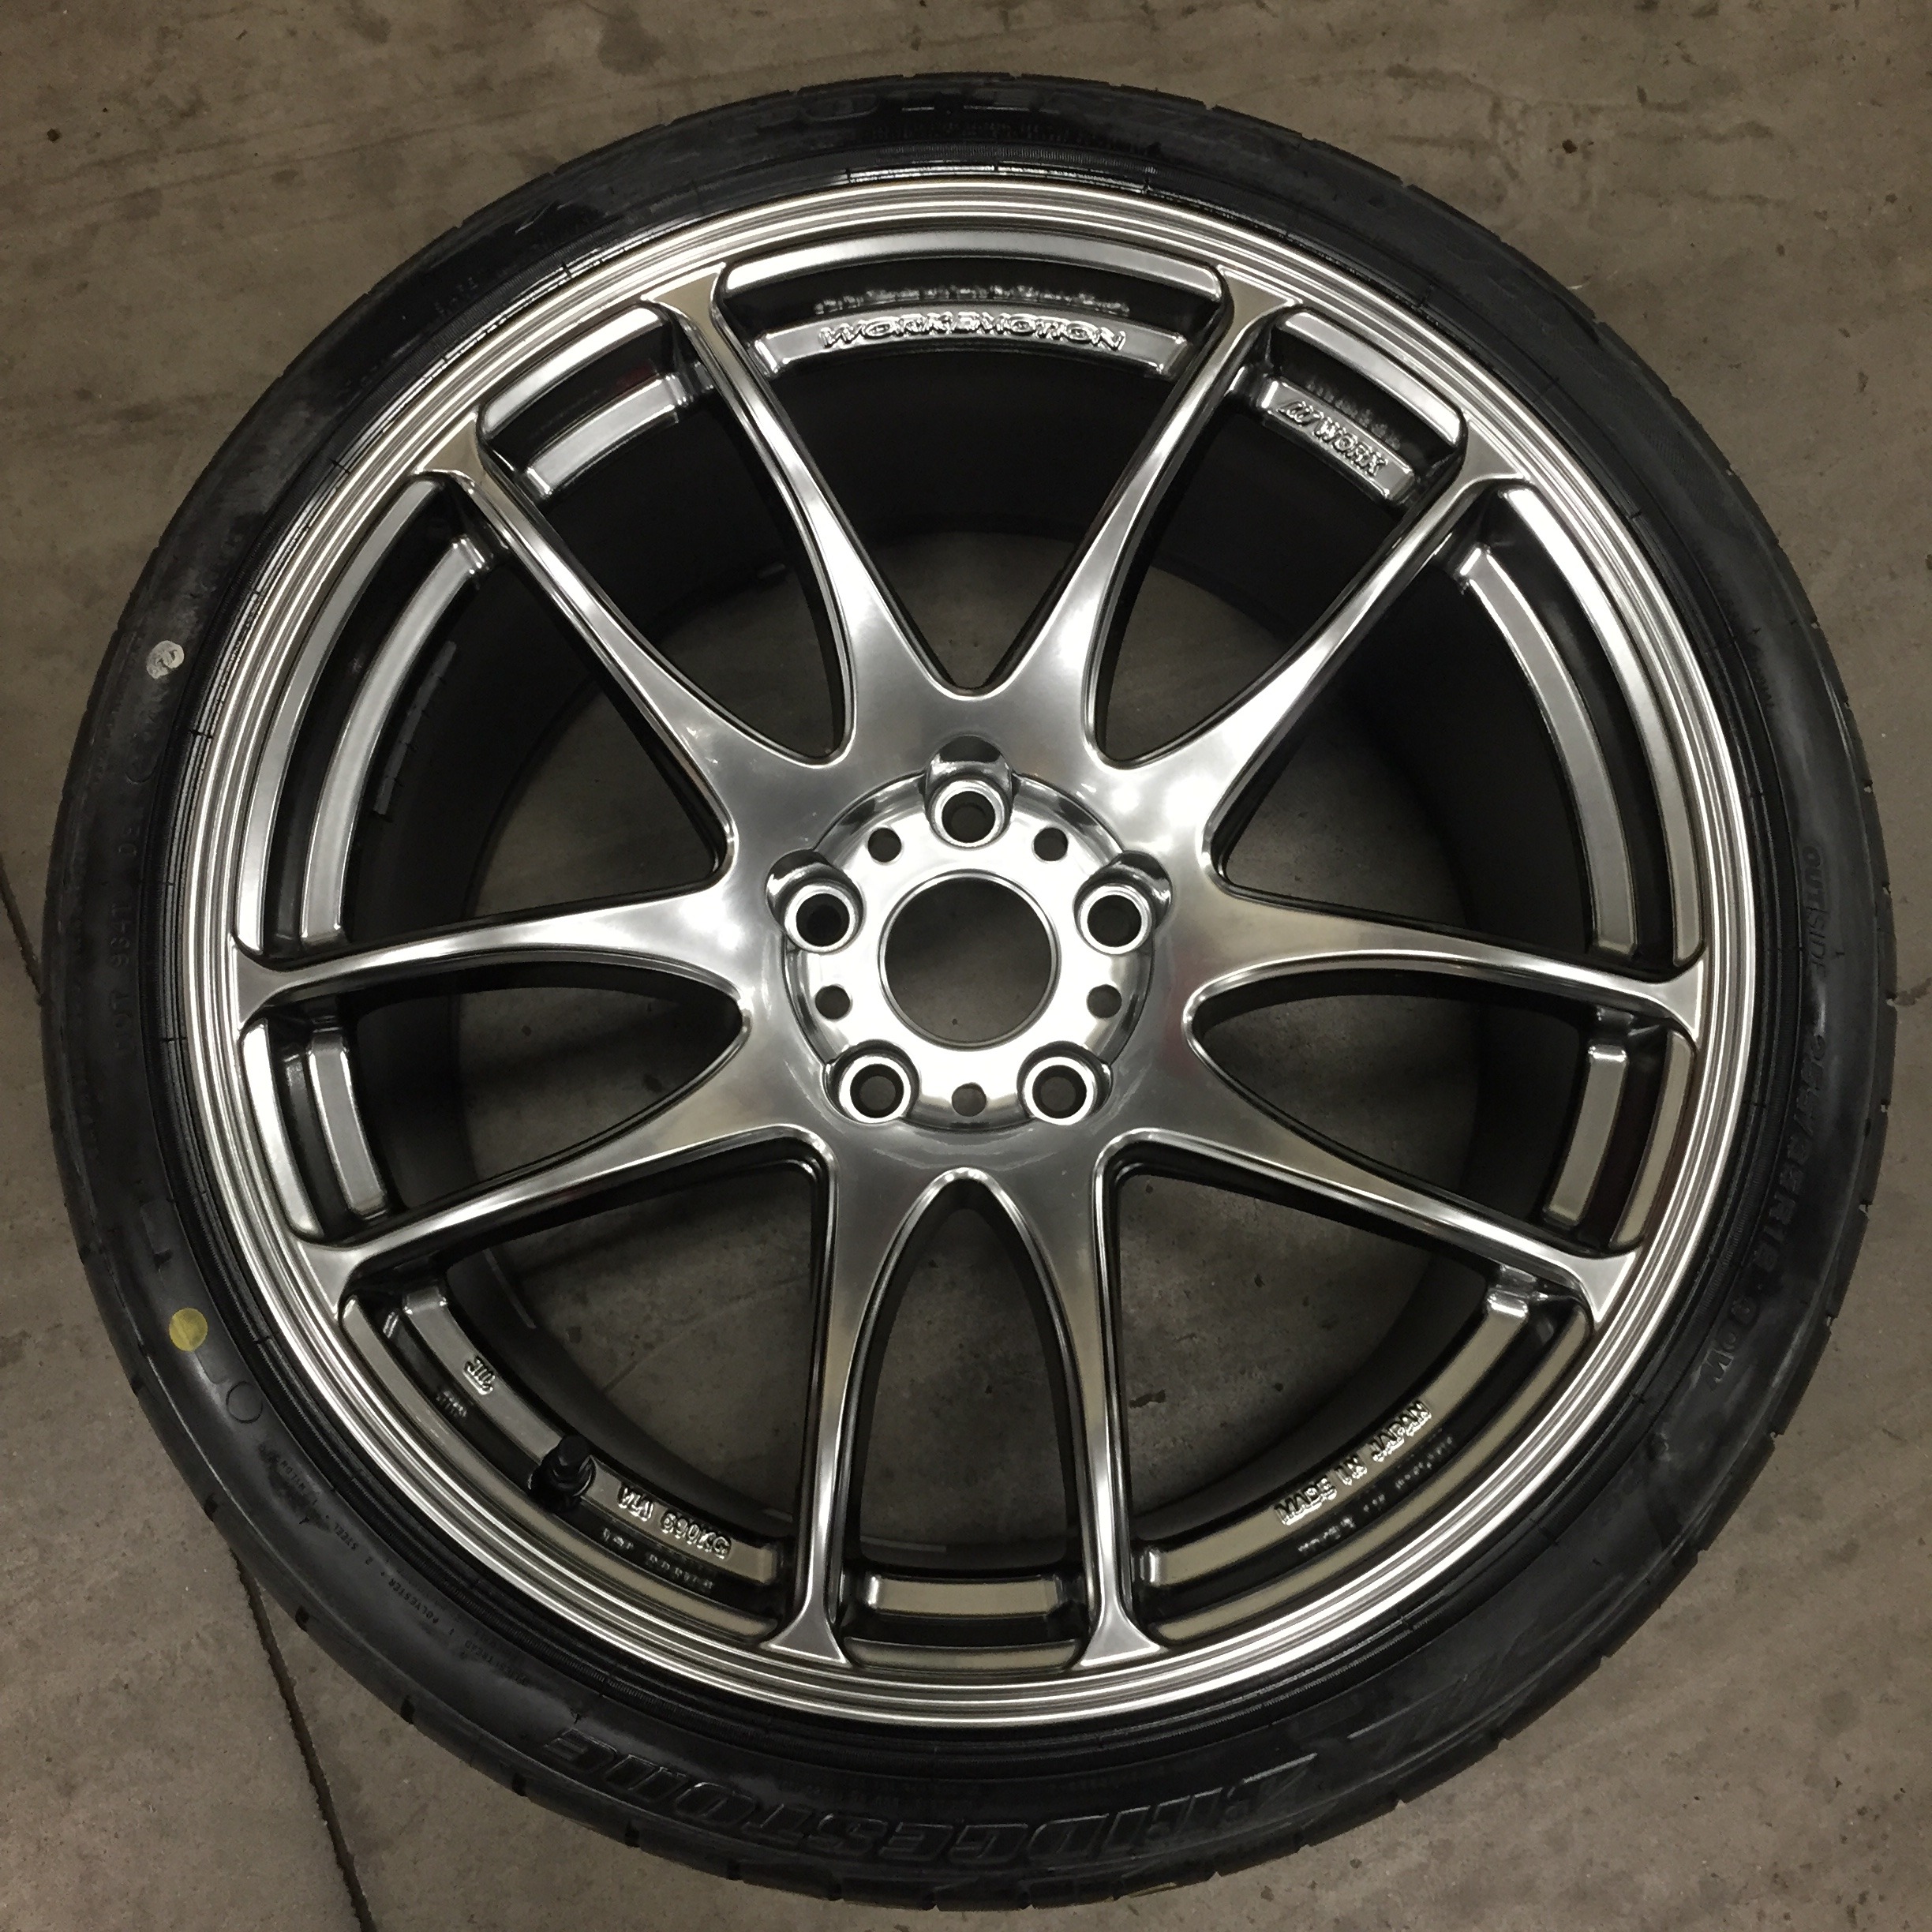
Almost forgot, already have the wheels as well. I bought 18x10.5 +15 Work CR Ultimates for my DSM that I didn't get to put on it, so I just had staggered tires put on instead. Going with 255/35 front and 285/30 rear on them.
Also planning on doing the evo-r taillights and the evo-r headlights with fxr projectors


Also planning on doing the evo-r taillights and the evo-r headlights with fxr projectors


Looks like a good project! The previous owner did some sloppy damn work on the car, that's for sure! I'm glad you're going to take the time to pull that out and do it right!
The crumpled damage in the front headlight/oil cooler area, I think you can still buy that sheetmetal new from Mazda. Cut the spot welds and weld in new. Or, do the same thing but using parts from a parts car. You'll end up with a far better result than trying to straighten that out and getting things to line up. Look at the parts fiche and talk to Ray for new, or get with someone who is parting out a car for used (like Fritz Flynn).
Also, one thing I hate with Carfax is it only shows wrecks that were reported to police or insurance. I can go out right now, saw my car in half, weld another half on, and Carfax would have no idea.
Dale
Last edited by DaleClark; Jun 2, 2015 at 10:55 AM.
Thread Starter
Full Member
Joined: Apr 2015
Posts: 140
Likes: 5
From: Great Falls, MT
Looks like a good project! The previous owner did some sloppy damn work on the car, that's for sure! I'm glad you're going to take the time to pull that out and do it right!
The crumpled damage in the front headlight/oil cooler area, I think you can still buy that sheetmetal new from Mazda. Cut the spot welds and weld in new. Or, do the same thing but using parts from a parts car. You'll end up with a far better result than trying to straighten that out and getting things to line up. Look at the parts fiche and talk to Ray for new, or get with someone who is parting out a car for used (like Fritz Flynn).
Also, one thing I hate with Carfax is it only shows wrecks that were reported to police or insurance. I can go out right now, saw my car in half, weld another half on, and Carfax would have no idea.
Dale
The crumpled damage in the front headlight/oil cooler area, I think you can still buy that sheetmetal new from Mazda. Cut the spot welds and weld in new. Or, do the same thing but using parts from a parts car. You'll end up with a far better result than trying to straighten that out and getting things to line up. Look at the parts fiche and talk to Ray for new, or get with someone who is parting out a car for used (like Fritz Flynn).
Also, one thing I hate with Carfax is it only shows wrecks that were reported to police or insurance. I can go out right now, saw my car in half, weld another half on, and Carfax would have no idea.
Dale
 and yeah, carfax helps out sometimes but in cases like this there is just no way to tell
Wow that has a lot of mix and match fd body parts haha. I hope you did not pay much for that car :p.
Anywho, I now have found my color when I powder coat stuff (white).
Nice progress. Good luck with the craziness of the FD build.
Anywho, I now have found my color when I powder coat stuff (white).
Nice progress. Good luck with the craziness of the FD build.
Thread Starter
Full Member
Joined: Apr 2015
Posts: 140
Likes: 5
From: Great Falls, MT
Yeah I think I may stick with the white for the car, it looks pretty good. Thank you!
Trending Topics
Thread Starter
Full Member
Joined: Apr 2015
Posts: 140
Likes: 5
From: Great Falls, MT
Made a bit of progress on the car.
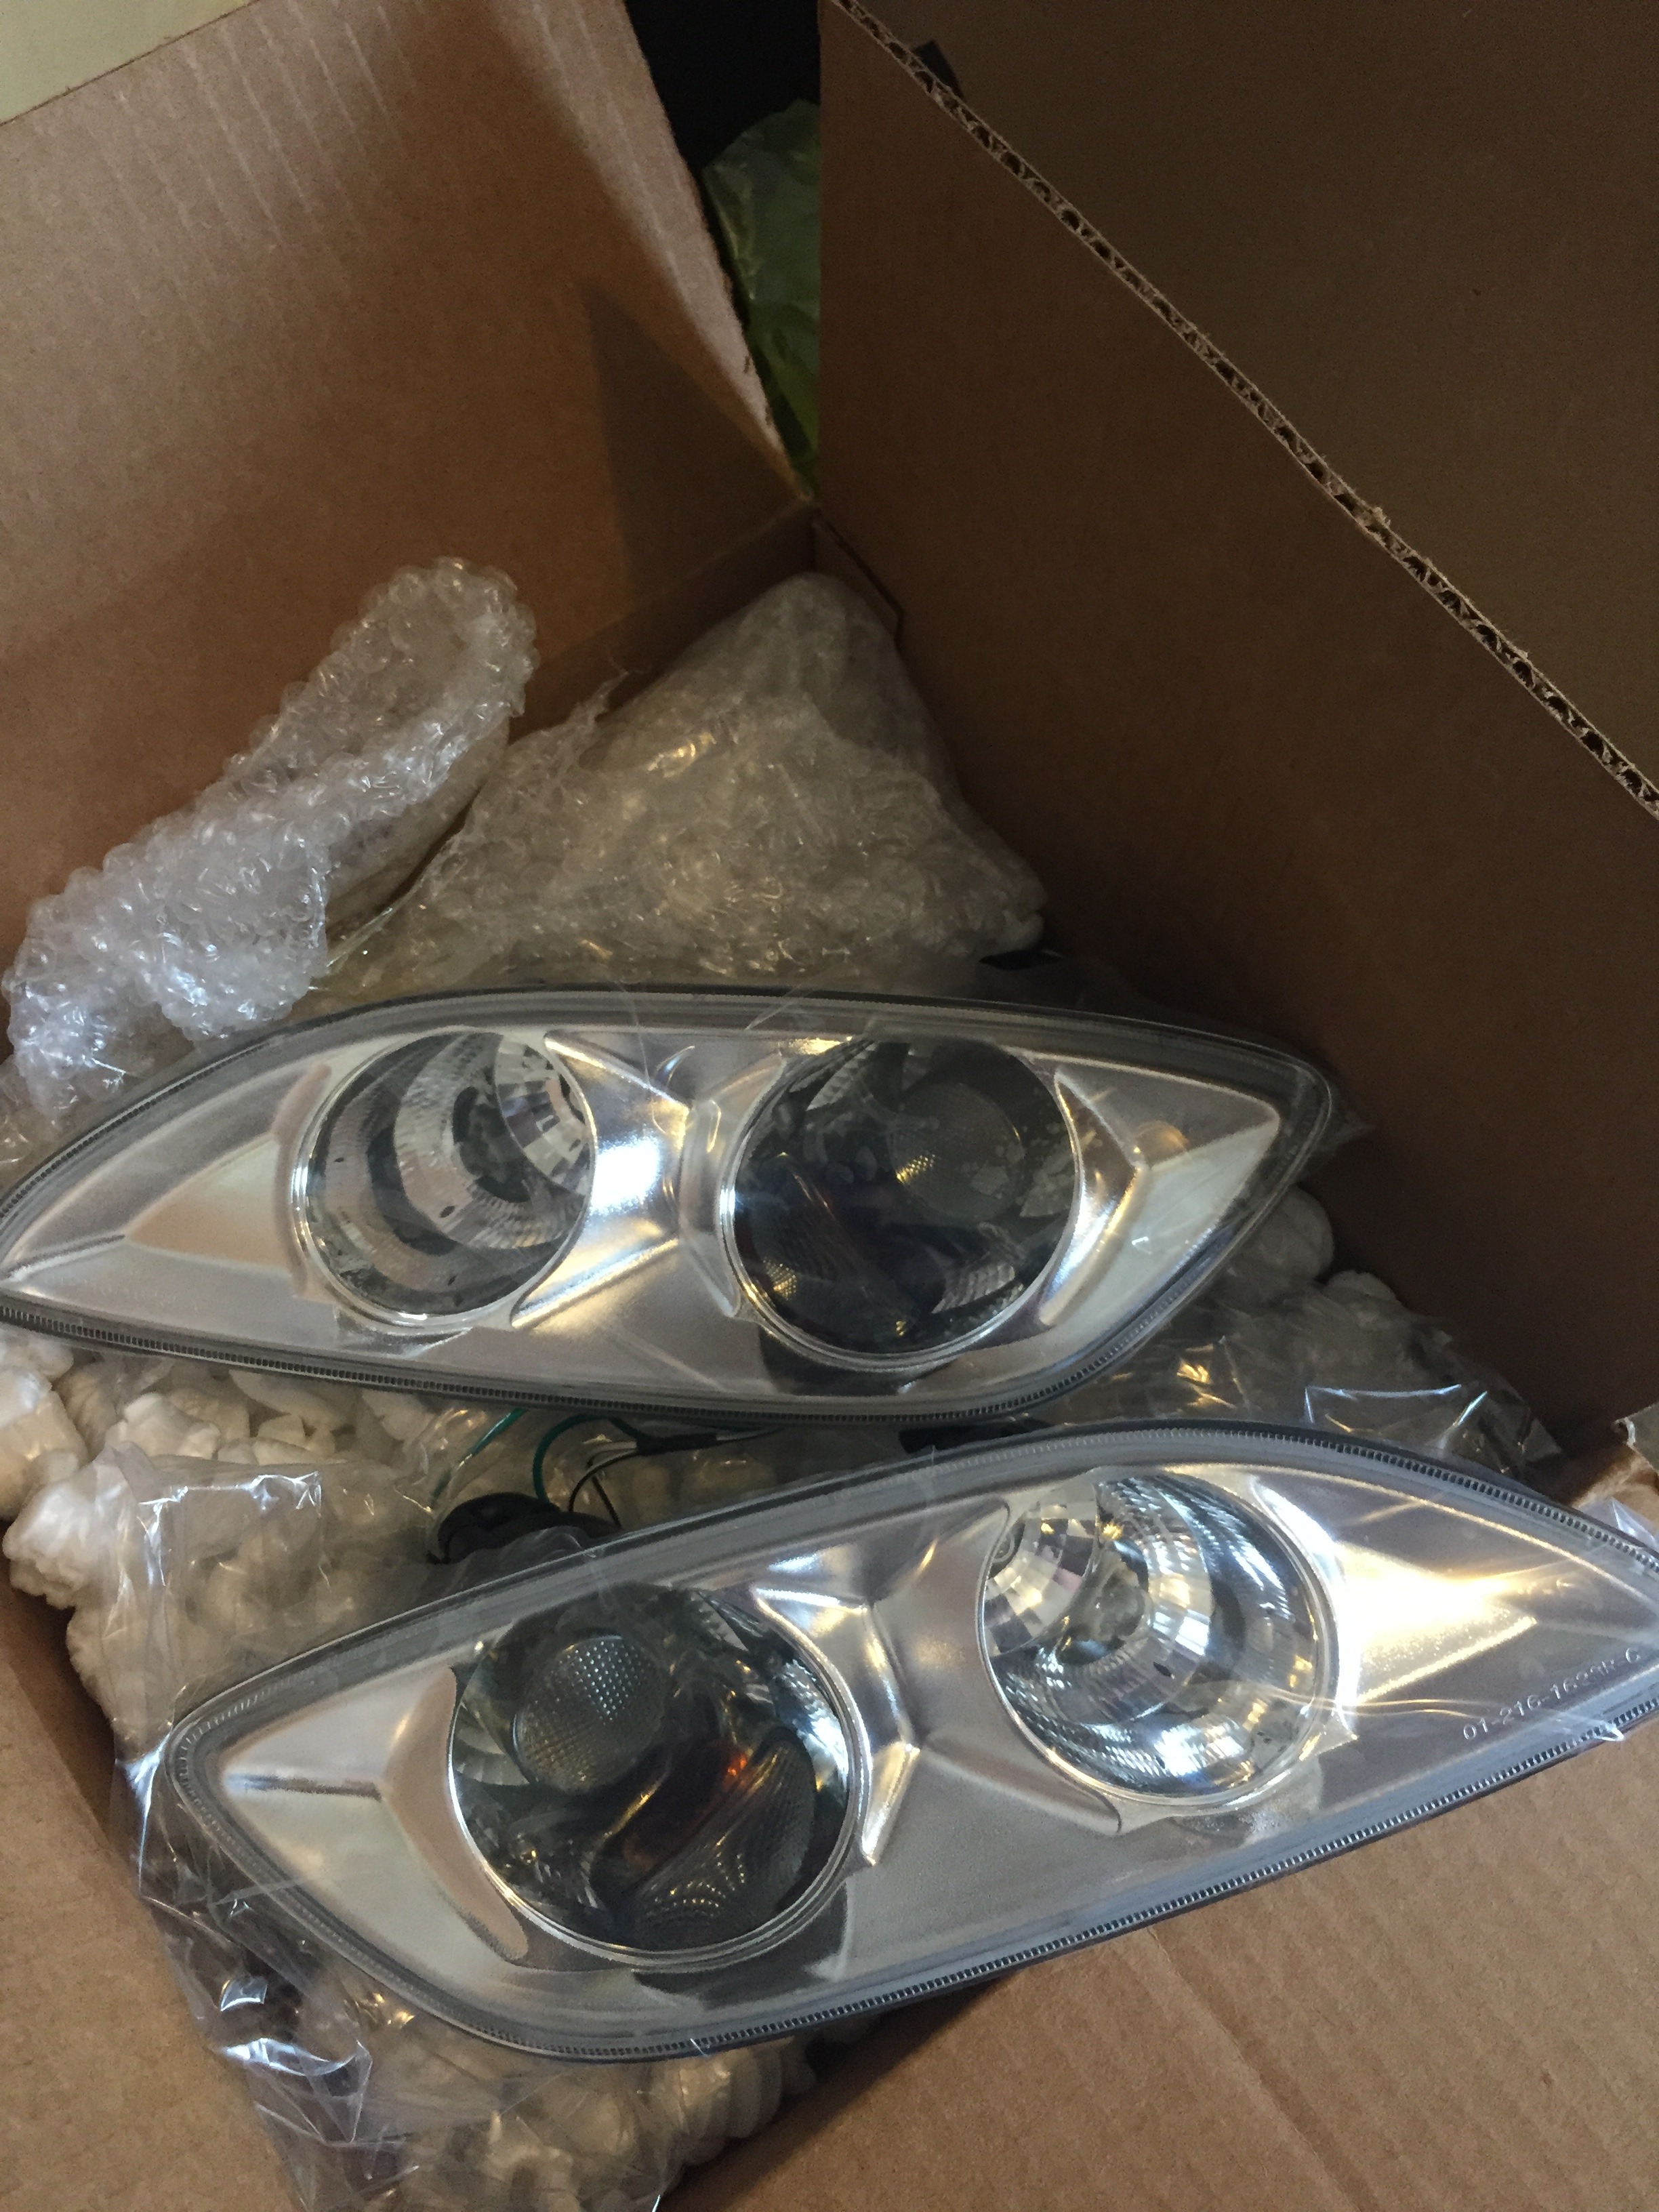
Got a pair of 99 spec combo lights in. I plan to take them apart and paint them black.
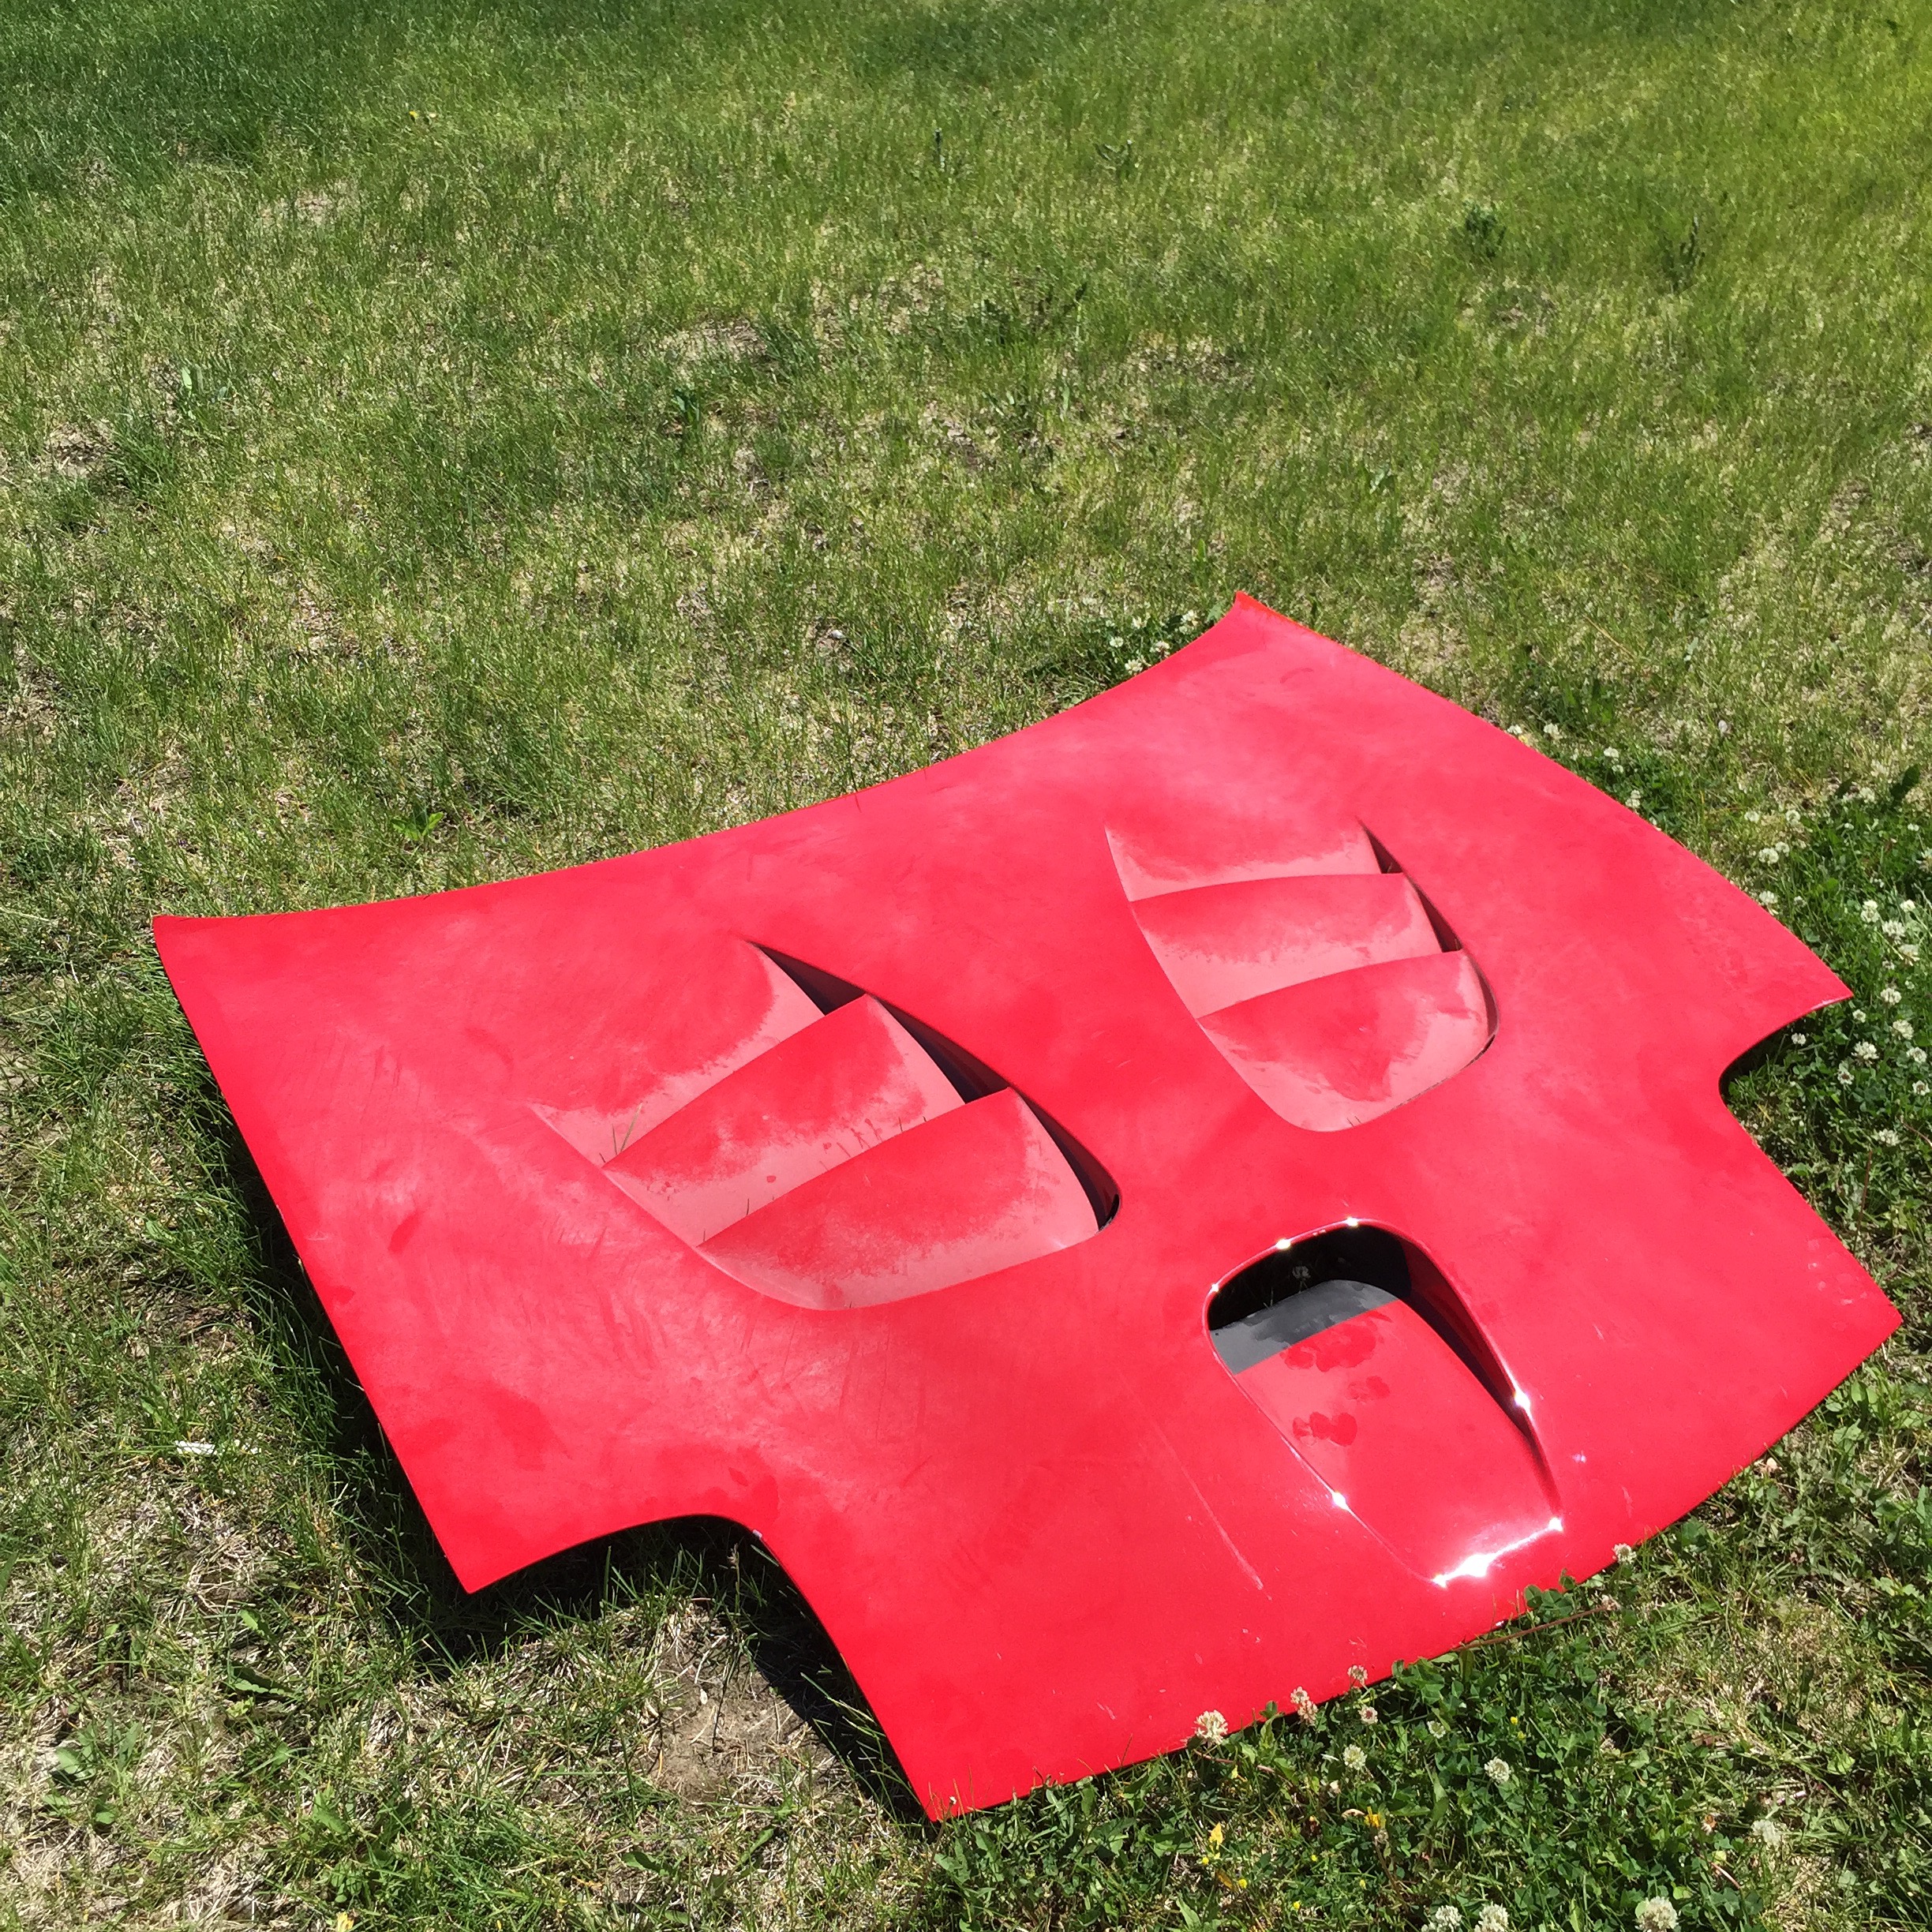
Also made a trip down to visit family and picked up some parts along the way. Got a scoot style hood from a friend along with door panels, headlights, gauge cluster hood, and gauge cluster surround.
On my way down to visit family I stopped by a members house on here and picked up a 99 fiberglass bumper/lip combo for cheap
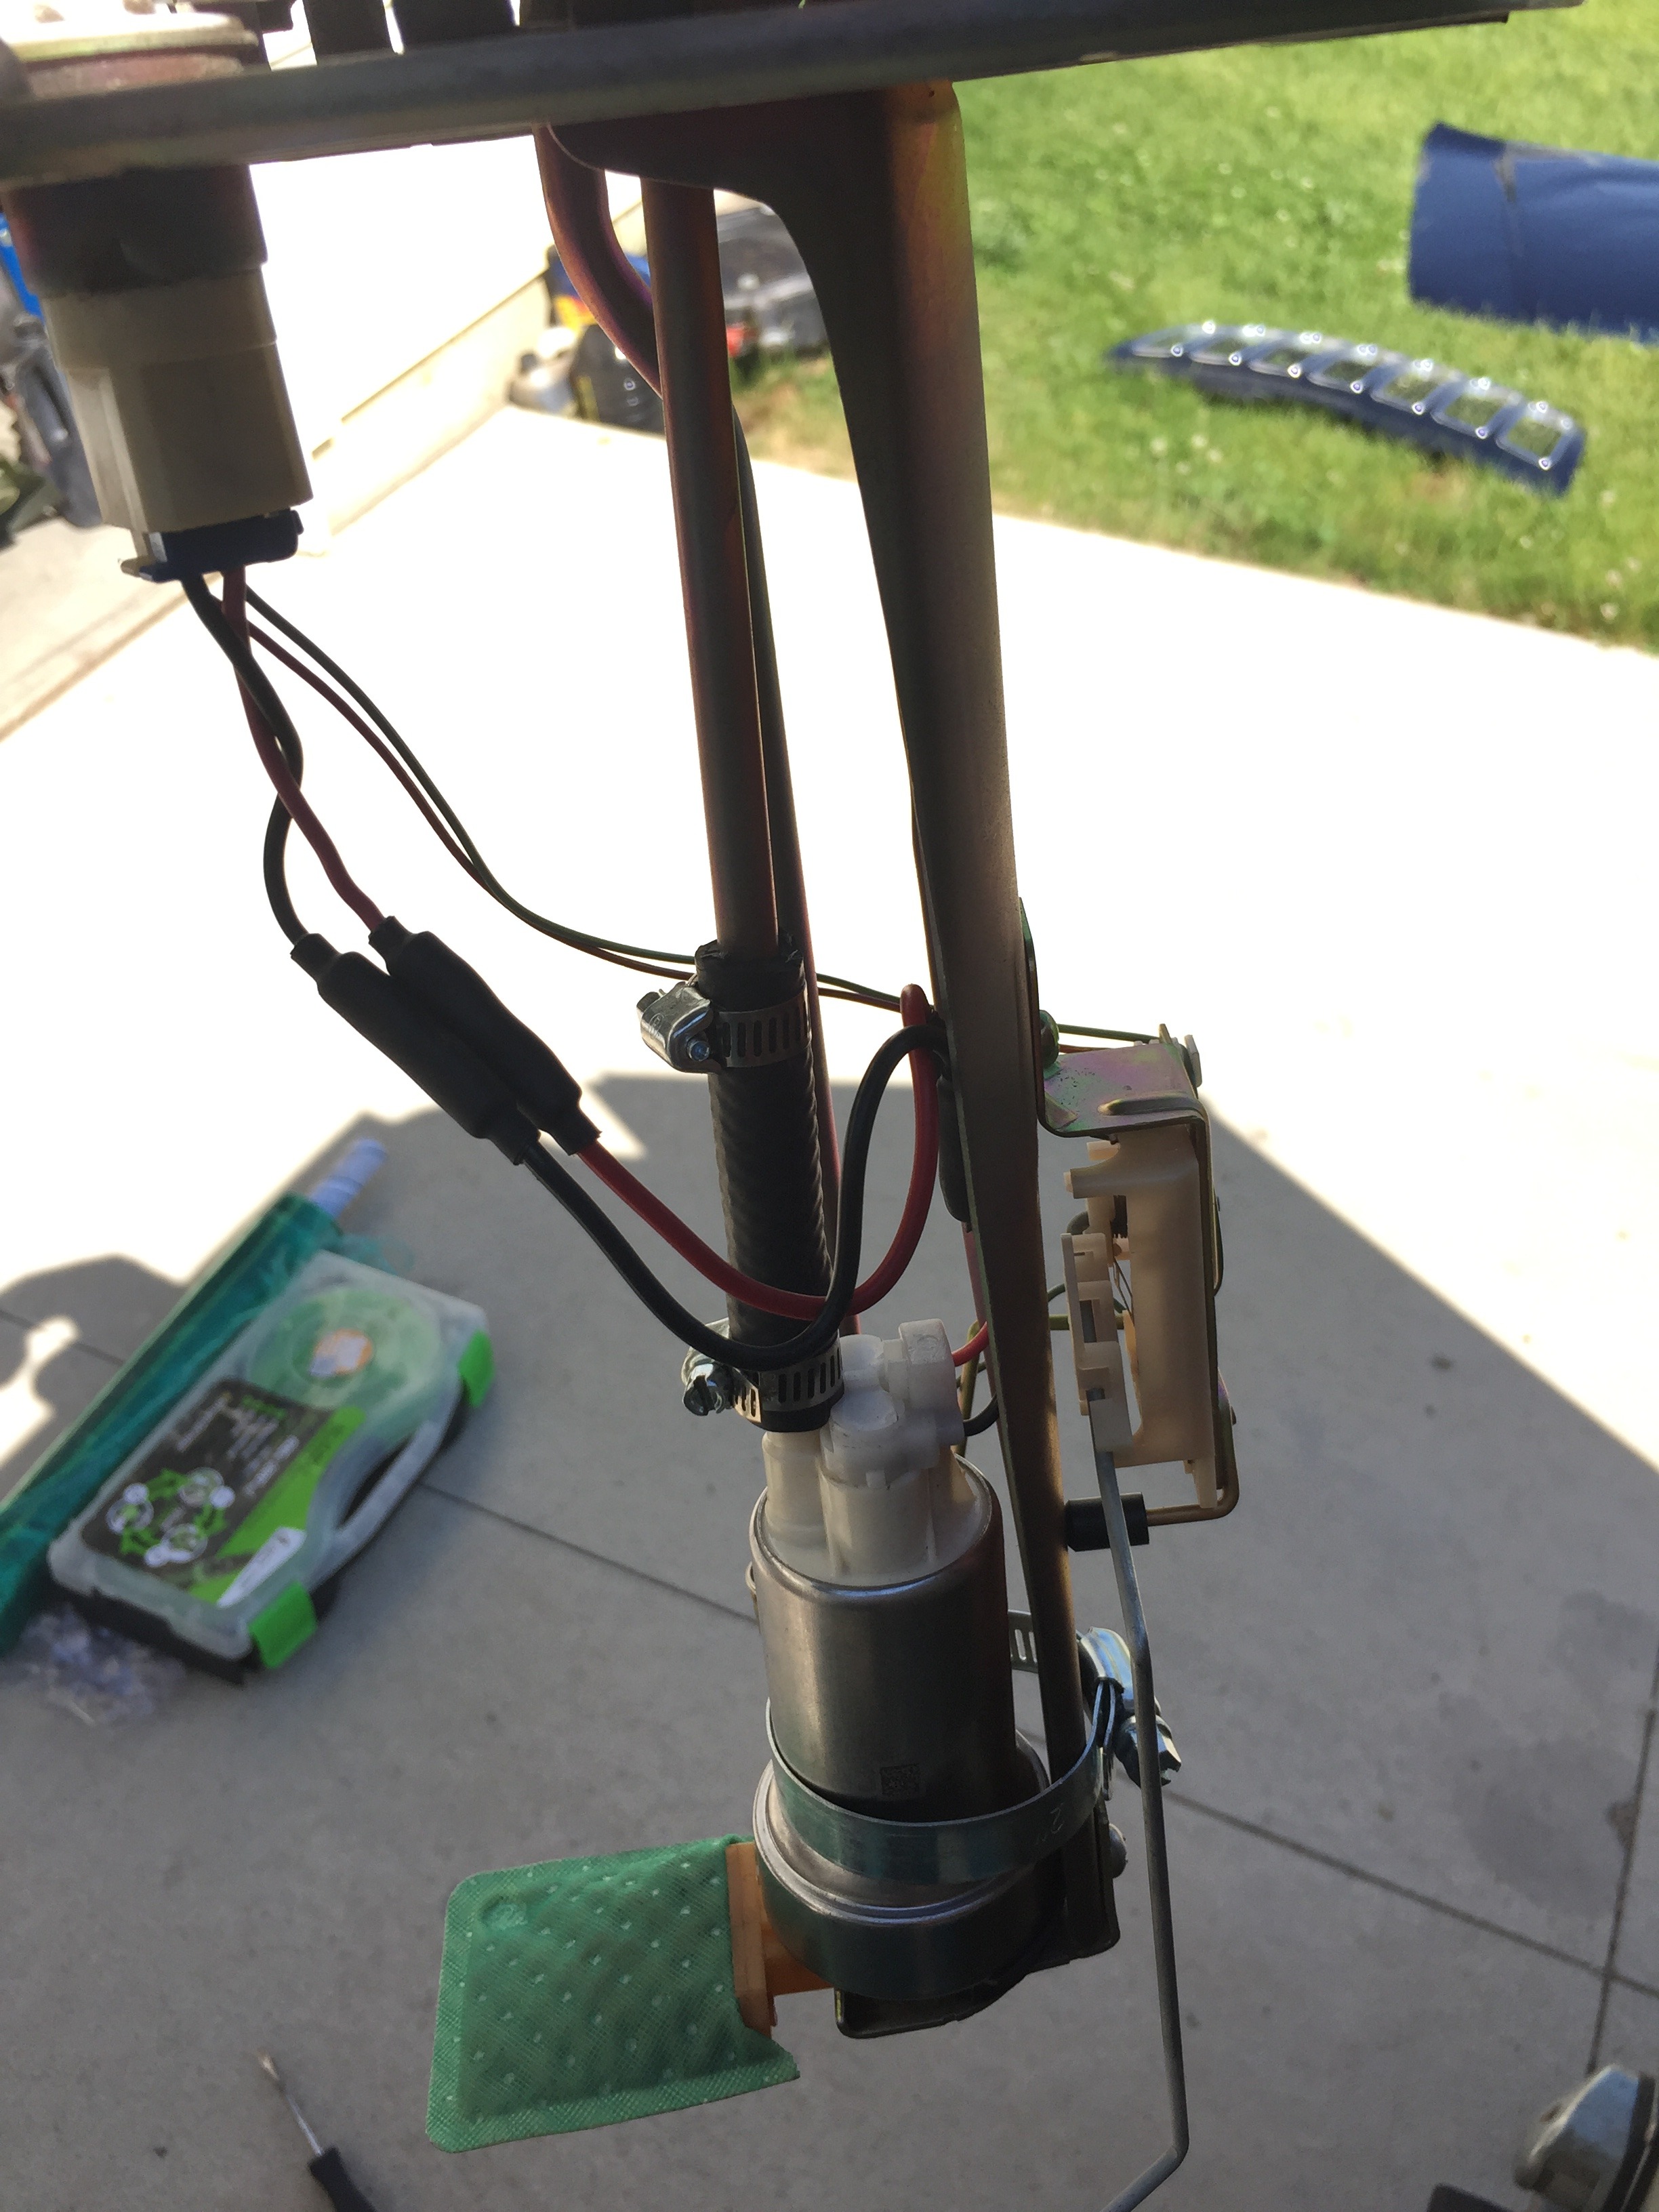
Installed the Walbro 450 I had lying around from my DSM
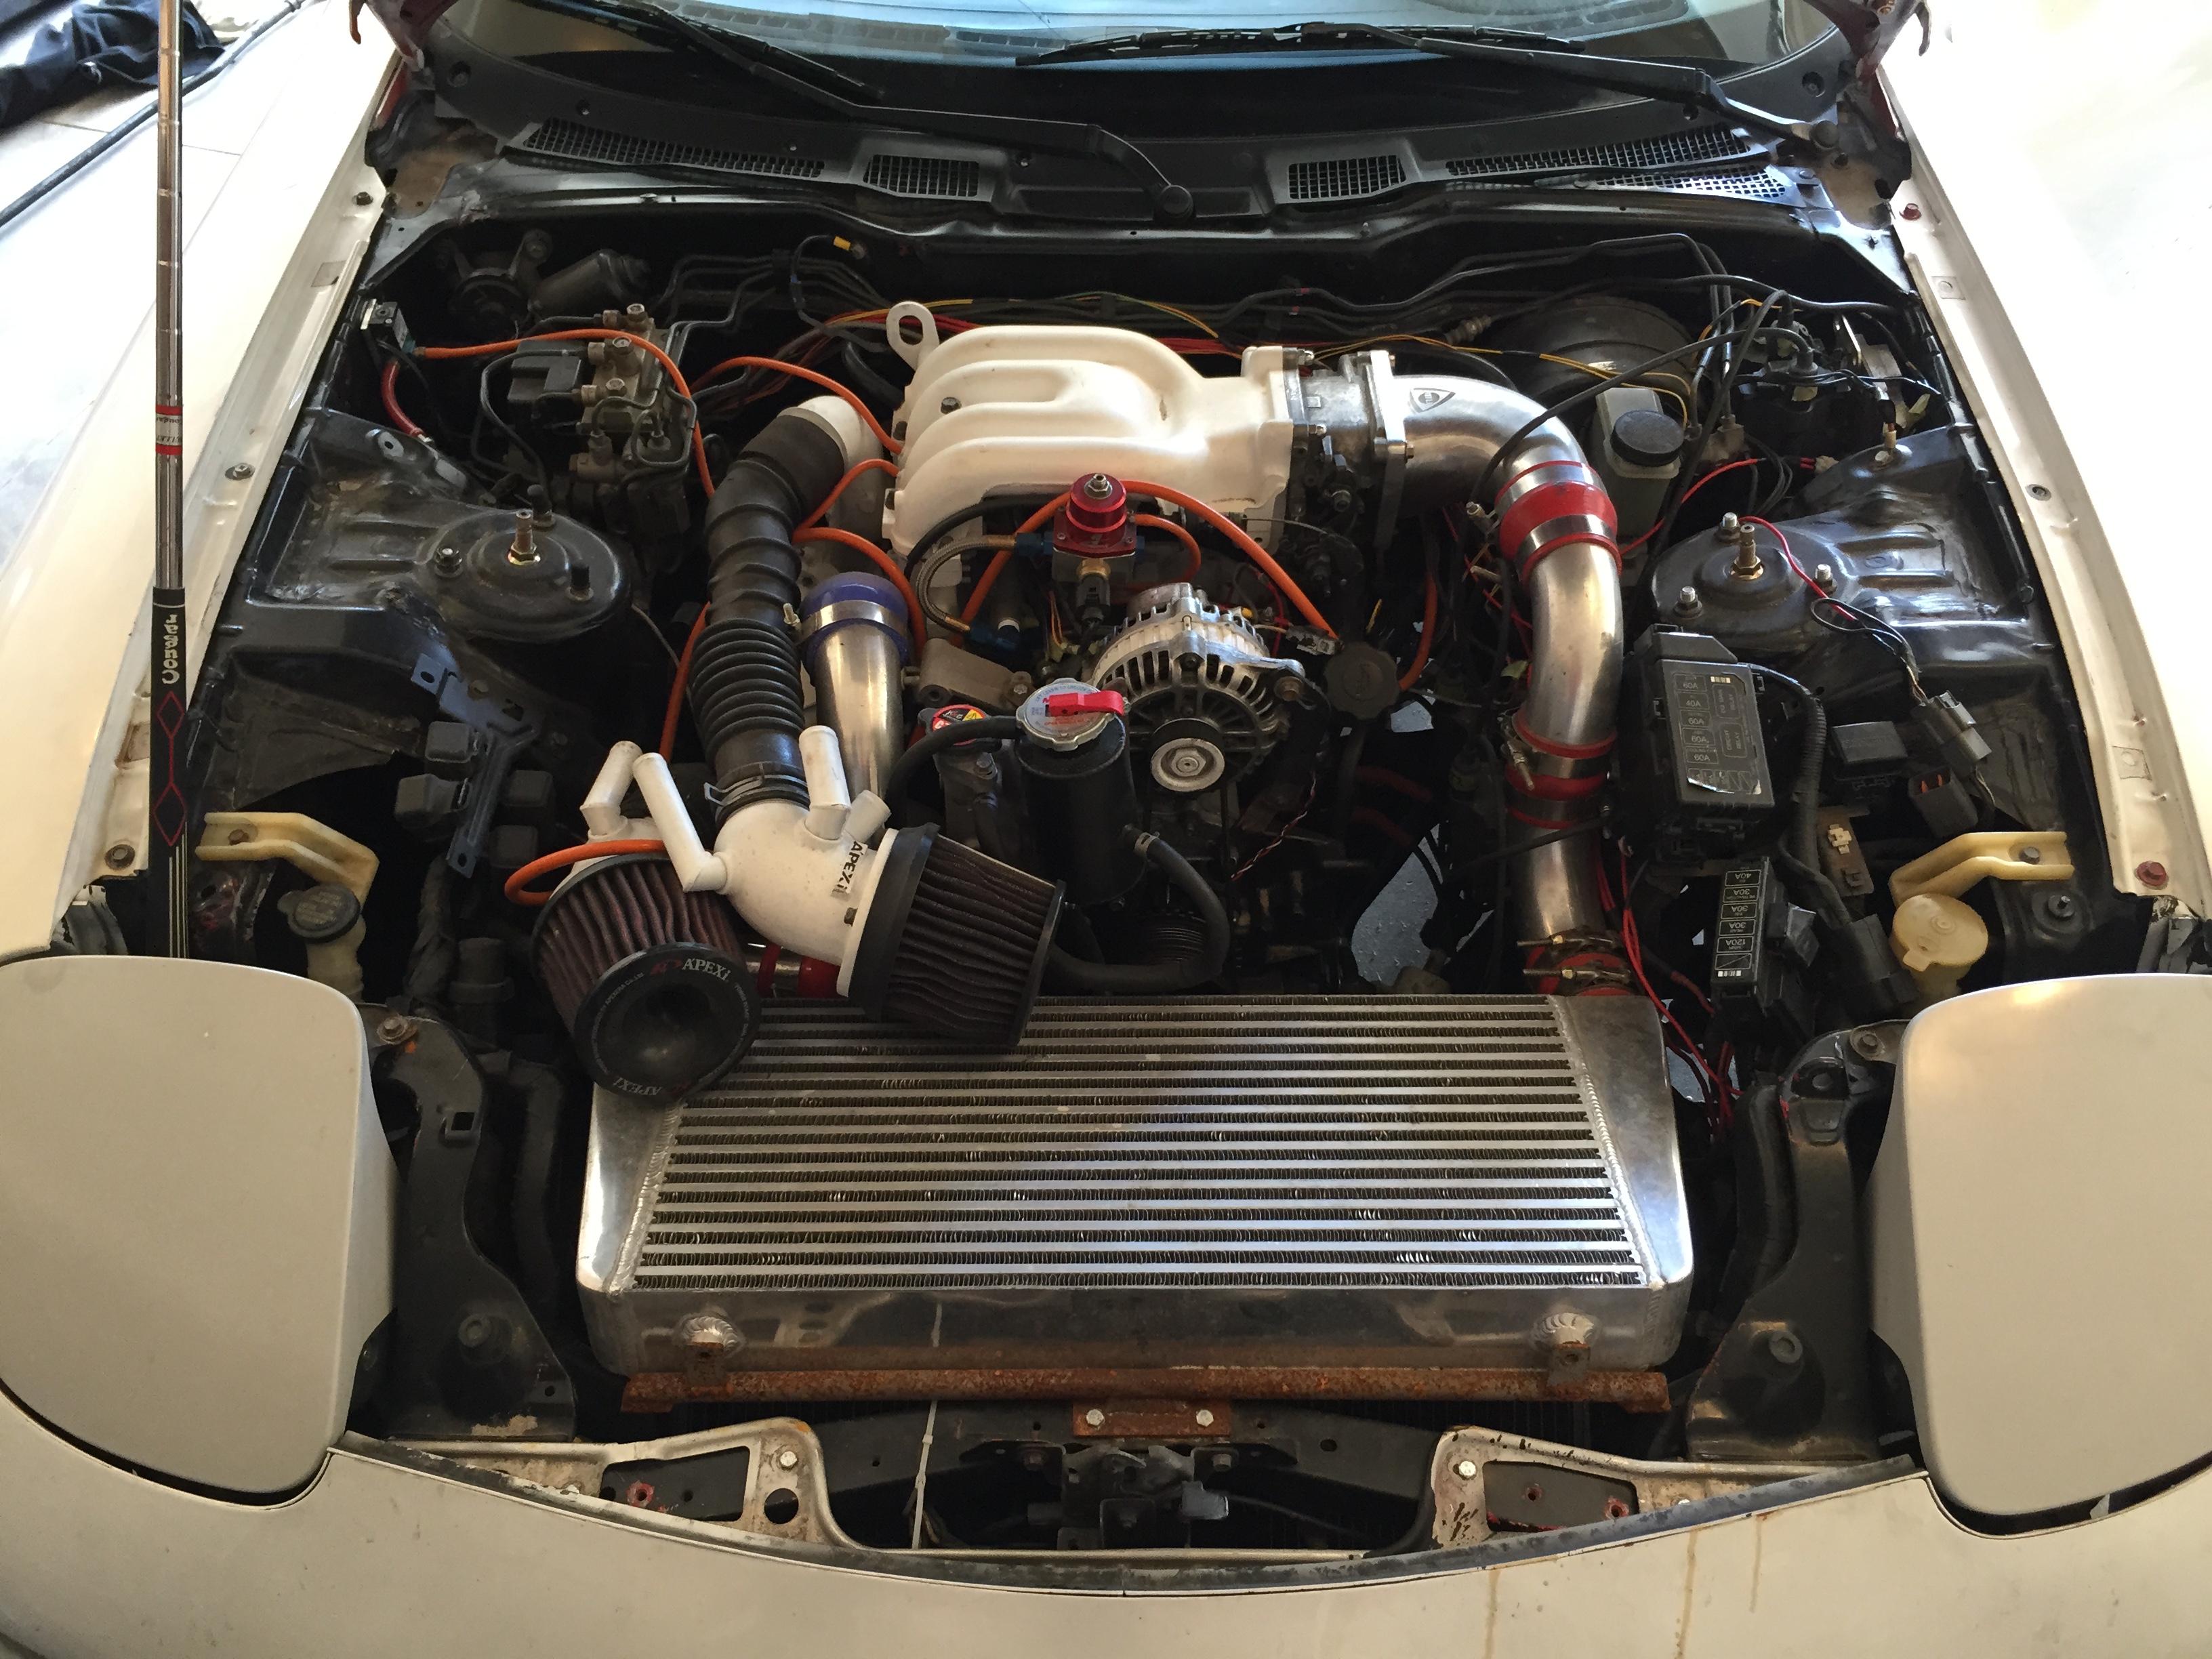
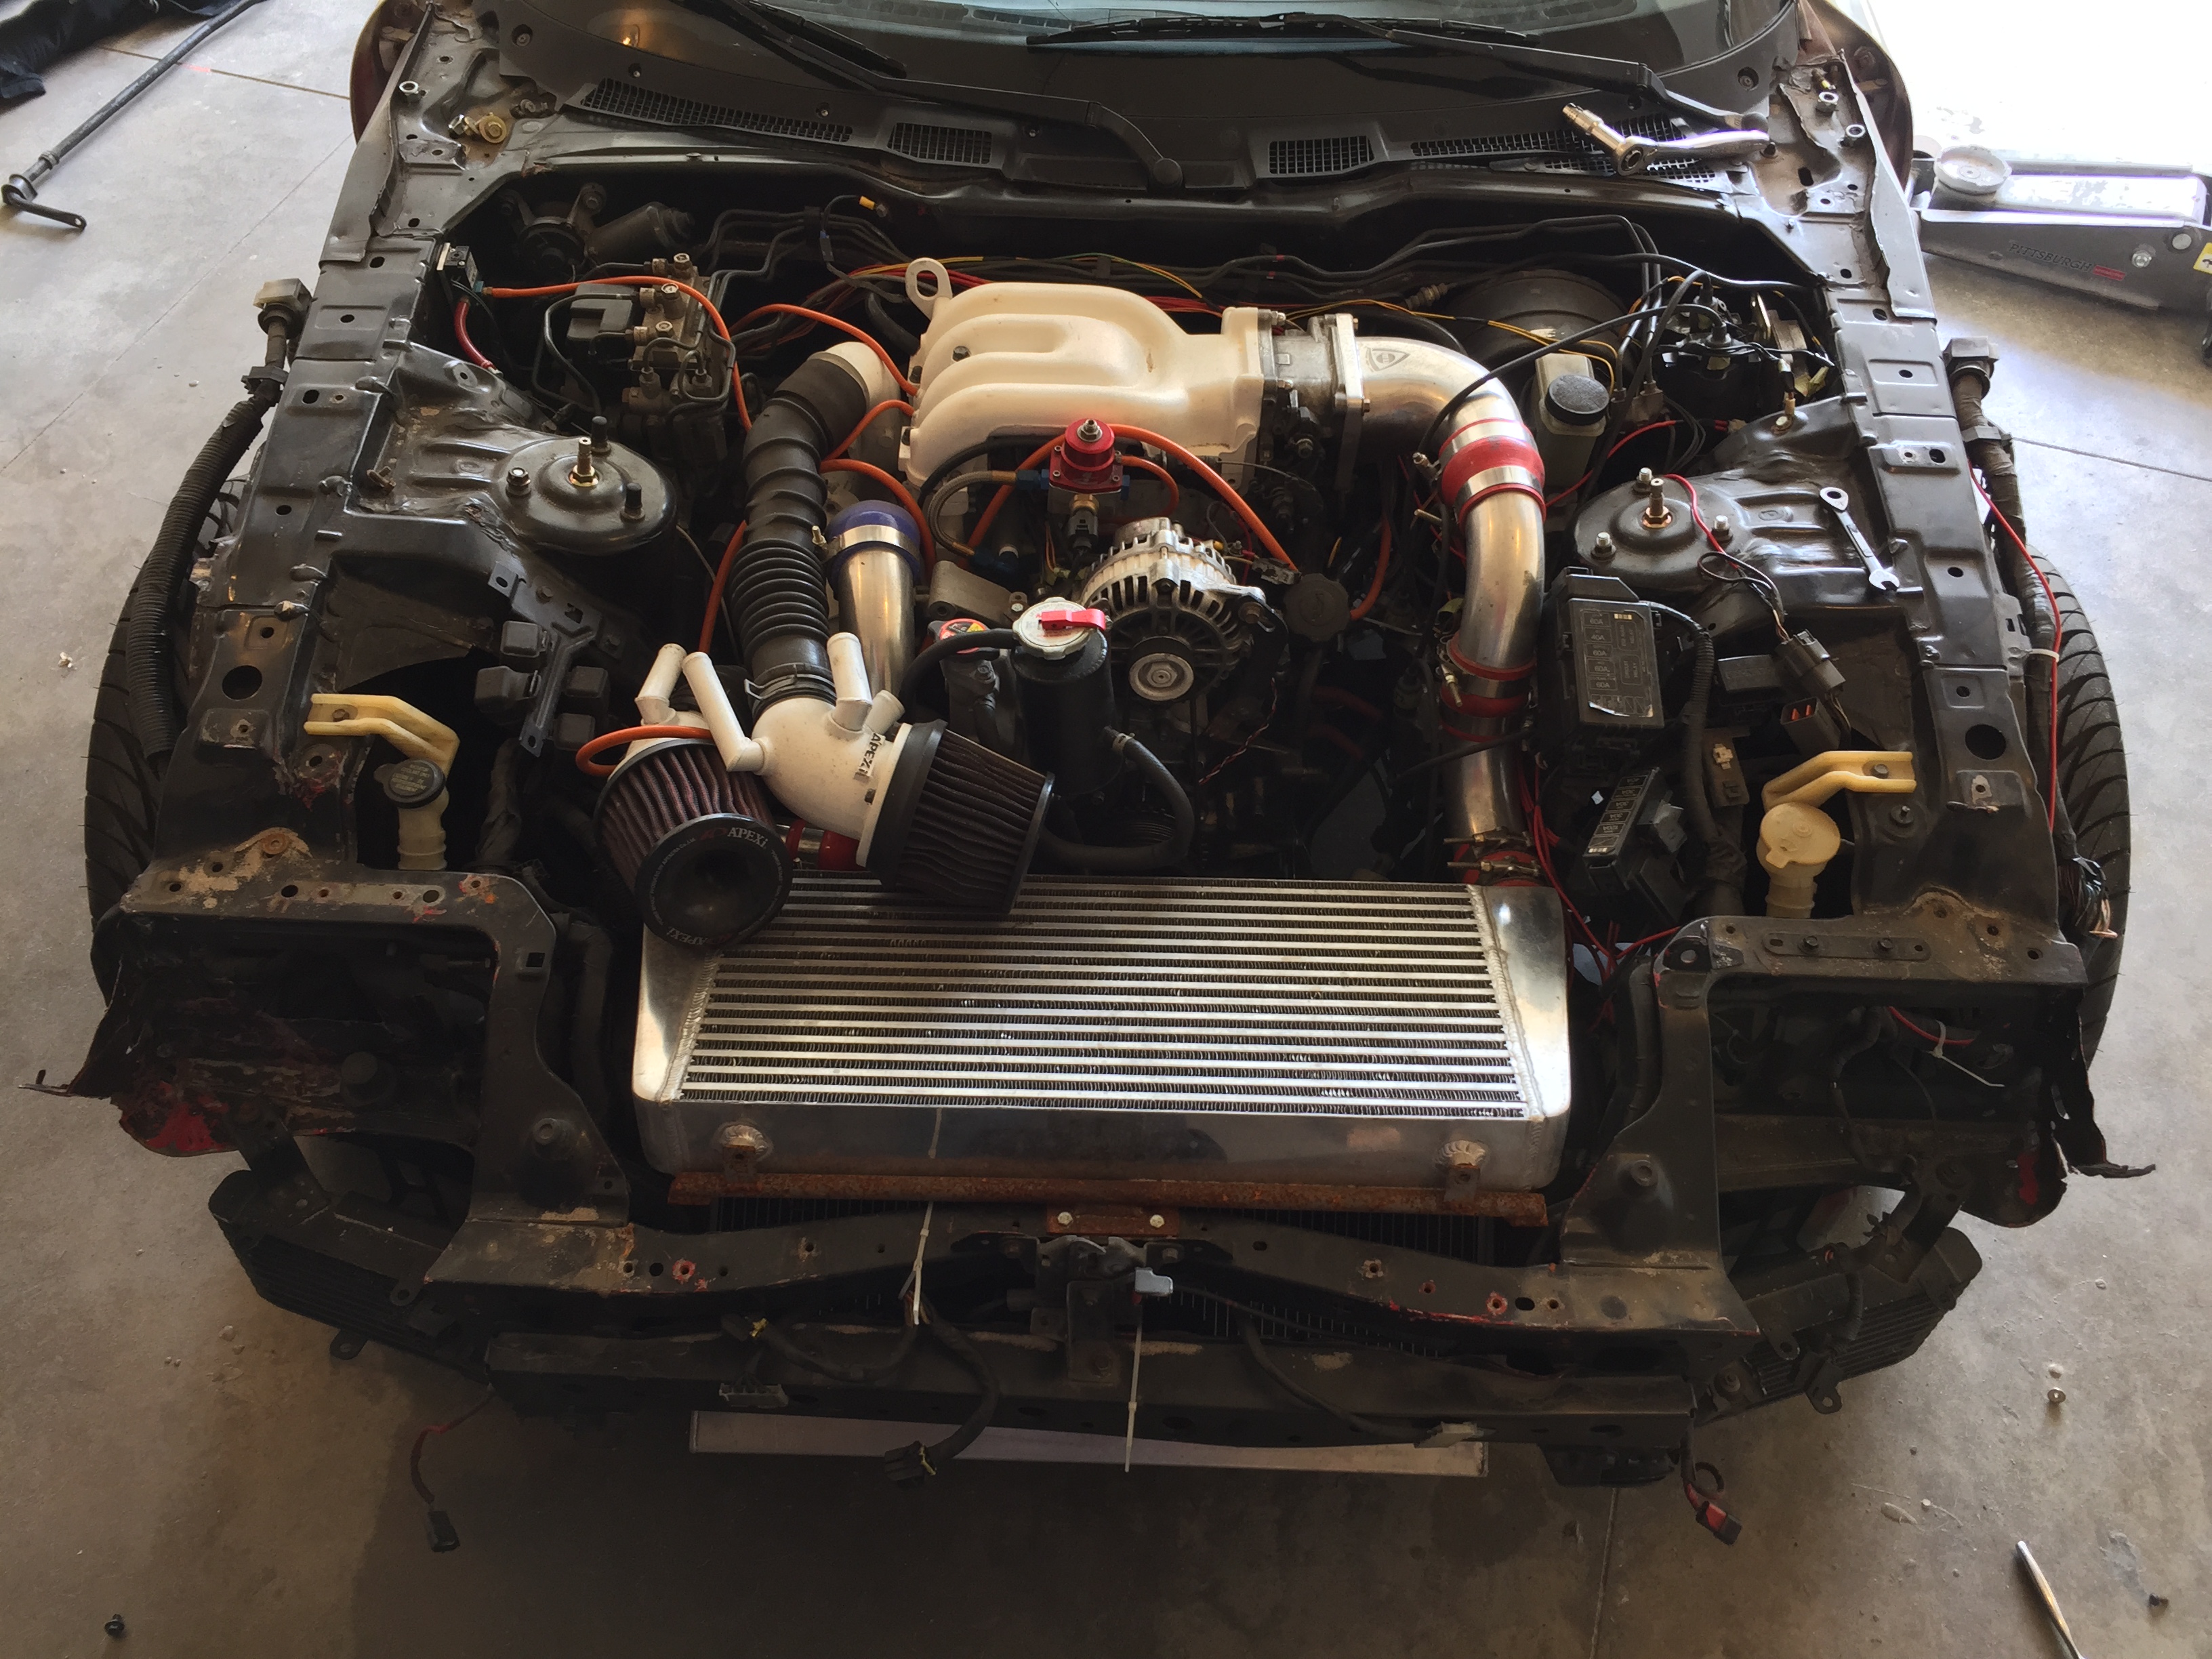
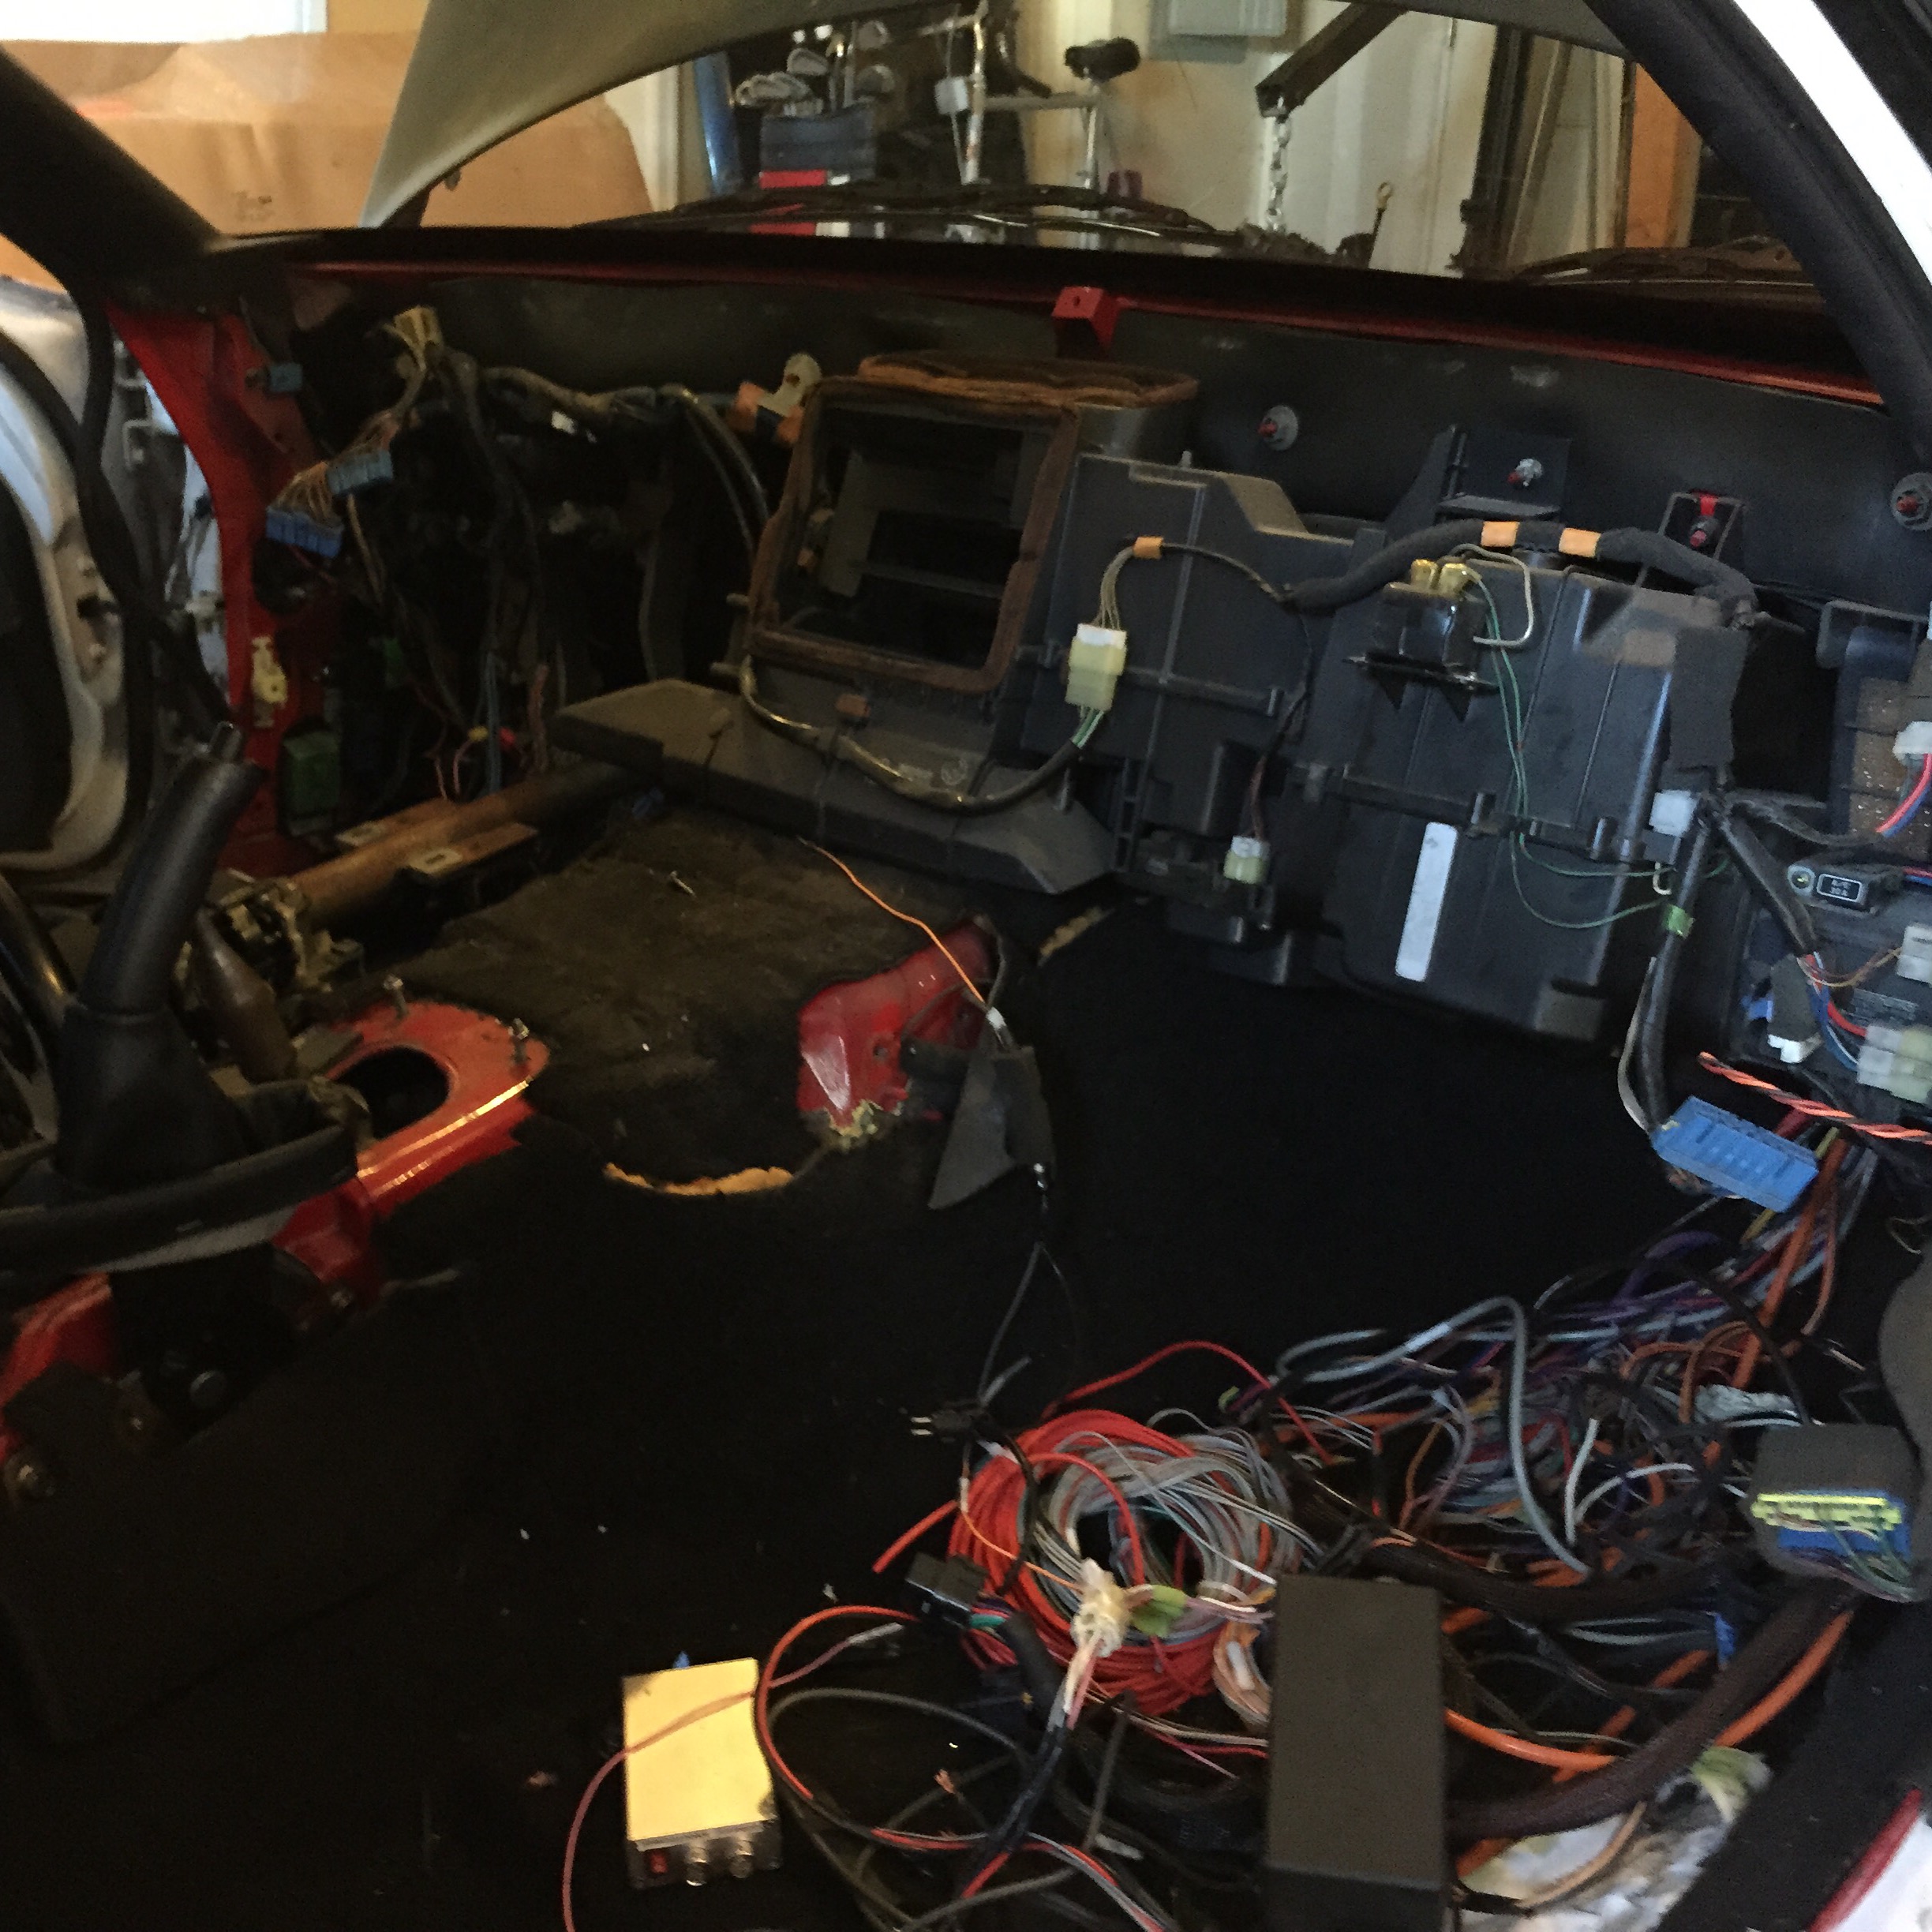
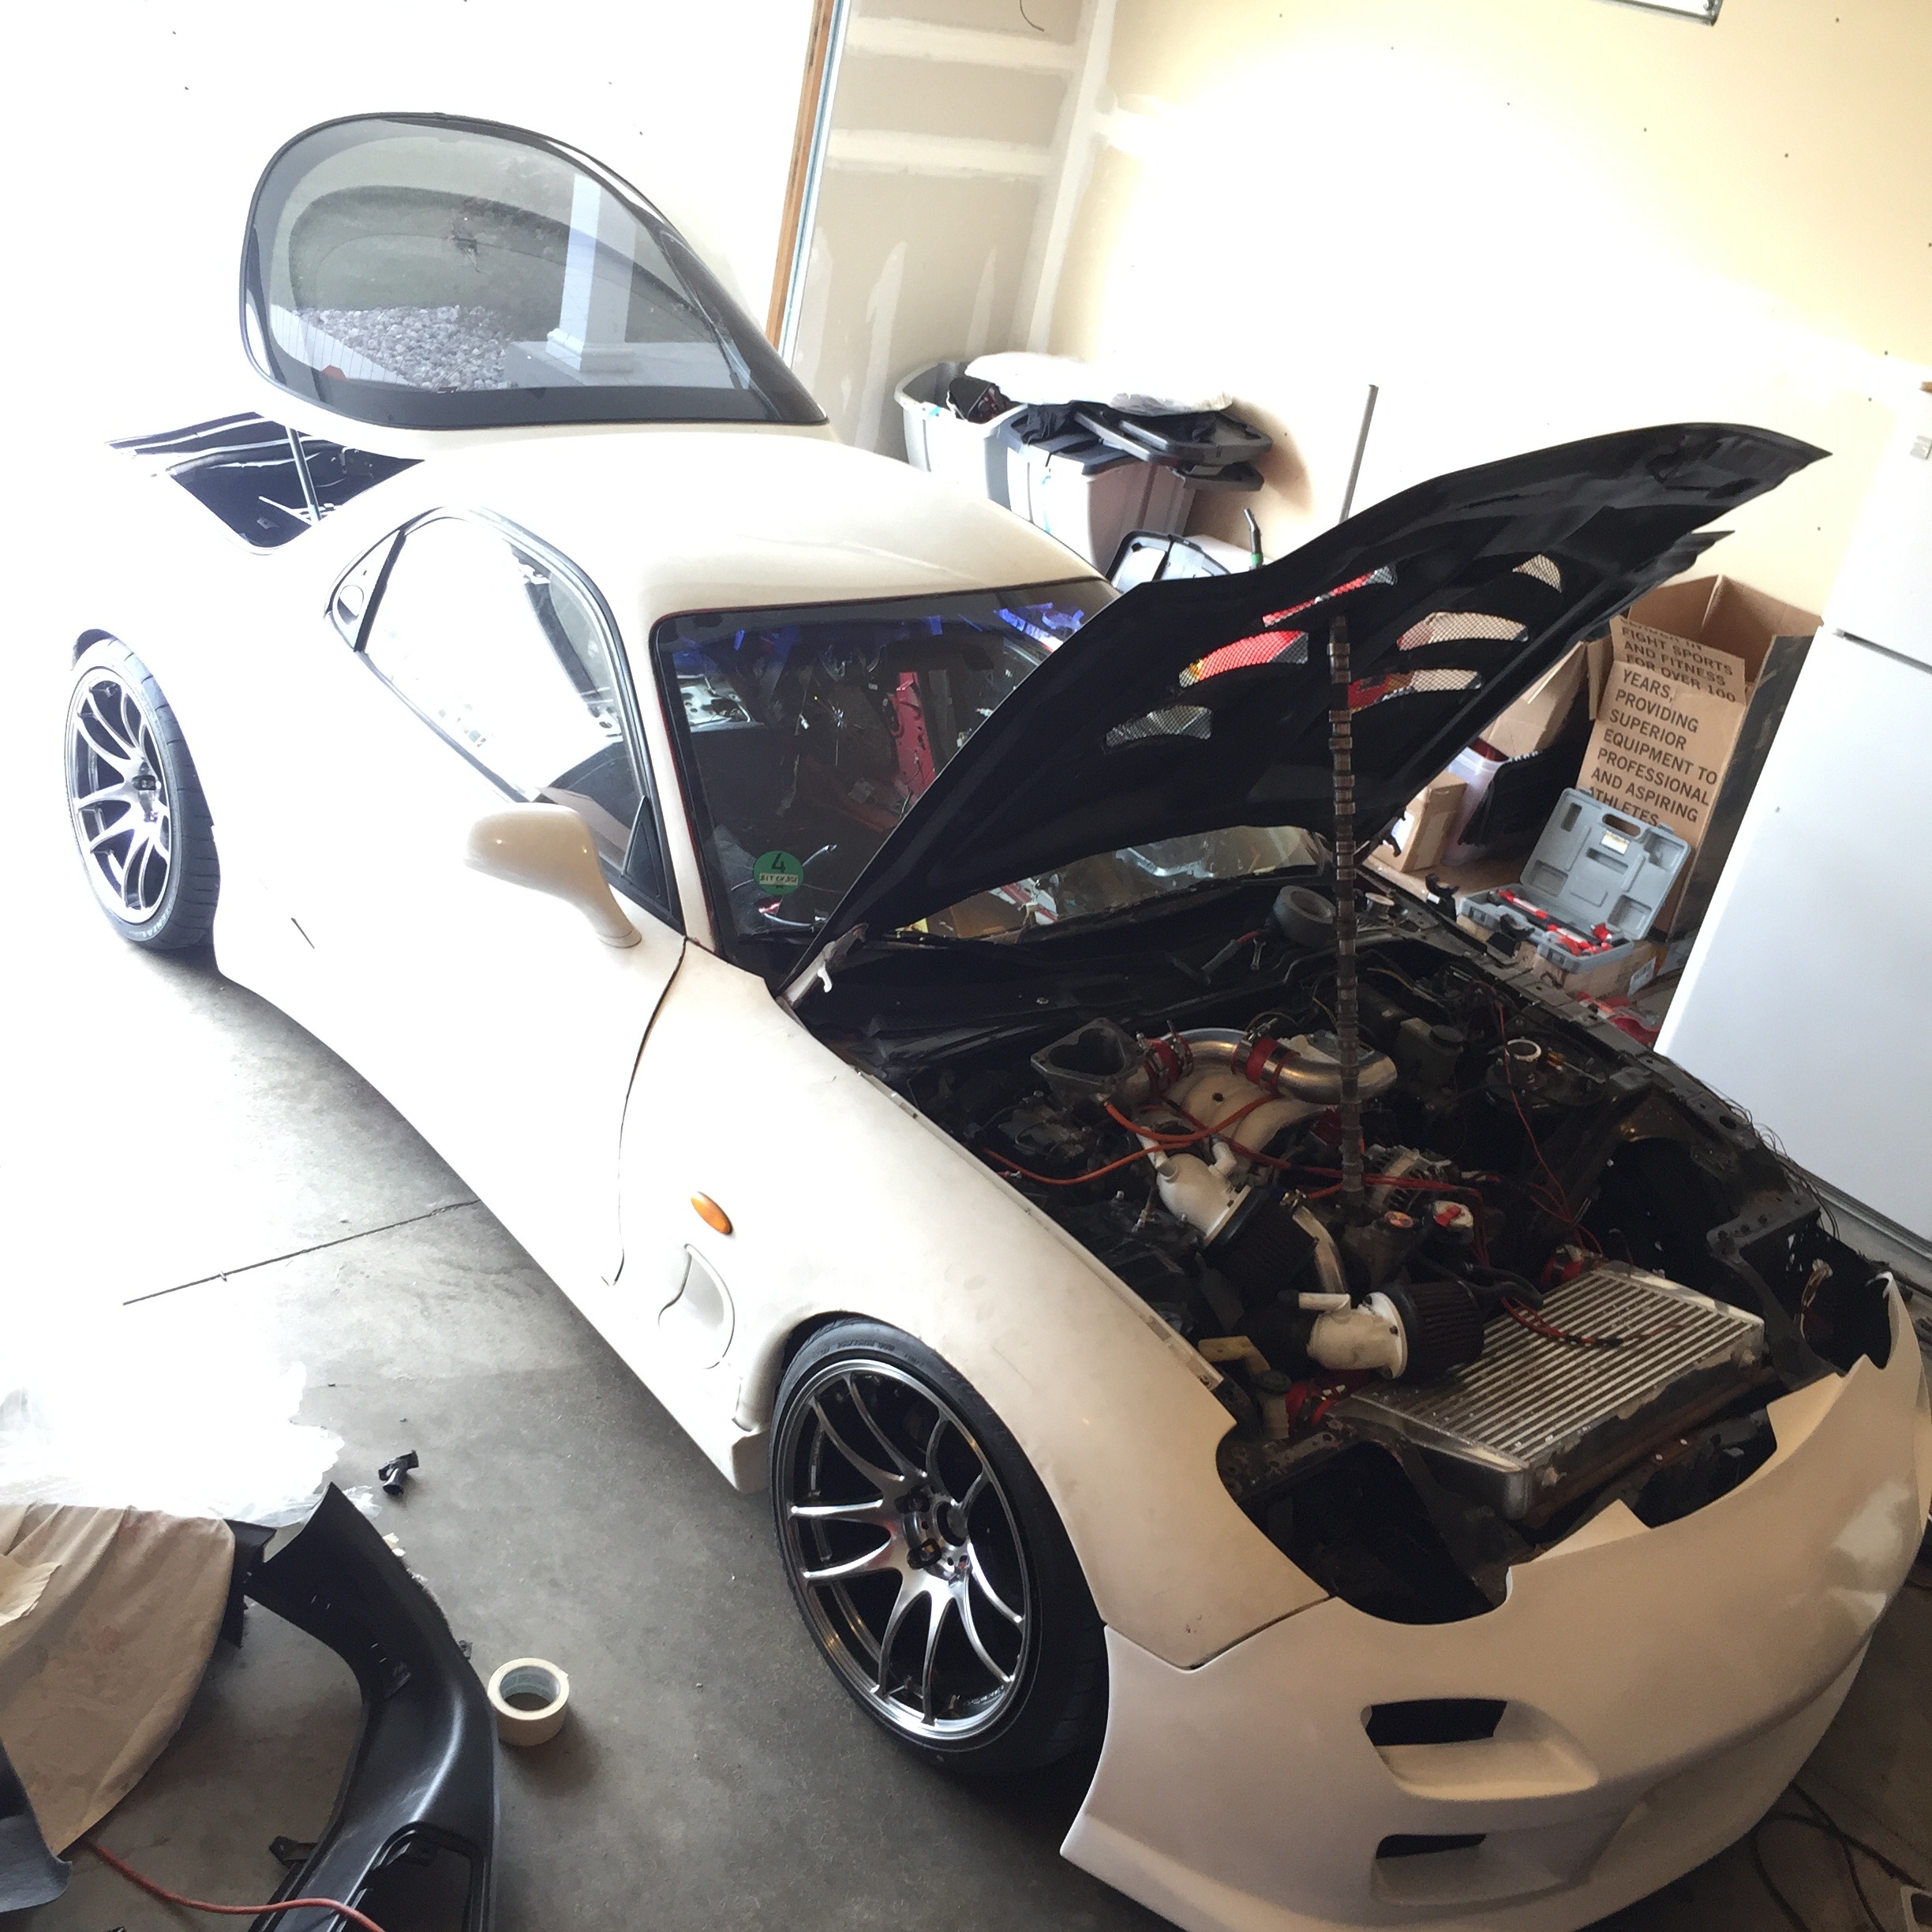
When I got the car I didn't want to drive it because of some open intake holes (car had dirt all in the engine bay so I was worried about some of it being in the intakes) and the wiring harness was lying on top of the front tires. So I took off the intercooler/intakes/tb and made sure nothing was inside and ziptied up the harnesses for now. Then I took it for a drive

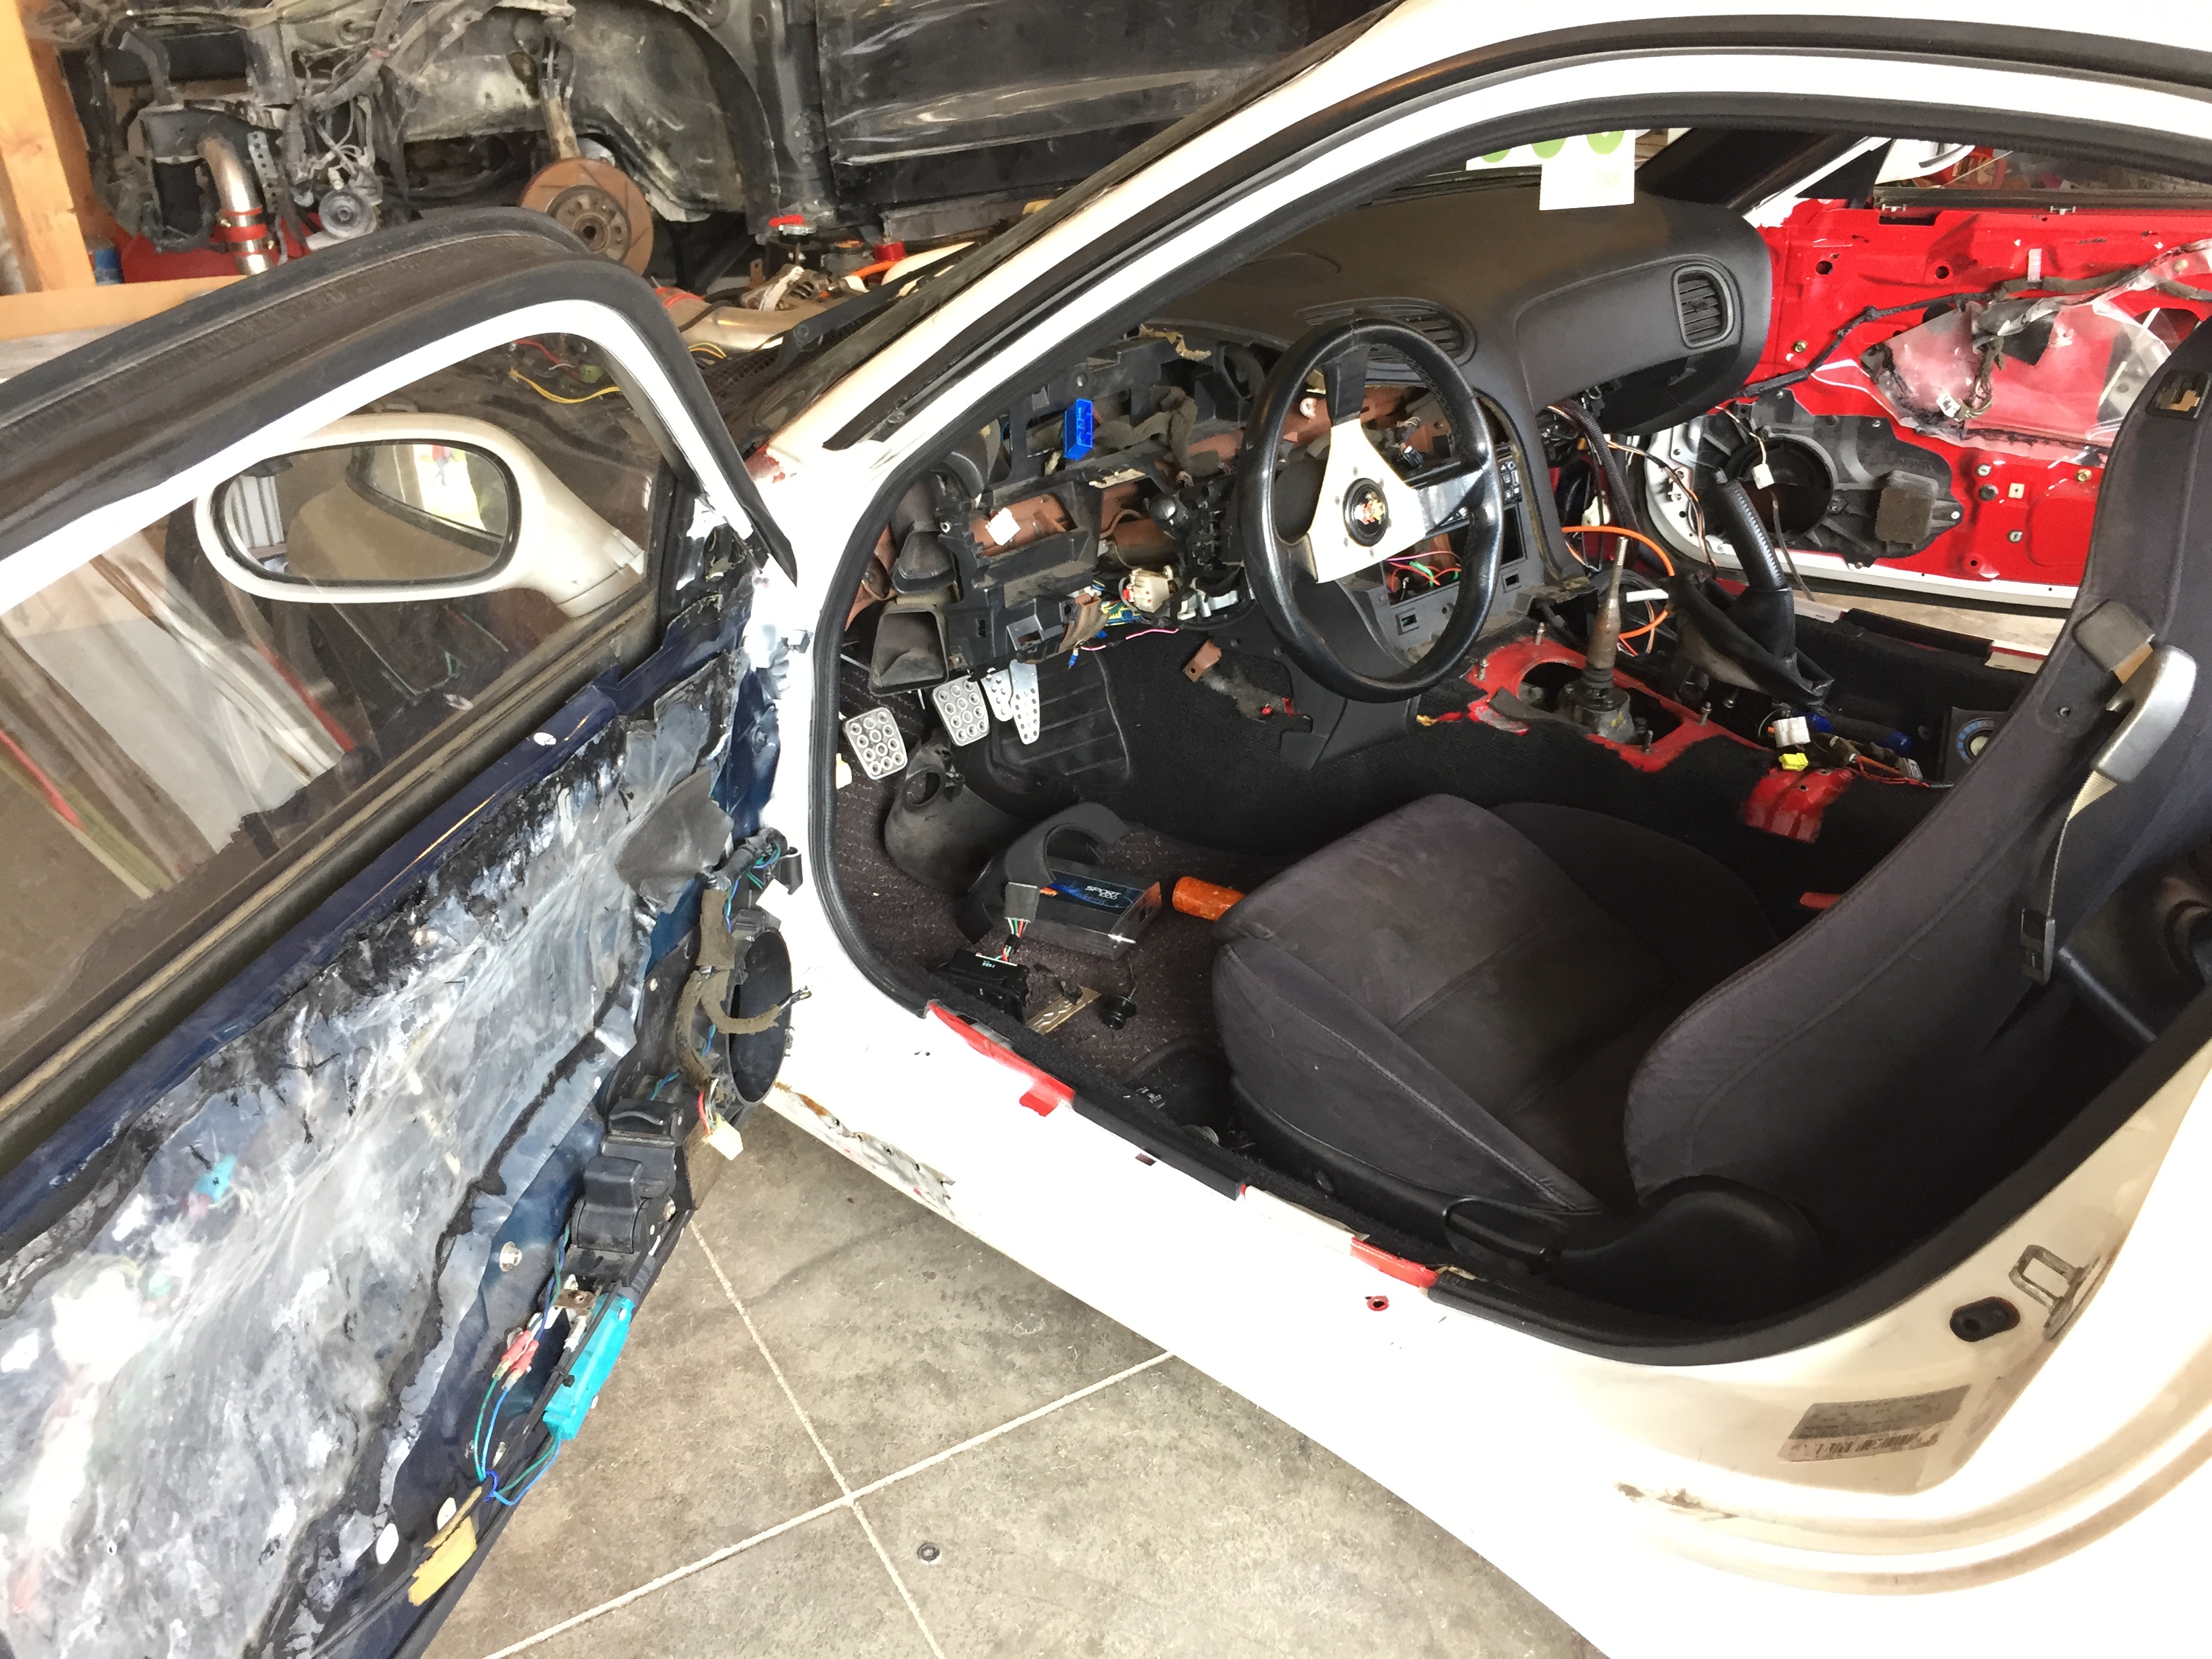
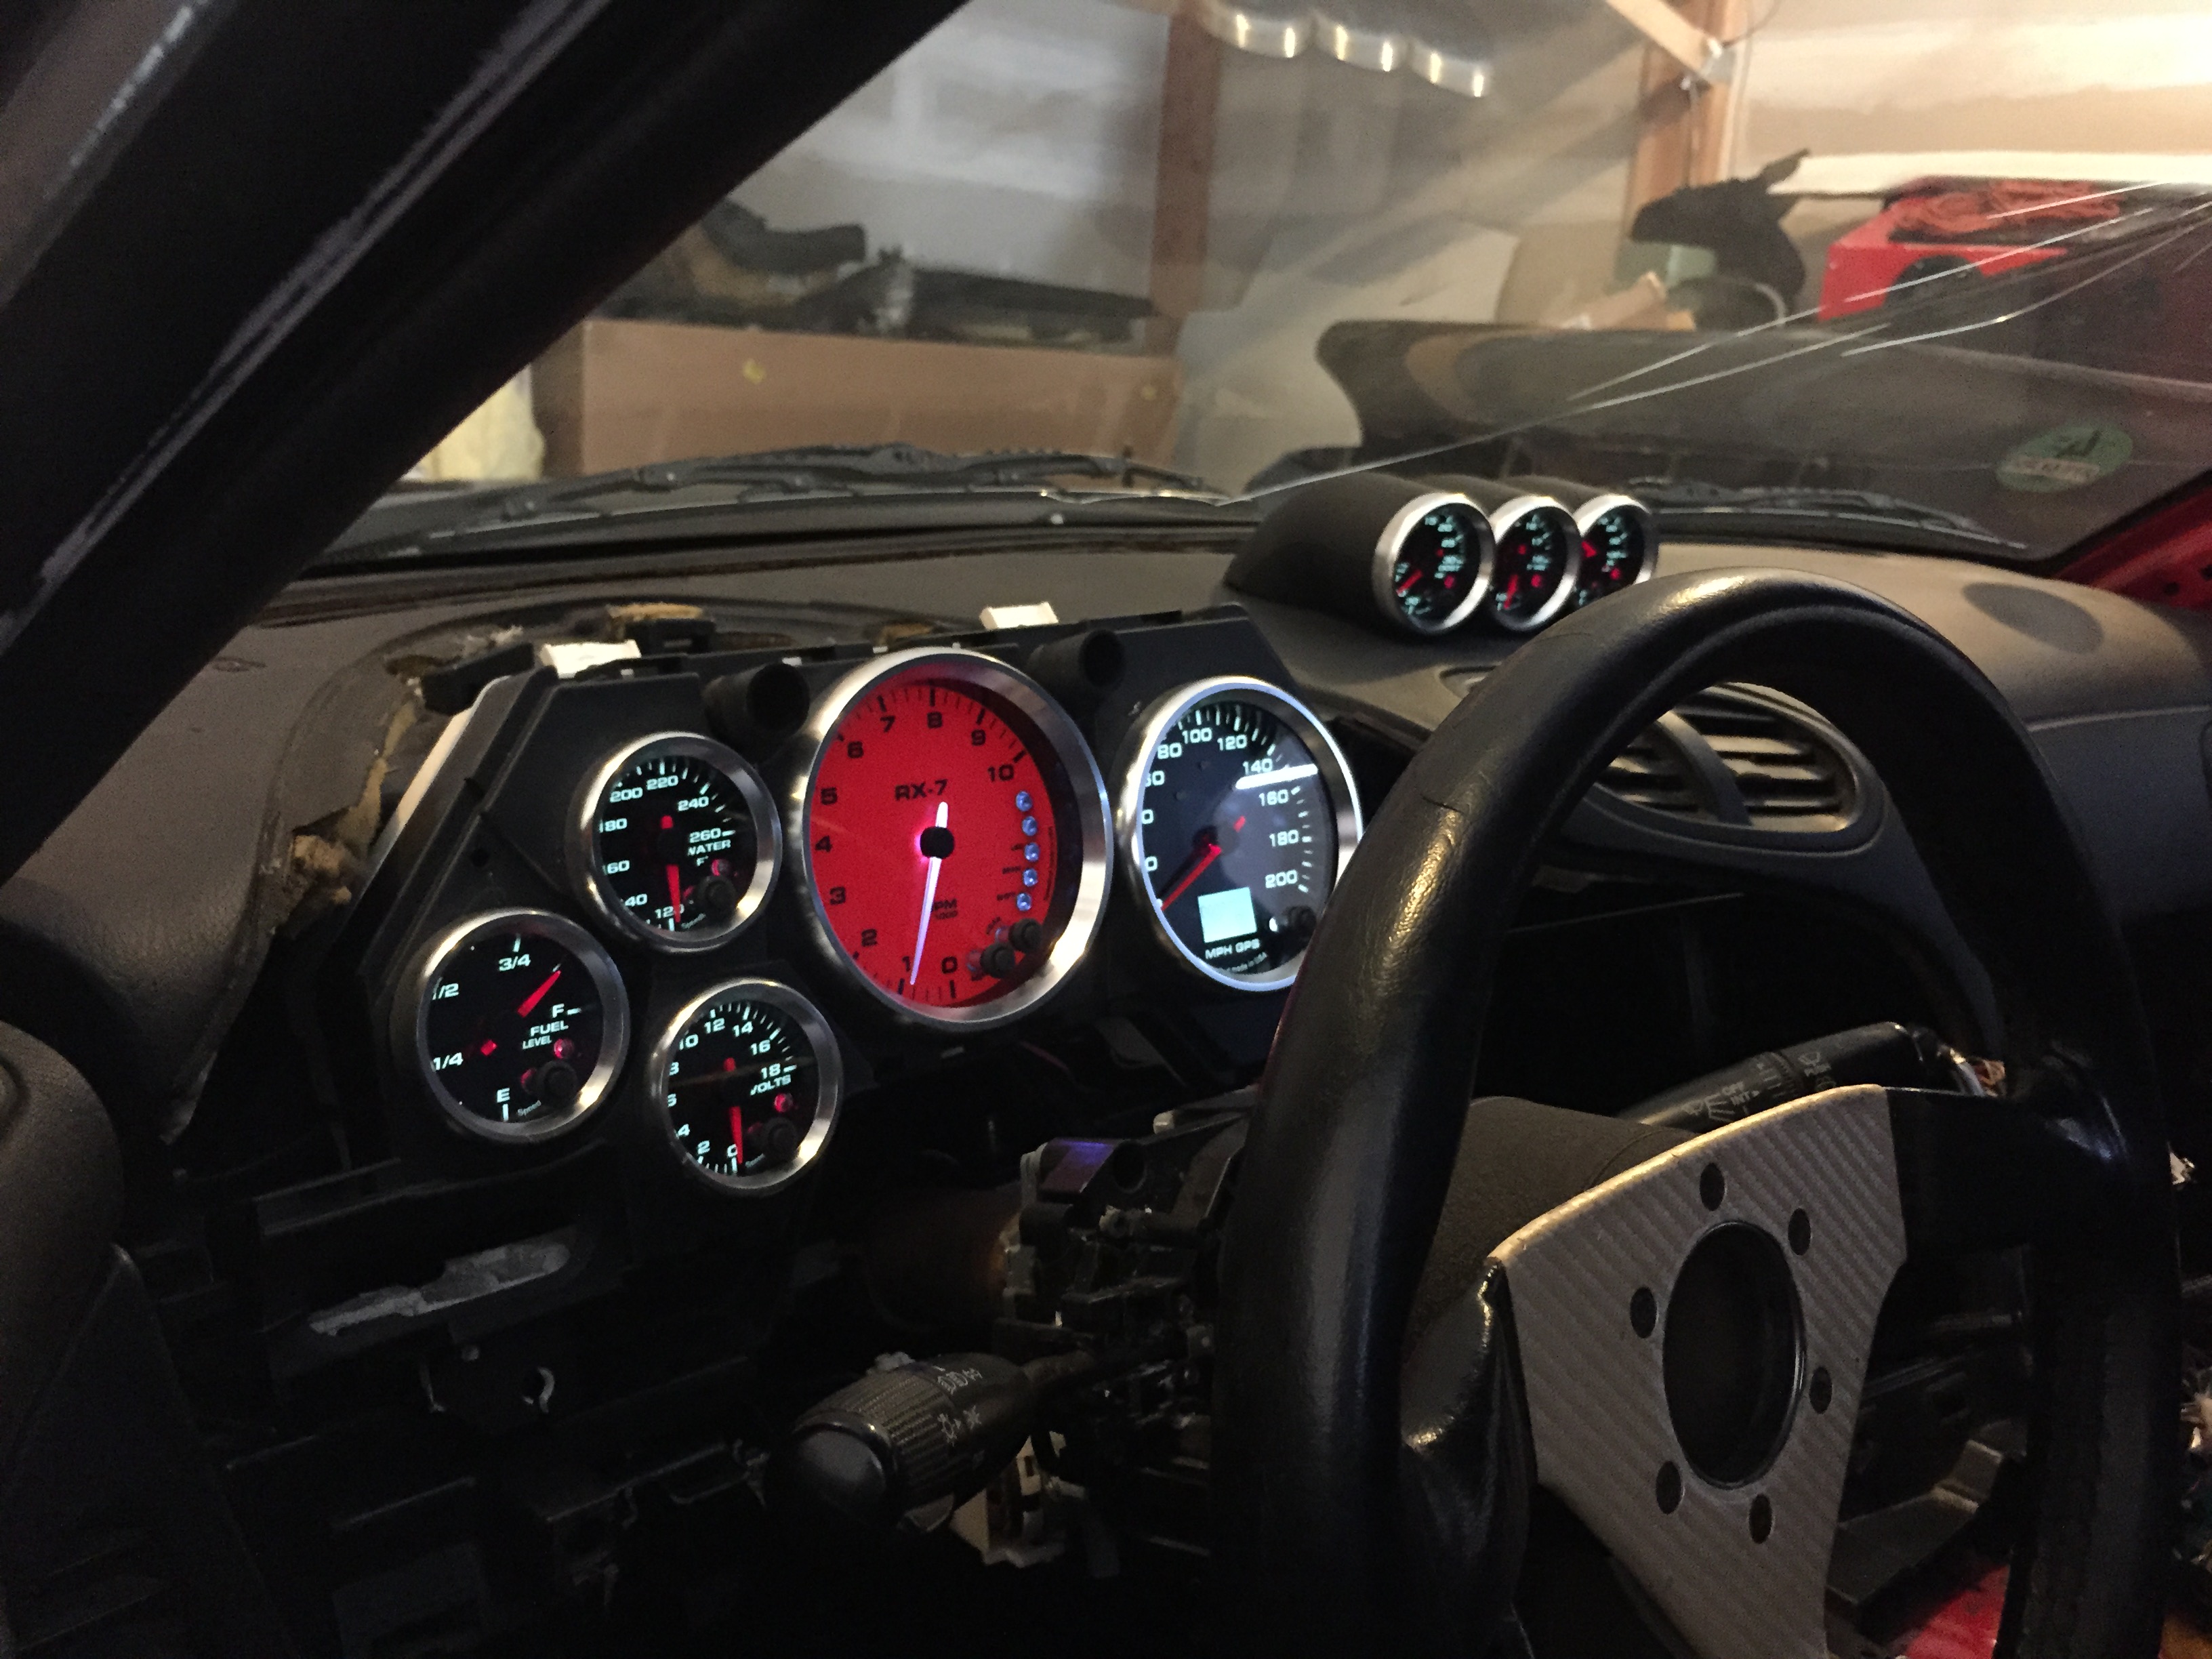
I knew my gauges would arrive soon and I would need to rewire everything under the dash when i got them, so, out came the dash
And then my gauges got here! Love them, cant wait to get them mounted up
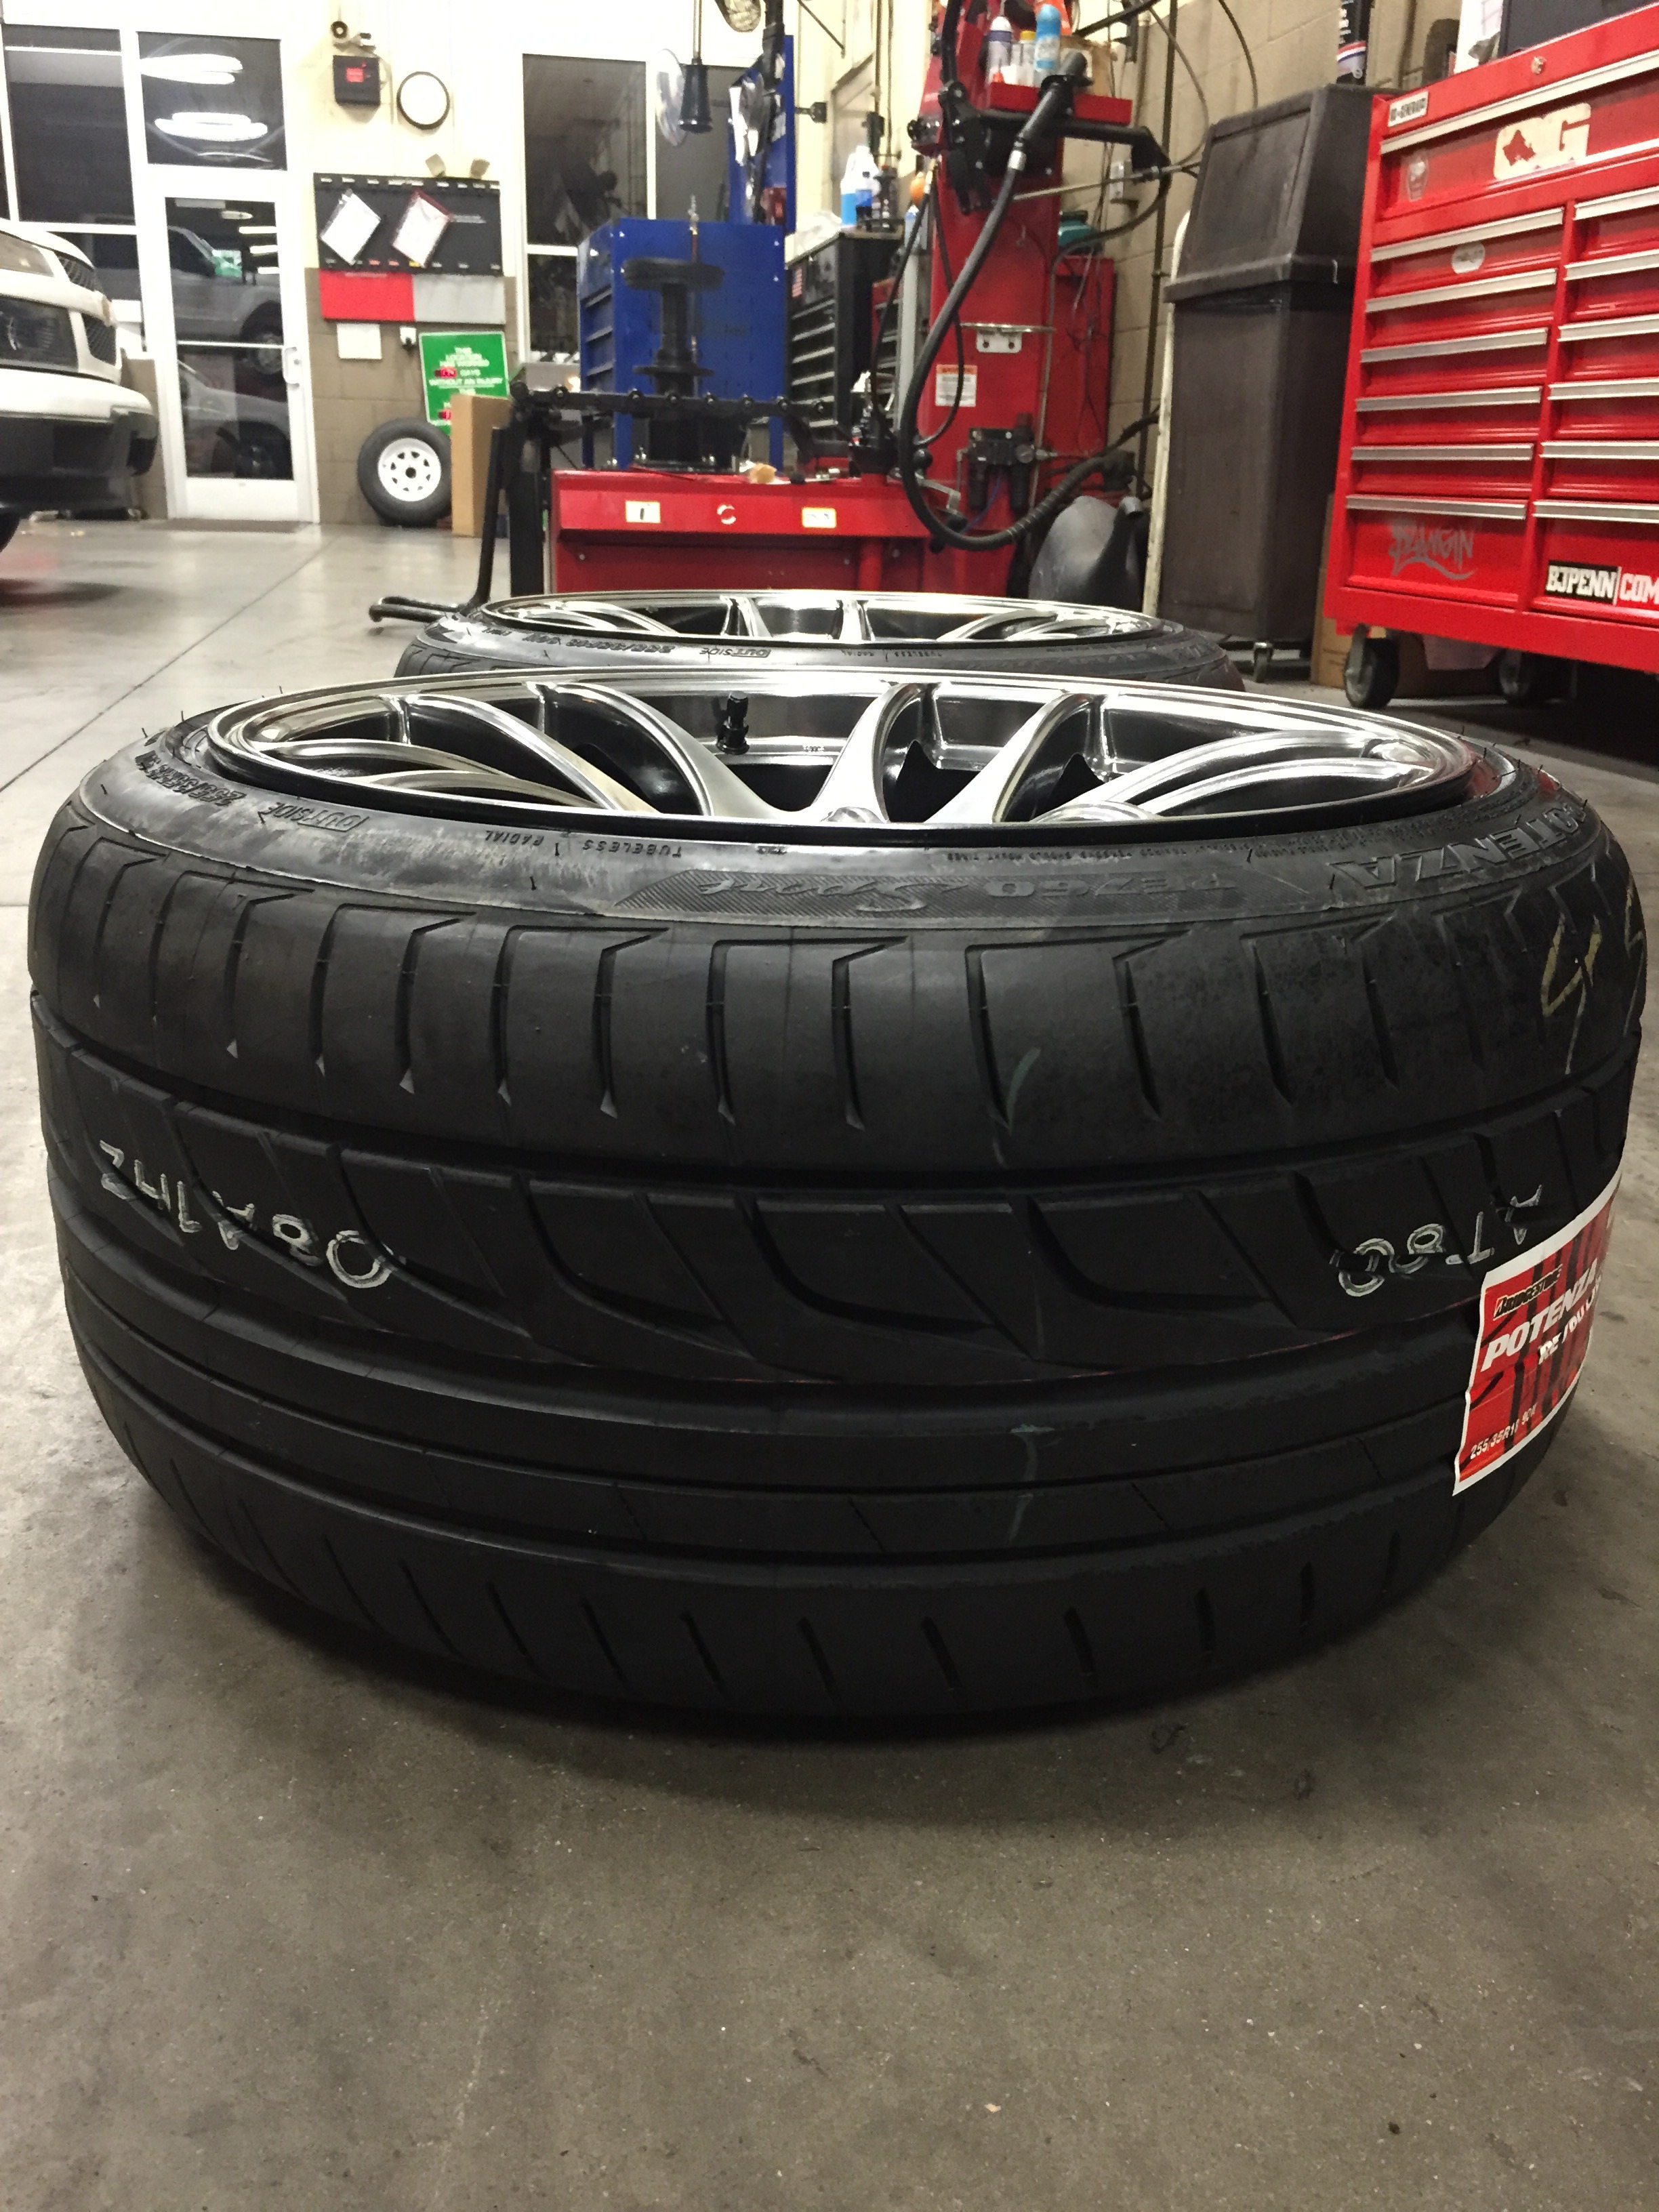
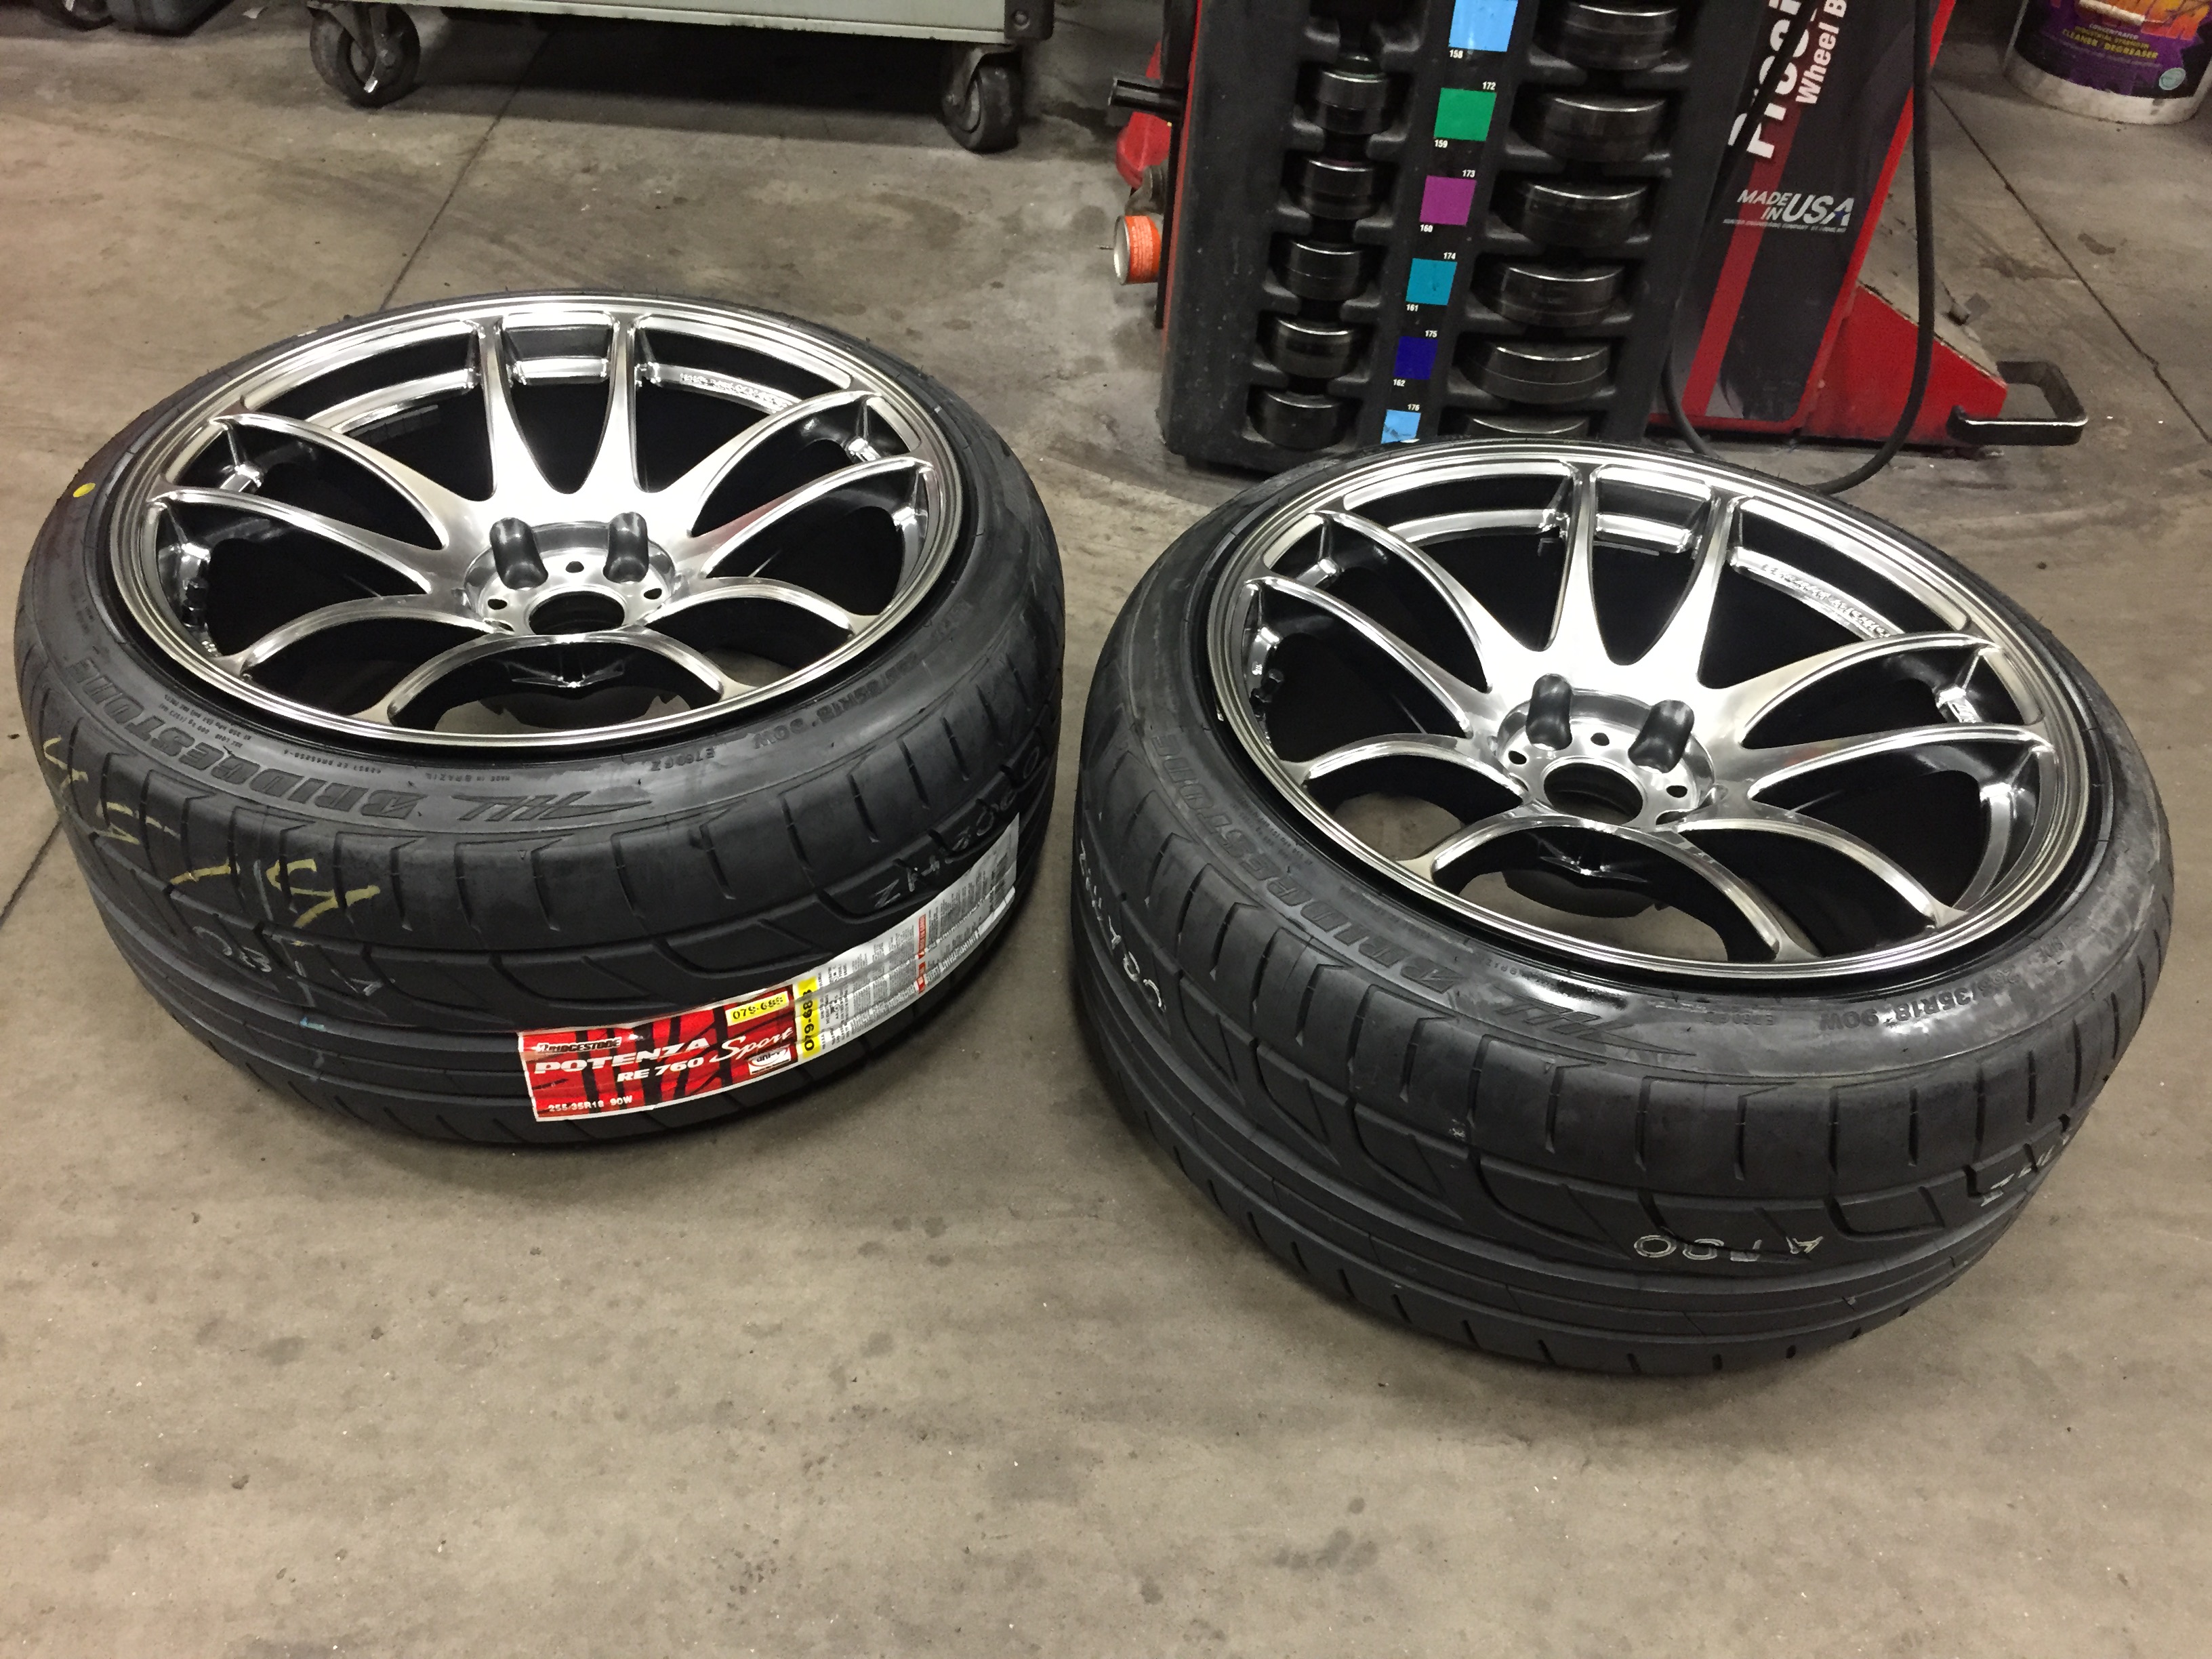
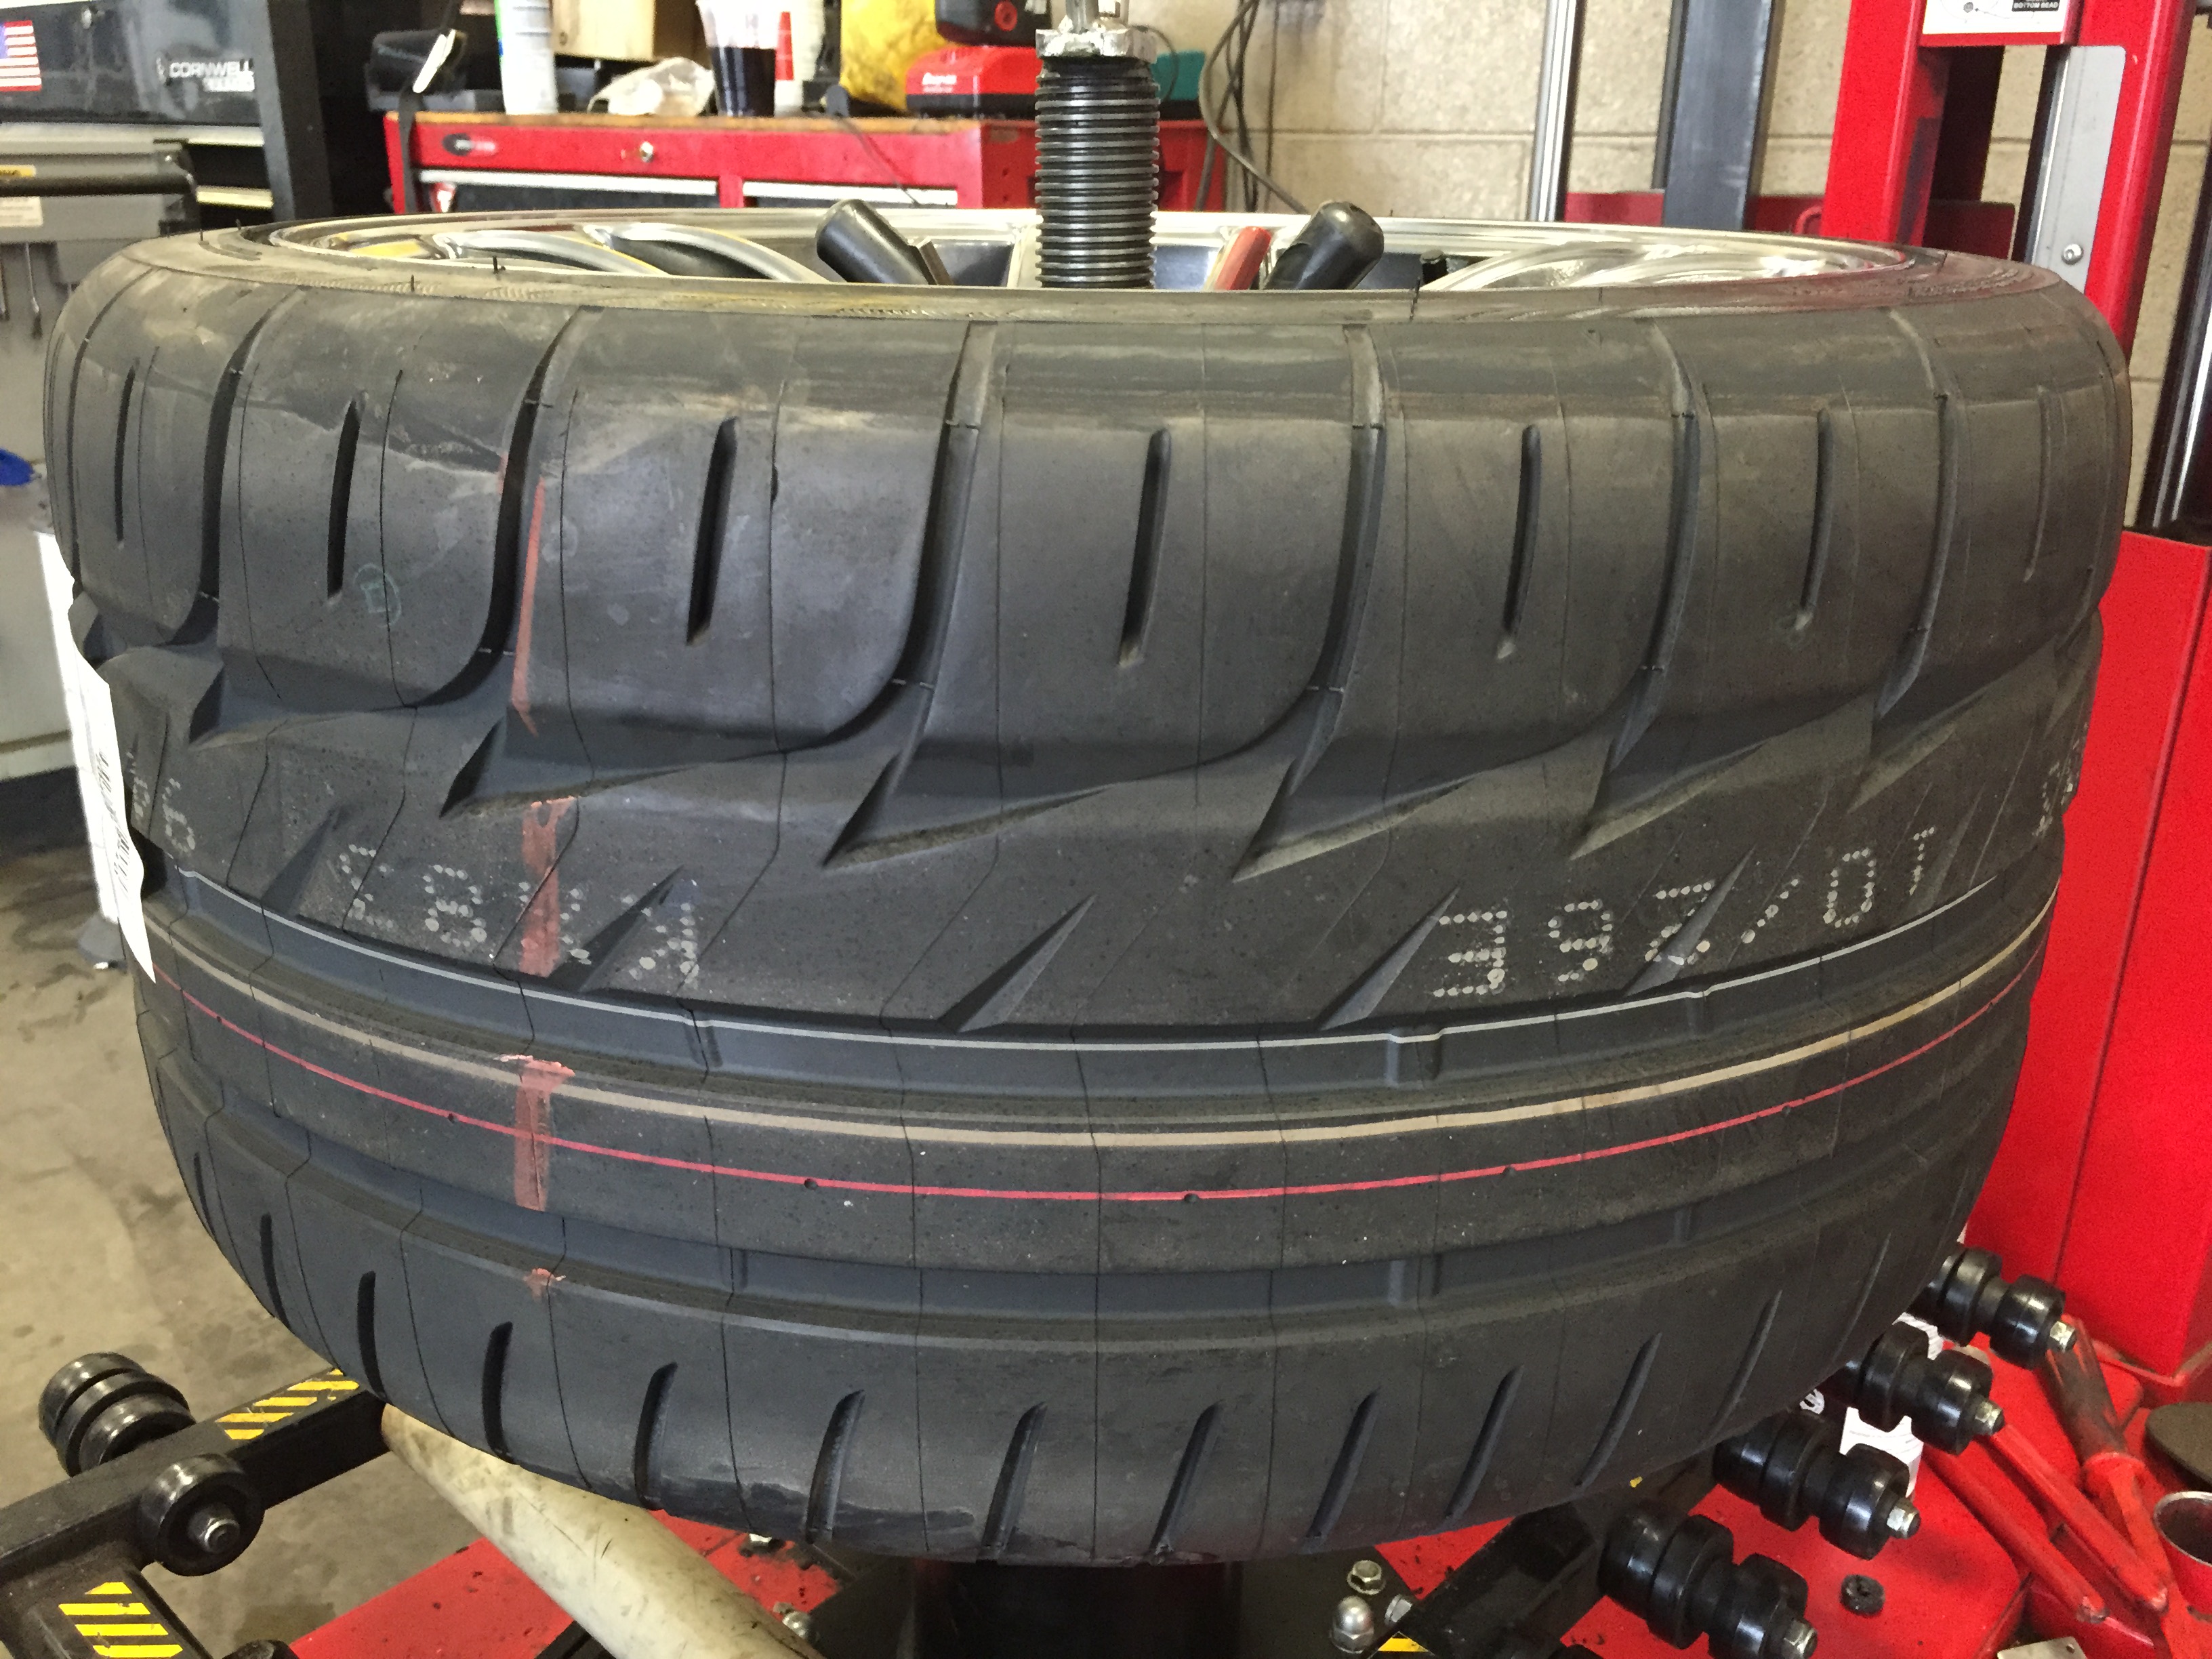
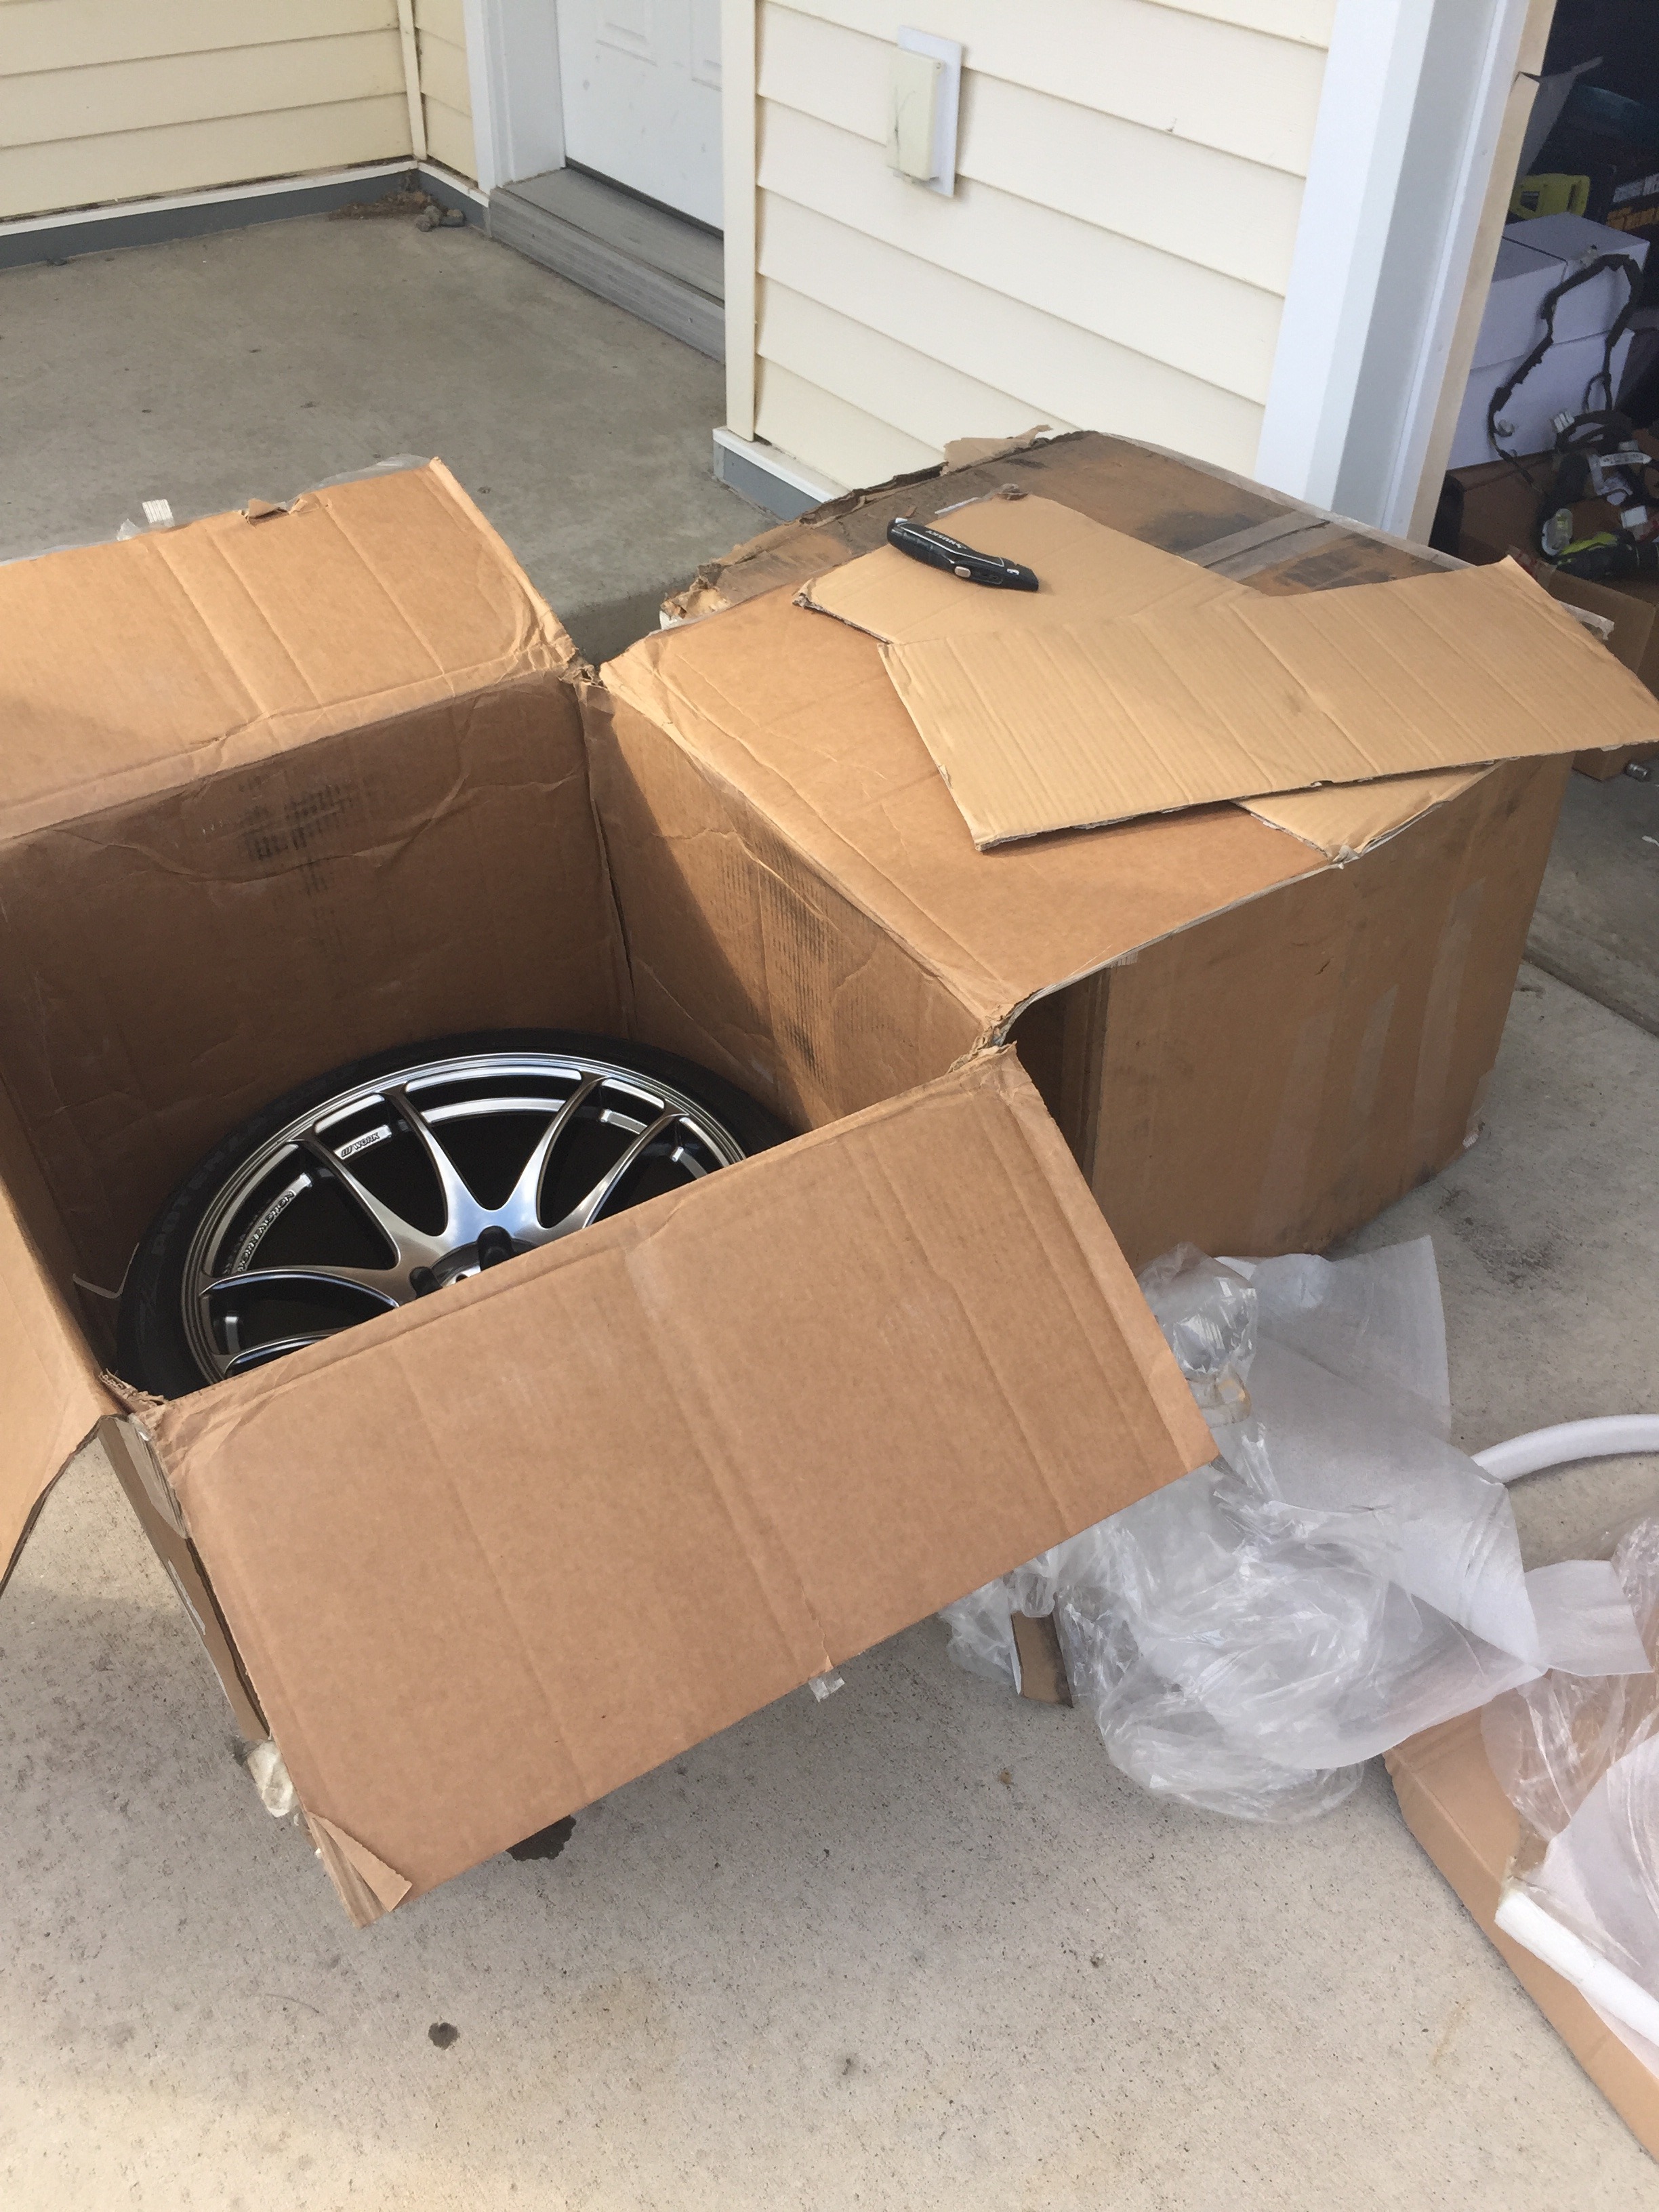
These got here the same day Finally! I have had the worst luck with these wheels. The first pair I got was damaged during shipping and I had to wait 3 months to get new ones. The second set I got was damaged by the tire shop the day I got them (after the 3 month wait). One tire shop wasnt going to replace them because they said it wasn't them that caused the damage....huge ordeal. Anyhow, they replaced the wheels and I had them shipped to a friend in Vegas to have the tires installed so there wouldnt be any issues with mounting again.
Got a pair of 99 spec combo lights in. I plan to take them apart and paint them black.

Also made a trip down to visit family and picked up some parts along the way. Got a scoot style hood from a friend along with door panels, headlights, gauge cluster hood, and gauge cluster surround.

On my way down to visit family I stopped by a members house on here and picked up a 99 fiberglass bumper/lip combo for cheap

Installed the Walbro 450 I had lying around from my DSM

When I got the car I didn't want to drive it because of some open intake holes (car had dirt all in the engine bay so I was worried about some of it being in the intakes) and the wiring harness was lying on top of the front tires. So I took off the intercooler/intakes/tb and made sure nothing was inside and ziptied up the harnesses for now. Then I took it for a drive
I knew my gauges would arrive soon and I would need to rewire everything under the dash when i got them, so, out came the dash

And then my gauges got here! Love them, cant wait to get them mounted up

These got here the same day
Finally! I have had the worst luck with these wheels. The first pair I got was damaged during shipping and I had to wait 3 months to get new ones. The second set I got was damaged by the tire shop the day I got them (after the 3 month wait). One tire shop wasnt going to replace them because they said it wasn't them that caused the damage....huge ordeal. Anyhow, they replaced the wheels and I had them shipped to a friend in Vegas to have the tires installed so there wouldnt be any issues with mounting again. 


Thread Starter
Full Member
Joined: Apr 2015
Posts: 140
Likes: 5
From: Great Falls, MT
Continued...
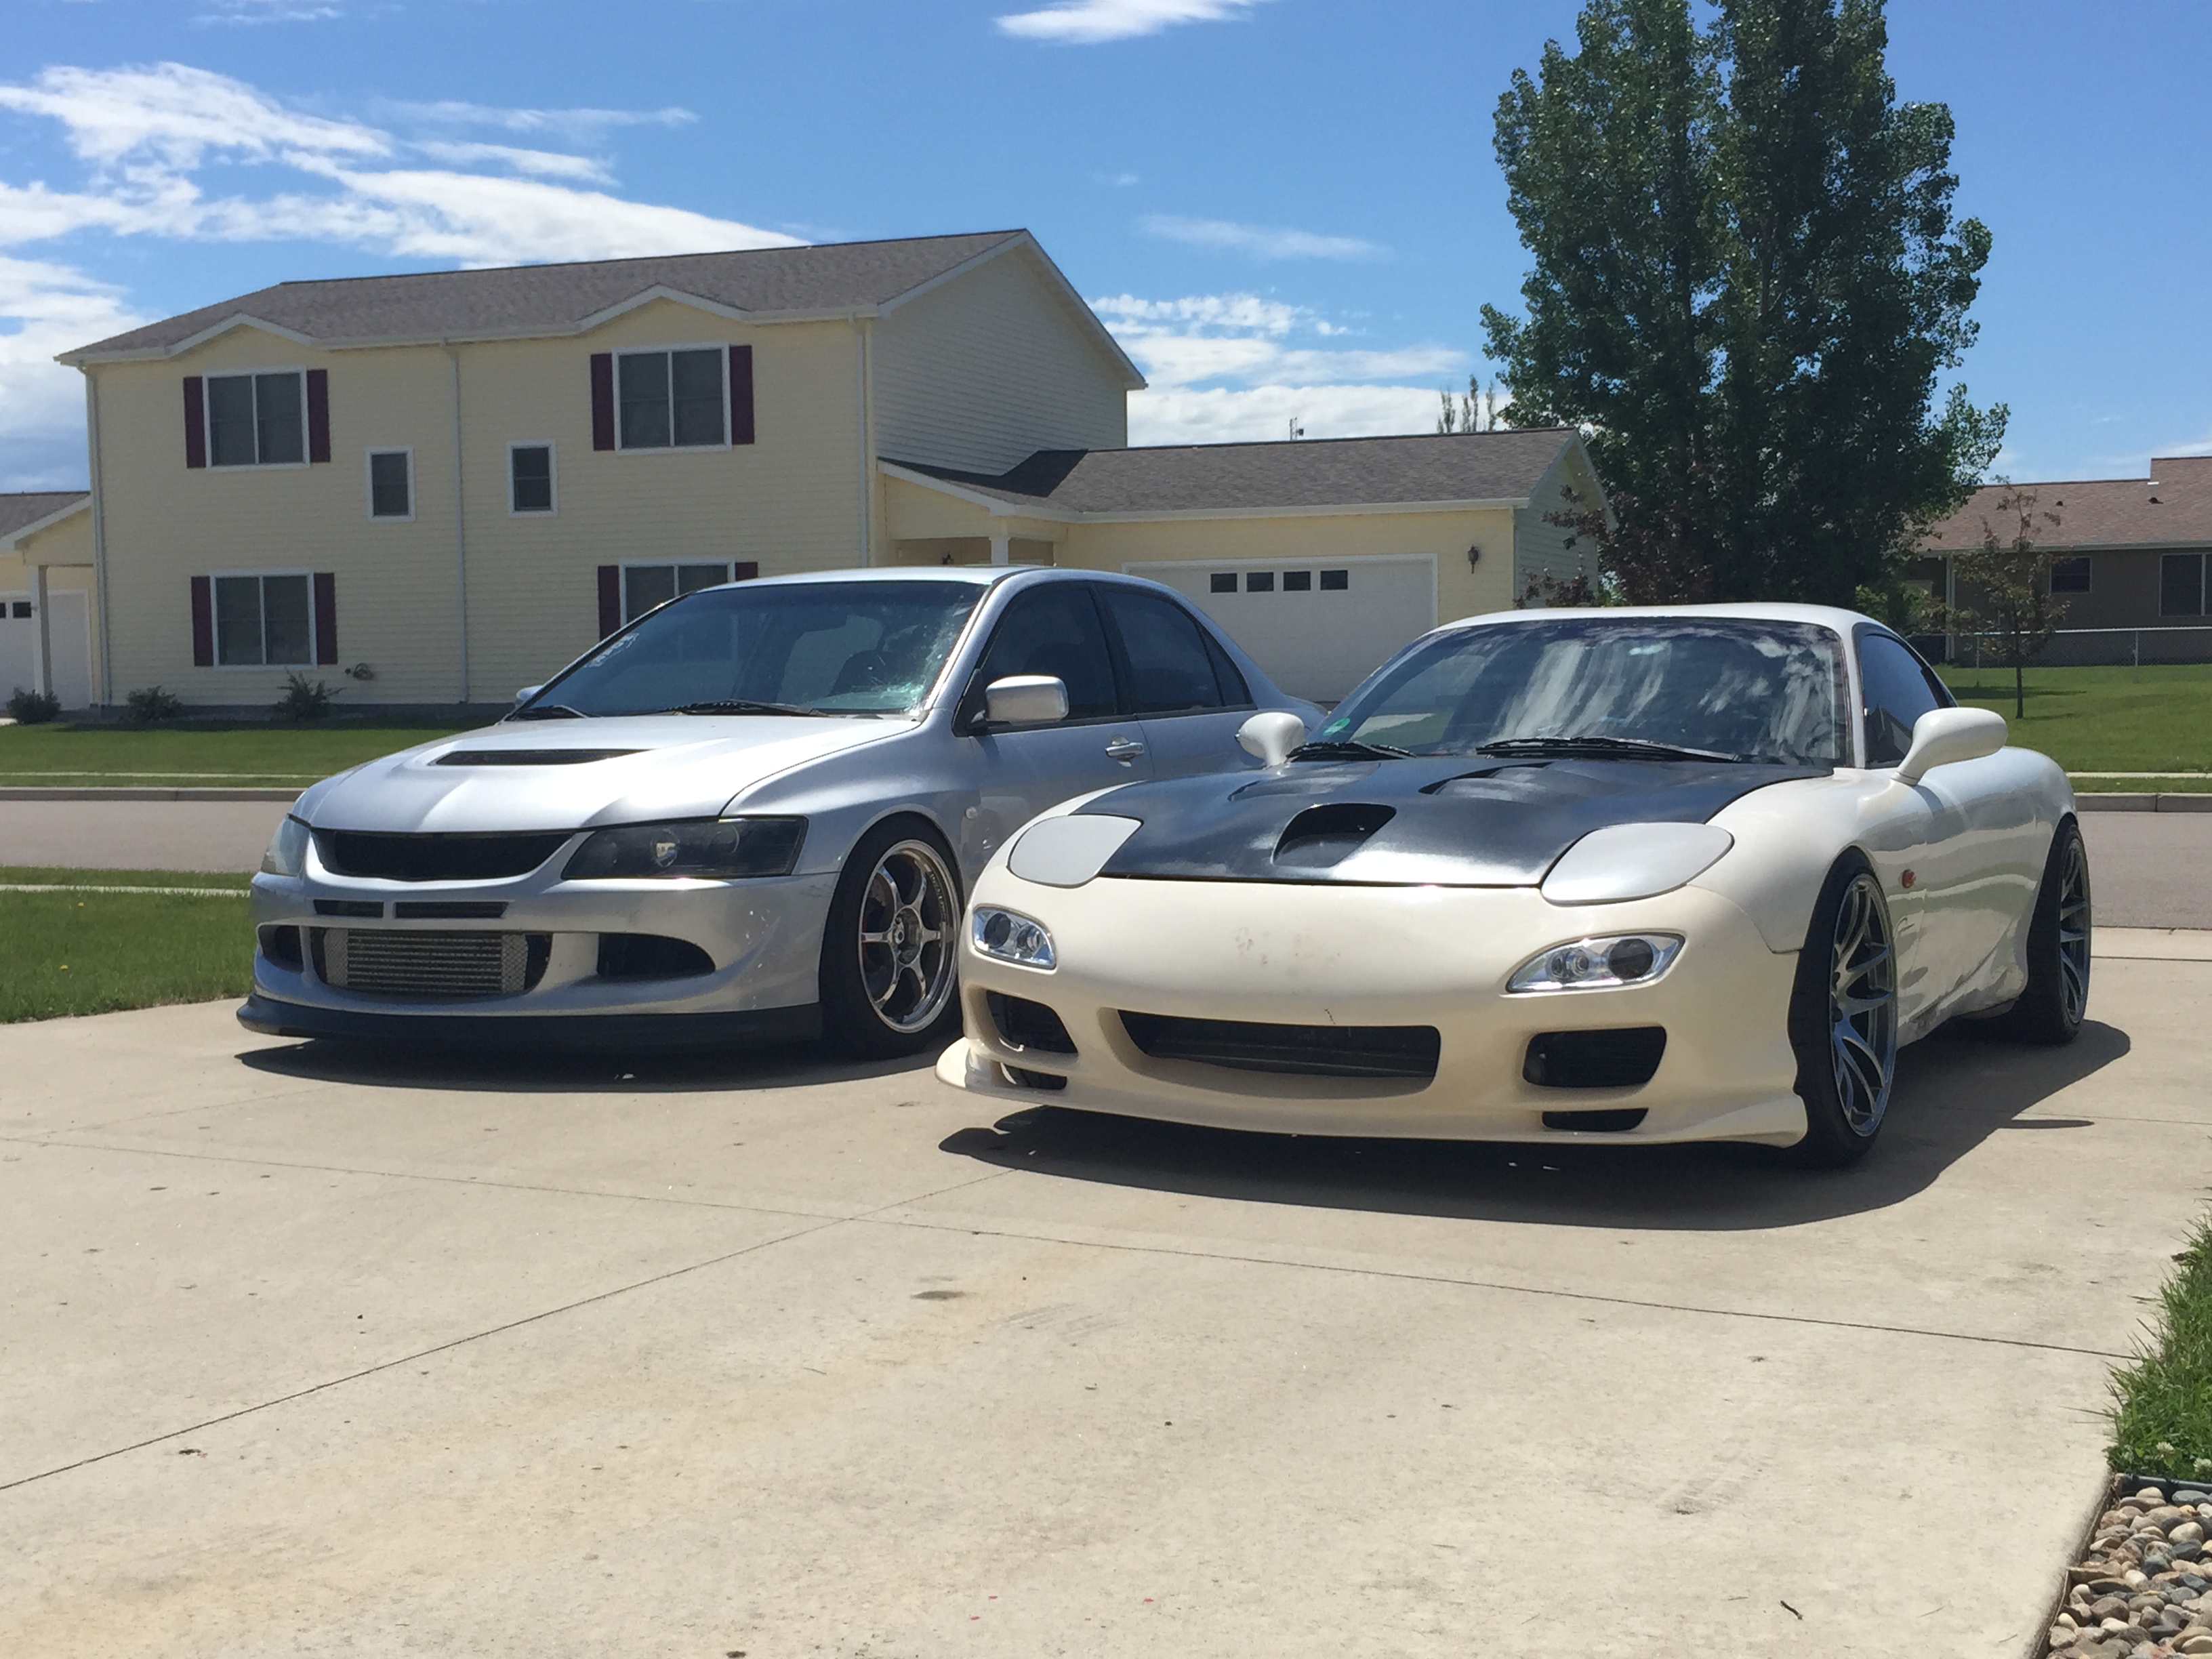
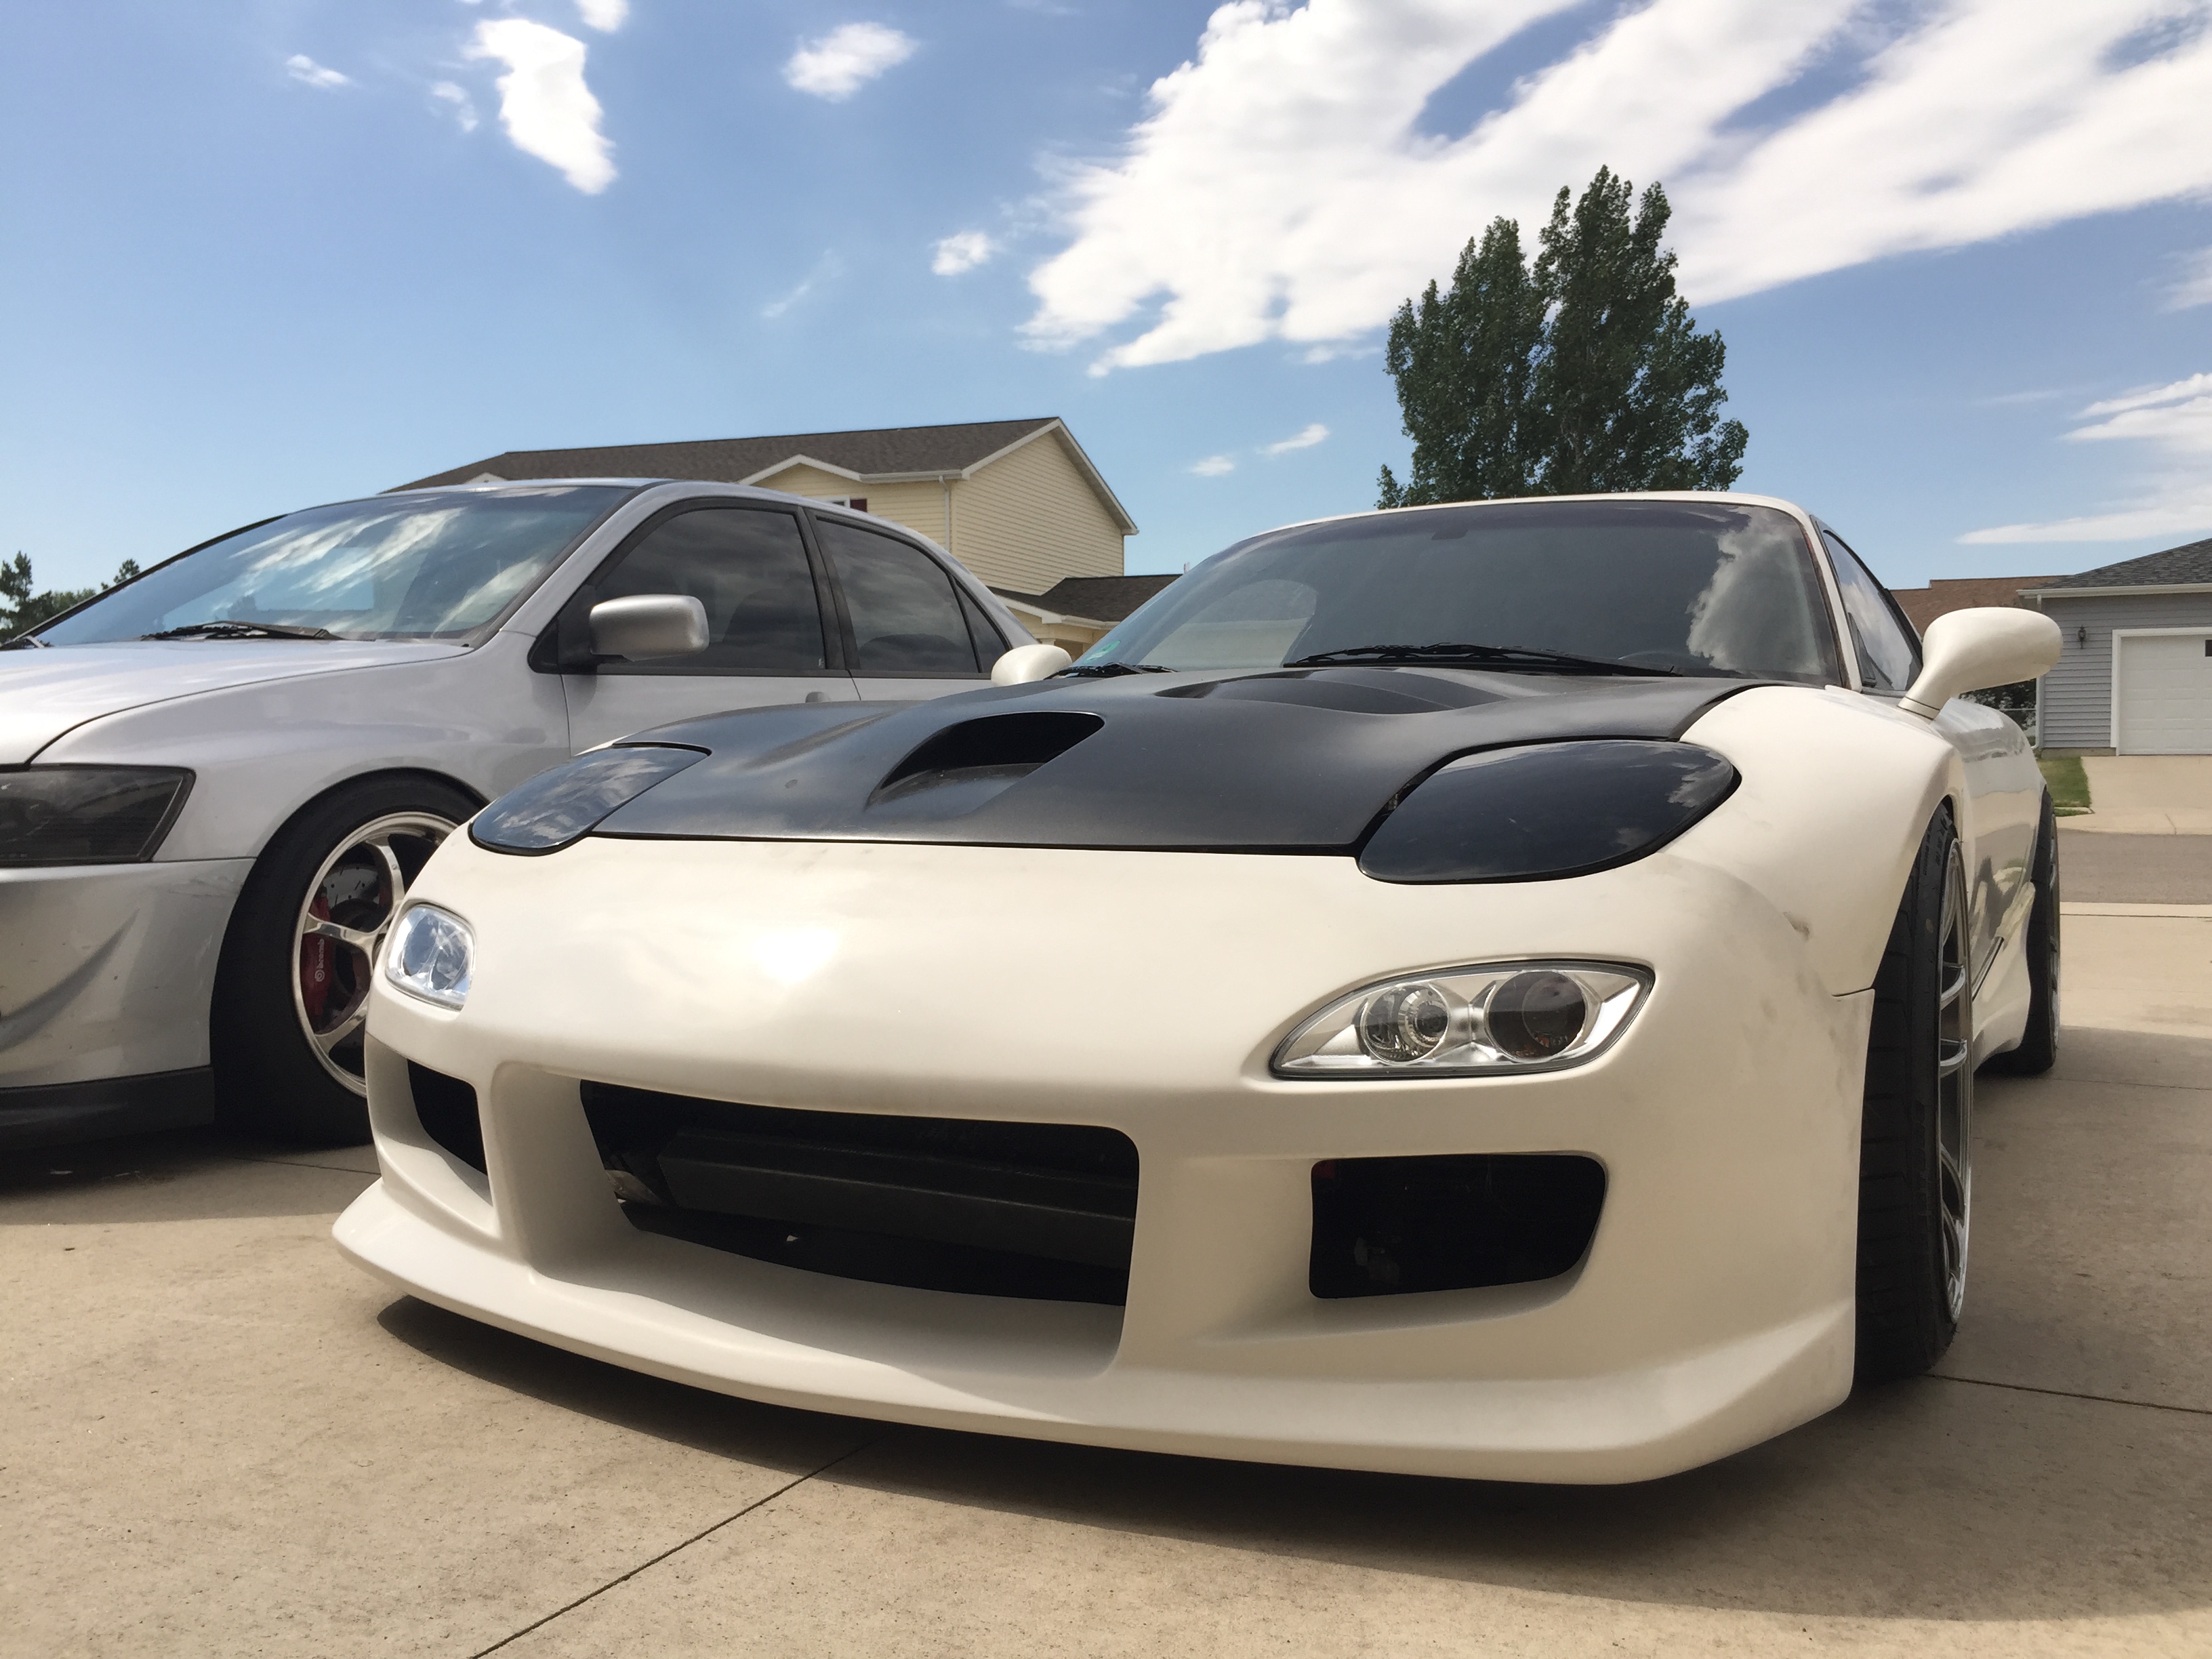
A picture of my daily driver beside the project
I am completely redoing the interior and needed some paint, so after some research decided on SEM. Ordered black and some graphite to see if I like that for accents
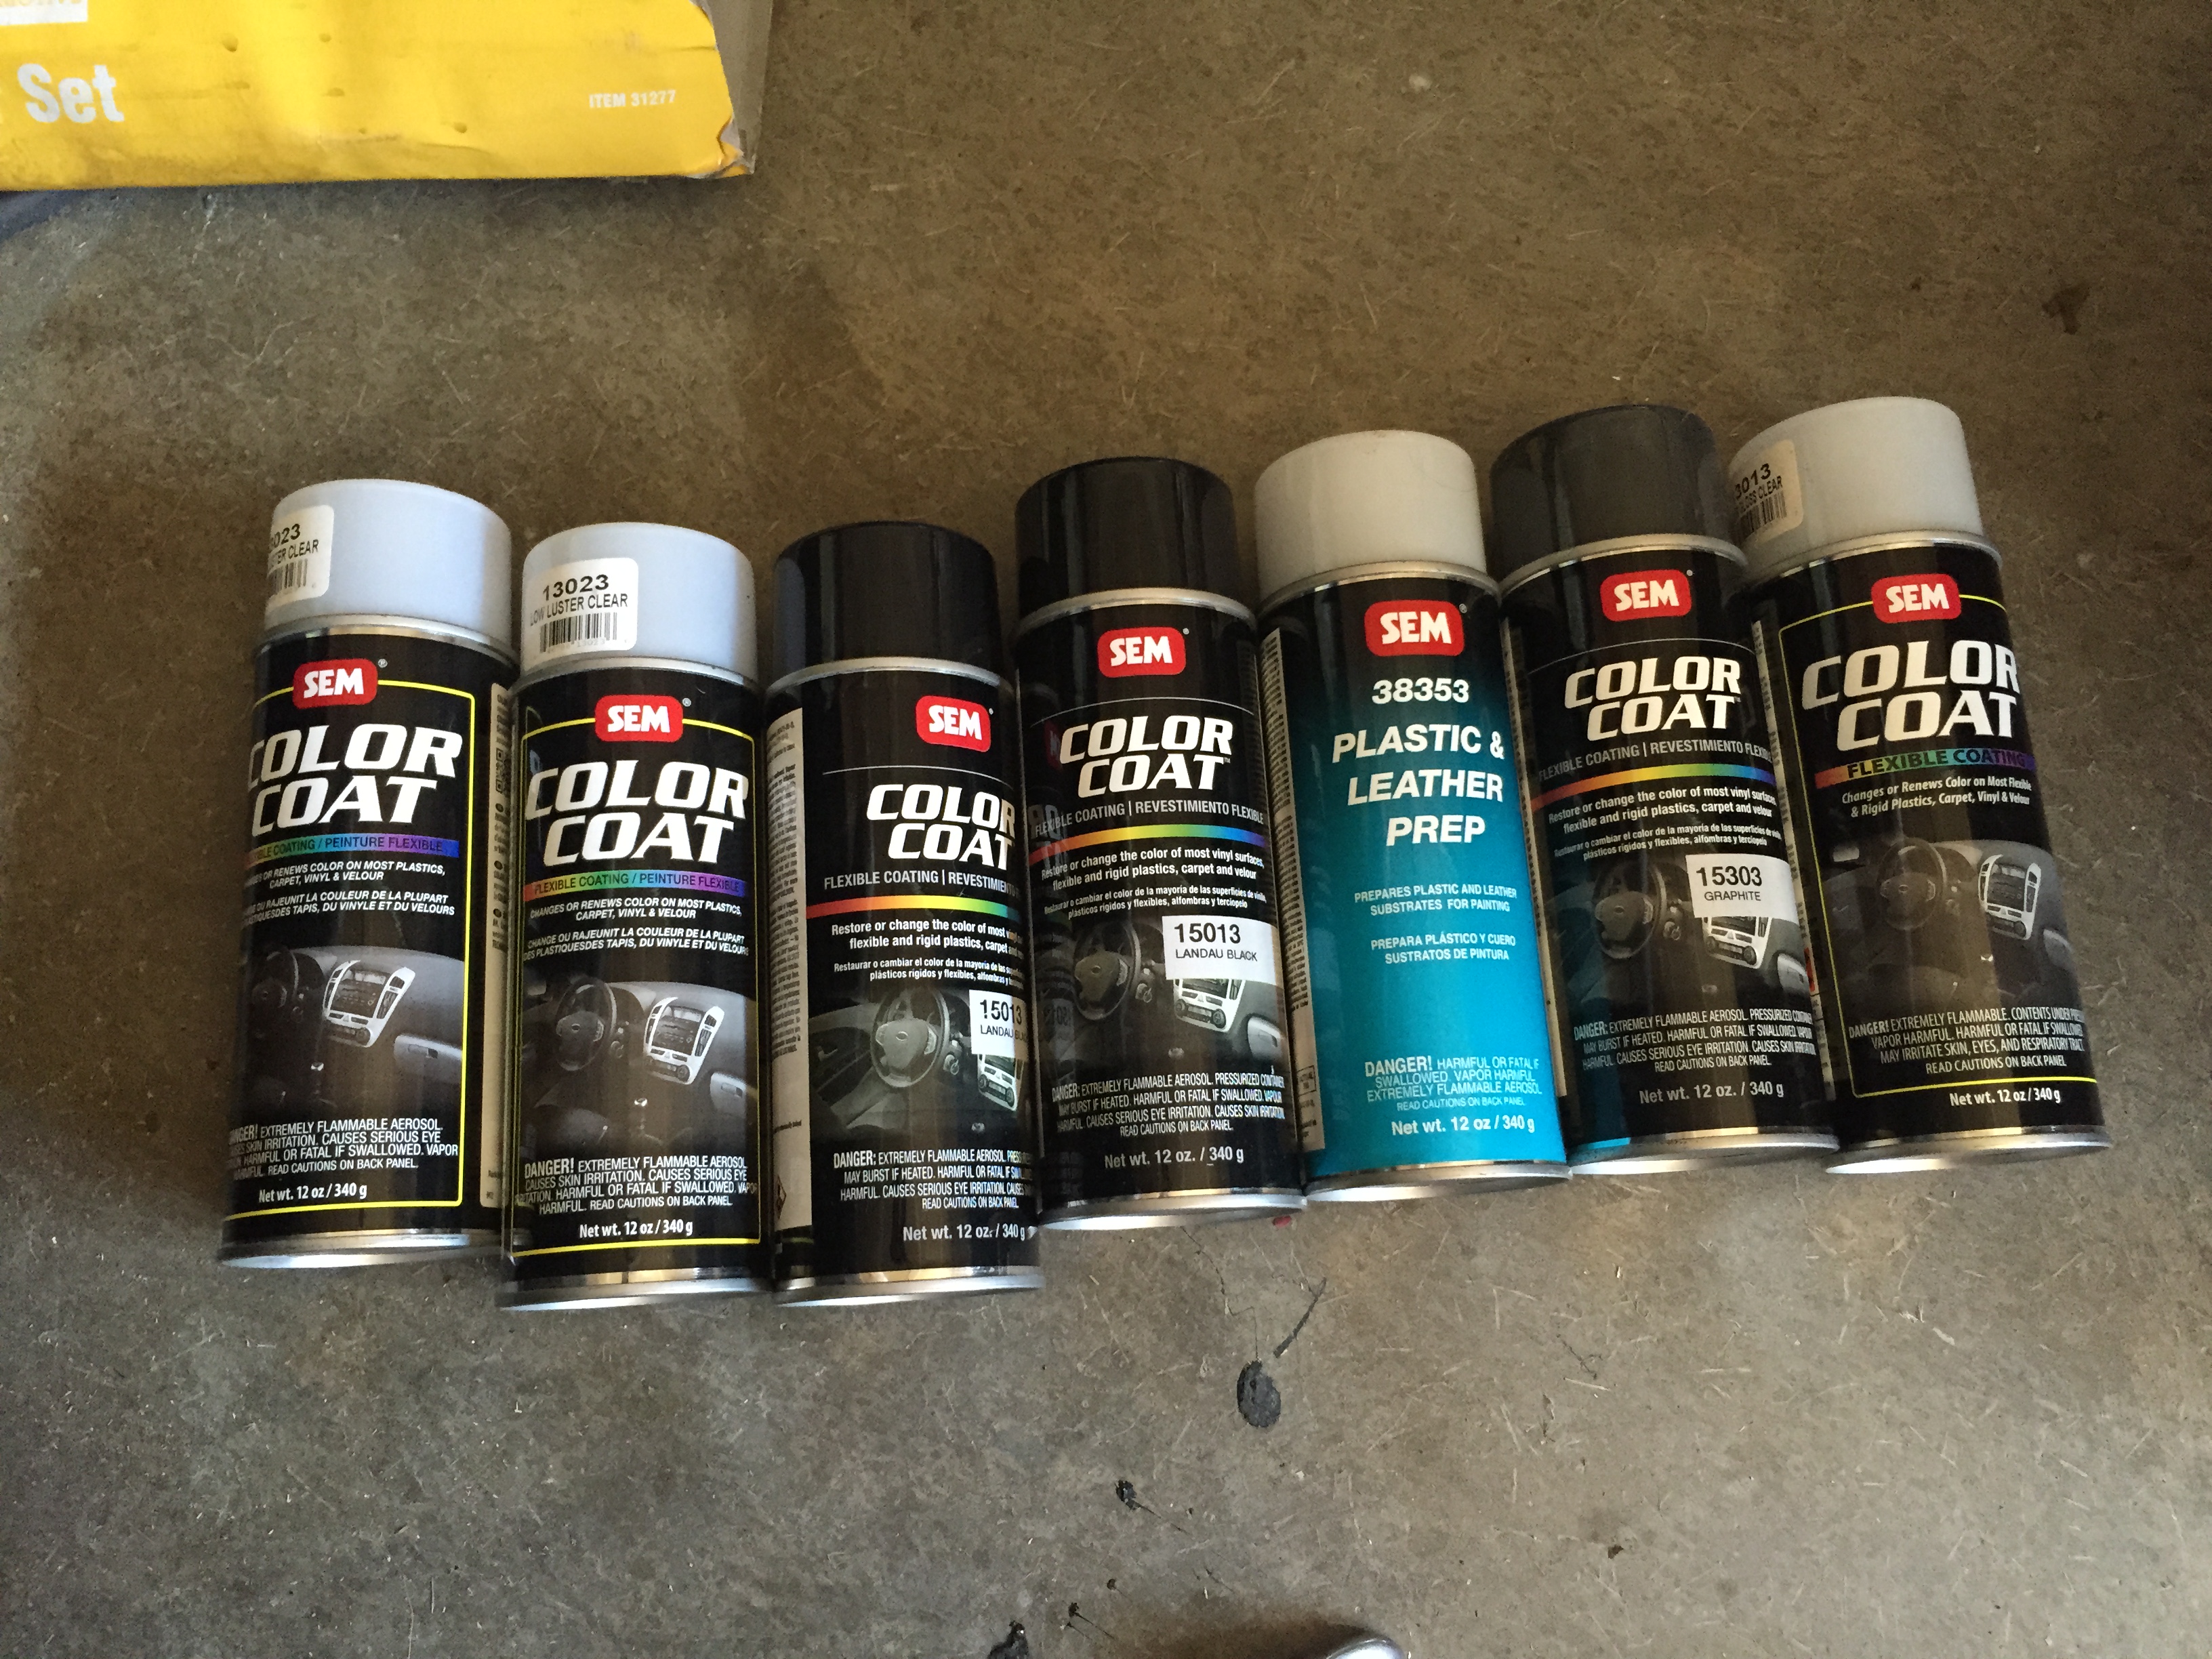
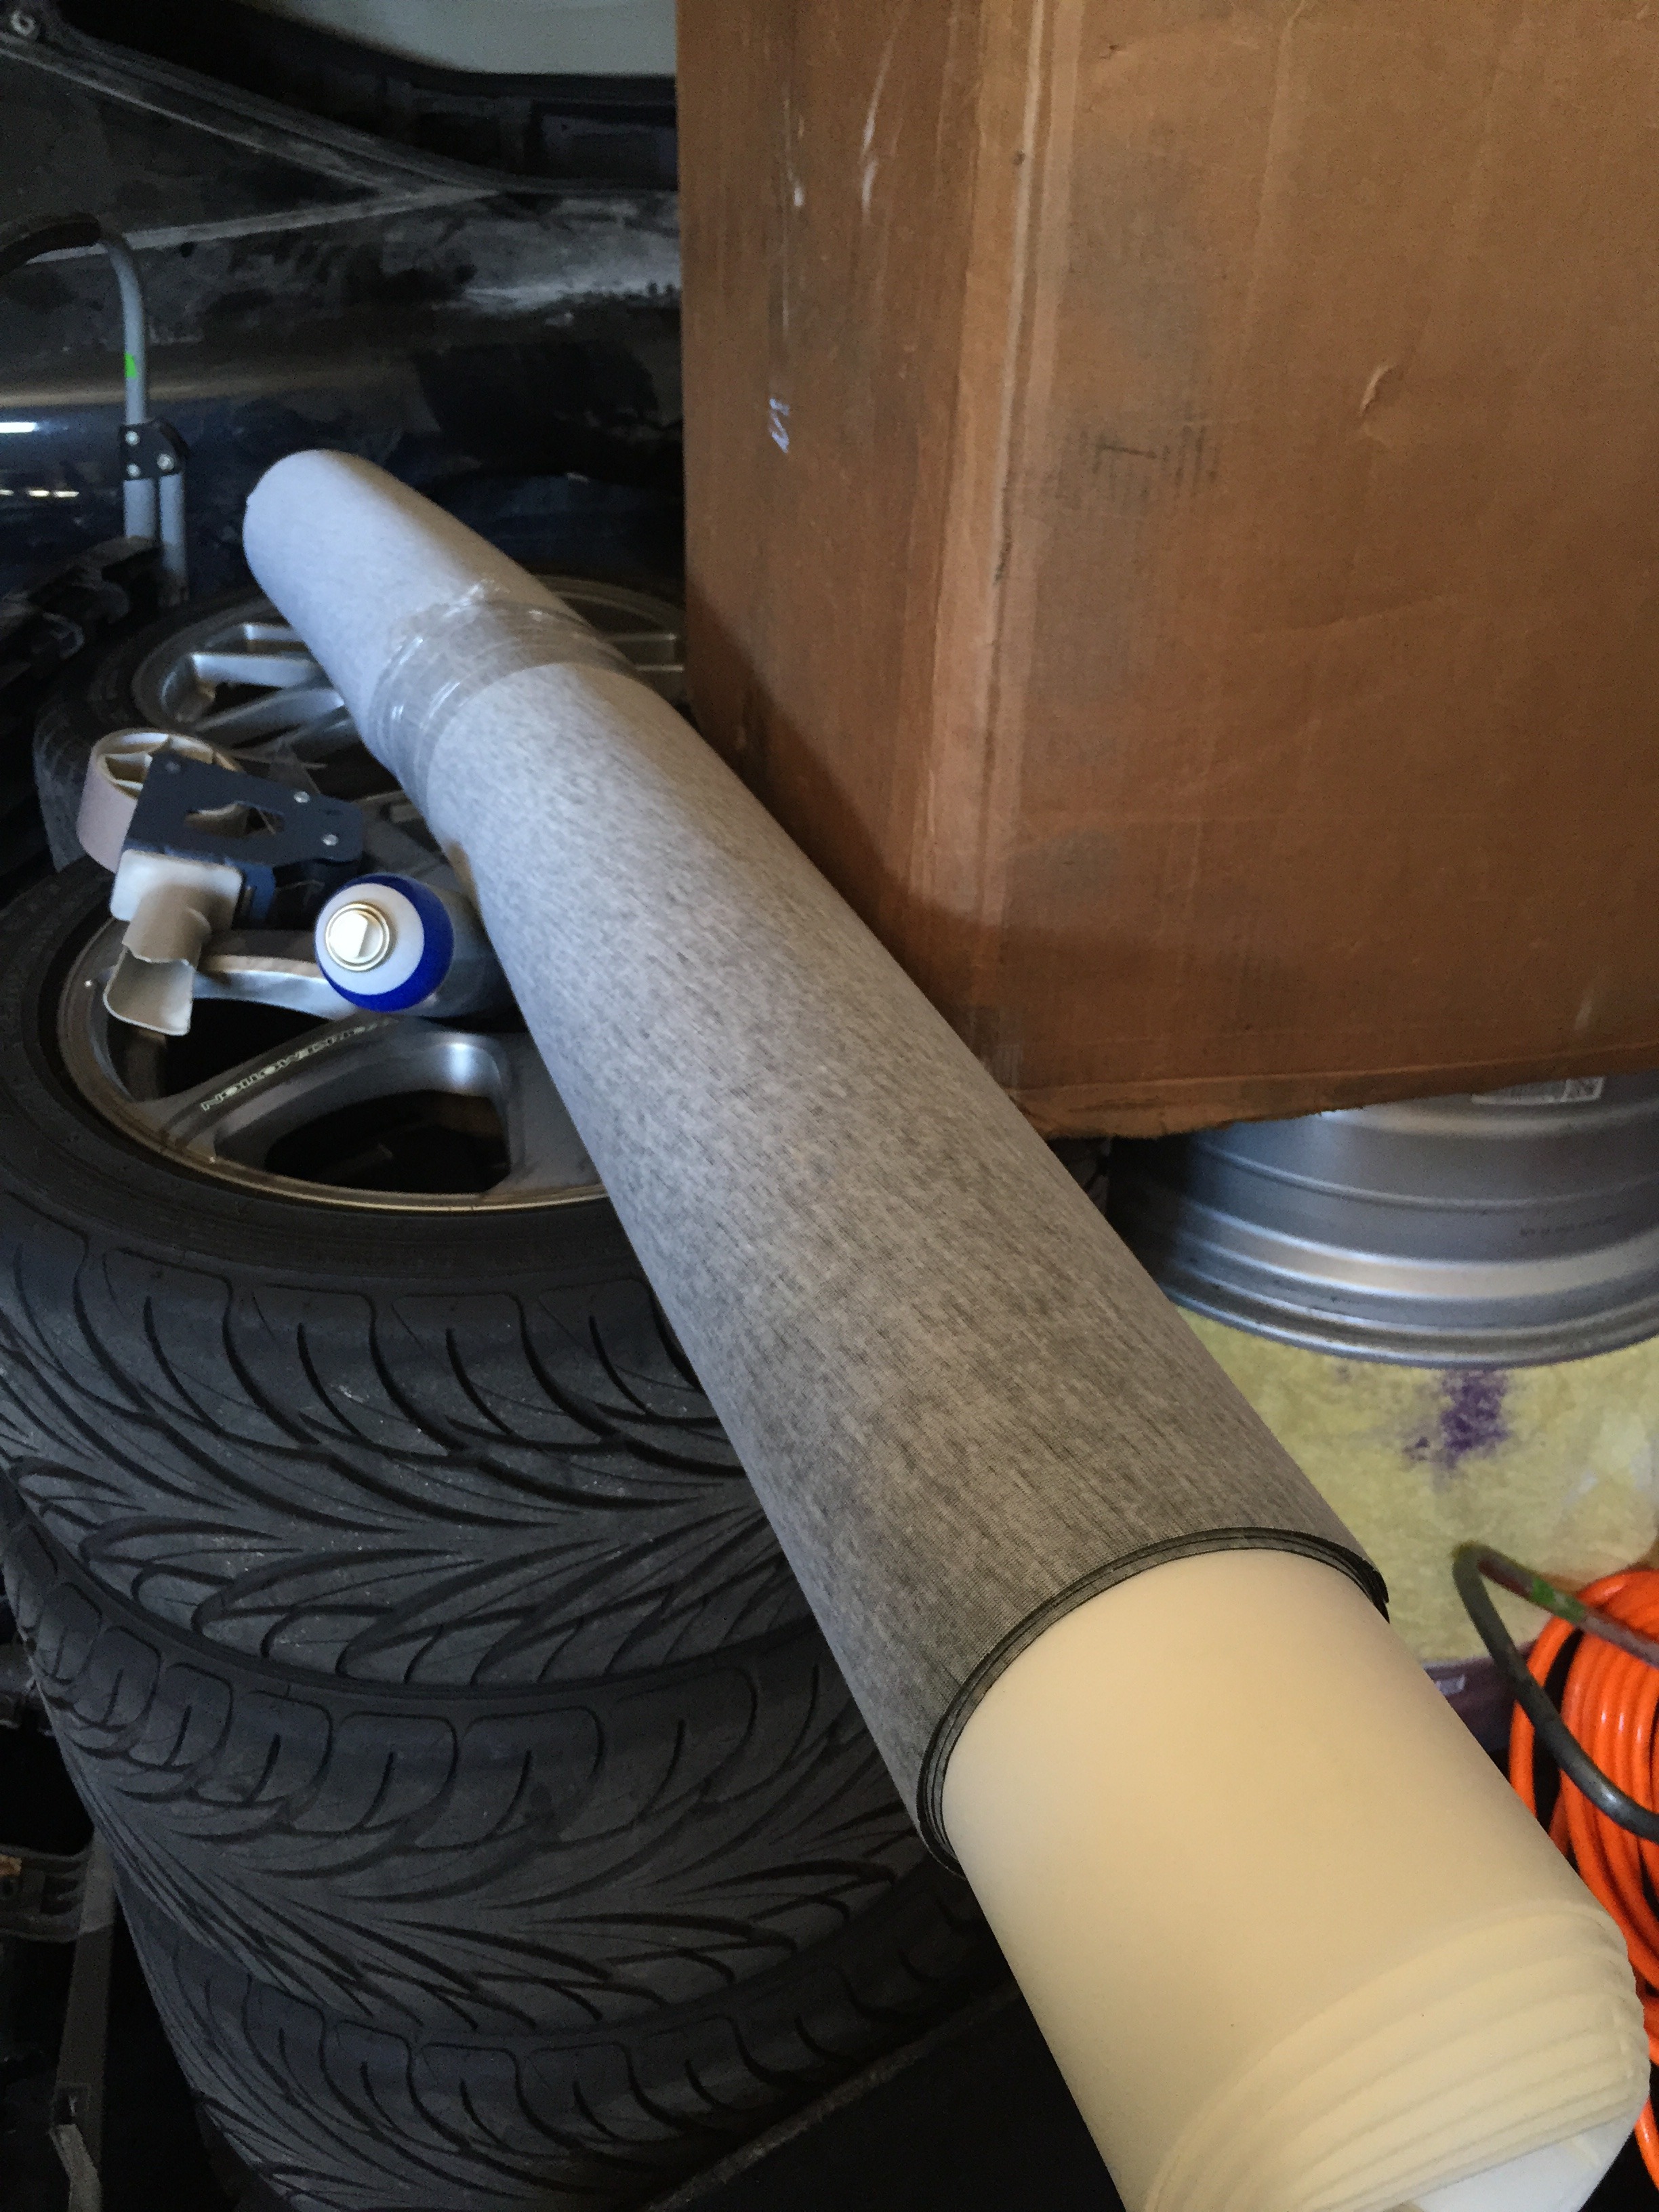
Also ordered some vinyl to rewrap the center console after I repair it (it has a huge hole in the center of it, looks like a common problem. I am also going to add a cup holder behind where your arm would sit with the seat all the way back. That way it wont get in the way of shifting and such.
I ordered a lot of stuff lol. Got my center vent gauge pod in along with the connector I will be using for the gauges. Bought two just in case I wanted to use it somewhere else too
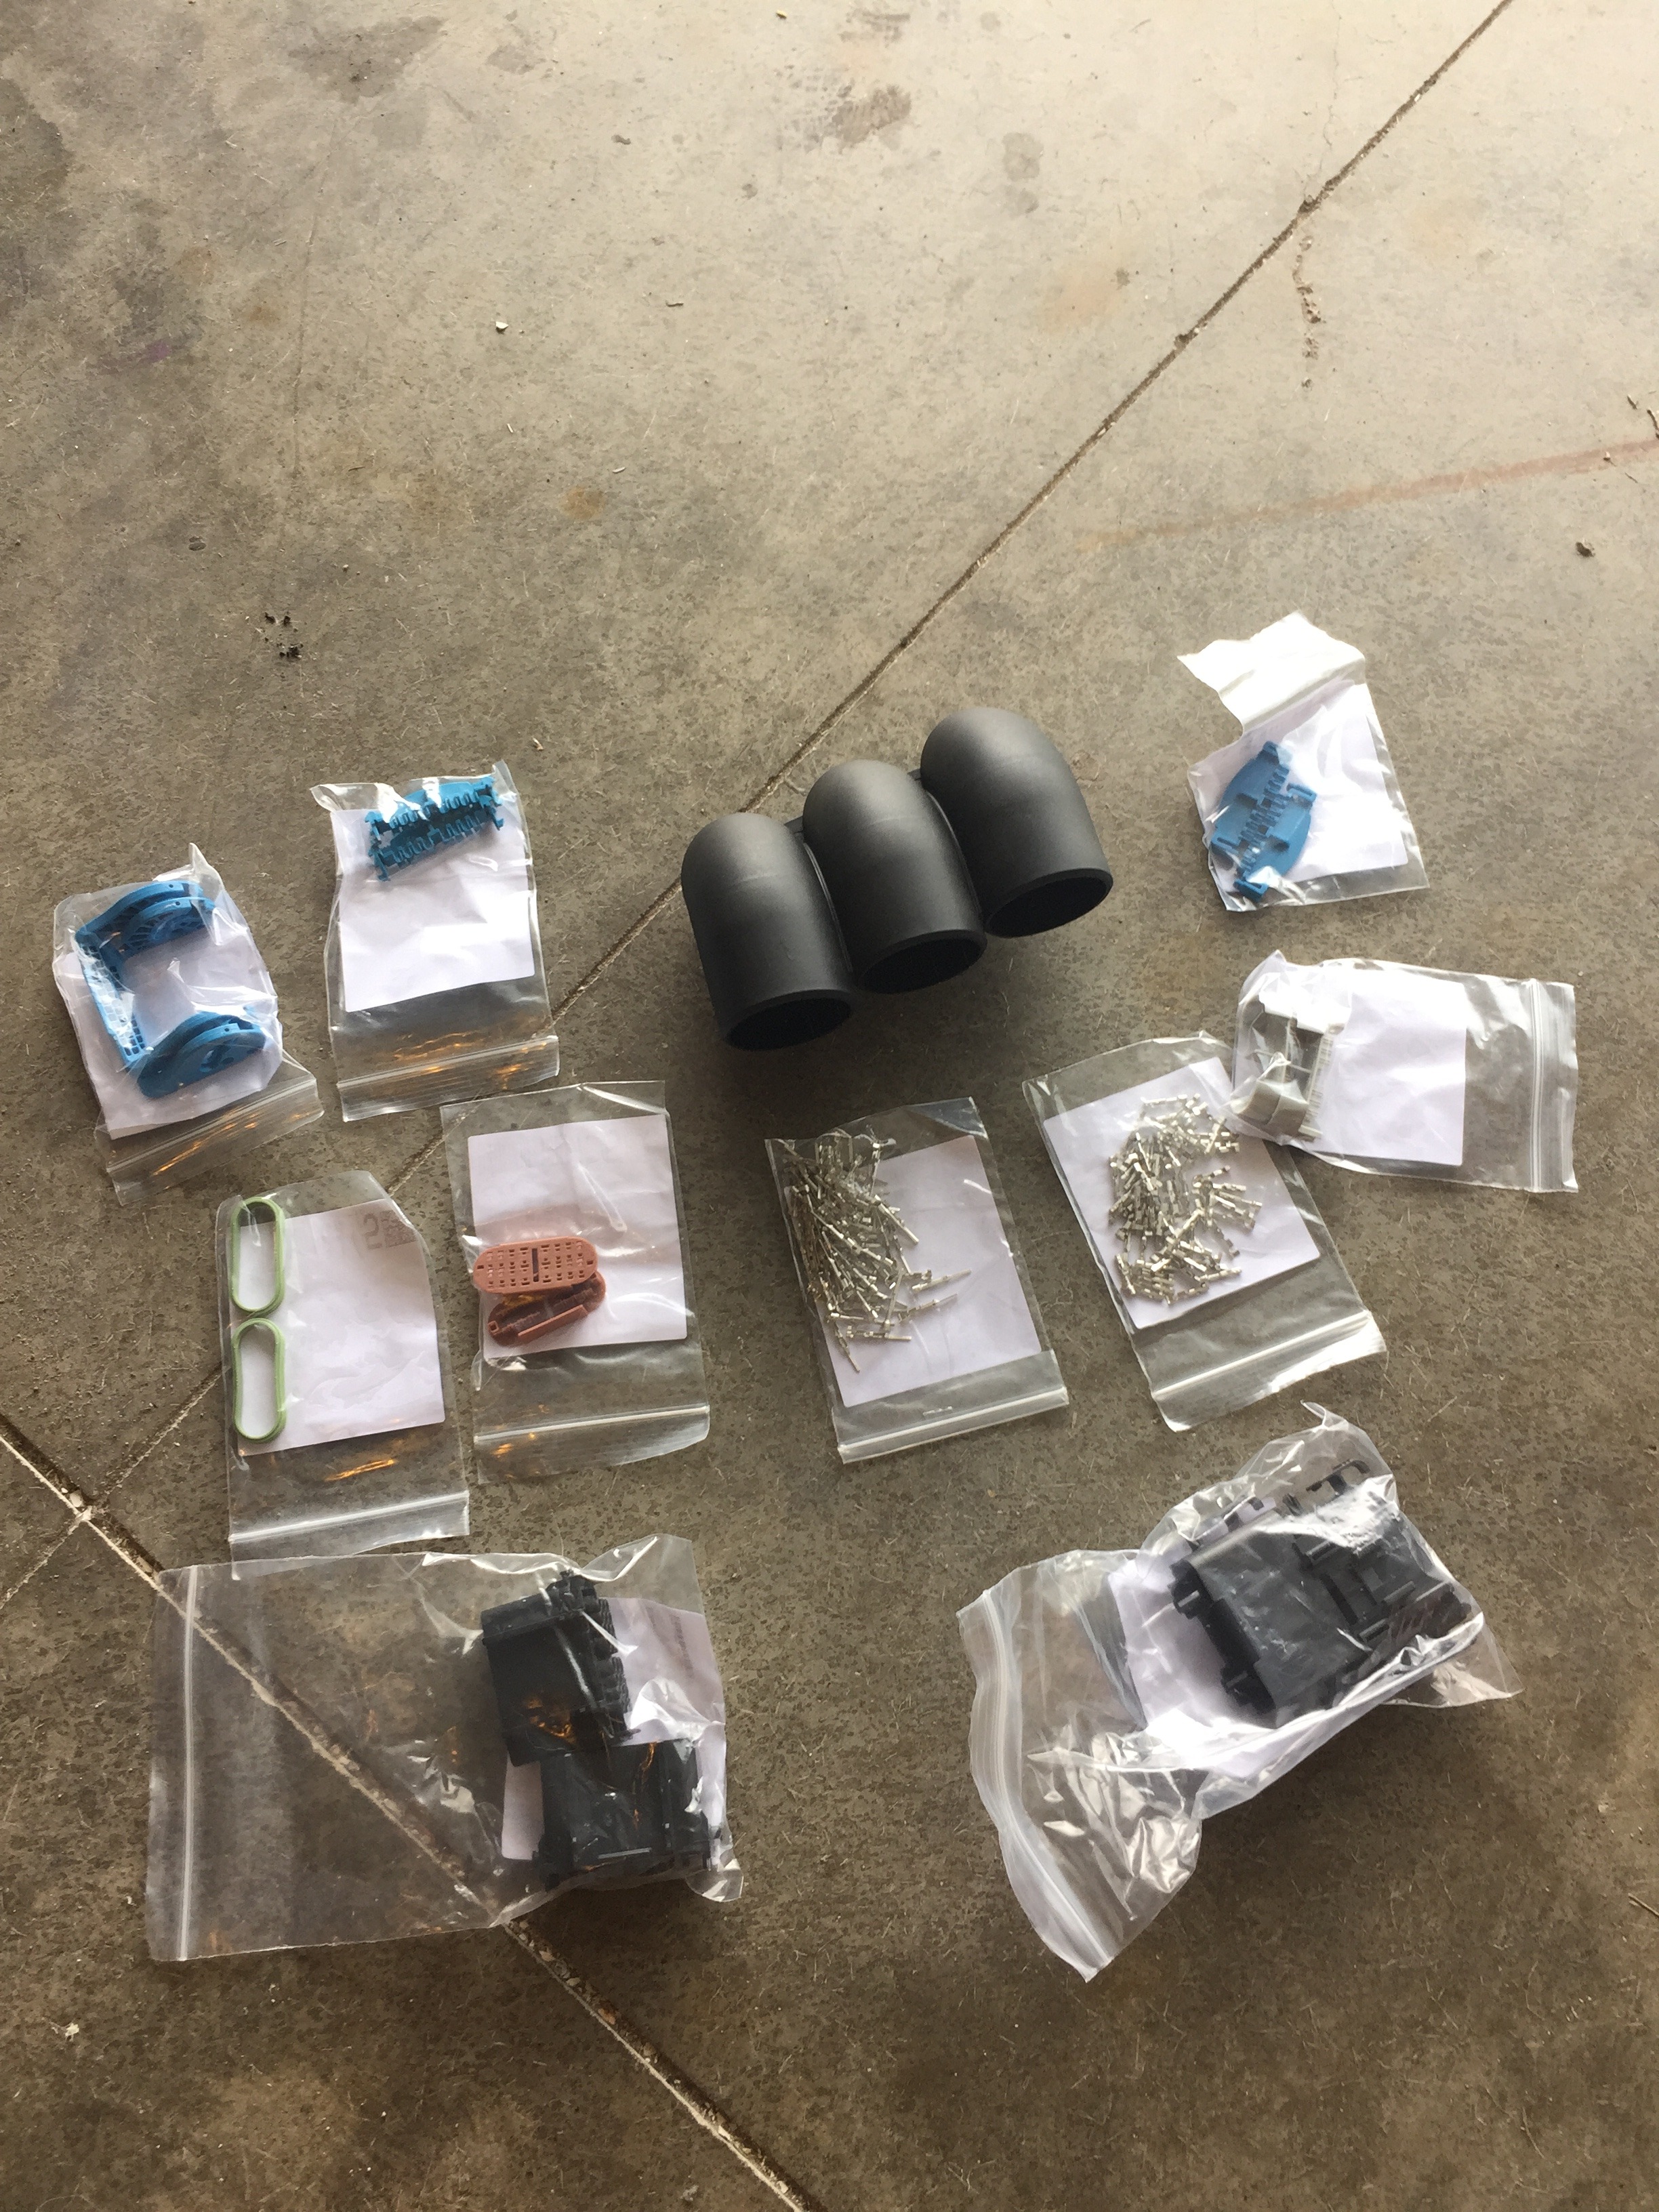
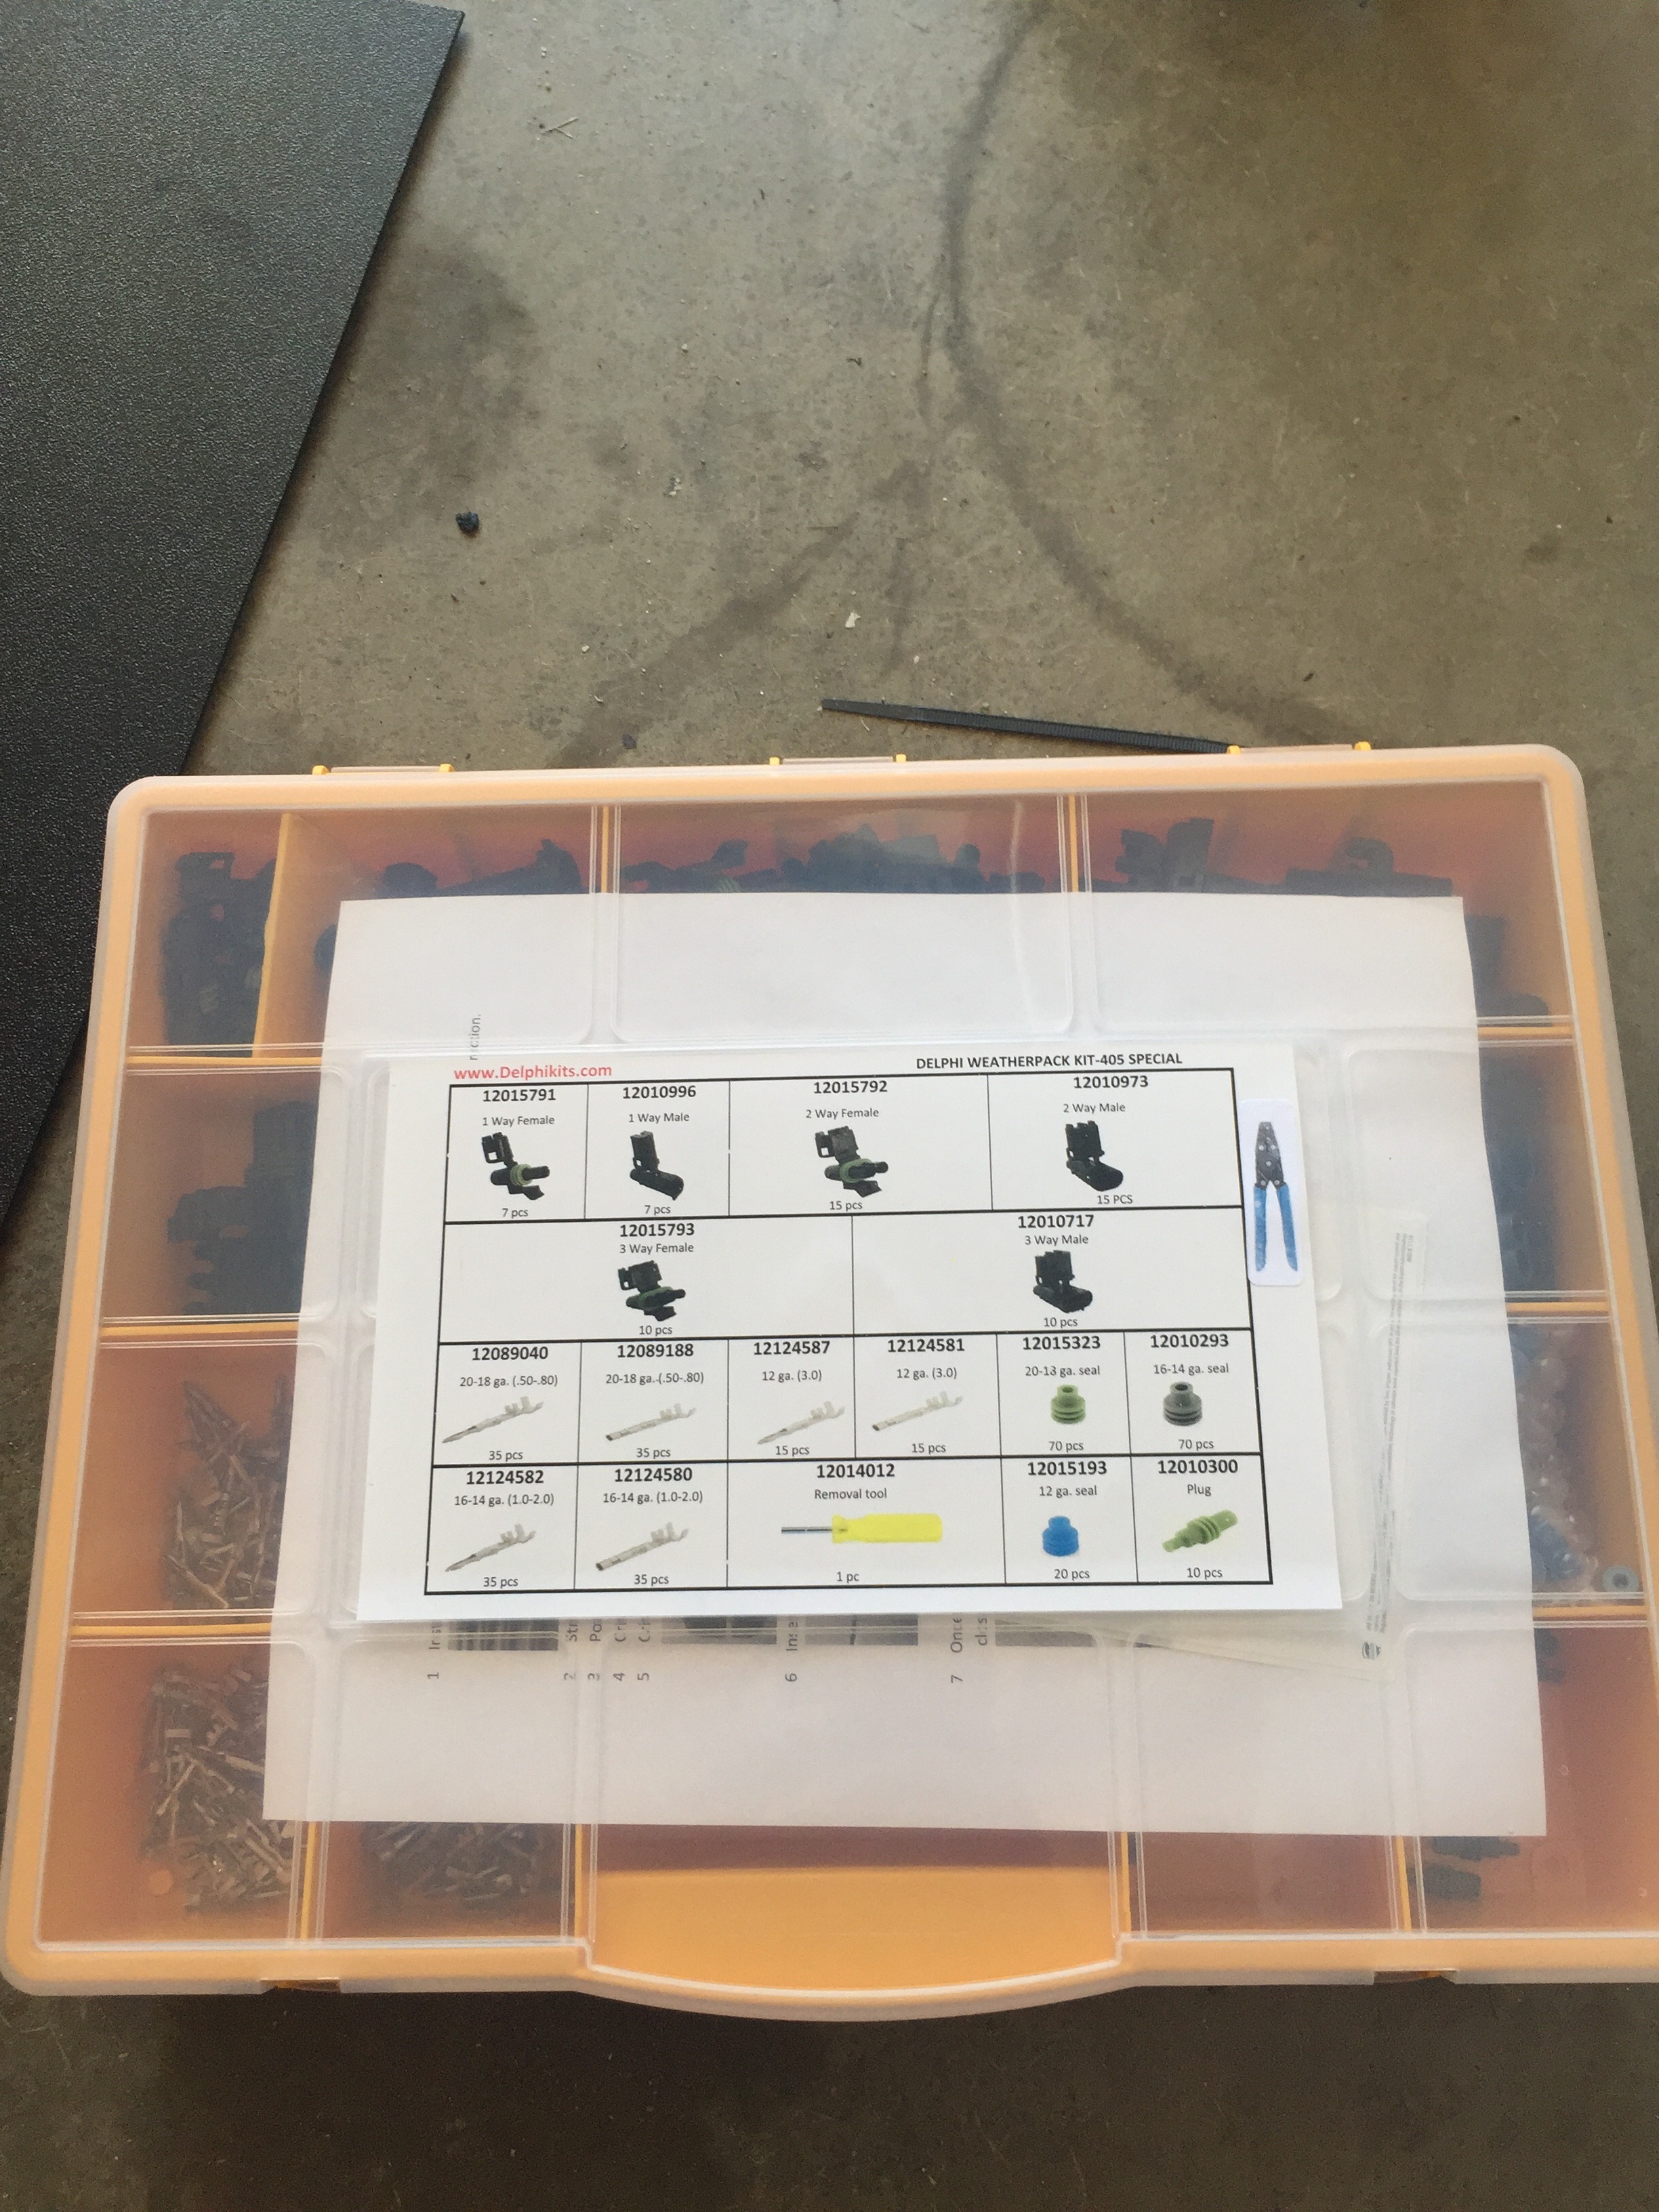
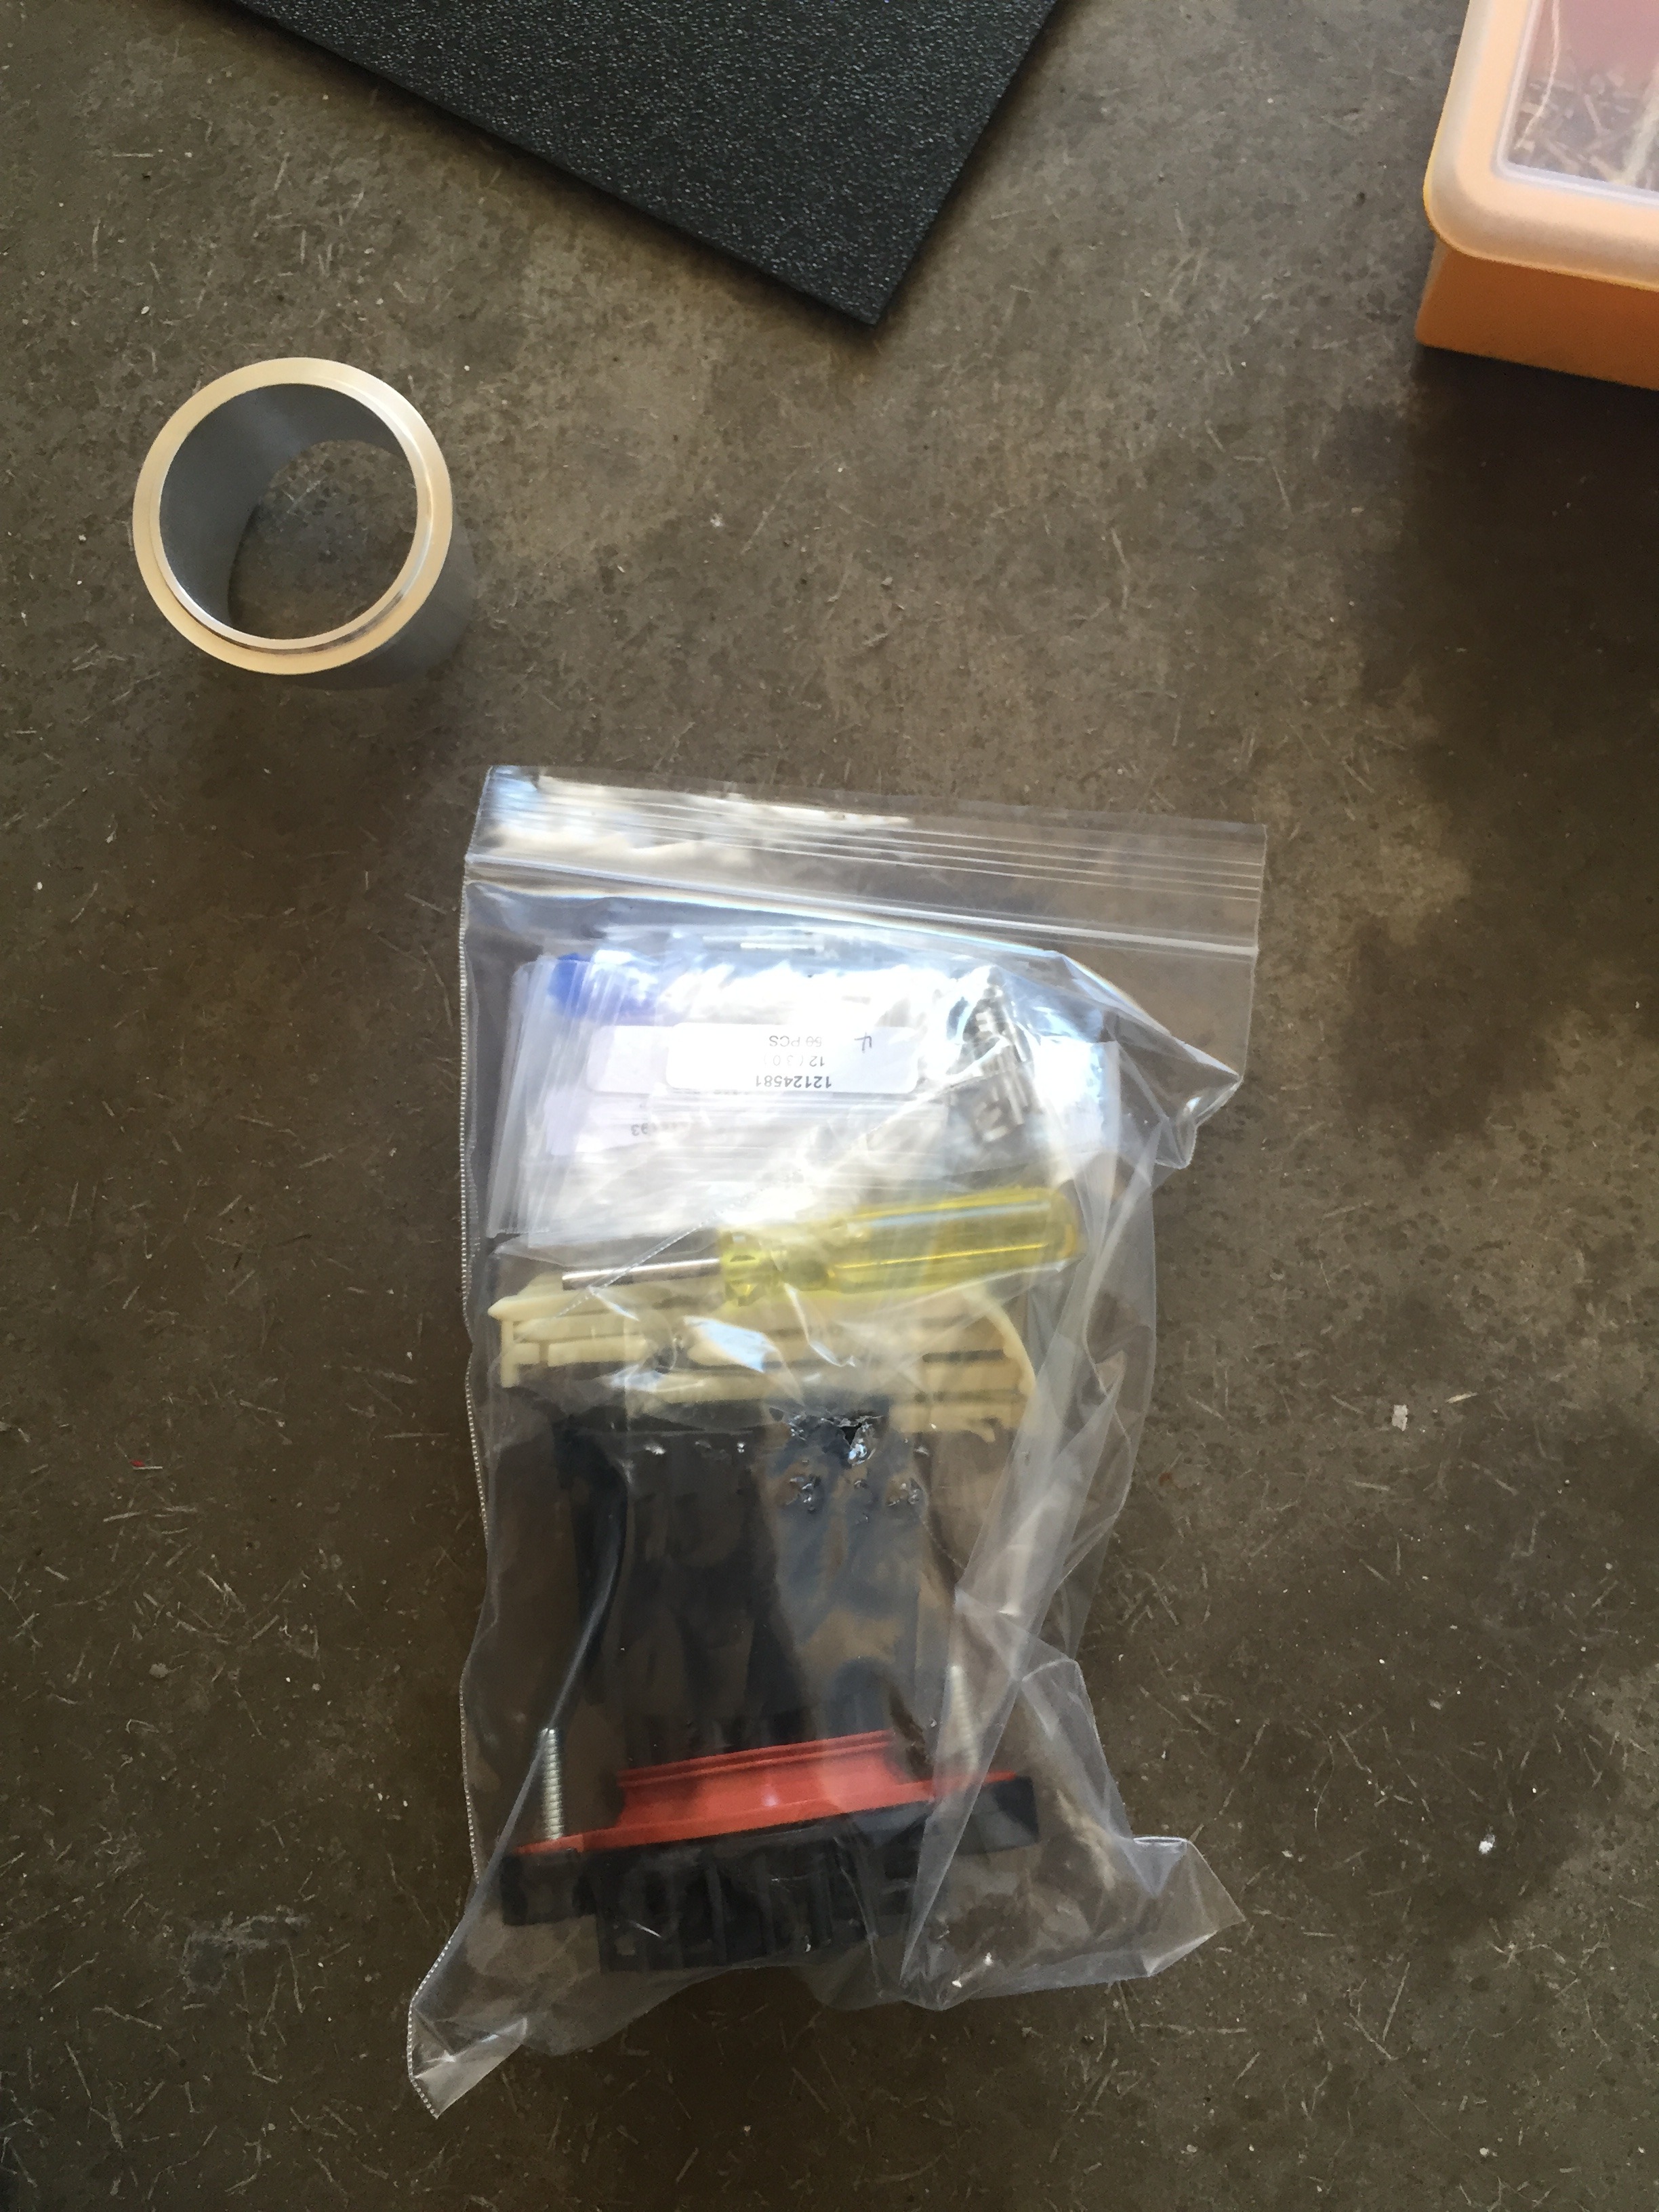
Got a set of delphi connectors as well to make for some clean engine bay connections
Annndd a tial bov flange that I will get welded on so I can install the tial bov I have lying around. And another connector for the engine bay harness most likely.
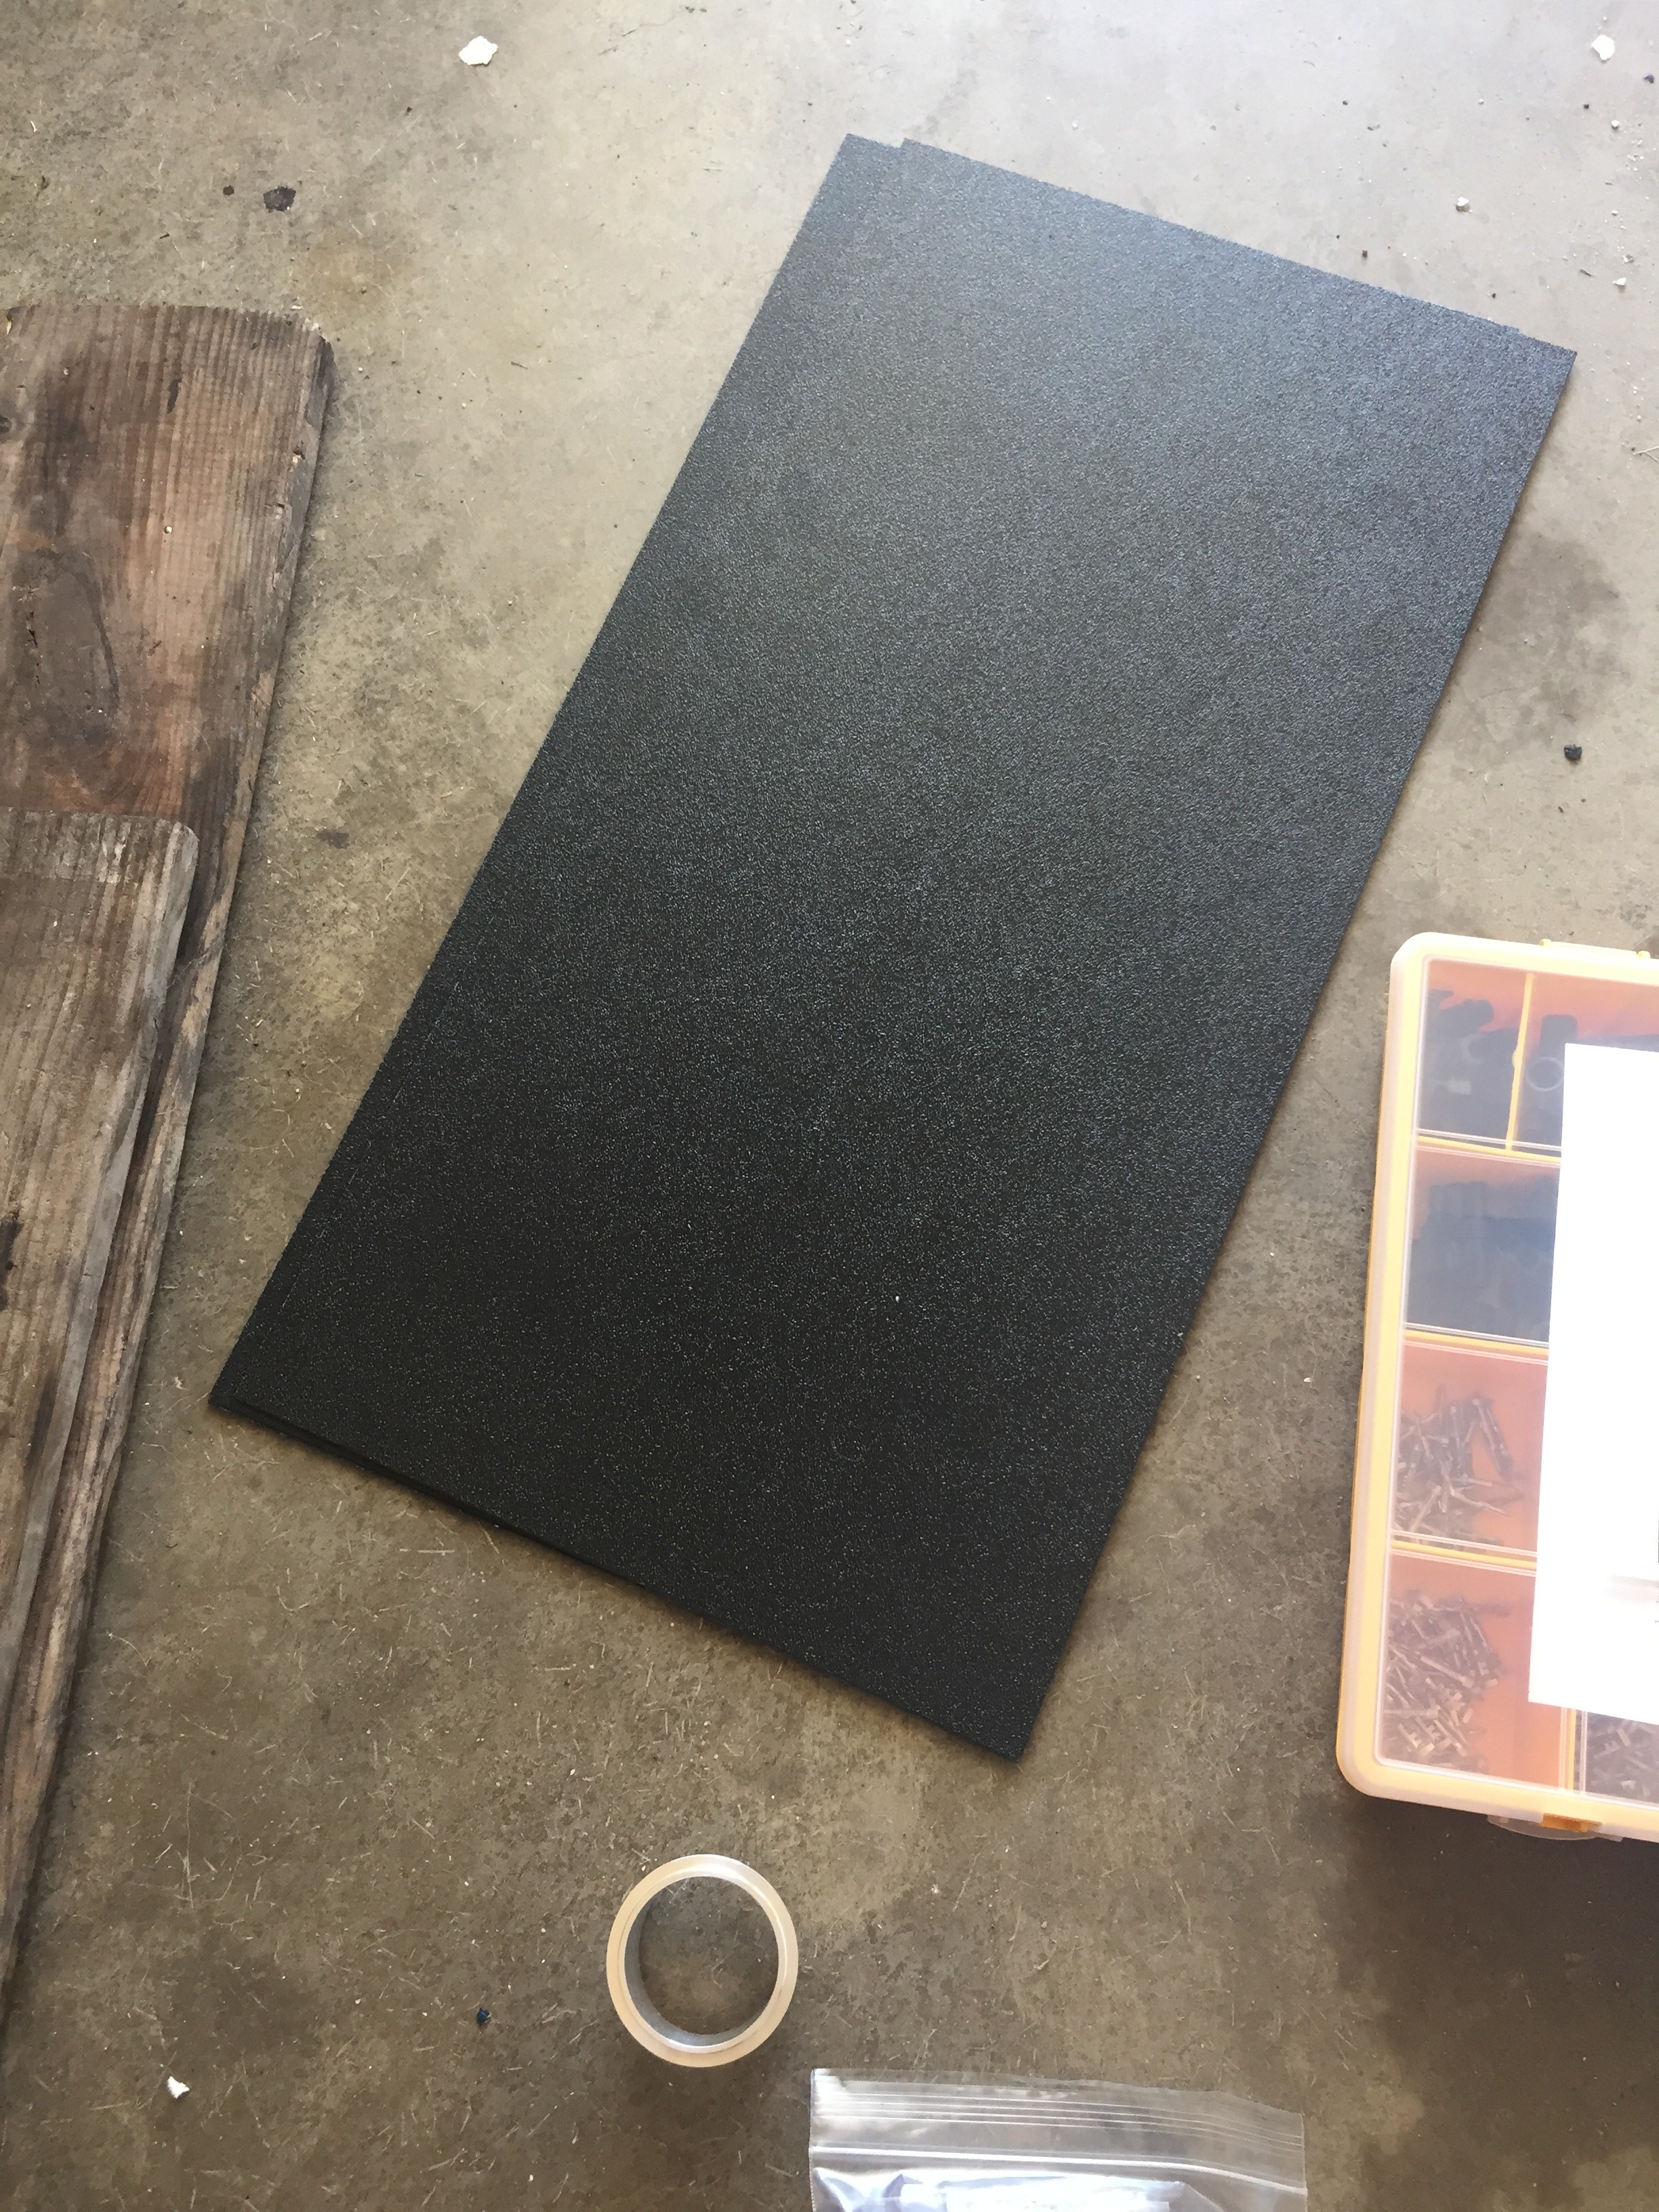
ABS sheets for the gauges and the center console repair
Ordered more heatshrink, some wires, and another connector
Working on the gauge install
Got distracted and started working on pulling out dents
And that's it for now. Should have a lot of updates over the next few weeks as I start fixing the interior and doing the wiring etc.

A picture of my daily driver beside the project

I am completely redoing the interior and needed some paint, so after some research decided on SEM. Ordered black and some graphite to see if I like that for accents

Also ordered some vinyl to rewrap the center console after I repair it (it has a huge hole in the center of it, looks like a common problem. I am also going to add a cup holder behind where your arm would sit with the seat all the way back. That way it wont get in the way of shifting and such.

I ordered a lot of stuff lol. Got my center vent gauge pod in along with the connector I will be using for the gauges. Bought two just in case I wanted to use it somewhere else too

Got a set of delphi connectors as well to make for some clean engine bay connections

Annndd a tial bov flange that I will get welded on so I can install the tial bov I have lying around. And another connector for the engine bay harness most likely.

ABS sheets for the gauges and the center console repair

Ordered more heatshrink, some wires, and another connector

Working on the gauge install

Got distracted and started working on pulling out dents


And that's it for now. Should have a lot of updates over the next few weeks as I start fixing the interior and doing the wiring etc.
Thread Starter
Full Member
Joined: Apr 2015
Posts: 140
Likes: 5
From: Great Falls, MT
Made a little more progress over the past few days. I worked on the dent a little more and got it to a state that I am much happier with.
I cleaned it up even more after this, but it is pulled out to where maybe 1/16" of bondo will be needed to smooth it, which I am happy with. This will all be covered up when my widebody shows up anyhow.
After I finished up with that I decided to pull out my chassis harness. It was a pain because the vmount bracket is welded to the frame rails...going to fix that sometime soon and have it bolt on.
Working on it in my living room
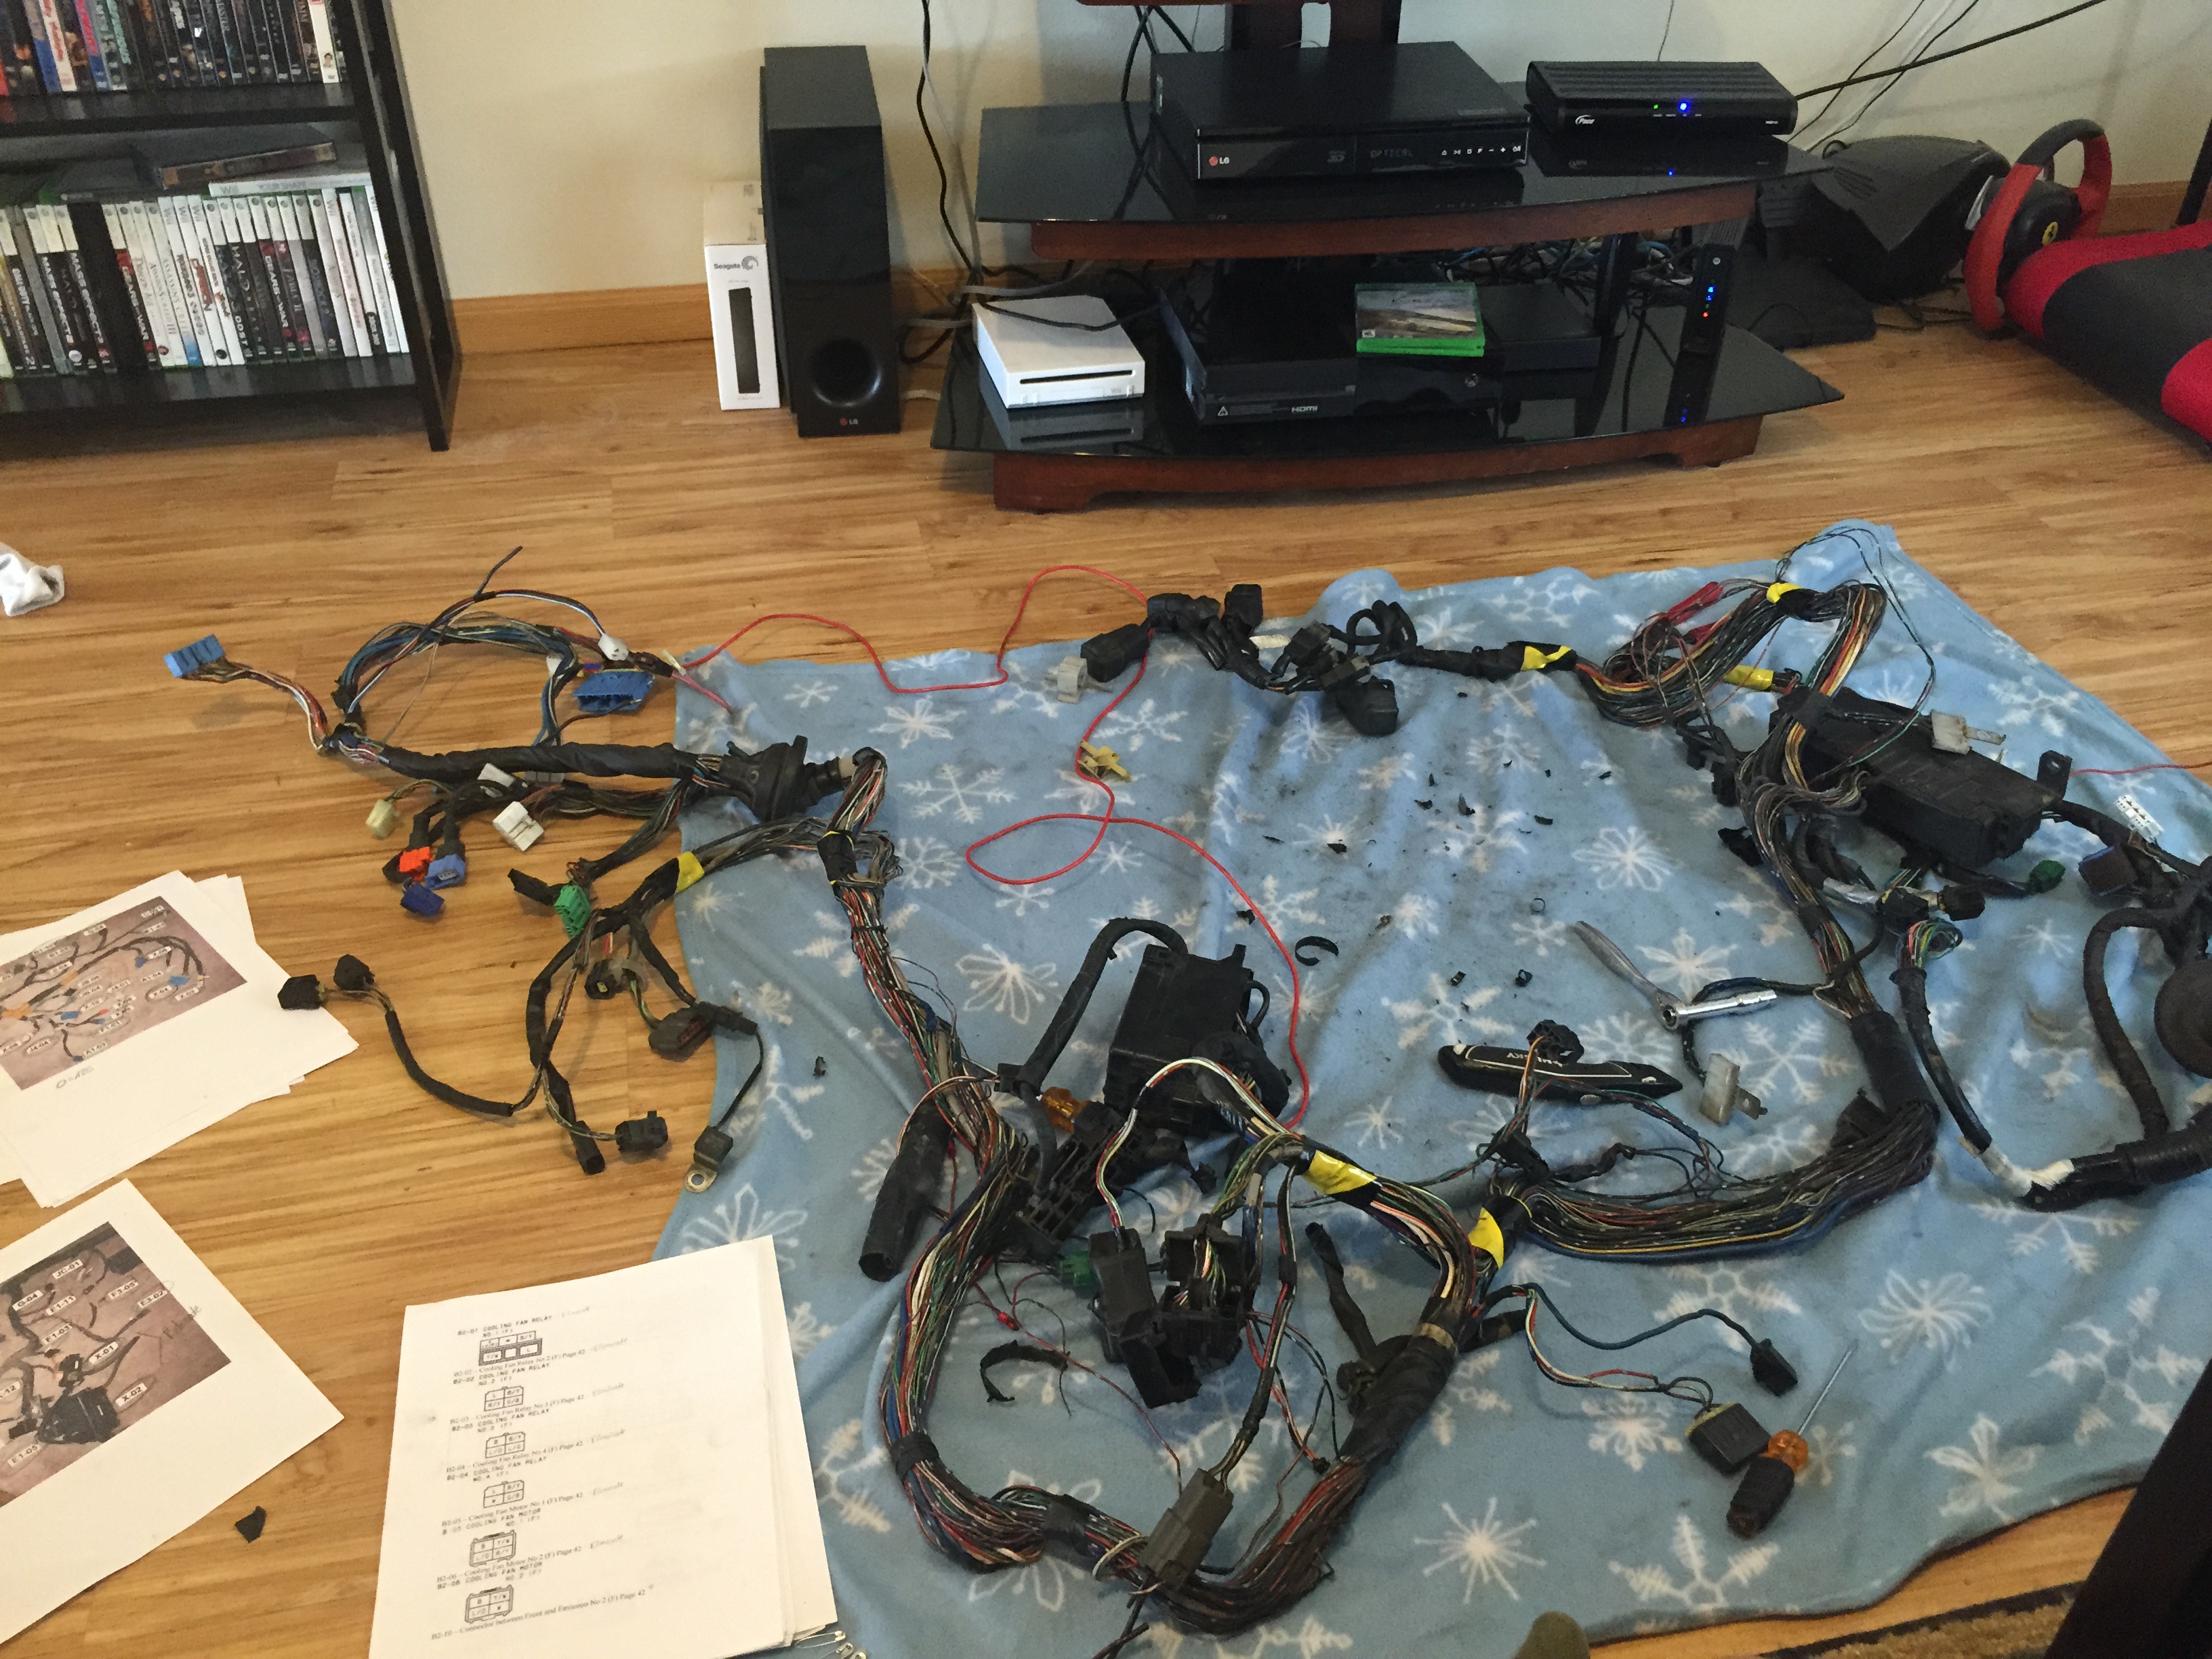
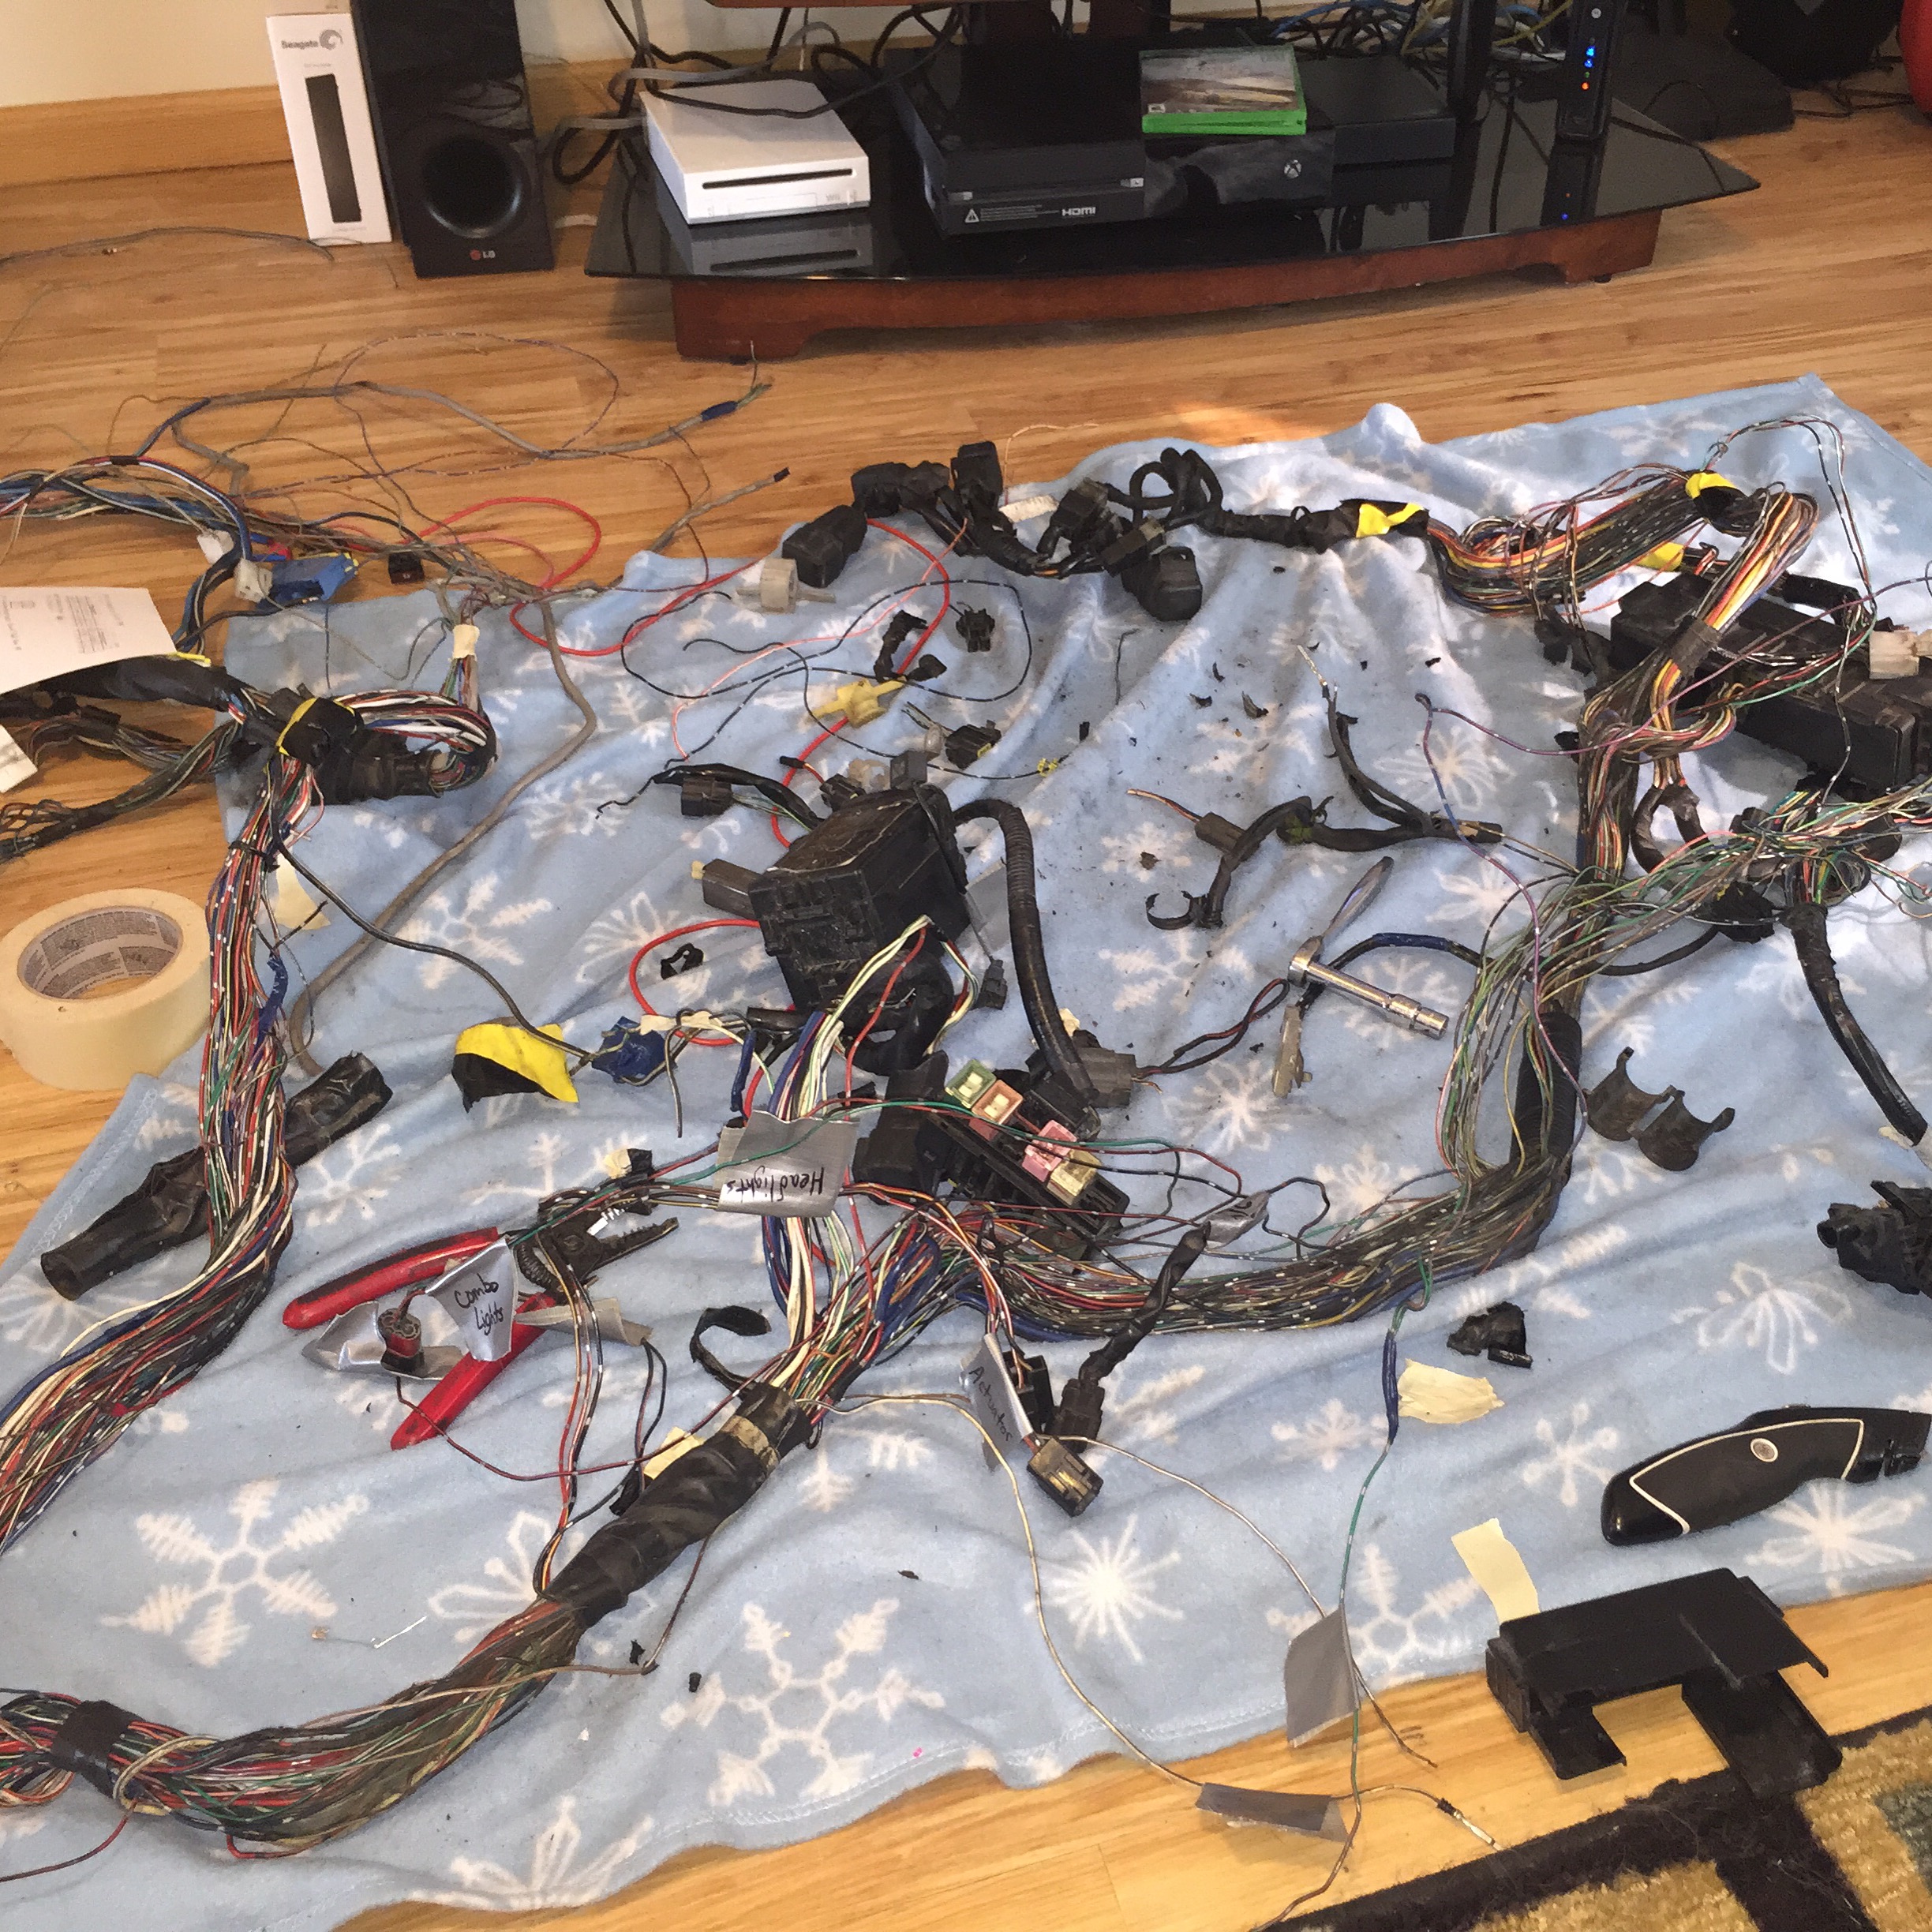
That's it for now. Short update, but lots of hours into it so far. Still have a lot of wires to pull from the harness and then I will decide how I want to reroute it and then plug everything up to make sure it works, and then finally loom it and install

I cleaned it up even more after this, but it is pulled out to where maybe 1/16" of bondo will be needed to smooth it, which I am happy with. This will all be covered up when my widebody shows up anyhow.
After I finished up with that I decided to pull out my chassis harness. It was a pain because the vmount bracket is welded to the frame rails...going to fix that sometime soon and have it bolt on.

Working on it in my living room


That's it for now. Short update, but lots of hours into it so far. Still have a lot of wires to pull from the harness and then I will decide how I want to reroute it and then plug everything up to make sure it works, and then finally loom it and install
Thread Starter
Full Member
Joined: Apr 2015
Posts: 140
Likes: 5
From: Great Falls, MT
Did some more work on the car. Mainly wiring, but a few other things too.
While the car isn't running I figured I would fix a diff leak that the car has. I thought it was the cover not sealing well, but when I got under the car I found the passenger side axle to not be seated all the way
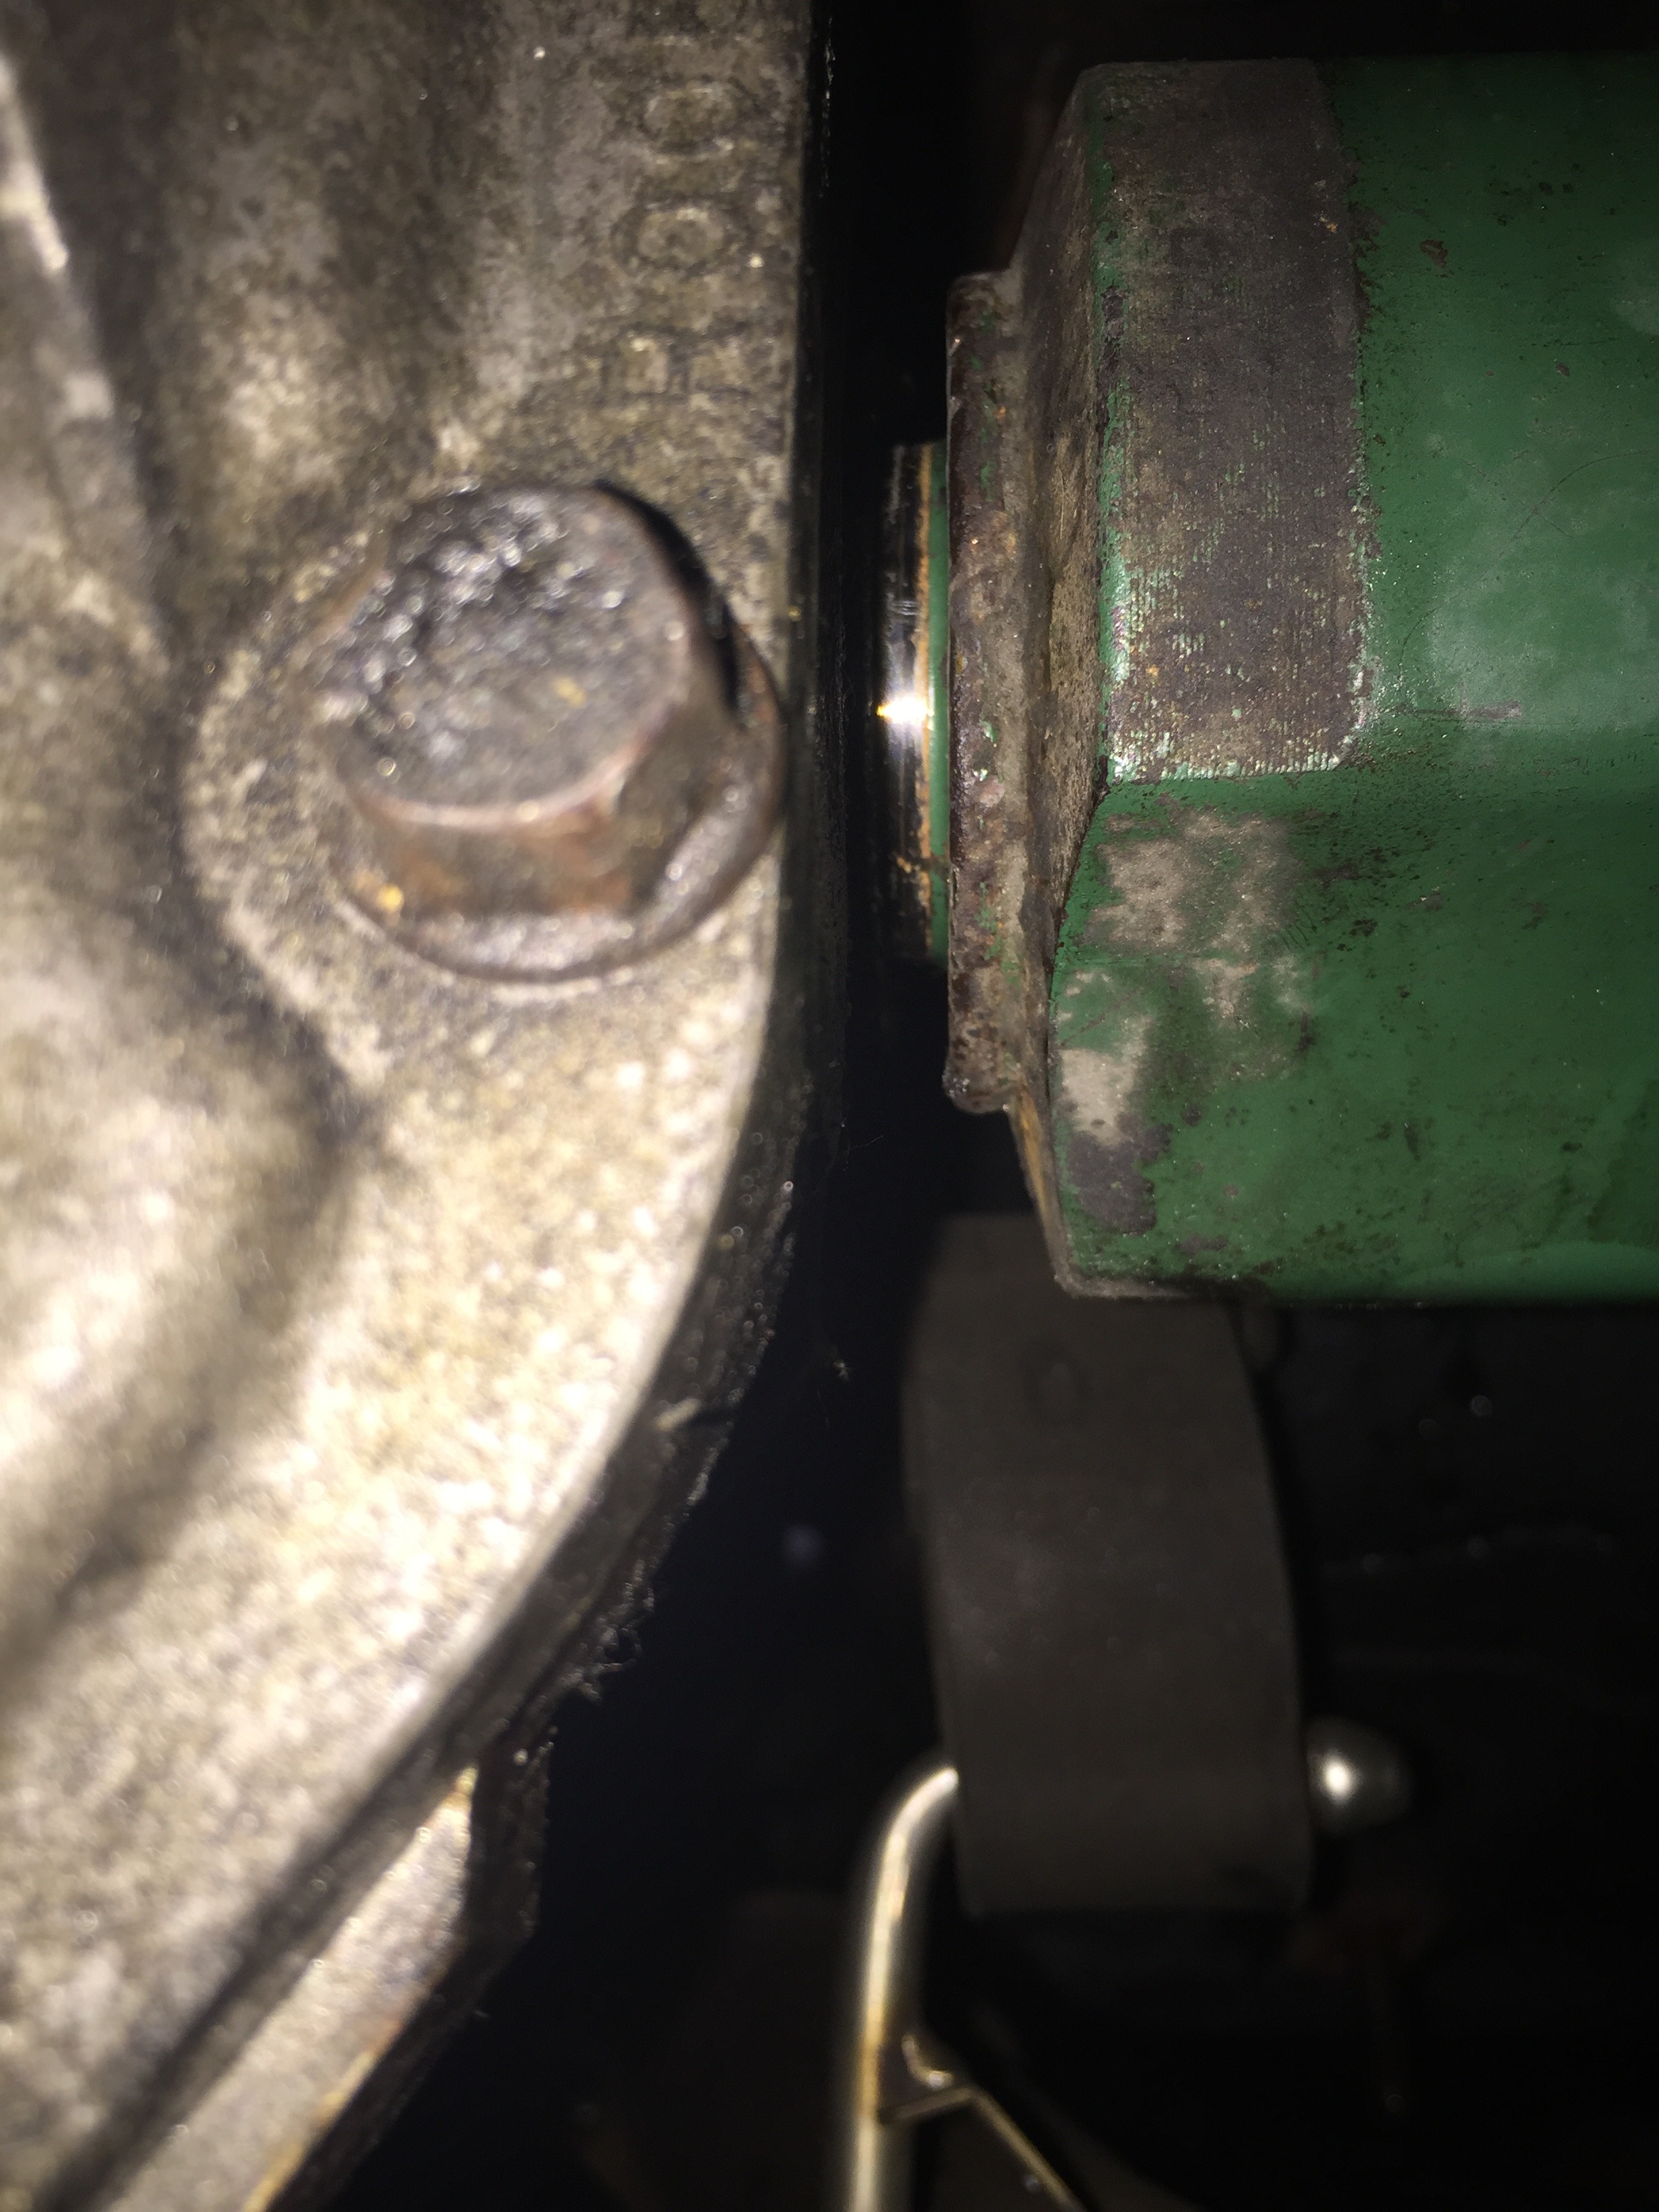
So I spent the day trying to get it to seat in all the way and finally got it to a point I was happy with. I drained the fluid before working on it and when I went back to put fluid in it I found the fill plug wasnt even tight...so, I think that is where it was leaking from lol. Oh well.
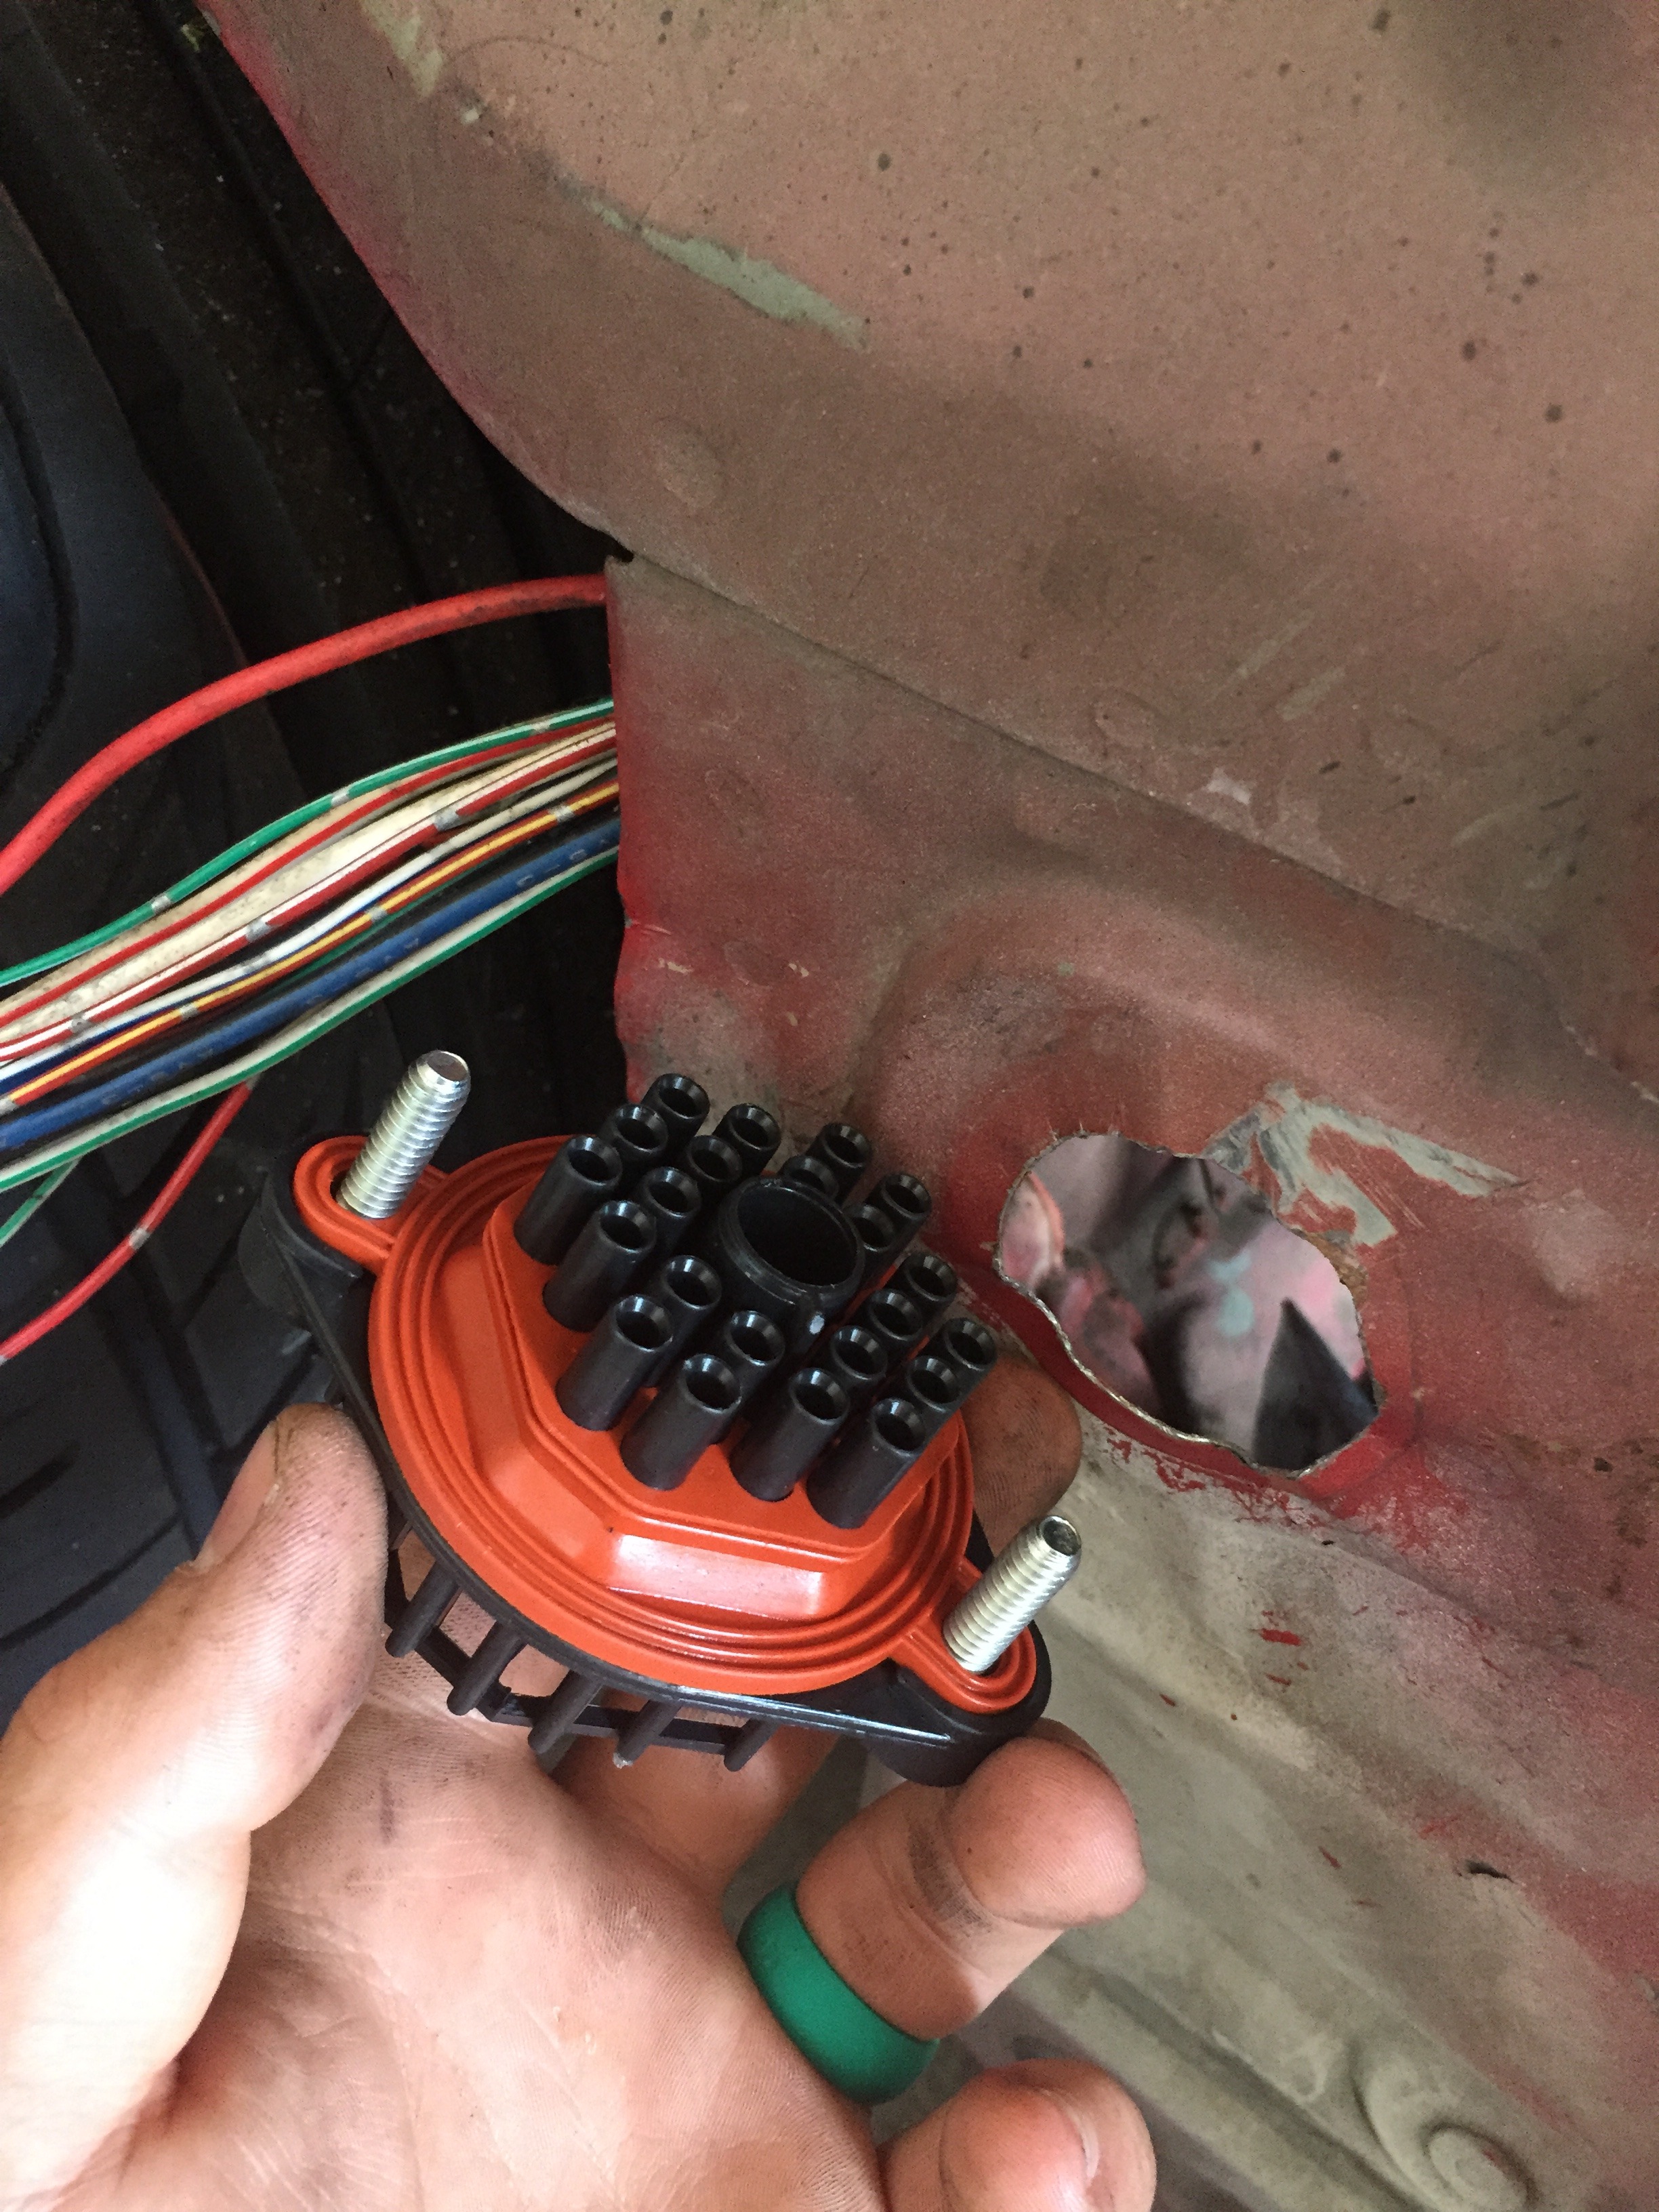
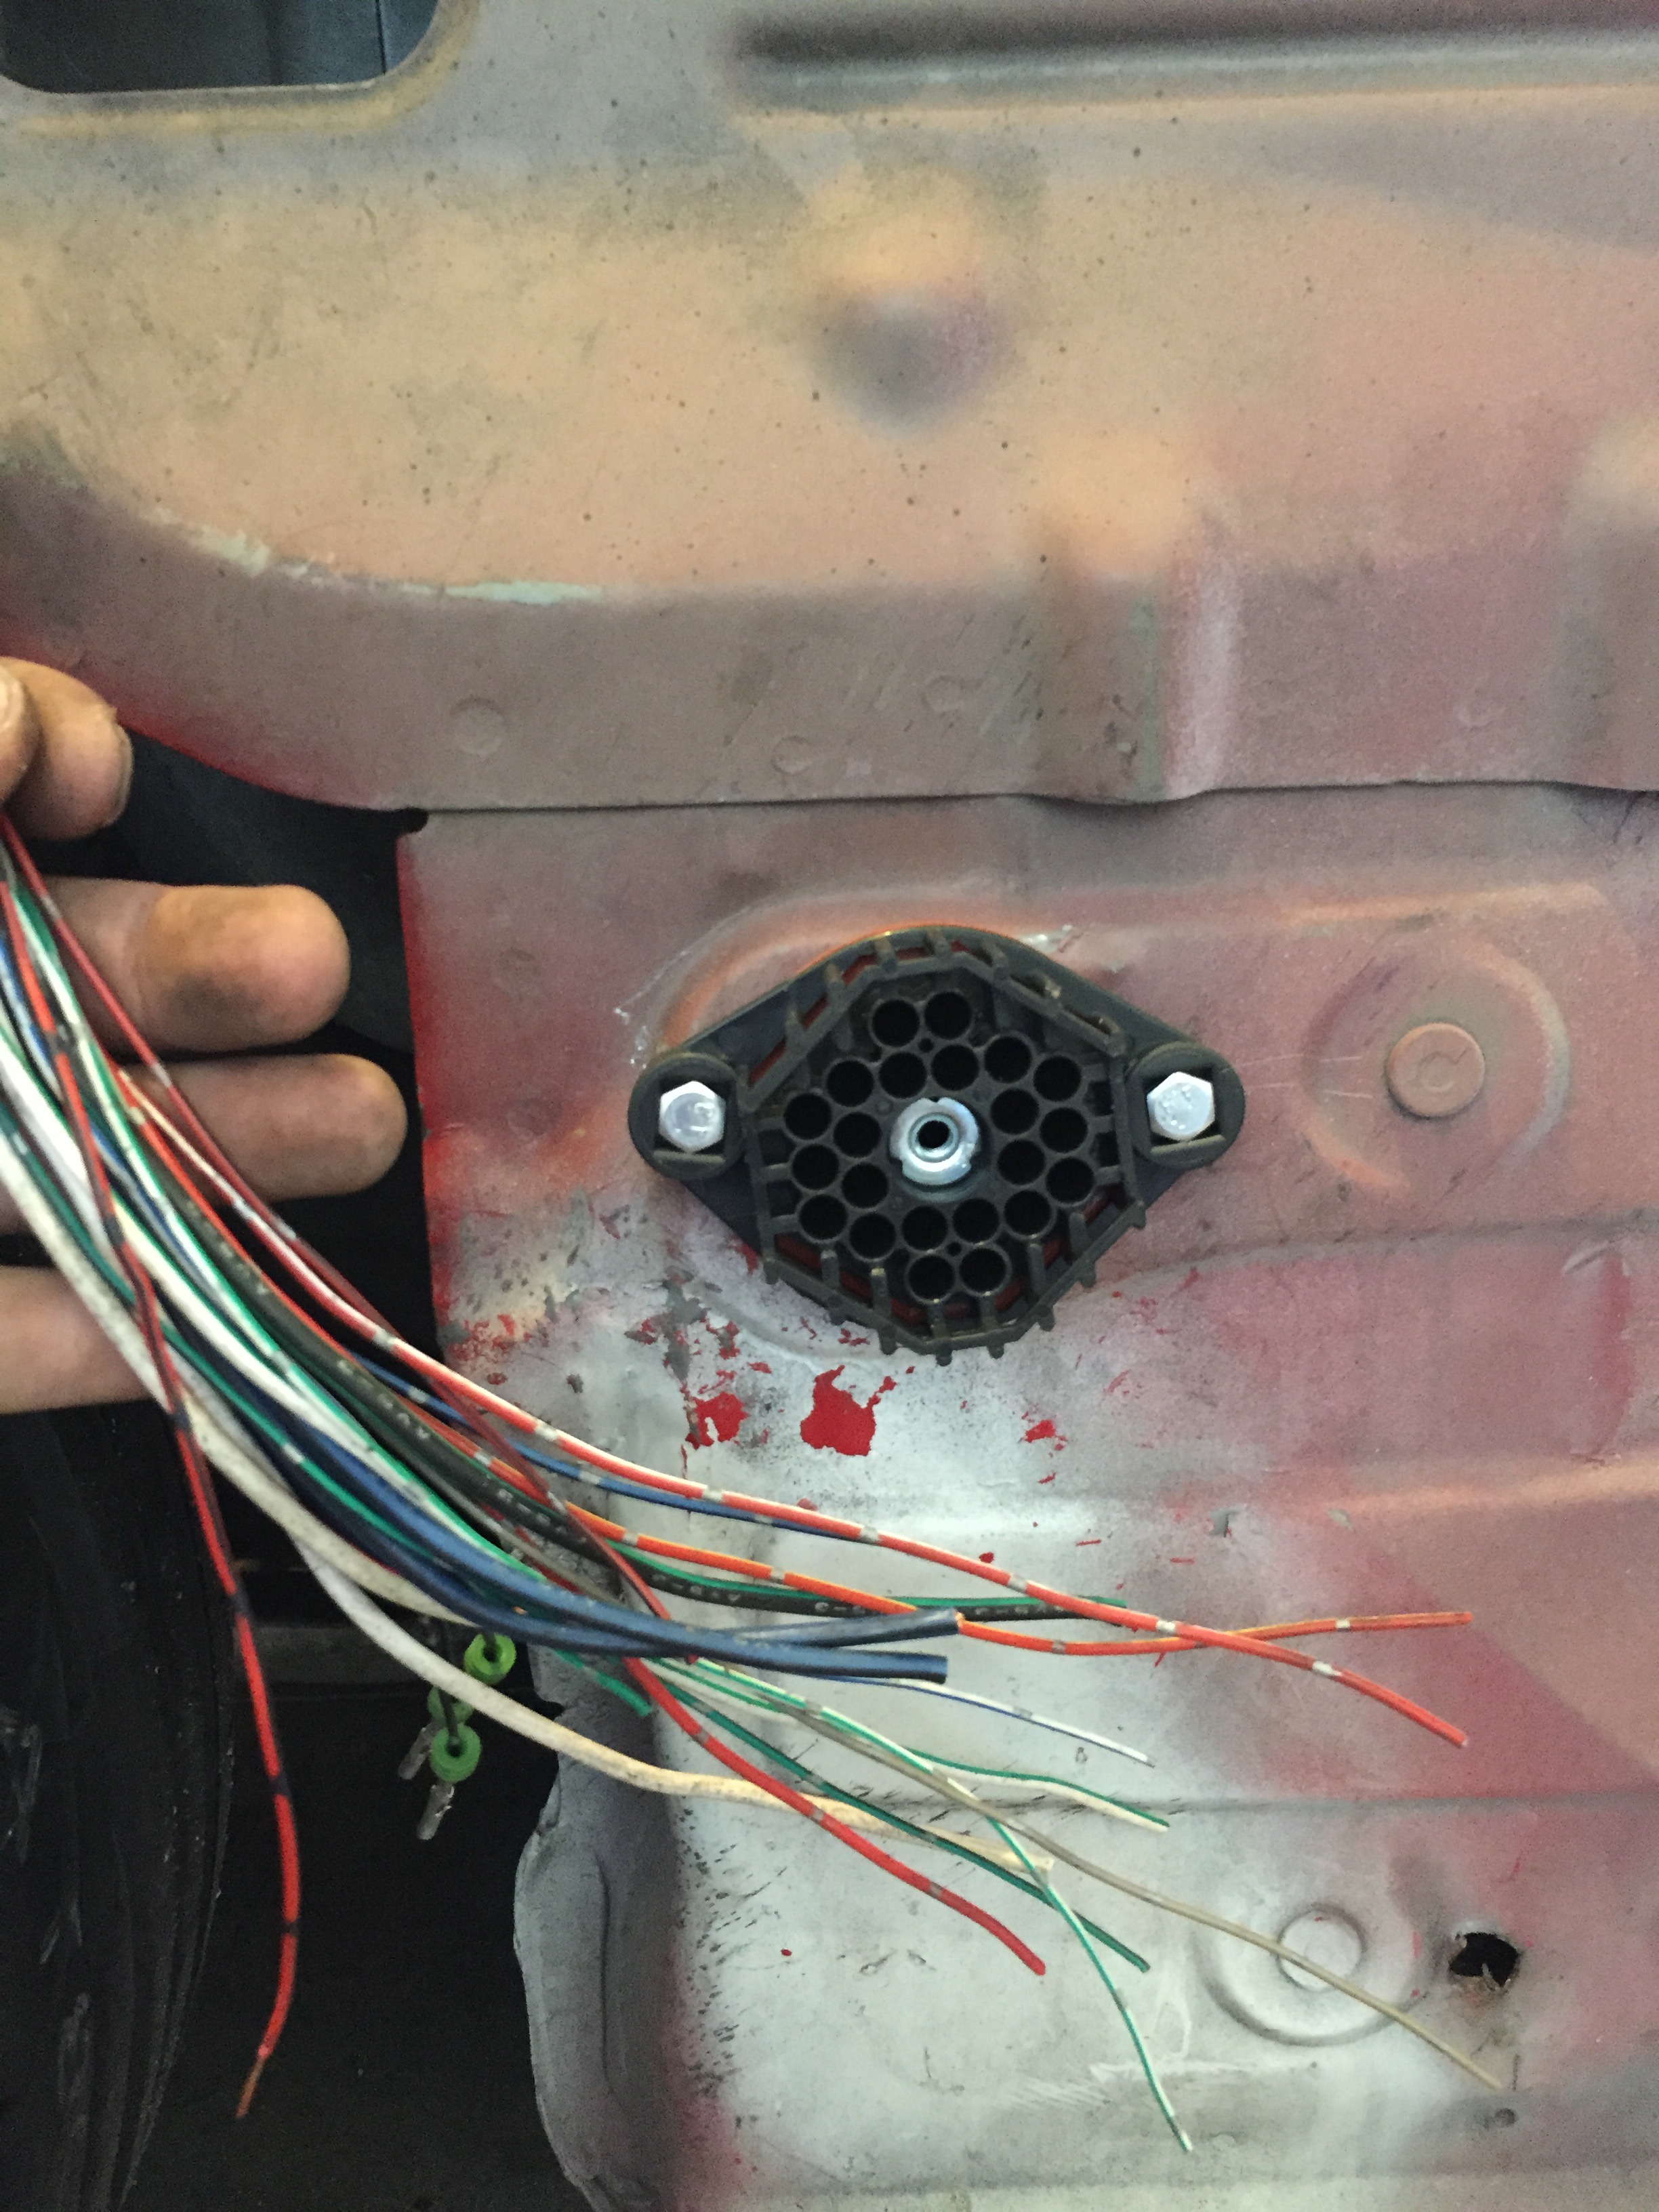
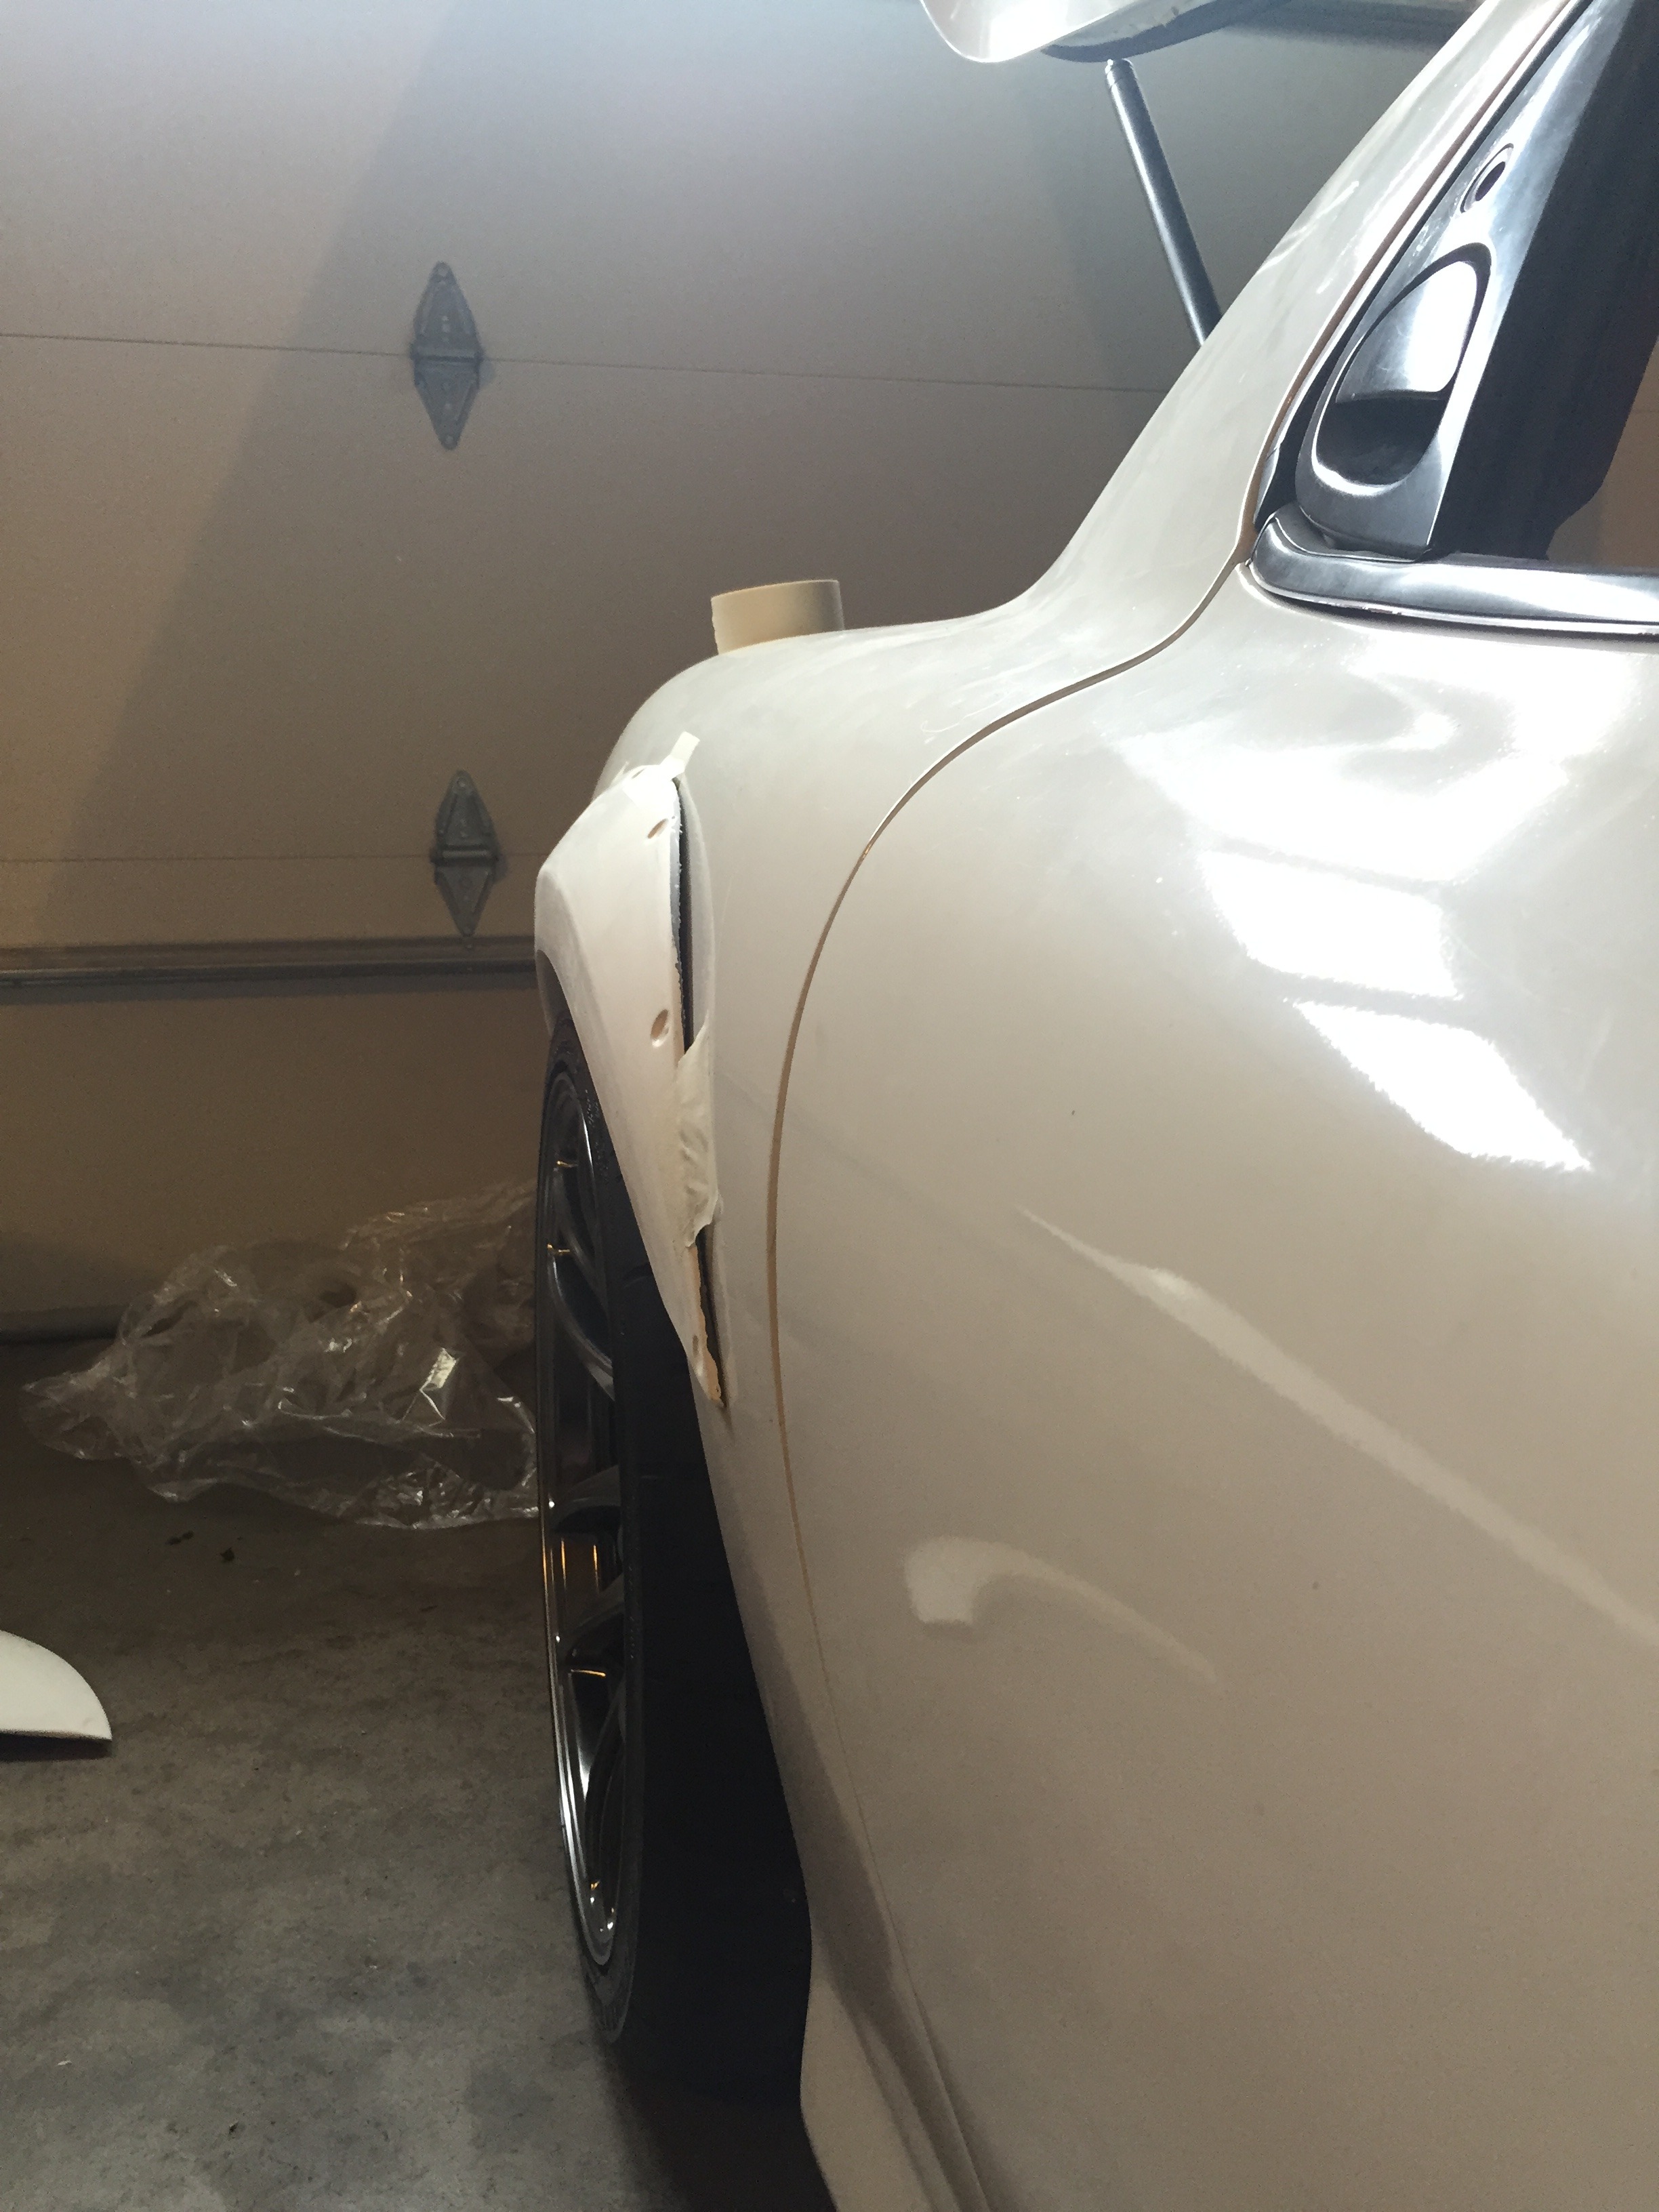
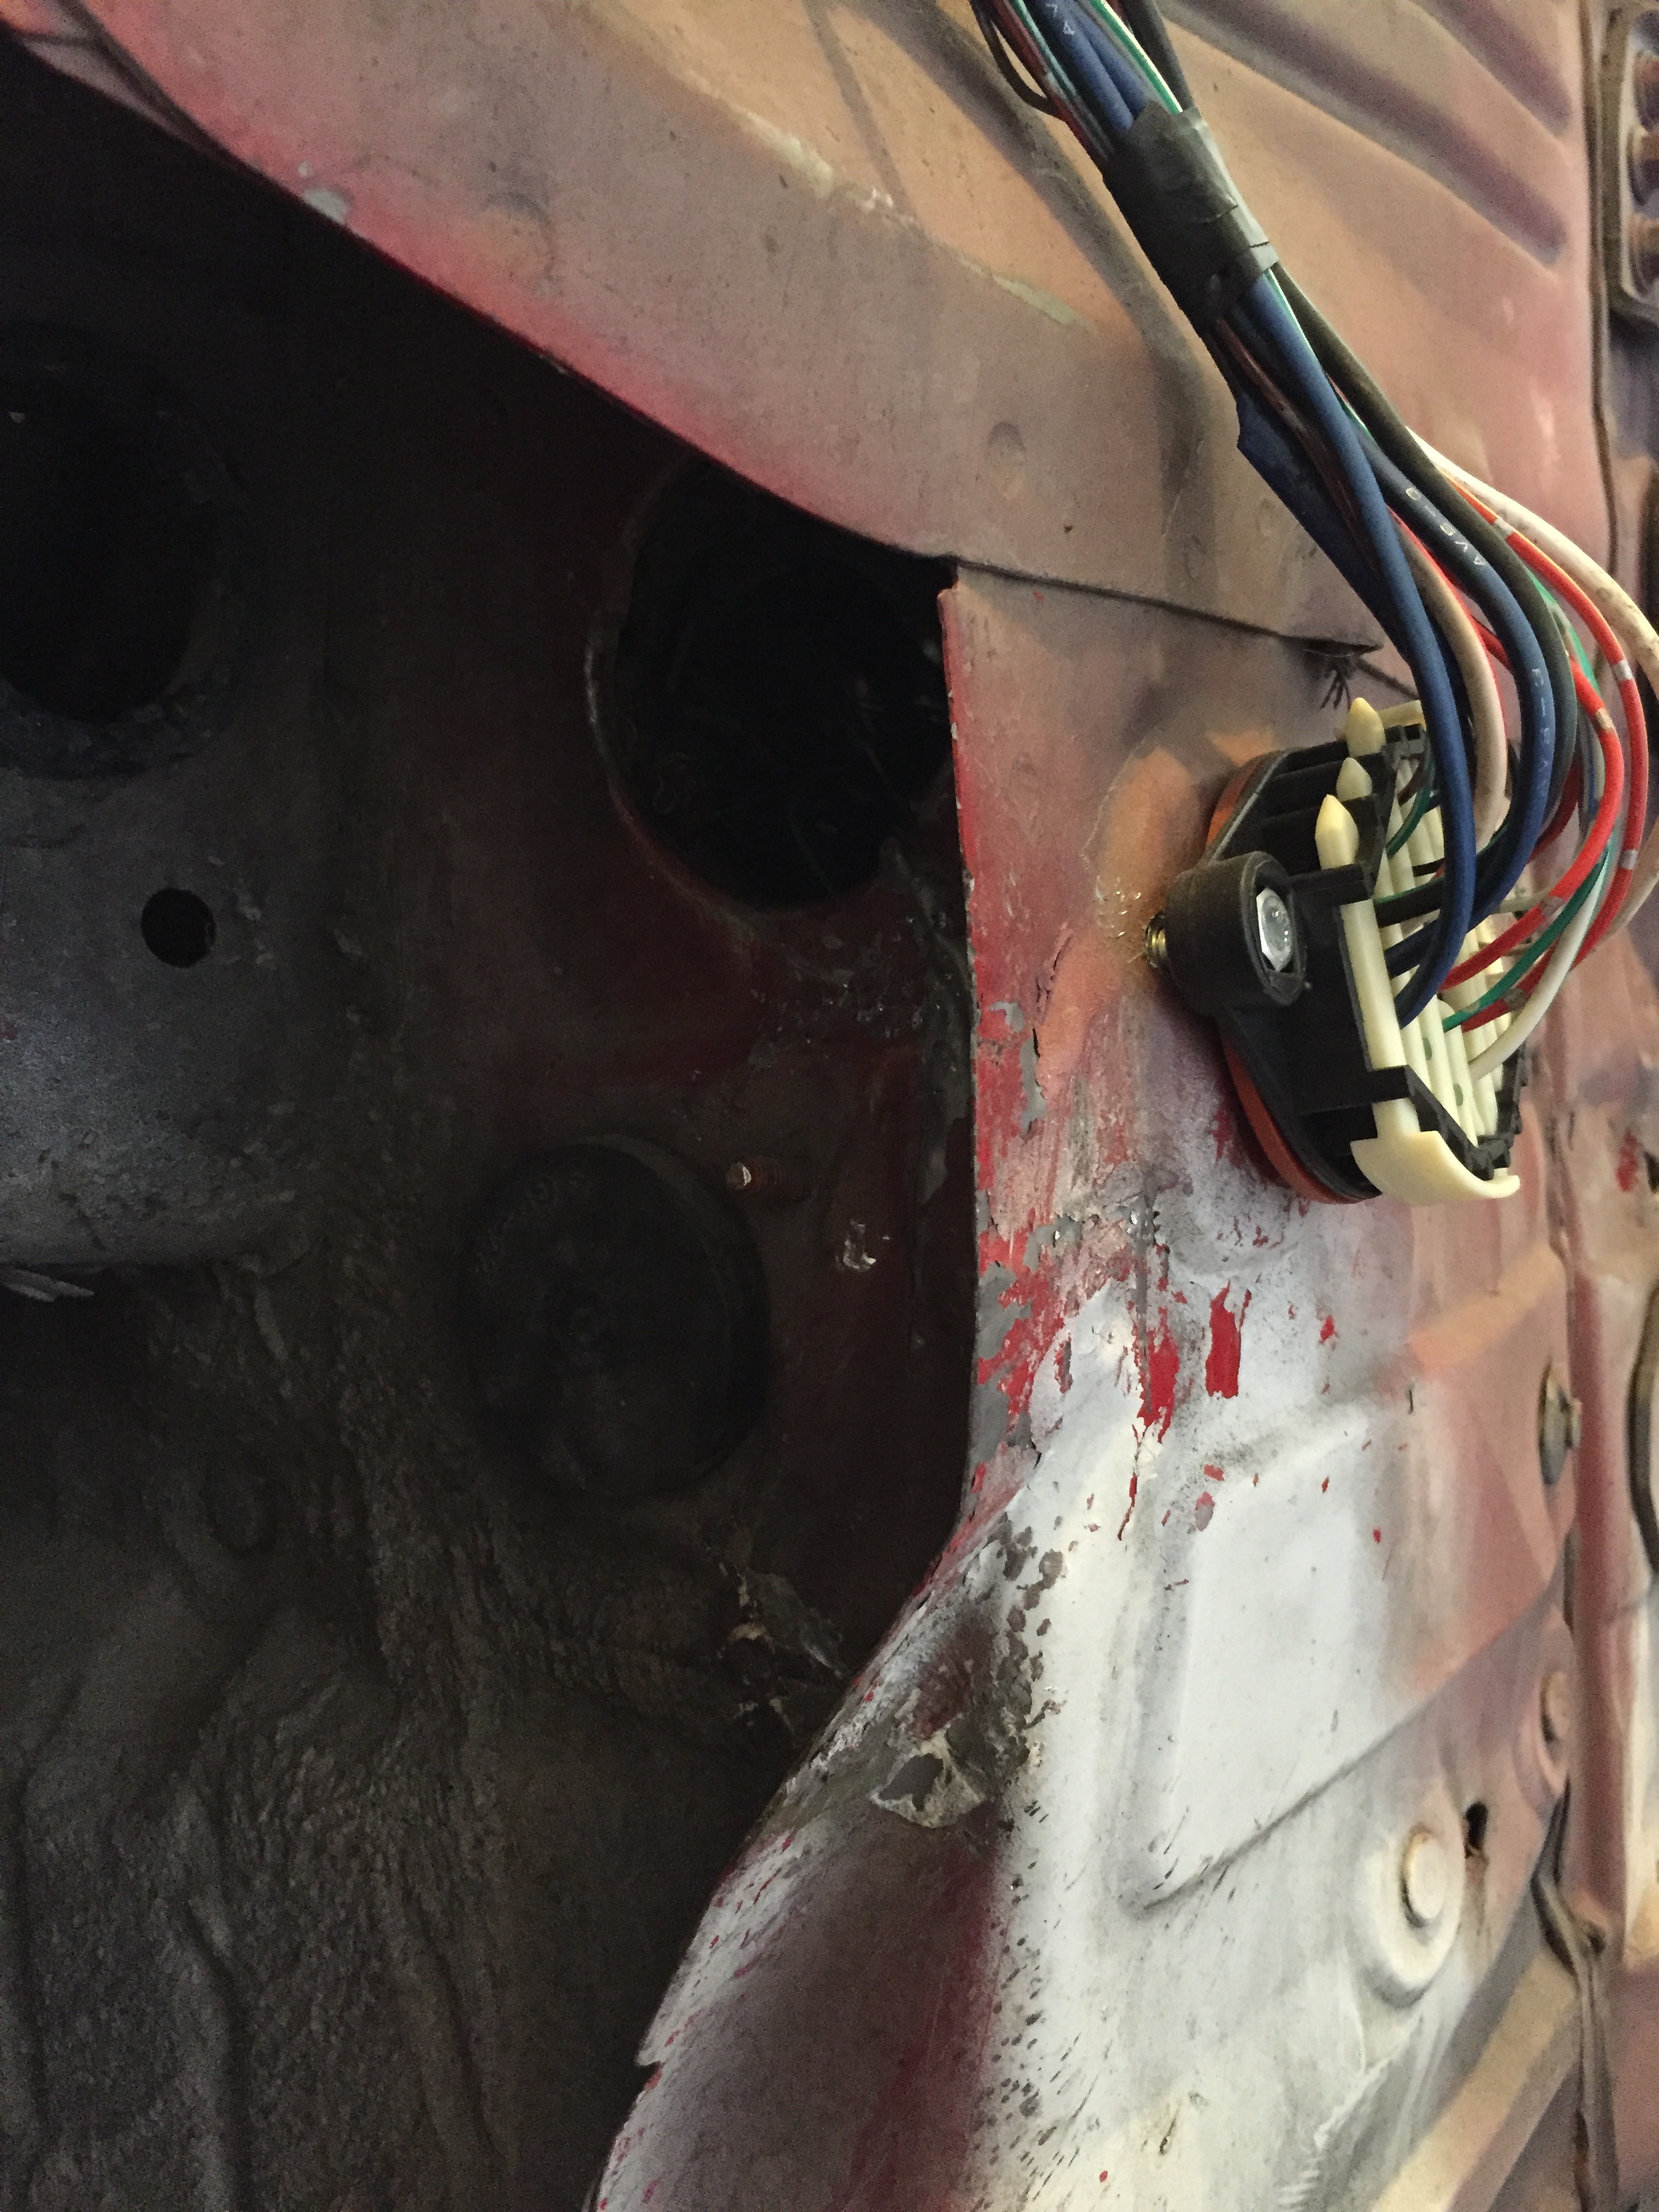
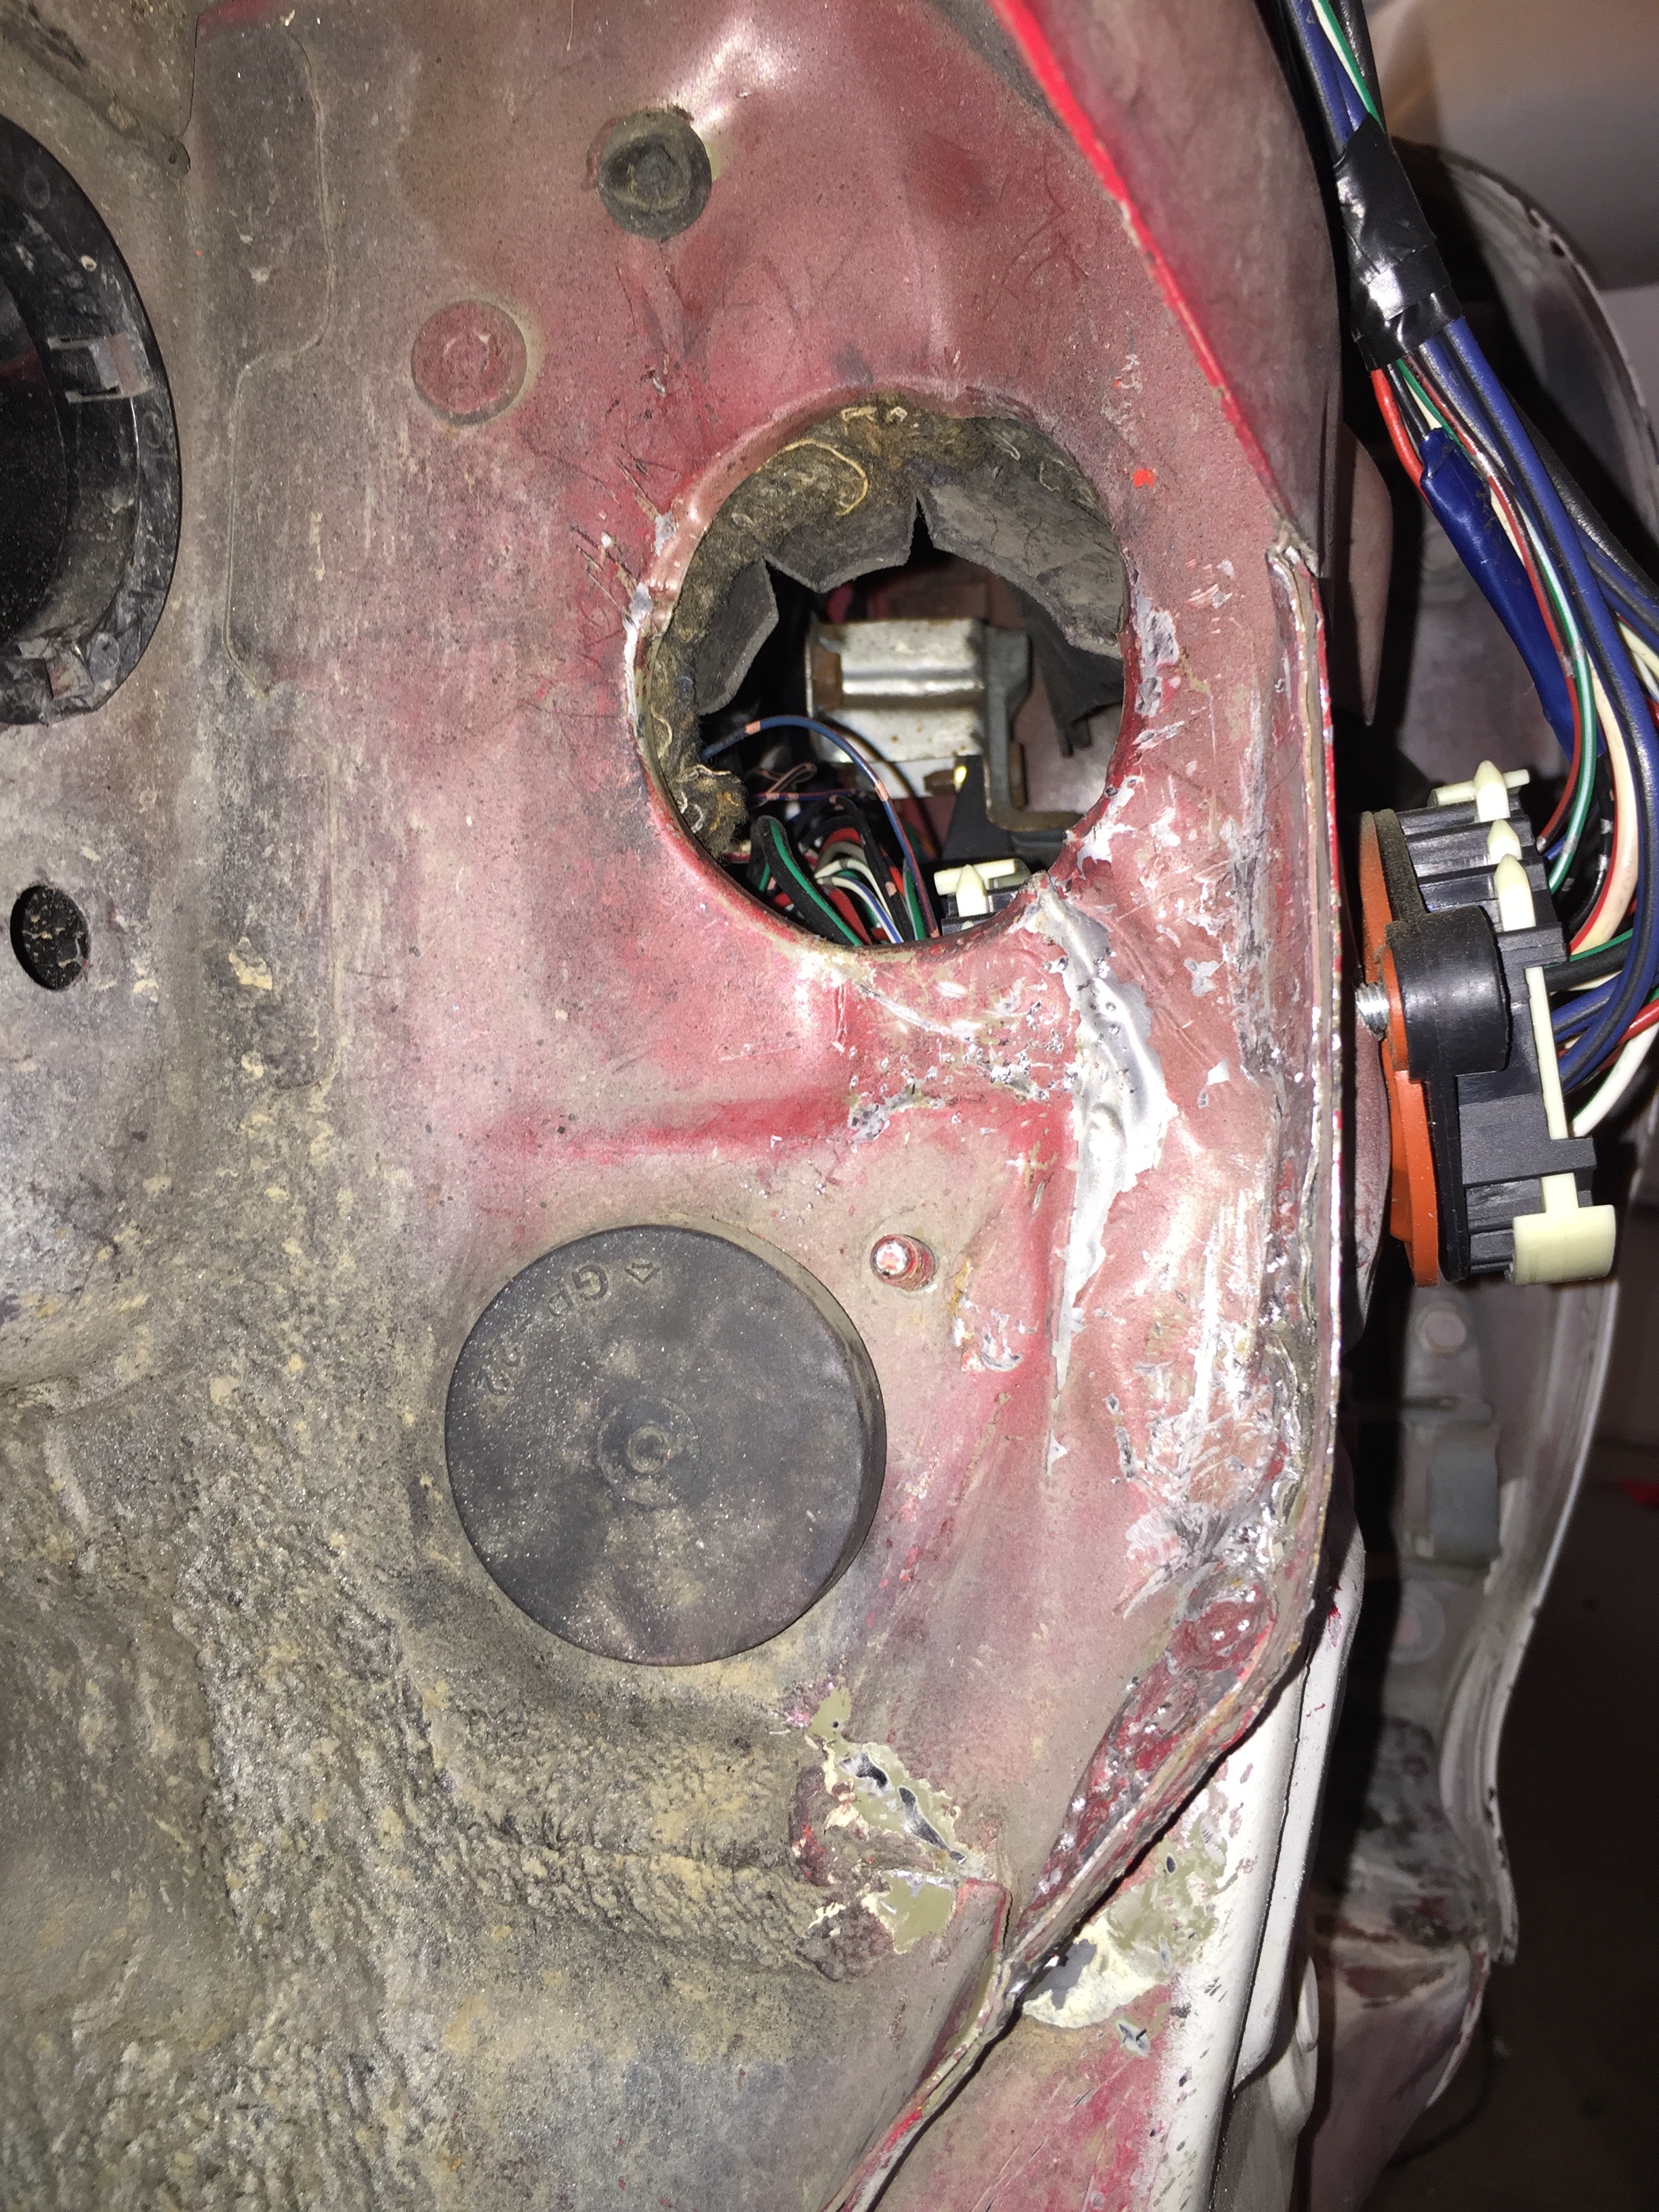
Next I worked on wiring some more. Big surprise! I have pretty much everything eliminated that I wanted to eliminate at this point so I have started on routing the wires where I want so I can cut and solder as required. I don't like where the chassis harness is routed (right behind the tire), so I decided I would use a quick disconnect on another hole. The body shop that fixed this car forever ago didnt pull the part underneath the fender so I had to do some work on it.
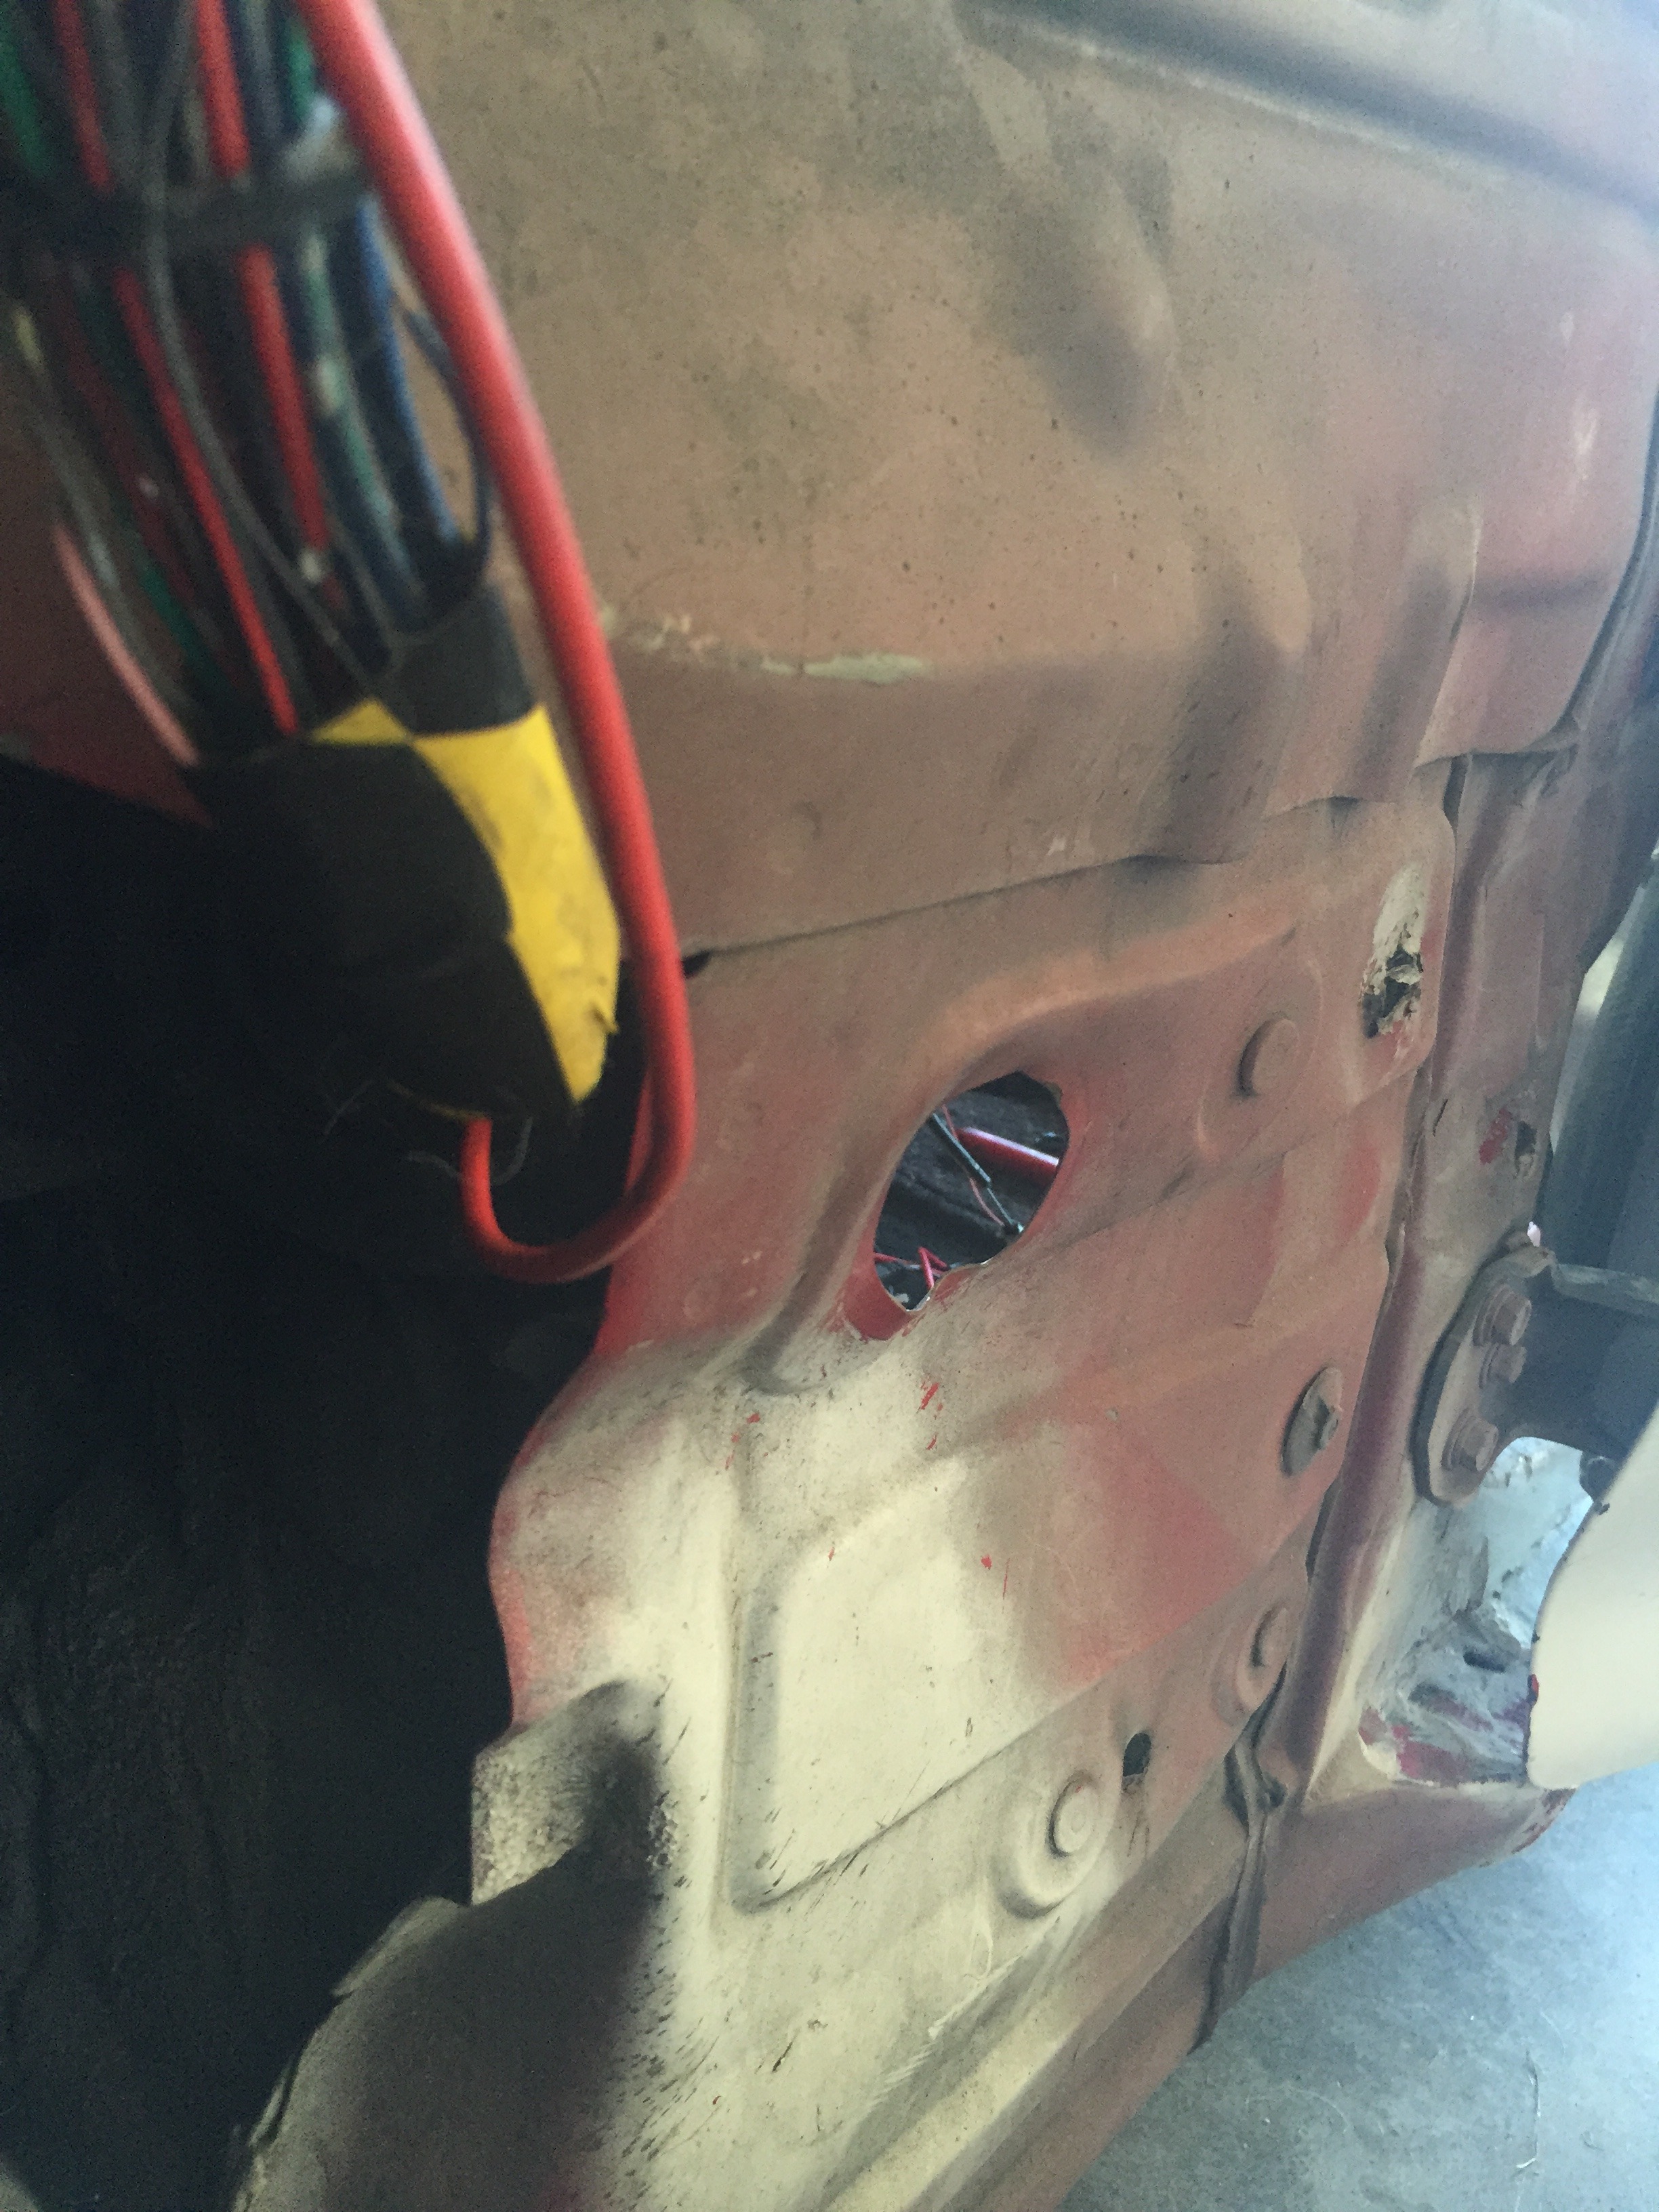
I am trying to hold off on the bodywork until I get the car running again so I just did a quick job to pull out that part more. I will strip it to bare metal and paint it once I am finished.
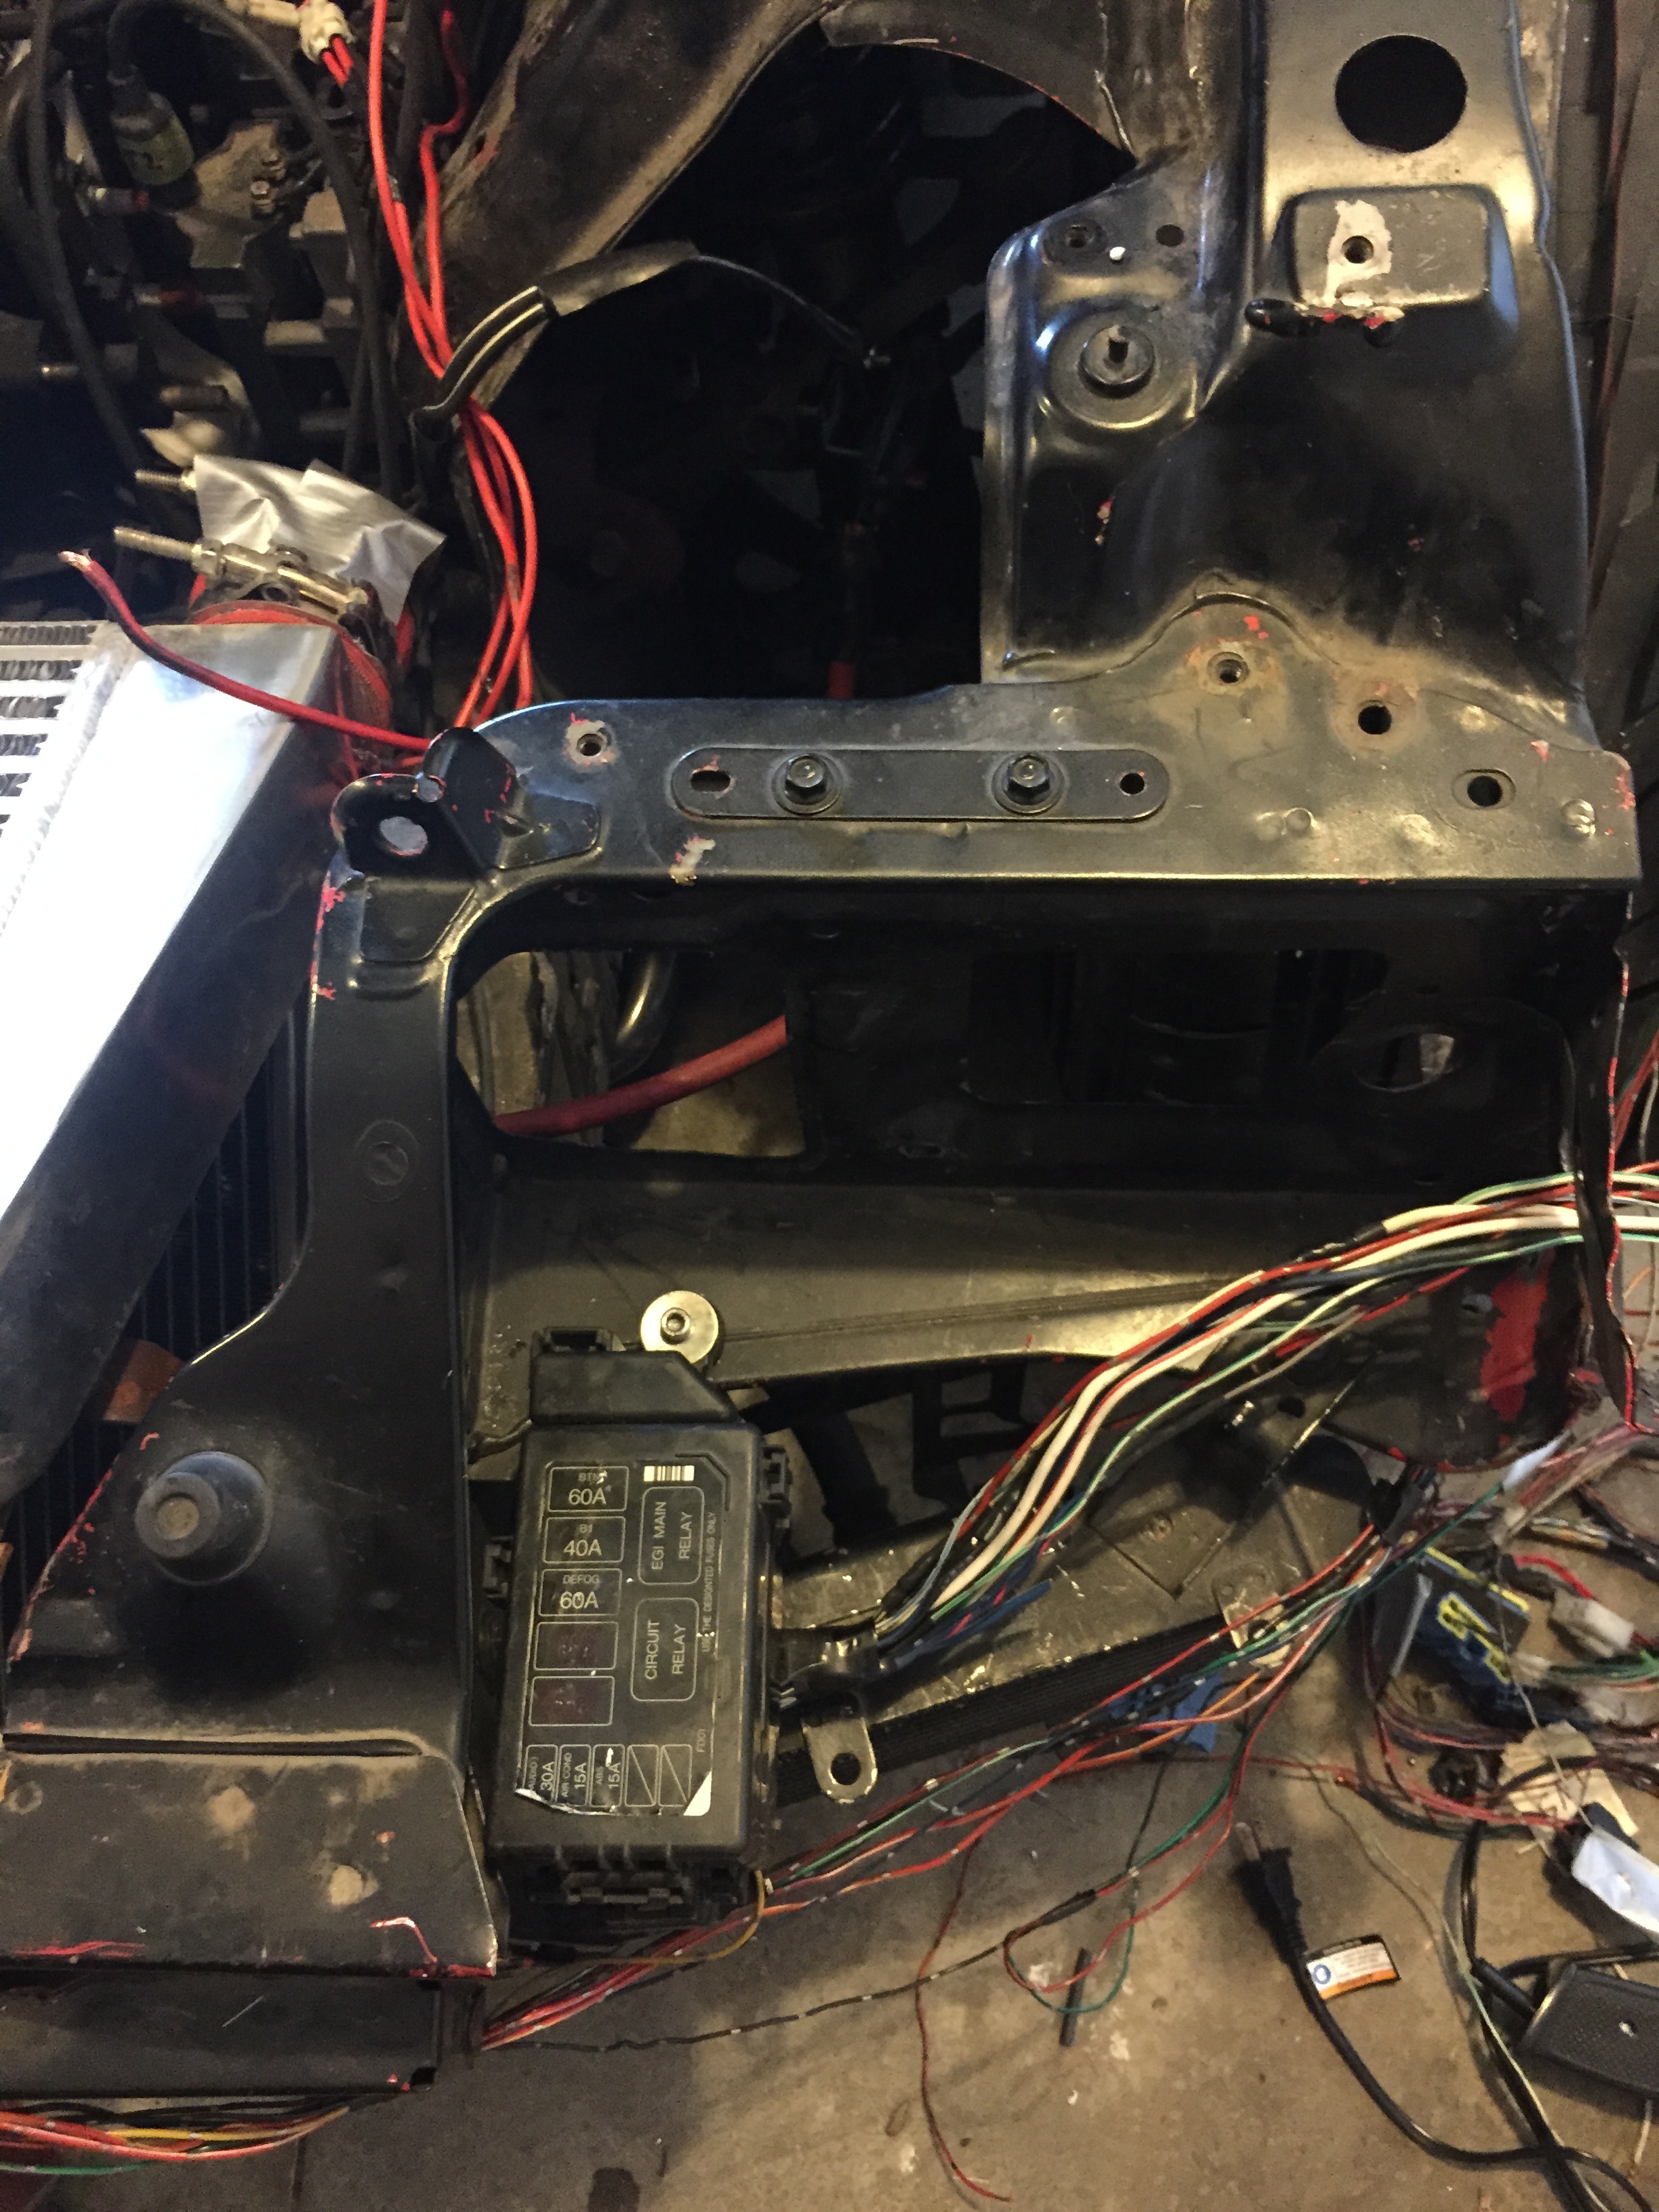
Got my fuse box mounted, I eliminated the others. I can't run the stock popups with it mounted here obviously, but I dont like popups much anyhow. I havent decided which lights I will go with yet so I will probably just modify some spare headlights I have and mount an led bar in there in the meantime.
While I was working on the wiring today I got an exciting phone call...
A delivery truck?? What could this be?
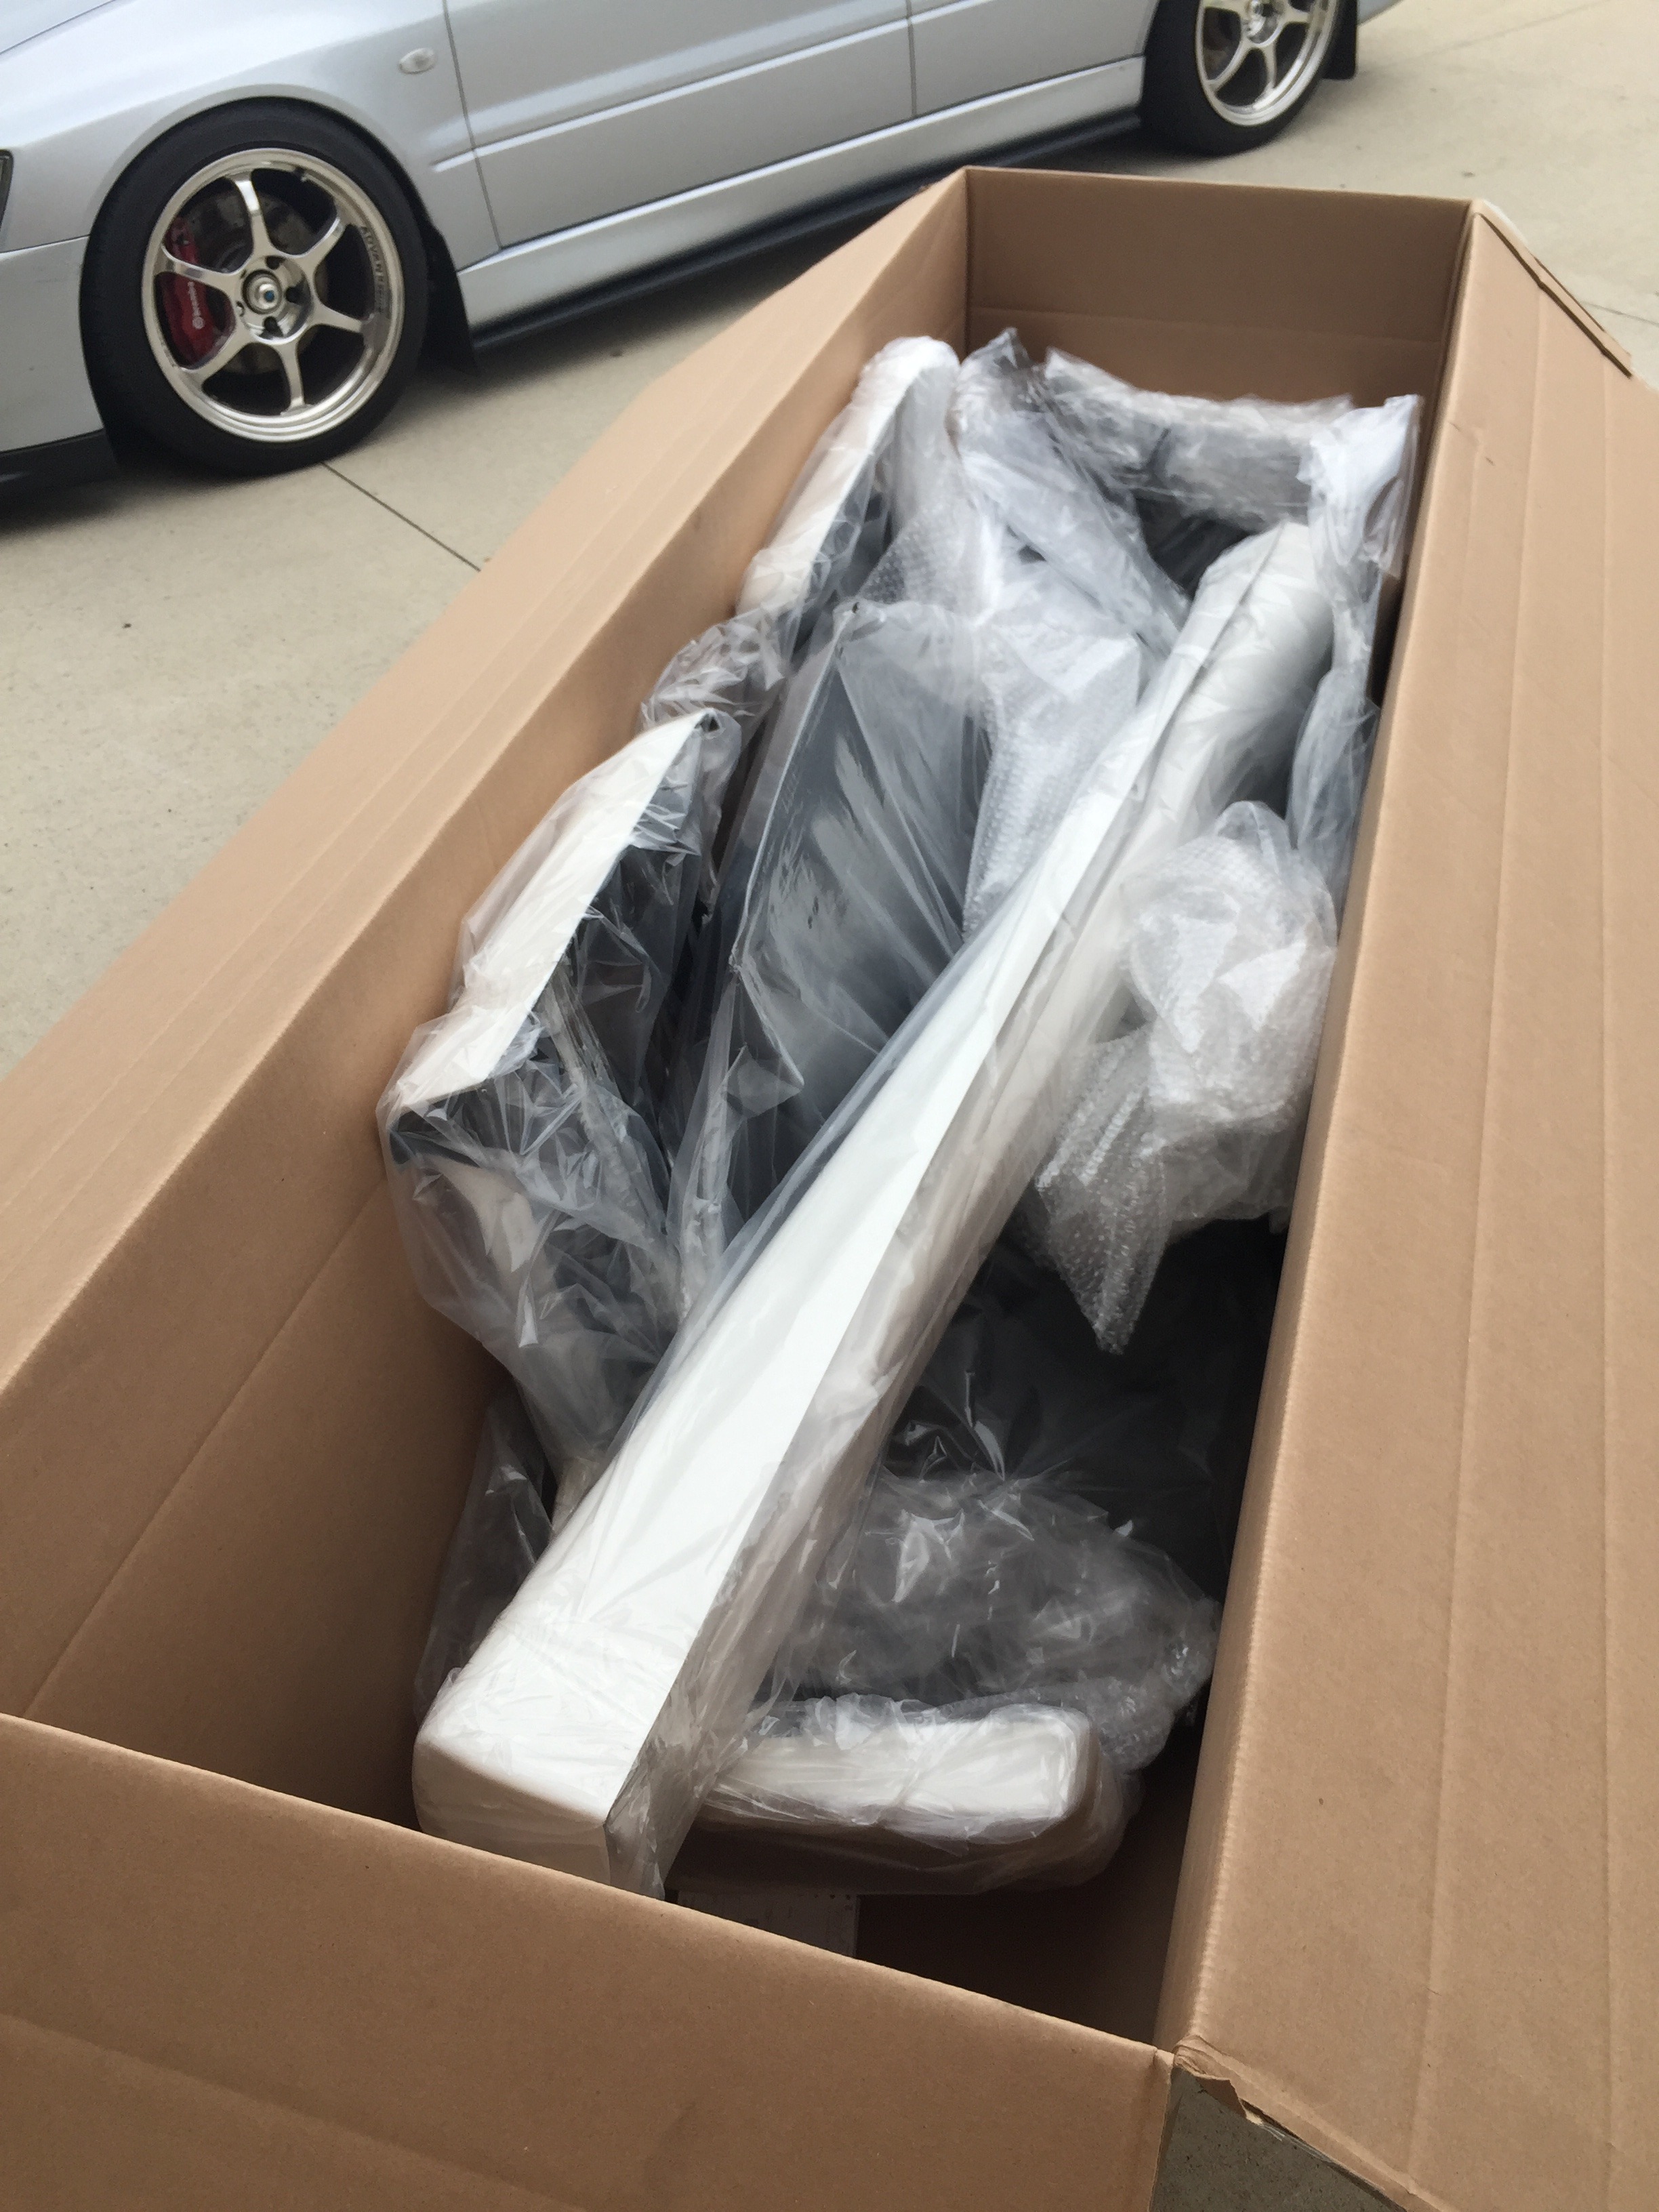
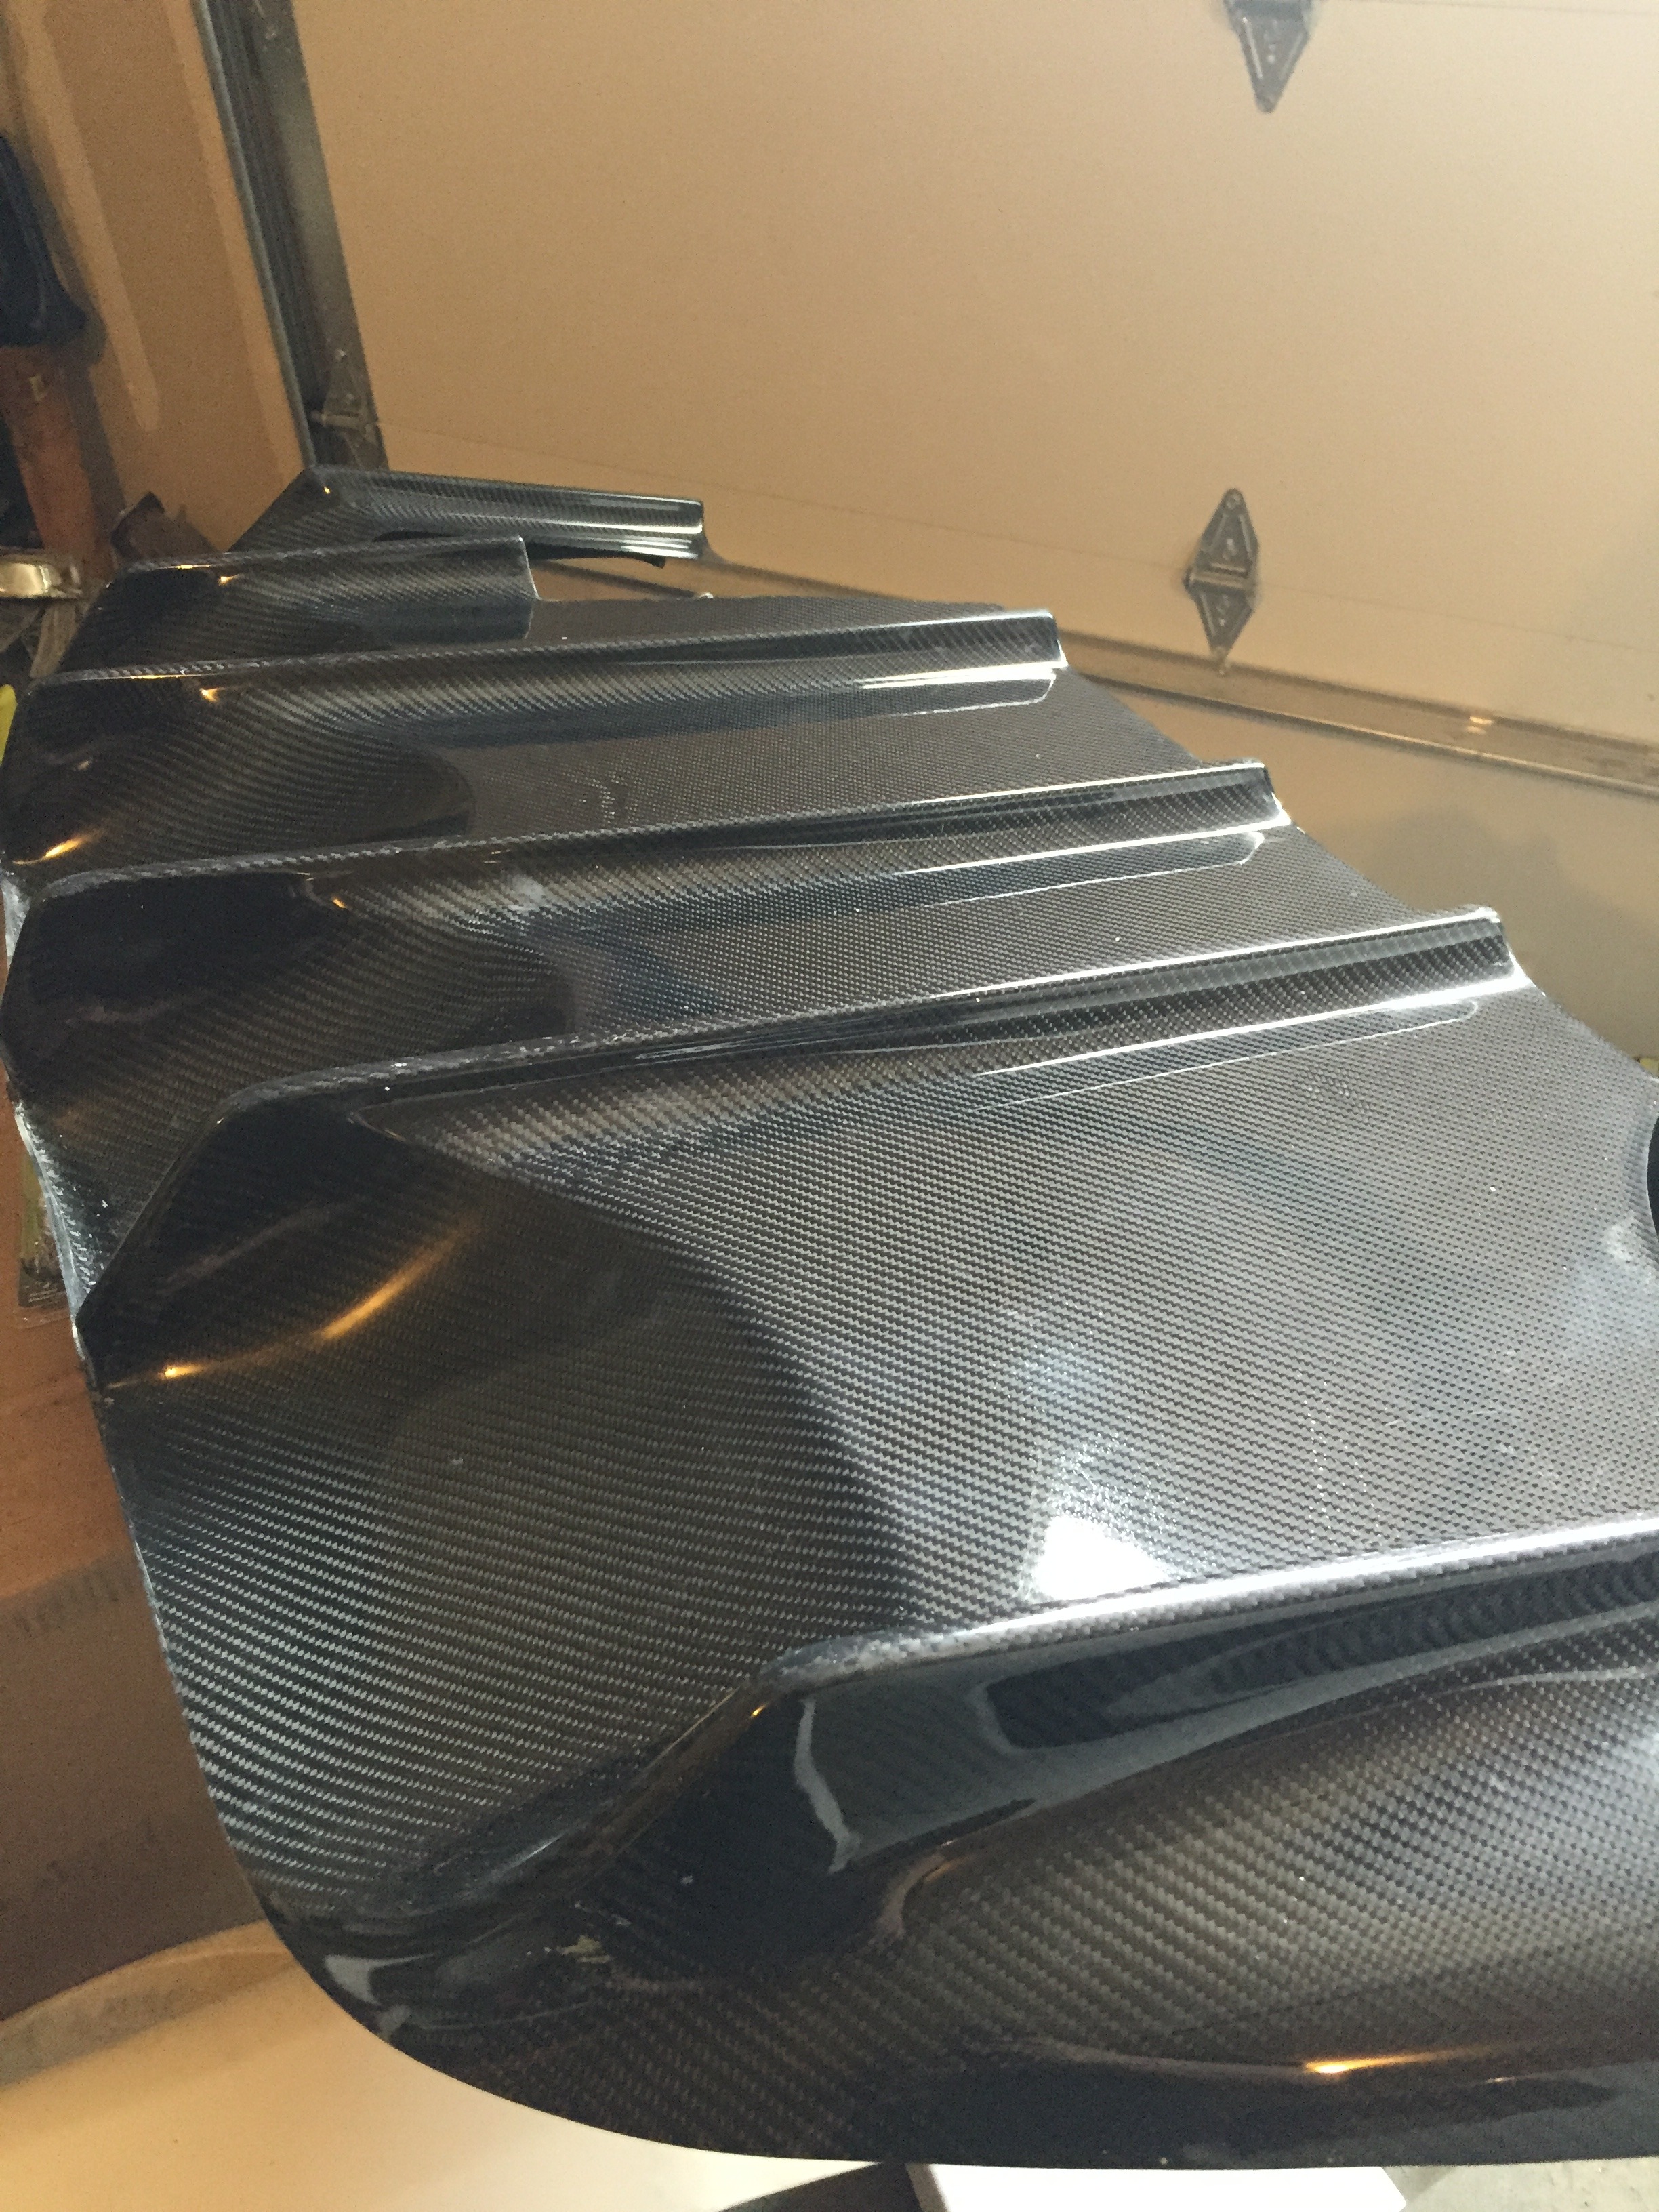
Oh yes, my kit from ShineAuto!
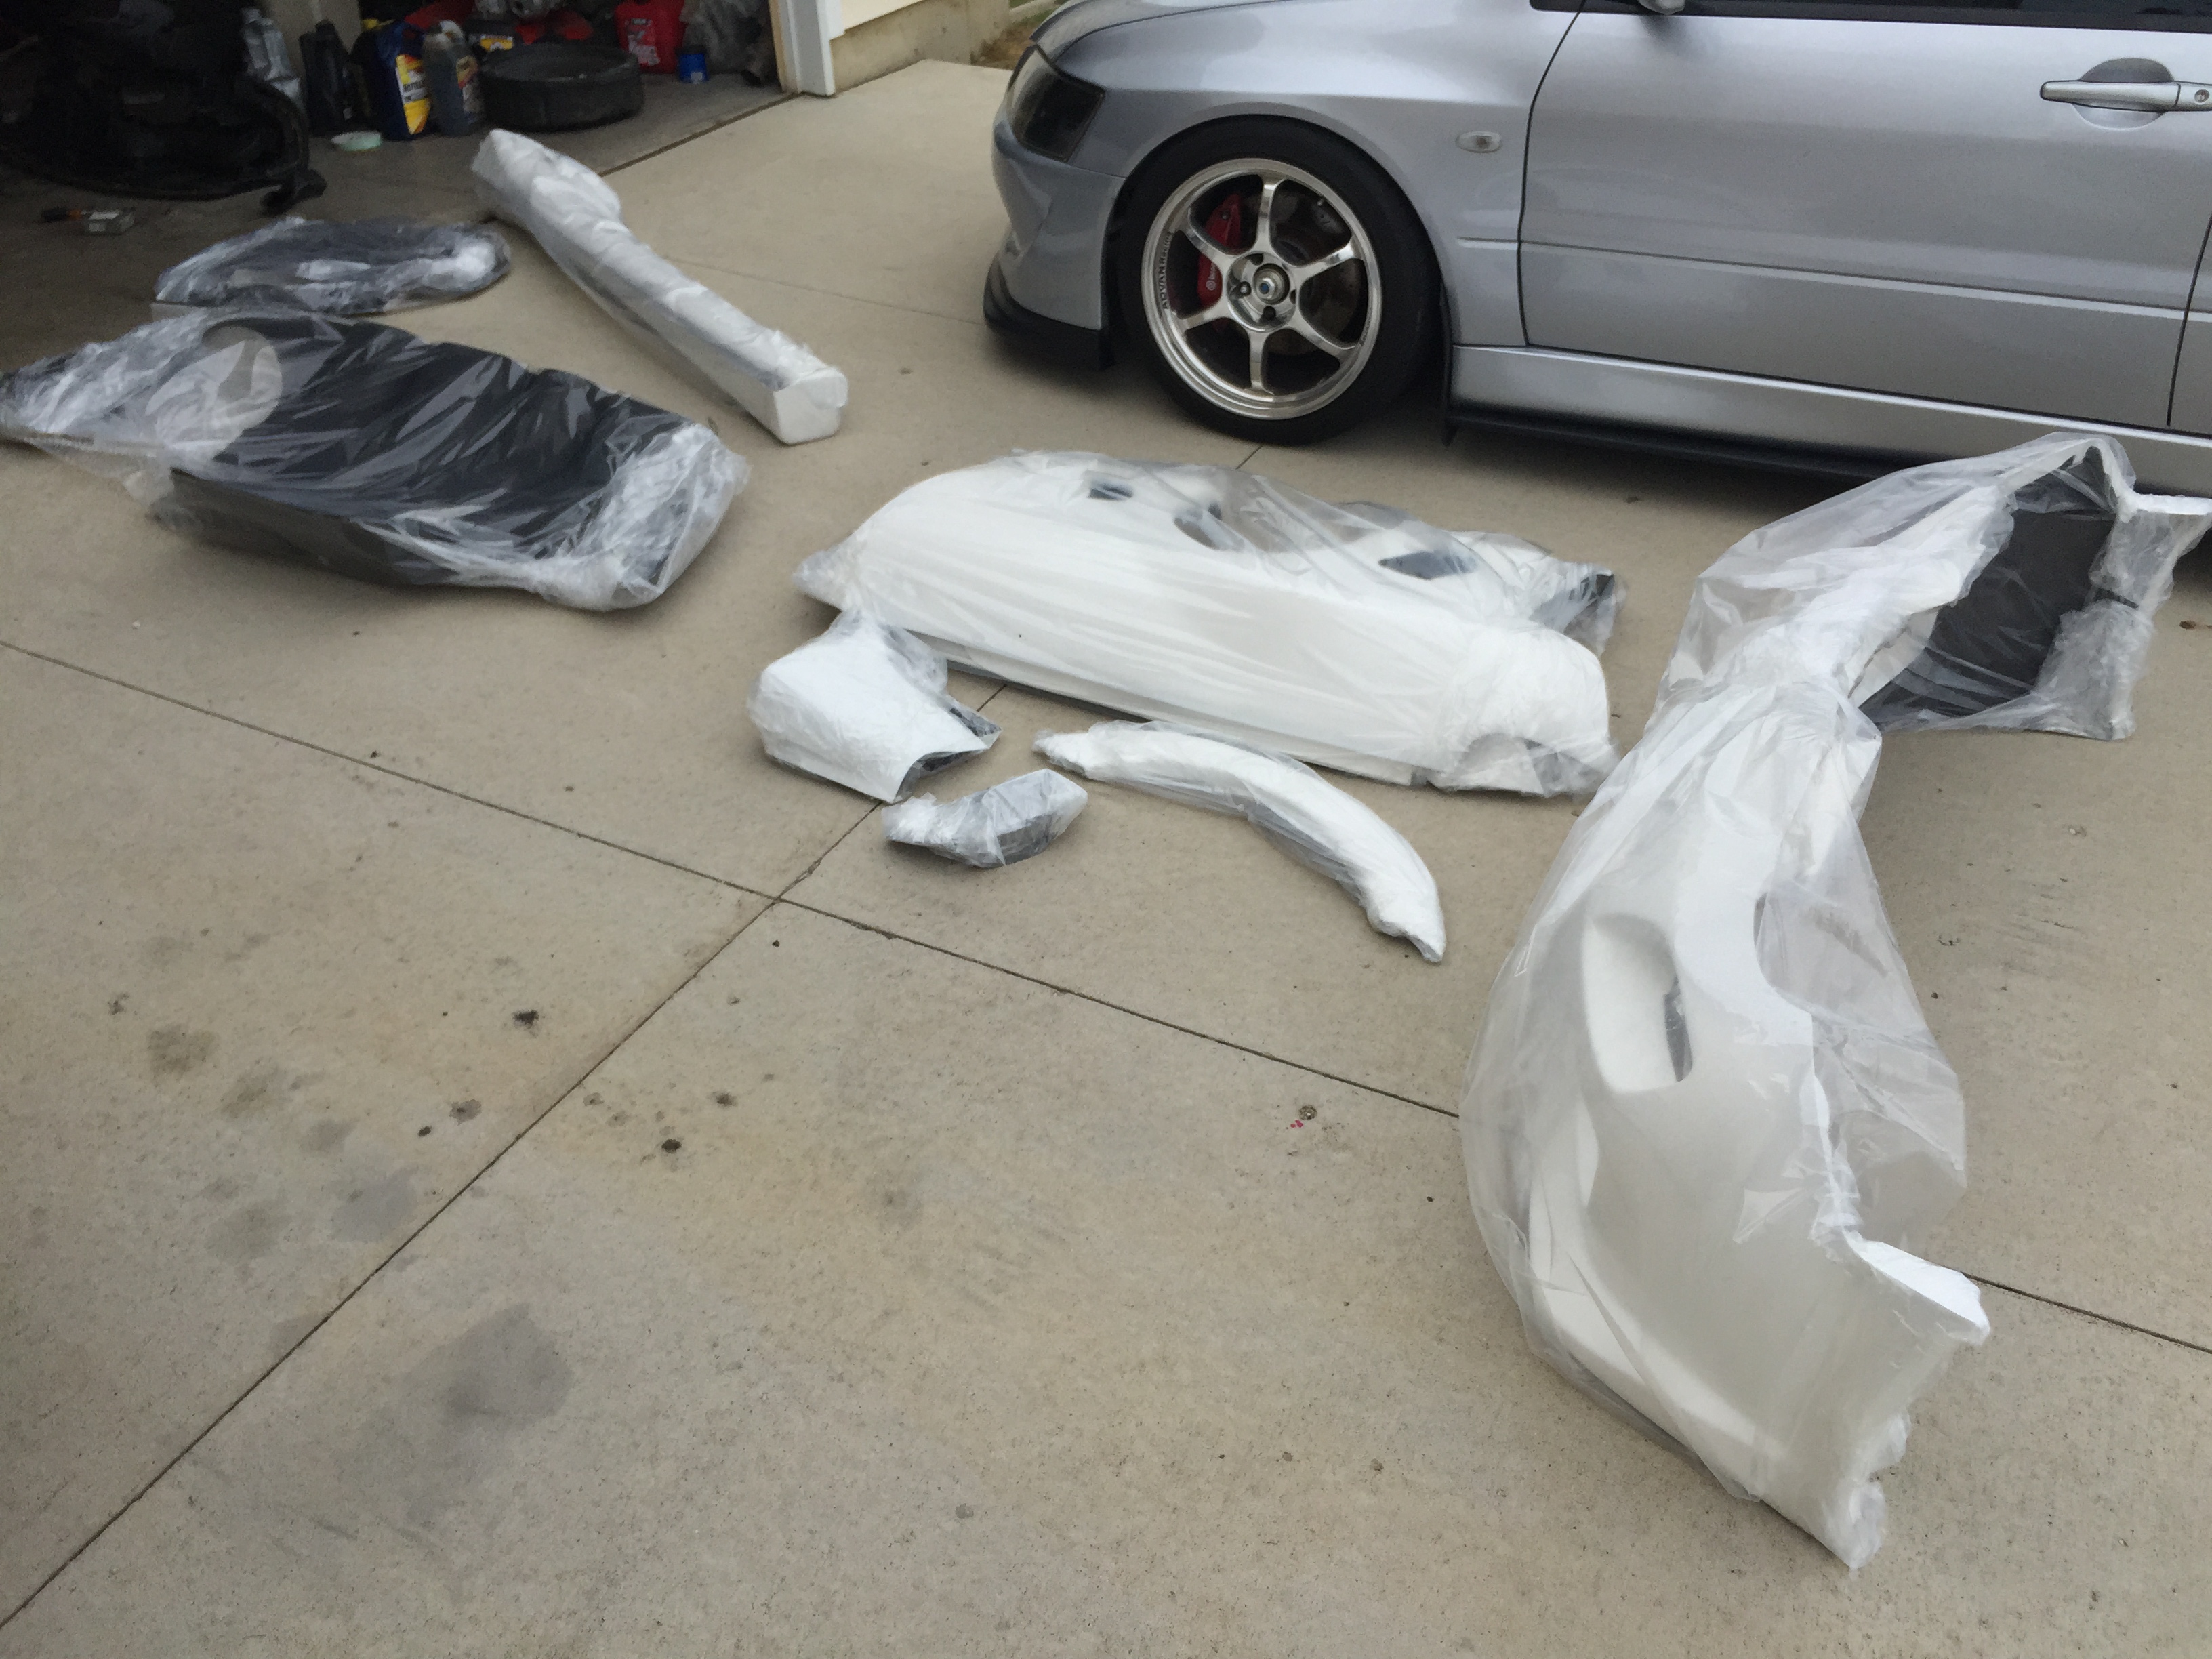
Couldn't contain my excitement so I mocked up a few of the pieces.
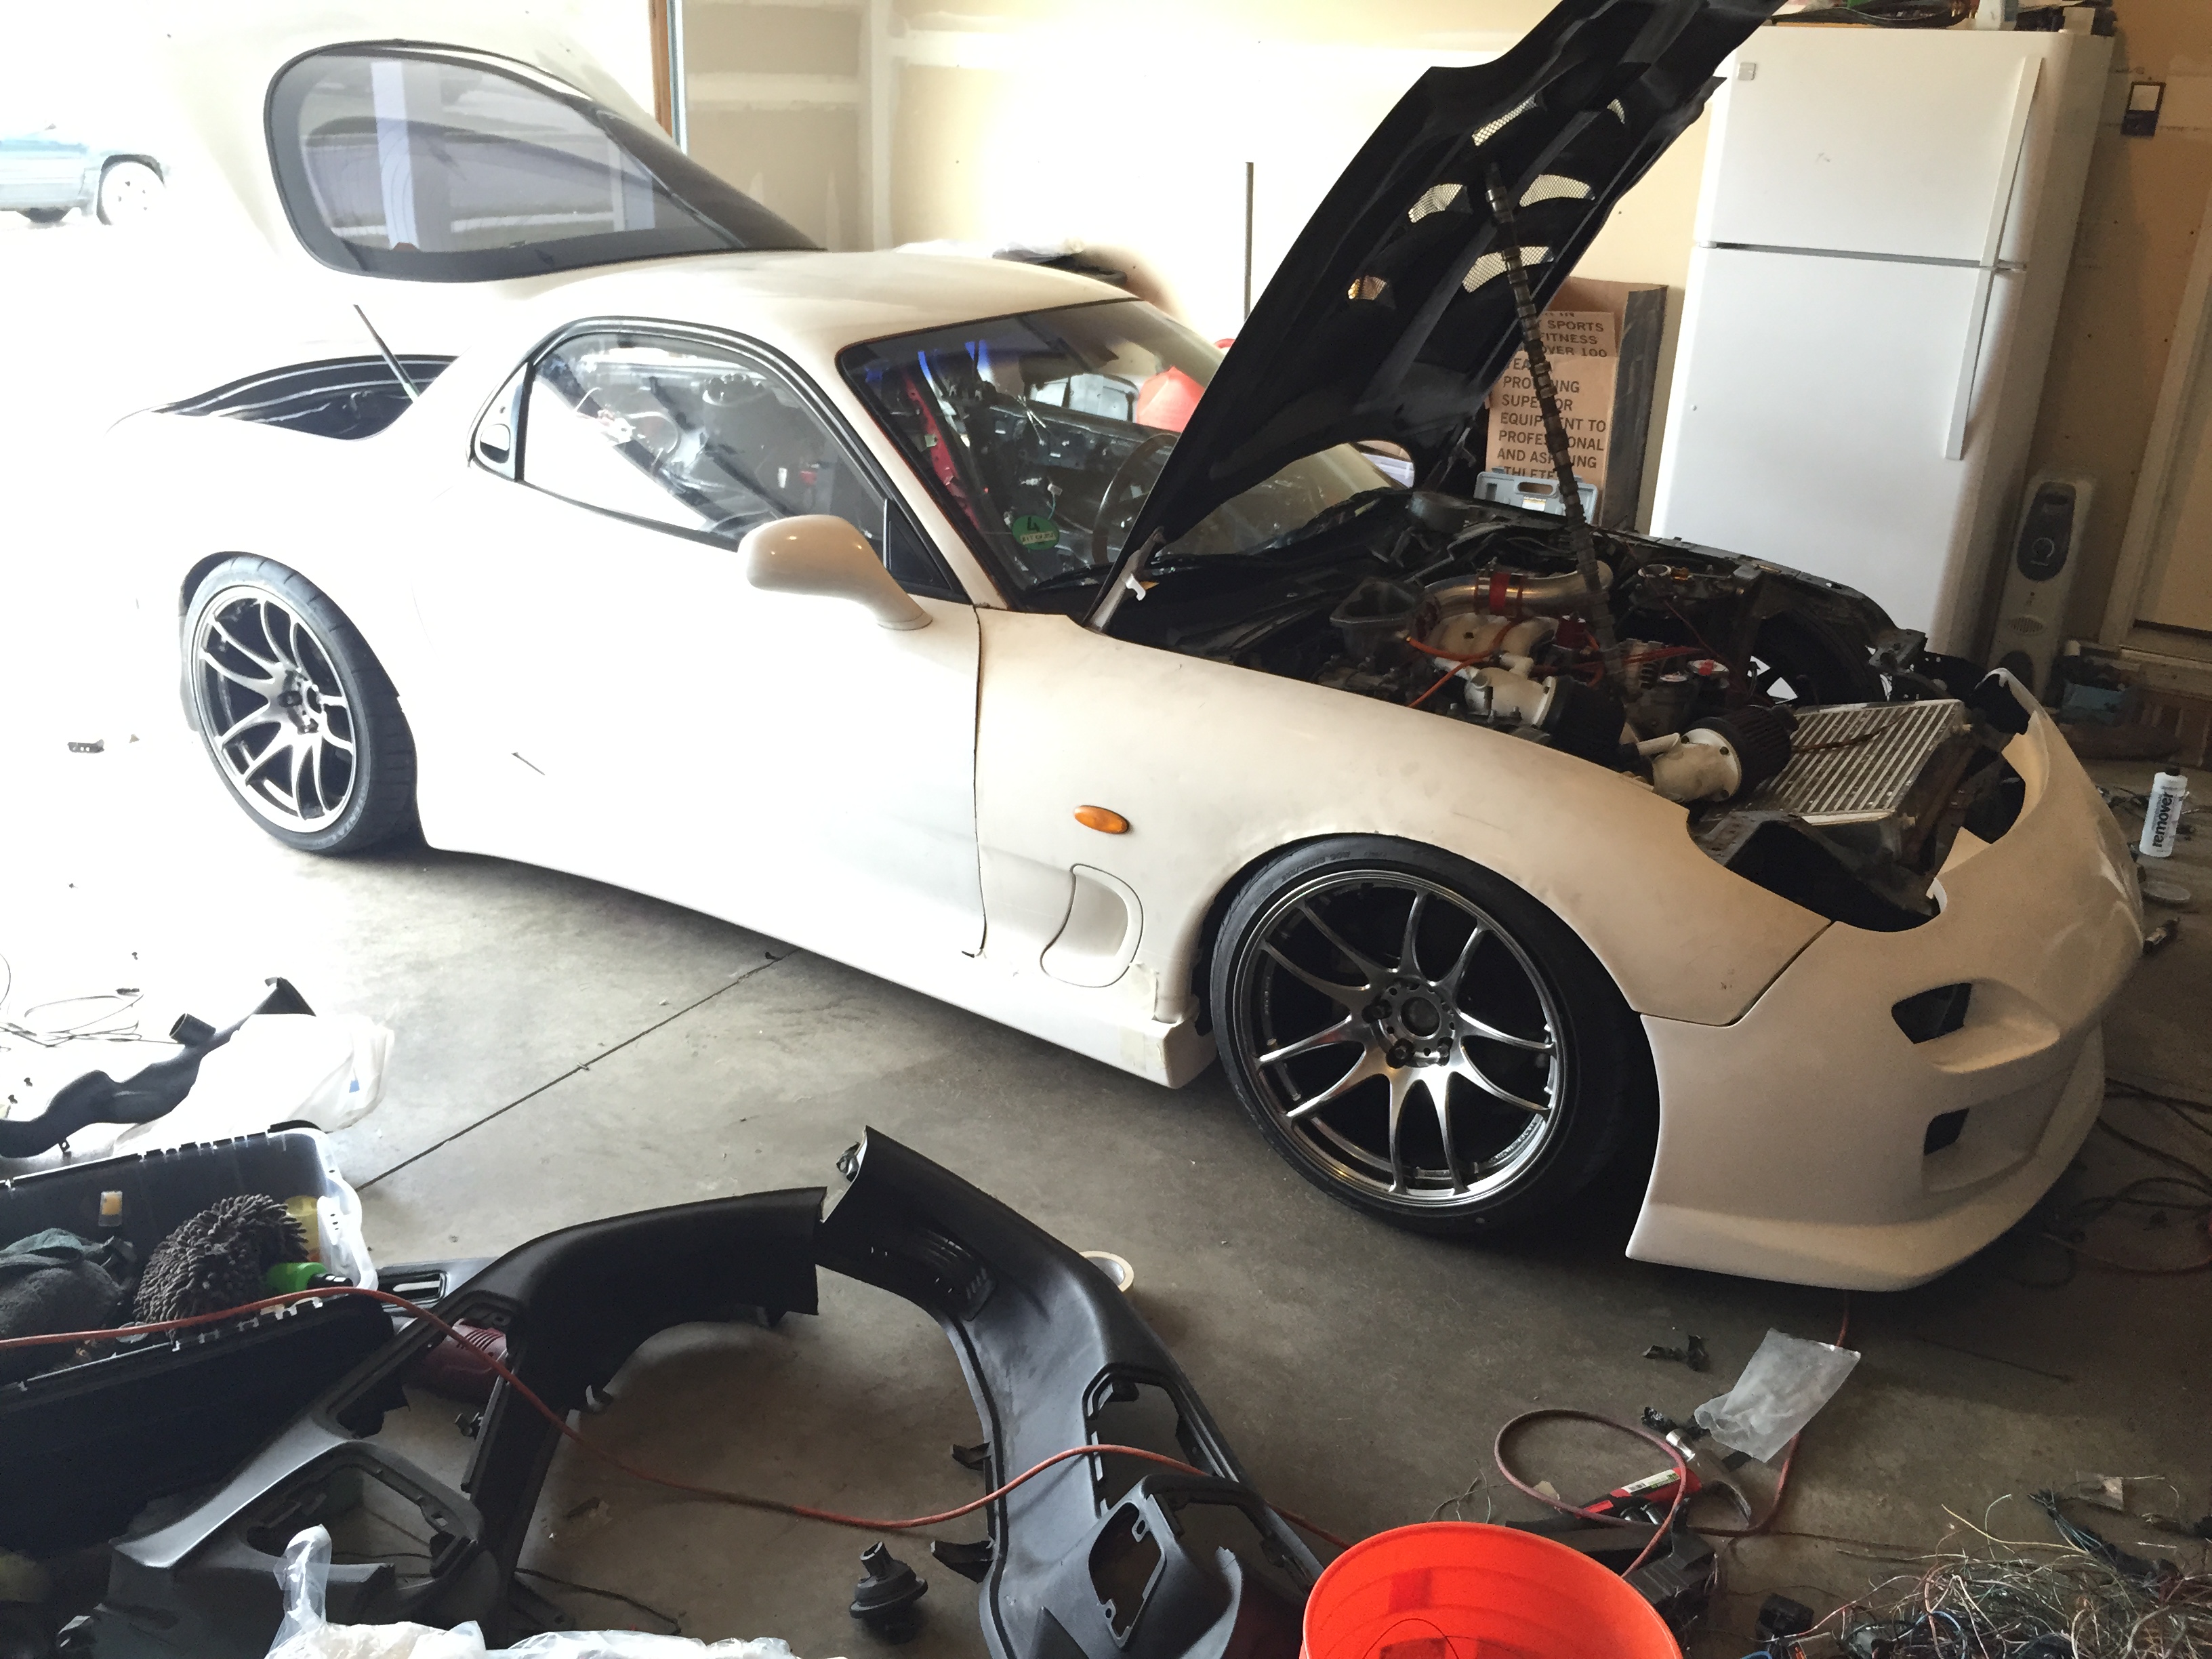
I'm loving everything about how it is coming together I will try to start the car again tomorrow to make sure everything works before I start relooming everything. One thing I dont like too much is how the front fenders are designed so I am going to modify them more to my liking this winter, along with the rear flares of course. For now I will run the stock body (which I dont mind at all, it looks pretty damn good as is imo)
While the car isn't running I figured I would fix a diff leak that the car has. I thought it was the cover not sealing well, but when I got under the car I found the passenger side axle to not be seated all the way

So I spent the day trying to get it to seat in all the way and finally got it to a point I was happy with. I drained the fluid before working on it and when I went back to put fluid in it I found the fill plug wasnt even tight...so, I think that is where it was leaking from lol. Oh well.
Next I worked on wiring some more. Big surprise! I have pretty much everything eliminated that I wanted to eliminate at this point so I have started on routing the wires where I want so I can cut and solder as required. I don't like where the chassis harness is routed (right behind the tire), so I decided I would use a quick disconnect on another hole. The body shop that fixed this car forever ago didnt pull the part underneath the fender so I had to do some work on it.


I am trying to hold off on the bodywork until I get the car running again so I just did a quick job to pull out that part more. I will strip it to bare metal and paint it once I am finished.
Got my fuse box mounted, I eliminated the others. I can't run the stock popups with it mounted here obviously, but I dont like popups much anyhow. I havent decided which lights I will go with yet so I will probably just modify some spare headlights I have and mount an led bar in there in the meantime.

While I was working on the wiring today I got an exciting phone call...

A delivery truck?? What could this be?

Oh yes, my kit from ShineAuto!

Couldn't contain my excitement so I mocked up a few of the pieces.


I'm loving everything about how it is coming together
I will try to start the car again tomorrow to make sure everything works before I start relooming everything. One thing I dont like too much is how the front fenders are designed so I am going to modify them more to my liking this winter, along with the rear flares of course. For now I will run the stock body (which I dont mind at all, it looks pretty damn good as is imo)

Regarging the diff leak, there's a C-clip that engages the axle to the diff. These are supposed to be replaced when the axle is removed. If the axle has been removed several times without a new clip, that could be your problem. There's also an oil seal at the axle that should be replaced as well. Crush washers at the fill and drain plug should be replaced every couple changes or so.
Thread Starter
Full Member
Joined: Apr 2015
Posts: 140
Likes: 5
From: Great Falls, MT
Made more progress on the wiring and installed some parts
Mounted the Delphi connector
Wiring routed

Got the car started back up to make sure everything worked and it seems to be good to go. I have the rear harness and engine harness to go through still, but it's slowly getting there. To break up the monotony of working on wiring, I decided to mount some body pieces.
Passenger fender on
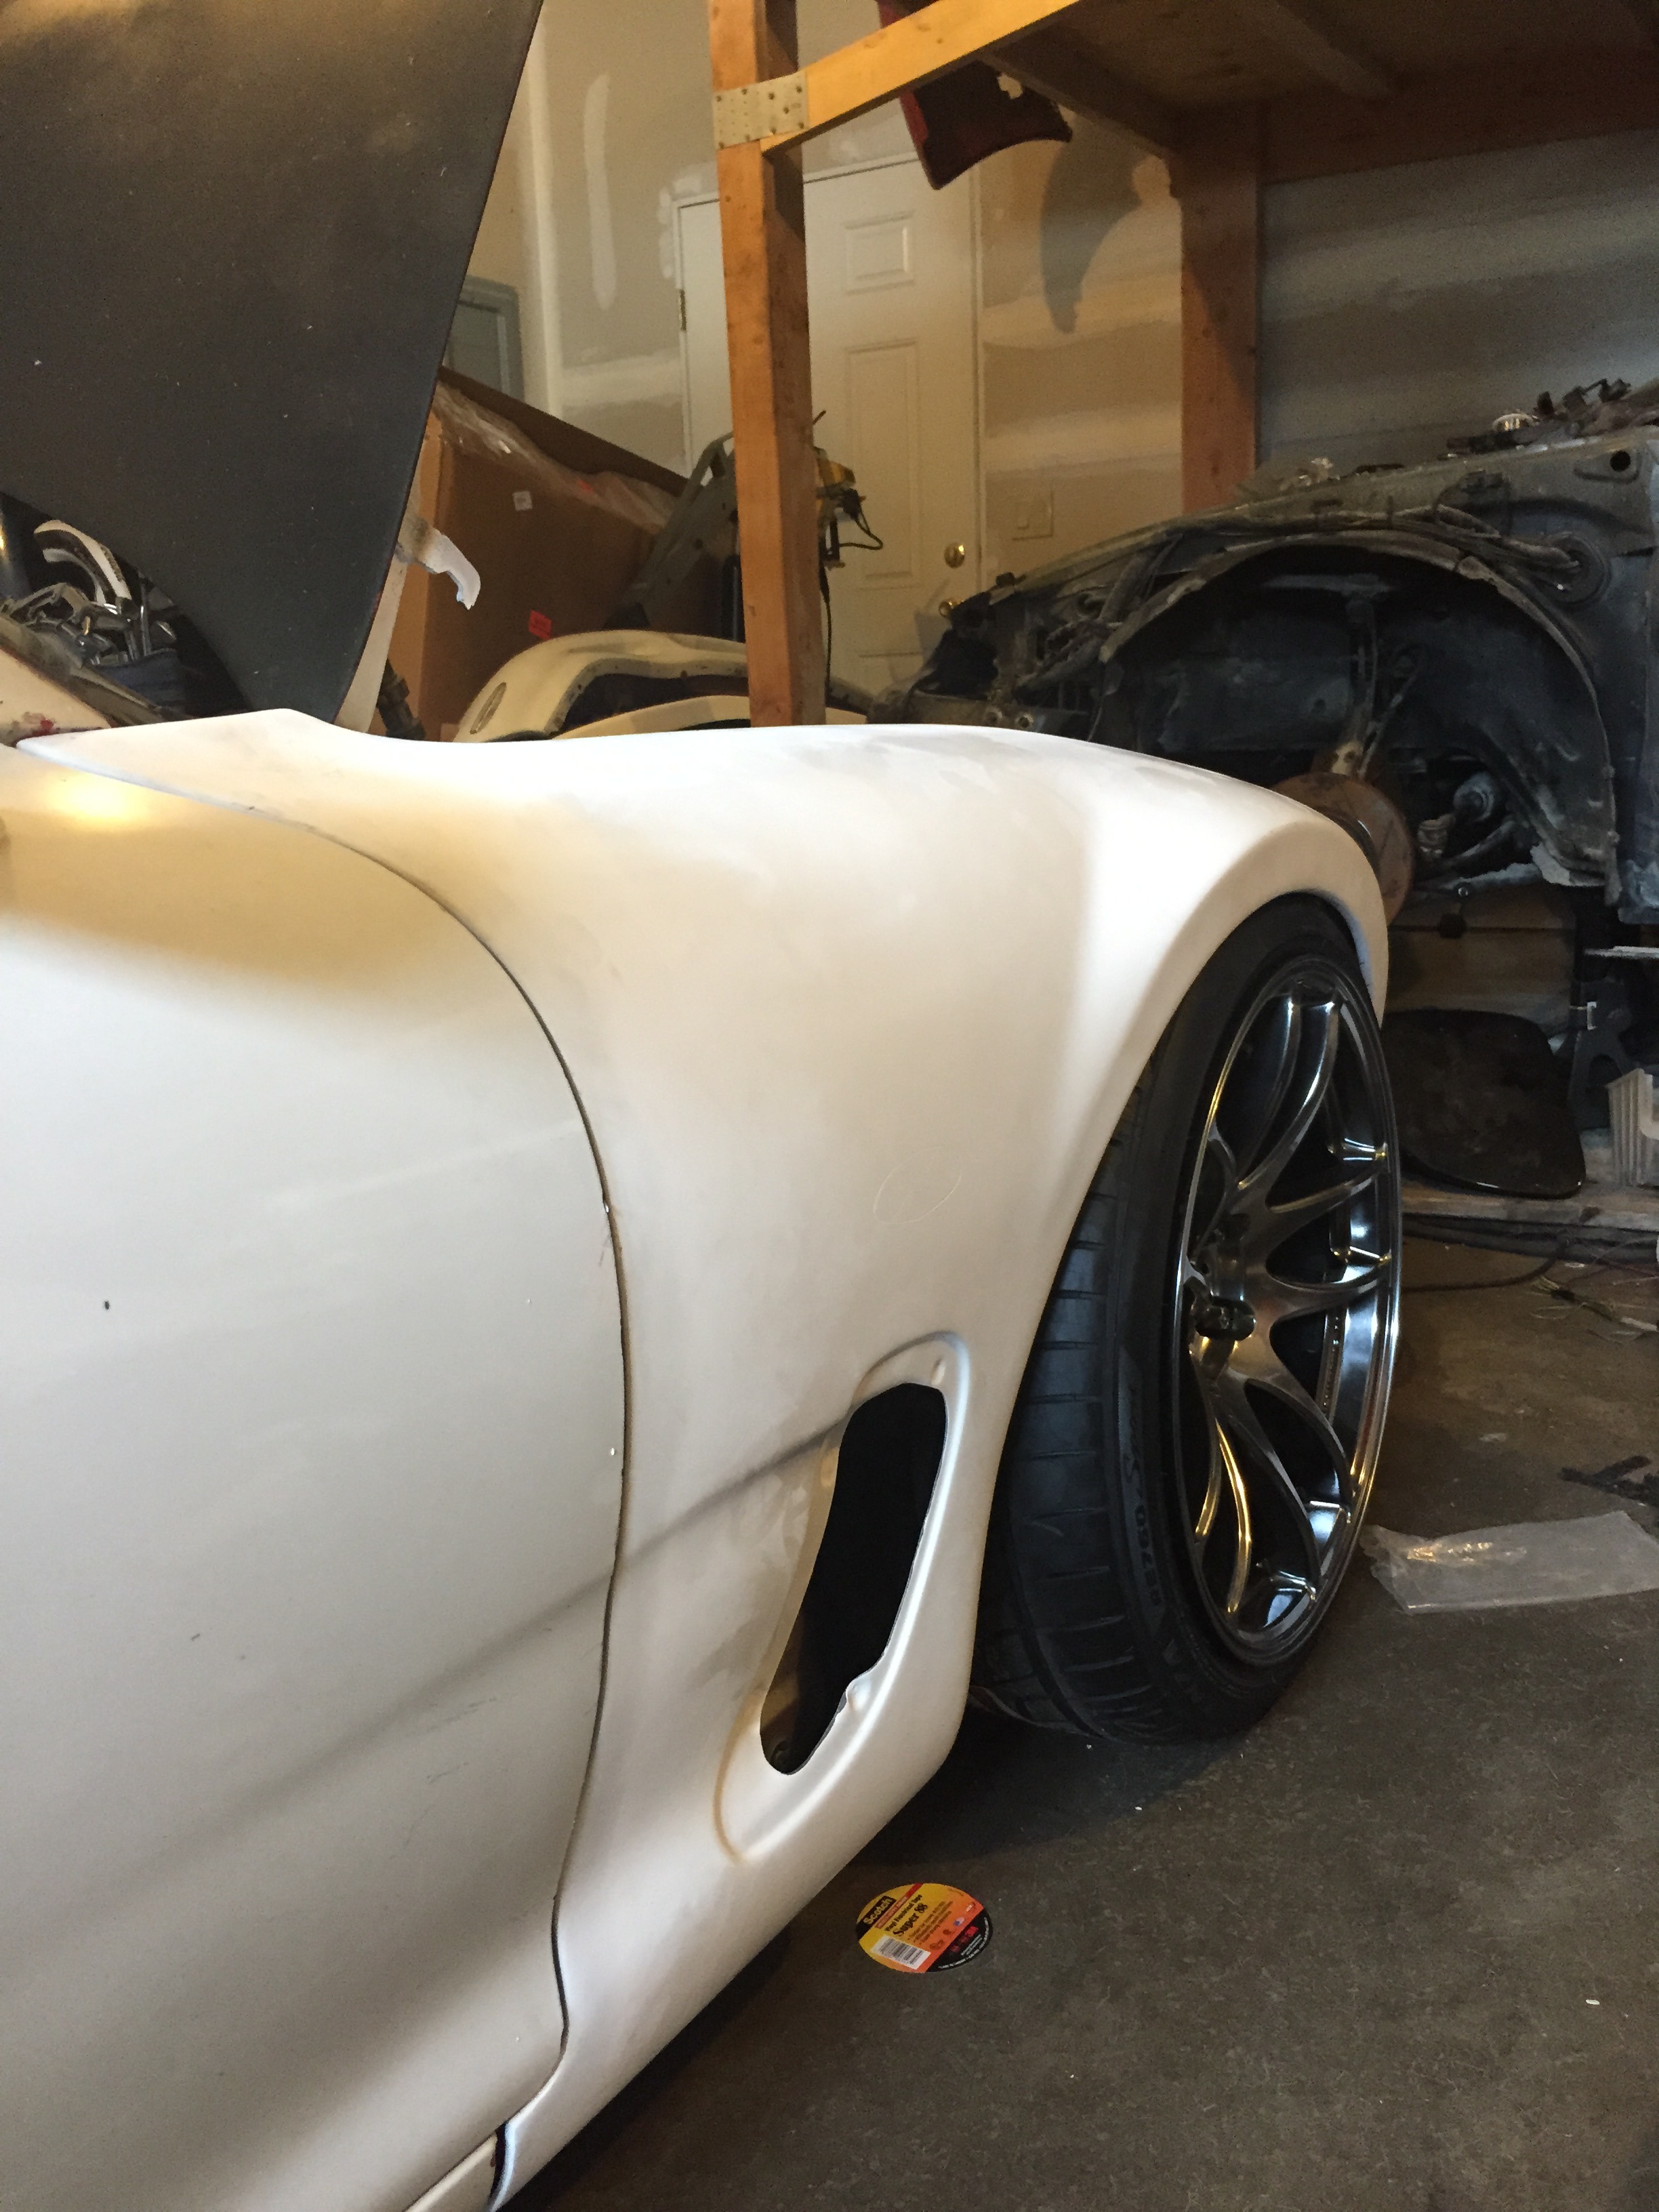
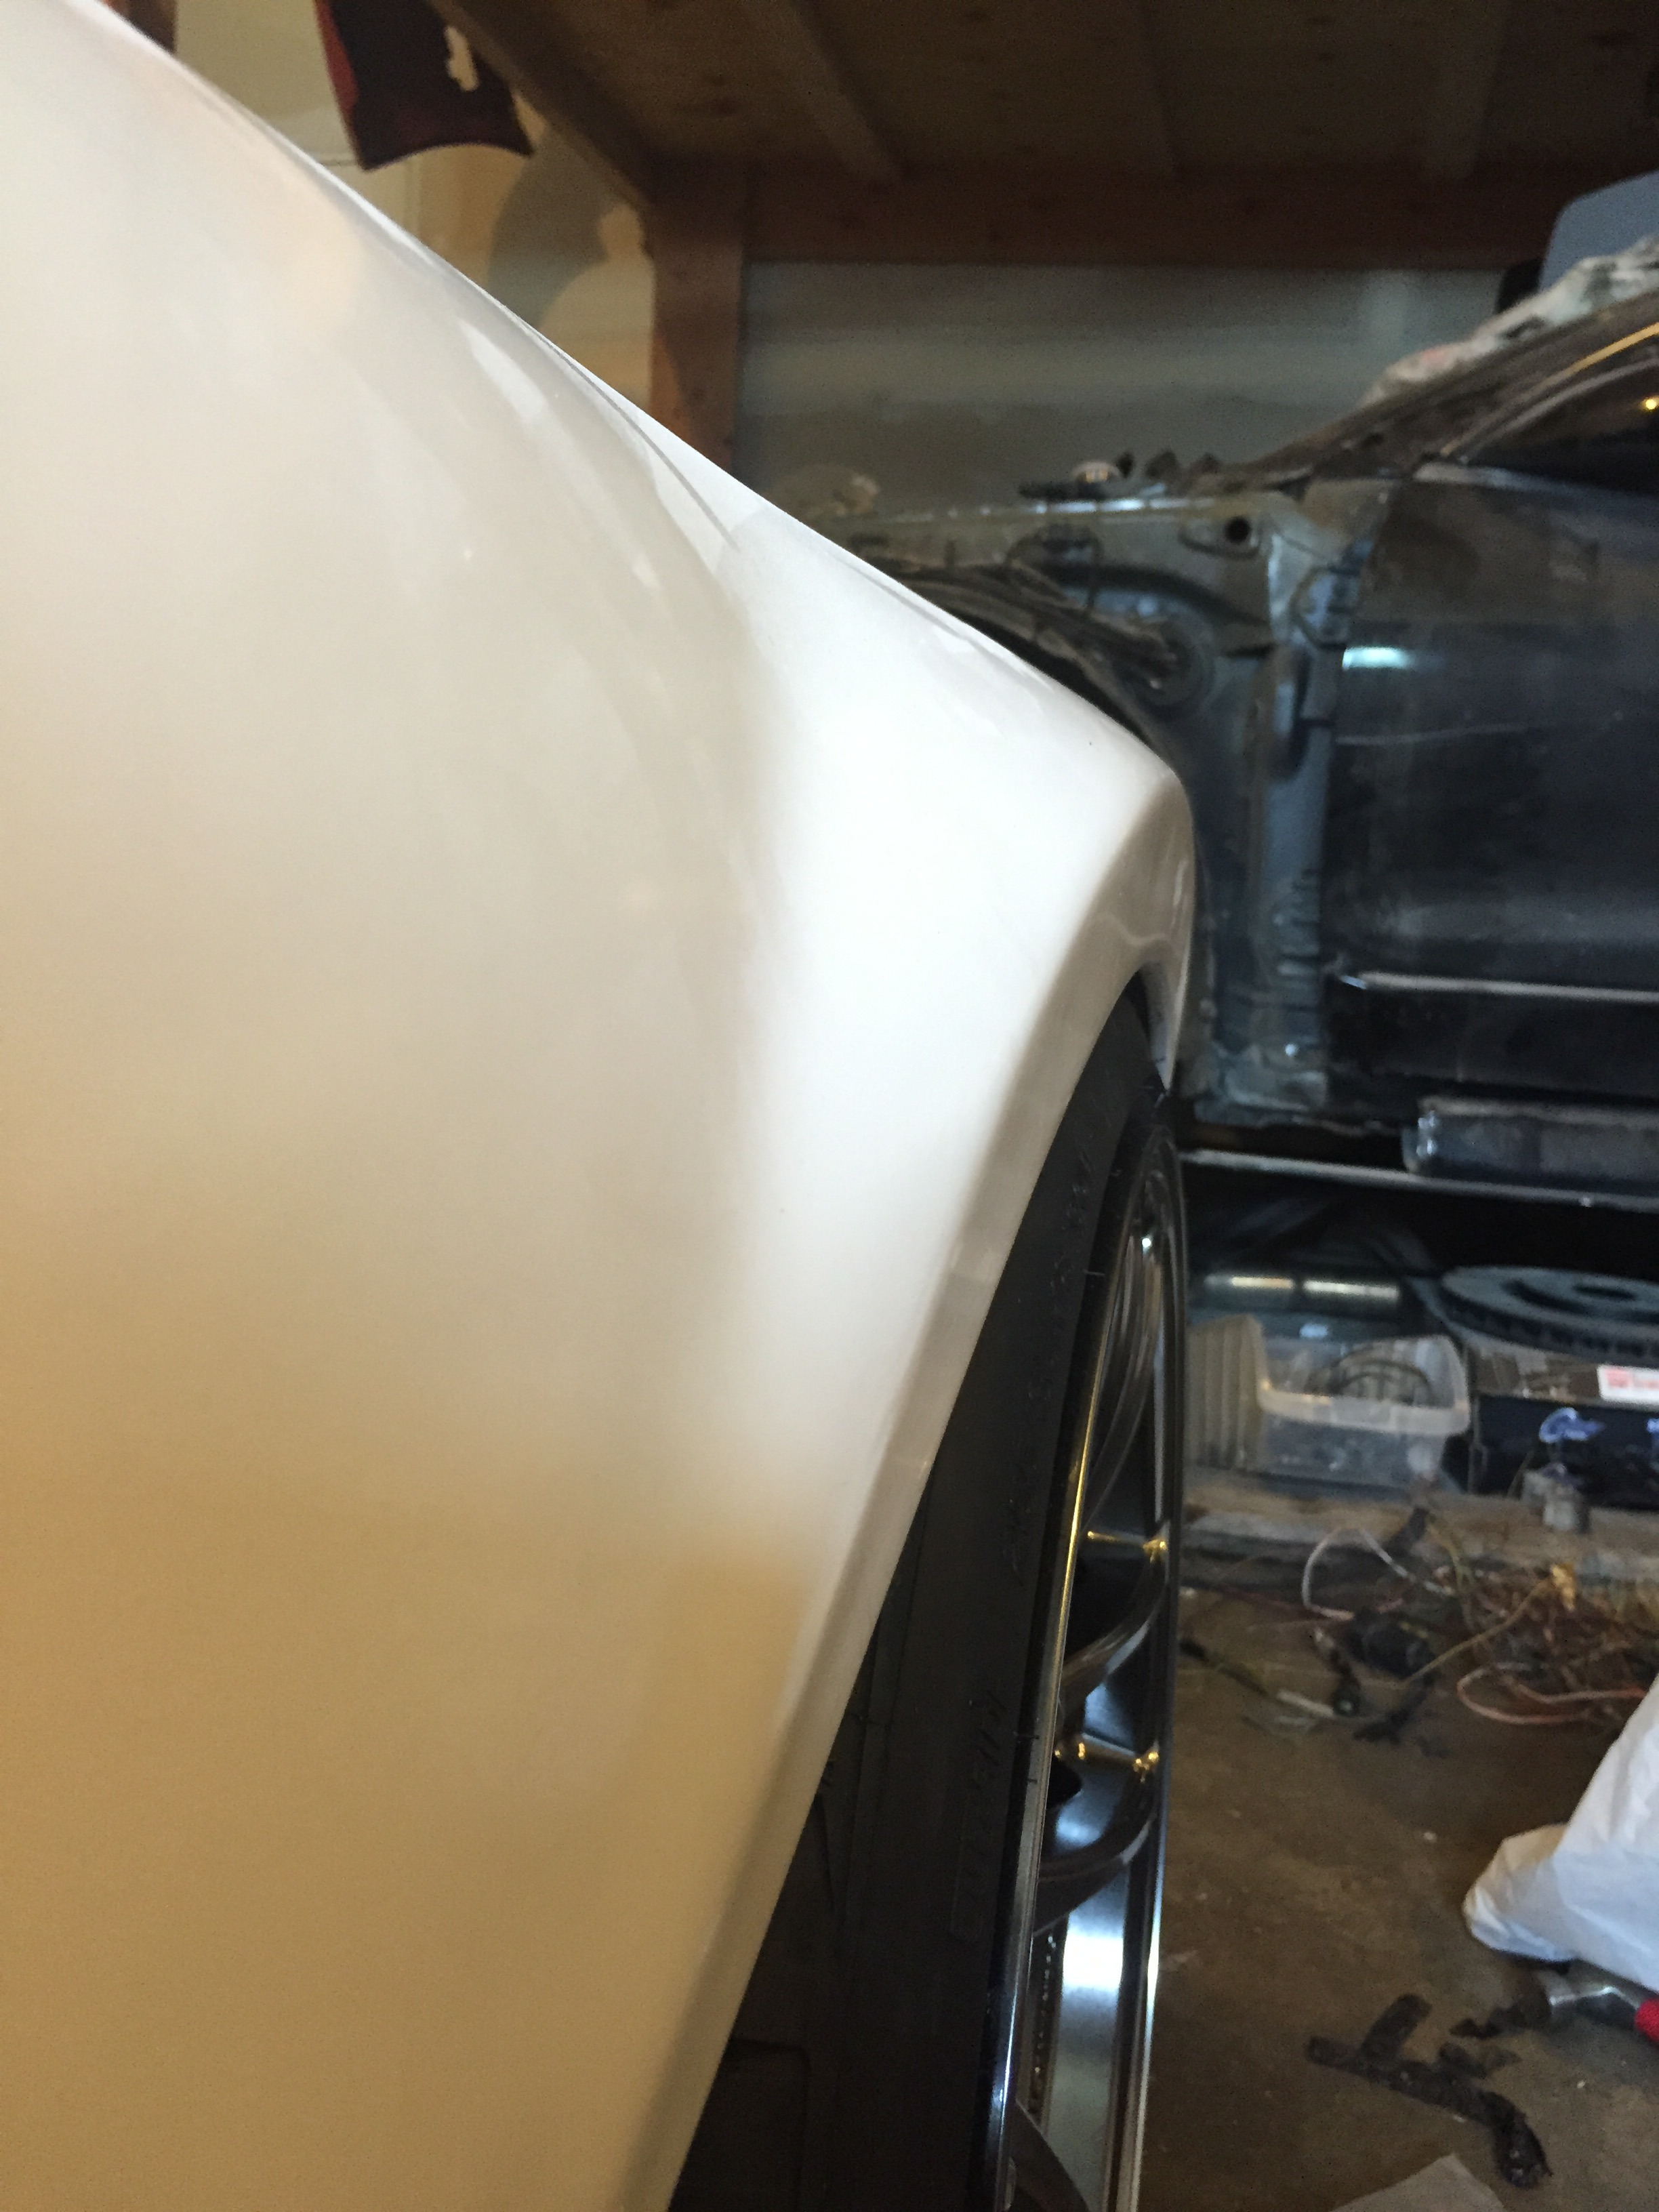
I'll definitely be modifying these this winter to make them more of a +30mm fender (I am stationed in North Dakota, we have very long winters lol).
Mocked up the rears, I'll run a spacer to make the fitment flush
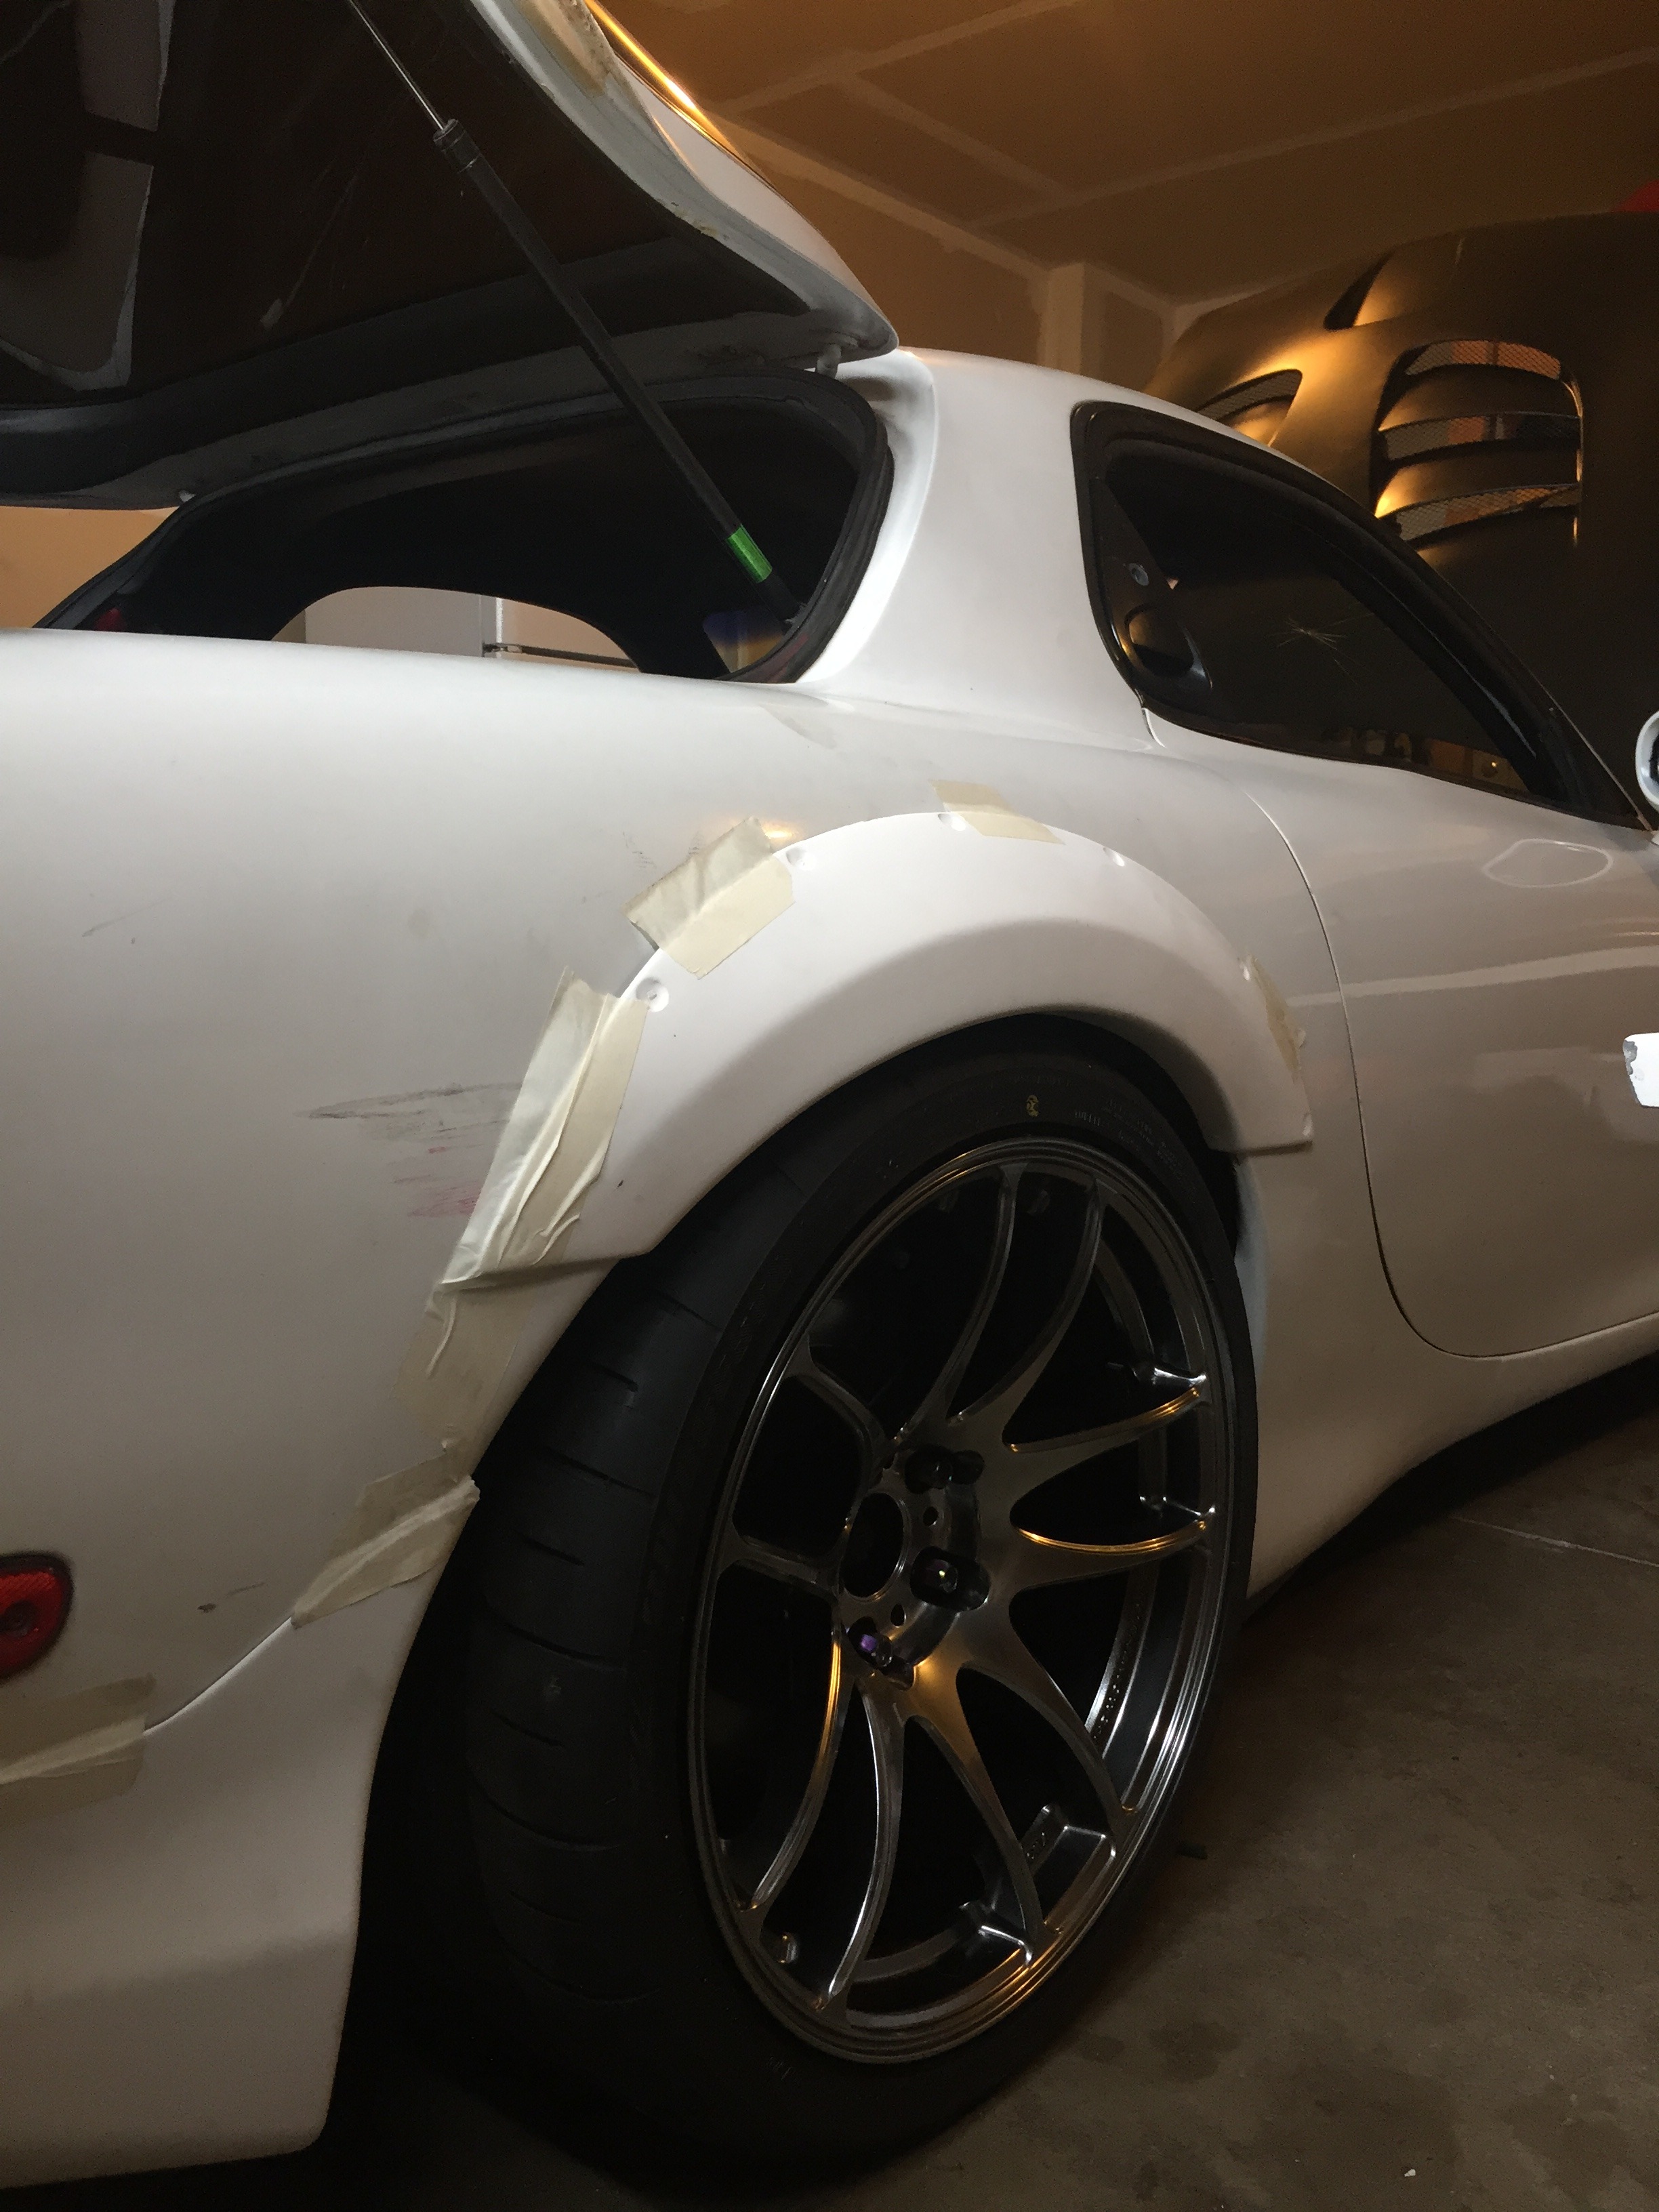
I'll also be making the rear flares a full overfender and not just the flare, similar to the feed rear overfender.
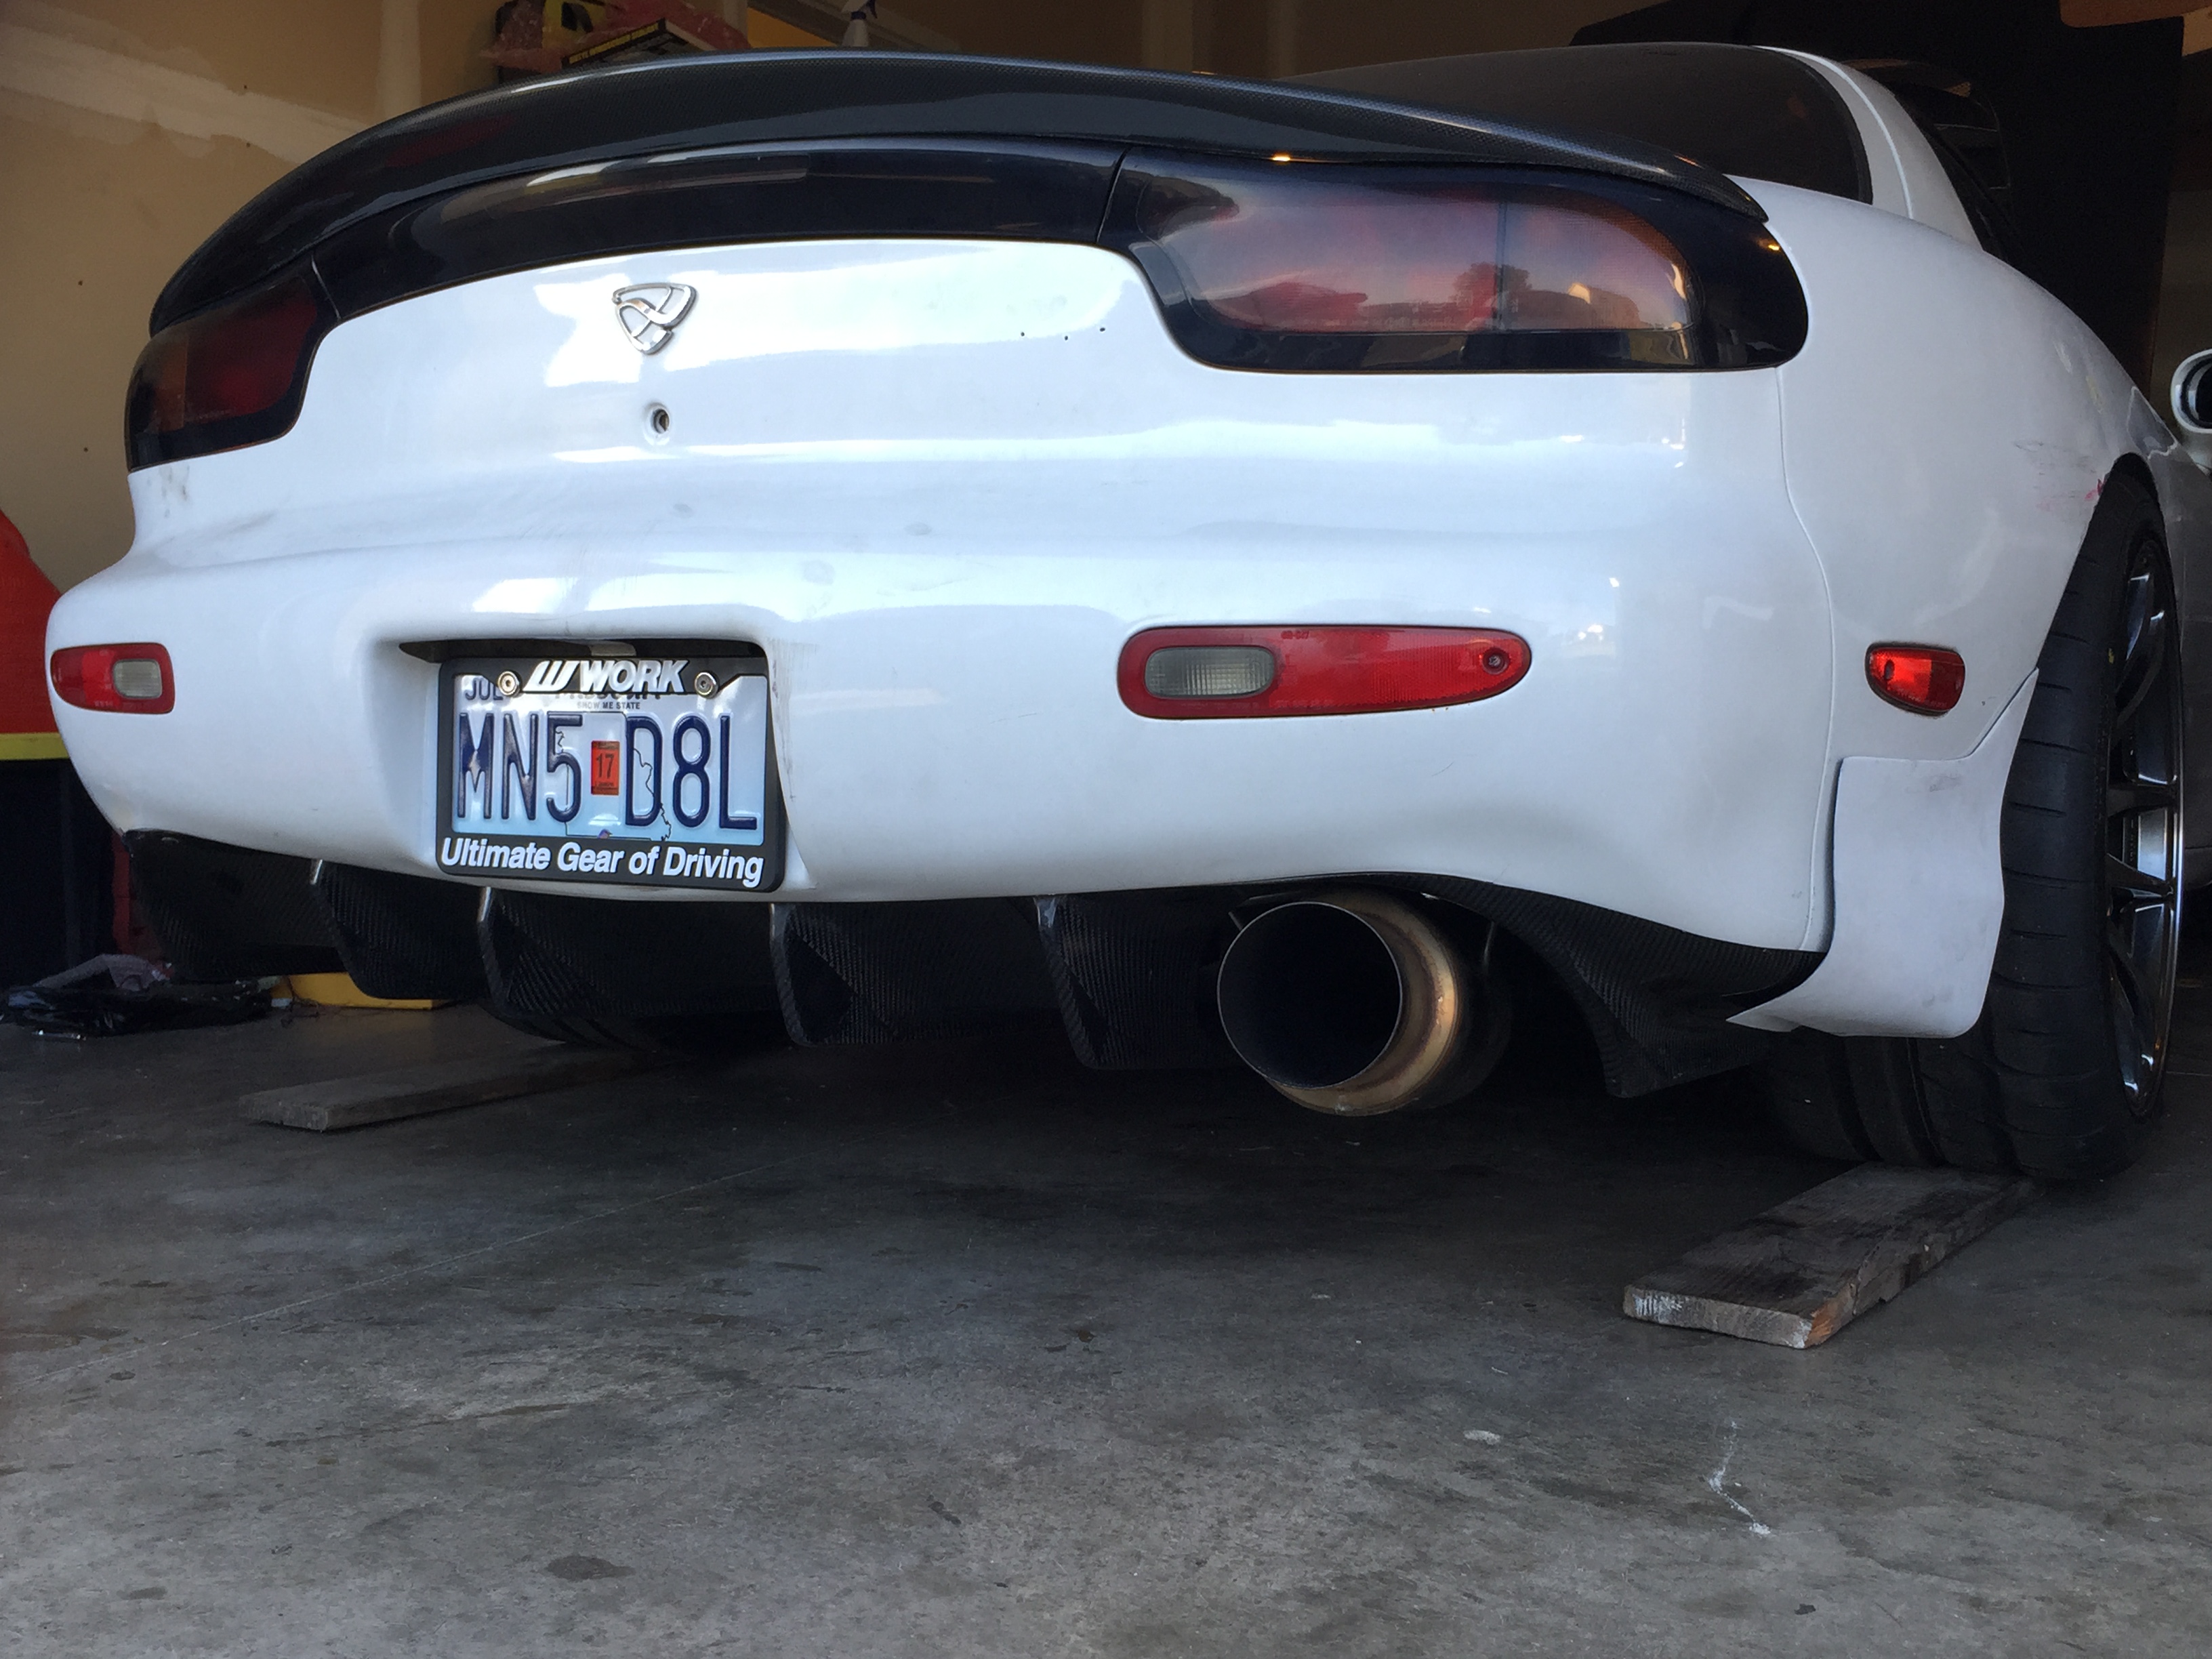
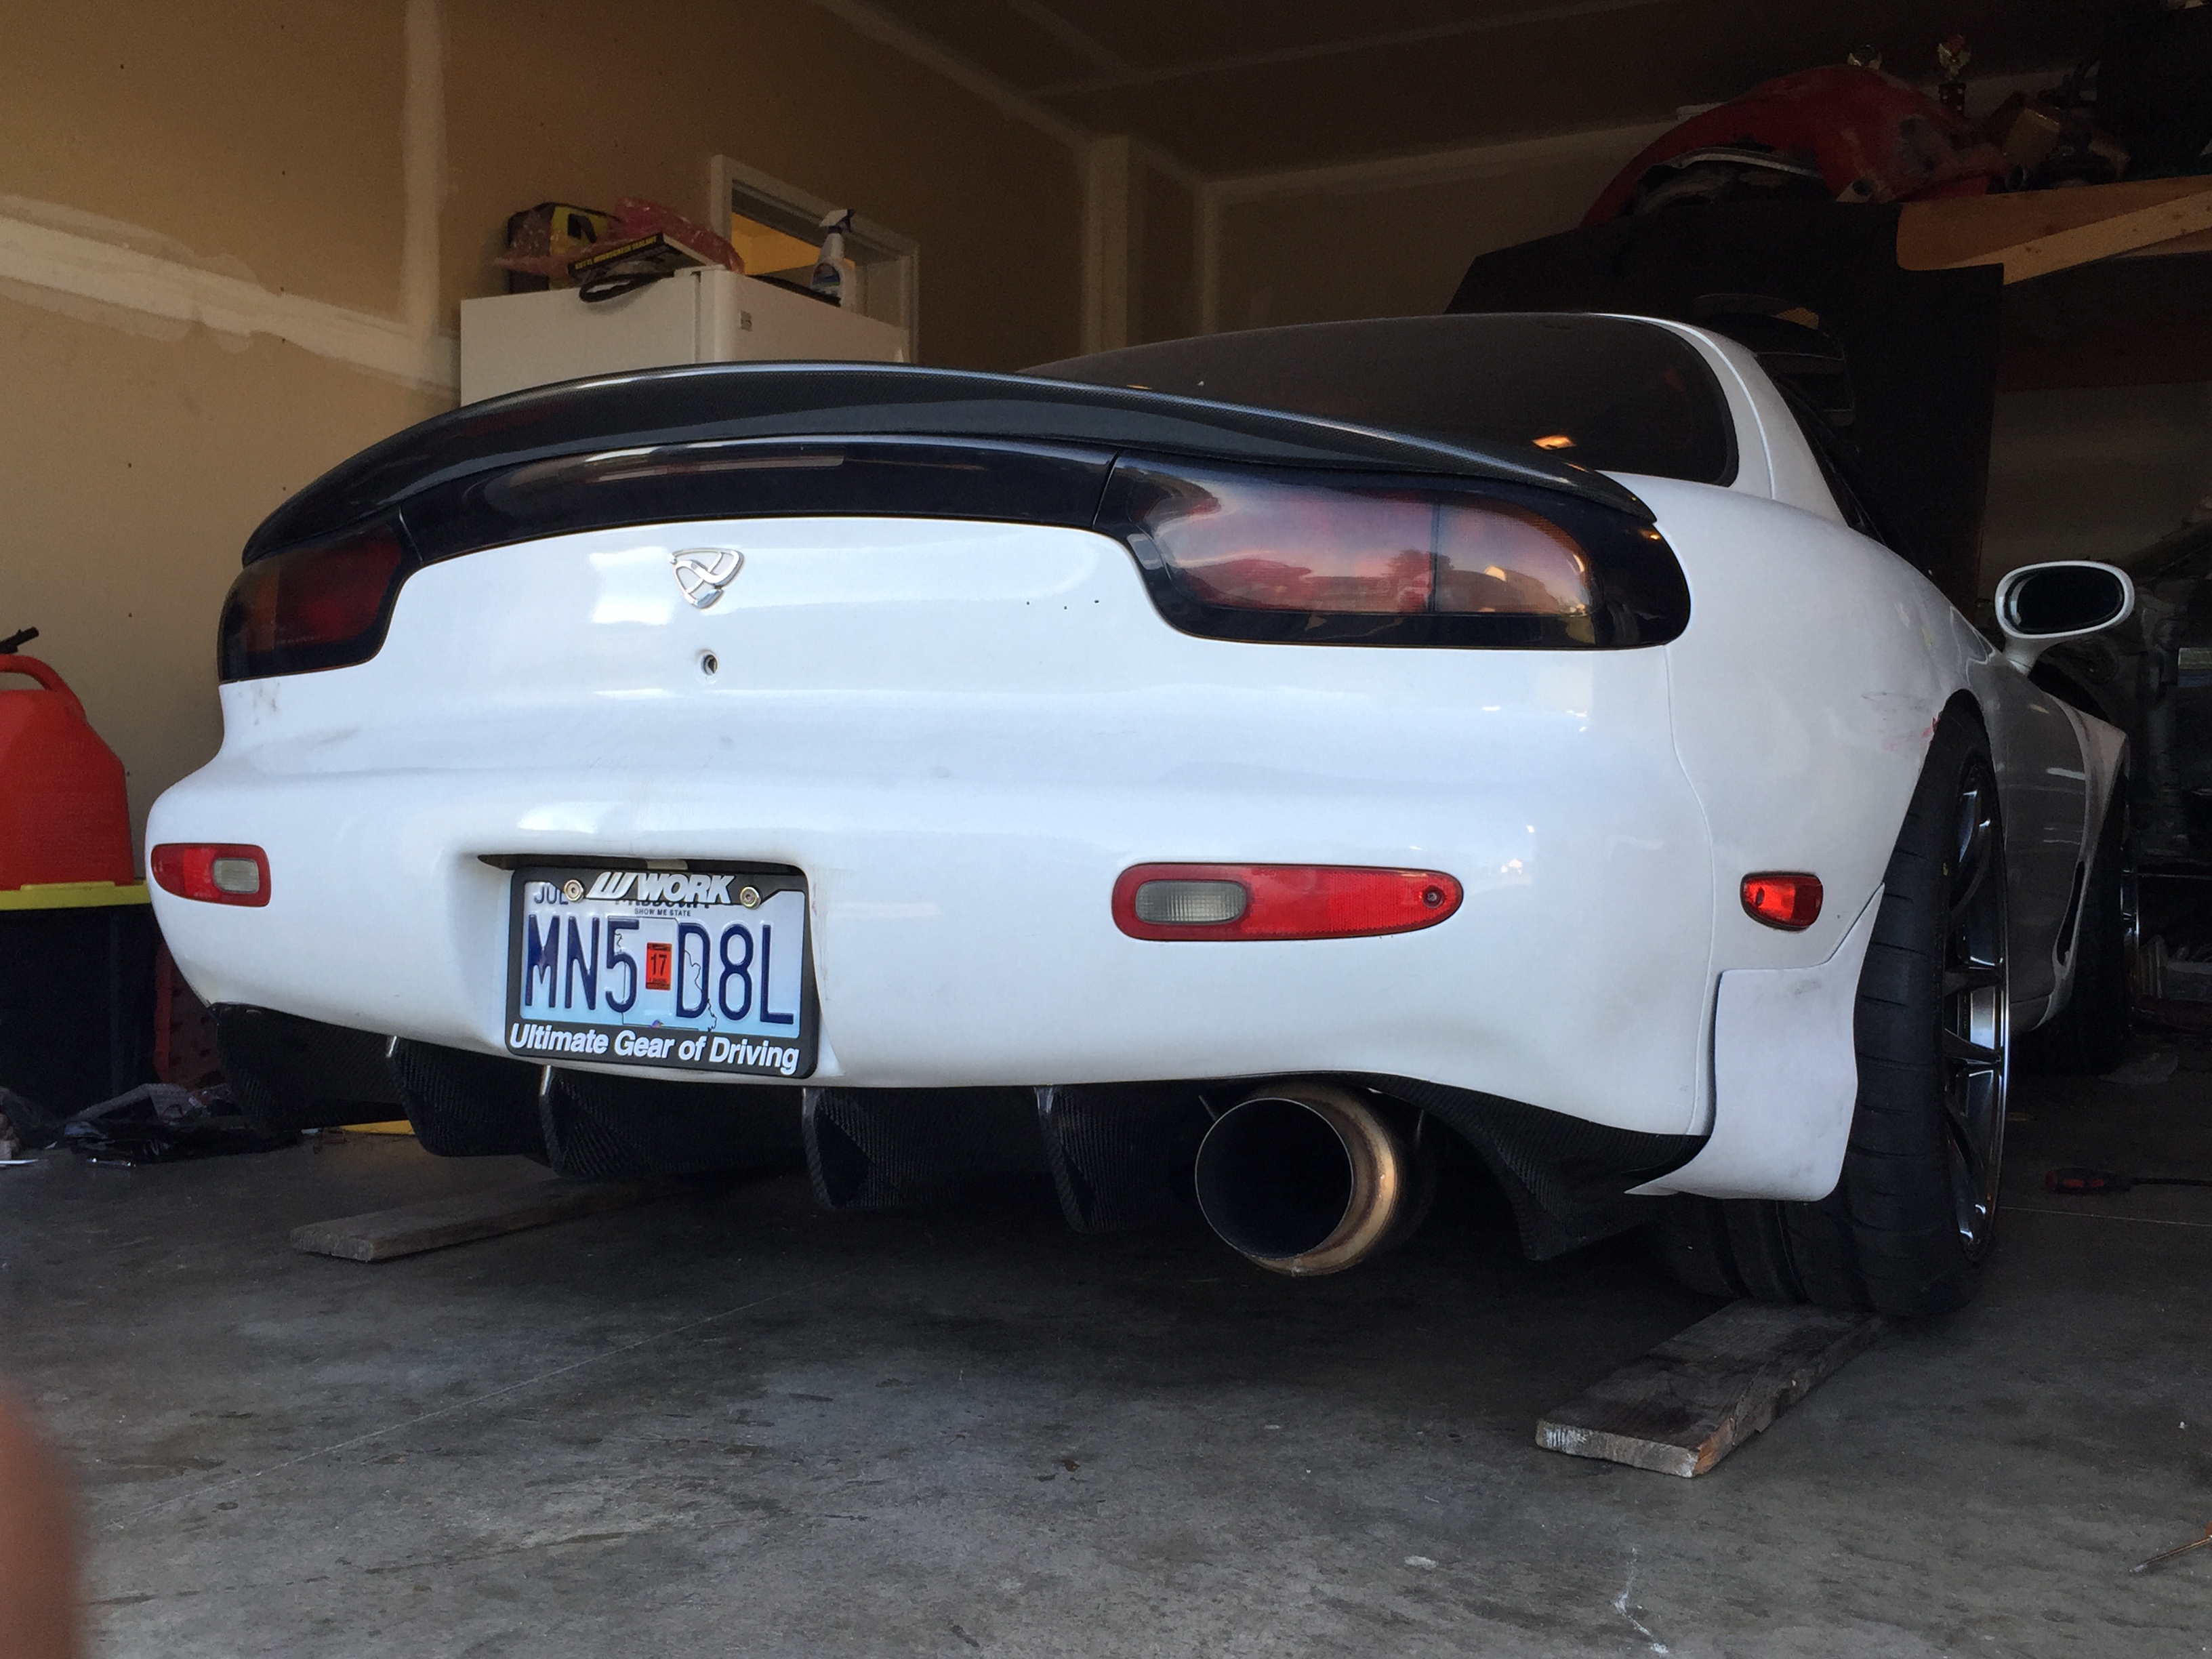
I then decided to mount this beautiful thing
Mounted the Delphi connector

Wiring routed


Got the car started back up to make sure everything worked and it seems to be good to go. I have the rear harness and engine harness to go through still, but it's slowly getting there. To break up the monotony of working on wiring, I decided to mount some body pieces.
Passenger fender on


I'll definitely be modifying these this winter to make them more of a +30mm fender (I am stationed in North Dakota, we have very long winters lol).
Mocked up the rears, I'll run a spacer to make the fitment flush


I'll also be making the rear flares a full overfender and not just the flare, similar to the feed rear overfender.
I then decided to mount this beautiful thing


Thread Starter
Full Member
Joined: Apr 2015
Posts: 140
Likes: 5
From: Great Falls, MT
Worked on the ecu harness and power wires today. Made some good headway, hoping to drive the car again next week to iron out any kinks before putting everything back in and looming the harnesses.
The previous owner had four FC trailing coils set up in a direct fire configuration. I didn't like how they looked and one of the coils was melted, so I decided to install the ls1 coils from the motor I have chillin in the corner. (I think the coil melted because he had the power coming straight from the fuse box, so it wasn't switched power...I am pretty sure I remember reading that having constant power to them isnt good, but idk). Anyhow, I bought a bracket off of Ebay to mount the coils and came up with this for mounting
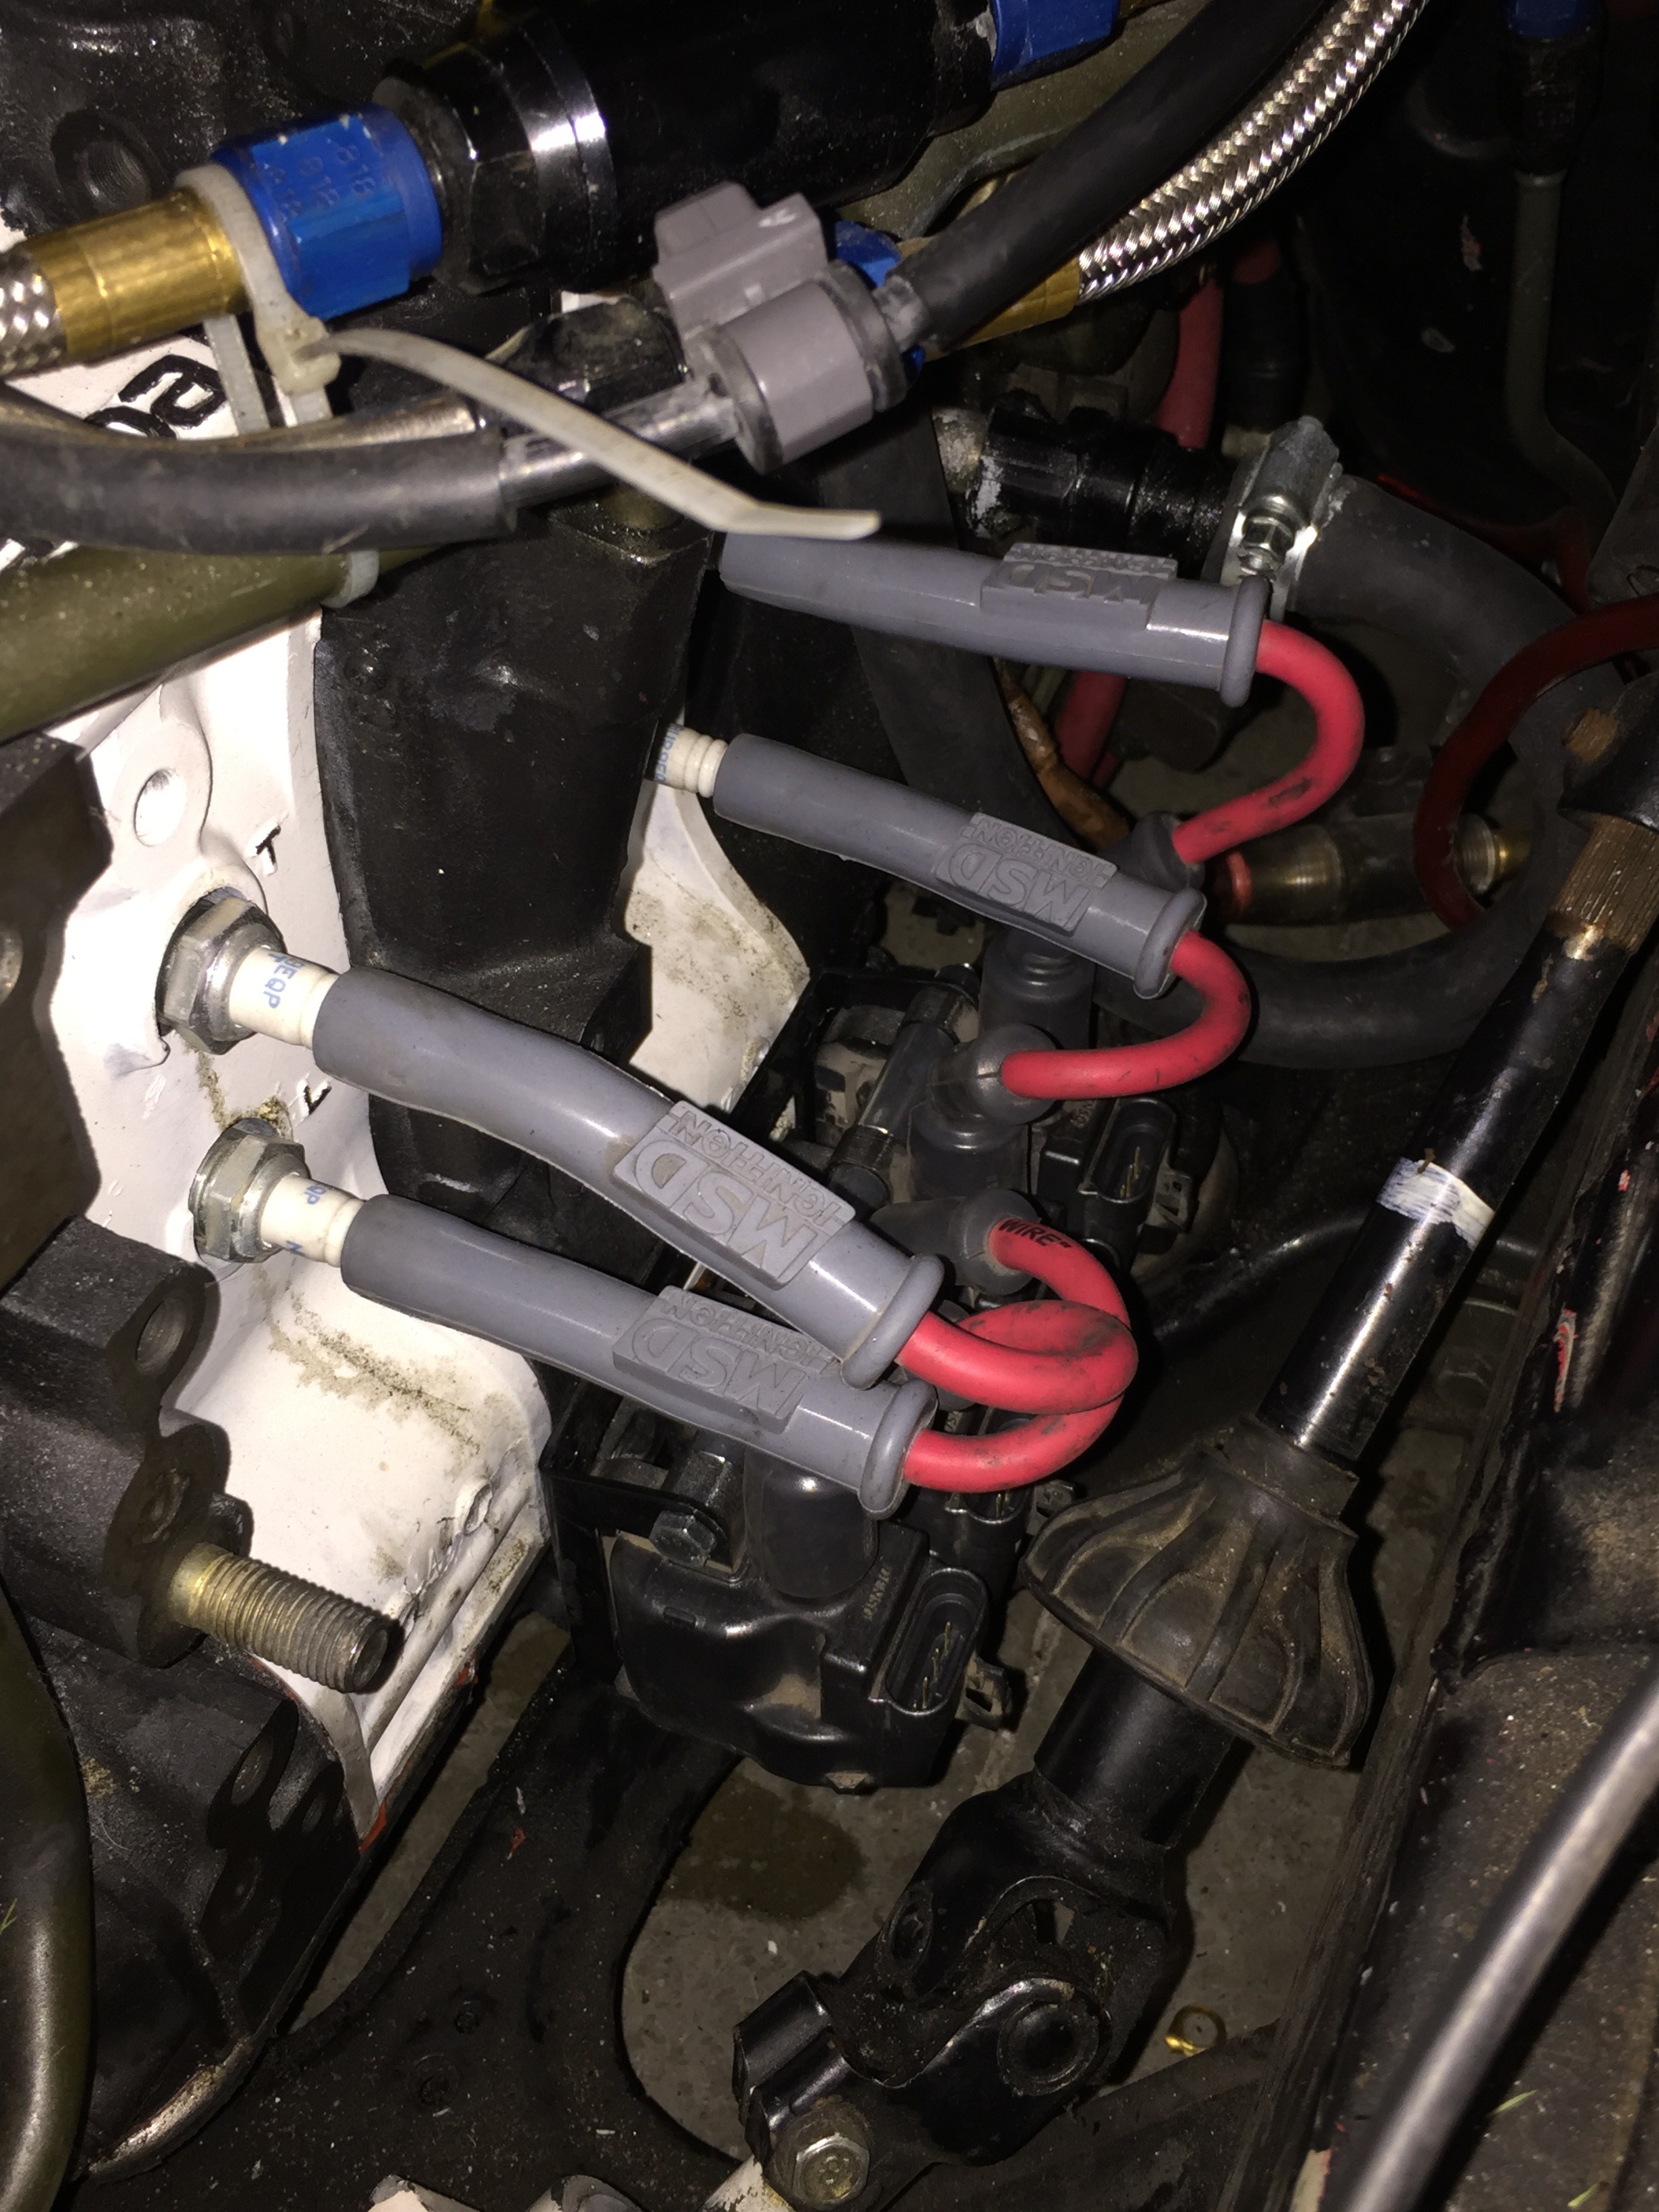
I was able to reuse the wires that were on my ls1 so that helps a ton. I kind of slacked on getting more pictures, but I have the coils wired up via delphi connectors and used the correct power wire from the haltech fuse box (it was going to the o2 sensor for some reason, so I swapped the correct power wire over to the o2 sensor and all should be well now).
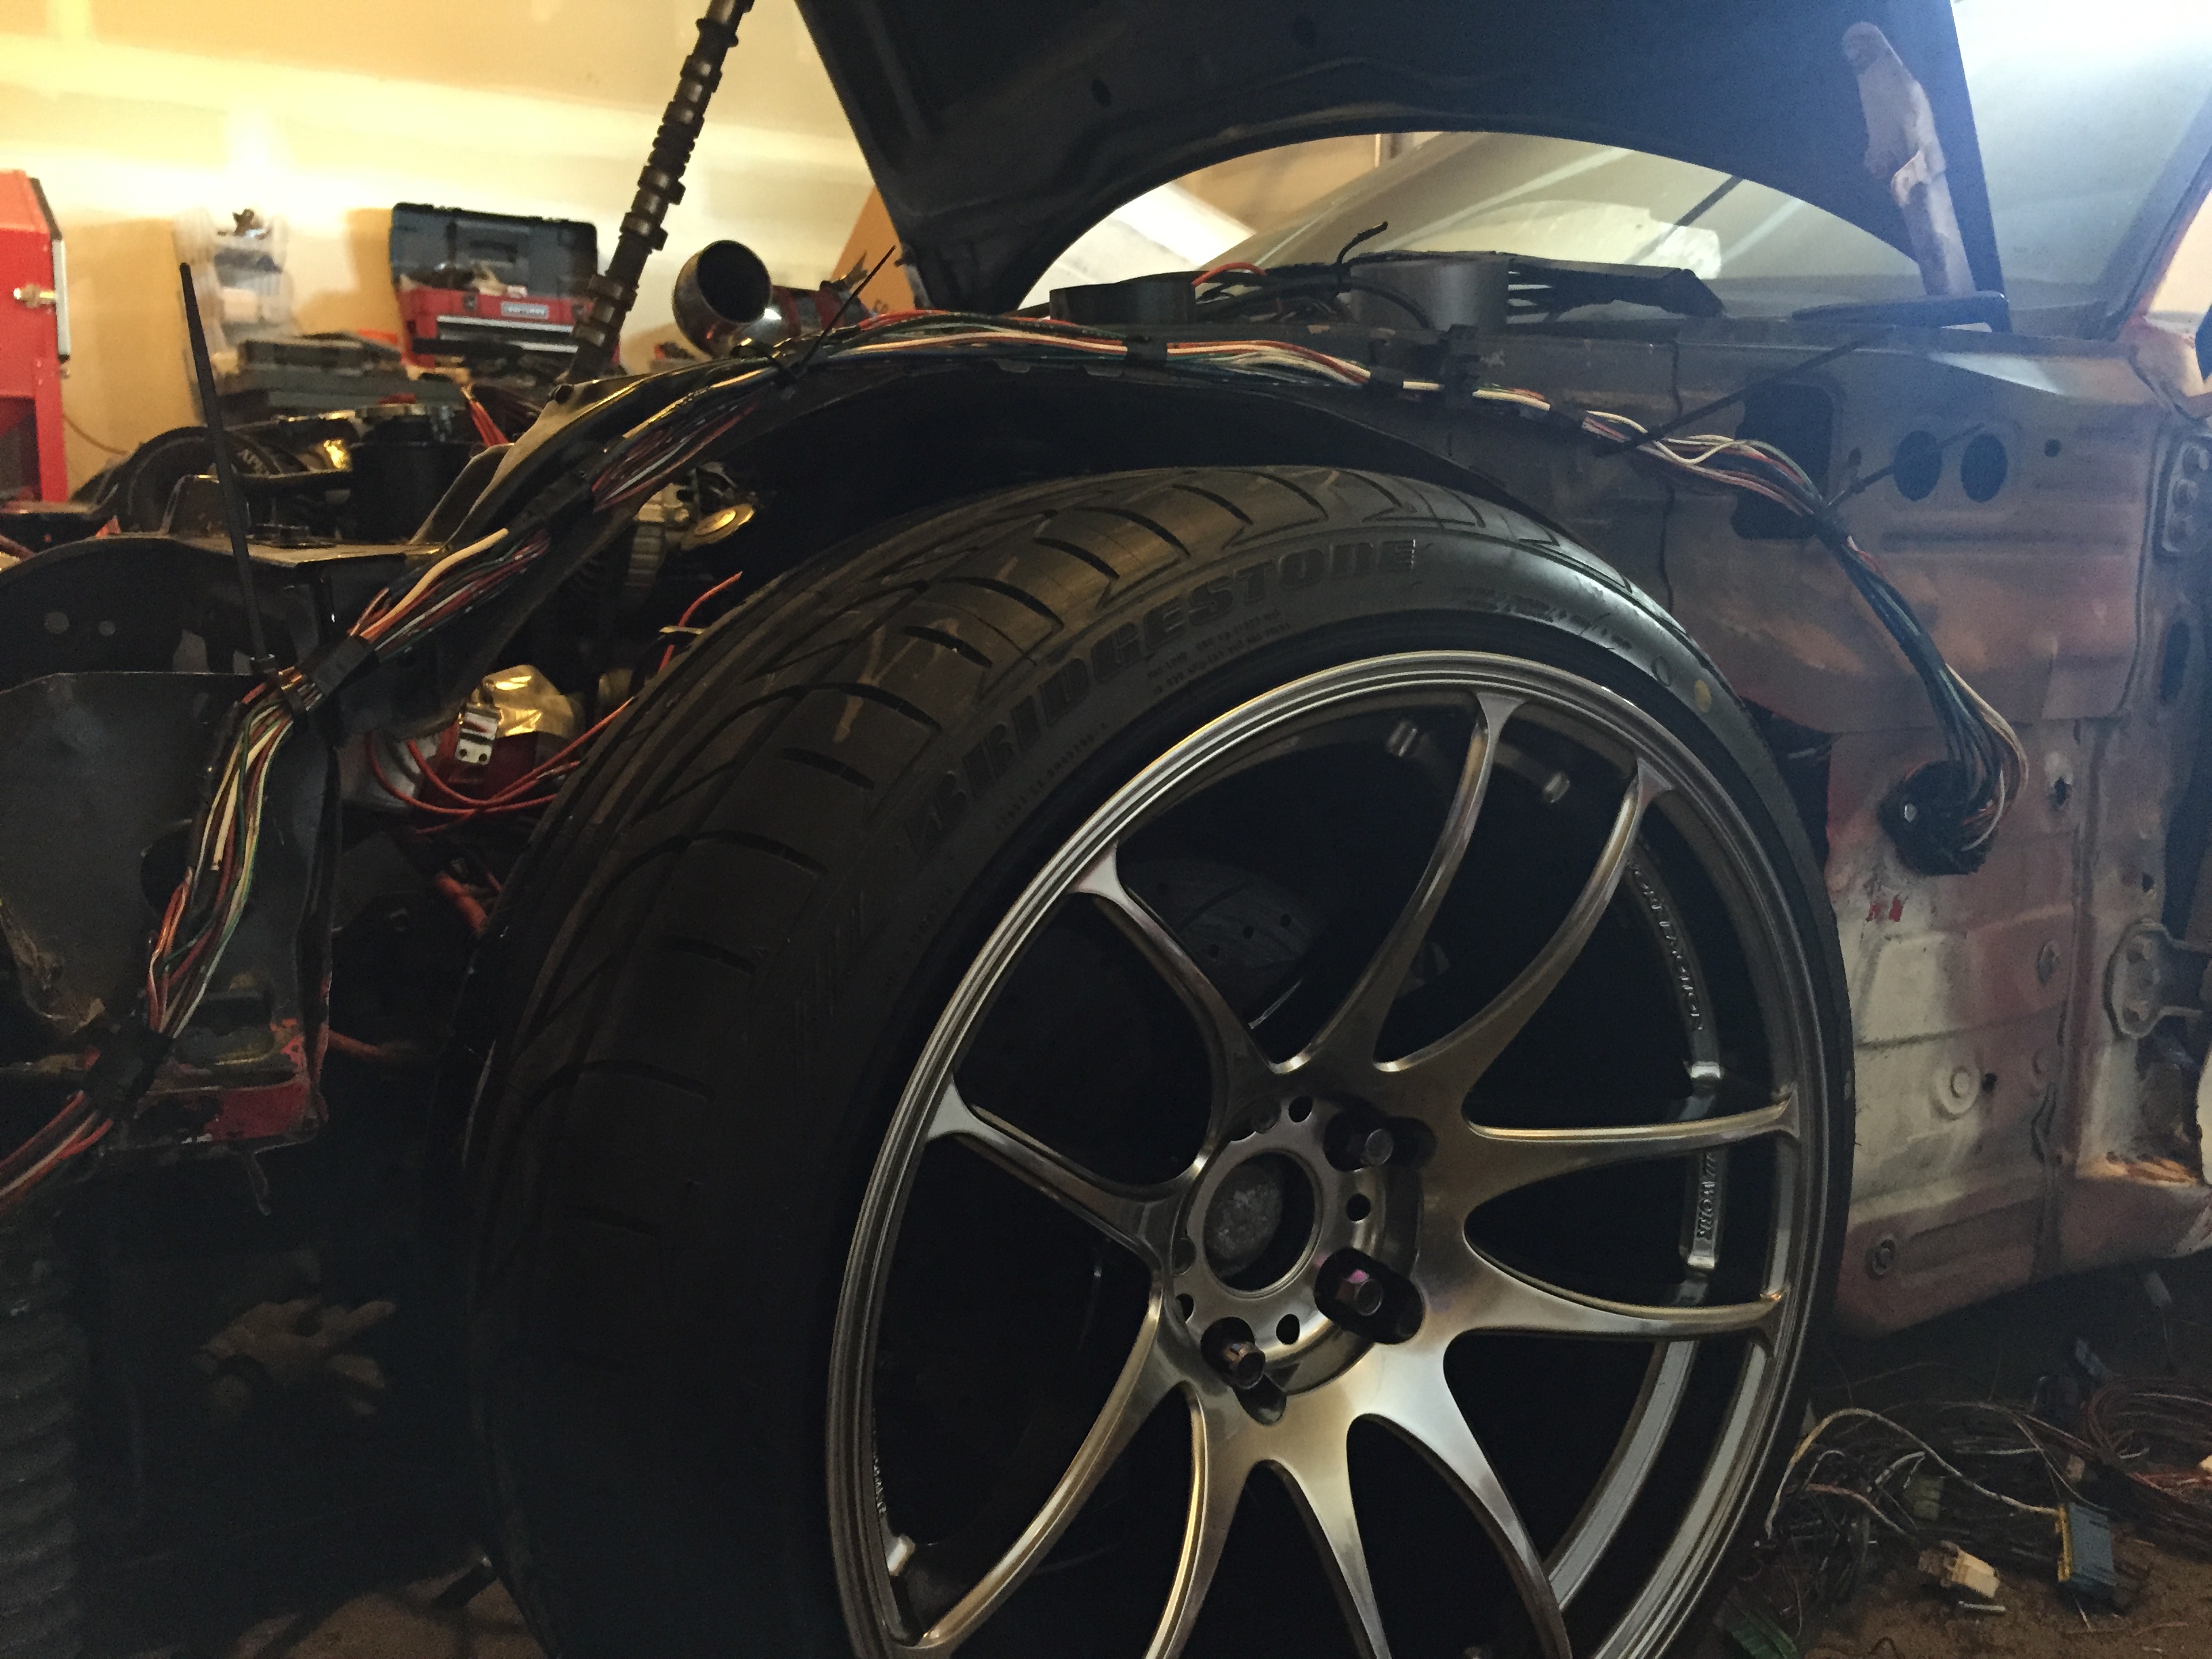
I needed to jack the car up to run some wires to the starter, so I figured I would work on that panel a bit since I could take the wheel off.
The inside portion was creased pretty bad so this was the best I could do. Far better than it was though, that's for sure. I will sand it all down and por15 the wheel well and paint the outside portion this winter
The previous owner had four FC trailing coils set up in a direct fire configuration. I didn't like how they looked and one of the coils was melted, so I decided to install the ls1 coils from the motor I have chillin in the corner. (I think the coil melted because he had the power coming straight from the fuse box, so it wasn't switched power...I am pretty sure I remember reading that having constant power to them isnt good, but idk). Anyhow, I bought a bracket off of Ebay to mount the coils and came up with this for mounting

I was able to reuse the wires that were on my ls1 so that helps a ton. I kind of slacked on getting more pictures, but I have the coils wired up via delphi connectors and used the correct power wire from the haltech fuse box (it was going to the o2 sensor for some reason, so I swapped the correct power wire over to the o2 sensor and all should be well now).
I needed to jack the car up to run some wires to the starter, so I figured I would work on that panel a bit since I could take the wheel off.


The inside portion was creased pretty bad so this was the best I could do. Far better than it was though, that's for sure. I will sand it all down and por15 the wheel well and paint the outside portion this winter
Thread Starter
Full Member
Joined: Apr 2015
Posts: 140
Likes: 5
From: Great Falls, MT
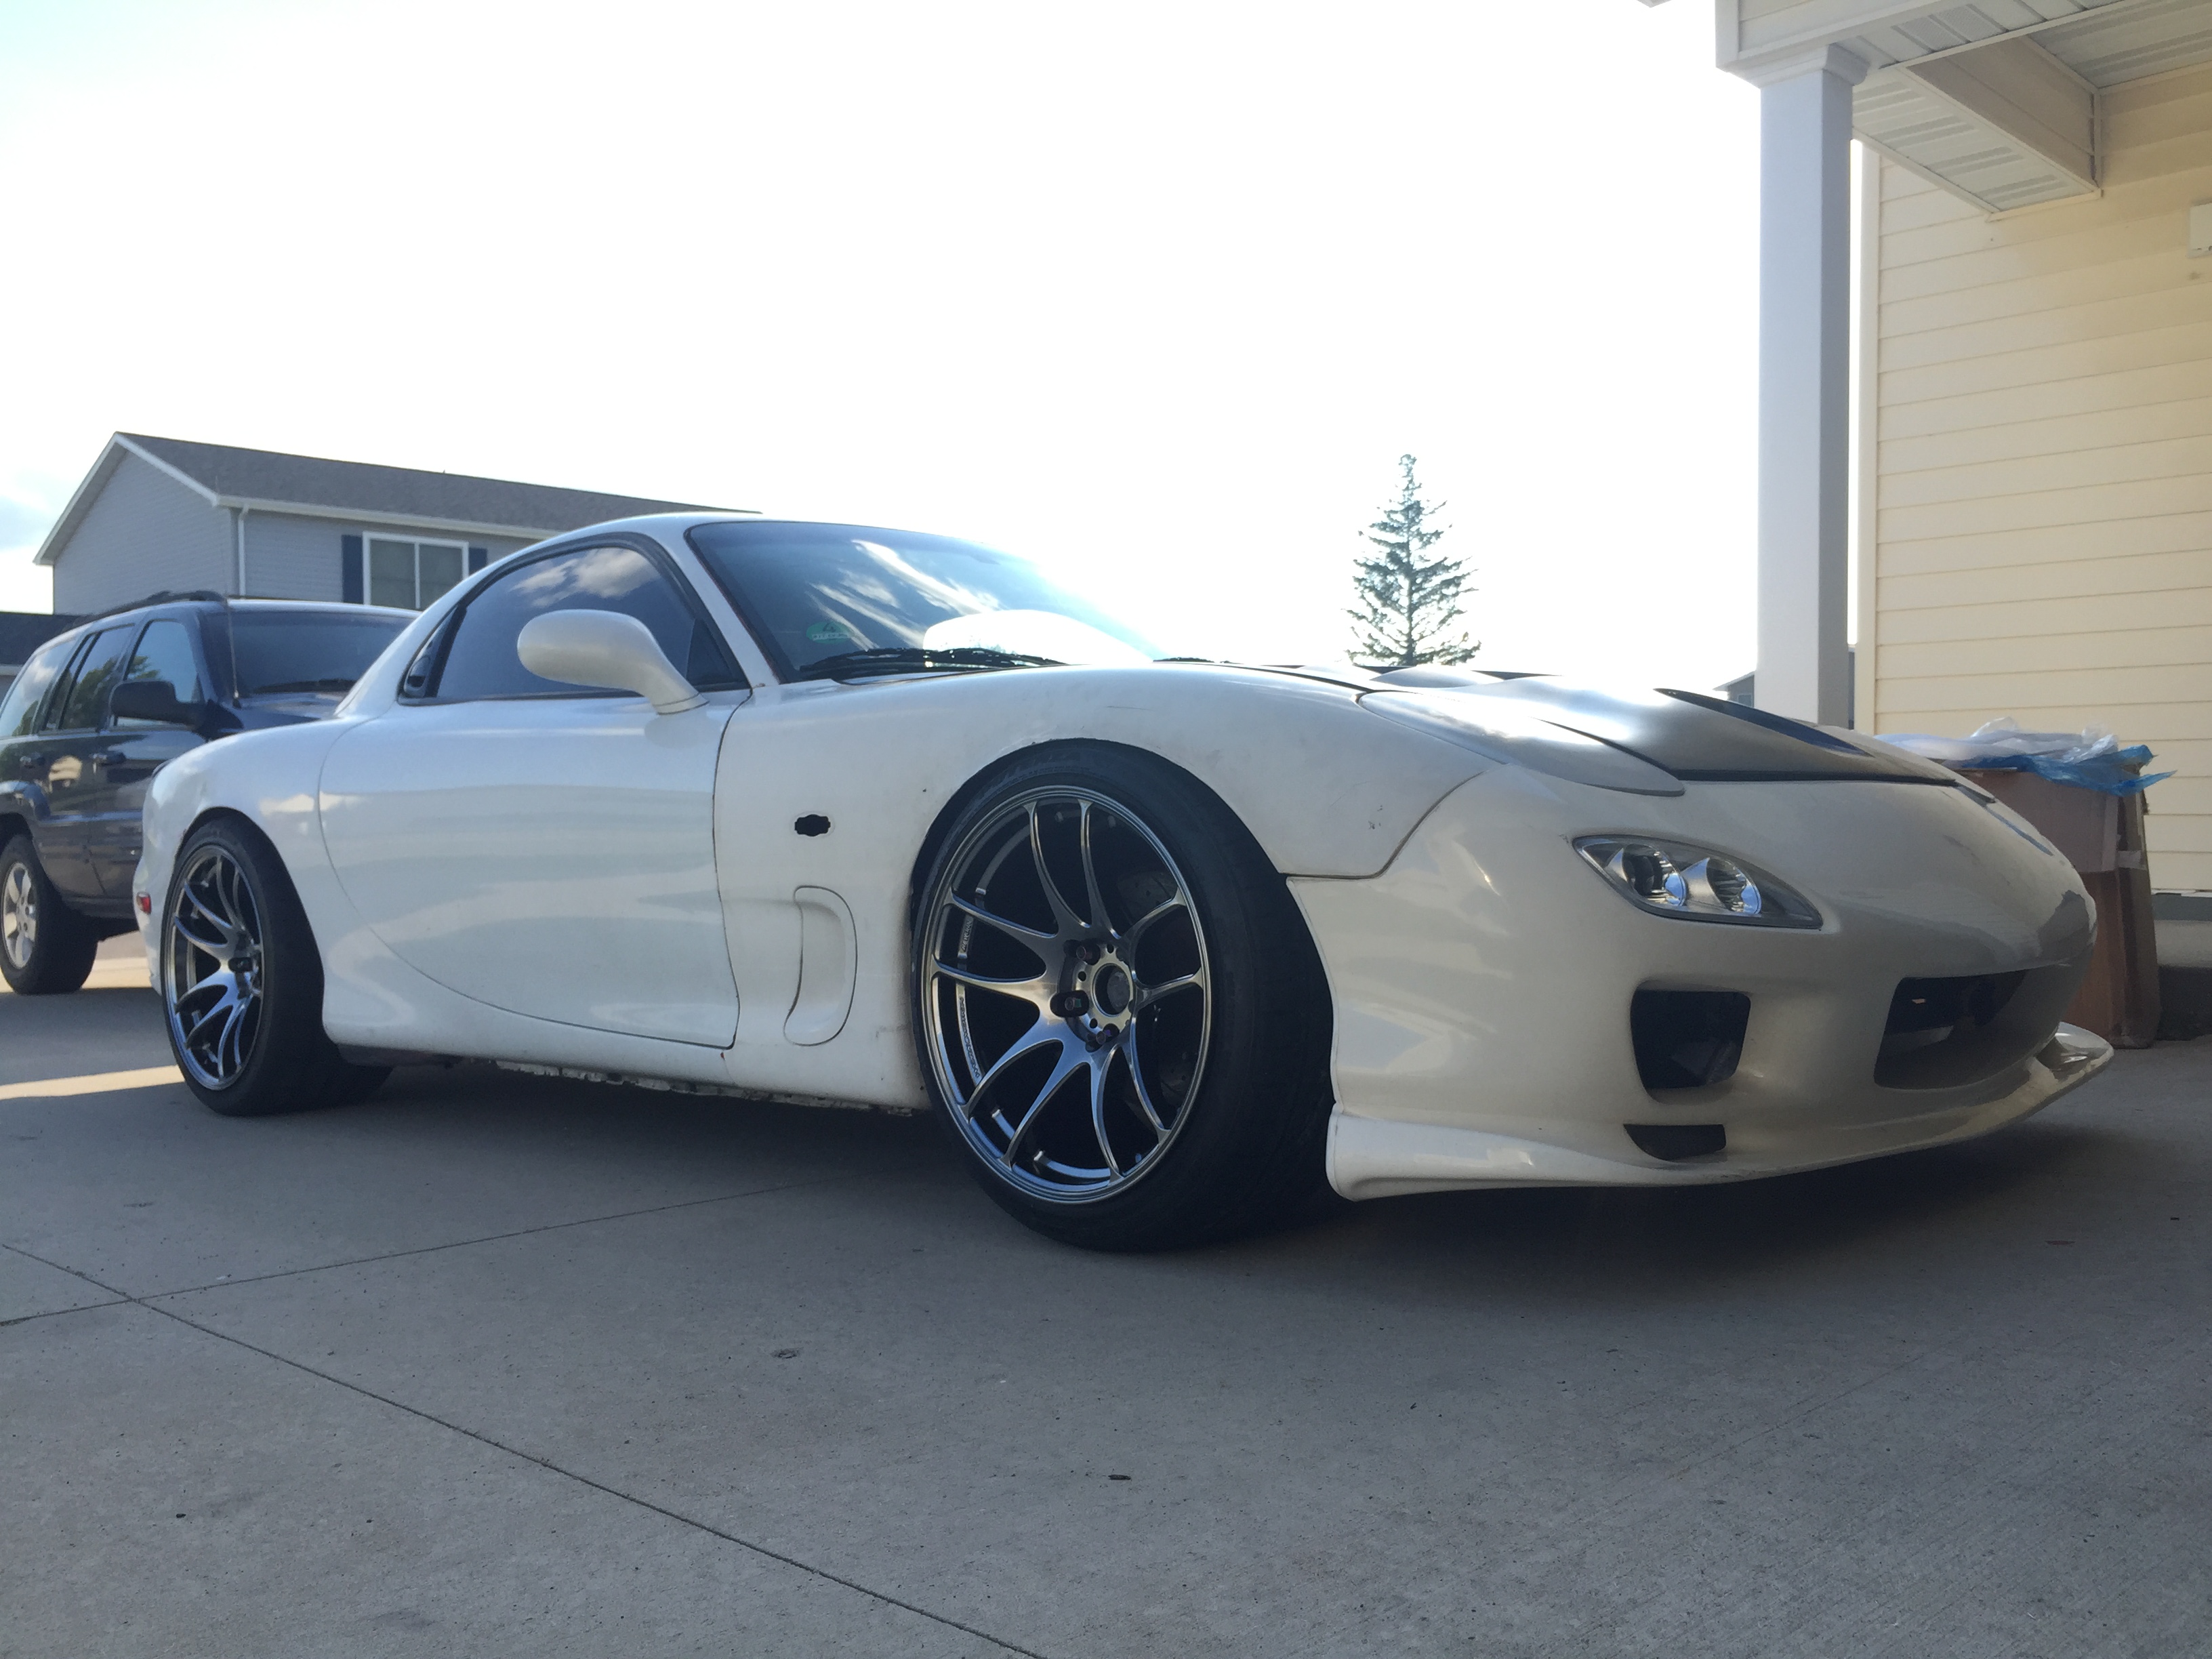
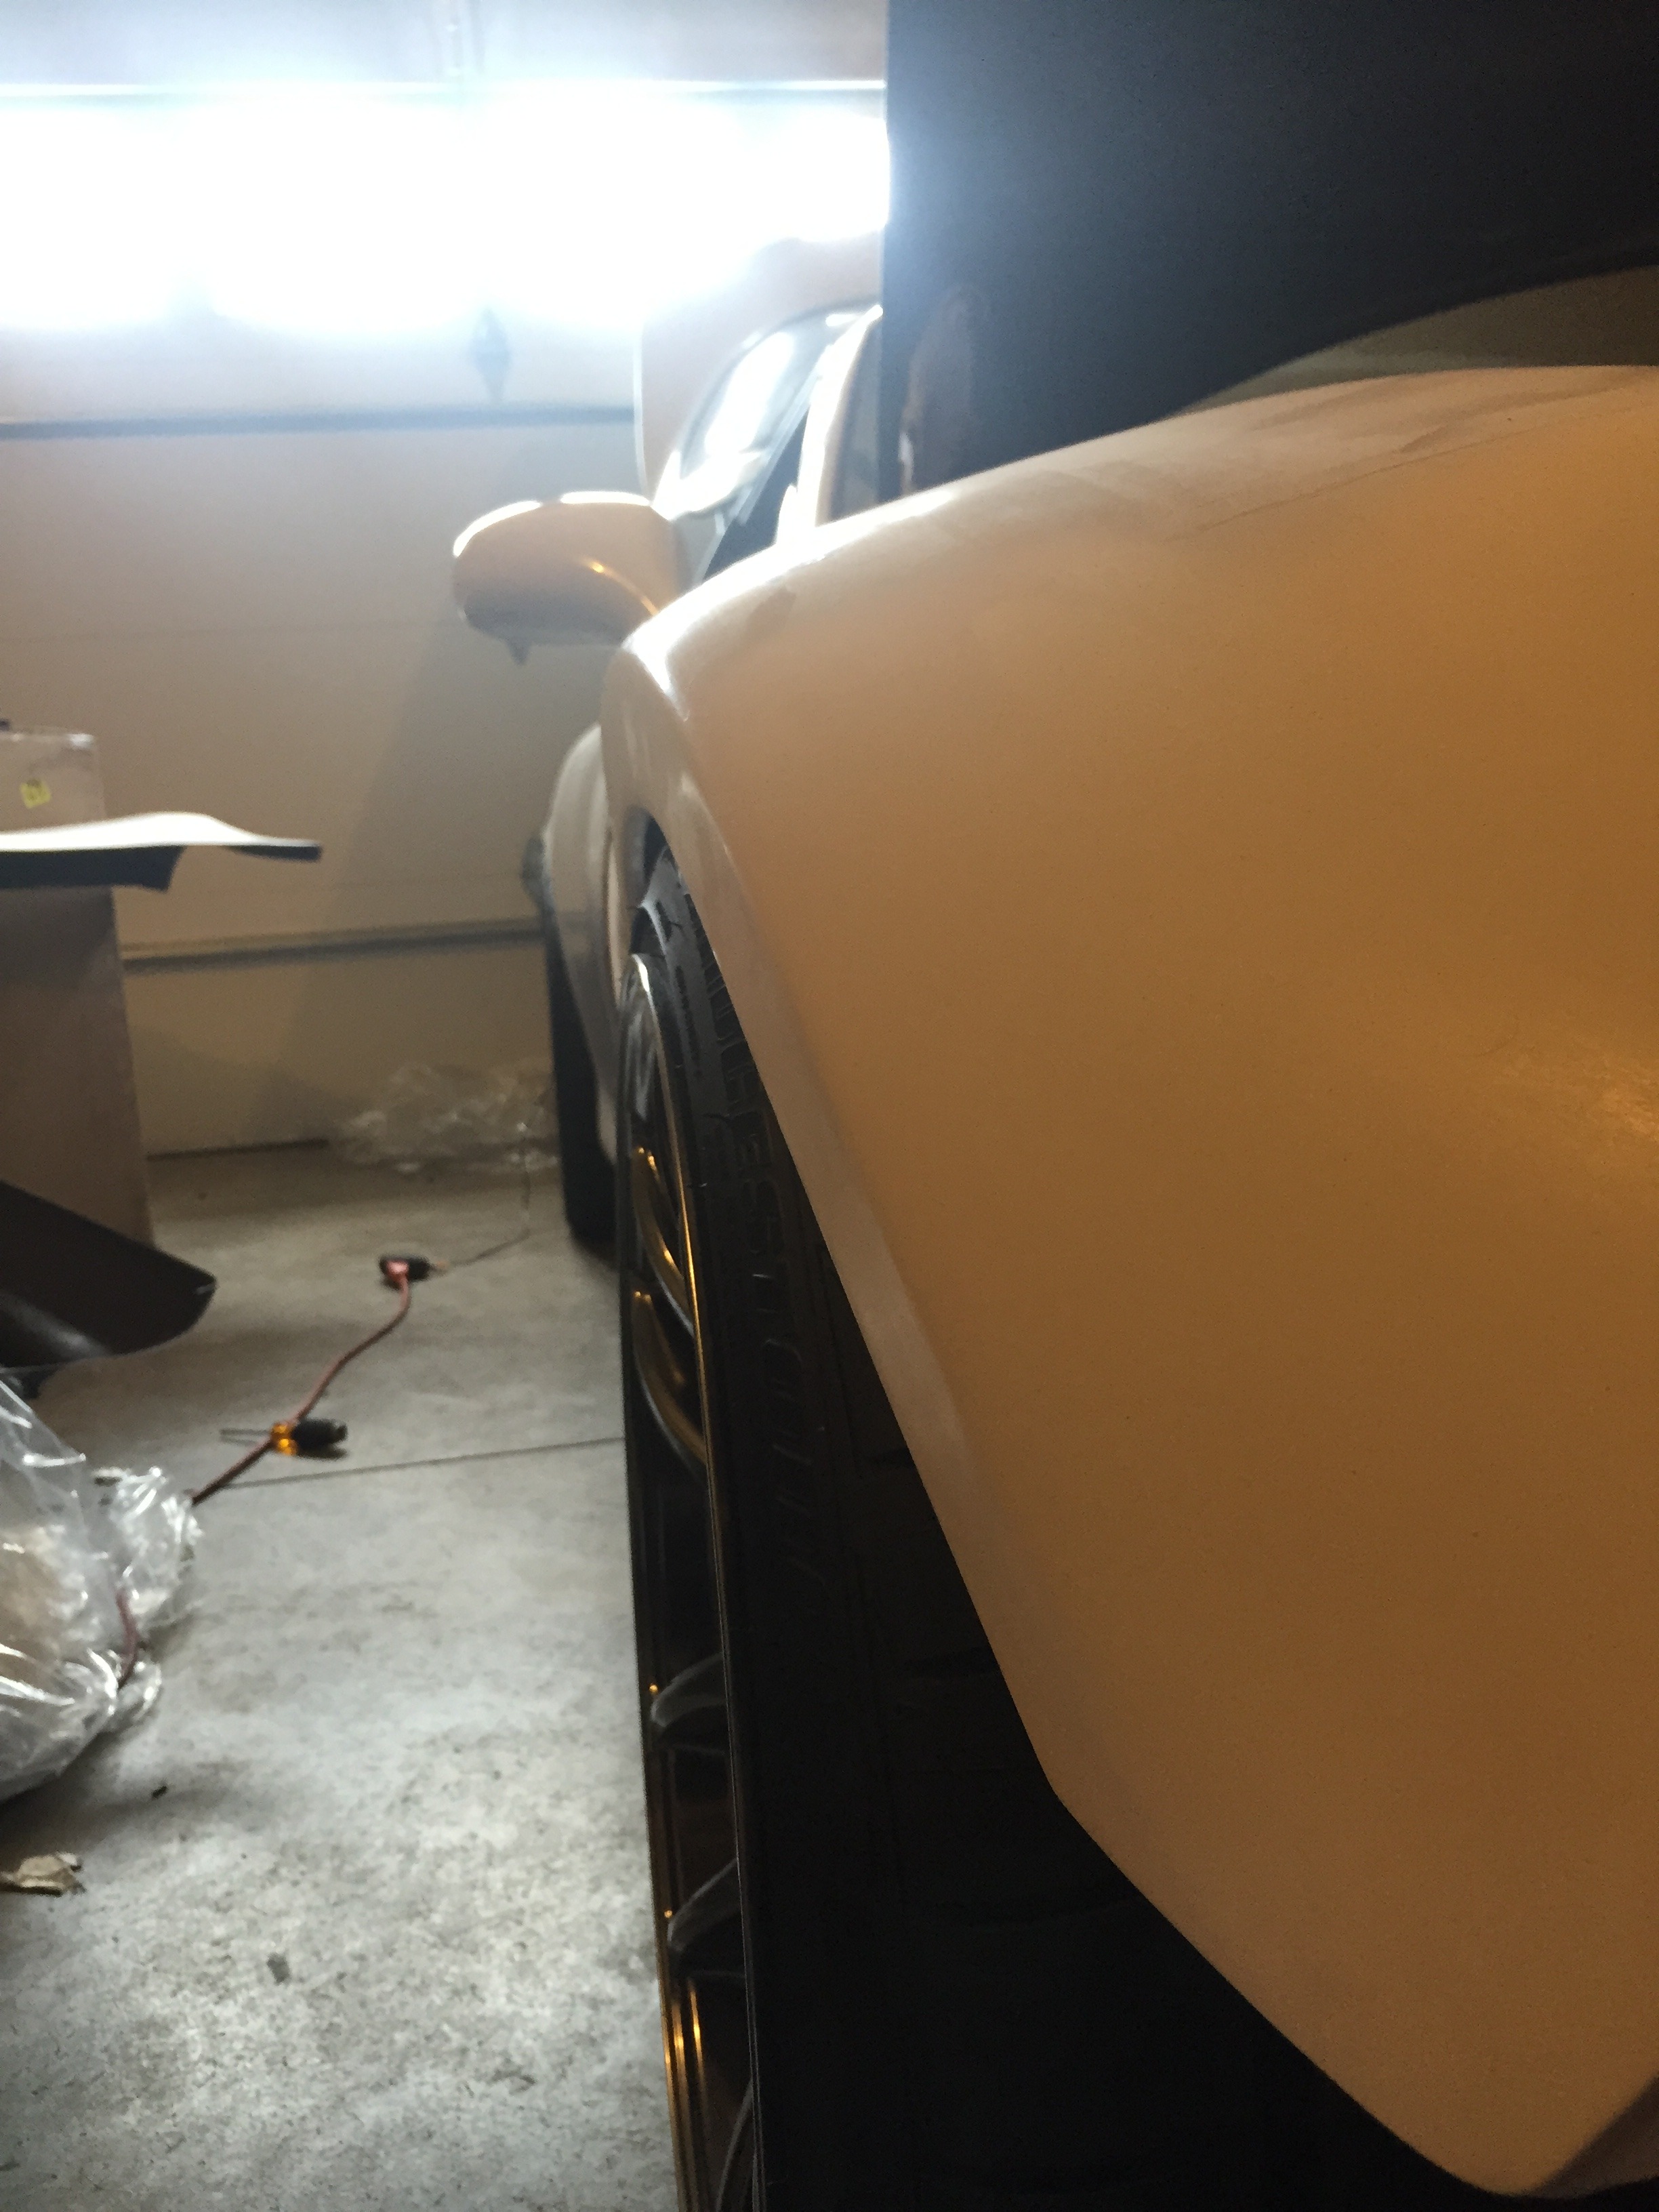
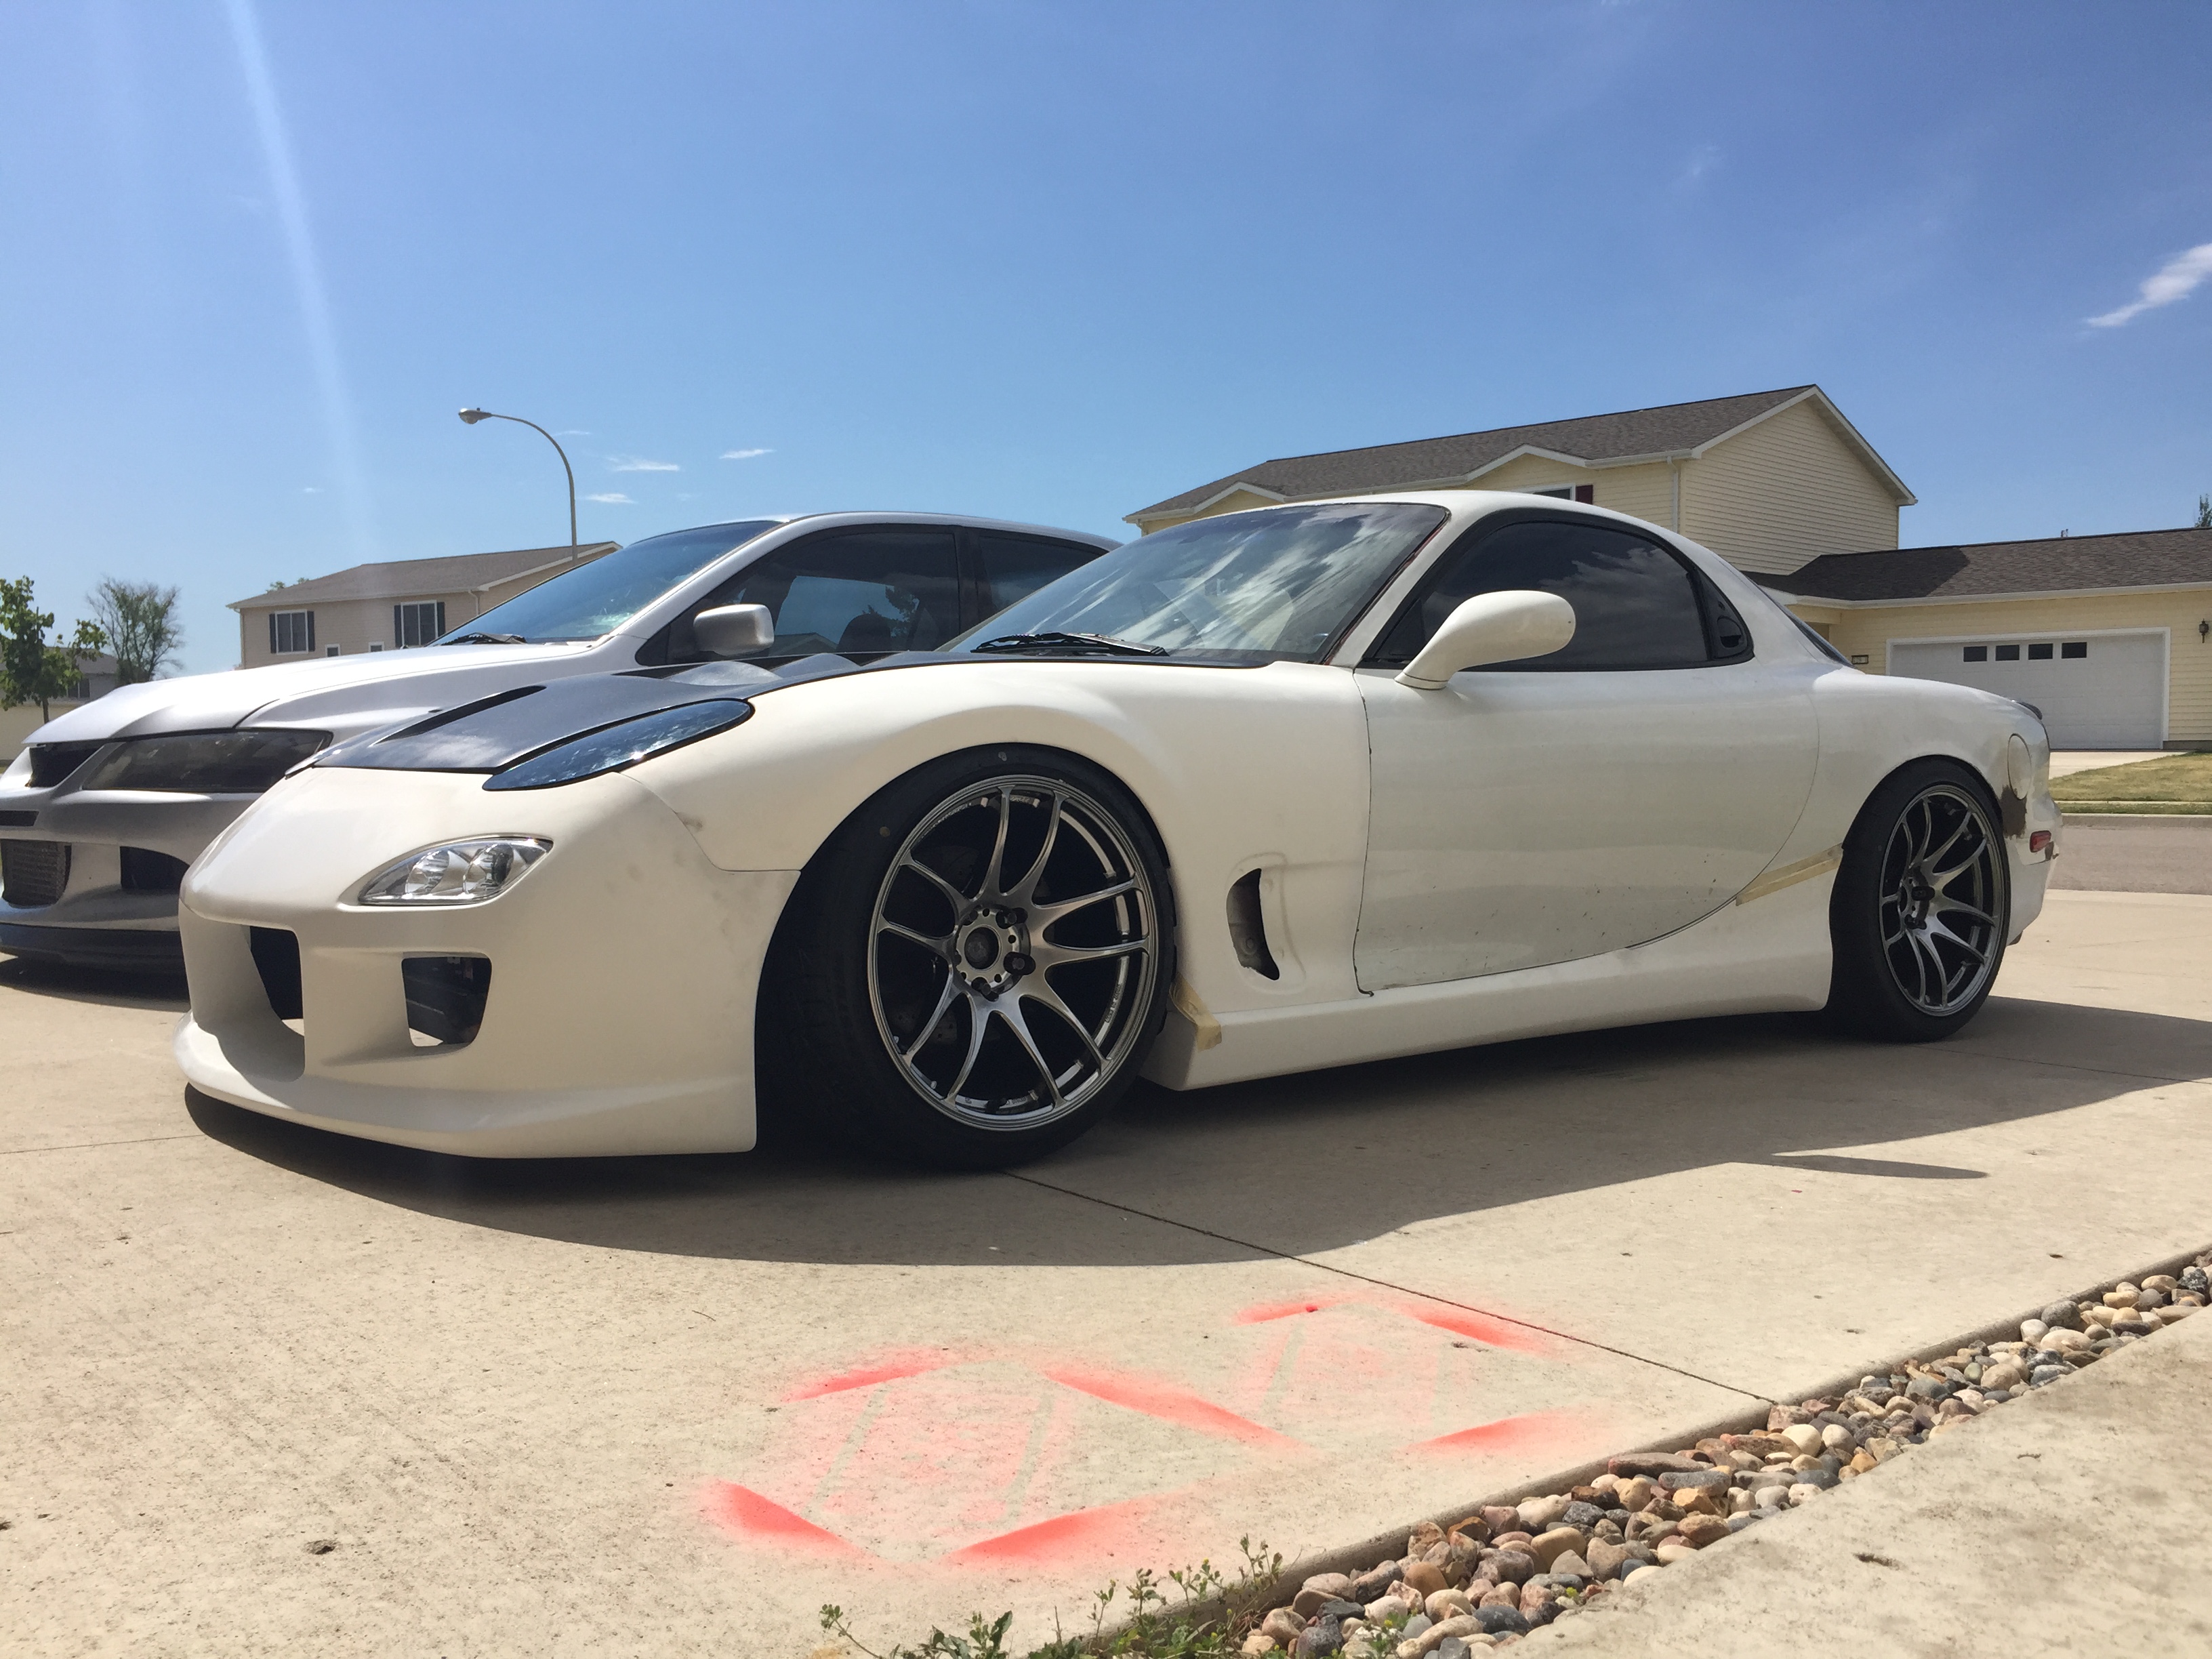
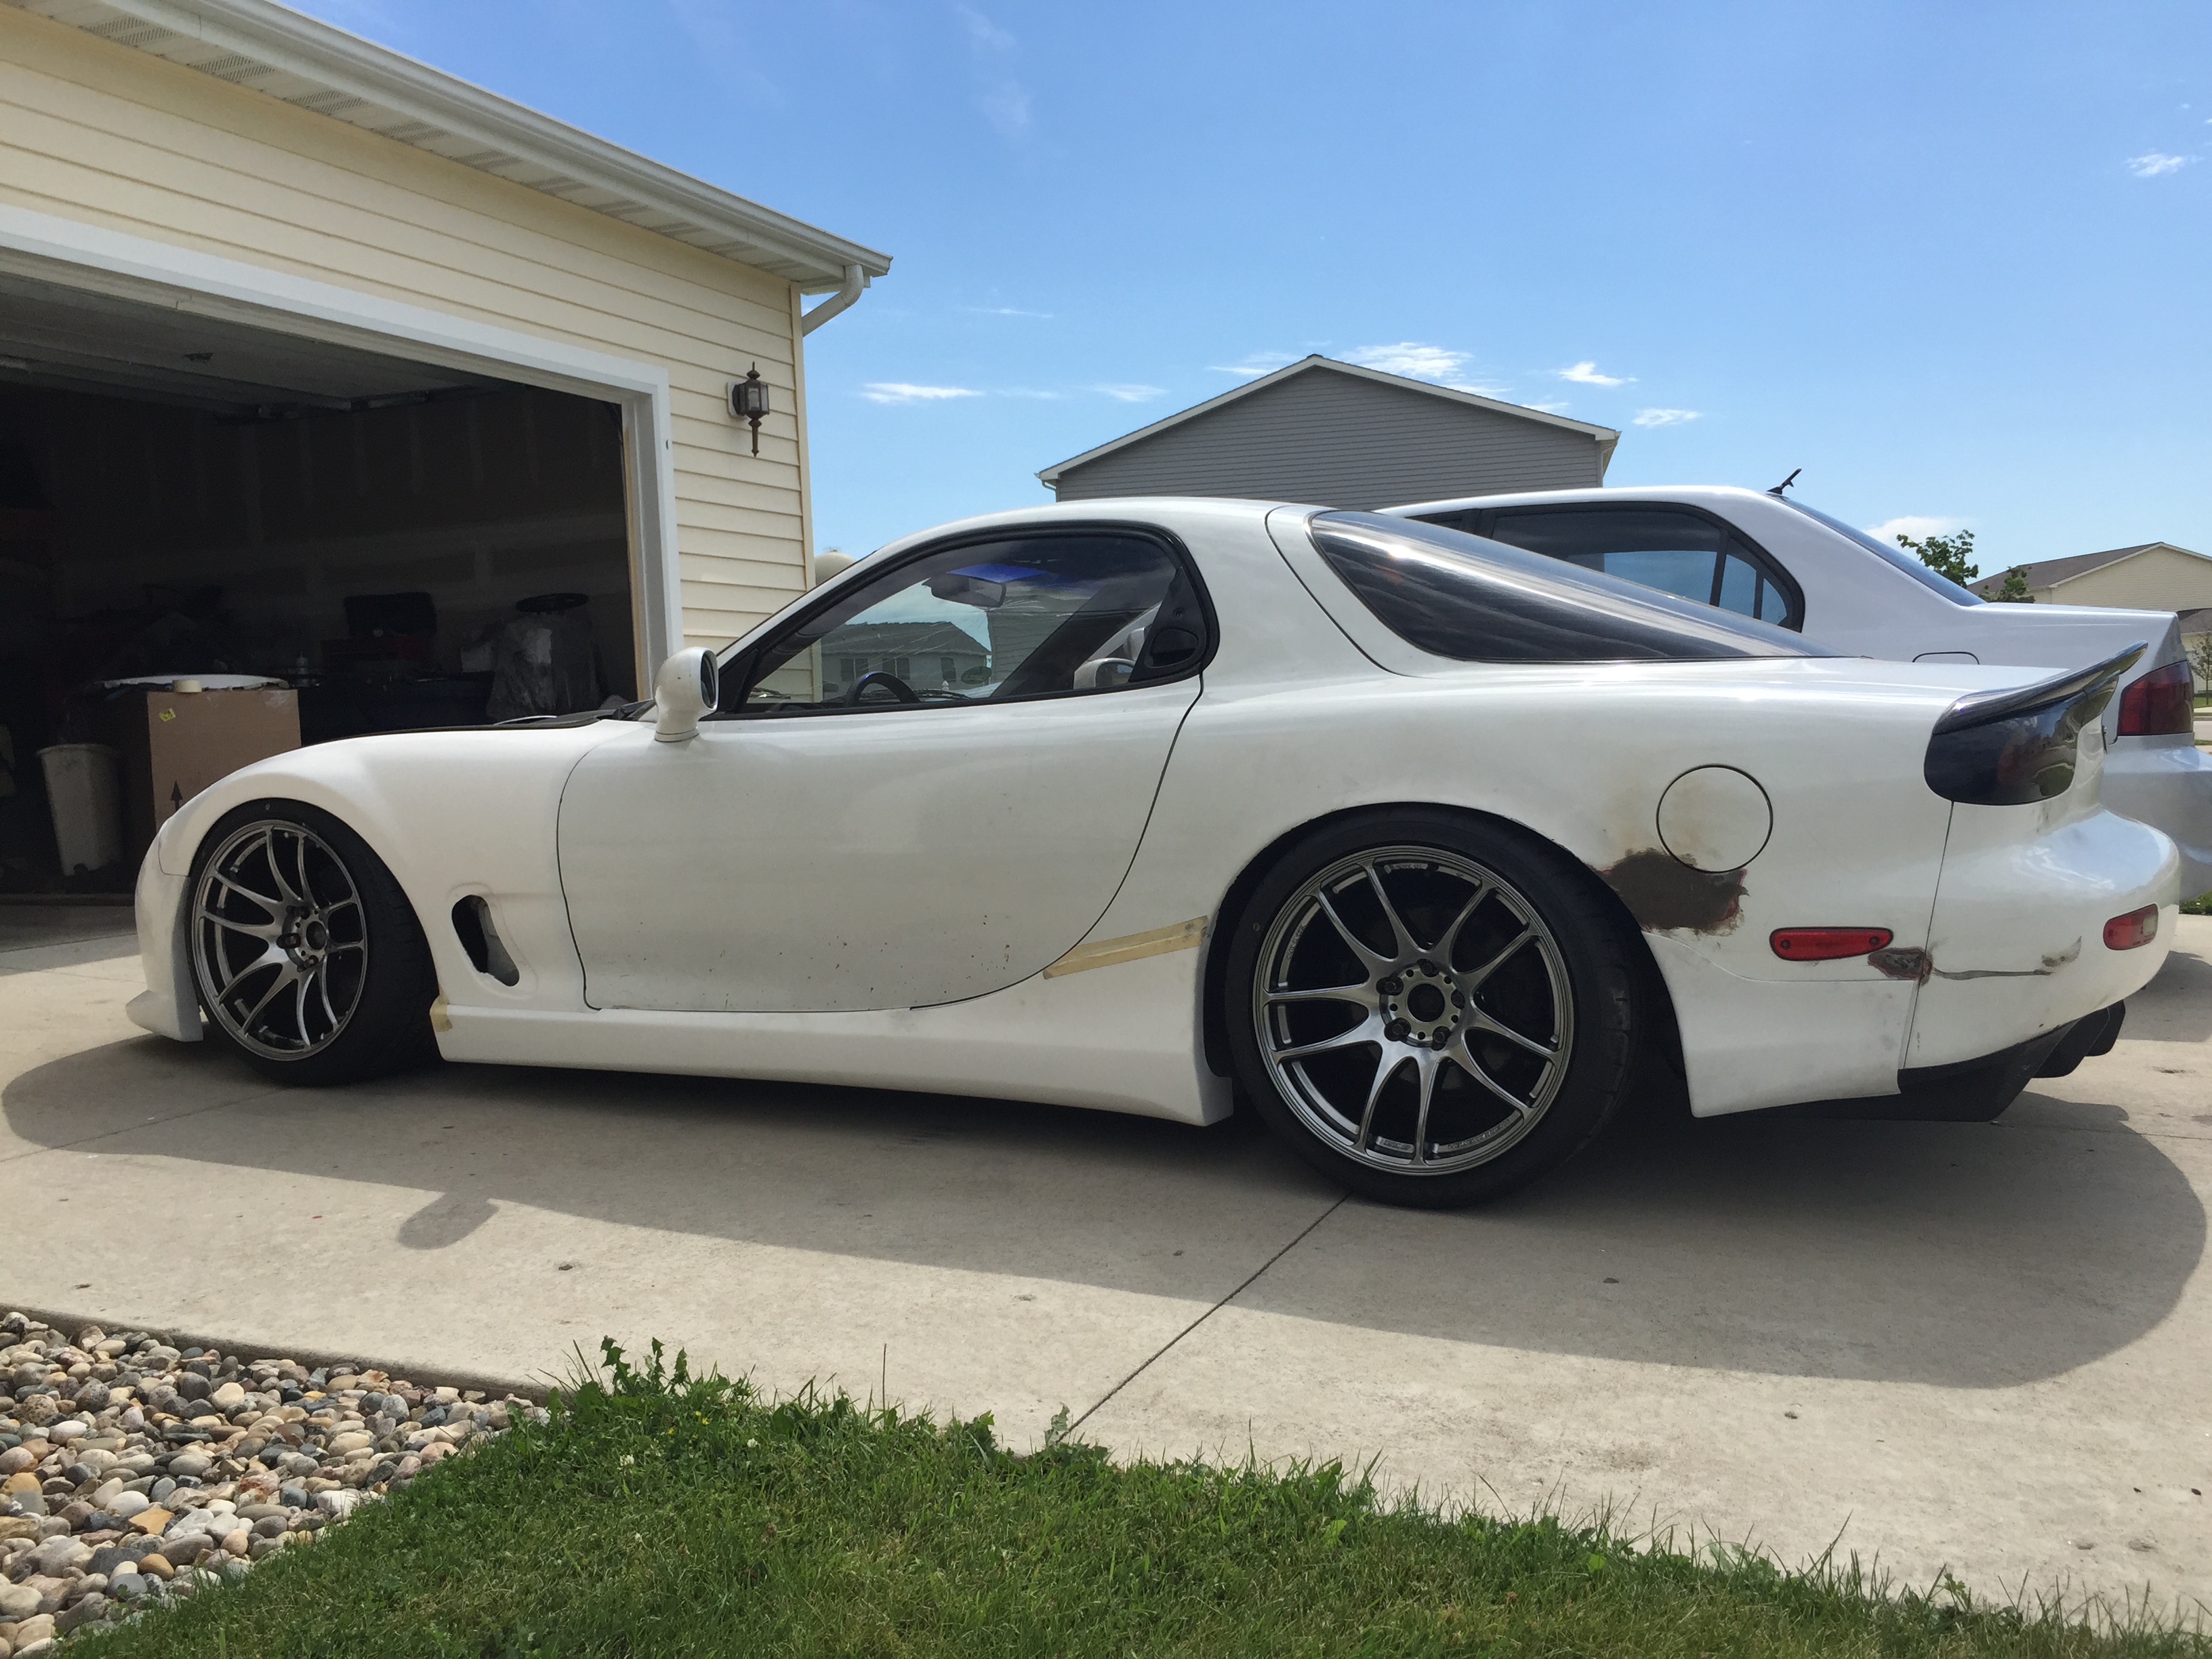
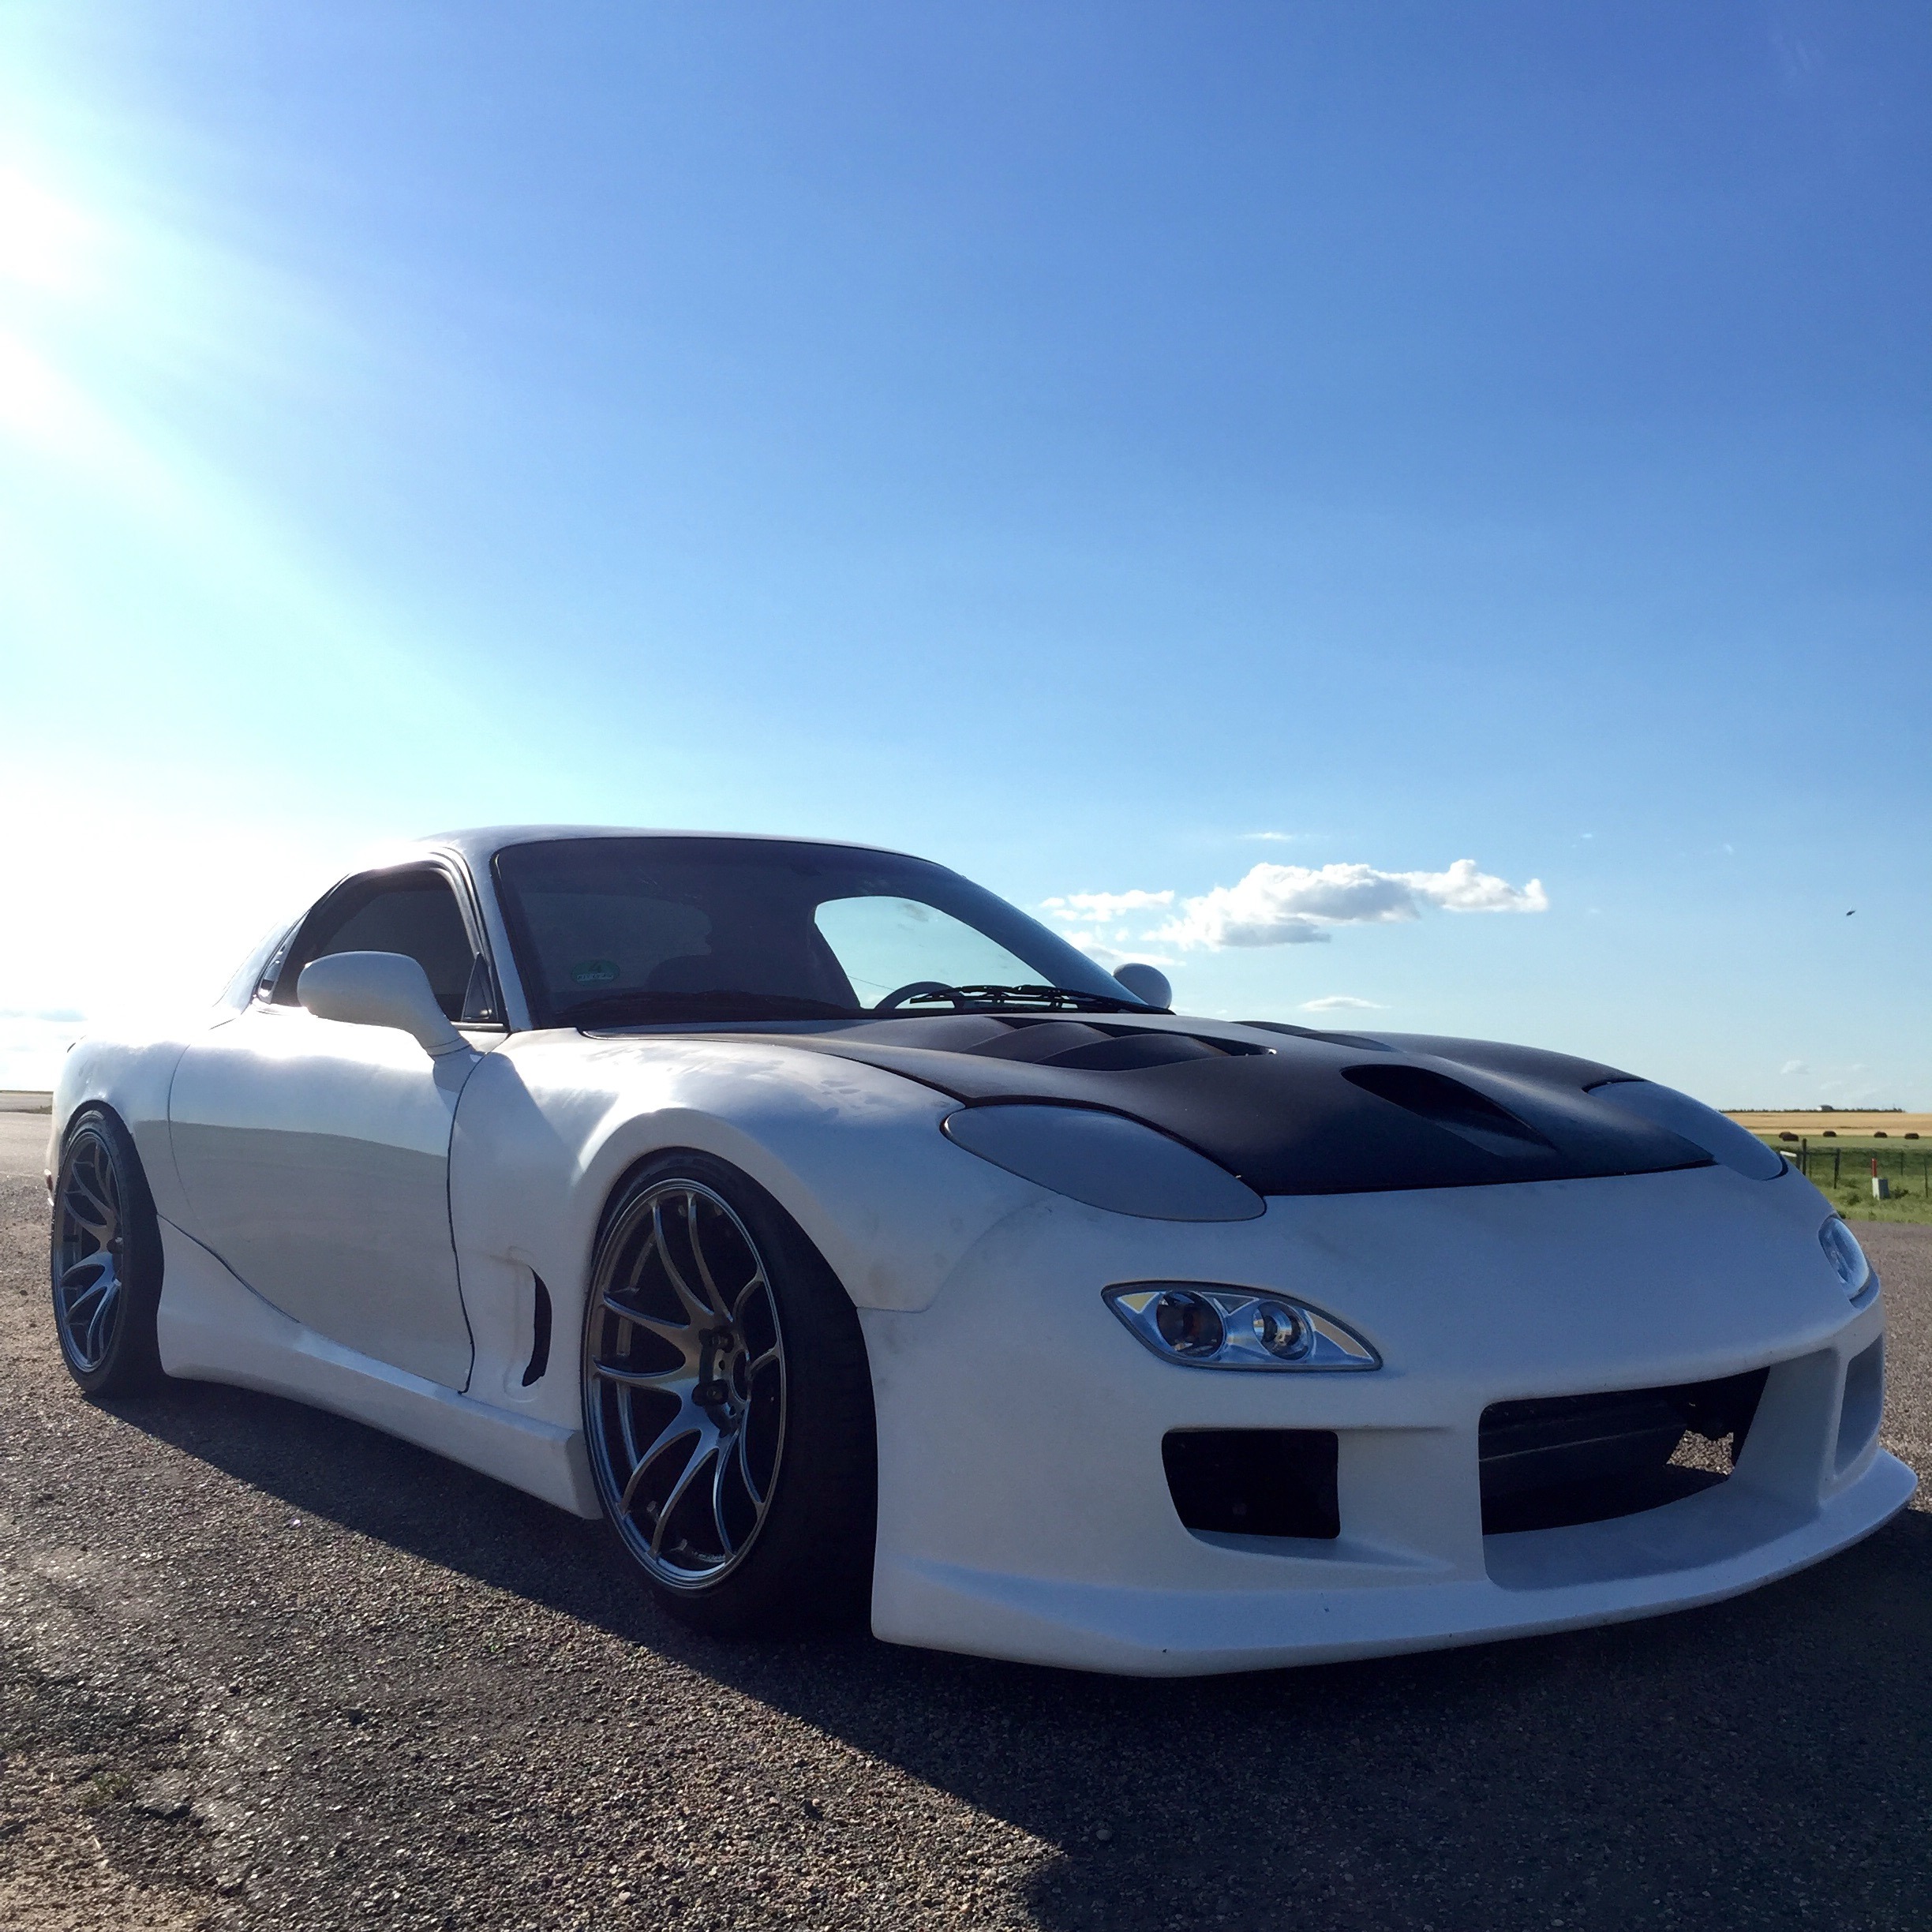
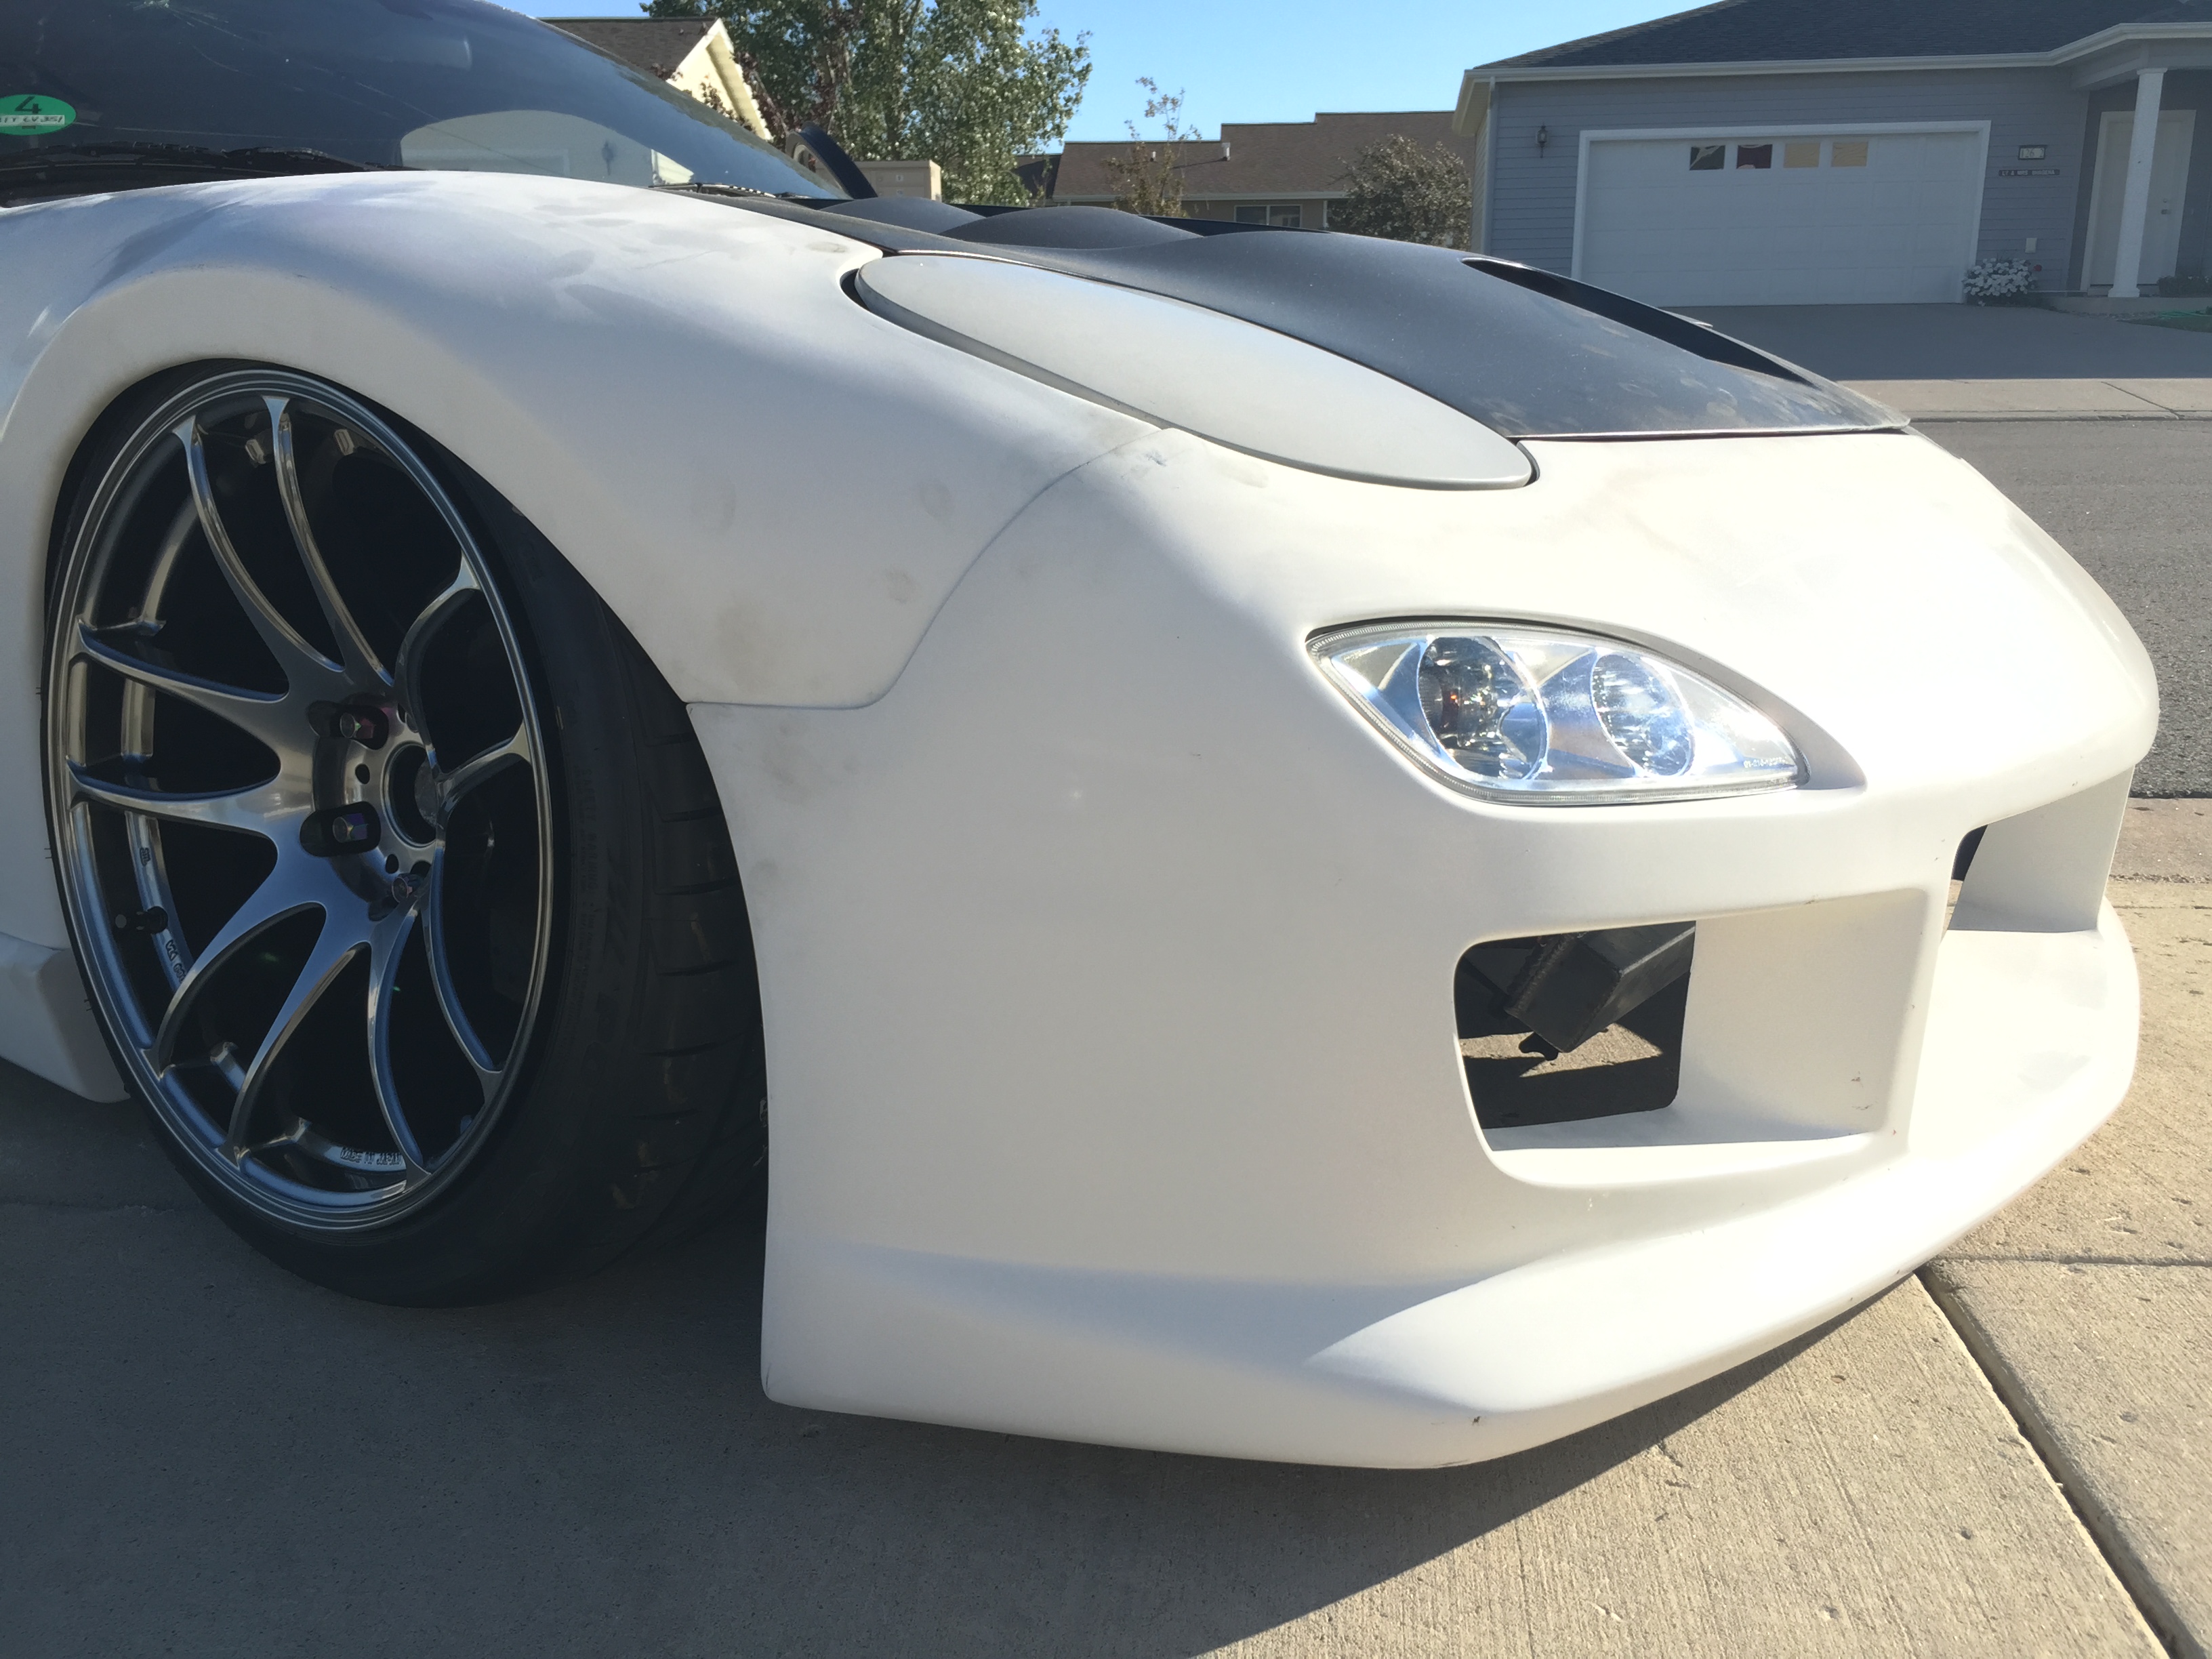
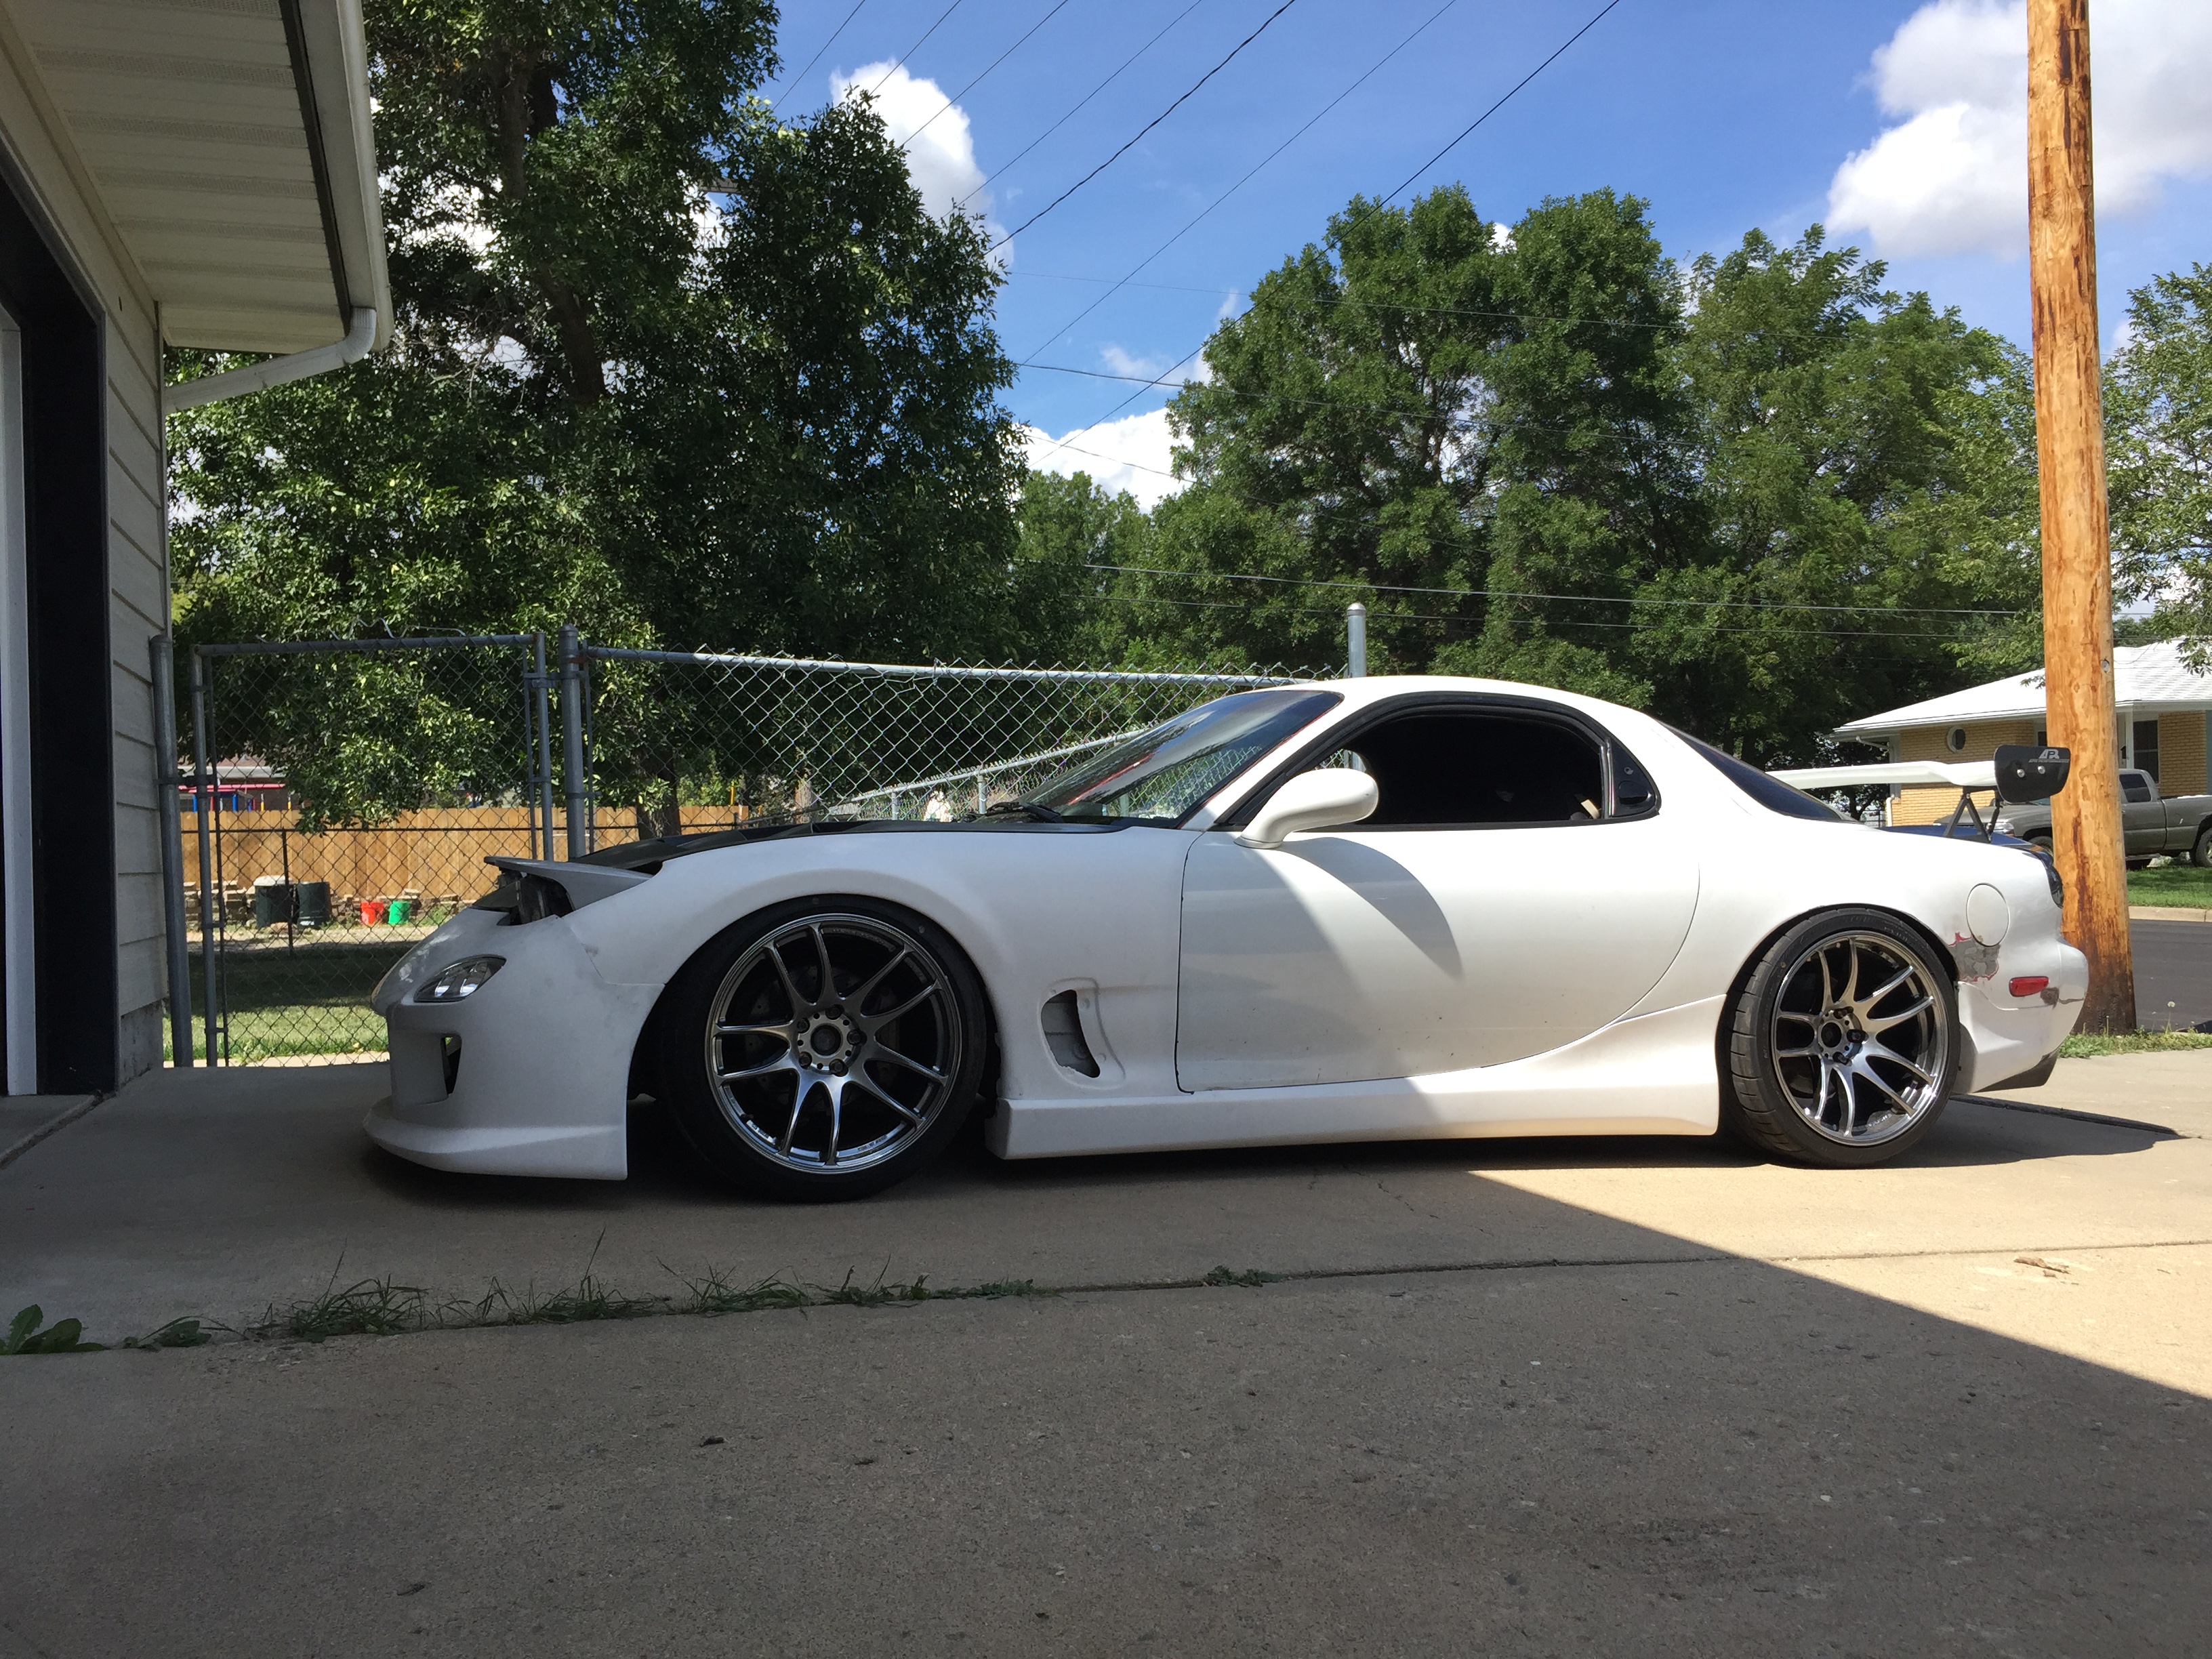
Pulled the car into the driveway to see the kit on outside. So stoked with my choices. I'll man up sometime after the car is actually driving and cut my rear quarters for the flares :/


Thread Starter
Full Member
Joined: Apr 2015
Posts: 140
Likes: 5
From: Great Falls, MT
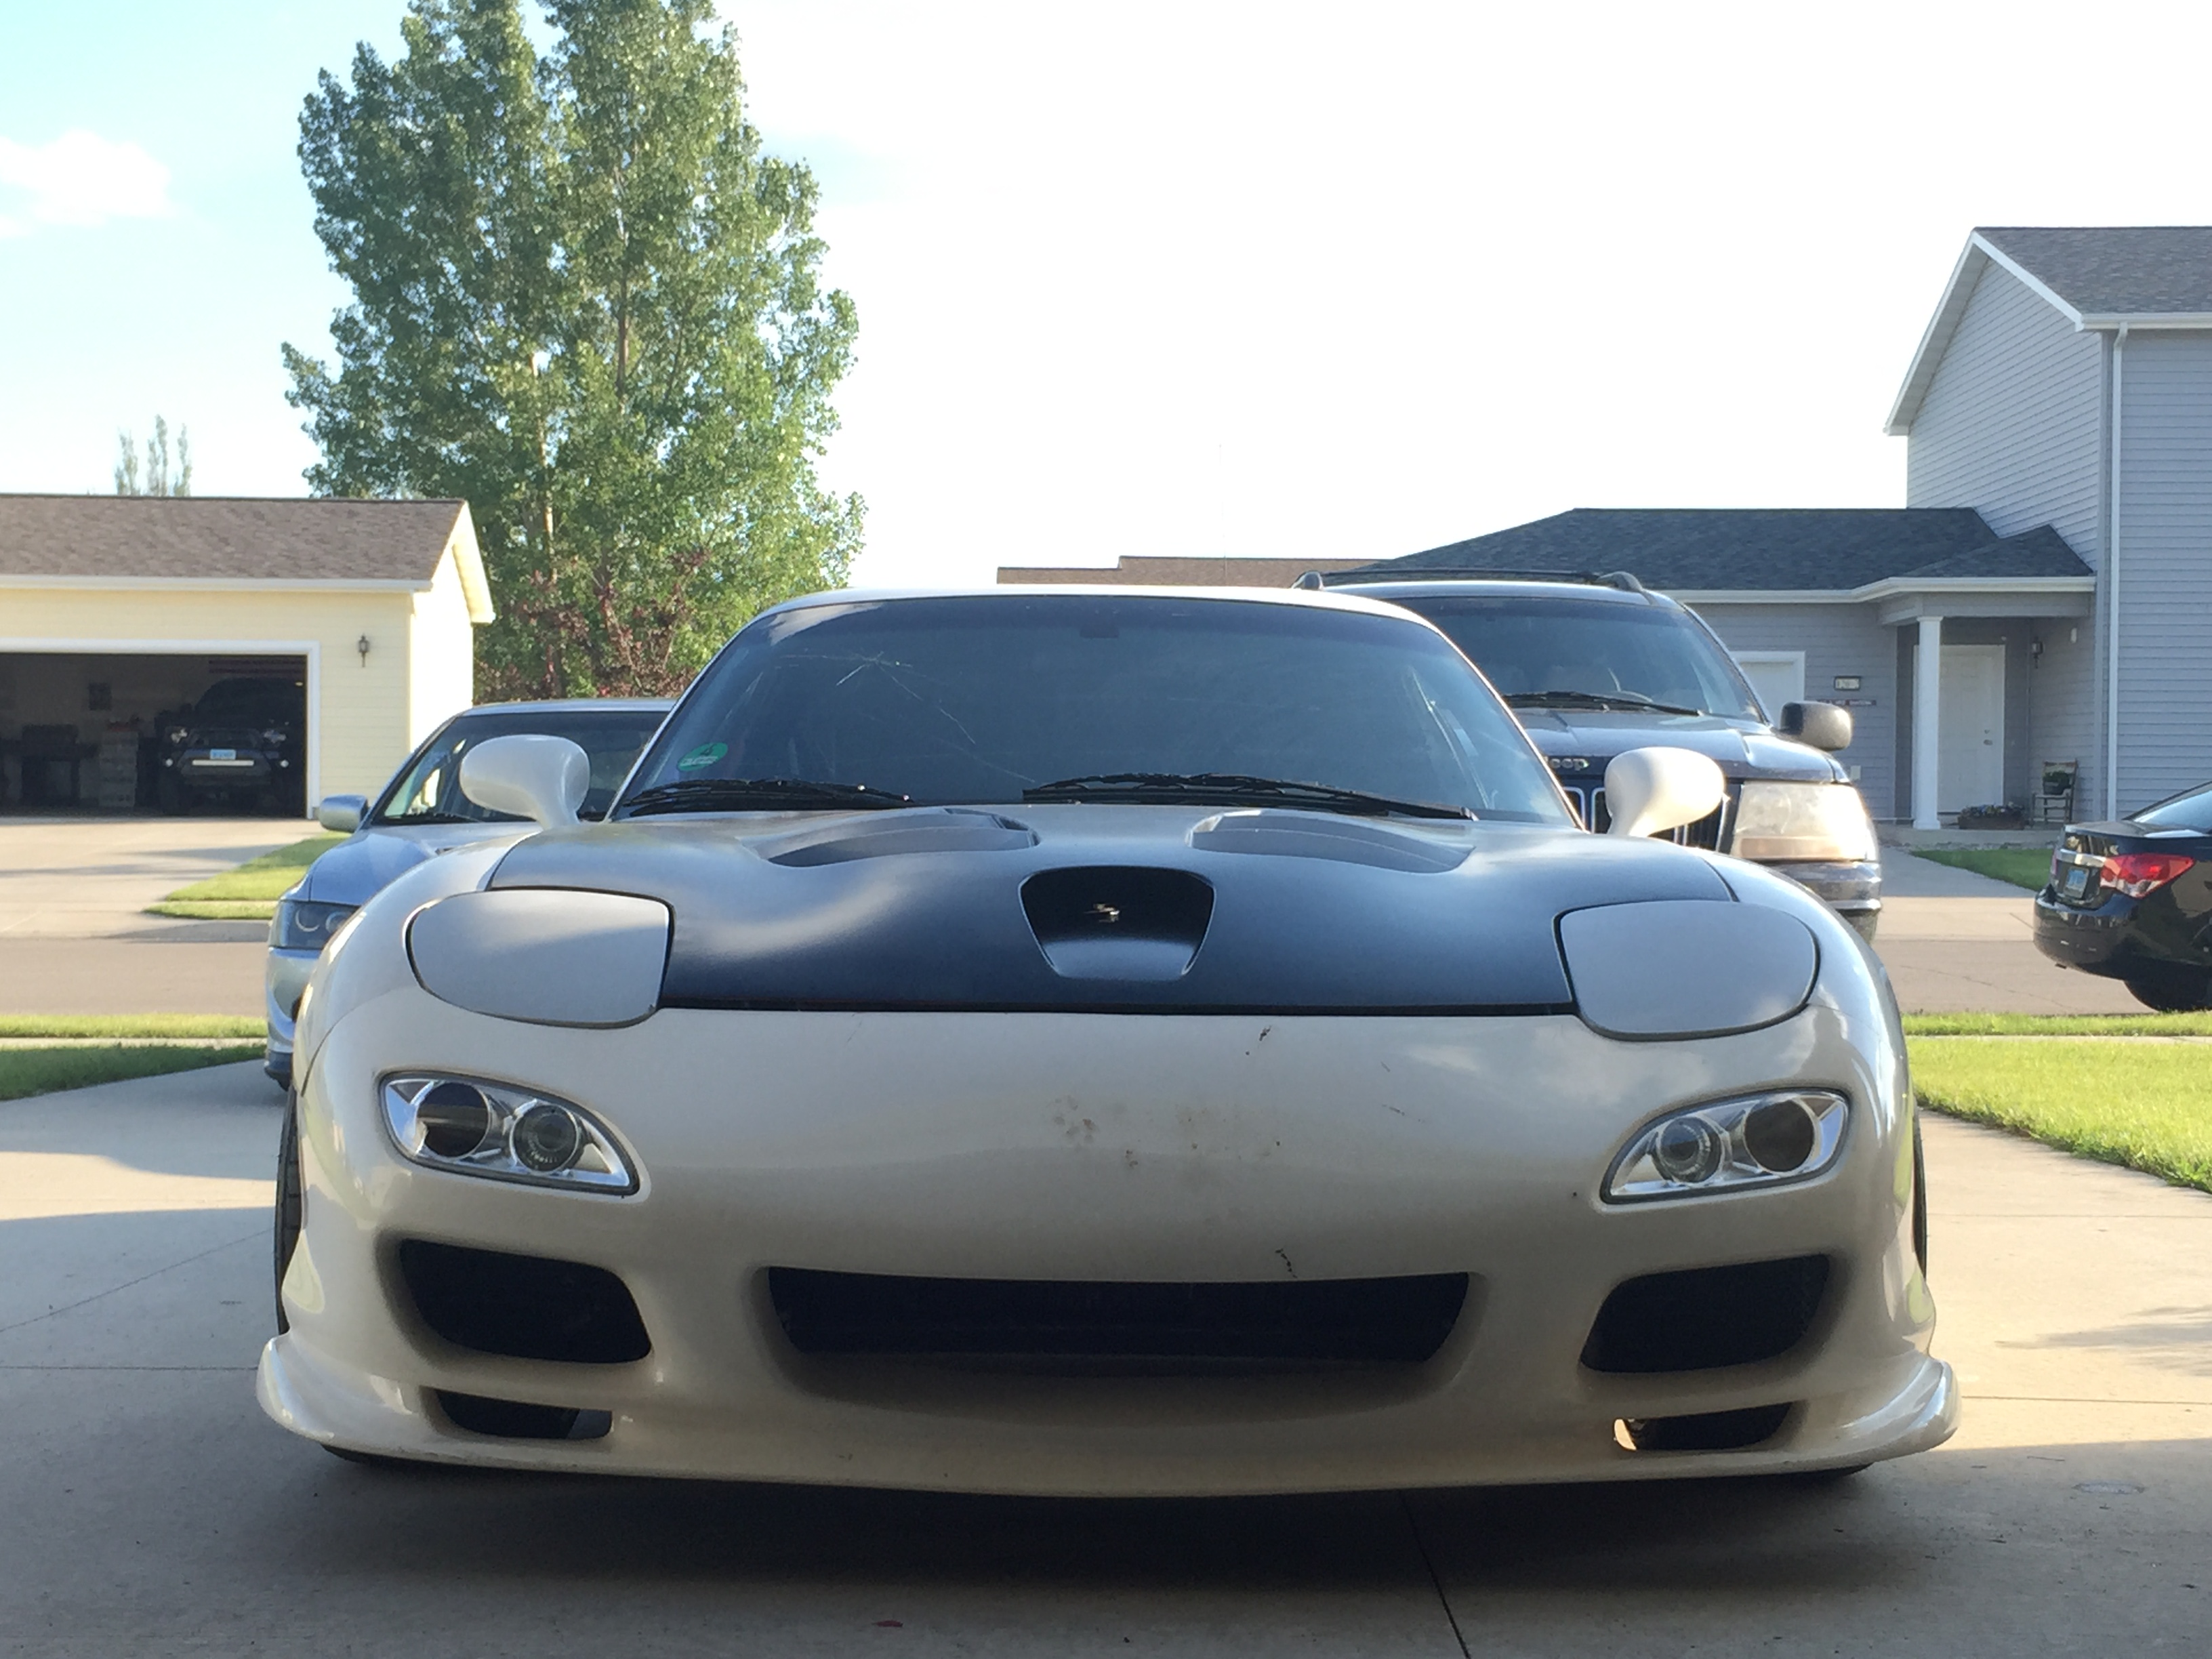
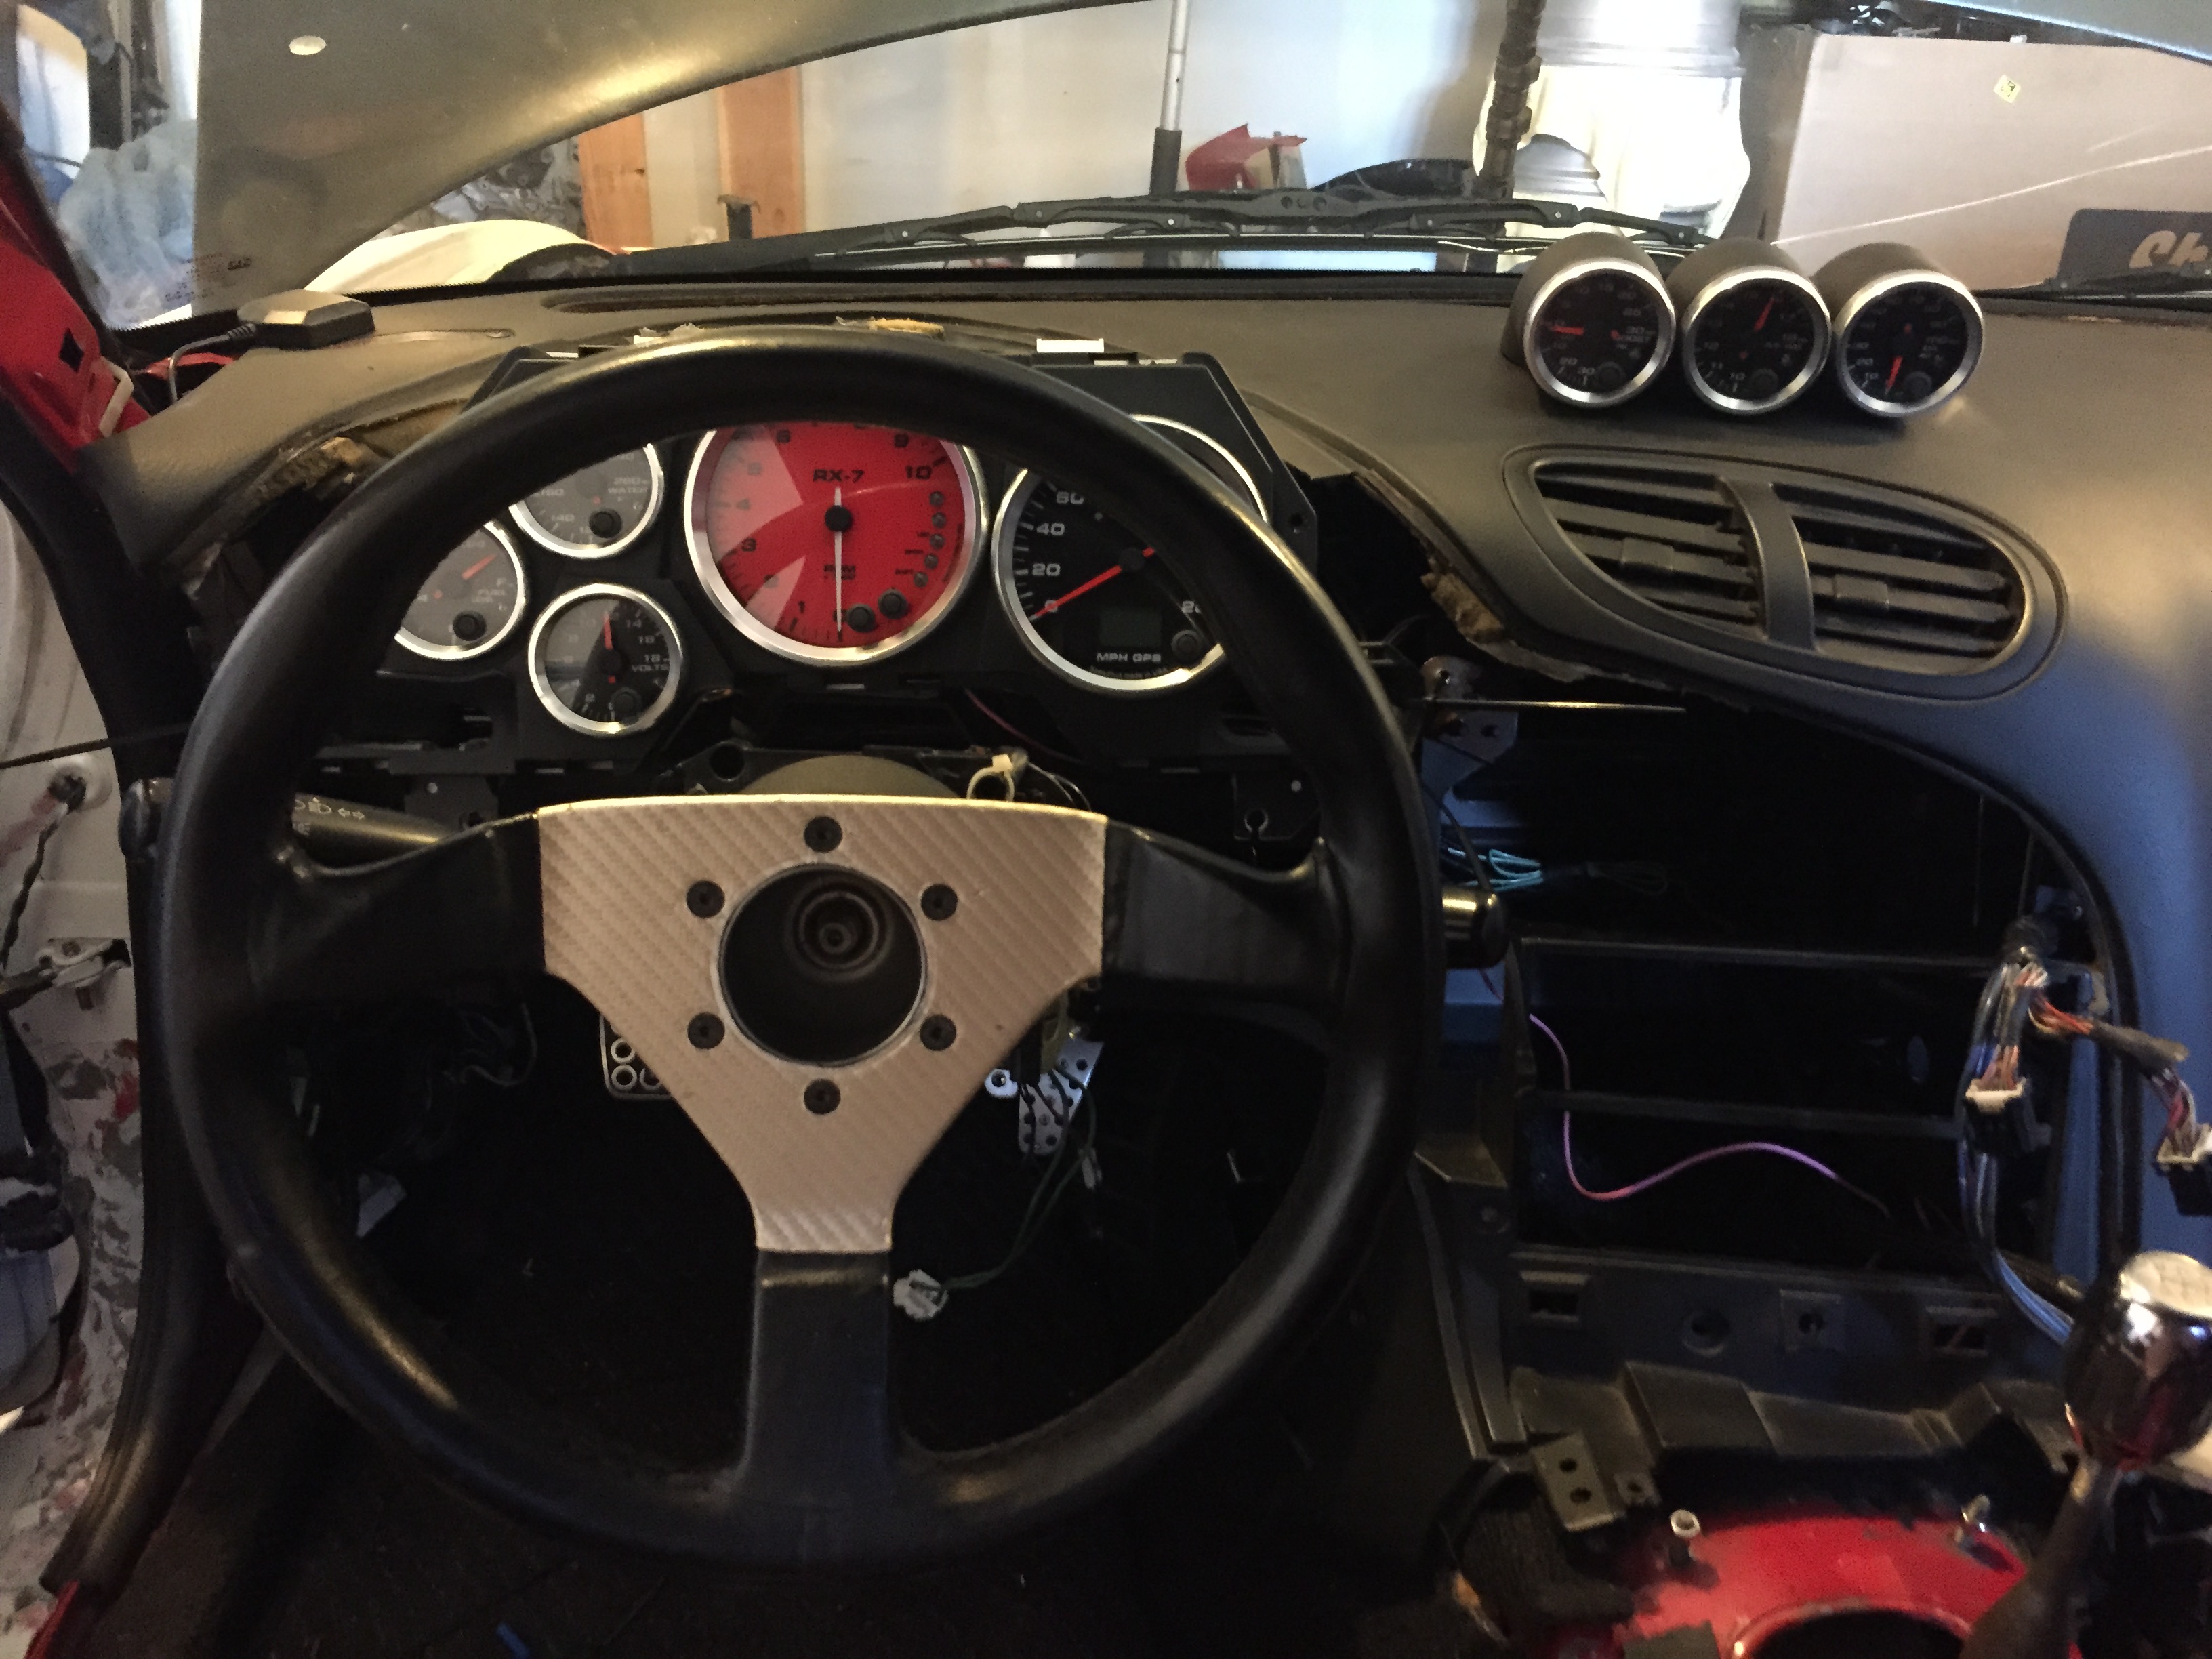
Been busy with work and an unexpected move, but got some more work done on the car. I decided to put the gauges in the car just to make sure everything worked and took her off base for the first time. It was a pretty sketchy drive lol (way out of alignment, wiring hanging everywhere..literally...good times). Took a couple pics off base
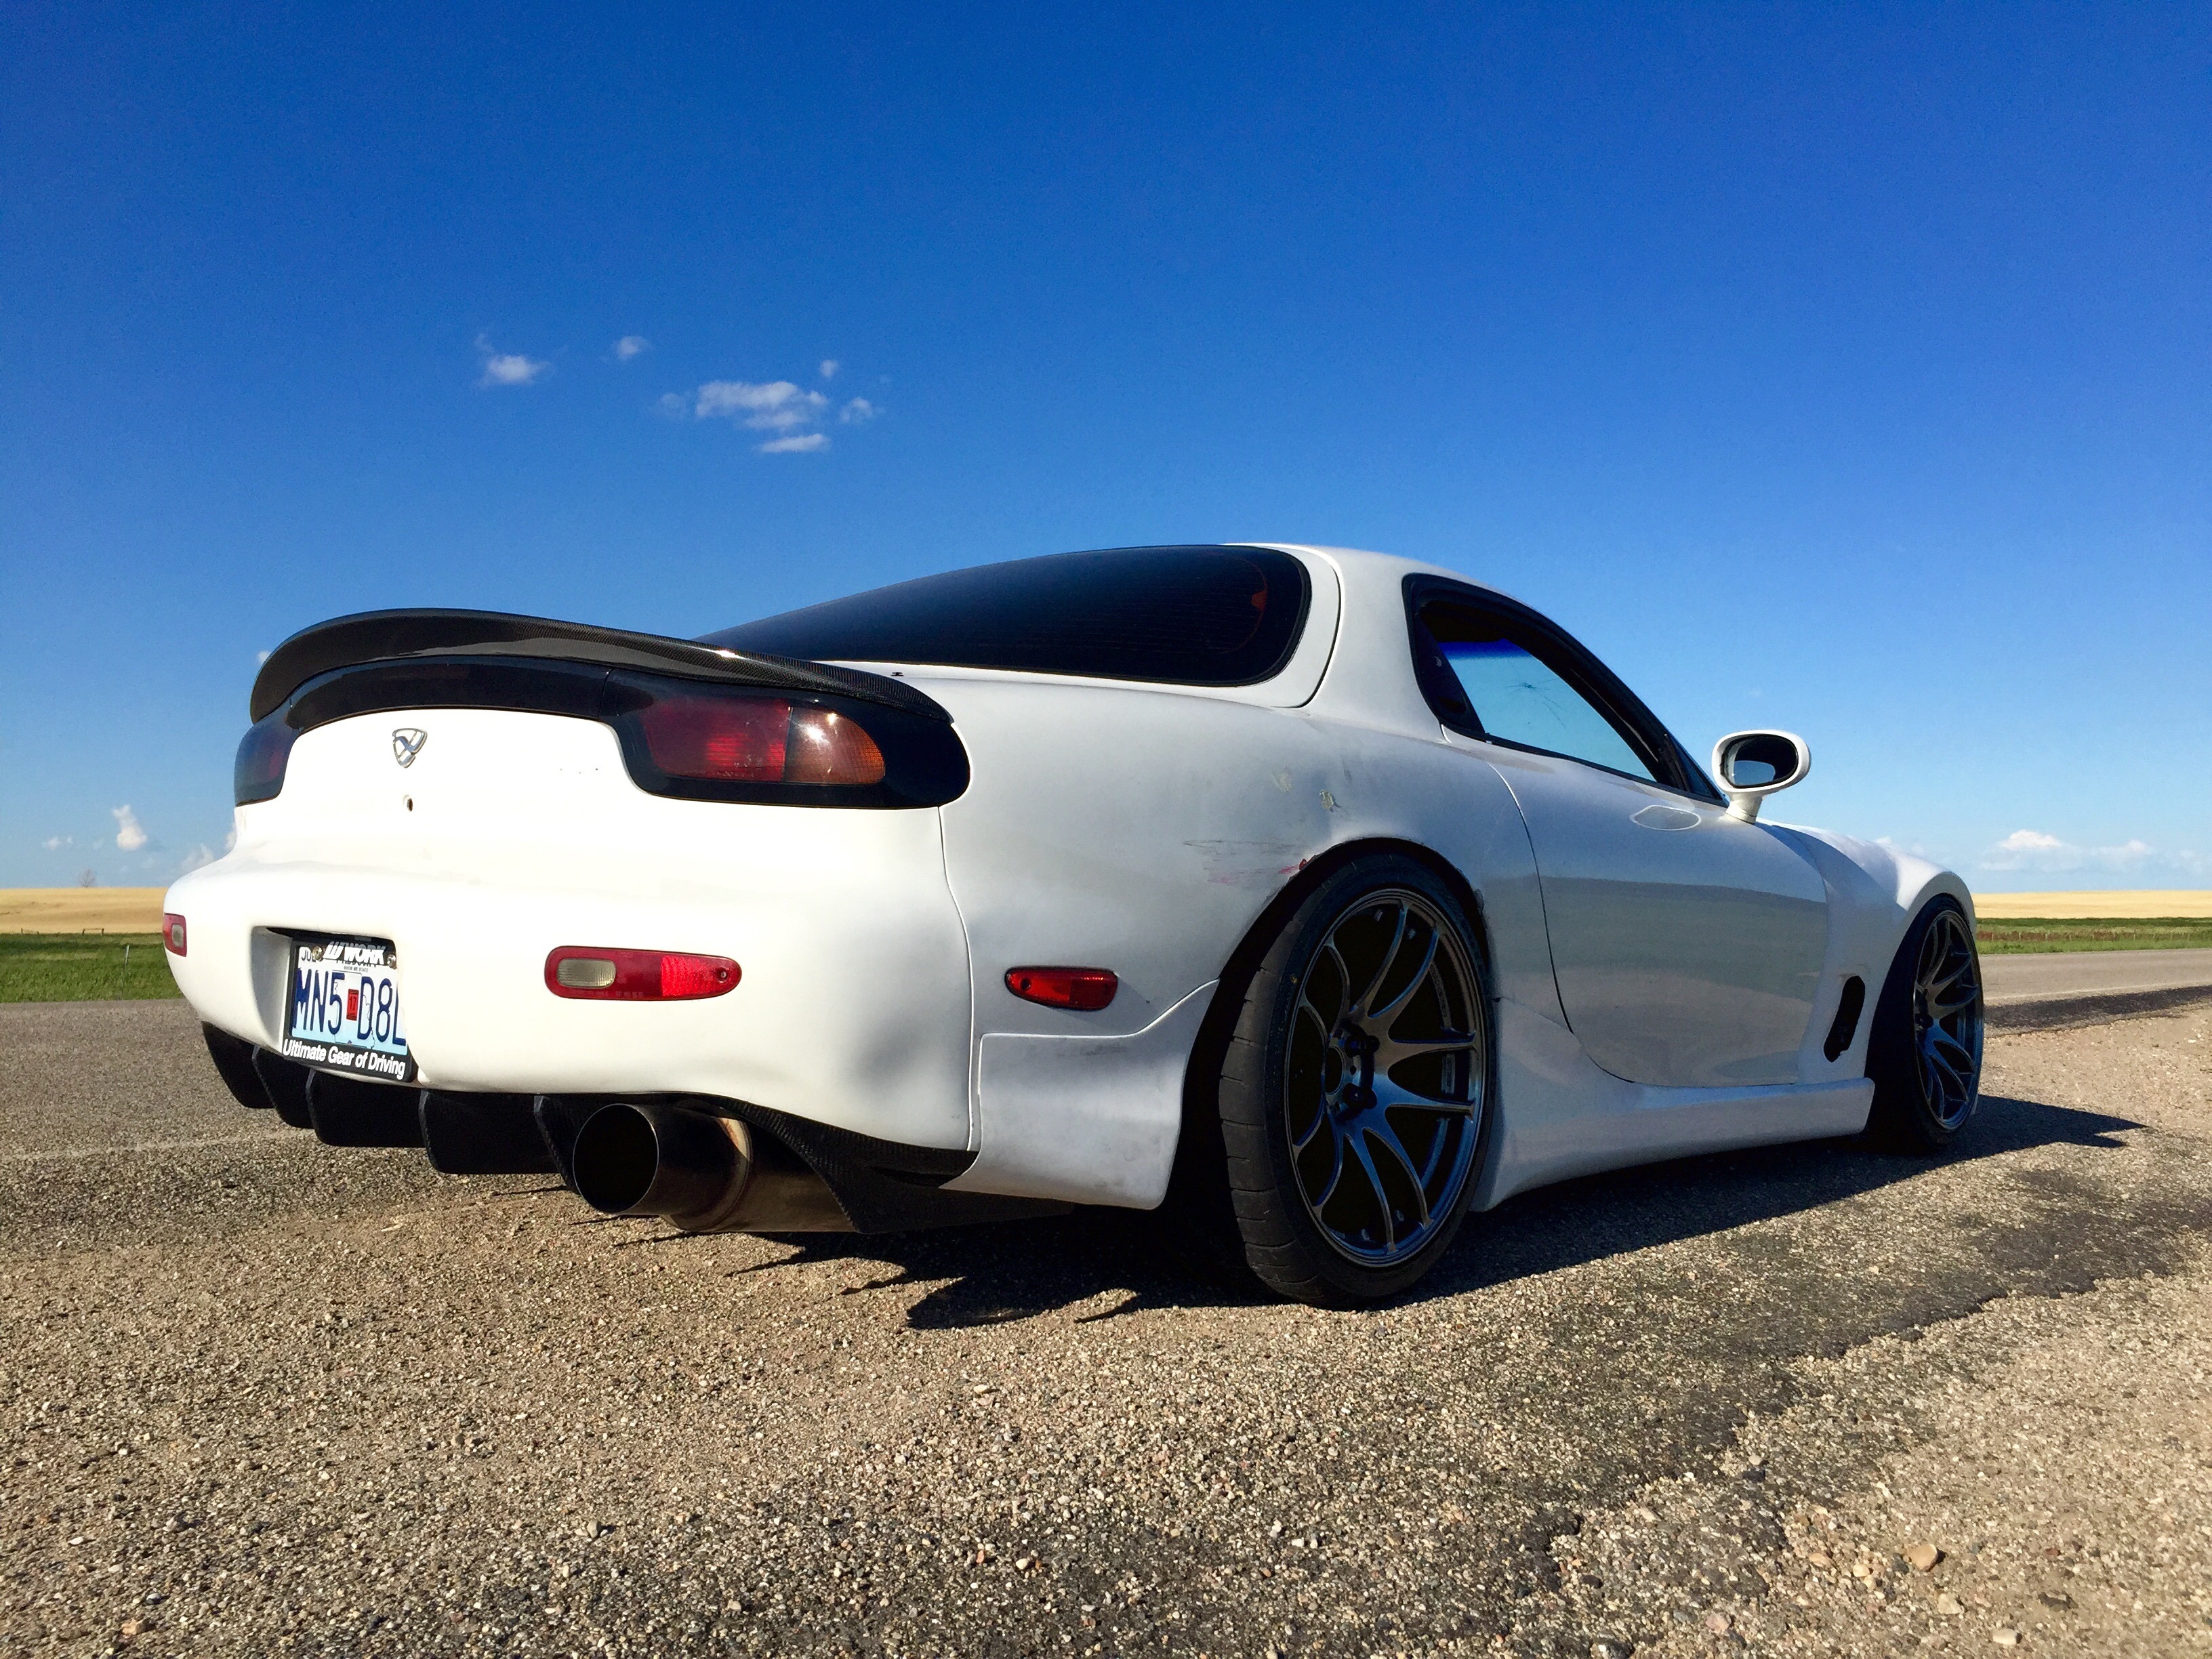
Noticed the car would look really good bagged as I was pulling into my driveway :p
I plan on doing PKE and remote start on this car down the road, so I figured while the interior was apart that I would remove the steering wheel lock. Much simpler than I thought it would be. I just broke off the tab on there with some pliers and no more steering wheel lock!
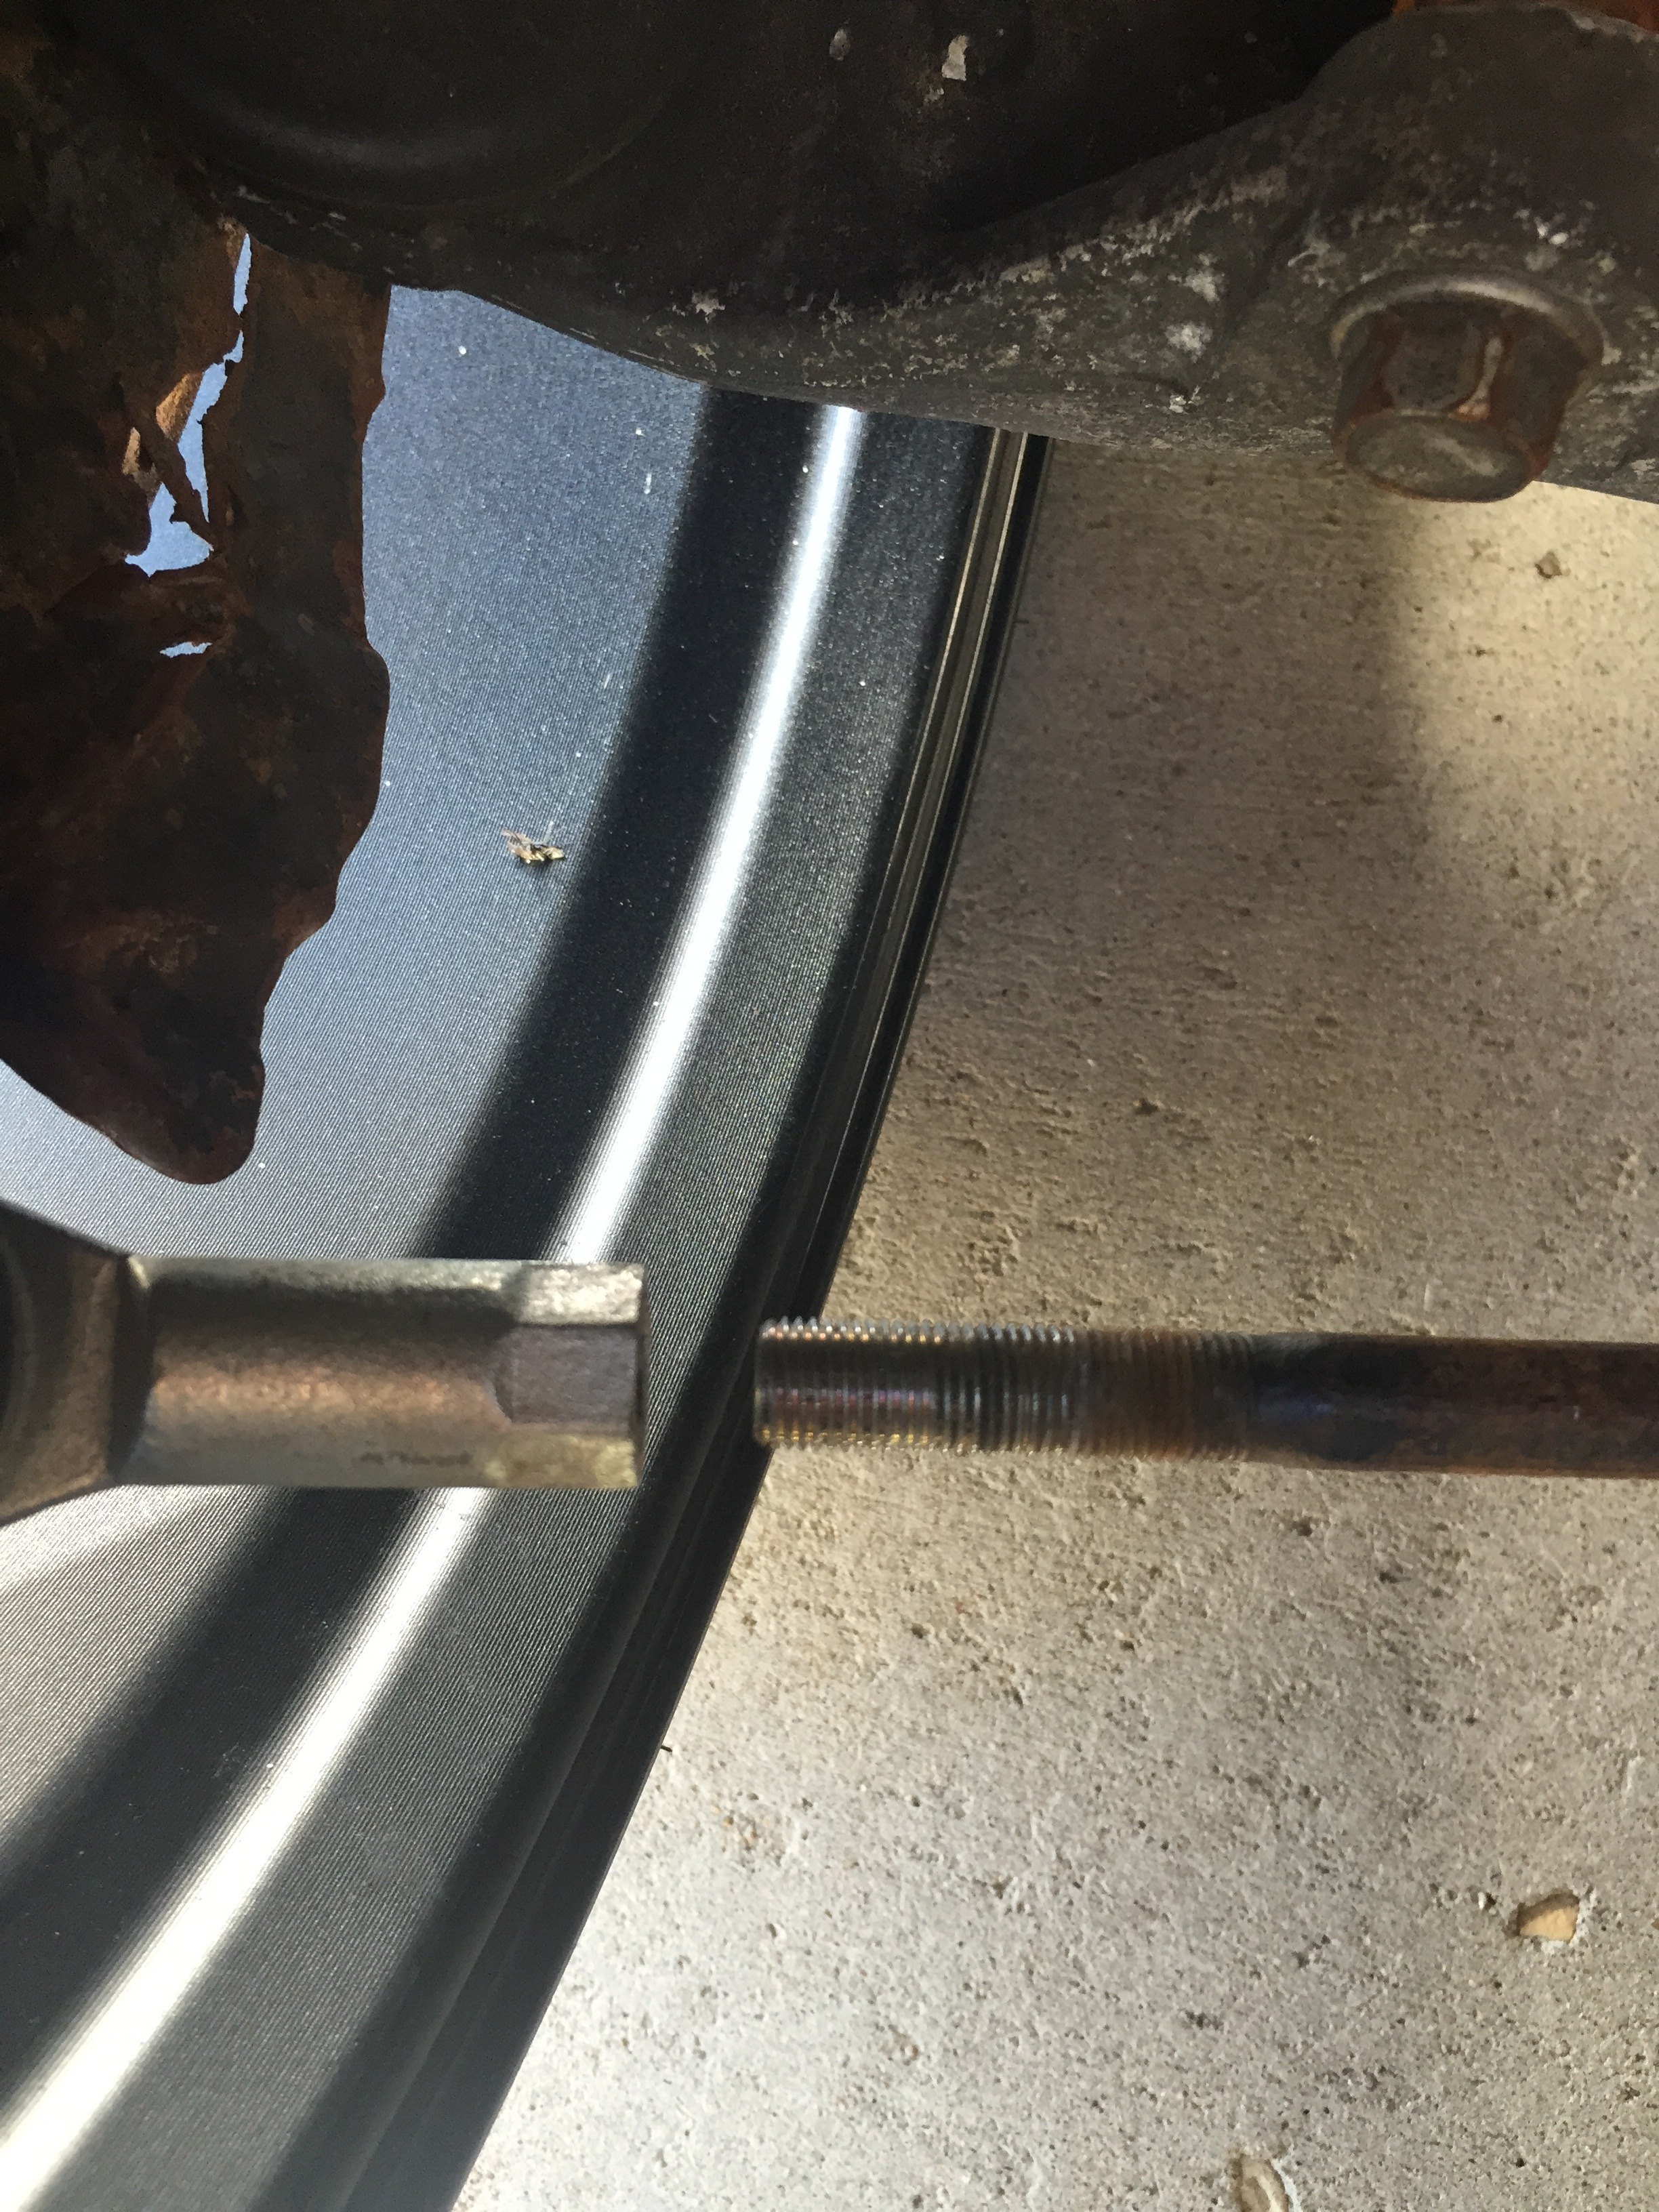
When I got the steering wheel back on after that I noticed something odd...the car turned more one way than the other. Wtf. So I checked out the tie rods and the passenger side had a spacer on it, but not the driver side. Okay then. The car has an FC rack in it so I guess that rack is a bit shorter than the RX-7 rack, as seen here.
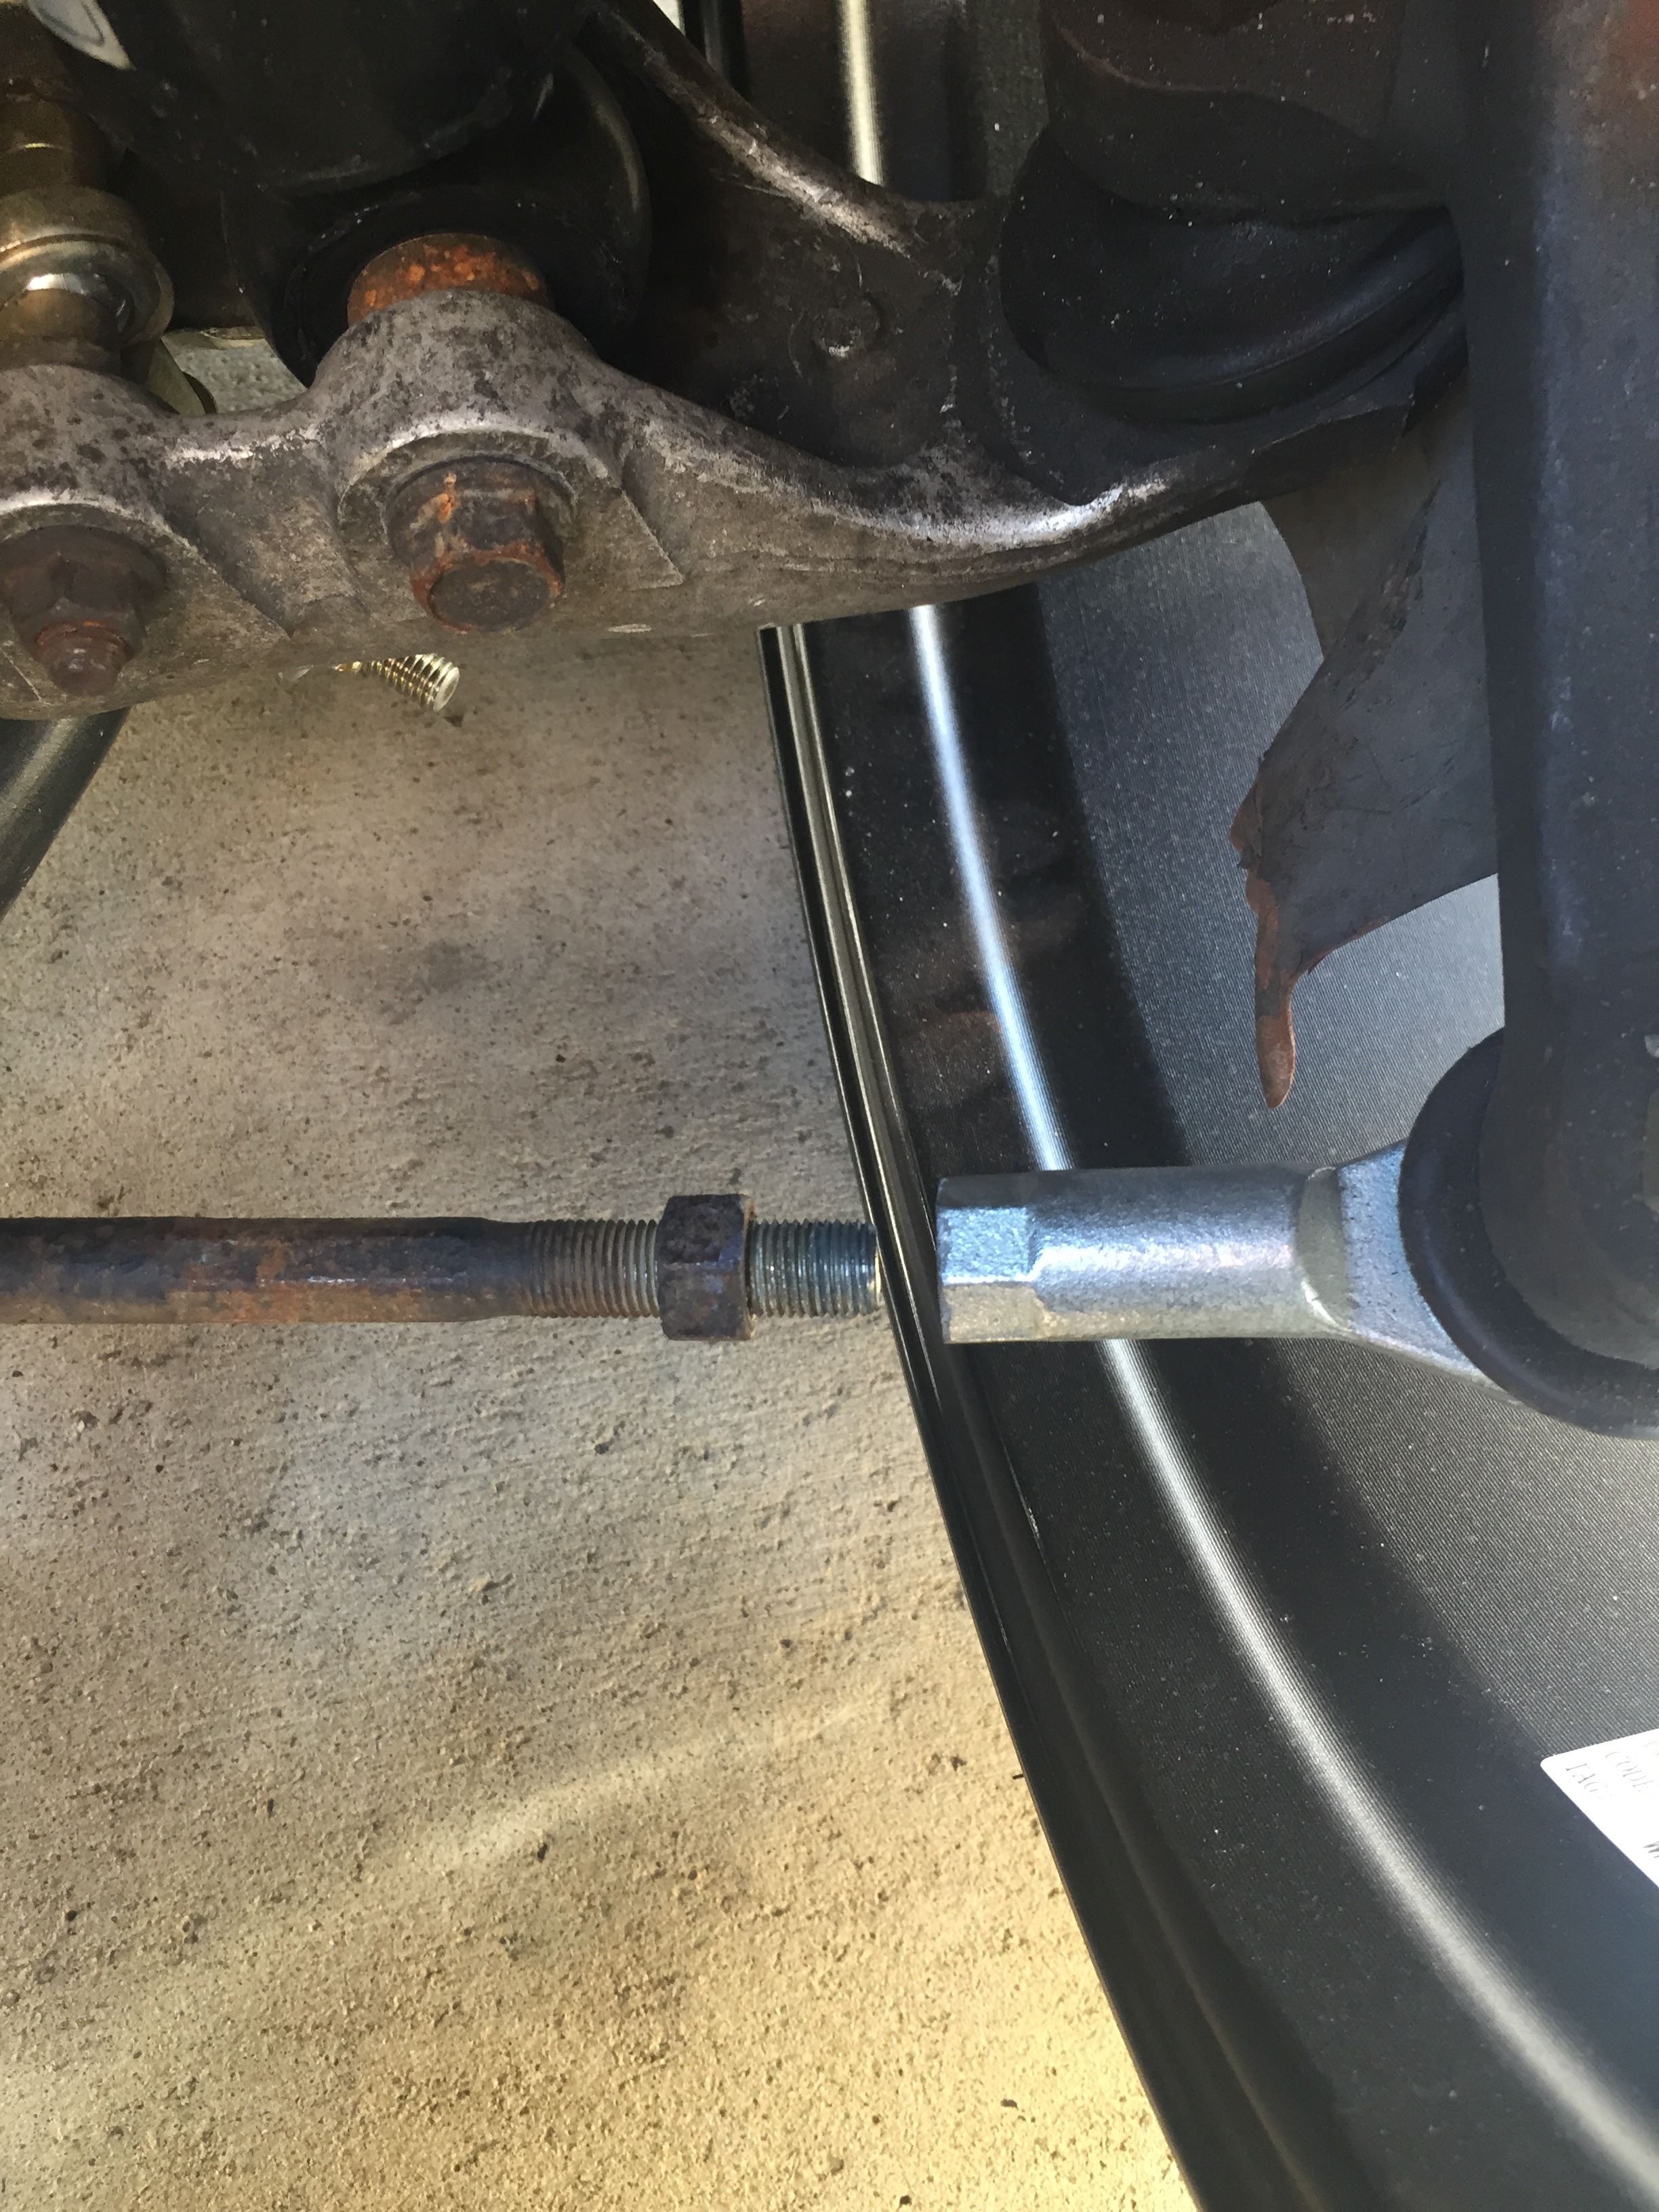
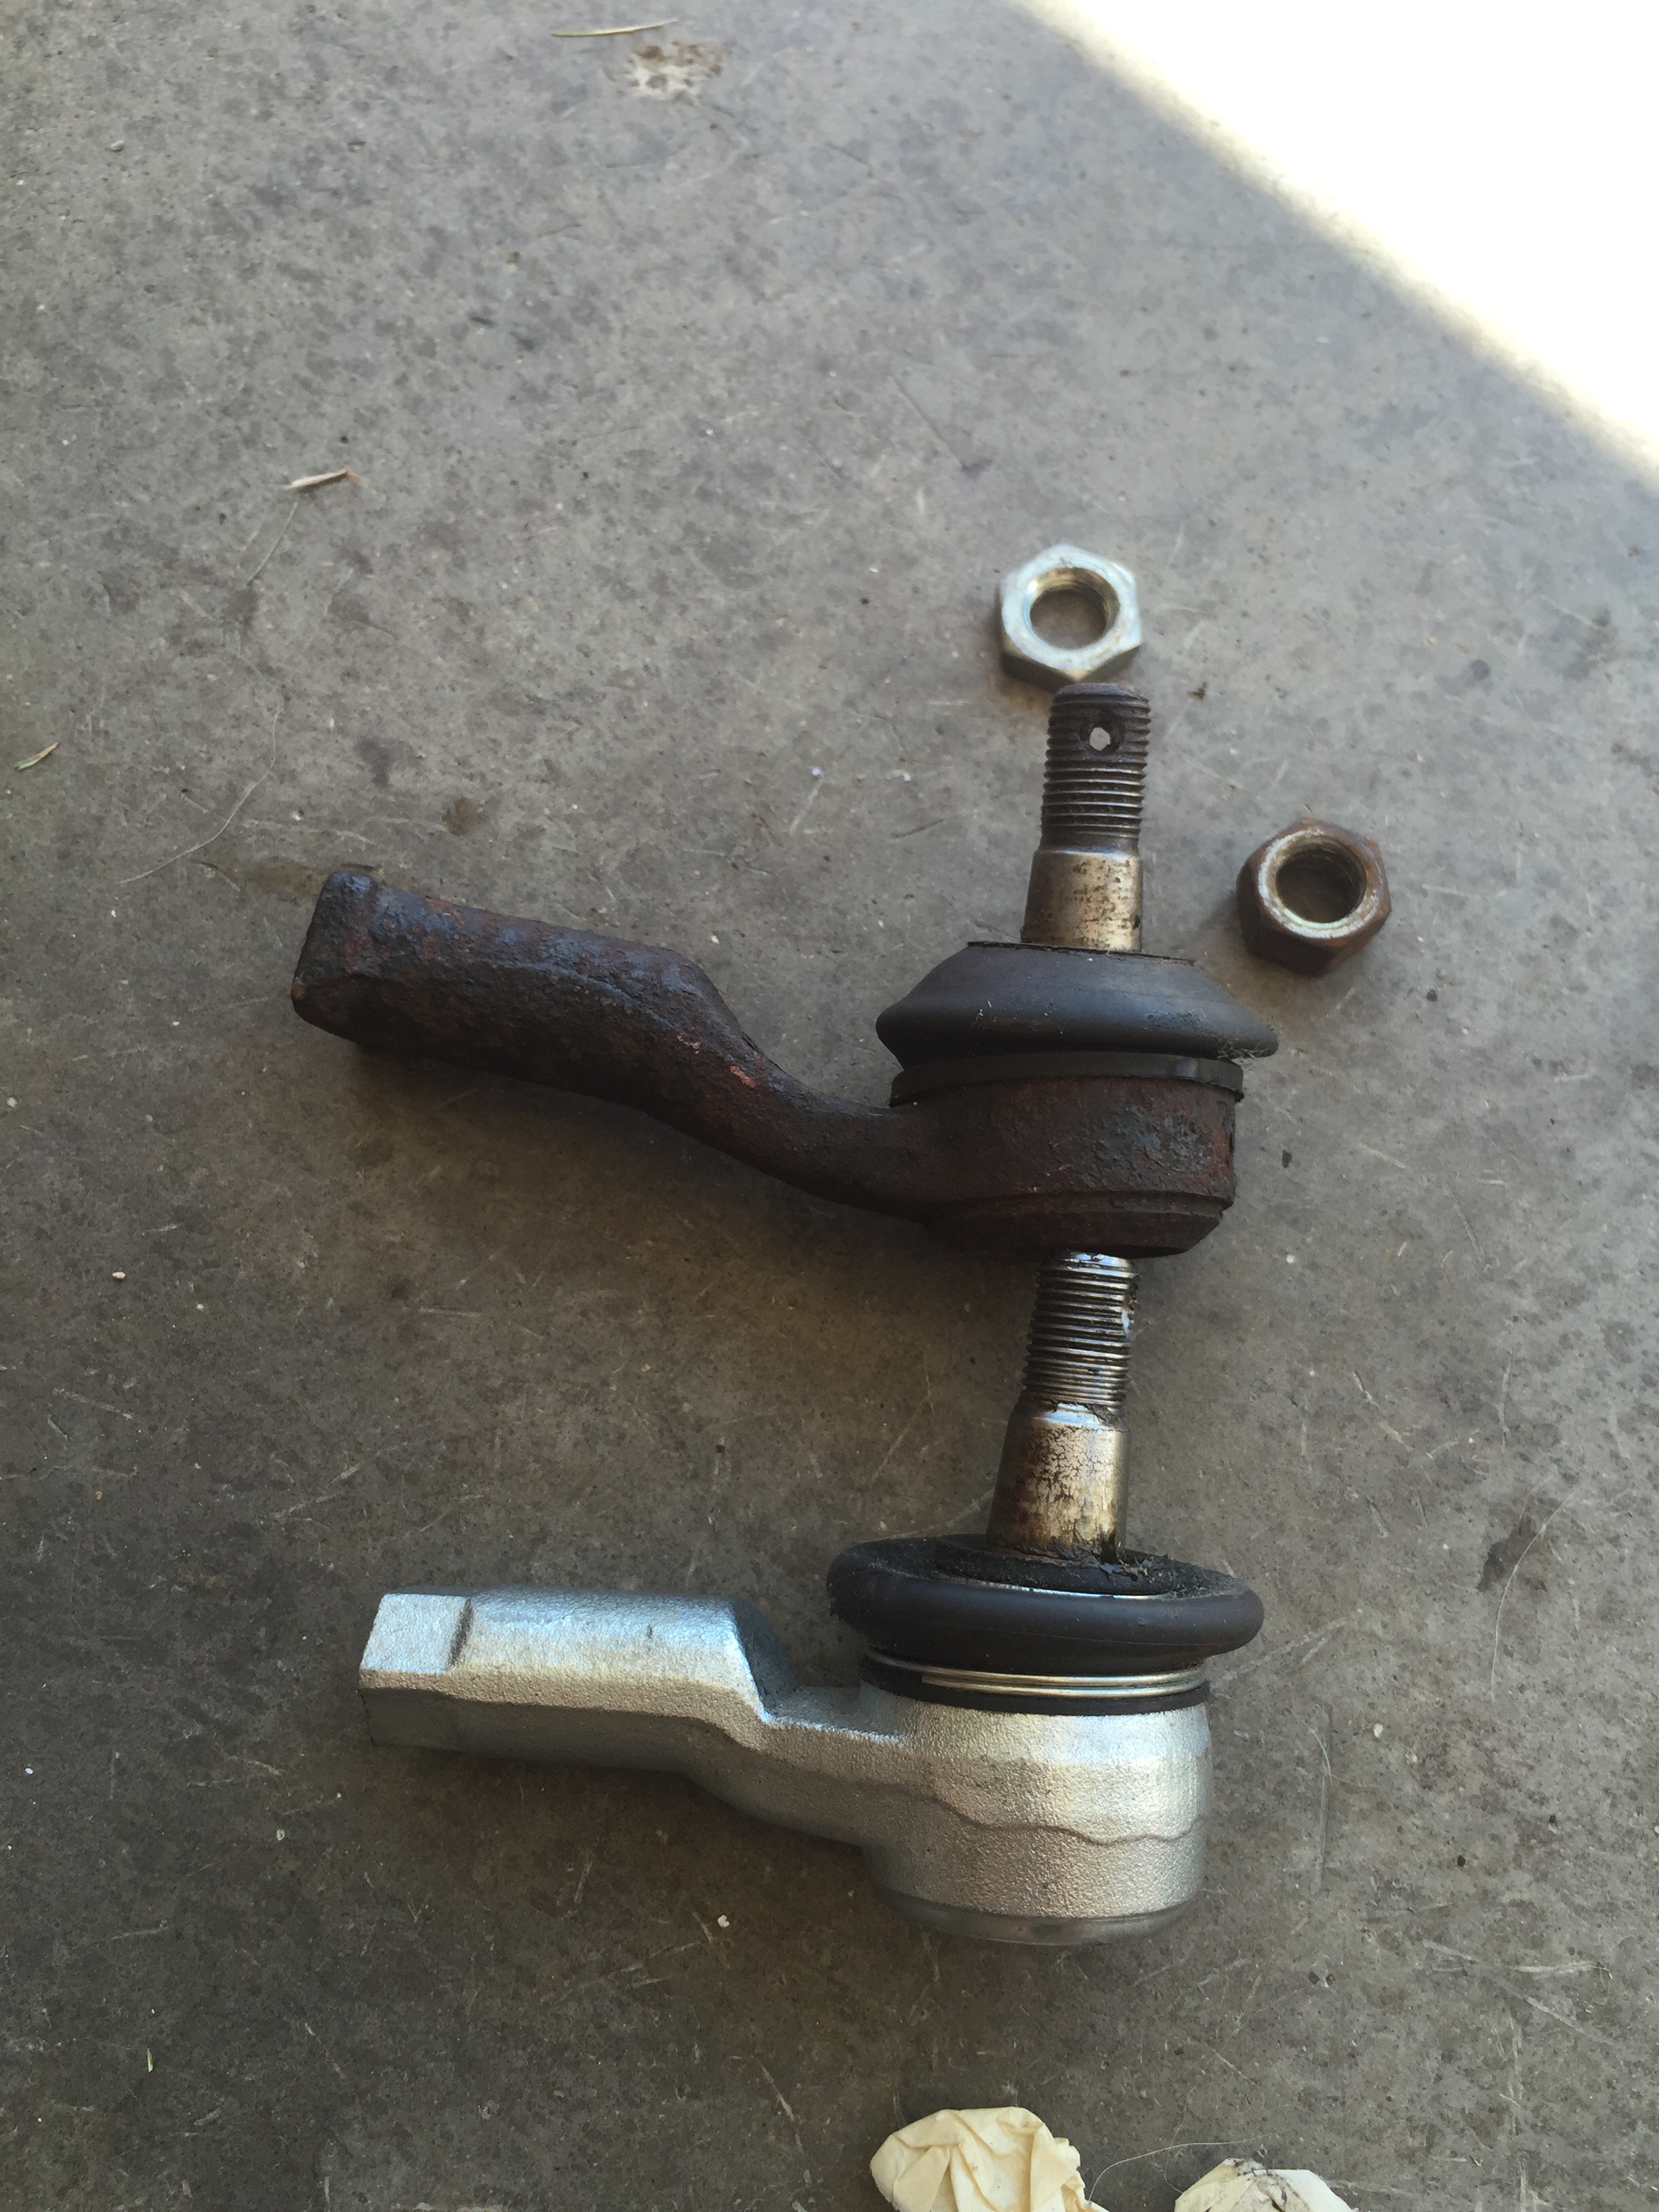
The previous owner used the FC inner tie rods and the FD outer tie rods, which didnt work well together. The FC outer tie rods are the wrong shape and wouldn't work, so I started doing some research.
FC vs FD
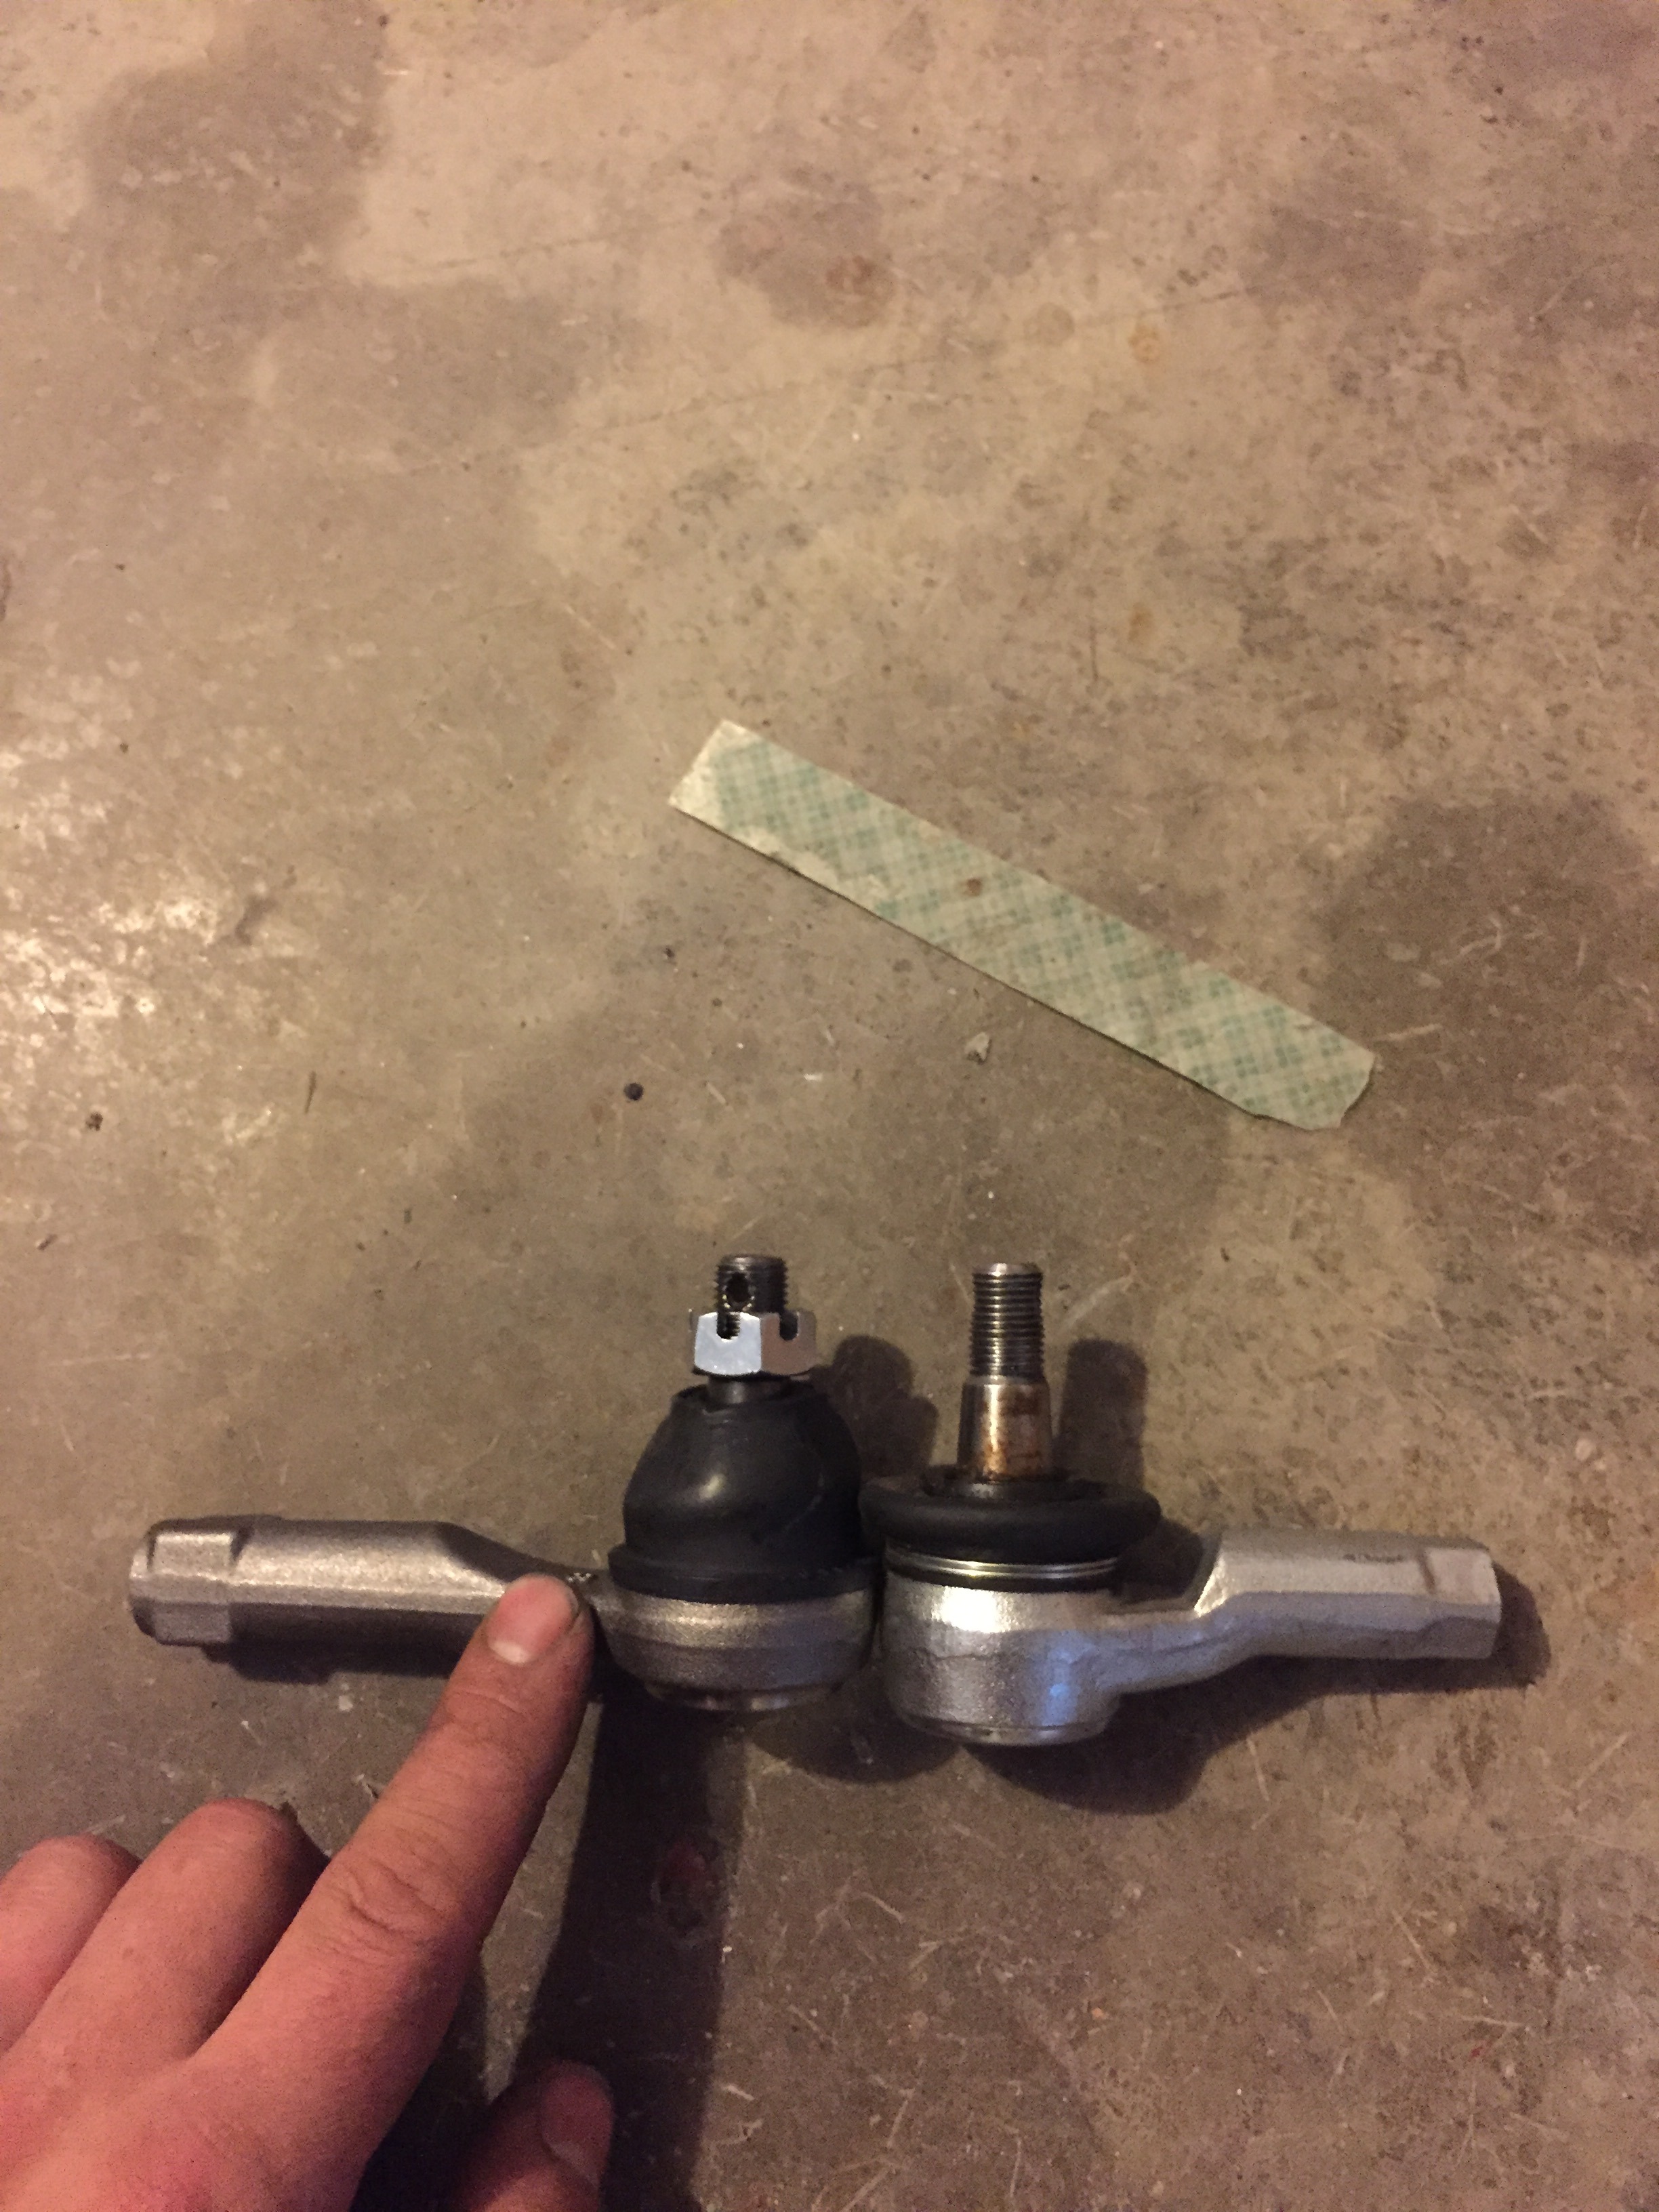
And here was my solution...sort of
S13 240sx outer tie rods vs FD
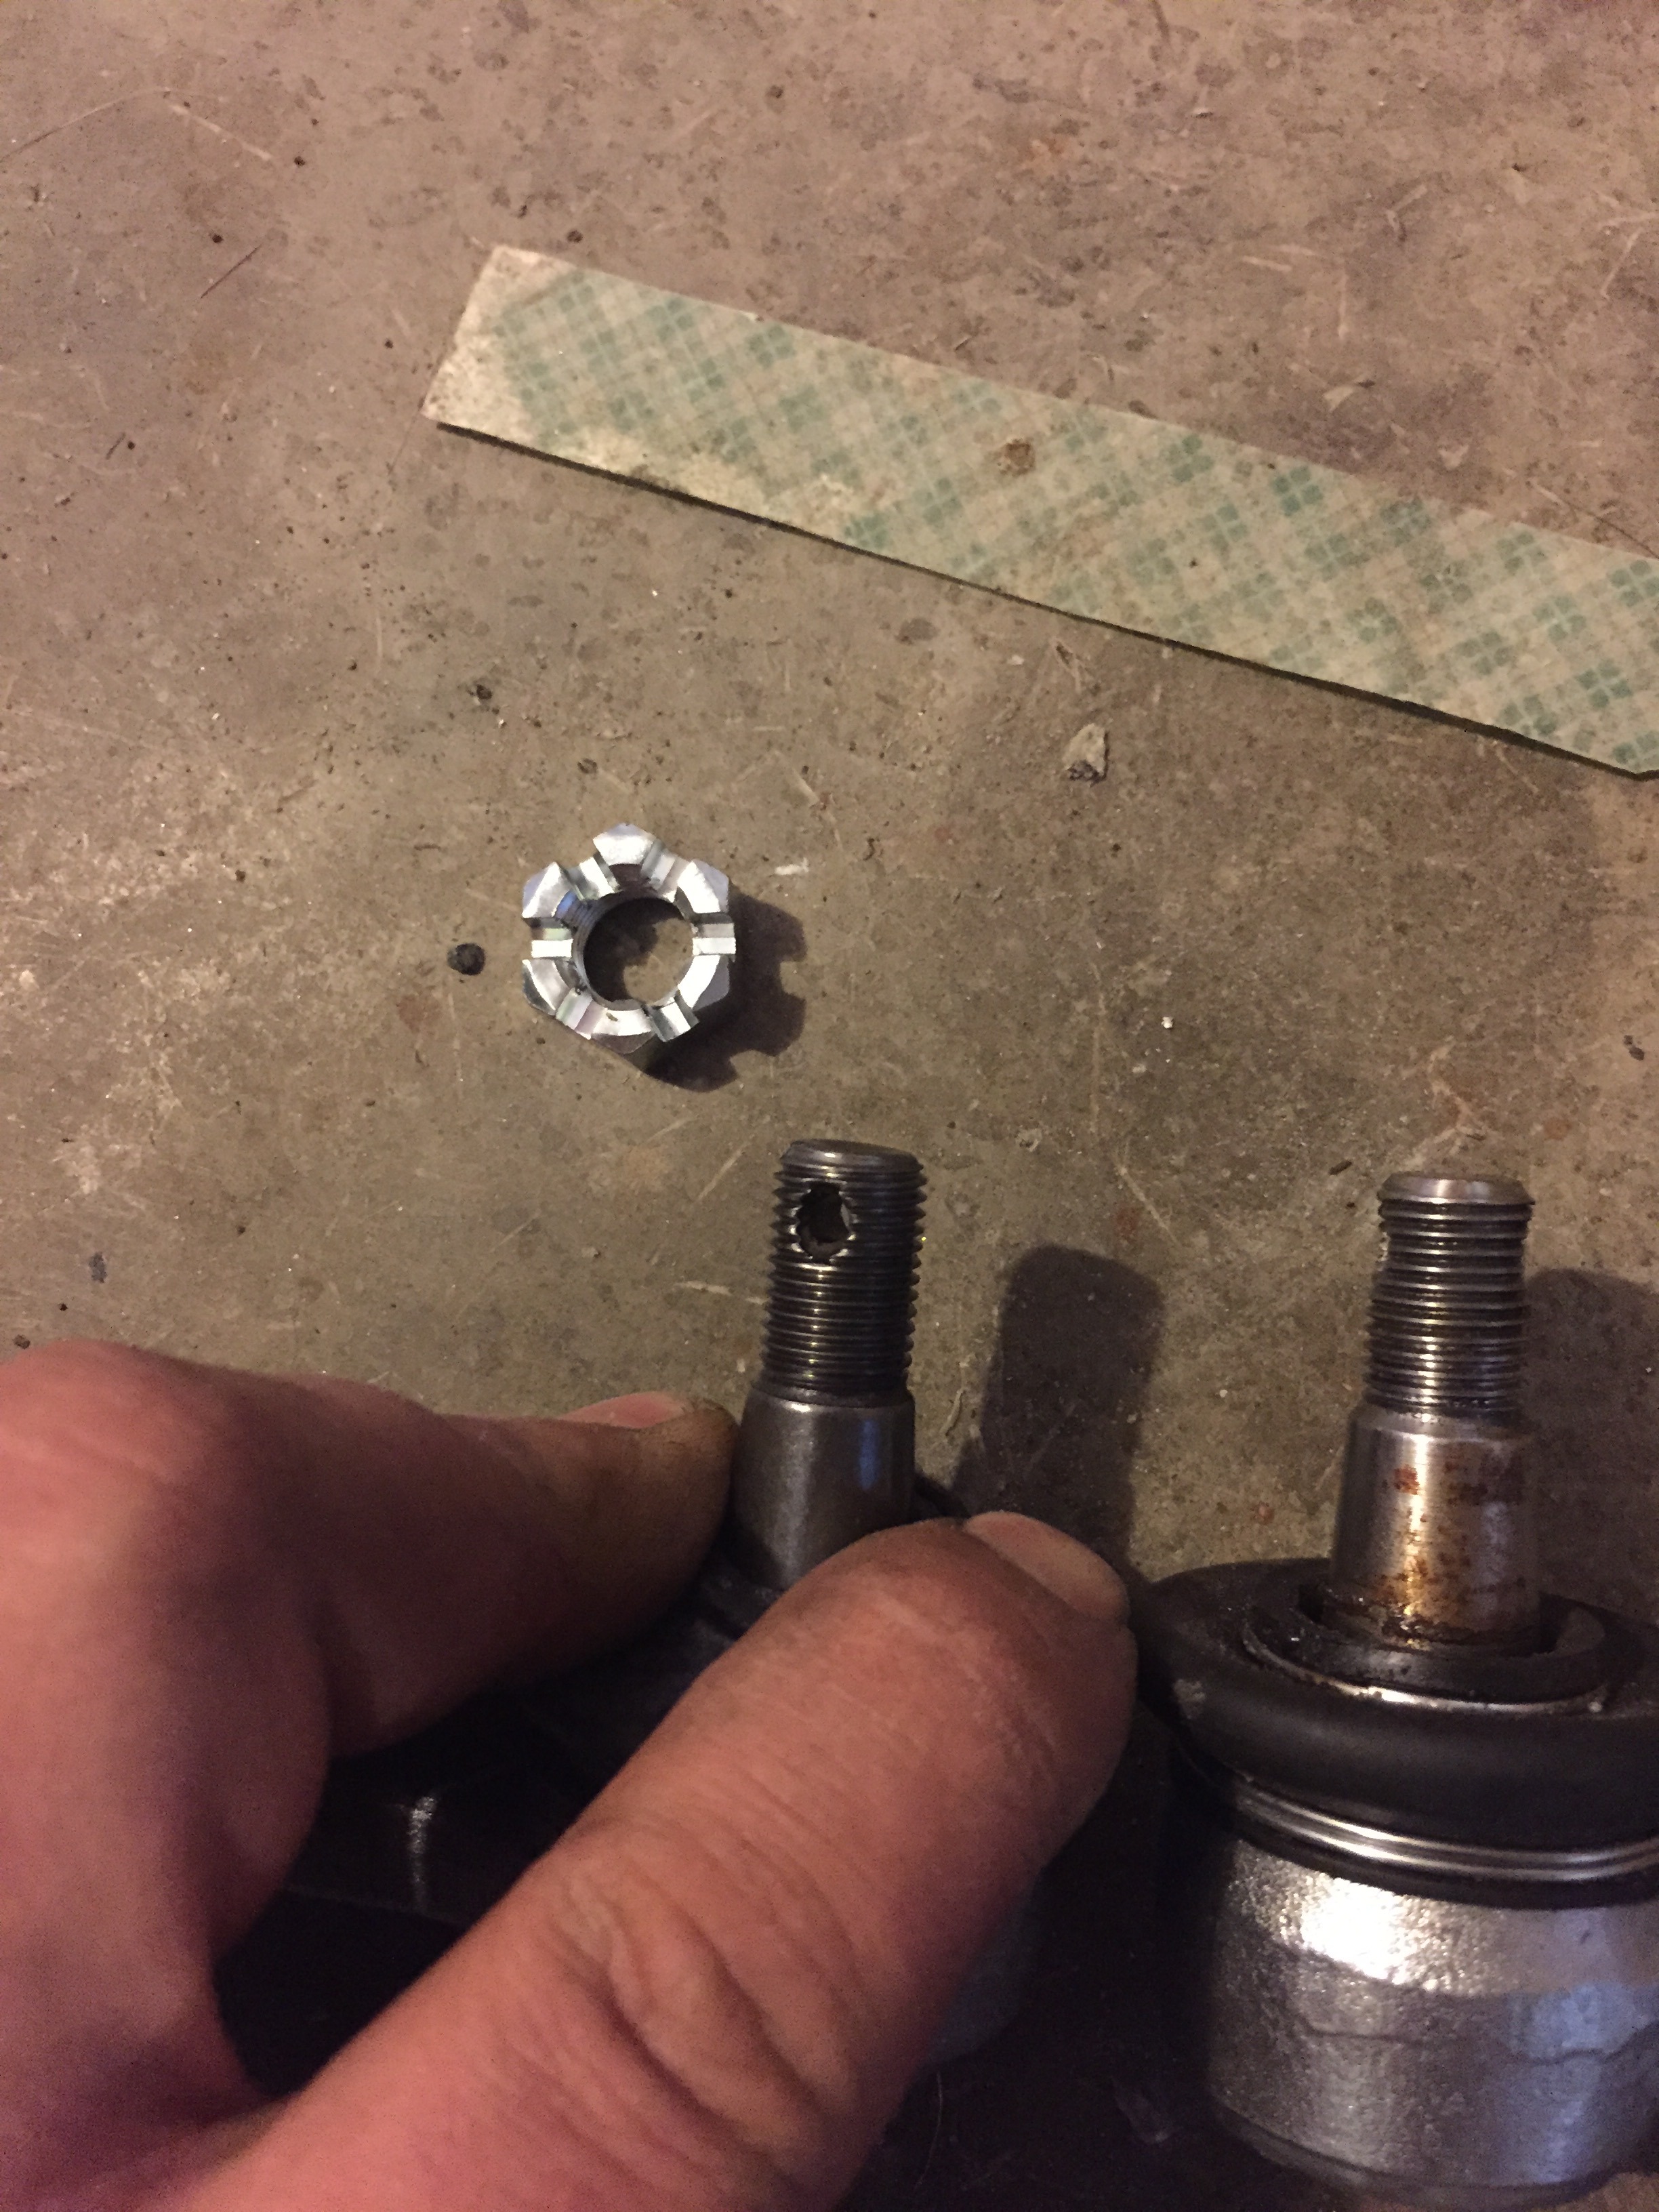
Unfortunately there seems to be some slight play between the inner and outer tie rod before tightening down, so that hasnt completely solved my problem. My next step will be to use some FD inner tie rods and see if that fixes the problem. If not then I will go through the process of depowering the spare FD rack I have sitting here. It shouldnt be too difficult from what I have seen, but I would rather just swap out the inner tie rods if I can.
Anywho, I finally finished up the majority of the interior wiring. Reloomed the dash harness, rear harness, and chassis harness (and eliminated the many unused wires of course). All that is left now is to clean up the gauge wiring, loom the outside chassis harness, and cut/loom the ecu harness. It's a lot left for wiring, but much closer than I was. Btw, I freaking love these gauges
As you can see I still have a ton to do in the interior, and even more to do on the exterior, but it is coming along slowly but surely.
Oh, and the move broke me and I had to use my car parts money for moving costs, so sleepy eye stock headlights for now. Also threw on my apr wing, which I removed today.
And further good news, I found that my upper control arm and hub assembly is bad on the driver front. Woohoo!


Noticed the car would look really good bagged as I was pulling into my driveway :p

I plan on doing PKE and remote start on this car down the road, so I figured while the interior was apart that I would remove the steering wheel lock. Much simpler than I thought it would be. I just broke off the tab on there with some pliers and no more steering wheel lock!

When I got the steering wheel back on after that I noticed something odd...the car turned more one way than the other. Wtf. So I checked out the tie rods and the passenger side had a spacer on it, but not the driver side. Okay then. The car has an FC rack in it so I guess that rack is a bit shorter than the RX-7 rack, as seen here.


The previous owner used the FC inner tie rods and the FD outer tie rods, which didnt work well together. The FC outer tie rods are the wrong shape and wouldn't work, so I started doing some research.
FC vs FD

And here was my solution...sort of
S13 240sx outer tie rods vs FD


Unfortunately there seems to be some slight play between the inner and outer tie rod before tightening down, so that hasnt completely solved my problem. My next step will be to use some FD inner tie rods and see if that fixes the problem. If not then I will go through the process of depowering the spare FD rack I have sitting here. It shouldnt be too difficult from what I have seen, but I would rather just swap out the inner tie rods if I can.
Anywho, I finally finished up the majority of the interior wiring. Reloomed the dash harness, rear harness, and chassis harness (and eliminated the many unused wires of course). All that is left now is to clean up the gauge wiring, loom the outside chassis harness, and cut/loom the ecu harness. It's a lot left for wiring, but much closer than I was. Btw, I freaking love these gauges


As you can see I still have a ton to do in the interior, and even more to do on the exterior, but it is coming along slowly but surely.
Oh, and the move broke me and I had to use my car parts money for moving costs, so sleepy eye stock headlights for now. Also threw on my apr wing, which I removed today.

And further good news, I found that my upper control arm and hub assembly is bad on the driver front. Woohoo!
Both of my fds have the fc manual rack with 240 outer tierod ends. My main issue with this rack swap is finding decent rack bushings to replace the worn ones :p.
Good progress so far! Seems like you're moving along quite well.
-Nick
Good progress so far! Seems like you're moving along quite well.
-Nick
Thread Starter
Full Member
Joined: Apr 2015
Posts: 140
Likes: 5
From: Great Falls, MT
That's good to know! Did you use the FC or FD inner tie rods? And what rack bushings have you ended up with?