When you click on links to various merchants on this site and make a purchase, this can result in this site earning a commission. Affiliate programs and affiliations include, but are not limited to, the eBay Partner Network.
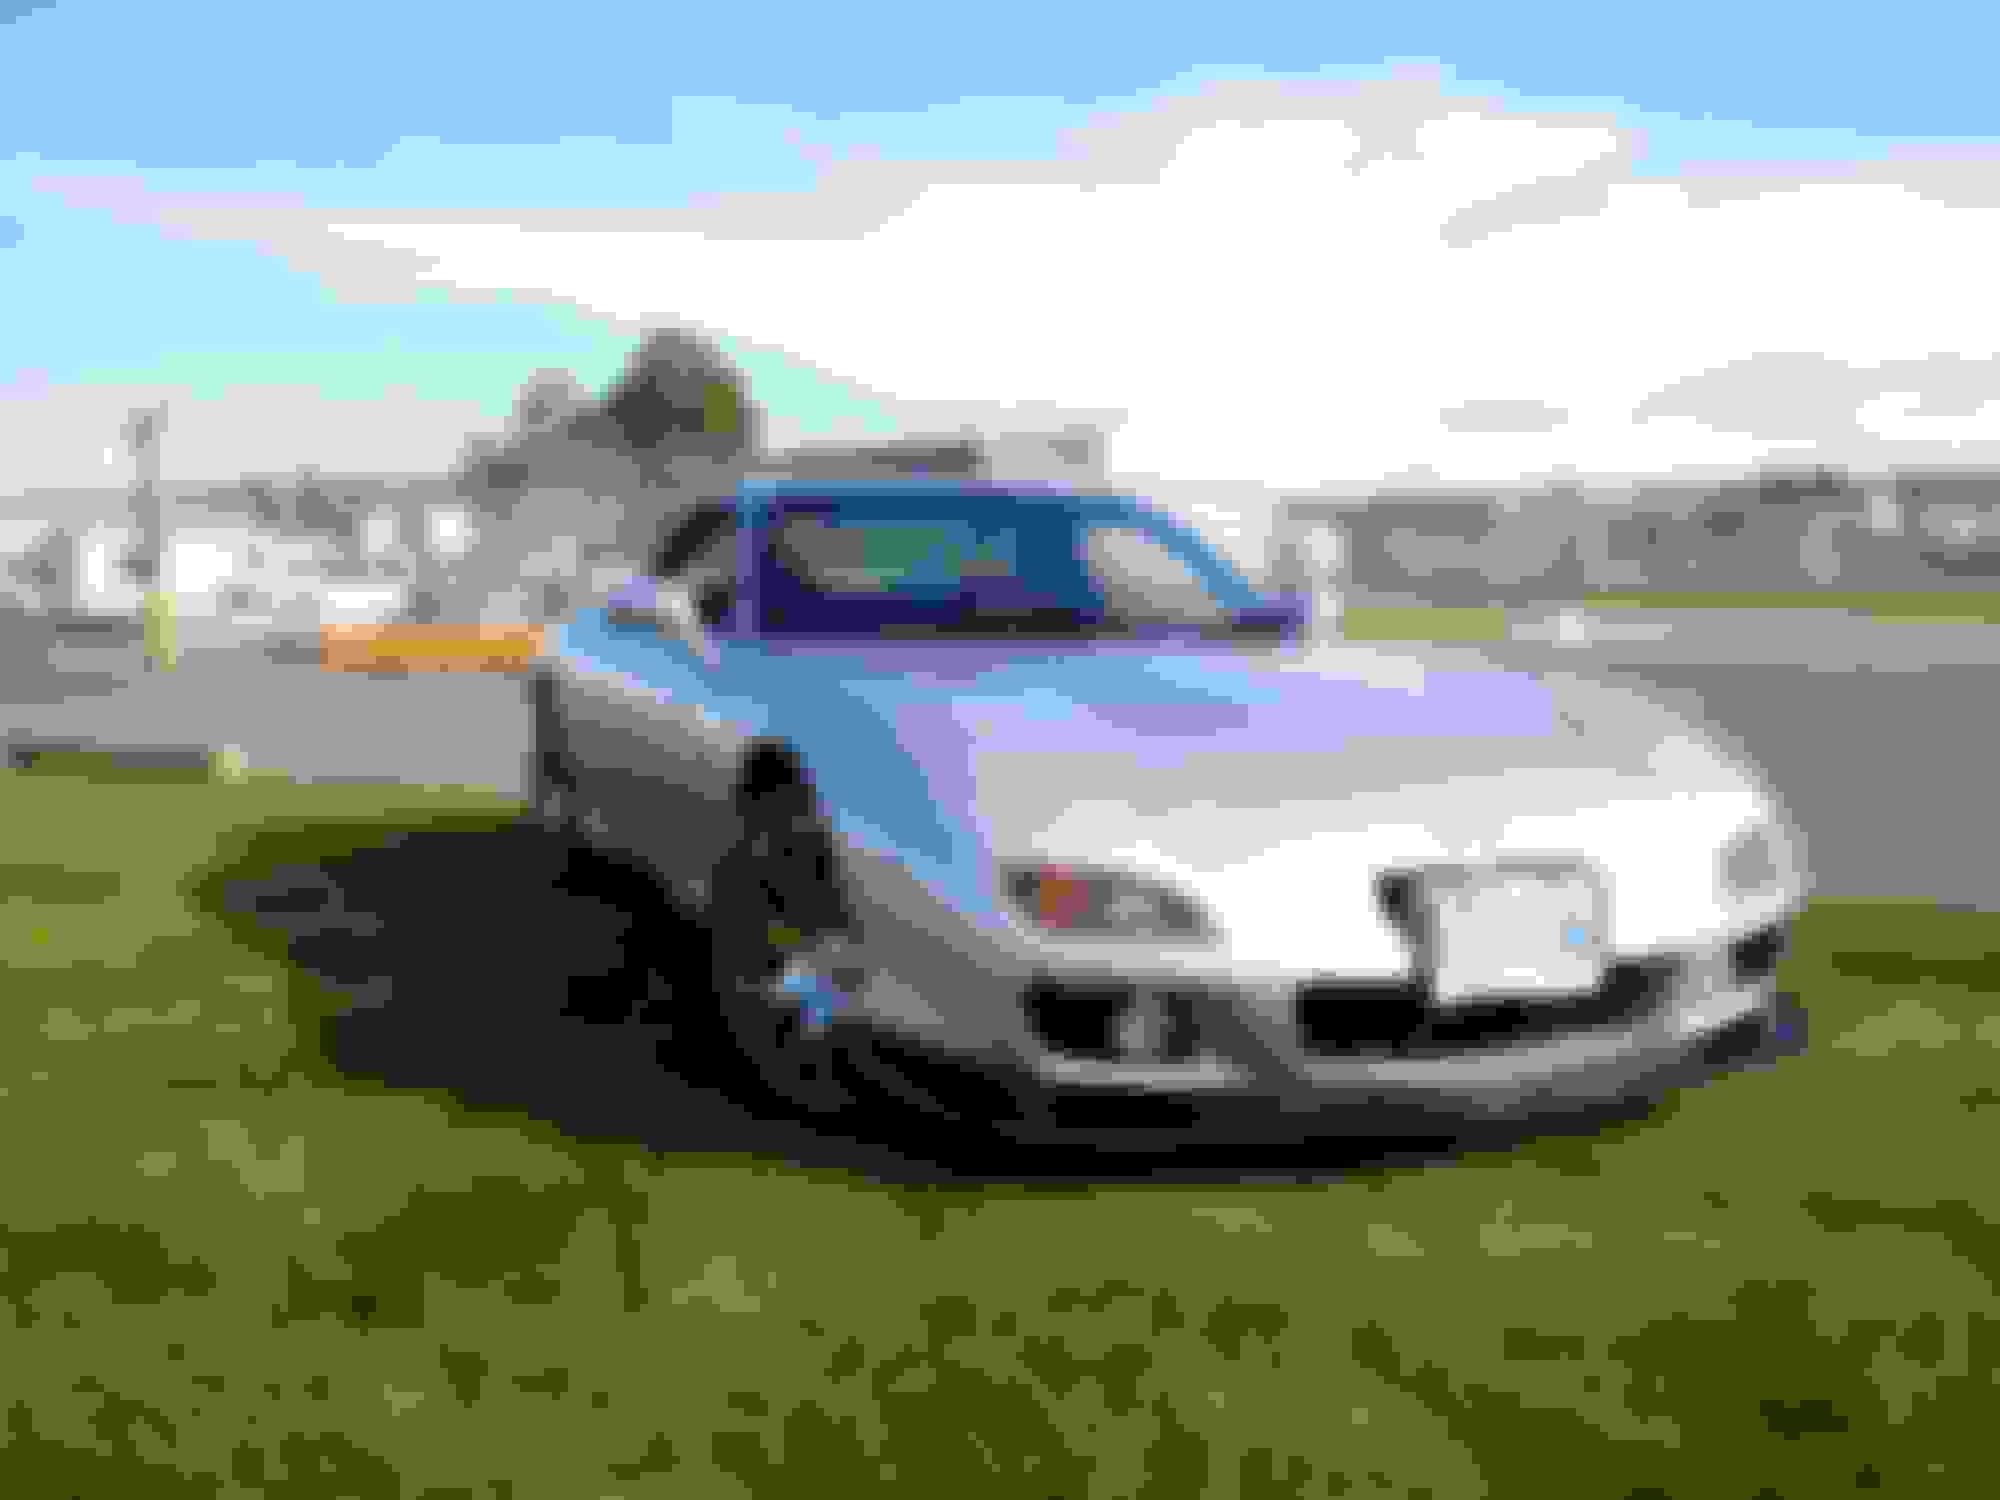
G'day All. Hoping to document here the rescue / restoration / modding process of an FD I picked up recently, a really early type R, in red. I'm not completely new to the FD game, a couple of years back I had really sweet series 7 in chaste white that was totally mint, but I did a silly thing and sold it to the company I was working for at the time, and have somewhat regretted it ever since. I feel pretty lucky to have grabbed this red one, as it's definitely got to be my last chance to own one, with the way the prices on them are going.
It's a bit of a beater to be honest. Has travelled around 180,000 k's according to the registration history, and I have no real idea of the status of the engine, except that it was running a year and a half ago and apparently wasn't particularly smoky... We'll see how that pans out ;-).
It was backed up against a bush, and the cover had come off, thus the debris and birdshit on the corner.
The body on it seems pretty good. I was a little worried about rust, but haven't found anything of note yet. It's had a very, very average respray in a red that is similar to the original, but not quite right. It'll never be a factory original car again, so I might look at painting it another colour somewhere down the line, but that'll be a while in the future for sure. It's very factory apart from that, which is nice, just in pretty run-down condition. The interior in particular was the part I was most worried about, as it is really thrashed in there... But the car modifying higher-entities smiled down upon me, and a couple of days after doing the deal for the car, someone about 10 mins up the road for me listed a complete series 7 interior for a reasonable price. I went to have a look, and most of it was in pretty decent condition. Not 100% mint, but miles better than what I had, so I paid the money and picked it up.
Weirdly, the engine side of things doesn't worry me much at all. If the keg is toast, I can look at rebuilding it. I know the twin turbo systems and the engine bays pretty well from my last FD, so I'm confident in being able to get it back together and running on a sequential setup. All the missing part, plus heaps more came with the car in boxes. Will be fun to go through it all I'm sure.
100% not the right vehicle for the tow job, but it's a pretty light trailer, and FD's are also pretty light, so I figured it's be okay. The old diesel audi didnt really know anything was behind it to be honest, a good smooth 5.5 hour trip back home :-).
And that first wash was super satisfying! I took my time and gently got all the birdshit and sap off nice and gently. Didnt find any major surprises on the body, a few wee dents here and there, but nothing serious so far.
Plan is for an OEM+, restomod type of build. I want it to be as nice, or nicer than my old white one was, so I'm going to have my work cut out for me!
A bit more work on this over the last couple of weeks. I'm going through it from the rear forwards, giving it the mother of all cleans. I'm going to polish up the paint that is on there as best I can, and part of this is removing as much of the horrific overspray and masking lines as I can. Removed the rear bumper with much anxiety, as I struggled with a few completely rusted away fasteners.
Started with a good detail behind the tail lights, and blending in some of the edges.
This sort of thing does not bode well :-(. Was pretty worried about what I'd find behind the bumper to be honest. Everything was really filthy, all the drainage channels were blocked up.
A hammer and a punch and plenty of time were the right tools to get this moving and undone. Saved the thread which was lucky!
Getting the bumper off was another exercise in frustration. I don't remember the four clips on the sides holding on as hard as these ones did! Got them eventually, but not without some damage to the paint on the bumper. It will now look slightly rougher than the rough appearance it already had... While undoing the fasteners, rust was raining down on the ground, so I was pretty convinced I was going to find a rusty mess behind the bumper... But it turned out it was only the metal brackets down the side of the bumper skin that were disintegrating. Will order some new ones from Mazda and replace them, managed to drill out the old rivets without hitting the bumper skin.
After a bit of a scrub on the bum, it's actually not to bad back there. Just surface rust behind the bumper brackets, and they were also pretty pitted, but no holes in them, so I'll blast them and have them plated and powder coated. No signs of accident damage either. That exhaust needs to exit stage left though, it's just awful. Racing Beat Twin tip is the perfect exhaust IMO, but to get one of those over here, including the mid-pipe, it'll be a $2kNZD endeavour, plus another couple of hundy for import duties I'd say... But ultimately probably worth it, as I'll never have to worry about the exhaust again. There is already and unknown brand aftermarket down pipe on it which I hope is a decent thing and will clean up nicely. I've got a birthday coming up soon, will start dropping hints to the wifey, hah.
As an example of the overspray: I really don't think these numberplate lights would have been doing much.
Disassembled them, and vaporblasted everything at a low pressure. The lenses are now a little cloudy, but I've convinced myself it will just diffuse the light better, hah ;-). Saved me a couple of hundy on a new set, anyway.
From here I'll clean everything up that I've removed, sand and polish all the lights as they've oversprayed to hell, plus quite UV faded (UV over here in NZ can be a real problem), rust kill that surface rust, etch prime and give it a quick flick of a 'Vintage Red' rattle can back there. More just to stop any damage in the future than anything else. This car will never be a daily driver again, and is unlikely to see much wet weather, so not super concerned about future corrosion. Happy days :-).
I'm an engineer at the University of Canterbury, so I get access to some pretty ace toys. Perk of the job, a really, really bloody good one. I do a lot of 3d scanning and CAD work as well, which I can absolutely see application for with this restoration!
How would you go about making a carbon fibre piece as seen on this front bumper bulge. I would need a way to fasten it that did not require and modification to the bumper skin or an adhesive that could not be safely removed.
To be honest, I probably wouldnt... I've never been a fan of the later model bumpers, the angular shape of the indicators / park lights doesn't fit with the rest of the car IMO. The oil cooler and radiator ducts are arguably more attractive though. Same call on the later model front lips, I prefer the earlier stuff. Probably because I'm old, hah.
If its's just a carbon piece that fits on the top of the OEM bulge those bumpers have, then it wouldn't require any super specialised work. I'd bend up a mold out of sheet metal, the right width and with the right radii bends. You'd lay carbon into this, oversize of what you need. Then you'd use a template to mark it and trim it to shape after its cured. I mean, there are a million ways to skin a cat, but that's the easiest / quickest way I can think of doing that one. For fastening it, 3m VHB tape will hold it long term, but can be removed without any damage with a bit of work.
Waiting for some bits and pieces to arrive for this thing, but keeping on with the 'back to front' theme. All the lights at the rear were in really poor shape. Overspray all over them, filthy and scratched to hell. I've gone full ham on them, and wet sanded everything from 400-800-1200, then some Rupes HD compound with an orbital. They're not perfect, and probably need another round of the 1200, then some 2000 before polishing, but they look a damn sight better than before. Almost done with them all, just the RH tail light left to do. Wifey and Child are away for the long weekend, so I'm spending a lot of it in the garage :-).
After hitting with 400:
And all the way through to polishing:
I'll think about some sort of UV protectant for them, as the UV over here in NZ is really harsh and does a number on automotive lights... But, also, this thing will never sit outside like it once did, so probably doesn't really need it.
Been beavering away on this when time allows. Much of the job has been sourcing non-broken / missing interior parts... But the boot space is now complete!
A lot of time was spent cleaning in here. With all the trim stripped out, I scrubbed everything to within an inch of its like to remove the disgusting scunge and overspray that was everywhere. It now smells lemony fresh :-). Was lucky to find a proper 16" Enkei spare for it and the hold down hardware. Both tool trays are accounted for and complete, as well as the correct aluminium jack and handle, and the wheel chock. So a good score on those OCD detail fronts that don't actually matter, but make me smile anyway.
I've cleaned it's bum up good and proper, ready for the bumper to go back on, but I'm waiting on some replacement inner brackets before that can happen, and they're ex-japan, so it'll be a while till that happens.
Part of cleaning up the rear end was a non-oem-wiring-ectomy... There was a LOT of **** to remove. At some stage there was a water meth injection system in there, and the rear washer bottle had been modified to be the reservoir. I've replaced it with a good condition non-modified one, and removed the tubing, relays and wires. This then turned into a complete wiring cleanup... There have been a few stereos / amps in this thing over the years I'd say, as well as a BEL 615STI-R integrated radar detector, and some cheesy alarm system that had wires tendriling all throughout the car, and some weird home-made vero-board / pcb device on the main radiator fan relay... Possiblely some sort of delay to keep it going for a while after the car was shut off?
All going in the bin. This left some repairs to places where things have been poorly cut and spliced into... In particular, the main harness from the ignition switch was a mess.
Cut that mess apart and replaced the old twisted dry solder joints with open barrel crimps.
The key when doing this is to stagger the location of the joins, keeps the harness from becoming bulky. It's probably around 20mm shorter than it was when I started, but still heaps of length to reach it's attachment point.
Then seal with some adhesive lined shrink, wrap in cloth tape, and that's a solid repair that will last the life of the car :-).
Hopefully I can get it to a point where I can crank the motor over this weekend, and do a compression test, but I also have a new washer and dryer to install and I suspect a clogged downpipe to clear (in the rain, lame)... So it might not happen, we'll see :-). Chipping away at it though.
Also, Rangiora Mazda here in NZ are going to love me. I've sent them a list, quite a long list... Will be a decent bill I'm sure!
A little more done on this today. The bits for the rear end are sorted, just waiting on the rear bumper brackets which are 6-12 weeks, ex japan. Not a lot I can do there to put it back together till those bits show up.
Interior is stripped of non-OEM bits and looking much better for it. Still plenty of cleaning to be done in there.
I jumped into the engine bay today and got stuck in there removing all the aftermarket stuff. Had a sard FPR in there, which might be useful for a project in the future, but not for this car.
A couple of interesting finds while poking around cleaning things up:
It's already been converted to R134a at some stage... Which I assume just means adaptor fittings have been put on and nothing else. I've got an R134a compressor from a series 7 sitting there that I'll probably swap in one day. It needs a dryer and evaporator too, but this is very much a future problem. The turbos might be some sort of played with item? I thought eh Knight Sport upgraded turbos had different compressor covers on them. I'll give them a good measure up when I've got them out at some stage... Also very much a thing to be done far in the future, they can sit there to get it running at the moment.
With everything out of the way, I fogged the motor up and started turning it slowly by hand. Feels very free... almost too free? Very smooth though, and goes choof choof at the right times. I need to get a starting / charging harness though so I can crank it over on the starter and get and idea of the cold compression. The harness wasn't with the car unfortunately. I've got one on the way from yahoo japan, hopefully be here in a couple of weeks. Might need some mods / repinning to work with this car, but I can make that happen.
Went through one of the boxes of parts that came with the car, and there seems to be a mix of S6 and S7 parts. enough there to piece together a stock fuel system though, which will be the first hurdle if the cold compression looks okay. Baby steps... Lots of waiting for freight. Have to find that fine balance of making progress on things while waiting for parts to arrive, but not starting too many things at once that I lose track of what I'm doing... Will see how it goes. Historically, I'm terrible at finding that balance, hah.
Couldn't wait for the replacement starting / charging harness to show up, so I went and got a battery and jumpered straight to the starter. I need those compression numbers! ;-).
I made up a doohickey a couple of years back. It's an old sparkplug with the center removed and a 1/8npt boss welded in. A 150psi pressure sensor then screws into this. Give it 5v from a power supply, read the output with a scope while you're cranking and you can see the compression events.
A bunch of mucking around, and I got some numbers. Front is around 100 - 105 - 105 (psig), rear is around 110 - 110 - 105 (psig). Those numbers are a bit higher than a proper test, as the motor is dead cold, but shows its a little worn, but fundamentally should be healthy. At the least it's definitely worth piecing the rest of it together and getting it running before yanking it out to swap the turbos. I can also confirm the oil pump works, as there is now a pretty decent puddle under the car. Something isn't hooked up somewhere, but that's a future problem.
Someone, somewhere , is selling a wonderful work cover that wraps around the entire 3/4 outside of the engine bay. Looks pretty cool, too. They do custom leather replacement seat covers as well, but to my knowledge, not yet an S8 compatible bra.
I bought an (E) harness from yahoo auctions, but it's taking forever to show up, so I bit the bullet and built the supply and ground wiring myself. It's all larger than the factory stuff (sorry Mazda lightweight engineers) but I wanted to use stuff I already had.
I moved the grounding attachment points to the body (where the ABS pump attaches to the fender) and the engine block itself, as opposed to the bracketry they are originally attached to. I remember there being a TSB about something similar. Then I powered everything up and started playing :-). Power mirrors aren't working, but I suspect that'll be an easy fix. Hell, I don't even know if the control is plugged in.
Most annoyingly though, I only had one pop up headlight... Well, both would pop up, but only one would go down again. Looking through the FSM at how they work I suspected the wiper switch within the motor gearbox. Pulled it out and gave it all a good clean and a tickle up with some 400 grit. Re-lubed, and presto, two pop up up and down headlights.
Last major piece of the puzzle is the 'EM' main harness. I've got it all mapped out, and all the parts on order, but freight being what it is I don't think I'll be building that in the next couple of months! Once I have though, should be able to start it up and see how it runs.
Have had a heap of work on over the last couple of months, so really haven't managed to get much done on the car. That contract winds up soon though, and I might take a break from the side hustle work for a bit and focus on making some progress on this thing. I have managed to find a little time this week to continue on with cleaning up the rear end though. I've also spent time researching and purchasing heaps of parts I know I'm going to need down the line. Had quite a bit of FOMO about stuff going out of stock and becoming NLA, so I've now got pretty much every single exterior rubber trim piece sitting in the closet for when it get painted in a couple of years time. Wasn't cheap, the local Mazda dealer loves me, hah.
I've got everything planned and ordered for the new EM harness, it's the last major piece its missing that would make it a runner. I've been waiting 2 months for connector bodies and pins though, and the tracking is stalled in China, so I'm losing a bit of hope there, might have to reorder. I've never had anything not show up from Aliexpress, but a couple of times its taken 6+ months :-(. I'll eventually run an aftermarket ECU in this thing (Have a Link Fury sitting on the shelf gathering dust), but I'll build the harness to mostly factory spec (although much better materials) with a couple of additions for WB02 integration, and anything else I think of. Then I'll just make up adaptor headers if I want to change to another ECU down the track. I've got an original S6 ECU to get it up and running on, and a Power FC there also, so lots of options.
Gotta say, I've never seen overspray like this thing has. It's everywhere and bloody ridiculous. The vapor blaster at work has been getting a work out this week! This is what it the rear looked like originally. A lot of the overspray is clearcoat that has dust and **** all through it. Terrible grainy texture and makes everything look permanently dirty.
After blasting it looks great :-). The media in the machine was pretty old when I did this, so the finish it quite matte, but its clean and tidy at least! :-).
I removed the wiring also, dismantled it all, cleaned up all the connector bodies, re-wrapped it and reassembled. Looks factory fresh now. I also cleaned up the impact foam, it was basically black with a reddish tinge before. Very satisfying.
I've been in touch with Racing Beat about an exhaust. This thing has some soft or aftermarket dump pipe on it already, no cat, and that massive cannon on the back which I really don't like. RB had no stock of their center resonator, but said to get back in touch later in the year as they're planning on doing some more. It's going to cost a pretty penny to get it over here to NZ, but their twin tip is the only exhaust I want for the car, and I'll never have to worry about the exhaust again, so probably worth it.
Another project for this week was removing the rear spoiler. The four screws on the sides came out okay, but only one of the nuts came loose, the other just spun. It was also glued on with some terrible bathroom caulking type stuff.... Just a horrible bodge job all around to be honest. I managed to get it off, but it may have suffered some damage:
Some assembly required before refitting! Hah! This one was already badly cracked before I started, and this was the easiest way to remove it while limiting damage to the trunk lid. I'd already sourced another one that was in near mint condition, just a couple of light scratches on the paint. I'm in the minority that really likes the series 6 spoilers, so I'll be keeping one of those on there :-). While I had the trim off the bottom of the hatch, the rusty mess that was the rear wiper motor greeted me. I chucked some power on it, and it drew current, but didn't really want to spin. I say rusty mess, while it doesn't look too bad on the outside, inside is where the problems were.
After completely blowing it apart, cleaning everything and re-greasing, its working great.
Another satisfying repair. Have everything a good clean and a lick of paint and it's good to refit. I'm missing the cap that goes over the big nut though, so will have to source / make something down the line.
While I was cleaning things up, I figured I'd grab a couple of random plastic trim pieces from the engine bay and give them a tickle. The air guides around the head lights looked _terrible_, overspray and trapped dirt, with all the rubber bits brittle and cracked.
Gave them a blast on a lower pressure which cleans everything off nicely, but doesn't erode anything away. I scanned the rubber pieces in a flat bed scanner, and drew up some templates for the original rubber pieces, found some rubber sheet of a similar thickness and laser cut some new pieces. Painted the plastic with some CRC Black ZZinc, as I find it actually adheres really well to hard to paint plastics like this, as long as you do light coats. It has a nice OEM semi-gloss appearance. The raw blasted surface also looks fine, but is a little more matte than they would have been originally. Reassembled them with the new rubber pieces and that's another satisfying little job ticked off the list :-).
Of course none of these little jobs get the thing any closer to actually running or driving. I really need those electrical parts to show up! Gotta take little wins where you can :-).