When you click on links to various merchants on this site and make a purchase, this can result in this site earning a commission. Affiliate programs and affiliations include, but are not limited to, the eBay Partner Network.
also what gun pressure, nozzle and air compressor do ya use?
cheers dude
Hiya Gav,
Yeah I used 2k, it's probably your best option if spraying in a garage. Only down side is you will require a ventilated mask with an external air supply, so you need more kit.
I used a fairly cheap 2.0mm sealey HVLP for the primer as I wanted to get some decent coats on then block it back nice and strait.
For base and clear I used a DevilBiss Gti Pro Lite with the TE10 cap. 1.3mm fluid tip for base and 1.5 for clear. Go with what the paint spec sheet recommends and you'll be fine .
Pressure wise from memory was around 2 bar. They use a lot of air these guns, so you need a compressor with decent CFM to run that and a mask. Any gun you buy should quote the CFM required to run it . I've got an industrial screw type compressor I got from a local company that was shutting down, so got lucky.
You'll also need some moisture traps and filters to breathe through .
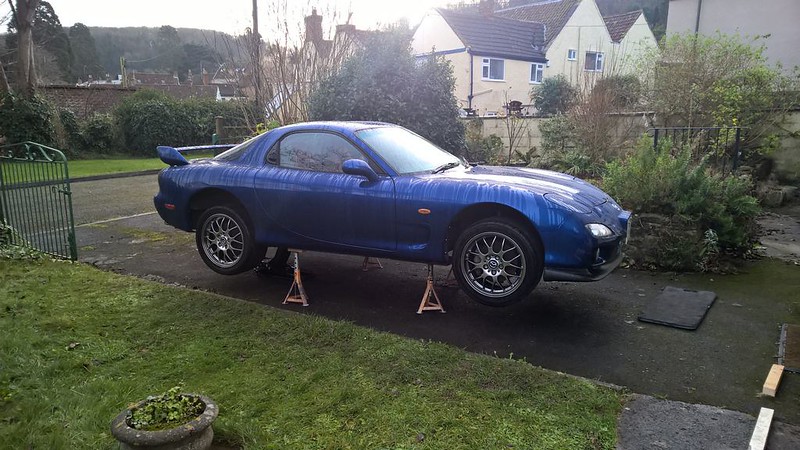
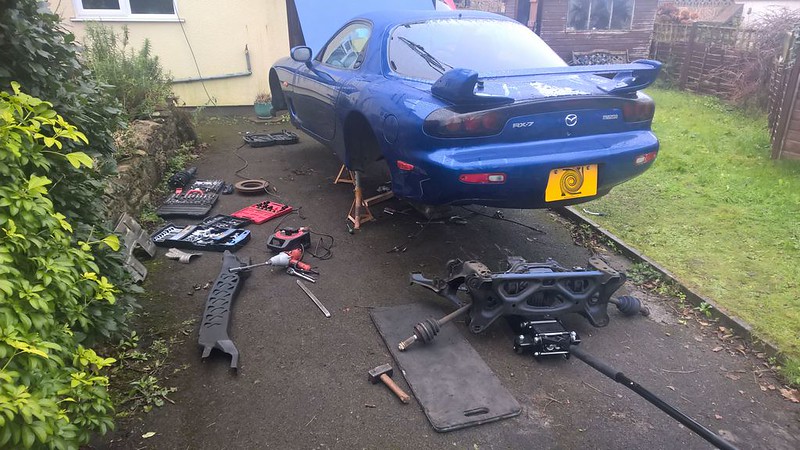
She'll be coming off the road for winter next month for all new suspension, bushes, pillow ***** etc. Diff and gearbox rebuild. I'll drop the rear subframe and tank to strip the underside and arches then clean, seal and paint everything on the underside. While I'm doing that I'm going to swap in a 4.44 rear end and a .719 5th to make the most of the stock power. I've also got some SR brakes that I've rebuilt, new disks, pads, braided lines, wheel bearings and larger brake shields to go on. Looking forward to getting stuck in .
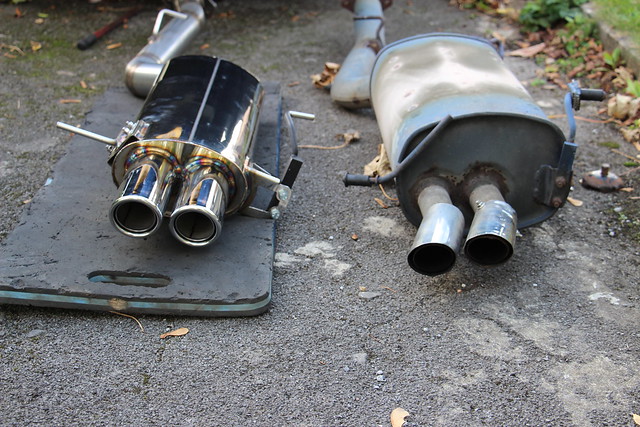
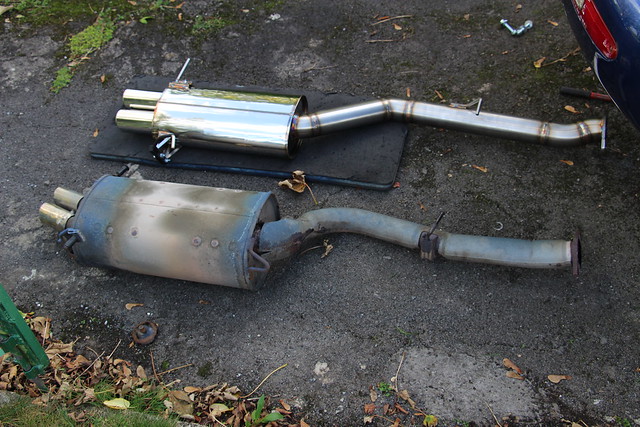
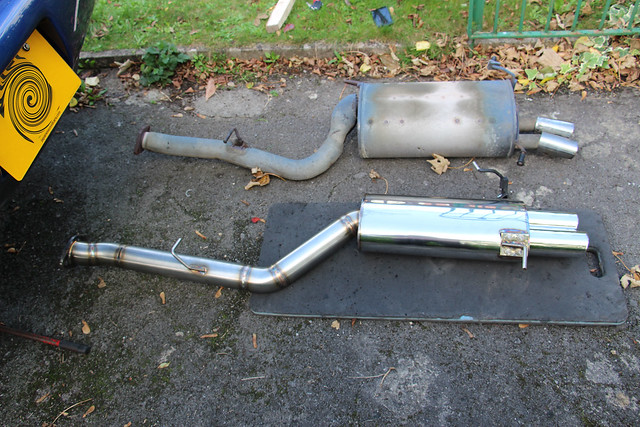
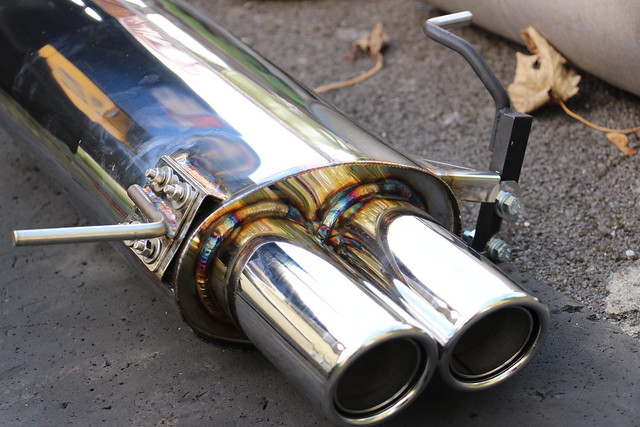
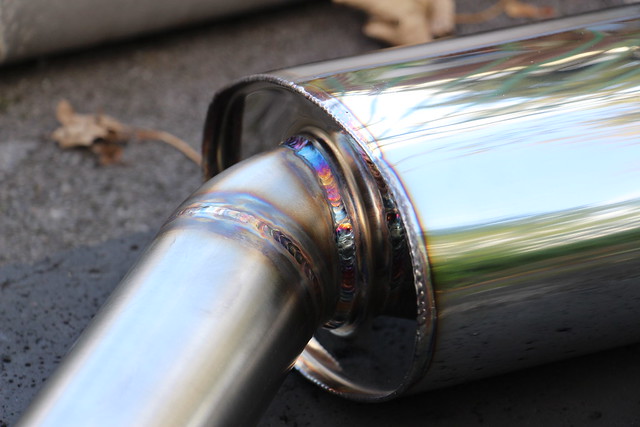
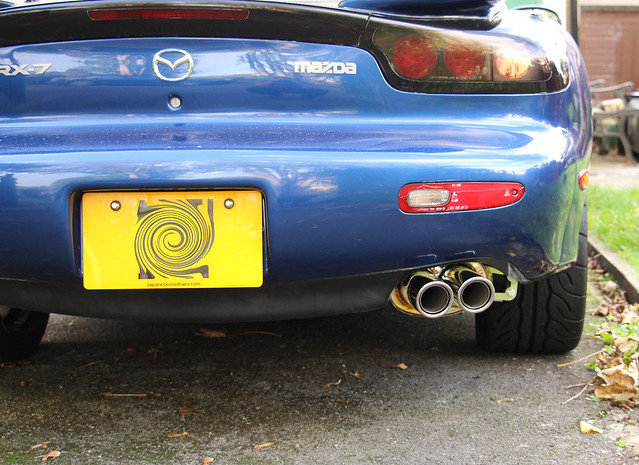
It's a 3" system and the tail pipes are 76mm outer, 57mm inner. I didn't weigh it to be honest. It'll be coming off again when I drop the subframe next month, I'll get it on my bike scales for you .
It's a 3" system and the tail pipes are 76mm outer, 57mm inner. I didn't weigh it to be honest. It'll be coming off again when I drop the subframe next month, I'll get it on my bike scales for you .
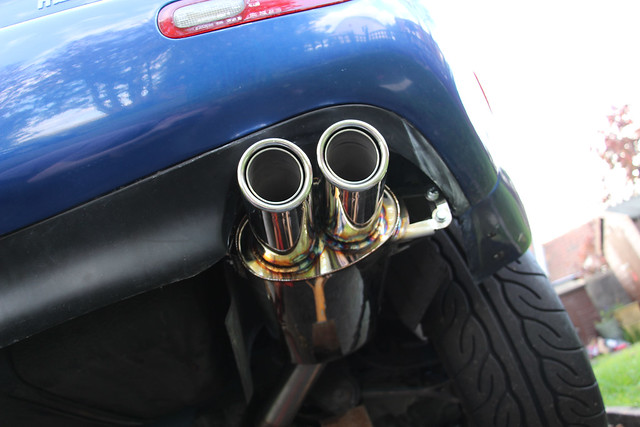
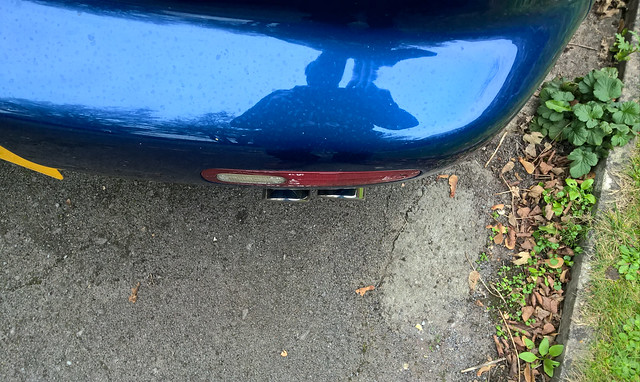
Awesome! I have been watching Craig fabricate this on his Facebook page. I am very interested. Would you be able to take a sound clip for us. Also, it seems the tips come out at an angle and not straight out the back like the stock tips. Is this correct? Would you be willing to take a picture looking straight down at the tips from over the rear bumper?
Yeah sure, I'll take a pic later. Here is a really poor short video to give you an idea of the sound, it does sound better in person. The rest of the system is stock.
Also, it seems the tips come out at an angle and not straight out the back like the stock tips. Is this correct? Would you be willing to take a picture looking straight down at the tips from over the rear bumper?
Thanks,
John
Here you go John:
Haven't washed the car in weeks, excuse the dirt .
The tips are sort of inline with the curve of the bumper.
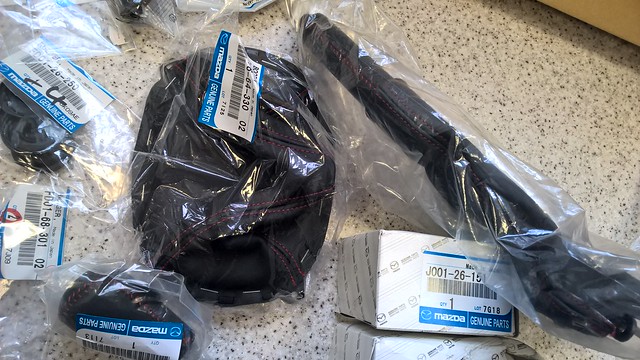
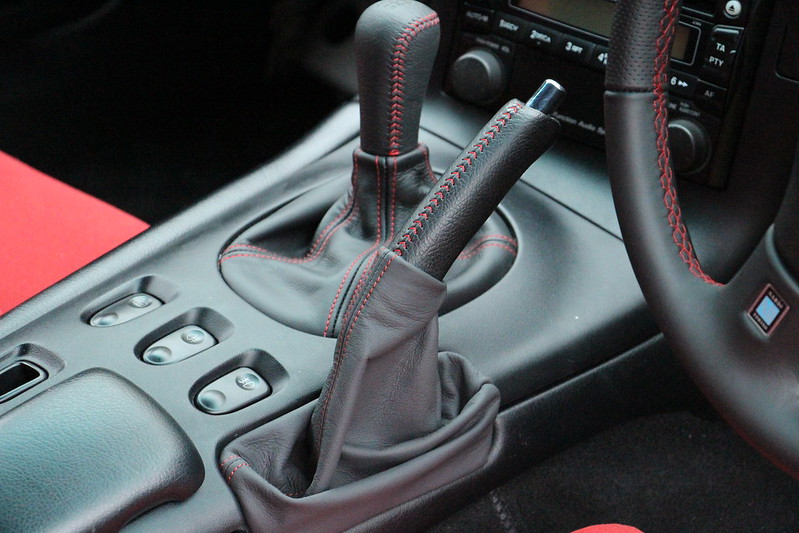
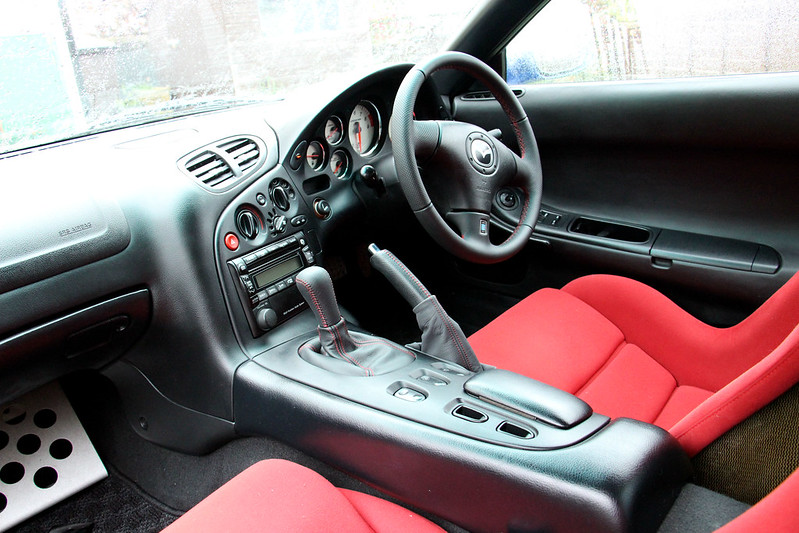
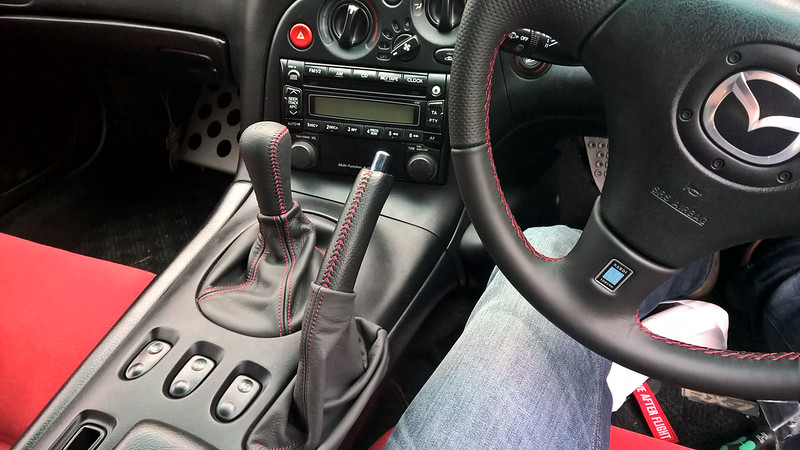
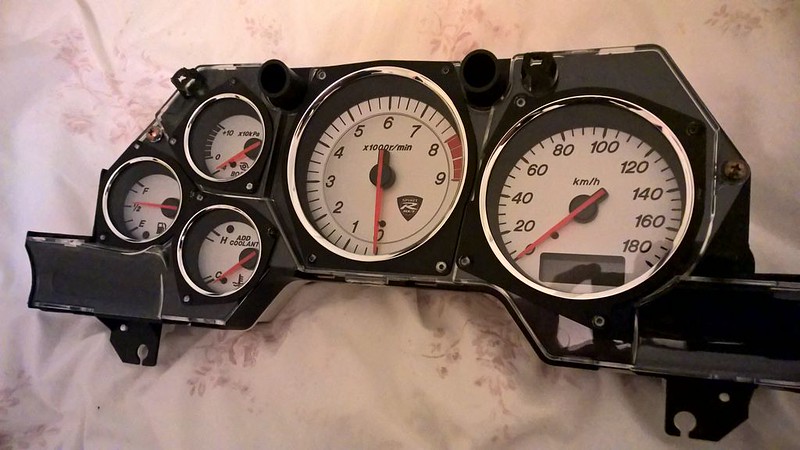
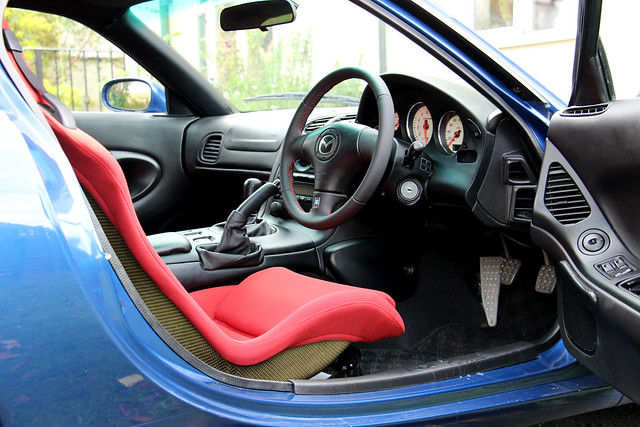
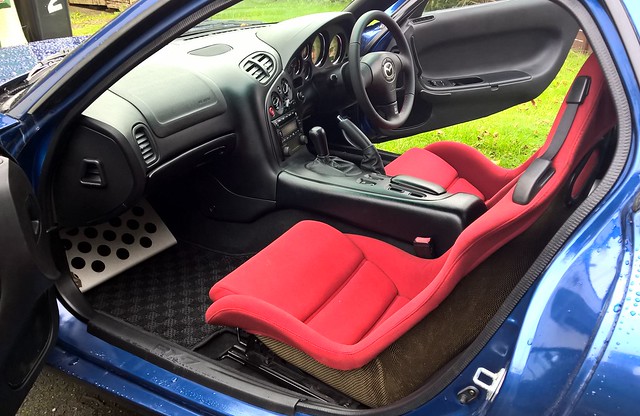
Tom... All those nice red-stitched pieces really look great and go so well with the Nardi wheel stitching.
Cheers Gordon, that's nearly it for interior changes now . If I can find a set of tidy rear bins I'll swap the rear seats out for bins, other than that all that's left is new seat covers from ESH at some point and the interior is done.
Originally Posted by kenpo1441
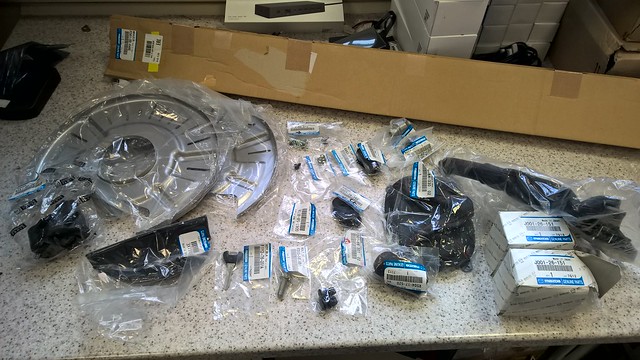
Amazing! I am about to make a large parts order, but the stuff that I'm getting isn't nearly as sexy.
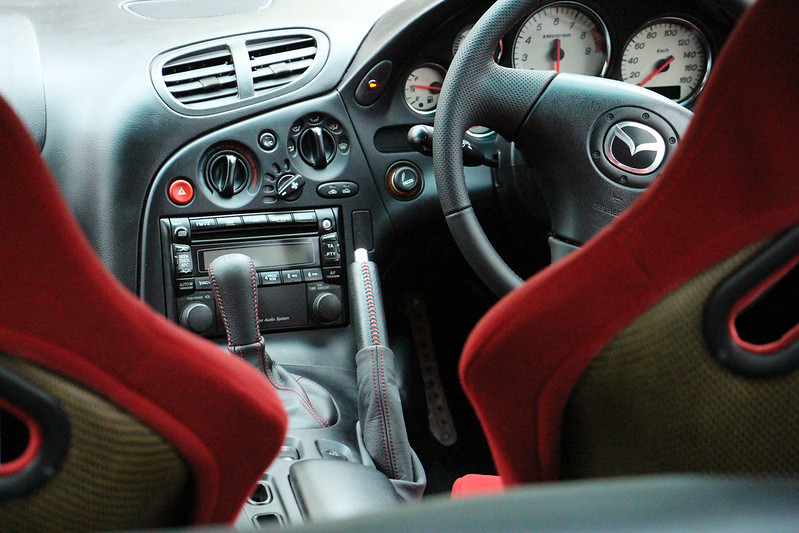
Tom... You have a perfect example of the "enhanced stock" FD. Not stock, but you could mistake it for stock. Just way nicer.
Cheers Gordon, that's exactly the aim with this build .
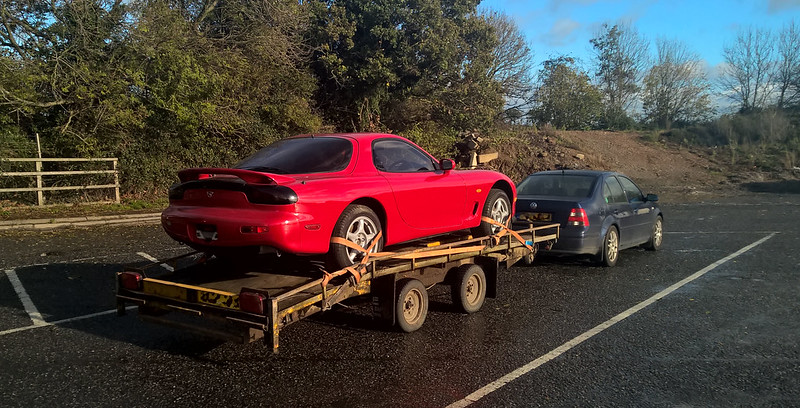
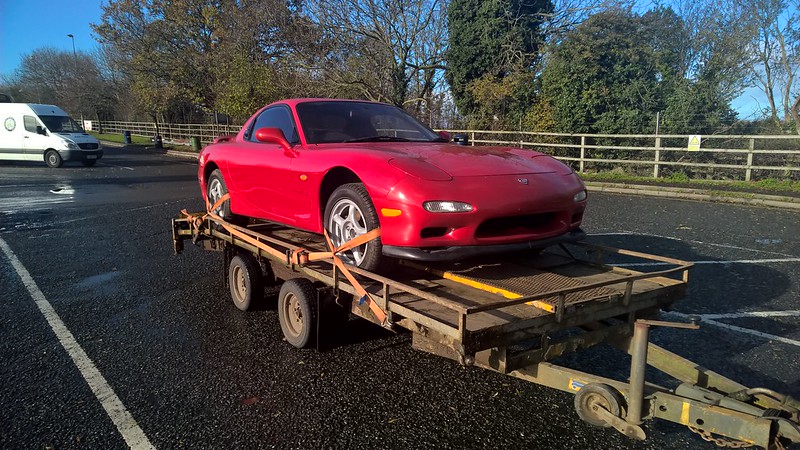
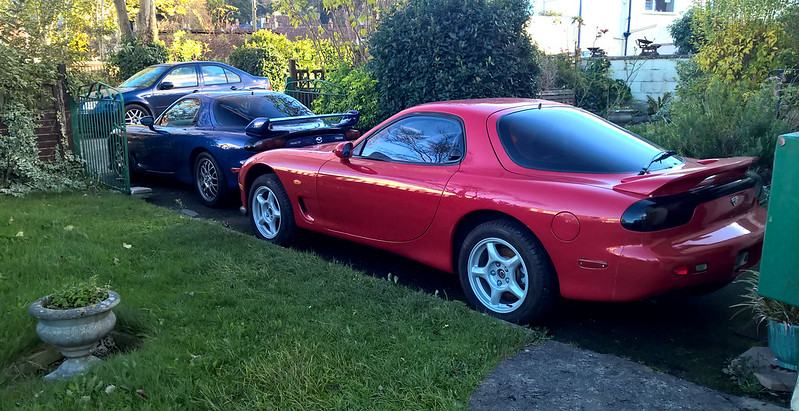
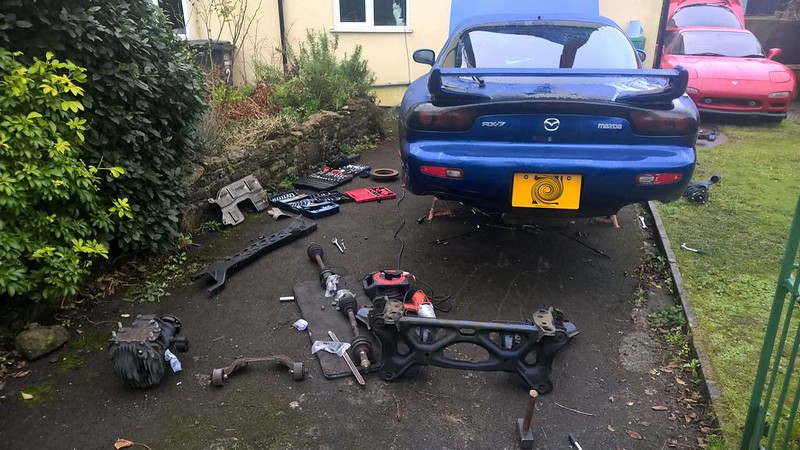
I picked up another FD today! So this will be my fourth, but the first time I've been foolish enough to own two at the same time. It's a Feb '92 type X, so a high spec and very early model (10 years older than my blue car!). It needs a new engine, hence the crazy ride height. The cool bit is that nearly all the original bits are still with the car and I'll be keeping it that way. This will be a restoring what is there job, rather than replacing with new . Hoping to get it close to as-new condition, though.
She's been off the road for years, so will need a good going over.
They both just about fit on the drive together, I really need to crack on with the new garage now. I guess I best add another door to the plans .
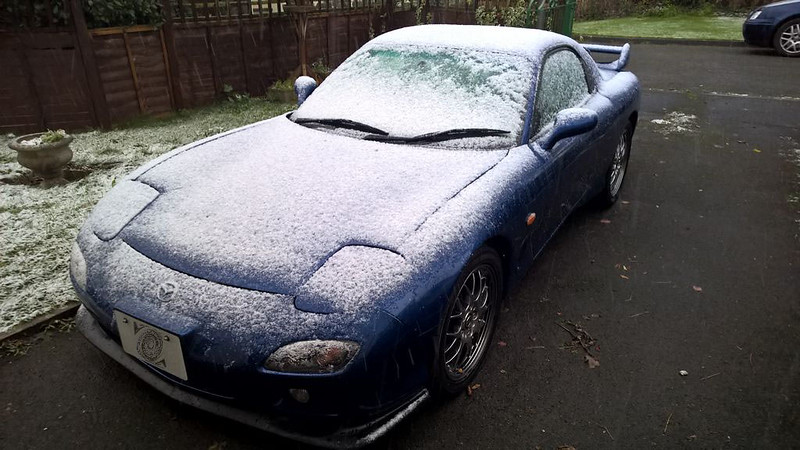
So this was the extent of snow we got in Somerset:
Very disappointing I must say.
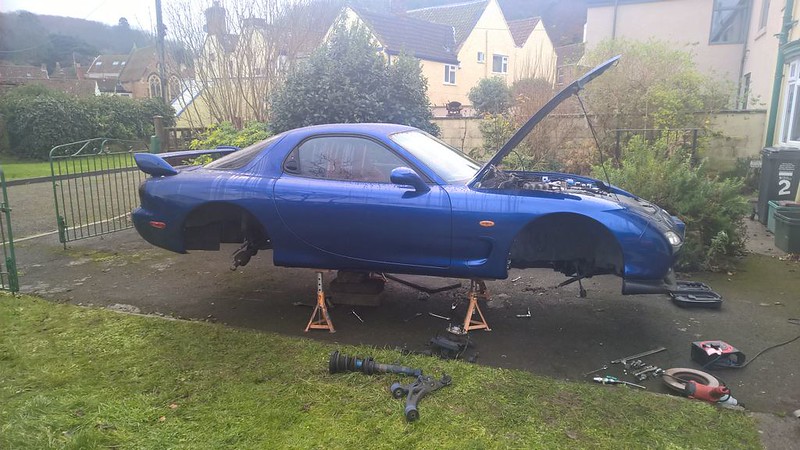
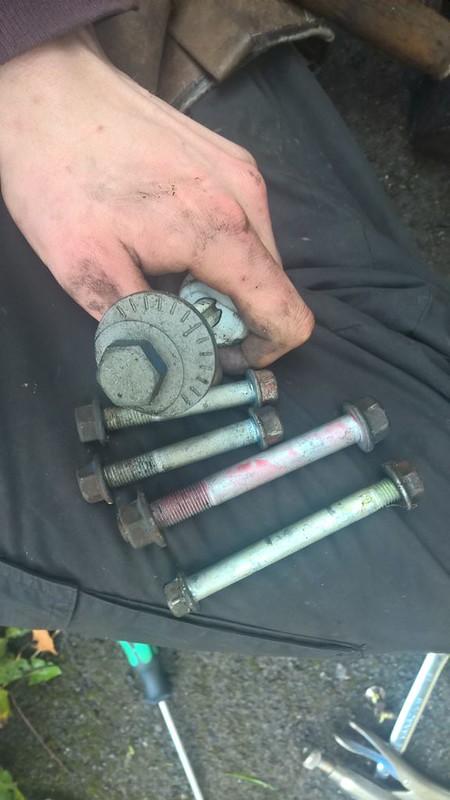
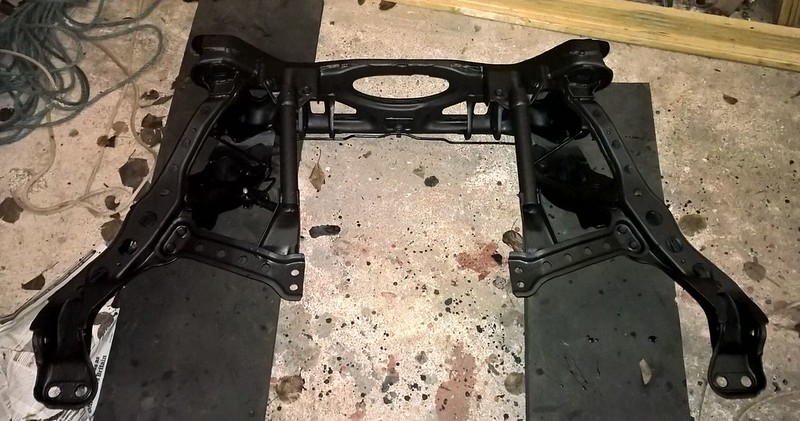
So the winter project is well under way and the end is sort of in sight.
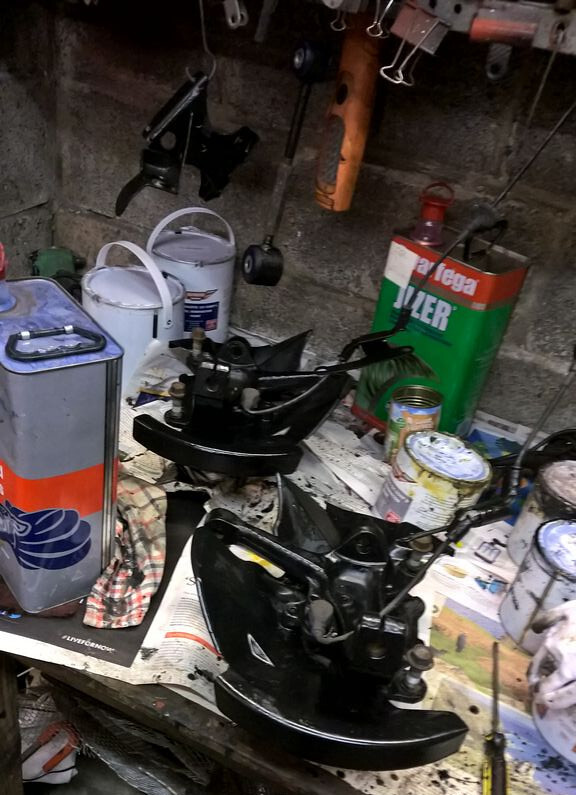
All the bolts etc are in good shape. After plating they should last well.
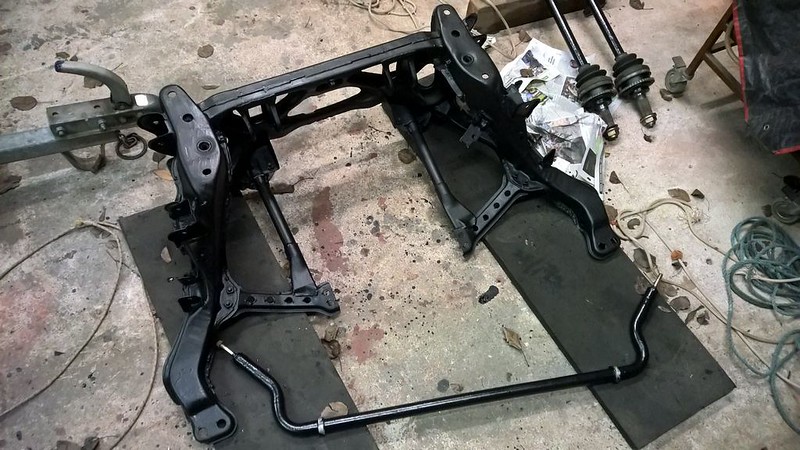
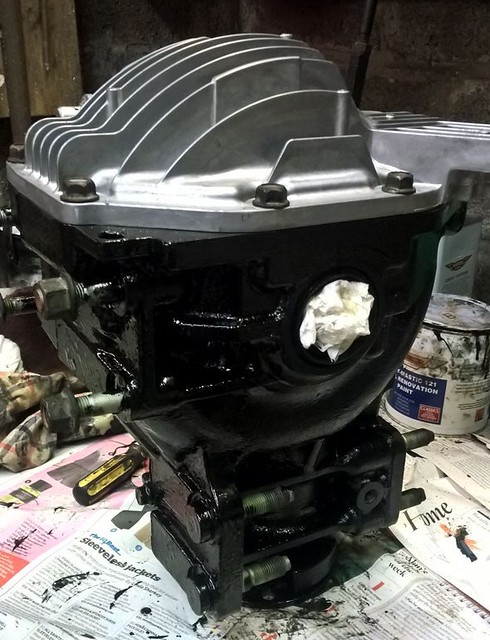
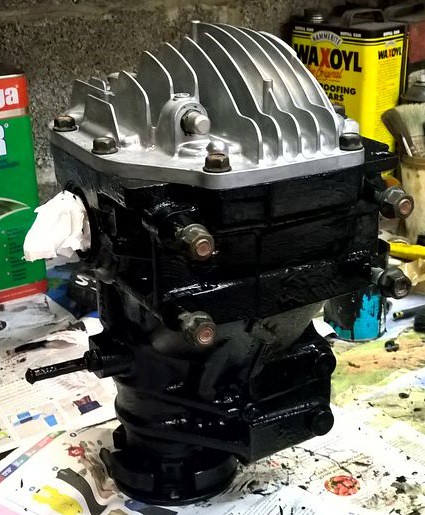
Everything is being painted with epoxy, few more coats to go on these..
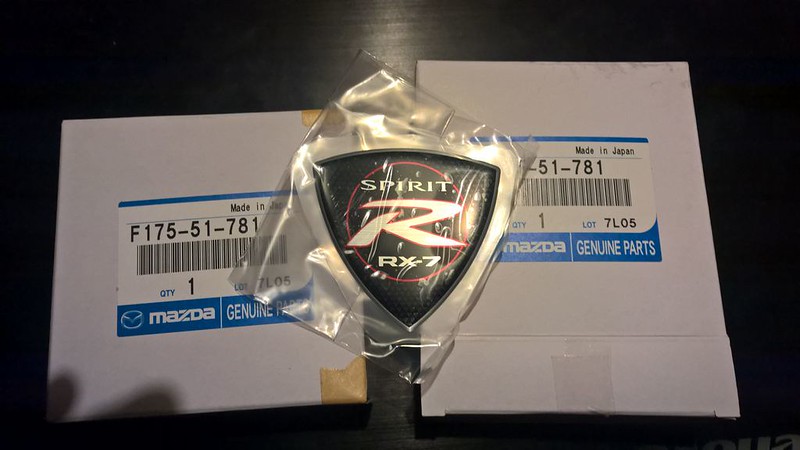
Picked up a few more new SR bits, because it is so close to being full SR spec that it would be rude not to.
I've been pretty bad at taking pictures recently, I've actually done loads more, just haven't taken pictures of it all. I'll catch up this weekend if I get time.
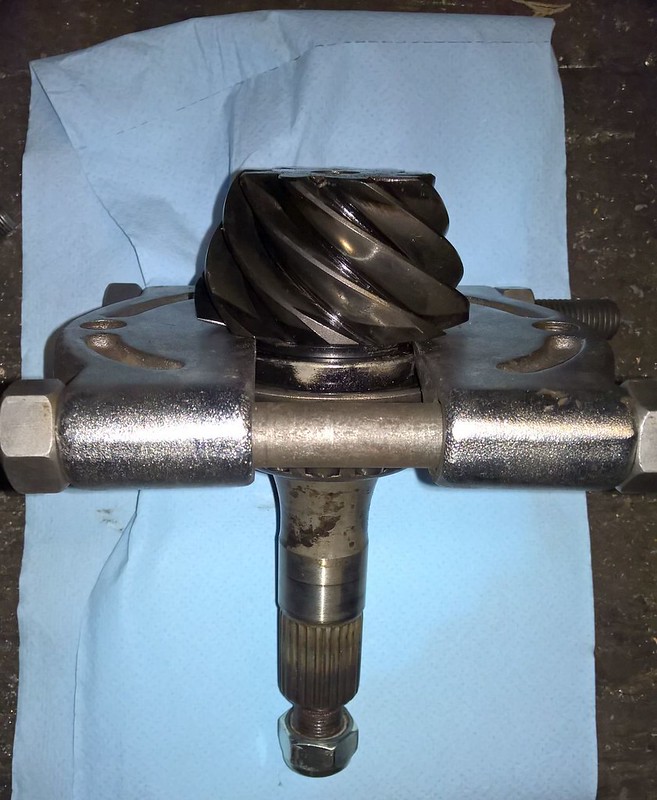
Tonight the diff is being stripped to swap the crown and pinion from a 4.1 final drive to a 4.44, new seals, crush tube etc. This will be the second attempt, this time with a proper bearing press tool, I got stuck last time trying to remove the bearing near the pinion gear, there isn't much to go on with a press without risking damage to the bearings, so I didn't risk it. Fingers crossed that'll all be fine tonight so I can crack on with the gearbox bits and start slinging the car back together soon.
Other bits done that I don't have pictures of:
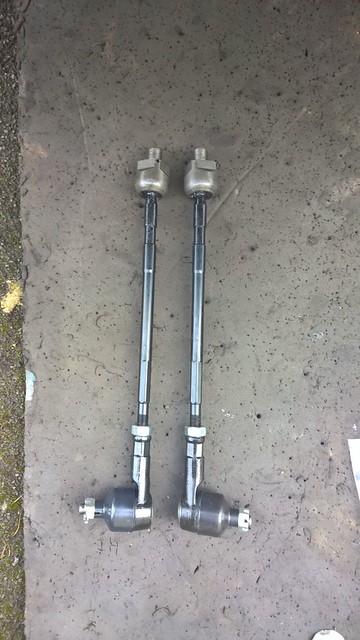
New tie rods.
New track rod ends.
New rack boots.
All suspension arms have new pillow ***** and super pro bushes, all joint boots replaced also.
New brake lines.
New wheel bearings pressed in.
New rear brake dust shields fitted.
Hoping to get the arches and underside painted over the next couple of weeks. Still got the fuel tank to go too. Getting there, though.
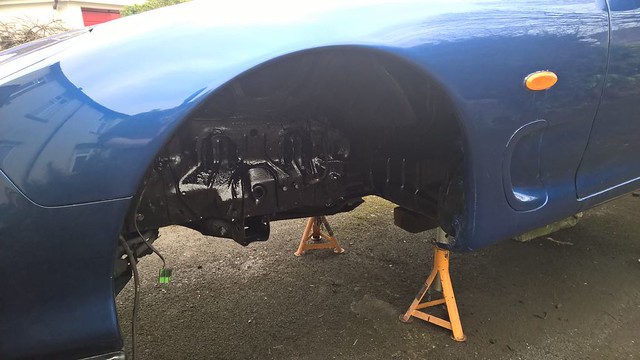
Front arches have been cleaned with salt remover, marine cleaner, rust converter on any surface rust, then epoxy. Steering rack is now all back together with new bushes, tie rods, boots and track rod ends .
Should be able to start putting the front end back together after another coat on the arches . Then it is just gearbox work and finishing off the painting of the rear end.
Did you end up putting sound deading in the doors?
I haven't yet, I'll revisit that within the next few months . I saw a thread on here recommending Cascade vb-2, looks like just the stuff I need for the job, I'll just have to sort out a vapour barrier first.
Originally Posted by gmonsen
Missed you for a while. This has become a rotisserie wonderchild. You'll have to go through a puddle someday, you know. Hehehe. Beautiful, Tom.
Haha, thanks Gordon.
Originally Posted by Johnny Kommavongsa
yea great stuff and congrats on the new car.
What's crazy is you are doing a lot of this stuff in your driveway.
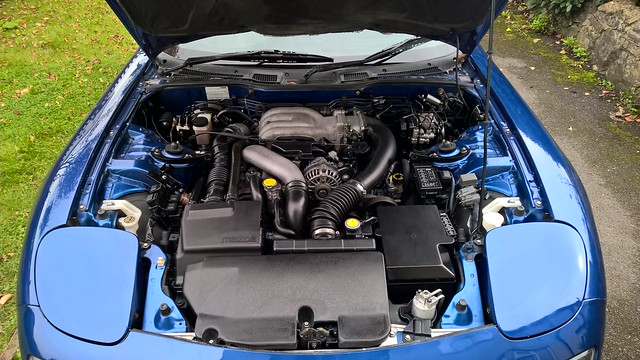
Have you had any experience painting? The paint job on the car looks great.
I'm planning to rectify that one soon, just finished submitting my plans for my garage build, so that should all kick off within the next month or two. I cannot wait to get stuck into that, having a decent work shop and space for the cars is pretty exciting .
This is the first car I've sprayed and I'm really pleased with it tbh! I did have a bit of a concern when it was in primer and looking quite sad...One of those "I better be able to pull this off" moments . I do intend to do some more spraying this summer when the weather is decent and the humidity down (Well...Down for the UK, it's always fairly humid here!) .
Cool, you adding on or getting an external garage built?
I have the space and recently got an big air compressor and would like to paint my own car but man it so much work. I'm sure it's rewarding though.
It'll be added onto the side of the house with a connecting door. Yeah spraying is a lot of work but worth it imo. It's hard to find a decent spray shop that really cares about your car and takes the time to address any issues they find in the best way for longevity. It's so easy to fill an imperfection and be done with it rather than tap/slide hammer it out until it's good in the metal, especially if time is money like in a body shop. I personally don't like the idea of anyone else taking my car apart and I particularity didn't want any body filler on the car unless absolutely nessisary. It is quite cool to look at the car and think "I painted that", it's very satisfying work .
Originally Posted by neit_jnf
??
I bought a bunch of them back in 2012ish, I think they came from Aus.....But cant remember where from I'm afraid.
Originally Posted by doctorzaius
What is cavity wax injection?
Anti rust/corrosion stuff, just about the best protection for any cavity. It comes in cans with propellant, so with a long cavity nozzle you can coat the insides of your cavities in it through the bung access holes that the FD is riddled with. When it dries it's a waxy brown sort of finish, awesome stuff, I've done every single cavity on this car in Dinitrol 3125 :icon_tup.


 .
.


 .
.

 .
.

 .
. .
.