When you click on links to various merchants on this site and make a purchase, this can result in this site earning a commission. Affiliate programs and affiliations include, but are not limited to, the eBay Partner Network.
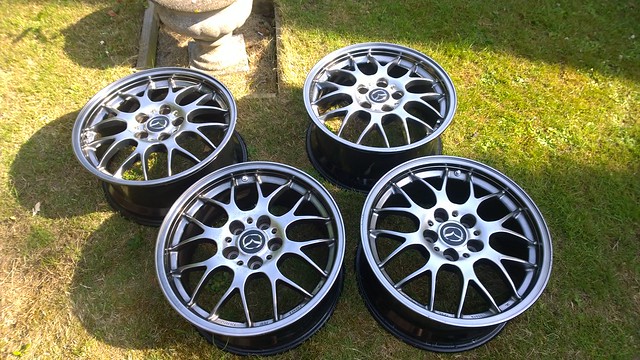
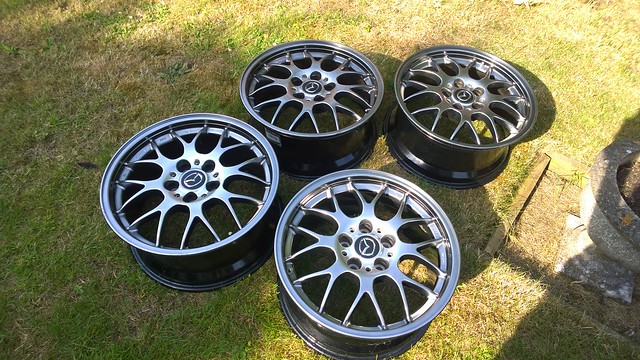
New wheels are inbound, more details when they arrive .
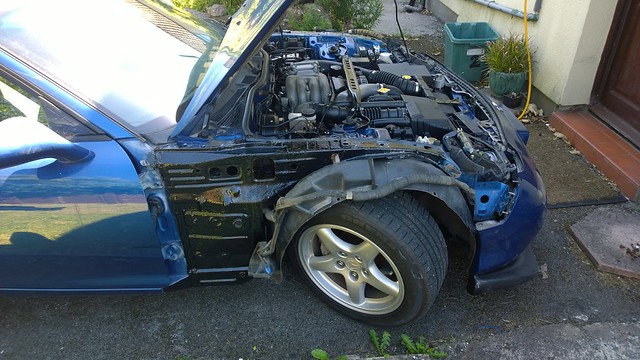
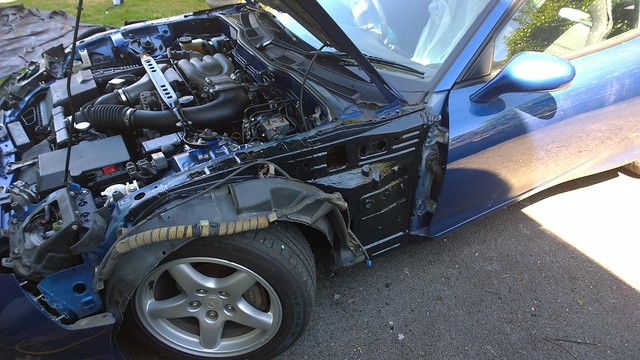
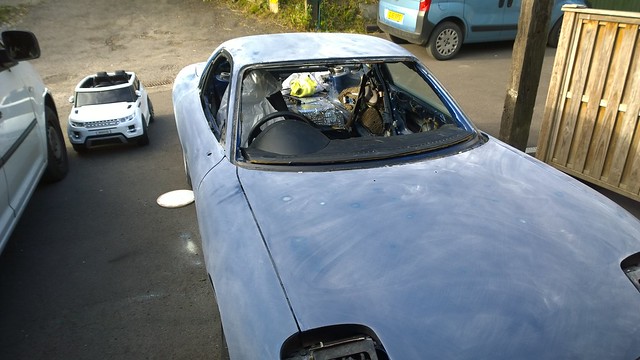
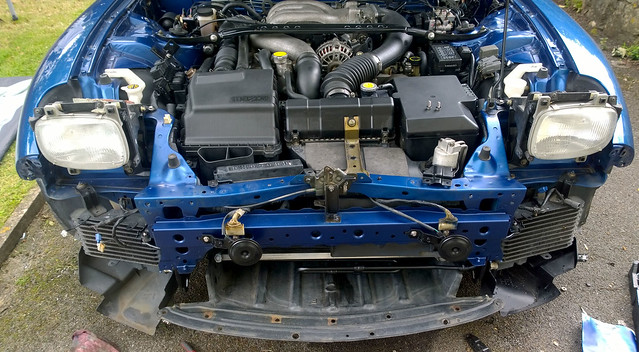
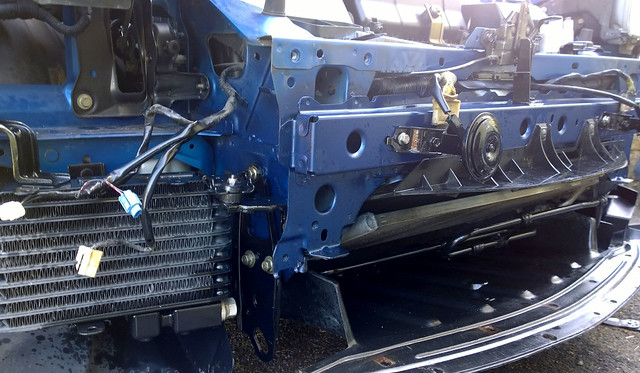
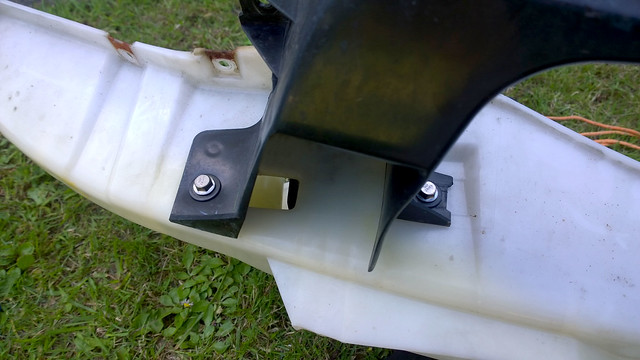
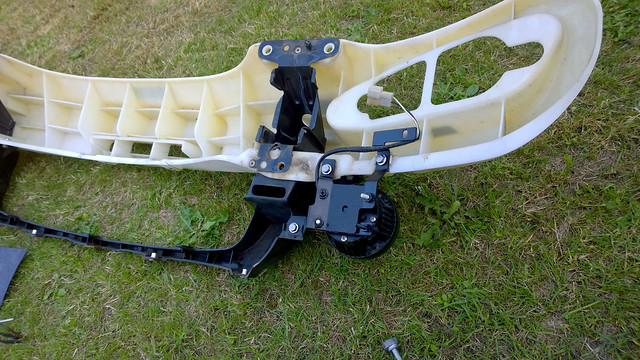
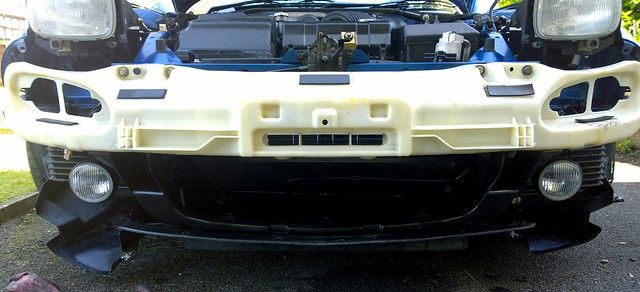
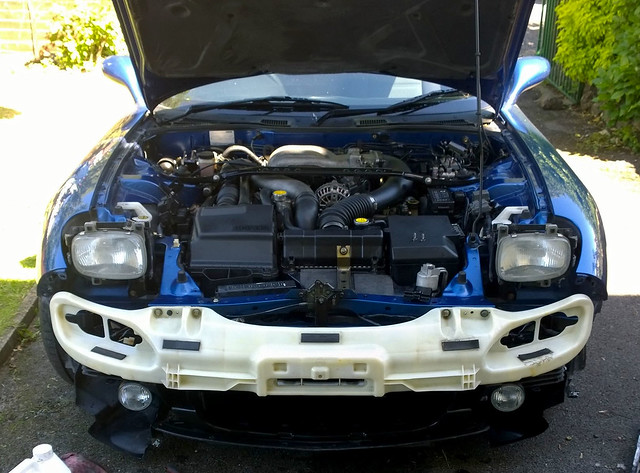
I spent a bit more time on the front end today, removing and painting the oil cooler brackets, horns, tie down hooks, power steering cooler, fog lights and brackets etc etc. Also swapped all hardware out for stainless while I was there and the fogs are now led.
Trying to do little bits like this in preparation for the respray. When putting it back together I played with the latch and bumper frame to get the panel gaps a bit better, they were pretty far out before, much better now.
Next step is to drop the fuel tank and rear subframe, replace all the bushes, strip the underside and arches back to bare and re-do the lot like I did on my last fd. That should extend the cars life a bit and get rid of the annoying knocking coming from the pillowball at the bottom of the rear right shock.
About time we saw some more activity, Tom! You are really "re-manufacturing" this one. Makes me want to pull my front bumper and get in there and clean it up. All of the bolts in my engine bay are stainless, but not those behind the bumper... Nice.
Cheers Gordon, the plan is to try for concours level condition and set the car up to last a long time. I really enjoy restoring all the little bits, though. Especially if they're original to the car. I spent over an hour with the horns apart making them good, I think I have issues .
99+ have higher power output. It may not be over boosting at all. get an afr gauge, if its not leaning out its probably not over boosting
Yeah the 280PS model S8's run just under 11psi standard, this car was hitting over a bar (14.4psi). All that side is sorted now, it's running great and the boost is where it should be .
This is a beautiful example of a well preserved Rx7 Tom, congrats! I have to admit that I envy a bit your capability and knowledge on working with technical things (sequential stuff, electronics, etc). I am tempted to try the Philips HIDs now
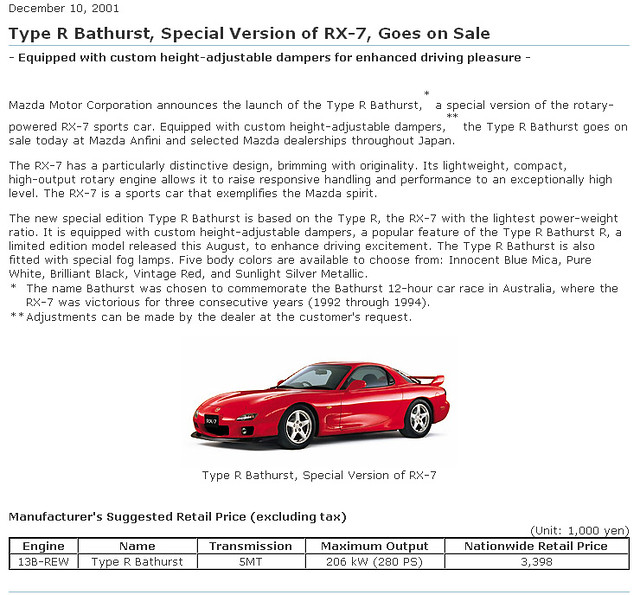
Just a clarification: The height adjustable Showa suspension was coming with the 2001 R-Bathurst-R Rx7 (500 pieces ever made), which also had the carbon look Mazdaspeed cluster. The R-Bathurst had non height adjustable suspension from factory.
This is a beautiful example of a well preserved Rx7 Tom, congrats! I have to admit that I envy a bit your capability and knowledge on working with technical things (sequential stuff, electronics, etc). I am tempted to try the Philips HIDs now
Just a clarification: The height adjustable Showa suspension was coming with the 2001 R-Bathurst-R Rx7 (500 pieces ever made), which also had the carbon look Mazdaspeed cluster. The R-Bathurst had non height adjustable suspension from factory.
Cheers!
Cheers! It's slowly getting there . I'd definitely recommend the newer Philips LED's, they're better quality than others I've tried. I'm slowly converting the whole car to them.
The height adjustable Showa coilovers are fitted to the 2001 Type R Bathurst R and the 2001-2002 Type R Bathurst (Like my car) as standard, I can dig out the release documents if you're interested . The differences between the two models are that the later Type R Bathurst has front fog lights as standard and doesn't have the carbon effect interior trim, handbrake, gear stick or the pillar sticker .
The R Bathurst was made due to the success of the R Bathurst R the previous year . I quite like the Showa coilovers, mine are currently set at about the middle of the height range. I'll likely lower that when I do the bushes as I now live in a flatter area.
[QUOTE=Ceylon;12192462]The height adjustable Showa coilovers are fitted to the 2001 Type R Bathurst R and the 2001-2002 Type R Bathurst (Like my car) as standard, I can dig out the release documents if you're interested . [QUOTE]
Sure, if you have any brochures that would be interesting to see. I will also check the brochures I have home to see if they mention anything.
The below link also provides some info, cannot guarantee its accuracy though.#
Yeah there are quite a few bits in the link that are not quite right. I have the original brochure for my car, all 2001-2002 R Bathursts come with the adjustable Showa shocks. I haven't got around to scanning it yet, it's on my to-do pile.......I'll get around to it at some point .
The Type R Bathurst also features in the end of the Spirit R Brochure, if you translate it, it tells you that it's fitted with the adjustable shocks, album link below .
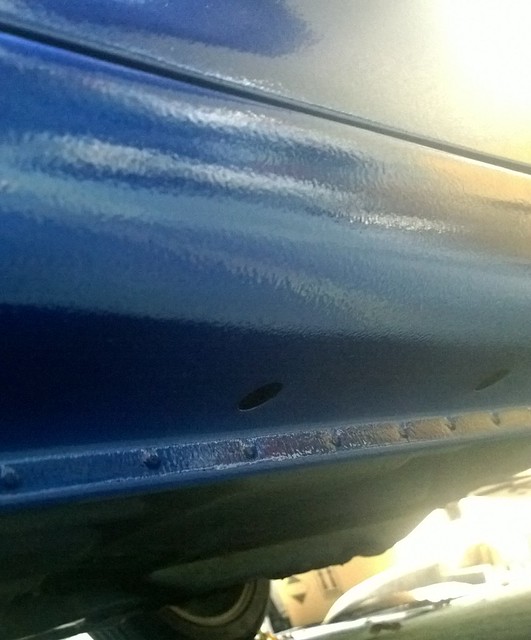
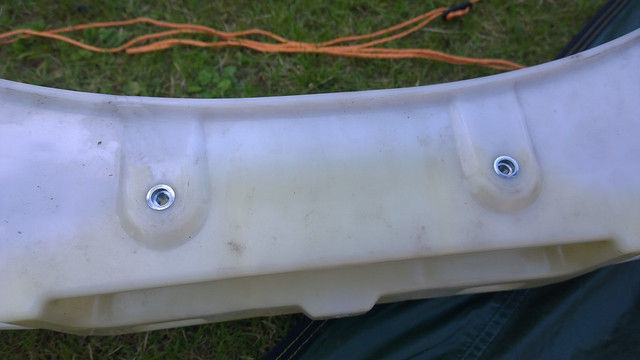
I didn't really take any decent pictures, but I had the rear bumper off the car this weekend to check everything over and to ensure there are no surprises during the respray. Painted the number plate bracket and steel parts of the crash protection while I was there. I'm pretty happy with it all now, she's ready for new paint in July .
Yeah they're good brakes, I had them on my last FD too . I'll be honest, I'm upgrading the brakes solely for looks, the smaller brakes just don't look as cool .
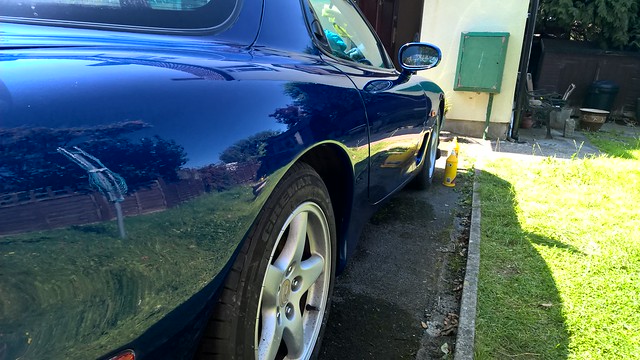
Better pics of the wheels. They're not perfect, there are a couple of small stone chips, not bad enough to warrant a refurb, though. I'll try and find a paint match to touch them up with.
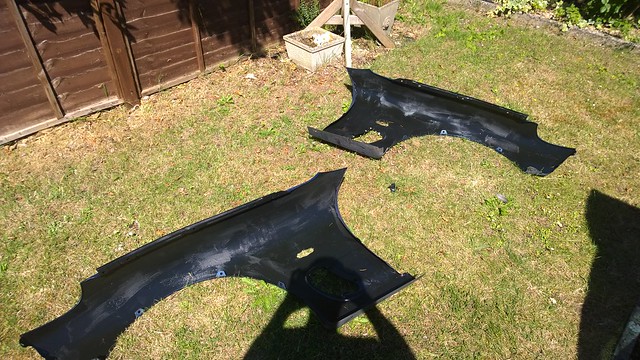
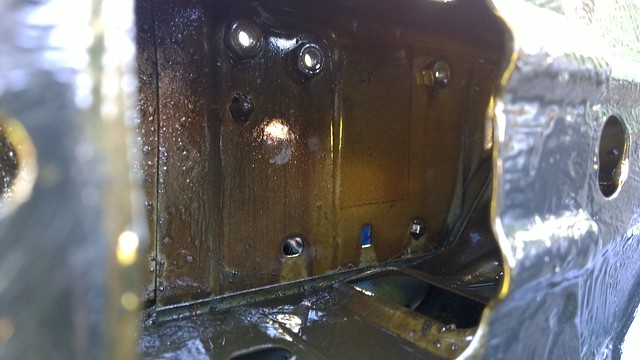
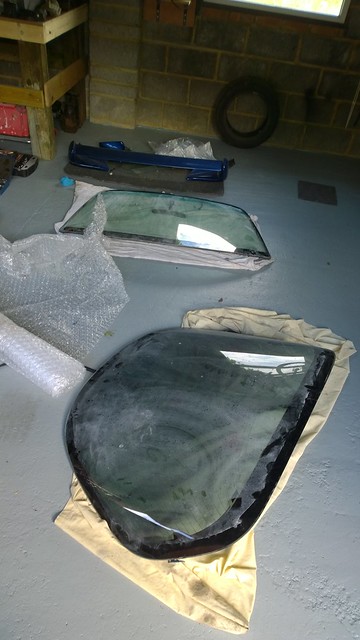
Had the wings off over the weekend to check for any potential issues prior to paint. I painted the inside of the wings and the body behind the wing with epoxy mastic. I probably should have used a little more thinner as some of the brush strokes stayed, although I'm not overly concerned as they're all hidden when the wing is on and it's got a decent thick coat that'll protect it well . All the front cavities were also injected with Dinitrol 3125 while I was there. Also converted all the arch liner mounting points to rivnuts just because I can.
I'll tackle re-finishing the arch itself when I do the bushes and brakes later this year.
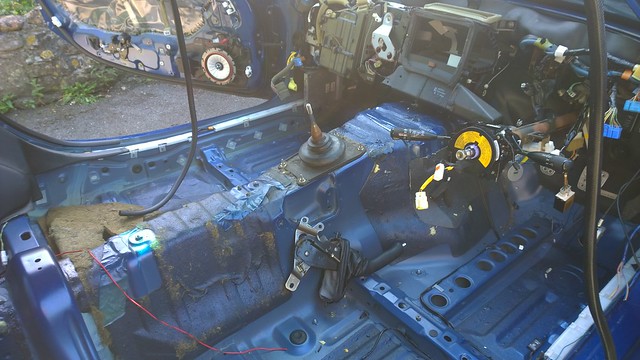
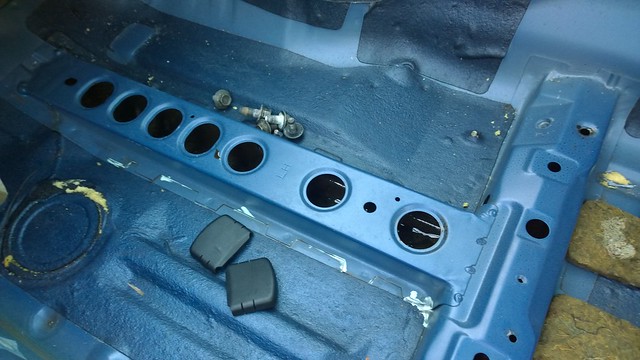
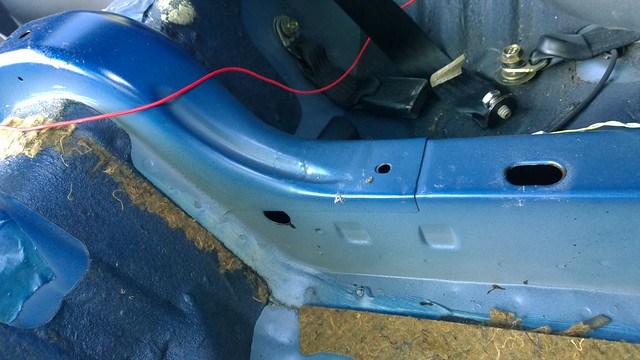
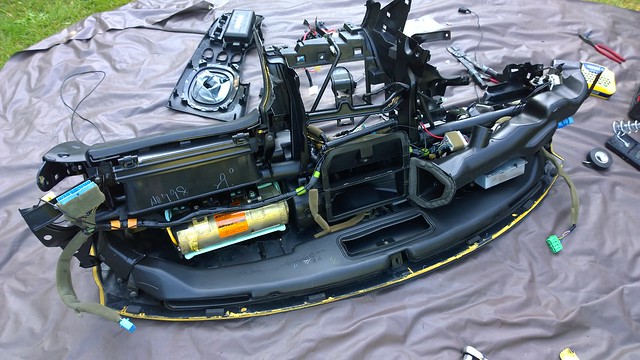
I then got a little distracted and started pulling the interior. I was supposed to be removing a few bits at the edges so I could mask the door shuts for paint easy, ended up with this:
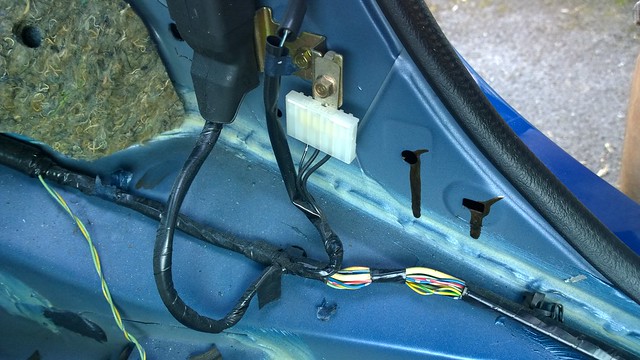
I had to cut the alarm out as the wires went all over the place. I'll make nice looms with connectors this week so that if the dash has to come out again It'll be a more straightforward job.
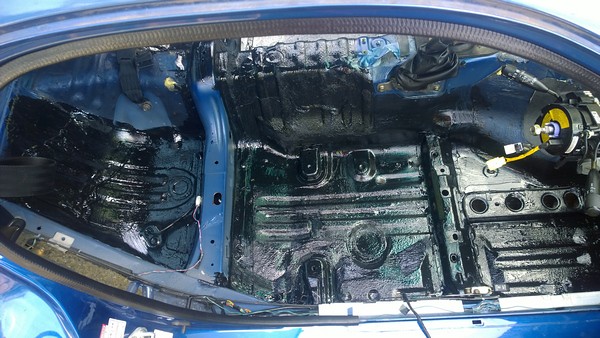
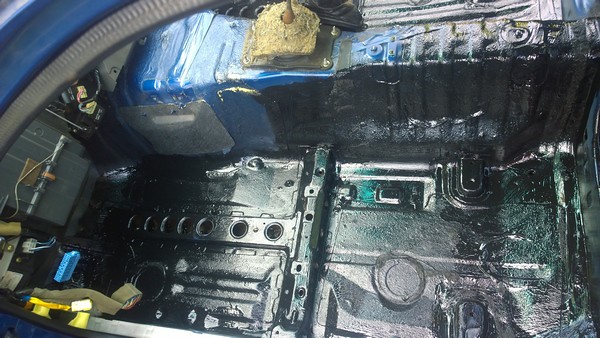
More cavity injection, this car is in such good condition that doing this work now is easy and will protect it well.
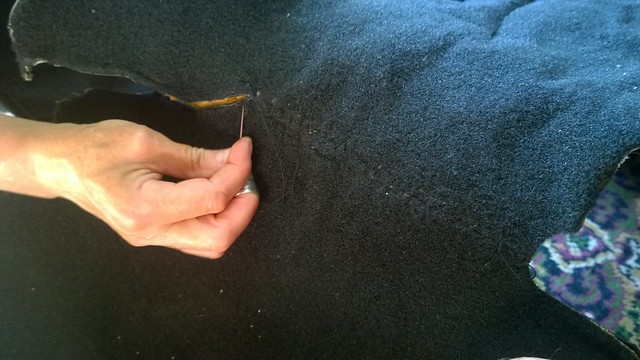
The main reason I pulled the dash and carpet was to sew up a cut someone had made in the passenger footwell which was really bugging me. As the late cars have a different carpet, I definitely wanted to fix it as sourcing another would not be easy. The repair is quite high and is very nearly invisible.
I couldn't see any reason as to why someone would have pulled the carpet, so I can only assume it got wet at some point and was pulled to dry.
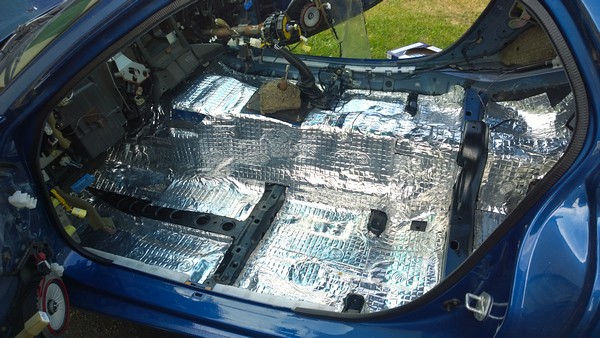
The floor and anywhere I was concerned about possibly trapping water has been painted with epoxy mastic before putting on the Silent Coat. I didn't take pics, but I also dropped the head liner, removed the foam and put up some Silent Coat sheets. I haven't finished the bins or rear of the car yet, will likely do this after the car is sprayed. Just needed to get the carpet and dash back in so I can drive it over to the garage where I'm spraying it.
The carpet repair is 100% invisible when fitted, very happy with that . Will take some pics of that later. I'm hoping my connectors for the alarm loom will turn up today so I can pop the dash back in tonight.
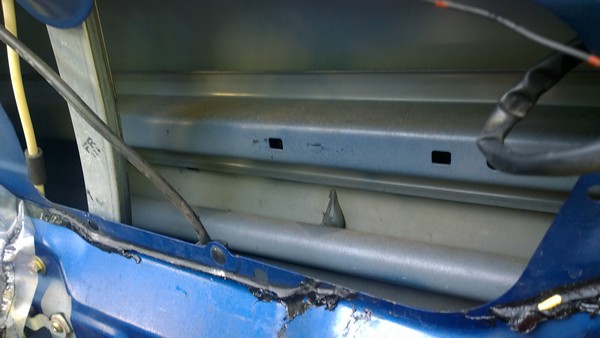
I'm not sure what to do about sound deadening the doors as being a post September 2001 car, mine has the great big girders in the doors for side impact protection. I am tempted to sound deaden the door card itself, might do the job and make the card feel a bit more quality? Any thoughts?
Yeah, hopefully should make her a little quieter on the highway .
I went to refit the dash in when I got back from work today. But couldn't bring myself to fit that rusty dash support bar . So...Dash came apart, dash support bar was rust converted and then painted with epoxy. While that was drying I rewired the alarm and serviced the power windows (They're super quick & smooth now!). Dash is now back in the car and she runs, so all good, just needs the seats back in and it's ready for paint .
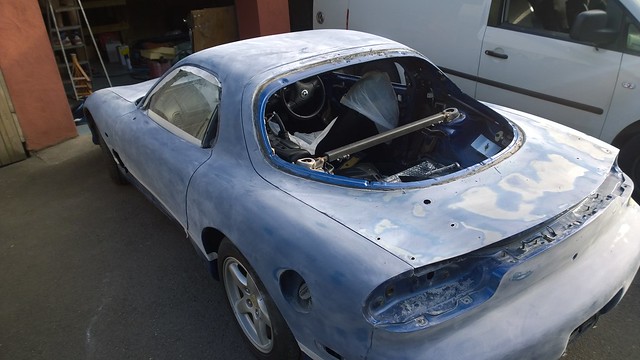
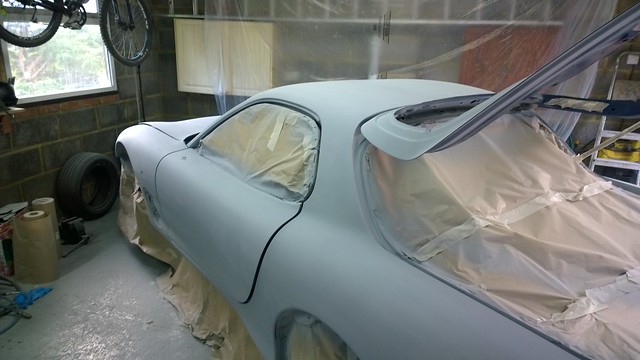
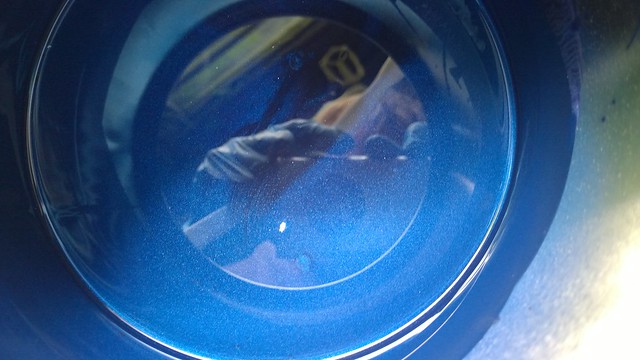
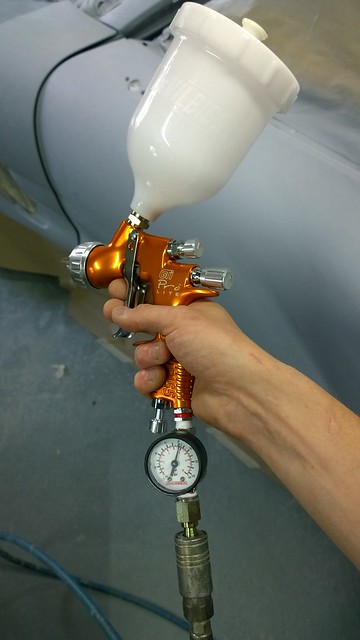
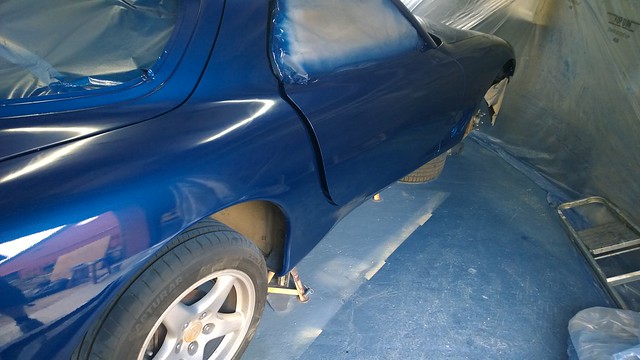
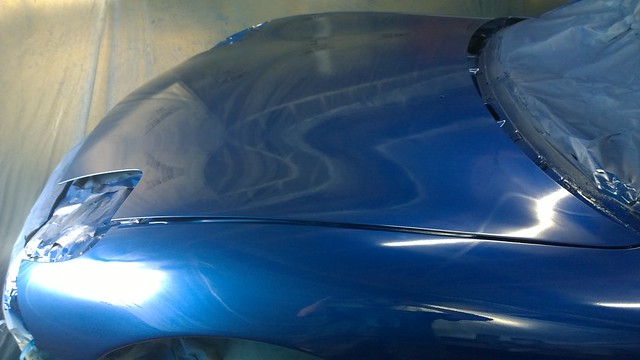
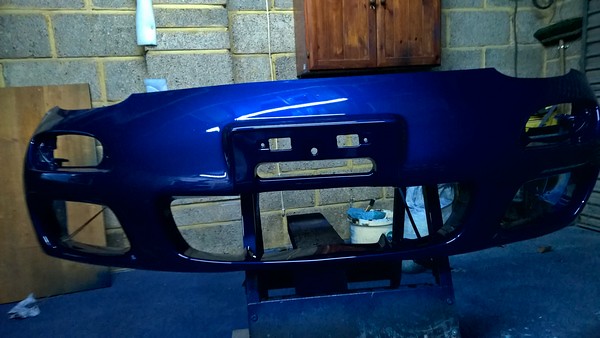
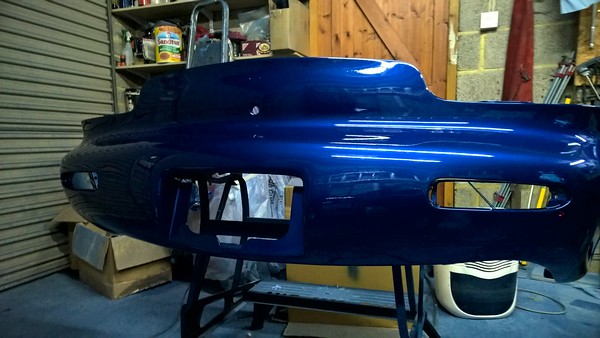
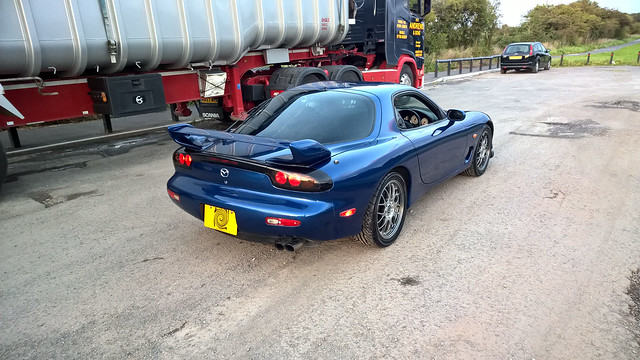
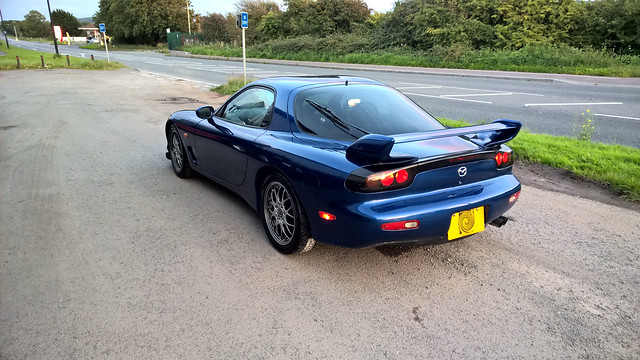
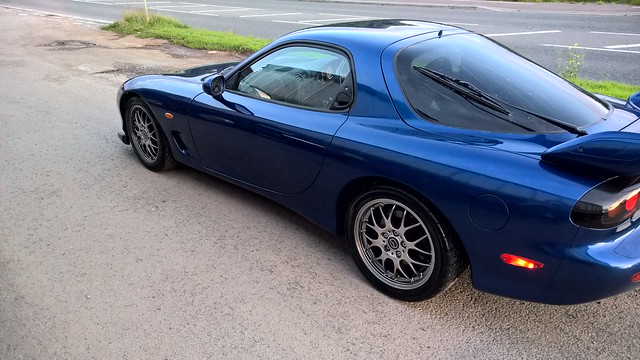
So this was my first attempt at spraying a car, I sanded it back to the factory primer, blocked the whole car until flat. Fixed a few minor issues then laid on some 2k primer, fresh innocent blue mica and lots of coats of clear to hopefully keep her looking good for a long time, here are some pics .
Thanks Gordon, she's nearly where I want her . Just brakes, exhaust and new seats to go now. I've got all the parts with the exception of the SR seats.
I'm not sure which badge you mean? I have the new oe badges of the ones in the below pic:
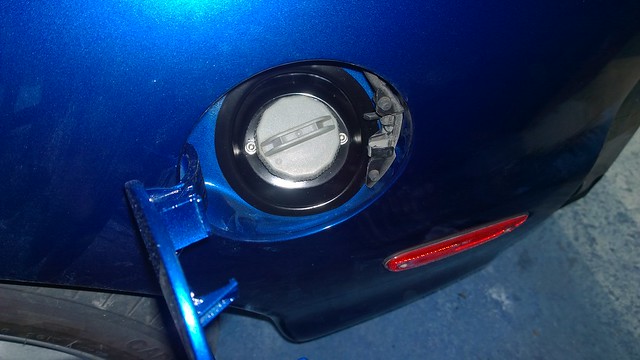
Very nice paint job Tom! Like having a brand new car, the detailing work gone into this car is enormous. Love how the fuel tank cap and surroundings look so new
I would have put the rear badges on, completes the oem look.
Cheers guys, I am leaning towards putting the badges on as per standard I think. I don't want to get too inventive, trying to keep her looking pretty original. I was just deciding whether to run them or to keep it with just the Mazda badge. After running it without for a week or so I think it does look like it is missing something with just the Mazda badge. If I get some time tonight I'll get them on.
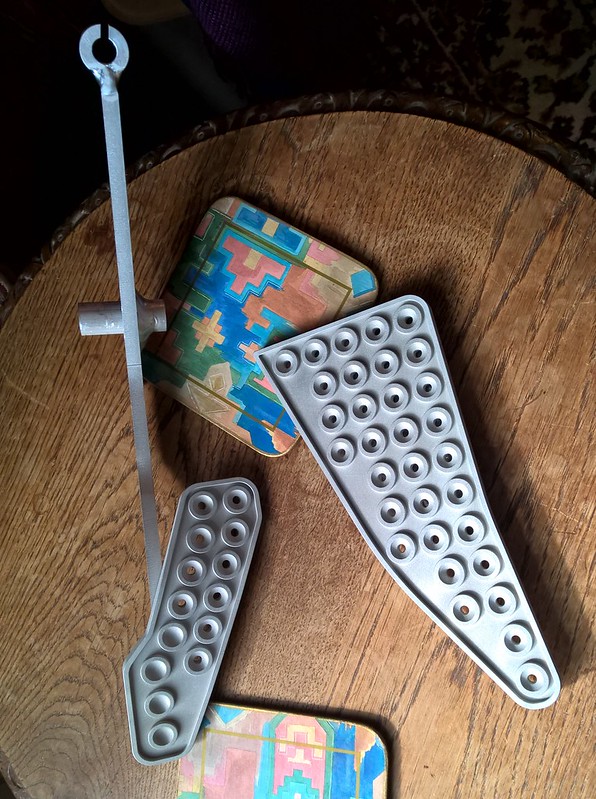
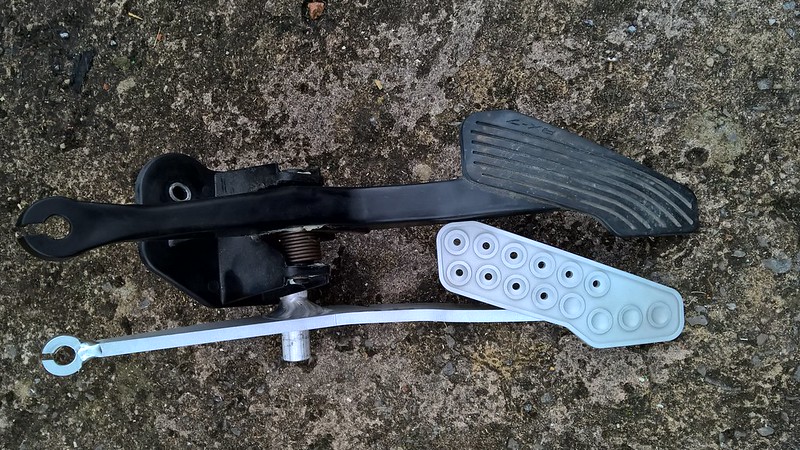
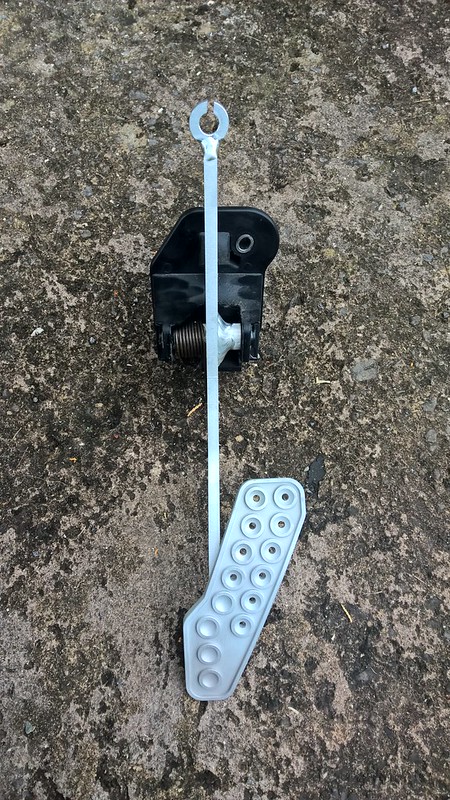
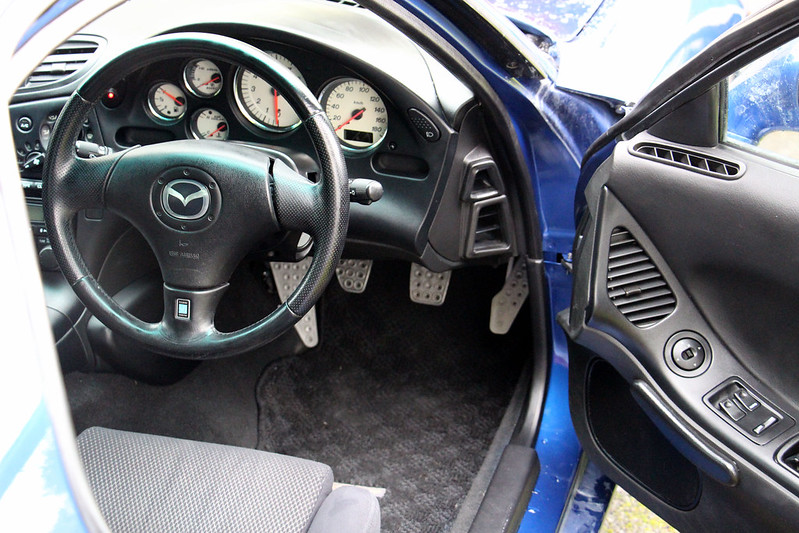
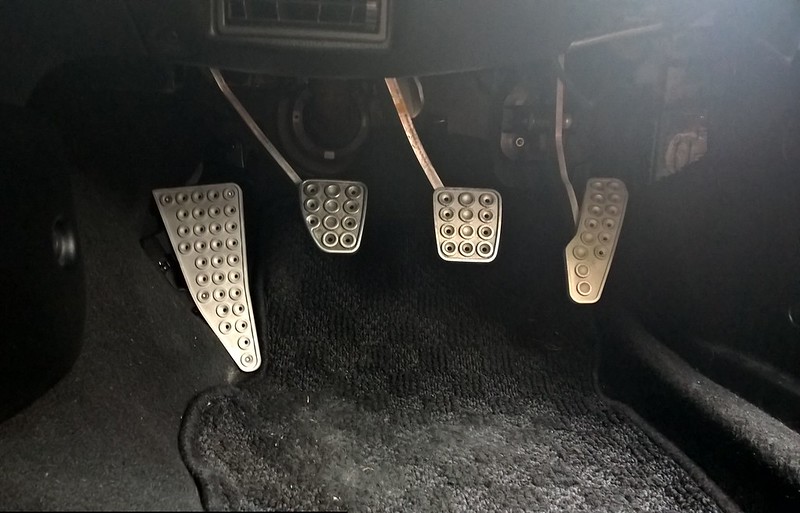
Pedals arrived from Matt today, very impressed, great match to the oem pedals and the fitment is ace. I haven't cleaned my original pedals, they're not that far off tbh and they'll wear in .


 .
.

 .
.


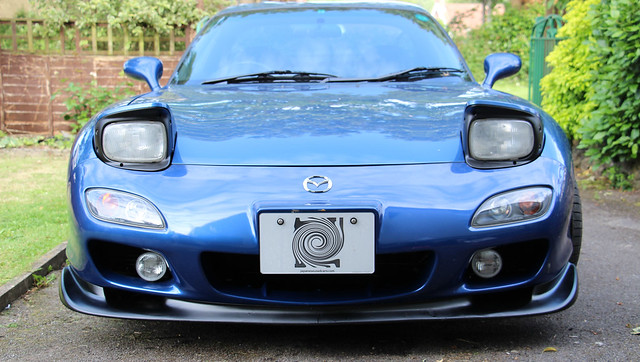
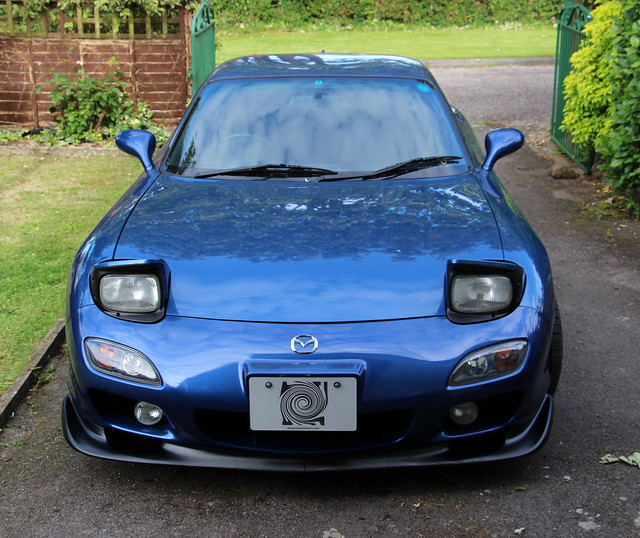
 typerbathurst by Tom Kinsman, on Flickr
 .
. .
.
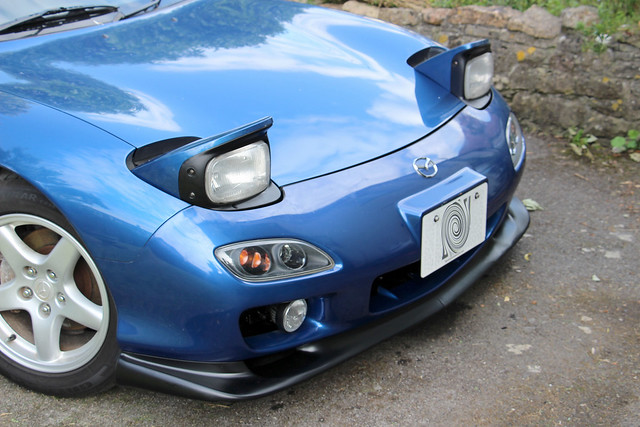
 . They're filth, but I snapped a pic anyway.
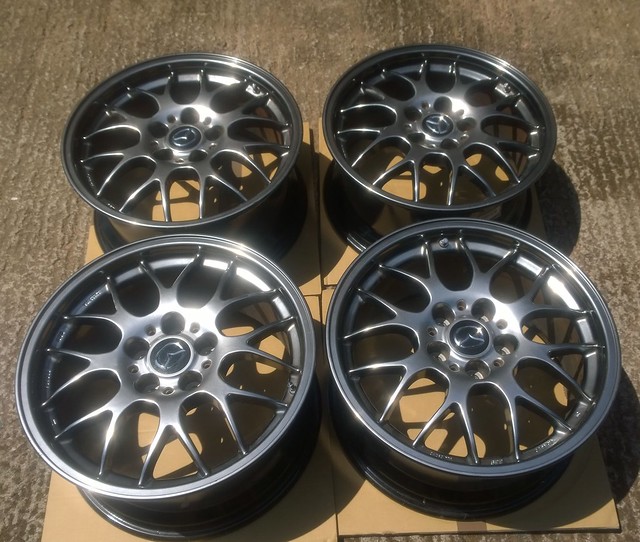
 .
.