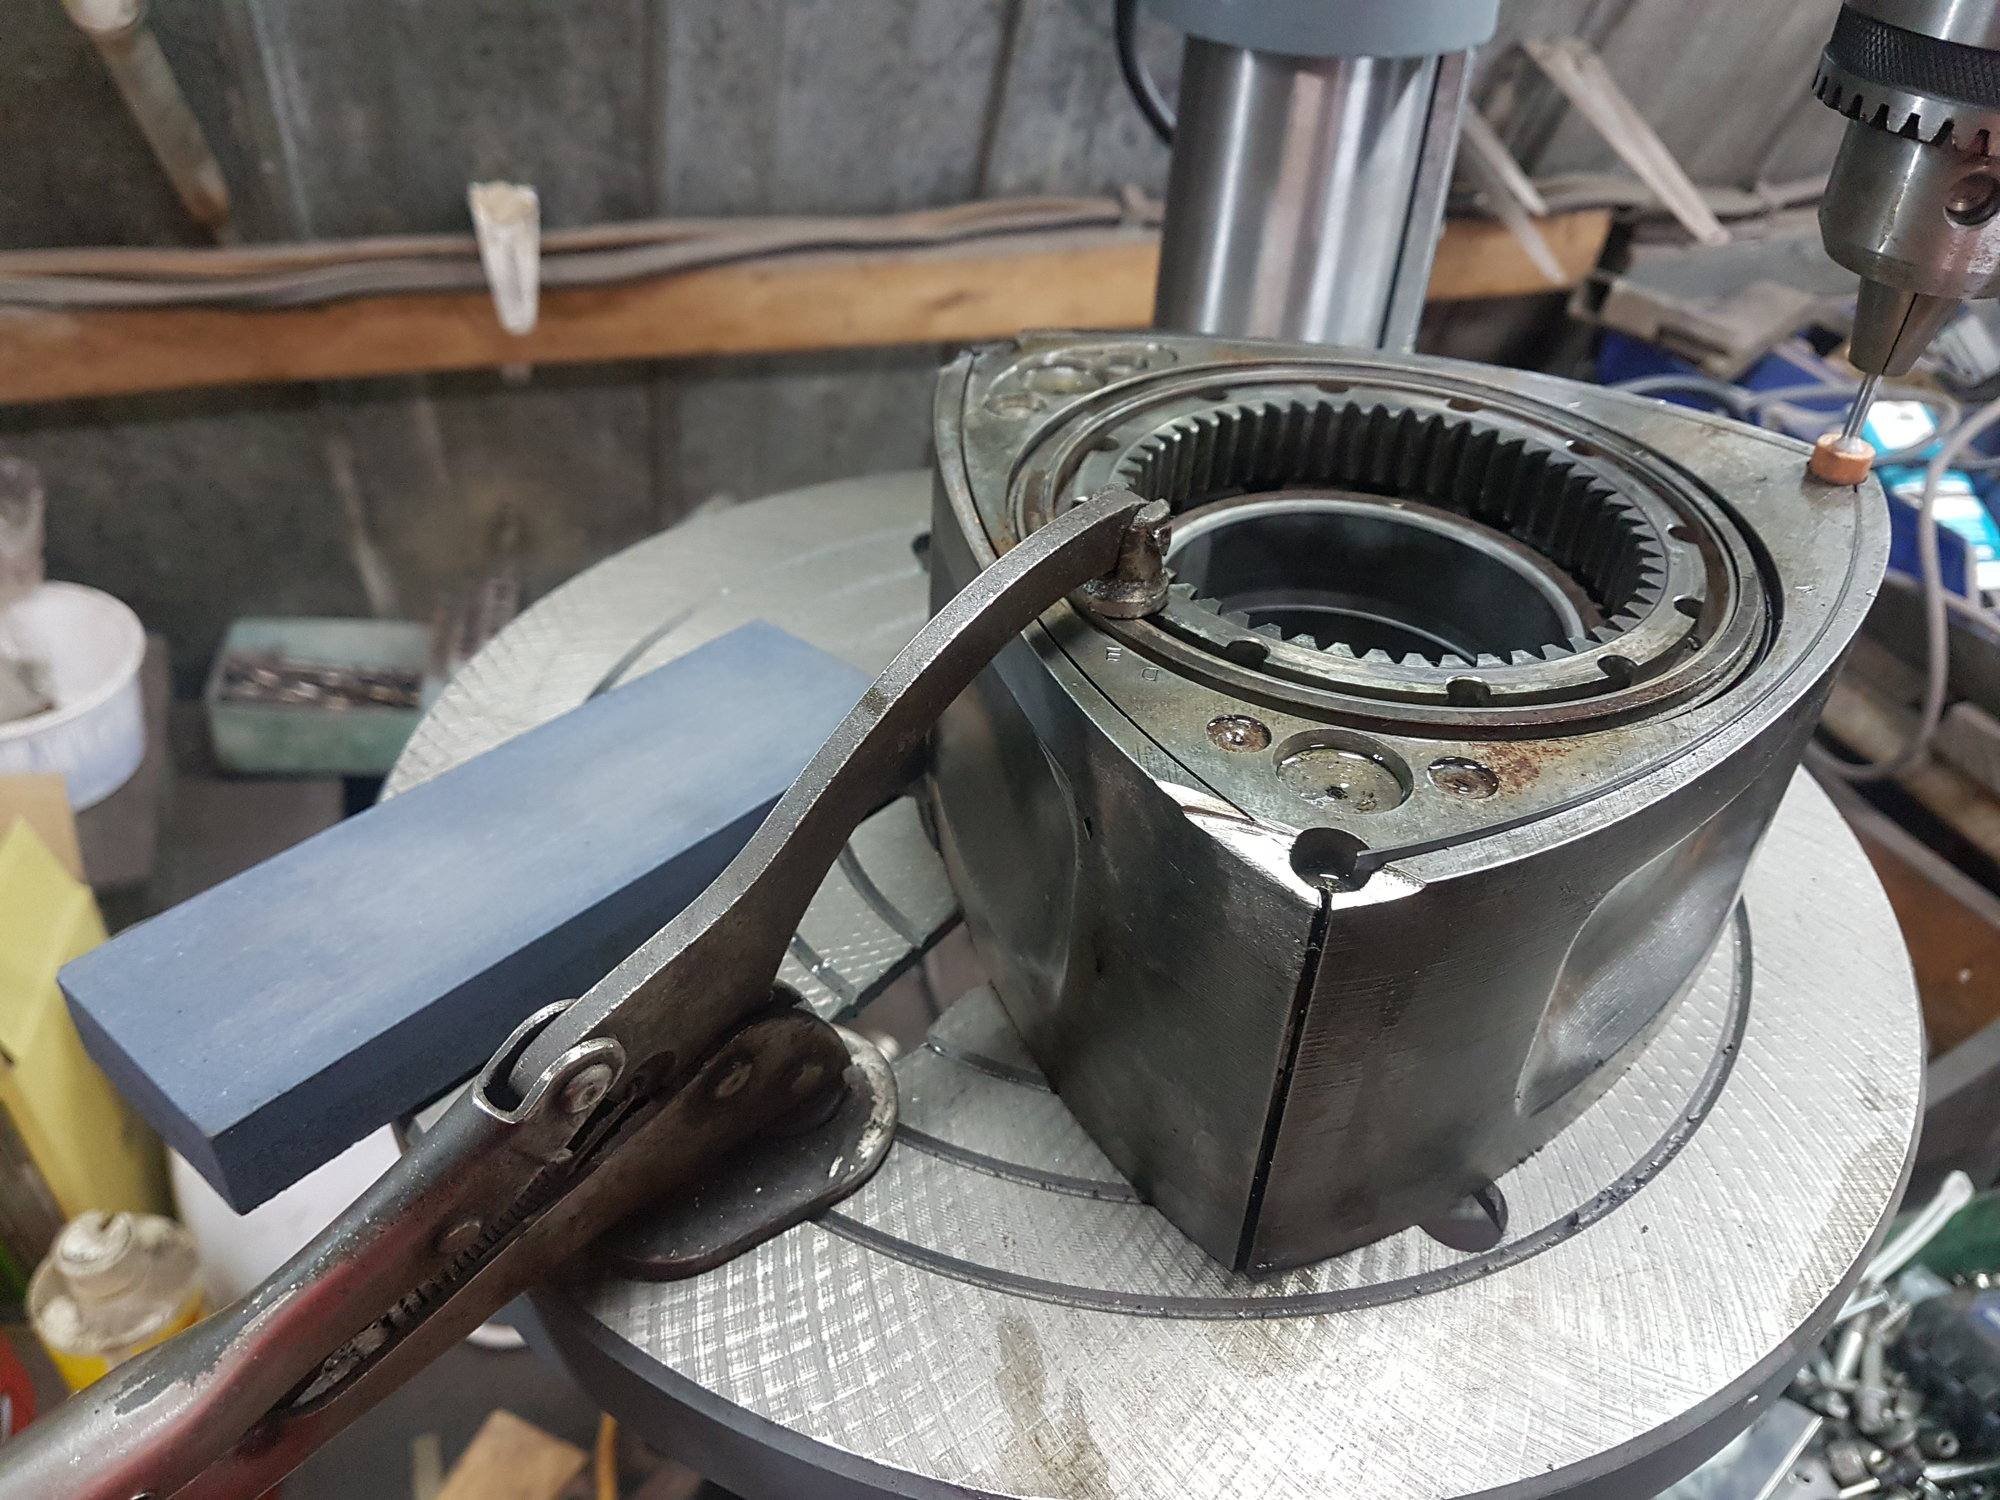
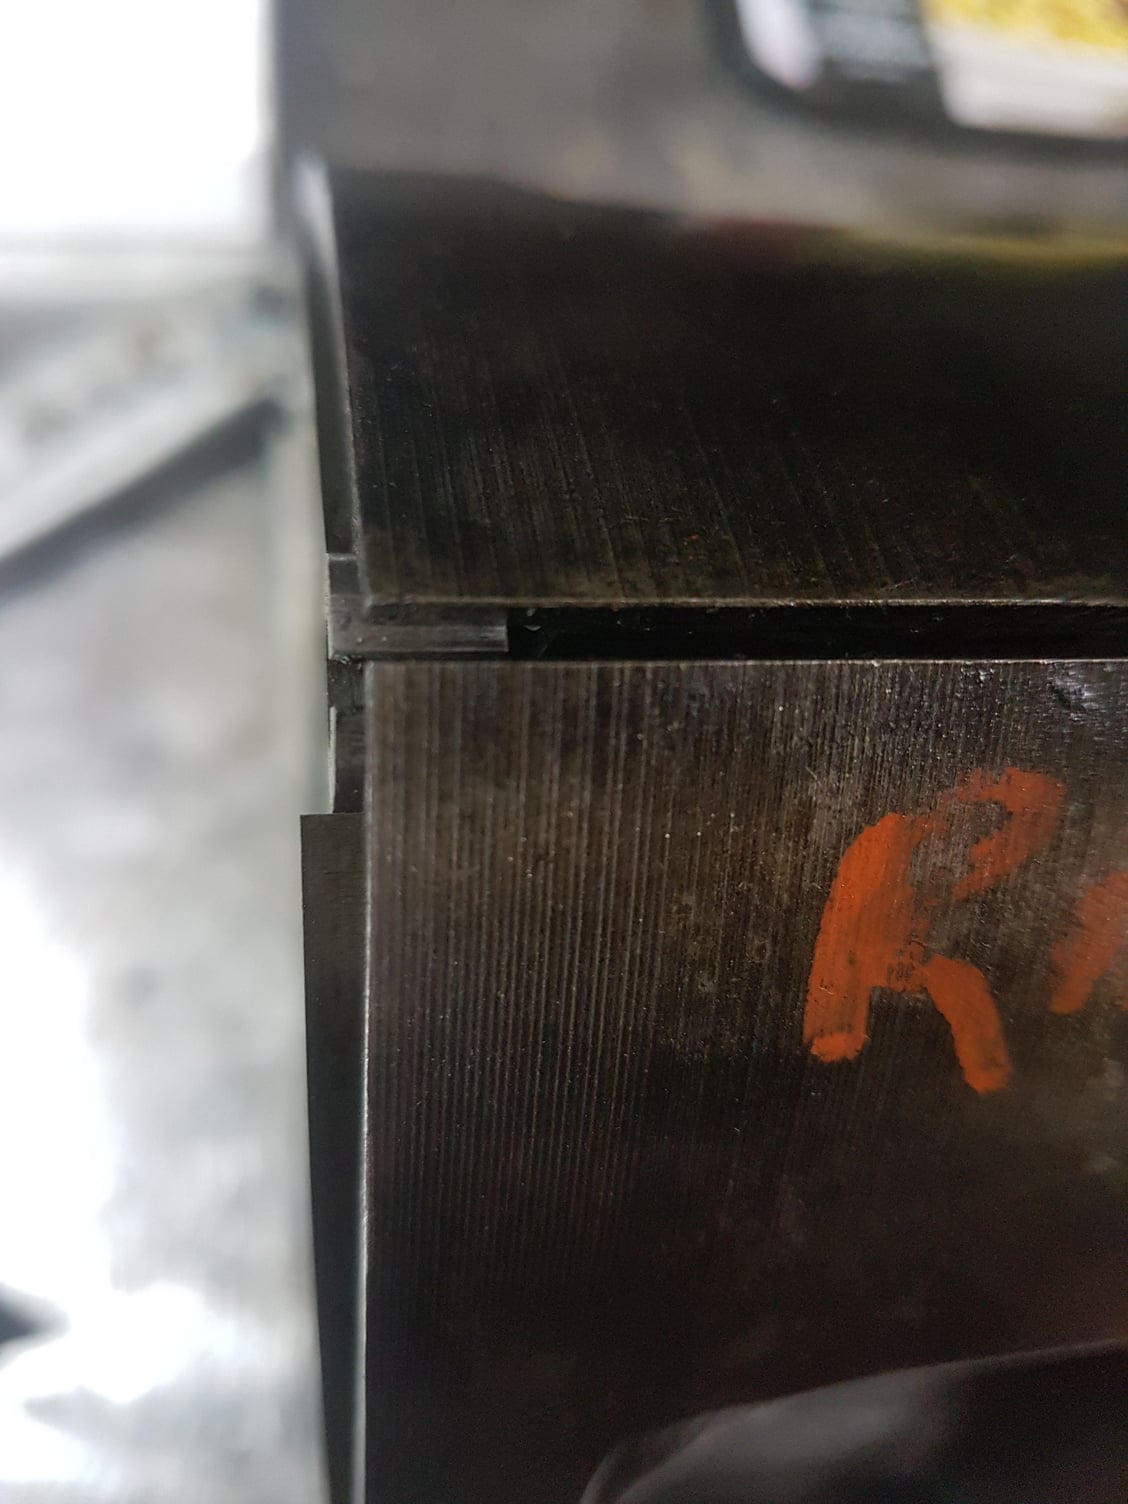
Rebuilding engine - unneven side seals
#2
Original Gangster/Rotary!

iTrader: (213)
That's incorrect, you are right to be concerned. Let's see pictures of the corner and side seal springs--- are they all new? What clearance are you shooting for between the seals? How are you 'trimming' them?
#3
Rotary Enthusiast
iTrader: (5)
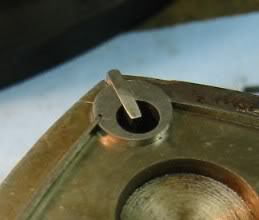
Let me see if i am understanding correctly. By uneven , do you mean that one is higher than the other at the corner? If so, there is a spring under the side seal, just make sure those are good( on a rebuild i would recomend new springs) it might no be flush perfect on both sides ,but really close, check the grove for dirt, maybe the other end of the side seal is stucked in some how.
#5

Wow GoodfellaFD3S you're still on this website? Amazing! Red94fd yes that is what I meant, one side is higher than the other. I would guess the higher is OK and the lower isn't, maybe I used a new side seal spring on the higher one (can't remember). I'll try to use all new ones!
This side seal clearancing is running me crazy right now. I've broken 3 side seals in a row now . I'm trying to use the dremel method but I don't have enough control on the side seal. How can I make it side gently in the groove? I don't get it.
#7
Original Gangster/Rotary!

iTrader: (213)
Yup, gramps is still around 
That's, um, not the way I recommend doing it. The safest (and most time consuming) method is probably filing them by hand with a piece of sandpaper on a workbench. I've never done it that way, I use a wet sanding wheel and remove small amounts at a time, check and recheck. Once you've done them enough it goes pretty quickly, pay attention to the angle on them where it meets the corner seal. New OEM seals will have one end already angled properly, with the other end squared off. You want to file only the squared end, and shoot to mimic the angle of the factory end so that the side seal meets the corner seal nicely

That's, um, not the way I recommend doing it. The safest (and most time consuming) method is probably filing them by hand with a piece of sandpaper on a workbench. I've never done it that way, I use a wet sanding wheel and remove small amounts at a time, check and recheck. Once you've done them enough it goes pretty quickly, pay attention to the angle on them where it meets the corner seal. New OEM seals will have one end already angled properly, with the other end squared off. You want to file only the squared end, and shoot to mimic the angle of the factory end so that the side seal meets the corner seal nicely
Trending Topics
#8
Well that's the problem; I've been doing them by hand with a stone sharpener and just broke 3 of my first 3 (I've got 24 new so I'm still fine. The ones you see in original post are used ones from my previous engine.
My problem seems to be that the side seals are bent everywhere, in all axis, when I'm done. Can't fix them.
My problem seems to be that the side seals are bent everywhere, in all axis, when I'm done. Can't fix them.
#9
Rotary Enthusiast
iTrader: (5)
When you do it by hand , you are putting too much presure trying to do it fast. There are some videos on youtube maybe you can het more ideas. Cause the most difficult part is the angle for the seal to do its job.
keep trying my friend or get some one to help you there.
keep trying my friend or get some one to help you there.
#11
RX-7 Bad Ass
iTrader: (55)
Fitting side seals is a slow, time-consuming process. But, doing a good job here will result in a very happy engine that will make great compression. I think the side seals are one area where taking your time and doing it right really pays off.
The side seals from Mazda are quite long out of the box. You need to get them down close to size then slowly work until you have the exact fit.
1. On the rotor, put one corner seal in (with spring) and put the side seal spring in. The tips of the side seal spring need to be pointing up when you install. Look at the overhang into the gap for the second corner seal and make a mark on the side seal with a sharpie so you know how much bulk material to remove. Also, put a little oil in the slot and make sure the seal moves up and down easily and freely. If it's binding or sticking, you may have carbon still in the groove or the side seal may be warped.
2. I use a flap wheel sanding bit on a Dremel to remove the bulk of the material. Hold the side seal with your fingers close to where you are grinding. GO SLOW, the heat can warp the side seal as well. Grind it down until you get it close to 0 clearance.
3. Once you're close, put the second corner seal in and start working down to clearance. I typically do .003" with a feeler gauge for the gap. Keep the angle of the side seal right so it is flush to the corner seal and not off one way or the other. Use 120 grit sandpaper to rub the end of the side seal - put it flat on your workbench and ONLY sand one direction. Going back and forth will make it easier to warp the side seal. Once you have it sanded some, drag the back side of that tip over the sand paper once, sometimes a burr will form on the opposite edge as you sand. Test fit and measure.
4. Once you get it to the clearance you want where the feeler gauge will JUST drag going through the slot, make sure the side seal will still move up and down freely and doesn't bind.
This takes QUITE some time, like probably half a day, to get everything on the rotors put together and right. I think there are some Youtube videos showing people clearancing them, so much of it is just technique.
Also, if you do slightly bend the side seal out of shape many times it can be carefully bent back to shape. Setting the seal down right next to the groove is an easy visual way to compare shapes. If you put it in the groove that may bend it one way or the other so you can't tell where the warp is that needs straightening.
Dale
The following users liked this post:
MuRCieLaGo (01-16-18)
#12
Moderator
iTrader: (3)
Join Date: Mar 2001
Location: https://www2.mazda.com/en/100th/
Posts: 30,780
Received 2,565 Likes
on
1,824 Posts
the only thing i would add to what Dale said is that, i sand the seals by hand, my first thing is to get it so it moves up and down smoothly in the groove. step 2 is to get the feeler gauge and then make it the same as all the others. these days 0.0025 - 0.003" is about right, i make them all the same.
i also count the sanding strokes, so i can do my first test fit when i know its close.
in other words i get it close by hand, and then get the tool and make it exact.
i also count the sanding strokes, so i can do my first test fit when i know its close.
in other words i get it close by hand, and then get the tool and make it exact.
The following users liked this post:
MuRCieLaGo (01-16-18)
#13
Thanks a lot for your tips guys. I used a sanding bit on a Dremel and I got it right. I can't recommend using a sharpening stone and I don't understand why people would do it that way.
Next time, I'm wondering if someeone could send my rotors to the dealership and ask them to do the job for me? I broke 12 side seals in the process so I lost some money there.
I really like this forum, very helpful.
Next time, I'm wondering if someeone could send my rotors to the dealership and ask them to do the job for me? I broke 12 side seals in the process so I lost some money there.
I really like this forum, very helpful.
#14
Next time, I'm wondering if someeone could send my rotors to the dealership and ask them to do the job for me? I broke 12 side seals in the process so I lost some money there.
You could make an arrangement with a reputable rotary engine rebuilder to have the side seals clearanced, but it is risky shipping rotors and you would want to re-check all the seal clearances on a rotor that has been mailed back to you to make sure it hasn't been dropped and closed up a seal slot clearance.
I never found the delicate work of shortening the side seals to length particularly risky/difficult, but definitely time consuming (but not as time consuming as say packing rotors up and waiting on the shipping). Maybe I am just more ladylike than you- have you considered trying to get in touch with your feminine side

I start with the N3Y1-11-C11 side seal which is the longest side seal of the pre-cut variety (~$13) that Mazda uses with the side seal slot length alphabetic markings next to the slots on the rotor for fast engine assembly. Using this seal you just have to remove a few thousands for it to fit in even the shortest marked side seal slot and I take that length out by gently running the dull colored angled end against a 1500 grit sharpening stone with water running on it. You can tell if the angle of your hand is right because it will start to evenly remove the dull finish. I keep a square on hand to double check that the end is staying perpendicular relative to the length for the seals I have to take a "lot" off of. Deburr the end/backside of the end of the side seal and wipe it on a clean cloth before putting it into the rotor to measure.
If you were to start with the 1011-23-151A side seal you only have 1 end that is pre-cut to the corner seal angle and about 1/2" of uncut side seal with a square end to get rid of- but it is only ~$8. You can use the 1011-23-151A if you make an engine with the corner seals slotted to accept the side seals for a more aggressive port opening timing and "zero gap" style seal interface.

The following users liked this post:
Dvst8 (12-04-20)
#15
I Raise Chickens
Agree with just about everything in this thread. The one thing I would add, is get a 10x/20x jewelers loop. I'm old, but even with young eyes you really need to see up close how the side seal is fitting against the corner seal and check for burrs. If you're not using magnification, theres no way to see if you got burrs unless you have mutant powers.
But yah, its crazy tedious. I invested in a nice sound system in the garage and put on some relaxing music and took breaks lol
But yah, its crazy tedious. I invested in a nice sound system in the garage and put on some relaxing music and took breaks lol
#16
Moderator
iTrader: (3)
Join Date: Mar 2001
Location: https://www2.mazda.com/en/100th/
Posts: 30,780
Received 2,565 Likes
on
1,824 Posts
[QUOTE=BLUE TII;12246220]
If you were to start with the 1011-23-151A side seal you only have 1 end that is pre-cut to the corner seal angle and about 1/2" of uncut side seal with a square end to get rid of- but it is only ~$8. You can use the 1011-23-151A if you make an engine with the corner seals slotted to accept the side seals for a more aggressive port opening timing and "zero gap" style seal interface./QUOTE]
the 1011, and the precut 8871 side seals are for the older pre85 engines. crucially they are 1mm wide, and the 86+ seals are 0.7mm wide.
the 8871-23-151's were cool, they came a too long still, but only 1-2mm, and not 10...
#18
Everyone has their preference, and what has been suggested previously will work perfectly. Personally I file by hand and then when I'm close to the finished length I switch to sticky backed 600 grit on a granite surface plate, last but not least hit it with some emery cloth on the surface plate as well. It's time consuming but worth it.
Thread
Thread Starter
Forum
Replies
Last Post
Fsunoles06
3rd Generation Specific (1993-2002)
59
07-13-08 12:54 PM
JaNusSolSumnus
3rd Generation Specific (1993-2002)
30
05-21-06 05:40 PM


