
Rear wiper delete


Thread Starter
Senior Member


Joined: May 2006
Posts: 269
Likes: 20
From: San Diego, CA
Rear wiper delete
I just removed my rear wiper last night and while the forums had a lot of good information, there were a few tips I thought I'd share regarding the process.
Steps to remove rear wiper assembly:
Workshop manual page S-58 has instructions for removing interior hatch trim. Big one that got me was the hatch cover strap hangers--turn them 90 degrees to remove. Don't just try to yank on them, they come out easy once you rotate them!
You have to remove all of the trim pieces in order to remove the rear trim piece that covers the wiper motor. Trim removal order is the front piece, then the side pieces, then the rear piece.
When you remove the rear piece, there will be one electrical connection to the interior hatch light (didn't know I had one of those!) that you'll need to disconnect, so don't just let the rear hatch trim piece drop when you pop it off.
Once you have the trim pieces off, I highly recommend using vise grips to tighten up the metal clips. They'll be a bit loose after you yank off the trim pieces and if you don't take them off the plastic and reinstall them on the trim after tightening, you'll likely have squeaks and rattles down the road.
Workshop manual section D2-12 has the wiper motor removal procedure. Wiper motor is just three 10mm bolts, held captive in rubber isolating grommets, then you pull straight down to get the shaft out of the body. One electrical connector that you'll disconnect prior to unbolting the motor.
This is where I got stuck for a little while--there's now a hole through the car with a plastic surround that is still mounted to the body. The plastic surround around the shaft seems to be glued to the body perhaps. Either that or 23 years has just made the rubber gasket/grommets on each side stick really hard to the metal. I couldn't find any tips on the forum for how to remove this other than a reference from IRP stating you would need an antenna removal tool. You don't need one though. I took a rubber mallet to the threaded plastic insert from the outside of the car and it took some gentle banging to get it to release into the car. The outside portion, I used a 17mm socket from the under side to line up with the plastic insert, then again used the mallet to pop it off from the bottom. It kind of went flying off the car
The paint wasn't damaged from the removal of that piece, but there will be hard water build up in a ring around where the old plastic/rubber surround was. I used some 3M pro rubbing compound to cut it, then followed up with polishing compound and a quick wax. Then I put on the color-matched plug that everyone buys on eBay.
In regards to the plug, sadly I didn't think to use blue locktite or anything on it and it's hard to tighten down. I hope it stays in place over time...
Some photos--sorry I didn't really take pictures of the process. I started on it on a whim while I was washing the car so I didn't plan to take photos or make a "how to".
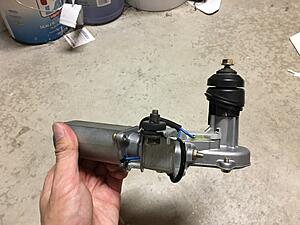
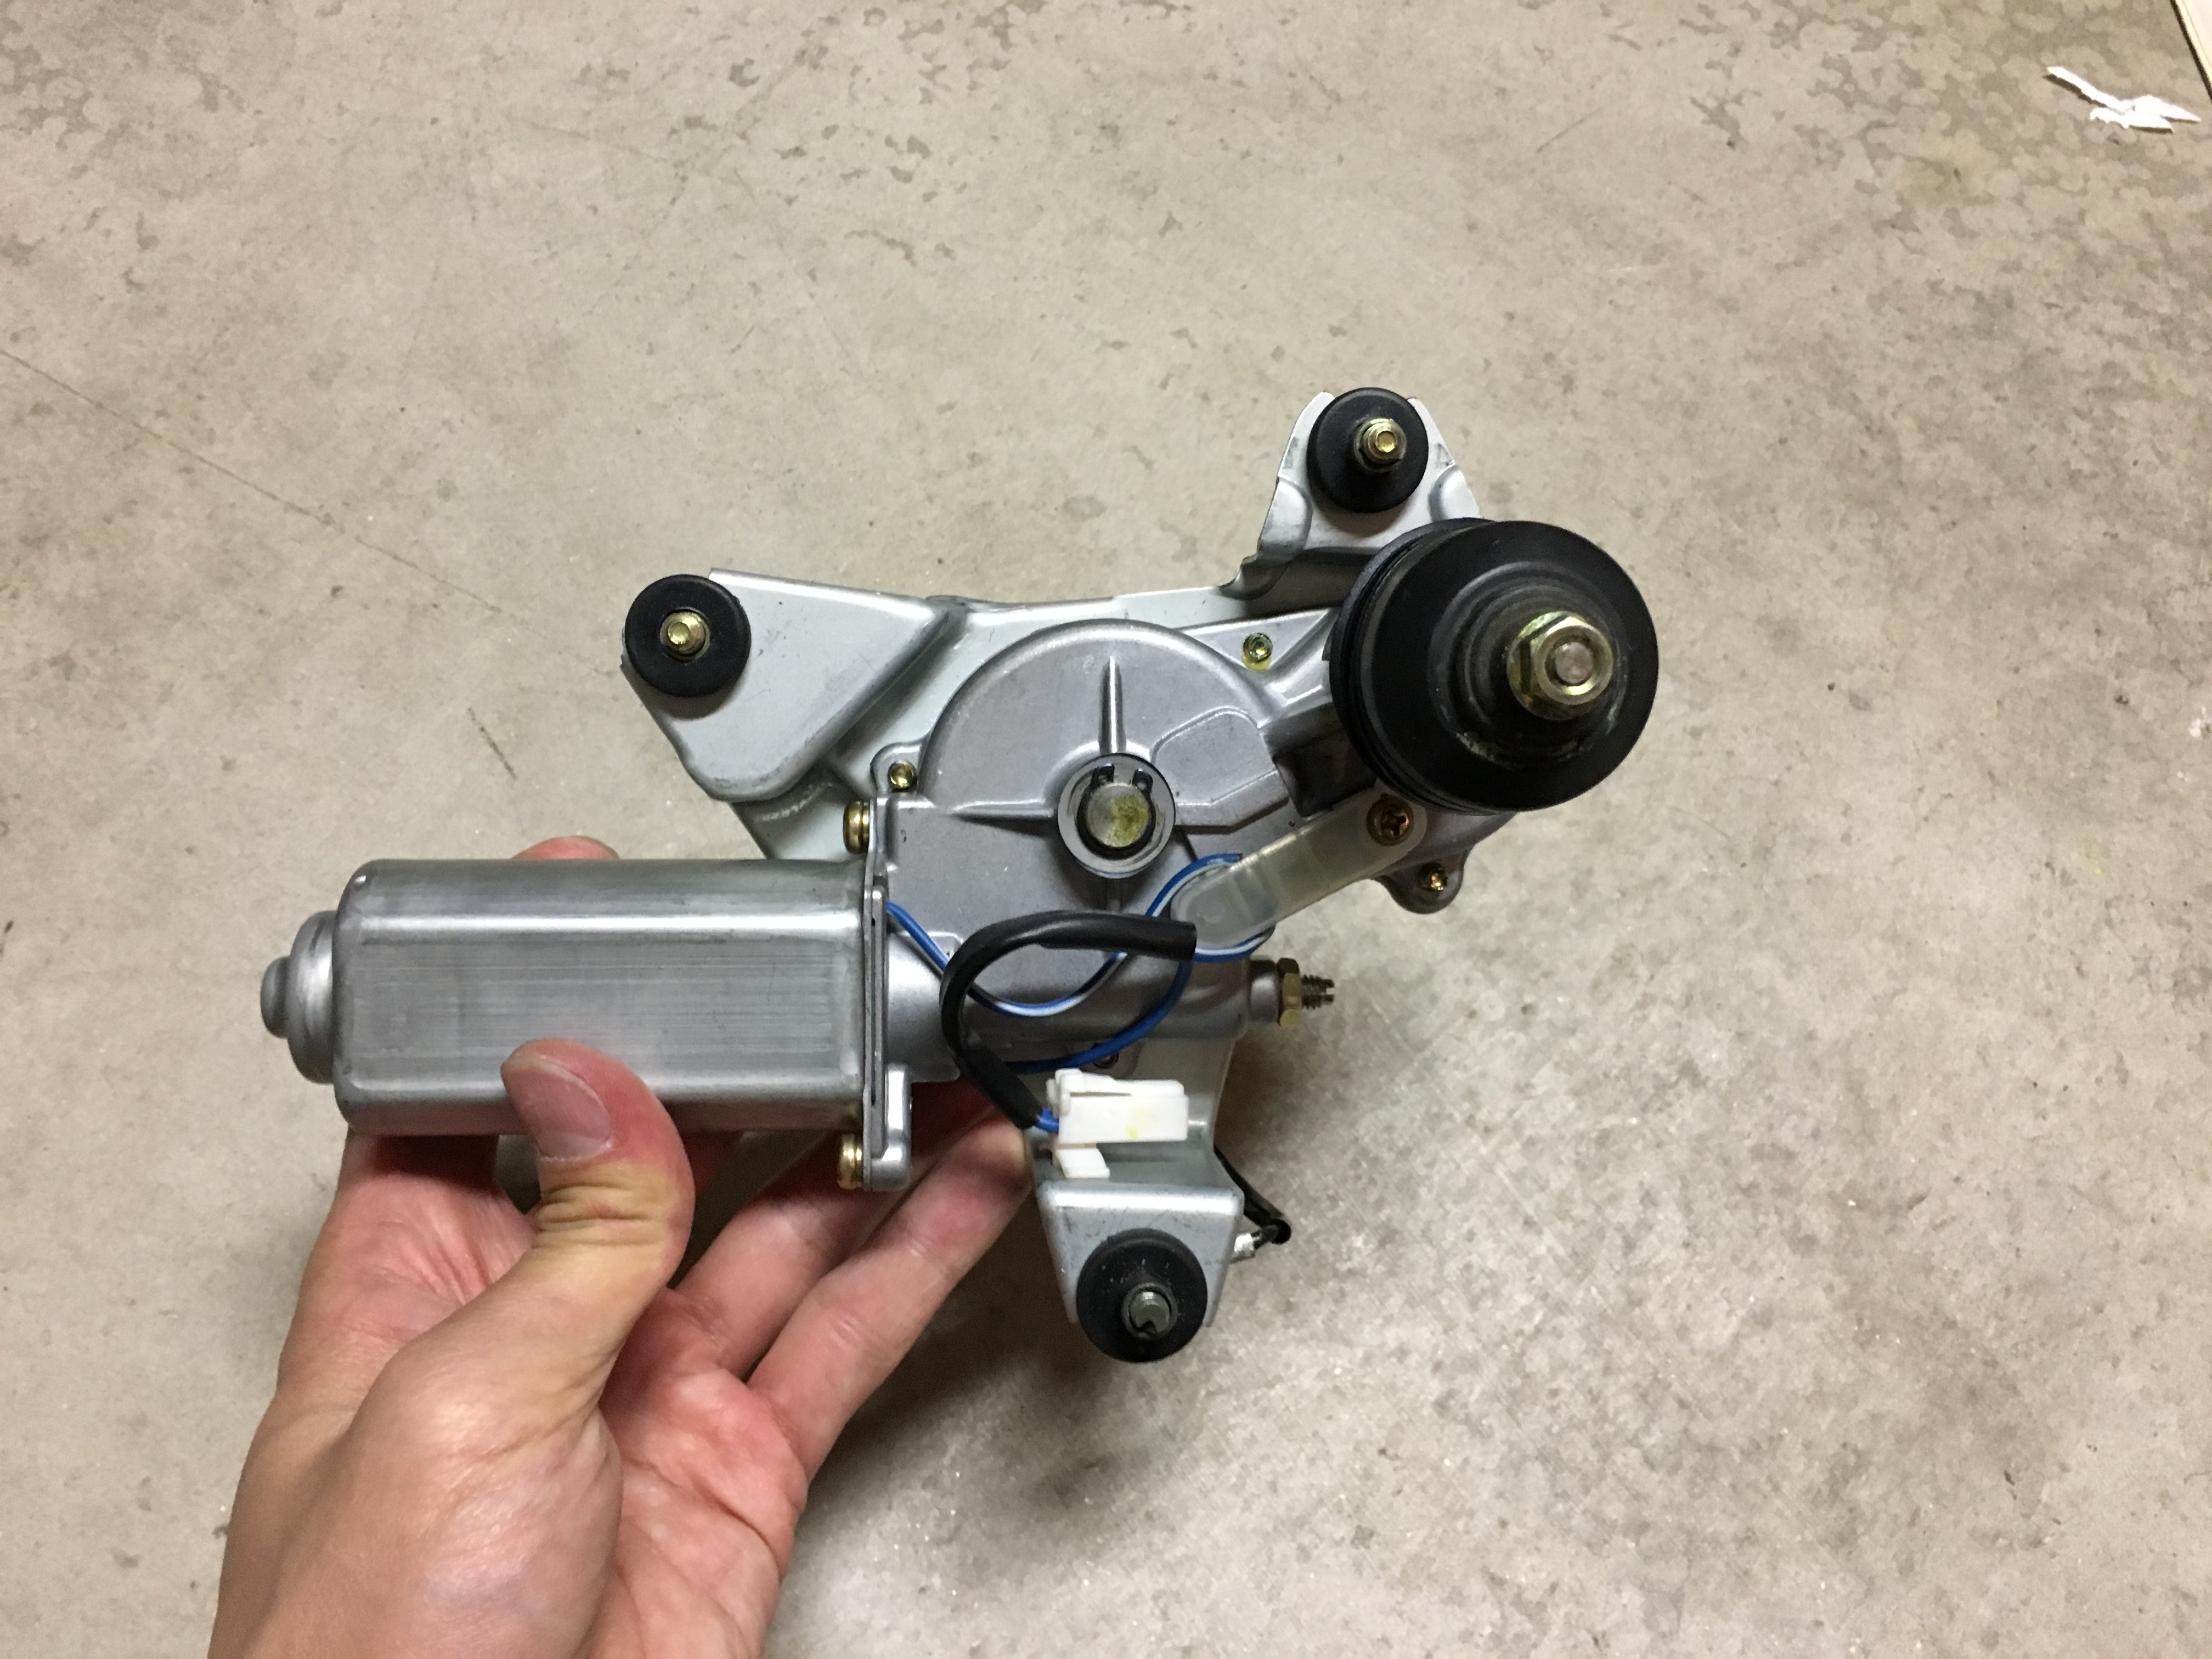
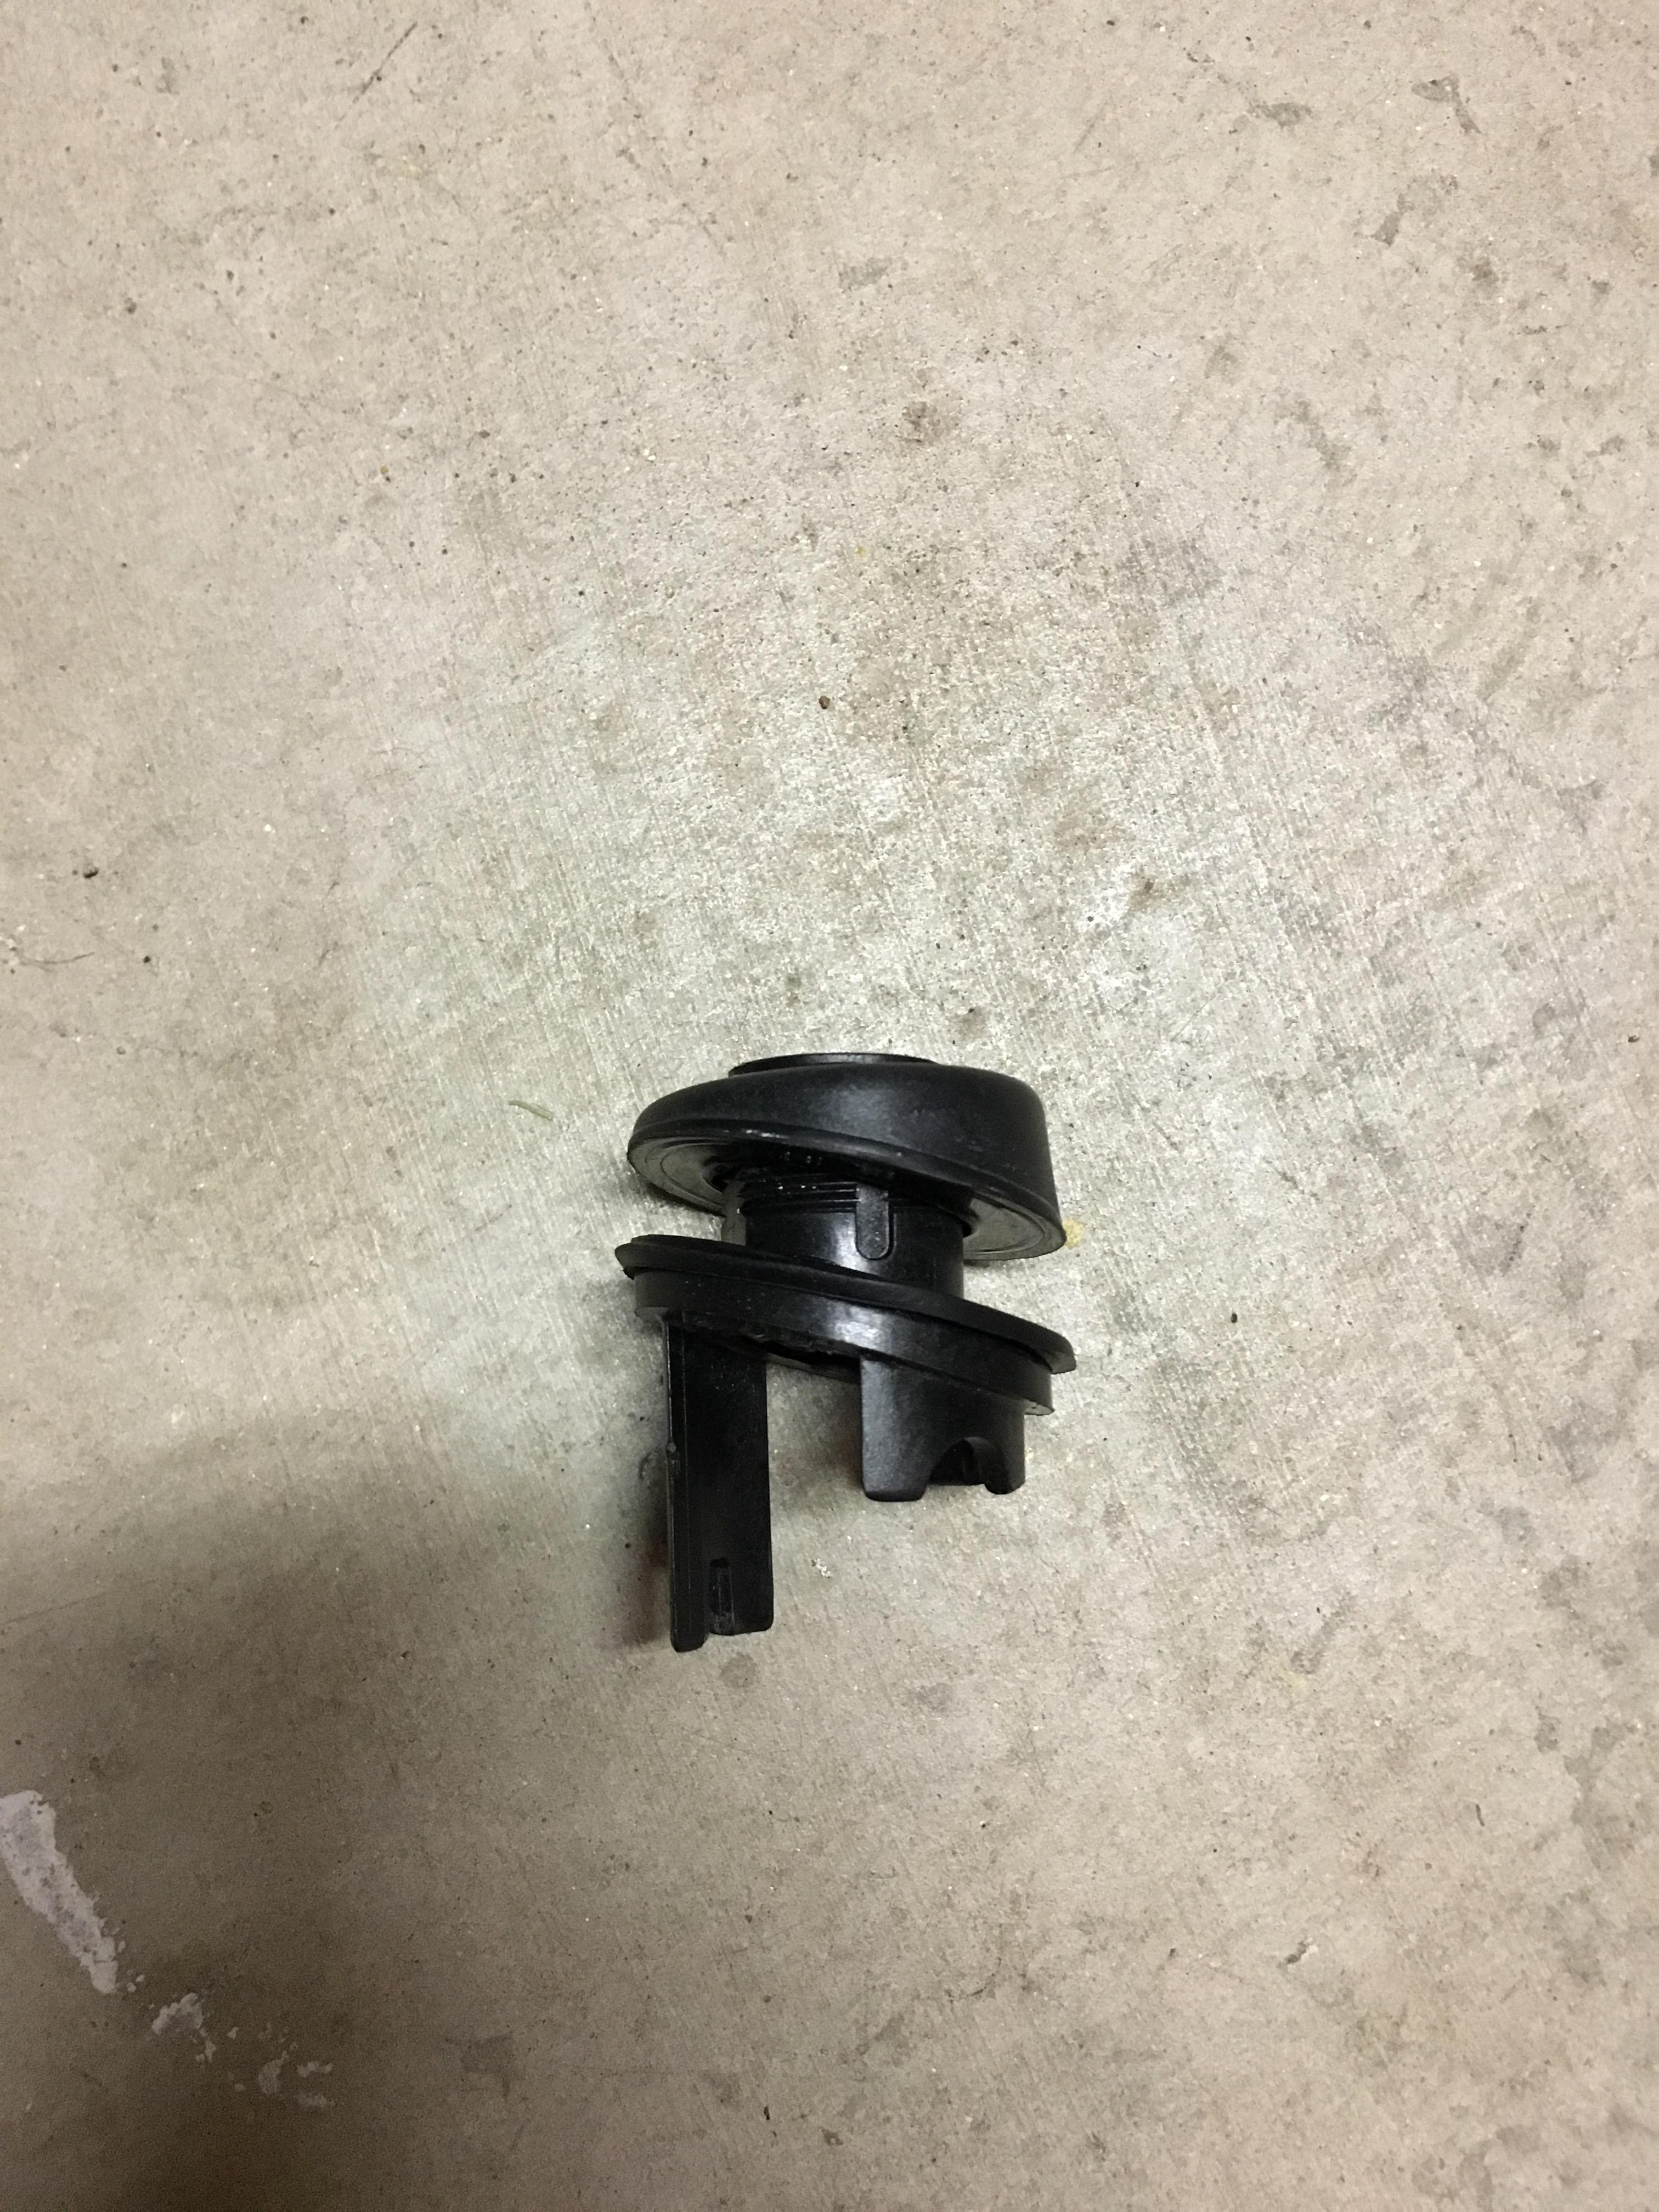
The motor removed with the plastic surrounds, gaskets, cover and wiper arm bolt stacked for storage:
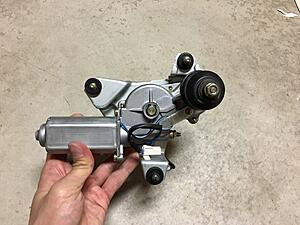
Motor and stack from the top:
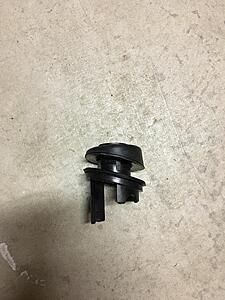
The troublesome plastic surrounds:
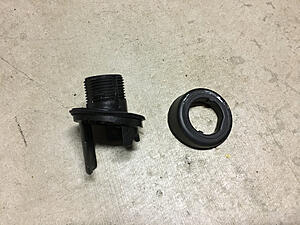
Plastic surround stacked:
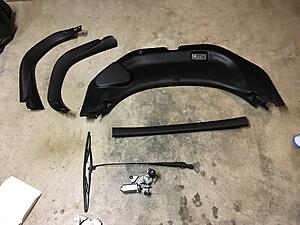
Trim pieces, wiper motor, wiper arm (uhh, dirty paper towel, plastic trash bag, workshop manual LOL):
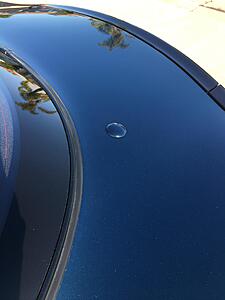
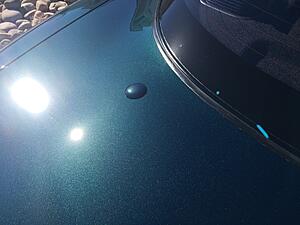
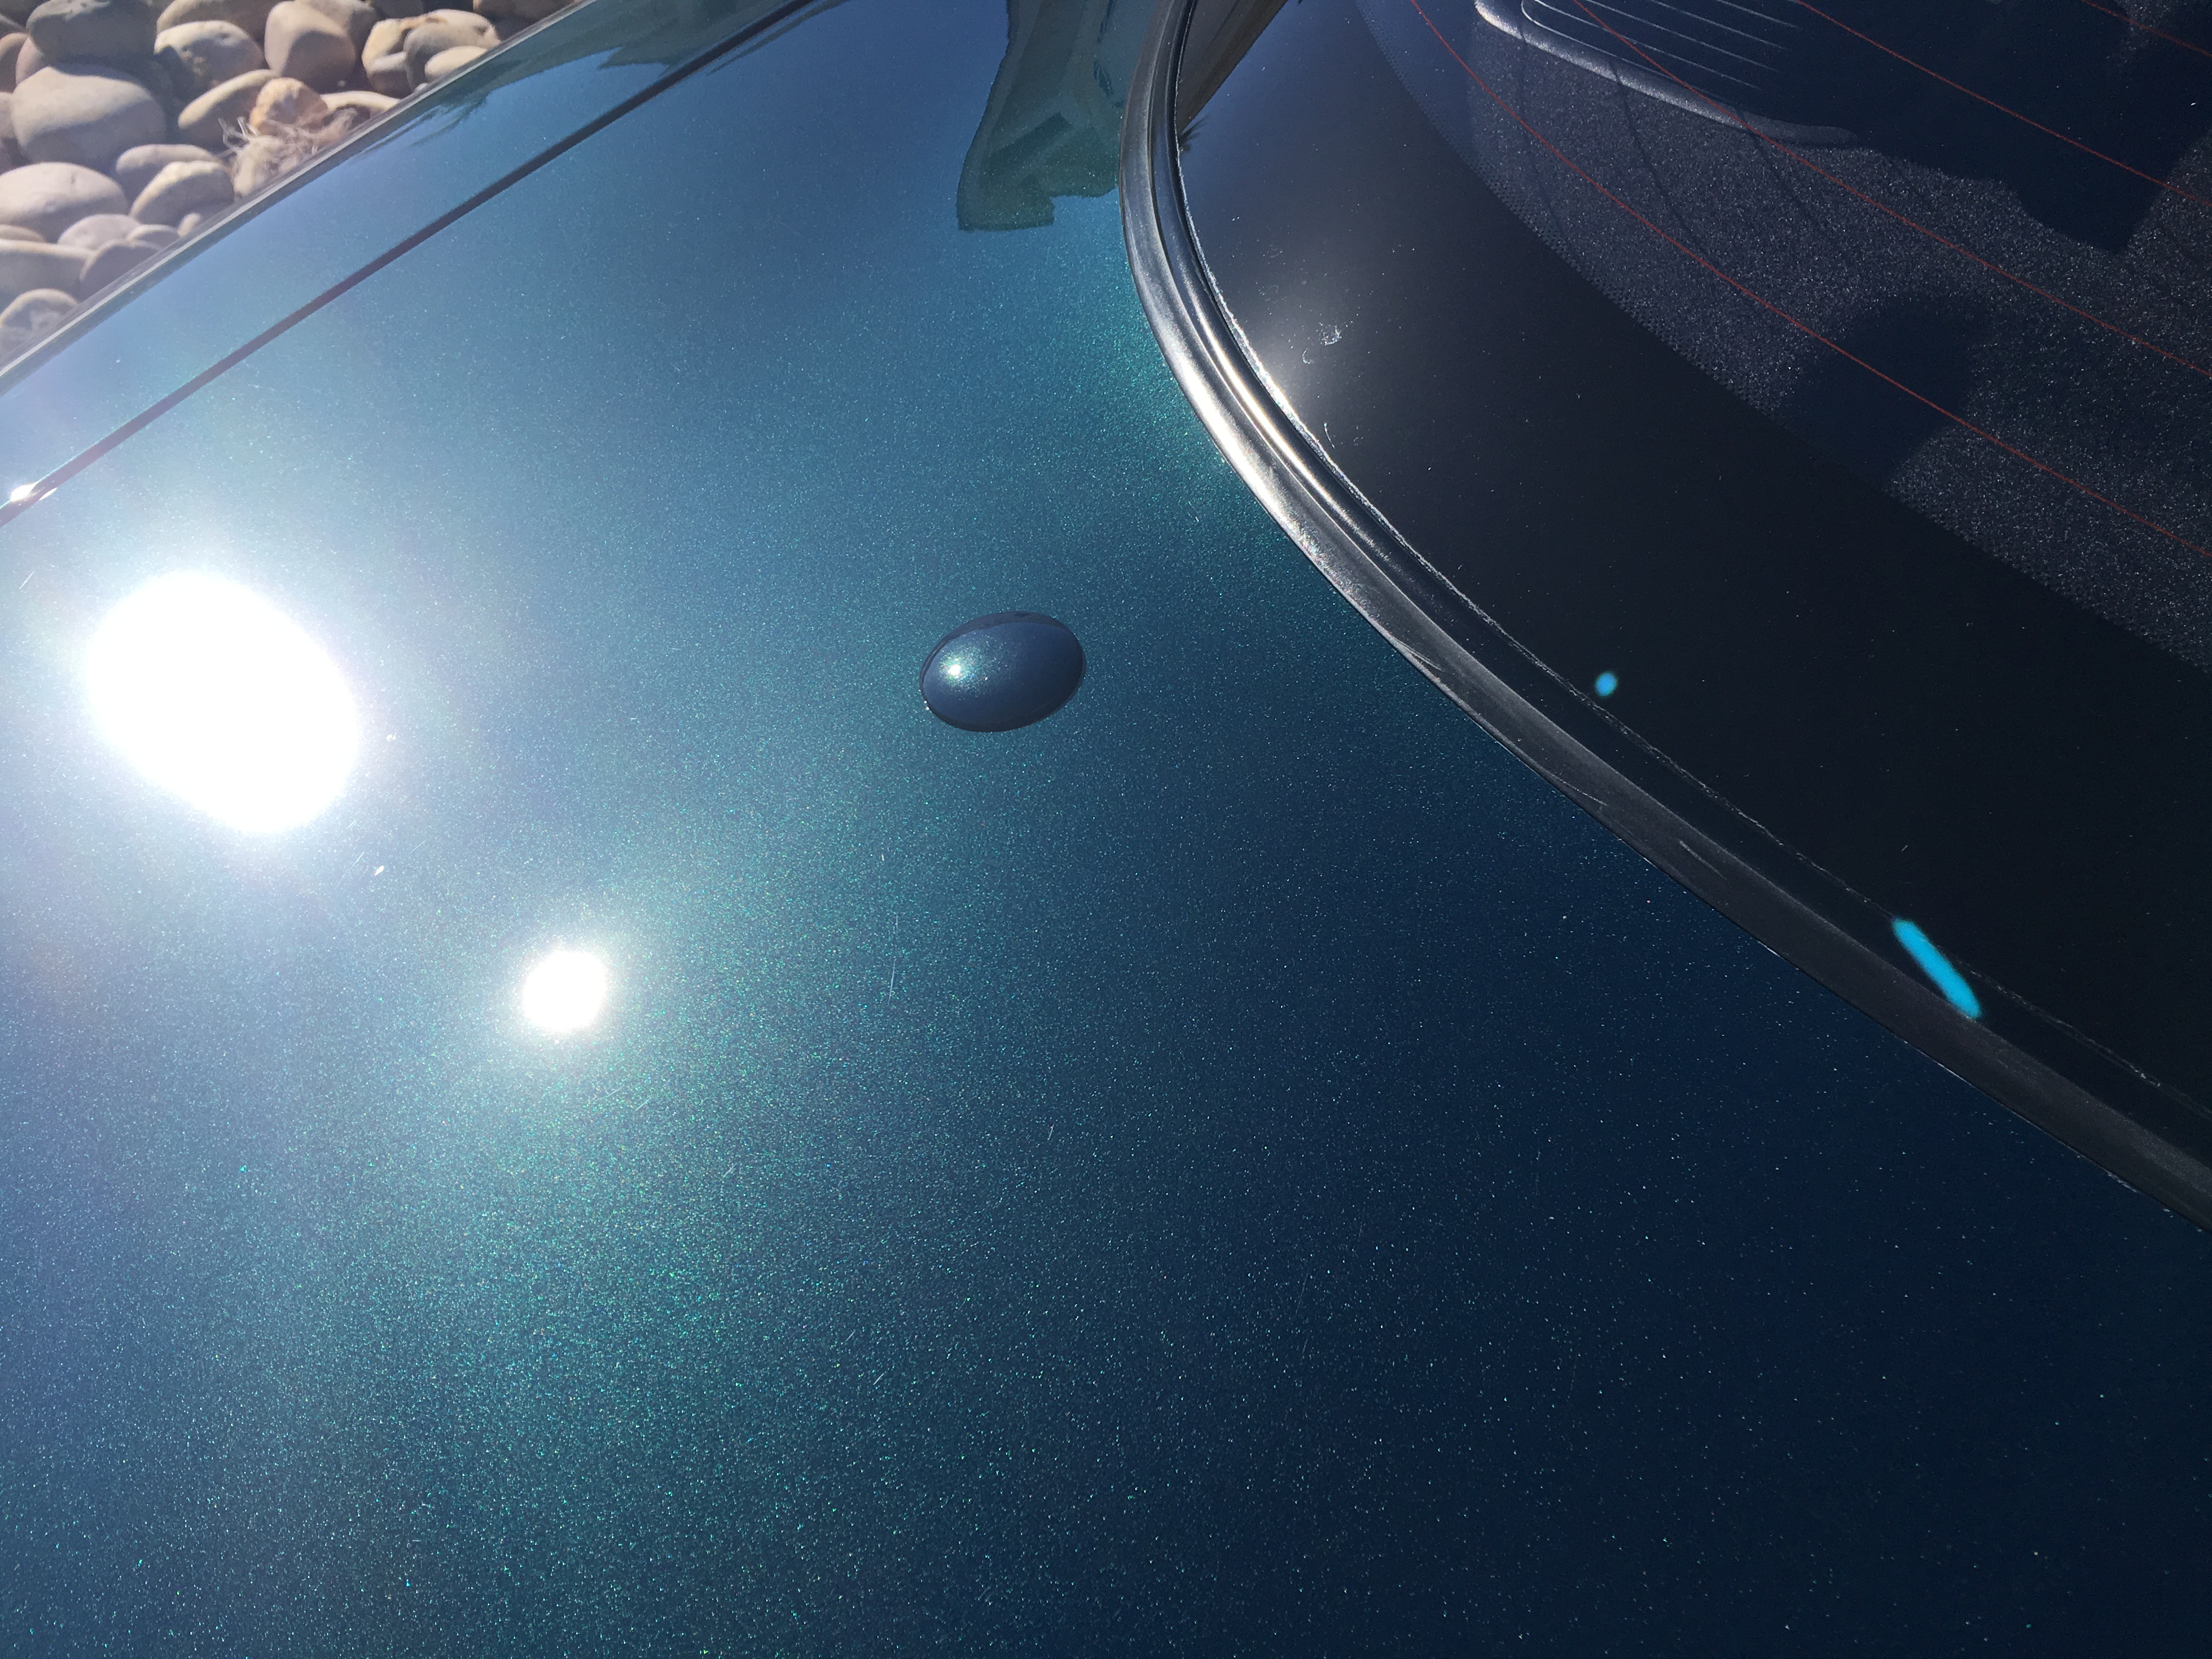
Plug in place:
Steps to remove rear wiper assembly:
- Remove rear wiper arm
- Remove all hatch trim pieces
- Remove rear wiper motor
- Remove plastic wiper shaft surround/body trim pieces
Workshop manual page S-58 has instructions for removing interior hatch trim. Big one that got me was the hatch cover strap hangers--turn them 90 degrees to remove. Don't just try to yank on them, they come out easy once you rotate them!
You have to remove all of the trim pieces in order to remove the rear trim piece that covers the wiper motor. Trim removal order is the front piece, then the side pieces, then the rear piece.
When you remove the rear piece, there will be one electrical connection to the interior hatch light (didn't know I had one of those!) that you'll need to disconnect, so don't just let the rear hatch trim piece drop when you pop it off.
Once you have the trim pieces off, I highly recommend using vise grips to tighten up the metal clips. They'll be a bit loose after you yank off the trim pieces and if you don't take them off the plastic and reinstall them on the trim after tightening, you'll likely have squeaks and rattles down the road.
Workshop manual section D2-12 has the wiper motor removal procedure. Wiper motor is just three 10mm bolts, held captive in rubber isolating grommets, then you pull straight down to get the shaft out of the body. One electrical connector that you'll disconnect prior to unbolting the motor.
This is where I got stuck for a little while--there's now a hole through the car with a plastic surround that is still mounted to the body. The plastic surround around the shaft seems to be glued to the body perhaps. Either that or 23 years has just made the rubber gasket/grommets on each side stick really hard to the metal. I couldn't find any tips on the forum for how to remove this other than a reference from IRP stating you would need an antenna removal tool. You don't need one though. I took a rubber mallet to the threaded plastic insert from the outside of the car and it took some gentle banging to get it to release into the car. The outside portion, I used a 17mm socket from the under side to line up with the plastic insert, then again used the mallet to pop it off from the bottom. It kind of went flying off the car
The paint wasn't damaged from the removal of that piece, but there will be hard water build up in a ring around where the old plastic/rubber surround was. I used some 3M pro rubbing compound to cut it, then followed up with polishing compound and a quick wax. Then I put on the color-matched plug that everyone buys on eBay.
In regards to the plug, sadly I didn't think to use blue locktite or anything on it and it's hard to tighten down. I hope it stays in place over time...
Some photos--sorry I didn't really take pictures of the process. I started on it on a whim while I was washing the car so I didn't plan to take photos or make a "how to".
The motor removed with the plastic surrounds, gaskets, cover and wiper arm bolt stacked for storage:

Motor and stack from the top:
The troublesome plastic surrounds:
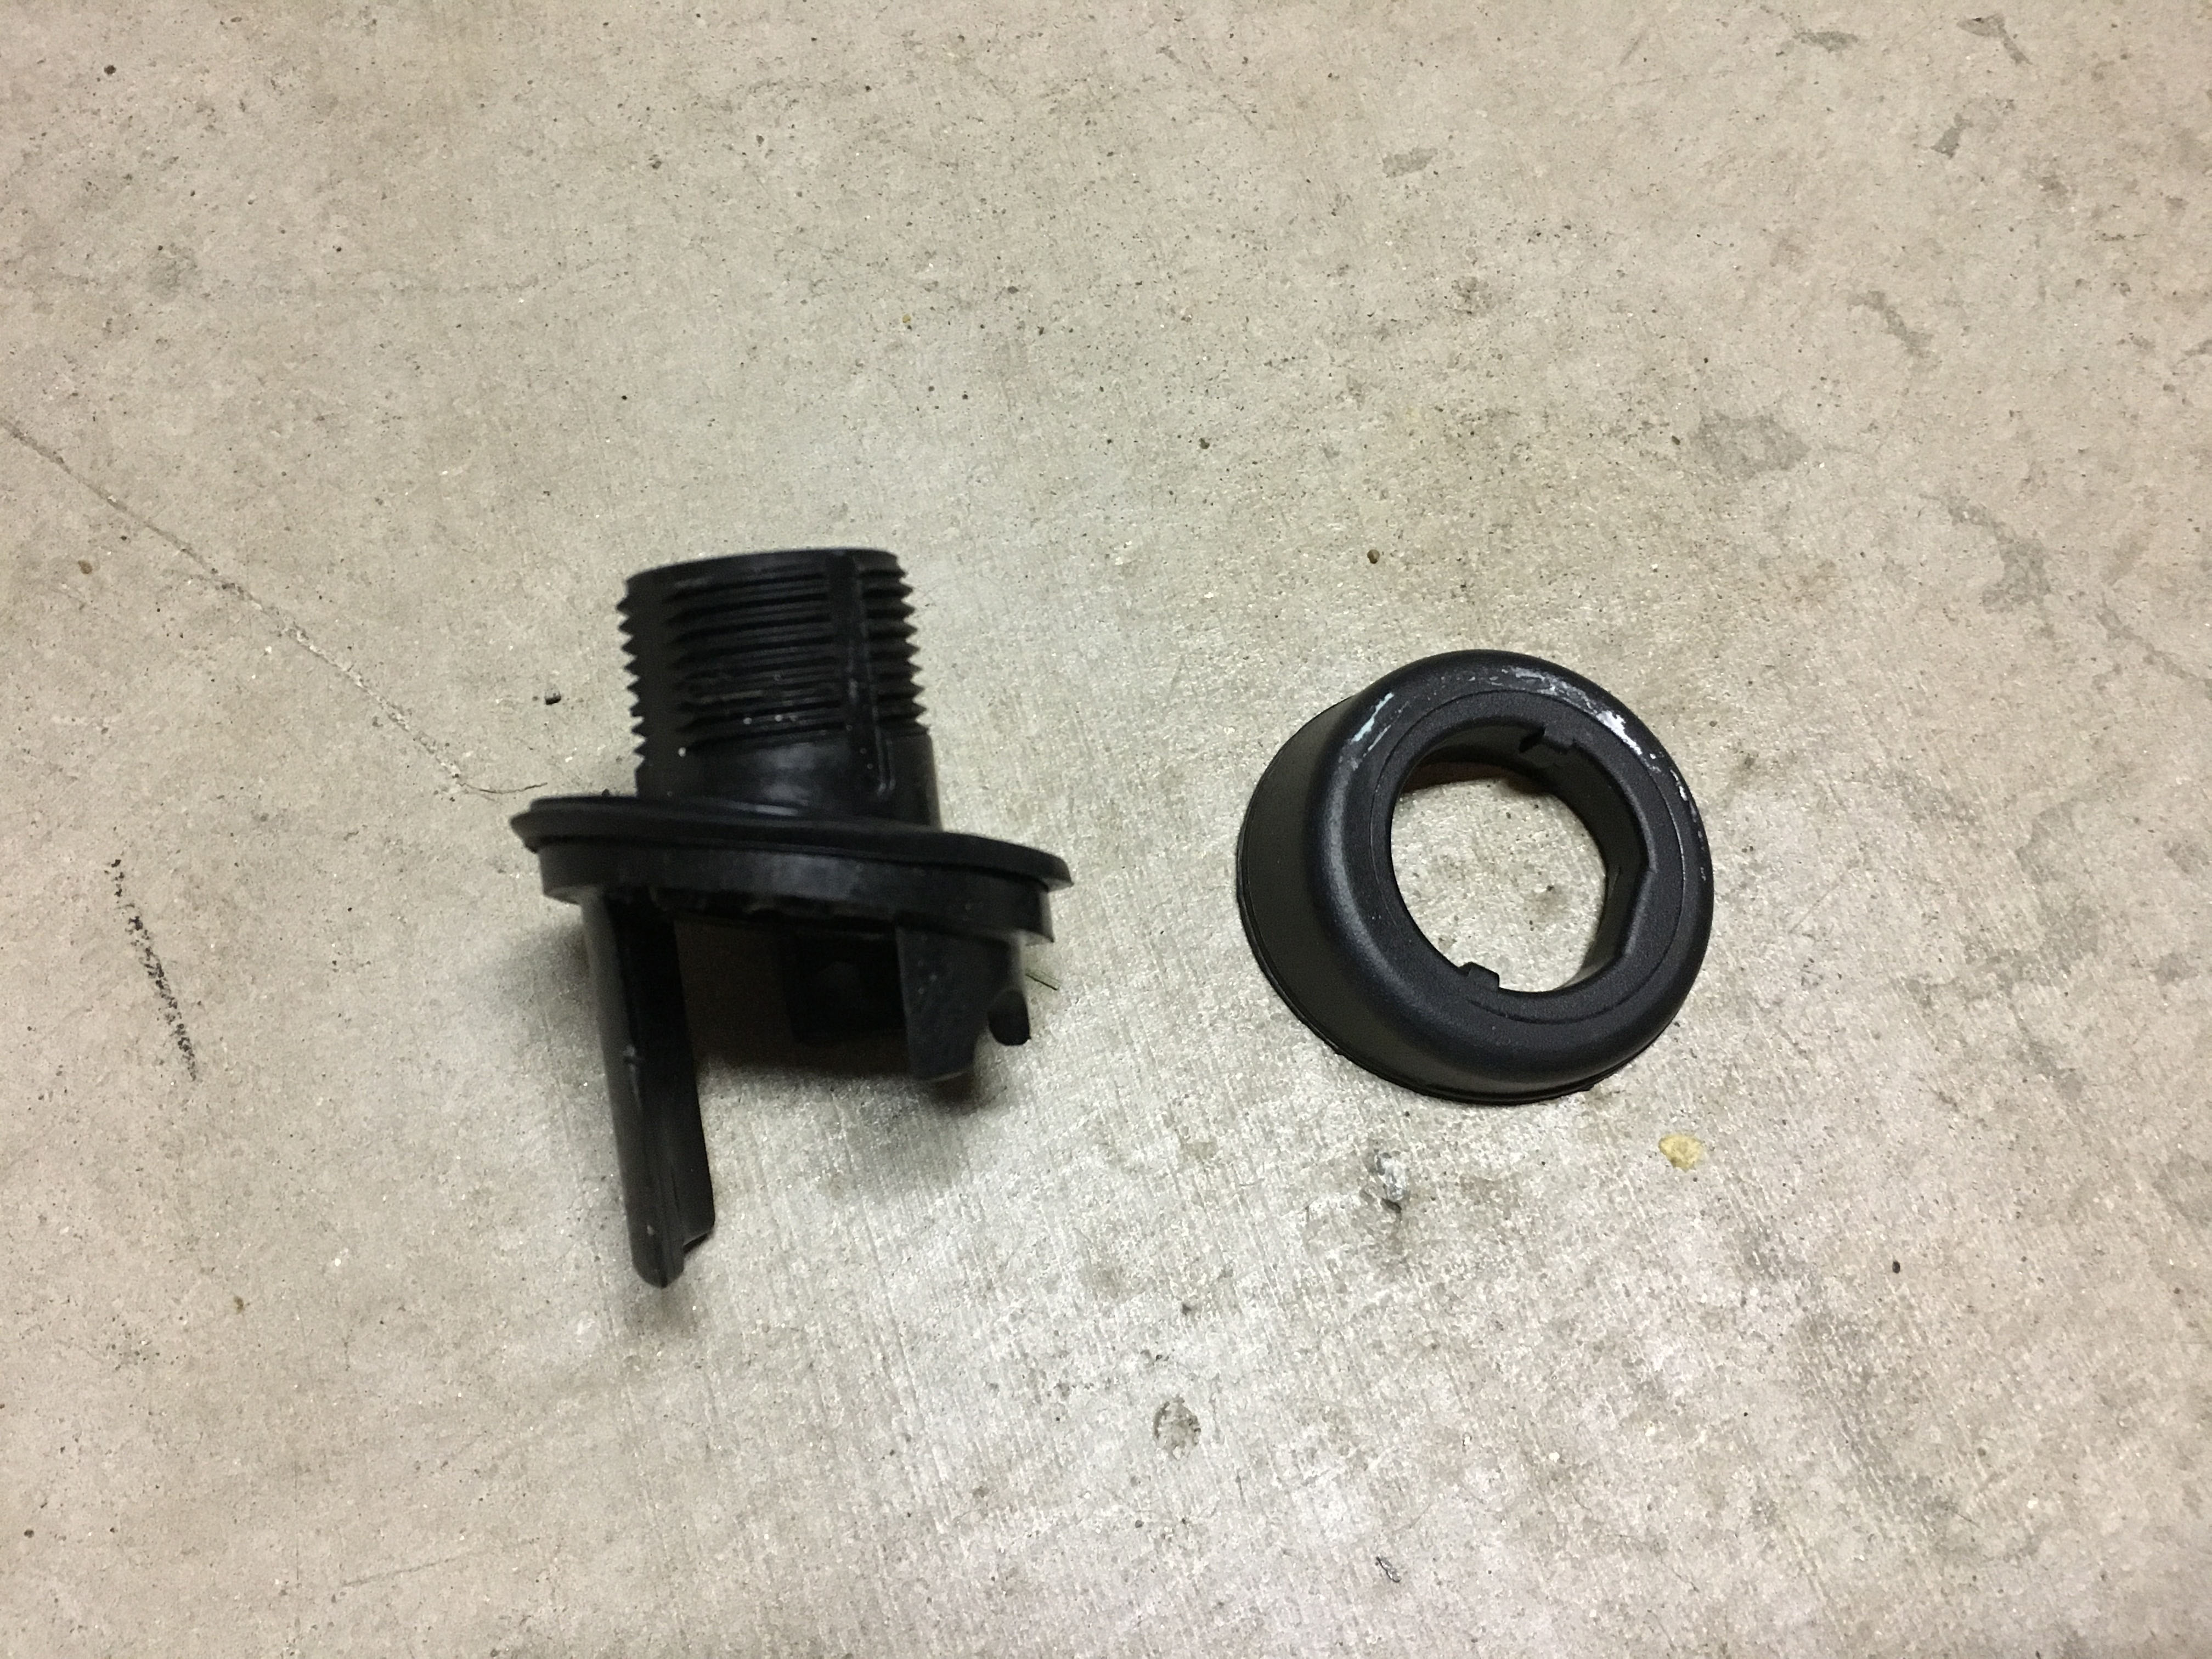
Plastic surround stacked:
Trim pieces, wiper motor, wiper arm (uhh, dirty paper towel, plastic trash bag, workshop manual LOL):

Plug in place:


Thread Starter
Senior Member
Joined: May 2006
Posts: 269
Likes: 20
From: San Diego, CA
I bought it from this seller on eBay. They do ship from Greece and the quality seems good. Not a 100% match to Montego Blue, but close enough. It doesn't seem to have quite as much depth and is a bit bluer on the base coat, but you have to be looking at it from the right angle to notice that. As you can see from the pictures it matches pretty well.
He can match any paint code if you provide it to him and he will only charge $10 to do that on top of the price of the plug. In my case, he had a Montego Blue one already so he was able to just sell it to me without any additional fee. I think he's been selling plenty of these to forum members--I was originally clued into it from another thread on here, myself.
I am not affiliated with him in any way, but it worked out well for me.

Wow! Great tip on the plastic pegs that hold the cargo cover. I've always just pulled/broken/gotten mad.
Right now the hatch plastics are off my car, I can't remember the weight but it was substantial for what it is.
Dale
Right now the hatch plastics are off my car, I can't remember the weight but it was substantial for what it is.
Dale
Thread Starter
Senior Member
Joined: May 2006
Posts: 269
Likes: 20
From: San Diego, CA
Yeah, it's amazing what you can actually learn when you read the friggin' manual, right? LOL Sadly I monkeyed one off first and broke the tabs a bit. 
I was a bit reluctant to start this process because I know how easy it is to break interior trim on these old cars from the 90's. My car escaped the process relatively unharmed.
How can you drive around with no hatch plastics, man? So uncouth!
I was a bit reluctant to start this process because I know how easy it is to break interior trim on these old cars from the 90's. My car escaped the process relatively unharmed.
How can you drive around with no hatch plastics, man? So uncouth!
Trending Topics


Just done this on mine but i've welded a small plate under the hole and puddle welded the top side to fill the gap. This week i will be grinding the excess weld off, adding a small amount of filler and repainting the whole lot being as the car needs doing anyway.