
My new undertray

My new undertray
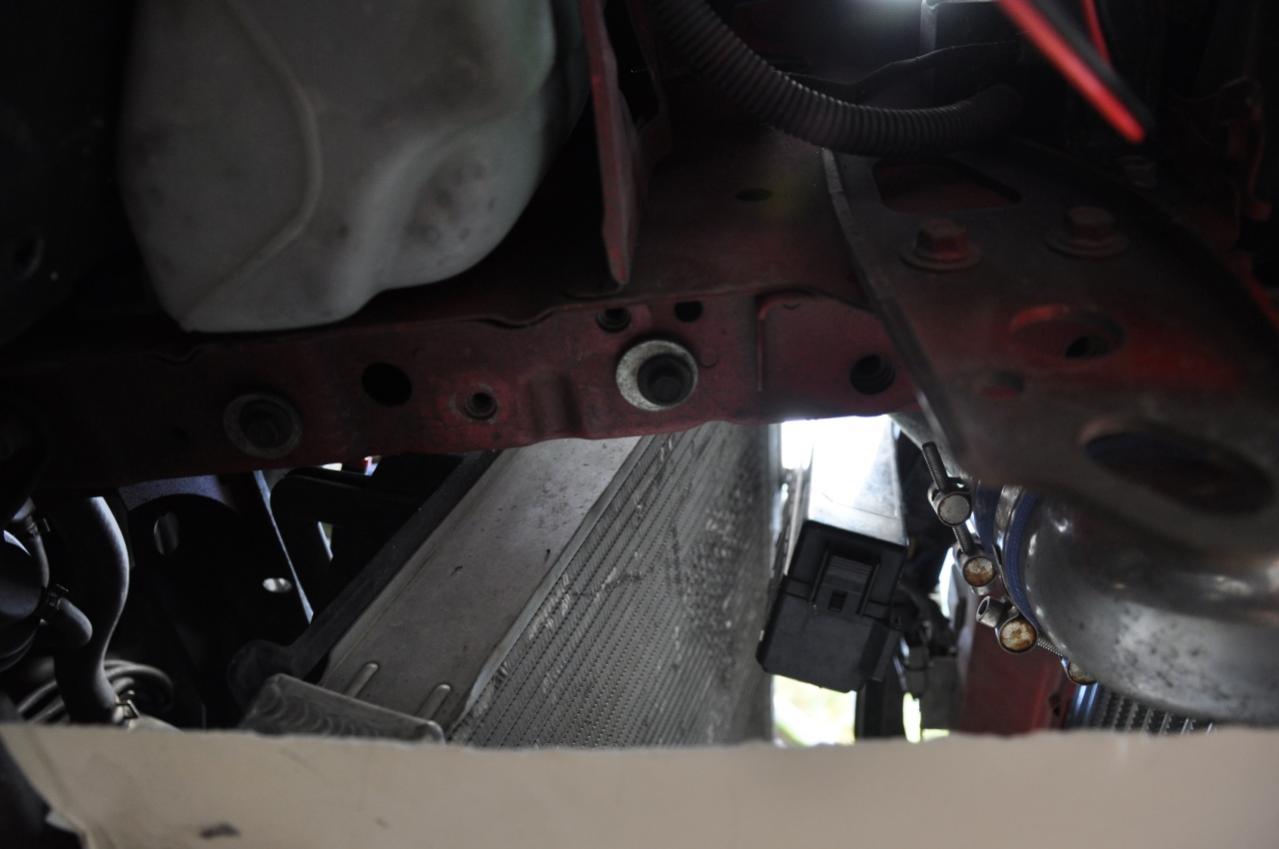
A little backstory -- couple years ago I hit a racoon (kilt him good), dislodging my undertray which dragged along the road long enough to wear away on the front passenger side. Was still usable, but wasn't channeling much air into the rad. Never had much of a problem with temps, since once my fans came on they stayed on due to the fan switch wiring mod that I've recently removed.
Anyways I got tired of the tattered tray. I didn't want to replace it with a new one ($160 for an unrelated pass. side fender liner hurt enough) and cut it since I'm using a fmic now. I pulled a piece of galvanized steel from my brother's shop, and he helped pound together an undertray. Heres a few pics from the build.
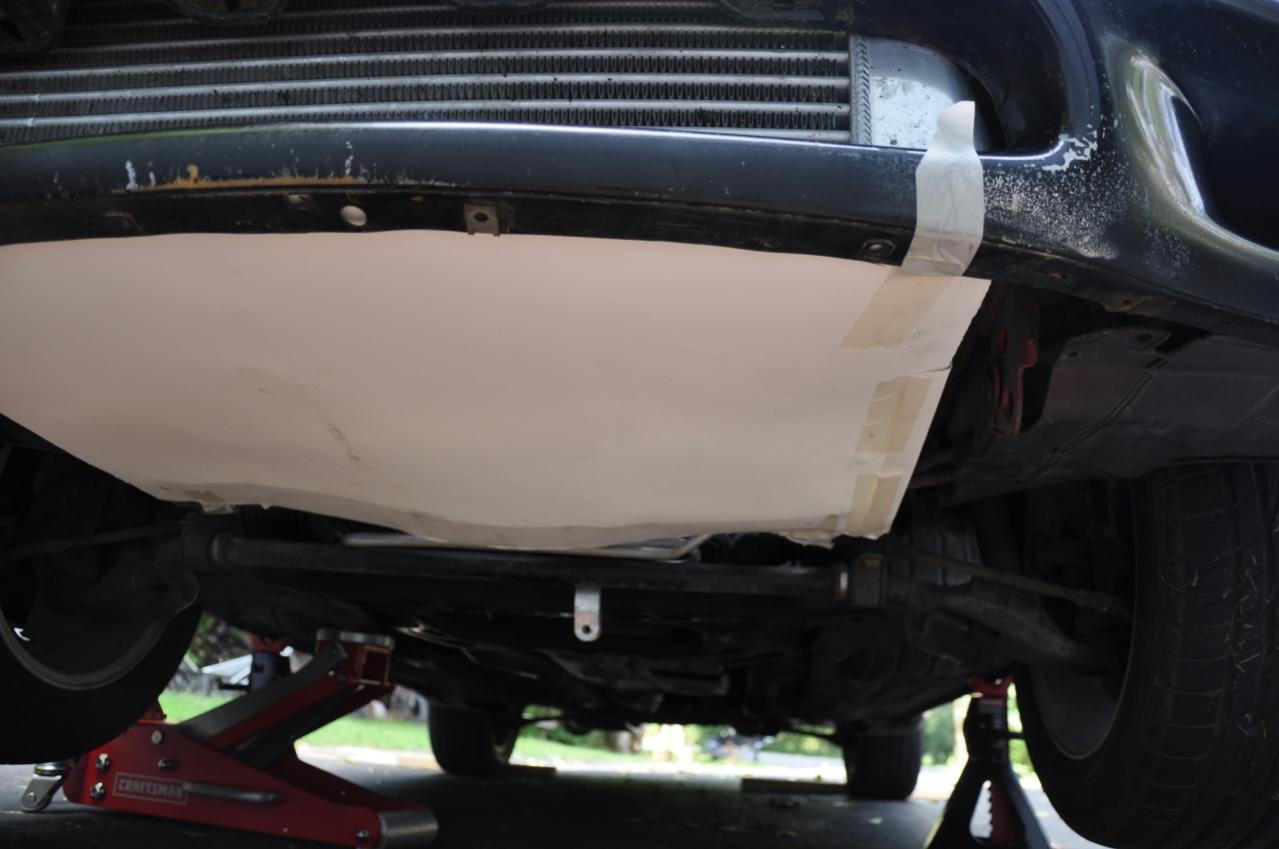
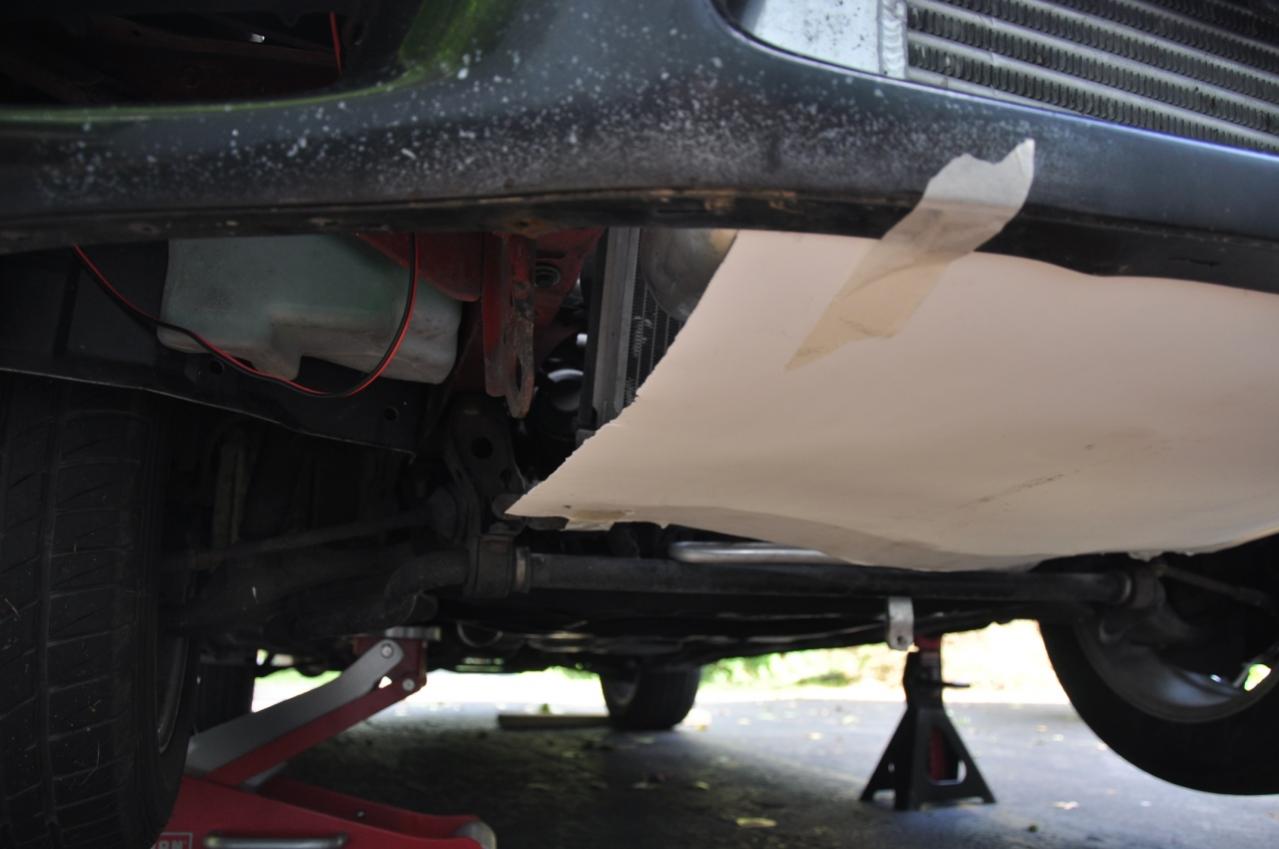
Mocking it up with heavy paper:
Anyways I got tired of the tattered tray. I didn't want to replace it with a new one ($160 for an unrelated pass. side fender liner hurt enough) and cut it since I'm using a fmic now. I pulled a piece of galvanized steel from my brother's shop, and he helped pound together an undertray. Heres a few pics from the build.
Mocking it up with heavy paper:
16 gauge, I think. A little heavy, but that's what we had.
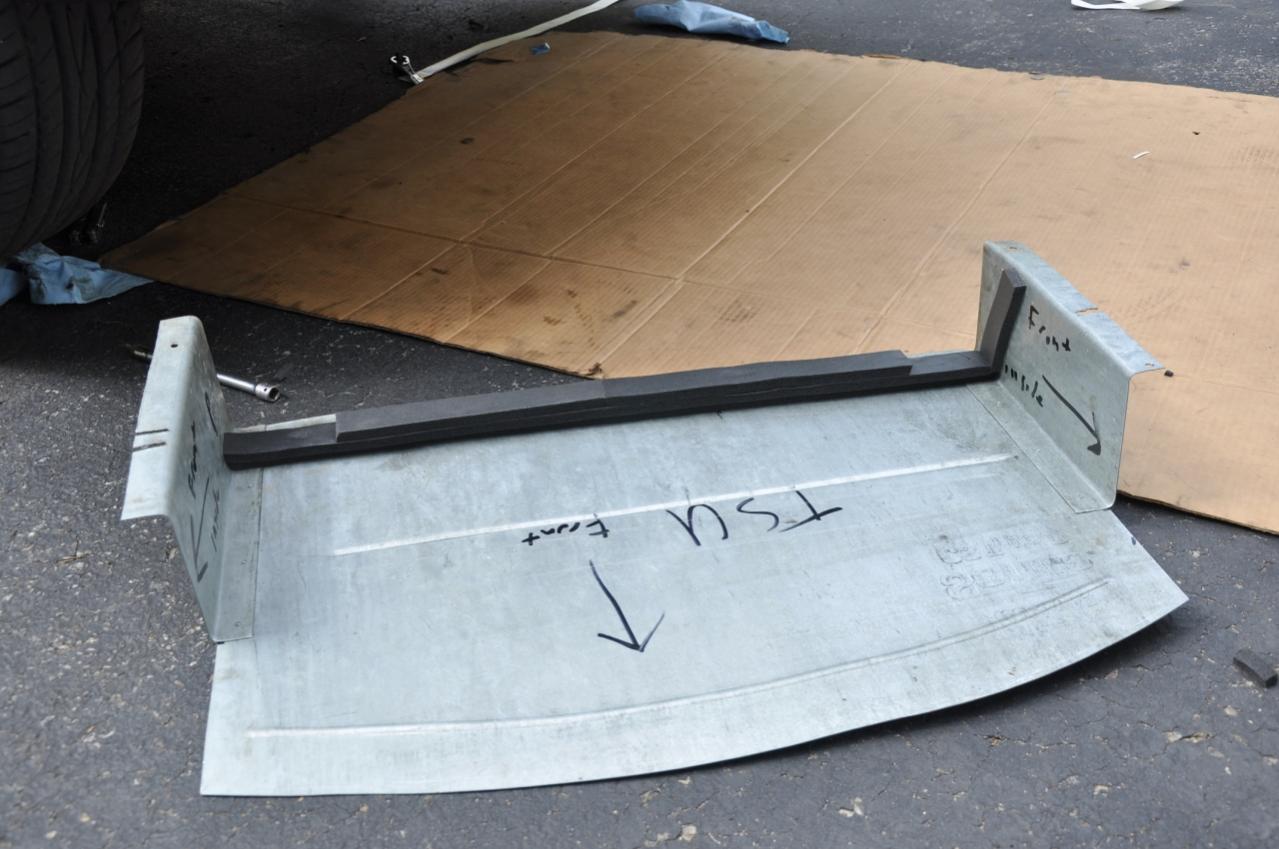
Riveted the sides to the bottom...
1 1/4" stacked foam weathersealing tape from Lowe's
Last edited by edwin-82/rx7; Aug 31, 2010 at 11:36 PM. Reason: sp
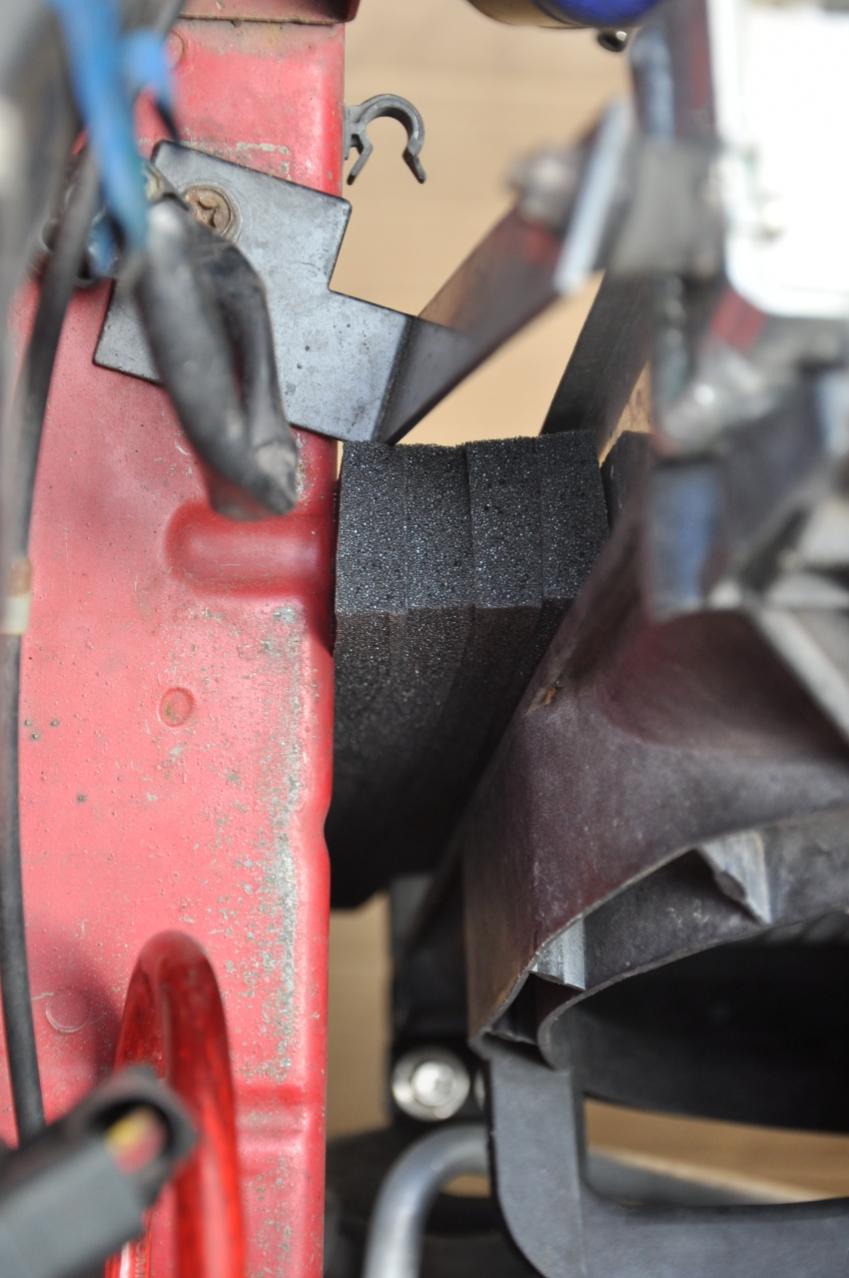
We rolled three beads into it. I was worried that it would have a bit of warble at speed, but the beads stiffened it up. No noise whatsoever.
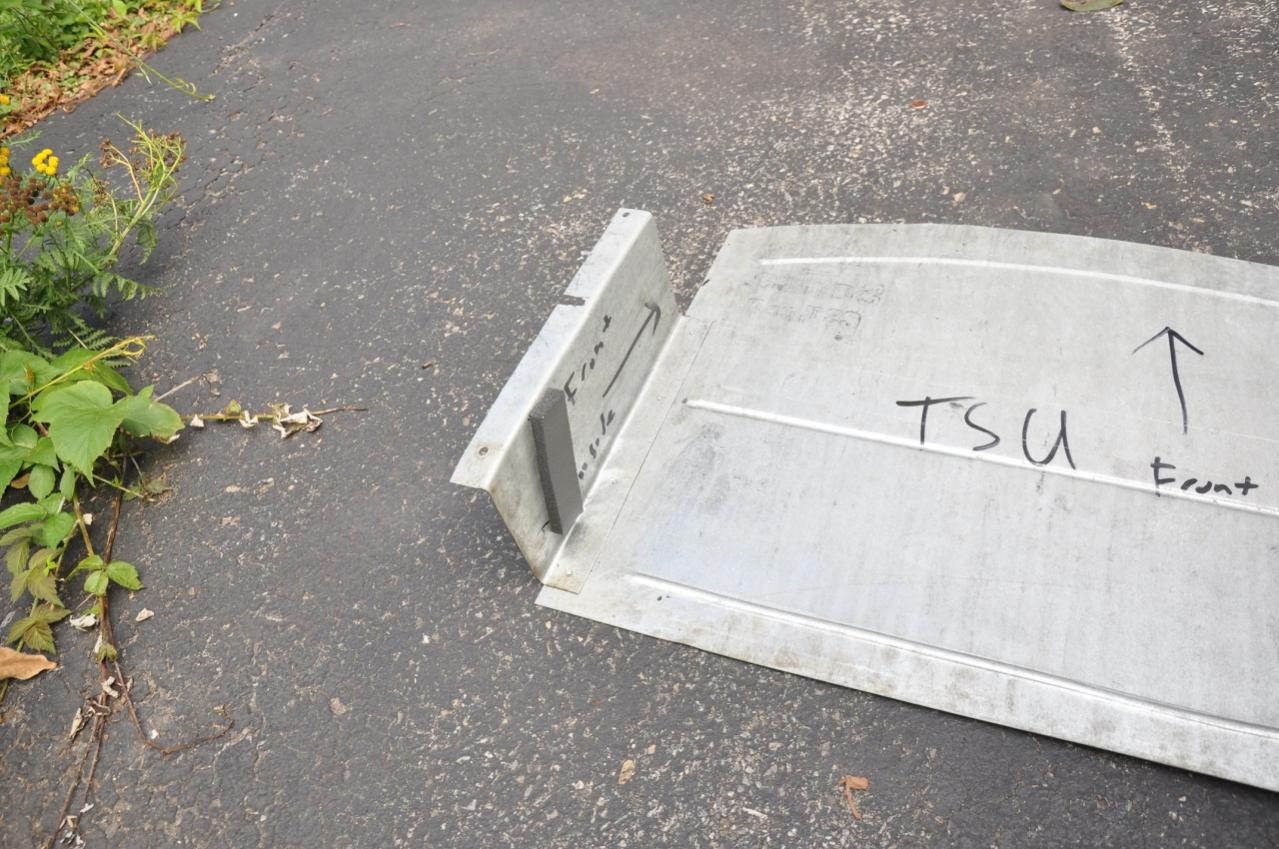
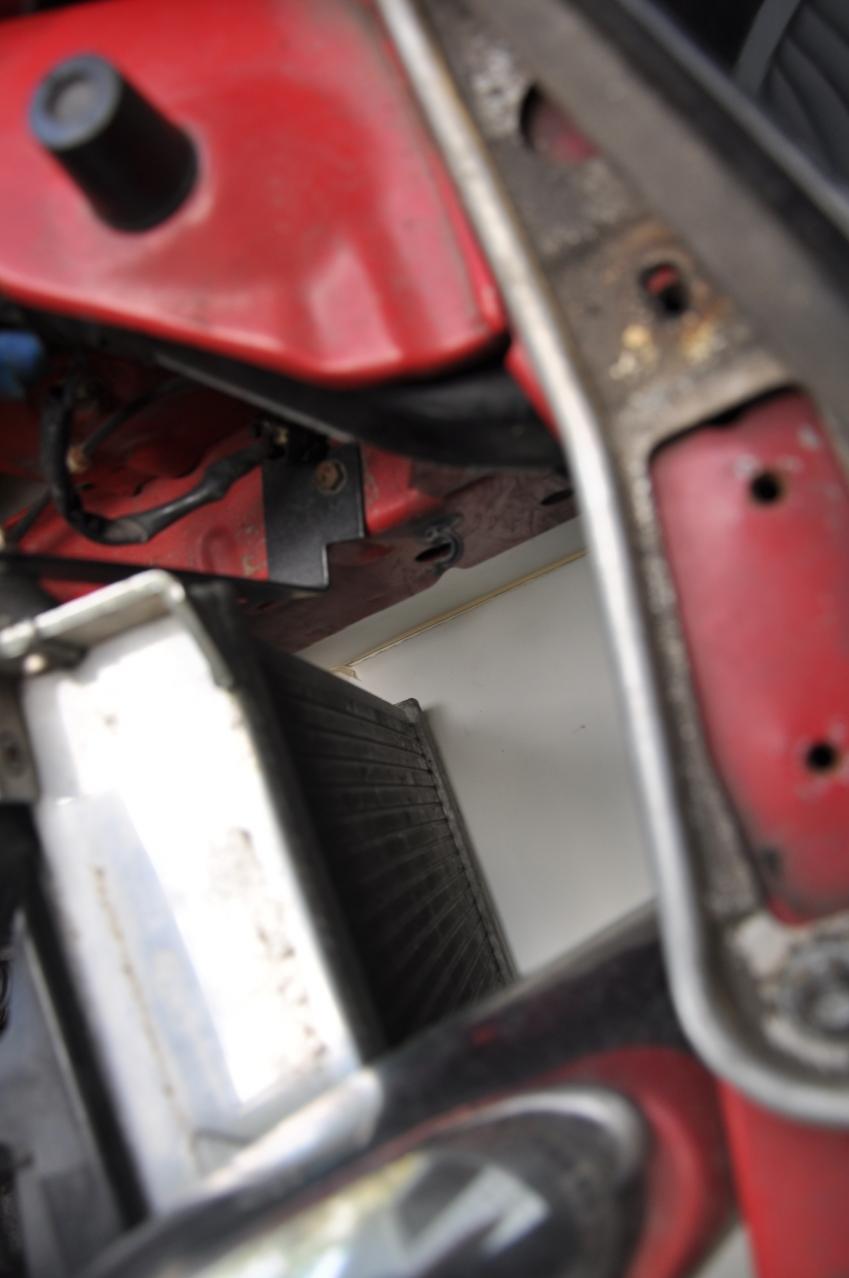
I effed up the relief cut on the left side of this pic, had to re-do it with the nibbler. The front of the tray fits overlaps the bumper lip by at least 1", soon I will take the time to drill holes and bolt it to the bumper.
I wanted to model the stock one as close as I could, so that it would force as much air as possible through the rad. That's one way of doing it though!


Joined: Mar 2001
Posts: 30,814
Likes: 655
From: FL-->NJ/NYC again!
Trending Topics
^ Could it be because when they put the front mount right up against the bumper the piping that comes off of it requires them to cut the sides of the undertray off. Like Ryan's car?
 But that is still not a good enough reason to ditch the stock one alltogether.
John
But that is still not a good enough reason to ditch the stock one alltogether. John
The blitz looks like a wicked clean install. I think I remember Rich posting pics of the install, you didn't even have to remove the bumper to get it in, did you?
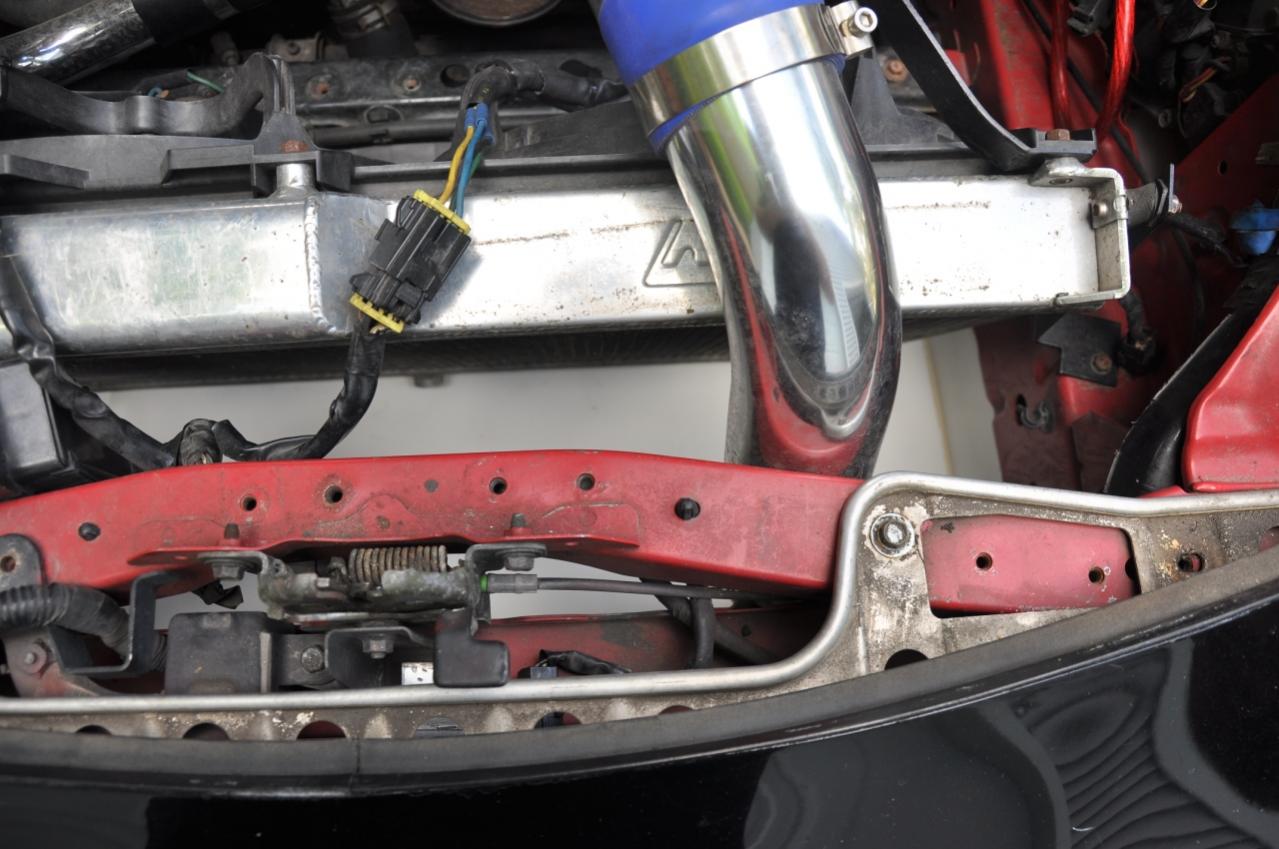
My intercooler is the knock-off Greddy kit from rx7store.net. Like renesisfd said, you have to cut the front of the stock tray so that it will clear the piping. To me, building one was a better alternative to buying a new stock one and cutting the crap out of it.
My intercooler is the knock-off Greddy kit from rx7store.net. Like renesisfd said, you have to cut the front of the stock tray so that it will clear the piping. To me, building one was a better alternative to buying a new stock one and cutting the crap out of it.
