
Clean up appearance of Cruise Control

Thread Starter
Rotary Enthusiast
iTrader: (1)
Joined: Dec 2007
Posts: 1,151
Likes: 0
From: University Place, WA
Clean up appearance of Cruise Control
This is another one of my stupid questions. I spent some time today trying to cleanup my engine bay somewhat. It needs a LOT of work. For instance, buried way underneath the ABS system I found an old rodents nest.

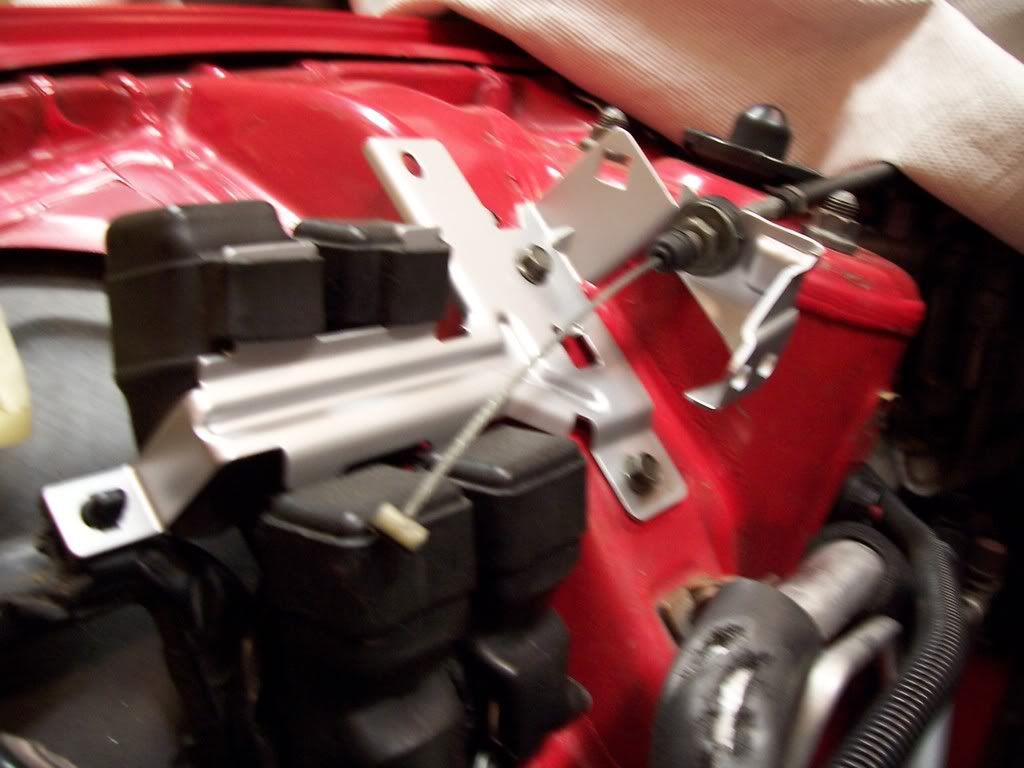
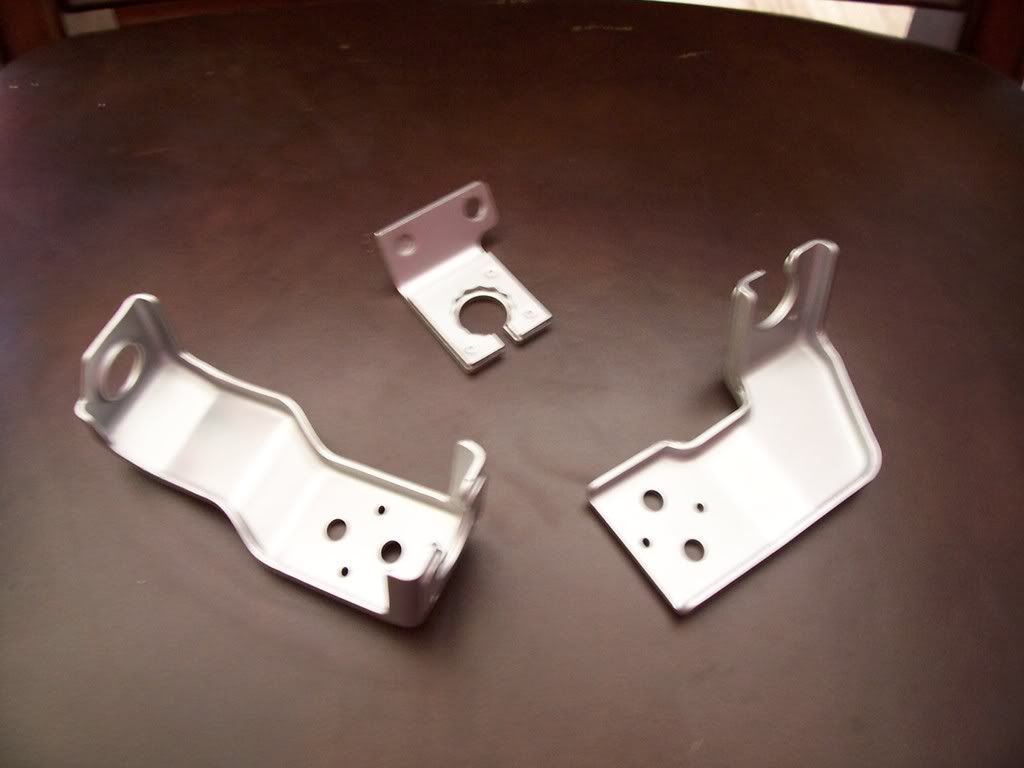
Anyway, on the drivers side of the engine bay is the cruise control system. The aluminum (?) top is corroded and rather ugly. At first I thought that it may have had a cover over it at one time, but the FSM doesn't show anything. Any suggestions on ways to clean it up so it doesn't look so bad? I know it is like putting lipstick on a pig, but I'm improving it a little bit at a time. Today I removed and painted a couple of the metal brackets on the passenger side.

Anyway, on the drivers side of the engine bay is the cruise control system. The aluminum (?) top is corroded and rather ugly. At first I thought that it may have had a cover over it at one time, but the FSM doesn't show anything. Any suggestions on ways to clean it up so it doesn't look so bad? I know it is like putting lipstick on a pig, but I'm improving it a little bit at a time. Today I removed and painted a couple of the metal brackets on the passenger side.

Pull the unit out of the engine bay and disassemble it. Once you remove the phillips head screws from the top, the large "serving tray" part of it separates from the servo mechanism underneath. You can paint it in the same fashion as the other misc brackets you mentioned. Remeber...prep is everything. And BTW it's steel not aluminum. I too am painting all of my misc brackets. As a matter of fact, I have three brackets in the oven right now.
Thread Starter
Rotary Enthusiast
iTrader: (1)
Joined: Dec 2007
Posts: 1,151
Likes: 0
From: University Place, WA
Pull the unit out of the engine bay and disassemble it. Once you remove the phillips head screws from the top, the large "serving tray" part of it separates from the servo mechanism underneath. You can paint it in the same fashion as the other misc brakets you mentioned. Remeber...prep is everything. And BTW it's steel not aluminum.
Thread Starter
Rotary Enthusiast
iTrader: (1)
Joined: Dec 2007
Posts: 1,151
Likes: 0
From: University Place, WA
BTW, I hate to sound too completely ignorant, but what is that cable in your photo? I certainly don't have one.
Trending Topics
Thread Starter
Rotary Enthusiast
iTrader: (1)
Joined: Dec 2007
Posts: 1,151
Likes: 0
From: University Place, WA
POLISH it!!! LoL...I'm a polishing fiend so I'd suggest removing it and polishing it. It'll look great. The other alternative is to do what I did and ditch it completely. It's entirely uselss along with P/S and A/C 
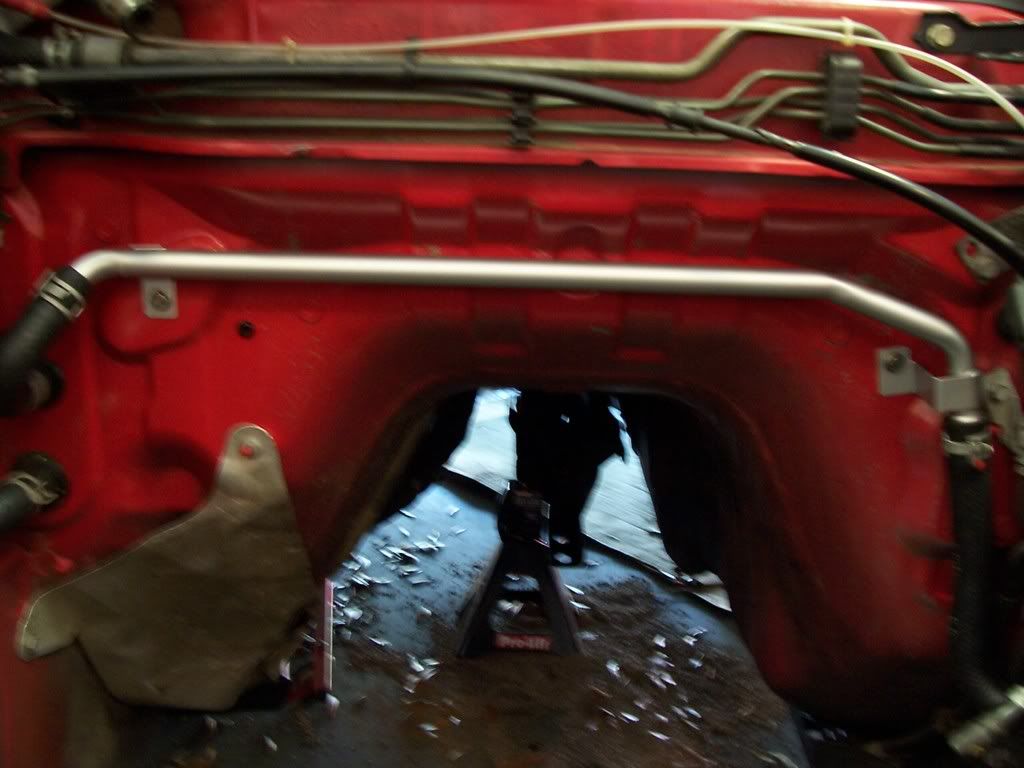
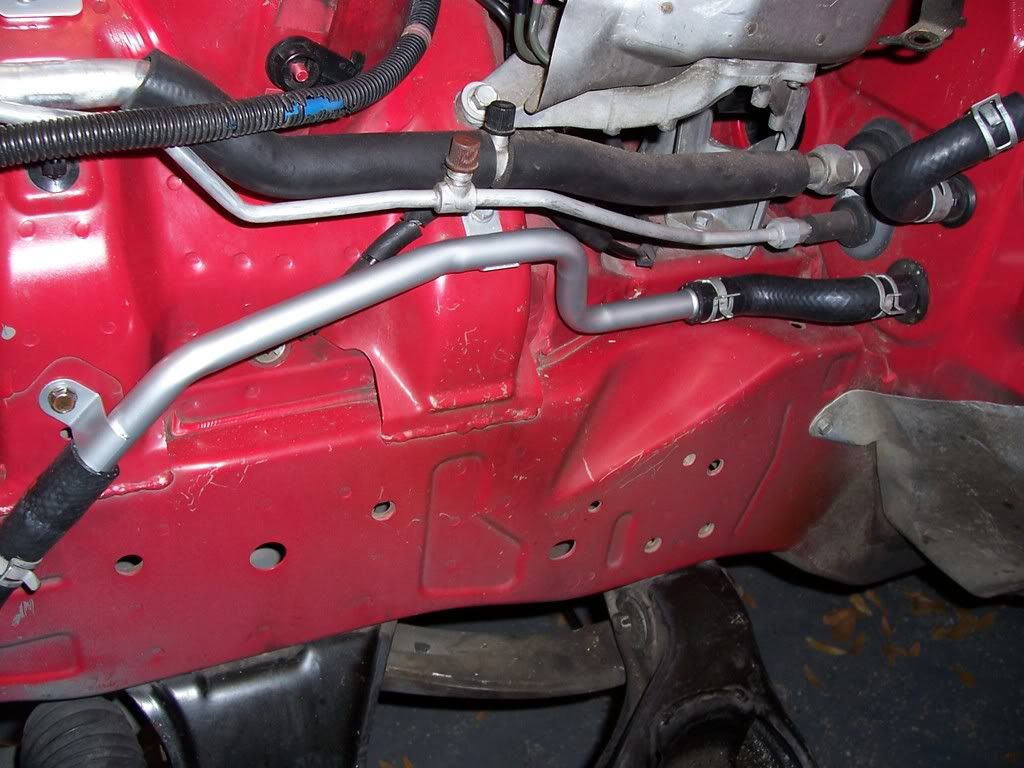
Yeah, its my throttle cable in the pic. It's not in the correct place because my engine is not in the correct place right now . So while it's off visiting friends I'm taking advantage of the easy access I have to every part that is corroded and painting them. Some parts are receiving an aluminum colored engine paint and others are getting black paint. As you can tell, I've also pulled the heater core metal tubes and brought them back to a happy place
 .
.

. So while it's off visiting friends I'm taking advantage of the easy access I have to every part that is corroded and painting them. Some parts are receiving an aluminum colored engine paint and others are getting black paint. As you can tell, I've also pulled the heater core metal tubes and brought them back to a happy place .
Thread Starter
Rotary Enthusiast
iTrader: (1)
Joined: Dec 2007
Posts: 1,151
Likes: 0
From: University Place, WA
Yeah, its my throttle cable in the pic. It's not in the correct place because my engine is not in the correct place right now . So while it's off visiting friends I'm taking advantage of the easy access I have to every part that is corroded and painting them. Some parts are receiving an aluminum colored engine paint and others are getting black paint. As you can tell, I've also pulled the heater core metal tubes and brought them back to a happy place .
. So while it's off visiting friends I'm taking advantage of the easy access I have to every part that is corroded and painting them. Some parts are receiving an aluminum colored engine paint and others are getting black paint. As you can tell, I've also pulled the heater core metal tubes and brought them back to a happy place .