
[Rx7 Boutique Tutorial] How to restore/refinish your tail lights to mint condition!

Thread Starter
Registered User
iTrader: (61)
Joined: Apr 2004
Posts: 7,334
Likes: 8
From: Los Angeles, CA
[Rx7 Boutique Tutorial] How to restore/refinish your tail lights to mint condition!
Important!: Despite this saying important I know the majority of you will either not read it or just look at the pictures. Anyways, please follow my directions STEP BY STEP, very very carefully. If you go astray from my directions you could potentially melt the plastic and ruin your tail lights. It is quite difficult to do this but Rx7 Boutique takes NO responsibility to any damage you cause to your tail lights. Do this at your own risk!
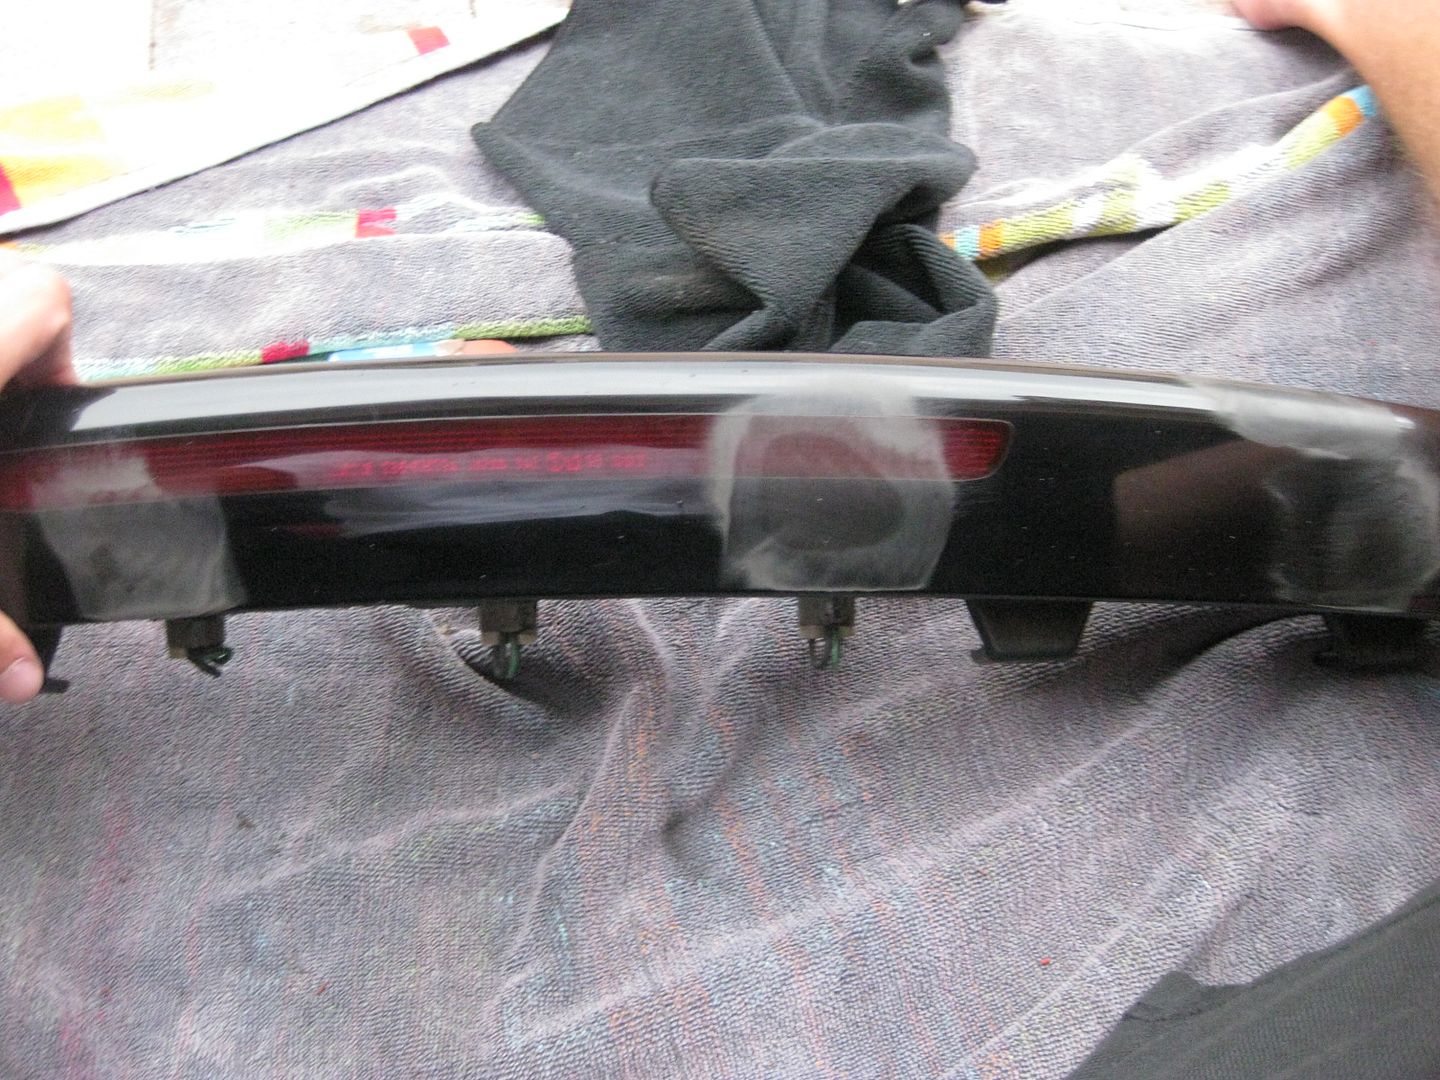
Prerequisite: As our Fds get older and older they are exposed to more sunlight which makes them fade to an ugly gray color. It is also common for the lens to develop light scratches from improper washing or just daily use. This tutorial will refinish your tail lights to make them look like new again and you will have that black shine as if they were new. It will also remove light scratches from the tail lights, anything that is deep or nicks will not be removed since the actual plastic is missing. This tutorial is not difficult nor is it time consuming, just please follow each step and I personally believe you will be ecstatic with the results. I used a center tail light for this tutorial as my other tail lights are mint and this one needed some refinishing. Obviously this will work for the outer tail lights too, along with your turn signals. I write my tutorials to be idiot-proof, so some of the steps might be common sense, but unfortunately, common sense is not so common.
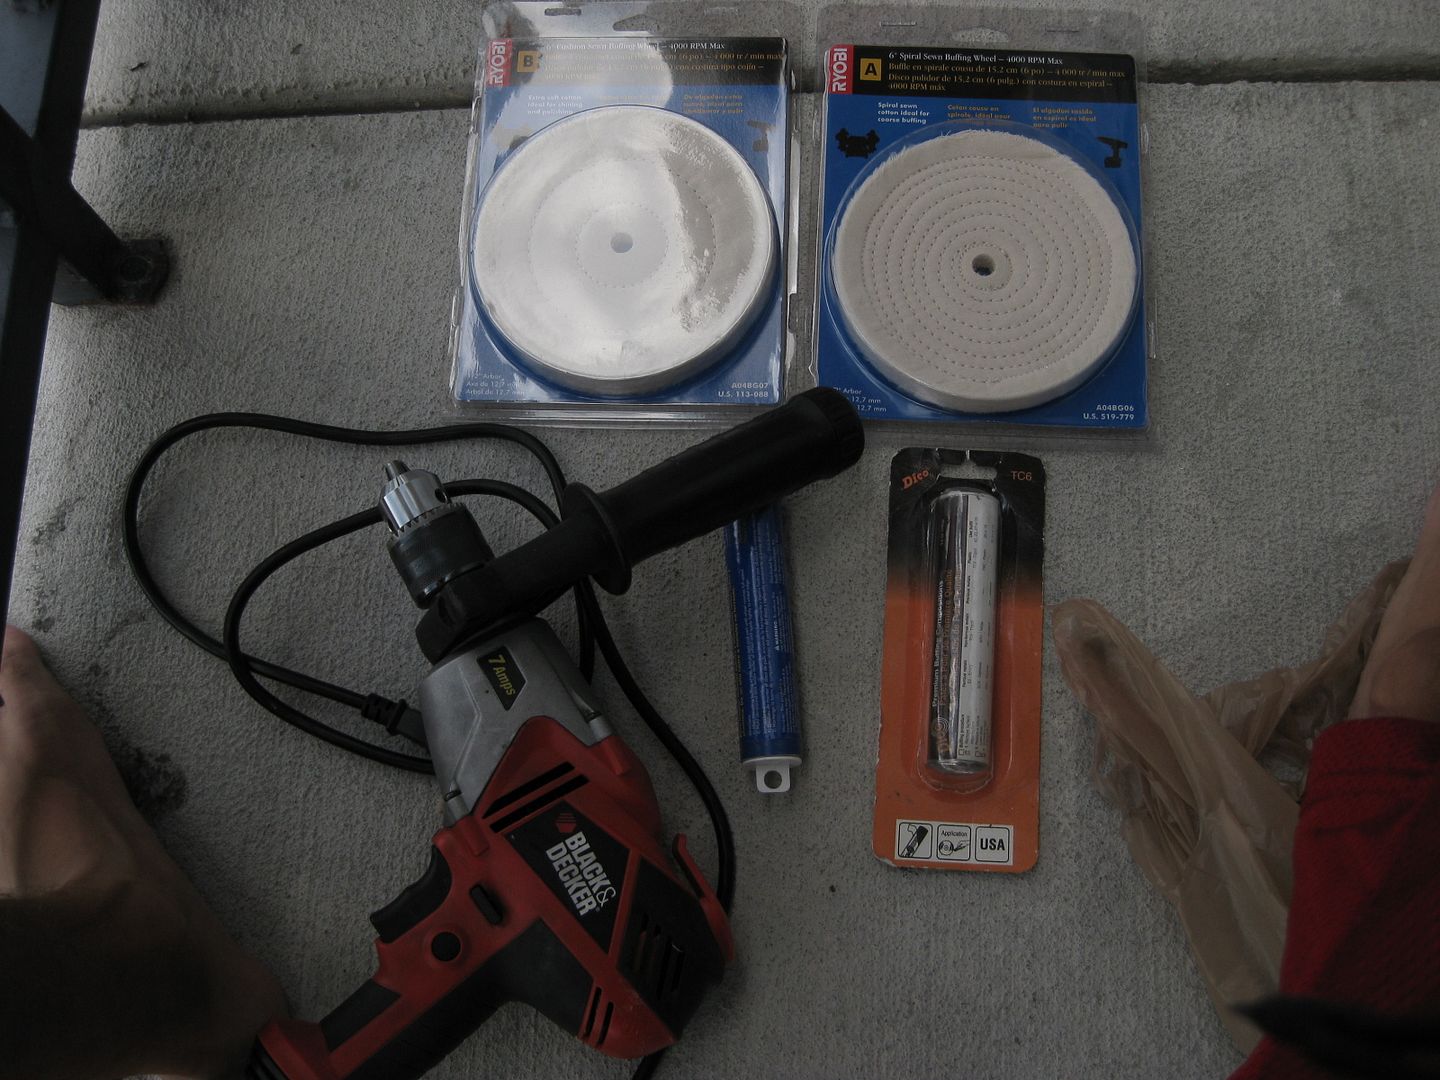
Tools Needed:
High amp drill DO NOT use a wireless drill it does not have enough power
Ryobi White Rogue Polishing Compound
Ryobi Tripoli Buffing Compound
Ryobi 6" Spiral Sewn Buffing Wheel (doesnt have to be ryobi but do NOT get a 4” wheel)
Ryobi 6” Cushion Sewn buffing wheel (doesnt have to be ryobi but do NOT get a 4” wheel)
Ryobi attachment to use the buffing wheel onto the drill

Step 1:
Clean the tail light with rubbing alcohol, we want to prep the surface properly.
Step 2:
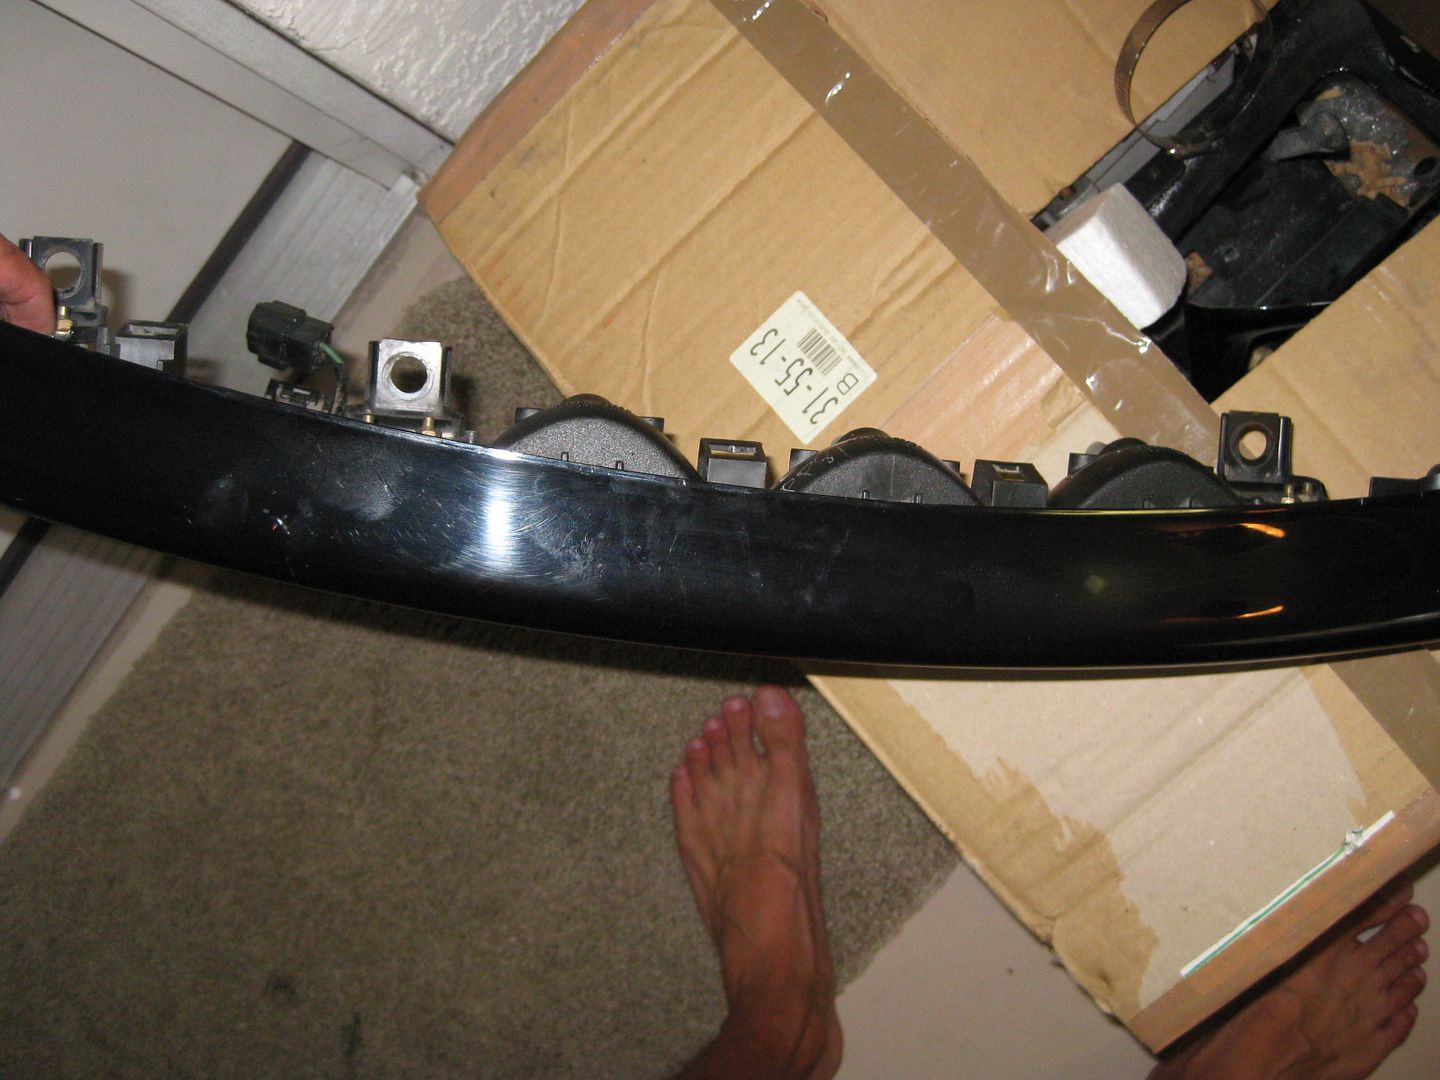
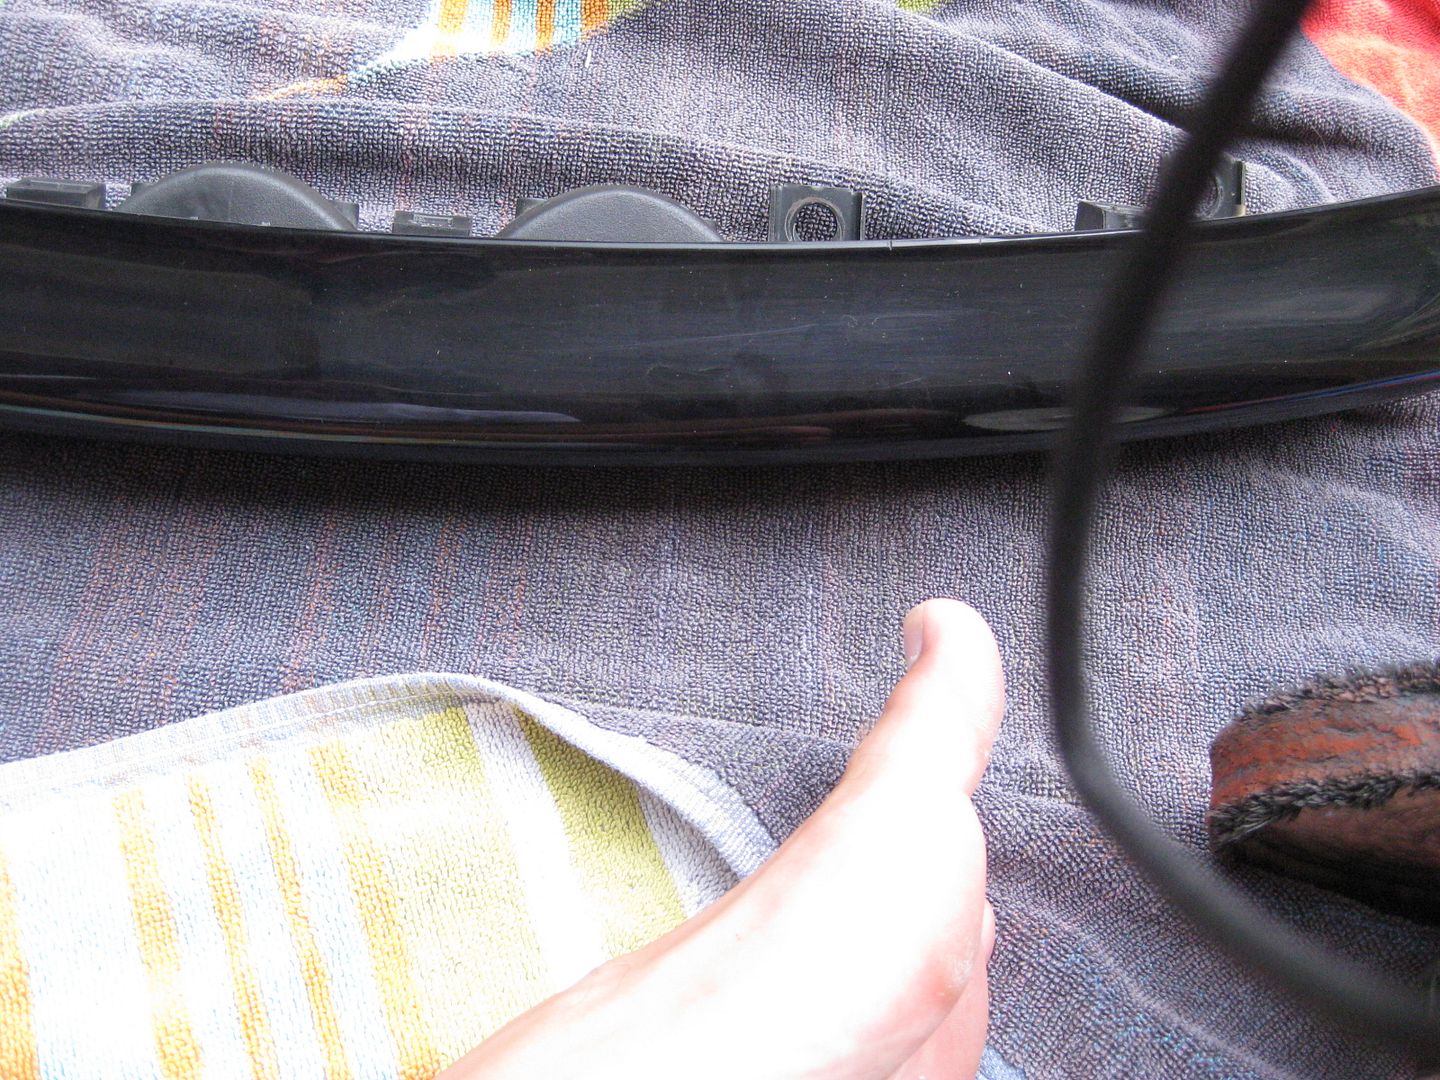
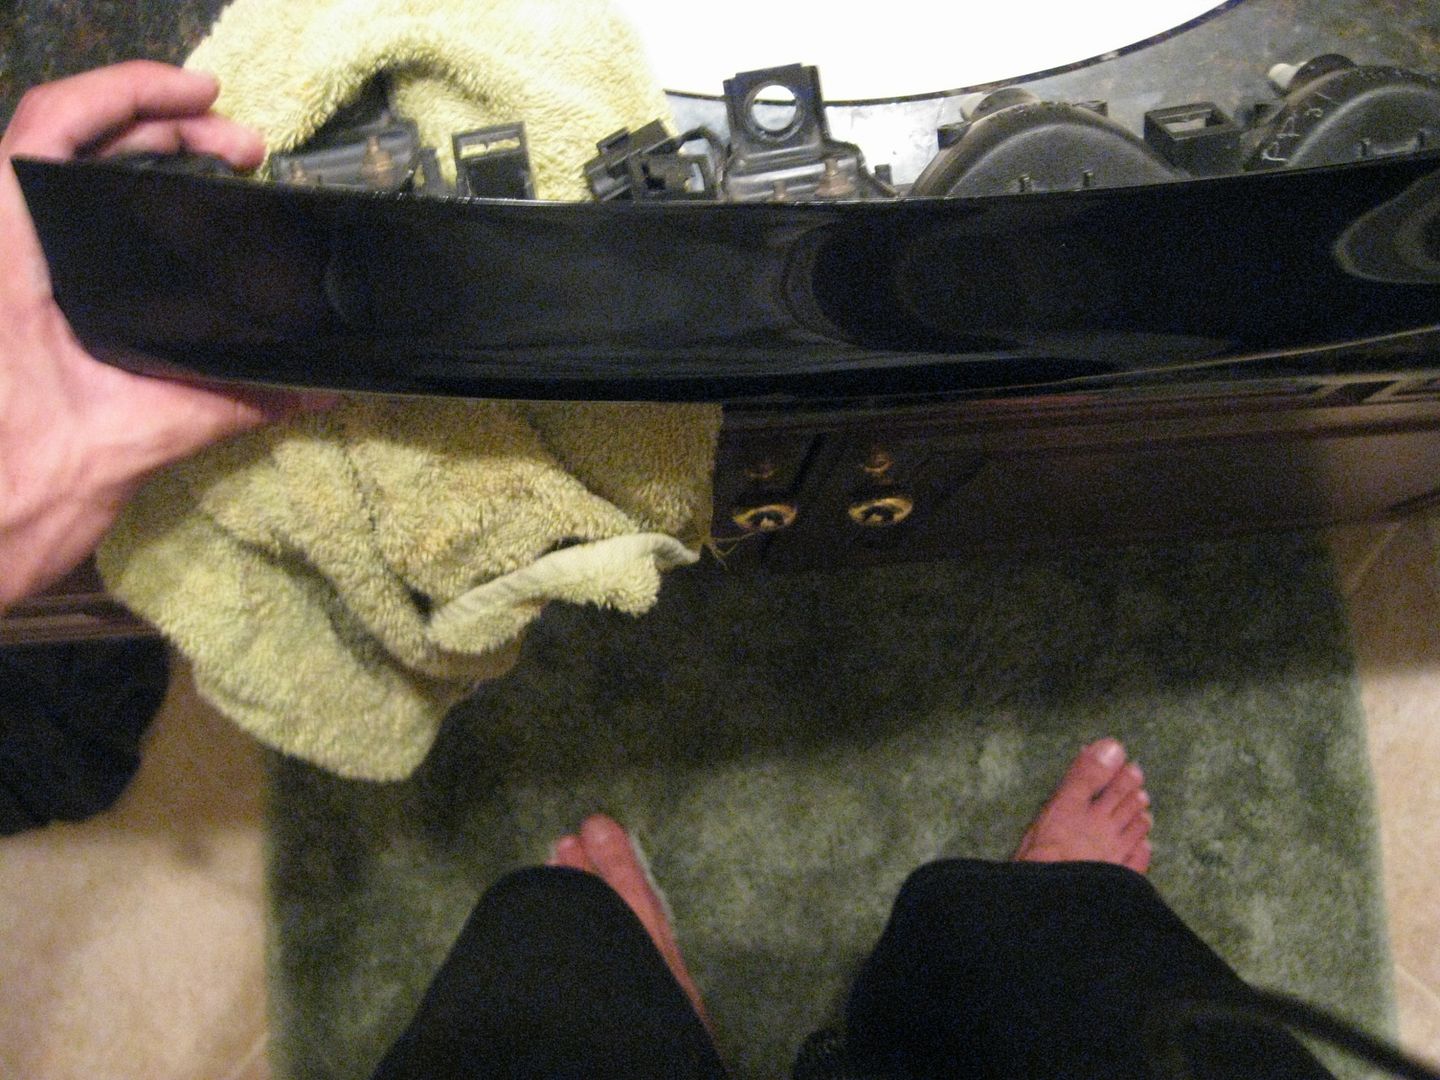
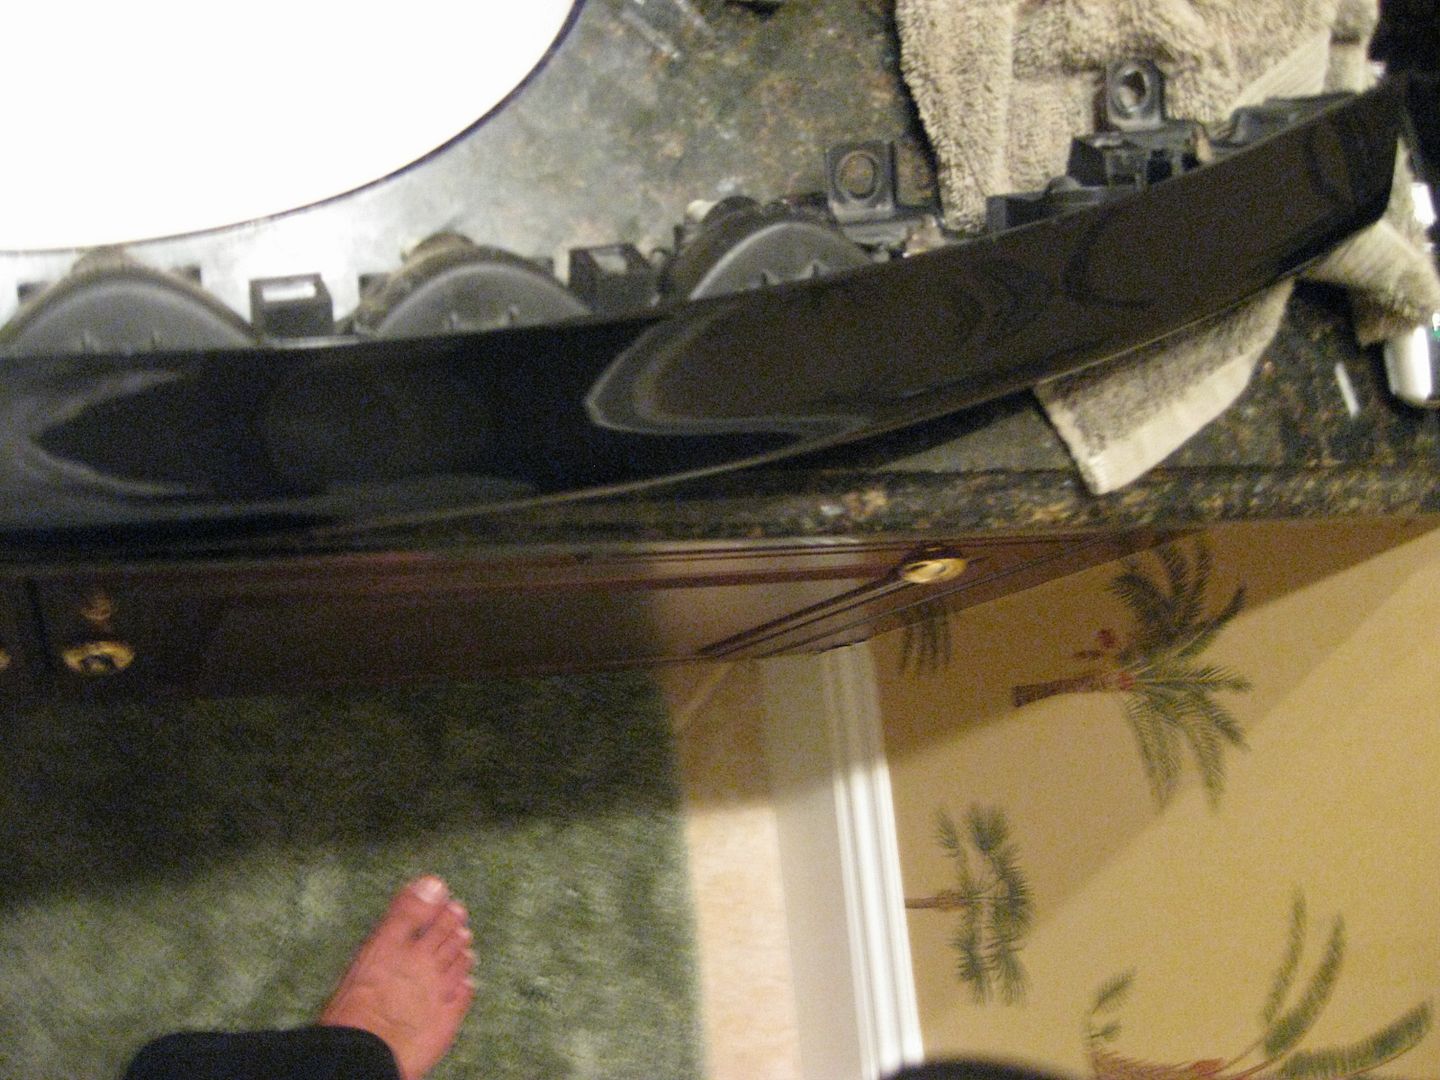
Look at your tail light and identify any major problem areas, below you can see I had some scratches and graying in some areas. Obviously the center tail light is not in horrible shape, but it is all I had to work with, I have revived tail lights in MUCH worse shape.
Step 3:
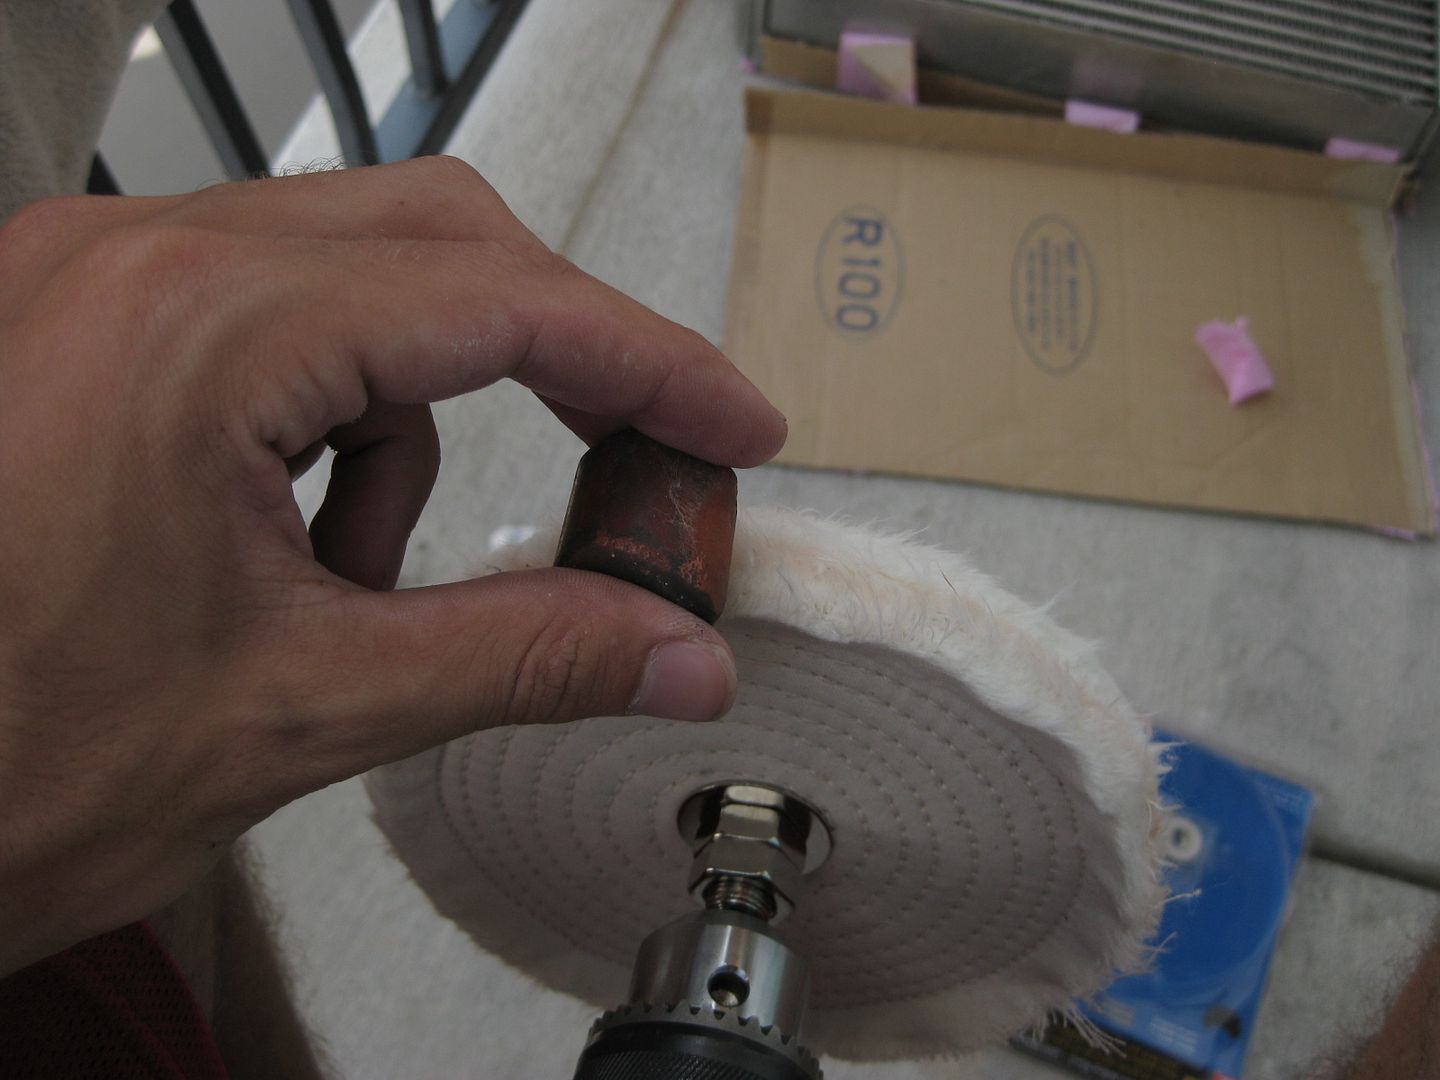
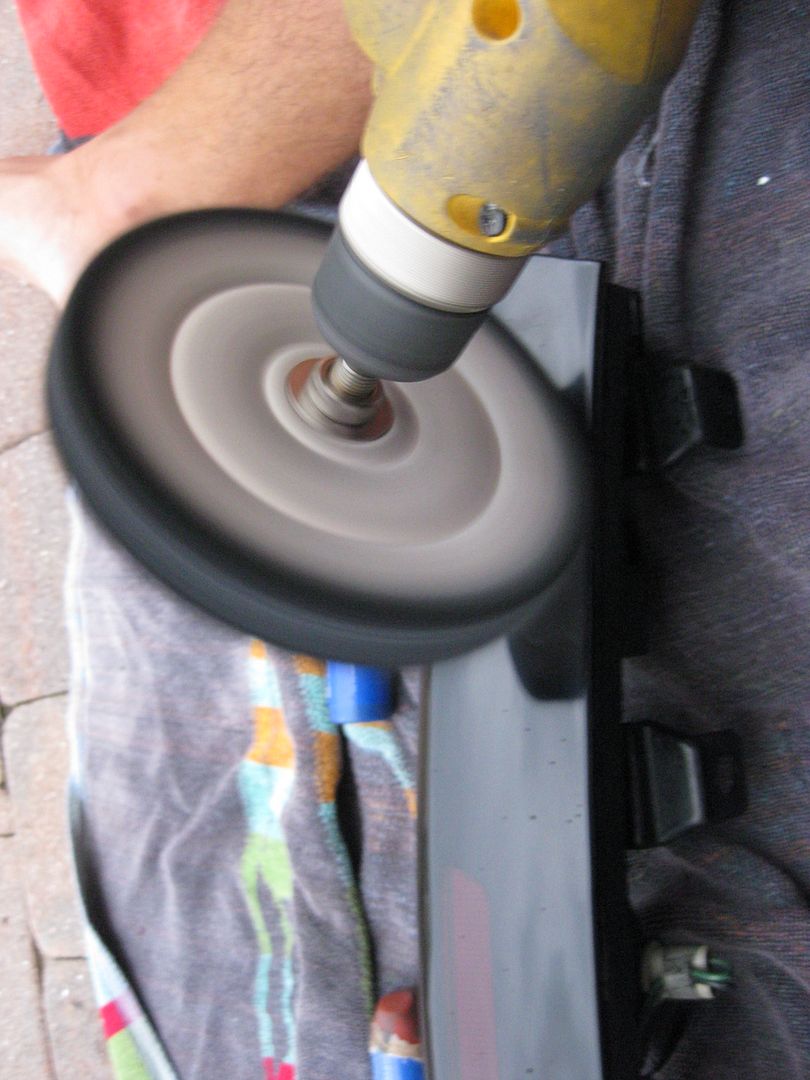
Take the spiral sewn buffing wheel and apply the tripoli to it, be generous with how much you apply, really can not apply enough here
Step 4:
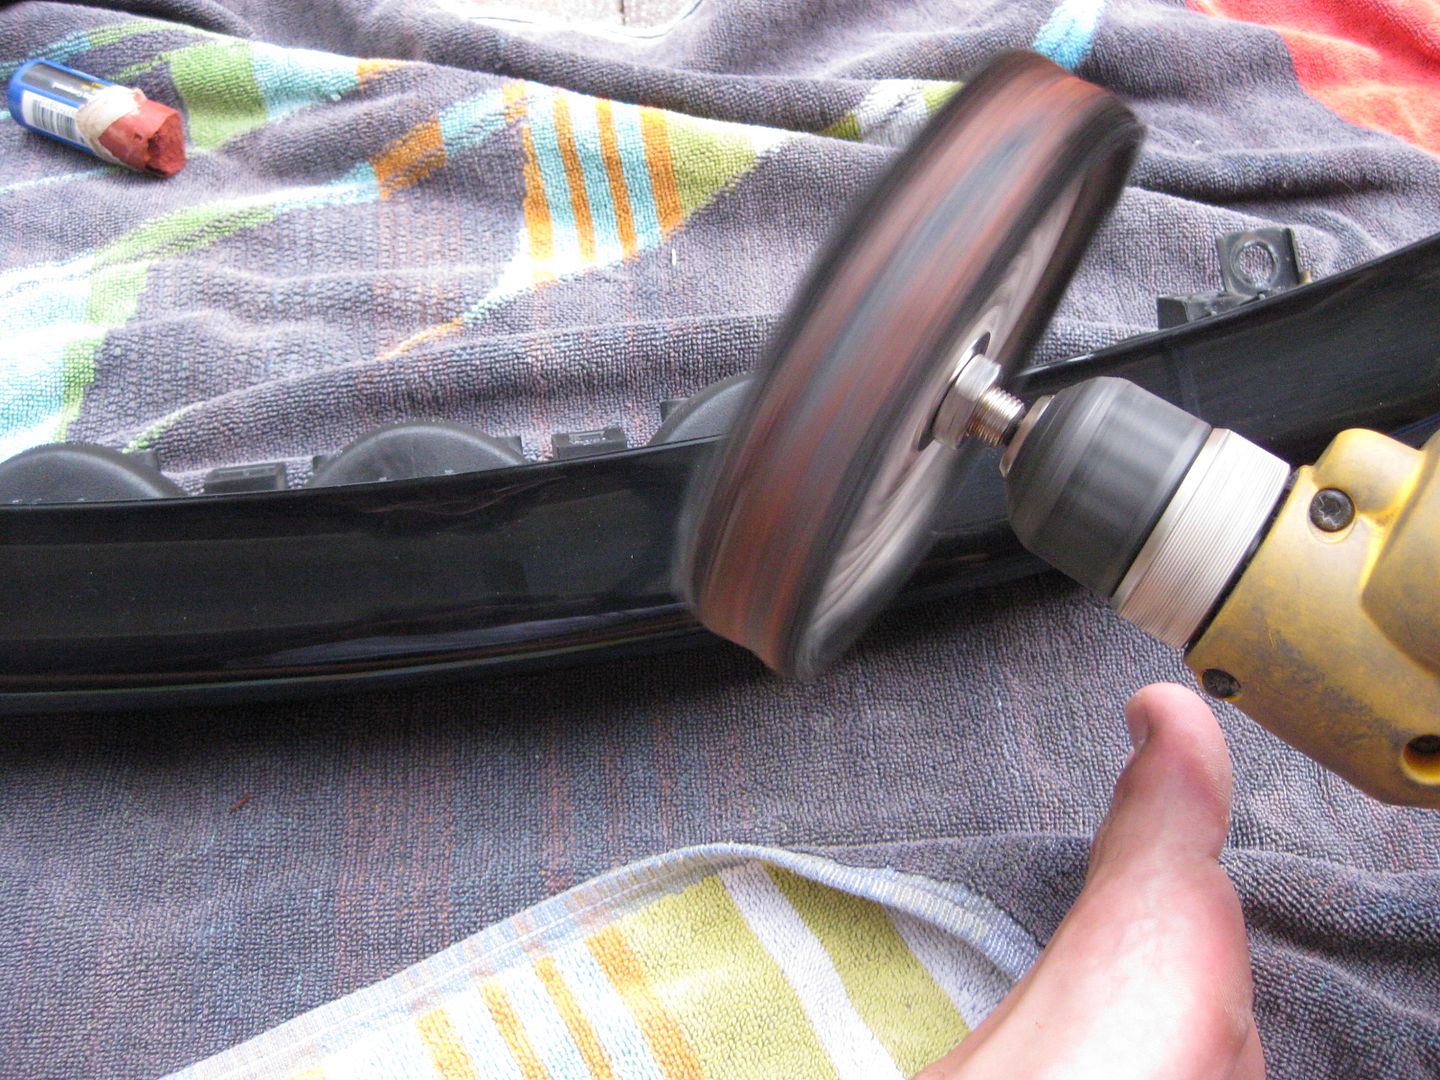
Now your going to apply the tripoli to the tail light. IMPORTANT IMPORTANT IMPORTANT. DO NOT apply a lot of pressure with the drill, use a light to medium amount of pressure when applying the tripoli. ALSO, keep the drilling moving, DO NOT DO NOT DO NOT keep pressure in the same spot for more than 3 to 5 seconds or you WILL BURN THE PLASTIC. This is really really important, just to re-illiterate apply light to medium pressure and keep the drilling MOVING, never keep it in the same spot for too long. Work the tail light back and forth, up and down, direction of the pad is irrelevant. Go through the tail light several times and target those problem areas you identified in step 2.
Step 5:
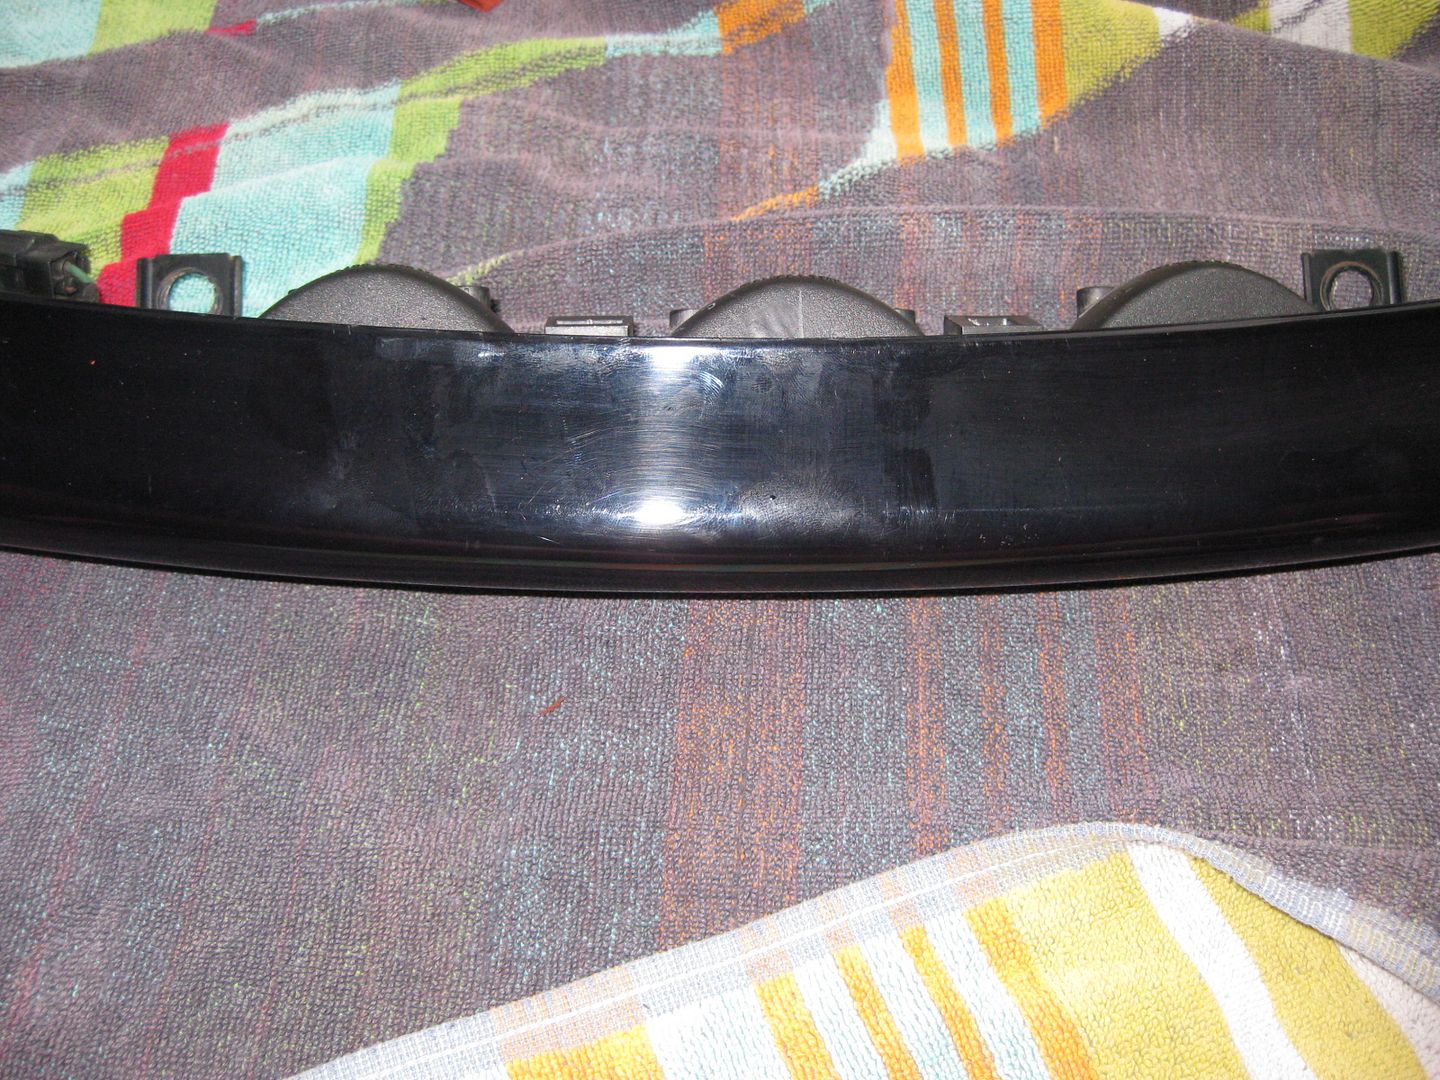
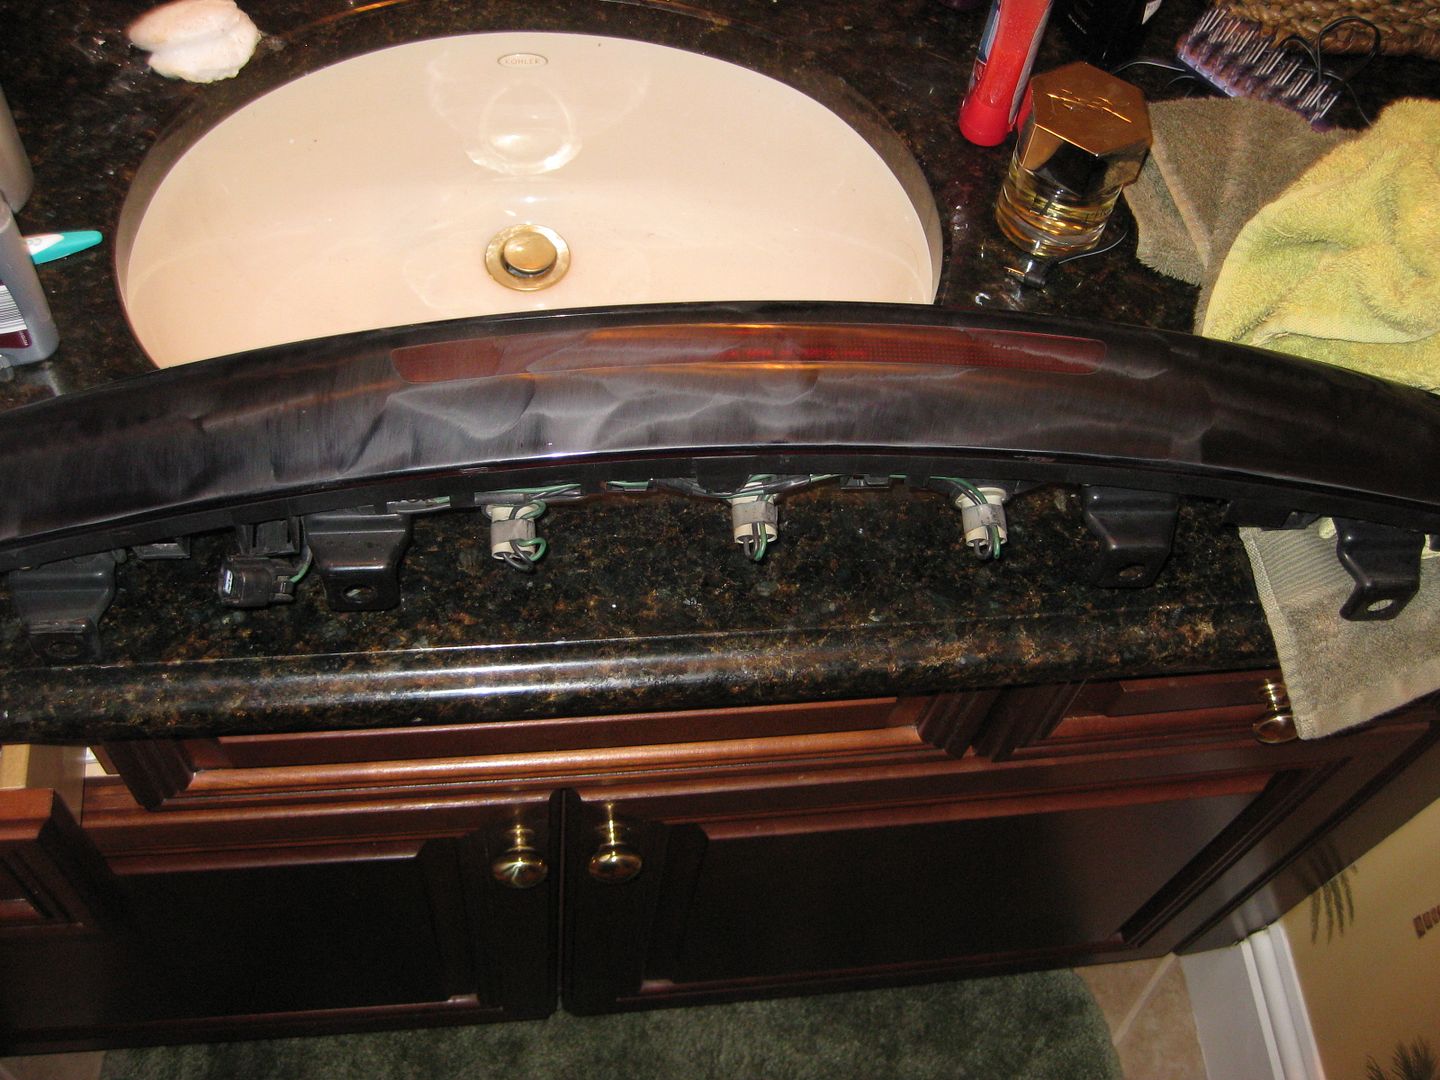
This is what the tail light will look like once the tripoli is applied:

Step 6:
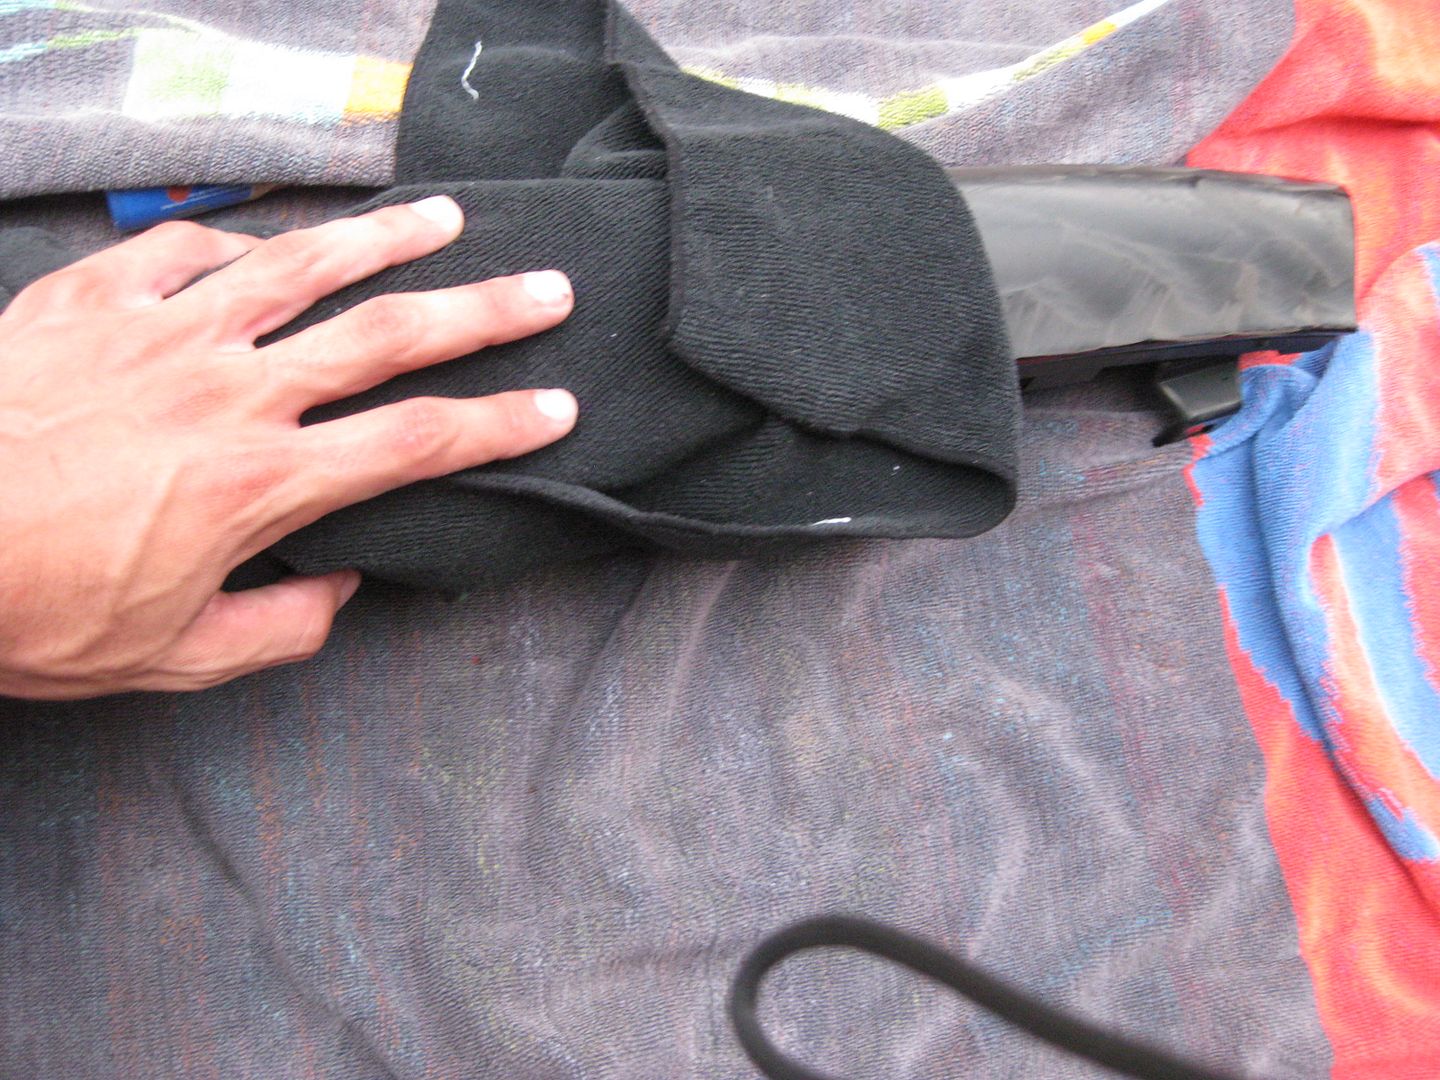
Use a CLEAN microfiber towel and wipe the tripoli off.
Step 7:
Now you are going to look over the tail light and look for areas that you missed or still have problems. Hit them with the tripoli again, remember to keep the drill moving but focus on the specific areas. You will notice that the tail light looks a bit cloudy, not to worry though, our next step with the white rogue will bring it back to life!
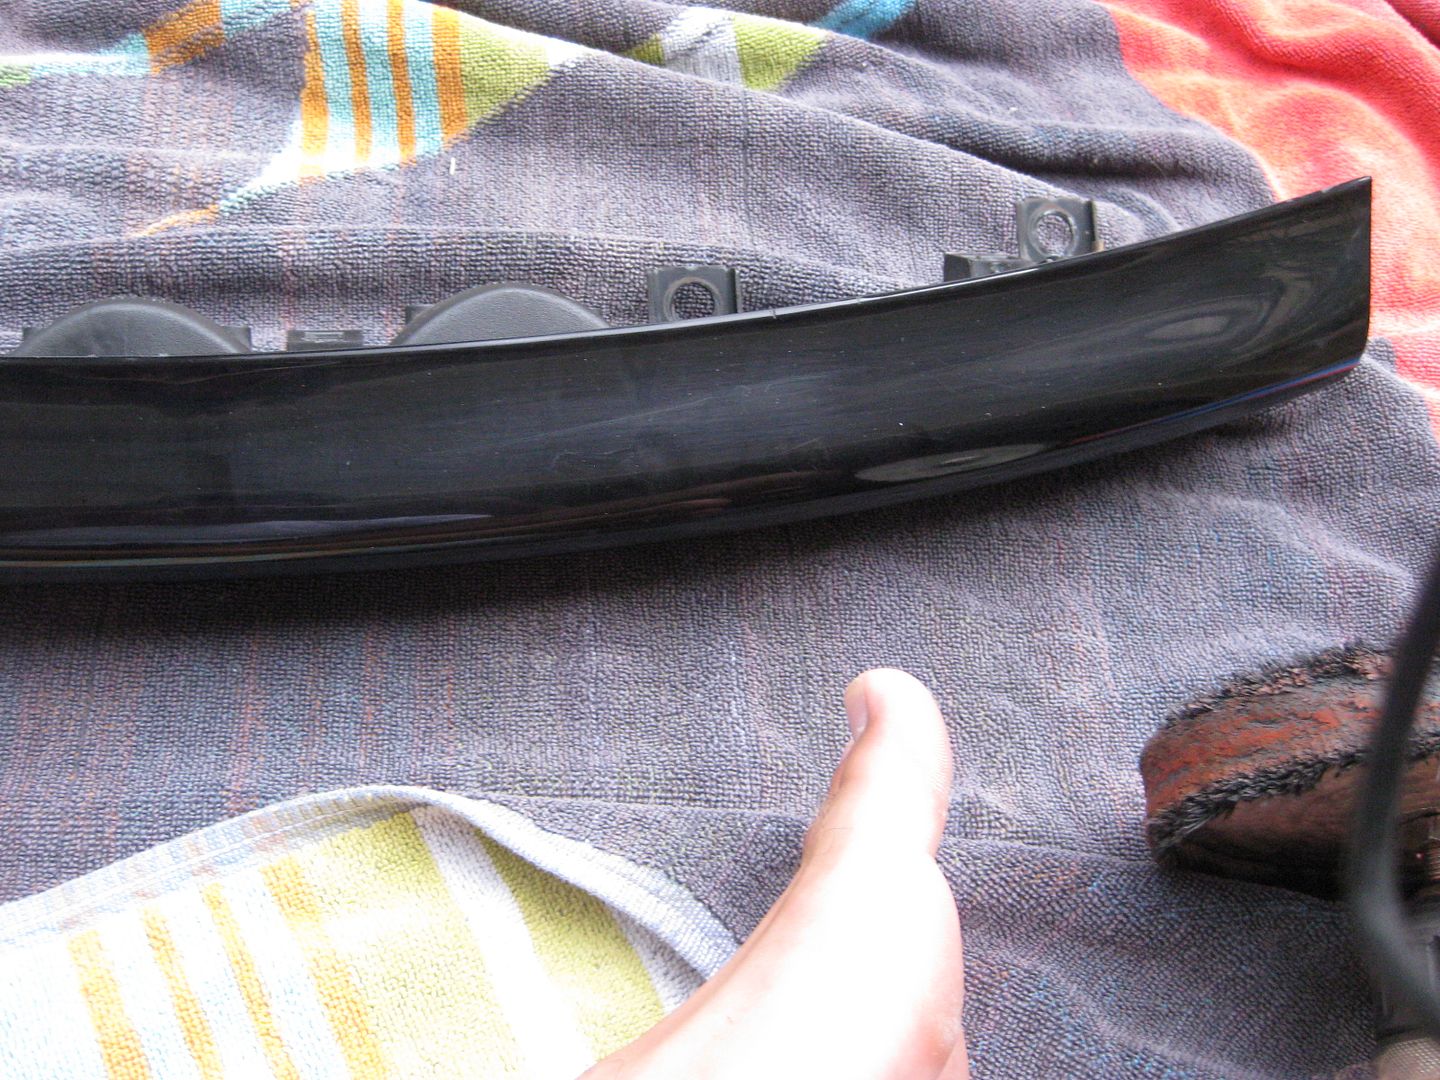
Here you can see I re-worked some problem areas that my original pass did not correct:
Step 8:
Make sure you wipe the remaining tripoli from step 7 off and now its time to apply the white rogue with the cushion pad. Apply the white rogue to the 6” cushion pad and then apply it to the tail light. Use a medium amount of pressure and keep the drill moving. Cover the tail light several times, take your time, it is not a race its a marathon.
Prerequisite: As our Fds get older and older they are exposed to more sunlight which makes them fade to an ugly gray color. It is also common for the lens to develop light scratches from improper washing or just daily use. This tutorial will refinish your tail lights to make them look like new again and you will have that black shine as if they were new. It will also remove light scratches from the tail lights, anything that is deep or nicks will not be removed since the actual plastic is missing. This tutorial is not difficult nor is it time consuming, just please follow each step and I personally believe you will be ecstatic with the results. I used a center tail light for this tutorial as my other tail lights are mint and this one needed some refinishing. Obviously this will work for the outer tail lights too, along with your turn signals. I write my tutorials to be idiot-proof, so some of the steps might be common sense, but unfortunately, common sense is not so common.
Tools Needed:
High amp drill DO NOT use a wireless drill it does not have enough power
Ryobi White Rogue Polishing Compound
Ryobi Tripoli Buffing Compound
Ryobi 6" Spiral Sewn Buffing Wheel (doesnt have to be ryobi but do NOT get a 4” wheel)
Ryobi 6” Cushion Sewn buffing wheel (doesnt have to be ryobi but do NOT get a 4” wheel)
Ryobi attachment to use the buffing wheel onto the drill
Step 1:
Clean the tail light with rubbing alcohol, we want to prep the surface properly.
Step 2:
Look at your tail light and identify any major problem areas, below you can see I had some scratches and graying in some areas. Obviously the center tail light is not in horrible shape, but it is all I had to work with, I have revived tail lights in MUCH worse shape.
Step 3:
Take the spiral sewn buffing wheel and apply the tripoli to it, be generous with how much you apply, really can not apply enough here
Step 4:
Now your going to apply the tripoli to the tail light. IMPORTANT IMPORTANT IMPORTANT. DO NOT apply a lot of pressure with the drill, use a light to medium amount of pressure when applying the tripoli. ALSO, keep the drilling moving, DO NOT DO NOT DO NOT keep pressure in the same spot for more than 3 to 5 seconds or you WILL BURN THE PLASTIC. This is really really important, just to re-illiterate apply light to medium pressure and keep the drilling MOVING, never keep it in the same spot for too long. Work the tail light back and forth, up and down, direction of the pad is irrelevant. Go through the tail light several times and target those problem areas you identified in step 2.
Step 5:
This is what the tail light will look like once the tripoli is applied:
Step 6:
Use a CLEAN microfiber towel and wipe the tripoli off.
Step 7:
Now you are going to look over the tail light and look for areas that you missed or still have problems. Hit them with the tripoli again, remember to keep the drill moving but focus on the specific areas. You will notice that the tail light looks a bit cloudy, not to worry though, our next step with the white rogue will bring it back to life!
Here you can see I re-worked some problem areas that my original pass did not correct:
Step 8:
Make sure you wipe the remaining tripoli from step 7 off and now its time to apply the white rogue with the cushion pad. Apply the white rogue to the 6” cushion pad and then apply it to the tail light. Use a medium amount of pressure and keep the drill moving. Cover the tail light several times, take your time, it is not a race its a marathon.
Last edited by purerx7; Aug 21, 2010 at 06:53 PM.
Thread Starter
Registered User
iTrader: (61)
Joined: Apr 2004
Posts: 7,334
Likes: 8
From: Los Angeles, CA
It started raining, so the remainder of the pictures are indoor.
Step 9:
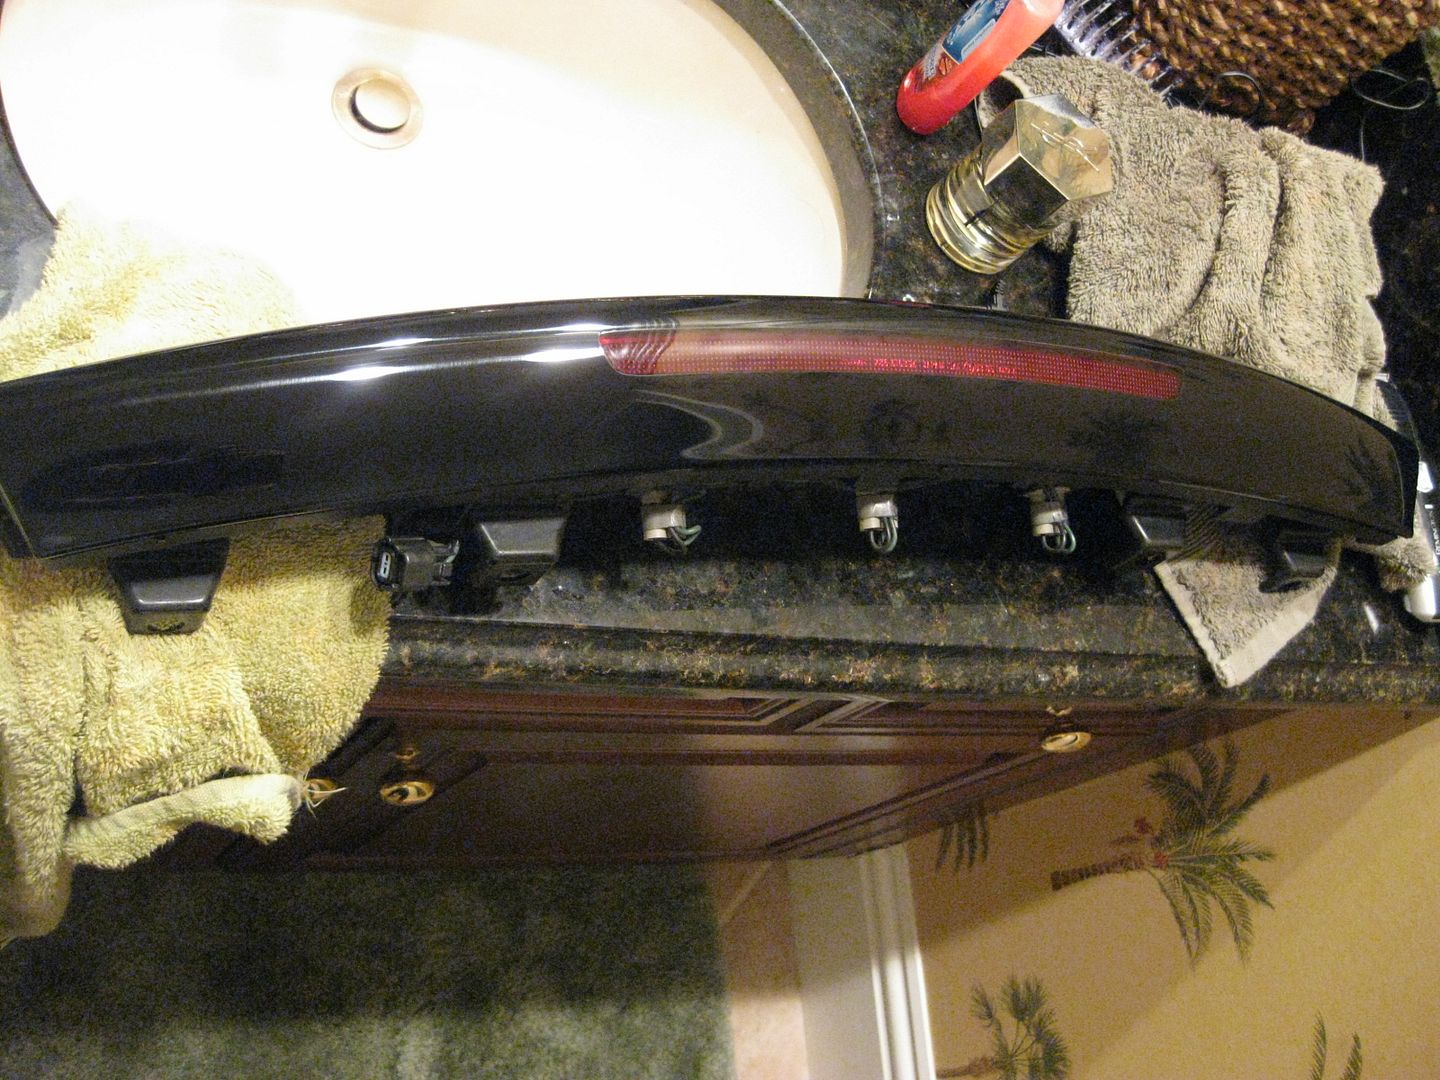
This is what the tail light looks like with the white rogue applied
Step 10:
Now wipe the remaining white rogue off with a NEW and clean microfiber towel, DO NOT use the microfiber towel you used to wipe the tripoli off. At this stage I like to apply another layer of white rogue, but for the majority of you once should be enough depending on if you took your time and did an adequate enough job.

Results!!!


You can see a full catalog of our tutorials here:
http://rx7boutique.com/tutorial.html
Hope this helps some of you in making your FD just a bit more perfect.
Best of luck,
B
Step 9:
This is what the tail light looks like with the white rogue applied
Step 10:
Now wipe the remaining white rogue off with a NEW and clean microfiber towel, DO NOT use the microfiber towel you used to wipe the tripoli off. At this stage I like to apply another layer of white rogue, but for the majority of you once should be enough depending on if you took your time and did an adequate enough job.
Results!!!
You can see a full catalog of our tutorials here:
http://rx7boutique.com/tutorial.html
Hope this helps some of you in making your FD just a bit more perfect.
Best of luck,
B
Last edited by purerx7; Aug 21, 2010 at 06:56 PM.

Good stuff B. 
I bought some new '99 spec tails, but my old oems are just chilin cause they have some surface scratches.
Might try this out and put 'em up for sale. & nice wallpaper j/p
j/p
I bought some new '99 spec tails, but my old oems are just chilin cause they have some surface scratches.
Might try this out and put 'em up for sale. & nice wallpaper
j/p


Why did you choose to use the tripoly buffing compound? The cutting characteristics of tripoly is suited for metal and not plastic, if you are not careful you can easily burn through the plastic. You can easily get the same results starting with the white rogue and it will be safer for the plastic.
Thread Starter
Registered User
iTrader: (61)
Joined: Apr 2004
Posts: 7,334
Likes: 8
From: Los Angeles, CA
The white rogue will not get rid of the scratches or problem areas, tripoli is essentially like sanding with 2000 grit. You will not get the same results if you only use white rogue, other than it might revive a little bit of the color. As long as you don't apply the tripoli with hard pressure to the same spot you won't do any damage.
The white rogue will not get rid of the scratches or problem areas, tripoli is essentially like sanding with 2000 grit. You will not get the same results if you only use white rogue, other than it might revive a little bit of the color. As long as you don't apply the tripoli with hard pressure to the same spot you won't do any damage.
http://www.rotaryaddicts.com/?page_id=579
Trending Topics
Thread Starter
Registered User
iTrader: (61)
Joined: Apr 2004
Posts: 7,334
Likes: 8
From: Los Angeles, CA
More than one way to skin a cat, I have had a bad experience with plastic-x and choose not to use it. I was not even aware of that tutorial, I have had a lot of success doing it this way and just wanted to share.


thanks for the write up - what do you mean bad experience - damaged plastic or didn't polish as well?


Thread Starter
Registered User
iTrader: (61)
Joined: Apr 2004
Posts: 7,334
Likes: 8
From: Los Angeles, CA
Correct, it will make the tail light color be uniform and revive the faded black to become vibrant again.
Oh...... And where can i buy these at? lol
Ryobi White Rogue Polishing Compound
Ryobi Tripoli Buffing Compound
Ryobi 6" Spiral Sewn Buffing Wheel (doesnt have to be ryobi but do NOT get a 4” wheel)
Ryobi 6” Cushion Sewn buffing wheel (doesnt have to be ryobi but do NOT get a 4” wheel)
Ryobi attachment to use the buffing wheel onto the drill
Parts store like autozone or home depot (asked cause of the brand)
i did the same to my tails but i used the compounds suggested in john's guide:
http://www.rotaryaddicts.com/?page_id=579
http://www.rotaryaddicts.com/?page_id=579
i did the same to my tails but i used the compounds suggested in john's guide:
http://www.rotaryaddicts.com/?page_id=579
http://www.rotaryaddicts.com/?page_id=579

Thread Starter
Registered User
iTrader: (61)
Joined: Apr 2004
Posts: 7,334
Likes: 8
From: Los Angeles, CA

