
Tools for 13bt disassembly

Thread Starter
Full Member
Joined: Jun 2014
Posts: 129
Likes: 0
From: Illinois
Tools for 13bt disassembly
Hey guys!
So the time has come to tear down our engine and I was wondering what kind of tools we're looking at here. My dad's a mechanic so we have plenty of tools at home but even more at my dad's work so I was wondering if we might need sizes over 19 or any other specialty tools. Bit of an odd question but it would save us from having to stop and wait until Monday because we didn't have the right tool here.
Thanks a ton!

The fsm will tell you all you need, you can find a copy here or if your lucky you can find one on eBay for 150. Here's the link for you http://foxed.ca/index.php?page=rx7manual


Can't think of anything other than some small picks (like dental picks) to help pull out rotor and housing seals.
Since you said disassembly of the engine, I take it the engine is out of the car? If not, you'll need some 22-24mm wrenches and sockets for the oil lines.
And definitely an impact gun (rated 600ft-lb or higher IMHO) for the flywheel nut removal. You can get by without, but if you have it, use it.
And some appropriate chain to wrap around the flywheel teeth and hold with bolts to keep the flywheel from turning.
Lol and a couple pry bars to carefully put pressure on the flywheel when you whack on the center nut with a hammer (use a piece of steel to spread the force of the blows).
 Looks like we only neee a few extra things so that'a good
Trending Topics


Joined: Sep 2005
Posts: 25,581
Likes: 136
From: Smiths Falls.(near Ottawa!.Mapquest IT!)
Ibeljin called ME..to take his engine out,
Said "Hey STYX..ya F'n Tool..come take my engine out!"
23mm socket for the Oil cooler(15/16th's)
Said "Hey STYX..ya F'n Tool..come take my engine out!"
23mm socket for the Oil cooler(15/16th's)
Joined: Feb 2001
Posts: 29,798
Likes: 128
From: London, Ontario, Canada
Others have covered it pretty well. Getting down to the most basics of it, the only weird item you need is a 54MM or 2 1/8" socket for the flywheel nut. Then if you don't have an impact to loosen it, you will need a sufficiently large breaker bar. Like 4 feet or so. Same with the front hub bolt (19MM) though often a much smaller bar is needed.
Both will likely have Loctite so heat first to release it.
Some sort of pick to deal with rotor seals. I use the pipe reamer on my Swiss Army knife.
If your dowel pins are stuck then you will need a bolt of matching thread (uh, M12 x 1.25 I think) to thread in so you can tap them out.
OK, now time to plug myself. Here's the videos!
These videos will help you in the process of rebuild a 13B or 12A engine. While they deal with an older 13B from an RX-5 Cosmo, the engine internals are basically the same for any 12A or 13B. The only real difference is that on engines newer than '85, the coolant O-rings are in the irons instead of the housings as shown in this video.
The first video is engine removal. While it is an RX-5 Cosmo, an car that few will ever see let alone work on, the process will give you the general idea of an engine removal. Steps are similar for most rotary vehicles, it's the details that differ.
The next video is engine disassembly and some cleaning. This is an old carbureted 13B so the accessories bolted to the engine are different than newer engines. However the process of externally disassembling any rotary is about the same. Covered here is also flywheel removal (same for any rotary) and engine parts cleaning.
Cleaning of all engine parts continues in this video. Provided here are examples of how this is accomplished with a minimum of tools and supplies. It's a lot of labor to clean old parts until they are looking new again. At the same time, parts should be inspected.
Finally, here is the engine assembly. This video includes clearancing side seals, assembling all the seals onto the rotor, then assembling all the parts into a 13B short block.
Here's another disassembly I did a few months ago with a friend:

Joined: Sep 2005
Posts: 25,581
Likes: 136
From: Smiths Falls.(near Ottawa!.Mapquest IT!)
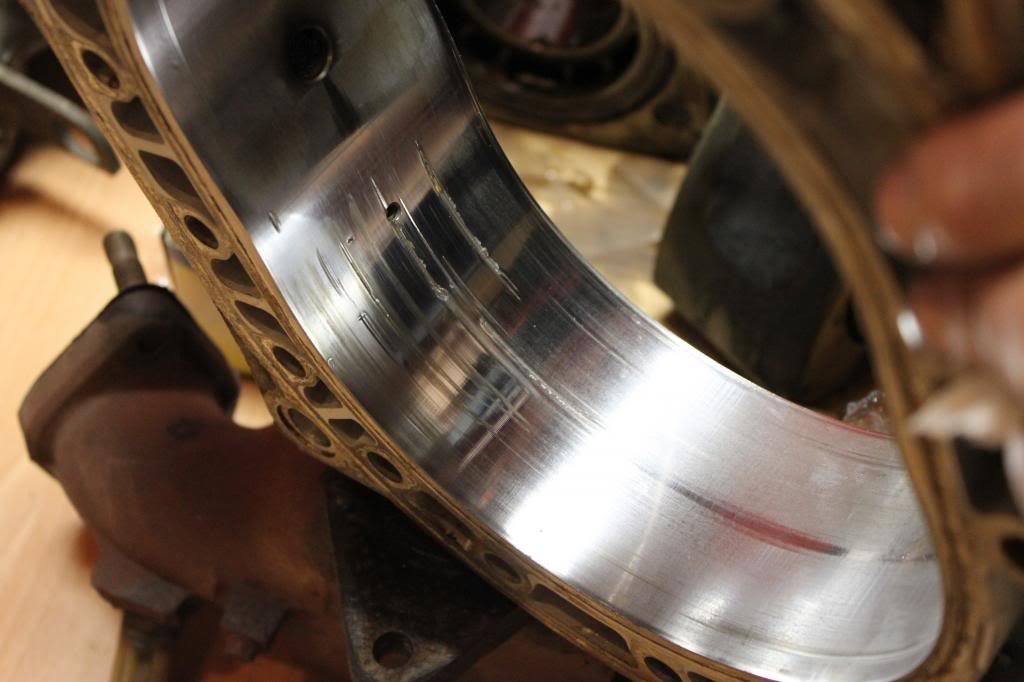
this is what I found when disassembling Ibeljin's engine.
Rule of Thumb:
Cover ALL intake manifold holes.
Make sure you have All NUTS.
Do not let them get injested into the intake..and then start the engine!
Rule of Thumb:
Cover ALL intake manifold holes.
Make sure you have All NUTS.
Do not let them get injested into the intake..and then start the engine!

 [/URL]
Good luck finding half an engine. I ended up having to get a pair of housings and rotors because very few people sell parts in singles. If you do find ONE rotor for sale, be mindful of the rotor letter stamp as it indicates the weight of the rotor. If you use two rotors which are not balanced together then you might have problems
Joined: Aug 2002
Posts: 2,614
Likes: 31
From: Freeland, MI
Good luck finding half an engine. I ended up having to get a pair of housings and rotors because very few people sell parts in singles. If you do find ONE rotor for sale, be mindful of the rotor letter stamp as it indicates the weight of the rotor. If you use two rotors which are not balanced together then you might have problems

Thread
Thread Starter
Forum
Replies
Last Post
joel(PA)
Group Buy & Product Dev. FD RX-7
8
Oct 4, 2015 06:07 PM