When you click on links to various merchants on this site and make a purchase, this can result in this site earning a commission. Affiliate programs and affiliations include, but are not limited to, the eBay Partner Network.
After many hours of research and rebuilding my sunroof I have found a budget friendly way of rebuilding the sunroof that works like new.
Straight to the point
Parts list
1. Sunroof cables from Mercedes (W210 W220) pair LEFT AND RIGHT cables - $41.99 on amazon
(OEM cables are 150 a piece from mazda oem website. I said hell no and was able to retrofit these mercedes cables onto the mazda guides) Your guides must be not cracked and in good shape otherwise u need to get the OEM replacements that come with the guide and the cables)
2. Honda Genuine 08798-9013 Silicone Grease - $18.39 on amazon
3. 2 x K & S Precison Metals 9/32 inch diameter x 36 inch length 0.014 wall brass tubing Part number 1150 - $35 on Hobbylinc
(These are used for the guide rails. If your cables are rusted stuck in the original tubes , they need to be replaced.)
(Ive tried many different tubing sizes, and these are the only ones i can find to work)
4. Flare tool and cutting kit - $30 Will use this to cut the cable tubes to the desired length , bend, and flare them like the originals.
5. JB weld original - $10 We are going to use this to affix the end of the Mercedes cables once we fit the cables into the Mazda guides
Tear Down and Rebuild
Not gonna go into detail on how to remove the the sunroof assembly from the car. Its quite simple. Remove the headliner piece and start unscrewing all the trim and things necessary to unscrew and unbolt the assembly from the car.
Remove the sunroof motor first and unplug all the electrical connectors. Rear view mirror comes off too.
If you are not comfortable or mechanically inclined to do this step without reading a tutorial, stop now as this is the easiest part. Once you get in the car and see how its in there its really easy to take out. Maybe get a second person to help carry it out if you are weak on your military presses.
Once the assembly is out of the car you will be faced with the fact that the only way to start rebuilding is to remove the 6 bolts that are underneath the fabric interior cover but you cant take that off because the sunroof wont open --______--
So after many trys I found a way that works without completely cutting through your interior cloth piece.
Get a large flat head screw driver - The biggest one you have. or any long flat wedge tool With the Sunroof Motor side facing you and the interior cloth piece facing up wedge your screw driver in between the interior cloth piece and the outer sunroof panel. Start prying lightly up and down and all across left and right un snapping the tabs and prying the cloth piece up through the assembly frame. You should be able to push the interior cloth piece out without damaging it. Its made of a fiberboard engineered wood type material so it is quite bendable.
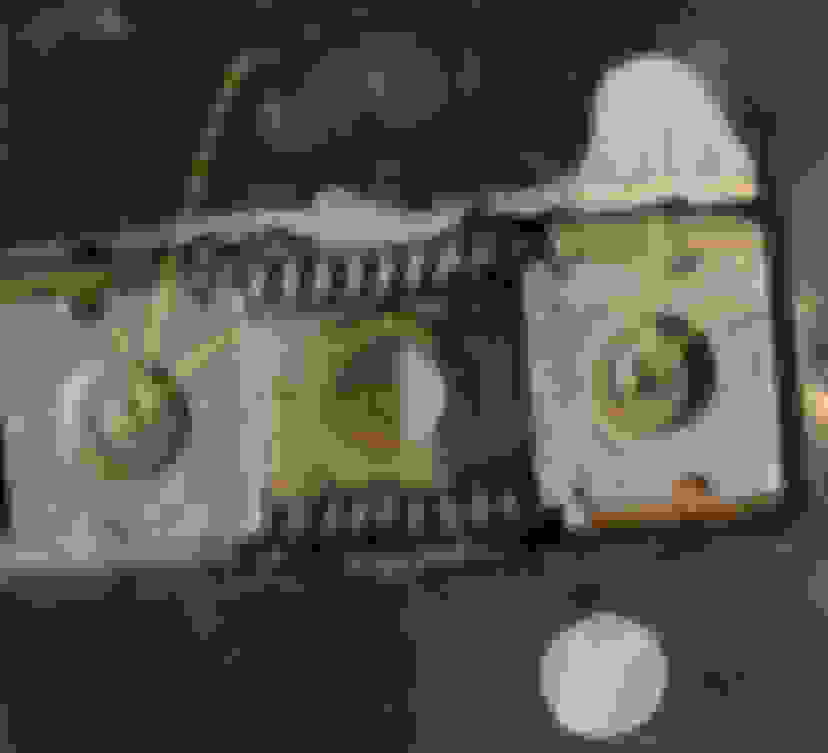
Once that is out you can remove the 6 sunroof panel nuts circled in the picture.
Next we will have to remove the cable drive unit. (The unit that the motor gear spins in)
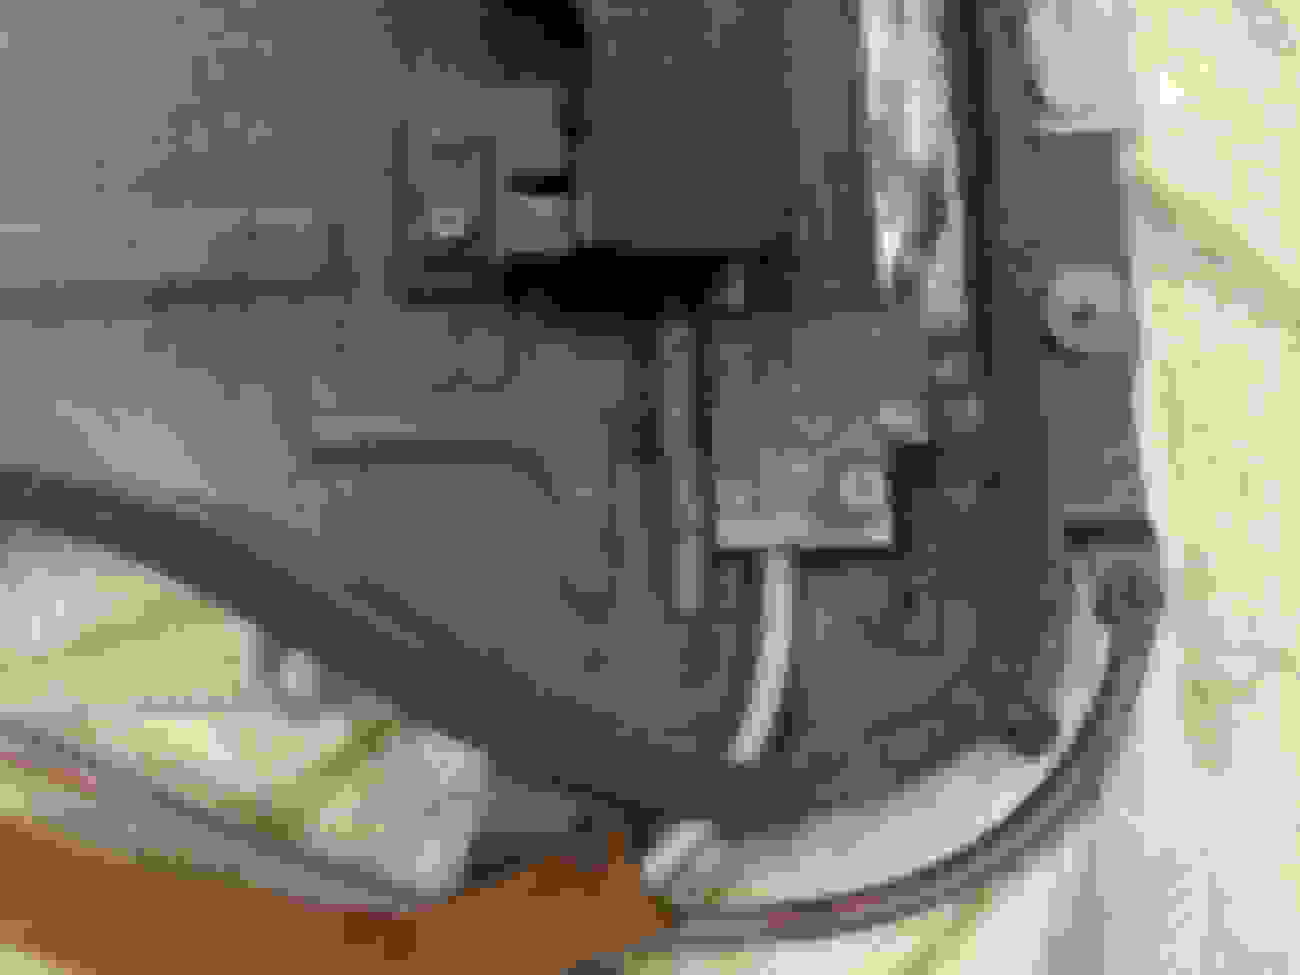
In order to get the cables and tubes out of this unit we will have to drill the rivet out of the holding pieces as shown below
Once those two pieces are out we can unscrew the 2 screws holding the drive unit in and pop the metal tubes out of the unit. Put the drive unit aside for now
Now remove the 4 screws and remove the plate shown below on each side
Now try to pull and remove the black metal and rubber piece that goes into the silver main rails and try to slide the guides and arms down as much as you can "opening the sunroof". If its rusted stuck bad you may need to hit the guide arms with a hammer and screwdriver until it becomes lose and you can move the
sunroof arms up and down
Black metal rubber piece shown above.
Once you unstick and get the guides and arms down as much as u can remove the 2 screws holding down the deflector arm links. If you do not do this before removing the big silver main rails u will almost definitely break the thin plastic pieces that are attached to the deflectors.
Next you can remove the 5 small silver screws on each side to remove both main silver rails. Once both rails are out you should be able to slide both entire arm guide assemblies all the way out from the rails.
This is where you can start to use break cleaner and any type of tool you want to clean the crap out of these rails. they will be rusty and gunked up like crazy. Spend good time cleaning them the best you can.
Now take the smaller guide piece that is attached the the sunroof cable off of the larger sunroof arm. Time to retro fit our new Mercedes cables to the Mazda guides. Take the old cable and guide and hack the cable off with an angle grinder . Be sure not to damage any of the plastic piece.
Take the new cables and grind off the mercedez plastic guide piece. These mercedez cables are longer than the mazda ones, we will cut these to length later.
Take one end of the cable after cutting the plastic part off and clamp it to a bench as shown below. Grab needle-nose pliers or any type of pliers you can get to work and start unraveling the wire about 4-5 inches down. Use your best estimate. The idea is to replicate the Mazda ones.
After unraveling cut the wire where you want to stop and twist it into the Mazda plastic guide. This will be alittle snug, but thats good because we dont want this to get removed ever. Just keep screwing it until it goes in all the way. Then JB weld the end that sticks out of the plastic guide.
Now you can make up the new cable guide tubes with the new 9/32 metal tubes. If you have a bending tool thats great otherwise bend the tube the best you can to match the oem tubes . Cut them down to size and flare the ends so they will fit in there respective places
My tubes had the cables rusted in them bad so I couldn't reuse them . If your cables come out of the tubes then thats great but I recommend making new ones anyway because over time they get pretty nasty inside.
After everything is clean and all shiny and new you can re-lube the rails with the new silicone re-lube the cables and put everything back together. Once its all mocked up you can install the drive unit and put the new tubes in it. you may have to bend alittle more to get them to fit in the drive unit properly . you have to work at it a bit.
Cut the cables to the appropriate length and tuck them away into the retracting tubes.
Now you can Put the motor back in the assembly and test the sunroof out of the car. plug all the electronics up and get the rear view mirror that has the sunroof buttons. grab a med- big 12 V battery . Put negative to a metal part of the assembly and put positive to the single spade connector on the buttons. I used alligator clips to do this. The buttons should have power and work. sunroof should be working like new now.
Sorry for not going into detail with putting stuff back together but once u get to the point of removing everything it pretty much becomes common sense on how the parts work. The main point here is that we can use different cables and retain the Mazda guides and buy new cable tubes for a fraction of the price of the mazda OEM parts. All this is sub $150 and not 400 plus dollars. Hope this helps someone out. if anyone has a question i can try to take more pics to help out. good luck.
Hi all, is this indeed the case? You have to drill out two rivets in the gear drive housing, and only then can the cables be removed? No other write-up mentions this from my readings.
Is there not any easier way to get the cables out? I just want to get them out clean and reinstall. Thanks for your time.
I've just completed exactly the same fix.
I tried the much cheaper BMC Landrover cables (Easy available in UK) but these are too thick, has to be the MB W210 ones.
My cables were jammed solid, had to dremel all the way along the length in the runner to get them out.
Be careful with the wind deflector, plastic fittings break easy, fixed with JB weld.
I couldn't get the end of the cable to stay in the plastic runner with JB so I used the end cap off a blind rivet as a crimp.
Fyi mine was stuck shut..I monkey'd with the wiring and everything else....turned out the microswitch when it tilts was gummed up, preventing it from moving. It eventually freed itself and went back to working normal.
No, you do not need to drill the rivets out in the gear drive housing. Once you have the working shuttle end out (no easy task!), you can pull the shuttle and attached cable out of the copper tubing.
And I echo the warning provided by others: watch that deflector linkage! There are fastening screws in some very small fragile pieces of plastic.