View Poll Results: the most you would of paid for this
100


1
3.45%
200


1
3.45%
300


4
13.79%
400


1
3.45%
500


9
31.03%
600


2
6.90%
700
2
6.90%
800
3
10.34%
900
2
6.90%
1000
4
13.79%
Multiple Choice Poll. Voters: 29. You may not vote on this poll
REX Rebuild

Thread Starter
Full Member
Joined: Feb 2010
Posts: 197
Likes: 1
From: Portland OR
Rotor bearings/ Stat bearings have to go through MANY heat cycles before they are worn in properly. It actually takes longer for the bearings to wear in than it does for the apex seals. I think if there is more than 30% copper showing then they should be replaced. Thats what i heard a few times. If its barely any showing then you can reuse them no problem IMHO.
Post pics of the bearings for us.
Post pics of the bearings for us.
can you tell what some of the parts and sensors are by looking at them?
1- upper right has to sensors. thos tps? ------ YES TPS
2- theres some stuck side seals that i cant get out... any ideas?- Spackle knife, make a "C"
cut to the spackle knife, then you can hook it under the seals and pop them out
3-on the red piece theres a sensor. - Air intake sensor i bet
4-
5- whats the plate blocking?- Not sure
6-
7-thats the from oil regulator right? isn't there sposed to be a peace coming out of the left side? looks like the might of cut it off--- I dont recall seeing these before
8-
9-
sorry for suck a pain in the rear end..
Thread Starter
Full Member
Joined: Feb 2010
Posts: 197
Likes: 1
From: Portland OR
can you tell what some of the parts and sensors are by looking at them?
1- upper right has to sensors. thos tps? ------ YES TPS
2- theres some stuck side seals that i cant get out... any ideas?- Spackle knife, make a "C"
cut to the spackle knife, then you can hook it under the seals and pop them out
3-on the red piece theres a sensor. - Air intake sensor i bet
4-
5- whats the plate blocking?- Not sure
6-
7-thats the from oil regulator right? isn't there sposed to be a peace coming out of the left side? looks like the might of cut it off--- I dont recall seeing these before
8-
9-
sorry for suck a pain in the rear end..
1- upper right has to sensors. thos tps? ------ YES TPS
2- theres some stuck side seals that i cant get out... any ideas?- Spackle knife, make a "C"
cut to the spackle knife, then you can hook it under the seals and pop them out
3-on the red piece theres a sensor. - Air intake sensor i bet
4-
5- whats the plate blocking?- Not sure
6-
7-thats the from oil regulator right? isn't there sposed to be a peace coming out of the left side? looks like the might of cut it off--- I dont recall seeing these before
8-
9-
sorry for suck a pain in the rear end..

thanks for the tips
1- upper right has to sensors. thos tps? ------ YES TPS
2- theres some stuck side seals that i cant get out... any ideas?- Spackle knife, make a "C"
cut to the spackle knife, then you can hook it under the seals and pop them out
3-on the red piece theres a sensor. - Air intake sensor i bet
4-???
5- whats the plate blocking?- Not sure (blocked off on mine too)
6- thermopellet goes in the front of the eccentric shaft
7-thats the from oil regulator right? isn't there sposed to be a peace coming out of the left side? looks like the might of cut it off--- I dont recall seeing these before (me either)
8- top mount intercooler bracket
9- some sort of other bracket??
Thread Starter
Full Member
Joined: Feb 2010
Posts: 197
Likes: 1
From: Portland OR
just a little update on some progress that ive made over the last couple of weeks. sorry most of the pics were taking at night, sens thats when i worked on it( not the best pics).
note that im no pro builder, not only is this the first engine ive ever rebuild, but its a rotory (19 years young) . so please take it easy on the comments.
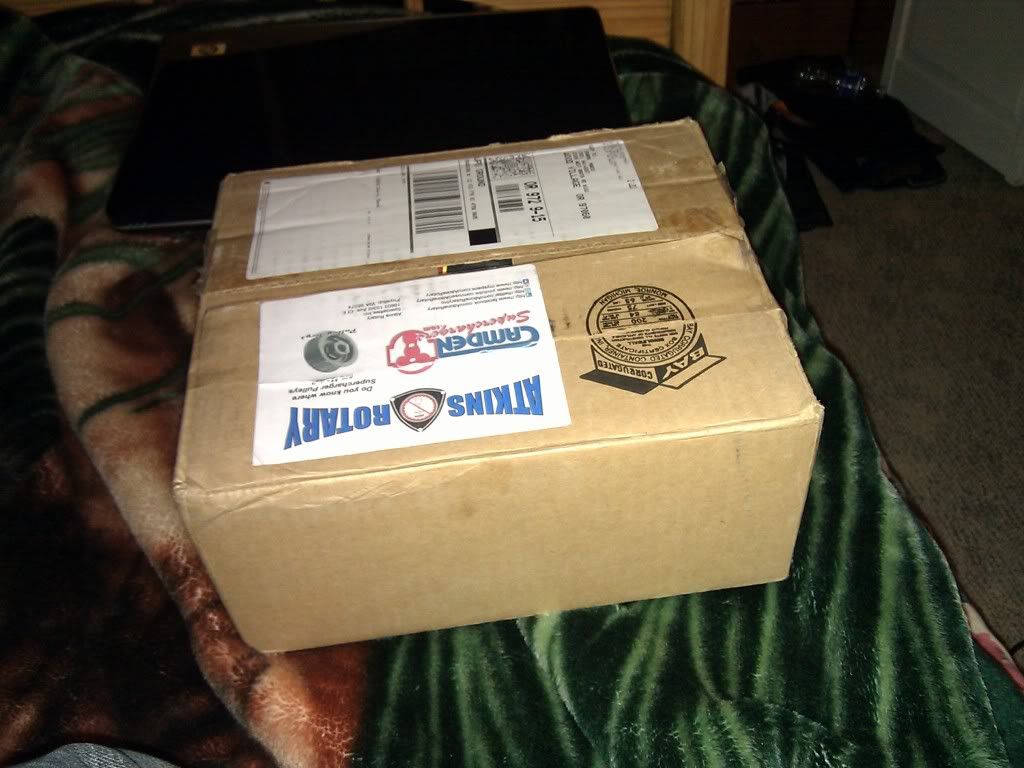
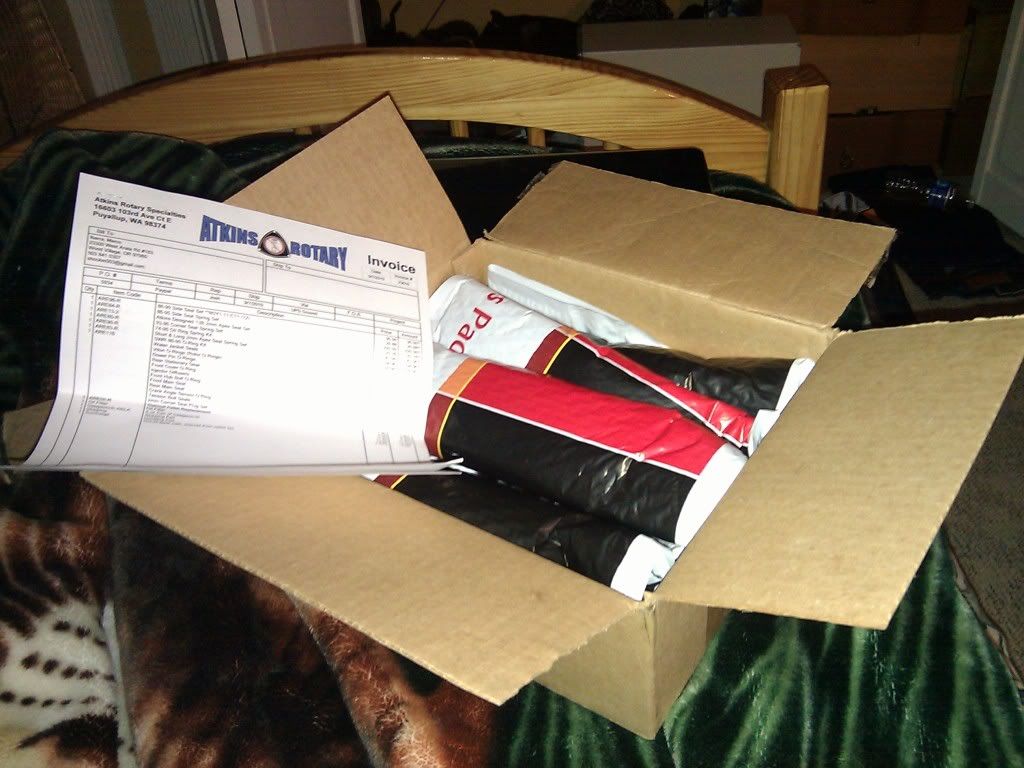
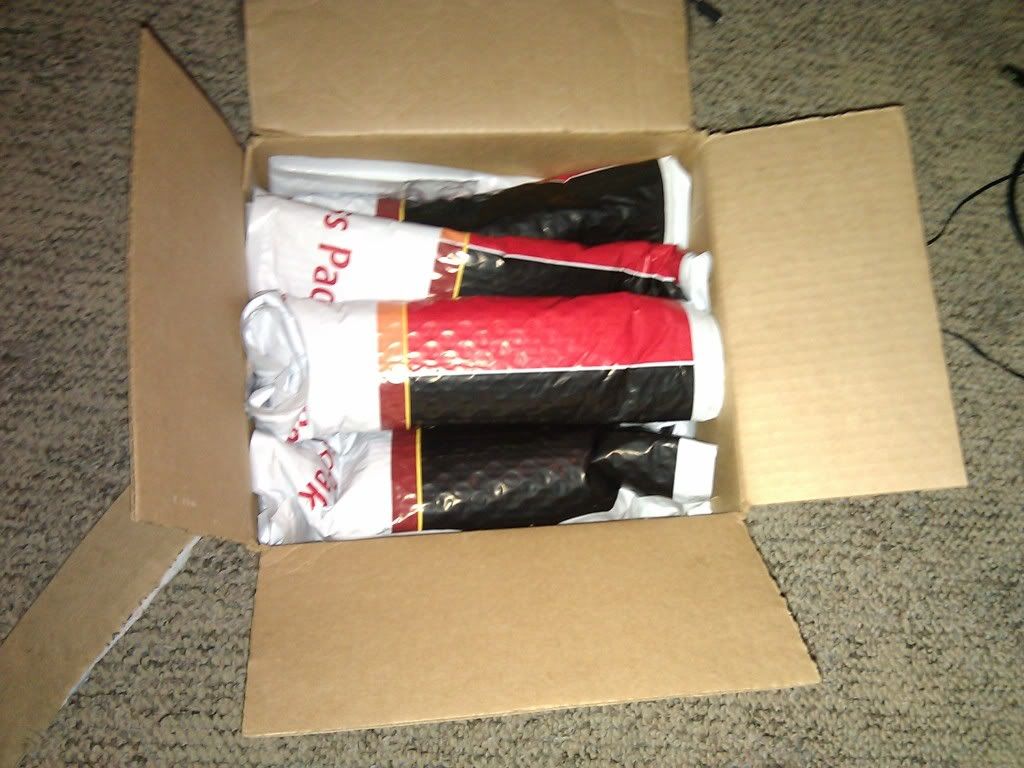
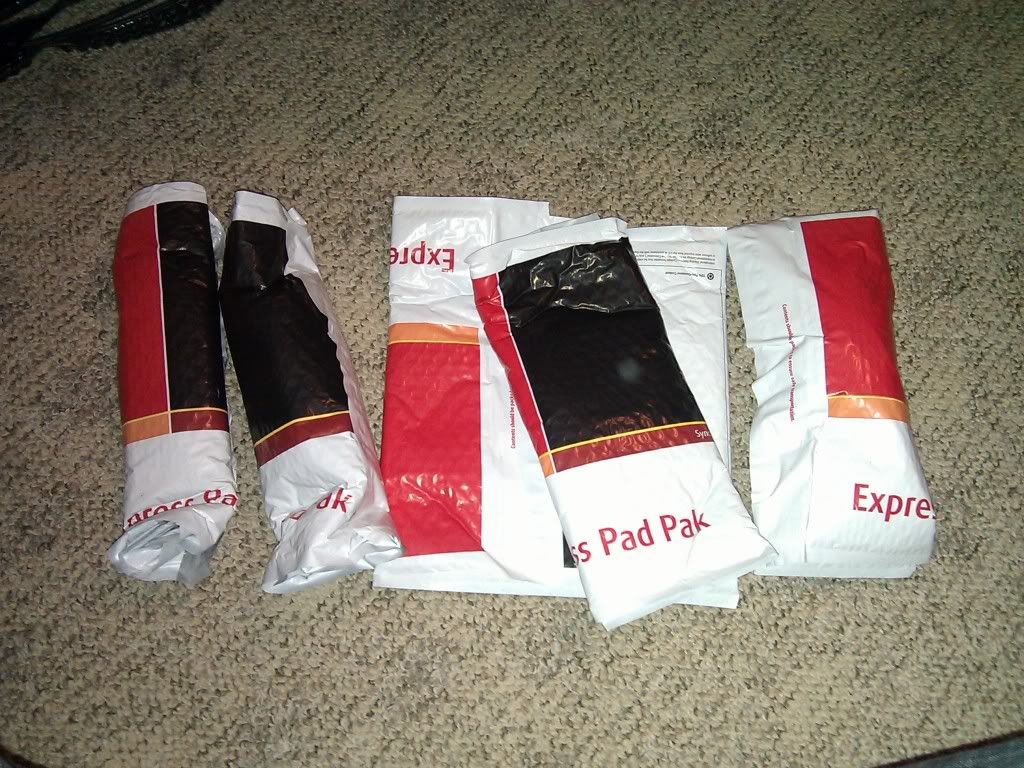
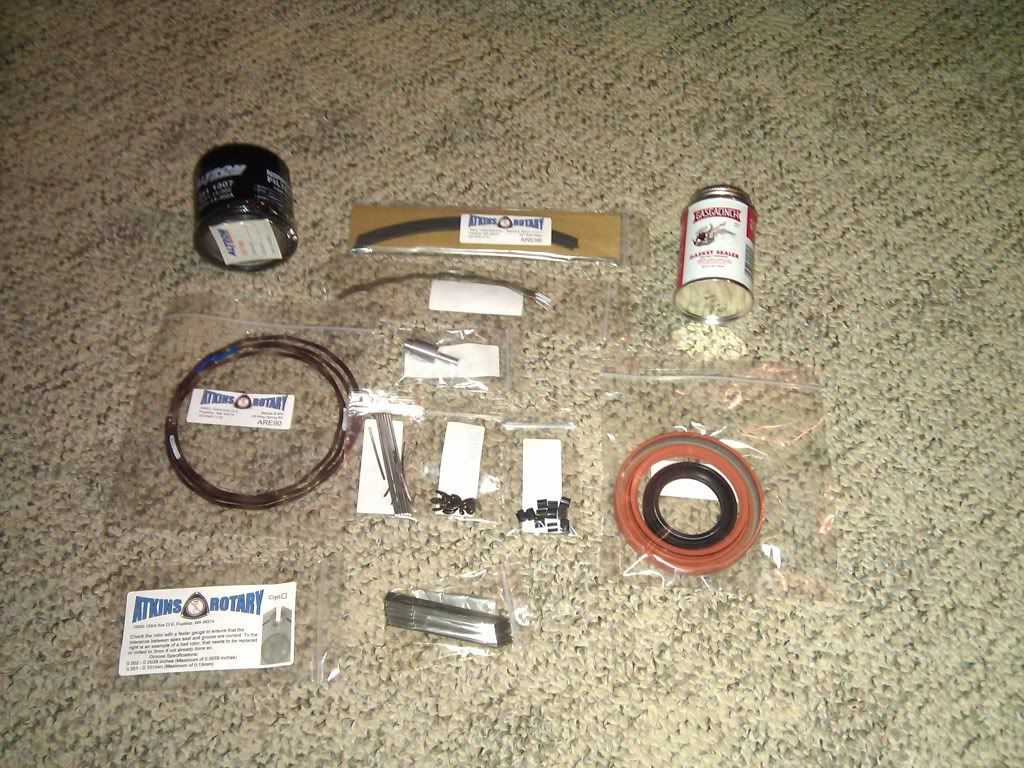
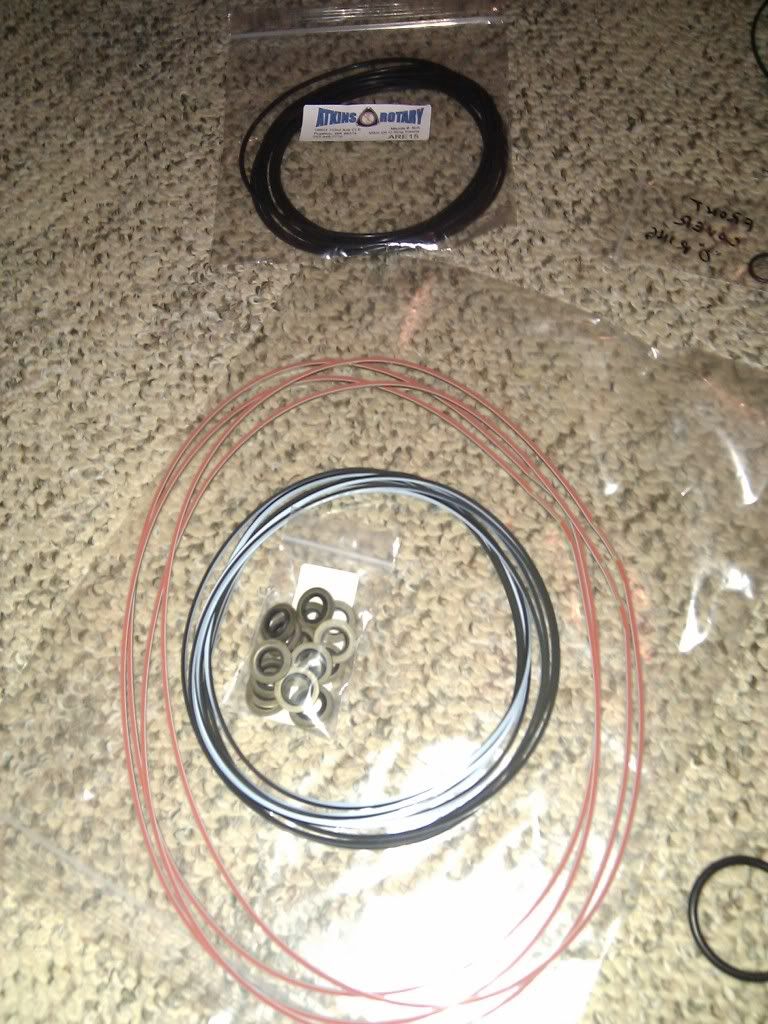
i perty much started out by ordering some seals and gaskets from Atkins and a couple other things from ebay, most of the stuff is new but not all. i was kinda on a budget. i ordered:
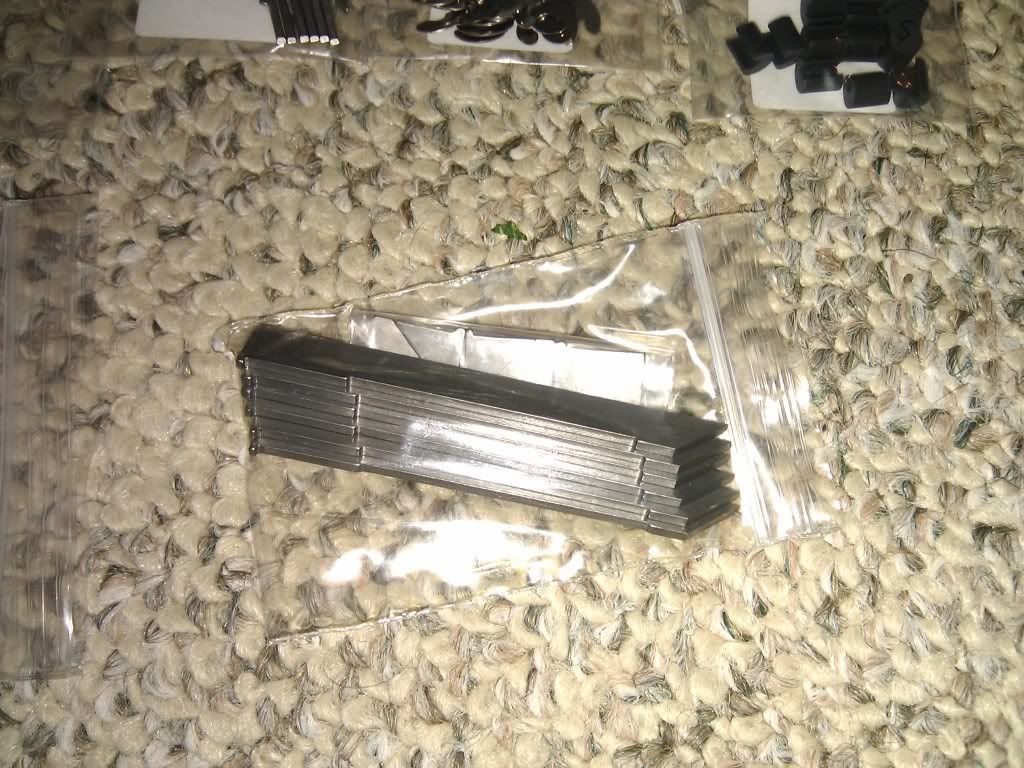
13B 86-95 Side Seal Set
86-95 Side Seal Spring Set
Atkins 13B 2mm Apex Seal Set
93-95 Corner Seal Spring Set
Oil Ring Spring Set
86-2009 13B 2mm Rx7 & Rx8 Apex Seal Spring Set
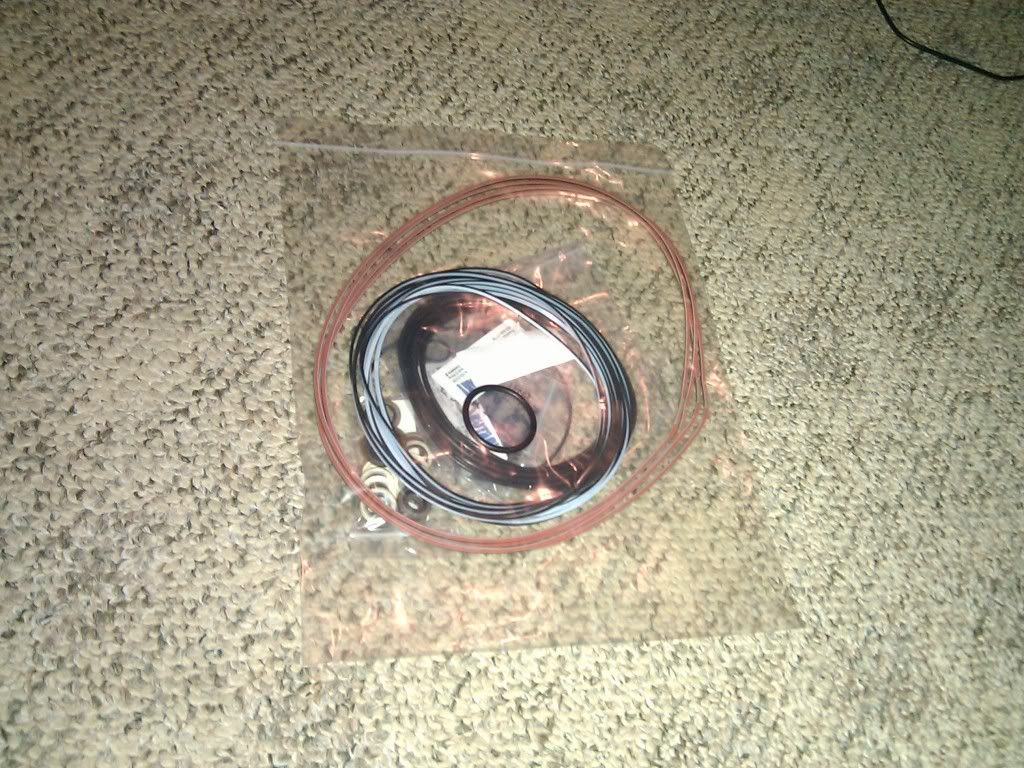
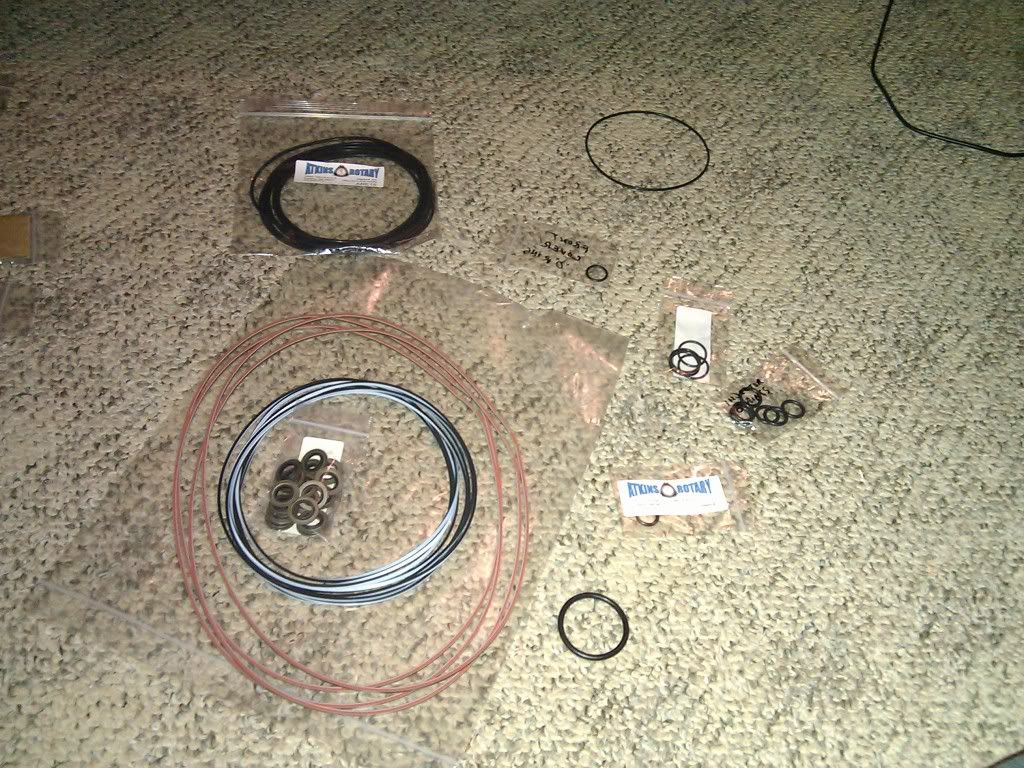
86-95 O-Ring Kit
Atkins' Thermal Pellet
Oil Filter
4oz Gasgacinch Gasket Sealer (not sure why i got that)


note that im no pro builder, not only is this the first engine ive ever rebuild, but its a rotory (19 years young) . so please take it easy on the comments.
i perty much started out by ordering some seals and gaskets from Atkins and a couple other things from ebay, most of the stuff is new but not all. i was kinda on a budget. i ordered:
13B 86-95 Side Seal Set
86-95 Side Seal Spring Set
Atkins 13B 2mm Apex Seal Set
93-95 Corner Seal Spring Set
Oil Ring Spring Set
86-2009 13B 2mm Rx7 & Rx8 Apex Seal Spring Set
86-95 O-Ring Kit
Atkins' Thermal Pellet
Oil Filter
4oz Gasgacinch Gasket Sealer (not sure why i got that)
Thread Starter
Full Member
Joined: Feb 2010
Posts: 197
Likes: 1
From: Portland OR
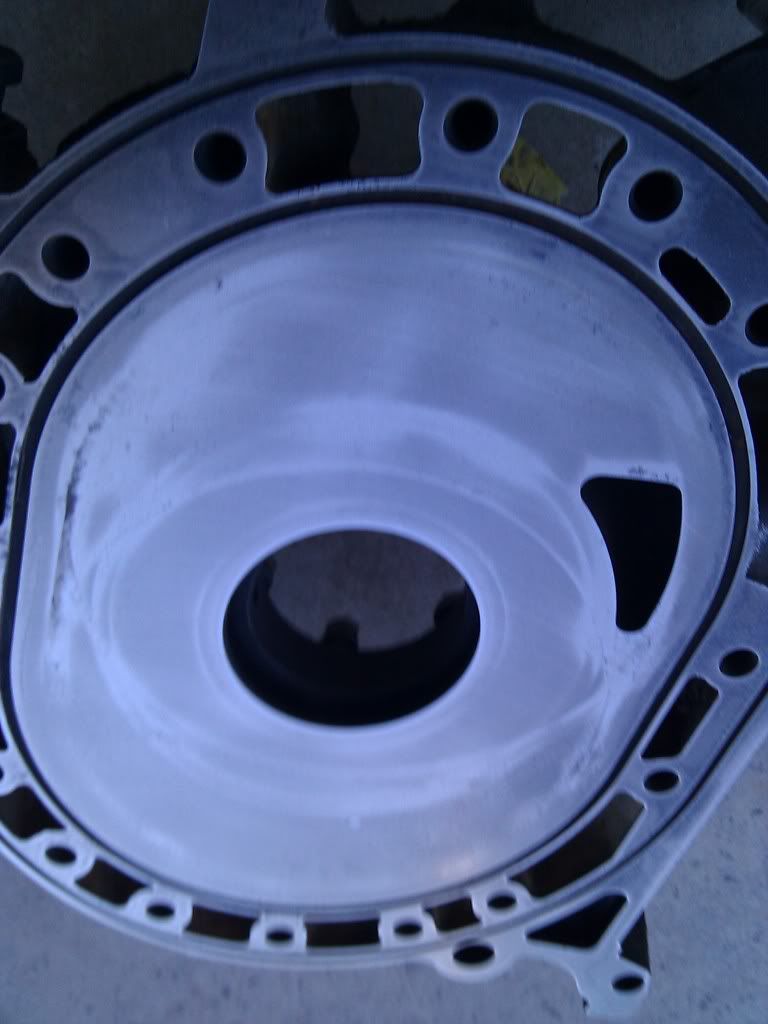
next up i we to eBay and garbed some corner seals and oil control seals. new they would of ran me about 350 extra so i decided to get some used ones.
they looked to be in good some so i used them...
i gave them a cleaning.
<a href="http://s198.photobucket.com/albums/aa123/JDMeg611/Rex/?action=view¤t=IMAG0110.jpg" target="_blank"><img src="http://i198.photobucket.com/albums/aa123/JDMeg611/Rex/IMAG0110.jpg" border="0" alt="Photobucket"></a>
<a href="http://s198.photobucket.com/albums/aa123/JDMeg611/Rex/?action=view¤t=IMAG0111.jpg" target="_blank"><img src="http://i198.photobucket.com/albums/aa123/JDMeg611/Rex/IMAG0111.jpg" border="0" alt="Photobucket"></a>
<a href="http://s198.photobucket.com/albums/aa123/JDMeg611/Rex/?action=view¤t=IMAG0112.jpg" target="_blank"><img src="http://i198.photobucket.com/albums/aa123/JDMeg611/Rex/IMAG0112.jpg" border="0" alt="Photobucket"></a>
<a href="http://s198.photobucket.com/albums/aa123/JDMeg611/Rex/?action=view¤t=IMAG0115.jpg" target="_blank"><img src="http://i198.photobucket.com/albums/aa123/JDMeg611/Rex/IMAG0115.jpg" border="0" alt="Photobucket"></a>
<a href="http://s198.photobucket.com/albums/aa123/JDMeg611/Rex/?action=view¤t=IMAG0124.jpg" target="_blank"><img src="http://i198.photobucket.com/albums/aa123/JDMeg611/Rex/IMAG0124.jpg" border="0" alt="Photobucket"></a>
Thread Starter
Full Member
Joined: Feb 2010
Posts: 197
Likes: 1
From: Portland OR
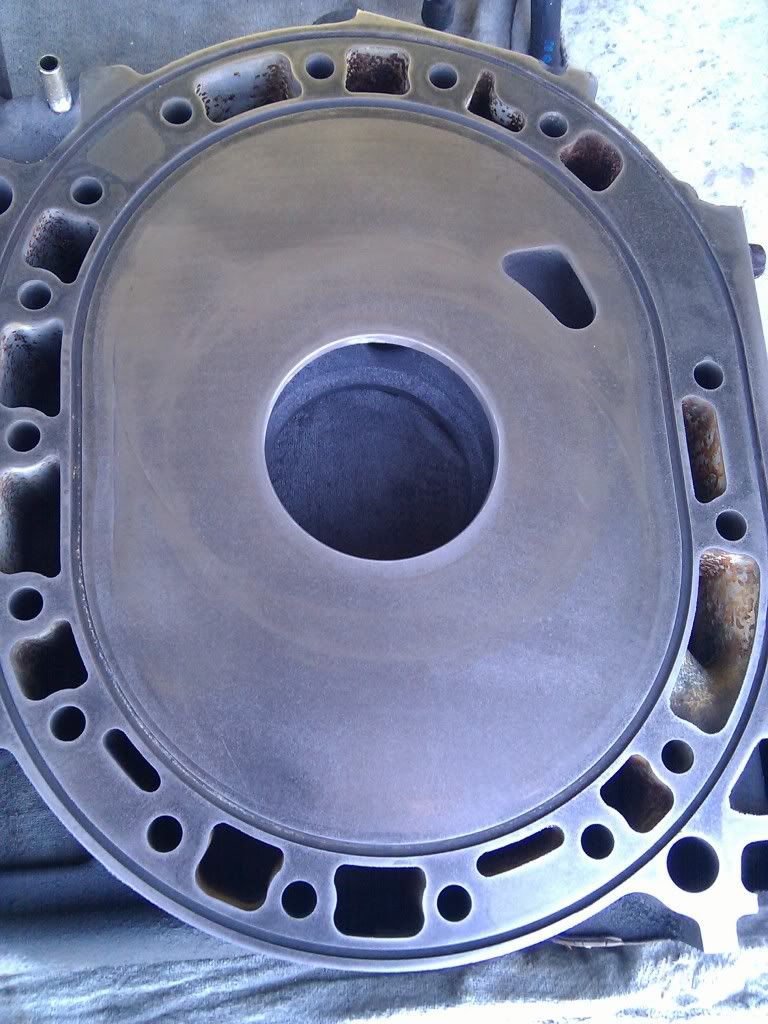
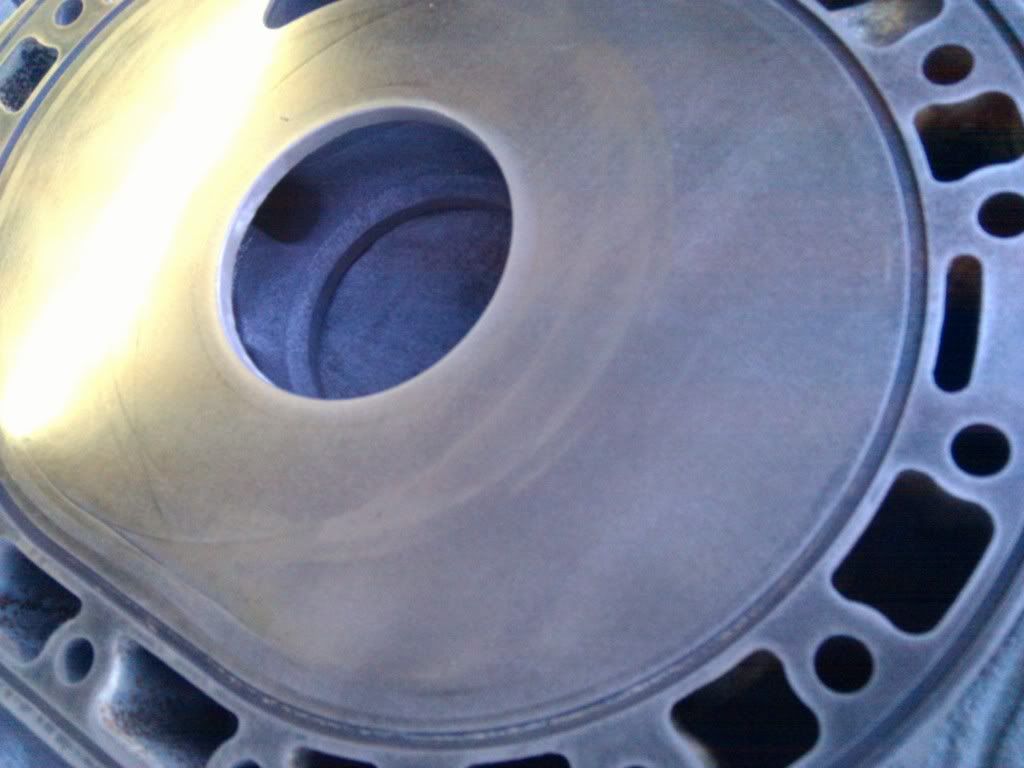
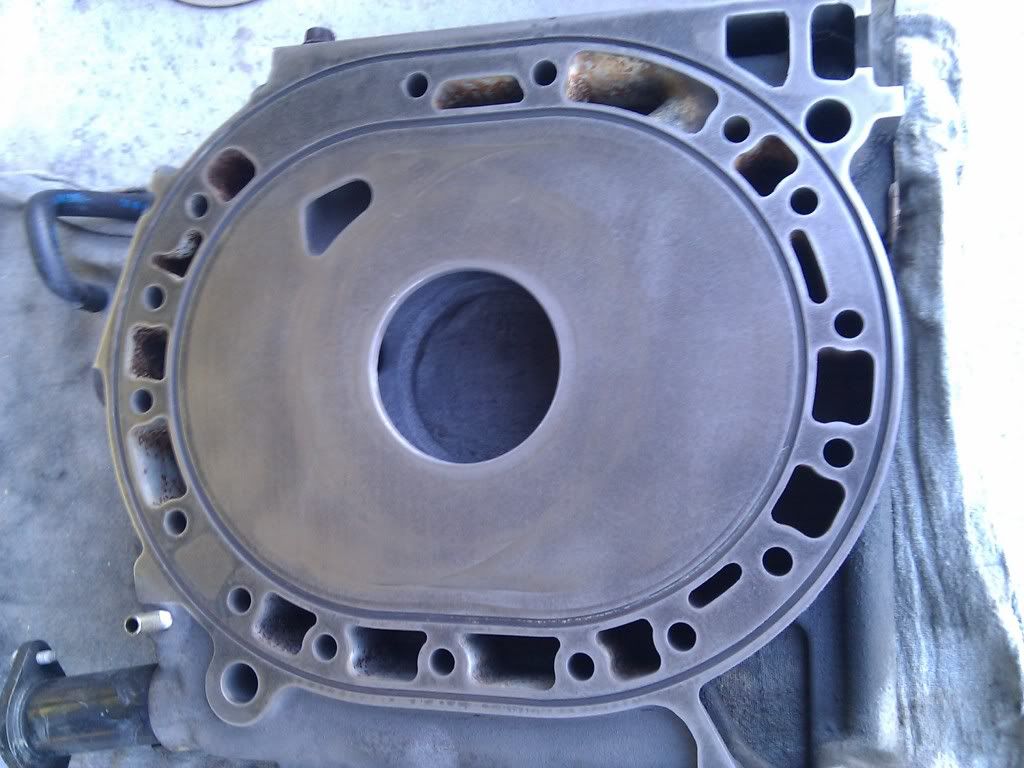
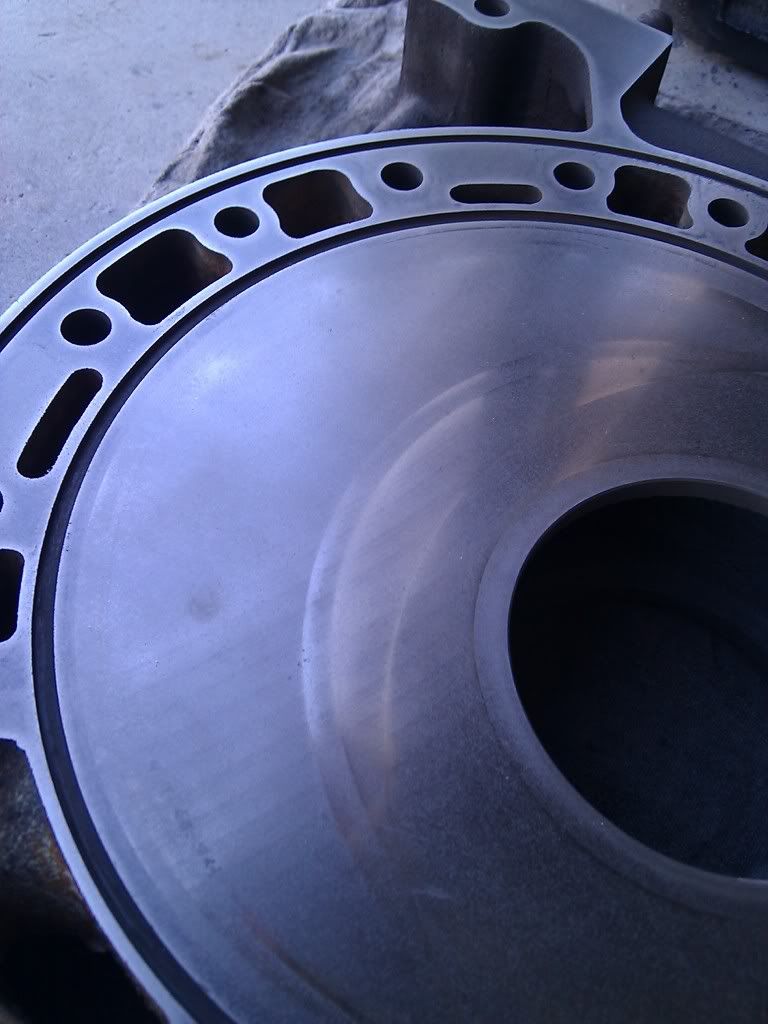
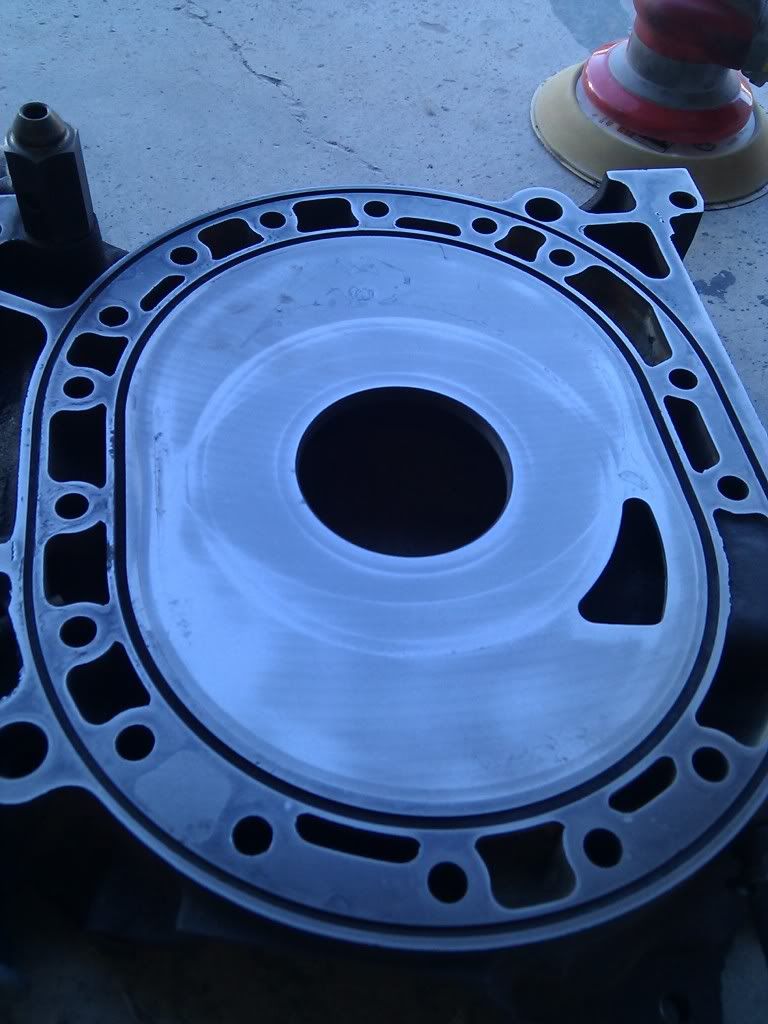
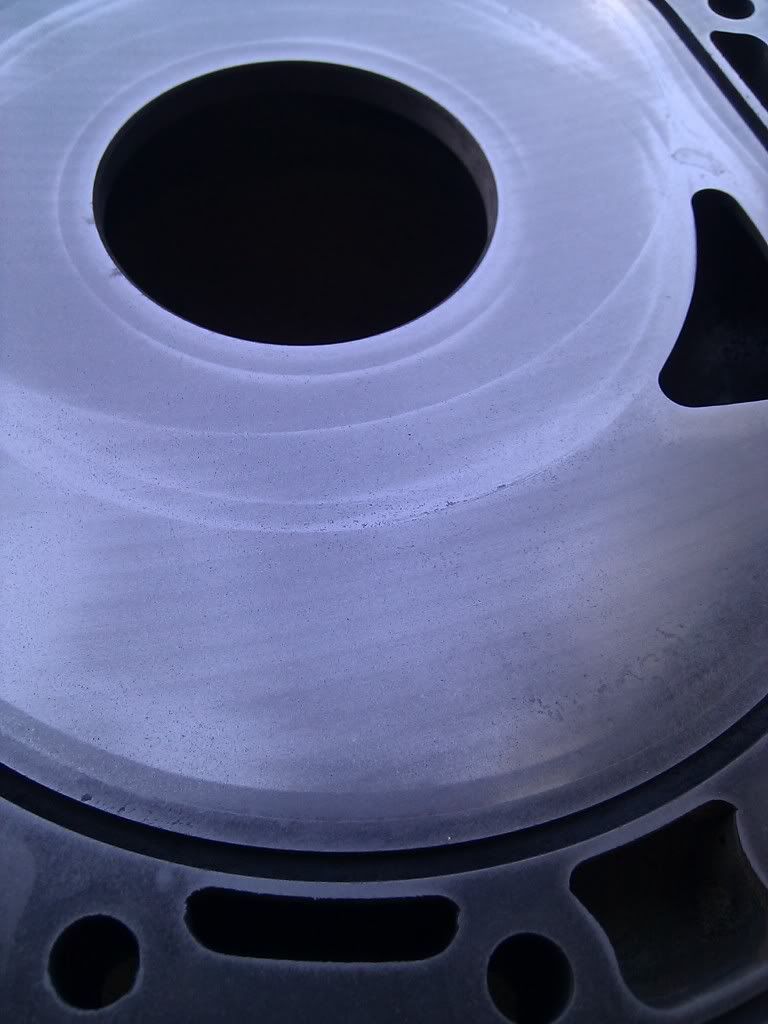
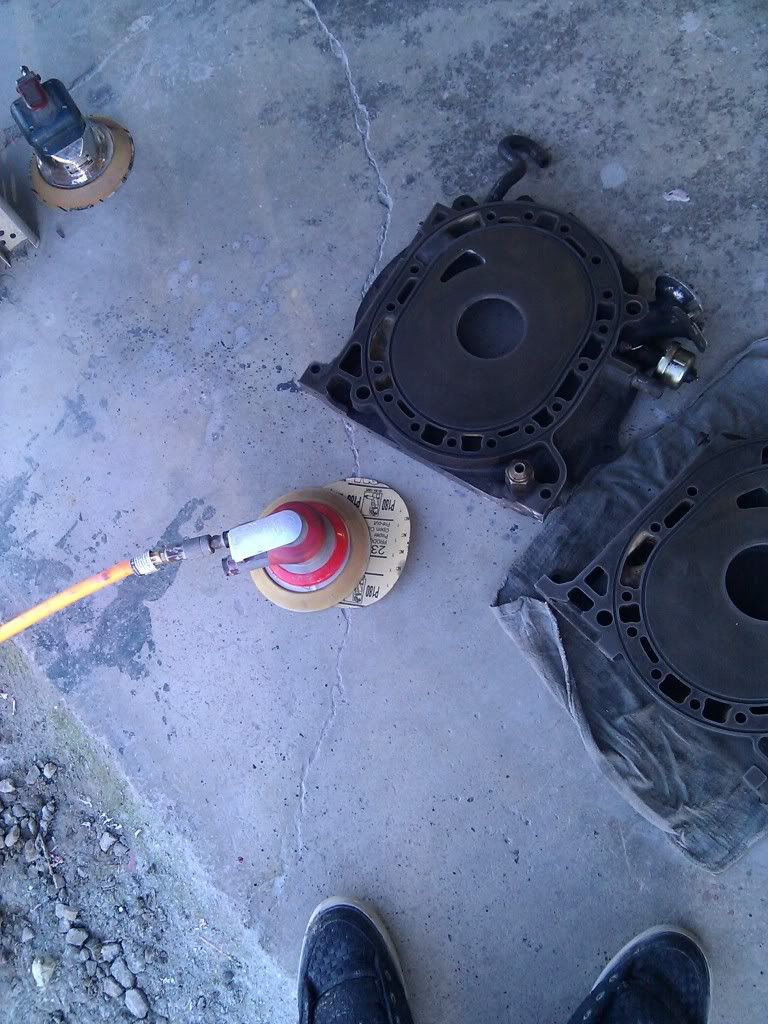
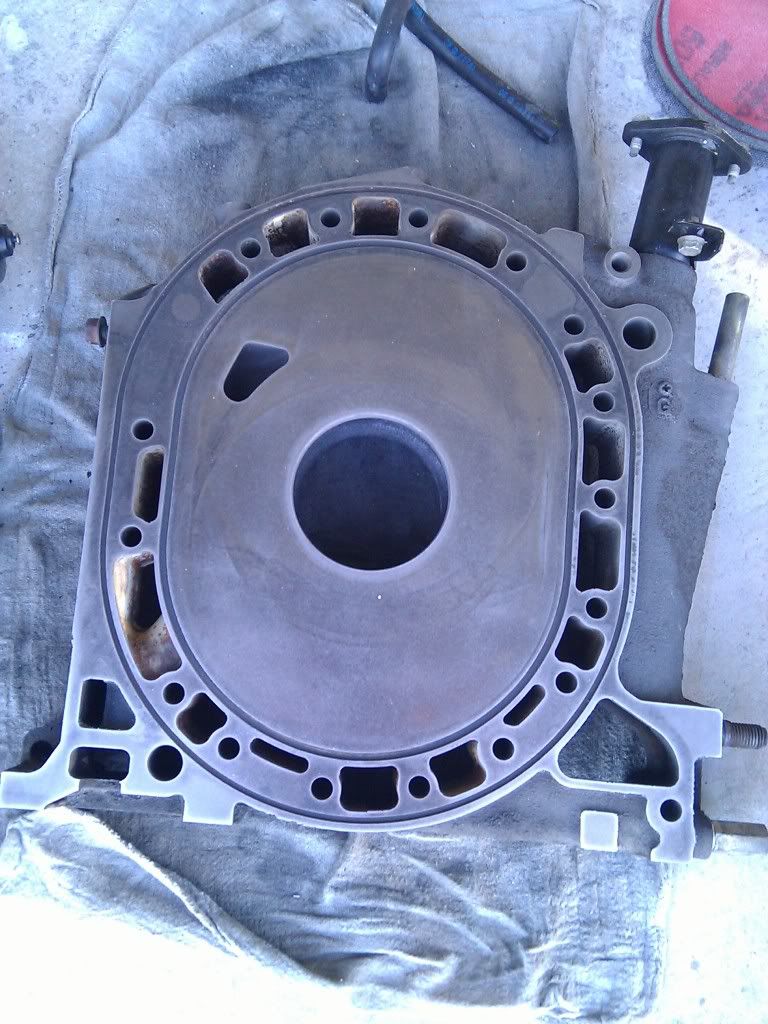
after that i turned to the irons. i took them down to pine apple racing (awesome place, robs the man! lots of help and info) he said they plates were about half way worn, (if that makes sens), that they were with in specs and they were ok to use in a rebuild so i did. i did some reading on "lapping" the plates with some sand paper, so thats what i did. i started off with some 150 with a DA. i went about 10 min then switched discs about half way through using a two discs for side. at first i was kinda scared of hurting the plates, but it takes a while to see some changed. i did not try to get rid of all the previous wear marks from the oil control seals, just kinda scuff it a bit. sanding in a figure 8 pattern trying to keep the DA moving at a constant smooth rate. after i went another 10 min with some 380 grit. took about 1 hour or so tottal. the whole point was to help with the oil rentenation or how ever you call it. kinda hard to notice when i switched.
<a href="http://s198.photobucket.com/albums/aa123/JDMeg611/Rex/?action=view¤t=IMAG0174.jpg" target="_blank"><img src="http://i198.photobucket.com/albums/aa123/JDMeg611/Rex/IMAG0174.jpg" border="0" alt="Photobucket"></a>
<a href="http://s198.photobucket.com/albums/aa123/JDMeg611/Rex/?action=view¤t=IMAG0174.jpg" target="_blank"><img src="http://i198.photobucket.com/albums/aa123/JDMeg611/Rex/IMAG0174.jpg" border="0" alt="Photobucket"></a>
<a href="http://s198.photobucket.com/albums/aa123/JDMeg611/Rex/?action=view¤t=IMAG0176.jpg" target="_blank"><img src="http://i198.photobucket.com/albums/aa123/JDMeg611/Rex/IMAG0176.jpg" border="0" alt="Photobucket"></a>
<a href="http://s198.photobucket.com/albums/aa123/JDMeg611/Rex/?action=view¤t=IMAG0177.jpg" target="_blank"><img src="http://i198.photobucket.com/albums/aa123/JDMeg611/Rex/IMAG0177.jpg" border="0" alt="Photobucket"></a>
<a href="http://s198.photobucket.com/albums/aa123/JDMeg611/Rex/?action=view¤t=IMAG0178.jpg" target="_blank"><img src="http://i198.photobucket.com/albums/aa123/JDMeg611/Rex/IMAG0178.jpg" border="0" alt="Photobucket"></a>
<a href="http://s198.photobucket.com/albums/aa123/JDMeg611/Rex/?action=view¤t=IMAG0179.jpg" target="_blank"><img src="http://i198.photobucket.com/albums/aa123/JDMeg611/Rex/IMAG0179.jpg" border="0" alt="Photobucket"></a>
<a href="http://s198.photobucket.com/albums/aa123/JDMeg611/Rex/?action=view¤t=IMAG0174.jpg" target="_blank"><img src="http://i198.photobucket.com/albums/aa123/JDMeg611/Rex/IMAG0174.jpg" border="0" alt="Photobucket"></a>
<a href="http://s198.photobucket.com/albums/aa123/JDMeg611/Rex/?action=view¤t=IMAG0174.jpg" target="_blank"><img src="http://i198.photobucket.com/albums/aa123/JDMeg611/Rex/IMAG0174.jpg" border="0" alt="Photobucket"></a>
<a href="http://s198.photobucket.com/albums/aa123/JDMeg611/Rex/?action=view¤t=IMAG0176.jpg" target="_blank"><img src="http://i198.photobucket.com/albums/aa123/JDMeg611/Rex/IMAG0176.jpg" border="0" alt="Photobucket"></a>
<a href="http://s198.photobucket.com/albums/aa123/JDMeg611/Rex/?action=view¤t=IMAG0177.jpg" target="_blank"><img src="http://i198.photobucket.com/albums/aa123/JDMeg611/Rex/IMAG0177.jpg" border="0" alt="Photobucket"></a>
<a href="http://s198.photobucket.com/albums/aa123/JDMeg611/Rex/?action=view¤t=IMAG0178.jpg" target="_blank"><img src="http://i198.photobucket.com/albums/aa123/JDMeg611/Rex/IMAG0178.jpg" border="0" alt="Photobucket"></a>
<a href="http://s198.photobucket.com/albums/aa123/JDMeg611/Rex/?action=view¤t=IMAG0179.jpg" target="_blank"><img src="http://i198.photobucket.com/albums/aa123/JDMeg611/Rex/IMAG0179.jpg" border="0" alt="Photobucket"></a>
Rotary Freak
Joined: Jan 2005
Posts: 1,541
Likes: 31
From: Good Ol' Ky
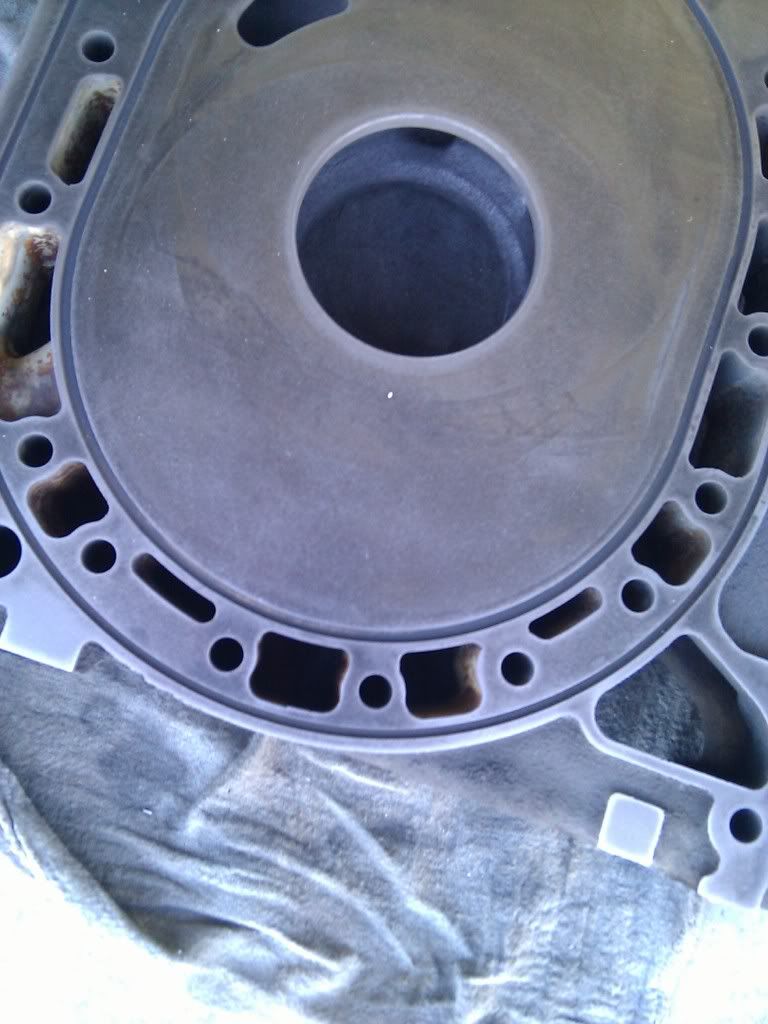
Wow... Those rotors had some crazy buildup to be low mileage. Anyone else notice the large amounts of rust built up on the housings too? When my old S5 block was torn apart it didn't look that bad, it was a low mileage motor. 65k.

Thread Starter
Full Member
Joined: Feb 2010
Posts: 197
Likes: 1
From: Portland OR
yea your right, after getting in to it and looking at the parts there is some wear on them. the plates have bin sitting for a while so im sure that didint help as far as the rust goes. i should of keepet everything old up
Rotary Freak
Joined: Jan 2005
Posts: 1,541
Likes: 31
From: Good Ol' Ky
Just make sure to get the bits of rust and metal dust from the lapping out, should be good.
I like a build with a lot of pics.
Thread Starter
Full Member
Joined: Feb 2010
Posts: 197
Likes: 1
From: Portland OR
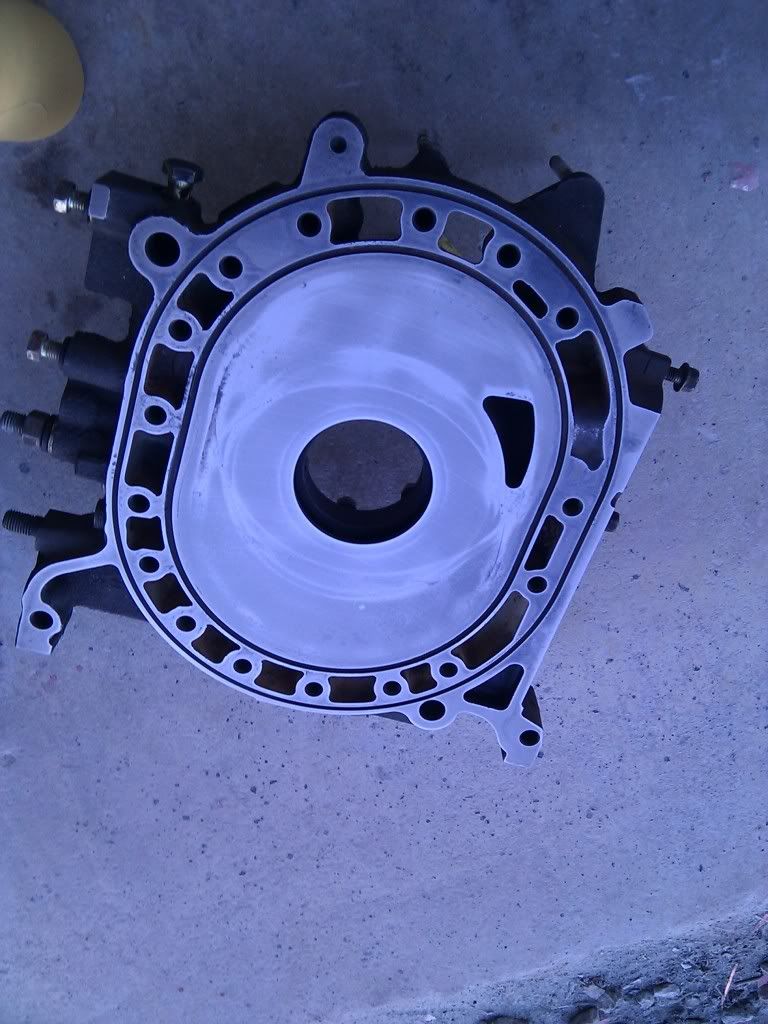
yesir, i tryed to make sure everything was with in spec, replaced what ever i could. and i used the air hose to blow them off after and well as pressure washed. ill get more pics up soon, kinda tired as of right now. i was talking loots of pics at the beginning of the build but kinda got lazy.
Senior Member
Joined: Jul 2010
Posts: 375
Likes: 0
From: jordan ny
so in refrence to ur first post in this thread. since its an s5 and is left hand drive it should have came with a n370 stock. jdm had n374's the jdm computer will plug right in but won't work without being chipped 1st. rear rotor won't fire and such.
Thread Starter
Full Member
Joined: Feb 2010
Posts: 197
Likes: 1
From: Portland OR
so your not saying its jdm?
Originally Posted by shocker003
i did some reading on "lapping" the plates with some sand paper...
Too old for this
Joined: Oct 2009
Posts: 488
Likes: 0
From: Denver, CO
Thread Starter
Full Member
Joined: Feb 2010
Posts: 197
Likes: 1
From: Portland OR
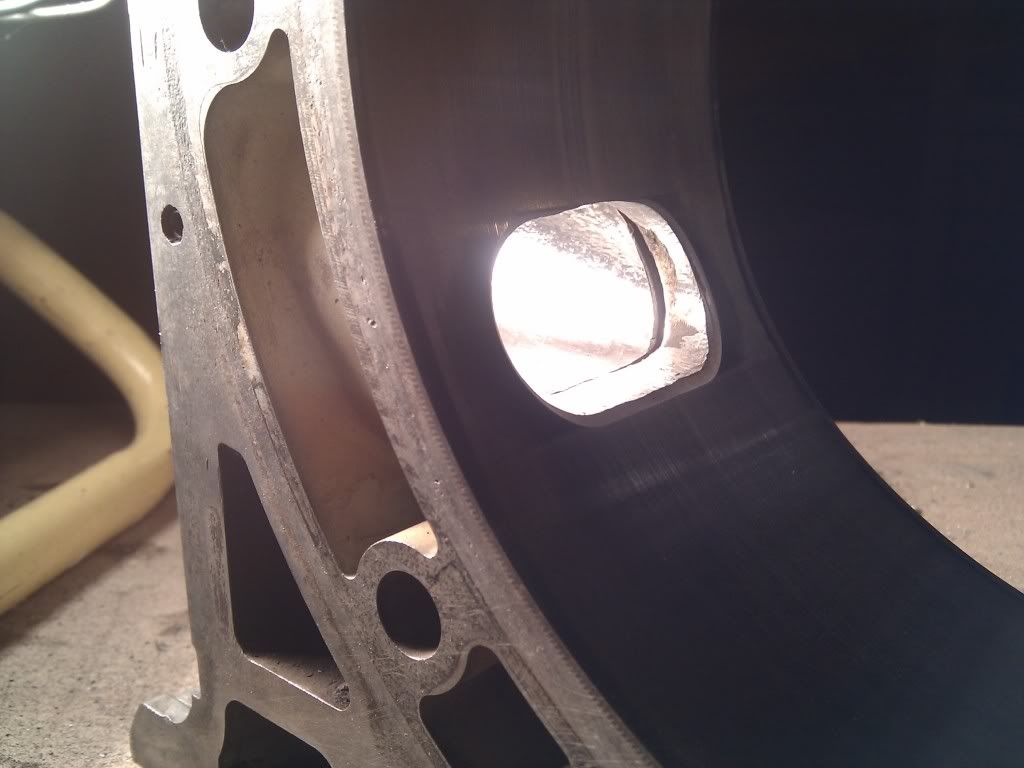
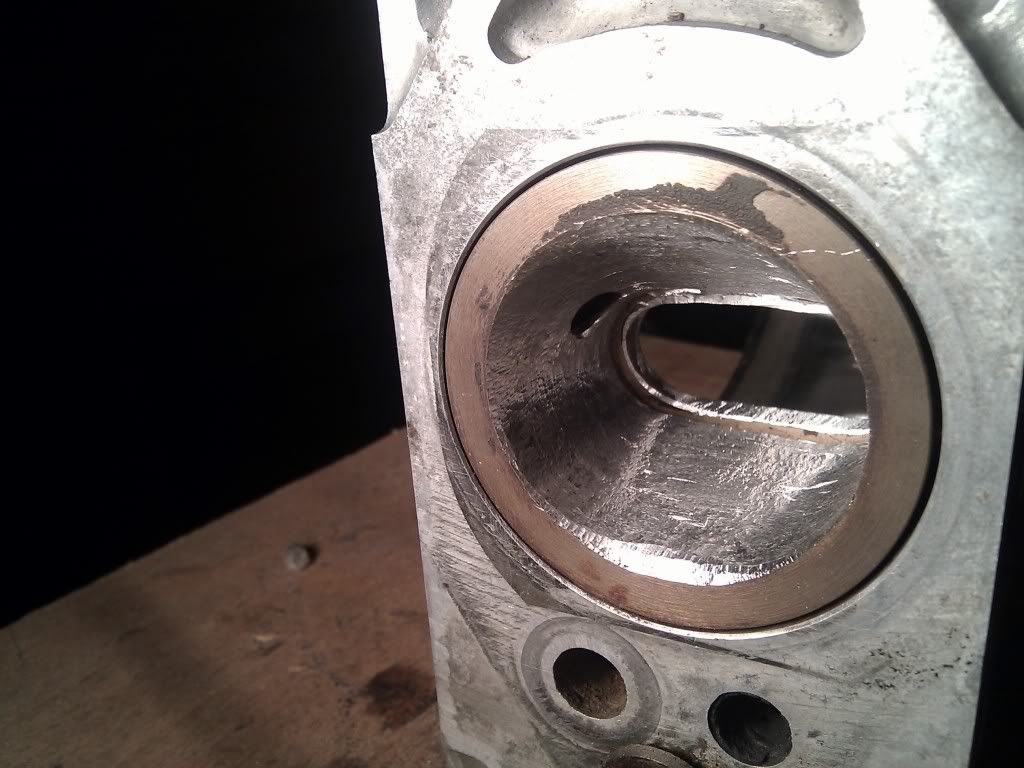
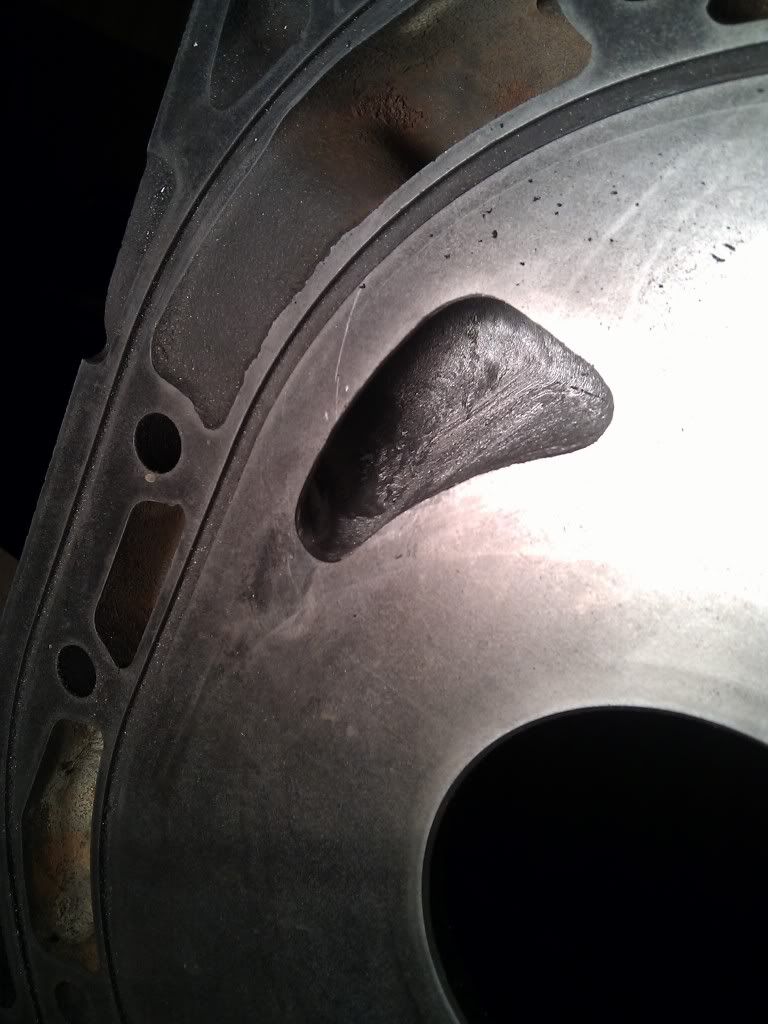
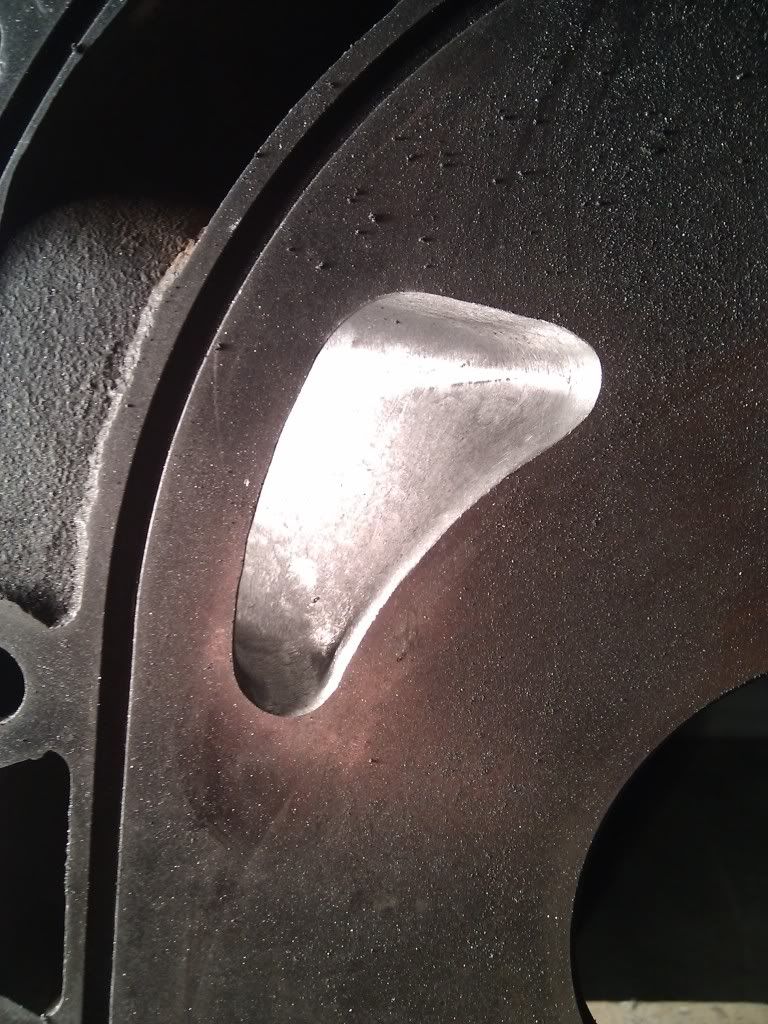
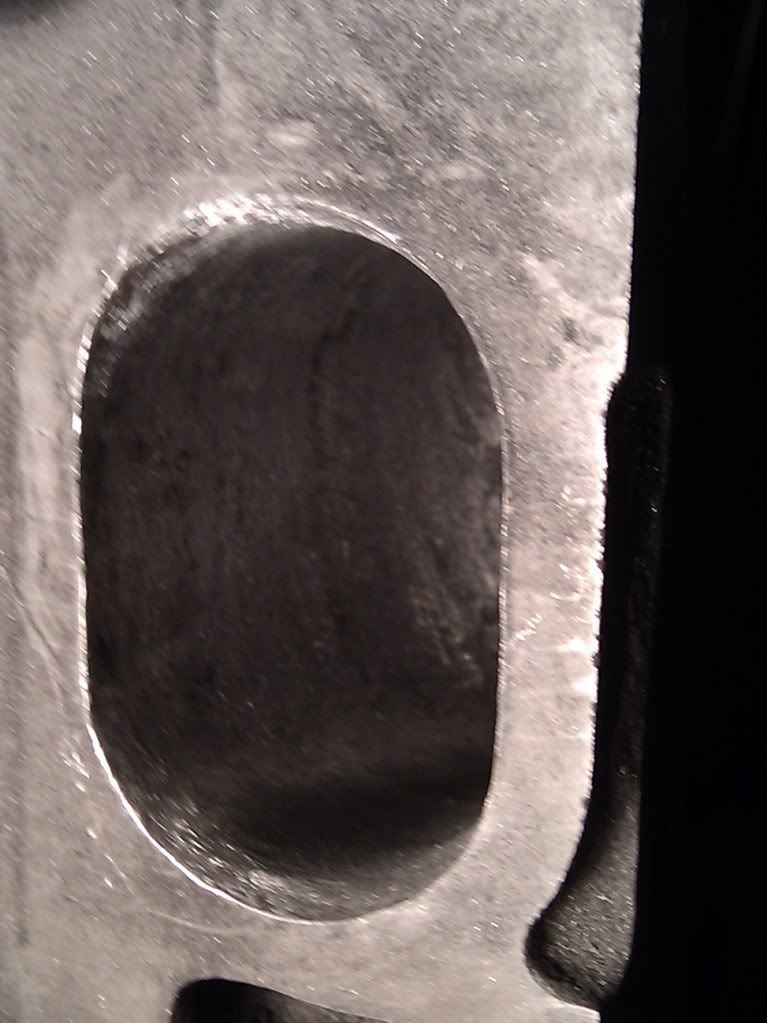
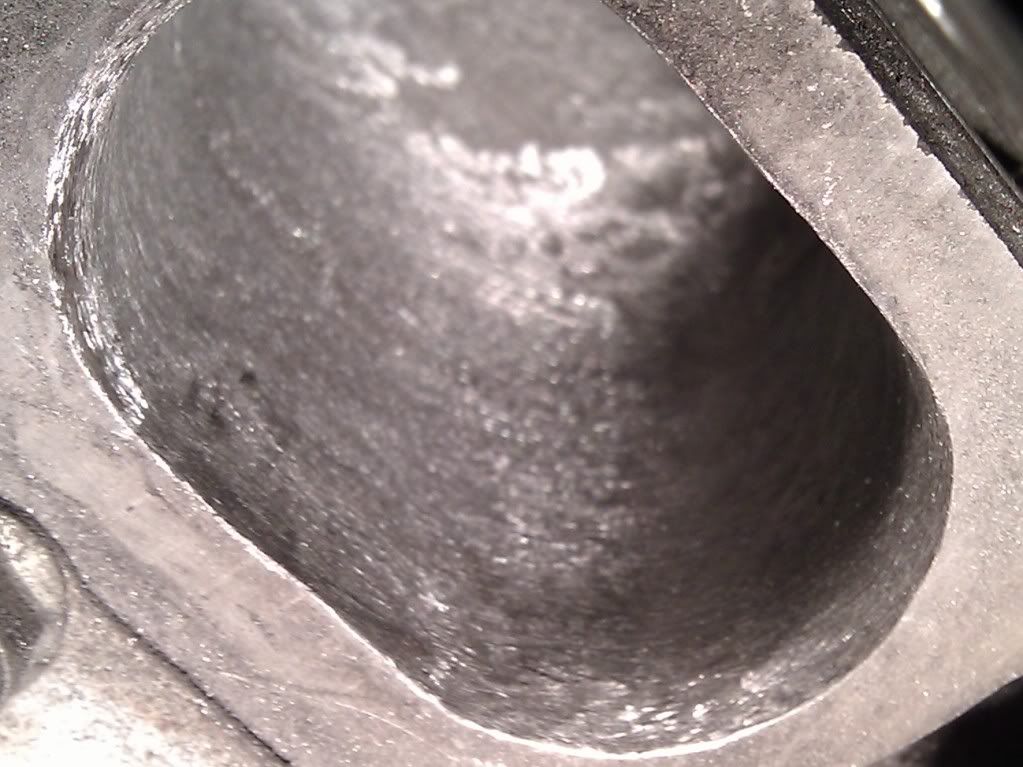
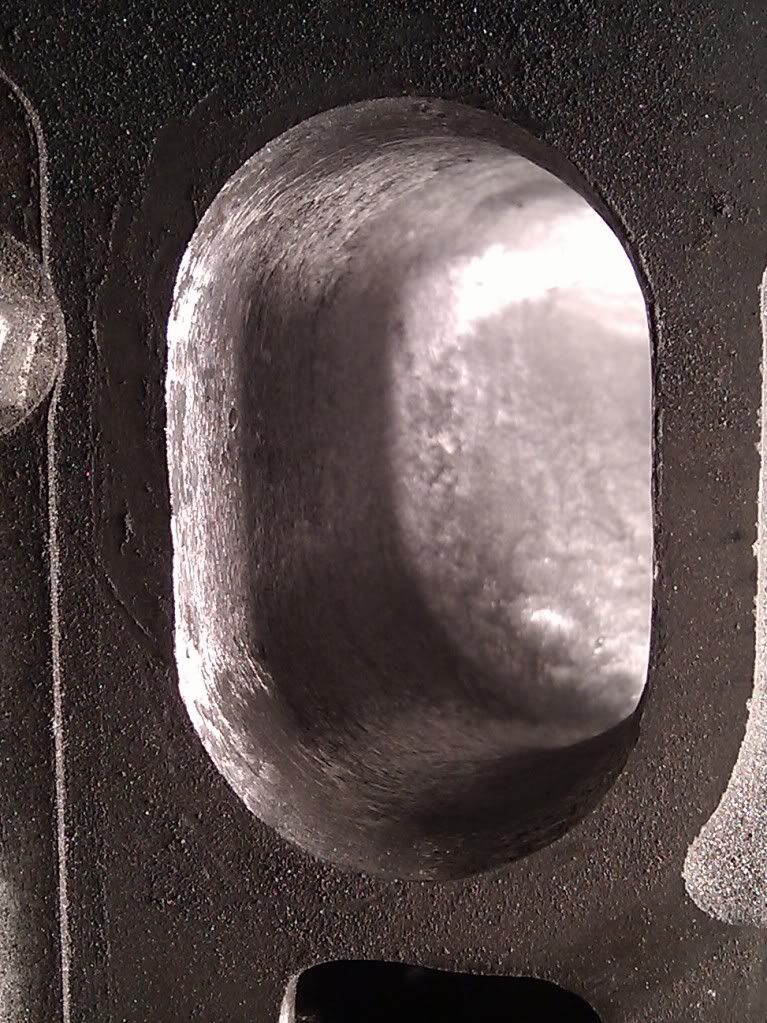
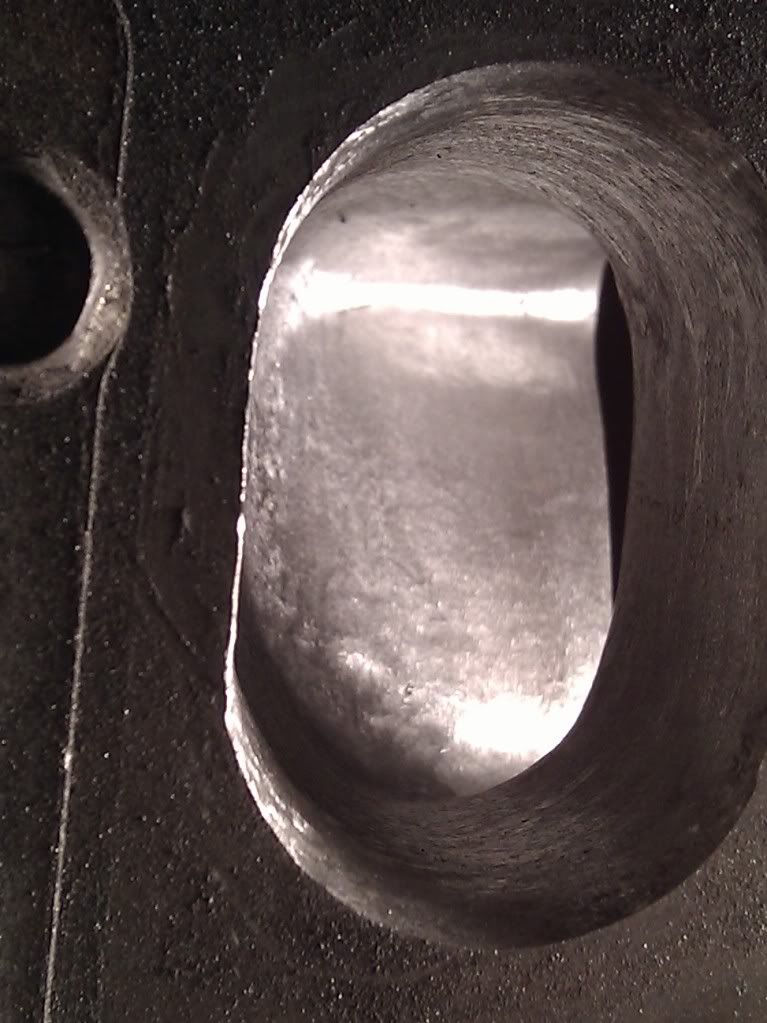
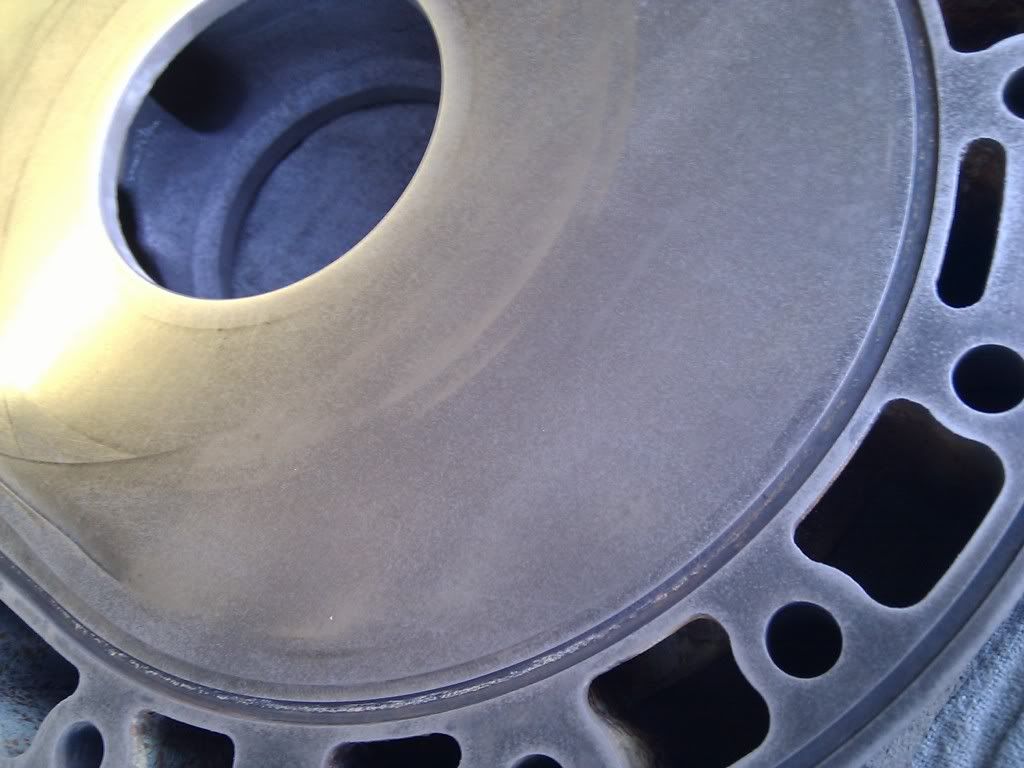
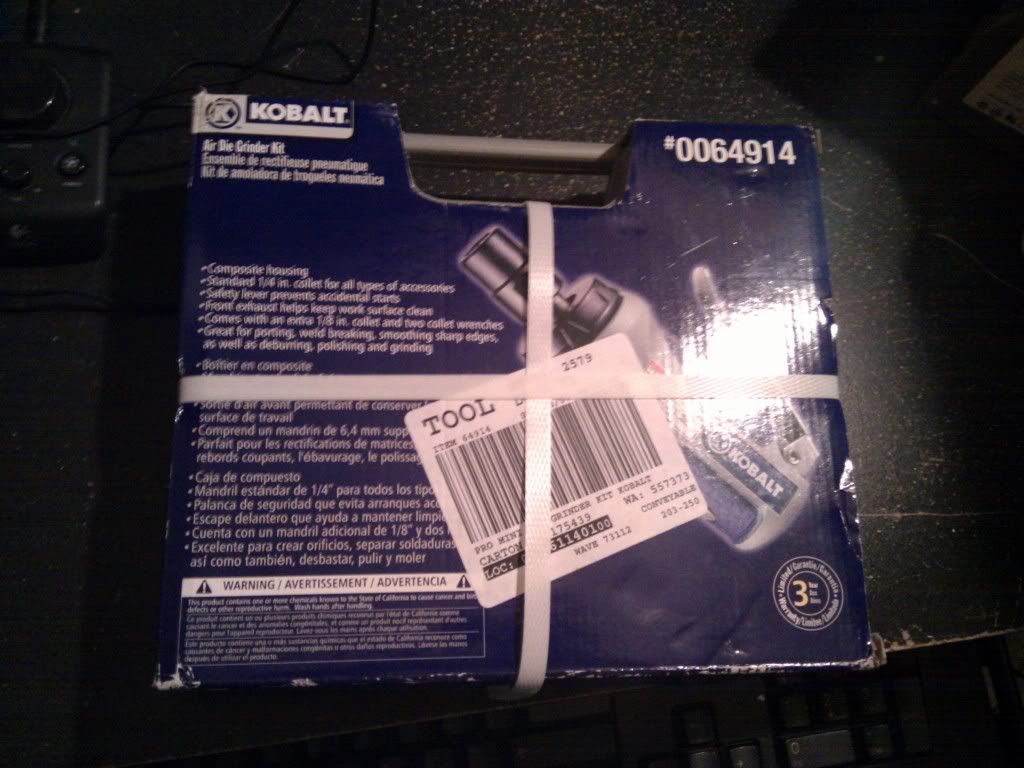
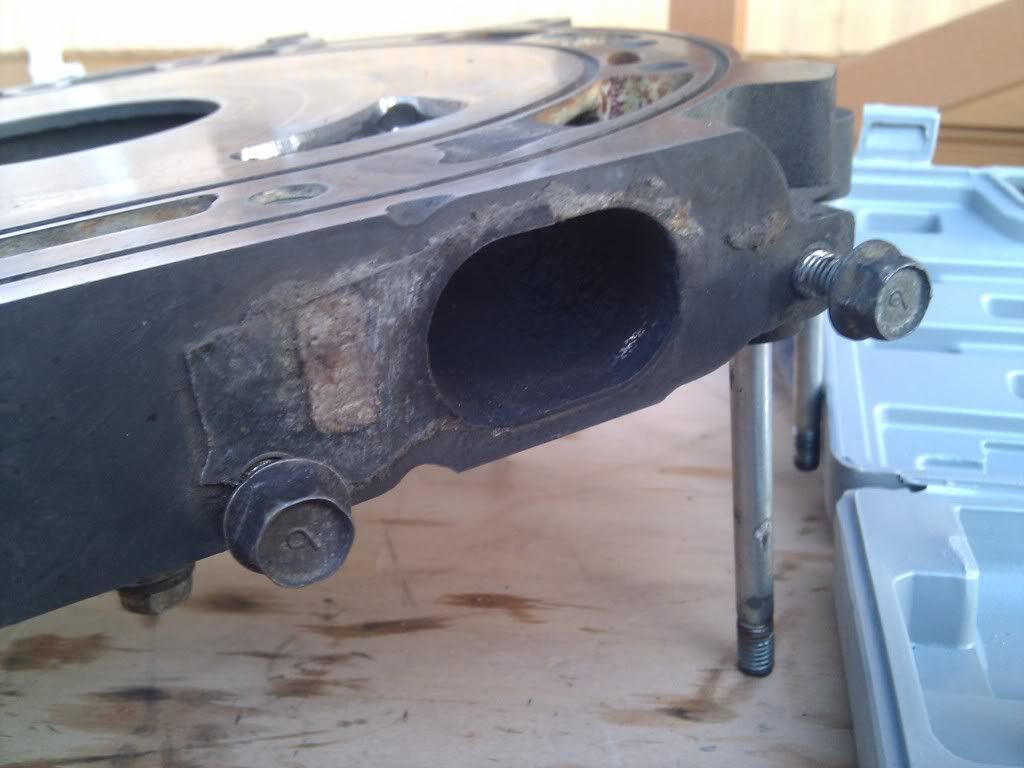
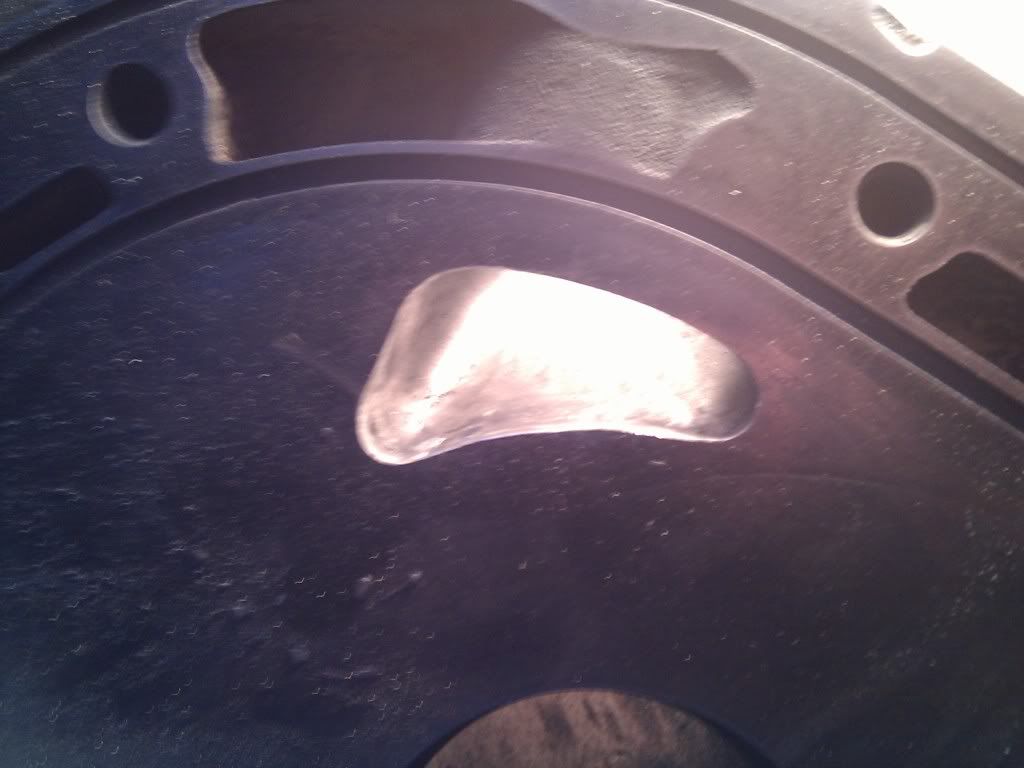
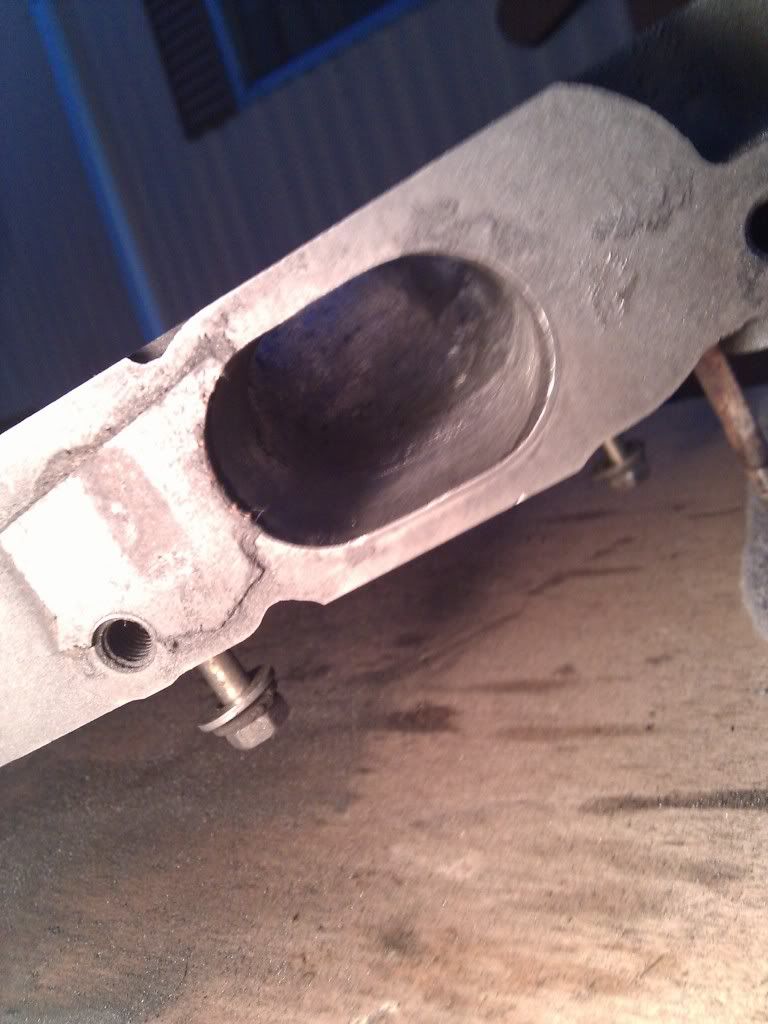
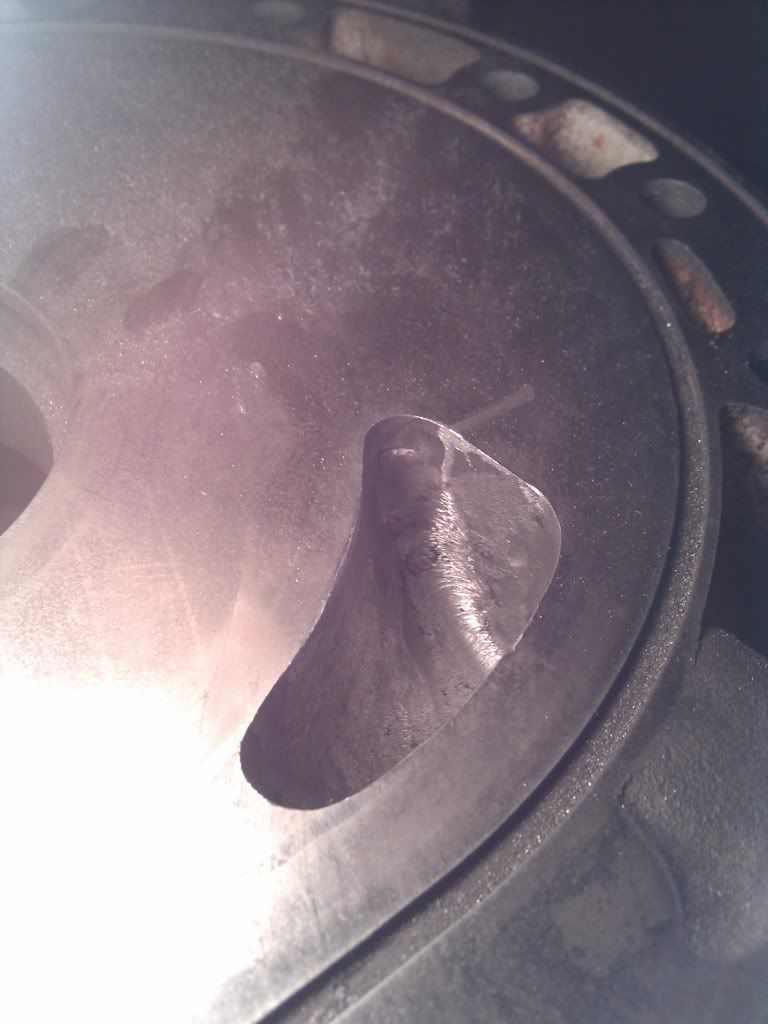
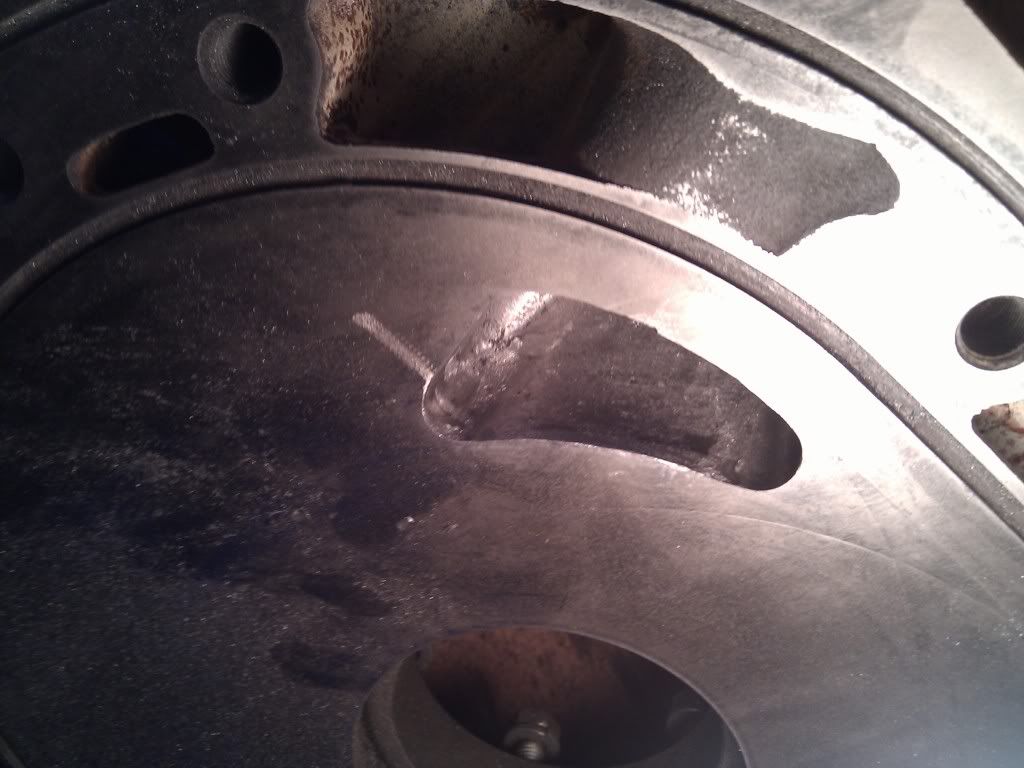
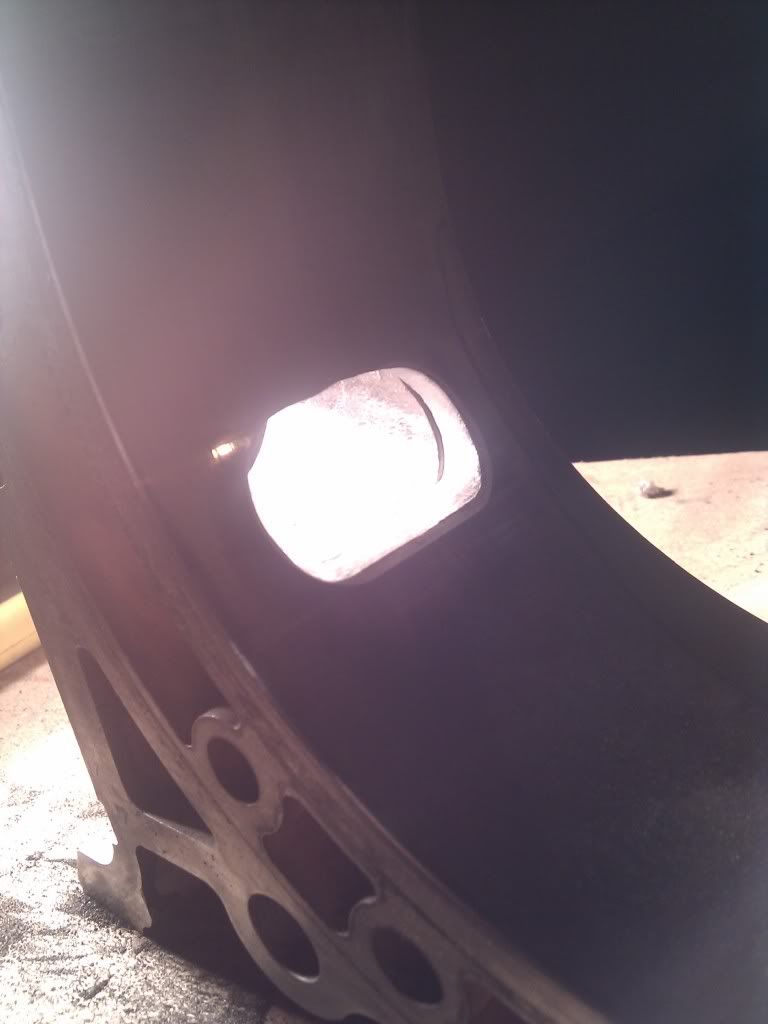
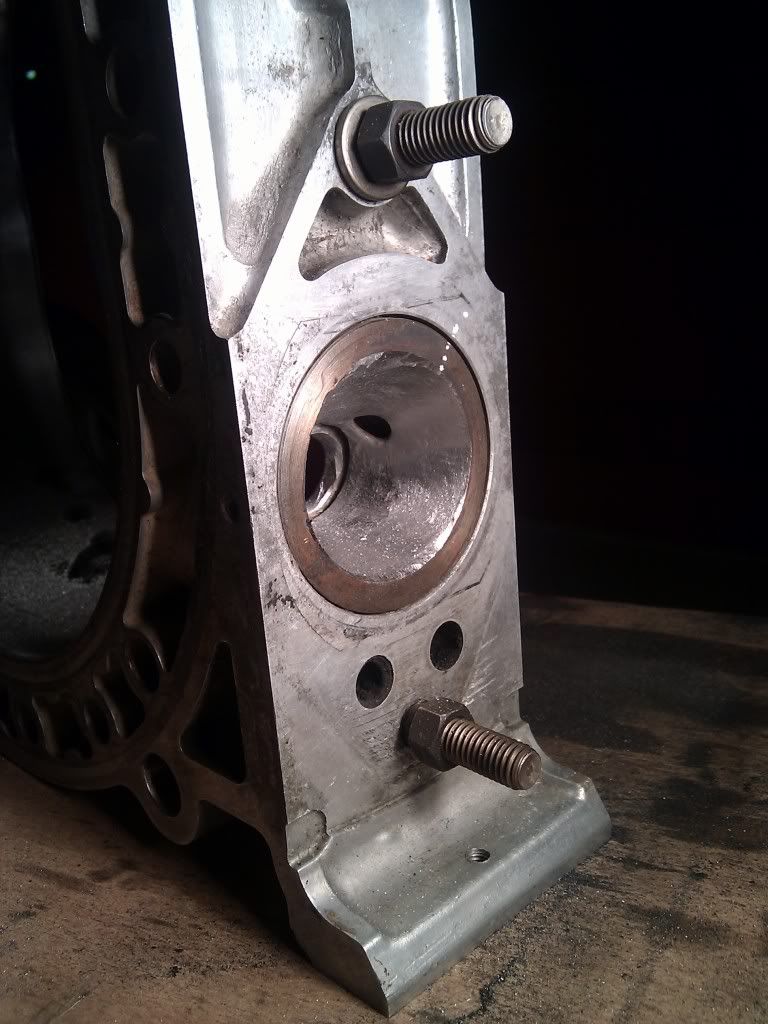
here are some pics of the porting process. didn't really try to remove too much material, i kinda wanted to keep it some what stock sens its my first build. first i used some kind of a metal grinder a friend of mine let me use. after that i used a stone and then sand pappier. over all i think ti turned out perty good. kind of a long process, pain in the a. as you can see on a couple of the pics the grinder slipped and i made contact with the face of the iron, ouch.  again sorry the pics are dark and not so clear.


[IMG]http://i198.photobucket.com/albums/aa123/JDMeg611/Rex/IMG_20101002_2
again sorry the pics are dark and not so clear.[IMG]http://i198.photobucket.com/albums/aa123/JDMeg611/Rex/IMG_20101002_2