
koyo n flow to s4 radiator mod with factory shroud


koyo n flow to s4 radiator mod with factory shroud
So I got a Koyo n flow and I took some pictures for those of you that have questions. Thought I would contribute, finally. I wanted to keep the factory fan and shroud not only because of money, but because of how much air it pulls also. I'll try to do a thorough writeup, mainly it was the fan shroud that took a while to do.
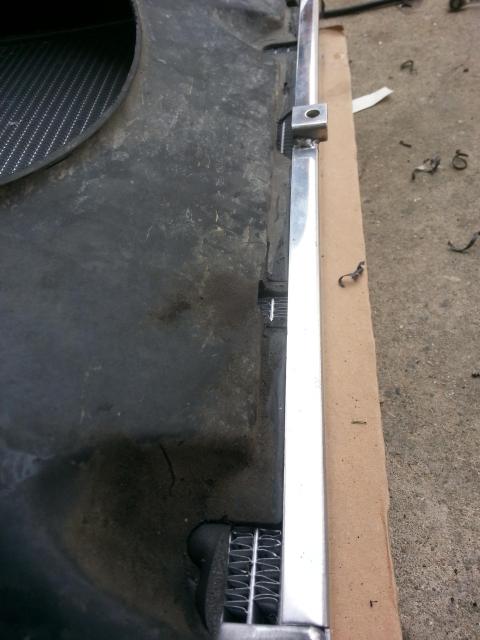
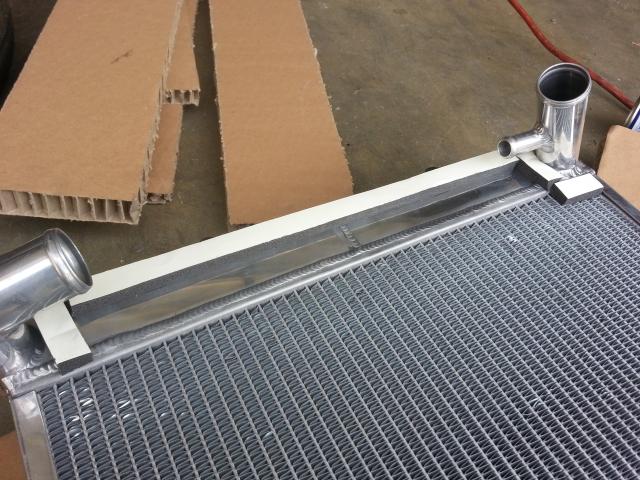
So I removed everything and mocked it up on the floor, with the shipped cardboard as my bench of course. I compared the s4 vs koyo mounting. The koyo uses 4 6mmx1.0 bolts to mount, factory is 8mm x? bolt, and its off by a little bit.

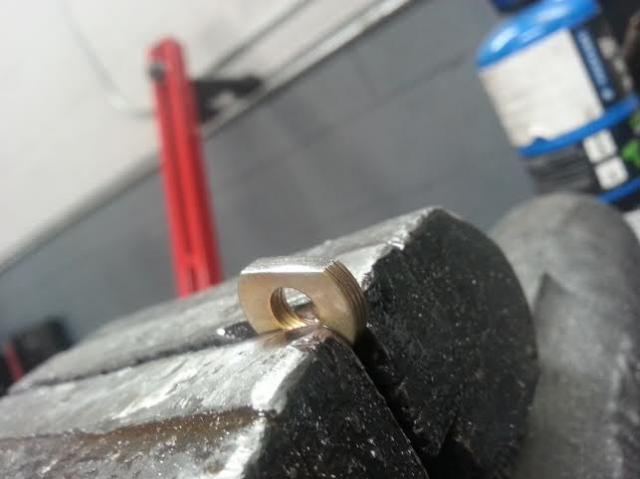
the problem is that by the time you notch the bolt, you start to run into a curve, but it can still be done. I used the mil because I have access to one, but if not, I would have just drilled a hole as close to the bend and notched it with a dremel tool. Mil is nice and clean. Rememeber that its no longer a 8mm bolt, so only notch it for a 6!
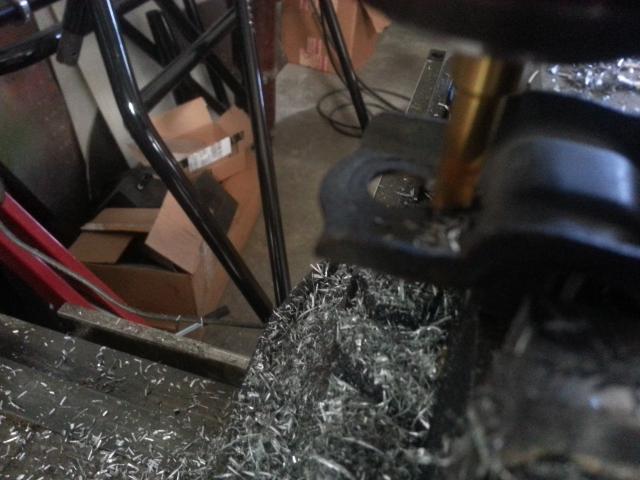
I still wanted to use washers, but the clearance was so close that I ended up grinding one side of the washer to fit.
make sure the hardware you use is not too long, you can probably damage your radiator by torqueing down that bolt. That is another reason I used a washer, it spaced the distance out a little. I used blue Loctite on the threads, not needed, but it won't hurt.
So I removed everything and mocked it up on the floor, with the shipped cardboard as my bench of course. I compared the s4 vs koyo mounting. The koyo uses 4 6mmx1.0 bolts to mount, factory is 8mm x? bolt, and its off by a little bit.

the problem is that by the time you notch the bolt, you start to run into a curve, but it can still be done. I used the mil because I have access to one, but if not, I would have just drilled a hole as close to the bend and notched it with a dremel tool. Mil is nice and clean. Rememeber that its no longer a 8mm bolt, so only notch it for a 6!

I still wanted to use washers, but the clearance was so close that I ended up grinding one side of the washer to fit.

make sure the hardware you use is not too long, you can probably damage your radiator by torqueing down that bolt. That is another reason I used a washer, it spaced the distance out a little. I used blue Loctite on the threads, not needed, but it won't hurt.
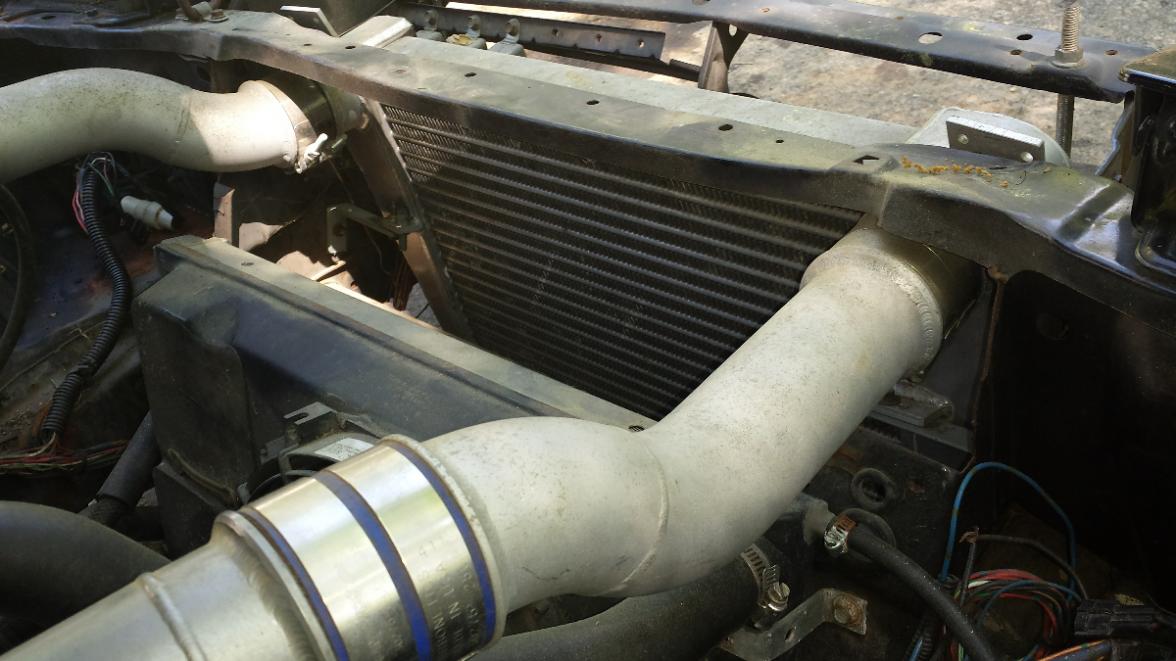
Oh, I forgot to add that the upper radiator hose needed to be cut down at the engine side because of the thicker radiator 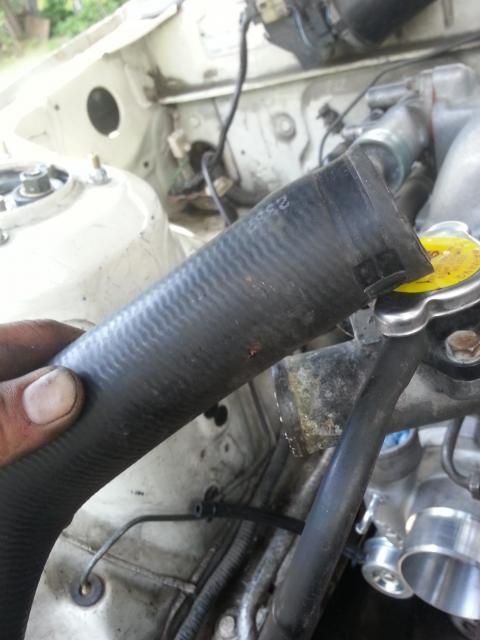
My heater hose and lower hose were just clocked differently to get rid of the kinks. Another tip, my 8mm bolts that went to the radiator were rusted, so I used a 12mm wrench, held it, and drilled it
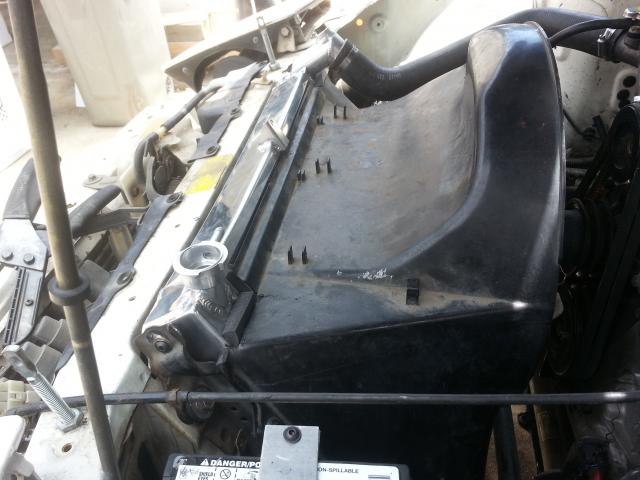
so now on to my fan shroud story which was quiet a pain. you mock it up, cut a little here and there so you can get to the next part of mocking it up. Note I was in a huge rush to make my friends event, but I was determined to finish this radiator. You can pretty much not go through what I did by cutting off the top and bottom mounting on the plastic. notch for filler neck and inlet outlet of radiator. since the radiator was thicker and wider, I had to stretch my plastic mounting sideways and but it up against the radiator as much as I could to keep good sealing. these are the steps I did
1) notch the shroud to clear the upper, and lower hose.
2)now that you can get the shroud good left and right, you want it to sit flat agains the rad. notch for rad filler neck.
3)after that you will notice the steps on the top and bottom keep the shroud from sitting flat on the rad core, chop more
4)if you stretch it left and right you can get the bolts through, but keep in mind you wanted the shroud mounted as low as possible because of fan clearance, and you need roughly 1/2" clearance since the rad is thicker
One good tip is that since it is mounted sideways, and it is thicker, the bottom of the fan to shroud clearance gets close. I used my deburring tool and shaved a few mm off the bottom even after mounting the shroud on the lowest of the slots. There isn't a real good tutorial on the shroud except cut measure, cut measure, cut measure. but I think I got mine pretty close.
Here is the spacer I needed between fan shroud mounting. Roughly 1/2"
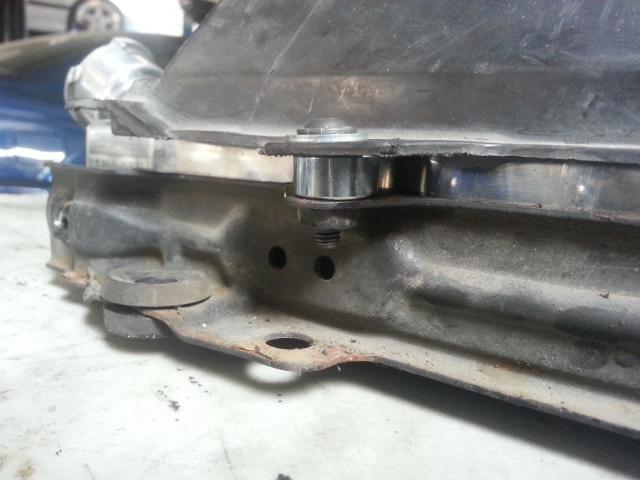
bottom mounting cut off so I can have it flush with radiator

My heater hose and lower hose were just clocked differently to get rid of the kinks. Another tip, my 8mm bolts that went to the radiator were rusted, so I used a 12mm wrench, held it, and drilled it
so now on to my fan shroud story which was quiet a pain. you mock it up, cut a little here and there so you can get to the next part of mocking it up. Note I was in a huge rush to make my friends event, but I was determined to finish this radiator. You can pretty much not go through what I did by cutting off the top and bottom mounting on the plastic. notch for filler neck and inlet outlet of radiator. since the radiator was thicker and wider, I had to stretch my plastic mounting sideways and but it up against the radiator as much as I could to keep good sealing. these are the steps I did
1) notch the shroud to clear the upper, and lower hose.
2)now that you can get the shroud good left and right, you want it to sit flat agains the rad. notch for rad filler neck.
3)after that you will notice the steps on the top and bottom keep the shroud from sitting flat on the rad core, chop more
4)if you stretch it left and right you can get the bolts through, but keep in mind you wanted the shroud mounted as low as possible because of fan clearance, and you need roughly 1/2" clearance since the rad is thicker
One good tip is that since it is mounted sideways, and it is thicker, the bottom of the fan to shroud clearance gets close. I used my deburring tool and shaved a few mm off the bottom even after mounting the shroud on the lowest of the slots. There isn't a real good tutorial on the shroud except cut measure, cut measure, cut measure. but I think I got mine pretty close.
Here is the spacer I needed between fan shroud mounting. Roughly 1/2"

bottom mounting cut off so I can have it flush with radiator

I added some of this stuff I got from home depot so the air seals a little better . Mainly it was at the corners where I ended up cutting the steps that kept my shroud from butting up against the radiator real nice
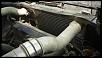
The fan is not fully engulfed , so I didn't bother shaving it thinner, just created more room for the bottom fan clearance. I got everything pretty tight, but not as pretty as I would have someone paying money for the modification at the shop. I had a few kinks on the radiator fins, usually I cover the radiator with some cardboard and masking tape, but this my own car.s4 to koyo n flow was not hard, but the shroud was little more involved. I have access to a tig welder, so if I were to do it all over again, I wouldn't. I would have bought a nicer radiator without the filler neck and just modified the inlet outlet, and the mounting would have been easy with some angled aluminum or just a threaded bung welded on the side. Fan shroud would have been the same, but I would have just went electric. unfortunately I would need my car at the shop to tack weld everything in place. So this should be a good alternative without a tig welder. Sorry the shroud fitment wasn't much of a tutorial, but I went through so many steps to take pics and walk someone through.


The fan is not fully engulfed , so I didn't bother shaving it thinner, just created more room for the bottom fan clearance. I got everything pretty tight, but not as pretty as I would have someone paying money for the modification at the shop. I had a few kinks on the radiator fins, usually I cover the radiator with some cardboard and masking tape, but this my own car.s4 to koyo n flow was not hard, but the shroud was little more involved. I have access to a tig welder, so if I were to do it all over again, I wouldn't. I would have bought a nicer radiator without the filler neck and just modified the inlet outlet, and the mounting would have been easy with some angled aluminum or just a threaded bung welded on the side. Fan shroud would have been the same, but I would have just went electric. unfortunately I would need my car at the shop to tack weld everything in place. So this should be a good alternative without a tig welder. Sorry the shroud fitment wasn't much of a tutorial, but I went through so many steps to take pics and walk someone through.


I'm gonna be doing this soon on my car , not sure how ill do it on my car I'm swapping to because it has some metal cut out where some mounting points are.
I'll add some brackets to mount it on the spots where the metal is cut if possible.
I'll add some brackets to mount it on the spots where the metal is cut if possible.
Joined: Sep 2005
Posts: 25,581
Likes: 136
From: Smiths Falls.(near Ottawa!.Mapquest IT!)
I'm gonna be doing this soon on my car , not sure how ill do it on my car I'm swapping to because it has some metal cut out where some mounting points are.
I'll add some brackets to mount it on the spots where the metal is cut if possible.
Attachment 531666
I'll add some brackets to mount it on the spots where the metal is cut if possible.
Attachment 531666
Trending Topics


Thread
Thread Starter
Forum
Replies
Last Post
streetlegal?
New Member RX-7 Technical
13
Mar 17, 2022 02:46 PM