
Installing fog lamps

Installing fog lamps
I just obtained a set of factory fogs for my S5 and would like some advice about installing them.
The switch, relay and wiring are already in place and functional, only the lights themselves remain.
Do I have to remove the bumper cap or what?
The mounting brackets have capture nuts on them but I haven't a clue what they bolt to.
Any help appreciated.
The switch, relay and wiring are already in place and functional, only the lights themselves remain.
Do I have to remove the bumper cap or what?
The mounting brackets have capture nuts on them but I haven't a clue what they bolt to.
Any help appreciated.
After you install them to the frame you will need to plug them in of course.
You will need a relay for the fog lamps. It connects to the green loose plug next to the right headlamp. If you are looking at the engine.
You will need the fog lap switch. That goes next to the security light. The orange one between the shifter and armrest. You will use a flat screwdriver to pop up that cover and the plug for the switch will be there.
Just letting you know because when i did it I installed it perfectly but it didn't work because of the stupid relay!
Trending Topics
It goes in the center console next to the security warning lamp.
I'll be installing mine later today and will take some pics.
All done.
In my humble opinion, this entire process is needlessly and painfully complex.
I can only imagine that the designers were paid by the hour as the entire brake duct area is absurdly complex.
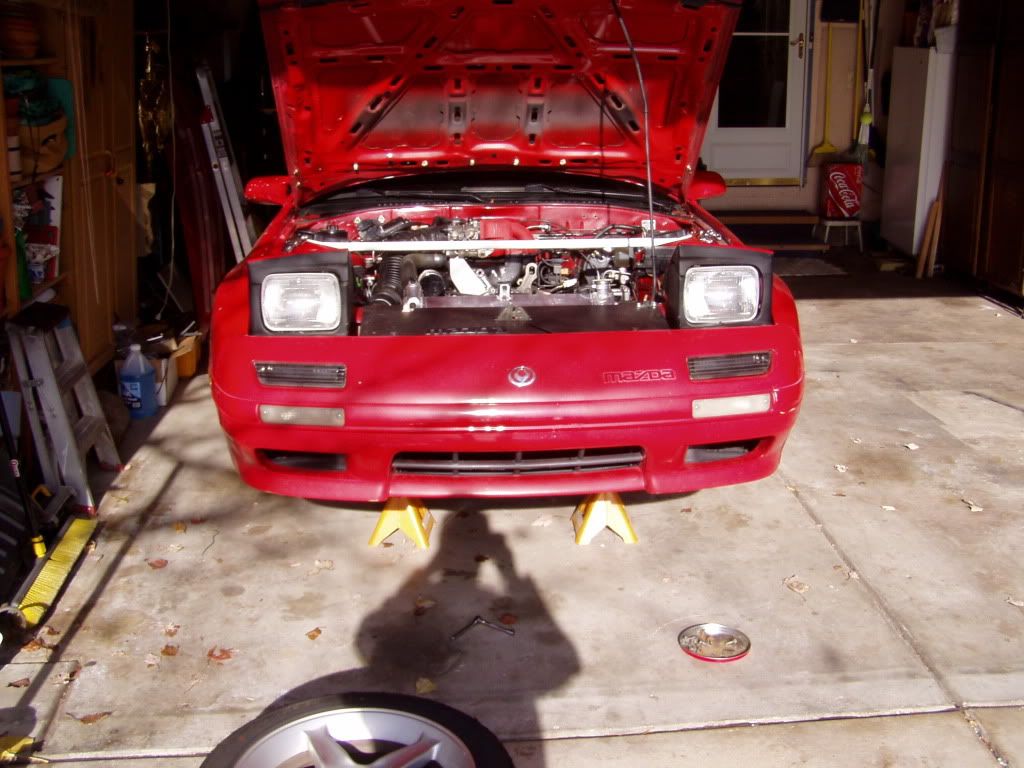
Anyway, I began by lifting the car, putting her on jackstands, removing the front wheels and loosening enough hardware (three bolts and three screws per side, as it turns out) to be able to move the plastic fender liners away...
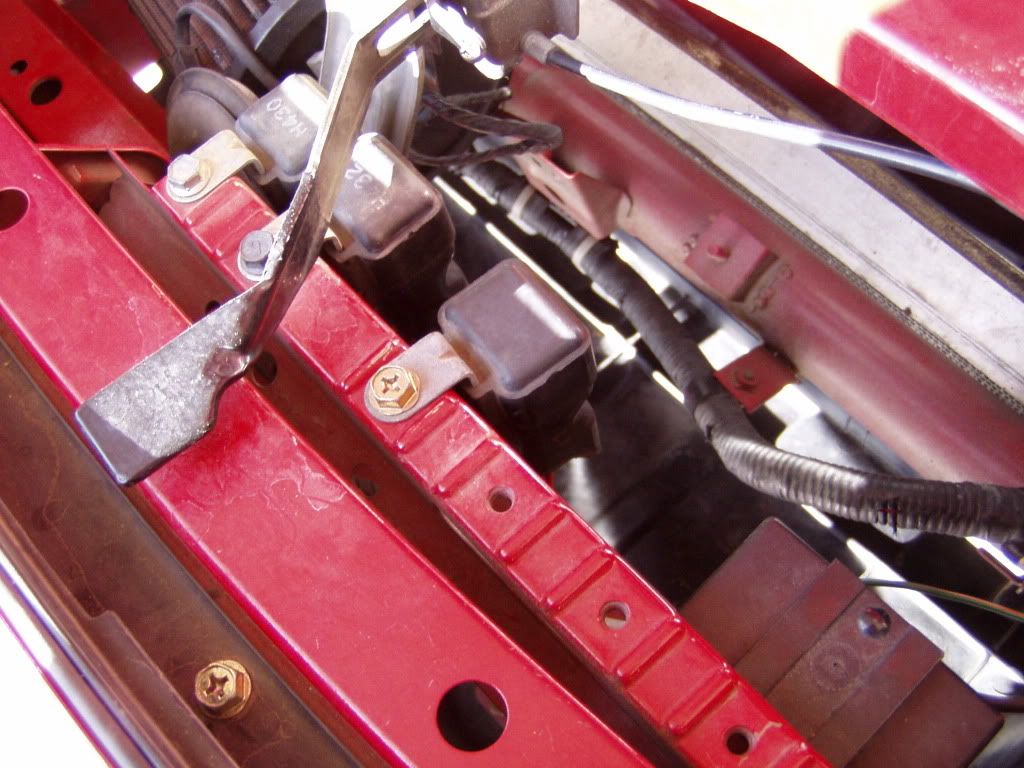
Then I removed the cooling panel in front of the rad (not stock) to expose the relay panel area. You're looking for a four prong green connector that is tied up to the wiring harness...

...which gets connected to a relay and bolted next to it's brothers...
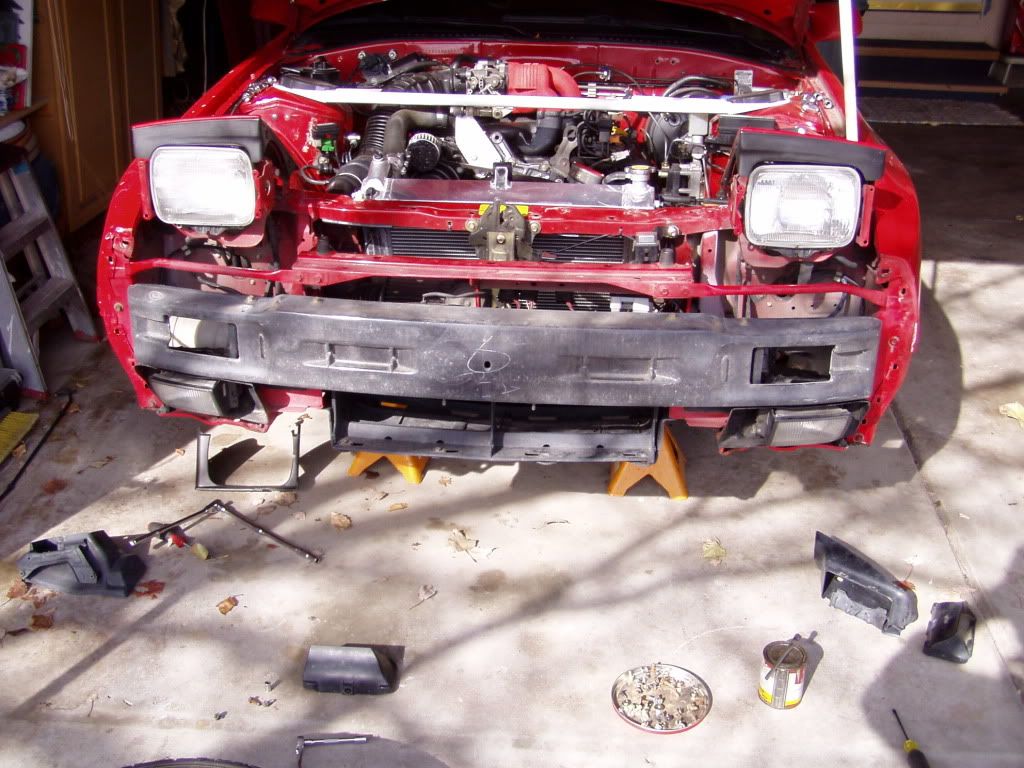
Next, the lower headlight beauty panels were removed and the bumper cover was unbolted...
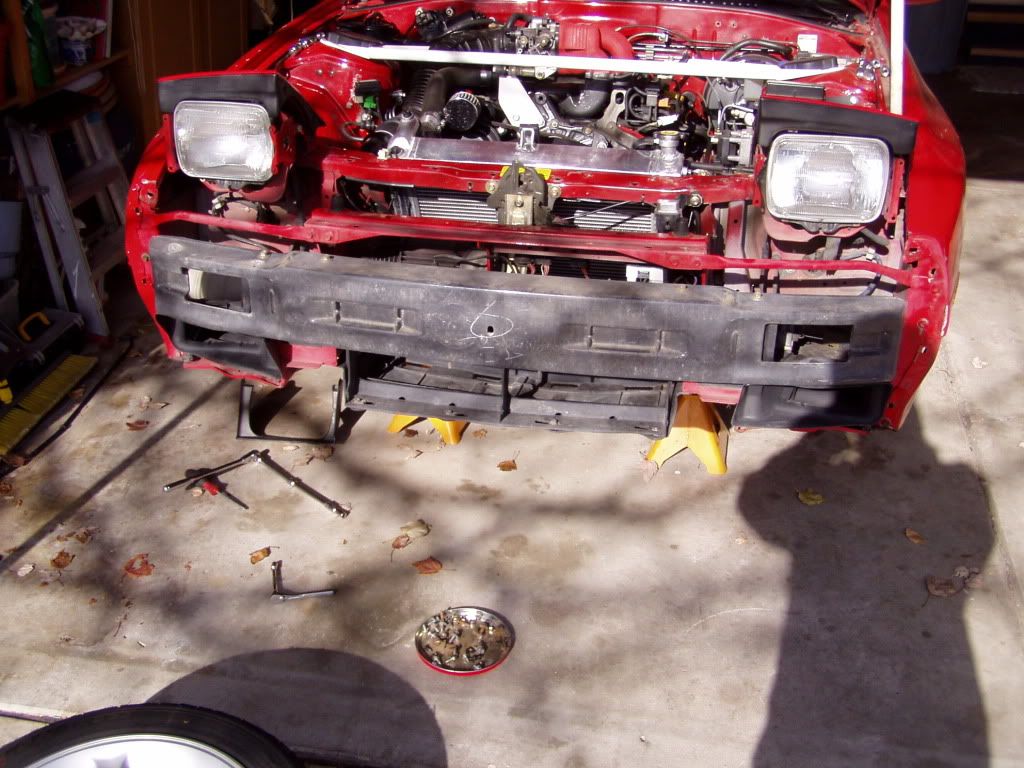
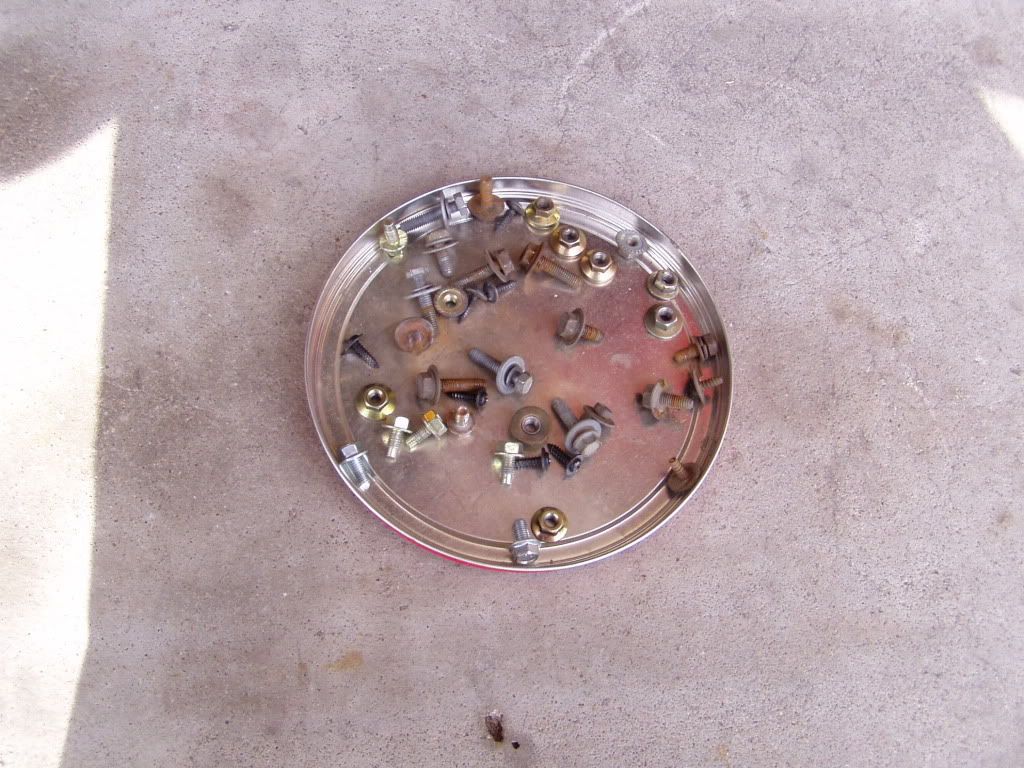
Here's all the hardware I had to remove to pull the cap...
And finally, the brake ducts are exposed.
Here is where the complexity begins.
The stock, unlit duct is composed of three sections. The OEM fog lamp replicates the first two sections, with the main bracket altered to accept a light housing.
This main bracket is bolted to the bumper reinforcement bar with two 6mm bolts...

At the rear of this first duct section is a short intermediate piece, held on with one 4 mm bolt and two clips. I found it simpler to remove this center section before attempting to weasel the duct/bracket out.
Once you see this area, it's actually completely self-explanatory how you should proceed.
The fog light is installed exactly as the open duct was and the center piece replaced after the light is in.
Both sides done...
The wiring for the lights is run through into the engine bay through the same hole as the main headlights and turn signals and you can use the same retaining clips to hold the wires out of harm's way. On either side of the bay, in the gaggle of connectors for the headlights, etc. are unused two pin connectors for the fogs.
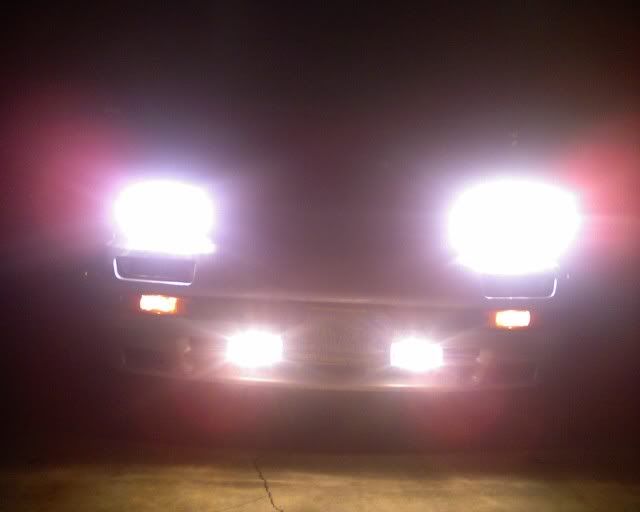
At this point, with everything assembled, I tested the fogs to make sure they worked before the nose cap was reinstalled.
They did, and I buttoned everything back up...

Note:
I had just removed the bumper cap a few weeks ago to replace a tweaked support bracket. At that time I ran a die or tap through all the studs and capture nuts and used anti-seize on all the hardware.
This time, removing the cover was simple and painless but if your cover hasn't been off in a while, be prepared for a fight.
Because my hardware cooperated and I was familiar with the removal process, installing the new lights took just under 1 1/2 hours.
YMMV.
Tonight when it's dark I'll get to see whether this was worth the effort.
I hope so...
In my humble opinion, this entire process is needlessly and painfully complex.
I can only imagine that the designers were paid by the hour as the entire brake duct area is absurdly complex.
Anyway, I began by lifting the car, putting her on jackstands, removing the front wheels and loosening enough hardware (three bolts and three screws per side, as it turns out) to be able to move the plastic fender liners away...
Then I removed the cooling panel in front of the rad (not stock) to expose the relay panel area. You're looking for a four prong green connector that is tied up to the wiring harness...
...which gets connected to a relay and bolted next to it's brothers...
Next, the lower headlight beauty panels were removed and the bumper cover was unbolted...
Here's all the hardware I had to remove to pull the cap...
And finally, the brake ducts are exposed.
Here is where the complexity begins.
The stock, unlit duct is composed of three sections. The OEM fog lamp replicates the first two sections, with the main bracket altered to accept a light housing.
This main bracket is bolted to the bumper reinforcement bar with two 6mm bolts...
At the rear of this first duct section is a short intermediate piece, held on with one 4 mm bolt and two clips. I found it simpler to remove this center section before attempting to weasel the duct/bracket out.
Once you see this area, it's actually completely self-explanatory how you should proceed.
The fog light is installed exactly as the open duct was and the center piece replaced after the light is in.
Both sides done...
The wiring for the lights is run through into the engine bay through the same hole as the main headlights and turn signals and you can use the same retaining clips to hold the wires out of harm's way. On either side of the bay, in the gaggle of connectors for the headlights, etc. are unused two pin connectors for the fogs.
At this point, with everything assembled, I tested the fogs to make sure they worked before the nose cap was reinstalled.
They did, and I buttoned everything back up...
Note:
I had just removed the bumper cap a few weeks ago to replace a tweaked support bracket. At that time I ran a die or tap through all the studs and capture nuts and used anti-seize on all the hardware.
This time, removing the cover was simple and painless but if your cover hasn't been off in a while, be prepared for a fight.
Because my hardware cooperated and I was familiar with the removal process, installing the new lights took just under 1 1/2 hours.
YMMV.
Tonight when it's dark I'll get to see whether this was worth the effort.
I hope so...
There are big gaps everywhere and I'd guess that only a small fraction of the incoming air makes it back as far as the wheelwell.
In fact, the entire nose of the car is a disaster in terms of air management.
When I can afford a few days of downtime I plan on disassembling it all again, getting creative with some sheets of ABS and seeing what I can come up with.
Oh, and as for the fog lights.
Meh.
I could barely discern when they were on or off.
Granted, I haven't aimed them at all and it wasn't dark enough- or even remotely foggy- but my initial impression is that I spent a bunch of money and time for very little result.
Live and learn.

Thread
Thread Starter
Forum
Replies
Last Post
24seven_dada
3rd Generation Specific (1993-2002)
20
Nov 10, 2018 12:03 PM
Jeff20B
1st Generation Specific (1979-1985)
73
Sep 16, 2018 07:16 PM
[For Sale] Scratch & Dent, Used, and Open-Box Sale!
SakeBomb Garage
Vendor Classifieds
5
Aug 9, 2018 05:54 PM