
Don't let a cracked rear iron get you down! How to change one without a rebuild! *pic


Don't let a cracked rear iron get you down! How to change one without a rebuild! *pic
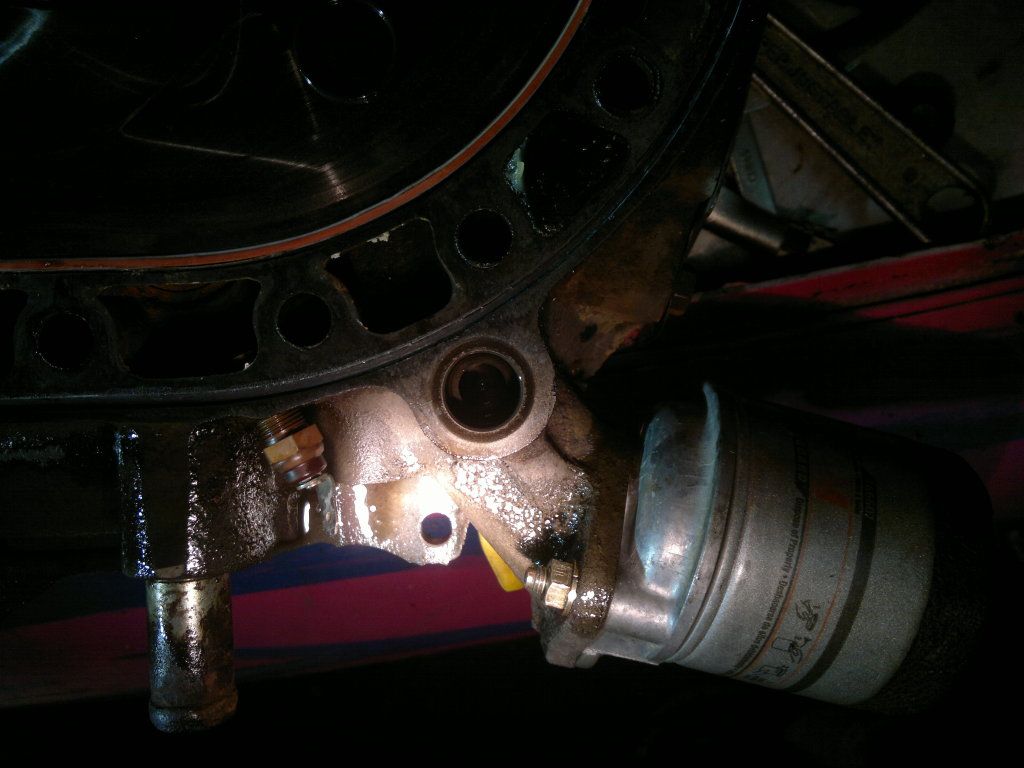
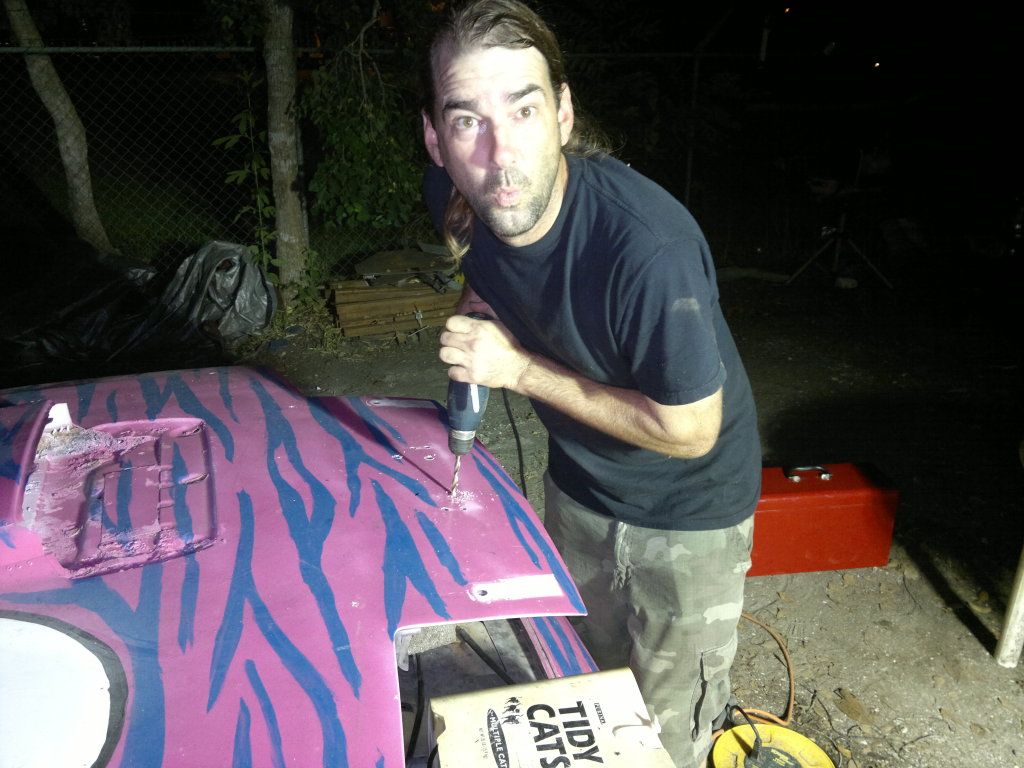
OK so our car was leaking oil out of the crack between the rear iron and rear housing. We figured that it was either a blown dowel o ring or cracked iron.
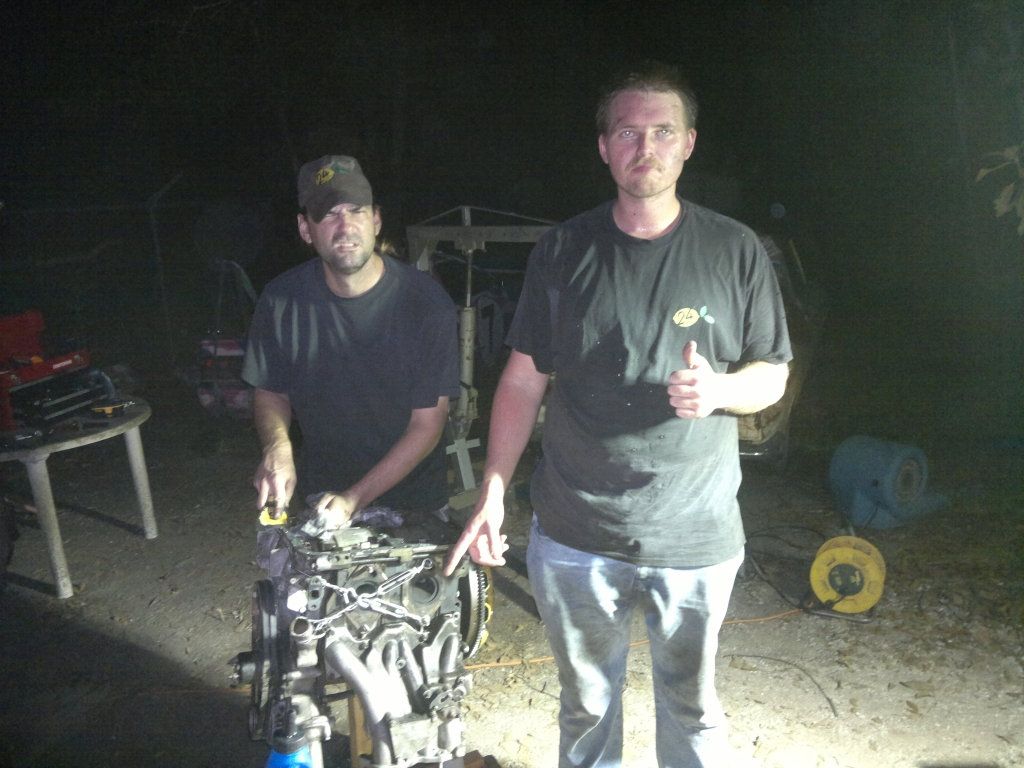
We only had one race on this motor and didn't want to rebuild it... luckily our lemon's team is nothing but geniuses. We wanted to share or success!
The first thing you're going to need to do is visit my favorite RX-7 parts store, the home depot. You'll need to get a few large turnbuckels (don't worry about the price you can return these when you're done).
If you've already used up all your bailing wire to hold your exhaust up, you're going to need some of that too. I think we had 14ga.
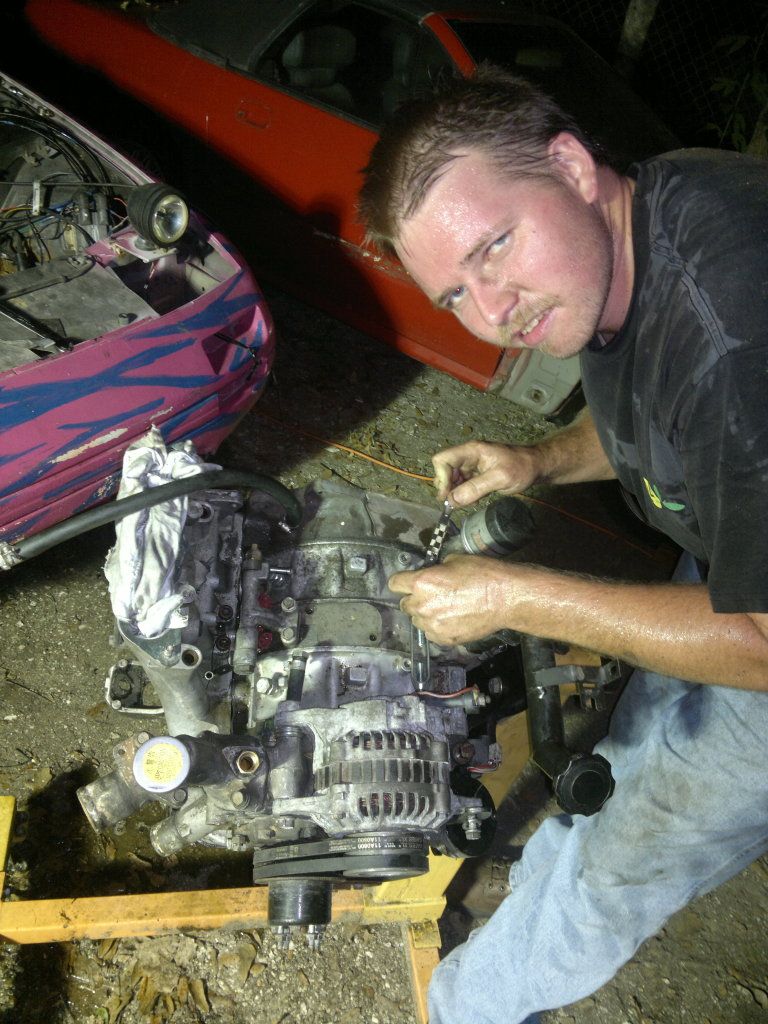
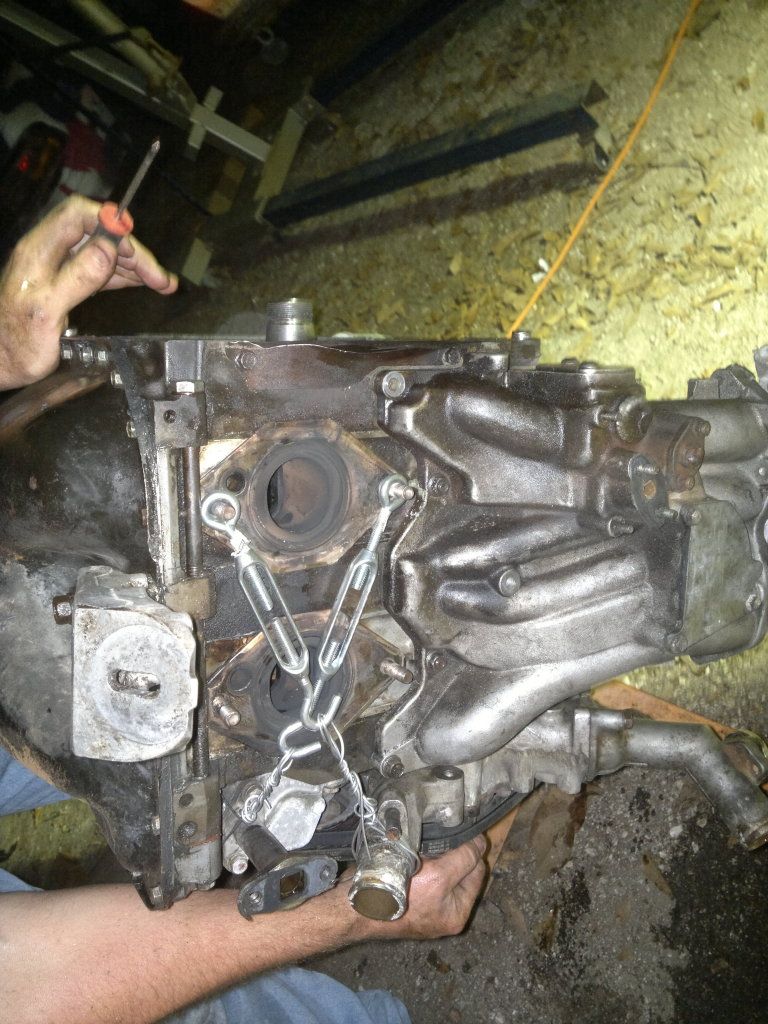
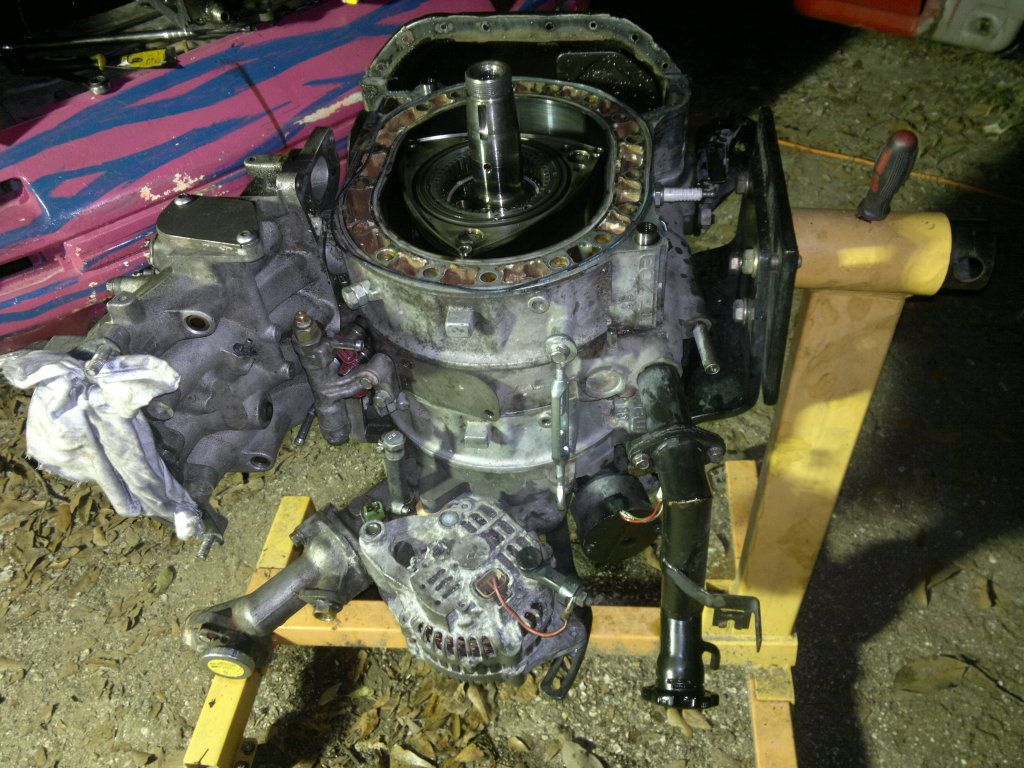
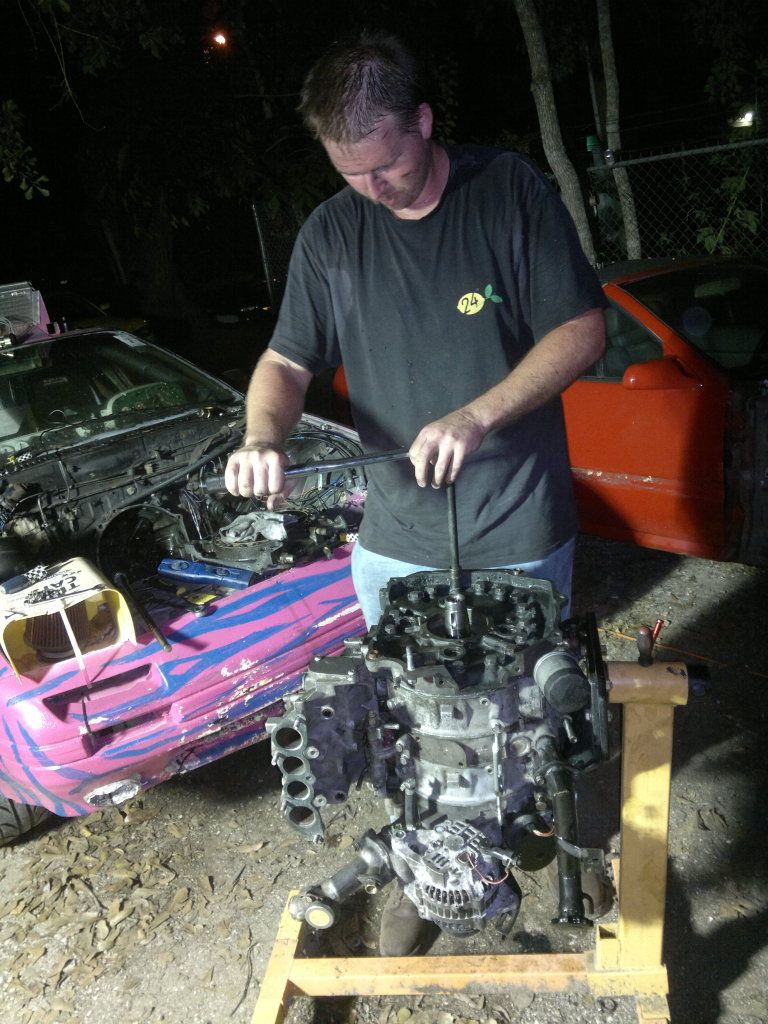
Remove the motor, don't bother taking anything off the front of it, just the manifolds.
The first turnbuckel will go on the top of the motor as so...
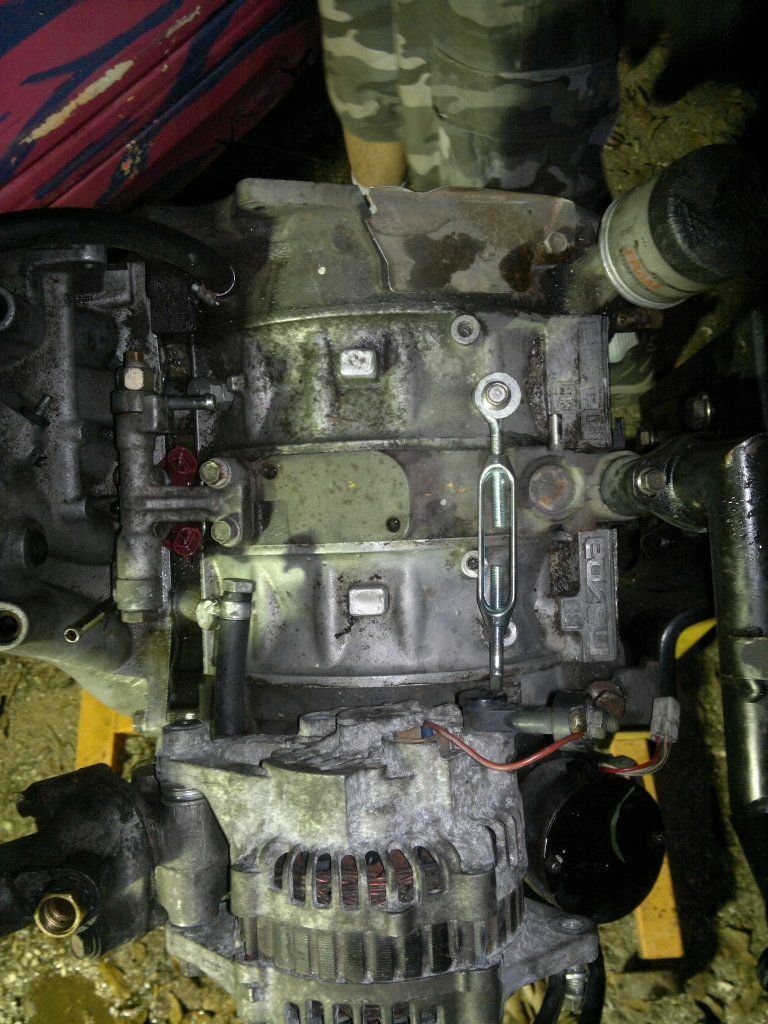
As you can see it's pulling the ear on the front iron to the rear housing.
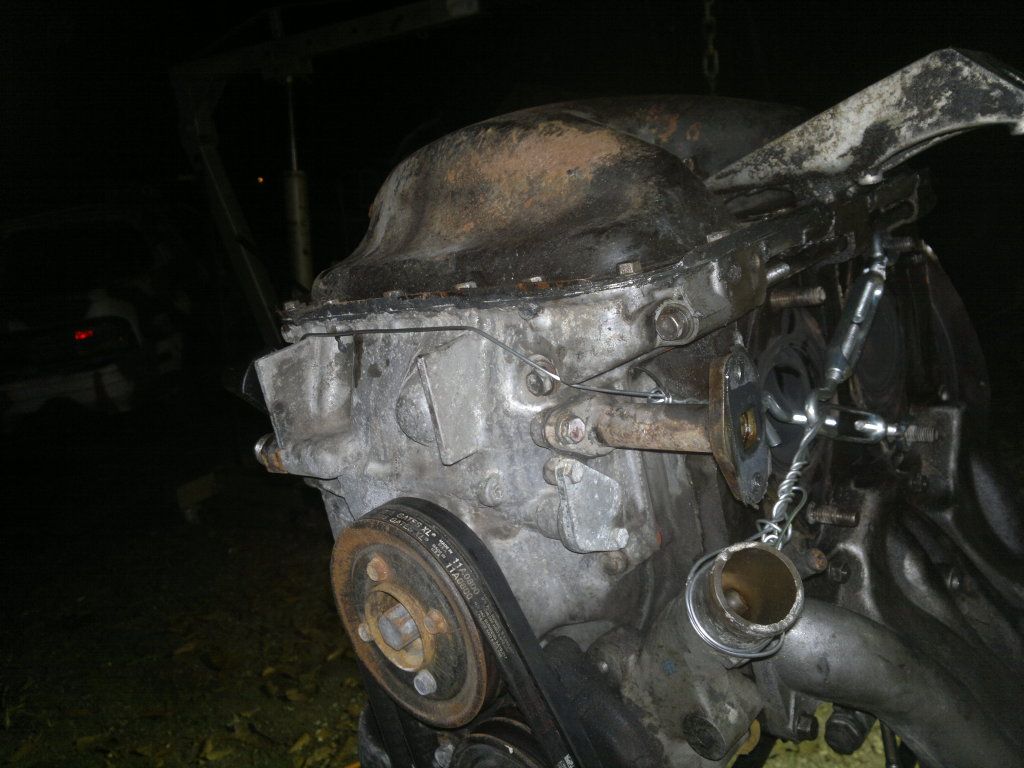
This is where that bailing wire goes... wrapped around the water pump pipe and attaches the turnbuckel to the rear housing again.
Here we actually are useing the LIM to help hold the motor together, we removed it, then re-installed it with NO gasket but with washers under the bolts/studs except the ones in the rear iron. You can see a small gap between the motor and the LIM.
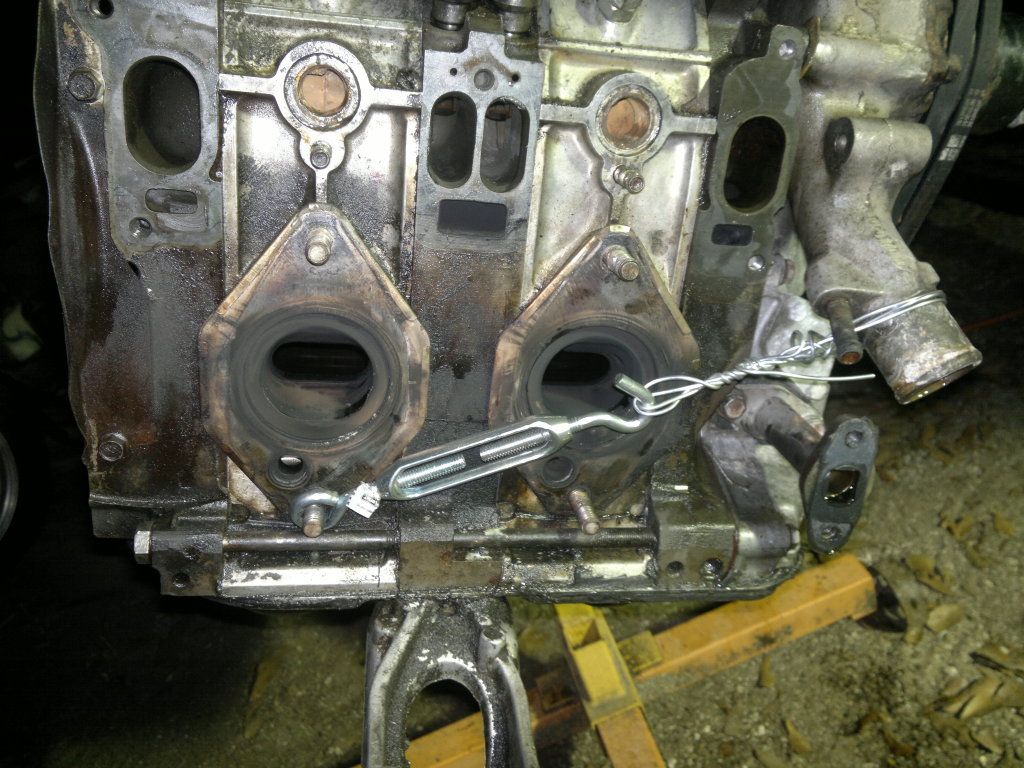
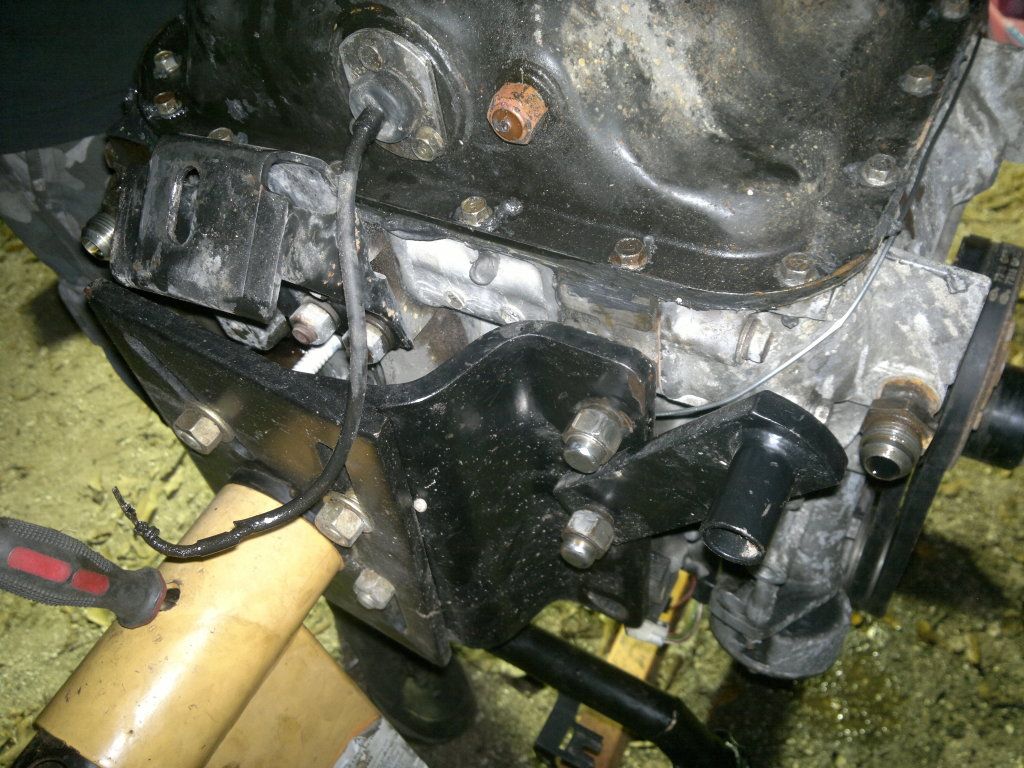
Now this is where it gets complicated... As you can see there is another turnbuckel that's been added here. It goes from a bolt on the rear iron to a wire, but where does THAT wire attach?
It goes around the front cover.....
Down the other side of the motor...
And to the spark plug on the other side, YAY!
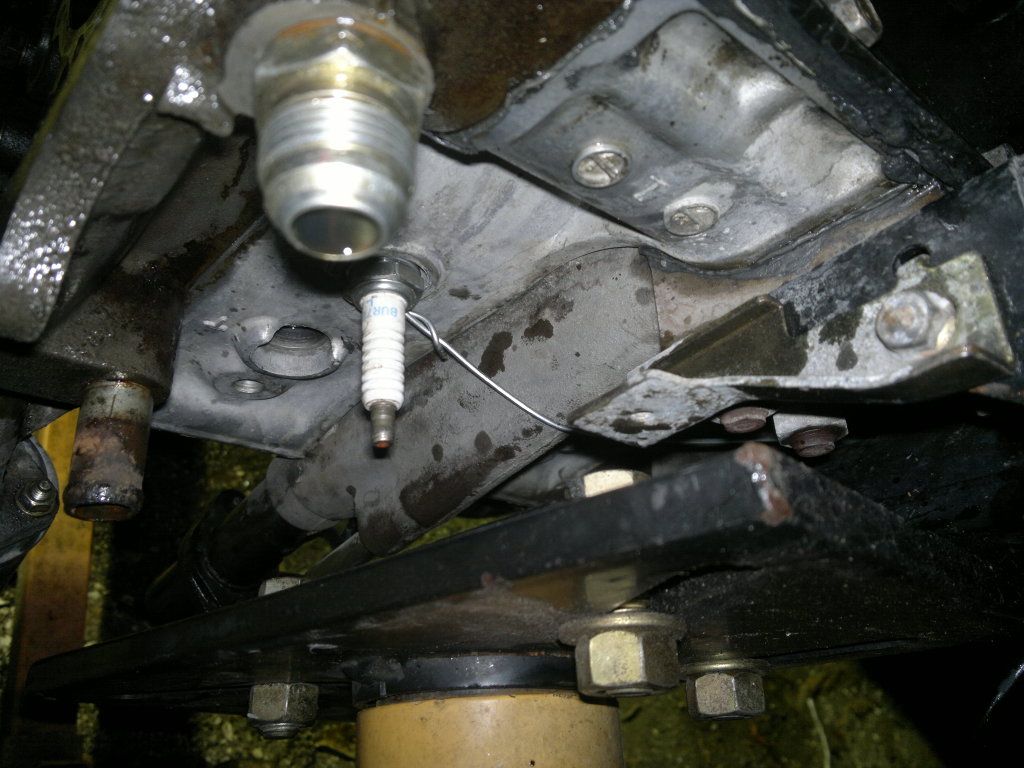
That was an important around-the-word wire to hold the whole stack together.
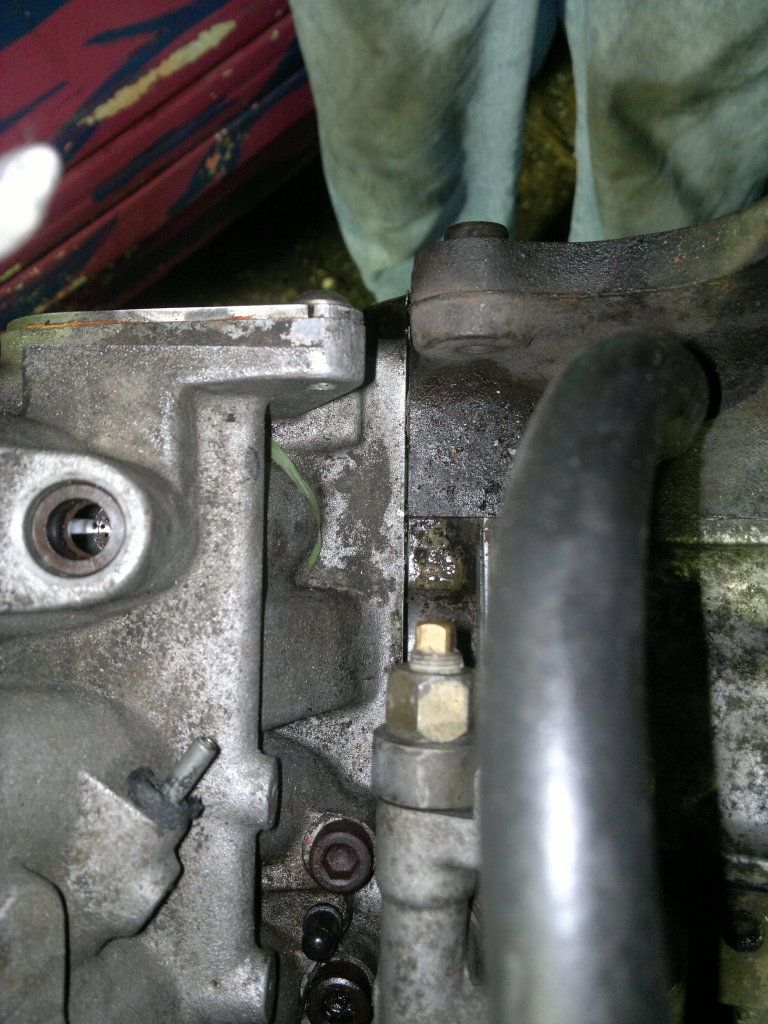
Next we took off the oil pan to break the seal, and set it back on without the bolts that old the rear iorn.
Now it can come off!
Pretty sweet
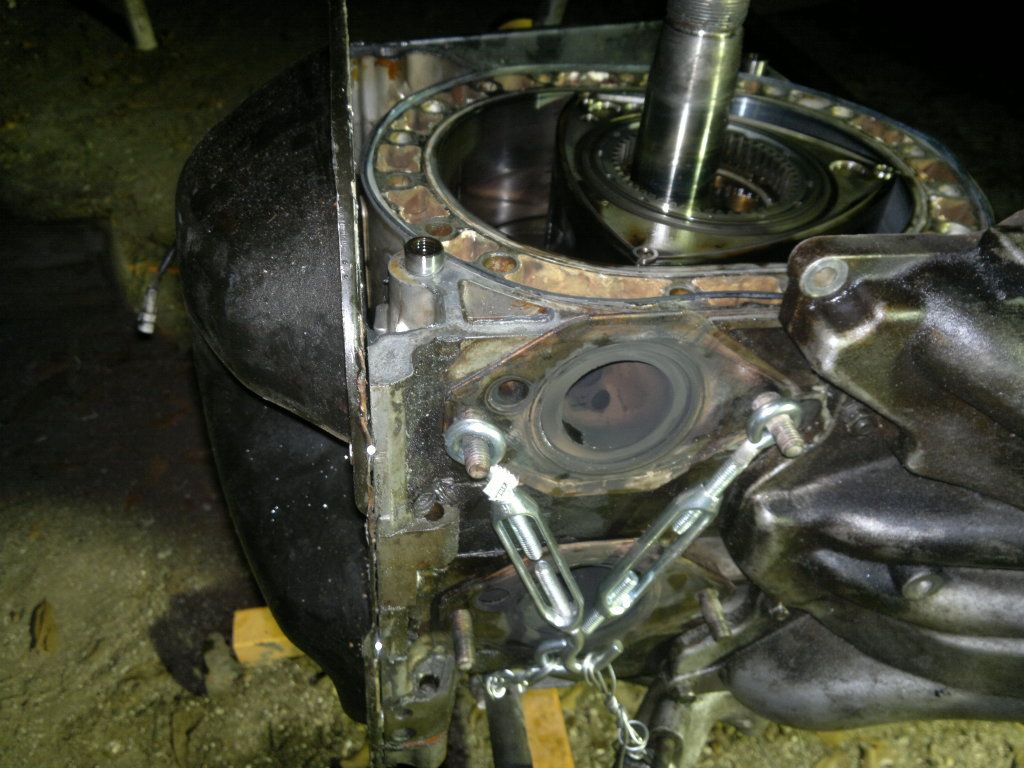
You can't really see it here, but there is a tiny crack at that dowl pin hole
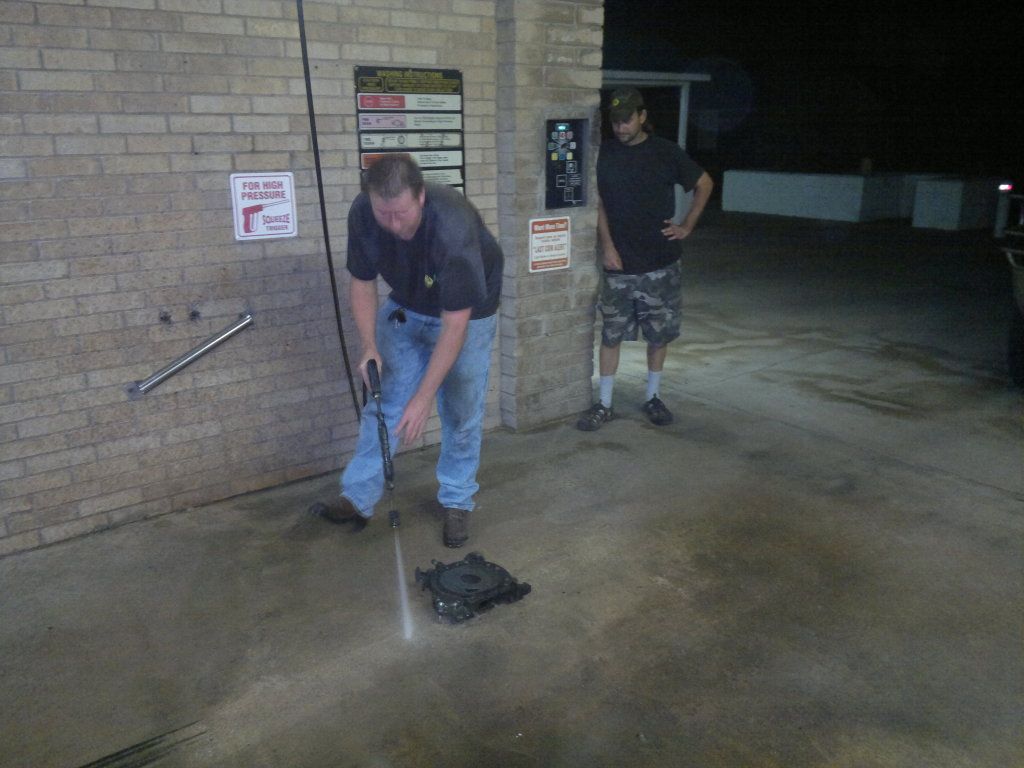
we've got a pretty sweet parts washing station.
We only had one race on this motor and didn't want to rebuild it... luckily our lemon's team is nothing but geniuses. We wanted to share or success!
The first thing you're going to need to do is visit my favorite RX-7 parts store, the home depot. You'll need to get a few large turnbuckels (don't worry about the price you can return these when you're done).
If you've already used up all your bailing wire to hold your exhaust up, you're going to need some of that too. I think we had 14ga.
Remove the motor, don't bother taking anything off the front of it, just the manifolds.
The first turnbuckel will go on the top of the motor as so...
As you can see it's pulling the ear on the front iron to the rear housing.
This is where that bailing wire goes... wrapped around the water pump pipe and attaches the turnbuckel to the rear housing again.
Here we actually are useing the LIM to help hold the motor together, we removed it, then re-installed it with NO gasket but with washers under the bolts/studs except the ones in the rear iron. You can see a small gap between the motor and the LIM.
Now this is where it gets complicated... As you can see there is another turnbuckel that's been added here. It goes from a bolt on the rear iron to a wire, but where does THAT wire attach?
It goes around the front cover.....
Down the other side of the motor...
And to the spark plug on the other side, YAY!
That was an important around-the-word wire to hold the whole stack together.
Next we took off the oil pan to break the seal, and set it back on without the bolts that old the rear iorn.
Now it can come off!
Pretty sweet
You can't really see it here, but there is a tiny crack at that dowl pin hole
we've got a pretty sweet parts washing station.


Trending Topics
dang, I made a thread about swapping out the rear iron and yall have to rag on the FC.
Well obviously it is a lemon. I't a word(ish) famous race car!
Better RX-7 Burnouts, With The Help of a Block of Wood: LeMons Line Lock!
Well obviously it is a lemon. I't a word(ish) famous race car!
Better RX-7 Burnouts, With The Help of a Block of Wood: LeMons Line Lock!
talking head
Joined: Apr 2008
Posts: 2,775
Likes: 15
From: Perth, WA, OZ
i have mild steel plate jigs that bolt along top of the motor
and along the inlet studs and and or along the sump to achieve the same thing
.. so i can remove a front or rear plate without unstacking the engine completely
.. they come in handy if the build was recent and you know the internals are good
and along the inlet studs and and or along the sump to achieve the same thing
.. so i can remove a front or rear plate without unstacking the engine completely
.. they come in handy if the build was recent and you know the internals are good
done it the same way but you also have to address why the iron cracked in the first place.
the turnbuckles are a little overkill though, i have used just a single wood clamp front iron to rear rotor housing and it does fine. doesn't need a ton of force to keep the sandwich together.
the turnbuckles are a little overkill though, i have used just a single wood clamp front iron to rear rotor housing and it does fine. doesn't need a ton of force to keep the sandwich together.


Full Member
Joined: Jun 2012
Posts: 76
Likes: 0
From: Kelowna BC
nice i didnt think you could do it like that. but really cant be raging on the car. sure its kinda a back to the future kinda look but hey i like the paint lol as long as it works and their having fun doing it. it almost has a mad max look just needs some barb wire and some dust lol dont worry guy id roll with ya  how did you get the crack ?????
It's a "Lemons" racecar. (24 Hours of Lemons -> 24 Hours of Lemons - Home Page)
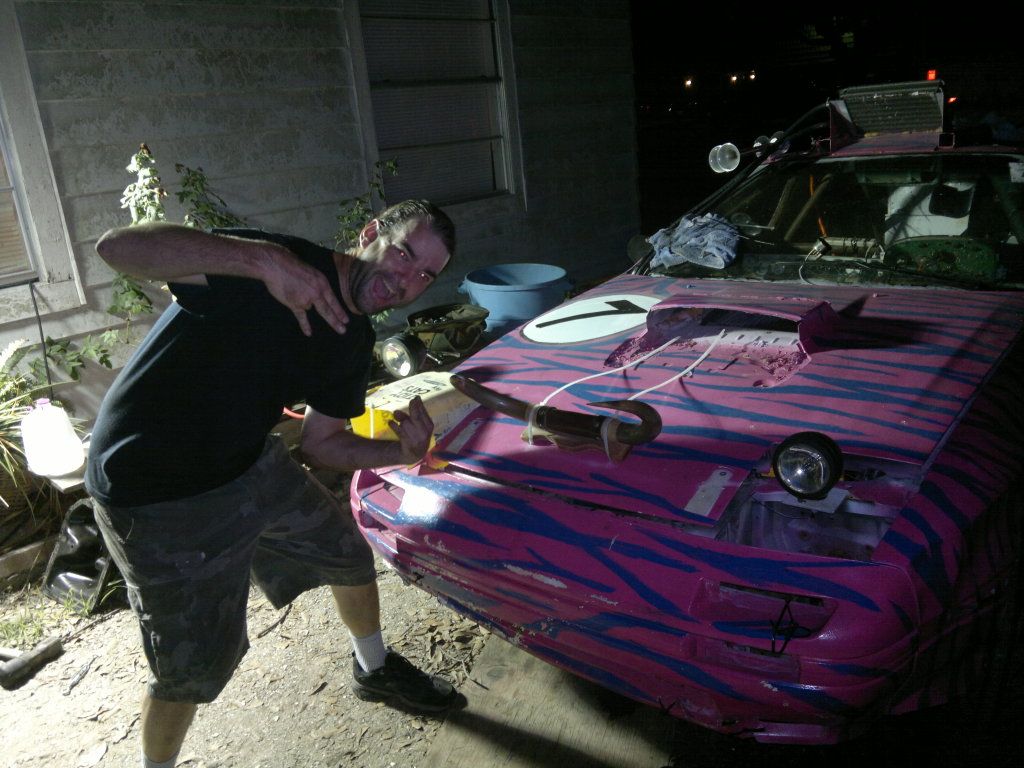
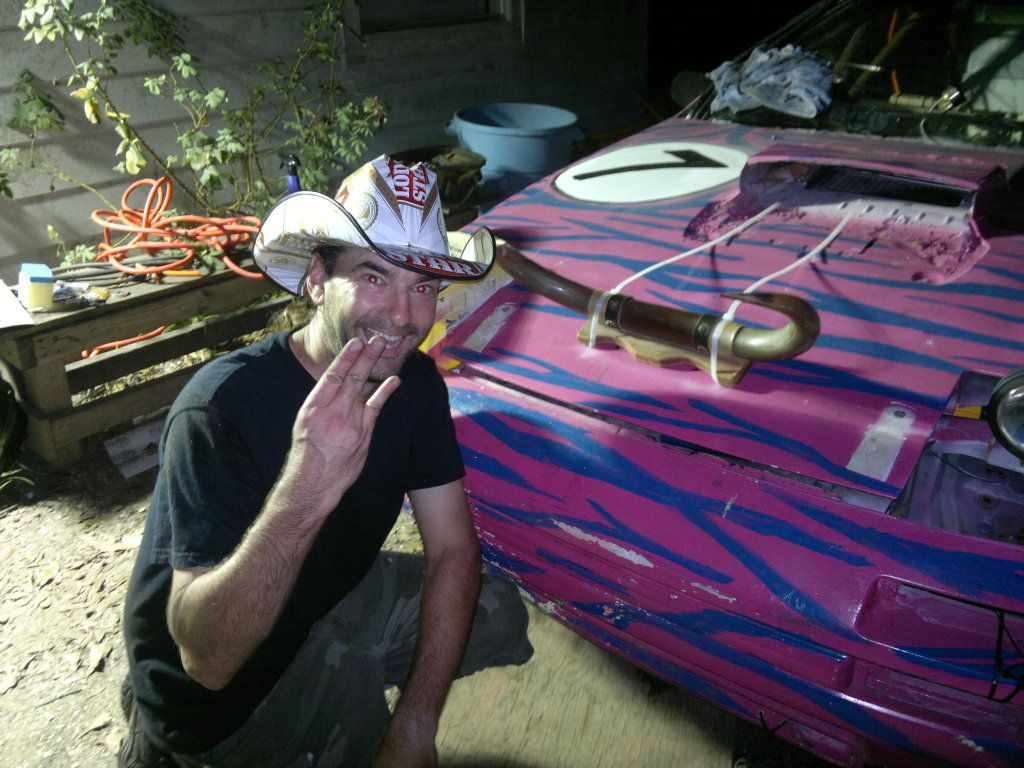
The Lemons officals eat up silly paint schemes and crazy ingenuity. This car represents the rotary community very well at Lemons races.
The Lemons officals eat up silly paint schemes and crazy ingenuity. This car represents the rotary community very well at Lemons races.

Originally Posted by bumpstart
i have mild steel plate jigs that bolt along top of the motor
and along the inlet studs and and or along the sump to achieve the same thing
.. so i can remove a front or rear plate without unstacking the engine completely
.. they come in handy if the build was recent and you know the internals are good
and along the inlet studs and and or along the sump to achieve the same thing
.. so i can remove a front or rear plate without unstacking the engine completely
.. they come in handy if the build was recent and you know the internals are good
Did you have this cut or something, I would be interested in getting a copy of this made!!
To answer why?
We think it detonated on the dyno when tuning it, we have some Un-breakable apex seals in that car, so after thows were installed we started breaking irons, this isn't the first time.
This car runs really hard for extremely long periods of time, some races are 24hours straight thru enduros. That's about 20 hours of full throttle.
The most fuel we have ever used in a race was like 175 gallons but that was a bp motor making the same hp as the turbo.
You all should check out the lemons thread in the south section for all the different transformations.
Just some
Air brake
Moonshine still heated with coolant
Lemons line lock
Rotary exhaust powered BBQ pit
Colder than cold air intake (window ac)
Ect....... Thrust me the list goes on and on
i also can't emphasize enough to keep the nose of the engine facing down while doing this. had a corner apex seal boot pop out once and got sandwiched between the housing and iron. wound up eating the rotor, a half set of seals and the rear rotor housing. had it sitting at a 45* angle, gravity kicked my *** that day.
Cracking irons sucks ***. First we broke the front iron. Oil everywhere and an ensuing fire:
^^^ Thats a view from a car I just owned in the turn right before the flames from burning oil started licking up through the shifter.
Next the rear... but thats what this thread is about.
A team of geniuses is what we are. No doubt. What we need is a reliable way to control boost!
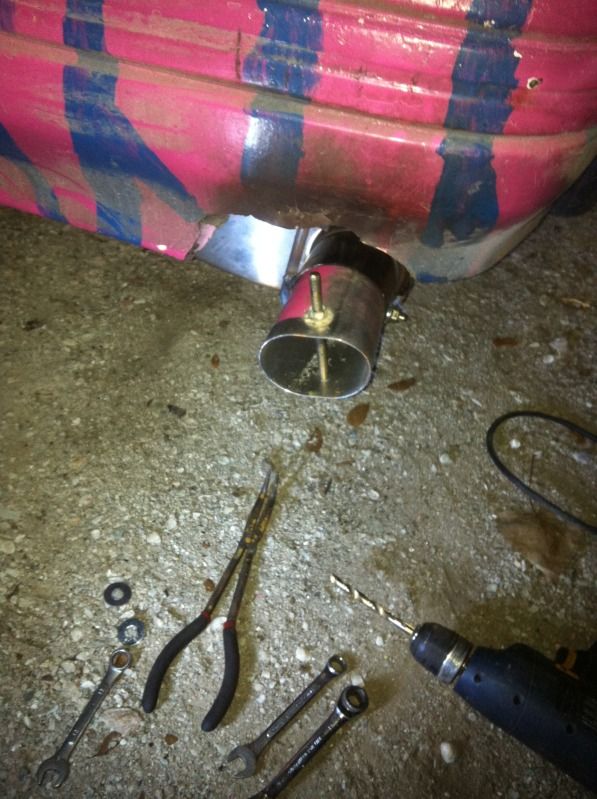
^^^ Introducing Tunable Exhaust. Simply a few turns of the wrench and you can tune your exhaust to the flow you desire. Boost creep is a thing of the past!
Done.
^^^ Thats a view from a car I just owned in the turn right before the flames from burning oil started licking up through the shifter.
Next the rear... but thats what this thread is about.
A team of geniuses is what we are. No doubt. What we need is a reliable way to control boost!
^^^ Introducing Tunable Exhaust. Simply a few turns of the wrench and you can tune your exhaust to the flow you desire. Boost creep is a thing of the past!
Done.

done it the same way but you also have to address why the iron cracked in the first place.
the turnbuckles are a little overkill though, i have used just a single wood clamp front iron to rear rotor housing and it does fine. doesn't need a ton of force to keep the sandwich together.
the turnbuckles are a little overkill though, i have used just a single wood clamp front iron to rear rotor housing and it does fine. doesn't need a ton of force to keep the sandwich together.
 . Have fun