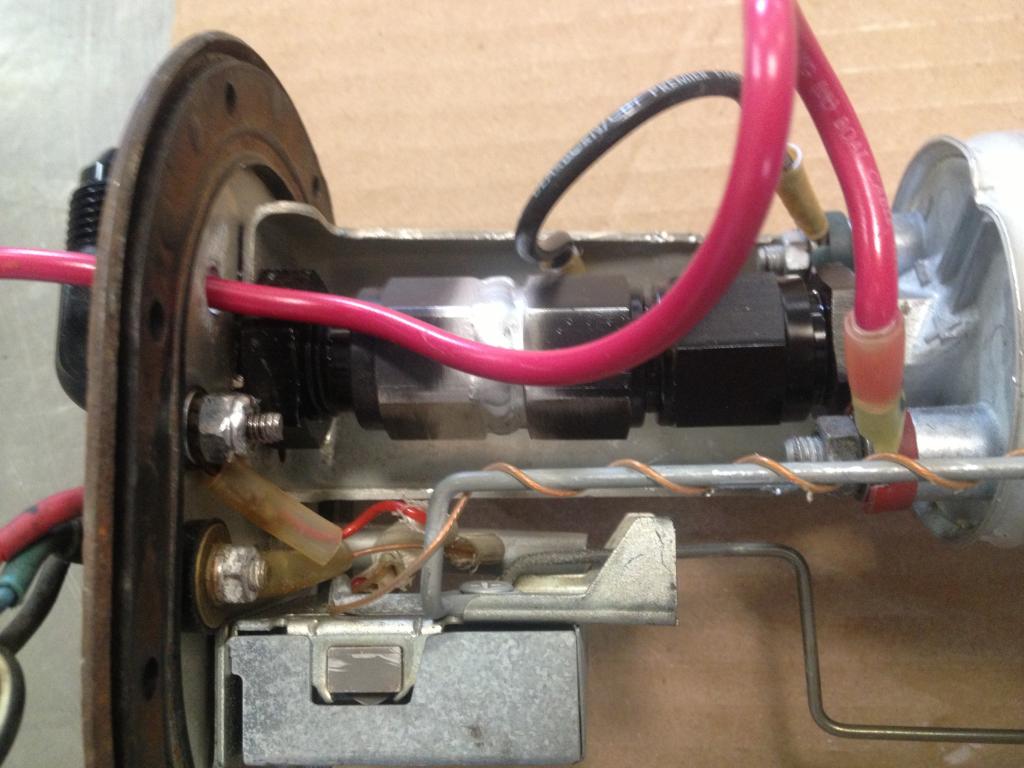
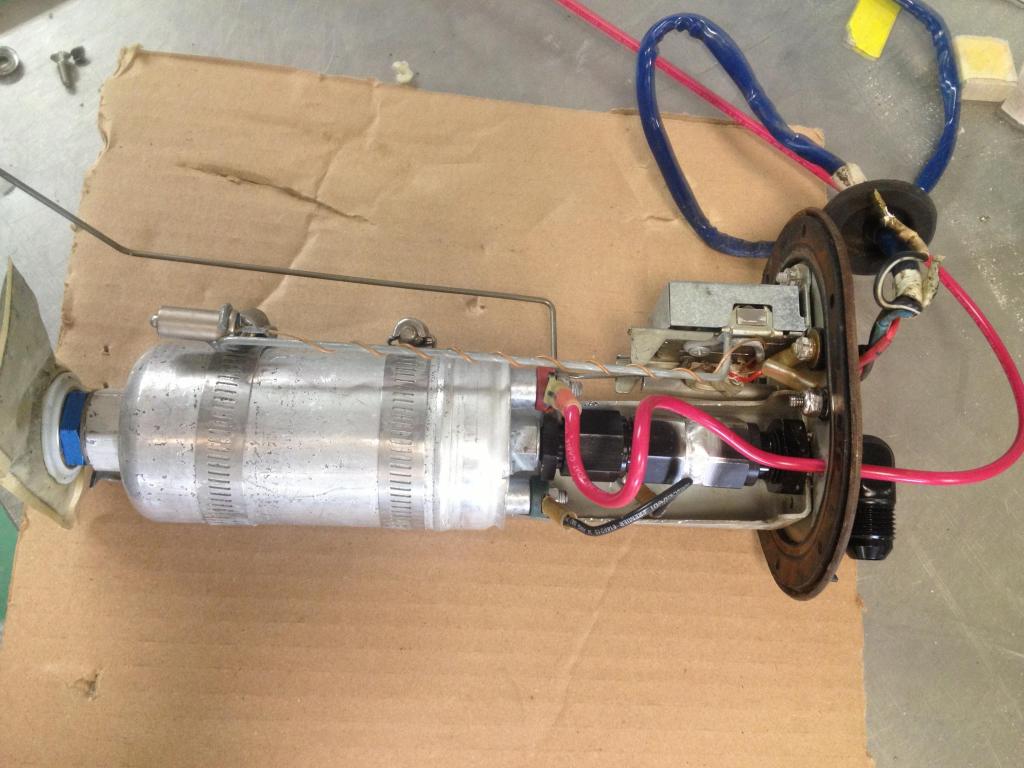
Broken black cap connector on fuel sending unit
#1
Broken black cap connector on fuel sending unit
I was wrapping up a fuel pump swap and when going to install the positive ring terminal on this connector it sheared with very minimal tightening. Now it is much too short to install the proper hardware and terminal.
Has anyone experienced this? Are these caps easily replaced, or would it be best to find another sending unit?
I was thinking I could drill a hole through the top and use some form of fuel resistant sealant to keep the tank air tight. Perhaps someone has a recommendation.
Has anyone experienced this? Are these caps easily replaced, or would it be best to find another sending unit?
I was thinking I could drill a hole through the top and use some form of fuel resistant sealant to keep the tank air tight. Perhaps someone has a recommendation.

#2
MECP Certified Installer
This is what I would do...
I would get a copper ring terminal (most are silver coated but that doesn't matter) and crimp it to the positive line. Then, I would slap that bad boy on there and solder it. You would need a small (not too small) butane torch to get it hot enough and the solder should flow right into the ring terminal and the left behind threads would create extra strength for the solder joint.
After that, I would cut the wire about 6-12 inches up and install a weatherproof quick connect...problem solved.
DISCLAIMER!!!
Do not use a torch near the fuel tank! If it is already nice and dry, good, but if it just came out of the tank let that **** dry for at least 6 hours.
#3
I have dealt with this exact problem. You need to grind the broken stud down flat and drill through the center. Use a nut and bolt to sandwich the ring terminal to the brass bulkhead. Be careful though, the center conductive section of the bulkhead is not very large, so don't drill a giant hole.
#5
Ok I was able to solder it. Thanks for the suggestions. It feels very sturdy. Here's to hoping it holds up.
What do you guys think? (I'm very inexperienced when it comes to soldering, so it's not pretty.)
I'm also curious as to if the solder is compatible. This was just standard rosin core.
It was very scary because I had to pull off the ring connector on the next stud over as not to melt it! Luckily this one did not shear off.
Trending Topics
#8
MECP Certified Installer
Ok I was able to solder it. Thanks for the suggestions. It feels very sturdy. Here's to hoping it holds up.
What do you guys think? (I'm very inexperienced when it comes to soldering, so it's not pretty.)
I'm also curious as to if the solder is compatible. This was just standard rosin core.
It was very scary because I had to pull off the ring connector on the next stud over as not to melt it! Luckily this one did not shear off.
What do you guys think? (I'm very inexperienced when it comes to soldering, so it's not pretty.)
I'm also curious as to if the solder is compatible. This was just standard rosin core.
It was very scary because I had to pull off the ring connector on the next stud over as not to melt it! Luckily this one did not shear off.
#9
Under it is a hex shaped hole. I used a stat-o-seal washer and a stainless bolt.
this is the only picture I have of it, I was still under construction here but that wire is done. I twas for the fuel sender and same as you I just put ever so slight pressure with my 1/4" drive that it snapped- next time I mess with one of these im just going to use a hand driver but I think age got the better of it took hardly anything for it to break off on me


#10
Pardon my ignorance, but why do you say this? It feels incredibly strong. Is there something you see that leads you to believe that? I'm not disagreeing with you, I just truly don't understand.
@ Rob XX 7 - It broke much too easy! I had barely gotten the lock washer seated when it failed.
@ Rob XX 7 - It broke much too easy! I had barely gotten the lock washer seated when it failed.
#11
MECP Certified Installer
Pardon my ignorance, but why do you say this? It feels incredibly strong. Is there something you see that leads you to believe that? I'm not disagreeing with you, I just truly don't understand.
@ Rob XX 7 - It broke much too easy! I had barely gotten the lock washer seated when it failed.
@ Rob XX 7 - It broke much too easy! I had barely gotten the lock washer seated when it failed.
#12
Engine, Not Motor
iTrader: (1)
Join Date: Feb 2001
Location: London, Ontario, Canada
Posts: 29,789
Likes: 0
Received 108 Likes
on
91 Posts
If you want to go whole hog, you could weld up the stock holes and redrill for something like this:
Racetronix - Universal Bulkhead Wiring System, 4-Way
Racetronix - Universal Bulkhead Wiring System, 4-Way
#13
You are supposed to heat the part and not the solder. For lead solder, the part needs to be heated to roughly 400* and then the solder will "flow" and "wick" onto it. When the part isn't hot enough the solder will blob onto the joint like in your picture thus being a "cold" solder joint. When you make a cold solder joint, the solder isn't properly bonded to the point and will fail at some point.
#14
If you want to go whole hog, you could weld up the stock holes and redrill for something like this:
Racetronix - Universal Bulkhead Wiring System, 4-Way
Racetronix - Universal Bulkhead Wiring System, 4-Way
Thread
Thread Starter
Forum
Replies
Last Post
trickster
2nd Generation Specific (1986-1992)
25
07-01-23 04:40 PM


