wire tuck
 09-26-11, 06:58 AM
#1
wire tuck
well, i decided to change the name of my project from "the mutt" to "cluster fu#K." The only reason I decided to do this to my car is that I've already been working on it for about 8 months, off and on, and Im changing the color. Everything needed pulled from my bay to get painted so I figured I might as well add hours and hours of work for hardly any reason at all. Her are pictures of my progress:
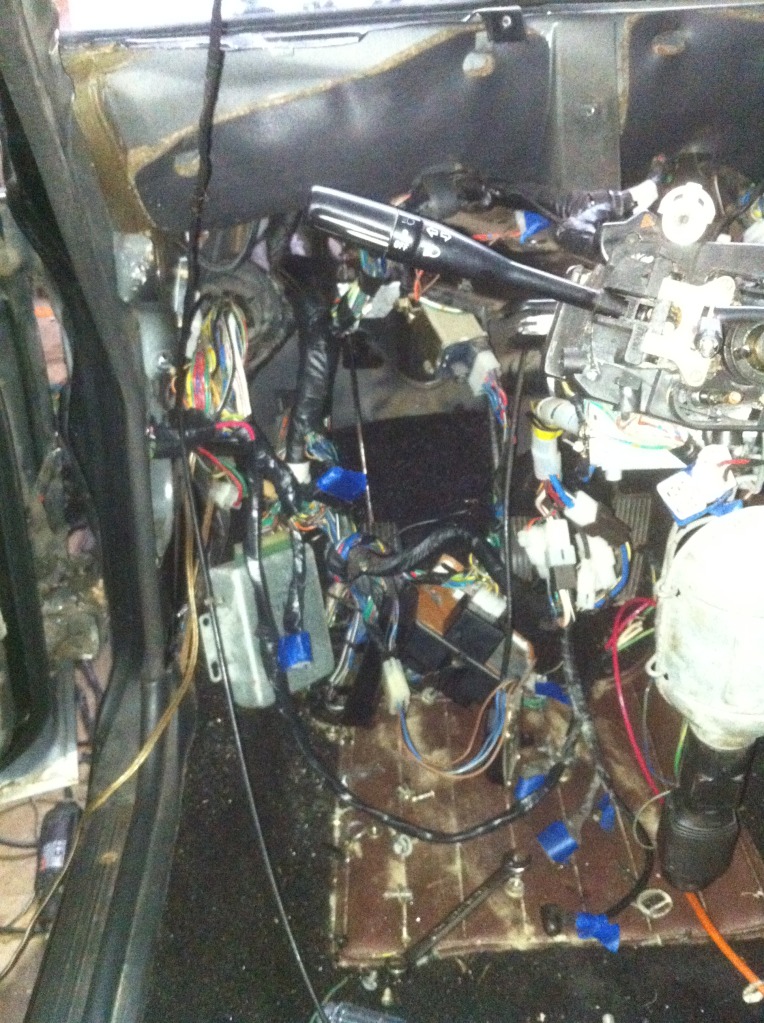
 all labeled up and ready to be pulled through.
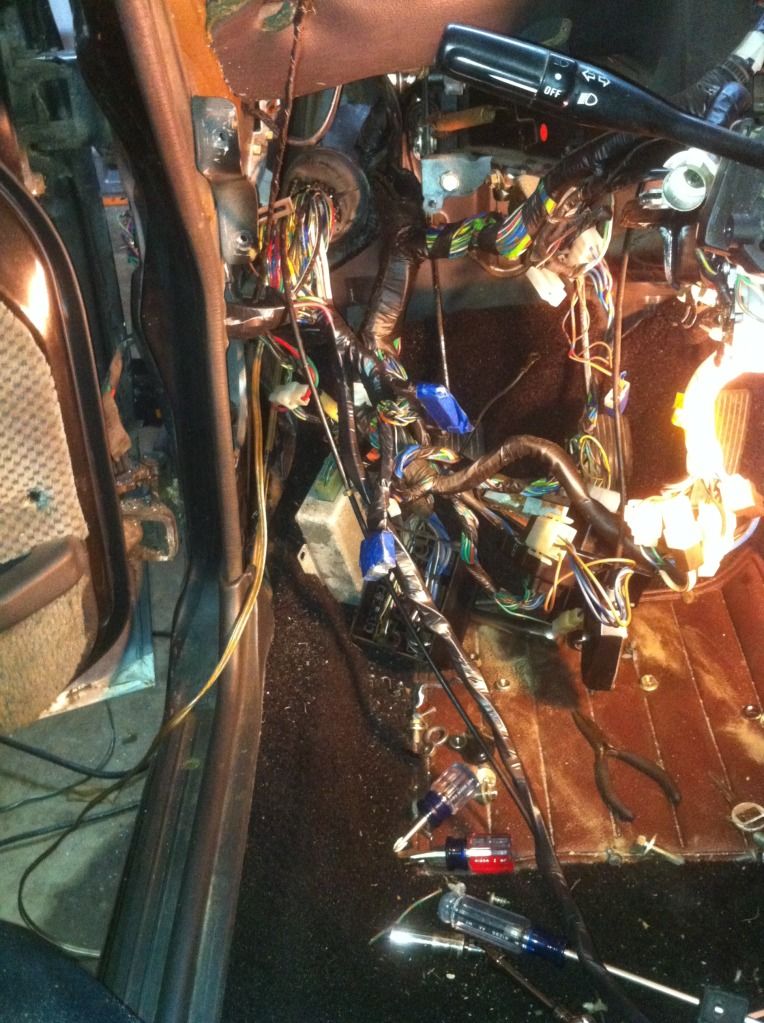
 removed my dash (again) to pull all the HVAC crap and pull the harness through, this is where "cluster fu#k" came from
 even with the dash out, that cluch master cyl is still a bitch to remove!
I'll have quite a few hours to work on it tonight, and should have it done (the wiring part) by thursday. This isnt my first rodeo, i used to have an integra that I wire tucked. I was young, and didnt go as into detail as i am on this car but here is a pic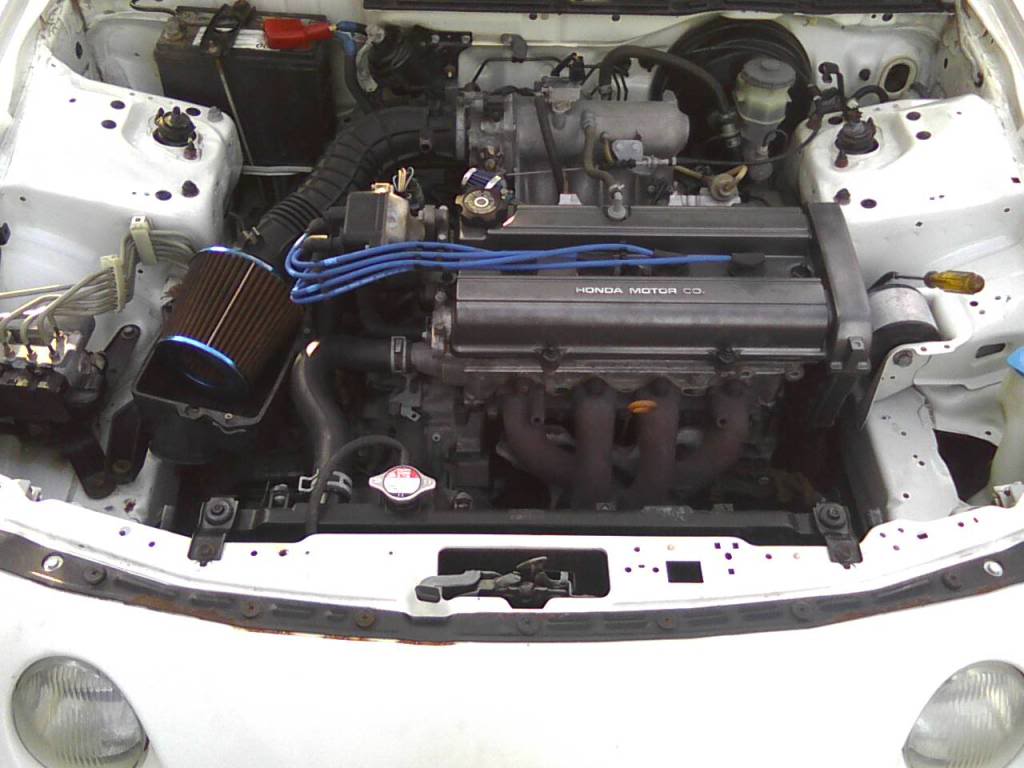
all labeled up and ready to be pulled through. removed my dash (again) to pull all the HVAC crap and pull the harness through, this is where "cluster fu#k" came from even with the dash out, that cluch master cyl is still a bitch to remove!I'll have quite a few hours to work on it tonight, and should have it done (the wiring part) by thursday. This isnt my first rodeo, i used to have an integra that I wire tucked. I was young, and didnt go as into detail as i am on this car but here is a pic
 09-26-11, 09:49 AM
#3
not sure why i cant edit my post, so i have to make another one...
regarding the choke and check relay... what exactly does it do? I read that it controlls some of the idiot lights by telling when the alternator is turned on. Do i need this? what do i need to do to remove it? I'd just keep it, but I thought it was for AC/hotstart so i kinda... deleted it.
regarding the choke and check relay... what exactly does it do? I read that it controlls some of the idiot lights by telling when the alternator is turned on. Do i need this? what do i need to do to remove it? I'd just keep it, but I thought it was for AC/hotstart so i kinda... deleted it.
09-26-11, 09:37 PM
#5
thank you, i worked on it quite a bit tonigh, as well as rebuilt and painted my clutch master cyl. So far I've only had to exted 3 wires, but I have a feeling that buy the end it will be more or so along the lines of maybe 10 wires max. I'd post pics, but i cant right now  plus i dont like how I routed my harness out of the car. Regarding the facebook page... I breed meat rabbits, (weird, I know) the page started out as a joke, but then I started actually selling rabbits because of it. Go figure lol wont get to work on the car tomorrow
  but definatly wednesday and Thursday
plus i dont like how I routed my harness out of the car. Regarding the facebook page... I breed meat rabbits, (weird, I know) the page started out as a joke, but then I started actually selling rabbits because of it. Go figure lol wont get to work on the car tomorrow but definatly wednesday and Thursday
09-27-11, 12:55 AM
#6
Have fun doing this. lol. You already have some experience so you probably wont have as hard of a time as me. Plus I removed all the unused wiring and changed to weatherpack connectors. It looks so much better, and is definitely worth the effort in my opinion. Good luck.
09-27-11, 04:44 AM
#7
the wiring part is easy, its the welding all the holes shut/sanding that is going to suck. Plus, i've never done that part before. I have a friend thats a body guy, and he's actually pretty good. Its just trying to get him over to help thats the problem.
Trending Topics
The following users liked this post:
Alex9713 (02-02-20)
09-29-11, 06:29 AM
#9
shouldnt the 280zx of been the practice car?!  just kidding
Here is the progress I made, I spent all day yesterday cleaning the rabbit barn :/
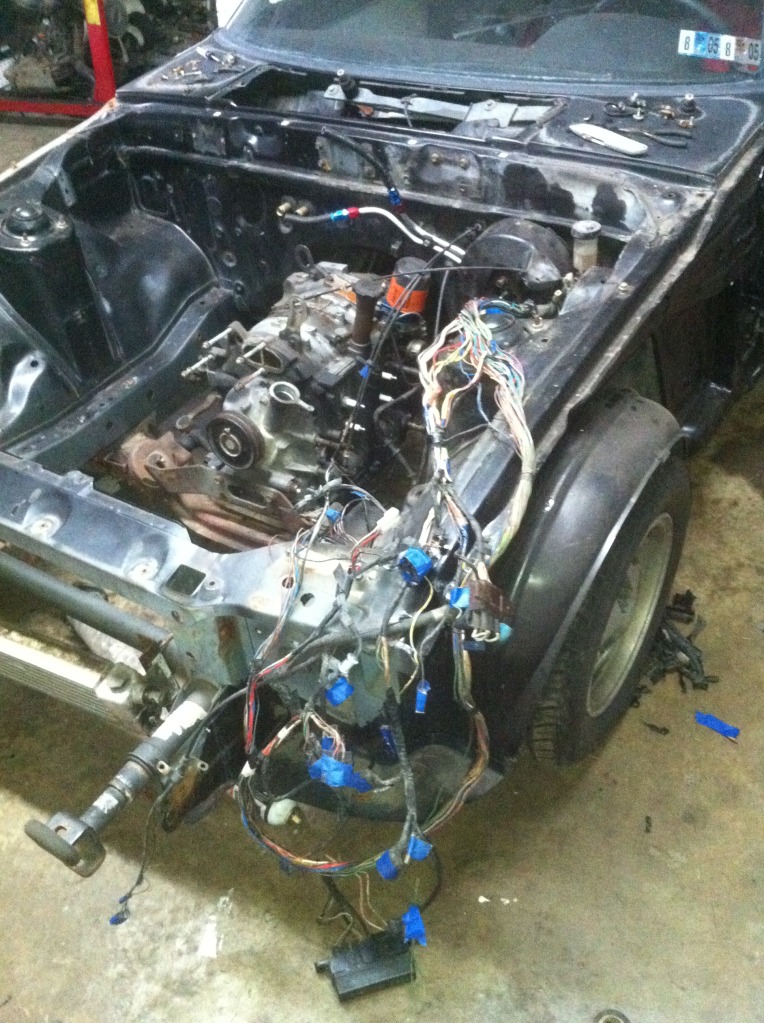
This is my wiring all cleaned up, all the un used ones are gone, and all the ones that needed lengthened are lengthened. It was really only about 5 or 6 wires I believe, so far.
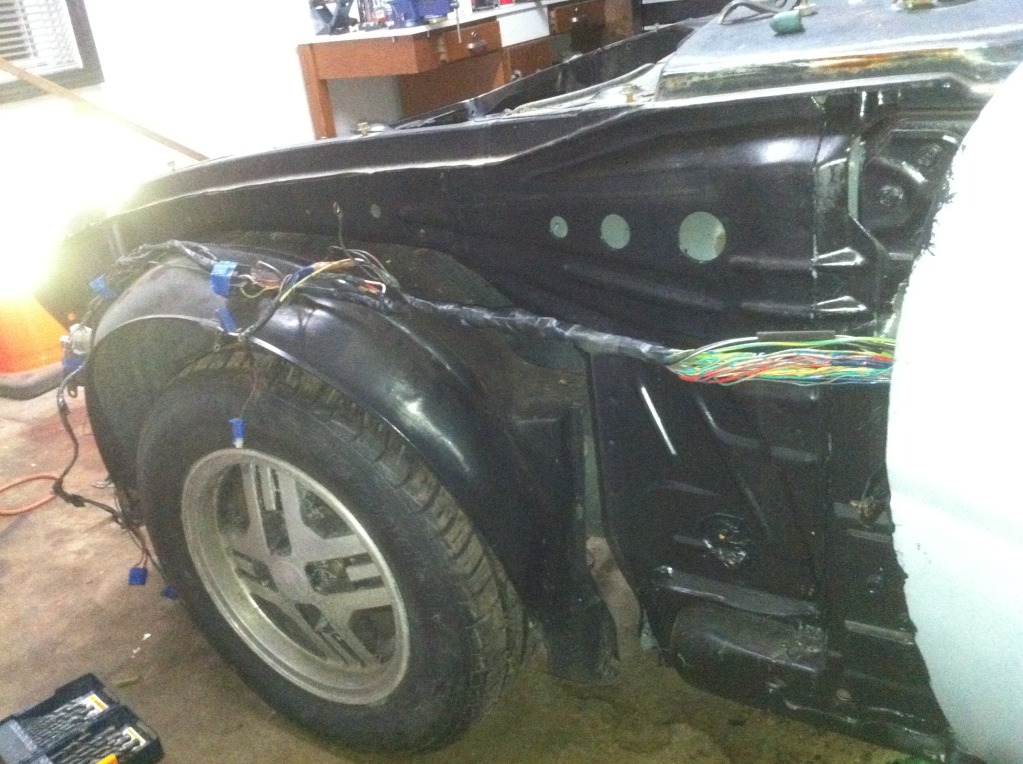
I dont like this at all. Im going to get a 2.75" holesaw and make a new hole about where the middle one is on the frame/what ever you want to call it. Plus, it will give me another foot of light harness length, and more room under the dash to run it there.
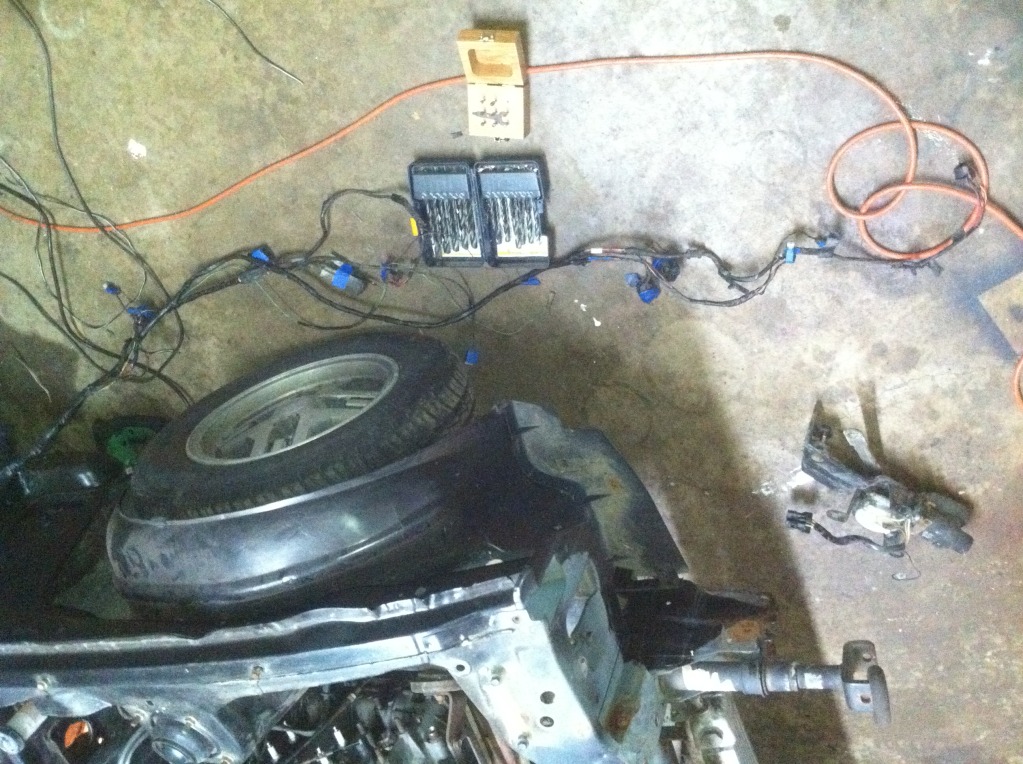
This is the new and improved (i hope) harness laying outside the car.
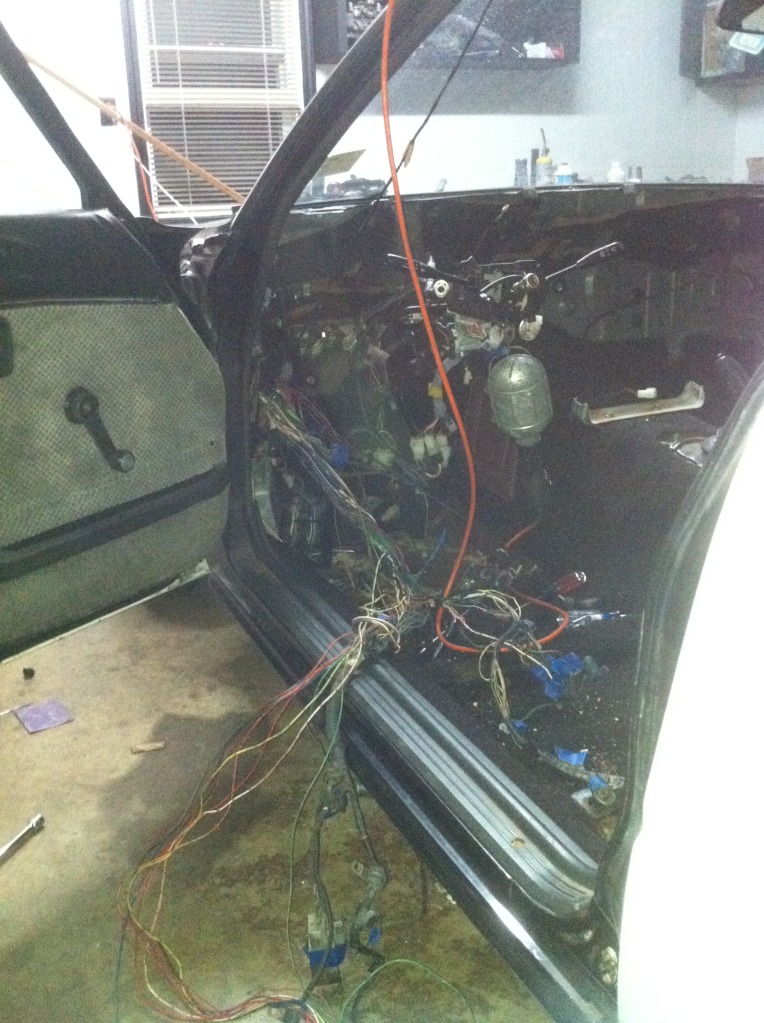
and this is currently what it looks like under my dash. The tranns and engine wires will be ran up and over the mount for the steering column, where the stock harness goes, and exit the car under the tranny hump.
I can't believe 215 people looked at this and only like 3 commented, figured this would be more "cool" haha
just kidding Here is the progress I made, I spent all day yesterday cleaning the rabbit barn :/
This is my wiring all cleaned up, all the un used ones are gone, and all the ones that needed lengthened are lengthened. It was really only about 5 or 6 wires I believe, so far.
I dont like this at all. Im going to get a 2.75" holesaw and make a new hole about where the middle one is on the frame/what ever you want to call it. Plus, it will give me another foot of light harness length, and more room under the dash to run it there.
This is the new and improved (i hope) harness laying outside the car.
and this is currently what it looks like under my dash. The tranns and engine wires will be ran up and over the mount for the steering column, where the stock harness goes, and exit the car under the tranny hump.
I can't believe 215 people looked at this and only like 3 commented, figured this would be more "cool" haha
09-29-11, 06:54 AM
#10
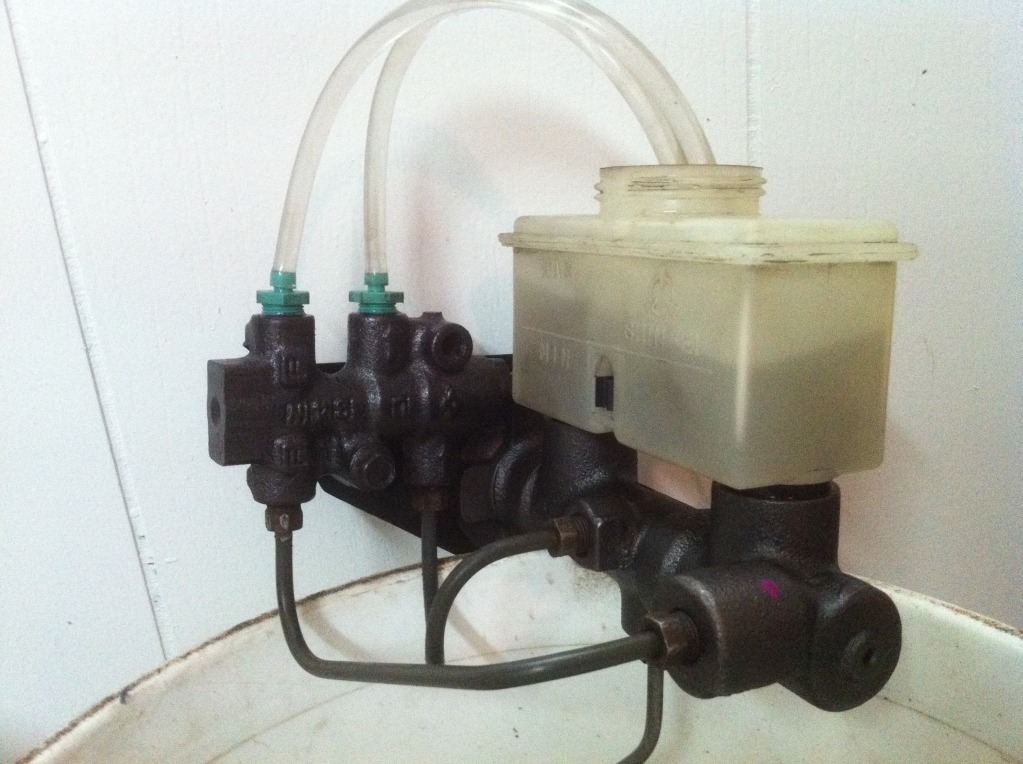
oh yeah, figured that since it was all apart, and me and the clutch master dont get along.. I'd rebuild my hydrolics while it was apart. The brake master was actually cheaper to buy, but the clutch slave and master I rebuilt. Here are some pics!
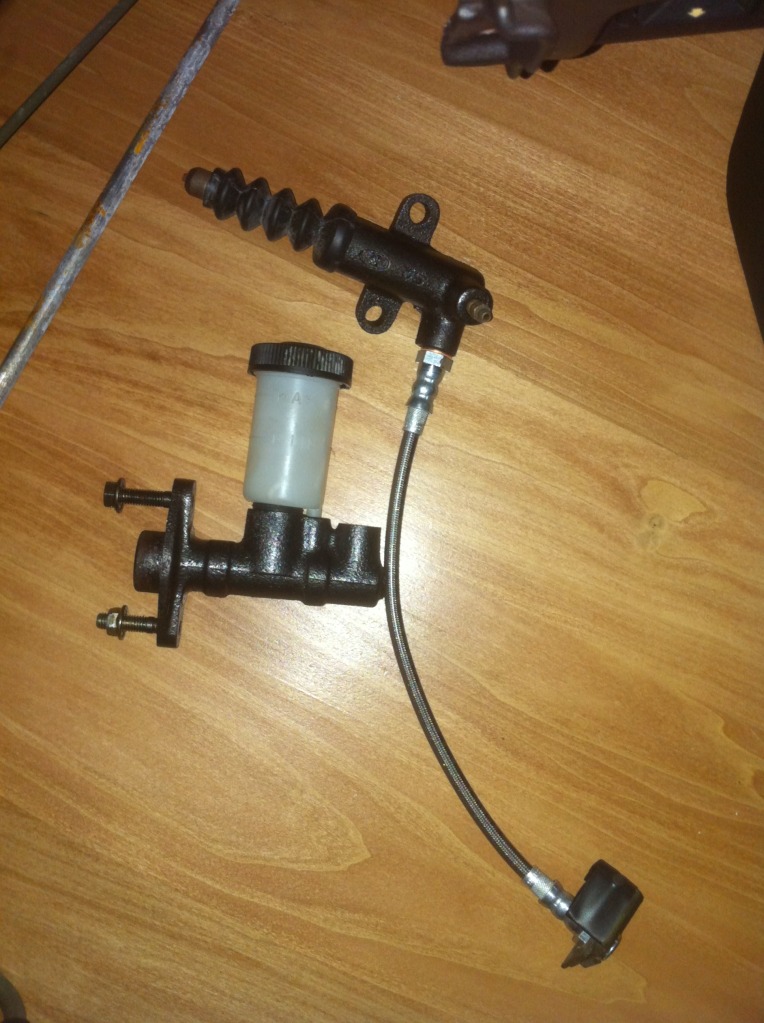
It took me about 20 min to get the piston out of the clutch master, but all seems* like its new!
It took me about 20 min to get the piston out of the clutch master, but all seems* like its new!
09-29-11, 06:30 PM
#13
lol. It would have been, but I'm having trouble getting it registered in my name. I'm not gonna put a bunch of work and money in to a car that isn't legally mine. If I hadn't had trouble with the title I never would have bought the 7 though. So something good came from it. lol.
Looking good so far. You don't have to do much lengthening until you get to the stuff that has to reach the passenger side. Then things get interesting. lol. I got pretty good at working the solder and a torch (much faster than a soldering gun/iron). Keep it up. I can't wait to see the final product.
lol. Looking good so far. You don't have to do much lengthening until you get to the stuff that has to reach the passenger side. Then things get interesting. lol. I got pretty good at working the solder and a torch (much faster than a soldering gun/iron). Keep it up. I can't wait to see the final product.
10-10-11, 07:07 AM
#15
update!
i just realized that i've been doing an *** load of work to my car, and no updating. So here it is (for the two people interested )
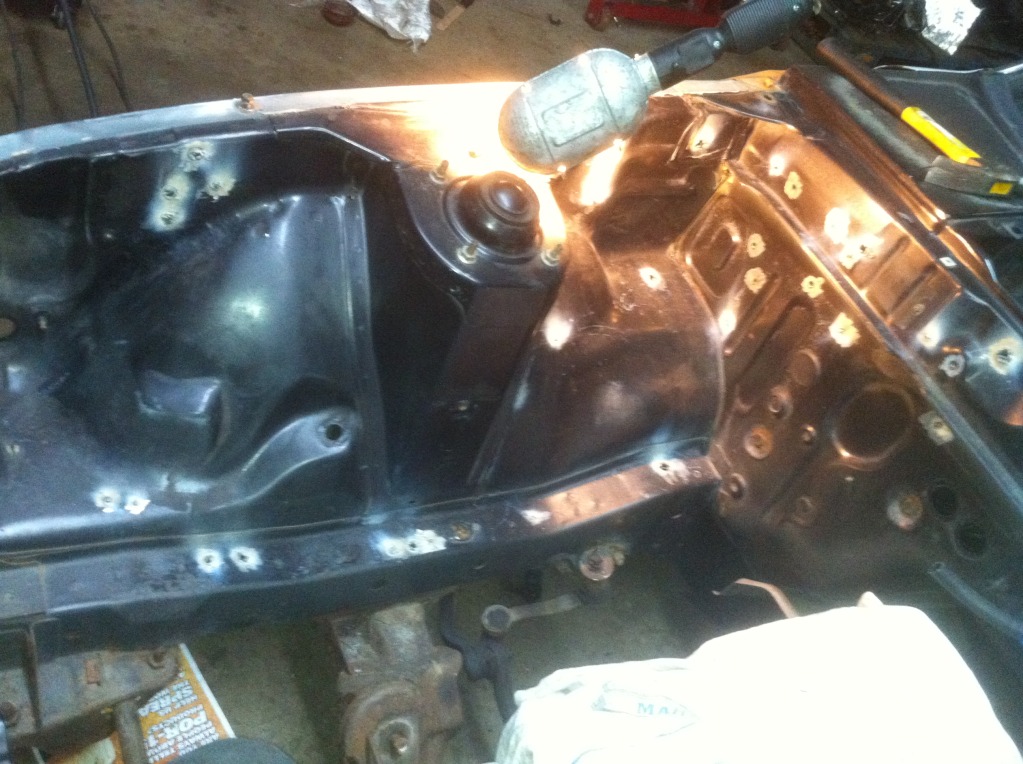
this pic was before i decided to remove all paint in the bay. Pass side all welded up
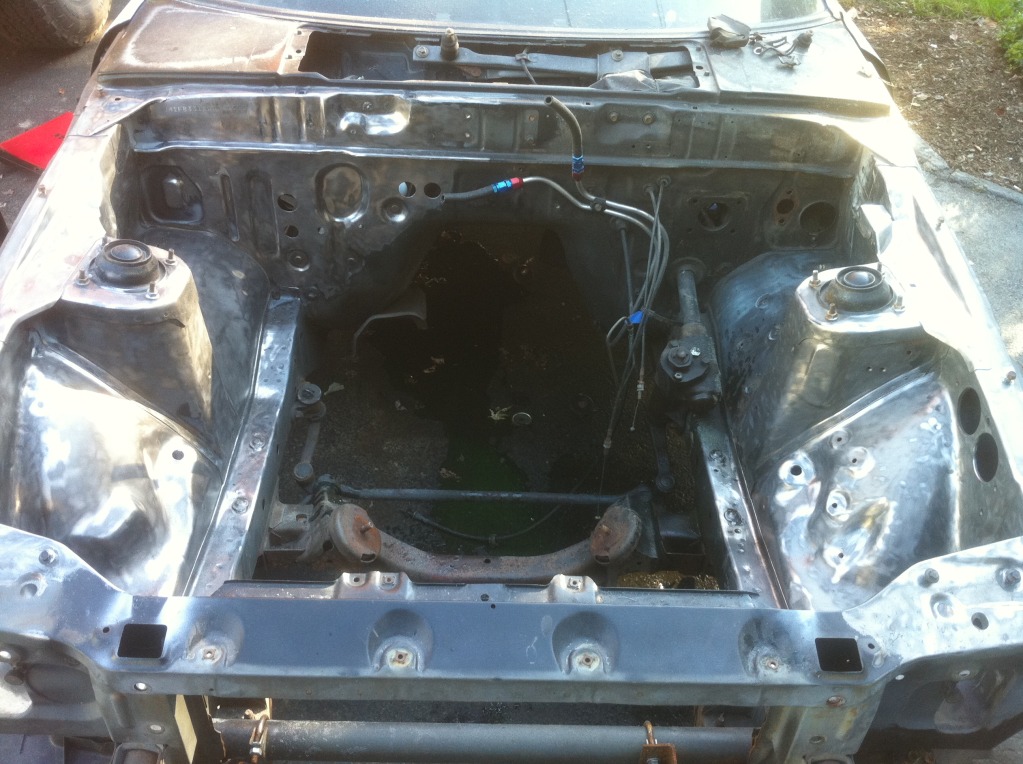
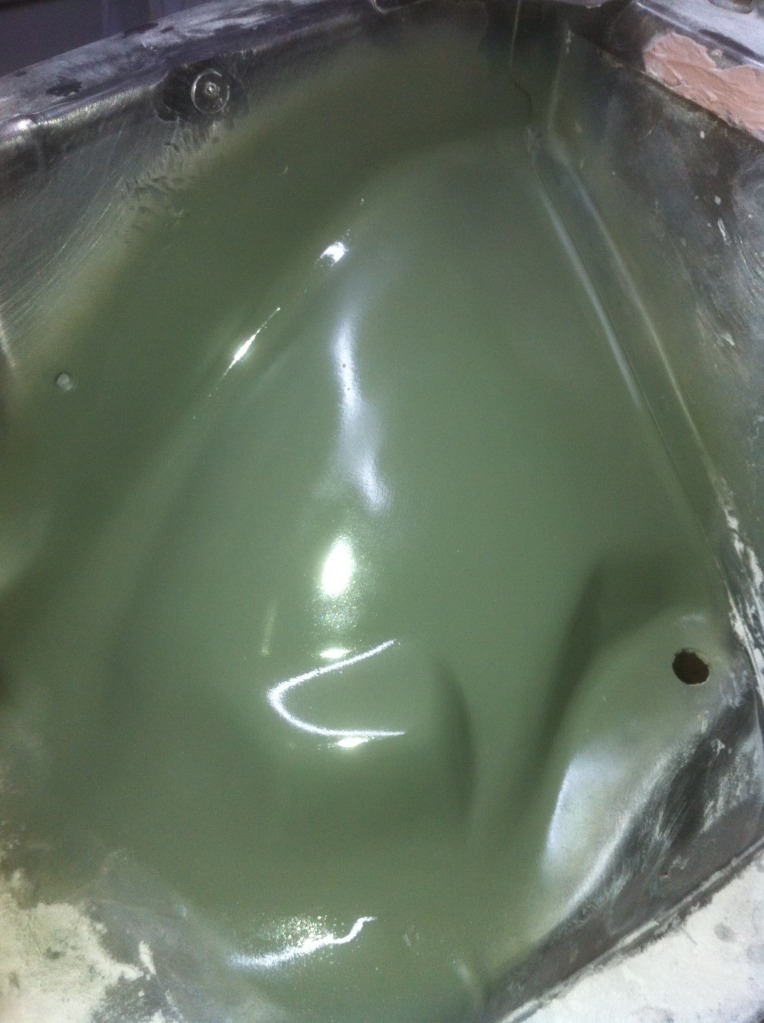
this one is after i decided leaving paint in the bay wasnt an option lol
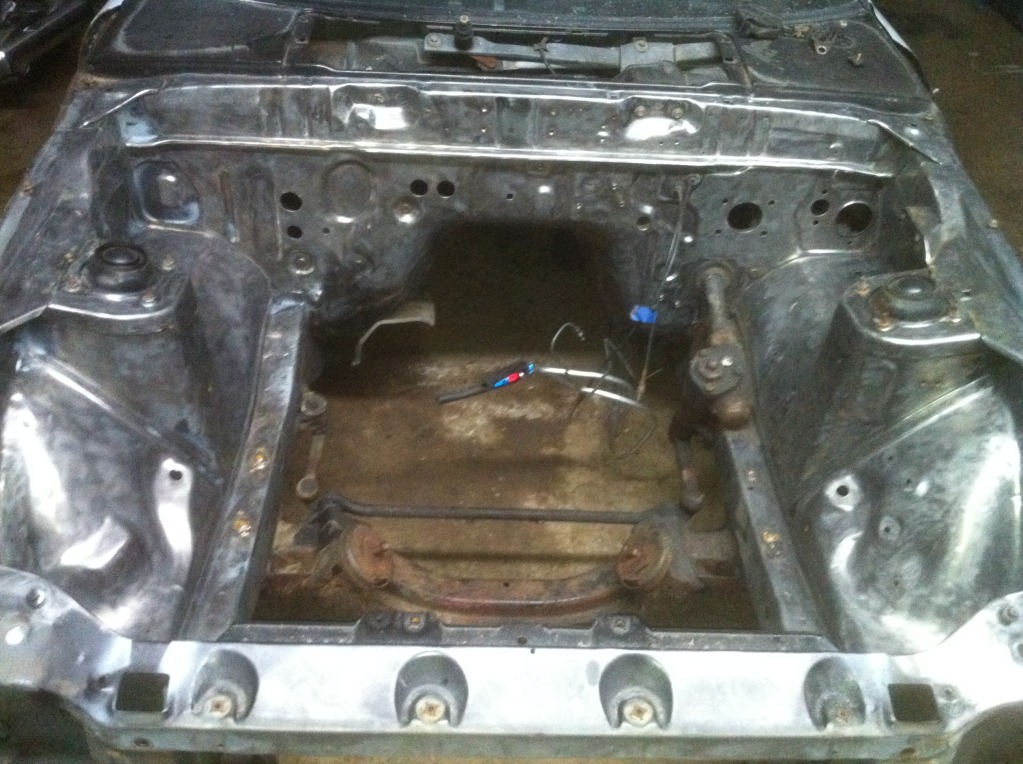

drivers side mostly welded up
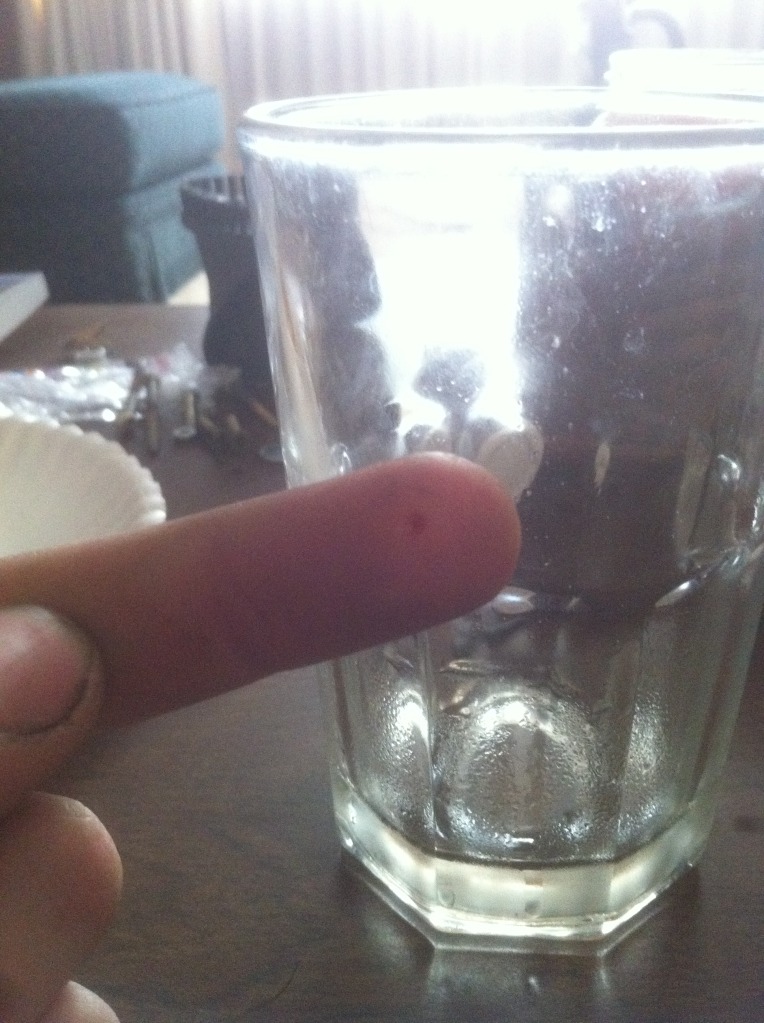
boo boo i got after catching firewall padding on fire, its about a half inch deep...
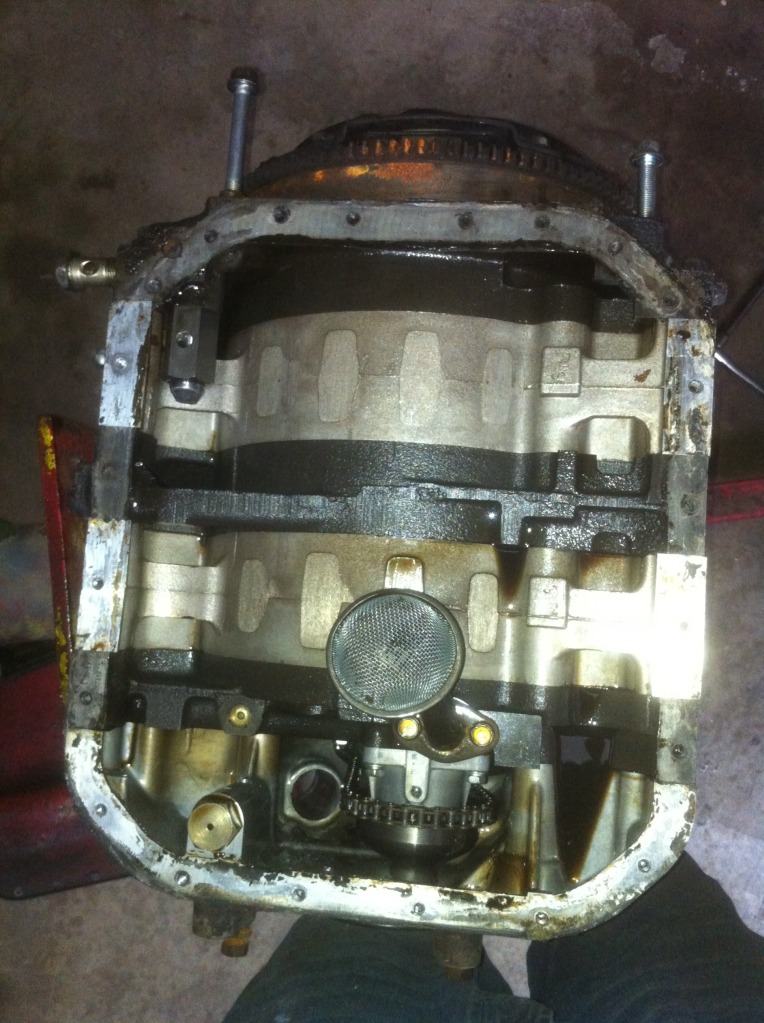
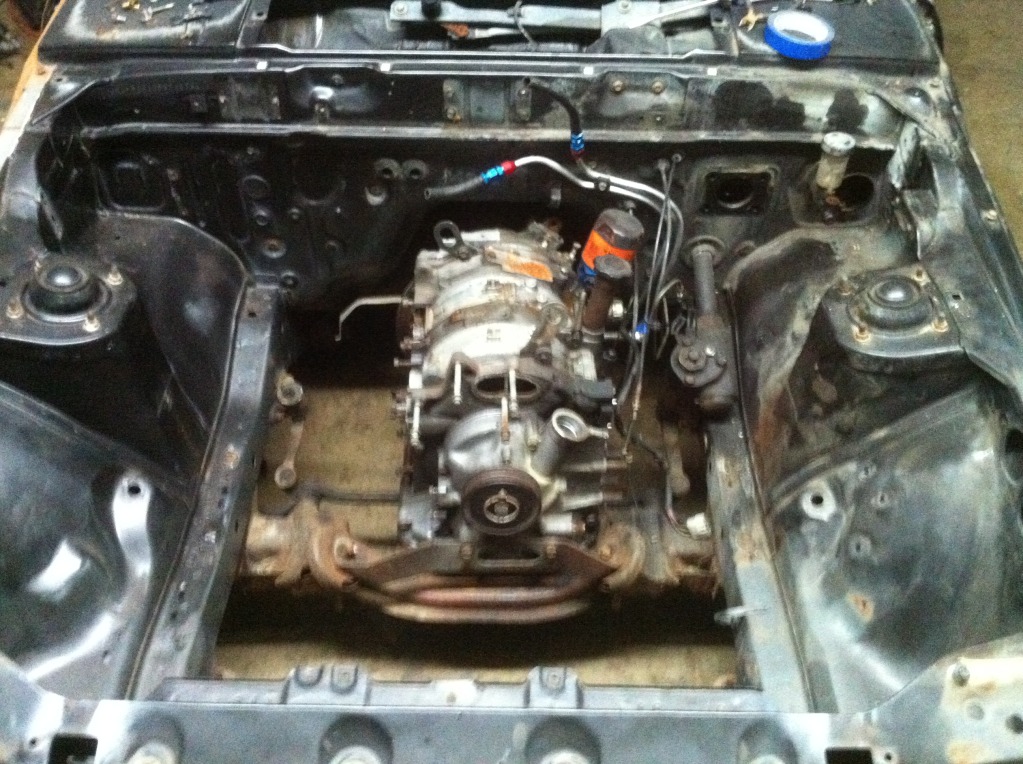
this is my little 12a getting oil pressure mods.
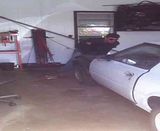
and this is how light a 7 is
i still have a lot of welding and grinding to do, then my one buddy is coming over to help do the actual smoothing of the bay out and then prep for paint. As I am NOT a body work kinda guy...
)this pic was before i decided to remove all paint in the bay. Pass side all welded up
this one is after i decided leaving paint in the bay wasnt an option lol
drivers side mostly welded up
boo boo i got after catching firewall padding on fire, its about a half inch deep...
this is my little 12a getting oil pressure mods.
and this is how light a 7 is
i still have a lot of welding and grinding to do, then my one buddy is coming over to help do the actual smoothing of the bay out and then prep for paint. As I am NOT a body work kinda guy...
10-10-11, 01:38 PM
#16
my freaking mind is in a knot. I've been reading up on paint jobs, because I dont trust anyone. I never knew there were so many different kinds of primer! When my bay is all welded up and ground down im going to etch primer it, then body filler, then filler primer it and wet sand, then epoxy primer/sealer and then paint. Sound good?
How do i remove the steering box??
How do i remove the steering box??
10-10-11, 09:44 PM
#18
Moderator
iTrader: (3)
Join Date: Mar 2001
Location: https://www2.mazda.com/en/100th/
Posts: 30,829
Received 2,597 Likes
on
1,845 Posts
10-11-11, 11:36 PM
#20