
Porting a 12a

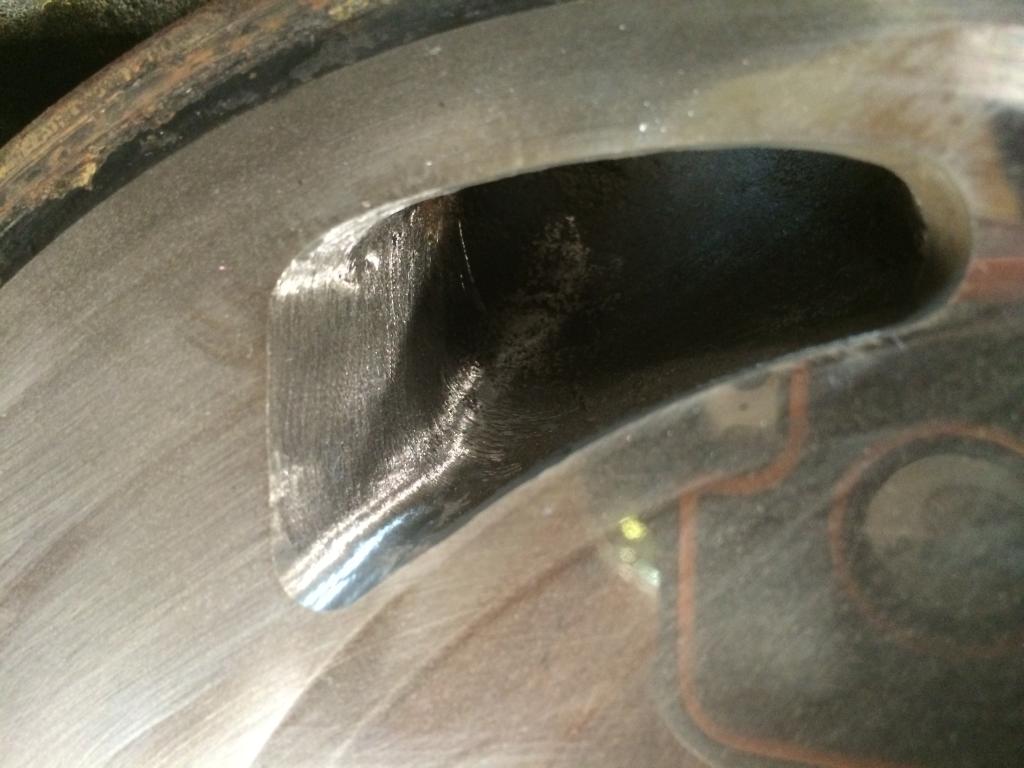
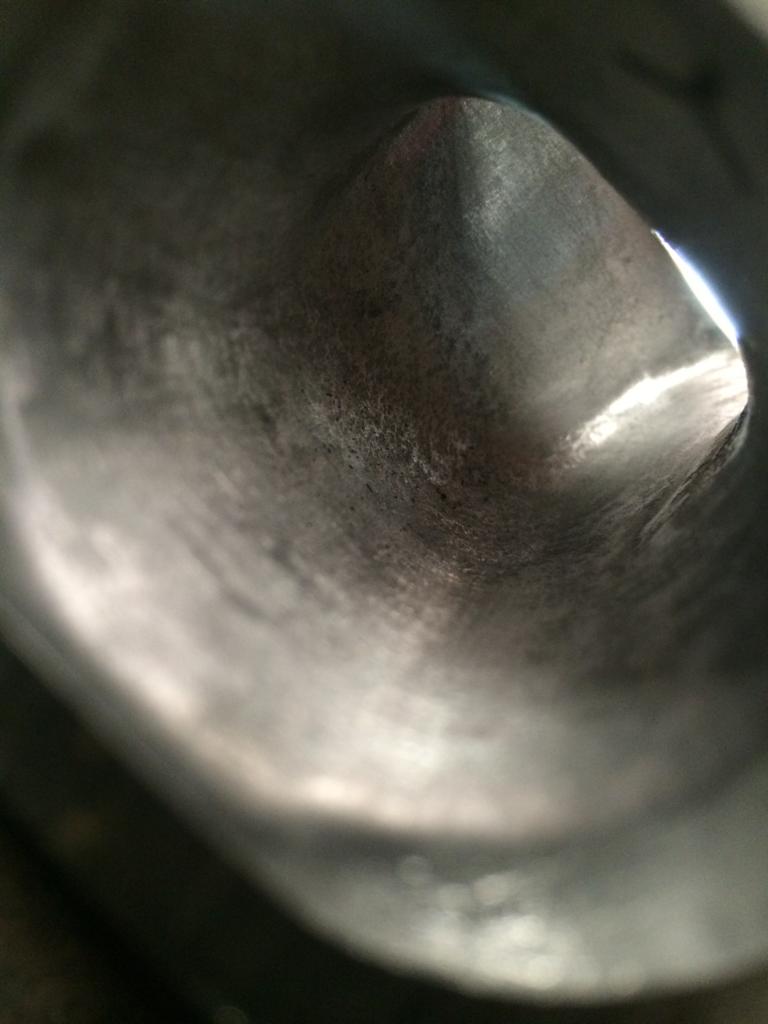
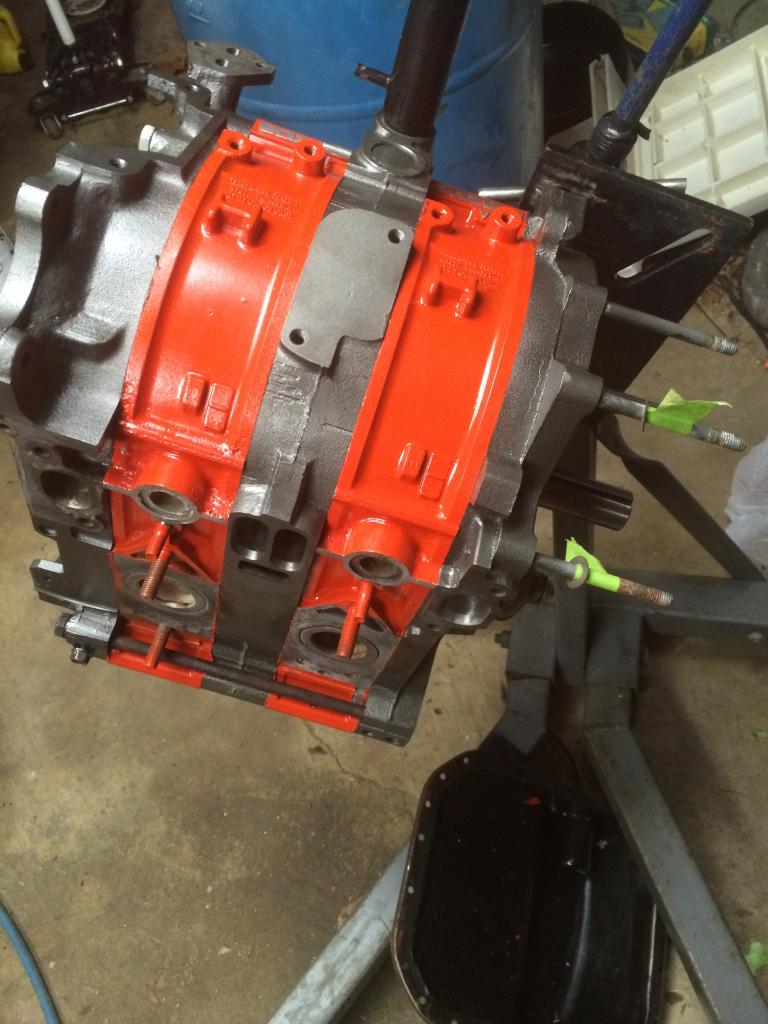
It might be ok. One unfortunate fact about capturing ports with a camera is they are a 3D object projected onto a 2D surface (like a PC monitor) so it's never going to be accurate. Thus I can't comment on your port shape.
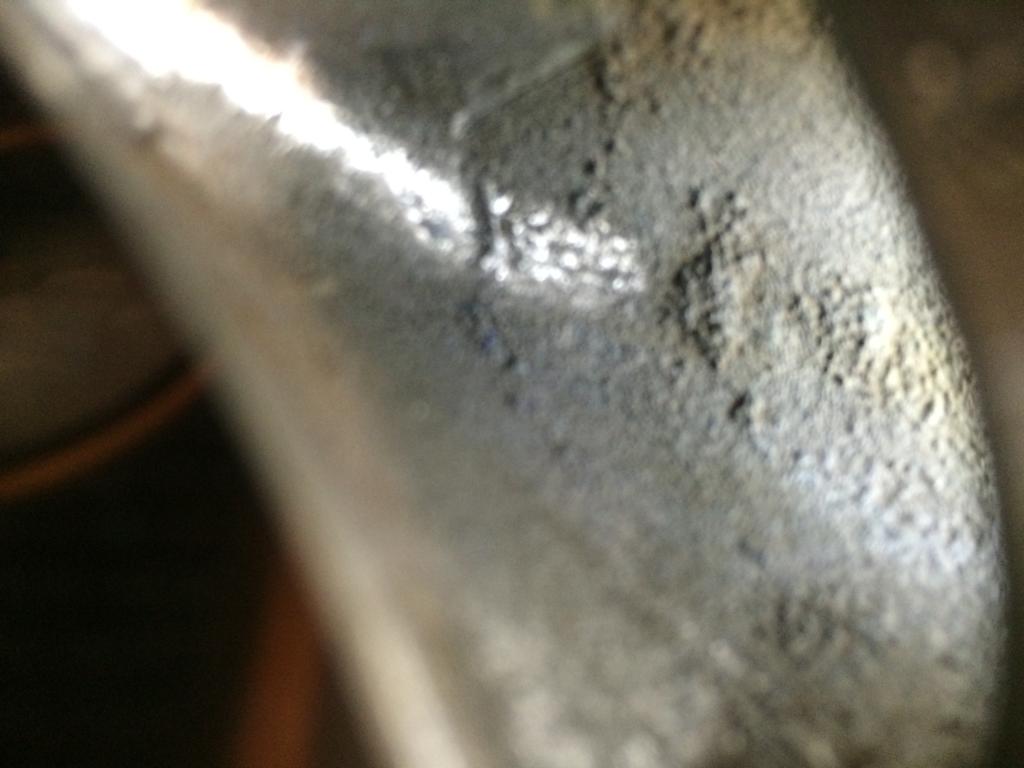
As for the surface finish you're asking about, I'd say your pics aren't good enough for me to say 100%. But from what I can see, they are decent.
How do they feel compared with the original sand casting of the runners?
As for the surface finish you're asking about, I'd say your pics aren't good enough for me to say 100%. But from what I can see, they are decent.
How do they feel compared with the original sand casting of the runners?
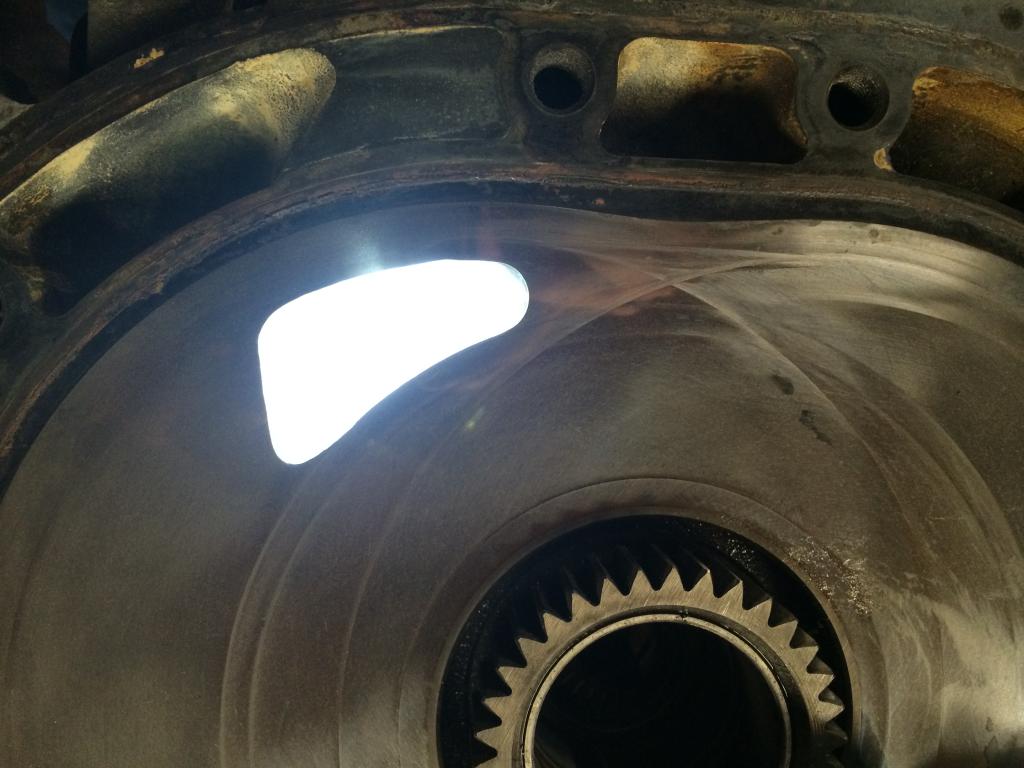
Ok, that's good enough. Never polish or smooth ports like glass. I aquired a set of irons that were ported too smooth once. They were also resurfaced by the PO so I felt good about giving them to a metal recycler.
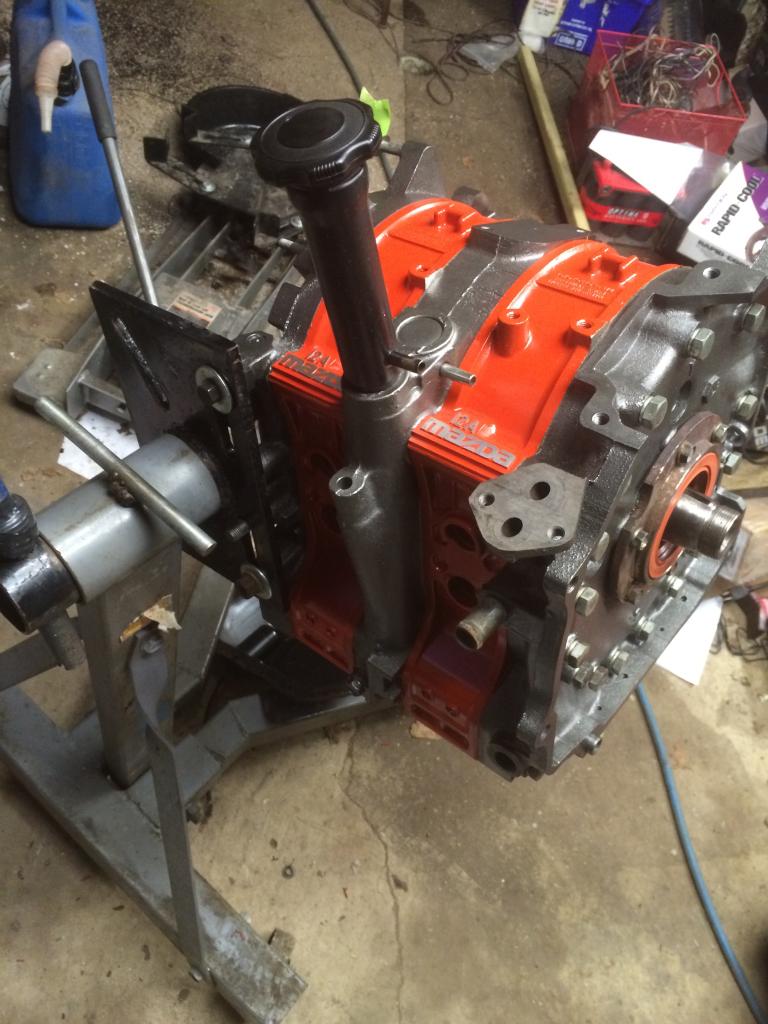


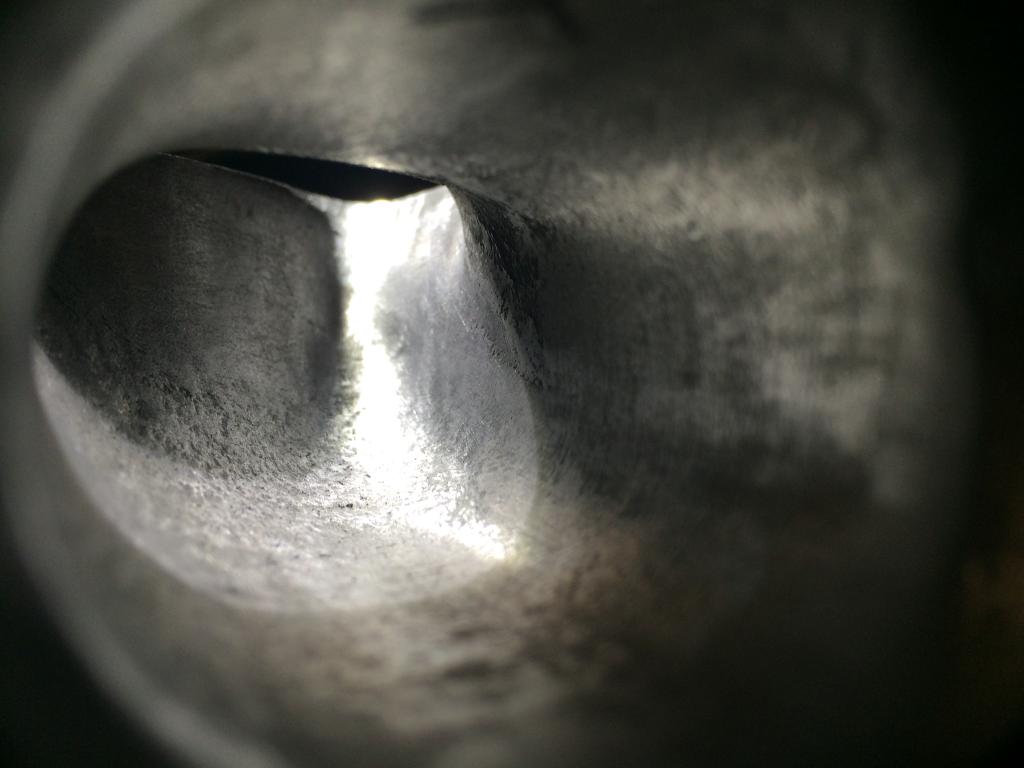
looking good. i like the port work you did, particularly in the runner you showed. i definitely look forward to seeing some video of the first fire and hearing your thoughts on how you like it while driving.
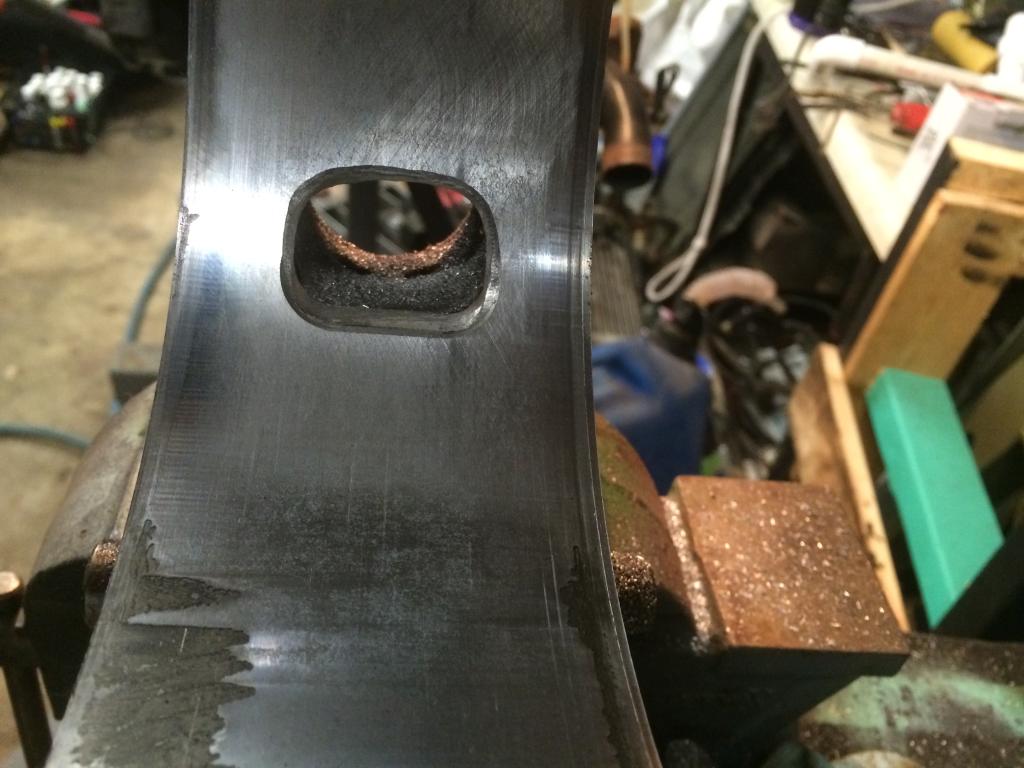
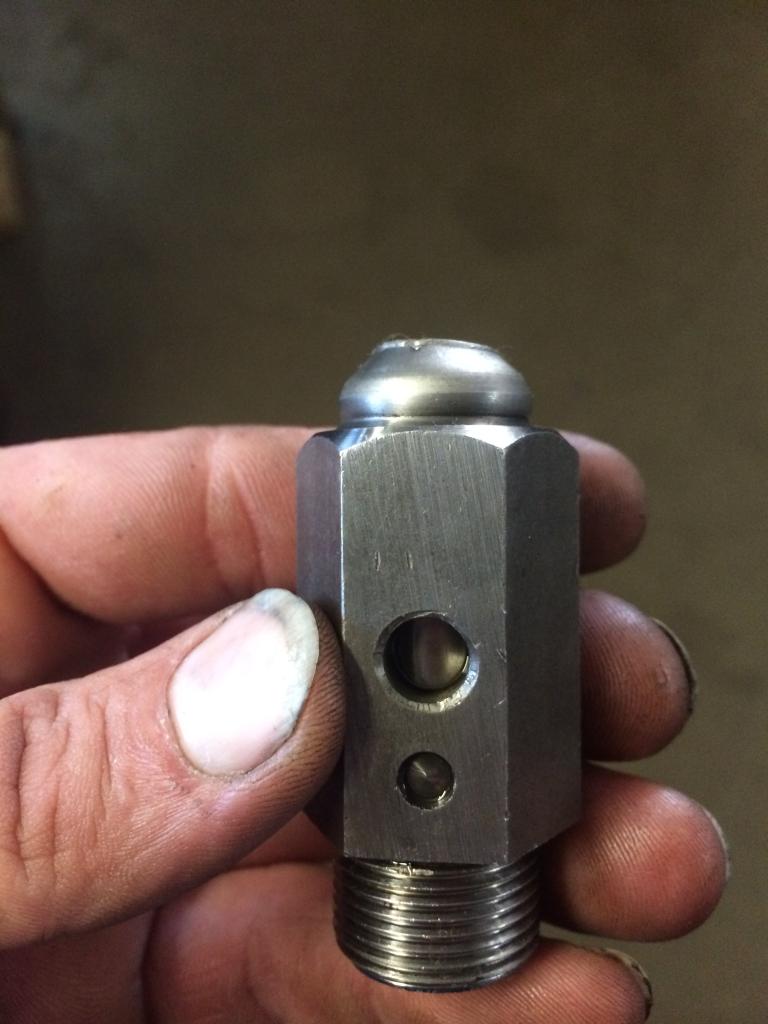
question on your ROPR modification: i'm actually about to do my first one (it always intimidated me and REW ones are cheap, what can i say?) and until now, i was only aware of beating them down with a hammer, but i recently watched a video where the guy said he basically smashed it with a press. could you just do a basic description of how you did yours?
question on your ROPR modification: i'm actually about to do my first one (it always intimidated me and REW ones are cheap, what can i say?) and until now, i was only aware of beating them down with a hammer, but i recently watched a video where the guy said he basically smashed it with a press. could you just do a basic description of how you did yours?
Thread Starter
Anti piston
Joined: Feb 2013
Posts: 318
Likes: 0
From: Iowa
looking good. i like the port work you did, particularly in the runner you showed. i definitely look forward to seeing some video of the first fire and hearing your thoughts on how you like it while driving. question on your ROPR modification: i'm actually about to do my first one (it always intimidated me and REW ones are cheap, what can i say?) and until now, i was only aware of beating them down with a hammer, but i recently watched a video where the guy said he basically smashed it with a press. could you just do a basic description of how you did yours?
Thread Starter
Anti piston
Joined: Feb 2013
Posts: 318
Likes: 0
From: Iowa
LoL nope I didn't keep my practice irons but I did get another complete engine so now I have my spec 74 build, and two stock 12a engines. I am going to do a full bridge port next. But I want to keep my original engine stock because my 13 year old son wants my 1st gen RX7 and I don't want to let him have too much power for a beginner. I will port engines for people though. I have a lot of practice and they seam to be turning out nice. So let me get this one up and running in the car and we can go from there.
Lolicon*** of RX-7 World
Joined: Nov 2012
Posts: 312
Likes: 0
From: Idaho
LoL nope I didn't keep my practice irons but I did get another complete engine so now I have my spec 74 build, and two stock 12a engines. I am going to do a full bridge port next. But I want to keep my original engine stock because my 13 year old son wants my 1st gen RX7 and I don't want to let him have too much power for a beginner. I will port engines for people though. I have a lot of practice and they seam to be turning out nice. So let me get this one up and running in the car and we can go from there.
talking head
Joined: Apr 2008
Posts: 2,775
Likes: 15
From: Perth, WA, OZ
depends on the rotors you have used
if they where marked F and R AND N ( or T for turbo )
then they are late rotors and must use a front counter weight that is 120 degrees spread on the wings and the flywheel that uses a 225 mm ( 9 inch ) lug faced flywheel
if your rotors where only marked F and R ( front and rear ) then you need to have used the 180 degree wing front mass ( has a large B bossed on edge of one wing )
and then you need to use one of the 215 mm ( 8.5 inch ) clutch flywheel
( is flat with inner step )
you need to be sure front and rear masses suit the rotors
suggest maybe easier to use the correct auto counterweight ( for the rotors ) they come as early or late ...and so you can fit an aftermarket billet flywheel of your choice
Thread Starter
Anti piston
Joined: Feb 2013
Posts: 318
Likes: 0
From: Iowa
This makes a lot of sense now. I will use the 82 clutch system because that's what was on the engine that I built. I just figured I would use the bigger flywheel but it sounds like that would have been a bad idea. Thanks for the information.


Full Member
Joined: Feb 2022
Posts: 51
Likes: 13
From: Denmark
Hi Gents, just noticed I only uploaded the picture not the text.
I saw this threads and tried to print out the template for that TII intake port and put on my 12A, it aligns perfectly with the port at closing but moves the opening about 5mm down, I thought the idea was to keep the port open for longer at the closing edge.
Does this mean i might have a 74 spec side iron ? Or do i simply align the template with the opening edge and then port the closing edge instead ?

Thread
Thread Starter
Forum
Replies
Last Post
heywier427
Naturally Aspirated Performance Forum
2
Sep 11, 2015 04:49 PM