
"Maybe I went too far this time..."

Thread Starter
Joined: Jun 2008
Posts: 8,376
Likes: 30
From: Chino Hills, CA
I settled on making molds with a pourable tin-cure silicone - - it's flexible enough that even undercut areas can be cast, and then slid out.
The parts themselves are cast out of 2-part liquid urethane.
I request you post detailed pics, or combine threads, on the plastic pouring your own parts (awesome idea I'd love to know more about) and then archinve this thread under home fabrication of parts.
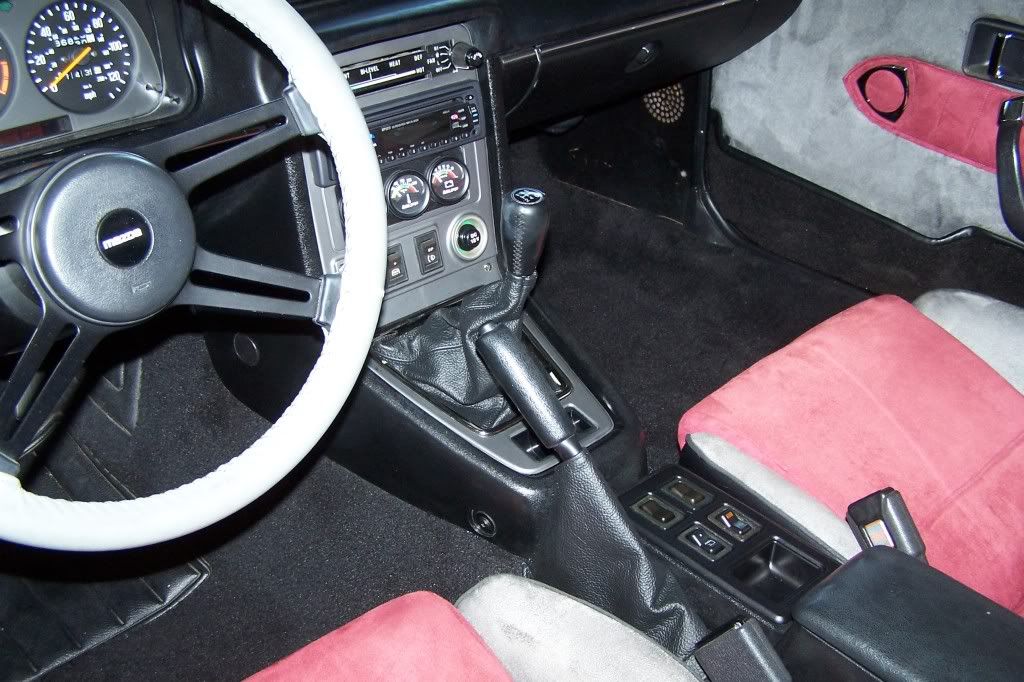
I've got 3 spare radio surrounds that all have been purchased and broken in shipment, and will be combining parts for a replacement with 5 gauges and a new digital clock. I've tried carbon vinyl wrap and it looks ok but I think I'm going to be painting all the center pieces later on down the road.
The silver looks great, but the black is better.

Thread Starter
Joined: Jun 2008
Posts: 8,376
Likes: 30
From: Chino Hills, CA
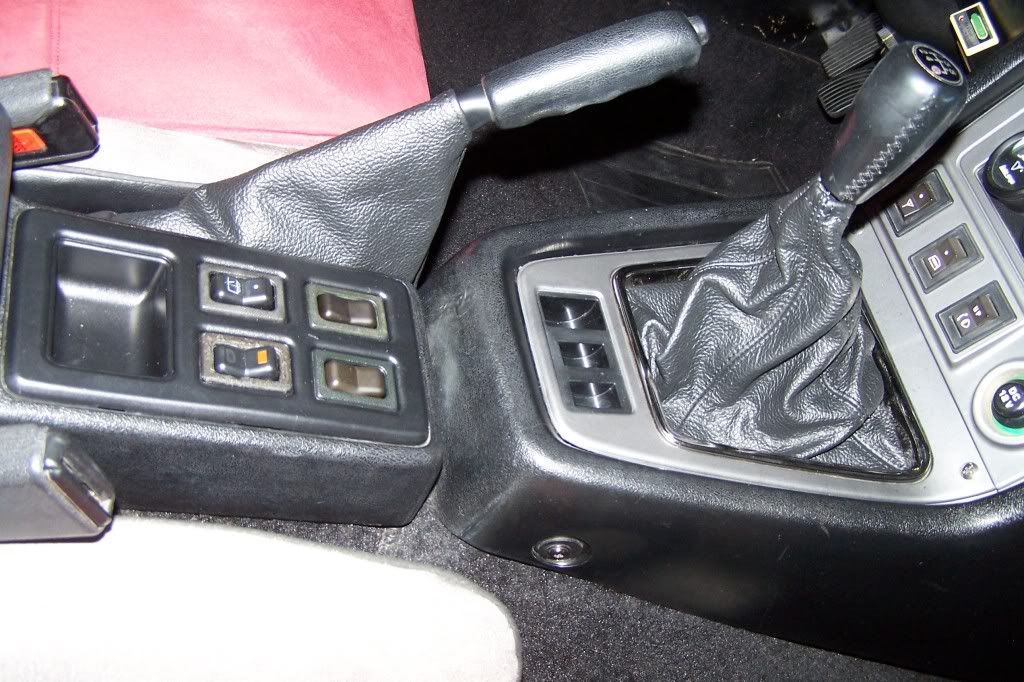
Finished;
Flash seriously overexposed things; some parts look washed out or brownish here but look fine in natural light.
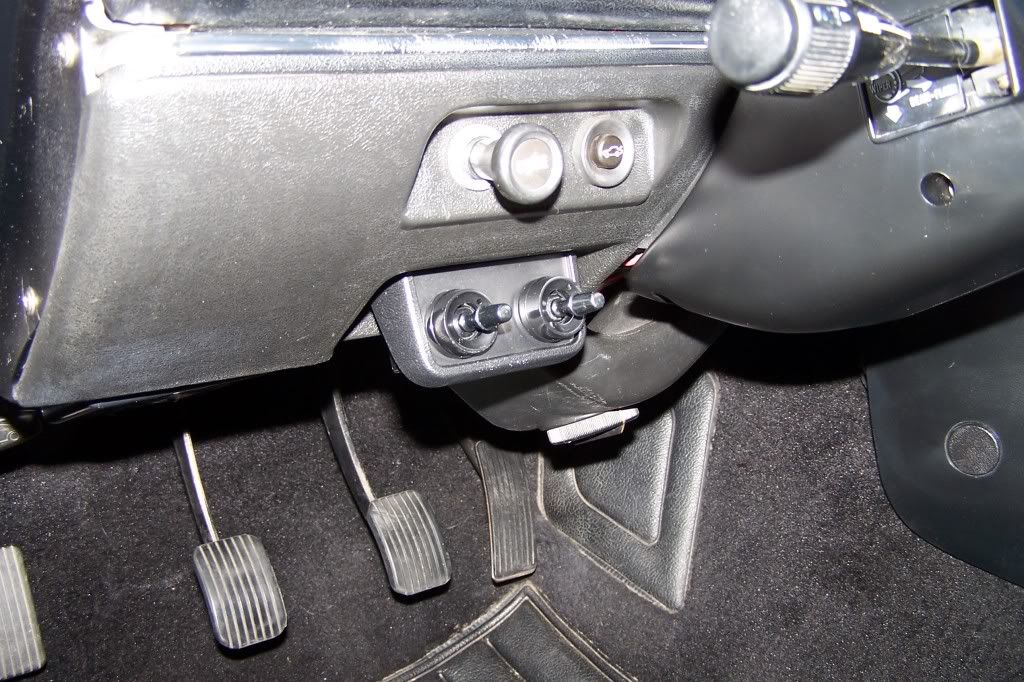
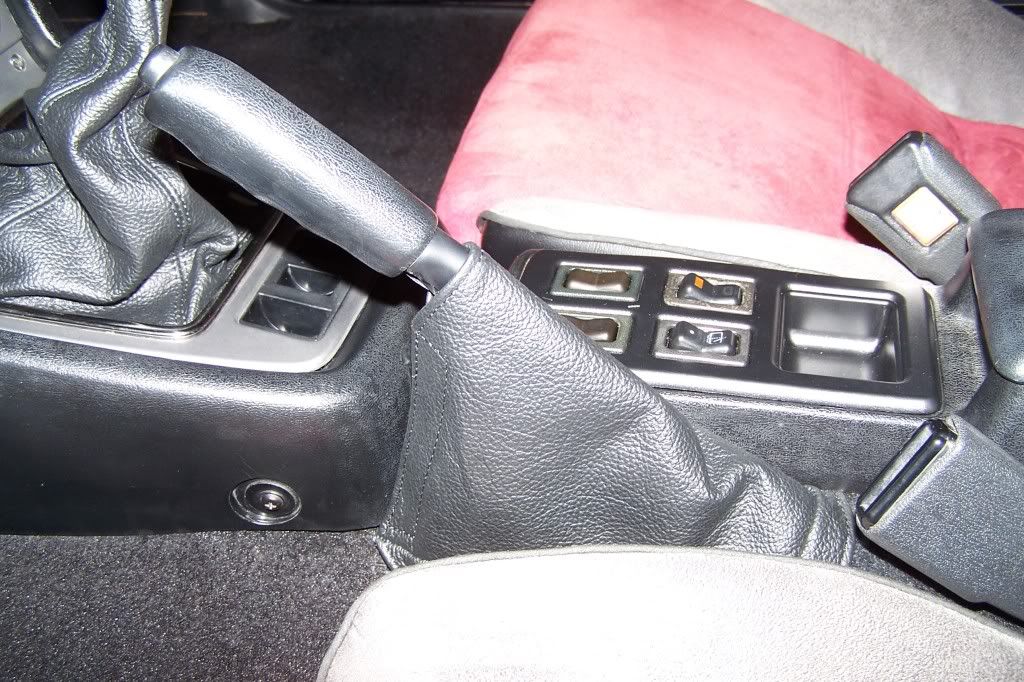
Mirror controls; original Mazda joysticks (carefully cleaned out), with my cast bracket:
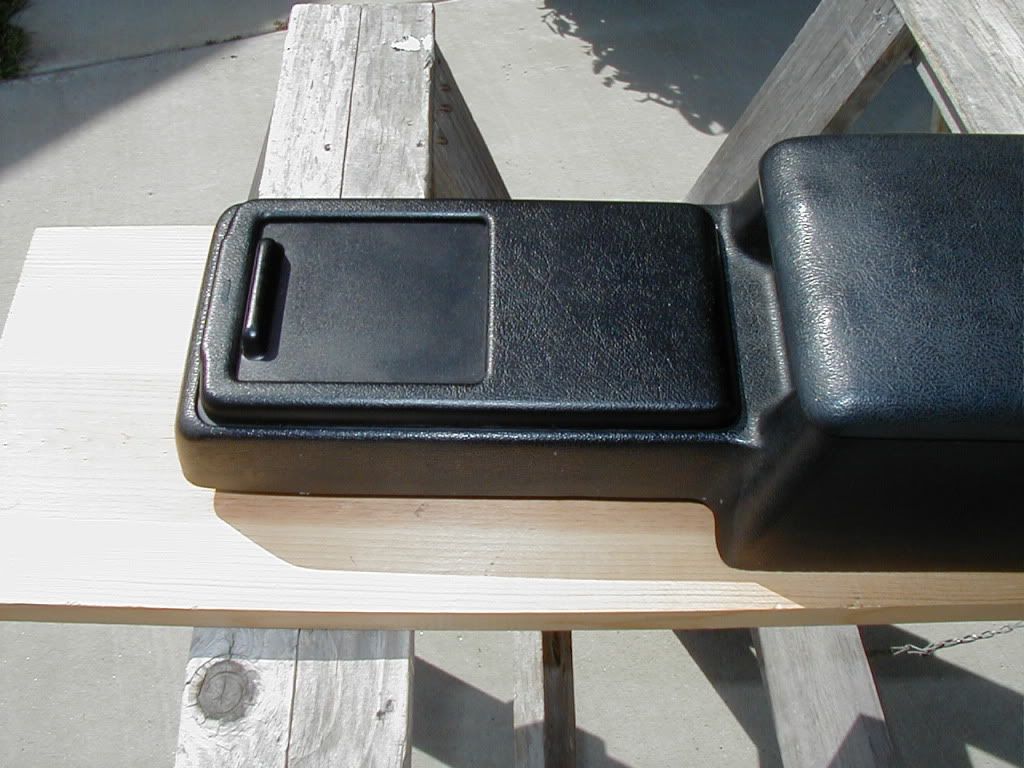
Center console, before (standard SA Ashtray)
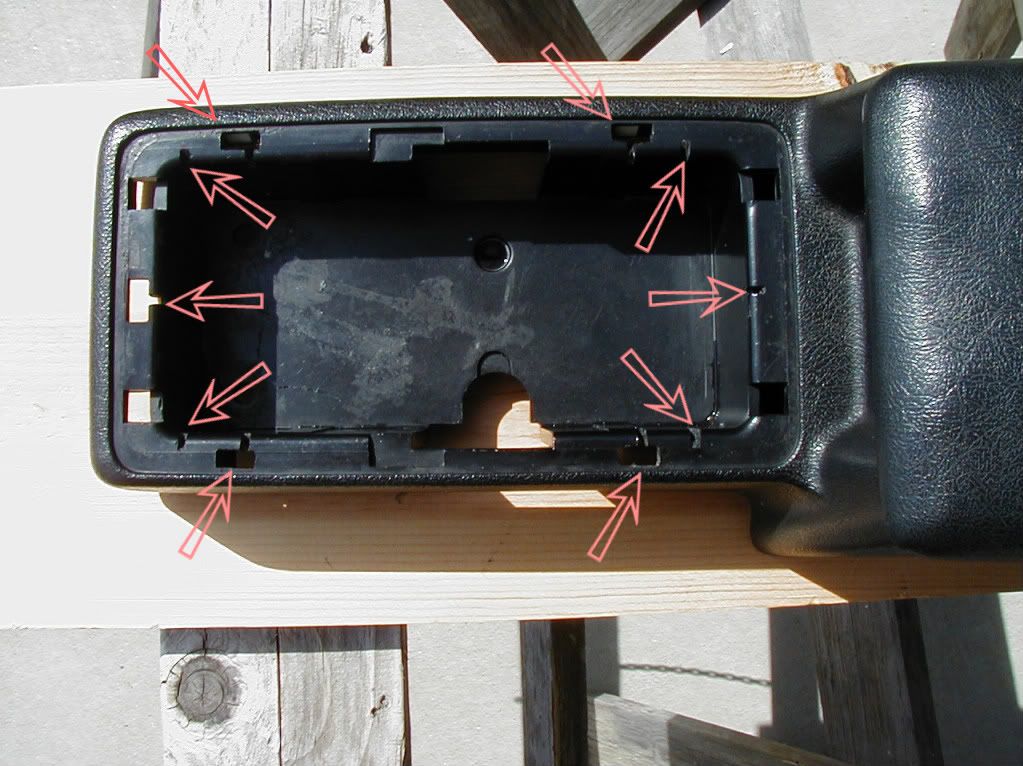
Here you can see all the dremel work around the edges, to make openings for the tabs and latches on the new switch plate.
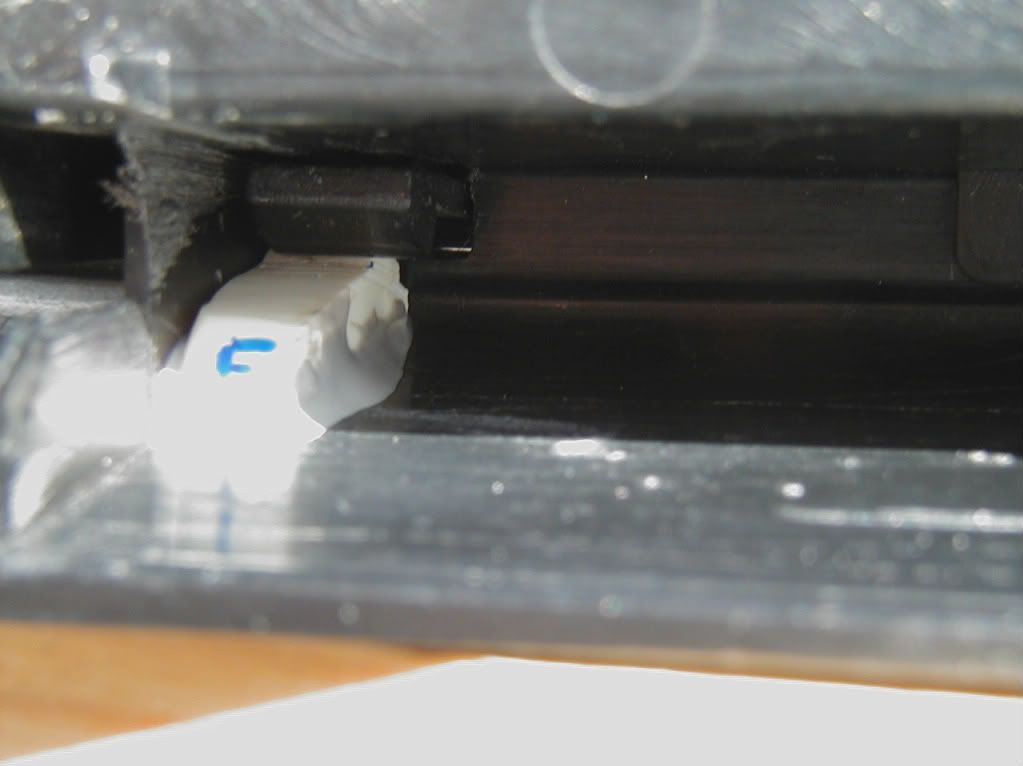
Here's a closeup of one of the four little white catches I carved (out of leftover urethane pulled out of mixing jar, heh) that catch hold of the prongs on the switch plate. Getting these right, so that it holds but still releases, took hours:
Finished project: refurbed switches & plate, wiring well hidden:
Flash seriously overexposed things; some parts look washed out or brownish here but look fine in natural light.
Mirror controls; original Mazda joysticks (carefully cleaned out), with my cast bracket:
Center console, before (standard SA Ashtray)
Here you can see all the dremel work around the edges, to make openings for the tabs and latches on the new switch plate.
Here's a closeup of one of the four little white catches I carved (out of leftover urethane pulled out of mixing jar, heh) that catch hold of the prongs on the switch plate. Getting these right, so that it holds but still releases, took hours:
Finished project: refurbed switches & plate, wiring well hidden: