
how hard is it to rebuild an engine

Thread Starter
advanced novice
Joined: Aug 2006
Posts: 1,073
Likes: 1
From: clarksville tn
how hard is it to rebuild an engine
as the title states how hard is it to rebuild a rotary engine. i have an engine stand and an adapter and a good understanding of how the engine is put together but do i need any special tools or anything along this line? is this all i need
Thread Starter
advanced novice
Joined: Aug 2006
Posts: 1,073
Likes: 1
From: clarksville tn
well i have it i just wanted to make sure there is nothing that they missed. but i really hope that that is not what is wrong with my car. i had the fears of it being a broken apex seal. i hope not
I recommend either the Atkins or the RotaryAviation rebuild video. I used the RotaryAviation video, and it was VERY helpful. I had never rebuilt and engine by myself before...piston or rotary. And now the supercharged 13B that I restored has over 4000 trouble free miles on it. I dumped the VHS tape onto a DVD and put a cheap DVD player in my garage.
Rich
Rich
Thread Starter
advanced novice
Joined: Aug 2006
Posts: 1,073
Likes: 1
From: clarksville tn
i guess i have no choice i have to rebuild it the apex seal is missing. 
so I'm going to learn how to rebuild the engine. what kind of paint do you recommend for the housings i want to do the matte and blue look what do you'll suggest. where is the cheapest place to buy a good rebuild kit. I'm going to buy the Atkins rebuild video. are they the best place to buy a rebuild kit or are the better places less then $800. i need to also sell my 12a so that i can do the rebuild. can anyone suggest where the might be some alternatives in prices.
so I'm going to learn how to rebuild the engine. what kind of paint do you recommend for the housings i want to do the matte and blue look what do you'll suggest. where is the cheapest place to buy a good rebuild kit. I'm going to buy the Atkins rebuild video. are they the best place to buy a rebuild kit or are the better places less then $800. i need to also sell my 12a so that i can do the rebuild. can anyone suggest where the might be some alternatives in prices.
Eats, Sleeps, Dreams Rotary
Joined: Jul 2004
Posts: 3,247
Likes: 2
From: Allentown, PA - Paterson, NJ
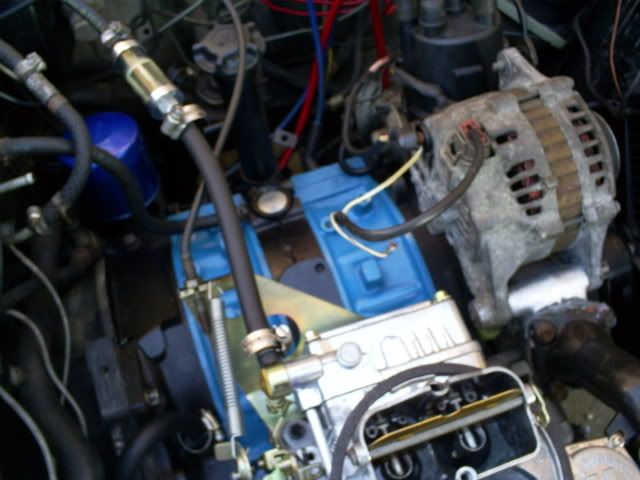
The most important thing is to pay attention to detail. Its the little thigs that can really mess things up. Take your time. It is relatively easy as long as you keep everything organized. Whatever you do, dont do what I did the 1st time I rebuilt a 12a. Eccentric shaft must go in the right way! lol This 13b was rebuilt..but not by me.
If I was doing this I would get the (6) apex seals and (6) apex seal springs from Rotary Aviation. Buy from the mazda dealership (12) side seals, (12) side seal springs, (12) FD corner seal springs, front main oil seal, rear main oil seal, (4) inner oil control ring seals, (4) outer oil control rings seals, and (1) short block o-ring kit. Inspect and reuse the corner seals but remove the rubber inserts. Smooth the exhaust ports and intake ports with a dremel and sanding bits.
You should get the video and read over the FSM at least once before you start taking things apart. The hardest part is keeping everything in order.
You might find nopistons.com helpful. If you go there check out the section called engine building and porting and search around. Iceblue and BDC have made many good picture illustrated posts.
Goodluck
Trending Topics

"Rocks aren't people"
Joined: Apr 2007
Posts: 261
Likes: 0
From: Round Rock Texas


I hate drum brakes
Joined: Oct 2006
Posts: 638
Likes: 0
From: West Palm Beach, Florida
If I was doing this I would get the (6) apex seals and (6) apex seal springs from Rotary Aviation. Buy from the mazda dealership (12) side seals, (12) side seal springs, (12) FD corner seal springs, front main oil seal, rear main oil seal, (4) inner oil control ring seals, (4) outer oil control rings seals, and (1) short block o-ring kit. Inspect and reuse the corner seals but remove the rubber inserts. Smooth the exhaust ports and intake ports with a dremel and sanding bits.
You should get the video and read over the FSM at least once before you start taking things apart. The hardest part is keeping everything in order.
You might find nopistons.com helpful. If you go there check out the section called engine building and porting and search around. Iceblue and BDC have made many good picture illustrated posts.
Goodluck
You should get the video and read over the FSM at least once before you start taking things apart. The hardest part is keeping everything in order.
You might find nopistons.com helpful. If you go there check out the section called engine building and porting and search around. Iceblue and BDC have made many good picture illustrated posts.
Goodluck
You can use the earlier Mazda solid corner seals like I did, or use some Atkins solid seals, I have brand new set around somewhere That I would sell. And some RA seals, which had a little bit of surface rust on the sides of them that I cleaned off with Marvel Mystery oil soaked steel wool, Cam at Pettit racing said they are usable, but they tend to eat housings as they wear down. However, I did use the RA springs with my Mazda seals.
I have a ton of parts left over from my engine rebuilding saga, seeing how I got screwed over on my first engine, which turned into a parts engine.
Thread Starter
advanced novice
Joined: Aug 2006
Posts: 1,073
Likes: 1
From: clarksville tn
wow I've never seen a nut that big before 54 mm are you kidding me. id like to find the engineer that thought up that one and make him find anything that will fit it from any local stores like sears or an auto parts store. damn engineer. I have to wait till tomorrow to get a socket to fit that i do have the flywheel puller though. BTW I've seen smaller flywheel nuts of cars that make way more horse power than that.
i have pulled 8 engiens apart but havnt rebuilt one yet.
its farily easey i didnt use a engine stand i just cut a hole in some 1/2" plywood and sat the sheet on the legs of the engine lifter. the hole was for the e shaft.
drain the oil pan and remove it and its but load of bolts. its best to remove the pick up tube aswell.
i used a alternator bracket to lock the flywheel simply by usin a pressure plate bolt and a tranny mount bolt. i had to drill a hole for the tranny bolt at the apropiate place so i could line it up with the engine mount holes.
then use an impact gun and a 19mm socket and take the eshaft bolt off.
sometimes its not that easey and a breaker bar is involed i didnt have a breaker bar so i used a sledge on my rench.. wored everytime.
i simply bagged and labeld all front cover bolts and running gear"oil pump,spacer's,bearings etc."
then i took all front stat gear bolts out and simpley hand tigented one bolt back in to hold the front rotor in place. for ease of disasembaly.
flipped the engine on its face and proceded.with your flywheel still locked use a breaker bar or and impact gun with the 2"1/8 socket and taker off be carfull i fuckt one eshaft's threads up duno how..
put some electrical tape on the eshaft threads for insurace.
in the fsm it has a picture of what order to take the tension bolts out trust me it can help doin it in that order if some wont losein. i have found tigentening two around it then usin a breaker bar will get it.
then use a platic sledge and knock on the edges of the irons. should come off..
now your on your own cause dowel pin's can be bloody anoying if the engine was overheated etc. my video said to use tension bolts to pull them out i found the the lug nuts from a sa will grabb the first few threads and make it easey to pull out or use a slide hammer..
Thread Starter
advanced novice
Joined: Aug 2006
Posts: 1,073
Likes: 1
From: clarksville tn
well we did get it apart and this is what was wrong.
this is the three sides of the rotor
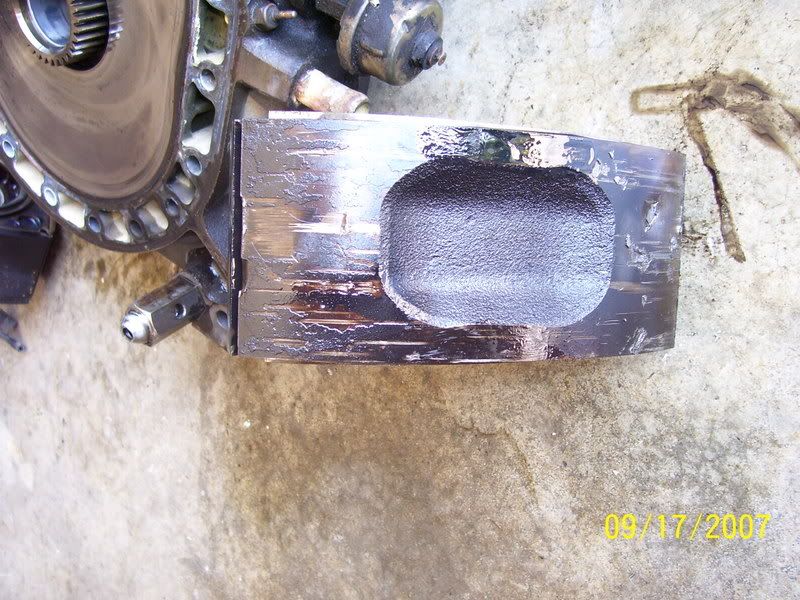
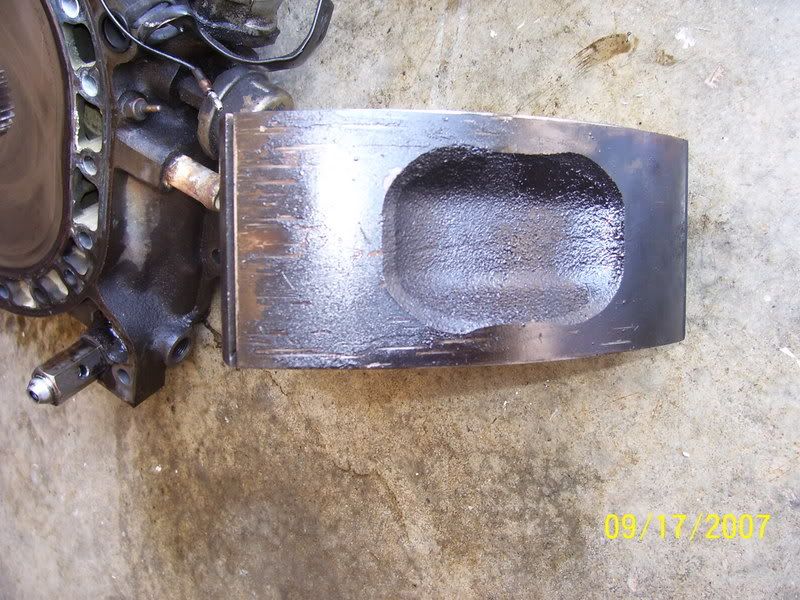
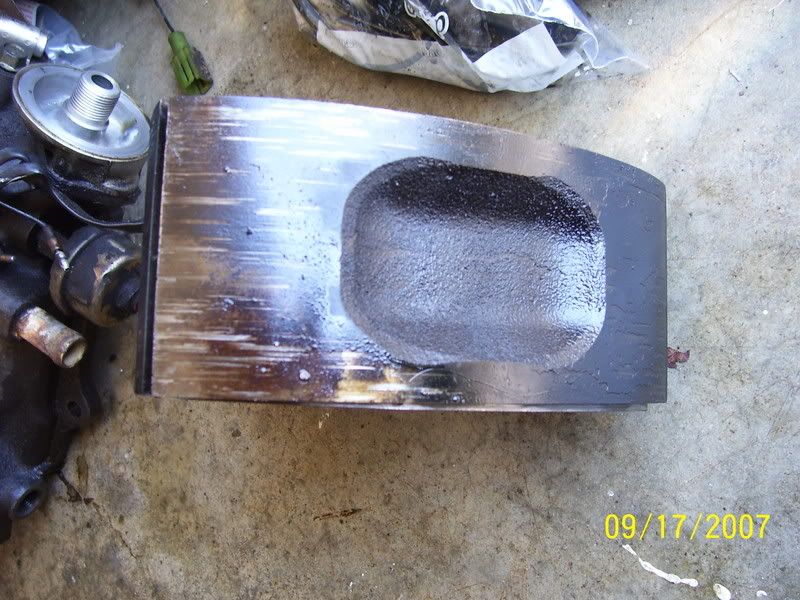
this is why I'm getting a s4 engine from fire85gslse scored housing
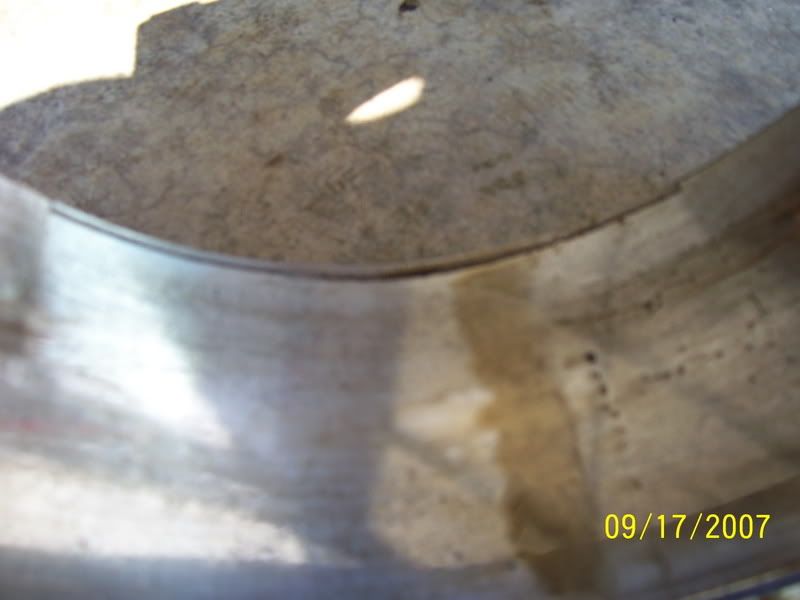
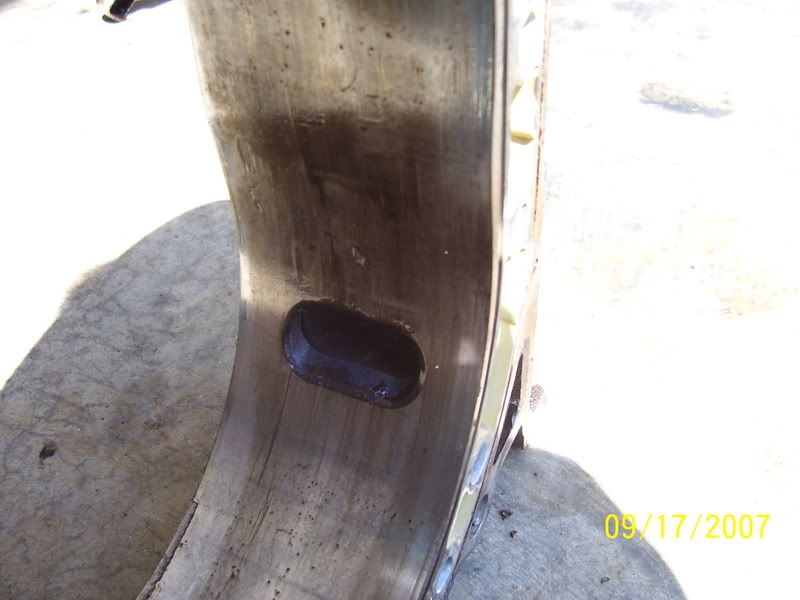
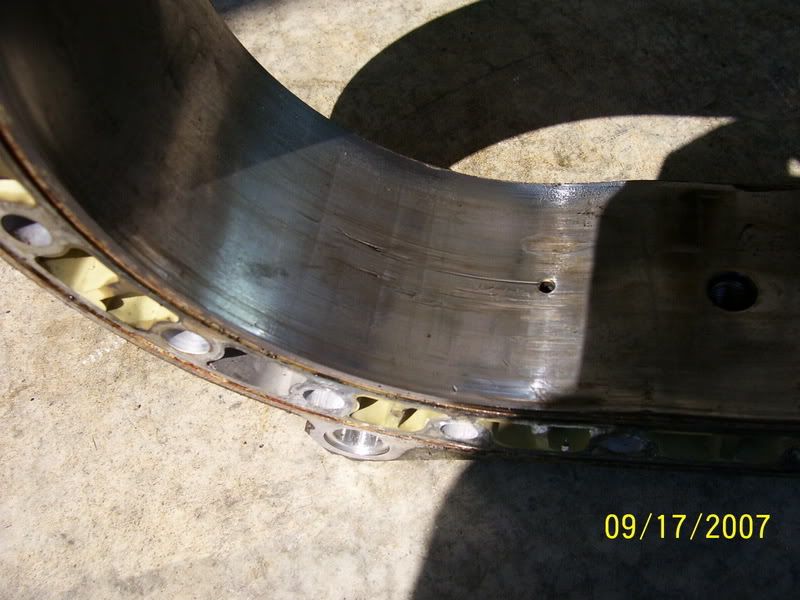
so thats what was wrong with it hope i get this thing running soon.
this is the three sides of the rotor
this is why I'm getting a s4 engine from fire85gslse scored housing
so thats what was wrong with it hope i get this thing running soon.
Thread Starter
advanced novice
Joined: Aug 2006
Posts: 1,073
Likes: 1
From: clarksville tn
oh and this is what i did to get the 13b to fit the first time. my impatience
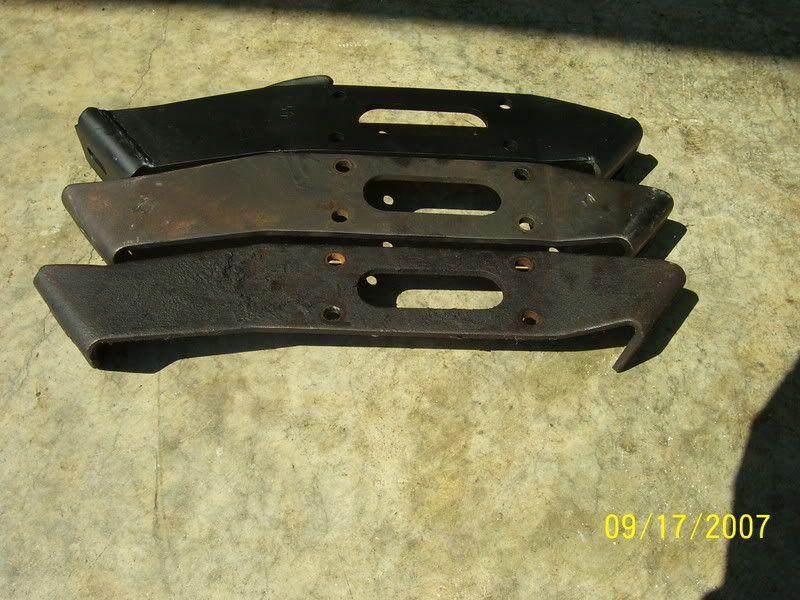
the bottom one is stock the middle one is the one i bent by myself and the one one top is the new Racing Beat unit. not too bad for someone that only weights 125 pounds now is it
the bottom one is stock the middle one is the one i bent by myself and the one one top is the new Racing Beat unit. not too bad for someone that only weights 125 pounds now is it
I like the RB unit. The engine goes right in at the correct position after you trim the outer shell of the motor mount.