Doing TII Swap...

Thread Starter
Joined: Jan 2008
Posts: 440
Likes: 1
From: Clarksville, TN
Doing TII Swap...
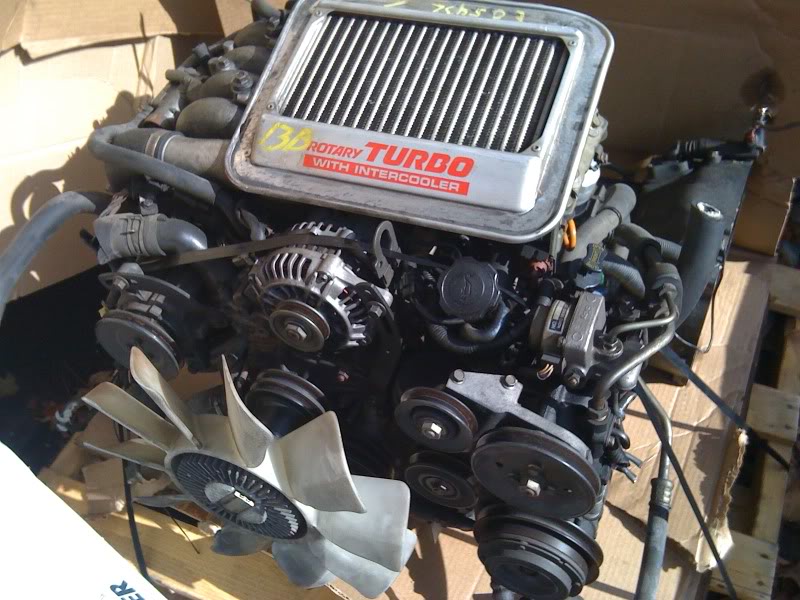
Decided to start the swap last January when I ordered my engine from Brian (Japan2LA).
First of all I want to say it has been a long and tedious process, and I recommend that anyone interested in doing it does their homework as it will make the process go by a lot faster.
Progress removing the 12A and cleaning up the engine bay came pretty quickly, but school and working full time have definitely impacted the amount of time I've been able to put into the project.
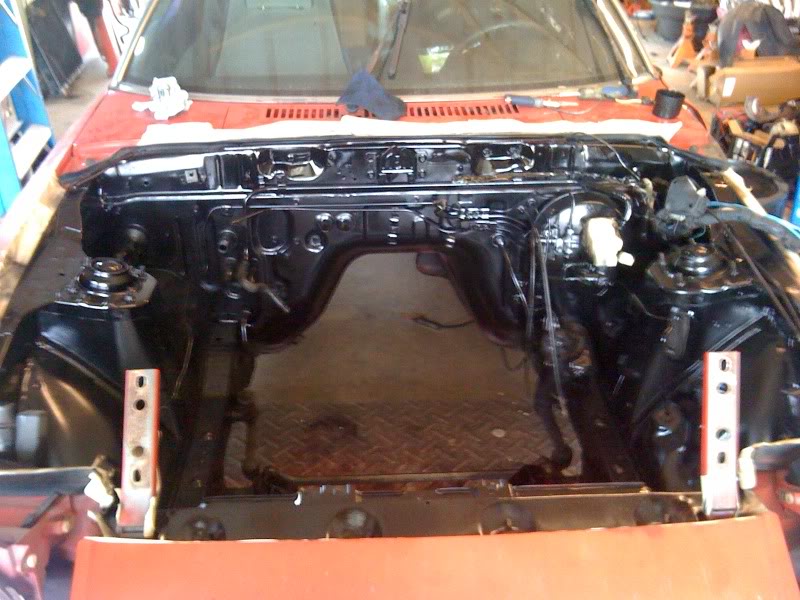
I wanted to make sure I did as clean of swap as I could possibly do, and not just be rushed to shove the engine in there. I've come across a couple snags at the moment, so I figured I would start my thread and ask for help-- I know when I need to ask questions and I'm grateful for this community to help out through previous threads and searching as well as direct information given to me.
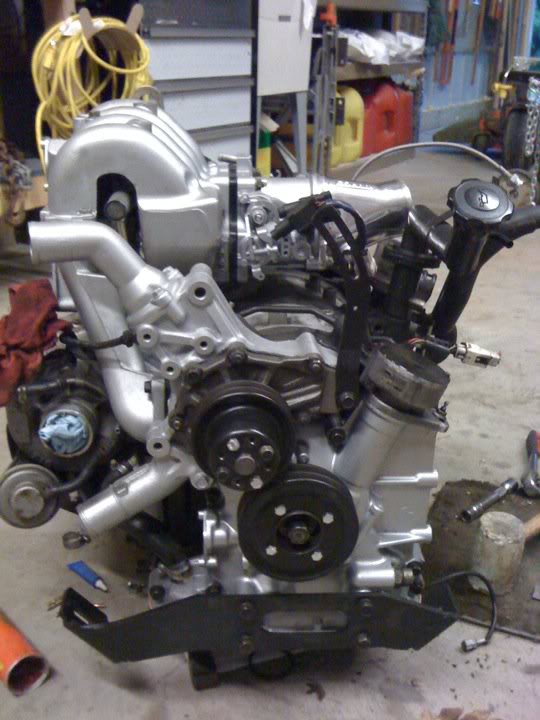
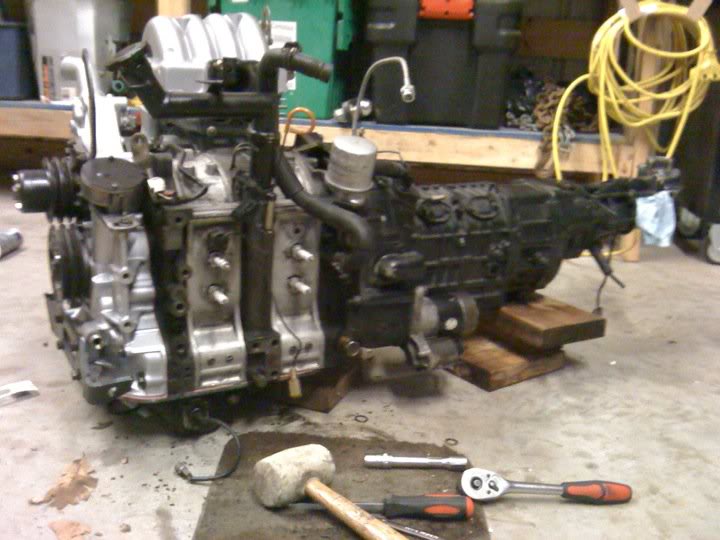
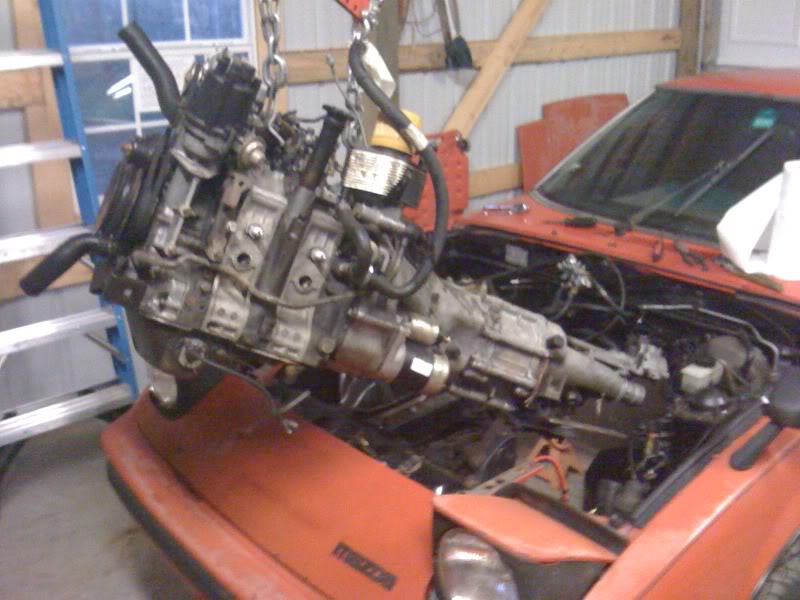
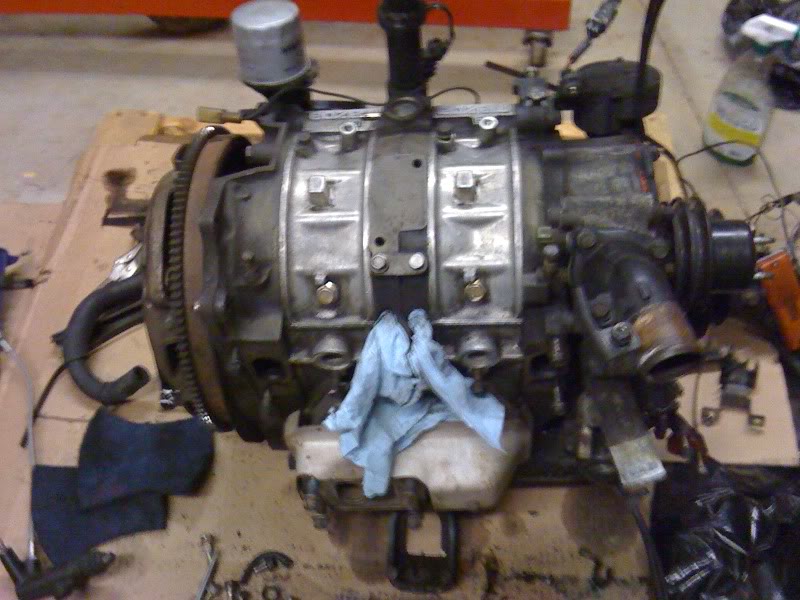
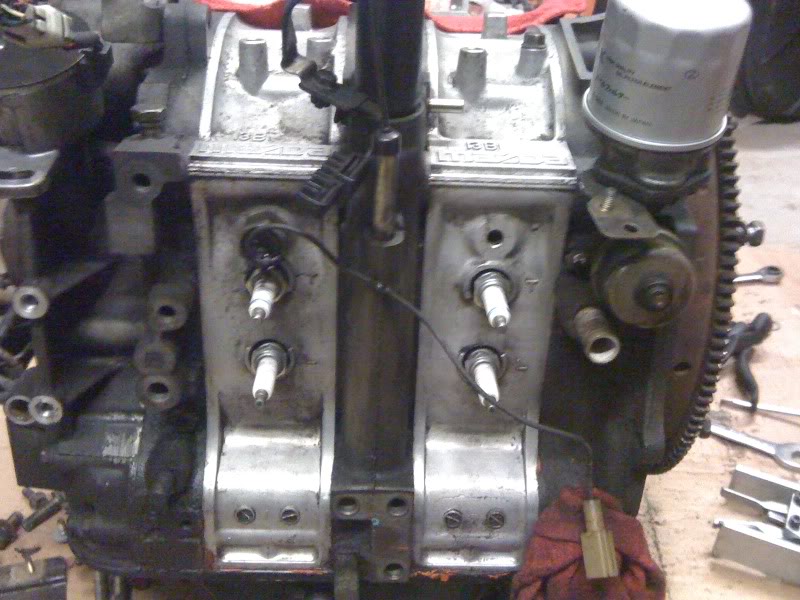
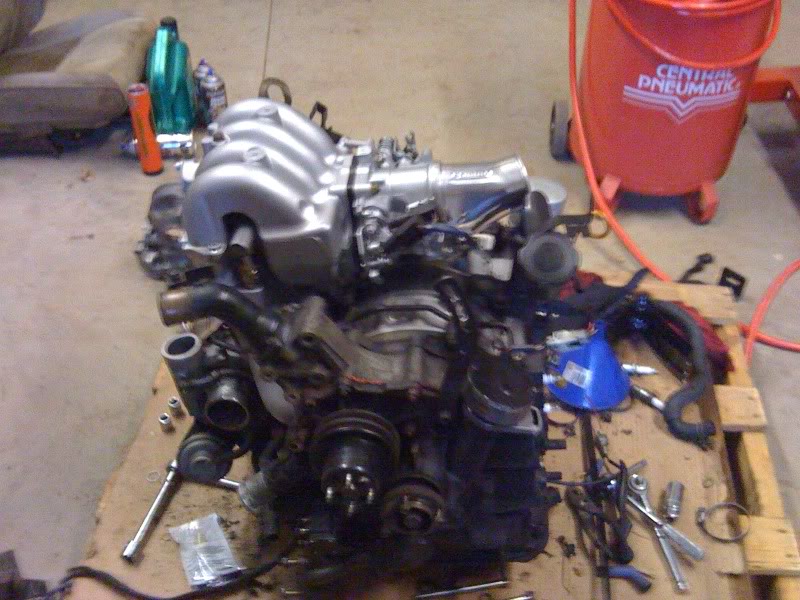
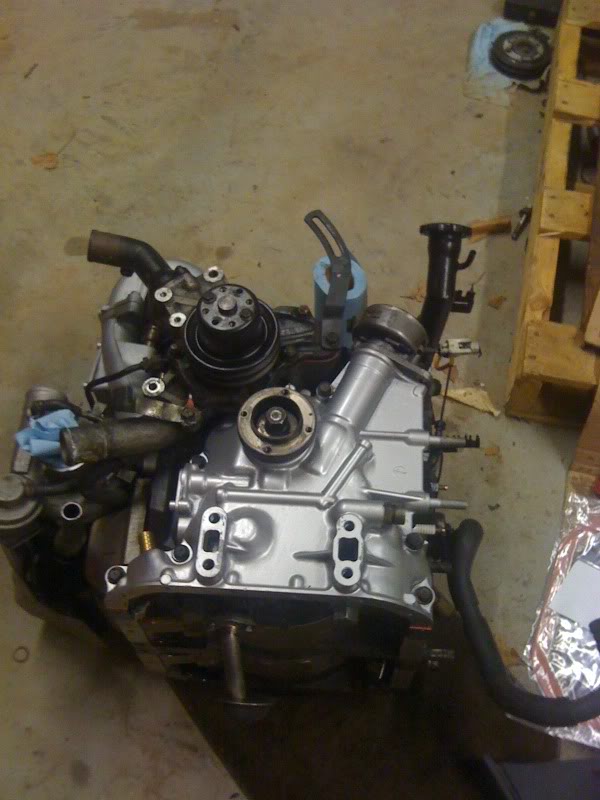
Currently, the engine sits like this:
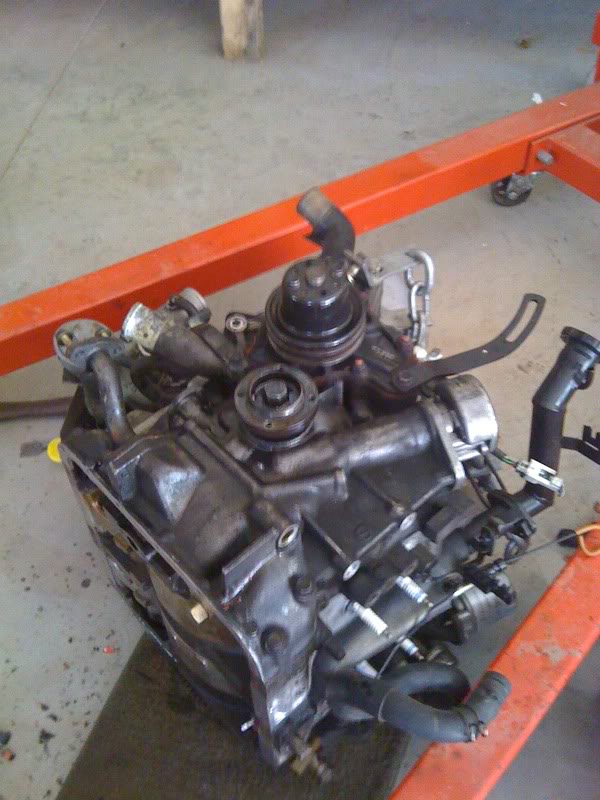
I'm having issues removing the Eccentric shaft boss bolt to put on my GSL-SE front cover. I've been using mazdatrix's directions to remove the bolt: impact gun with penetrating oil, with the engine sitting on the flywheel (so the torrington bearing doesn't move). I've done everything short of using a torch to heat it up, and I'm wondering if that's what it takes.
Any suggestions or help would be greatly appreciated, as the project comes along I will be sure to post more pictures and keep this thread updated. Questions or comments are welcome also.
PS: Sorry for the low quality of the photos, they're from my phone.
Ian
First of all I want to say it has been a long and tedious process, and I recommend that anyone interested in doing it does their homework as it will make the process go by a lot faster.
Progress removing the 12A and cleaning up the engine bay came pretty quickly, but school and working full time have definitely impacted the amount of time I've been able to put into the project.
I wanted to make sure I did as clean of swap as I could possibly do, and not just be rushed to shove the engine in there. I've come across a couple snags at the moment, so I figured I would start my thread and ask for help-- I know when I need to ask questions and I'm grateful for this community to help out through previous threads and searching as well as direct information given to me.
Currently, the engine sits like this:
I'm having issues removing the Eccentric shaft boss bolt to put on my GSL-SE front cover. I've been using mazdatrix's directions to remove the bolt: impact gun with penetrating oil, with the engine sitting on the flywheel (so the torrington bearing doesn't move). I've done everything short of using a torch to heat it up, and I'm wondering if that's what it takes.
Any suggestions or help would be greatly appreciated, as the project comes along I will be sure to post more pictures and keep this thread updated. Questions or comments are welcome also.
PS: Sorry for the low quality of the photos, they're from my phone.
Ian
Thread Starter
Joined: Jan 2008
Posts: 440
Likes: 1
From: Clarksville, TN
I usually bend an alternator bracket so I can attach it to the engine hoist eyelet. Bend it to
where you can screw in a bolt on the flywheel through it to hold it in place (poor man's flywheel
stop). Go to front E bolt and use a breaker bar.
where you can screw in a bolt on the flywheel through it to hold it in place (poor man's flywheel
stop). Go to front E bolt and use a breaker bar.
Trending Topics
Thread Starter
Joined: Jan 2008
Posts: 440
Likes: 1
From: Clarksville, TN
I put some mapgas on the bolt for quite a while and tried hitting it with the impact again to no avail... Am I missing something here? Reverse thread or something? My disassembly pdf just says "remove the front cover boss bolt," no special directions listed.

I used a 5 ft. length of angle, 1/4" thick. Drilled two holes in it and mounted to the
two of the mounting bosses on the front cover (12a) and then used a 4 or 5 foot
pipe over my 24" 1/2" breaker bar with the 19mm impact socket in it. It took a couple
bounces with all my weight (185 lbs) to slowly turn it loose.
Not sure in your case what you can do to get the leverage you need, but there
must be somewhere on the top of that 13B you can mount a long bar.
FWIW, heat and my 600 psi impact gun wouldn't budge it.
Thread Starter
Joined: Jan 2008
Posts: 440
Likes: 1
From: Clarksville, TN
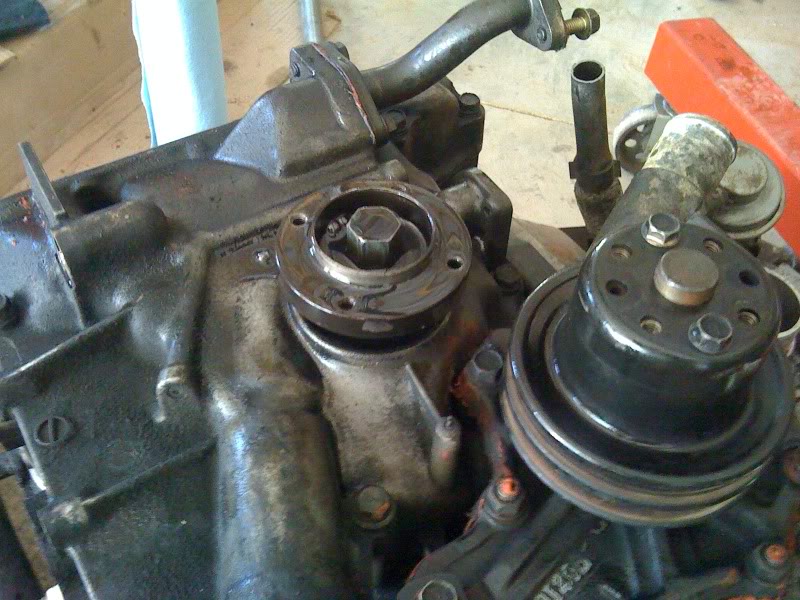
Finally after a 3ft. Breaker bar and some mapgas, the bolt came off!

The oil pressure regulator from the T2 front cover, do I need to swap it over to the GSL-SE Cover?
The oil pressure regulator from the T2 front cover, do I need to swap it over to the GSL-SE Cover?
Thread Starter
Joined: Jan 2008
Posts: 440
Likes: 1
From: Clarksville, TN
I've done a few searches and haven't come up with any information on this. I wasn't sure if there was a PSI difference between the GSL-SE oil pressure regulator and the TII oil pressure regulator..
Rotary Freak

Joined: Oct 2002
Posts: 2,410
Likes: 2
I had the same question before. I asked Rotary Power and they said that they are the same.
Thread Starter
Joined: Jan 2008
Posts: 440
Likes: 1
From: Clarksville, TN
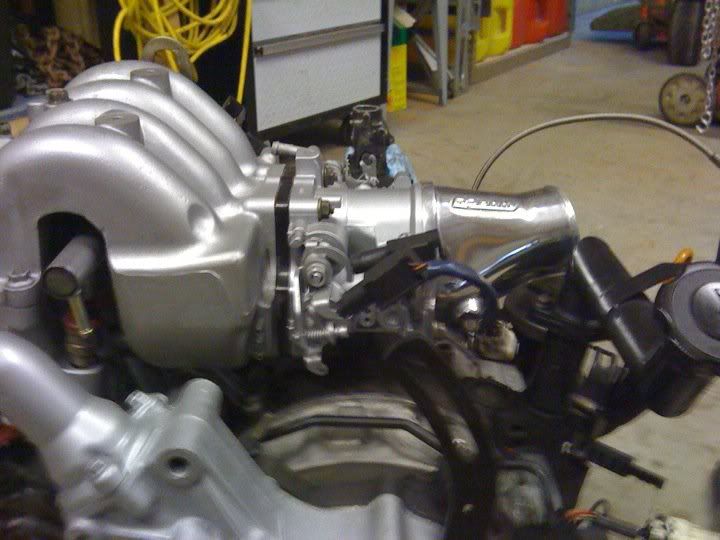
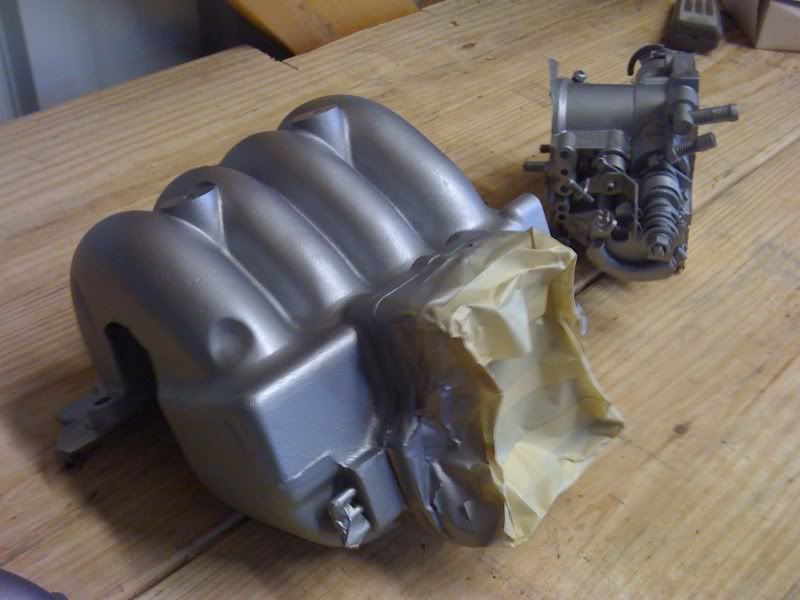
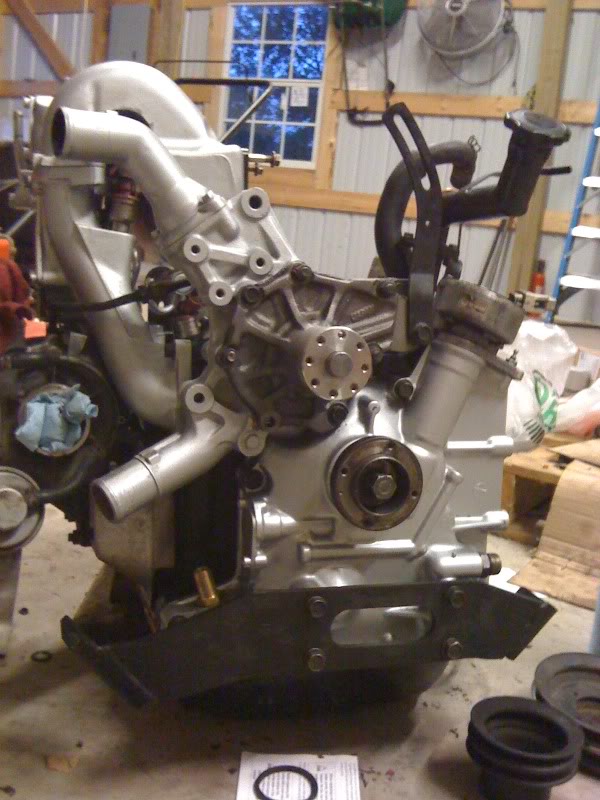
Had the last couple days off, and things are coming along pretty swimmingly.
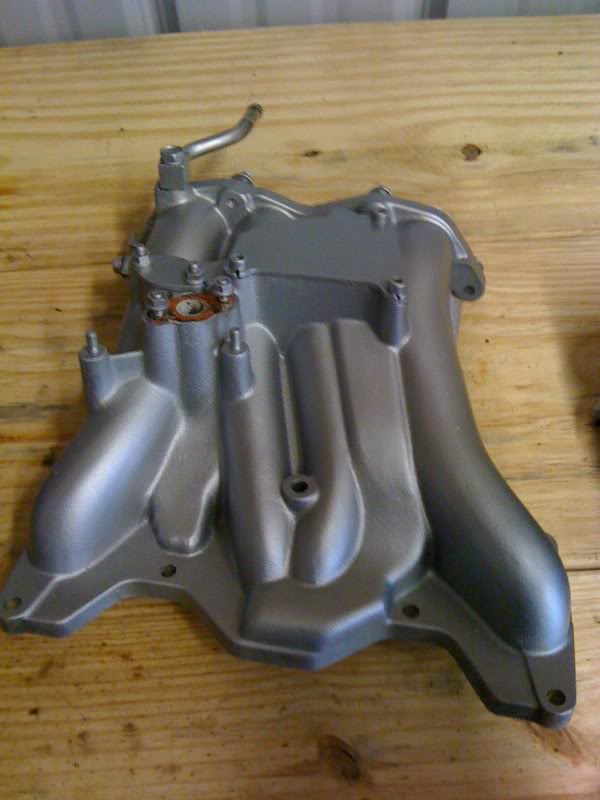
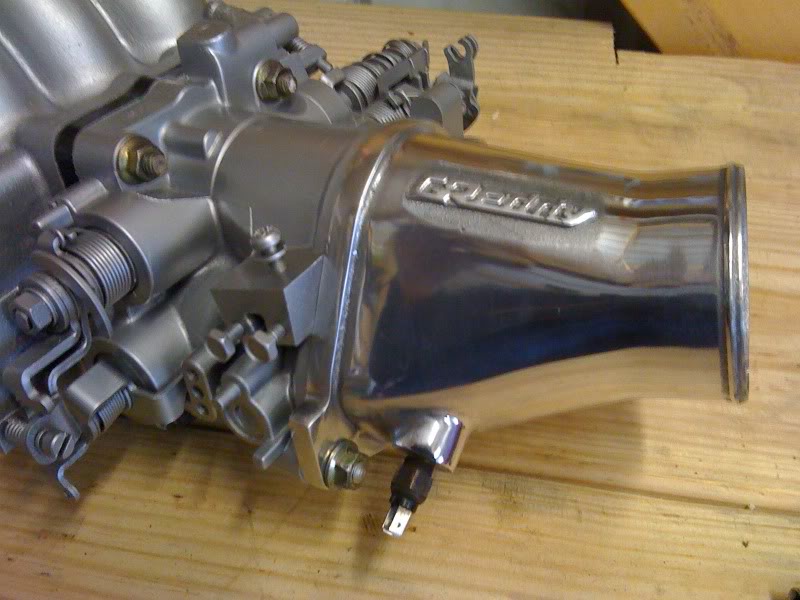
Went ahead and installed a new waterpump, there was a little bearing noise in the old one...Can't be too safe. Went ahead and painted the waterhousing while I was at it to keep up with the grey/silver two-tone going on.
Also, got the gas tank back in and almost finished fuel. (Still have to wire the positive side to a relay for 12v constant to the battery) I'm using a Walbro 255lph inline fuel pump with 3/8" hard fuel line all the way up to the bay where it ends with a 5/16" barb fitting for the rubber fuel line going to the engine.
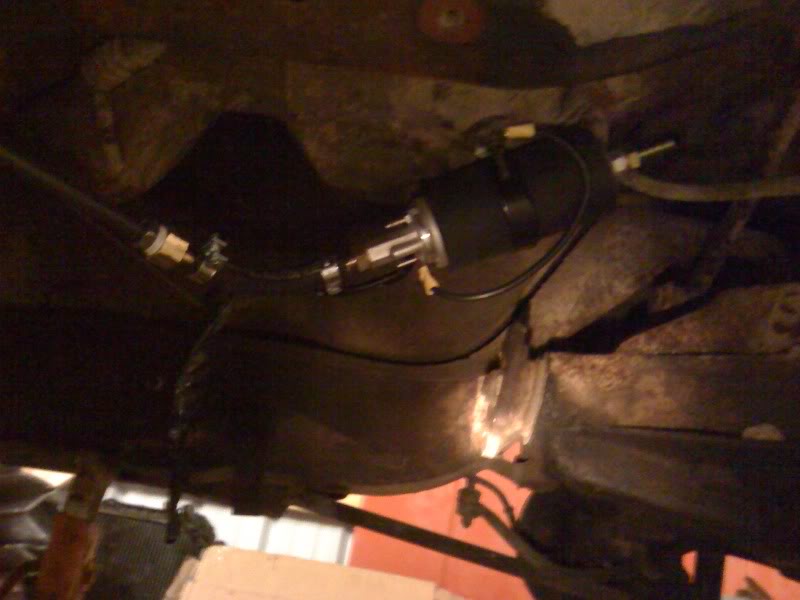
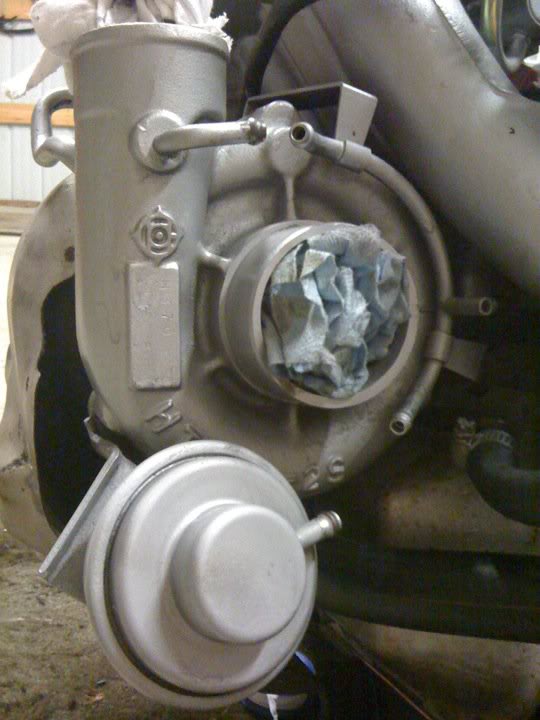
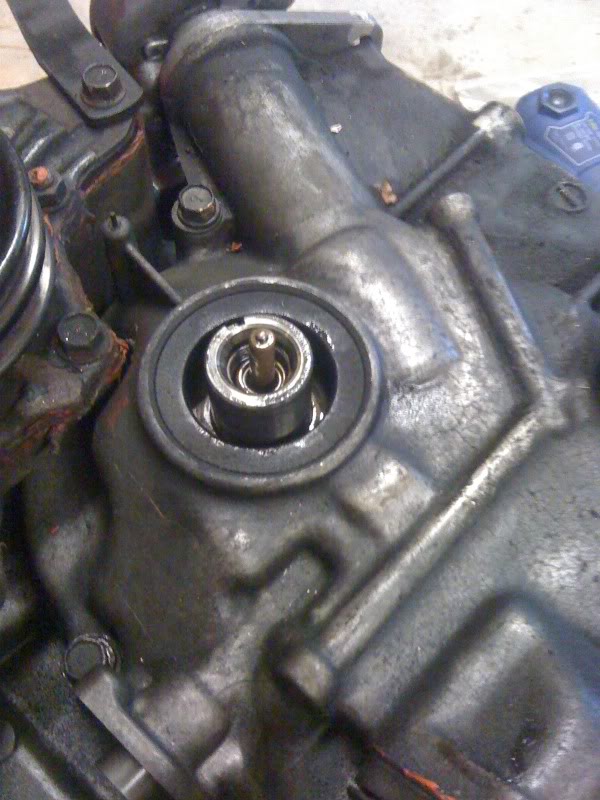
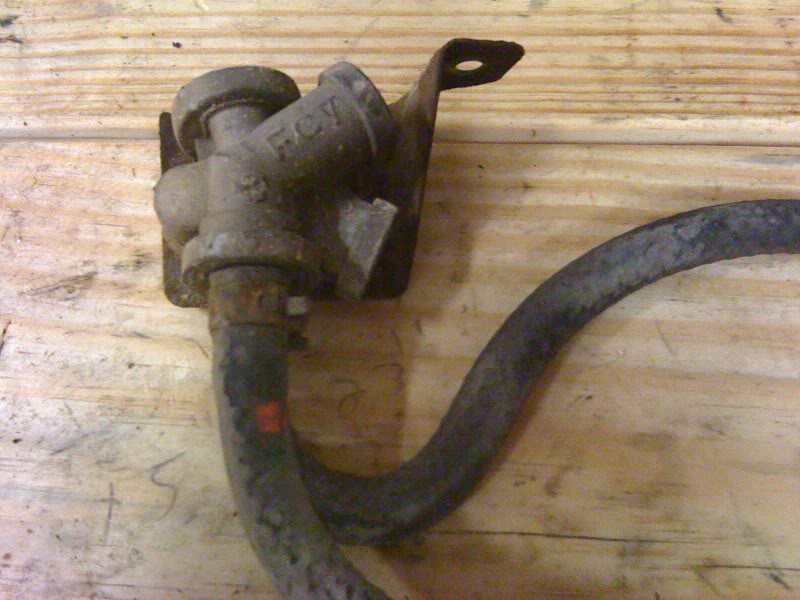
However, while i was under the car sorting out rubber fuel hose, I found this on the original 5/16" fuel line (that provided fuel to the 12a)..Is it necessary anymore?
Once again, questions/comments/advice are always welcome. Although I've been doing my research, I'm learning as I go, so please feel free to chime in.
Thanks,
Ian
Went ahead and installed a new waterpump, there was a little bearing noise in the old one...Can't be too safe. Went ahead and painted the waterhousing while I was at it to keep up with the grey/silver two-tone going on.
Also, got the gas tank back in and almost finished fuel. (Still have to wire the positive side to a relay for 12v constant to the battery) I'm using a Walbro 255lph inline fuel pump with 3/8" hard fuel line all the way up to the bay where it ends with a 5/16" barb fitting for the rubber fuel line going to the engine.
However, while i was under the car sorting out rubber fuel hose, I found this on the original 5/16" fuel line (that provided fuel to the 12a)..Is it necessary anymore?
Once again, questions/comments/advice are always welcome. Although I've been doing my research, I'm learning as I go, so please feel free to chime in.
Thanks,
Ian
If you're replacing the line, then you don't need the old one. Upgrade the return as well.
Either use braided line or hard line. Try to keep the "rubber only" fuel line to a very limited amount (less than 12 inches).
Also, is that enough pump? I don't know what the 2nd Gen TII guys normally run. It depends on the power levels
you are ultimately seeking.
Either use braided line or hard line. Try to keep the "rubber only" fuel line to a very limited amount (less than 12 inches).
Also, is that enough pump? I don't know what the 2nd Gen TII guys normally run. It depends on the power levels
you are ultimately seeking.
Last edited by Directfreak; Jun 12, 2010 at 10:26 PM.
Thread Starter
Joined: Jan 2008
Posts: 440
Likes: 1
From: Clarksville, TN
It should be for a stock motor with an FMIC, not putting larger injectors in right now. From the research I've done, alot of 2nd gen TII guys use in-tank walbro 255's for their engines. It should be plenty enough for a mostly stock motor.
I'm using the original 5/16" line as the new return line (which is why I asked if that thing was necessary..I'm not really sure what it is. I'll have to look at my manual), and using the new 3/8" line as the feed line for the motor.. Would you recommend getting 3/8" for return too?
I'm using the original 5/16" line as the new return line (which is why I asked if that thing was necessary..I'm not really sure what it is. I'll have to look at my manual), and using the new 3/8" line as the feed line for the motor.. Would you recommend getting 3/8" for return too?
Use the Stock Feed line as the new Return.
I like the paint you used. What Colors are they, and are they designed for engines?
Thread Starter
Joined: Jan 2008
Posts: 440
Likes: 1
From: Clarksville, TN
Yep, exactly what I'm doing, regarding the old feed as the new return and the new 3/8" as the new feed. The new feed is mainly hard, I'm using more than 12" of rubber line overall, but I've minimized the use.
Thanks, the paint is just engine enamel "chrome" from Advance Auto... I'm not sure how effective it is for heat-soaking, but it is paint designed for engines especially. I left the short-block completely unpainted, just a lot of cleaning. As for the bay, its rustoleum semi-gloss black.
Thanks, the paint is just engine enamel "chrome" from Advance Auto... I'm not sure how effective it is for heat-soaking, but it is paint designed for engines especially. I left the short-block completely unpainted, just a lot of cleaning. As for the bay, its rustoleum semi-gloss black.
Looking good! That thing you posted a pic of is a mechanism that if the car flips over it will stop the flow of fuel to the engine. this is not needed for your swap and you should remove it.