
Aftermarket motor mounts who sells them

The Mazda mounts (whether the OEM or racing ones) are designed to allow the engine to move in both directions -- compression and rebound. When you put a bolt through the mount, the rebound is totally shorted out. When you're under high torque, you effectively have a solid mount on one side of the engine.
I've seen this thread before. While I'm sure many people have used hockey pucks, I think Mazda's design is much better.
If you're hell bent on using hockey pucks, realize that a soft joint like that will require you to use some sort of locking feature, or the nut won't stay on. Use double nuts, or a castle nut with cotter pin, or locktite, . . . or something.

I need a new user title
Joined: Oct 2005
Posts: 2,646
Likes: 1
From: Yaizu, Japan
You're right. I realized that after I posted, but it was too late to edit. My mistake.
I worried about that, too, at first. Here's the thing, though: there's a hockey puck on both sides of the engine. The energy not absorbed during the rebound on one side is absorbed by the other side in the form of compression. So it's still quite smooth. Seriously, I've used both and the hockey pucks feel very similar to the Mazda competition mounts, but at a fraction of the cost.
Very true. I'm using double nuts.
The Mazda mounts (whether the OEM or racing ones) are designed to allow the engine to move in both directions -- compression and rebound. When you put a bolt through the mount, the rebound is totally shorted out. When you're under high torque, you effectively have a solid mount on one side of the engine.
I've seen this thread before. While I'm sure many people have used hockey pucks, I think Mazda's design is much better.
I've seen this thread before. While I'm sure many people have used hockey pucks, I think Mazda's design is much better.
Very true. I'm using double nuts.
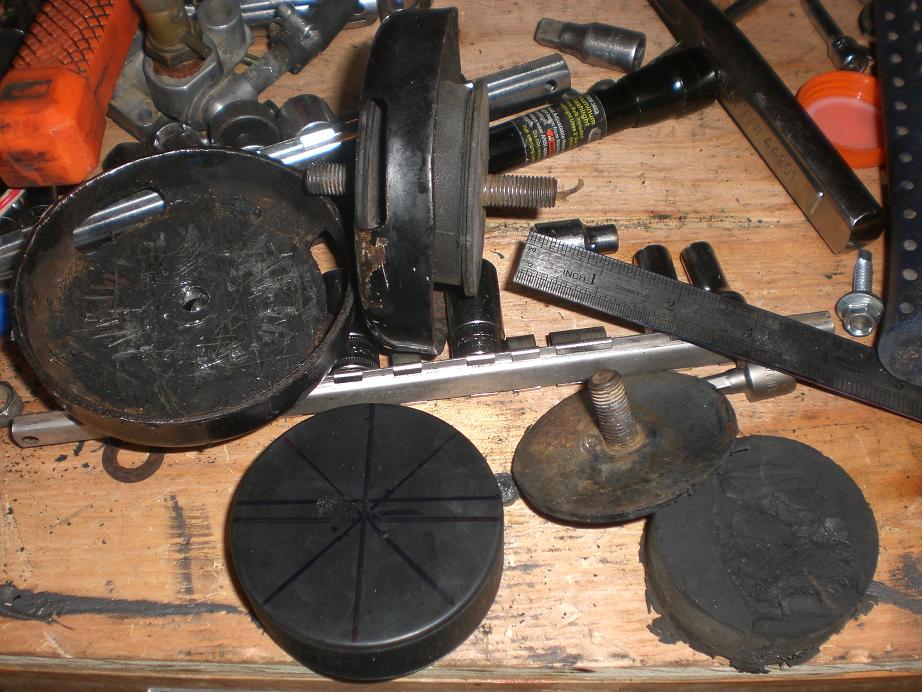
Here is the brand of pucks that went into percent's REPU and my bro's red FB.
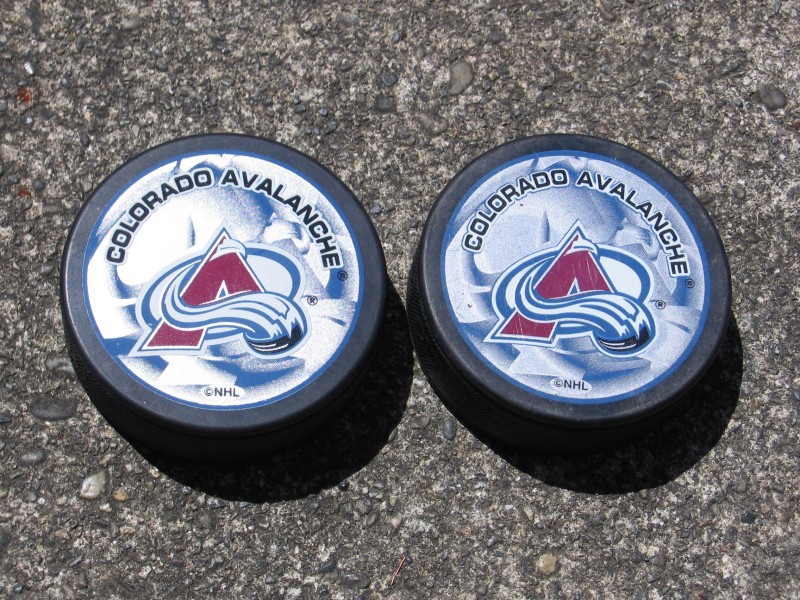
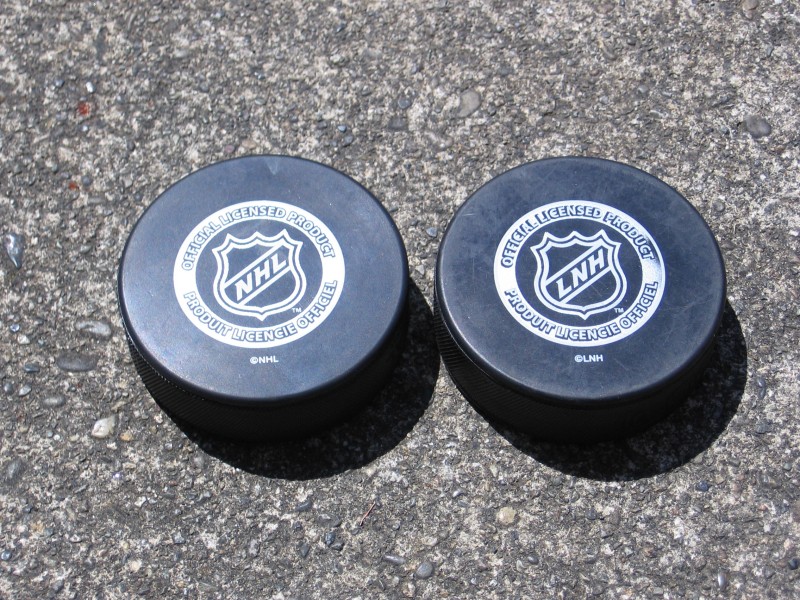
Uh oh. The one on the left isn't an official NHL puck. I meant the one on the right.
The stock looking mounts on the far left are competitions. You can tell by the double paint lines. Stock mounts have only one line or nothing. Also you can physically tell the difference by squeezing the mount and trying to rock one end left to right. Stockers are pretty easy but these competitions don't move. In the middle are what the basic hardware looks like and on the right we see the finished product. Very easy to make and even easier on your wallet.
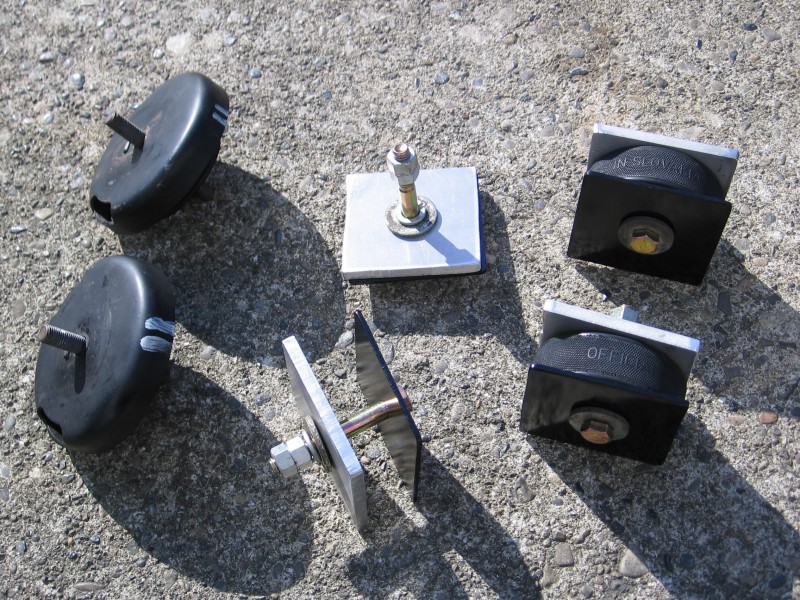
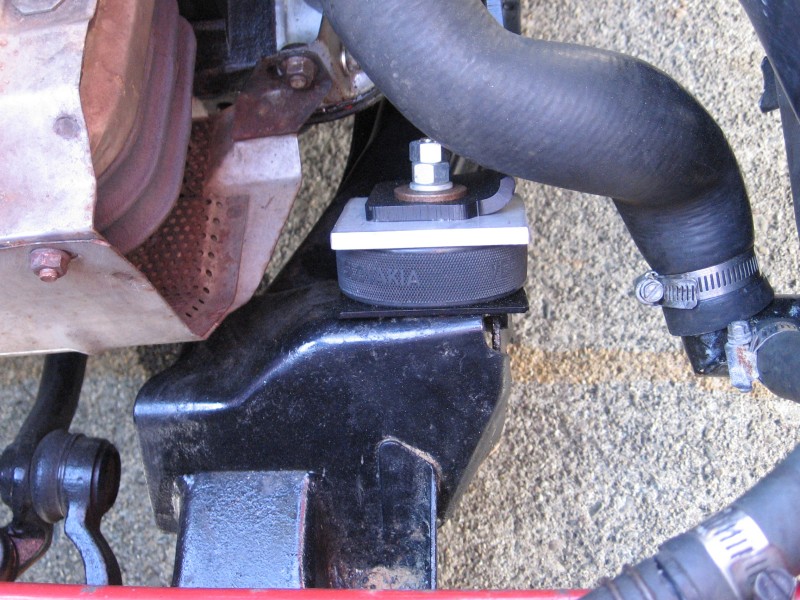
Lastly we see it installed. The aluminum plate is 1/4" thick so there is no need for a stack of washers to get engine tilt just right. It just sits at the right height like it was made for our cars. Cost was like five bucks.
Uh oh. The one on the left isn't an official NHL puck. I meant the one on the right.
The stock looking mounts on the far left are competitions. You can tell by the double paint lines. Stock mounts have only one line or nothing. Also you can physically tell the difference by squeezing the mount and trying to rock one end left to right. Stockers are pretty easy but these competitions don't move. In the middle are what the basic hardware looks like and on the right we see the finished product. Very easy to make and even easier on your wallet.
Lastly we see it installed. The aluminum plate is 1/4" thick so there is no need for a stack of washers to get engine tilt just right. It just sits at the right height like it was made for our cars. Cost was like five bucks.
Some specs I forgot. The bolts are coarse thread 3" long x 3/8" diamter (9/16" head) with a 2" unthreaded section and 1" of thread. Grade 8 or higher. It has six - marks on the head. Very common bolt.
The big washers are actually the OEM washers from the OEM motor mounts.
The lock washers can either be standard or OEM from the motor mounts as well.
The nuts are just regular NC 3/8". I torque the first one down until the rubber just starts to buldge. Then it seems to run out of thread as it hits the unthreaded section of the bolt. Perfect amount of torque. I then add the second nut and counter tighten together as elwood suggested. No need for any other more elaborate locking schemes on a project like this.
Oh one last thing on drill bit sizes. I use a common 3/8 bit on the steel and aluminum plates. The hockey pucks require a slightly bigger bit. I use 21/64 which works out perfectly but 3/8 will do. Just realize the pucks will tend to grip the bolt making installation just a bit less easy than with the extra clearance.
The big washers are actually the OEM washers from the OEM motor mounts.
The lock washers can either be standard or OEM from the motor mounts as well.
The nuts are just regular NC 3/8". I torque the first one down until the rubber just starts to buldge. Then it seems to run out of thread as it hits the unthreaded section of the bolt. Perfect amount of torque.
I then add the second nut and counter tighten together as elwood suggested. No need for any other more elaborate locking schemes on a project like this.Oh one last thing on drill bit sizes. I use a common 3/8 bit on the steel and aluminum plates. The hockey pucks require a slightly bigger bit. I use 21/64 which works out perfectly but 3/8 will do. Just realize the pucks will tend to grip the bolt making installation just a bit less easy than with the extra clearance.

Back from the dead. Came across this whilst doing my own research today. Someone REALLY needs to archive this. Jeff's last 3 posts are great stuff. Really great stuff. Nice work Mr. 20B. Hopefully this will get archived, as it is well worthy for sure.
By the way, for any of you guys having trouble finding pucks I found them online here for $1.99 each. They are official NHL licensed pucks, although I doubt that matters much for this application. 
http://www.hockeymonkey.com/oficehocpuc.html

http://www.hockeymonkey.com/oficehocpuc.html
Just wanted to pass along some little tidbits:
to find the center of a circle, use a ruler or something straight and put a marker on
one side. Holding the ruler on one side of the puck (or circle), move it back and forth,
so it makes a parenthesis shape. Do that for the 4 corners, and where the
parenthesis touch, draw a line through them. X marks the spot
It looks weird doing it in MSPaint, but it works every time.
Jeff,
Two questions for you:
1) What is the thickness of the bottom steel plate you used? I don't see a thickness mentioned in the thread anywhere.
2) Is it necessary to use square sandwich plates or could I use round instead? The only reason I ask is that I found some nice round aluminum 1/4" thick discs from McMaster Carr. They are part # 9035K33 on mcmaster.com. I could just buy them and drill a hole in the middle and be done. Do the sandwich plates need to be square in order to properly distribute the load against the engine brace, or would round be okay? I am thinking of using 3-1/4" diameter aluminum discs. This would give me 1/8" overlap all the way around the puck, since it is 3" in diameter.
Let me know your thoughts. Thanks for the great writeup!
Jamie
Round is fine, perhaps even preferred. That little bit of square corner sticking out won't make any difference in strength or spreading out the load. Round also has a much neater finished look.
I need a new user title
Joined: Oct 2005
Posts: 2,646
Likes: 1
From: Yaizu, Japan
2) Is it necessary to use square sandwich plates or could I use round instead? The only reason I ask is that I found some nice round aluminum 1/4" thick discs from McMaster Carr. They are part # 9035K33 on mcmaster.com. I could just buy them and drill a hole in the middle and be done. Do the sandwich plates need to be square in order to properly distribute the load against the engine brace, or would round be okay? I am thinking of using 3-1/4" diameter aluminum discs. This would give me 1/8" overlap all the way around the puck, since it is 3" in diameter.
1) 1/8"
2) Square was easier to cut (less time consuming). You're thinking too much. Must be an engineer thing lol. A 1/8" lip sounds perfect. Only the middle of the puck buldges slightly when compressed.
I used aluminum because it was available, lighter than 1/4" steel, and didn't require extra washers to get the total thickness up to where it needed to be.
Just wanted to pass along some little tidbits:
to find the center of a circle, use a ruler or something straight and put a marker on
one side. Holding the ruler on one side of the puck (or circle), move it back and forth,
so it makes a parenthesis shape. Do that for the 4 corners, and where the
parenthesis touch, draw a line through them. X marks the spot
It looks weird doing it in MSPaint, but it works every time.
hmmmmm.....
http://atkinsrotary.com/store/catalo...p-1-c-641.html
I got these.... i like them... i know they are more money... i think when i purchased them they were 49 each...
I got these.... i like them... i know they are more money... i think when i purchased them they were 49 each...
Thats not a bad price for the comp mounts, I'd probably go that route if I hadn't bought the steel back when I was fabbing up my cat delete pipe. That was 6 months ago, still looking for those damn pucks in texas.