
1985 rx7 build Project


Thread Starter
Junior Member
Joined: Jan 2009
Posts: 14
Likes: 0
From: Redhill England
1985 rx7 build Project
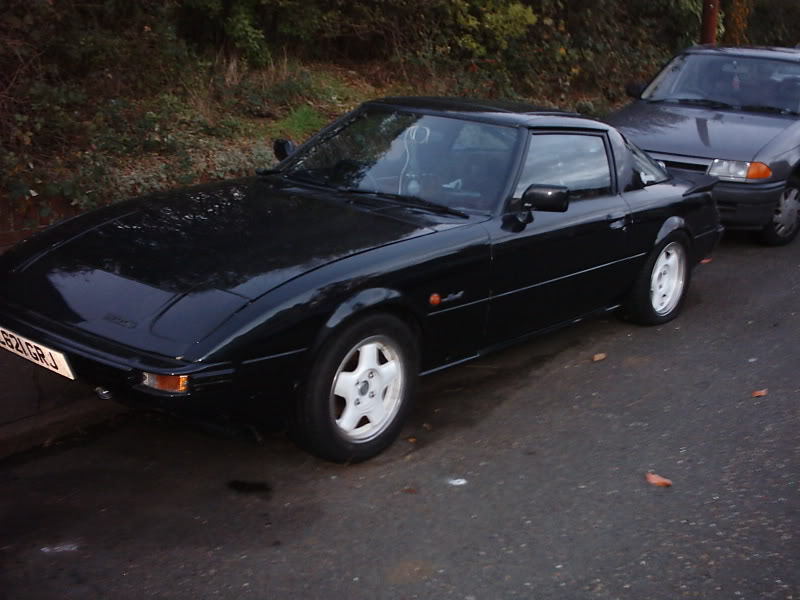
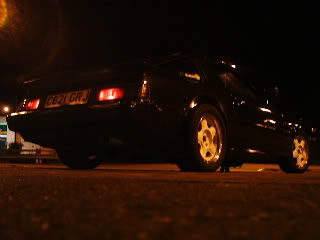
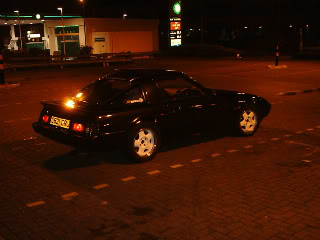
Hello I am currently building a 1985 rx7 with a little added spice don’t want to stray too far from original design but here goes
Started out black
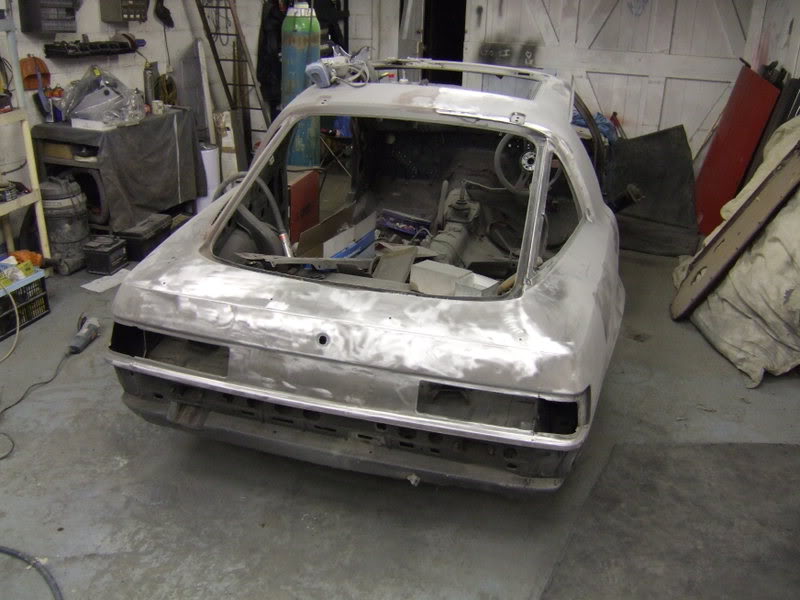
Stripped to bear metal all rust cut out and blasted
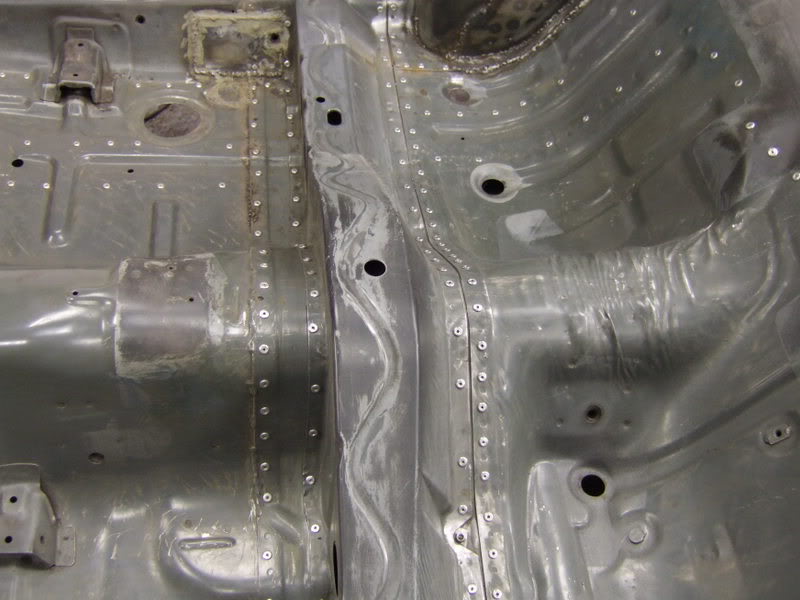
Then the shell was strengthened using rivets (to give stiffness without shortening shell life ) as I read
Then removing rear vent and washer hole, sunroof runoff redirected to underside of car
Coated car in primer to stop rusting
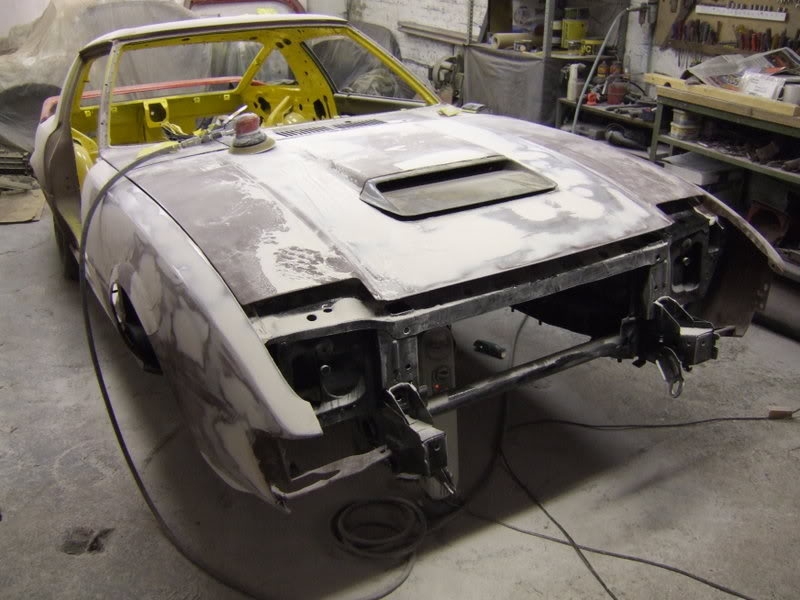
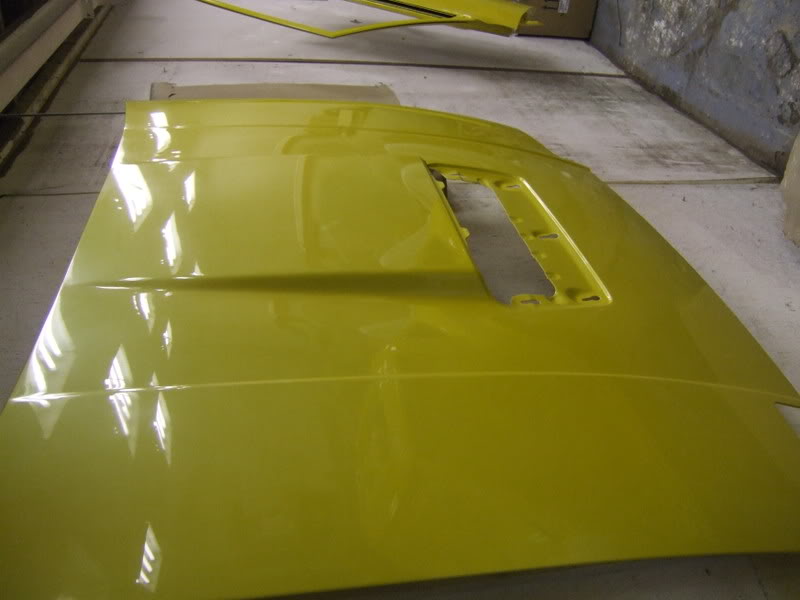
Next was to flush indicators and badge holes and remove trim+dents, also added a Turbo II bonnet scoop which directs the air to the intake
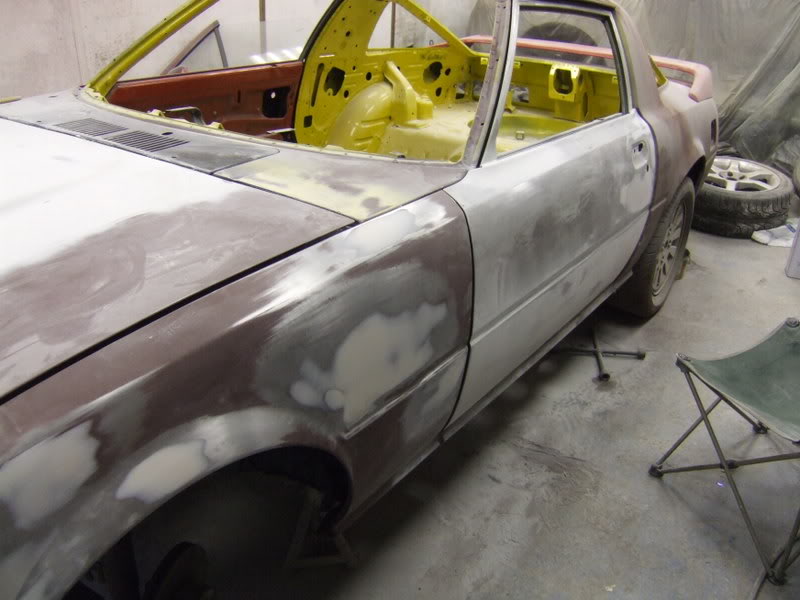
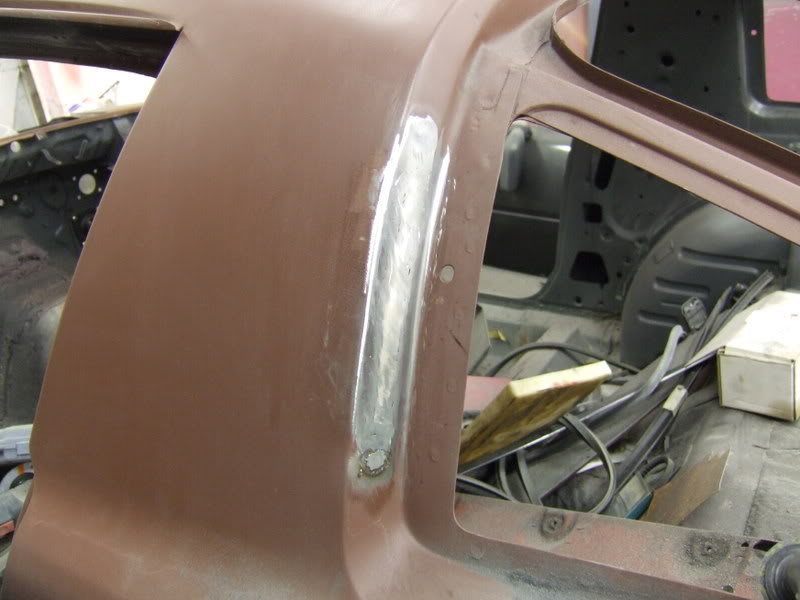
Then i flared the rear arches by 1" to allow wider rears

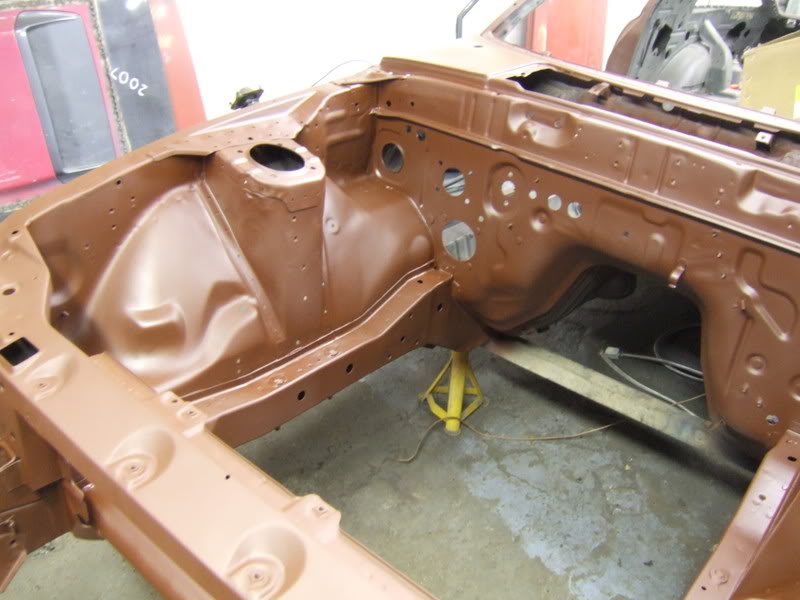
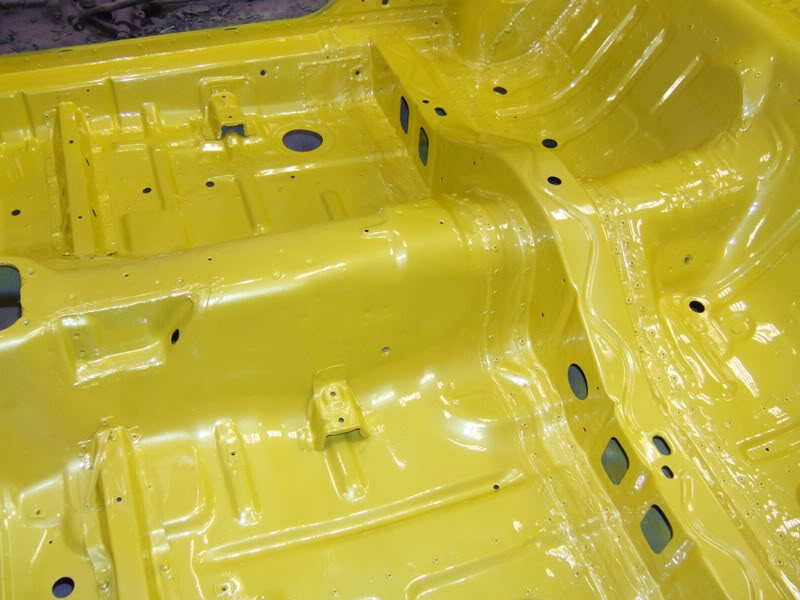
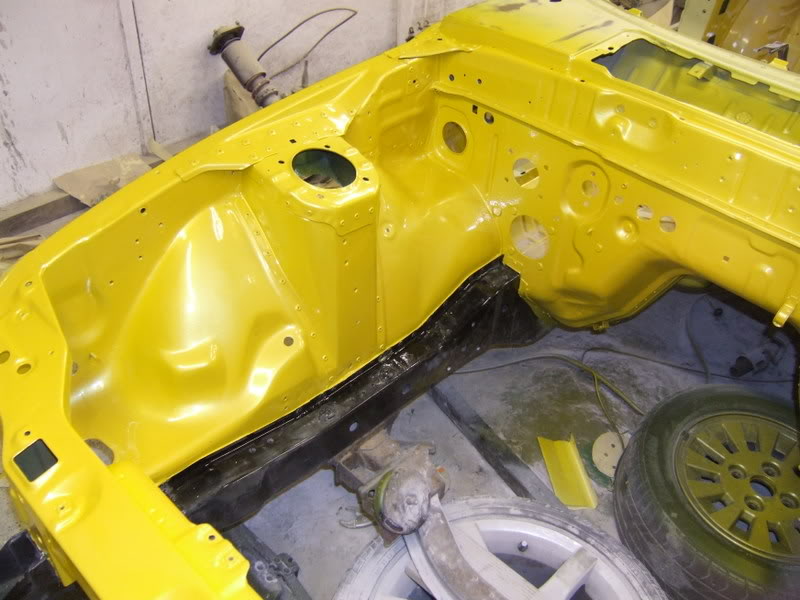
Then the inside and engine bay where painted
Started out black
Stripped to bear metal all rust cut out and blasted
Then the shell was strengthened using rivets (to give stiffness without shortening shell life ) as I read
Then removing rear vent and washer hole, sunroof runoff redirected to underside of car
Coated car in primer to stop rusting
Next was to flush indicators and badge holes and remove trim+dents, also added a Turbo II bonnet scoop which directs the air to the intake
Then i flared the rear arches by 1" to allow wider rears
Then the inside and engine bay where painted
Last edited by ggs1981; Jan 25, 2009 at 05:41 PM.
Thread Starter
Junior Member
Joined: Jan 2009
Posts: 14
Likes: 0
From: Redhill England
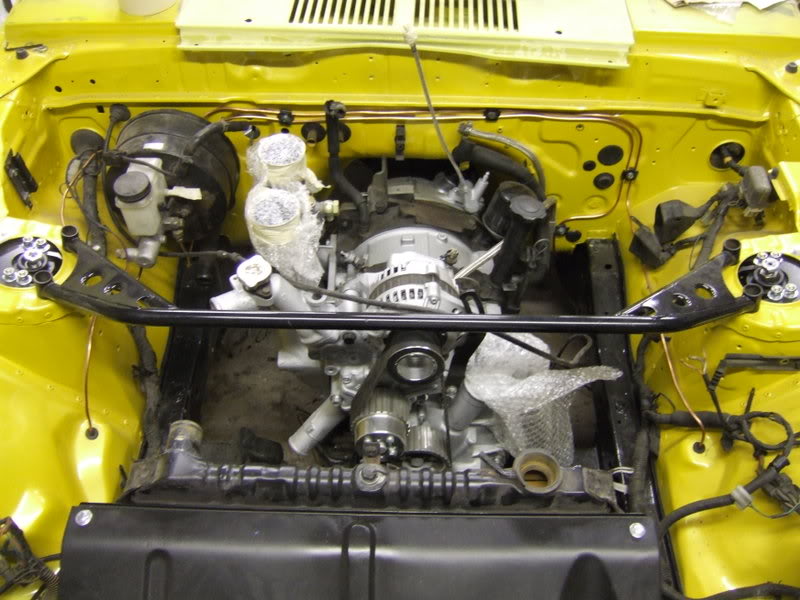
Then started to rebuild the car
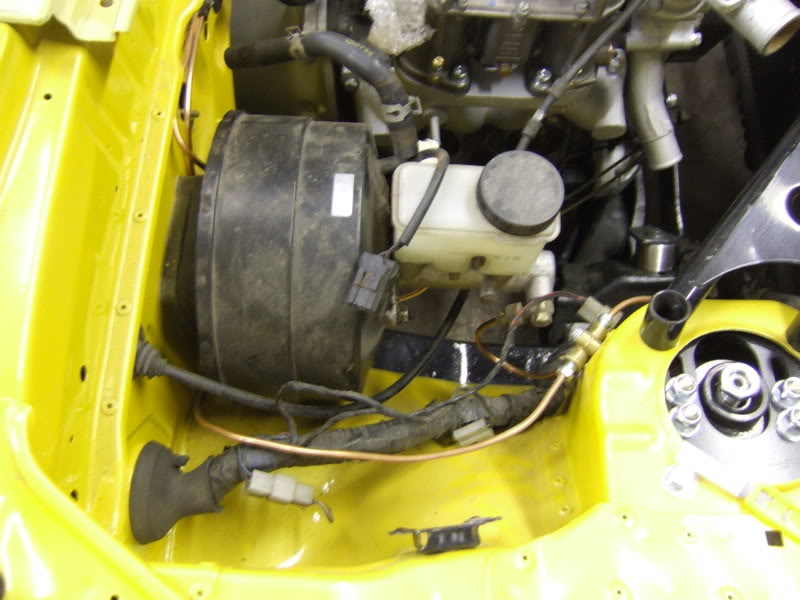
I swapped the 12A for a 13B 6 port and put an FD brake master and servo in
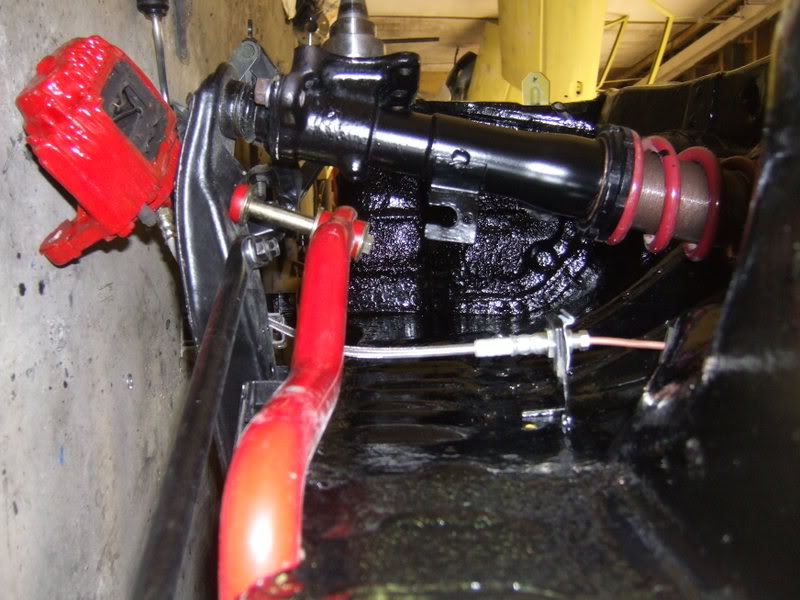
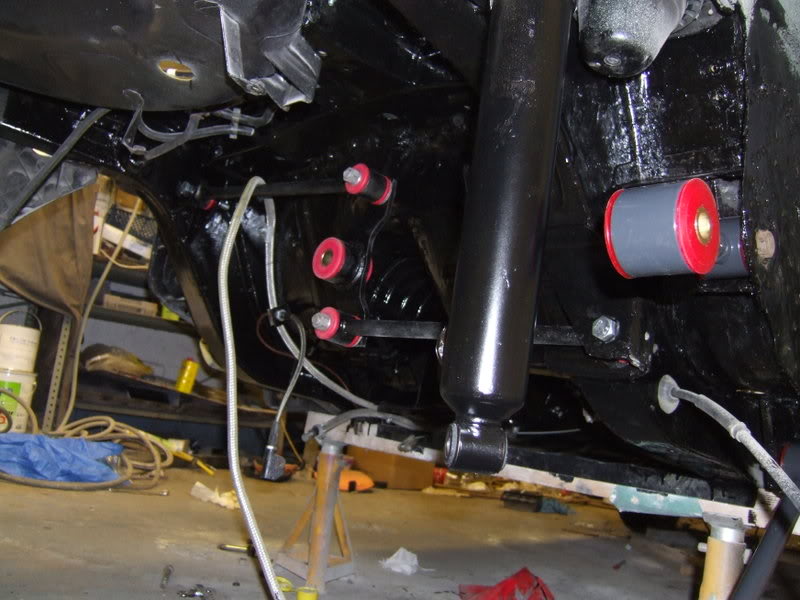
Lots of work done here custom coilovers / re-speed big brake kit / camber adjusters / Polly bush kit the works
The rear got the same treatment
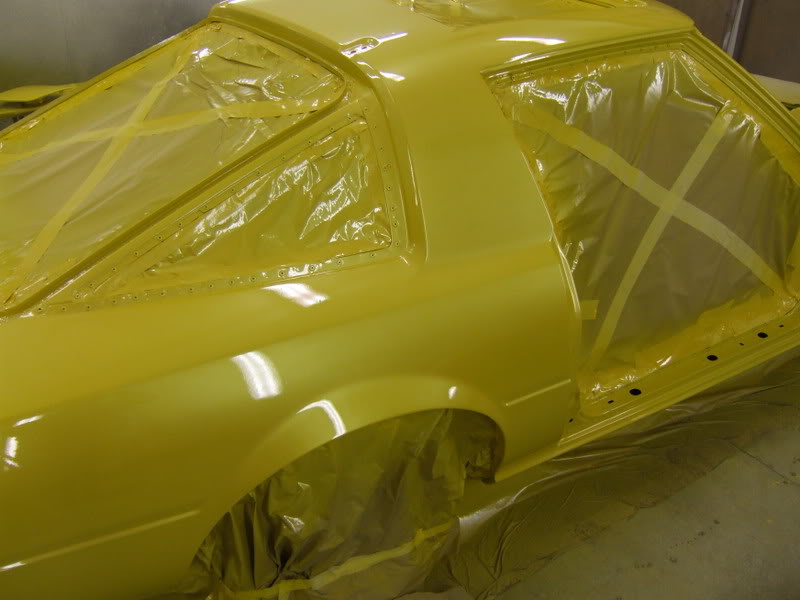
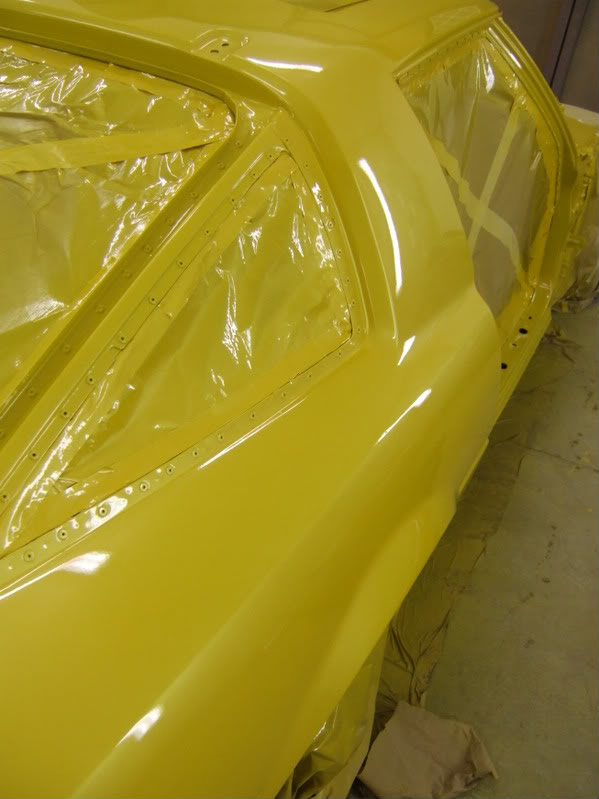
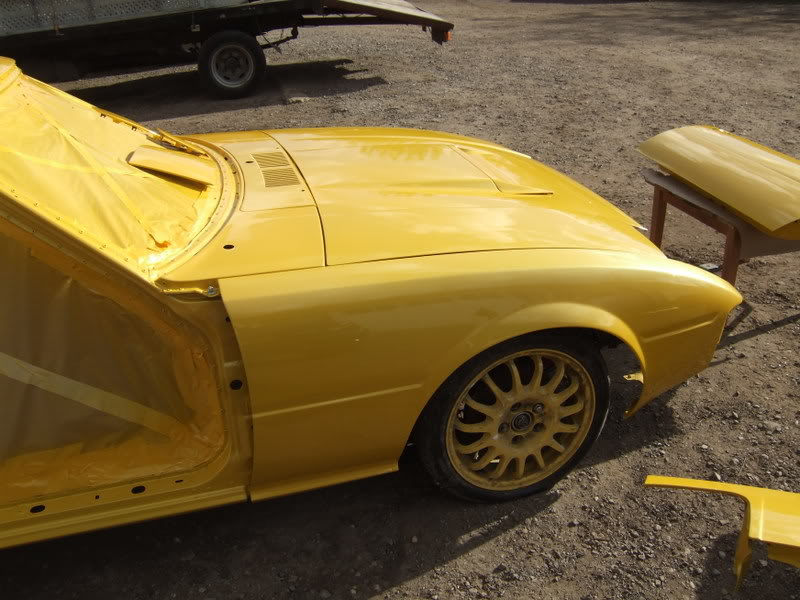
Then it was time to paint the car a happy moment
I swapped the 12A for a 13B 6 port and put an FD brake master and servo in
Lots of work done here custom coilovers / re-speed big brake kit / camber adjusters / Polly bush kit the works
The rear got the same treatment
Then it was time to paint the car a happy moment
Last edited by ggs1981; Jan 25, 2009 at 05:43 PM.
Thread Starter
Junior Member
Joined: Jan 2009
Posts: 14
Likes: 0
From: Redhill England
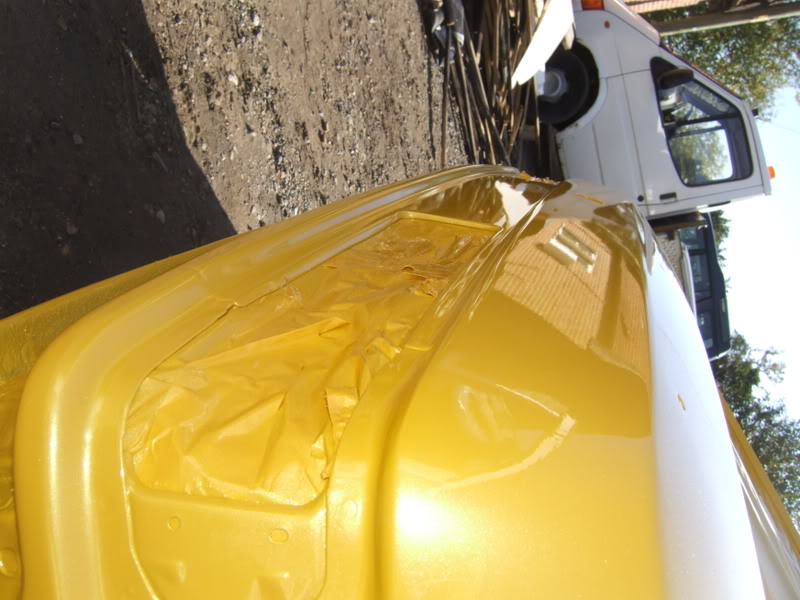
Then to mop the car for that perffect finnish

So far the mod list is as follows
ENGINE:
Halteck E8 ecu
Magna fuel FPR
Tweakit throttle bodies 55/50 tapered bore
850cc primaries
1600cc secondary
Walbro 550HP fuel pump
Surge Tank
Gilmer Drive Pulley Kit
IDA Weber Manifold
FC dizzy
Halteck coils
Solid engine mounts
TD07-18A Turbo
FD Brake Servo and master cylinder
Modified FB Clutch Master
RUNNING GEAR
Rx8 6 speed gearbox
Coilovers max 2" drop
Camber adjusters
Polly bush kit all over
Racing beat Anti roll bar front
Racing beat Adjustable Anti roll bar rear
FC Front Brakes
Respeed Front brake conversion kit
FC front hubs
FC rear brakes
Respeed Rear brake conversion
Mossler Rear Half shafts 114.3 5 stud
Drilled and grooved front and rear FC disks
Green stuff Pads
Braided brake lines all over including Axle hose
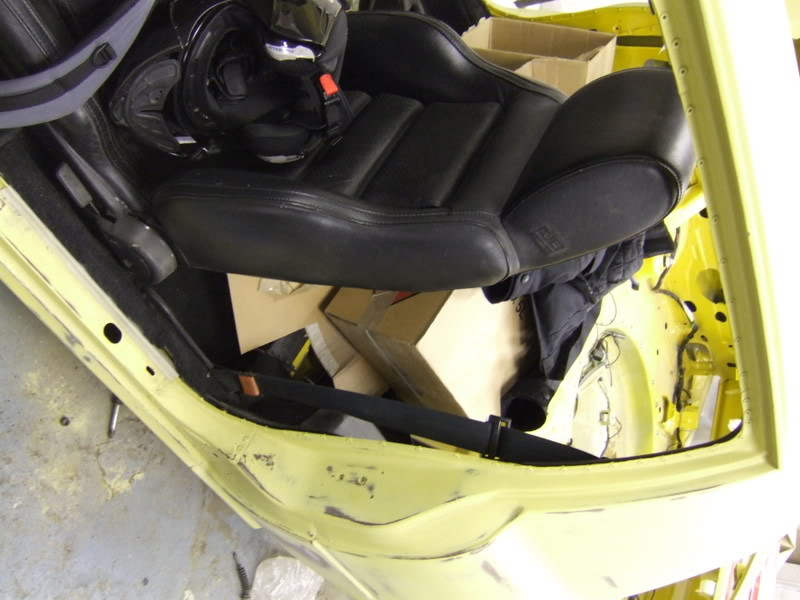
INTIRIOR
FC convertible leather seats
Black Carpet
Alcantara trimmed door cards and rear cards
Perforated leather door Bolster
Flocked dash and all boot plastics and window surrounds
BODY WORK
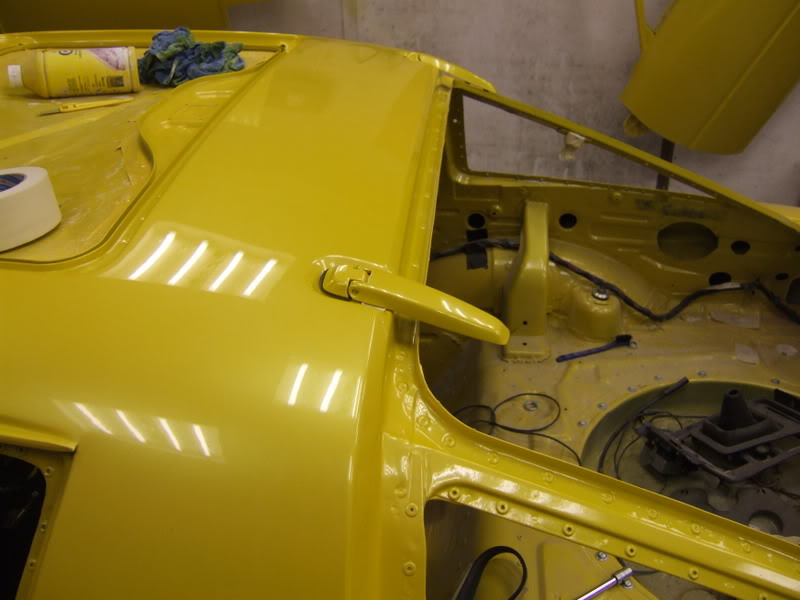
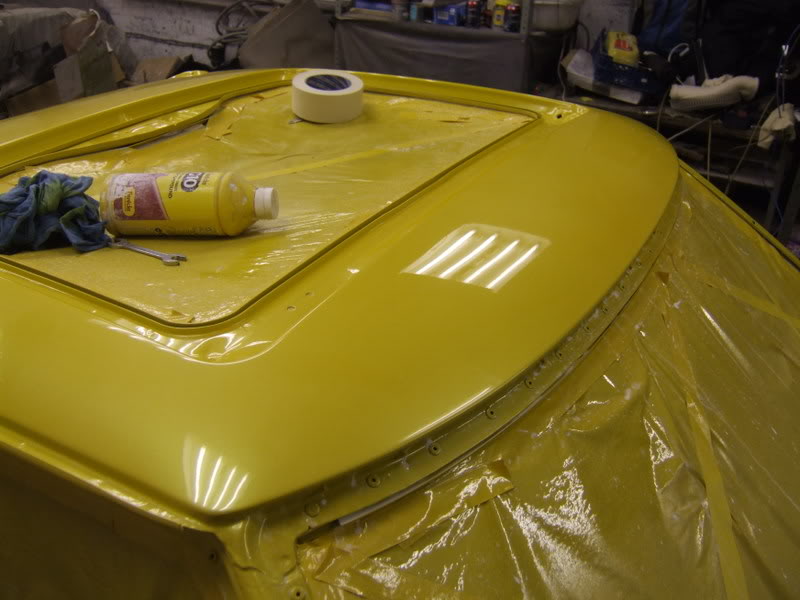
FC turbo II bonnet vent (cut out a square section from fb and welded in scoop to make a working vent directed to intake
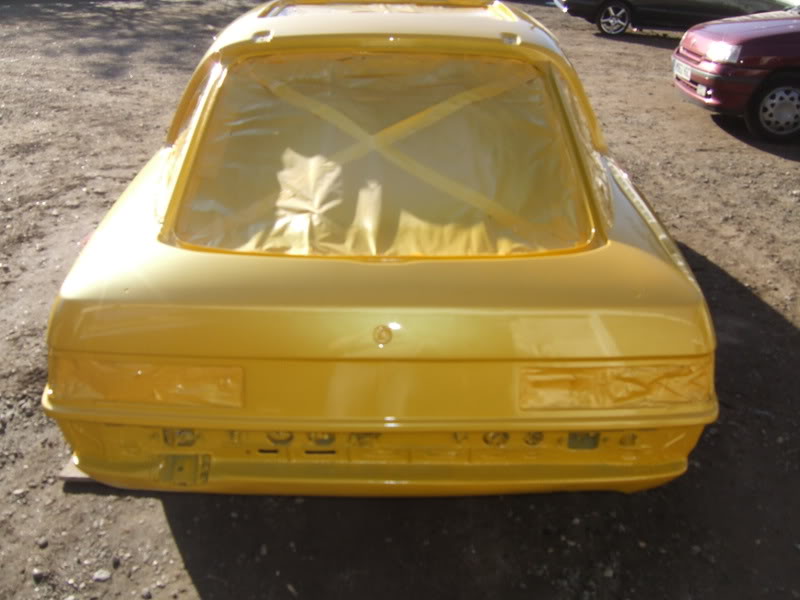
Flushed indicators and badge holes
Removed Side trim
Flushed rear vents (sunroof run off redirected to underside of car
Removed rear washer jet and wipers
Old anniversary Spoiler found on a scraped car (lucky find)
Glass moon roof
Flared rear arches 1" to allow wider rears
Rolled front arches (to stop tyre damage when lowered)
more to come
So far the mod list is as follows
ENGINE:
Halteck E8 ecu
Magna fuel FPR
Tweakit throttle bodies 55/50 tapered bore
850cc primaries
1600cc secondary
Walbro 550HP fuel pump
Surge Tank
Gilmer Drive Pulley Kit
IDA Weber Manifold
FC dizzy
Halteck coils
Solid engine mounts
TD07-18A Turbo
FD Brake Servo and master cylinder
Modified FB Clutch Master
RUNNING GEAR
Rx8 6 speed gearbox
Coilovers max 2" drop
Camber adjusters
Polly bush kit all over
Racing beat Anti roll bar front
Racing beat Adjustable Anti roll bar rear
FC Front Brakes
Respeed Front brake conversion kit
FC front hubs
FC rear brakes
Respeed Rear brake conversion
Mossler Rear Half shafts 114.3 5 stud
Drilled and grooved front and rear FC disks
Green stuff Pads
Braided brake lines all over including Axle hose
INTIRIOR
FC convertible leather seats
Black Carpet
Alcantara trimmed door cards and rear cards
Perforated leather door Bolster
Flocked dash and all boot plastics and window surrounds
BODY WORK
FC turbo II bonnet vent (cut out a square section from fb and welded in scoop to make a working vent directed to intake
Flushed indicators and badge holes
Removed Side trim
Flushed rear vents (sunroof run off redirected to underside of car
Removed rear washer jet and wipers
Old anniversary Spoiler found on a scraped car (lucky find)
Glass moon roof
Flared rear arches 1" to allow wider rears
Rolled front arches (to stop tyre damage when lowered)
more to come
Last edited by ggs1981; Jan 25, 2009 at 05:44 PM.
Thread Starter
Junior Member
Joined: Jan 2009
Posts: 14
Likes: 0
From: Redhill England
The car is being built to be able to, I do have a turbo just debating what way to go The car has to fill a wide variety of functions been a difficult project as i want it to be a Track / Touring / Showcar and a play car so its finding a compromise looking for a good driving car for the alps and Nurburgring (europe)
Trending Topics
Outstanding work and detail. Could you provide more detail on the brake master swap? I've been thinking of swapping a 2nd gen master in the widebody to go with the big brake kit.
i have a couple questions.. what are the rivets doing? did you rivet in some extra metal to stiffen the chassis or did you just pop a bunch of rivets in there? i didnt really understand that part.. and second...you went black to yellow... why? lol looks nice though i am just not a huge fan of yellow .. especially when it used to be black. other than that great job on it. i wish i had a barn to do that kinda stuff in.
Thread Starter
Junior Member
Joined: Jan 2009
Posts: 14
Likes: 0
From: Redhill England
Thank you for your comments the car is nearly finished just haven�t uploaded the pics from camera for a while will update soon
Evil motors I miss it in black always looked evil but I wanted something bright too and decided that Lamborghini yellow would work well. with all the glass and lights in it looks classy well I think so
as for the rivets its something I am trying out did allot of research into it there should be an improvement there�s a rivet in-between each weld used about 3000 rivets and all by hand (hand hurt for ages) not sure if it was worth it but we will see
Trochoid the FD servo went straight in just need to keep the spacer from the FD as well as using the FB one you will need to do something about the clutch master
Build looks amazing, however if you do turbo the car, you may want to re-think the RX-8 6 speed transmission. People have broken this trans with hard launches on stock RX-8 power and stock RX-8 wheels and tires.

Senior Member

Joined: Sep 2007
Posts: 425
Likes: 4
From: UK
Very nice, I also have a FD brake set up (already fitted) and a FD servo to fit, what needs modifying on the clutch servo? Am I right in thinking the FD uses the same reservoir for both?
Thanks in advance
Mark
Thanks in advance
Mark

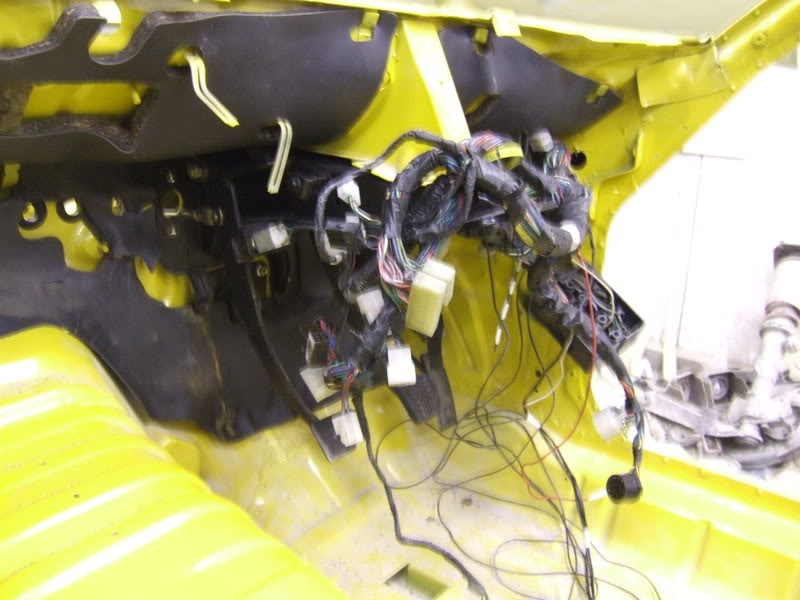
I now own the car and have over the last 5 months been finishing it off..
Have the wiring to sort out and some paint on bumpers and wing and it's ready for it's first drive in about 5 years!!!
Have the wiring to sort out and some paint on bumpers and wing and it's ready for it's first drive in about 5 years!!!

Thread
Thread Starter
Forum
Replies
Last Post