
85 GSL rescue project

Thread Starter


Joined: Oct 2003
Posts: 22,598
Likes: 1,276
From: Ohio
i'll try to get more done with the car today and get some pics up. if there's any specific pics of an area on the car anyone wants to see let me know and i'll post them.

49327, it came with the parts car and is sitting in the trunk, so i have no idea what condition its in. i can take some pics this weekend. if you do come get it, got a cherry picker? i wanna get the engine outa this beast but i don't have a picker, lol
Just another amazing transformation by Dave!
I admire your passion and your determination dude. Thanks for sharing the pics along with the updates.
Living vicariously through watching your talent and persistence.
I admire your passion and your determination dude. Thanks for sharing the pics along with the updates.
Living vicariously through watching your talent and persistence.
Thread Starter
Joined: Oct 2003
Posts: 22,598
Likes: 1,276
From: Ohio
thanks Mike, i really appreciate that. the wife had some wisdom teeth pulled so my work on the car was cut short due to me having to watch the kids and take care of her. i'll post pics of the minor progress that i made today.
Thread Starter
Joined: Oct 2003
Posts: 22,598
Likes: 1,276
From: Ohio
first up was making a new positive battery cable. the one in the car was a hack job and i have to make things reliable. i started out with a decent FC battery cable. i added the FB wire to the fusible link box. luckily the FC cable already has the added wire. all it needed was some tapping into. i then cleaned the whole thing, cleaned teh connections, re-taped the original taped sections and reused the original loom, just cleaned and retaped it. i also cleaned and re taped the negative cable that i added and re ran both. i was going to loom them oem style but my time got cut short:
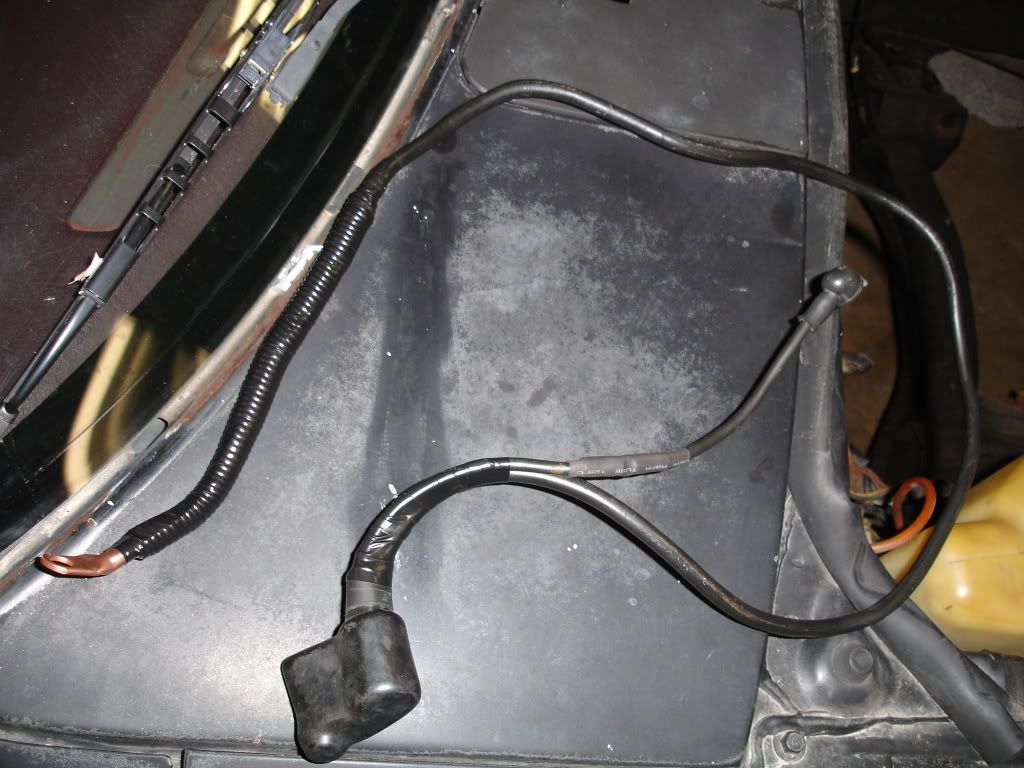
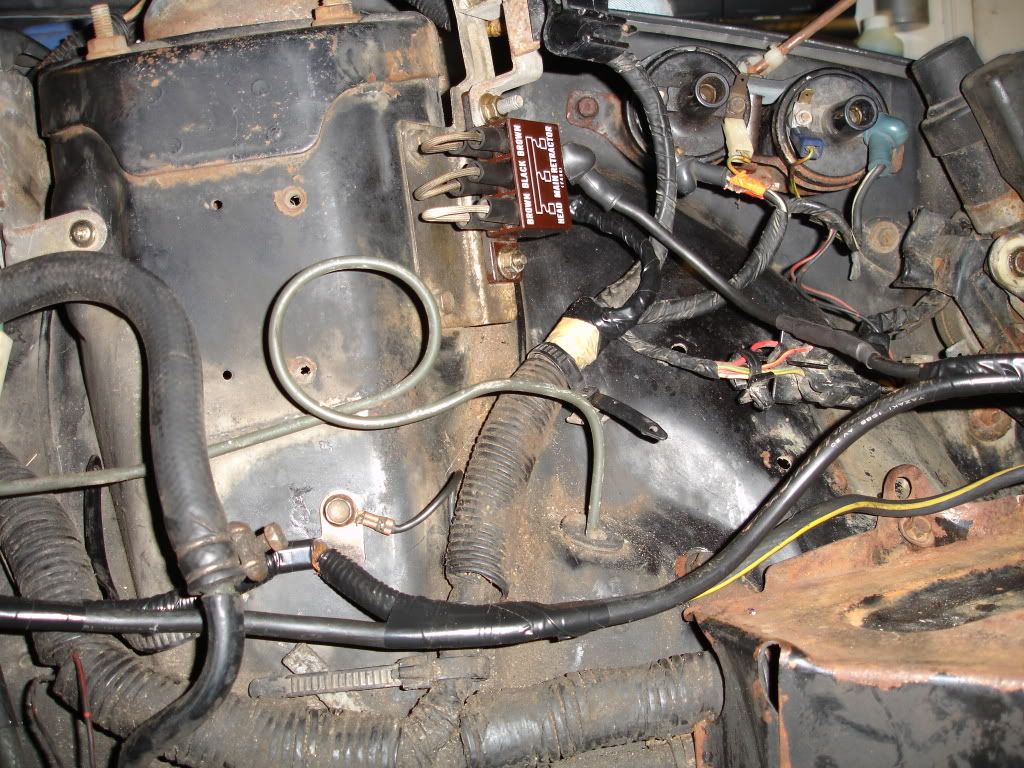
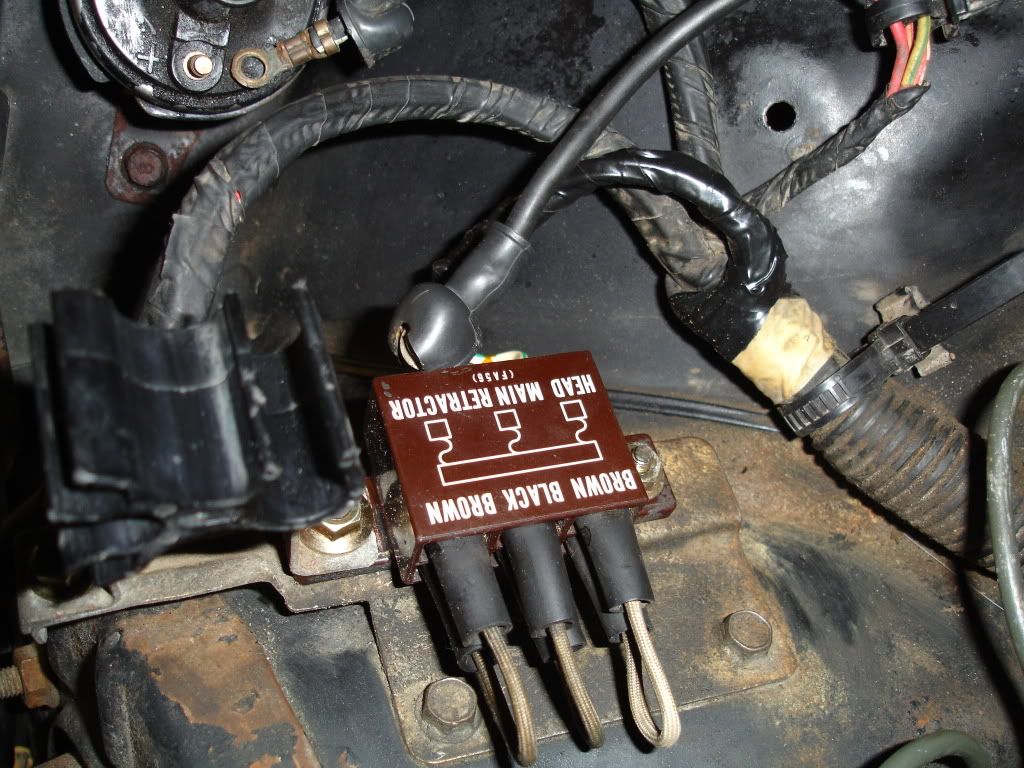
i also installed a newly used fusible link box. the old one was corroded and the outer terminal with the screw was broken off. some solder, shrink wrap, and some super 33 sealed the deal:
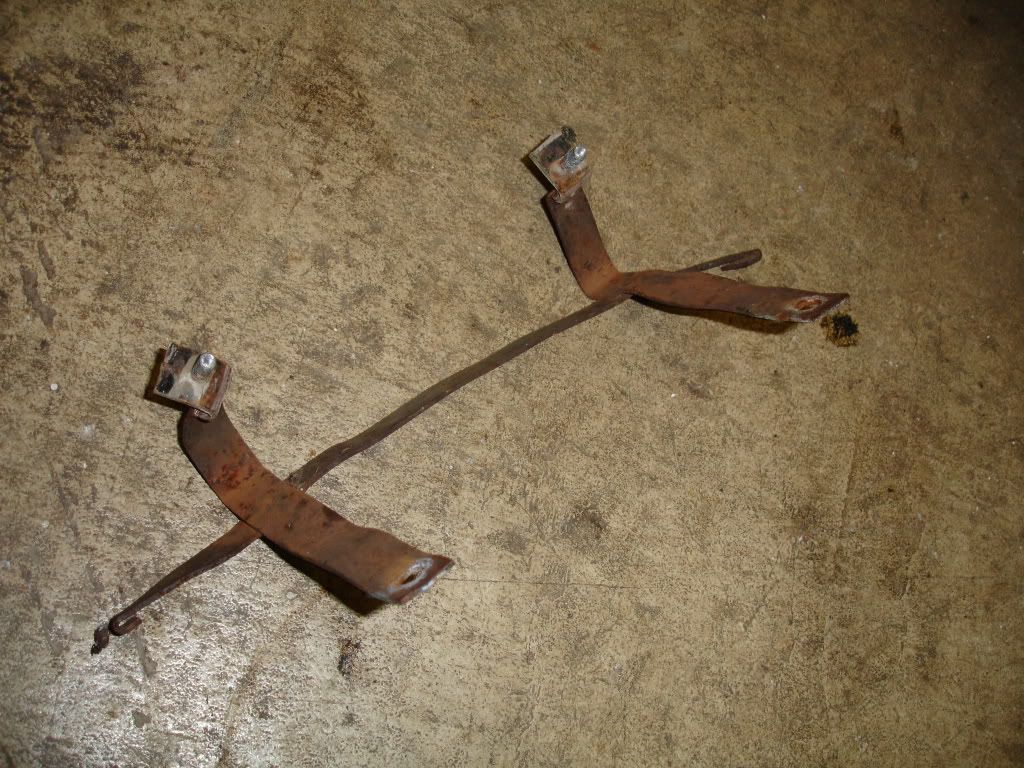
i also removed the stupid front plate bracket that ripped THREE pairs of jeans..it ripped my favorite pair and i was ruthless in removing it. pics tomorrow of that obscurity.
i also installed a newly used fusible link box. the old one was corroded and the outer terminal with the screw was broken off. some solder, shrink wrap, and some super 33 sealed the deal:
i also removed the stupid front plate bracket that ripped THREE pairs of jeans..it ripped my favorite pair and i was ruthless in removing it. pics tomorrow of that obscurity.
Thread Starter
Joined: Oct 2003
Posts: 22,598
Likes: 1,276
From: Ohio
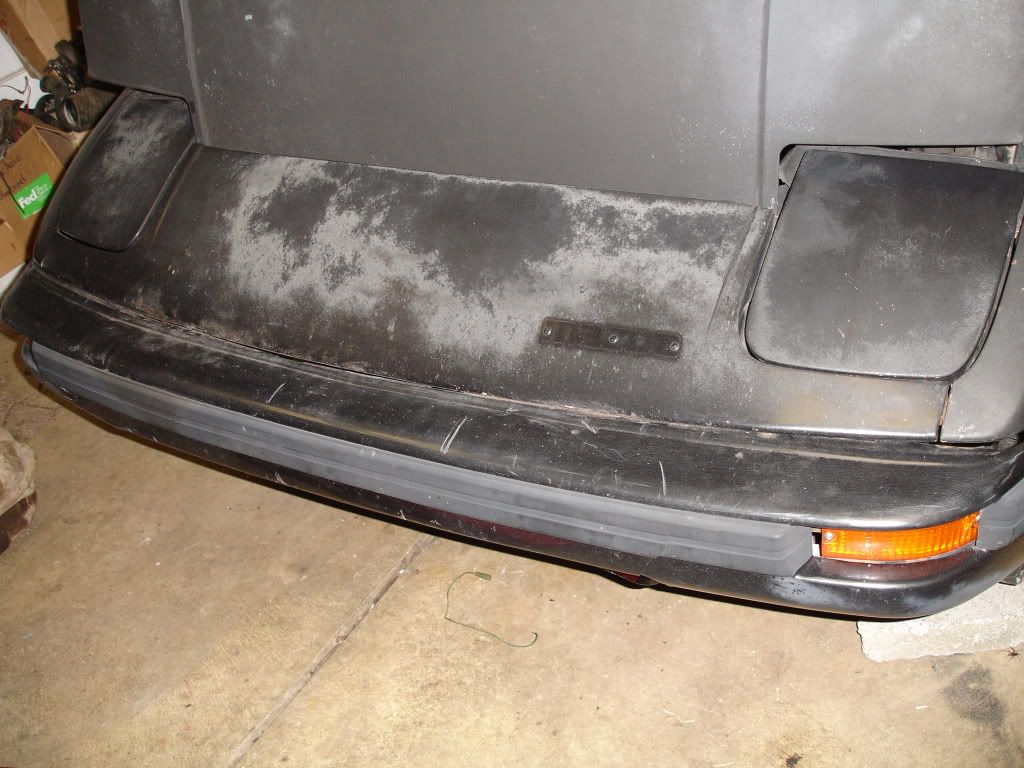
went out quickly and took some pics of the bumper and the bracket. the bumper looks so much better without that bracket and my jeans will thank me for saving them from getting ripped further.
the bumper:
the mangled bracket of hate:
the bumper:
the mangled bracket of hate:
Thread Starter
Joined: Oct 2003
Posts: 22,598
Likes: 1,276
From: Ohio
it does and i'll dig into it. for now i'm going to make it complete and store the car in a dry garage. when i finish my other GSL project i'll finish this one.


Thread Starter
Joined: Oct 2003
Posts: 22,598
Likes: 1,276
From: Ohio
got a little bit done yesterday and will do more today! here's what i did yesterday before i went to work on my father in law's tractor:
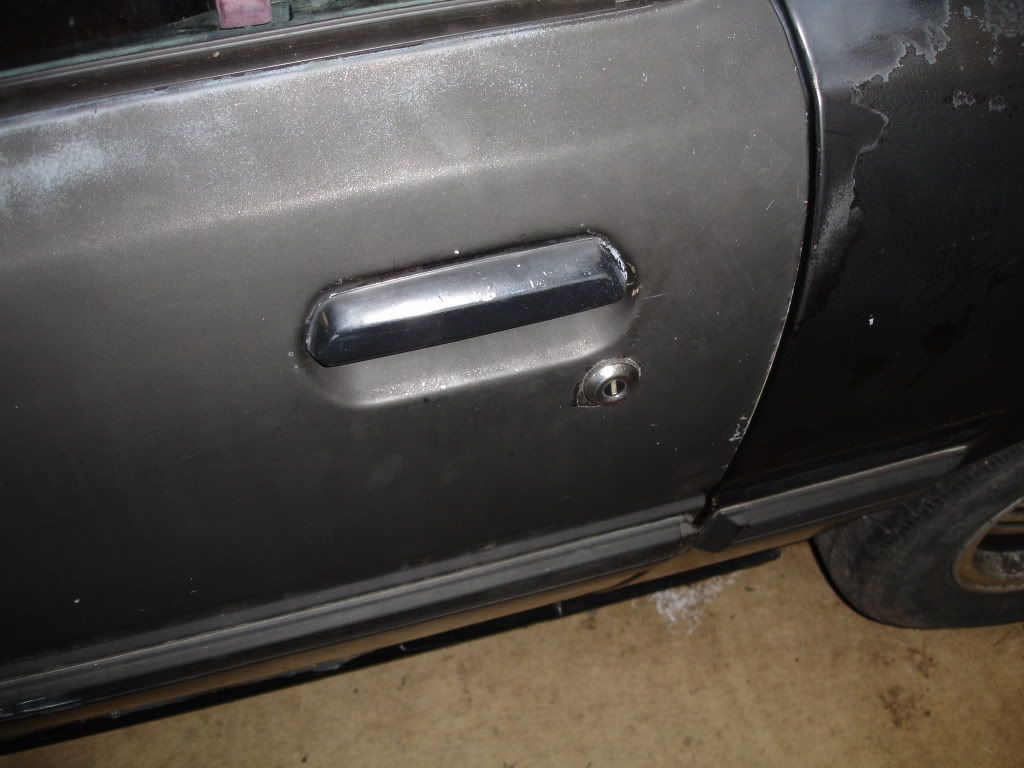
got the driver's door handle installed:
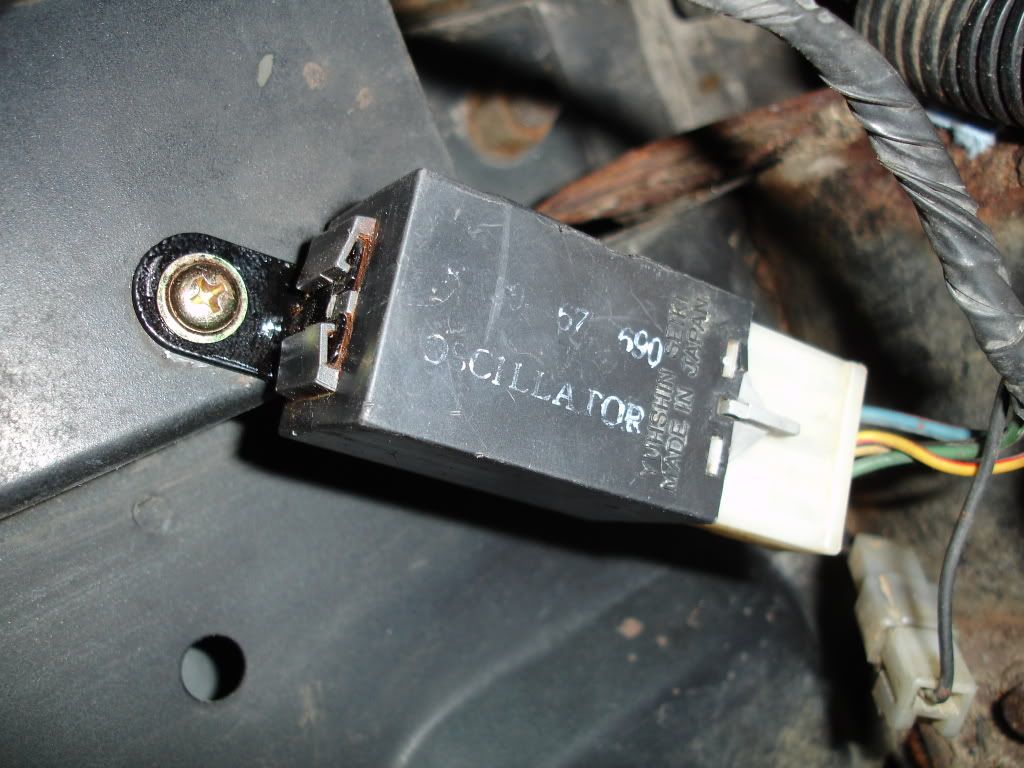
replaced the ocillator and mounting screw, blasted and painted the mounting bracket:
rewired the horns. the old horn wiring was cut and frayed and was a mess:
i also tightened the window regulators and put the windows back on track and reseated the window seals. i had to use an some jumper wires and an external power source to power the windows because i still do not have a power window switch. i'll post pics of that later and post pics of my progress that i make for the day.
got the driver's door handle installed:
replaced the ocillator and mounting screw, blasted and painted the mounting bracket:
rewired the horns. the old horn wiring was cut and frayed and was a mess:
i also tightened the window regulators and put the windows back on track and reseated the window seals. i had to use an some jumper wires and an external power source to power the windows because i still do not have a power window switch. i'll post pics of that later and post pics of my progress that i make for the day.

Looking good Dave. I have the window switch and fader controls for you although the plastic surround might be brown, not red, need to check. Also I few other things on the list, I'll try to get them together today.
Thread Starter
Joined: Oct 2003
Posts: 22,598
Likes: 1,276
From: Ohio
thanks Ray! i really appreciate you going through your parts cache! i can't wait to get some seats in this sucker and finish up the interior witht he minor trim bits that i need. i found out yesterday that the clutch pedal adjuster and rod (was missing) from an 83 is not that same as the one from an 85..seems the one from the 85 is a tad larger..the one i have in there temporarily form the 83 is not quite up to the task. gonna try and find another..i was able to install a few parts yesterday and i'll post pics of that later.
I've run into similar problems mixing and matching hydraulics from 83 and 84/85 cars, watch out for differences in the brake master cylinder from 83 to 84 as well, if you mix up those parts it will cause your brakes to seize (or vice versa, depending on the transplant) for no apparent reason (except the rod is the wrong length).
I have some spare 84/85 master cylinders for 84/85 GSLs that would be suitable for rebuilds if you want to go that route, although I prefer to just buy new ones of these when I need to.
I have some spare 84/85 master cylinders for 84/85 GSLs that would be suitable for rebuilds if you want to go that route, although I prefer to just buy new ones of these when I need to.
Thread Starter
Joined: Oct 2003
Posts: 22,598
Likes: 1,276
From: Ohio
i got a few things done but i havent taken many pics. here's a couple things that i've done recently:
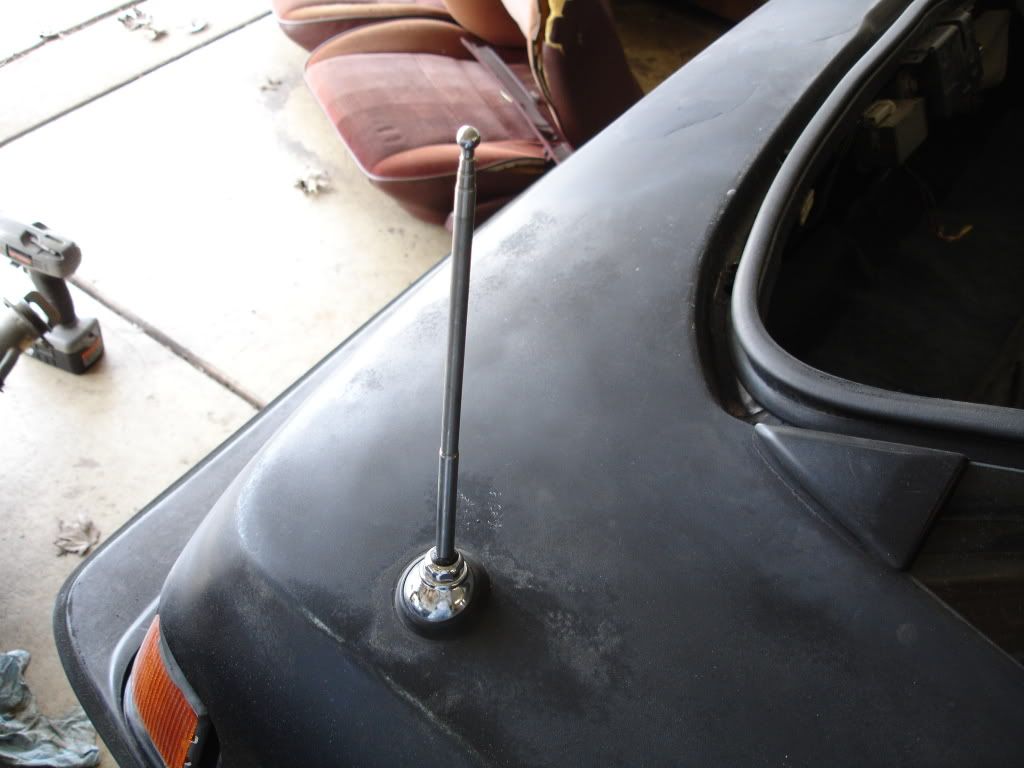
replaced the aftermarket junk antenna with an oem one that i made..i made a broken power antenna into a manual antenna:
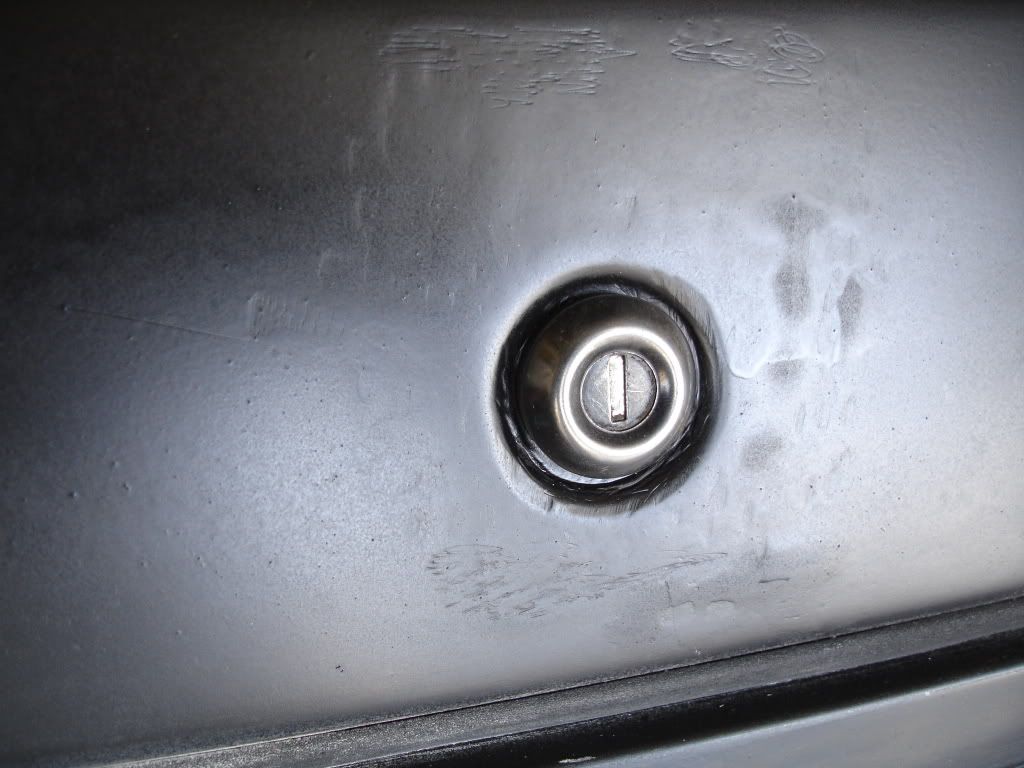
i drilled out the bondo that was over the hatch lock cylinder and quickly reshaped the area and tossed in a lock cylinder. its crude but effective and it'll be made as good i can get it shaped when the car is painted:
replaced the aftermarket junk antenna with an oem one that i made..i made a broken power antenna into a manual antenna:
i drilled out the bondo that was over the hatch lock cylinder and quickly reshaped the area and tossed in a lock cylinder. its crude but effective and it'll be made as good i can get it shaped when the car is painted:
Thread Starter
Joined: Oct 2003
Posts: 22,598
Likes: 1,276
From: Ohio
got quite a bit done today to include installing a new fender off the shelf. i'll be working on it tomorrow and i'll post my pics from today and tomorrow!
Thread Starter
Joined: Oct 2003
Posts: 22,598
Likes: 1,276
From: Ohio
yesterday was fairly productive and i hope to start prepping the engine and engine bay for install today. the engine probably won't go in until this weekend or mid next week but i want everyting ready.
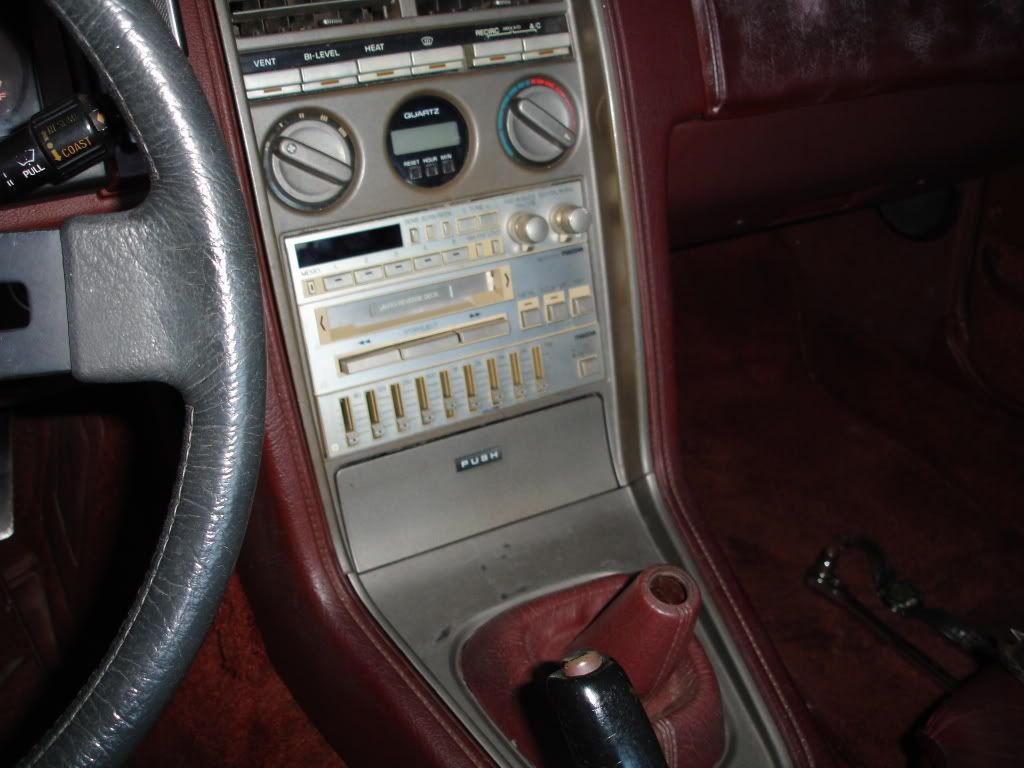
pulled out the old junky radio and repaired the radio wiring and replaced the stereo with the correct ETR stereo:
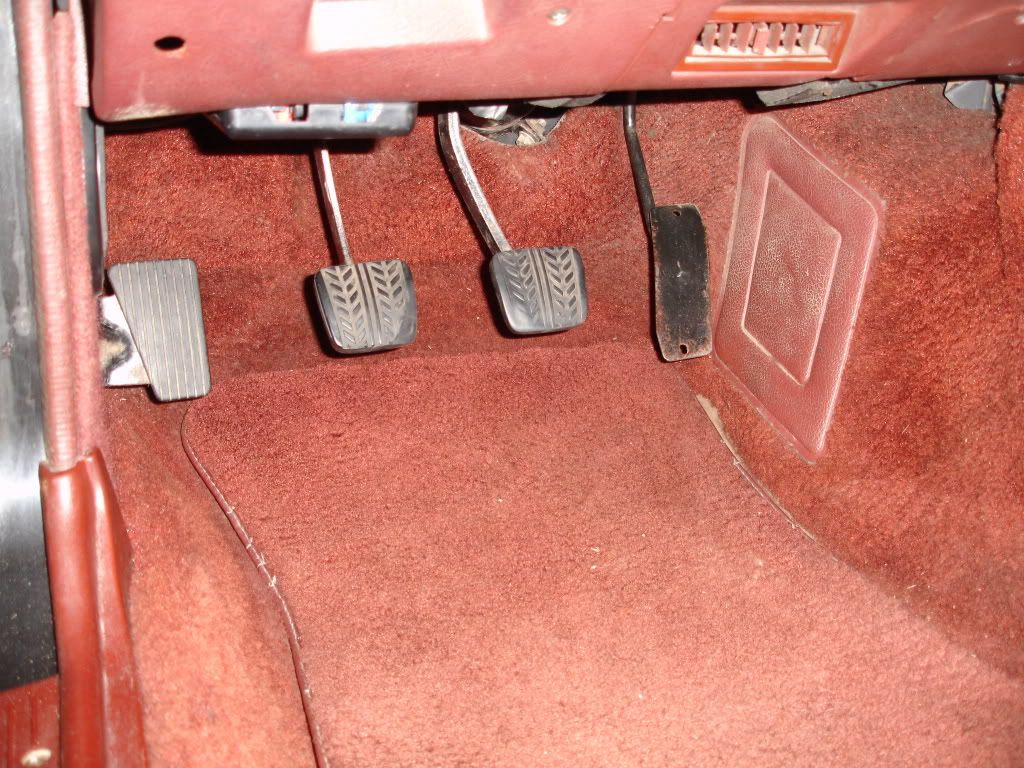
installed the dead pedal pad:
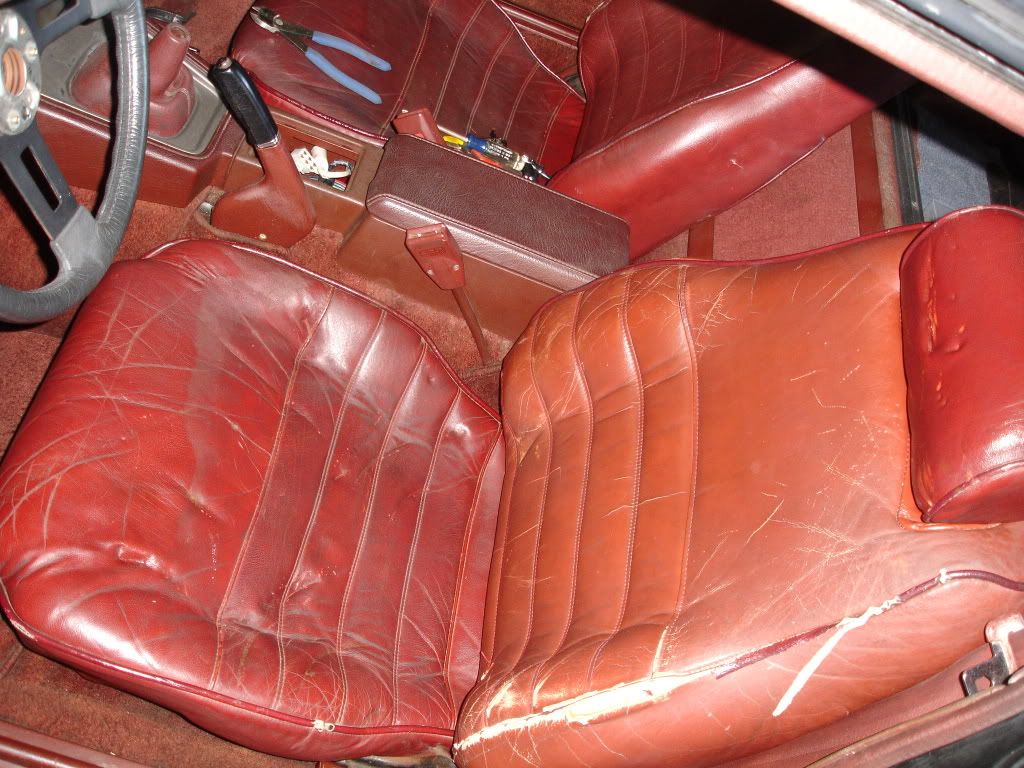
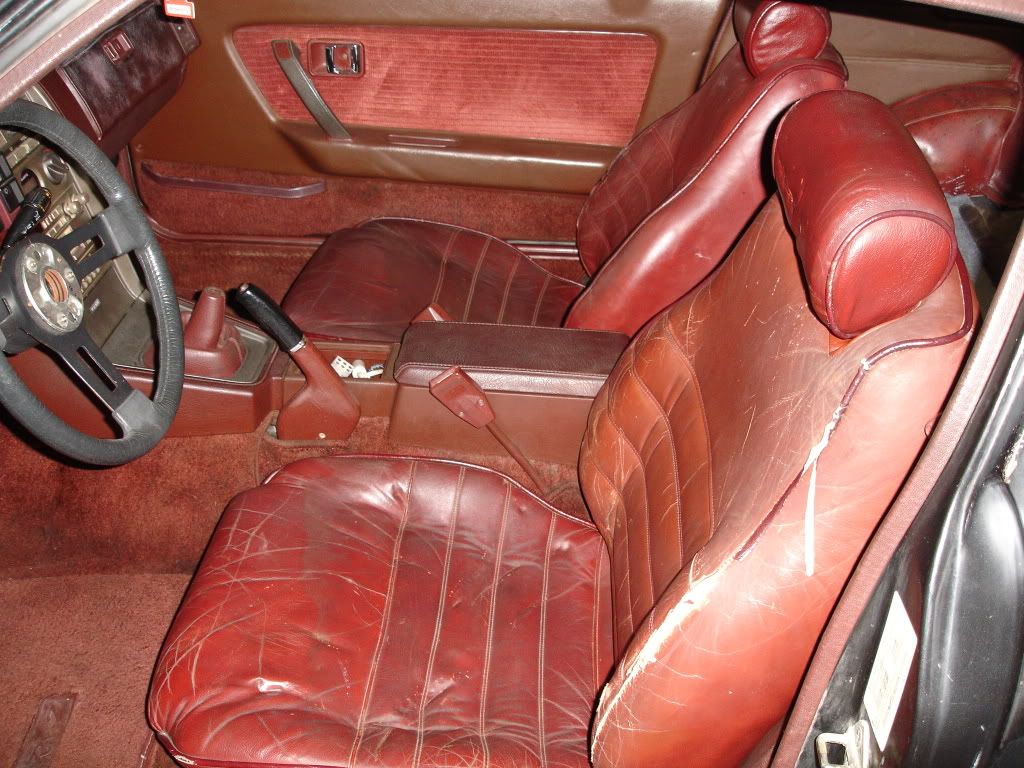
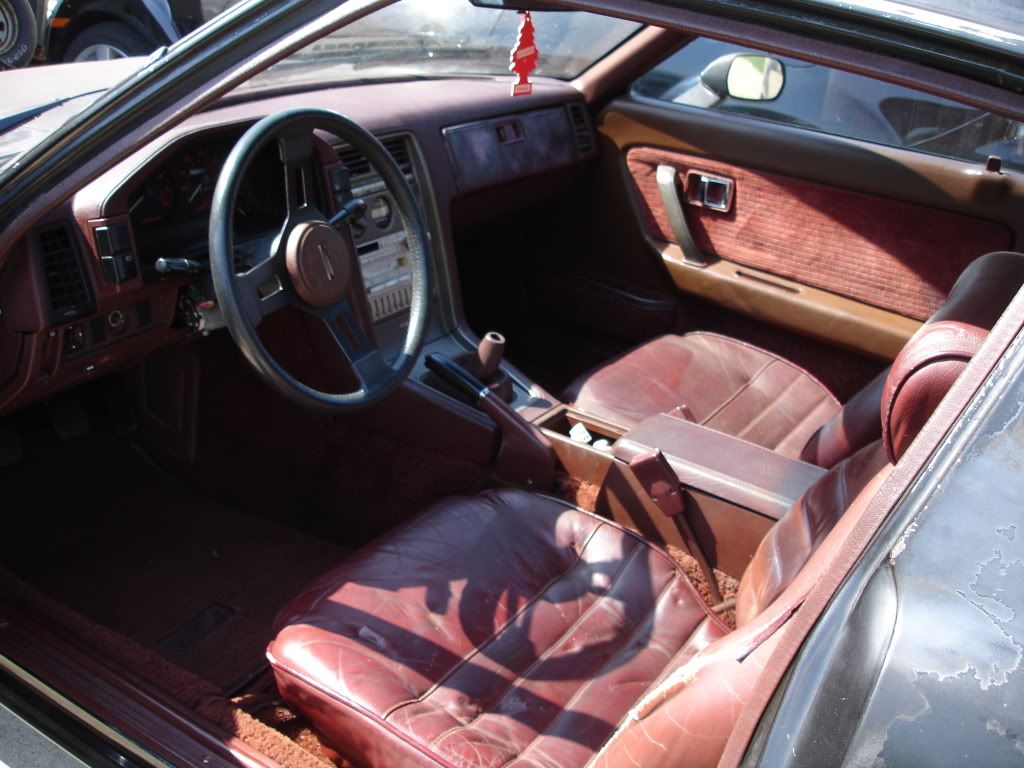
test fit the seats. i'm still needing the seat rails as these have no rails and are not bolted down. they look fair and are comfortable..and this is a budget project so i am wanting to use parts that i have laying around in the garage:
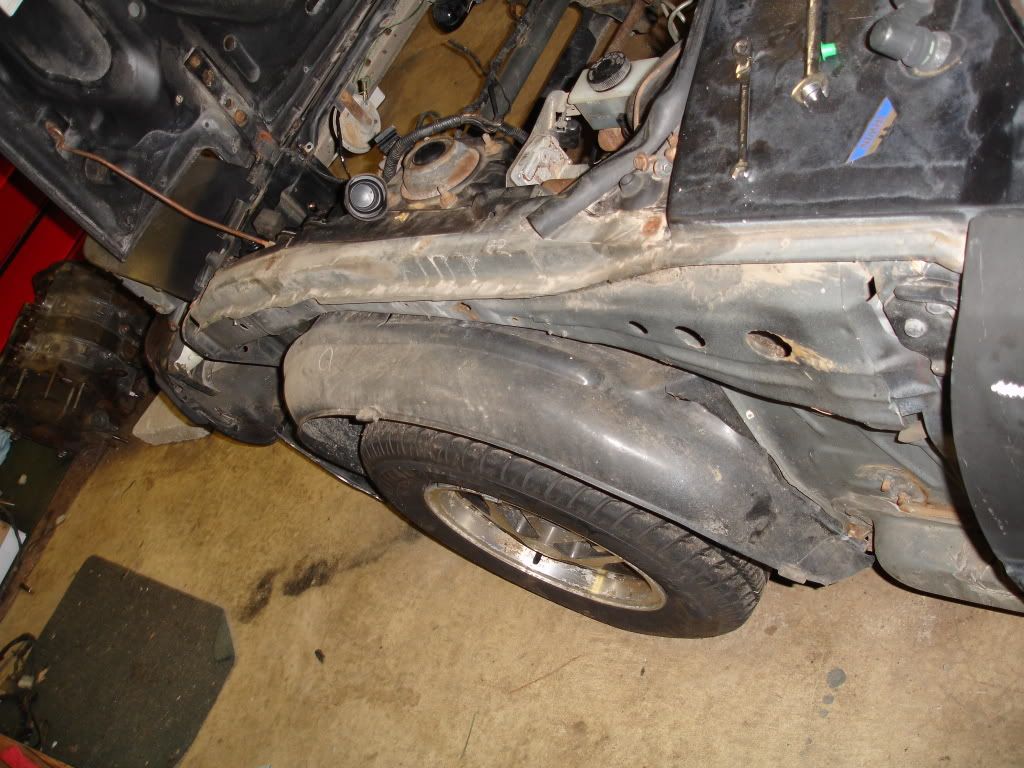
removed the destroyed fender and repaired the wheel well liner:
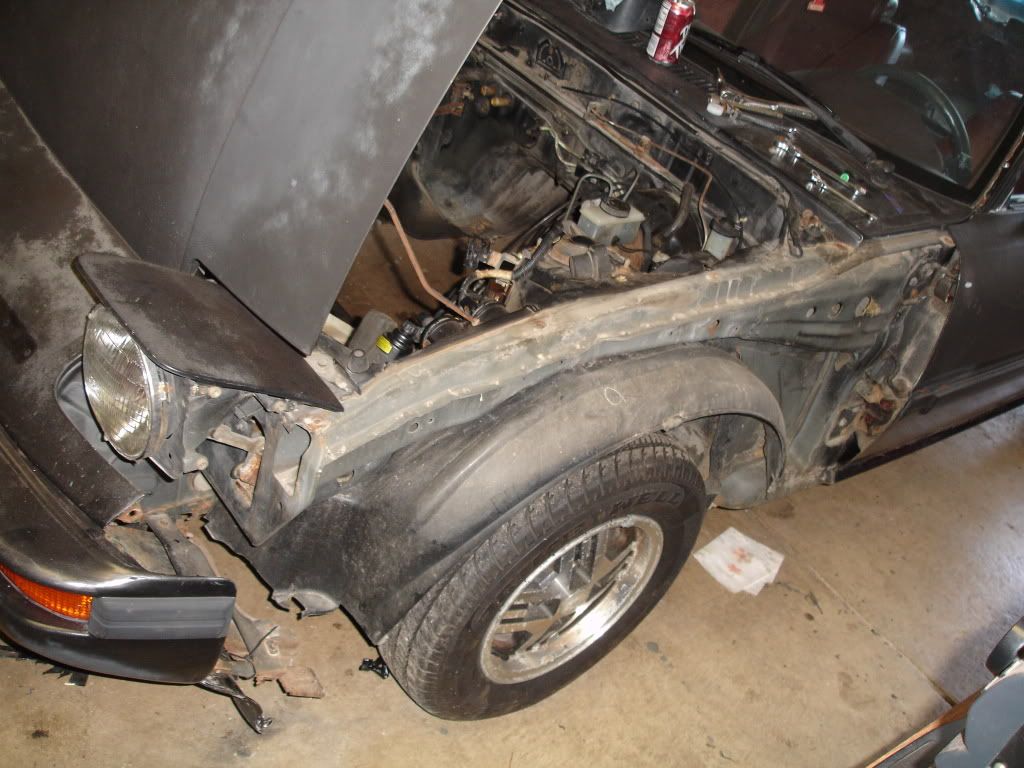
the last good spare 83-85 left fender that i had:
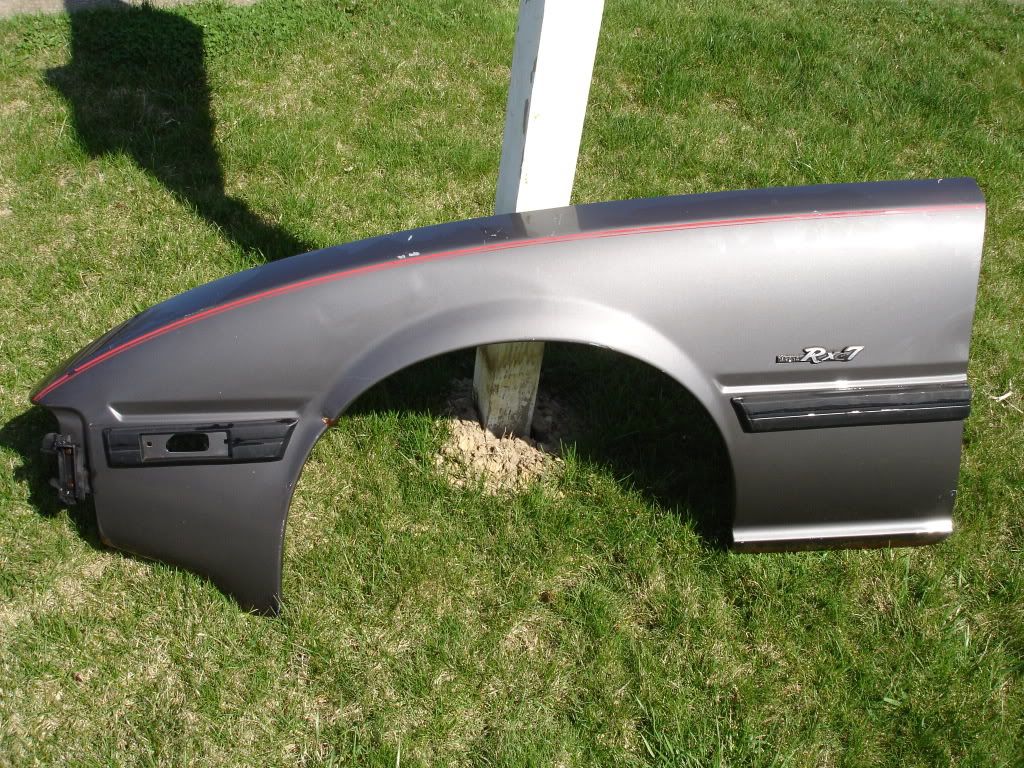
it was apparently an oem replacement at one time based on the sticker:

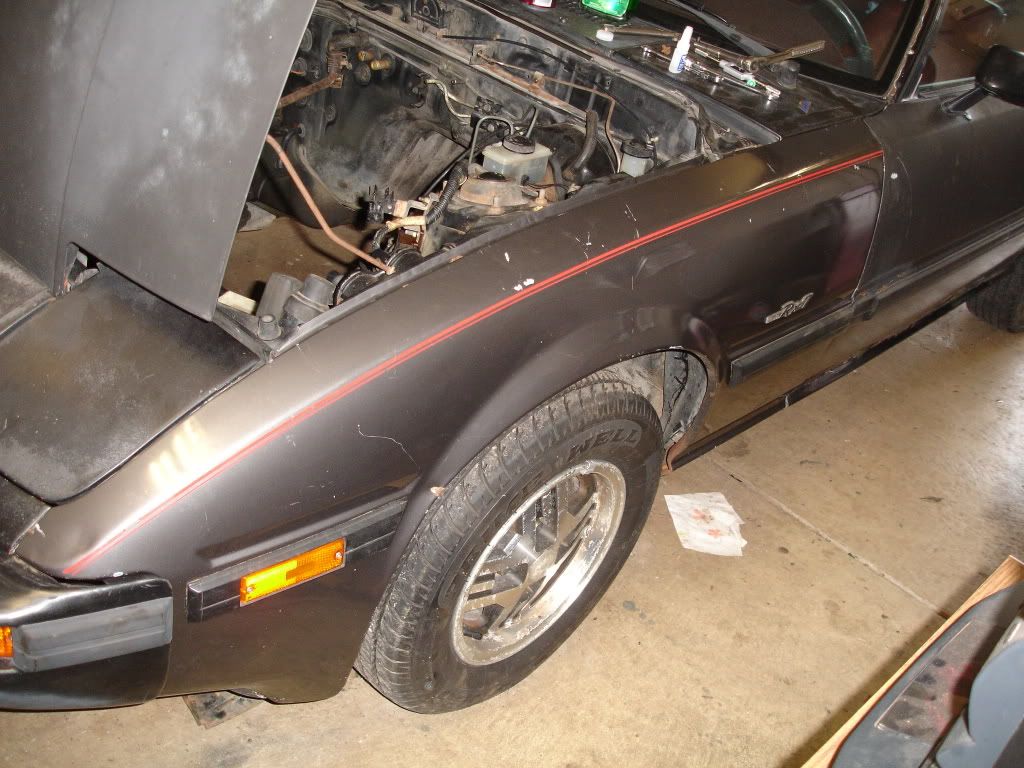
here it is on the car:
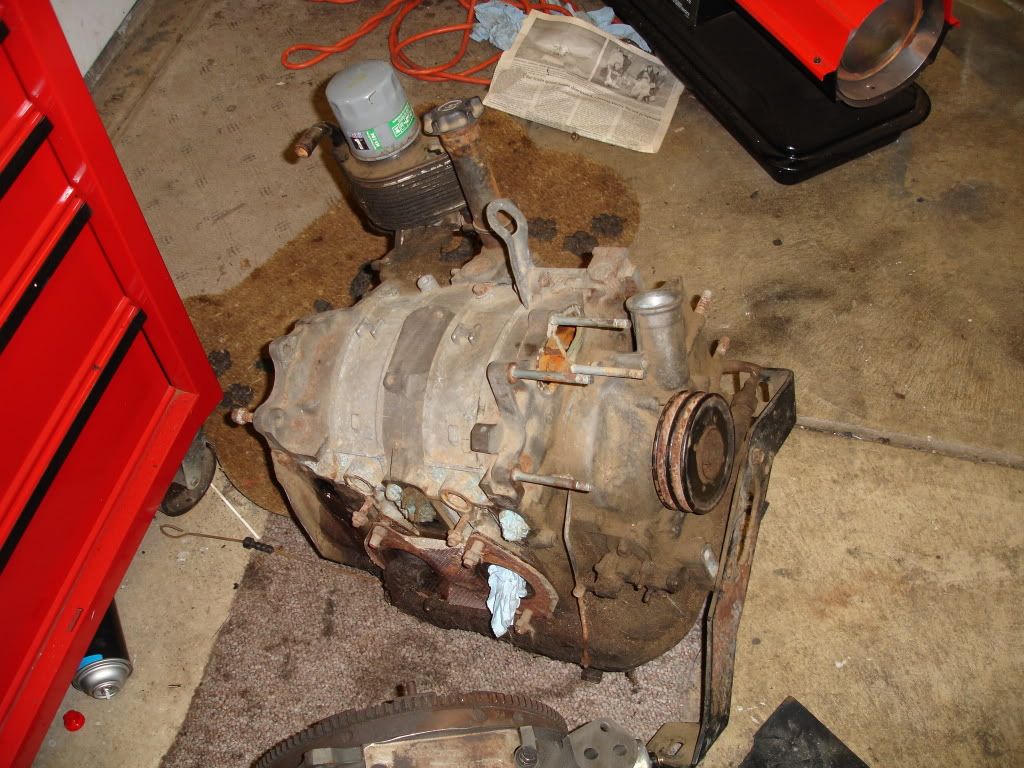
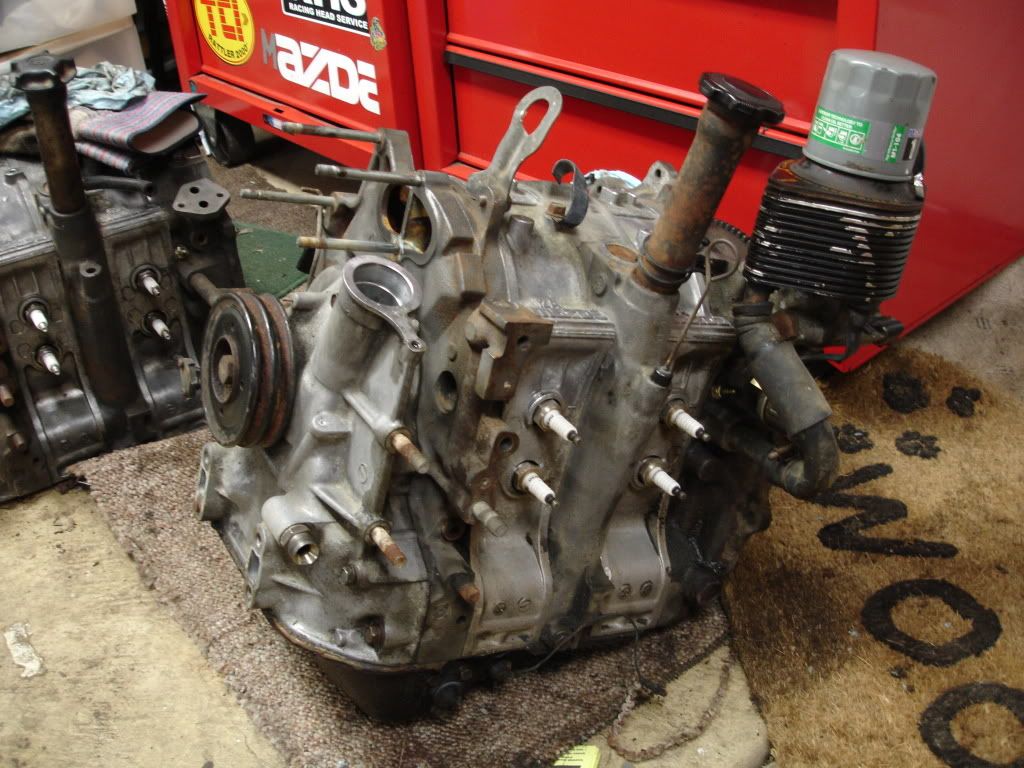
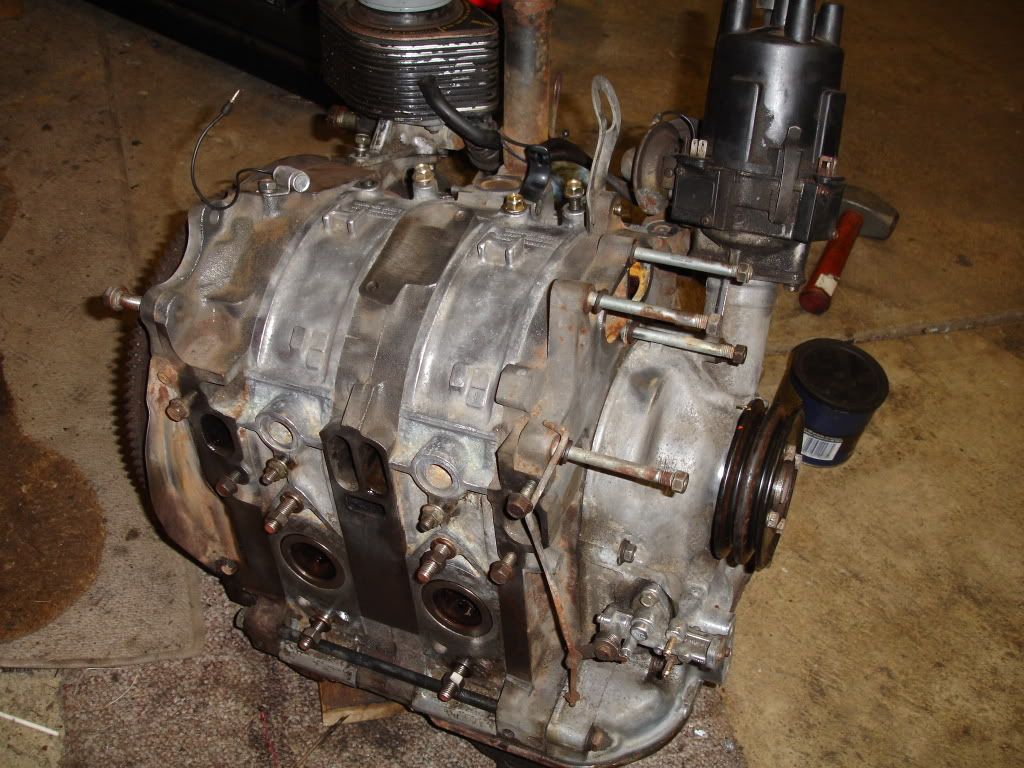
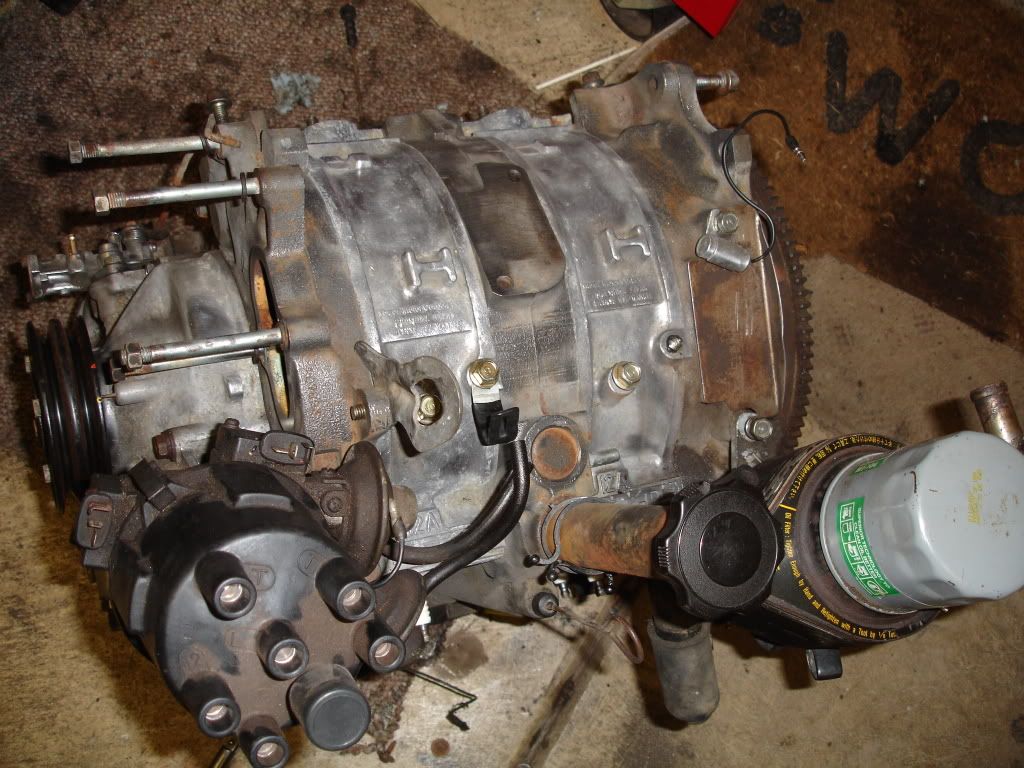
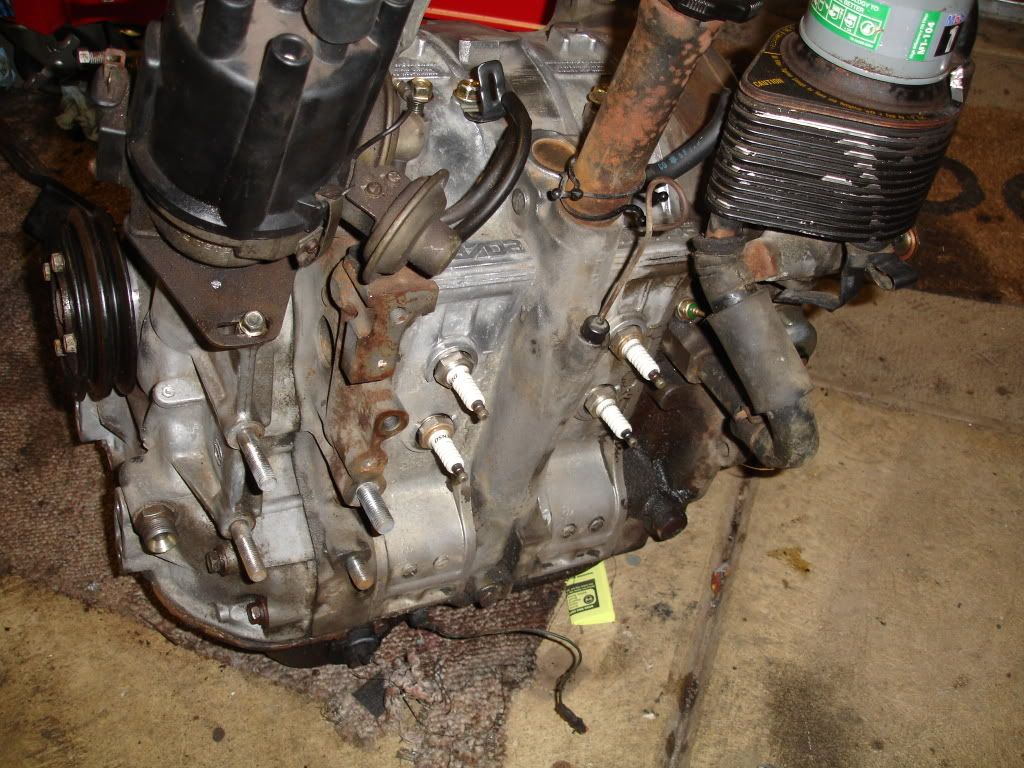
the enging i have for the car. turns over good by hand and the compression *feels* strong when turned by hand. i'm going to try and use it. the apex seals all move freely by touch, so what the heck. i plan on cleaning it up today and i'm going to replace all of the external gaskets and o-rings:
pulled out the old junky radio and repaired the radio wiring and replaced the stereo with the correct ETR stereo:
installed the dead pedal pad:
test fit the seats. i'm still needing the seat rails as these have no rails and are not bolted down. they look fair and are comfortable..and this is a budget project so i am wanting to use parts that i have laying around in the garage:
removed the destroyed fender and repaired the wheel well liner:
the last good spare 83-85 left fender that i had:
it was apparently an oem replacement at one time based on the sticker:
here it is on the car:
the enging i have for the car. turns over good by hand and the compression *feels* strong when turned by hand. i'm going to try and use it. the apex seals all move freely by touch, so what the heck. i plan on cleaning it up today and i'm going to replace all of the external gaskets and o-rings:
Thread Starter
Joined: Oct 2003
Posts: 22,598
Likes: 1,276
From: Ohio
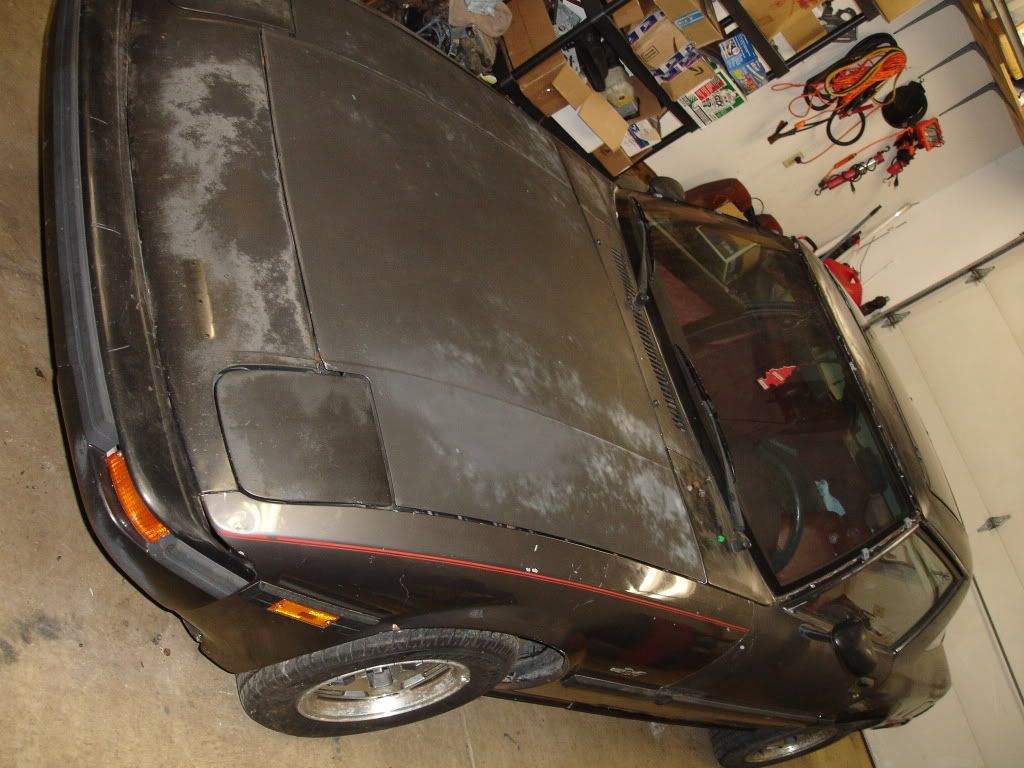
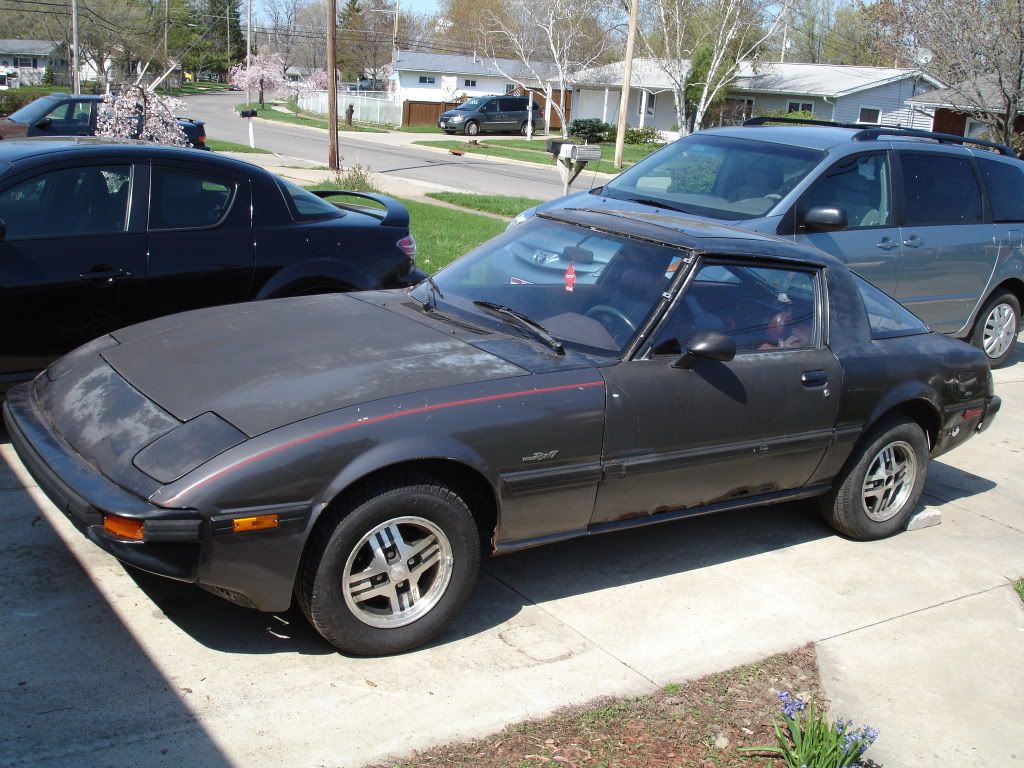
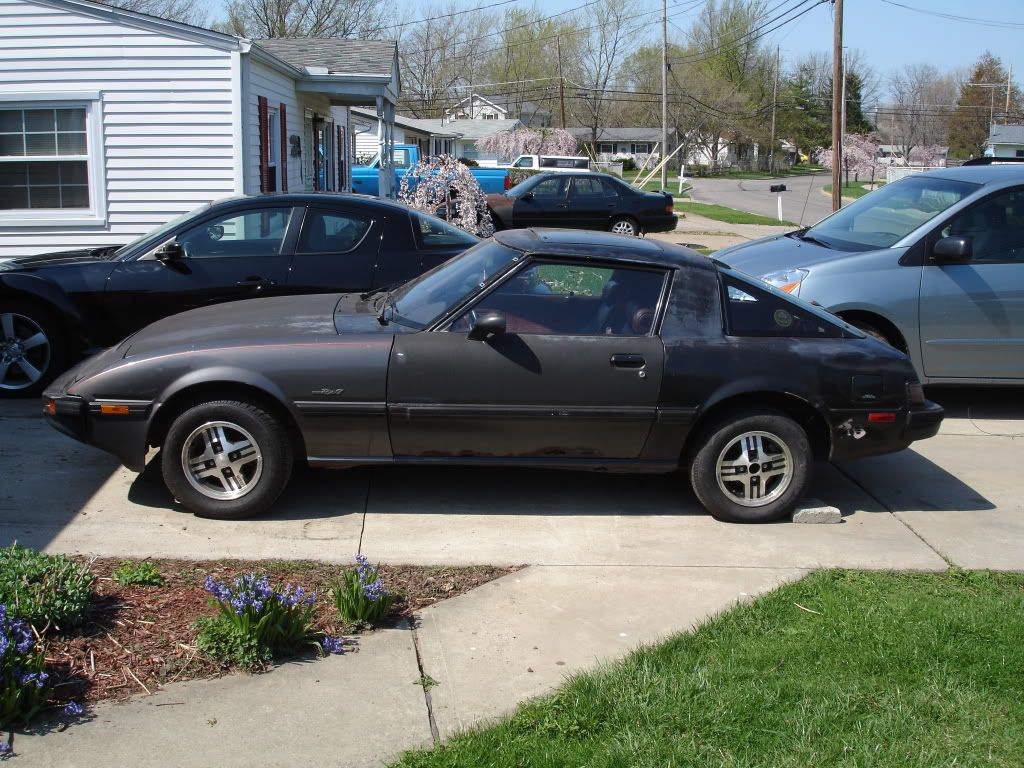
here are some recent pics i took tonight after work of the car:

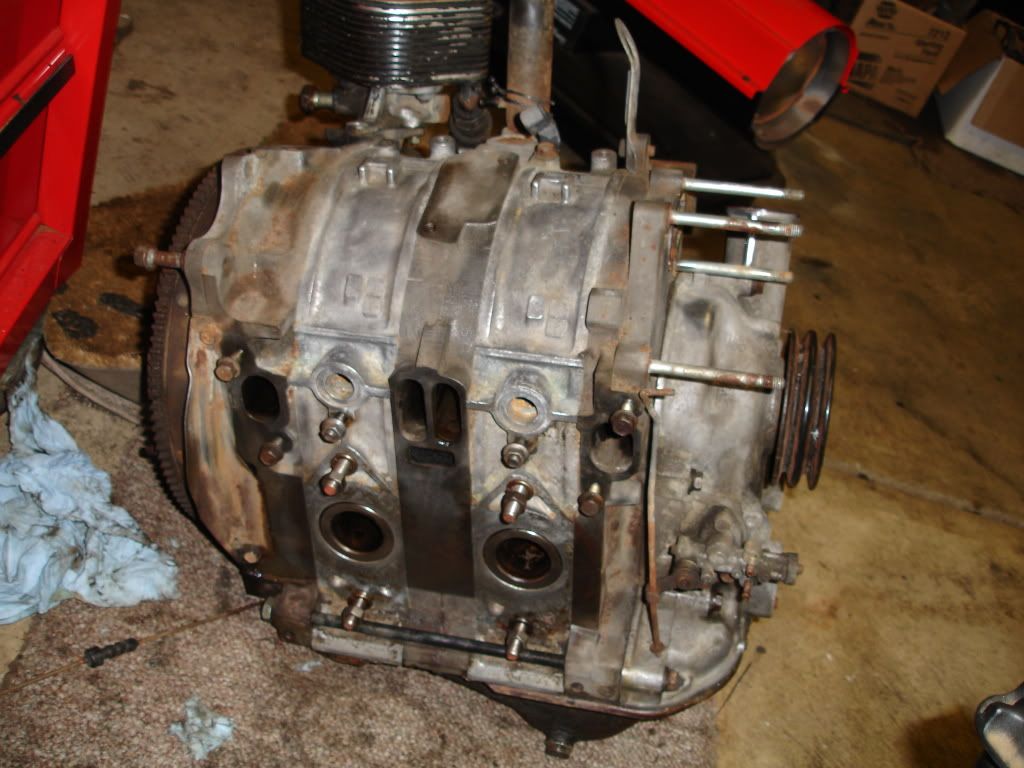
pics of the engine that i'm prepping for the car:
the seats that i am going to use once i get seat rails:
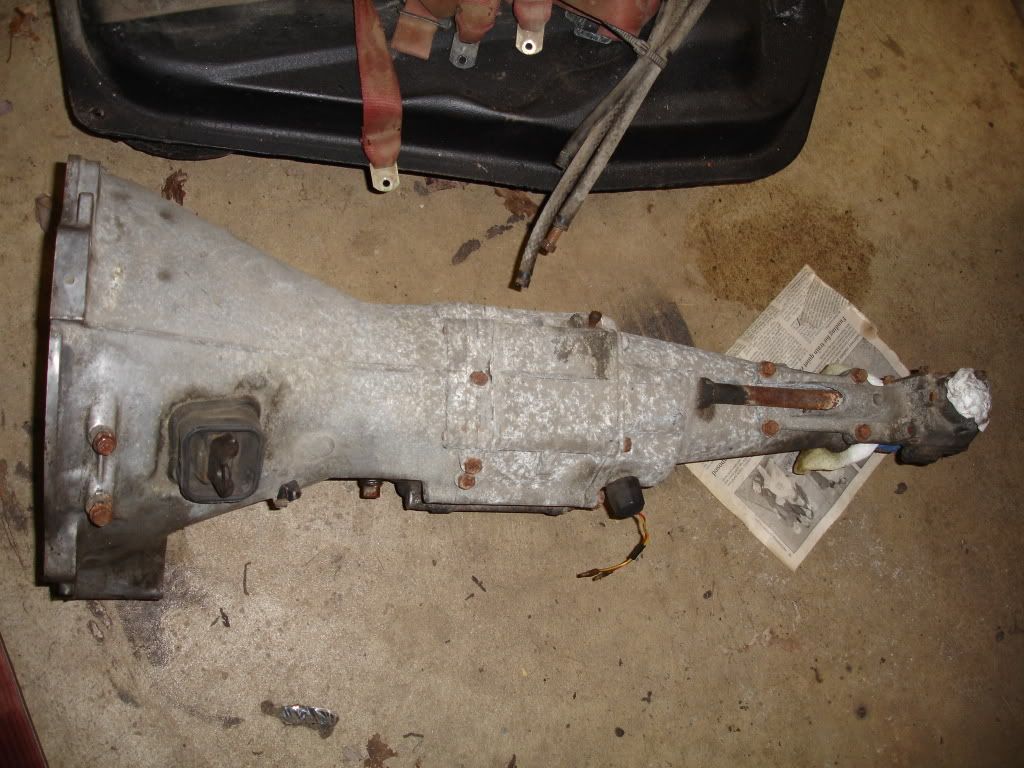
the trans that i will use:
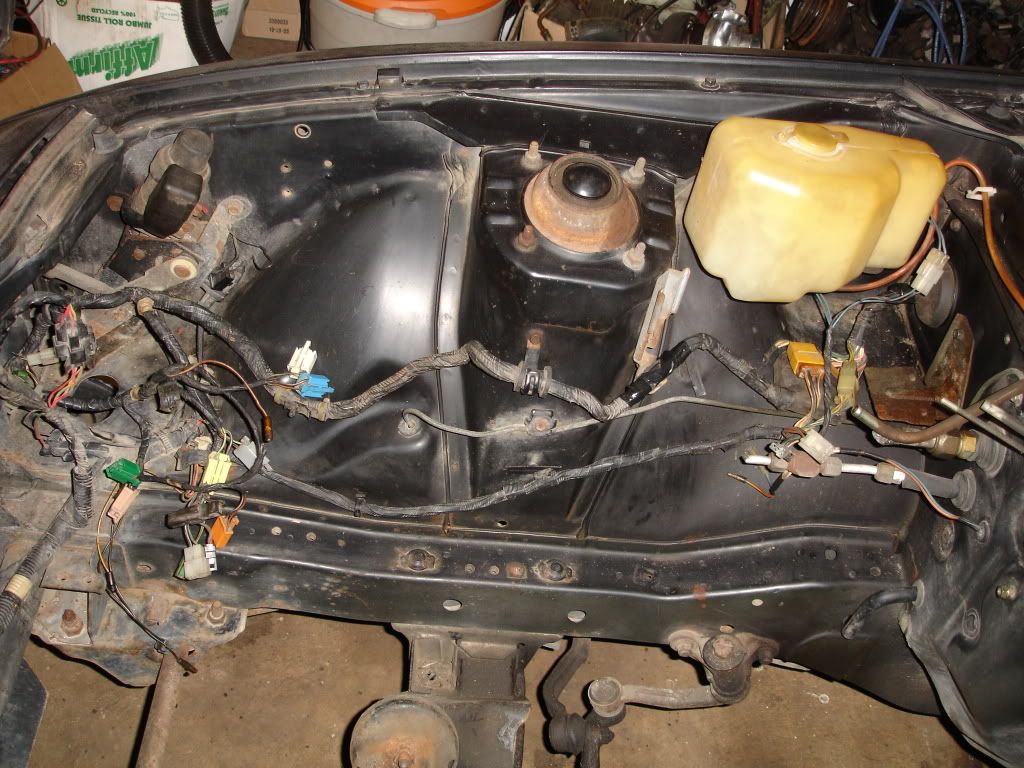
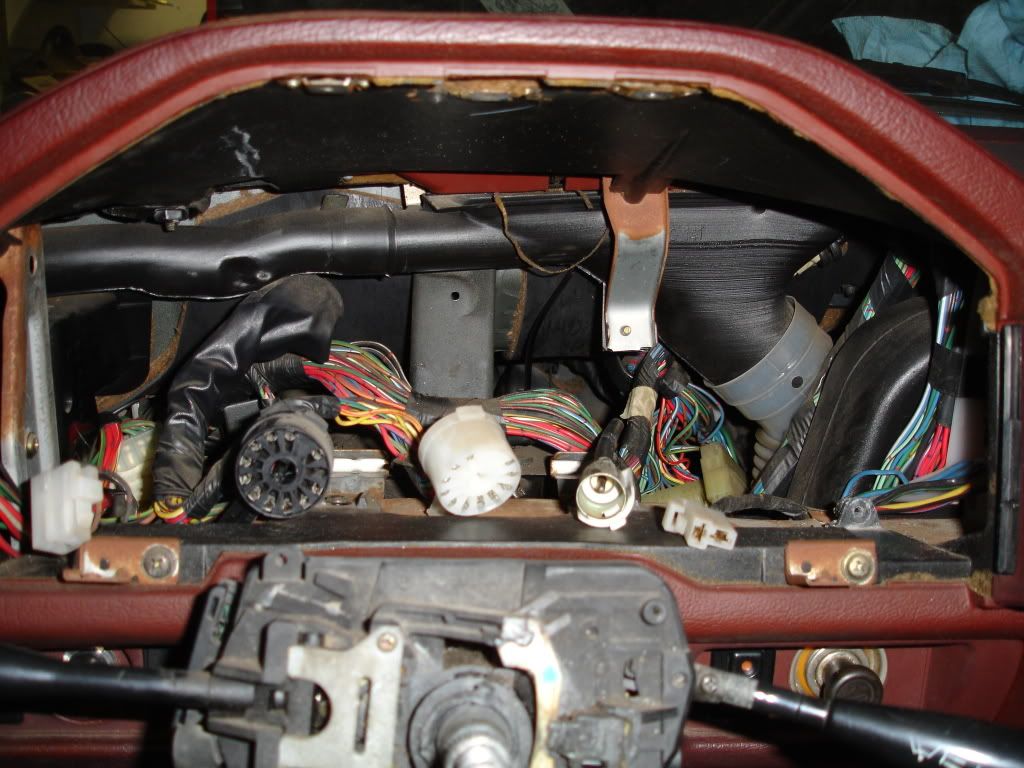
the wiring harness that i cleaned and installed on saturday:
pics of the engine that i'm prepping for the car:
the seats that i am going to use once i get seat rails:
the trans that i will use:
the wiring harness that i cleaned and installed on saturday:
Thread Starter
Joined: Oct 2003
Posts: 22,598
Likes: 1,276
From: Ohio
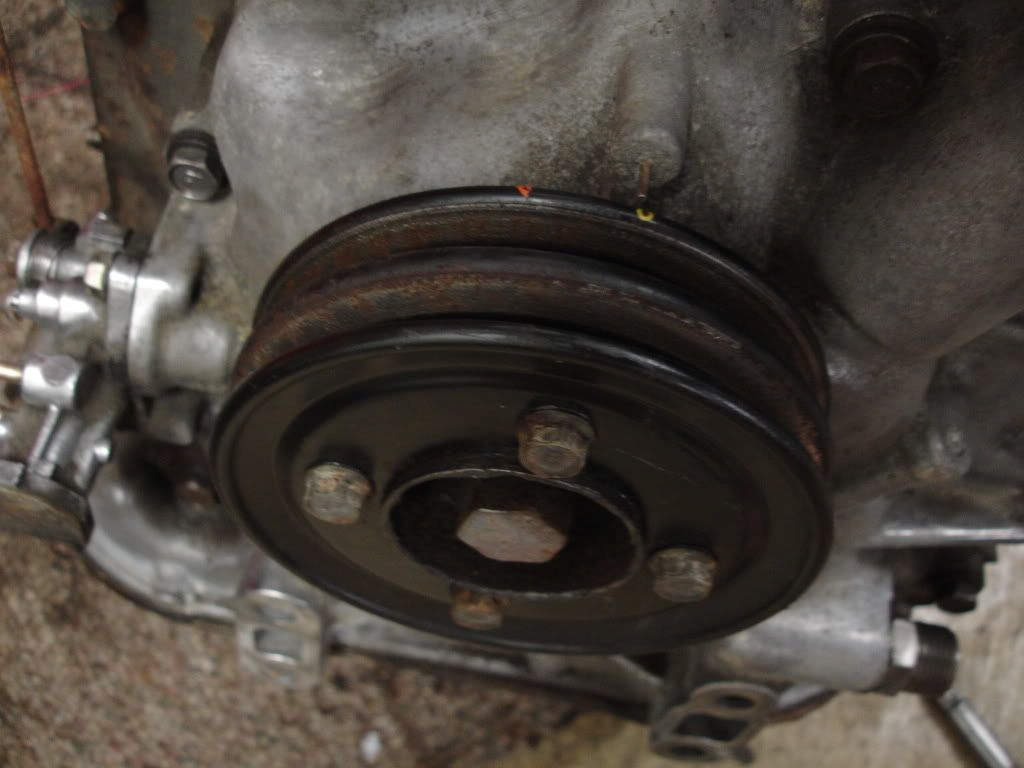
i got a little more work done on the engine today. i test fit the distributor that i'm going to use, i replaced the eccentric shaft pulley with a good one that still has the timing marks, i replaced some of the nuts and bolts on the outside of the engine, and i added the inspection plate and the capacitor:
Thread Starter
Joined: Oct 2003
Posts: 22,598
Likes: 1,276
From: Ohio
removed the cluster yesterday and replaced two burnt bulbs and rerouted the new speedometer cable:
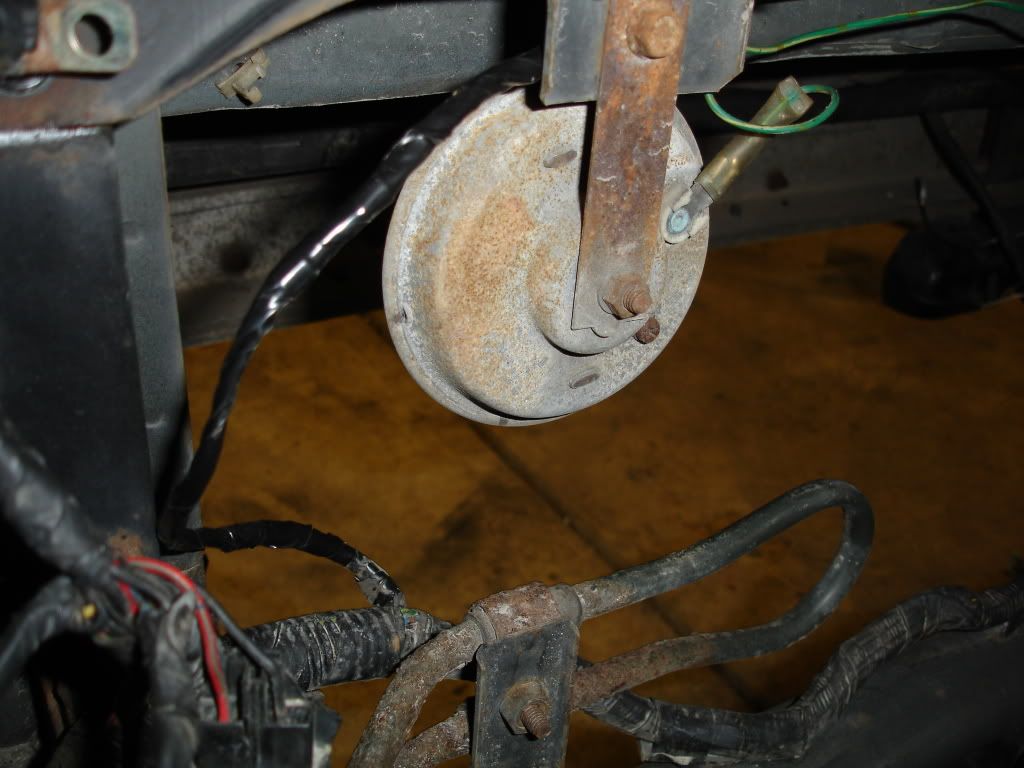
took the ol 7 out for a wash and to get some sun and to degrease the crossmember..also helped me clean the garage up a little with the car out of the way:
all tucked away for the night:
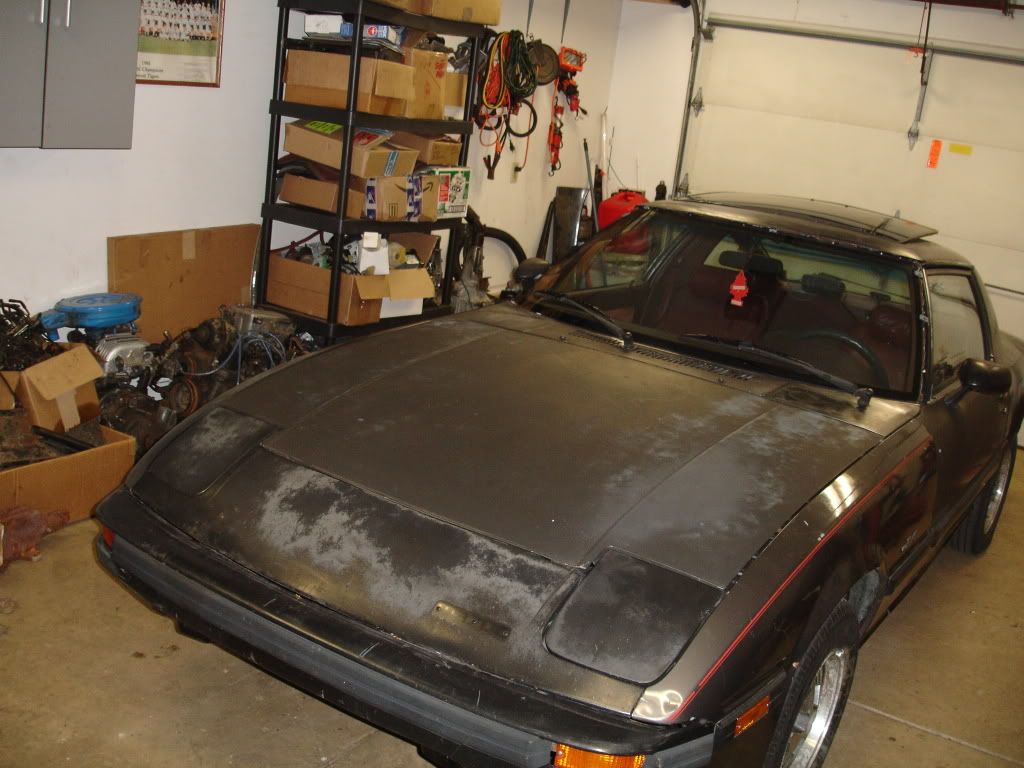
took the ol 7 out for a wash and to get some sun and to degrease the crossmember..also helped me clean the garage up a little with the car out of the way:
all tucked away for the night:
Last edited by mazdaverx713b; Apr 11, 2010 at 01:22 AM.

