
1994 A-Spec 500R Single Turbo Build


1994 A-Spec 500R Single Turbo Build
So I originally posted this in the FD section when I first started, but I thought I'd also put my build in the single turbo forum since I'll probably get a lot more help around here from you guys. Anyway, here we go!
Parts List:
2 Rotor Streetported Atkin seals 2mm Engine - Builder: Howard Coleman
Unorthodox Pulley Set
A-Spec 500R T4 Turbo with turbo blanket
A-Spec Stainless Manifold
Ceramic Coated Upper and Lower Intake Manifolds with Banzai block-off plates
Greddy Type-RS BOV
Tial 44mm Wastegate
RE-A Dual-Tip Cat-Back Exhaust System
A-Spec Down Pipe
A-Spec Mid Pipe
RX-7Store V-Mount Intercooler Kit + Modified KOYO Radiator
Coolingmist Trunk mount water/meth injection kit
Apexi PowerFC and Commander - Datalogit when it's time to tune
Greddy Throttlebody Elbow
FDNewbie Import Dual Oil Coolers w/ Black Setrab Cores
Supra TT fuel pump
A-spec top-feed primary and secondary fuel rails
Fuel Pressure Regulator
Top feed 850cc primary injectors, 1680cc secondary injectors
HKS Twin Power
Garfinkle Oilpan Brace
Exedy Clutch/flywheel
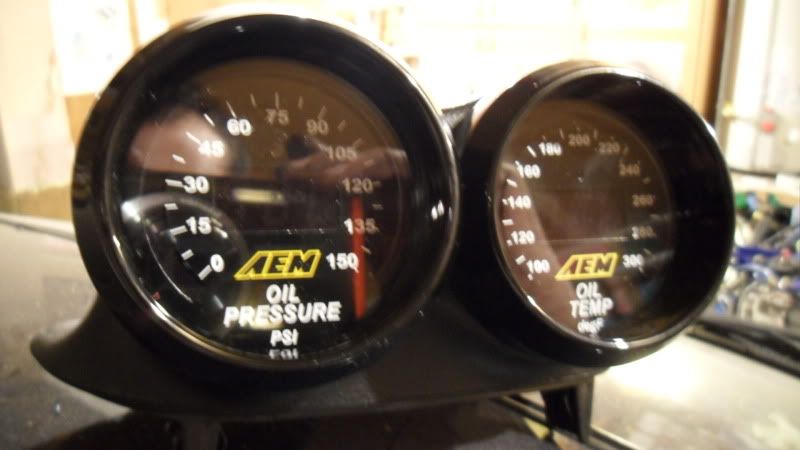
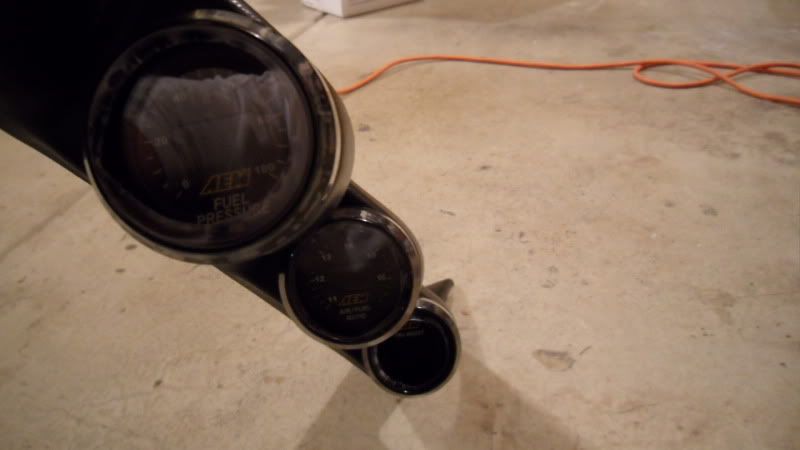
AEM Digital UEGO Air/Fuel Wideband Gauge
AEM Digital Tru Boost Gauge/Boost Controller
AEM Digital Fuel Pressure Gauge
AEM Digital Oil Pressure Gauge
AEM Digital Oil Temperature Gauge
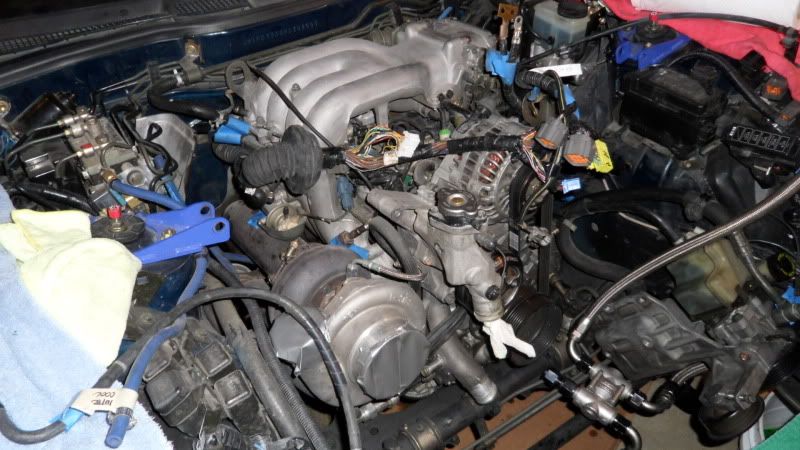
Well it was time to get down to business. After having the 7 sitting around for 3 months and buying all the parts for the car, I was finally ready to tackle the job of pulling the engine. I've never done it before so it is a great learning experience and a lot easier than I thought it would be so far. I am going to take my time, as I am really in no rush to get it pulled, and I'm going to be entering my busy season which means 15 hour days.
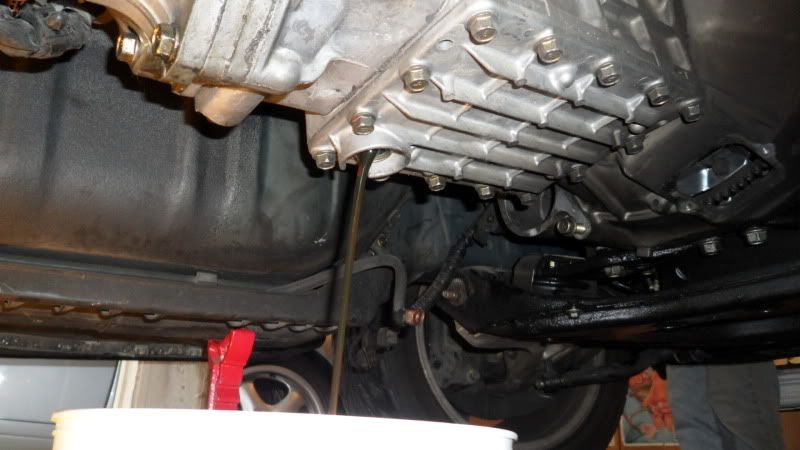
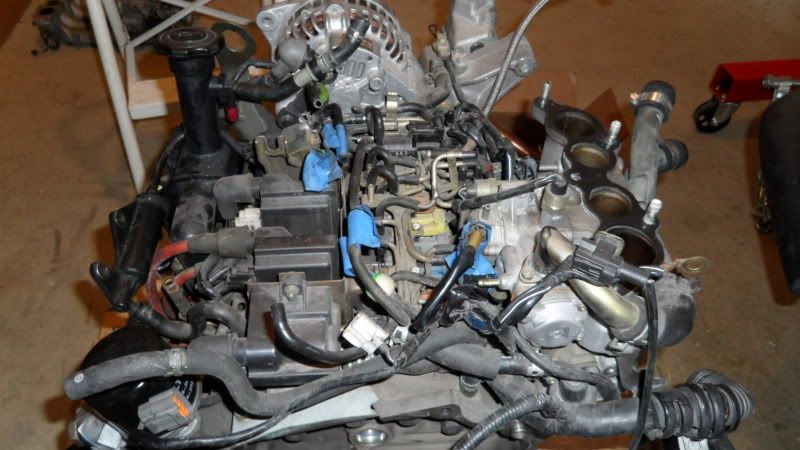
On Day 1, all I did was removed the intercooler, radiator and drained all the fluids. I took lots of pictures and really just enjoying the experience. Going along with the rebuild, I have a bunch of other parts that I am going to install.


WTF?
Stopping point for the day
Parts List:
2 Rotor Streetported Atkin seals 2mm Engine - Builder: Howard Coleman
Unorthodox Pulley Set
A-Spec 500R T4 Turbo with turbo blanket
A-Spec Stainless Manifold
Ceramic Coated Upper and Lower Intake Manifolds with Banzai block-off plates
Greddy Type-RS BOV
Tial 44mm Wastegate
RE-A Dual-Tip Cat-Back Exhaust System
A-Spec Down Pipe
A-Spec Mid Pipe
RX-7Store V-Mount Intercooler Kit + Modified KOYO Radiator
Coolingmist Trunk mount water/meth injection kit
Apexi PowerFC and Commander - Datalogit when it's time to tune
Greddy Throttlebody Elbow
FDNewbie Import Dual Oil Coolers w/ Black Setrab Cores
Supra TT fuel pump
A-spec top-feed primary and secondary fuel rails
Fuel Pressure Regulator
Top feed 850cc primary injectors, 1680cc secondary injectors
HKS Twin Power
Garfinkle Oilpan Brace
Exedy Clutch/flywheel
AEM Digital UEGO Air/Fuel Wideband Gauge
AEM Digital Tru Boost Gauge/Boost Controller
AEM Digital Fuel Pressure Gauge
AEM Digital Oil Pressure Gauge
AEM Digital Oil Temperature Gauge
Well it was time to get down to business. After having the 7 sitting around for 3 months and buying all the parts for the car, I was finally ready to tackle the job of pulling the engine. I've never done it before so it is a great learning experience and a lot easier than I thought it would be so far. I am going to take my time, as I am really in no rush to get it pulled, and I'm going to be entering my busy season which means 15 hour days.
On Day 1, all I did was removed the intercooler, radiator and drained all the fluids. I took lots of pictures and really just enjoying the experience. Going along with the rebuild, I have a bunch of other parts that I am going to install.
WTF?
Stopping point for the day
Successful day working on the car again. I am pretty sure I'm about ready to get the engined pulled!
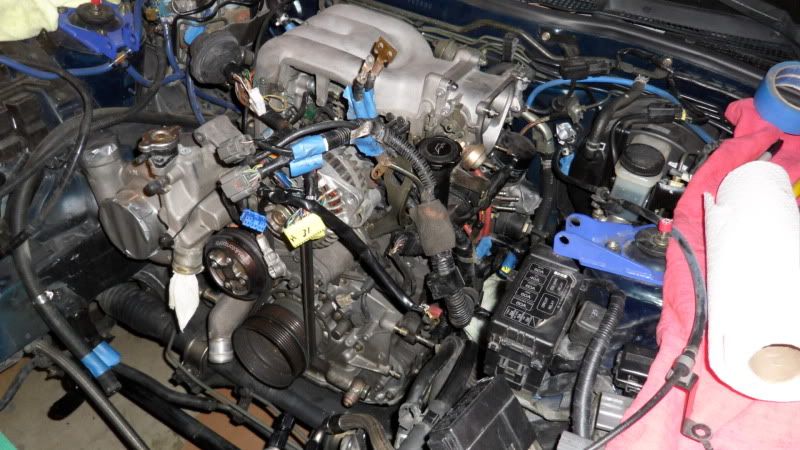
Today I unbolted the downpipe to the midpipe, disconnected the vacuum hoses going to the wastegate, disconnected oil cooler lines, heater return, removed the belt in order to move the P/S pump out of the way. Disconnected driver side wiring harness, disconnected fuel lines, heater hose, throttle body, ground cable, and then disconnected the wiring harness from the ECU and pulled it through the firewall and just have it sitting on top of the engine.
I am pretty sure I have everything disconnected from the engine from the left side and the right side, but I don't know about anything on the back side of the engine. I think all I have to do now is remove motor mount bolts, the motor mount assembly, starter, transmission wiring harness, and then separate the tranny from the engine and I'll be ready to pull!
It has been over a month since I have been able to work on the 7. Working 13+ hour days during the week and then having to work on the weekends really takes a lot out of you.
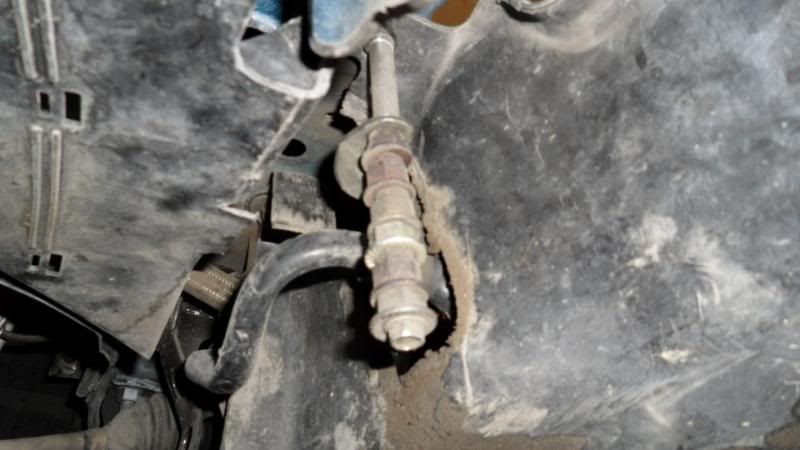
Finally had the first weekend in a while to work on it and I am soooo close. There are two bolts where I cannot reach in order to release the bell housing. Once I get the tool to reach those two bolts, I'll then be able to disengage the pilot bearing from the engine and be able to separate the tranny and engine in order to pull the motor out.
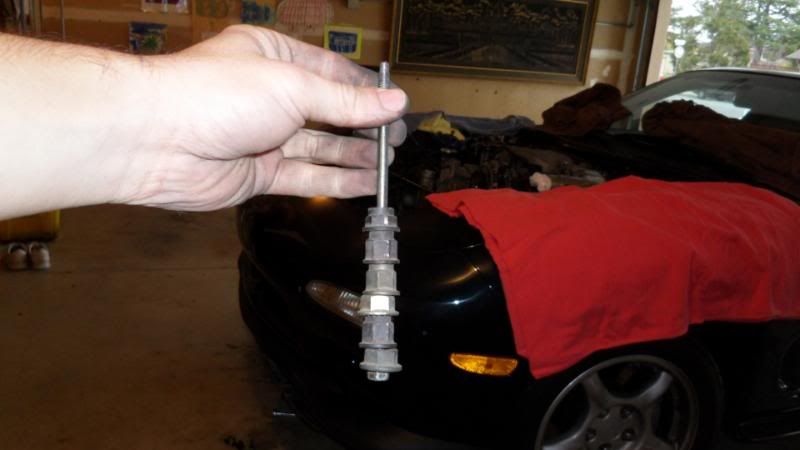
Working on cars are so much easier when you have the right tools!


The two stupid bolts


Finally had the first weekend in a while to work on it and I am soooo close. There are two bolts where I cannot reach in order to release the bell housing. Once I get the tool to reach those two bolts, I'll then be able to disengage the pilot bearing from the engine and be able to separate the tranny and engine in order to pull the motor out.
Working on cars are so much easier when you have the right tools!
The two stupid bolts
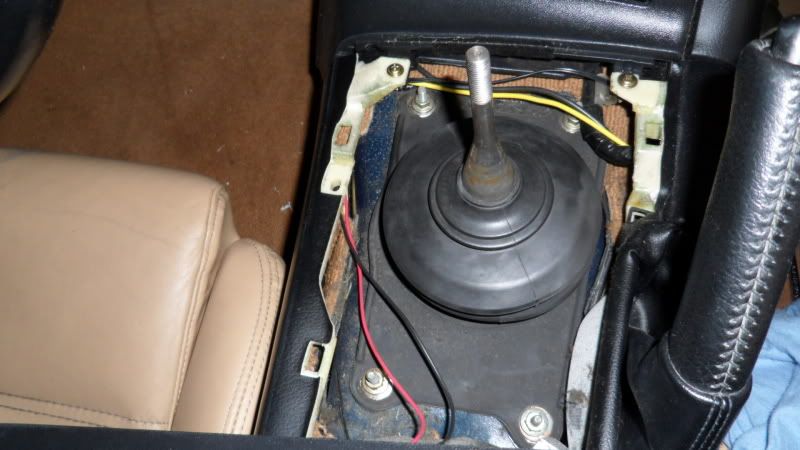
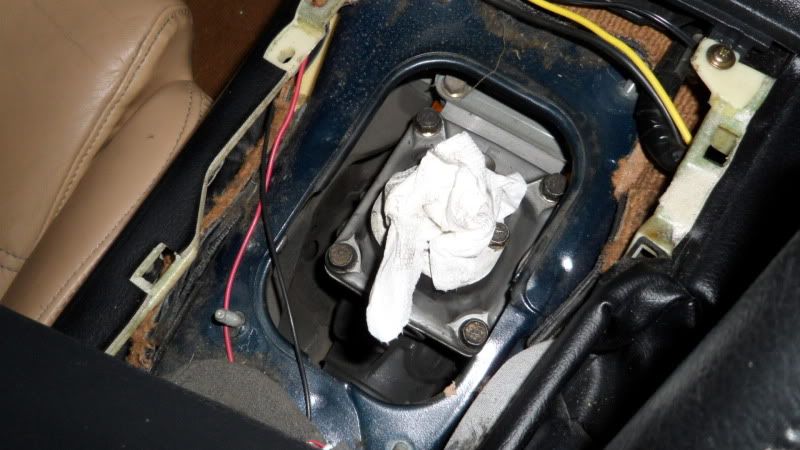
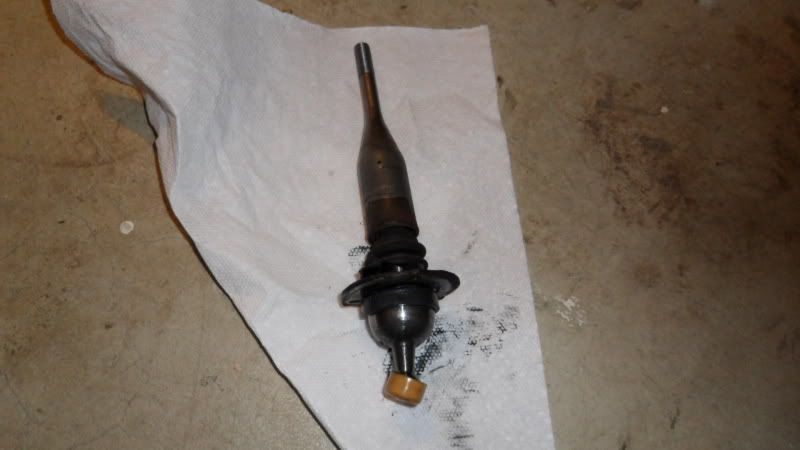
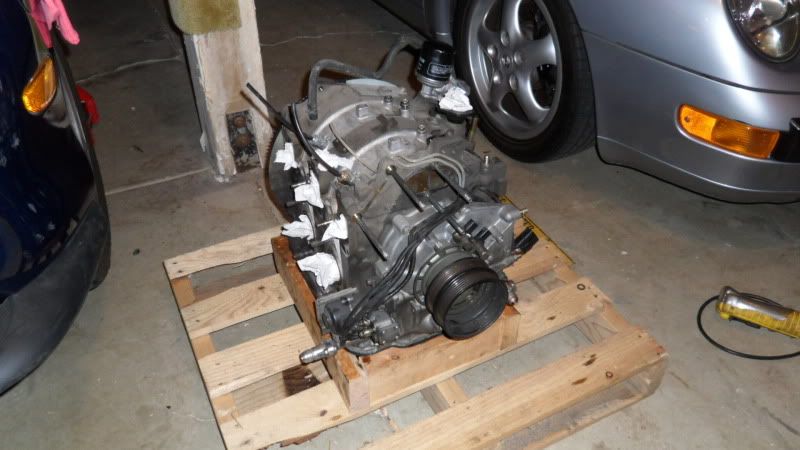
Well Day 4 has come and it was a great day. From going into thinking I was going to pull the engine with the tranny, I ended up draining the tranny fluid, removing the shifter, etc, all to then decide, that I'm just going to pull the engine haha, what a waste of time but oh well.
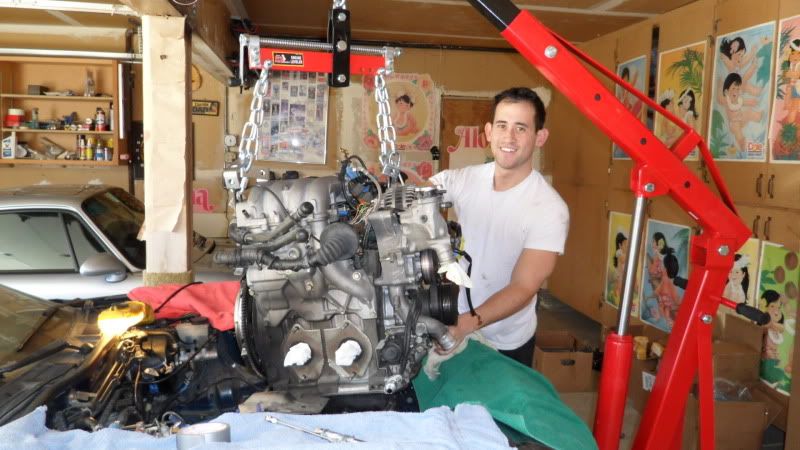
Anyway, all bell housing bolts are loose (I was able to get those two at the top from coming from under the car) releasing the tranny from the engine was easy, used the clutch fork and then just popped it off. Went and bought a engine hoist with leveler and well, I am ready to pull.
Going to hook up the engine to the hoist, lift the engine a little in order to unbolt the motor mounts and then if everything goes to plan (when does this ever happen though) then I should be able to just slide the motor out and lift it up!
I'm definitely excited, just sucks that work has prevented me for being able to work on the car a lot.
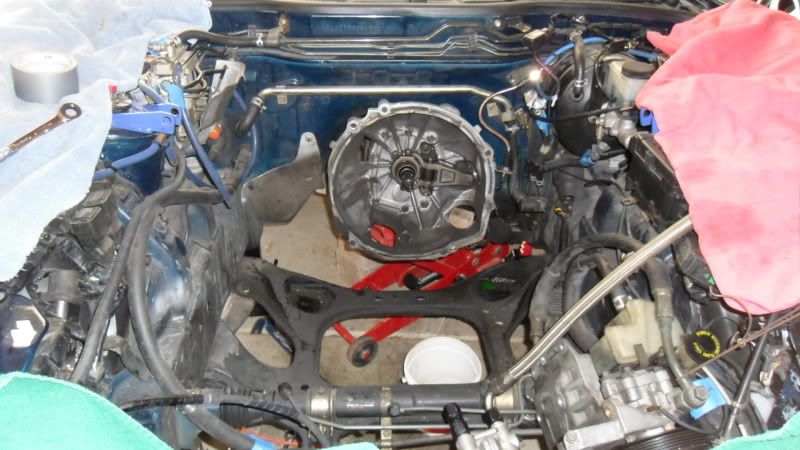
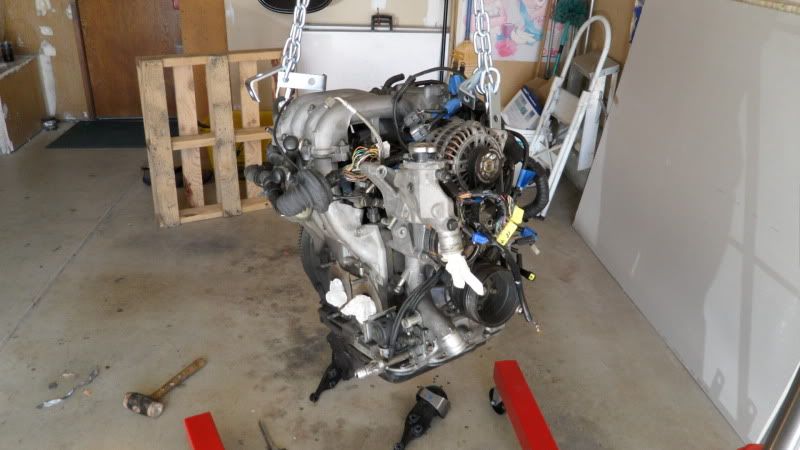
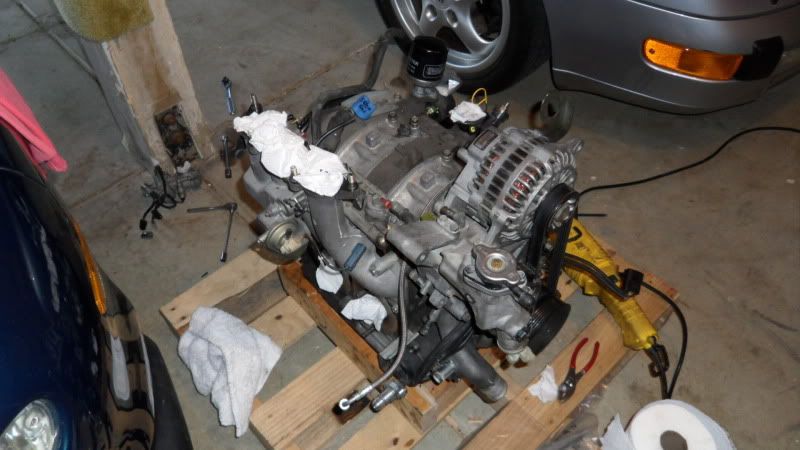
Where it is at now!
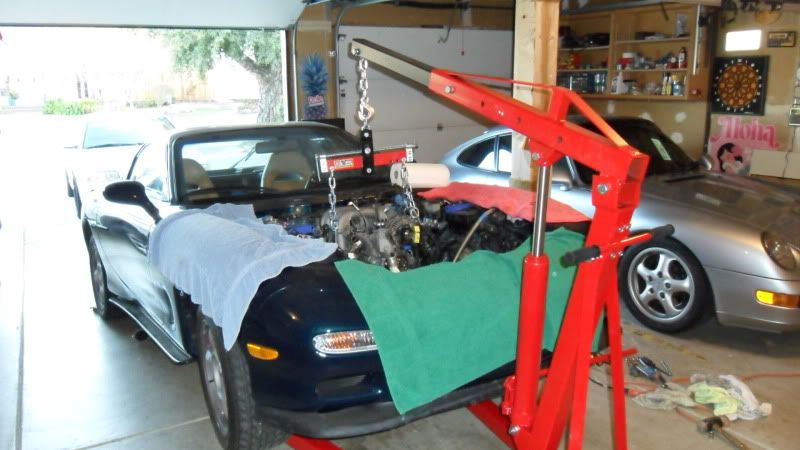
Anyway, all bell housing bolts are loose (I was able to get those two at the top from coming from under the car) releasing the tranny from the engine was easy, used the clutch fork and then just popped it off. Went and bought a engine hoist with leveler and well, I am ready to pull.
Going to hook up the engine to the hoist, lift the engine a little in order to unbolt the motor mounts and then if everything goes to plan (when does this ever happen though) then I should be able to just slide the motor out and lift it up!
I'm definitely excited, just sucks that work has prevented me for being able to work on the car a lot.
Where it is at now!
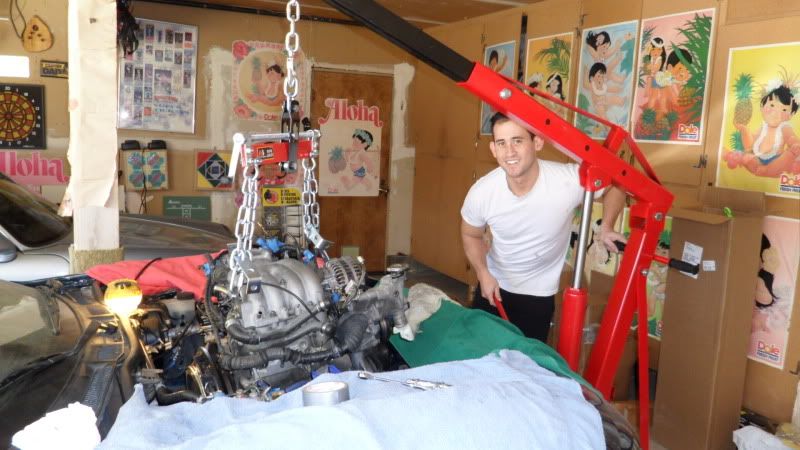
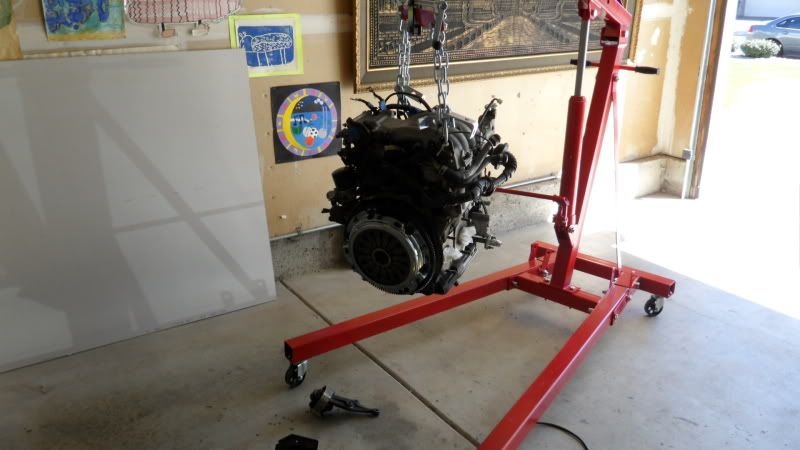
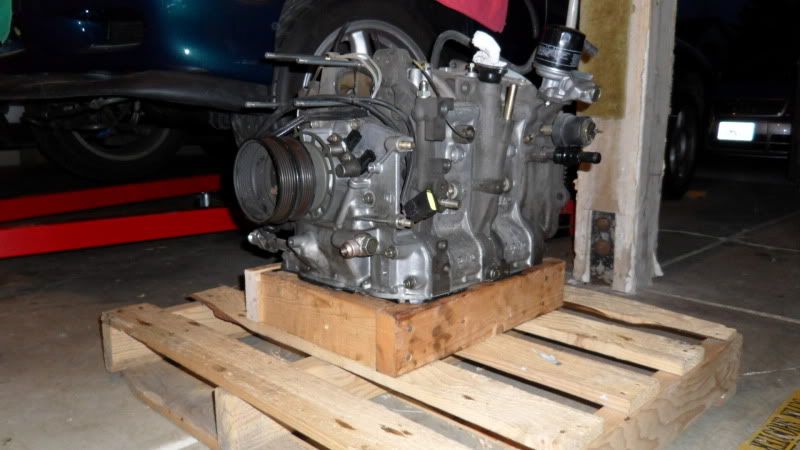
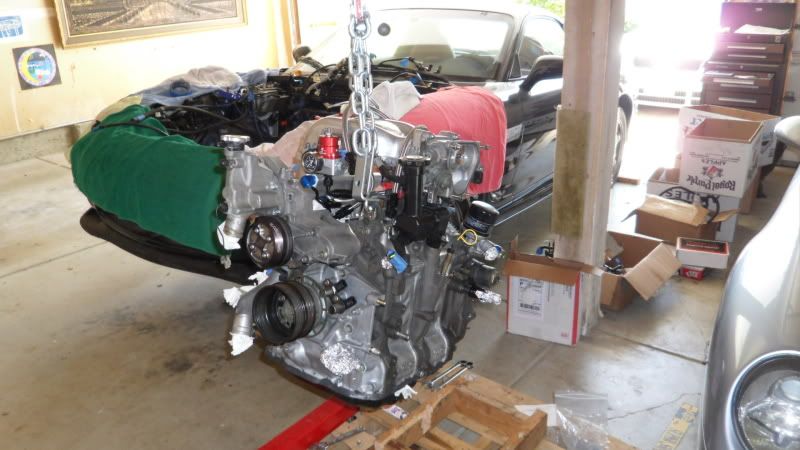
Finally a weekend where I am not working. Today I was able to finally get the engine pulled It's been a long journey and it felt so good to finally have it out of the car. Now I will be doing some miscellaneous stuff while the engine is out cleaning it up, ceramic coating/polishing, fuel system, block off plates, removing rats nest and so forth.

In my progress to simplify the engine bay, I purchased a set of block-off plates from Banzai so I am awaiting those probably the end of this week I'll get them hopefully.
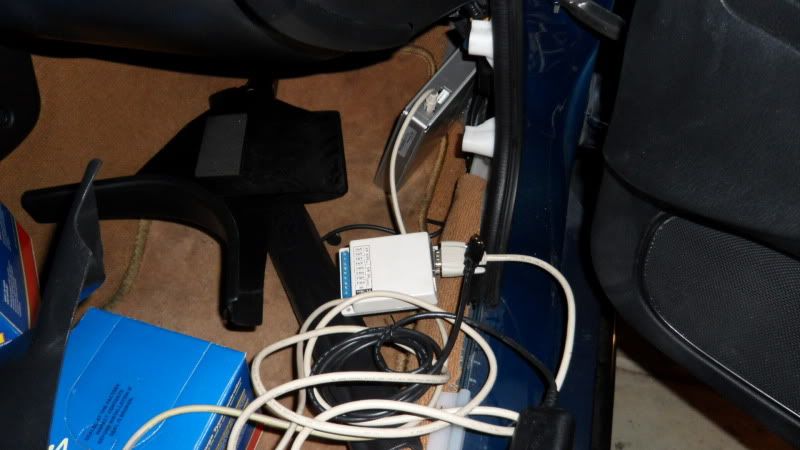
Second thing is the elimination of the rats nest and modifying the wiring harness for single turbo. I went through today removing the harness as well as the rats nest.
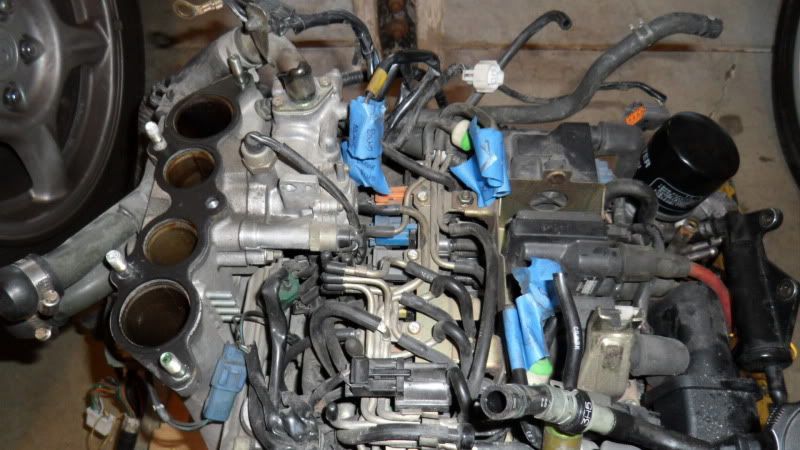
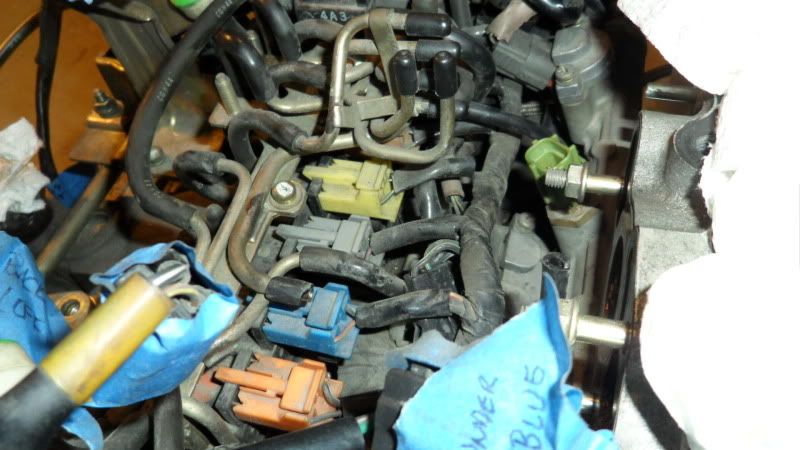
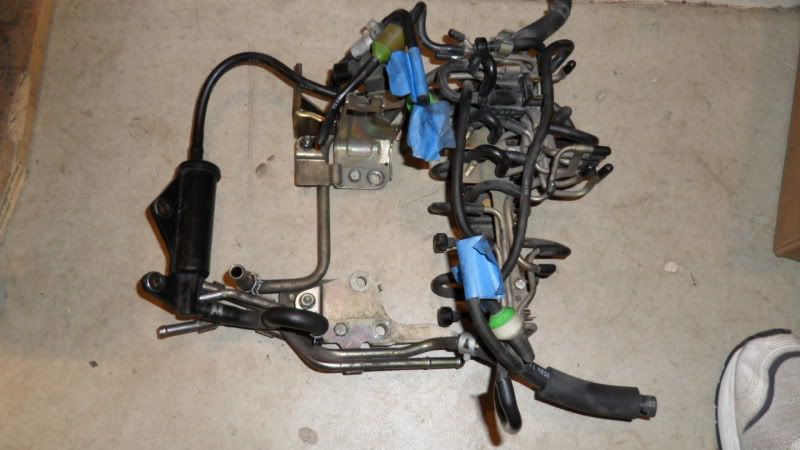
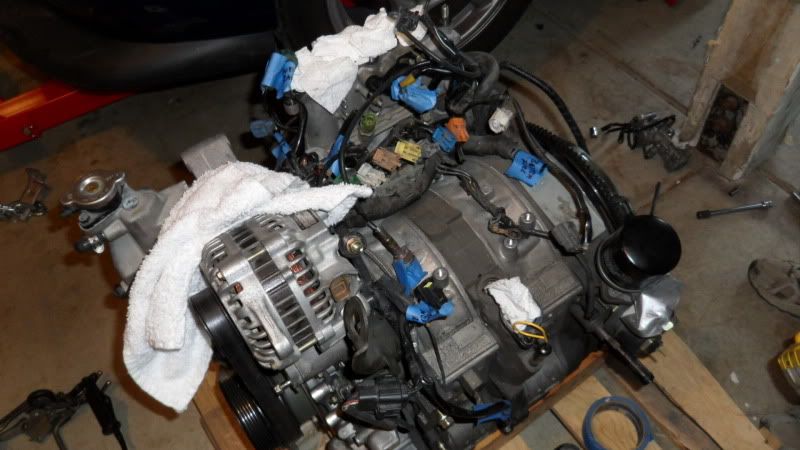
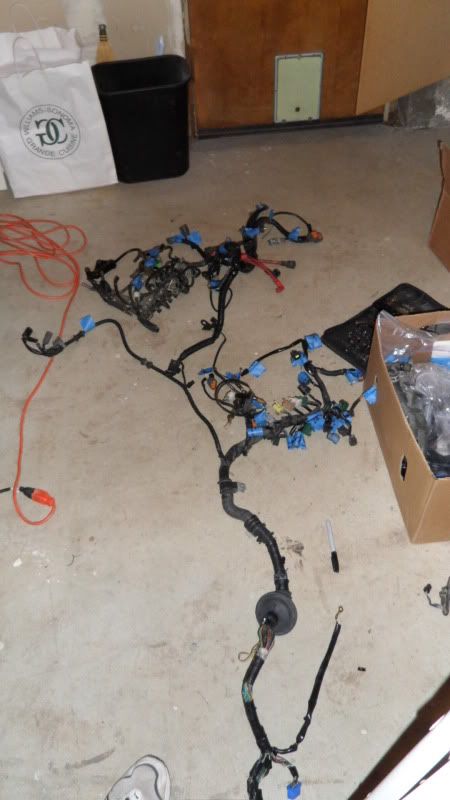

Second thing is the elimination of the rats nest and modifying the wiring harness for single turbo. I went through today removing the harness as well as the rats nest.
Trending Topics
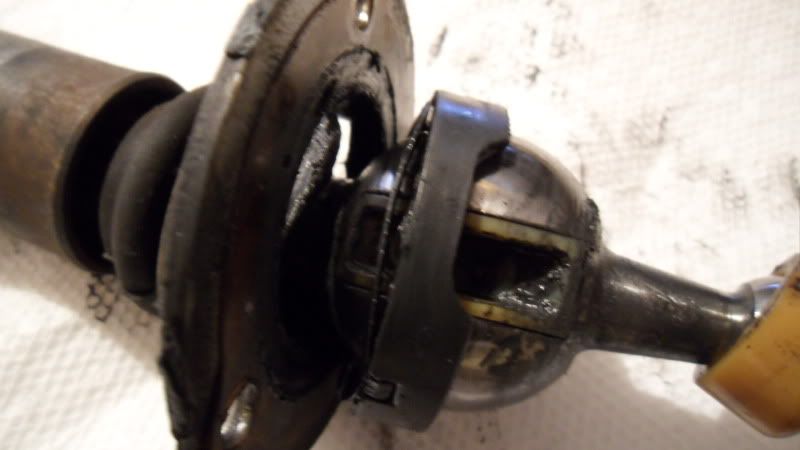
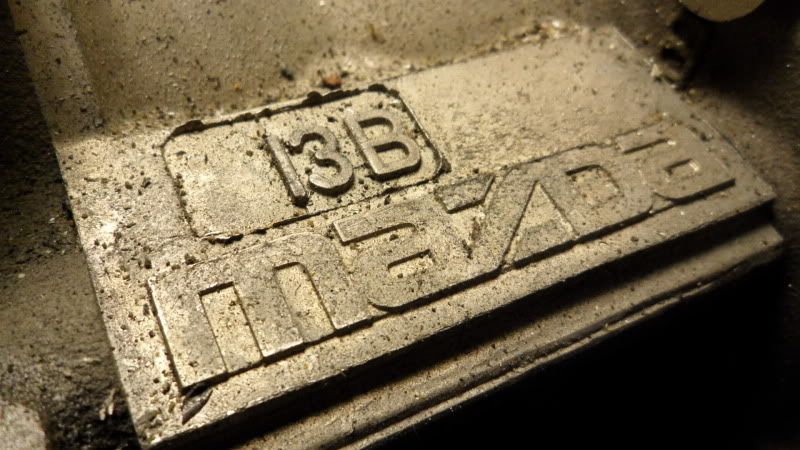
Well good news! The engine is apart (Howard Coleman is my builder) and has a brief evaluation of the engine to try and figure out what my problem(s) is/are. Here are some findings:
Irons: All 3 irons are in good shape. They were modestly ported. Ports will be much upgraded. The middle iron has a supportive to the oil control ring ledge ported away. A wrong move. It won’t cost hp or reliability but it should cause the motor to smoke at cold startup just a little.
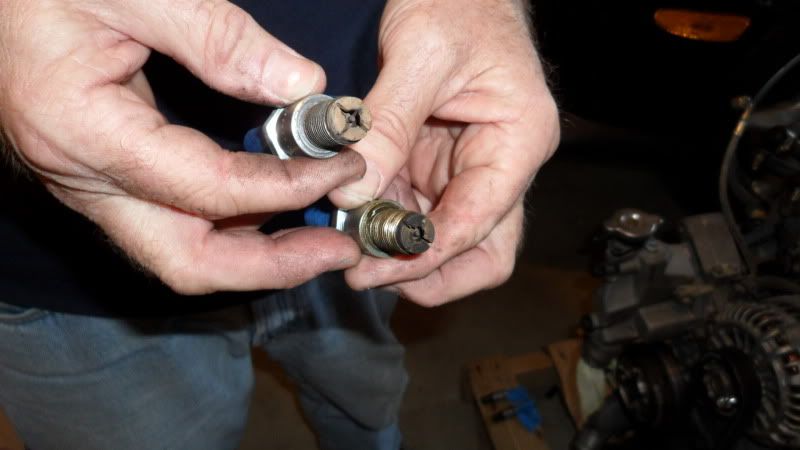
Housings: The rotor housings are fine and, again, will greatly benefit from different shaped ports. The carbon just after the exhaust port indicates warped apex seals. And indeed they were. So the rotor housings are fine after cleanup.
Rotors: The rotors are the problem. Apex seal to groove clearance should be 2 thousandths of an inch. One of the grooves of your rear rotor is 8 thou. When you have excessive clearance a number of things occur, none good. The hot exhaust penetrates between the seal and the rotor and gets behind the seal and torches the apex seal spring. It loses strength and the apex seal chatters against the rotor housing wrecking it in short order. The apex seal also is free to assume a wrong angle in the groove and it develops a flat surface on what is supposed to be a rounded crown. Side seals were so loose they were almost rattling around. You want them tight. Note a 14 thou gap here! This is miles from being right. Bad bad bad. One rotor is good. One is not serviceable. There is no way to tighten up the groove.
Crank shaft: Crank is dead straight. Zero runout as in zero thou of an inch.
I ended up buying two 2mm rotors from Howard and running 2mm Atkins seals.
Irons: All 3 irons are in good shape. They were modestly ported. Ports will be much upgraded. The middle iron has a supportive to the oil control ring ledge ported away. A wrong move. It won’t cost hp or reliability but it should cause the motor to smoke at cold startup just a little.
Housings: The rotor housings are fine and, again, will greatly benefit from different shaped ports. The carbon just after the exhaust port indicates warped apex seals. And indeed they were. So the rotor housings are fine after cleanup.
Rotors: The rotors are the problem. Apex seal to groove clearance should be 2 thousandths of an inch. One of the grooves of your rear rotor is 8 thou. When you have excessive clearance a number of things occur, none good. The hot exhaust penetrates between the seal and the rotor and gets behind the seal and torches the apex seal spring. It loses strength and the apex seal chatters against the rotor housing wrecking it in short order. The apex seal also is free to assume a wrong angle in the groove and it develops a flat surface on what is supposed to be a rounded crown. Side seals were so loose they were almost rattling around. You want them tight. Note a 14 thou gap here! This is miles from being right. Bad bad bad. One rotor is good. One is not serviceable. There is no way to tighten up the groove.
Crank shaft: Crank is dead straight. Zero runout as in zero thou of an inch.
I ended up buying two 2mm rotors from Howard and running 2mm Atkins seals.
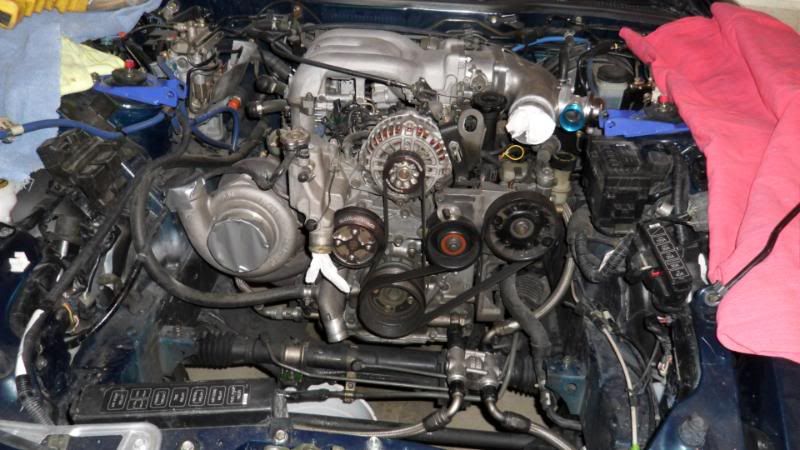
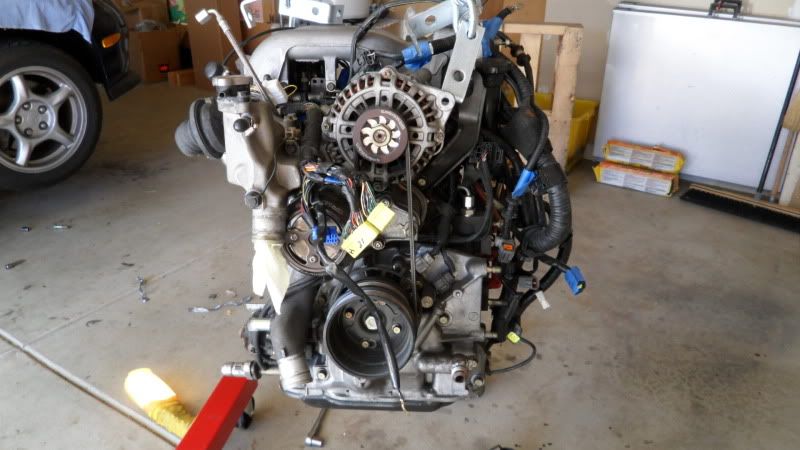
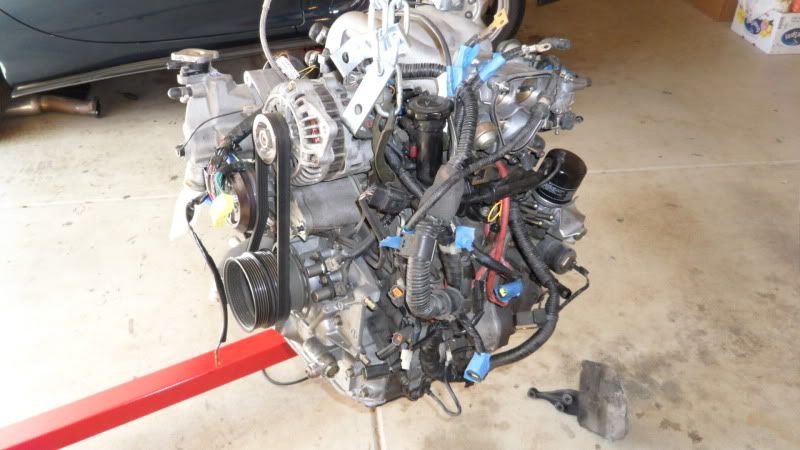
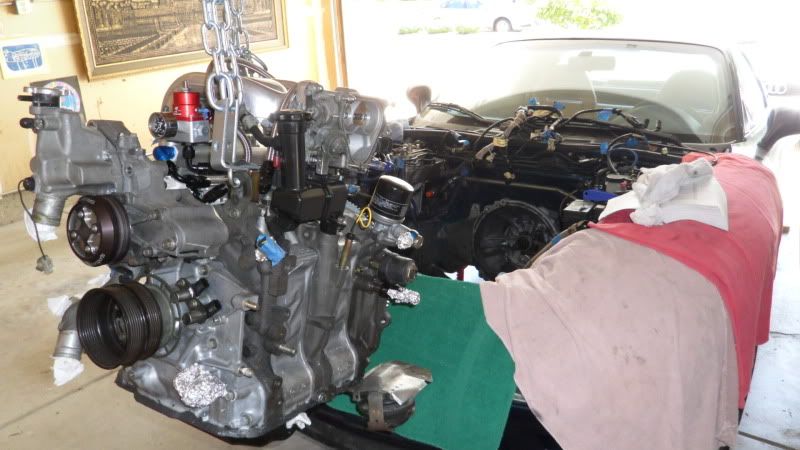
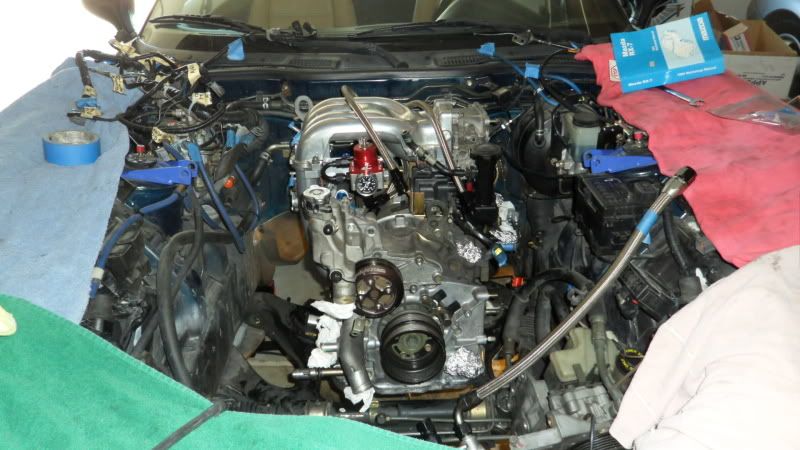
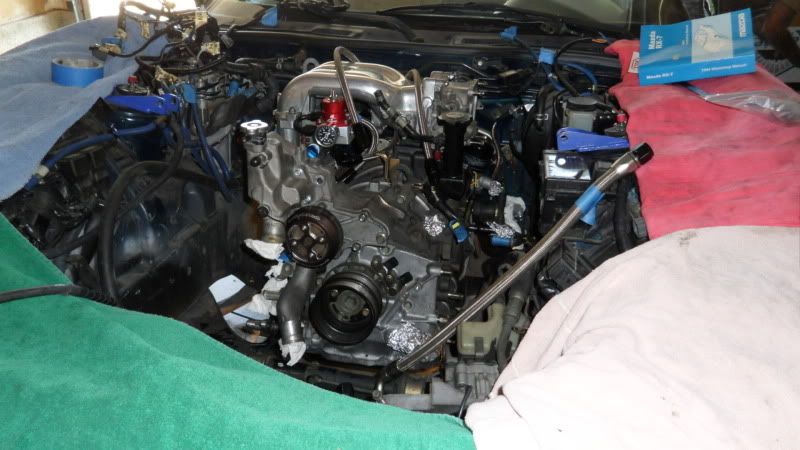
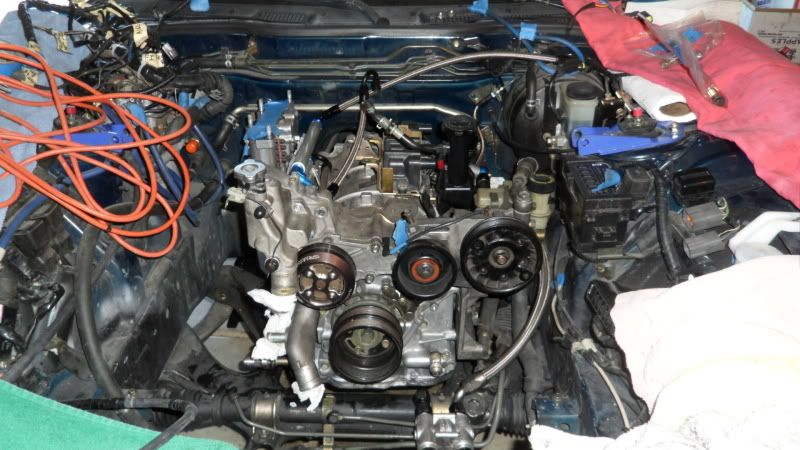
So after a ton of people asked me about my FD project at the Audi meet today, I thought I'd go ahead and update this thread. Last I updated as you can see, the motor was torn apart and being rebuilt. Well, it's back together again and here is how it sits now. Got block off plates to simplify the engine bay, converted the wire harness to single turbo harness which eliminates a lot of the wiring not used, ceramic coated my upper and lower intake manifolds. All I'm waiting on is my fuel system from A-spec. Ordered upgraded primary and secondary fuel rails, fuel pressure regulator, resistors, and top feed 850cc primary injectors and 1680cc secondary injectors, -6AN fittings/lines.
So far here is how it sits, once the fuel system comes in, I'll get the fuel rails on and then start dropping the engine back into the car.
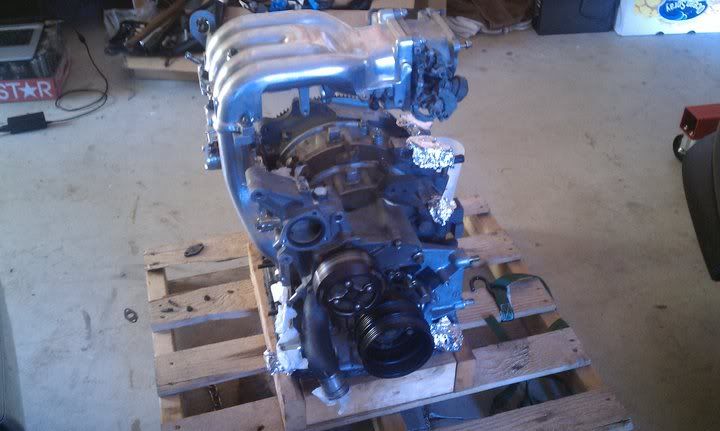
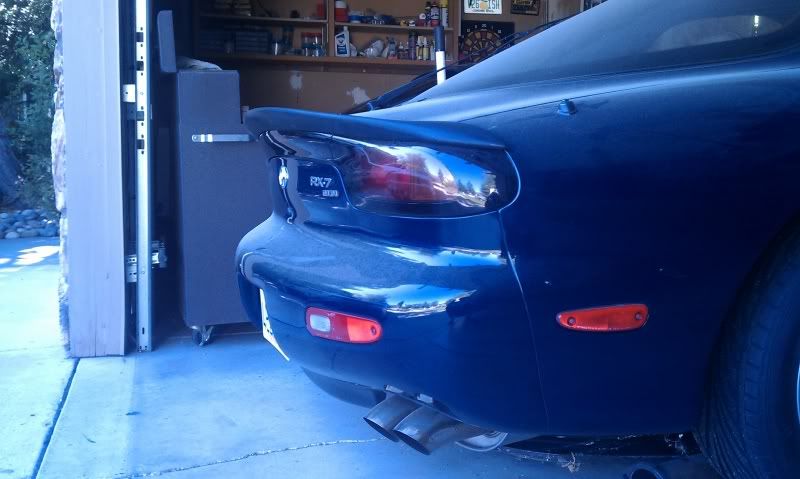
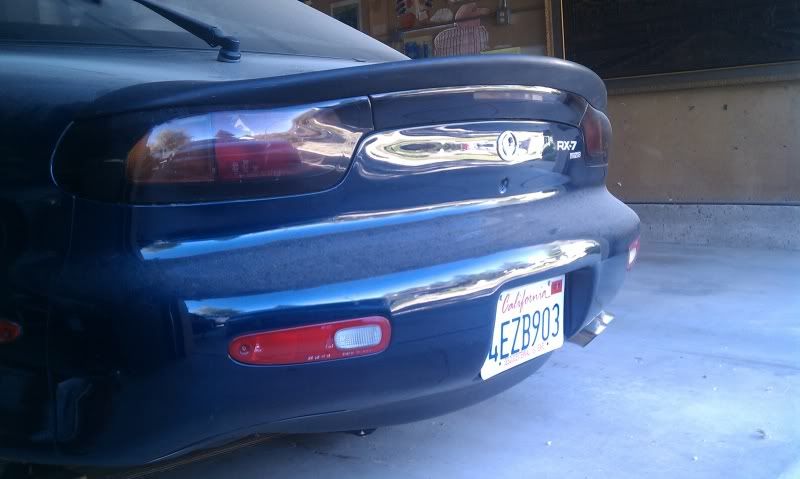
I also picked up a rare low-profile spoiler, looks stock but still noticeable. Wasn't going to start doing body/exterior modifications until I'm finish with the engine and got the car running, but I couldn't resist. Don't mind how dirty/cob-webs on the car, it's been sitting for a while lol.
So far here is how it sits, once the fuel system comes in, I'll get the fuel rails on and then start dropping the engine back into the car.
I also picked up a rare low-profile spoiler, looks stock but still noticeable. Wasn't going to start doing body/exterior modifications until I'm finish with the engine and got the car running, but I couldn't resist. Don't mind how dirty/cob-webs on the car, it's been sitting for a while lol.


So it has been a really long time since I have gotten time to work on the car. Well, today, I was able to finally work on it and I got the engine back into the car! I'm waiting on ID725/ID2000 injectors but other than that, all parts are in. All I need to do now is just putting everything back in and putting it all back together and then hopefully it'll be time to turn the key!
quote ftw! thats how i ended up getting my tool collection... once a job gets tough, get a tool to make it easier!
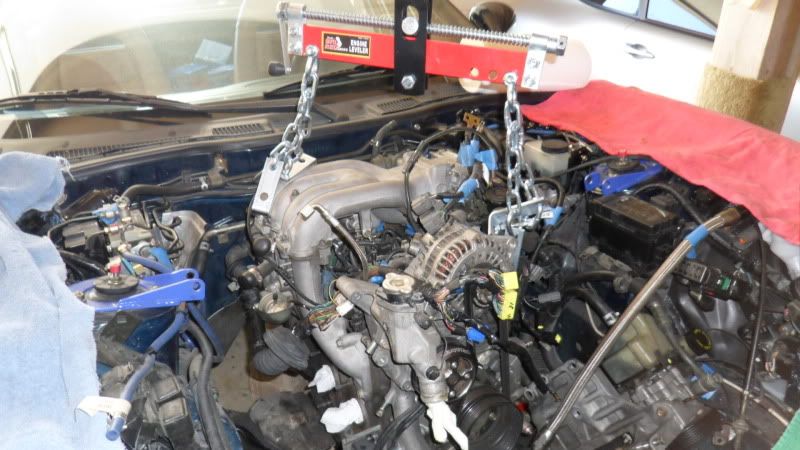
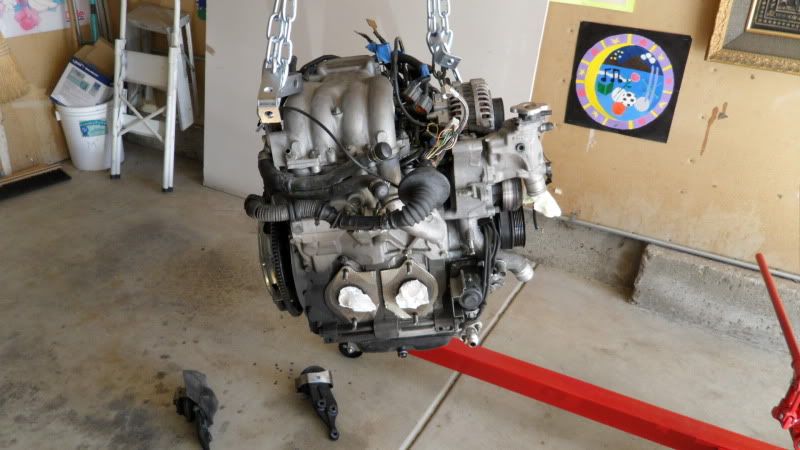
i spy reversed motor mounts.... the one u put on the dr side should be on the passenger side.. the heat shield on top of it is to prevent heat from the Turbo/manifold/DP to get to the motor mount... you should switch em...
other than that looks ggood
i spy reversed motor mounts.... the one u put on the dr side should be on the passenger side.. the heat shield on top of it is to prevent heat from the Turbo/manifold/DP to get to the motor mount... you should switch em...
other than that looks ggood
SOB... lol I just looked at my previous pictures before I pulled the engine and I see that it is on the passenger side. I think it's a simple fix, raise the motor a little and then hopefully just switch them.
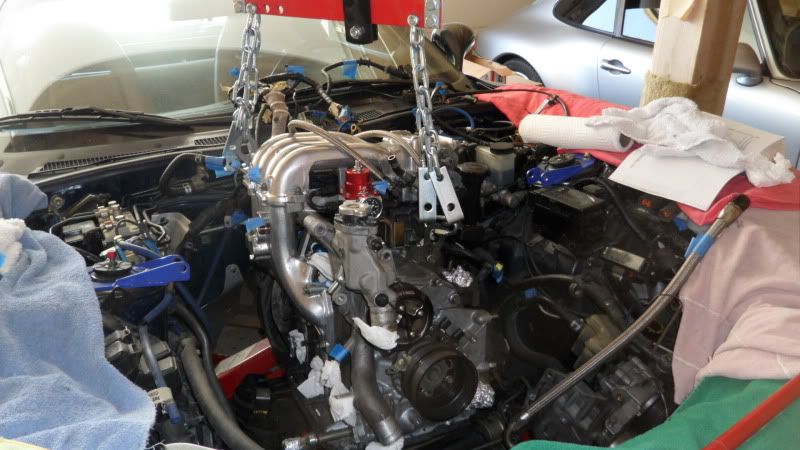
Haha, luckily it wasn't that much of a pain to do it. Just lifted the engine back up and switched the mounts. Got the driver side wiring harness all connected and got the turbo and turbo manifold on.
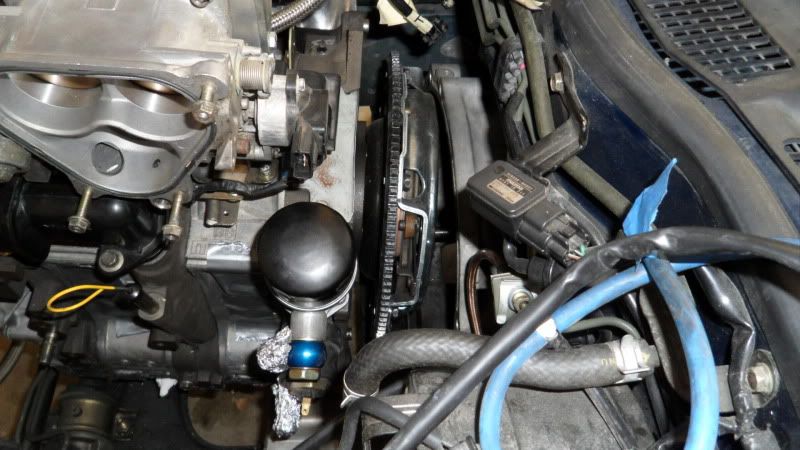
Quick question, the turbo blanket, is it supposed to cover the whole turbo or 3/4 of it? Because it won't fit with my LIM on, it gets in the way.
These pictures sort of show it


Quick question, the turbo blanket, is it supposed to cover the whole turbo or 3/4 of it? Because it won't fit with my LIM on, it gets in the way.
These pictures sort of show it
its suppose to go around the whole thing except the opening where it allows room for the manifold to bolt up
how come? overheat the turbo?
Not exactly. Flanges warp causing exhaust leaks and the biggest issue is the turbine housing itself grinds away itself internally which will make the turbo laggier over time. Other things that may happen over a long period of time are gaskets blowing out, nuts cracking etc due to heat fatigue.
I was stubborn last year with my turbo blanket because it does give a slight increase in turbo response but paid the price multiple times. This year no turbo blanket and zero problems.
Even Sean now suggests you don't run one if your going to be heavily tracking the car. For a purely street car, I don't think it would be a big deal or at the very least won't give any issues until years later.
thewird
Hm, I will remember that as far as the turbo blanket goes. I'm going to end up removing my LIM to see if I can get the rest of the blanket around the turbo while still being able to fit my LIM on. Won't be able to work on it until next week. I'm hoping my injectors get in by next week that way I can put everything back together.