
NOOB'S GUIDE TO PORTING (56K Beware)


Thread Starter
Joined: Aug 2002
Posts: 2,828
Likes: 1
From: Houston Tx
Originally Posted by mono4lamar
couple questions as far as getting some templates... what companies have some and what sizes do they have? also the 13b and 20b have the same housings right? meaning you can use the same templates... i always wondered that!
i just wanted to say this is a great thread so far!!! props for putting your ***** out there
-Lance
i just wanted to say this is a great thread so far!!! props for putting your ***** out there
-Lance
These companies has templates
Mazdatrix
Racing Beat
Pineapple < I think they are working on these
Yaw Power
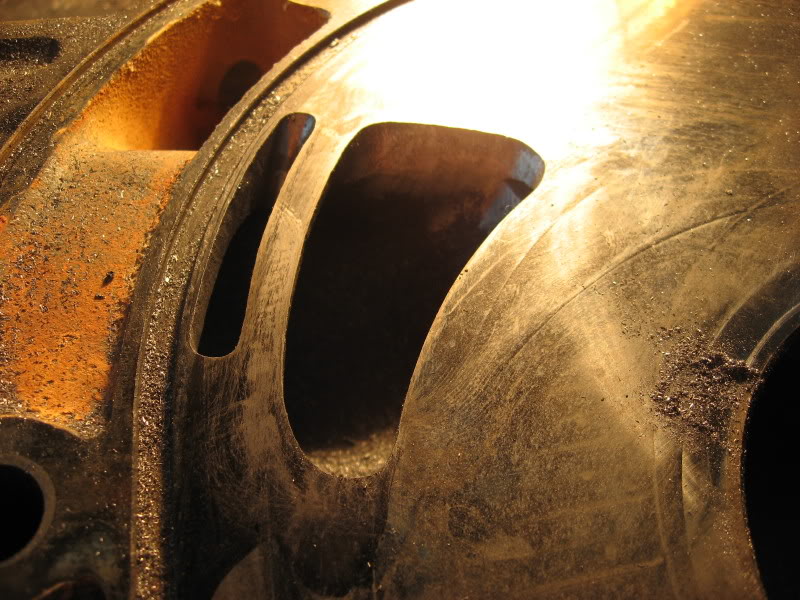
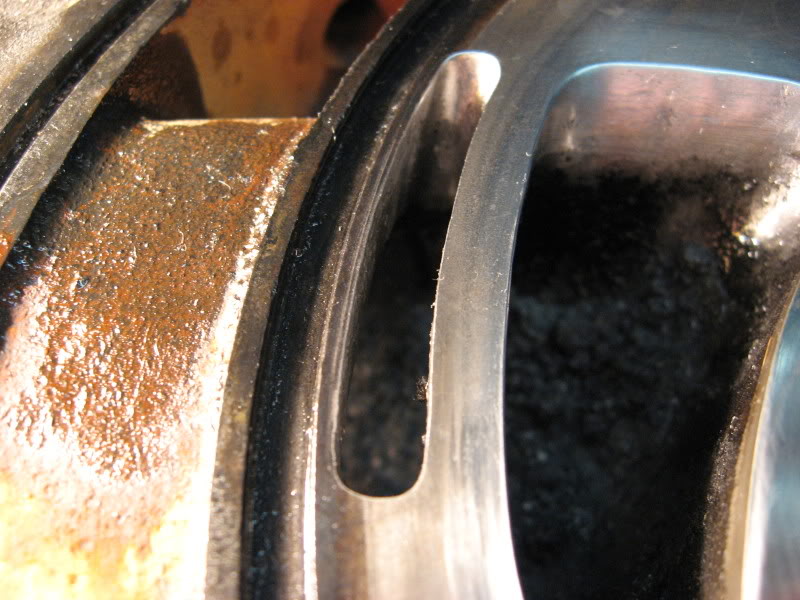
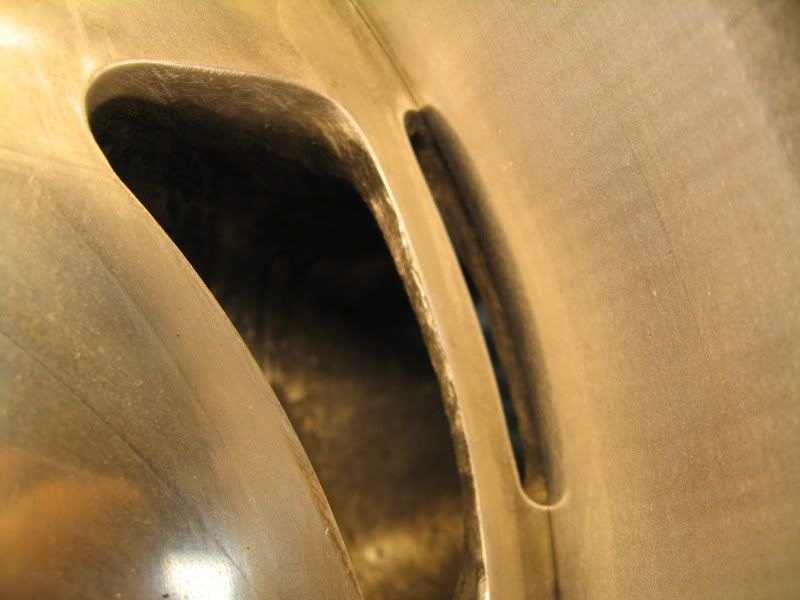
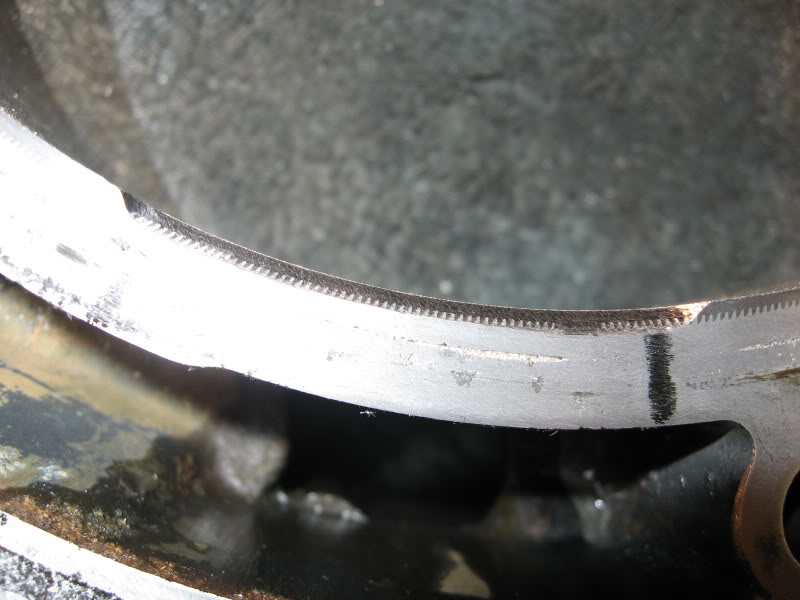
This port is a Racing Beat Race Port
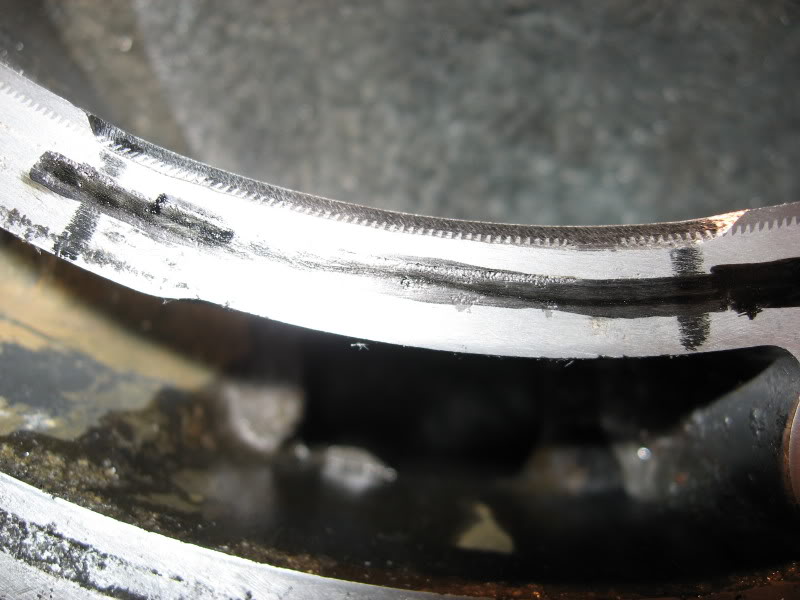
The nice thing about templates, They will work on anything 12a 13b 20b 26b What ever, they all have the same shape. The ports are just a little off.


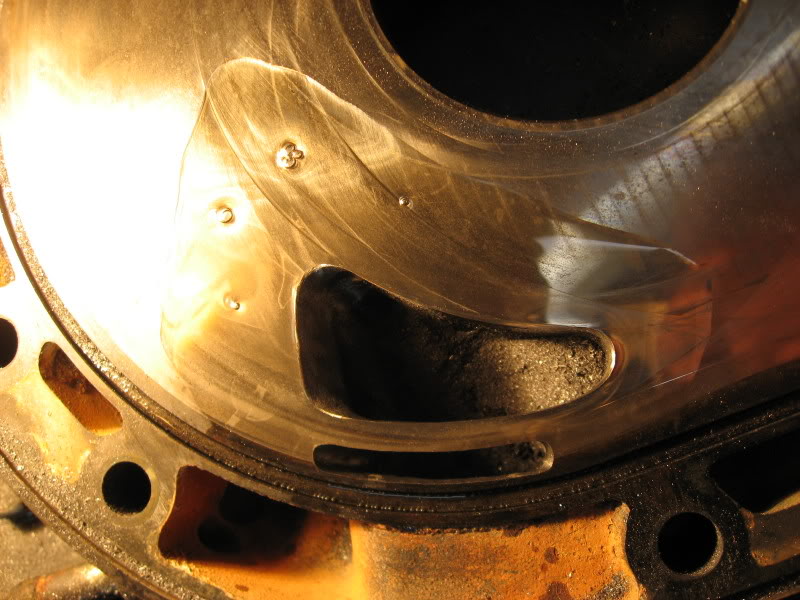
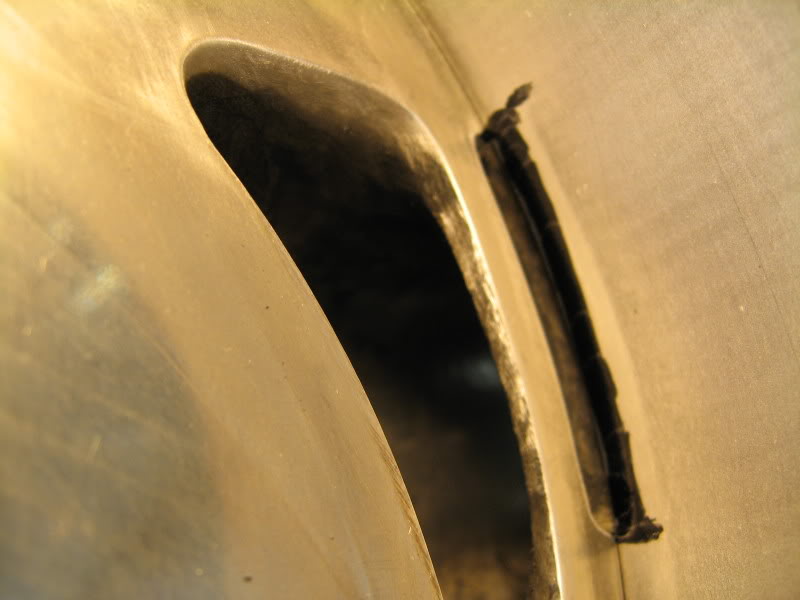
I have a sorta-on-topic question. How much material does that template leave between the bridge and the water seal groove? It appears about 1mm (.040). Just curious because I will be doing a bridge here soon. No template. Just plexiglass tracings to keep things right. Thanks.
wow. until recently, i've been a little apprehensive about trying a bridge myself, but you make it look so simple. i had already come to terms with doing one, but i don't think it's going to be as intimidating as i thought now.
thanks.
thanks.

Thread Starter
Joined: Aug 2002
Posts: 2,828
Likes: 1
From: Houston Tx
Originally Posted by TonyD89
I have a sorta-on-topic question. How much material does that template leave between the bridge and the water seal groove? It appears about 1mm (.040). Just curious because I will be doing a bridge here soon. No template. Just plexiglass tracings to keep things right. Thanks.
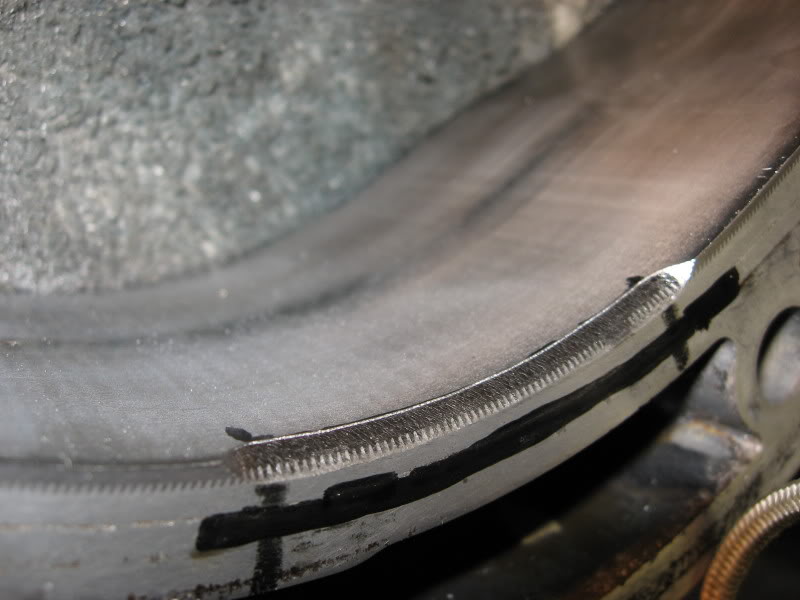
I like to leave about the same as the smallest point in the entire housing, even if the porting template wants me to go farther, it isnt worth the extra air if you will have a water seal problem in the furture.
I will try and do somemore today
Thread Starter
Joined: Aug 2002
Posts: 2,828
Likes: 1
From: Houston Tx
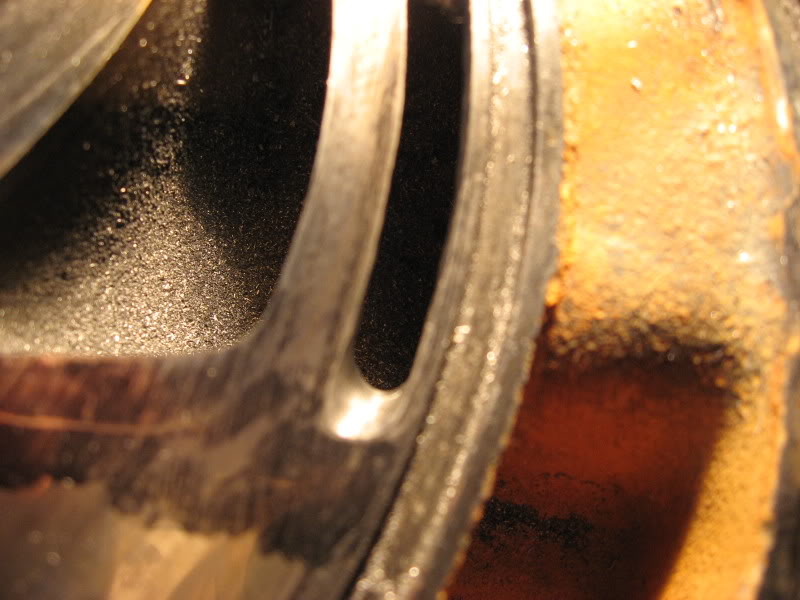
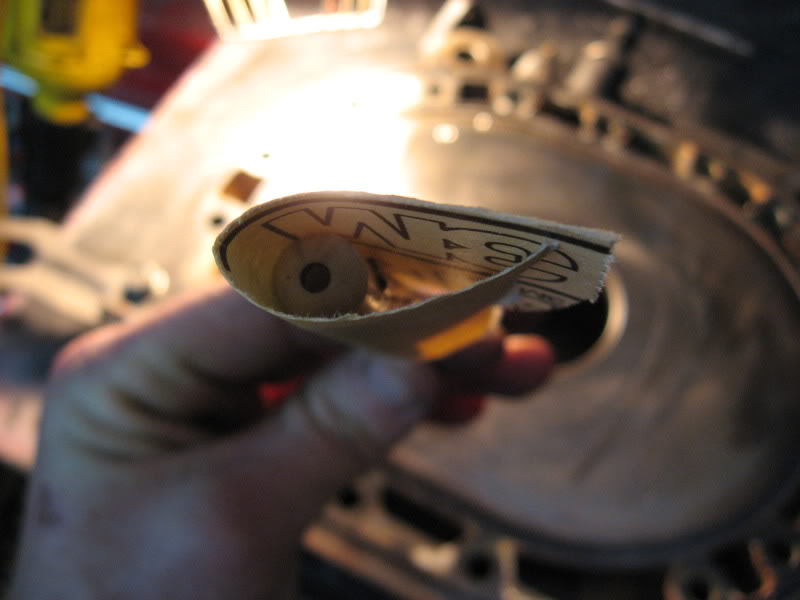
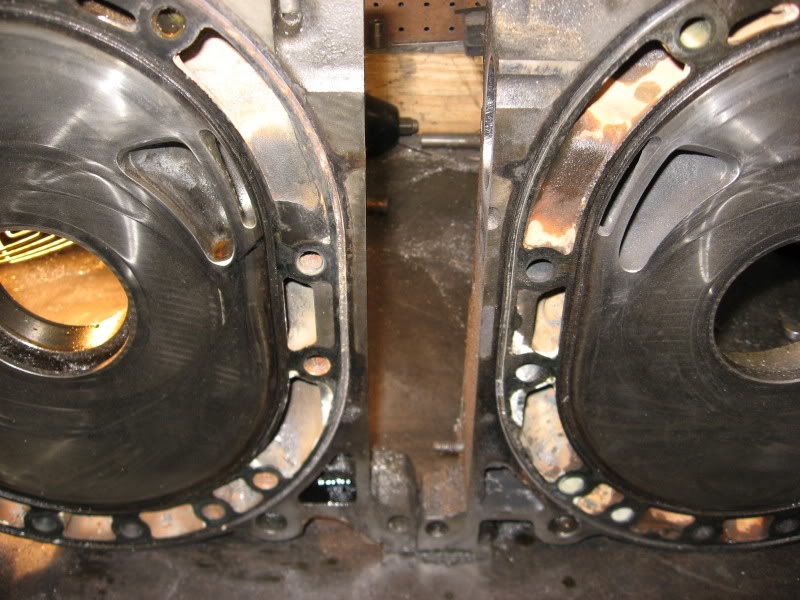
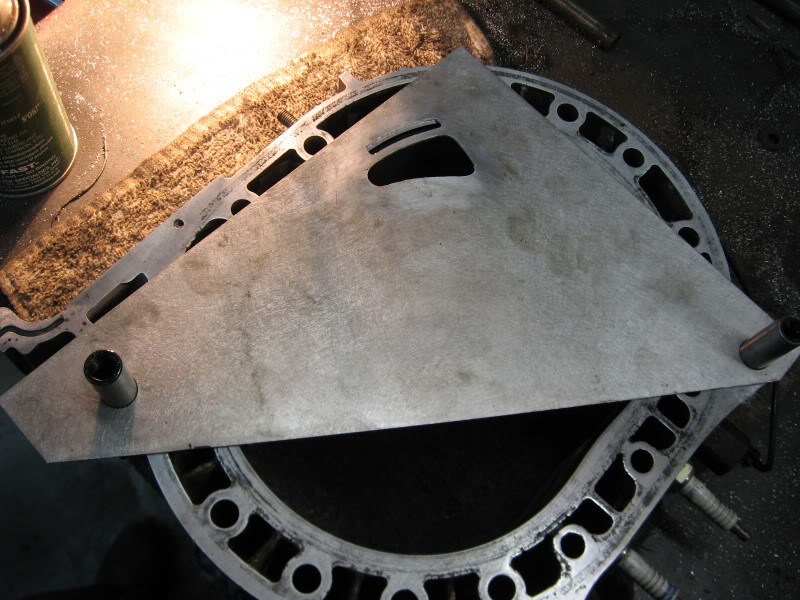
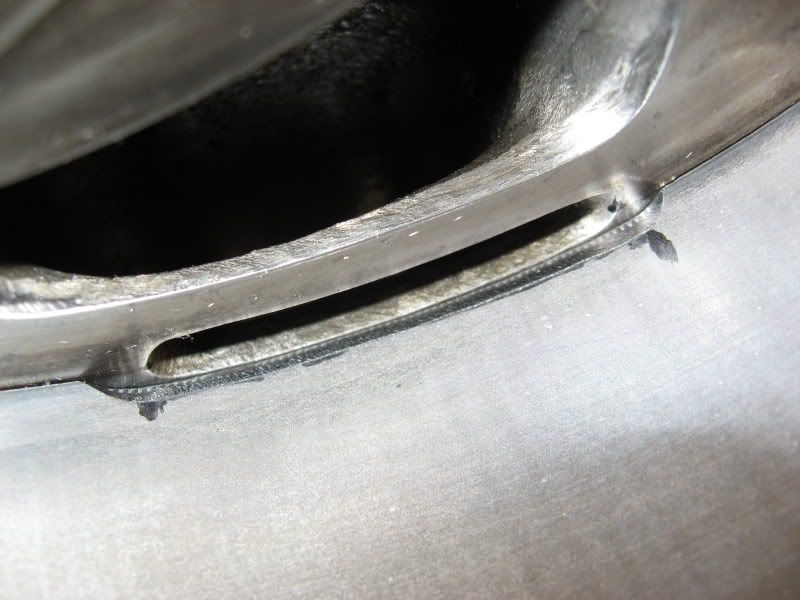
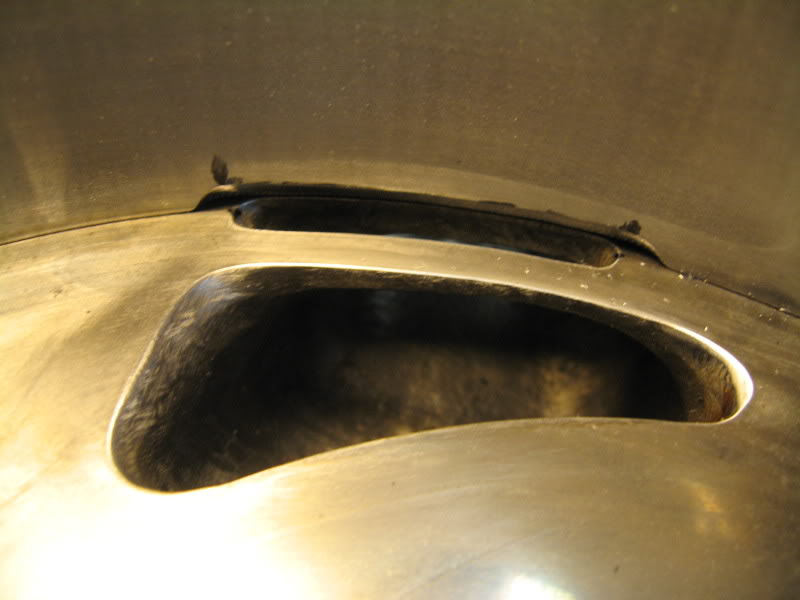
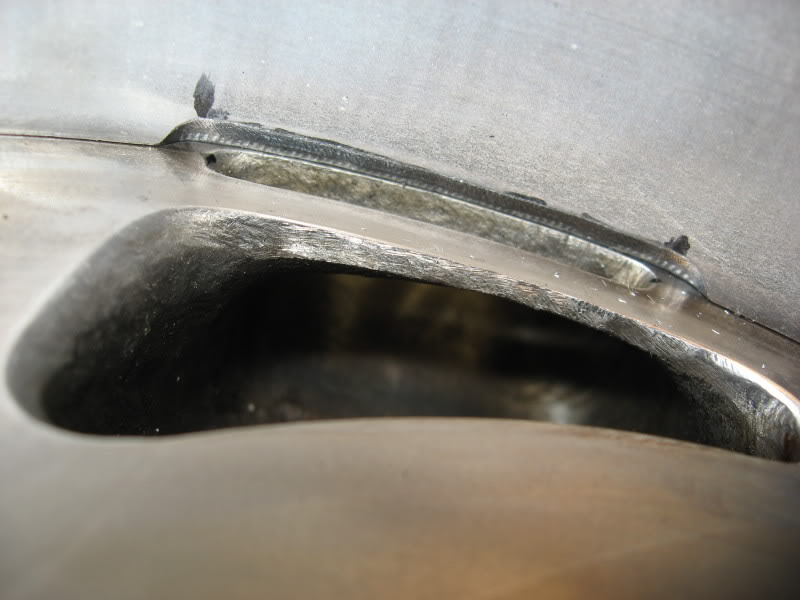
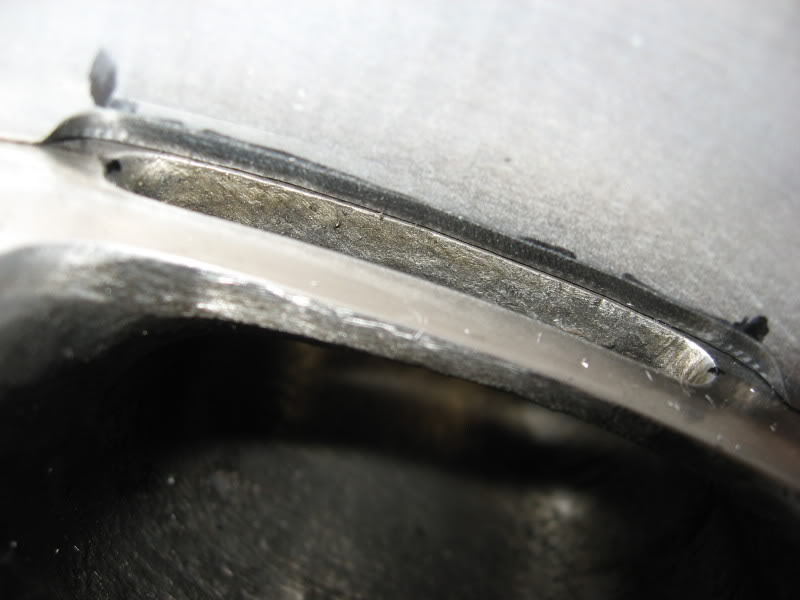
I made my own bridge for my custom 6-Port Bridgeporting
Use the rotor housing for the curve of the bridge then just add to it towards the water seal and then find the Corner seal path.
http://i19.photobucket.com/albums/b1...h_IMG_0558.jpg
http://i19.photobucket.com/albums/b1...h_IMG_0580.jpg
Use the rotor housing for the curve of the bridge then just add to it towards the water seal and then find the Corner seal path.
http://i19.photobucket.com/albums/b1...h_IMG_0558.jpg
http://i19.photobucket.com/albums/b1...h_IMG_0580.jpg

Thread Starter
Joined: Aug 2002
Posts: 2,828
Likes: 1
From: Houston Tx
Ok here is the rest.
These are the tools that you will need to do this type of porting
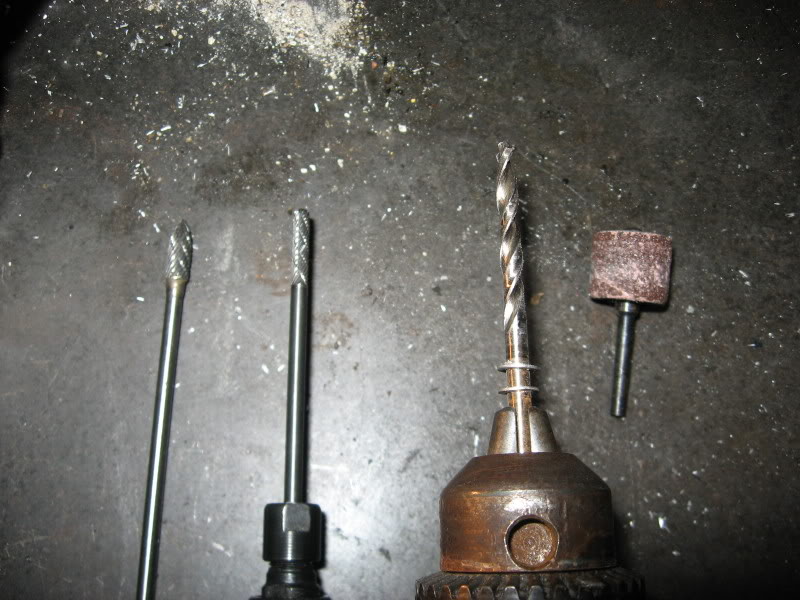
If you cant find the exact bits just get something close
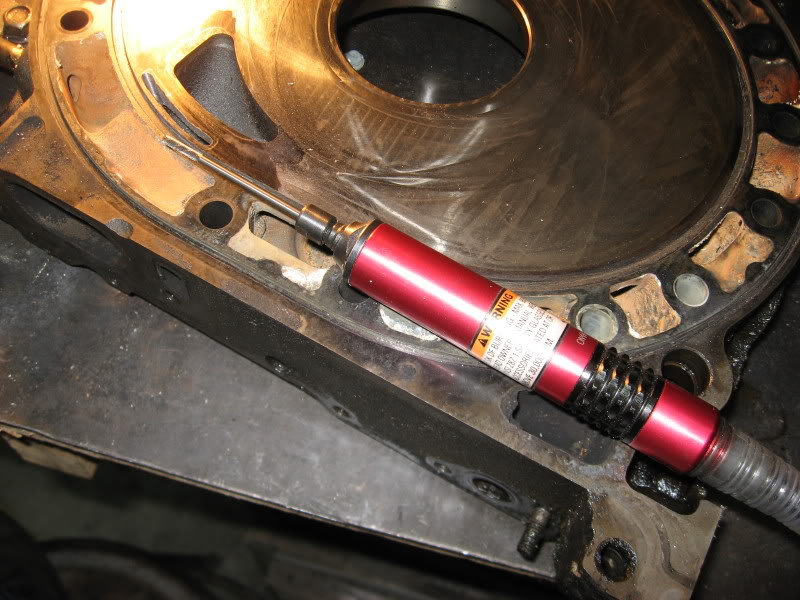
Setup you die grinder

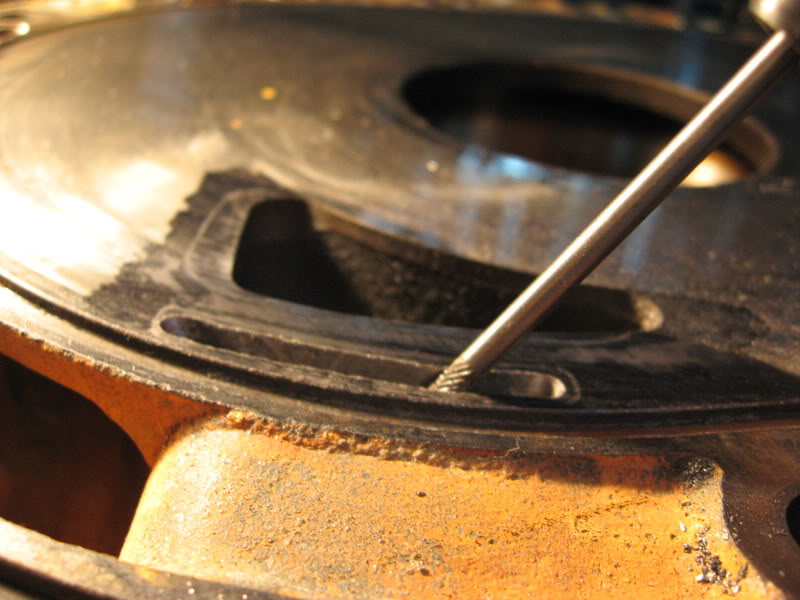
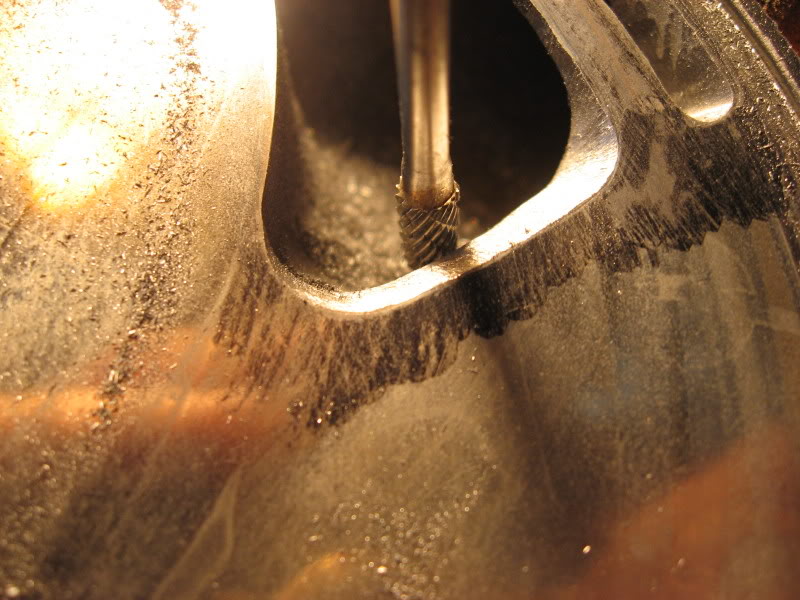
Start with the bridge because if you mess that up you didnt waste all of your time porting the secondary
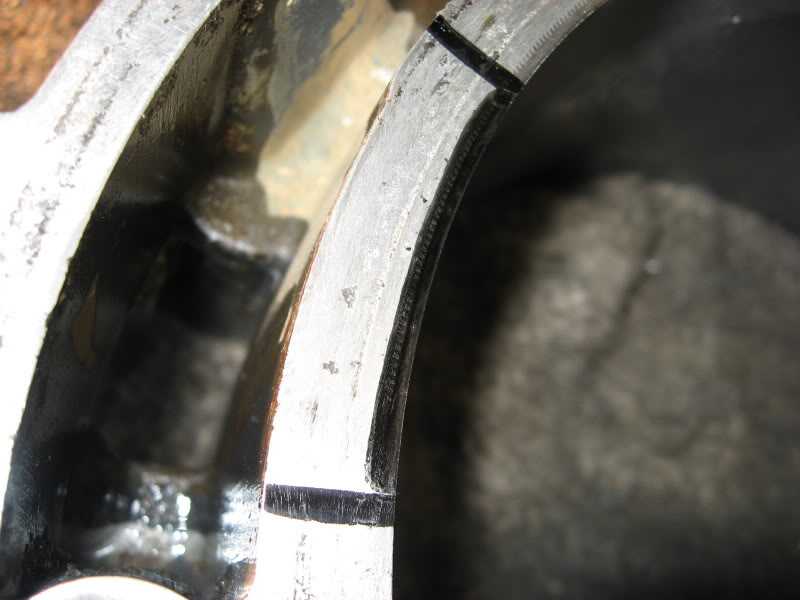
Start your cutting like this
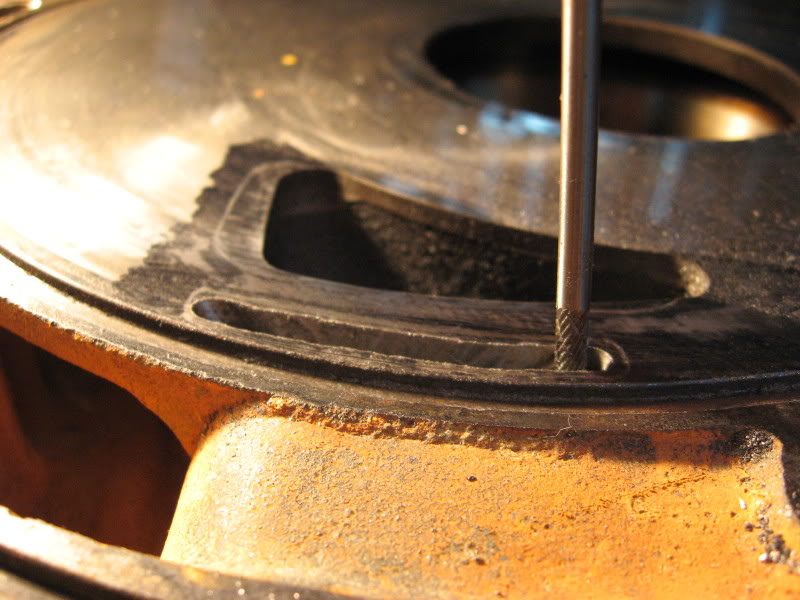
DO NOT CUT IT LIKE THIS, you will not get a stright line
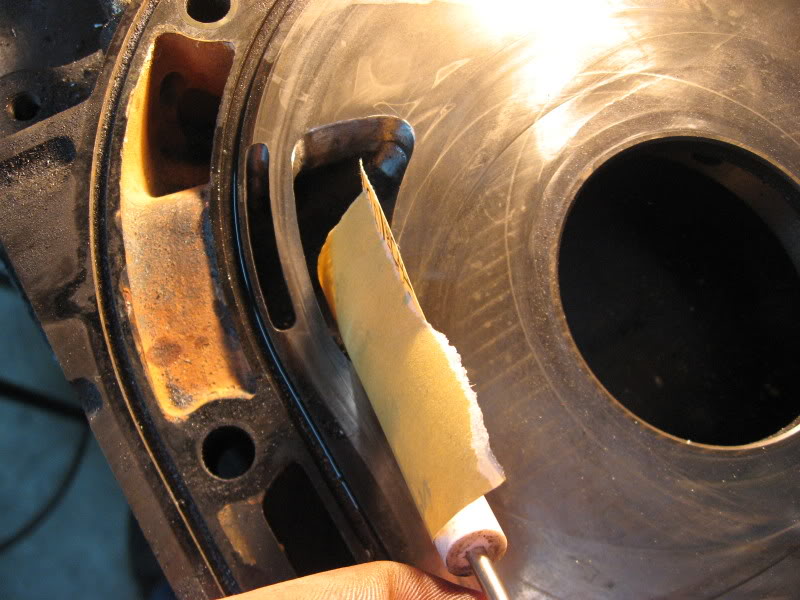
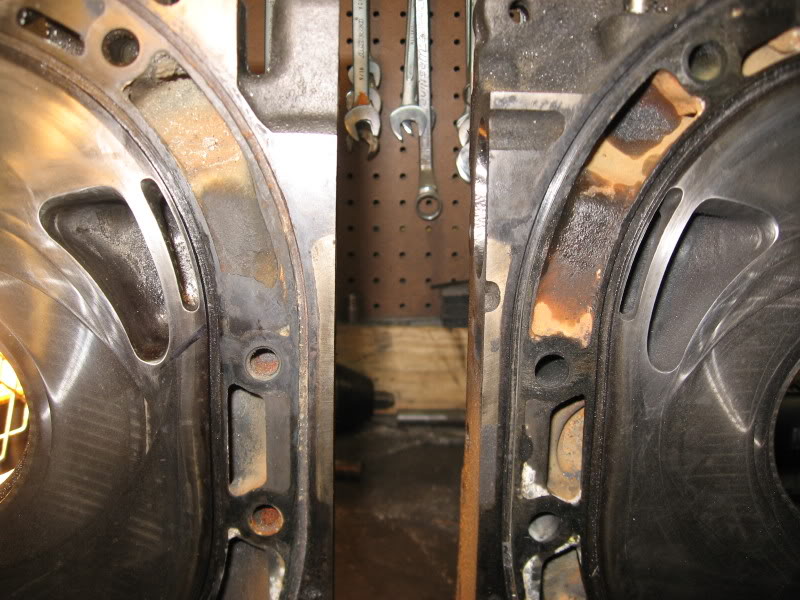
Here is about half done with the bridge
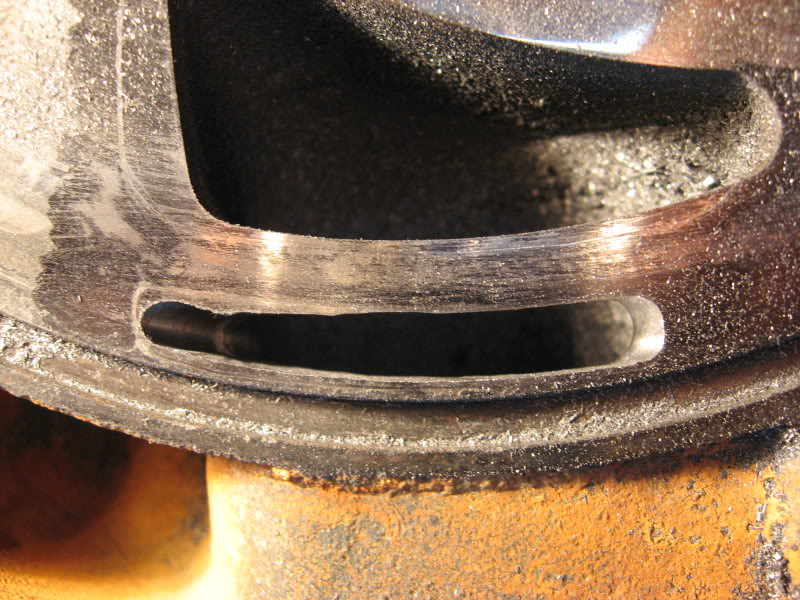
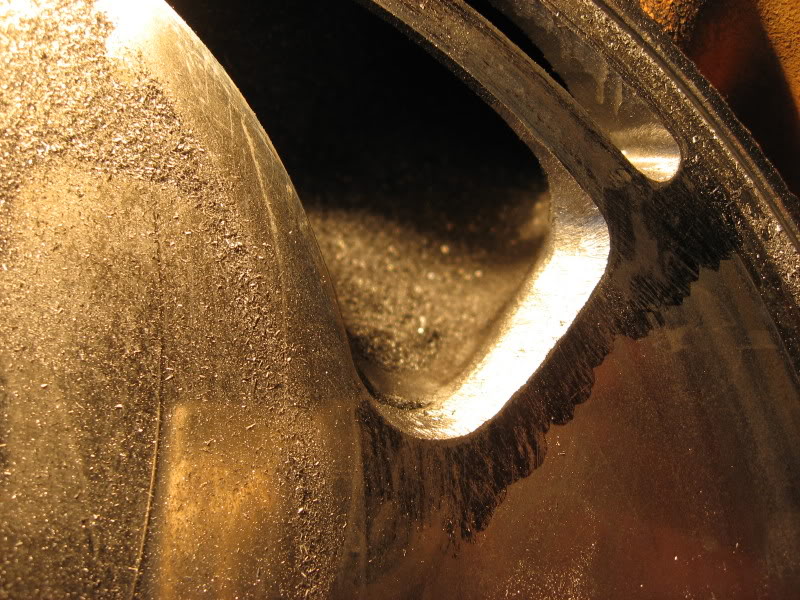
Just need to be cleaned up with sand paper, but you are done with the port.
Just remember dont worry about where the scribed mark is on the inside of the port (Closest to the water seal) you will need to use your own judgement on how thick you want to leave the metal. I like to have more than others
Now lets start on the main port
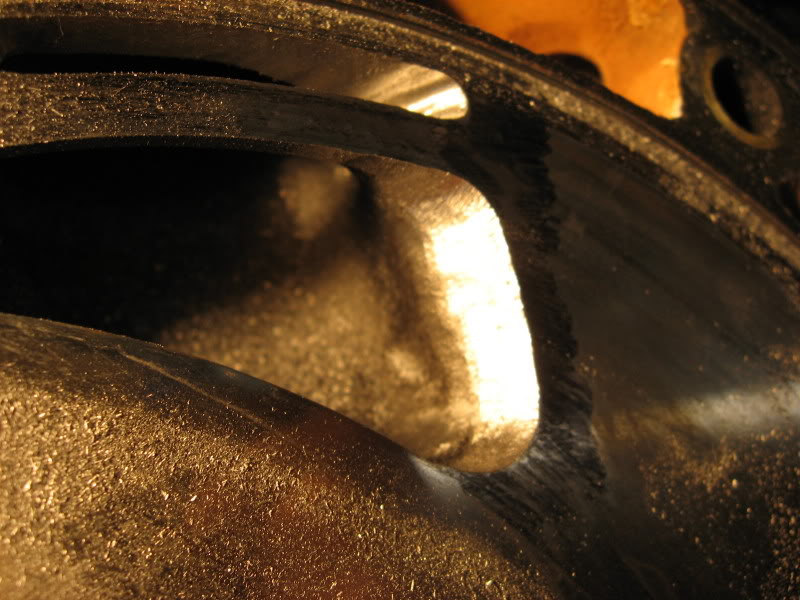
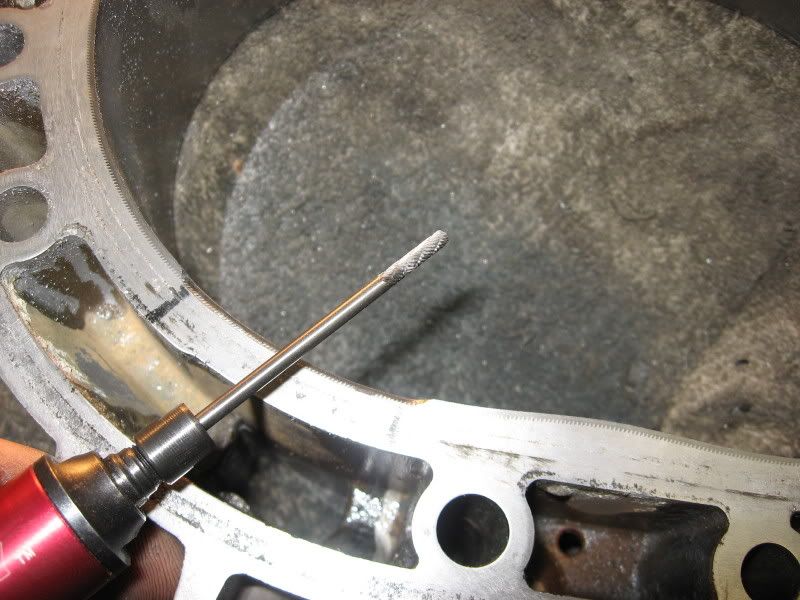
Change your bit to something that has more bite, also here is the angle that you will want to port this at

DO NOT PORT LIKE THIS, you will run the risk of going into the water housing
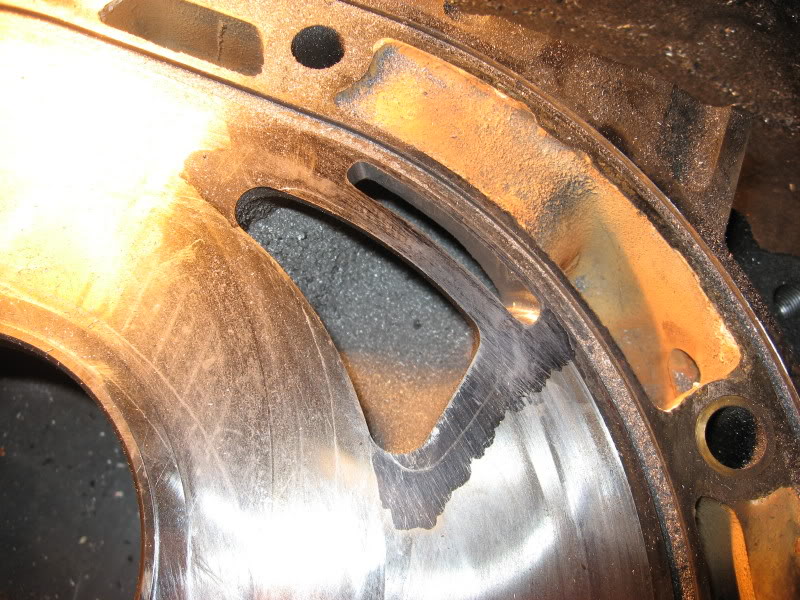
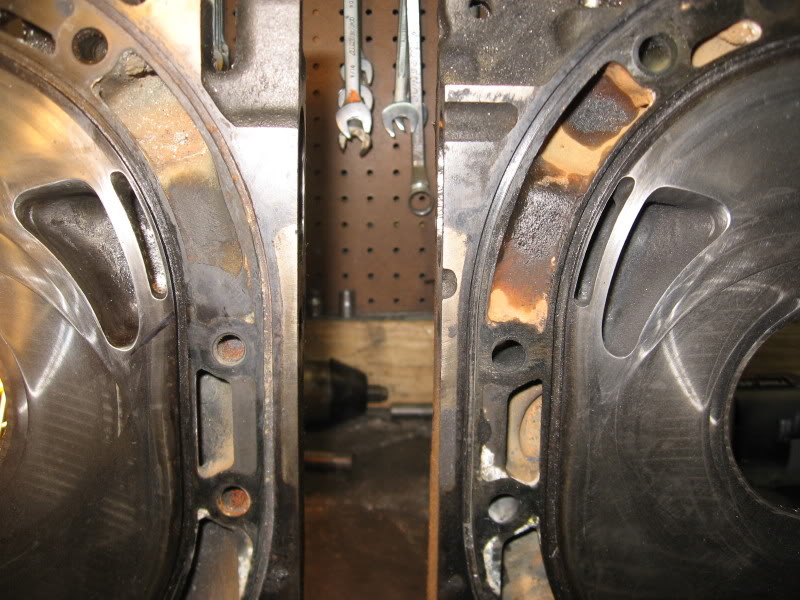
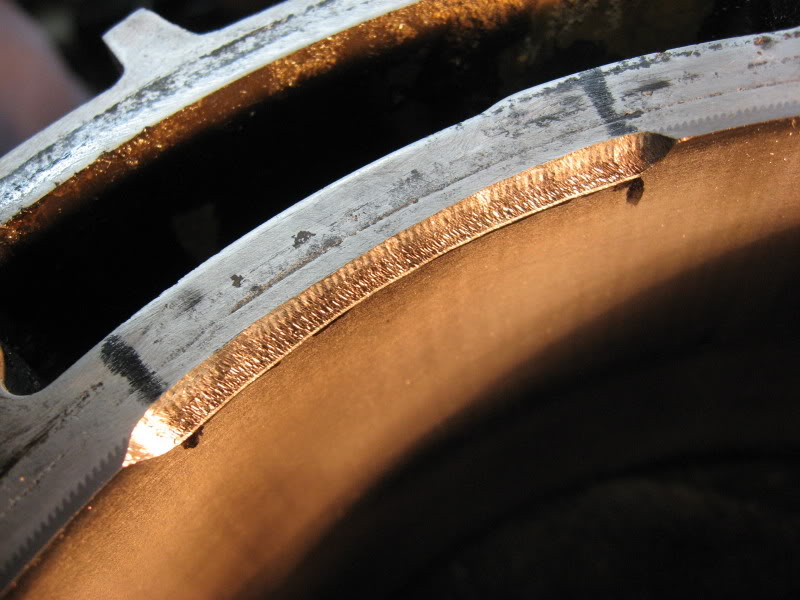
Here is done with the ruff cutting
Just port the scribed line at the bottom like you did at the top
These are the tools that you will need to do this type of porting
If you cant find the exact bits just get something close
Setup you die grinder
Start with the bridge because if you mess that up you didnt waste all of your time porting the secondary
Start your cutting like this
DO NOT CUT IT LIKE THIS, you will not get a stright line
Here is about half done with the bridge
Just need to be cleaned up with sand paper, but you are done with the port.
Just remember dont worry about where the scribed mark is on the inside of the port (Closest to the water seal) you will need to use your own judgement on how thick you want to leave the metal. I like to have more than others
Now lets start on the main port
Change your bit to something that has more bite, also here is the angle that you will want to port this at
DO NOT PORT LIKE THIS, you will run the risk of going into the water housing
Here is done with the ruff cutting
Just port the scribed line at the bottom like you did at the top
Thread Starter
Joined: Aug 2002
Posts: 2,828
Likes: 1
From: Houston Tx
Next we need to work on smoothing everything out
Spray some oil on the iron to help with the sanding
Now to help even more with the hard to reach parts make something like this

Start sanding your main port
After you are done with that, change your tool to something like this
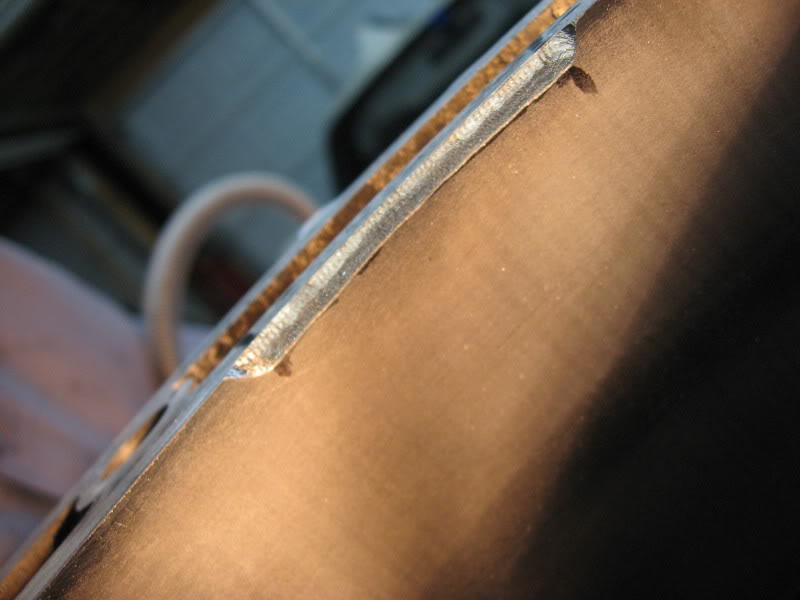
Start your sanding of the bridge, PLEASE Take your time and make it as smooth as you can, the better it is the more miles you will get out of your motor.
Ok here is the finished product, i have just went over everything with 1000 grid sandpaper to really get it smooth, looks like there is some cloth stuck on the edges from where i wiped it off with.

Allways take both irons and make sure they are pretty close, if they need to be changed now is the easy place to do it.
Spray some oil on the iron to help with the sanding
Now to help even more with the hard to reach parts make something like this
Start sanding your main port
After you are done with that, change your tool to something like this
Start your sanding of the bridge, PLEASE Take your time and make it as smooth as you can, the better it is the more miles you will get out of your motor.
Ok here is the finished product, i have just went over everything with 1000 grid sandpaper to really get it smooth, looks like there is some cloth stuck on the edges from where i wiped it off with.
Allways take both irons and make sure they are pretty close, if they need to be changed now is the easy place to do it.
Thread Starter
Joined: Aug 2002
Posts: 2,828
Likes: 1
From: Houston Tx
ONE THING I FORGOT TO SAY IS, DONT PORT TO THE INSIDE, SO YOU WILL NOT PORT INTO THE OIL CONTROL RING AREA
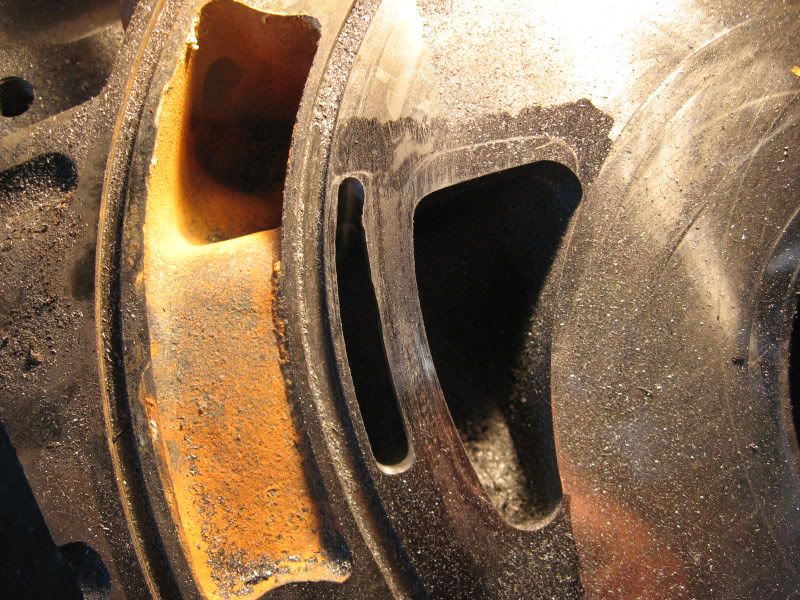
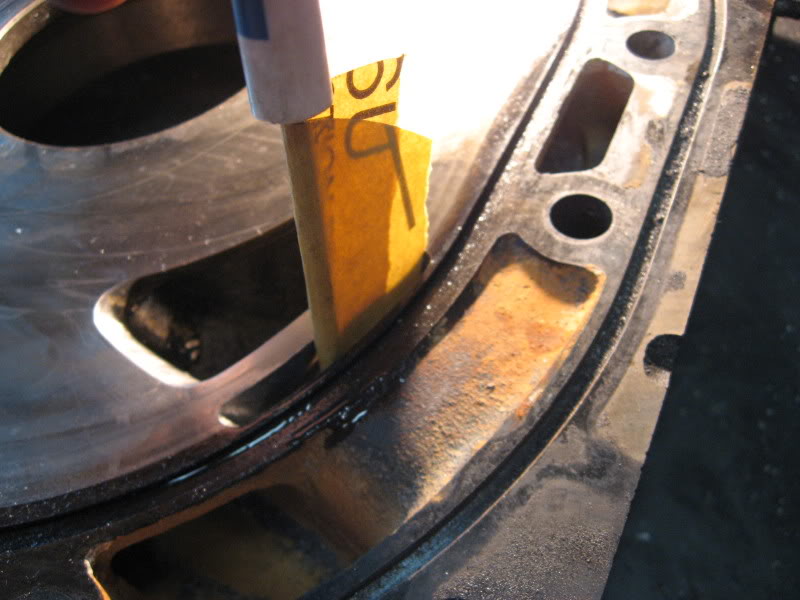
Ok now we need to notch the Rotor housing so we can use this new bridgeport
Here is the port without the notching

Here is where the notching needs to go
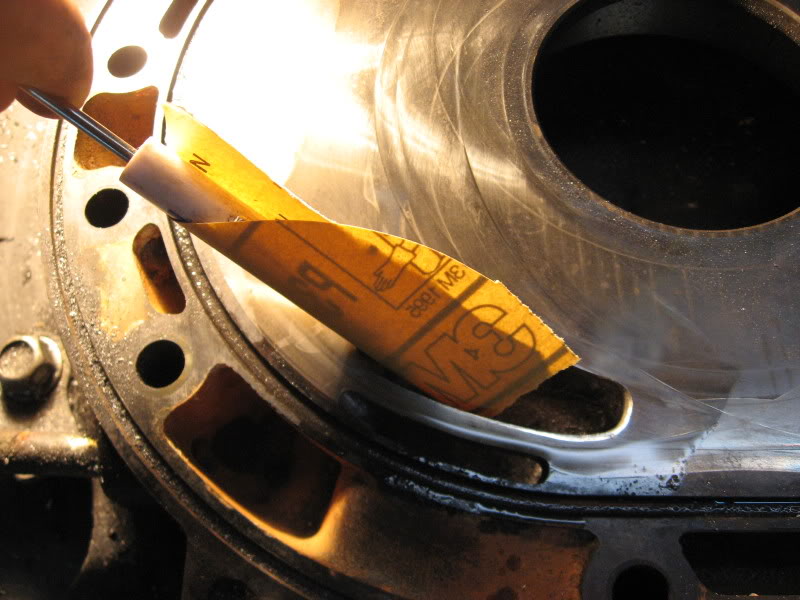
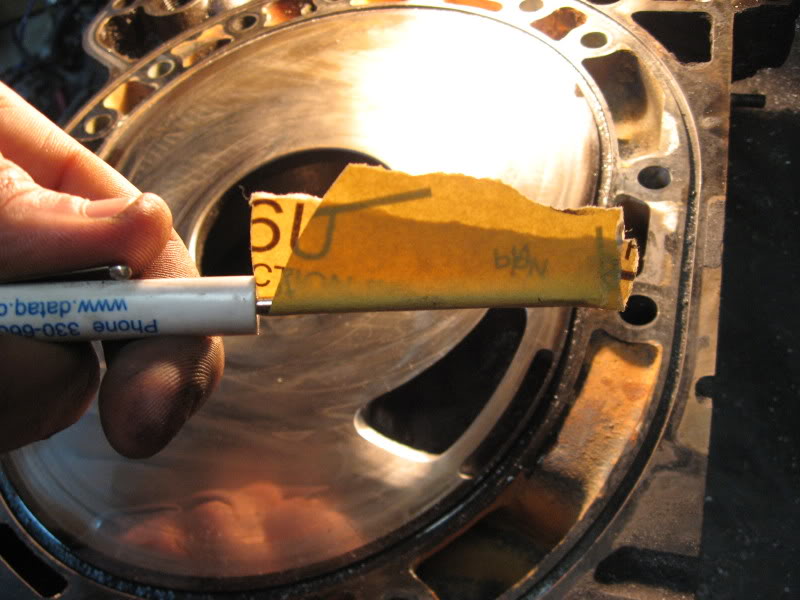
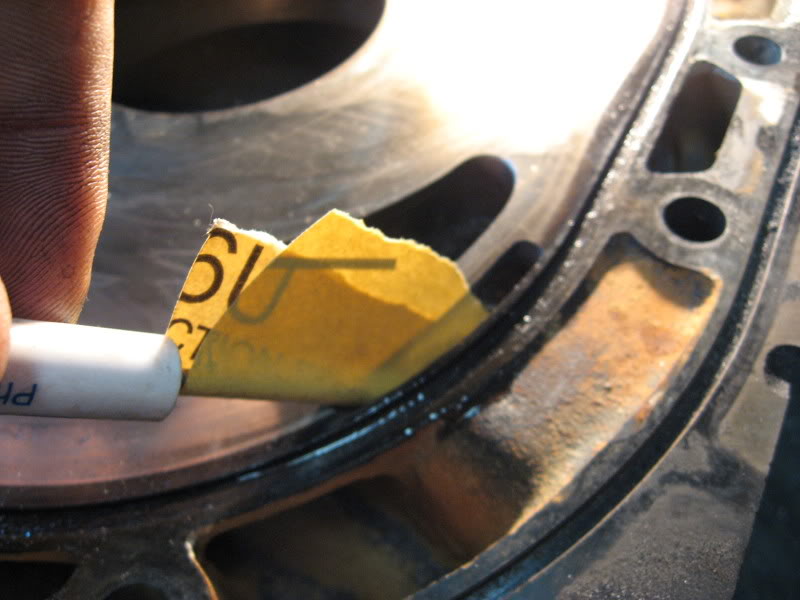
Take your porting template and lay it onto the rotor housing
Here is the amount that needs to be removed
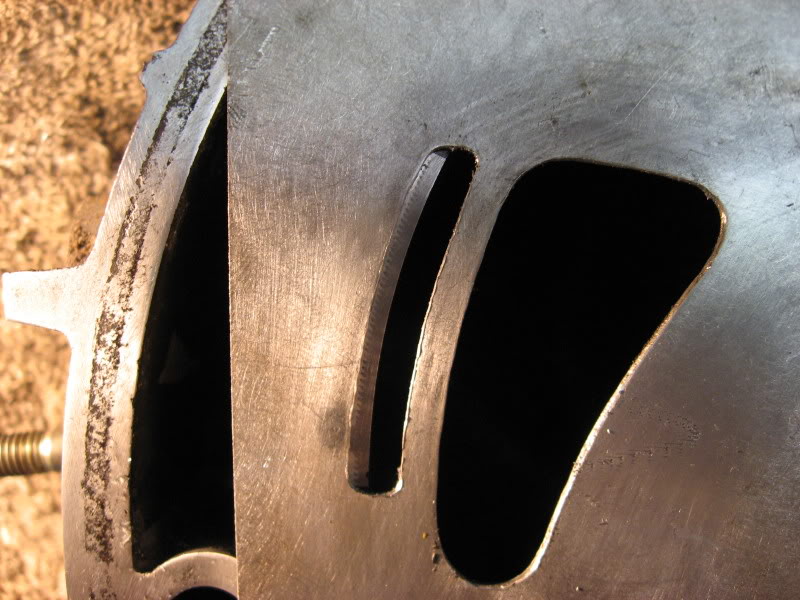
Ok after you have marked your port, add 1/4 of a inch on each side of the port. Also you will need to port appox 5/32 into the rotor housing
This grinder bit is the best i think
Start slow and just take your time untill you finish

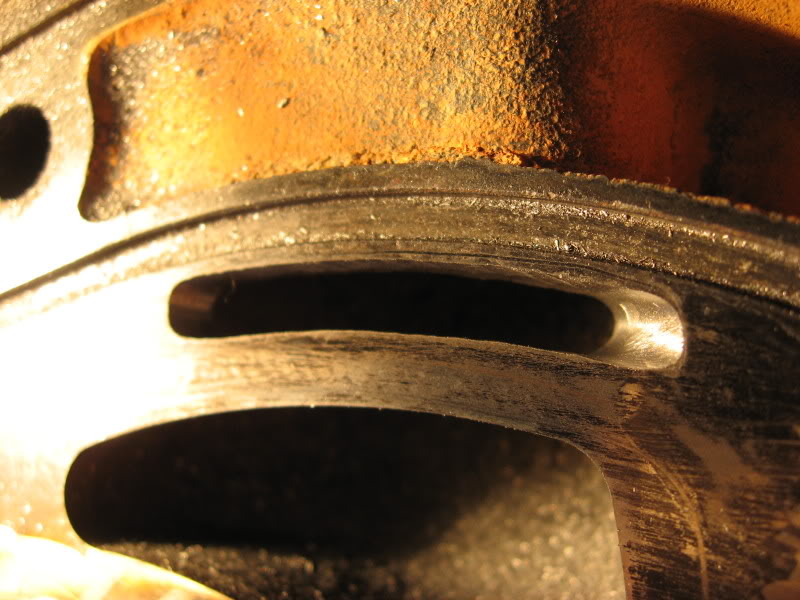
Here is what it looks like with the rotor housing in place
That is it,
I changed my mind about showing how to port the center housing. If you got this far you can get the center done. Just use the bridge porting template without the bridge.
Thread Starter
Joined: Aug 2002
Posts: 2,828
Likes: 1
From: Houston Tx
This was a late night for me, I just wanted to get this thread done, so it could start helping people not feel so scared about doing porting. As long as you just take your time and double check everything, there is nothing to worry about.
IF YOU WOULD LIKE THIS TO BECOME A STICKY PLEASE ASK FOR IT IN THIS THREAD
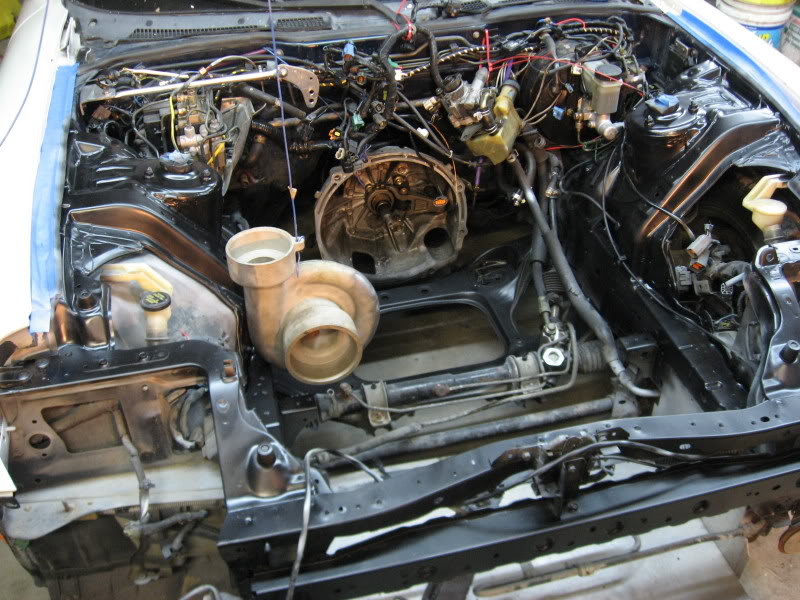
I was just wondering what my turbo will look like in my engine bay, O yea Sexy Sexy Sexy
THANKS FOR EVERYONES TIME!!
IF YOU WOULD LIKE THIS TO BECOME A STICKY PLEASE ASK FOR IT IN THIS THREAD
I was just wondering what my turbo will look like in my engine bay, O yea Sexy Sexy Sexy
THANKS FOR EVERYONES TIME!!


