
My 2JZ attempt:

Thread Starter
Joined: Jul 2010
Posts: 498
Likes: 23
From: Greensboro, North Carolina
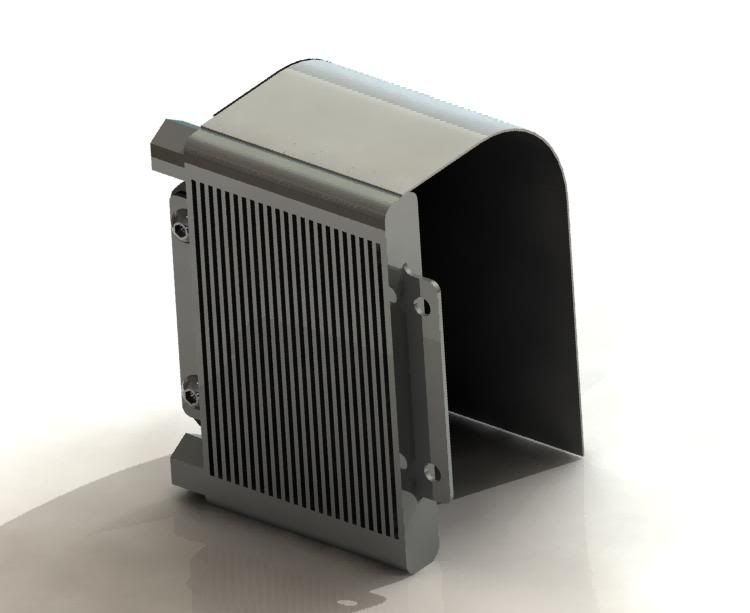
Some ideas for oil cooler shrouds:
Here are some ideas:
Cooler is 6" x 10" x 1.25"

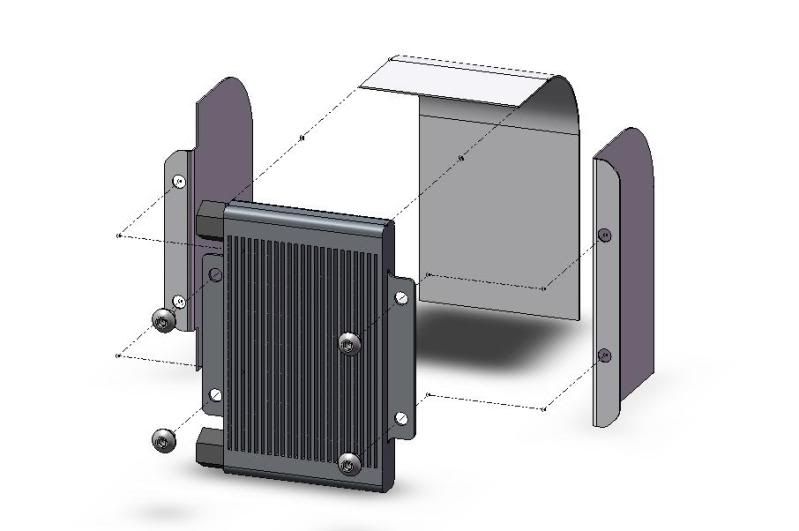
More goofing off:
Just one is necessary.
I'm not road racing, and it's really just a street car.
Here are some more layouts.
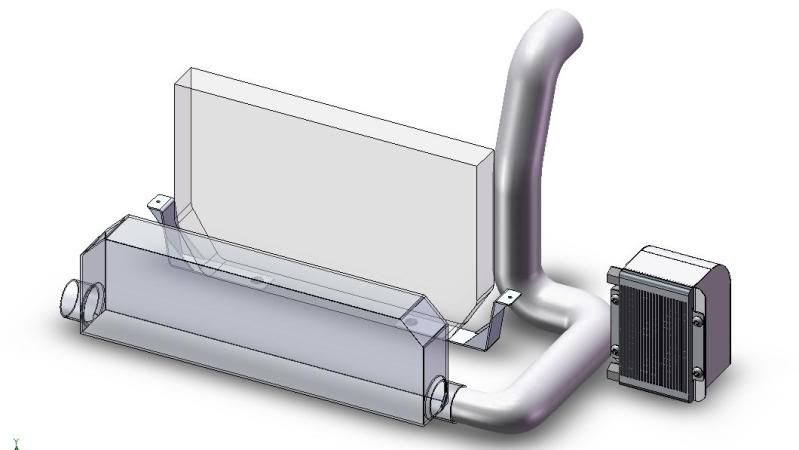
Here are some ideas:
Cooler is 6" x 10" x 1.25"
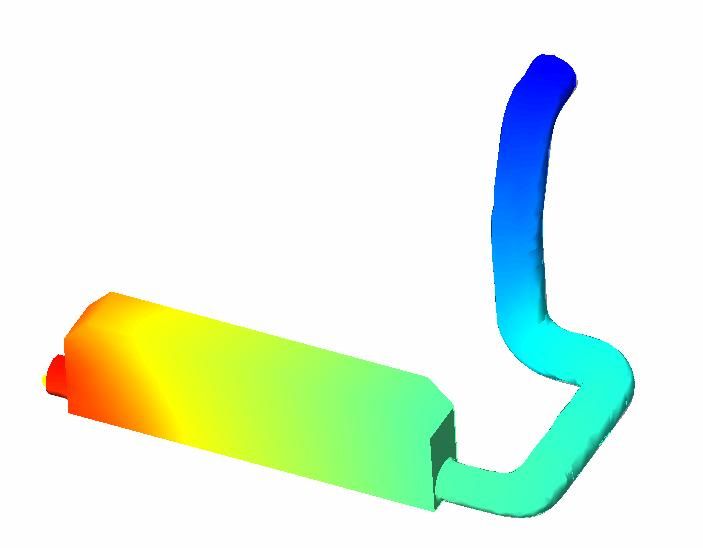
More goofing off:
Just one is necessary.
I'm not road racing, and it's really just a street car.
Here are some more layouts.
Thread Starter
Joined: Jul 2010
Posts: 498
Likes: 23
From: Greensboro, North Carolina
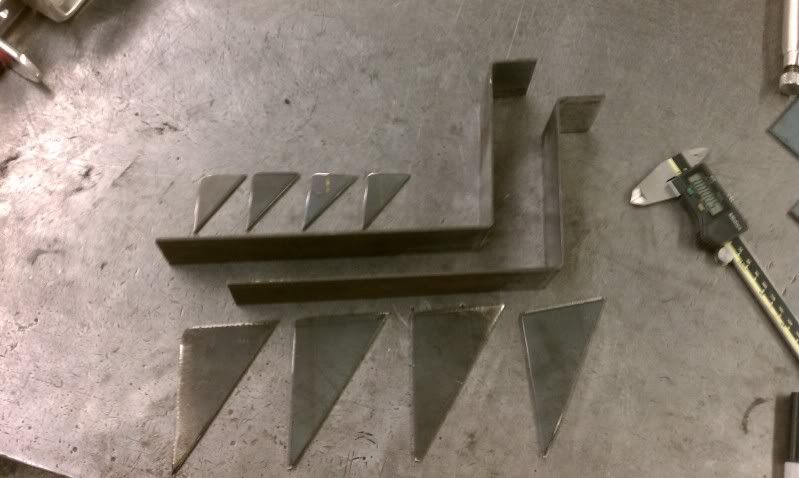
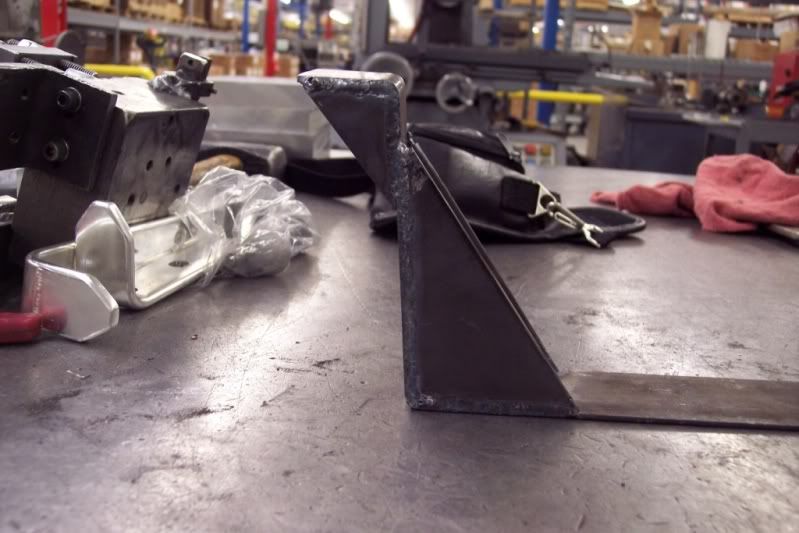
I screwed up my first set of brackets because I forgot the radiator tapered at the bottom, so made some new ones:
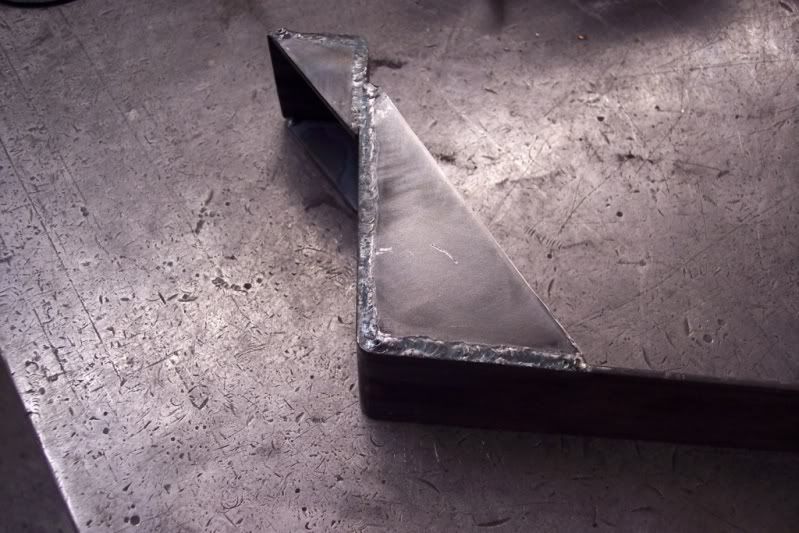
This is my first time tig welding, so cut me some slack. I want to learn lots of things:
Mustered the courage to TIG my brackets, and they came out okay.
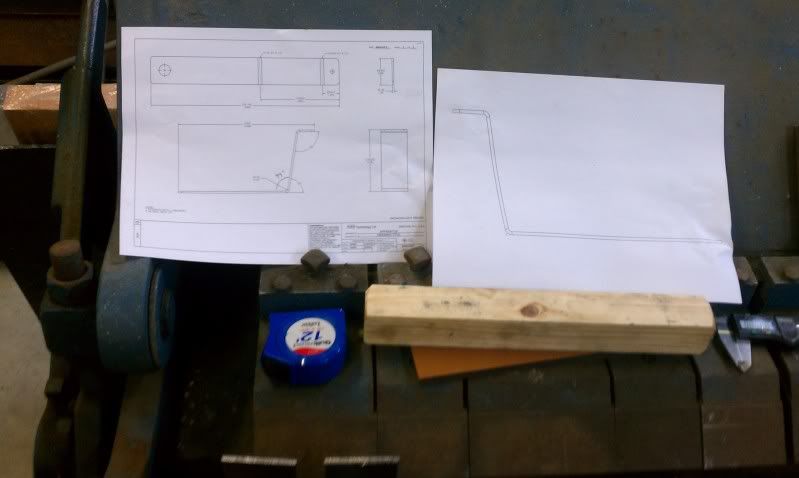
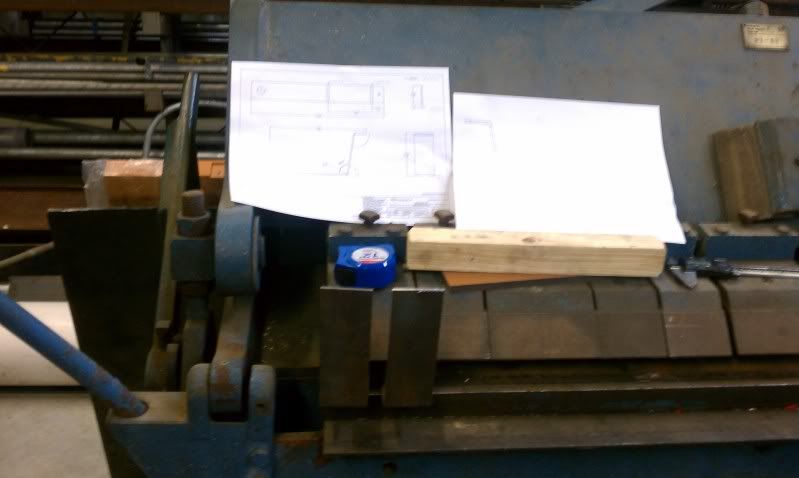
Here are a few pictures of the fab.
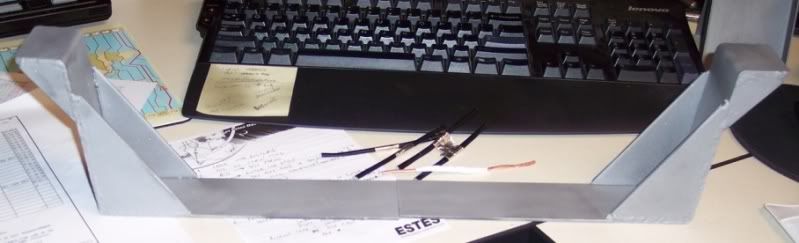
Setting up the strips in the box break.
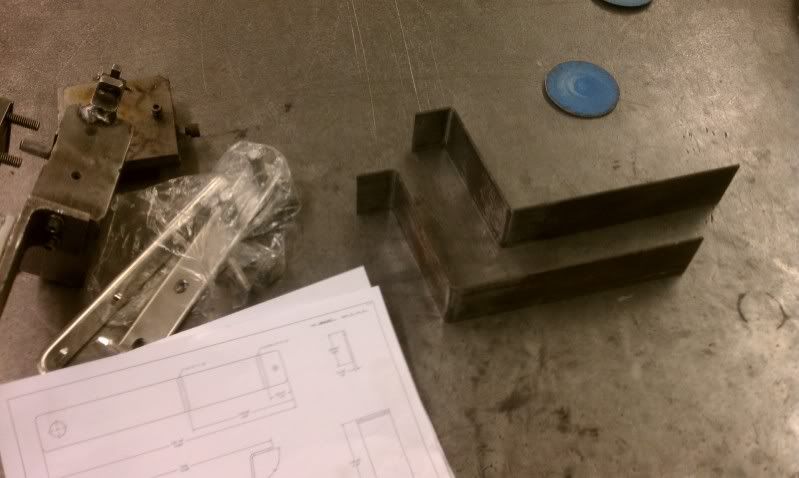
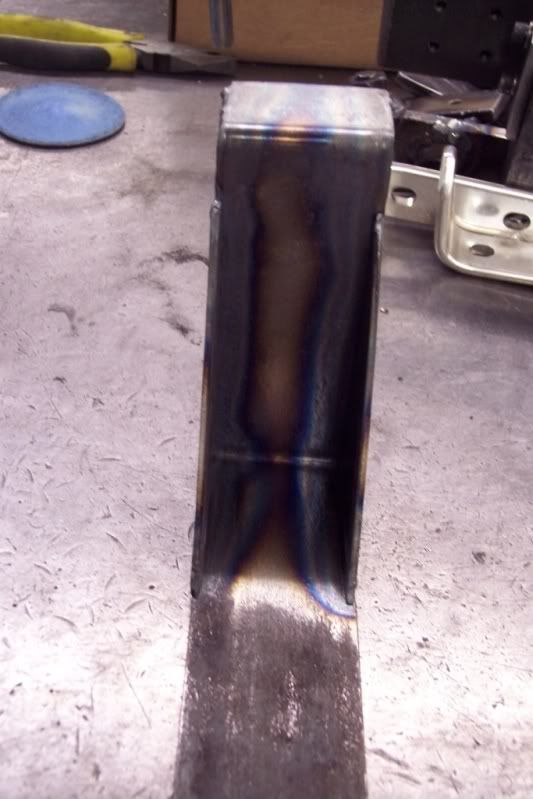
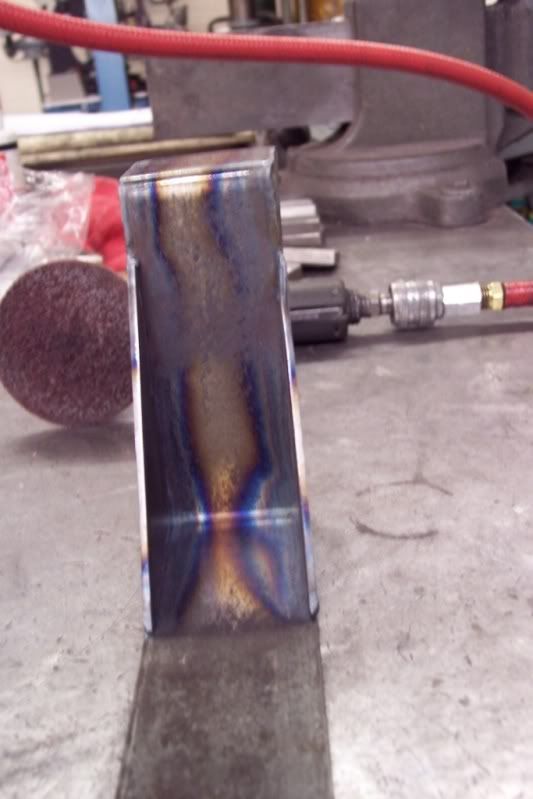
Sheared out some more gussets, this time adding a lower gusset due to the increased bending moment from extending the bracket.
Get a couple practice runs in:

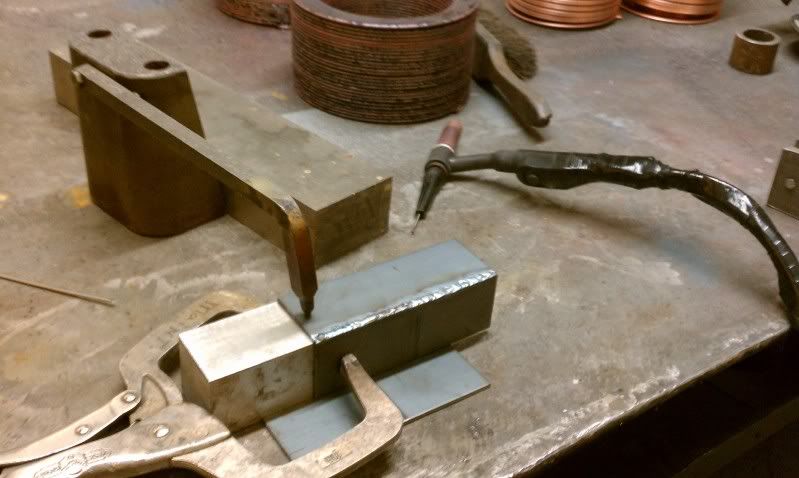
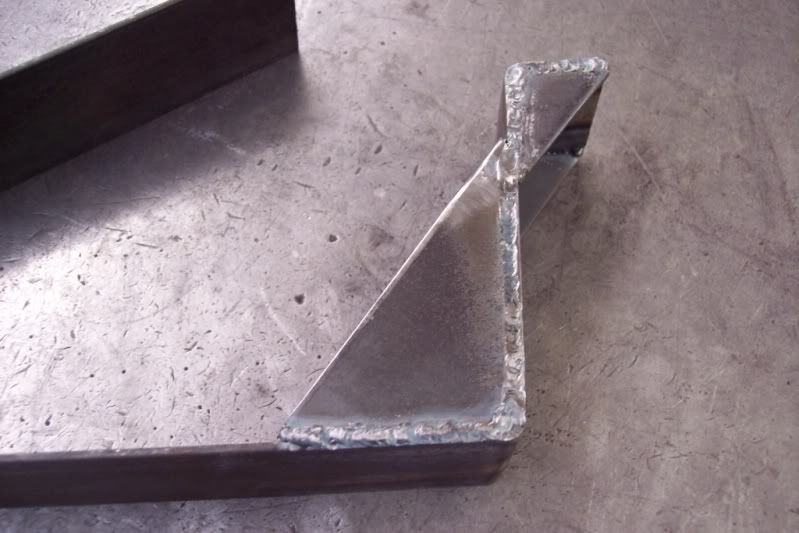
TIG gussets:

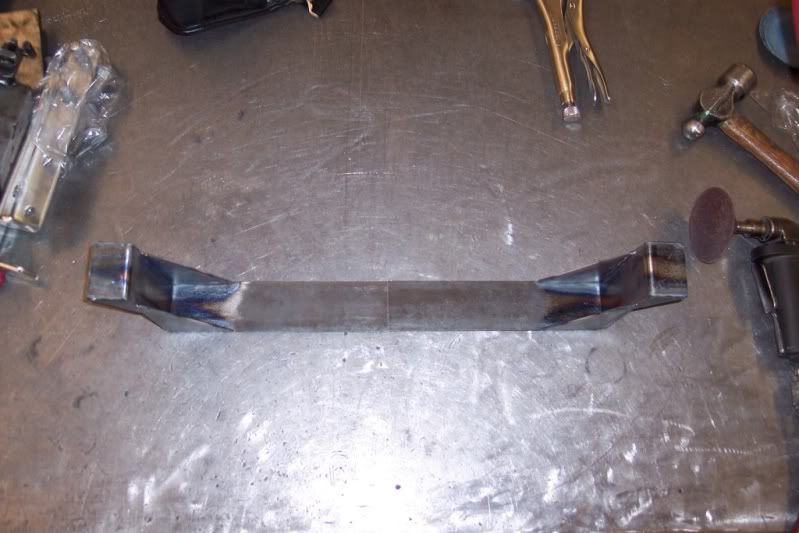
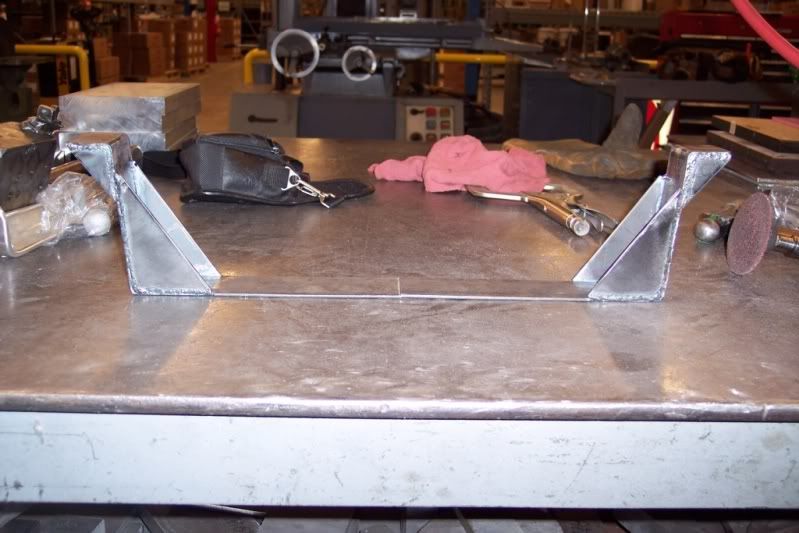
Couple hours later I got them all done.
Most of the time was in setting them up straight and making sure they didn't warp.
This is my first time tig welding, so cut me some slack. I want to learn lots of things:
Mustered the courage to TIG my brackets, and they came out okay.
Here are a few pictures of the fab.
Setting up the strips in the box break.
Sheared out some more gussets, this time adding a lower gusset due to the increased bending moment from extending the bracket.
Get a couple practice runs in:
TIG gussets:
Couple hours later I got them all done.
Most of the time was in setting them up straight and making sure they didn't warp.
Thread Starter
Joined: Jul 2010
Posts: 498
Likes: 23
From: Greensboro, North Carolina
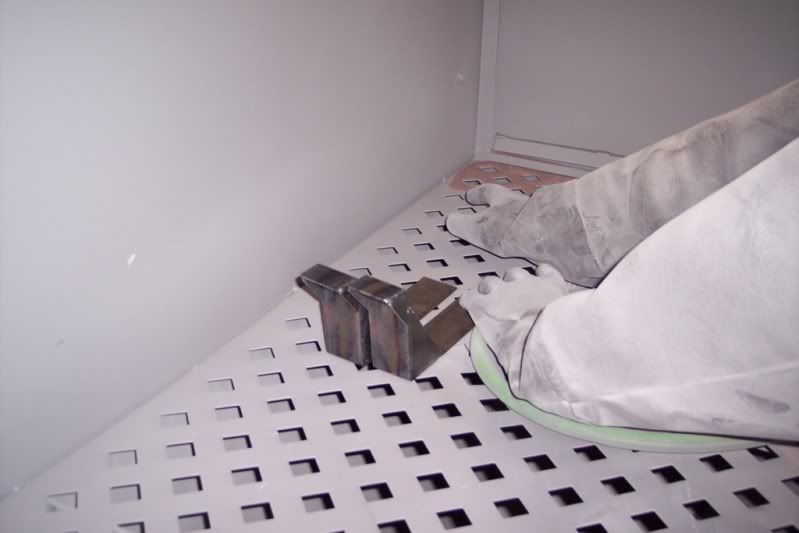
Prep for shot peen and blasting:
Final product:
-----------------------------
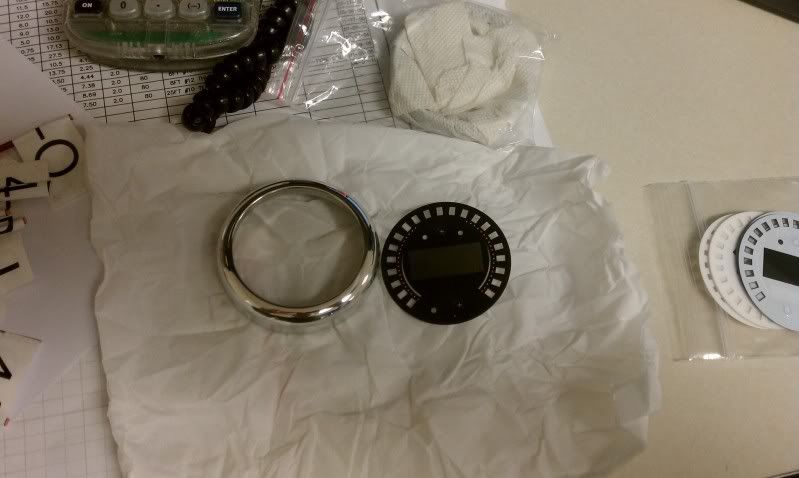
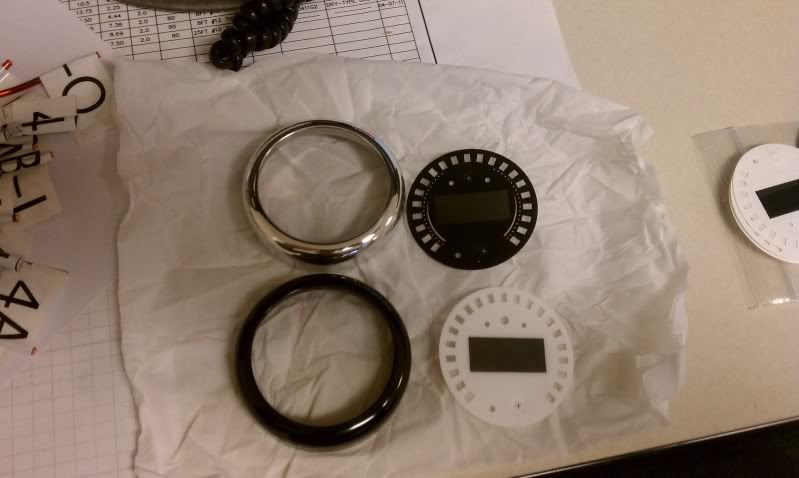
Also got some new faces and bezels for my XD-16 gauge from Innovate:

Thread Starter
Joined: Jul 2010
Posts: 498
Likes: 23
From: Greensboro, North Carolina
Senior Member
Joined: Apr 2008
Posts: 488
Likes: 0
From: Sarasota FL
btw, if you want some help with your website, let me know! (assuming nicedup is yours?)
*edit - also might want to post the dyno day info in the SouthEast Forum section

Thread Starter
Joined: Jul 2010
Posts: 498
Likes: 23
From: Greensboro, North Carolina
After I get the final amount I'll share that. I wasn't cheap. I did everything the right way.


Thread Starter
Joined: Jul 2010
Posts: 498
Likes: 23
From: Greensboro, North Carolina
Thread Starter
Joined: Jul 2010
Posts: 498
Likes: 23
From: Greensboro, North Carolina
Depends who you are, and your skill level.
I'm an engineer with the world of tools and machines available to me, so that's why I choose to make a lot of the parts.
I'm an engineer with the world of tools and machines available to me, so that's why I choose to make a lot of the parts.

honorguard_racer
Joined: Jul 2010
Posts: 67
Likes: 0
From: Bolling AFB
oh ok.
and another thing. which do u think is better in the long run cause someone told me it was a little easier to put in the 1jz and both the 1 and 2 have around the same hp and everything. just ones a 2.5 and the other is a 3.0
and another thing. which do u think is better in the long run cause someone told me it was a little easier to put in the 1jz and both the 1 and 2 have around the same hp and everything. just ones a 2.5 and the other is a 3.0

Like any lower vs. higher displacement motor comparison, the 1J can make the same power if you want to wait for it (more lag) and rev it out more (not a problem for the 1J). The 2J is going to have considerably more torque.
honorguard_racer
Joined: Jul 2010
Posts: 67
Likes: 0
From: Bolling AFB
jw. do u have any of the measurements or designs of the subframe and everything you had built that i could buy off of you or something. i would rather have my uncle build me mine since he is a steel worker and welder.
Next time you have the car on the lift, can you grab me a few measurements between the motor and the subframe, or rack (or anything else that seems repeatable on my end)?
I found a bare subframe I may pick up, but I'll need to made the mount brackets. My plan at this point is just to use an old trans mount, weld plate to it to make it rigid, and use that to help locate the motor fore/aft. I just need some measurements up front to set the motor angle.
I found a bare subframe I may pick up, but I'll need to made the mount brackets. My plan at this point is just to use an old trans mount, weld plate to it to make it rigid, and use that to help locate the motor fore/aft. I just need some measurements up front to set the motor angle.
Also, do you happen to have detailed photos of the motor mount that come with the kit? I've been told they are from a Ford F-150, probably later '80s model, and I am trying to track down exactly what they are.
If you end up making the poly mounts, I'd be interested in a set.
If you end up making the poly mounts, I'd be interested in a set.

Haha. Get on it!
I've just started picking up the pace of work on my own swap. I'm trying to bring it to OC MD for cruise week in May, so I have a hard deadline for myself. You should bring yours as well!


What an amazing build!!! Which ABET school did you go to? I want to become a mechanical engineer... Anywho how did you correct the bumpsteer? Would you sell a bump steer correction kit? Samberg and hinson are around $200 and thats a retarded price haha