
Video Blog - 1974 1976 Mazda RX3 Restoration


Still working on my project. Lots of little things going on now. Like finding new nuts or bolts, some of which are specialized. I'm lucky to have a metric specialist nearby (hard to find in the US). They typically cater to motorcycle shops and such but have lots of exact sizes I've needed. I wasn't quite happy with the bolts the body shop used to button up my front guards so I replaced them all. One of them snapped as I threaded it in, I wasn't even cranking on it. Left front guard inside door jam bolt. I found out the hardware sold at my local "big box" store was shheeehite. Had to go to the metric guy for harder grade.
I've been wrapping up the last bits for strut reassembly. Waiting for the platers to finish with parts I didn't want to powder coat or paint. Spent a while dealing with brake calipers. I'm going with stock RX3 calipers. The reason being is I will be using a fairly tame 12A engine with a doctored Nikki carb. It won't be necessary to have higher end braking at this point as the horsepower will be less than 150 (probably less than 130, not sure yet).
Rock Auto has been dropping the ball lately. I was rebuilding the calipers and one of the new pistons Rock Auto sent me was rusted. Had to wait for a replacement on that. They also had a funky number for front brake bleeders that wasn't even close. And the pads they sent me had anti-squeel plates that were for some totally different pad. They are good about taking care of the customer but it caused delay.
Also had a bit of a door rubber issue. I was installing my door rubber and the right side didn't have all the white plastic clips in place. They come with them. I wasn't gonna use my old ones after the amount of money I spent to get the rubber. Coming from down under that took a while to get but they took care of me with no worries.
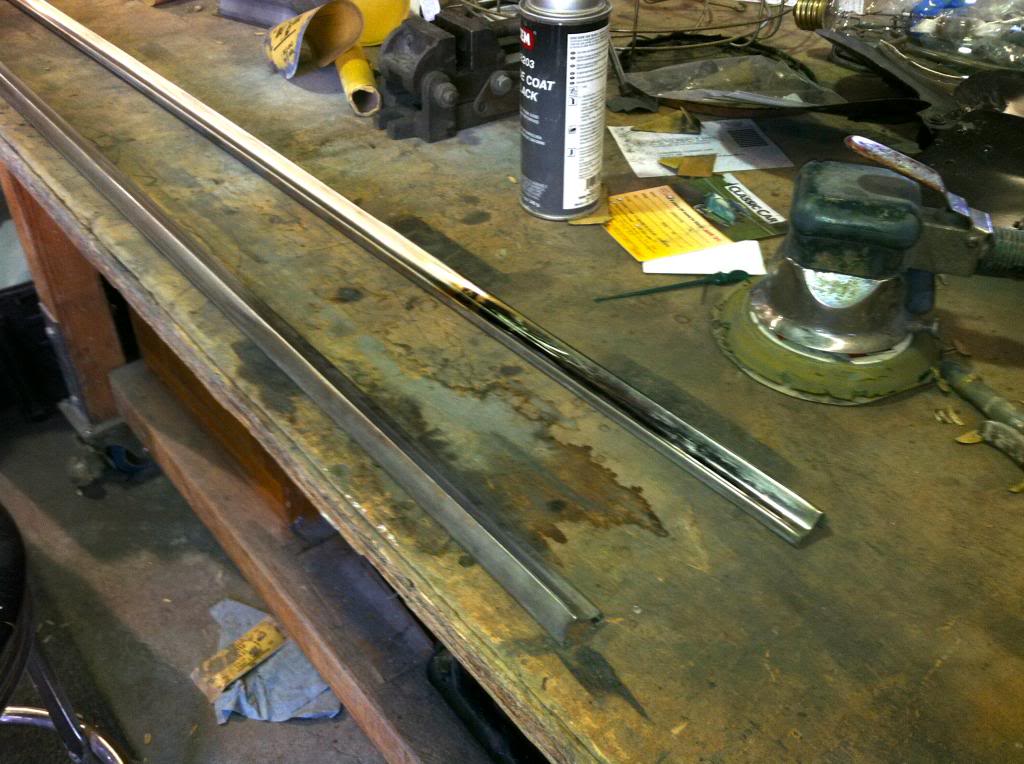
I've found a craftsman in town that really knows how to straighten bent metals. He's fixed a few things for me already and showed me the process while shining up my rocker sill trims. I'm gonna give the next few pieces a go on my own.
I've been wrapping up the last bits for strut reassembly. Waiting for the platers to finish with parts I didn't want to powder coat or paint. Spent a while dealing with brake calipers. I'm going with stock RX3 calipers. The reason being is I will be using a fairly tame 12A engine with a doctored Nikki carb. It won't be necessary to have higher end braking at this point as the horsepower will be less than 150 (probably less than 130, not sure yet).
Rock Auto has been dropping the ball lately. I was rebuilding the calipers and one of the new pistons Rock Auto sent me was rusted. Had to wait for a replacement on that. They also had a funky number for front brake bleeders that wasn't even close. And the pads they sent me had anti-squeel plates that were for some totally different pad. They are good about taking care of the customer but it caused delay.
Also had a bit of a door rubber issue. I was installing my door rubber and the right side didn't have all the white plastic clips in place. They come with them. I wasn't gonna use my old ones after the amount of money I spent to get the rubber. Coming from down under that took a while to get but they took care of me with no worries.
I've found a craftsman in town that really knows how to straighten bent metals. He's fixed a few things for me already and showed me the process while shining up my rocker sill trims. I'm gonna give the next few pieces a go on my own.


Senior Member


Joined: Jul 2007
Posts: 363
Likes: 7
From: Worcester, UK. Ex-NZ
Cool videos man . Good to see some POR15 as I have a bunch of this stuff to use eventually aye haha. Although I got mine in 6 small cans of it. That way I dont have to pour into new containers


I found that a little bit of POR15 goes a LONG way (and it can be safely diluted to go even further). I could have gotten away with one small can (which looks grossly inappropriate while staring at it on the shelf HA HA) and still had some left over. From the three different things I coated with gloss black, I still would have needed new empty cans even with the small cans.
Or you could just say "screw it!" LOL.
I do make an effort (once I am aware) to do things right though.
Eventually, I bought a spray gun…in an upcoming VLog. Sure wish I had it for the differential but oh well. Still looks good.
Or you could just say "screw it!" LOL.
I do make an effort (once I am aware) to do things right though.
Eventually, I bought a spray gun…in an upcoming VLog. Sure wish I had it for the differential but oh well. Still looks good.
Senior Member
Joined: Jul 2007
Posts: 363
Likes: 7
From: Worcester, UK. Ex-NZ
Oh wow I've heard it lasts a while, but didn't realise it was that long!

Oh nice. I look forward to future videos aye!
I could have gotten away with one small can (which looks grossly inappropriate while staring at it on the shelf HA HA)
Oh nice. I look forward to future videos aye!
Senior Member
Joined: Jul 2007
Posts: 363
Likes: 7
From: Worcester, UK. Ex-NZ
Sorry to hear about your dad man. Hope all is good! Apart from that, it sounds like you've had an awesome summer aye!
I reckon it would probably look better with a polished/chrome look. But there's no harm in leaving it painted for now and come back to it another time. Who knows, you may even decide you prefer it
Plating and everything is looking pretty slick aye. Nice work
I reckon it would probably look better with a polished/chrome look. But there's no harm in leaving it painted for now and come back to it another time. Who knows, you may even decide you prefer it
Plating and everything is looking pretty slick aye. Nice work
Looking good! - Are you sure you are not going to look at that frame rail in a few months time and think you should have cleaned it up more? I would hit it with a flap disc and get it all flat before spraying it with POR-15 (although would probably not be necessary) - Our engines are so small that these rails a pretty visible even with the engine installed. Just checking - I made a similar call on one of my previous cars and regretted it, so much so that pulled the engine again and redid the whole engine bay again.
In terms of plastic restoration - Many will disagree but Armor all or other oil based equivalents are what I typically use. The secret is to make sure the part is totally clean before applying. I normally scrub the part with soap and water, wait for the Mrs to leave the house and then run it through the dishwasher and then clean again in hot water. You end up with plastic that looks faded and parched. Essentially you just stripped all the oils from the top surface of the plastic. Now use the armor all to replace the oils, either soak or spray a heavy coat on and repeat as it soaks in.
If you have cracks you can plastic weld them up. If they are only small cracks take a spare trim of the same material (if you are like me you have a good selection of crap that would never go on your car) cut it up into fine sections and place in a jar of acetone. Let sit overnight. The next day the plastic should have dissolved and the excess acetone should have separated above. Poor off the excess acetone and prepare the crack by cutting a V (Dremel works great) Then fill the crack from behind using the dissolved plastic. This typically will make a nice tidy repair (recommend taping the join so the surface is rigid before attempting the repair.) I was told the repair will be almost as strong as the original plastic however my experience is that it is not but certainly adequate for non stressed trims.