RX-8 13B-RE conversion!
 04-06-12, 01:35 PM
#151
Rotary Enthusiast
Thread Starter

You can do it without needing a dent at all w enough trial an error and the dent didnt need to be this big but I didnt want to cut it close and I also didnt want to keep redoing stuff, now it has tons of clearance and the dent isnt as bad as it looks in the picture.
Chris
Chris
 04-06-12, 01:53 PM
#152
Junior Member

Join Date: Oct 2009
Location: MN
Posts: 23
Likes: 0
Received 0 Likes
on
0 Posts
You can do it without needing a dent at all w enough trial an error and the dent didnt need to be this big but I didnt want to cut it close and I also didnt want to keep redoing stuff, now it has tons of clearance and the dent isnt as bad as it looks in the picture.
Chris
Chris
Good to know
 04-06-12, 03:16 PM
#154
Rotary Enthusiast
Thread Starter
04-06-12, 10:14 PM
#156
Looks like you are using MasterCam software. I spent 3 semesters on that software going for my Mechanical Engineering degree. I also used SolidWorks, Inventor, and good ol stinken AutoCad. The good thing about MasterCam is you can setup your tooling processes and load the program straight to the CNC. Good work!!!!!
04-07-12, 10:08 AM
#158
Rotary Enthusiast
Thread Starter
I could but packaging is an issue due to the fact that I would need to have a second flex pipe in that small space. There is also the issue of getting the down pipe in and out if needed...if its hard now, requirimg lots of bending amd twisting, imagine with that return pipe attached to it...
C
C
04-07-12, 11:55 AM
#160
Rotary Enthusiast
Thread Starter
I completely agree that I would've probably seen the same jump going to 3.5" down pipe but I had a ton of 4" pipe bends laying around that I had to use. 3.5" would probably be more sensible but I just couldn't get myself to order a bunch of 3.5" pipe when I have 30+ bends of 4".
I'm pretty sure with more trial an error a 4" pipe would fit without having to dent anything but I was pretty tired that night and I lost it...lol...I might go back and redo that section at some point...we'll see how everything else pans out.
Cheers!
04-08-12, 06:45 PM
#161
Rotary Enthusiast
Thread Starter
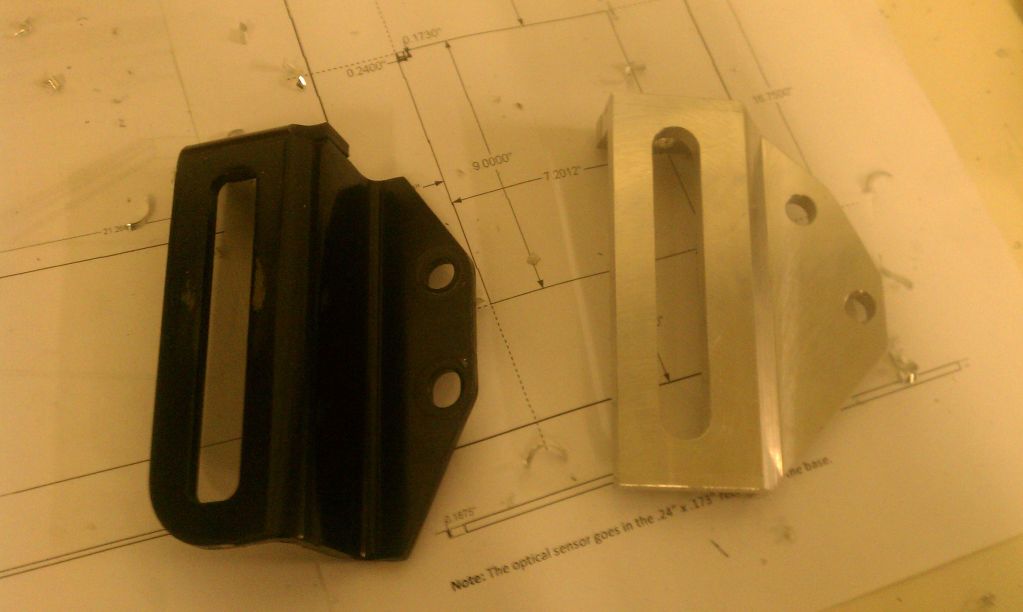
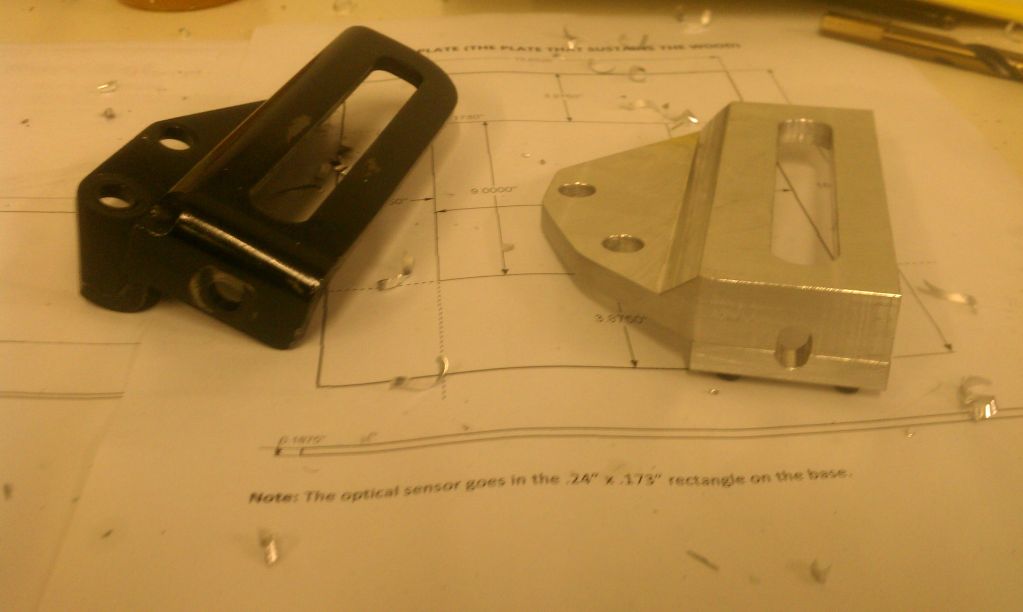
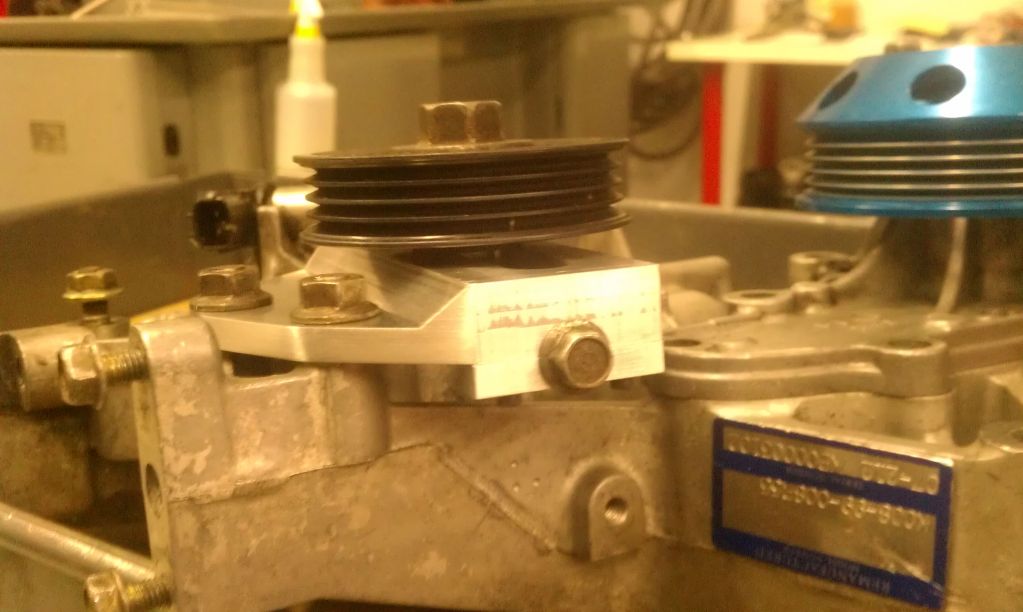
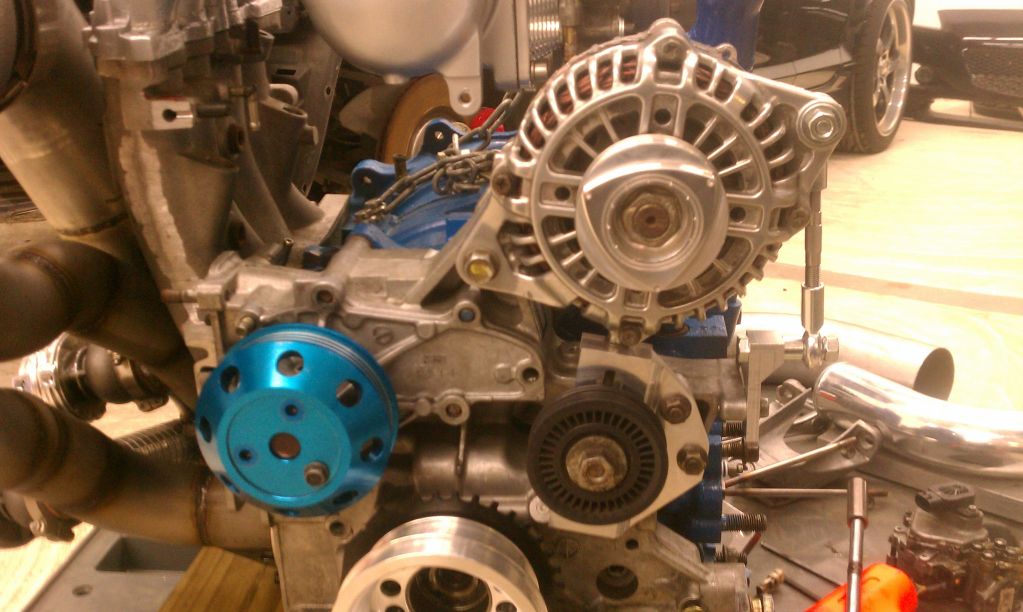
Finished the new belt tensioner. Moving the alternator to the forward belt meant that a new means to tighten the waterpump belt would be needed. Coincidentally, it made the tensioner that originally came on the front belt unnecessary now that the alternator could be used to tighten it. I came up with the idea of using the original front belt tensioner to tighten the waterpump belt by making a new tensioner base that moves it back a bit and orientates it so its optimally located to tighten the belt.
Pics speak for words...
Cheers and Happy Easter!

Pics speak for words...
Cheers and Happy Easter!
04-09-12, 06:47 PM
#162
Rotary Enthusiast
Thread Starter
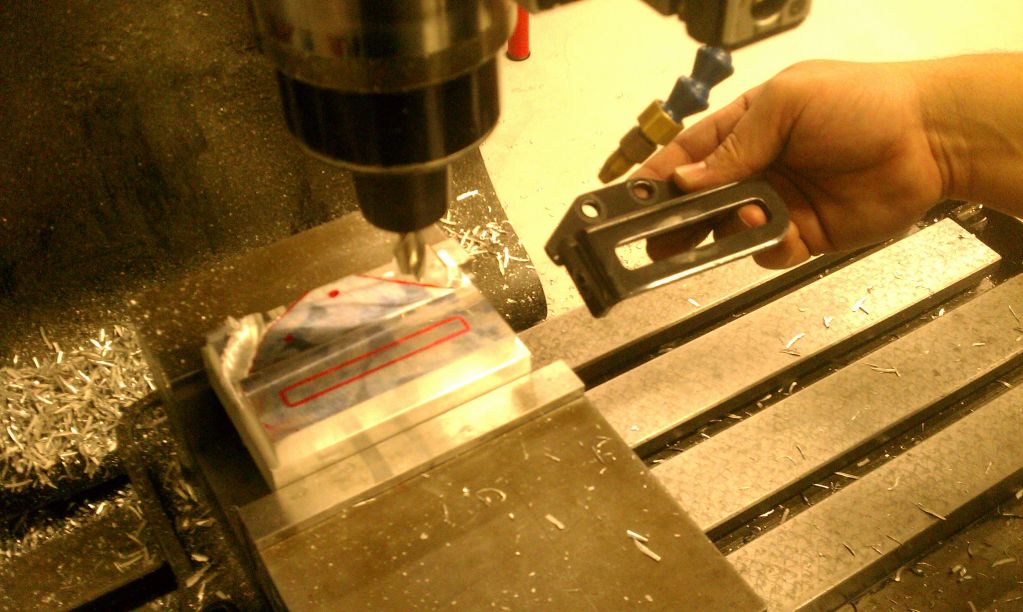
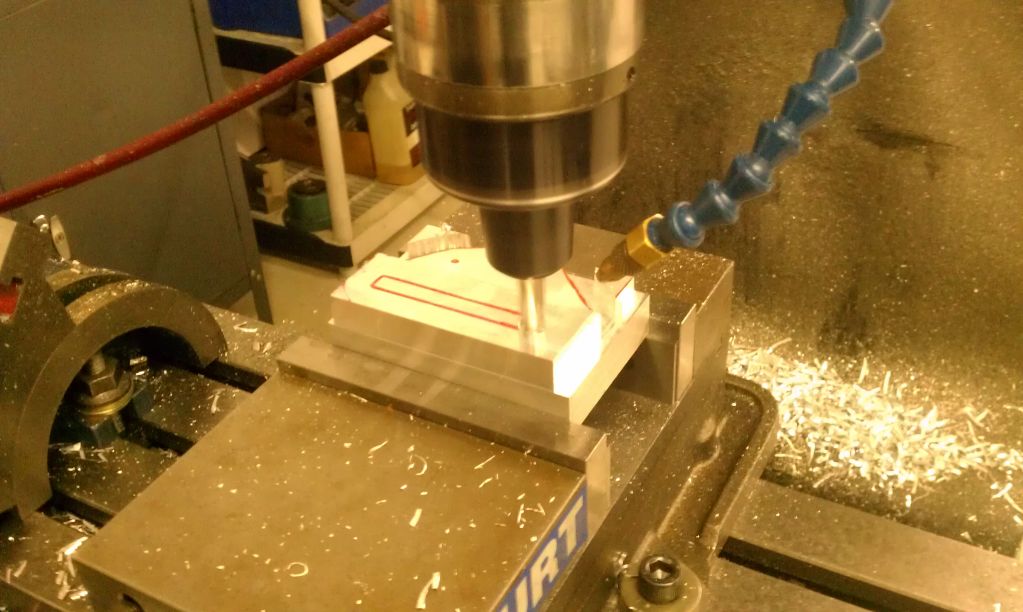
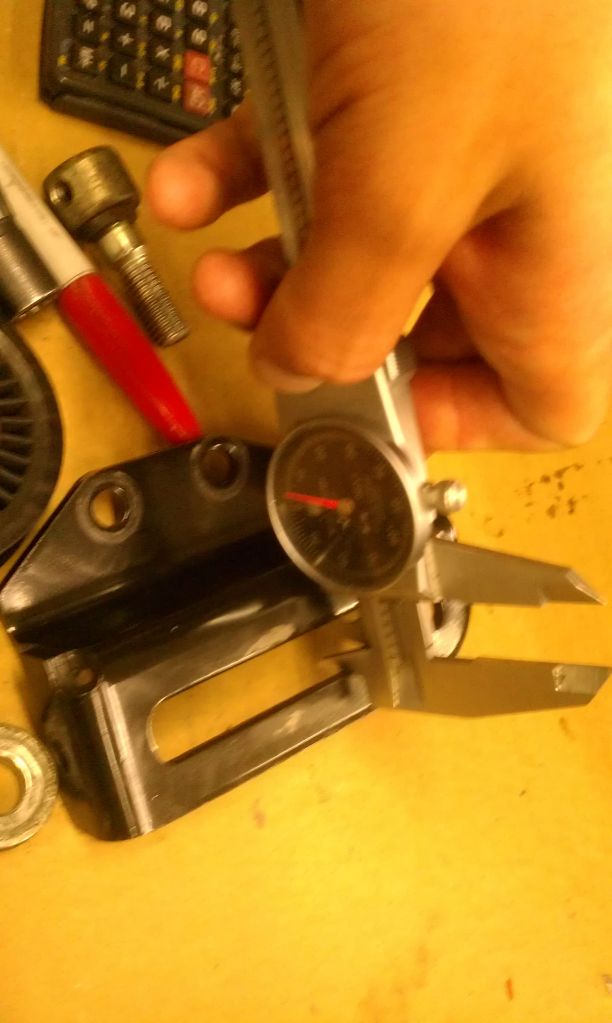
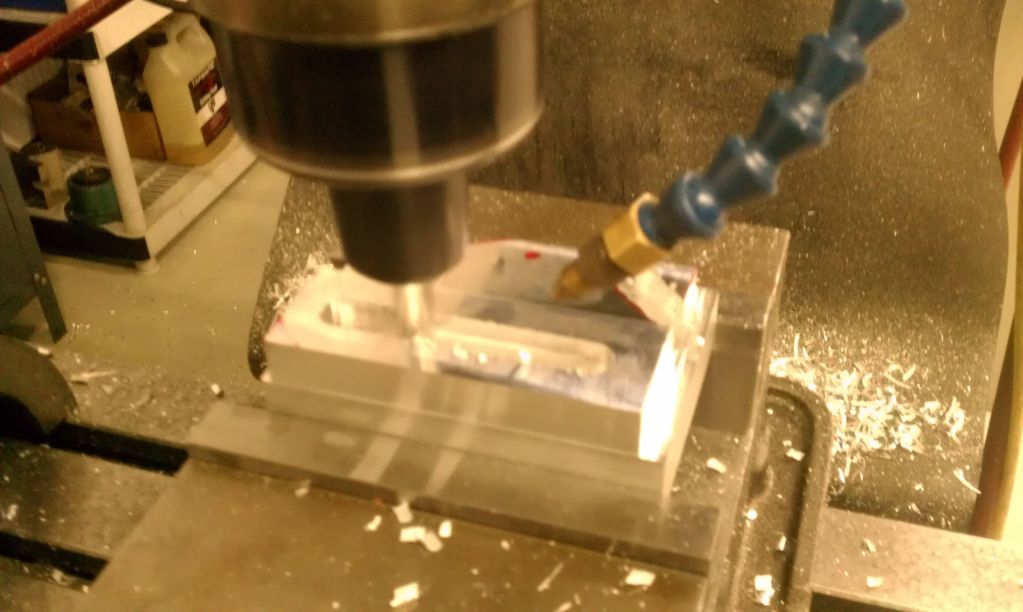
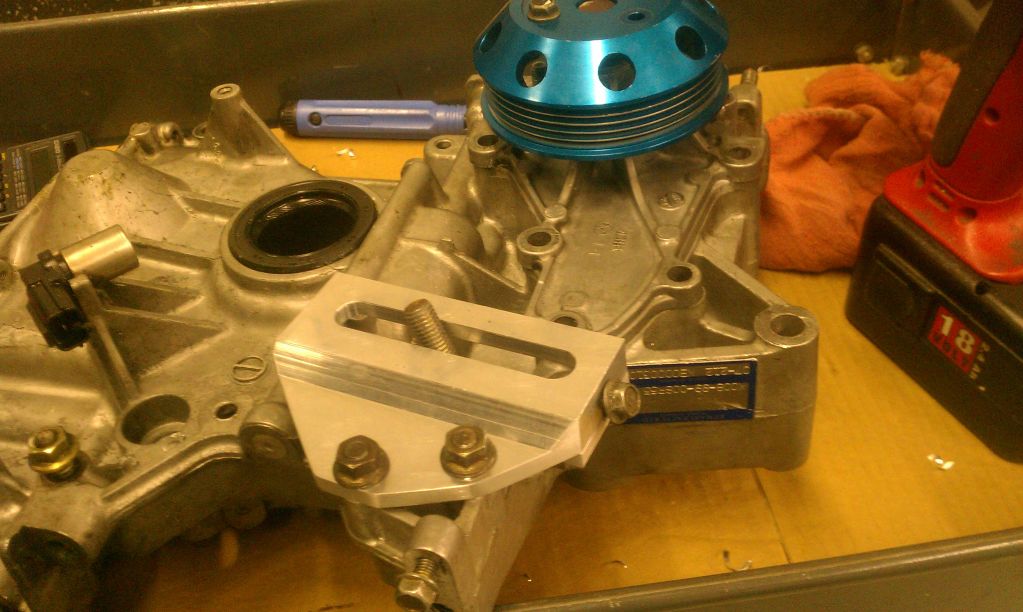
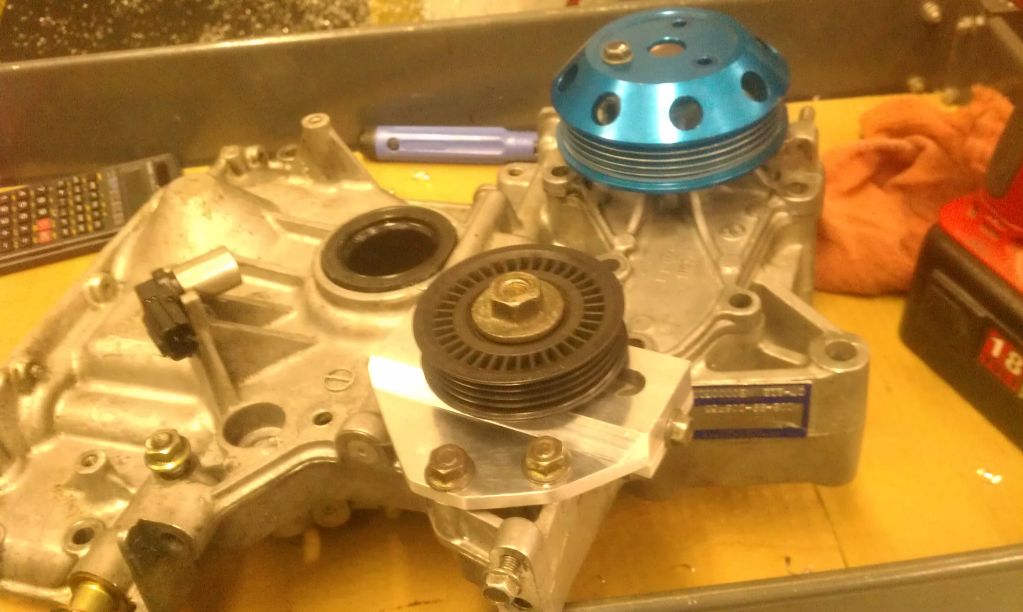
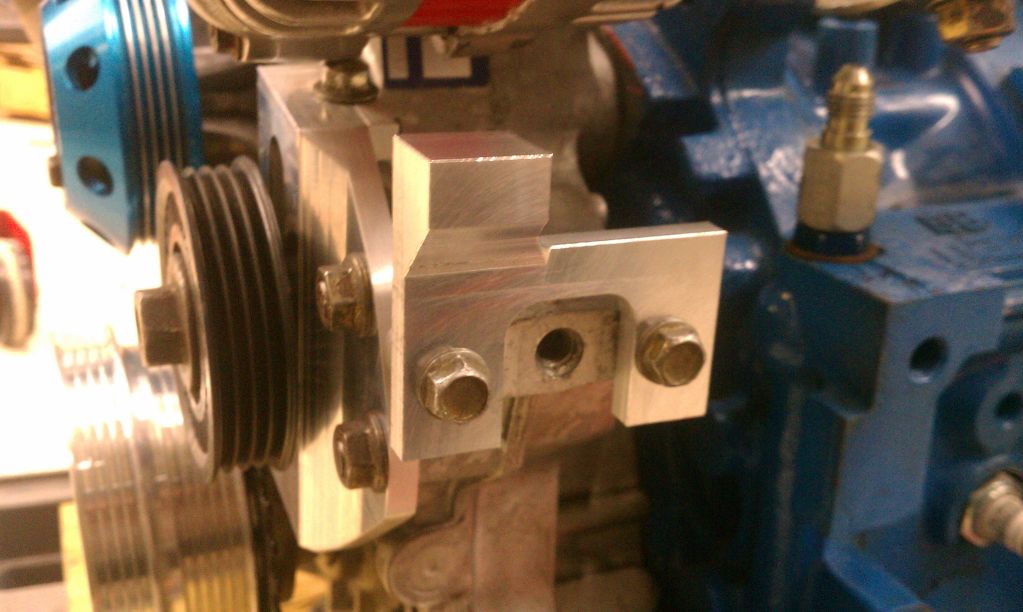
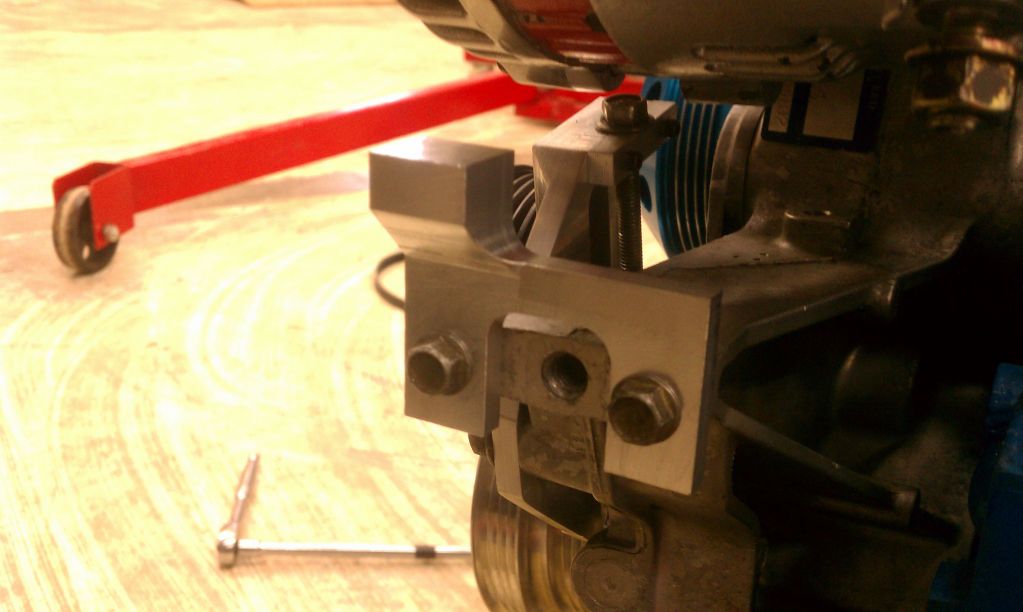
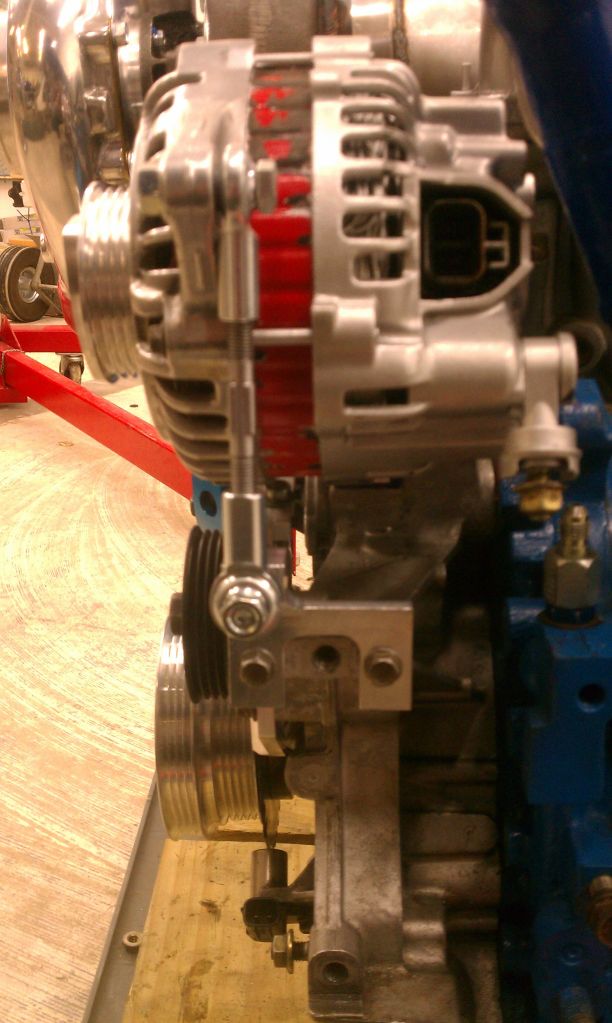
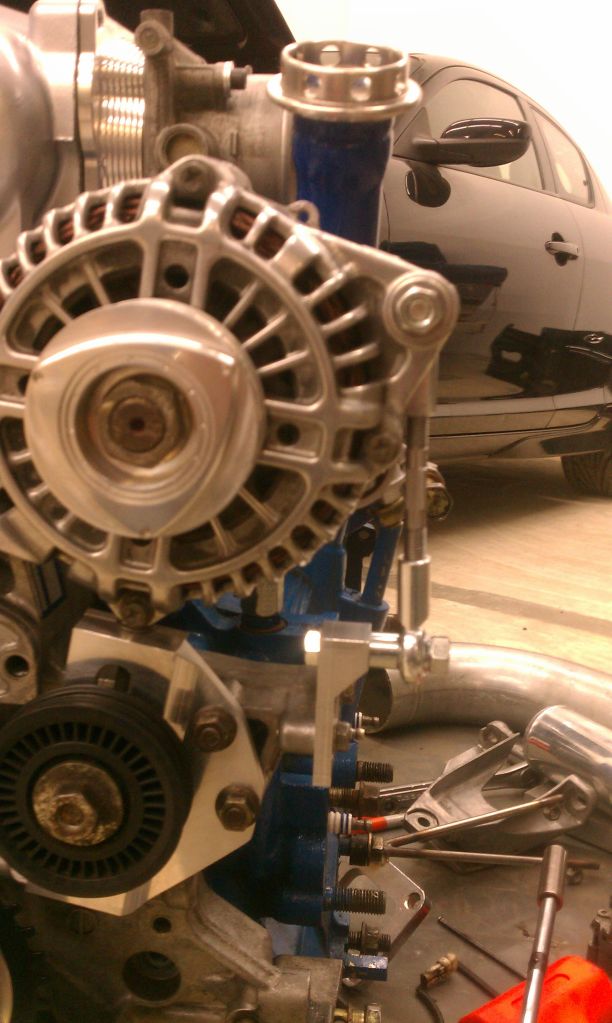
Finished machining the front cover plate for counterweight clearance and for the forward move of the alternator. I mocked everything up to make sure it clears and so far it seems like everything fits great. I also made a small bracket to connect the turnbuckle I will use to locate the alternator and tighten the alternator belt.
Cheers!

Cheers!
04-10-12, 01:25 PM
#164
Rotary Enthusiast
Thread Starter
04-11-12, 11:02 AM
#165
Rotary Enthusiast
Thread Starter
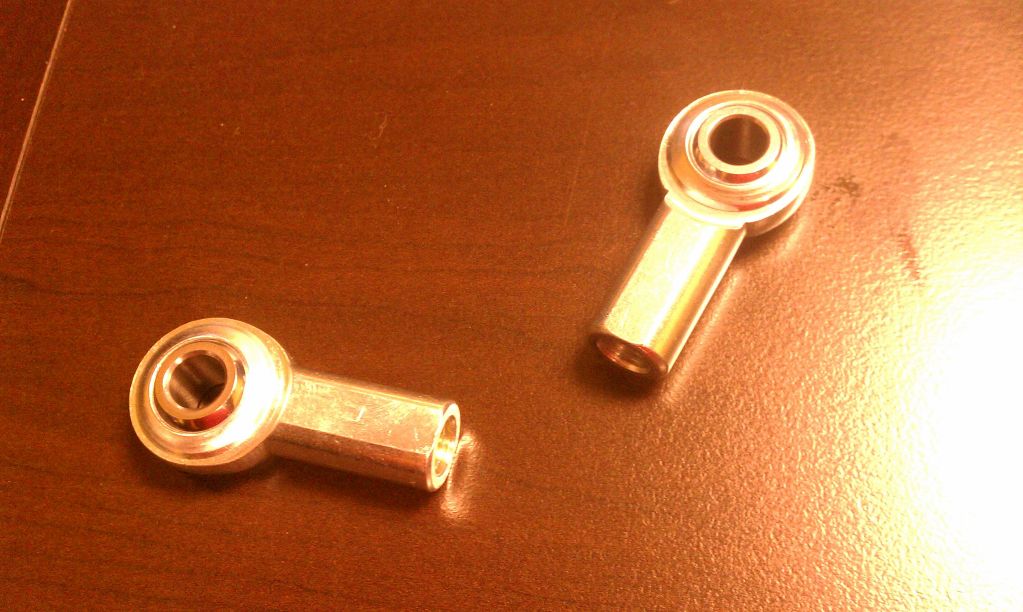
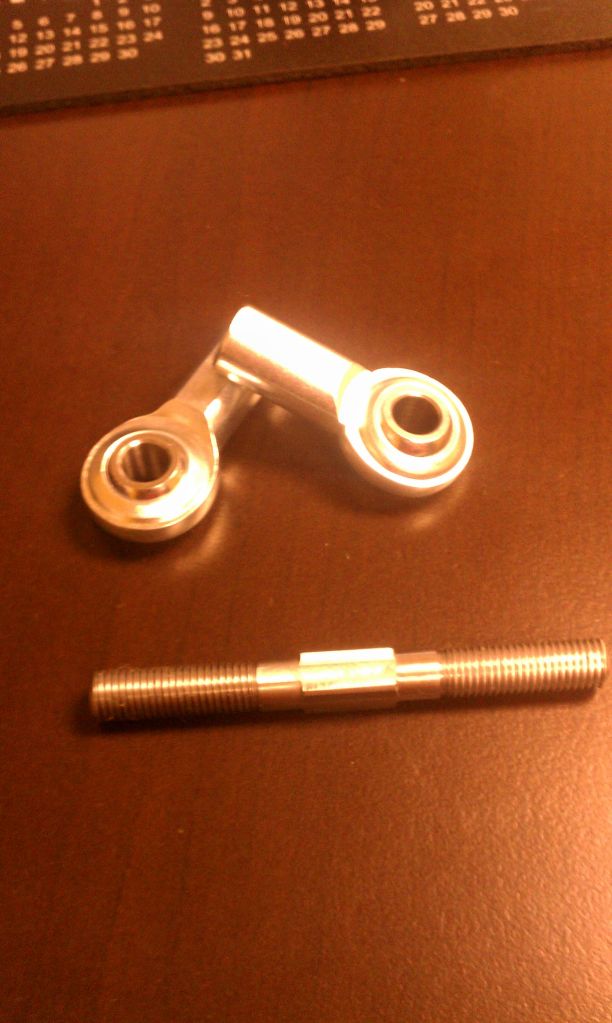
The ball joints I will use for the Alternator tensioner came in courtesy of McMaster Carr...one is a left hand thread and the other is right handed so I can make a turn buckle that will stretch and contract without removing either of the ends 
Cheers
Cheers
04-11-12, 10:56 PM
#167
Rotary Enthusiast
Thread Starter
^ Just because it came with too belts...I guess Im ocd...lol
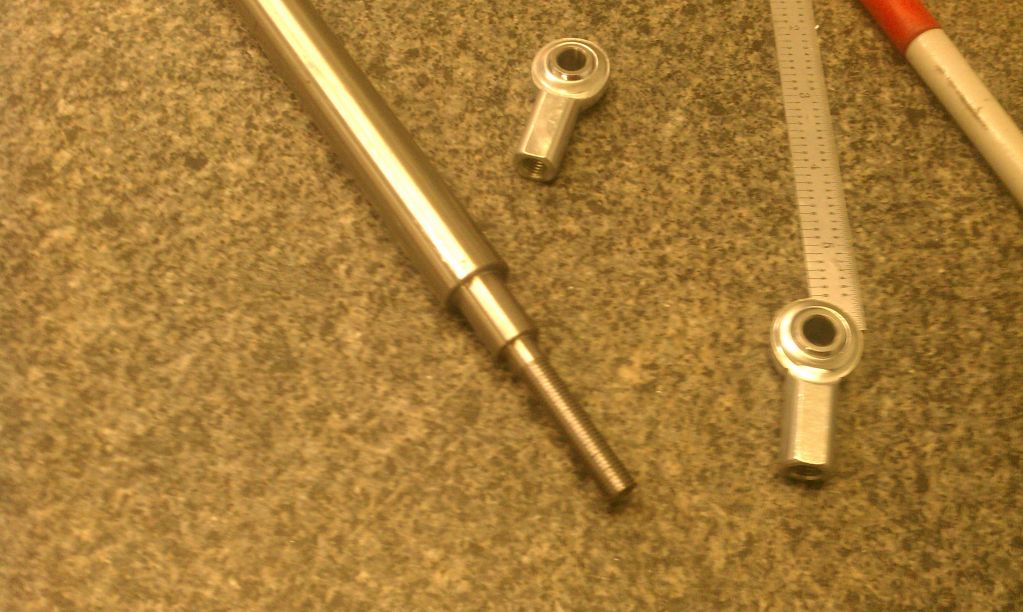
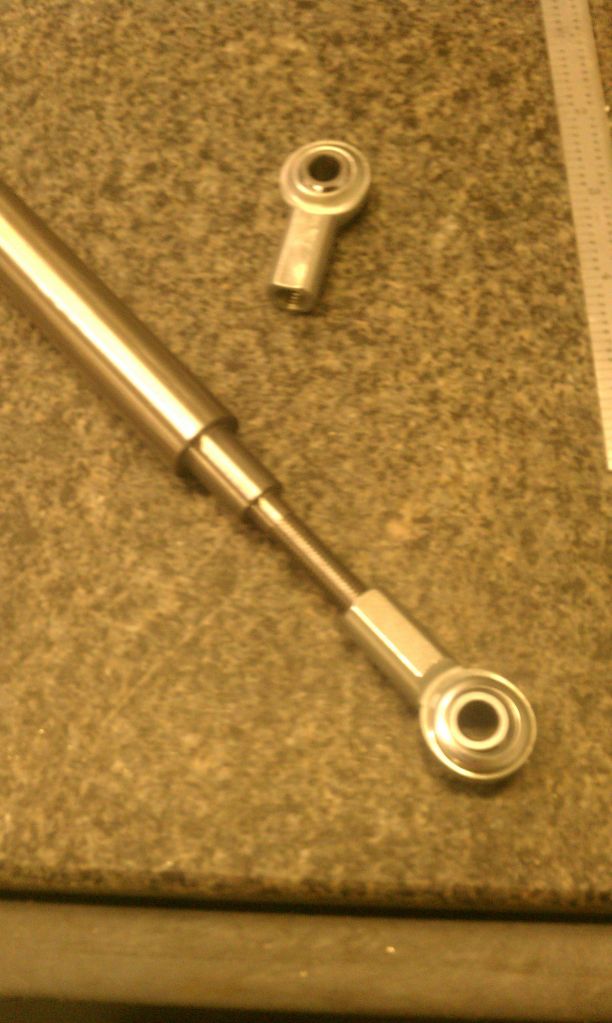
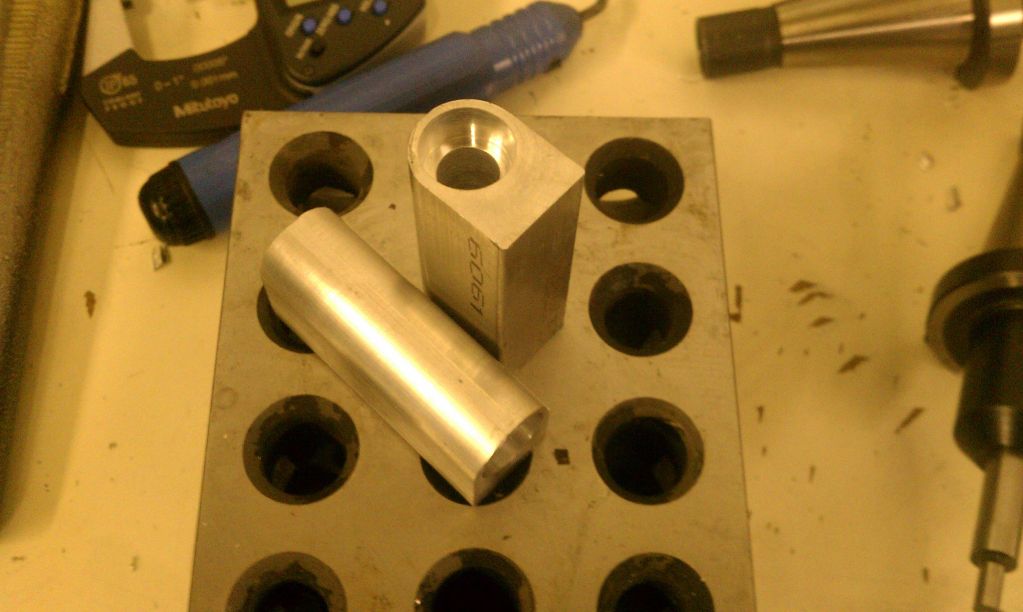
I finished the alternator tensioner turnbuckle machined out of 300 series Stainless...one thread is left handed and the other is right handed so turning the center will cause it to shorten and lengthen. The I made the distance across flats 7mm so a standard wrench can be used.
Cheers
I finished the alternator tensioner turnbuckle machined out of 300 series Stainless...one thread is left handed and the other is right handed so turning the center will cause it to shorten and lengthen. The I made the distance across flats 7mm so a standard wrench can be used.
Cheers

 04-12-12, 06:35 PM
#169
Rotary Enthusiast
Thread Starter
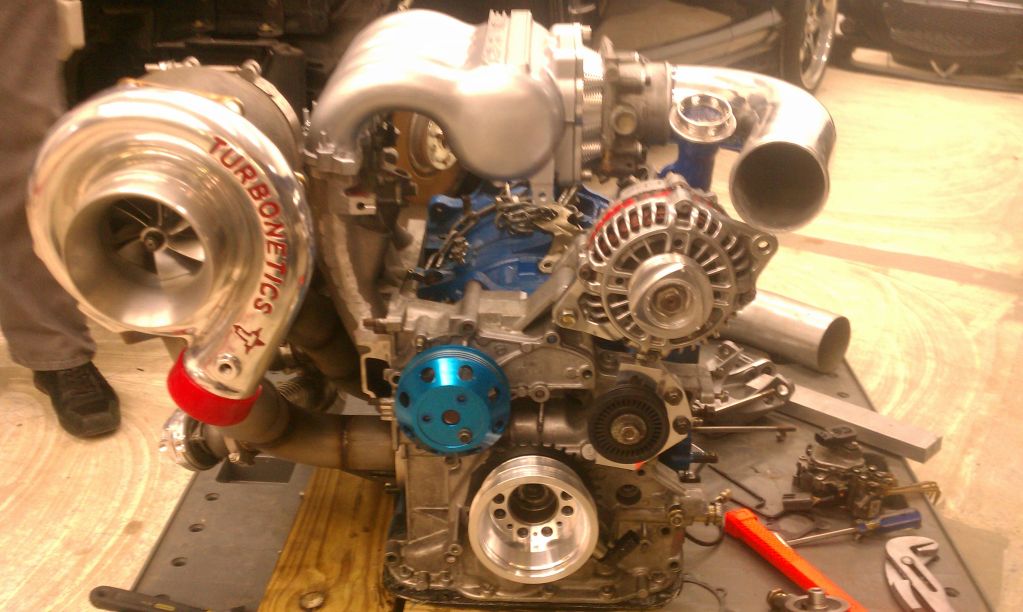
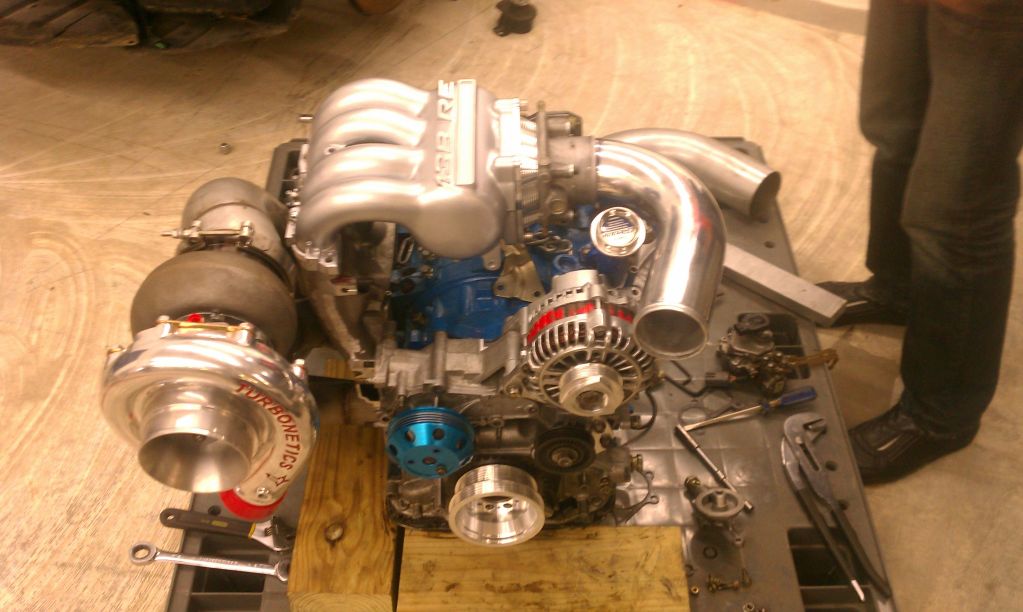
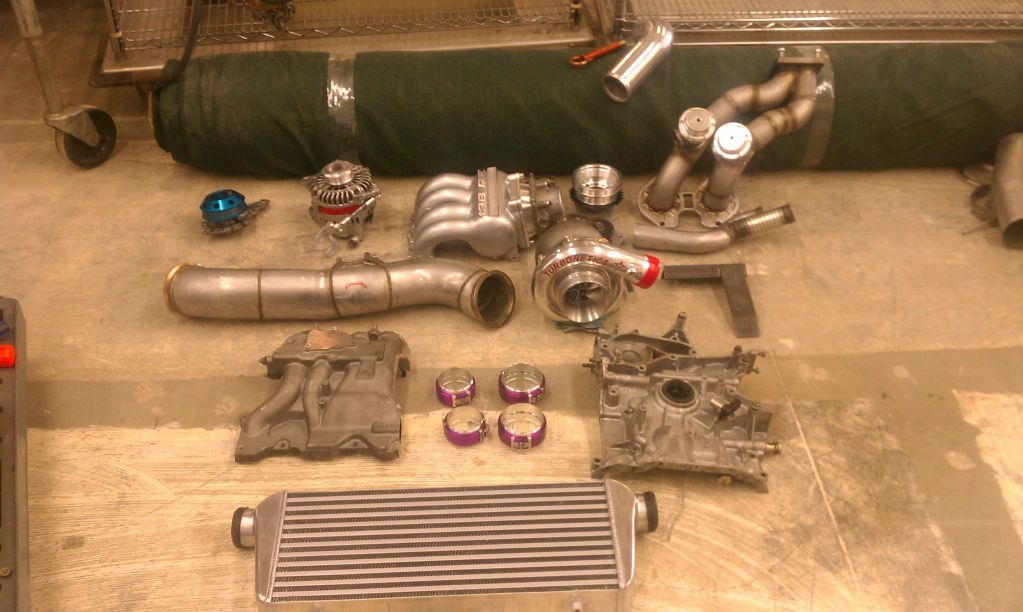
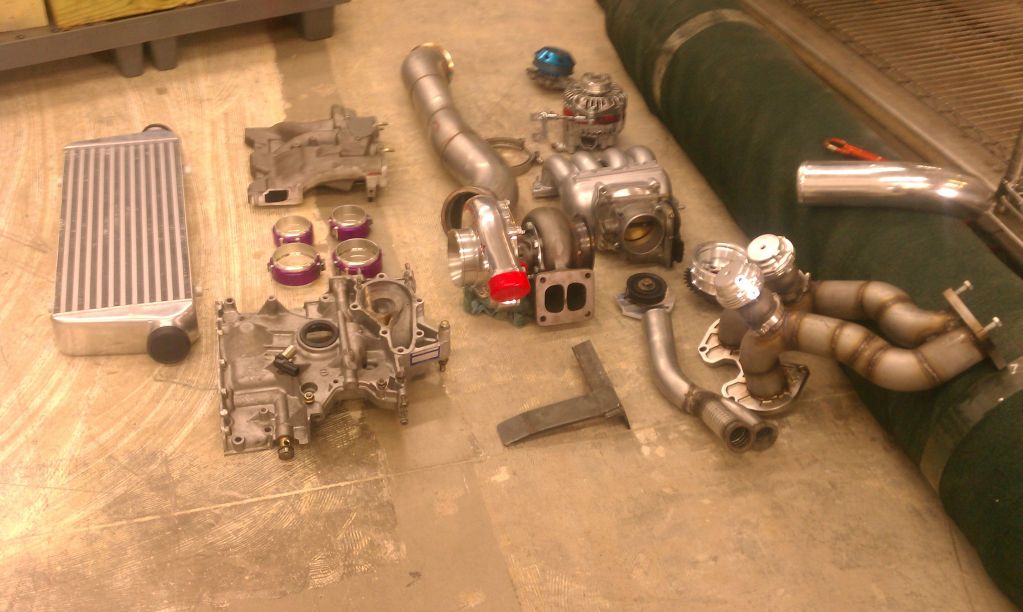
Took everything apart so I could finish up the remaining things from the list and decided to take a shot I always like taking with most of the components on the floor...
Cheers
Cheers
04-12-12, 06:38 PM
#170
Rotary Enthusiast
Thread Starter
Updated list:
Machine front cover (counterweight/alternator) - DONE
Machine Alternator Spacer to push fwd - DONE
Weld front cover - STARTED
Front cover oil line
Machine front pulley spacer
Driver engine mount finish - STARTED
Pass engine mount finish - DONE
Finish LIM (cut, weld, holes etc) - STARTED
Drill UIM bolt hole - DONE
Make Throttle body adapter-DONE!
Oil filter Pedestal (Used Modified RX-8 one) - DONE
Modify Water Pump Outlet - STARTED
Modify Oil pan
Make Alternator Pulley - DONE
Make Custom water pump Tensioner plate - DONE
Make Alternator Tension Arm - DONE
Relocate OEM ECU to Firewall
Install Wastegates - DONE
Make Downpipe - DONE
Make Wastegate dump - DONE
Fuel rail mod
Make/Modify Fuel lines
Make Turbo Oil lines
Make Radiator cover plate
Water reservoir
Make radiator lines
Intercooler mount
Cut/Tack Intercooler piping - STARTED
Weld Intercooler piping
Weld BOV
Replace exhaust sleeves
Machine engine for studs/Dowels
Make Ignition Bracket
04-13-12, 09:34 PM
#172
Rotary Enthusiast
Thread Starter
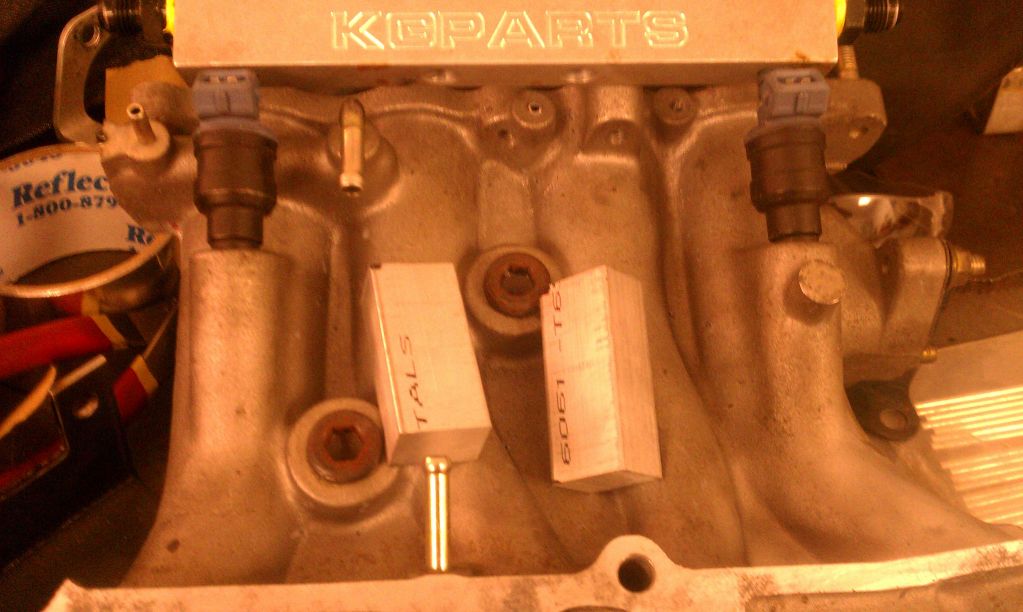
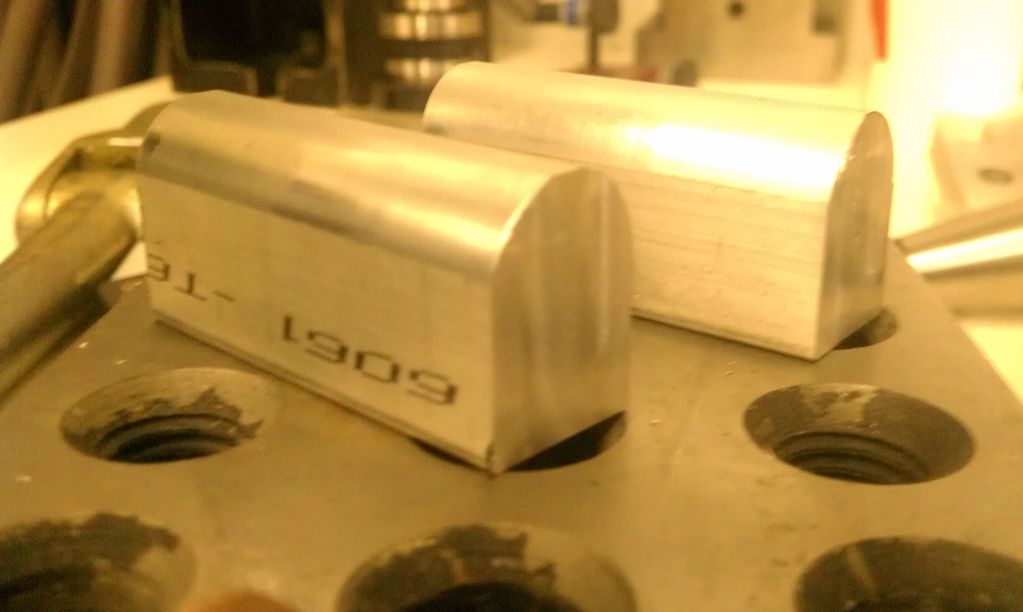
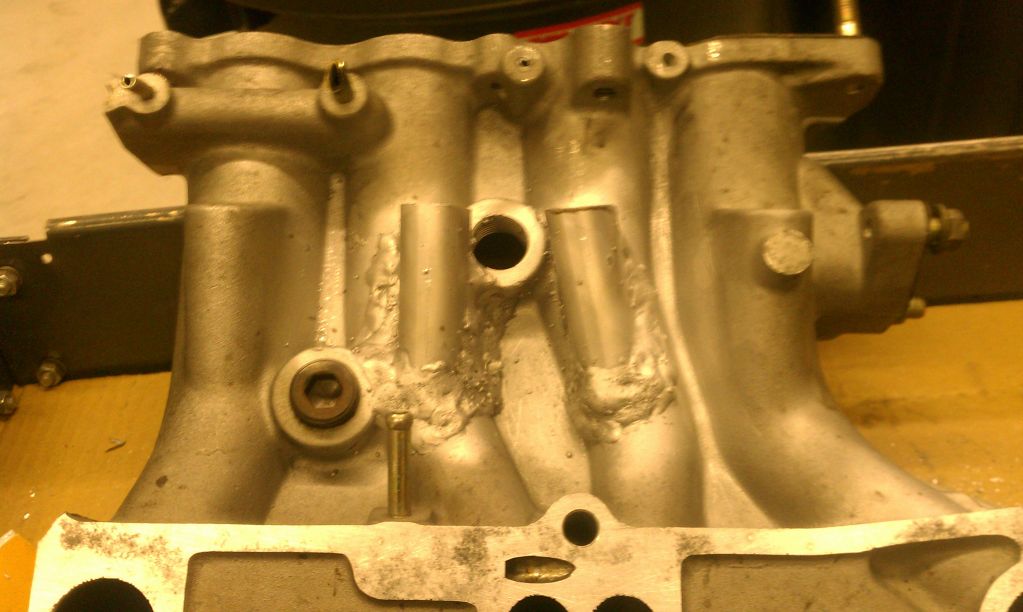
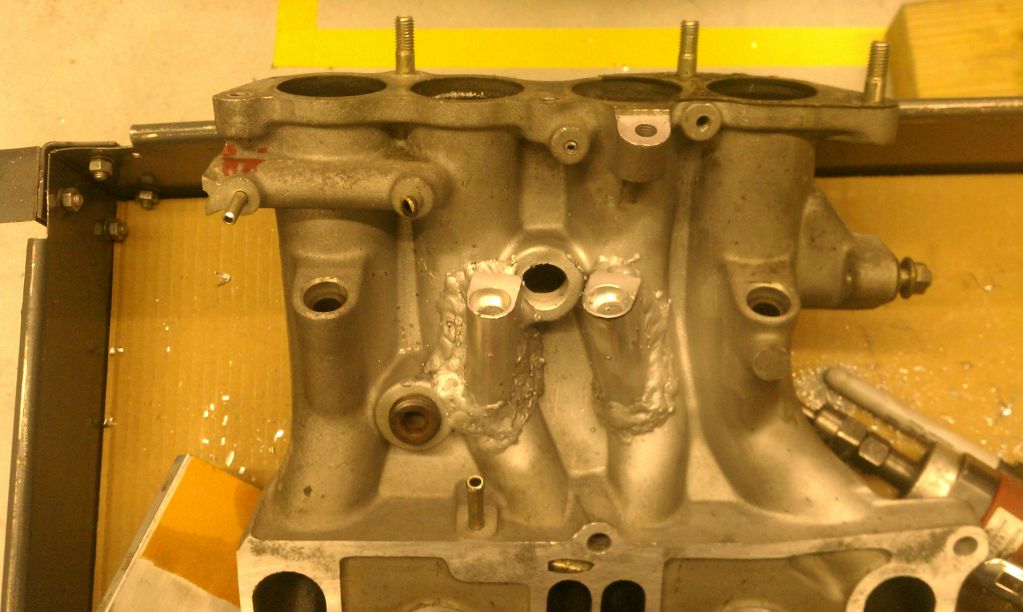
I already had a set of KG fuel rails from the Renesis setup and I have the programs and injectors to run a 6 injector setup. The car used to run and will continue to run on E-85 and 6 injectors really helps out with this. I made two bosses that I could use to add the two injectors to the 20B LIM and I welded them in...not too happy with the aesthetics of the welds but at least there are no leaks  . This welding experience helped me decide that the Aluminum spool gun is not to be used in areas where the wall thickness is thin or the weld is to be cosmetic (ie. intercooler piping etc)...thankfully this will be hidden...
Cheers!
. This welding experience helped me decide that the Aluminum spool gun is not to be used in areas where the wall thickness is thin or the weld is to be cosmetic (ie. intercooler piping etc)...thankfully this will be hidden...Cheers!
04-14-12, 05:46 PM
#175
Rotary Enthusiast
Thread Starter
Its got to have A/C, I want it like it came off the showroom floor with this engine...in case I end up moving back to PR and taking it with me... ...the A/C compressor fits below to the right of the alternator and it bolts into the original RX-8 holes on the front cover. This is part of the reason I decided to use this front cover instead of the BRE one...
C
...the A/C compressor fits below to the right of the alternator and it bolts into the original RX-8 holes on the front cover. This is part of the reason I decided to use this front cover instead of the BRE one...C