Old School and Other Rotary Old School and Other Rotary Powered Vehicles including performance modifications and technical support

RX-8 13B-RE conversion!

Thread Tools
 
Search this Thread
 
Old 03-24-12, 12:10 PM
  #101  
Junior Member
 
speedrx8er's Avatar
 
Join Date: Oct 2009
Location: MN
Posts: 23
Likes: 0
Received 0 Likes on 0 Posts
Originally Posted by ChrisRX8PR
Don't forget your turbo exits to 5" on the hot side so you will need a reducer.

Chris
Thanks, its going to be a tight fit.
Old 03-24-12, 03:02 PM
  #102  
Uncontrollable drifter

iTrader: (1)
 
dznutzuk's Avatar
 
Join Date: Apr 2002
Location: Greece
Posts: 629
Likes: 0
Received 0 Likes on 0 Posts
Originally Posted by ChrisRX8PR
Oh wow, thanks Man! I was going to have to draw those to be able to program them, Now I can just work on CAM side of things...

I recognized the oil pedestal one and the other ones seems like its the bolt pattern from the BRE mani with a round hole for my throttle...am I correct?

Thanks a million!

Chris
Like I said you're going to have to check up on the dimensions first before you cut anything. Oil pedestal is correct although you should probably weld some fittings directly onto to the iron base instead as it's a very very tight fit with the transmission line there(PITA). No the second plate is actually the MAF base(which is dimension correct) to weld to the filter intake. Trust me you do need the damn MAF, not only because you are using the stock tb but because without it the alternator doesn't charge the battery correctly(only like 10-11volts)/pretty fcuked up right? That was a bitch to find out!!! Is there anything else you need?
Attached Thumbnails RX-8 13B-RE conversion!-imag0143.jpg   RX-8 13B-RE conversion!-imag0144.jpg   RX-8 13B-RE conversion!-imag0145.jpg  
Old 03-24-12, 04:27 PM
  #103  
Rotary Enthusiast

Thread Starter
 
ChrisRX8PR's Avatar
 
Join Date: Oct 2007
Location: Plymouth, MN
Posts: 799
Likes: 0
Received 2 Likes on 2 Posts
Originally Posted by dznutzuk
Like I said you're going to have to check up on the dimensions first before you cut anything. Oil pedestal is correct although you should probably weld some fittings directly onto to the iron base instead as it's a very very tight fit with the transmission line there(PITA). No the second plate is actually the MAF base(which is dimension correct) to weld to the filter intake. Trust me you do need the damn MAF, not only because you are using the stock tb but because without it the alternator doesn't charge the battery correctly(only like 10-11volts)/pretty fcuked up right? That was a bitch to find out!!! Is there anything else you need?
Nice!...I checked the dimensions and they were a bit off...I also had issues importing it into Mastercam so I decided to draw my own for the throttle flange. I will use the oil one though...it seems right. I appreciate the help!

I will post some pics of the CAM process as well as the cutting...

Chris
Old 03-24-12, 05:13 PM
  #104  
Rotary Enthusiast

Thread Starter
 
ChrisRX8PR's Avatar
 
Join Date: Oct 2007
Location: Plymouth, MN
Posts: 799
Likes: 0
Received 2 Likes on 2 Posts
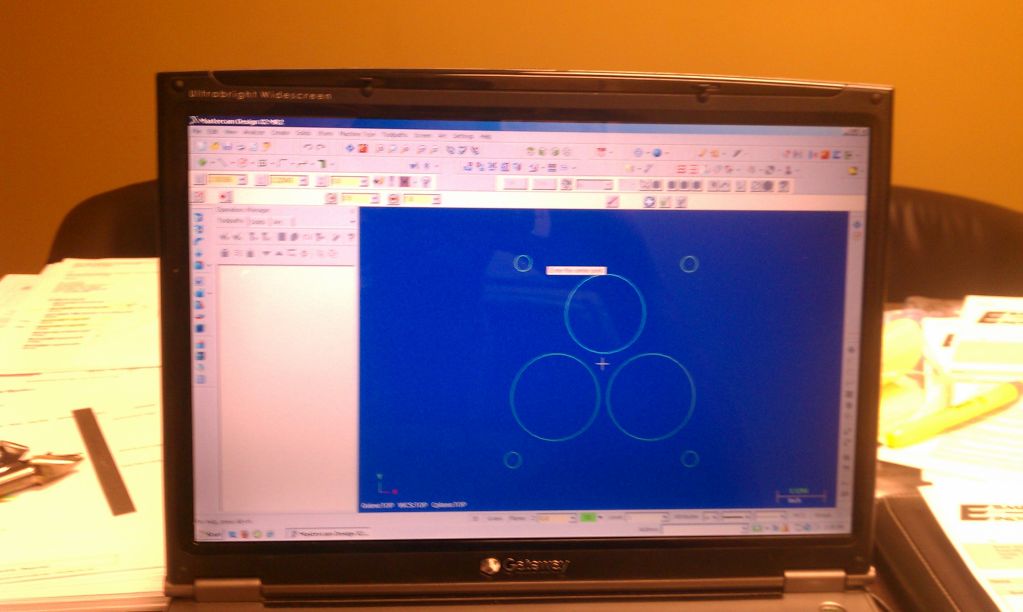
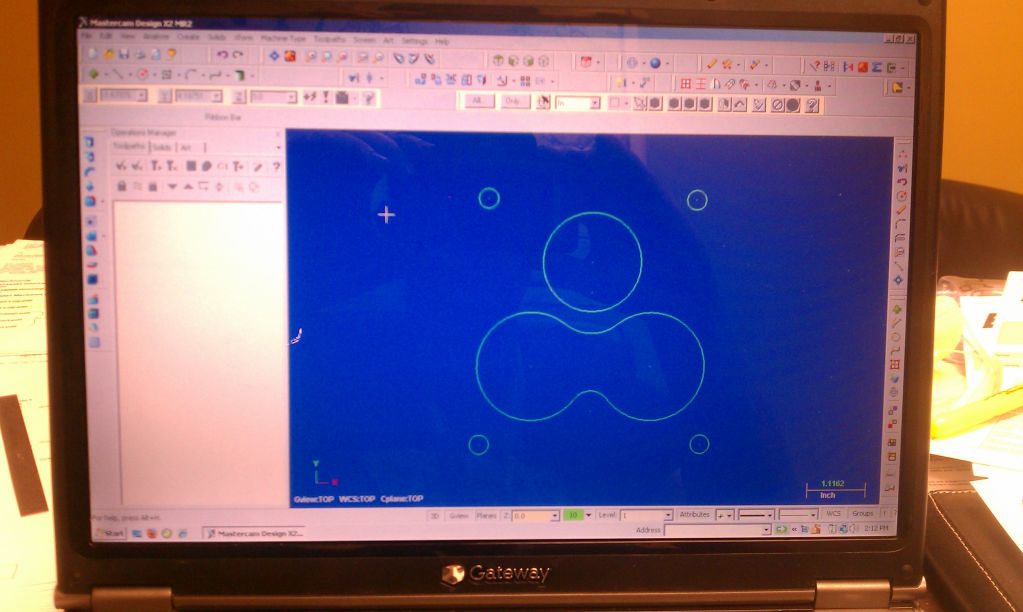
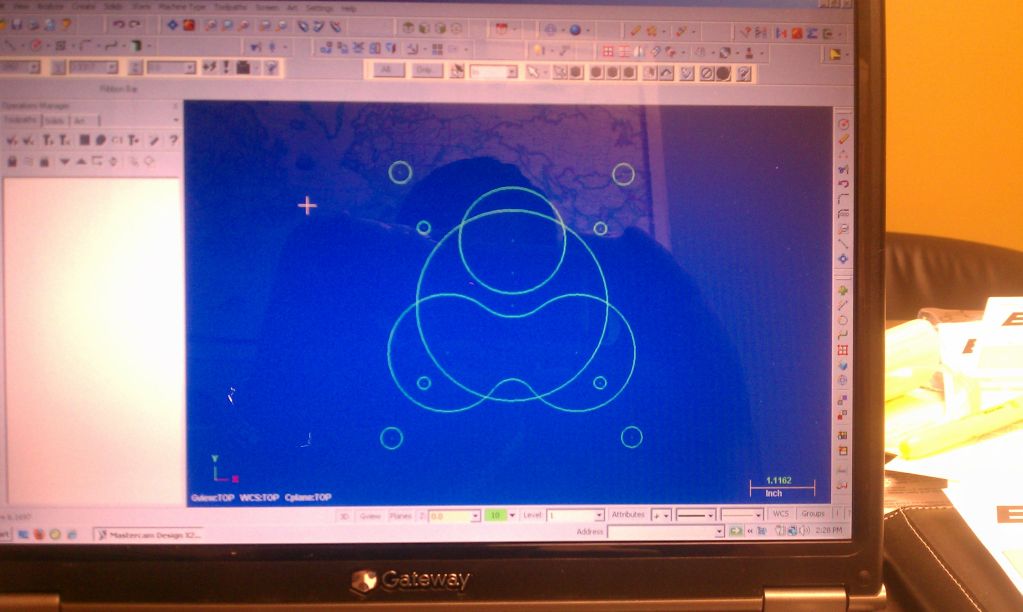
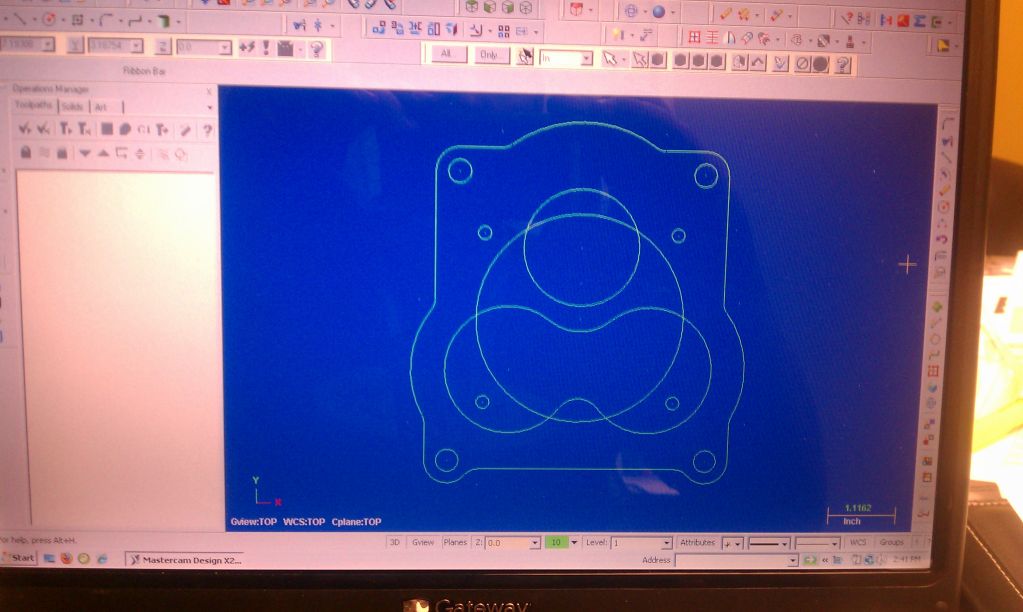
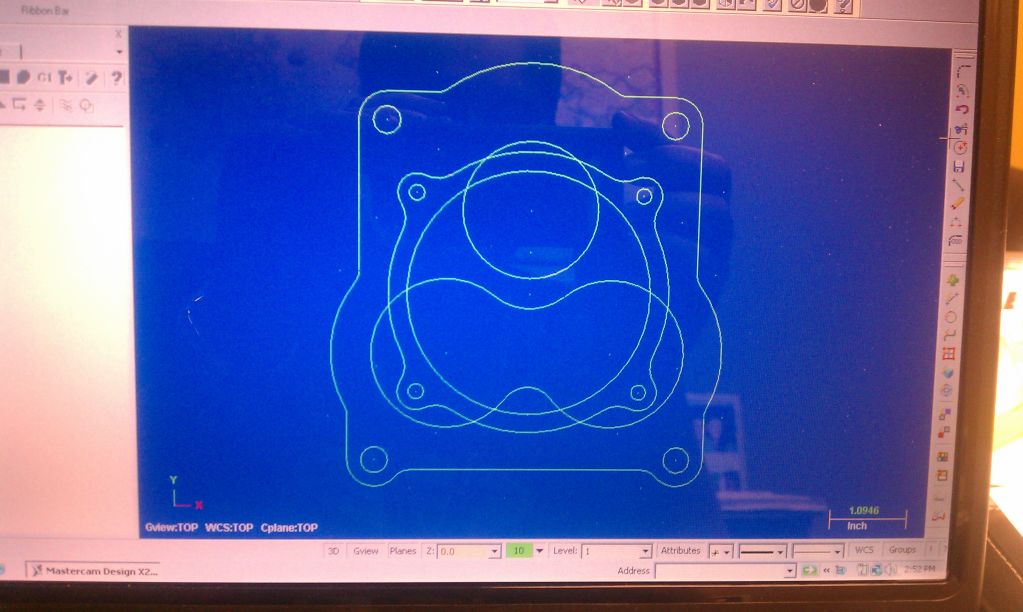
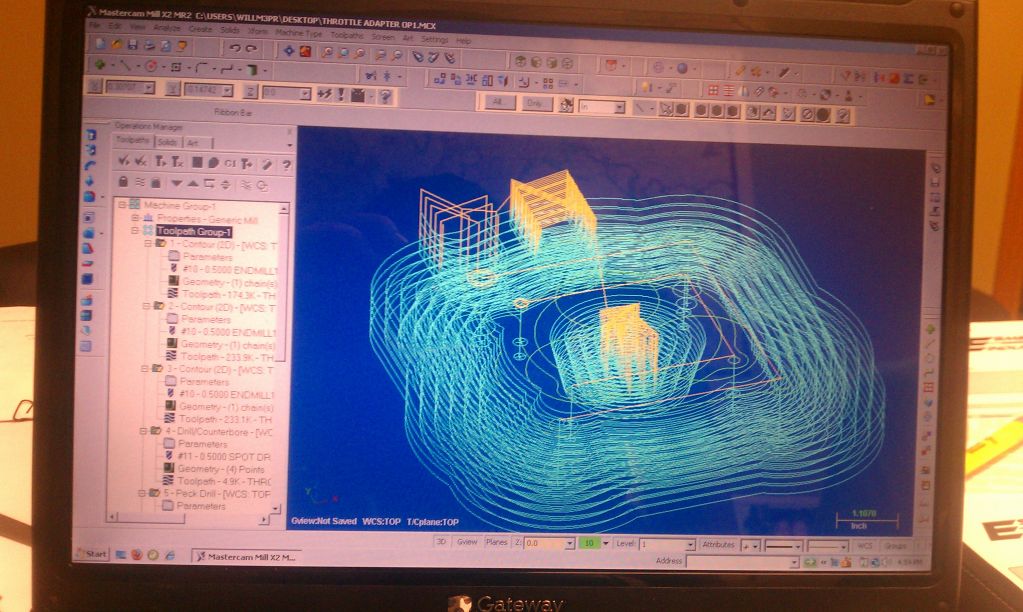
Here is the CAD/CAM process...

Chris

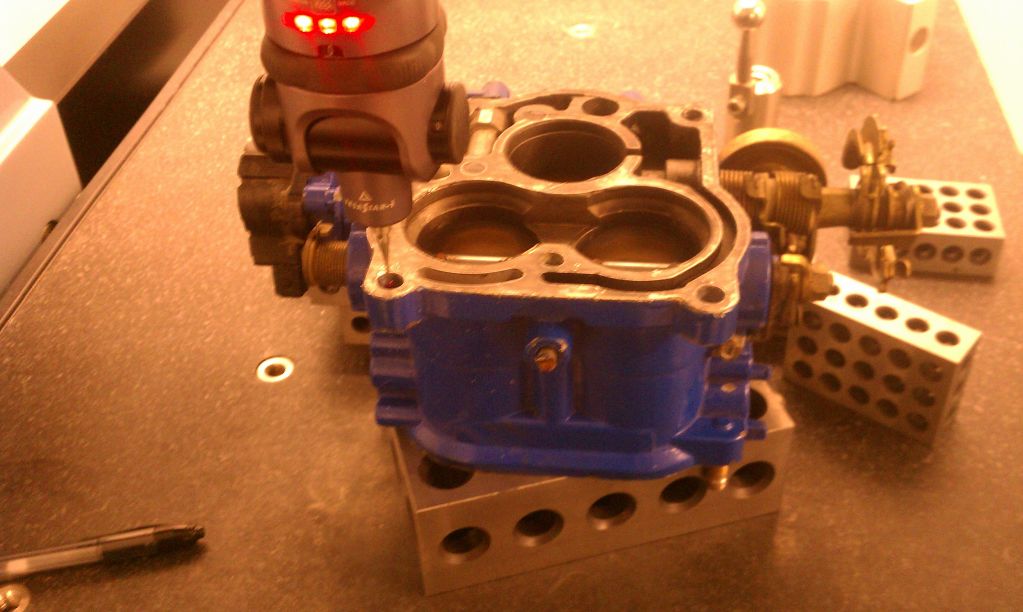
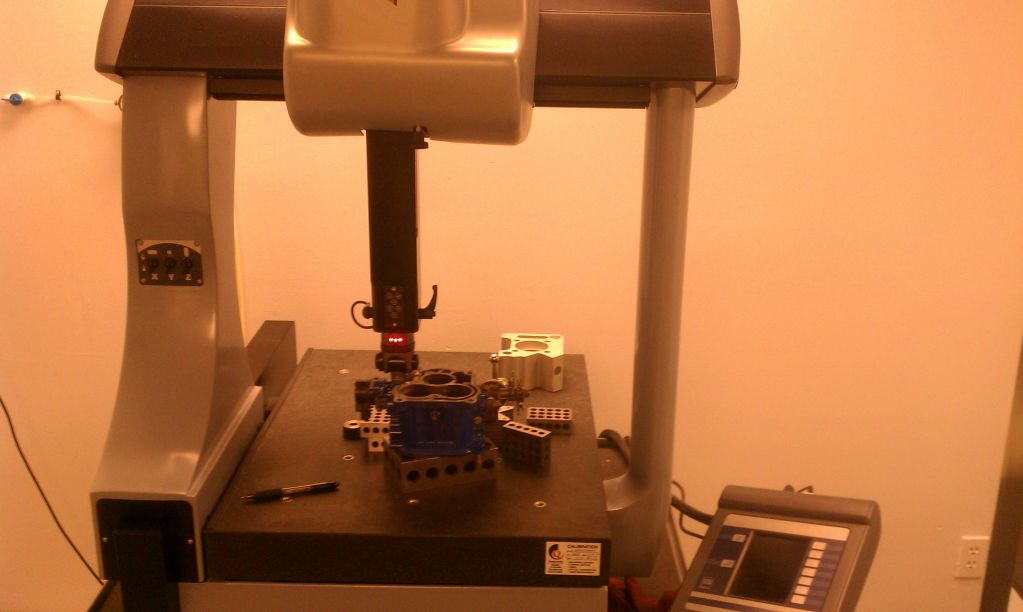
First measuring the BRE throttle with the CMM...
Name:  IMAG0836.jpg
Views: 2028
Size:  135.6 KB

Name:  IMAG0837.jpg
Views: 2019
Size:  80.9 KB


Then drawing...

Name:  IMAG0838.jpg
Views: 2003
Size:  100.0 KB

Name:  IMAG0839.jpg
Views: 1989
Size:  111.2 KB

Name:  IMAG0840.jpg
Views: 2003
Size:  113.5 KB

Name:  IMAG0841.jpg
Views: 2025
Size:  116.1 KB

Name:  IMAG0842.jpg
Views: 2021
Size:  125.1 KB


Ready to Cut...

Name:  IMAG0843.jpg
Views: 2004
Size:  120.9 KB
Old 03-24-12, 05:14 PM
  #105  
Rotary Enthusiast

Thread Starter
 
ChrisRX8PR's Avatar
 
Join Date: Oct 2007
Location: Plymouth, MN
Posts: 799
Likes: 0
Received 2 Likes on 2 Posts
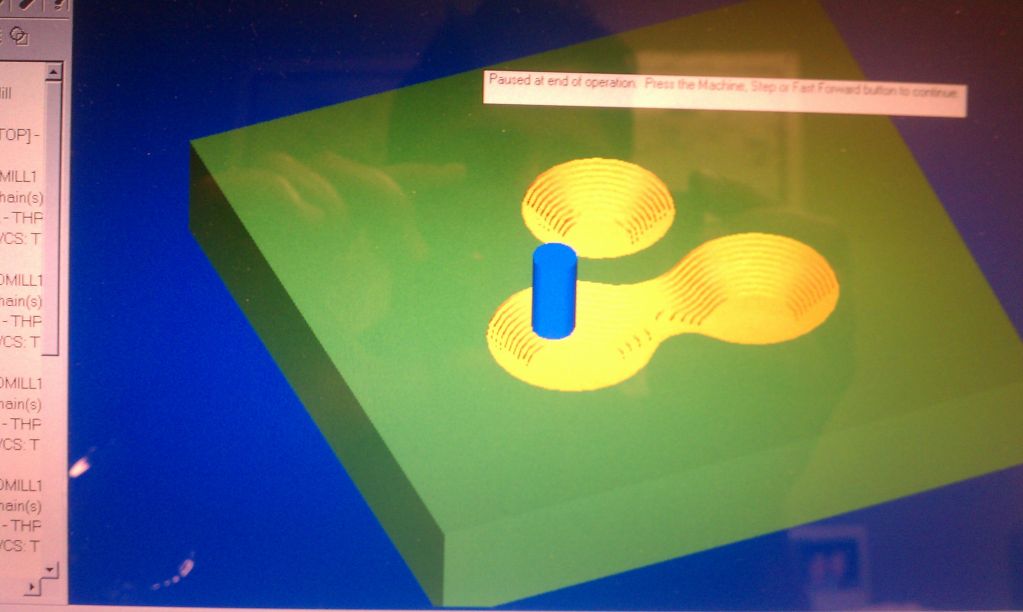
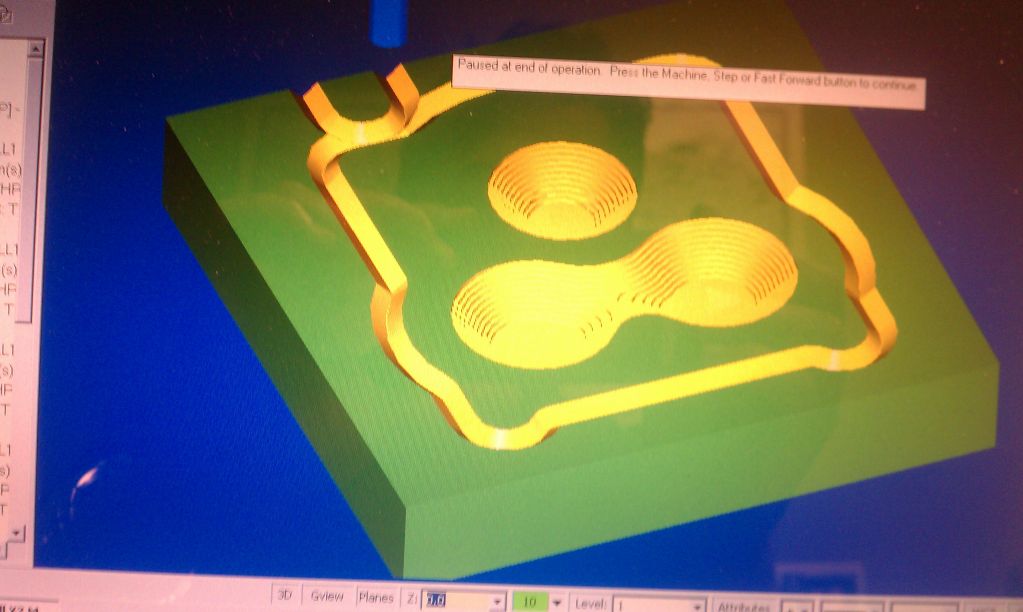
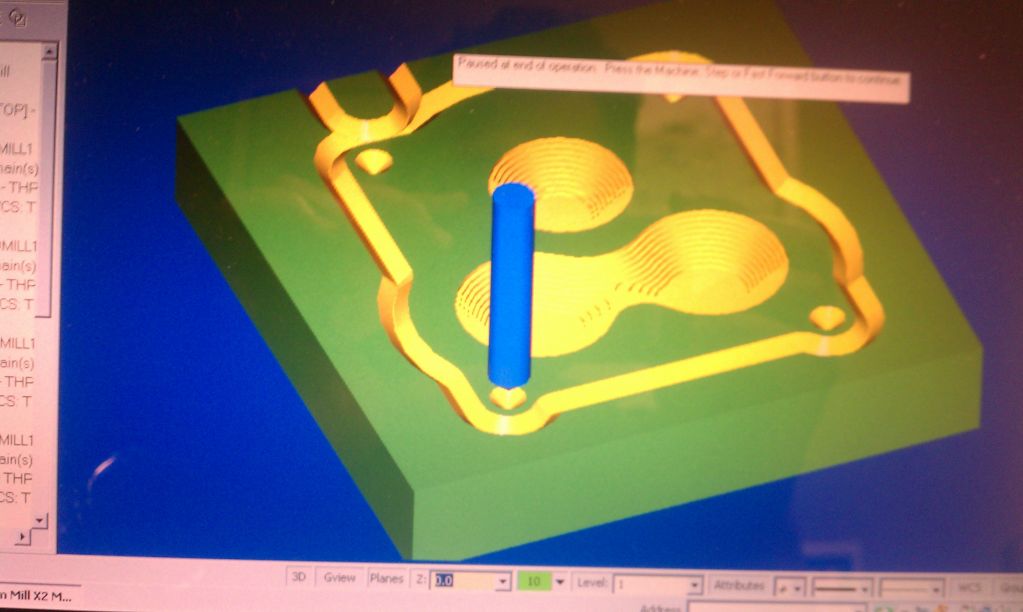
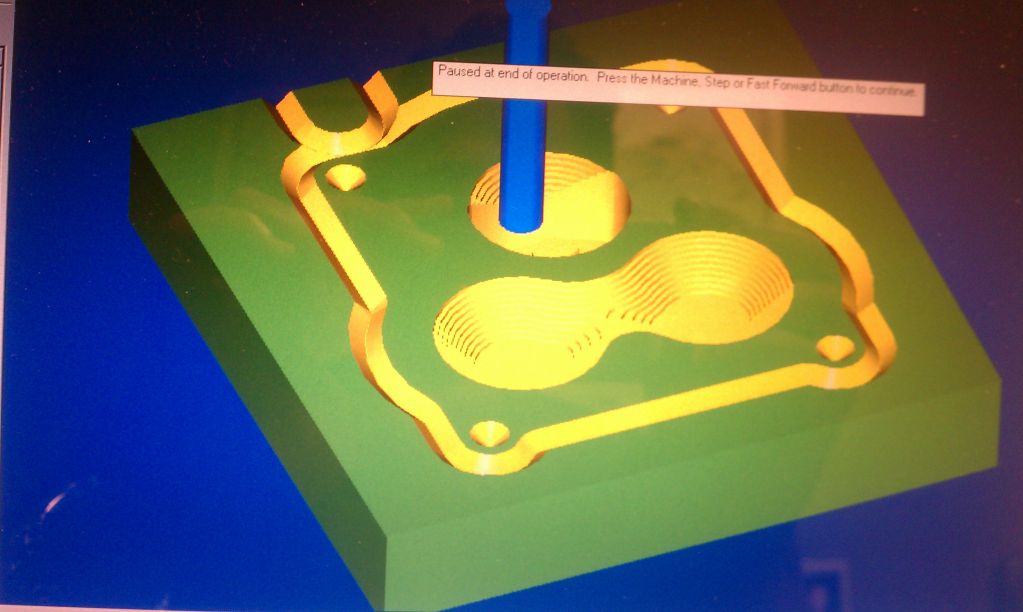
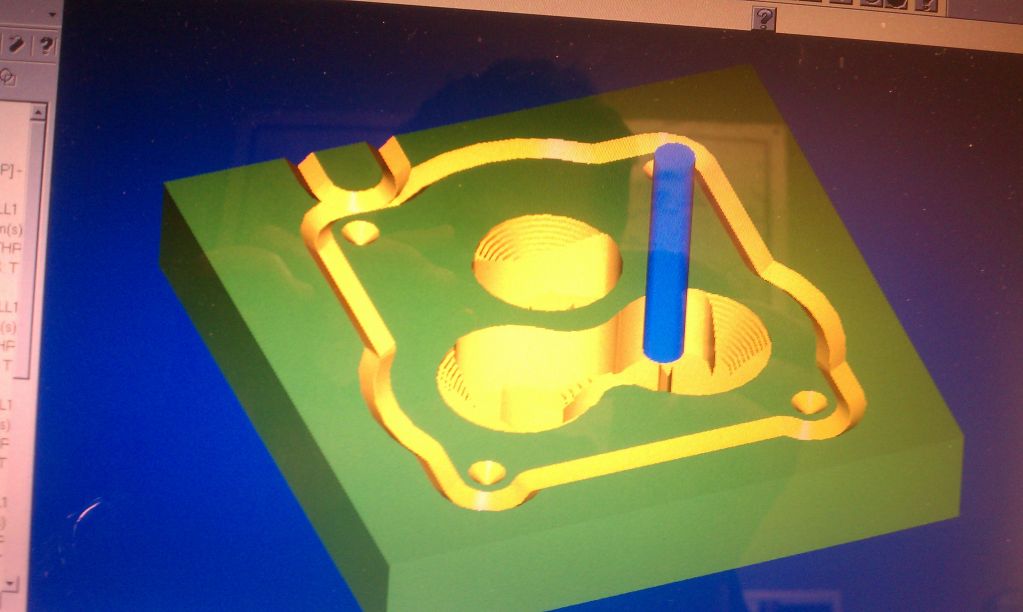
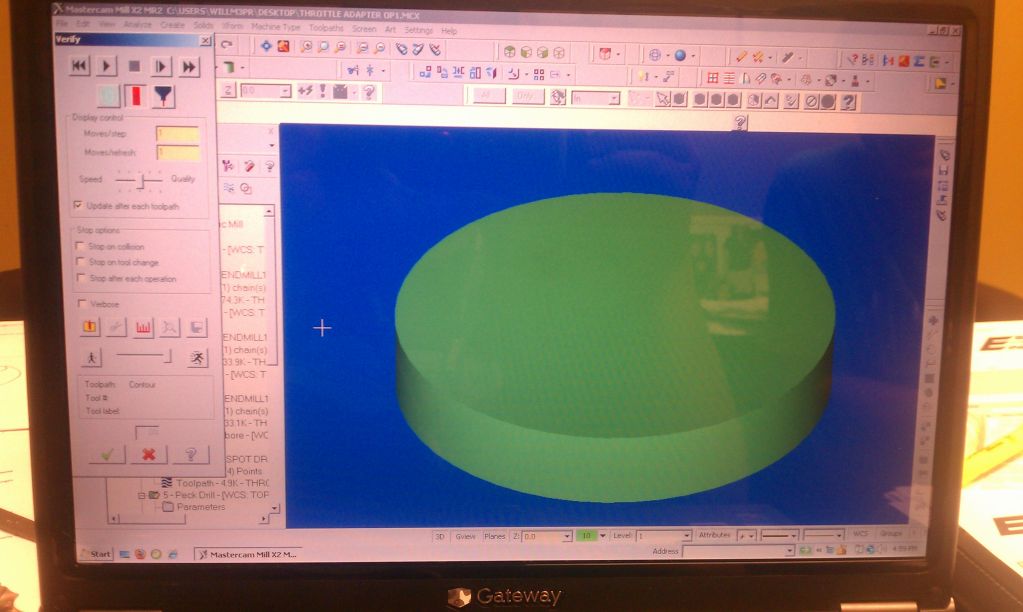
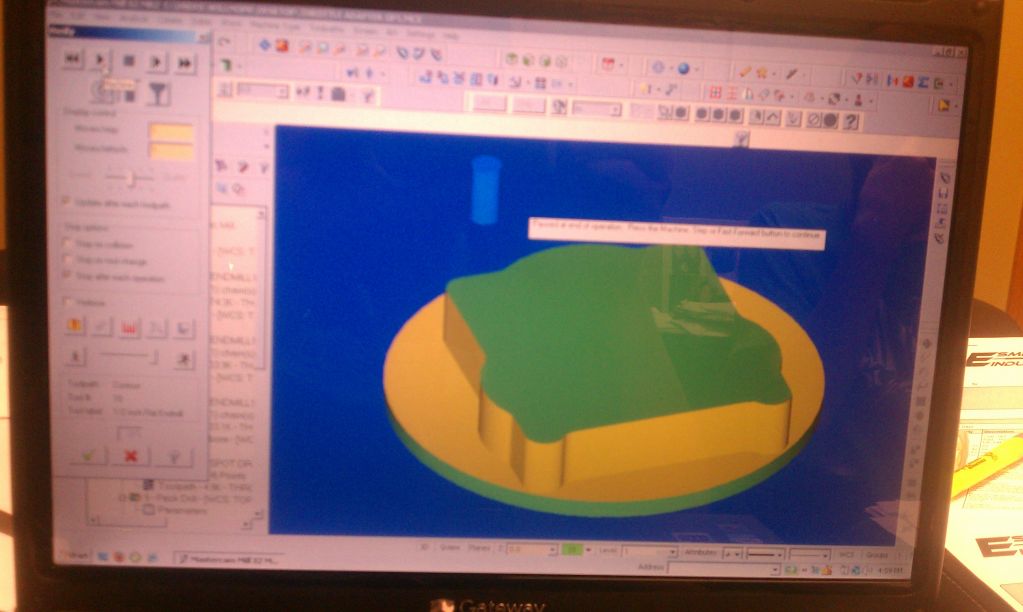
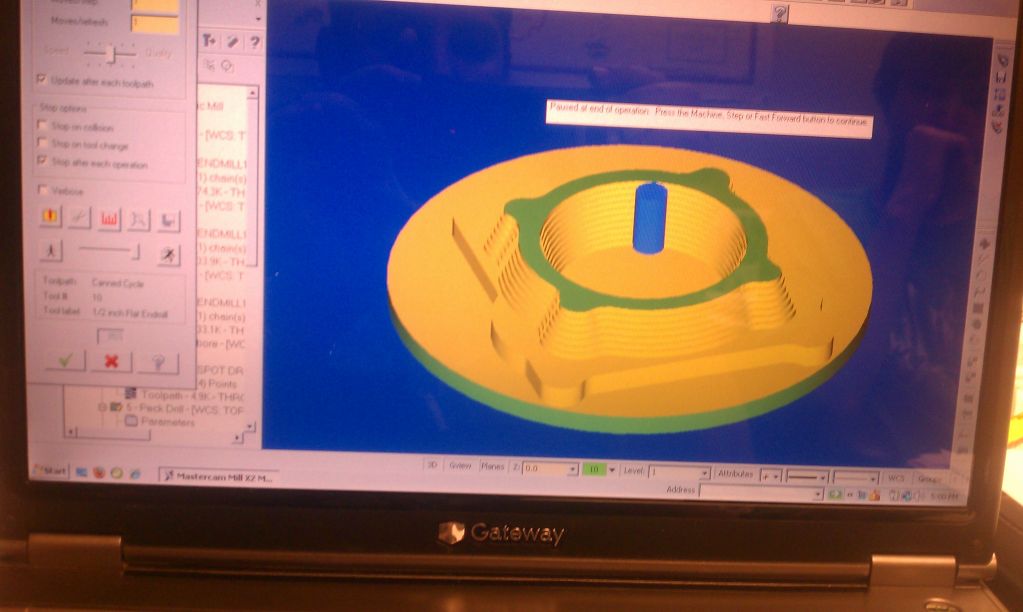
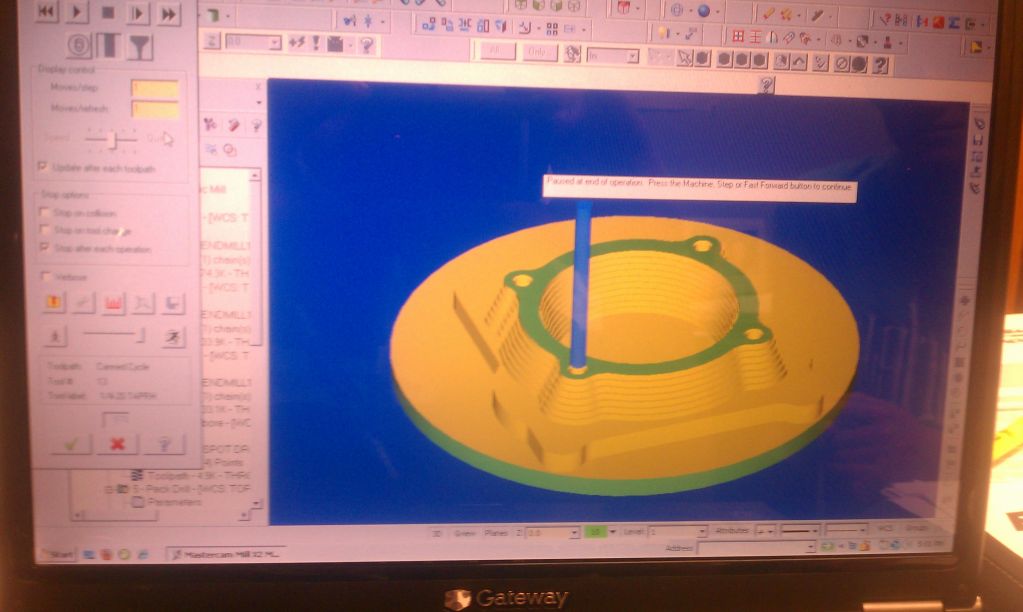
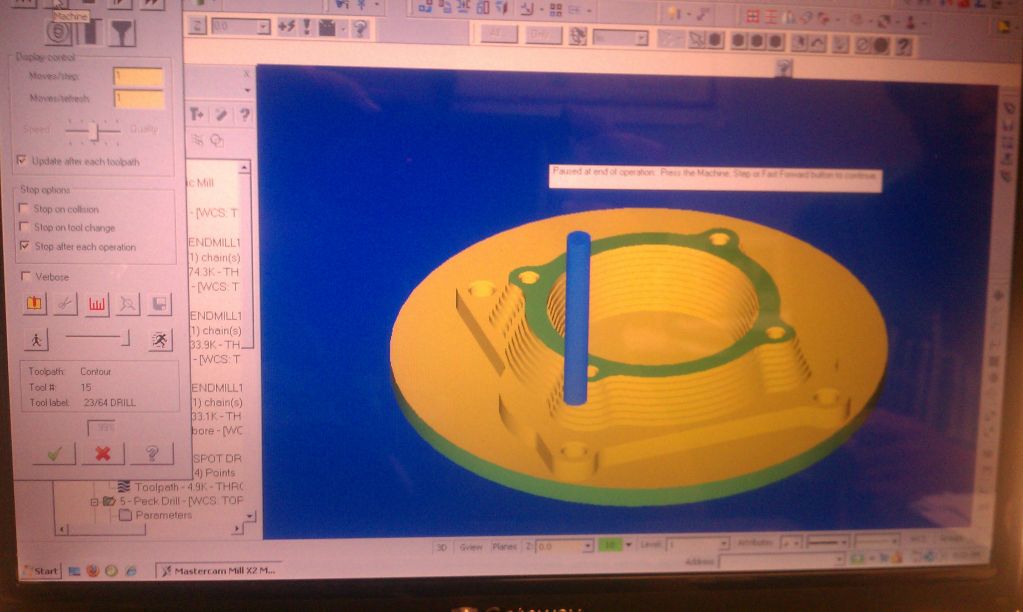
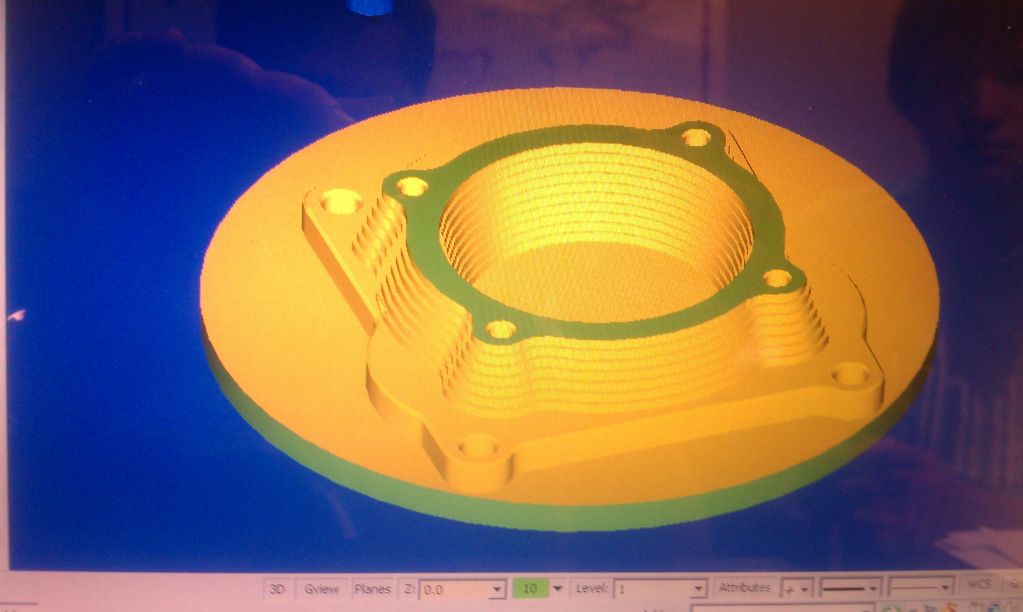
Simulation...now to cut some actual metal...

Name:  IMAG0844.jpg
Views: 2022
Size:  115.4 KB

Name:  IMAG0845.jpg
Views: 1989
Size:  101.5 KB


Name:  IMAG0847.jpg
Views: 2013
Size:  102.0 KB

Name:  IMAG0848.jpg
Views: 1990
Size:  106.5 KB

Name:  IMAG0849.jpg
Views: 2017
Size:  113.2 KB

Name:  IMAG0850.jpg
Views: 2011
Size:  95.5 KB
Old 03-24-12, 08:04 PM
  #106  
Rotary Enthusiast

Thread Starter
 
ChrisRX8PR's Avatar
 
Join Date: Oct 2007
Location: Plymouth, MN
Posts: 799
Likes: 0
Received 2 Likes on 2 Posts
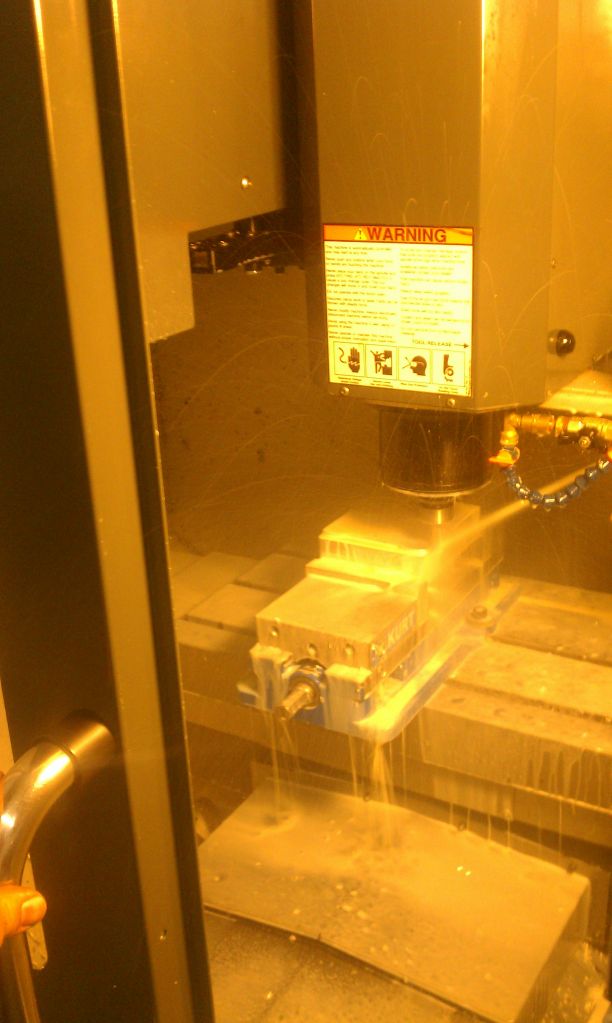
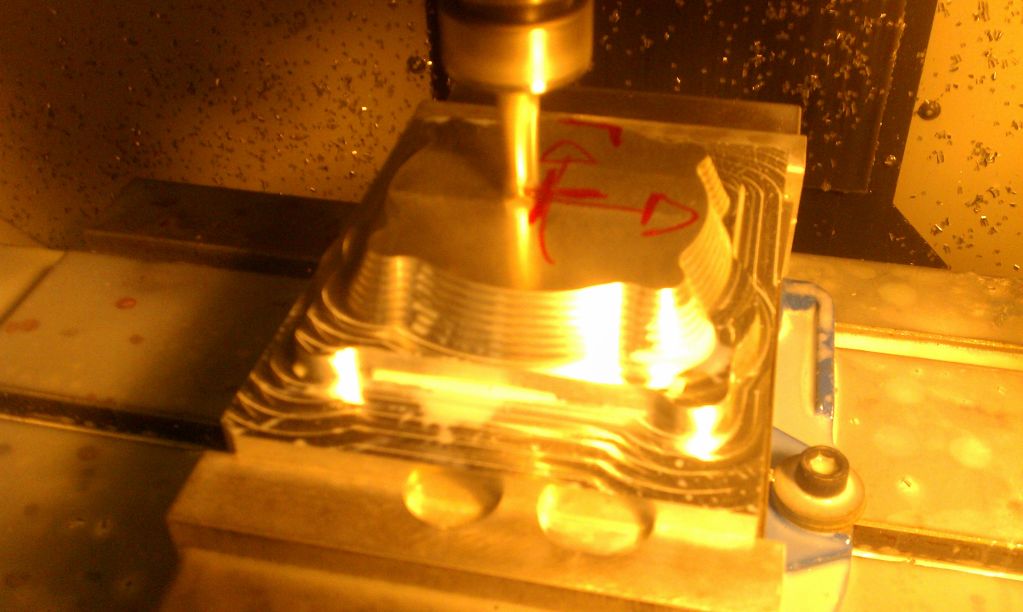
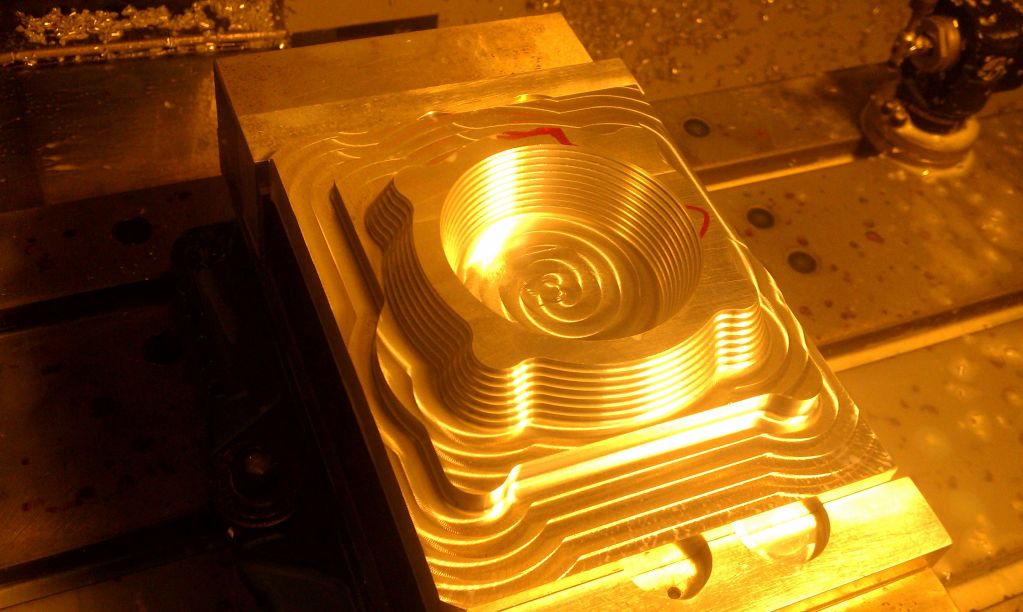
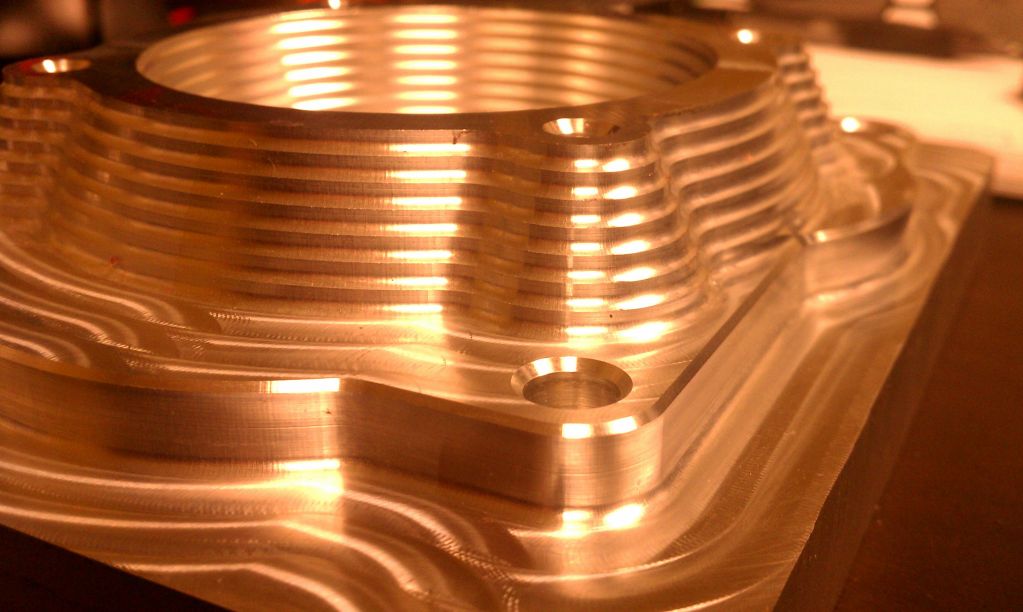
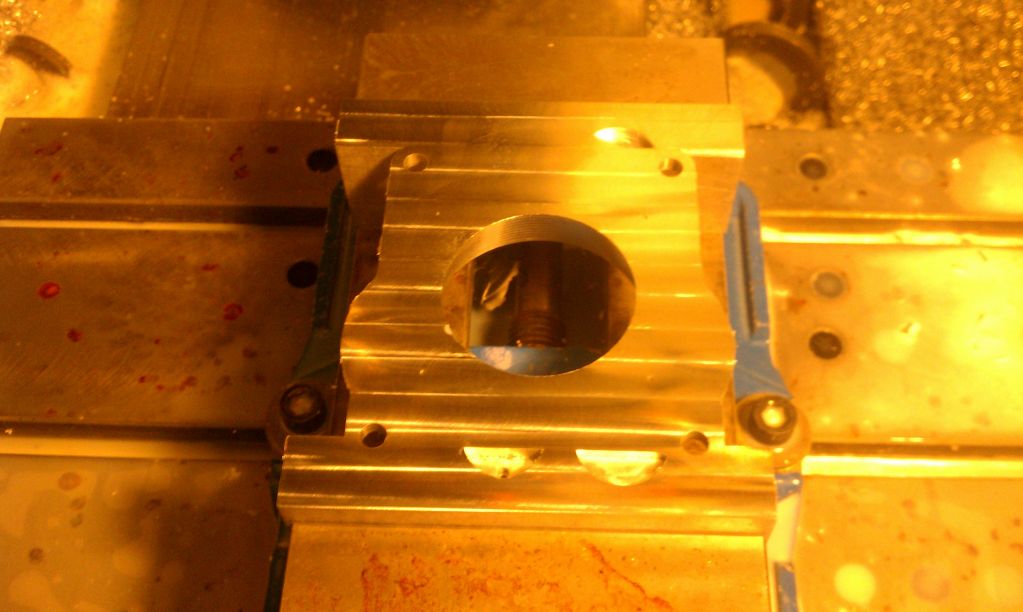
First side done! Now need to do the backside...will pick back up tomorrow.

Cheers!

Chris

Name:  IMAG0851.jpg
Views: 2029
Size:  105.4 KB

Name:  IMAG0852.jpg
Views: 2007
Size:  101.9 KB

Name:  IMAG0853.jpg
Views: 2003
Size:  105.2 KB

Name:  IMAG0855.jpg
Views: 2012
Size:  117.6 KB

Name:  IMAG0856.jpg
Views: 2007
Size:  119.3 KB

Name:  IMAG0857.jpg
Views: 2016
Size:  147.0 KB

Name:  IMAG0858.jpg
Views: 2002
Size:  121.8 KB

Name:  IMAG0859.jpg
Views: 2004
Size:  131.0 KB
Old 03-24-12, 08:10 PM
  #107  
Rotary Enthusiast

Thread Starter
 
ChrisRX8PR's Avatar
 
Join Date: Oct 2007
Location: Plymouth, MN
Posts: 799
Likes: 0
Received 2 Likes on 2 Posts
Another shot...

Name:  IMAG0860.jpg
Views: 1989
Size:  128.8 KB
Old 03-25-12, 06:23 AM
  #108  
Uncontrollable drifter

iTrader: (1)
 
dznutzuk's Avatar
 
Join Date: Apr 2002
Location: Greece
Posts: 629
Likes: 0
Received 0 Likes on 0 Posts
Lucky bstard...
Old 03-25-12, 03:24 PM
  #109  
Rotary Enthusiast

Thread Starter
 
ChrisRX8PR's Avatar
 
Join Date: Oct 2007
Location: Plymouth, MN
Posts: 799
Likes: 0
Received 2 Likes on 2 Posts
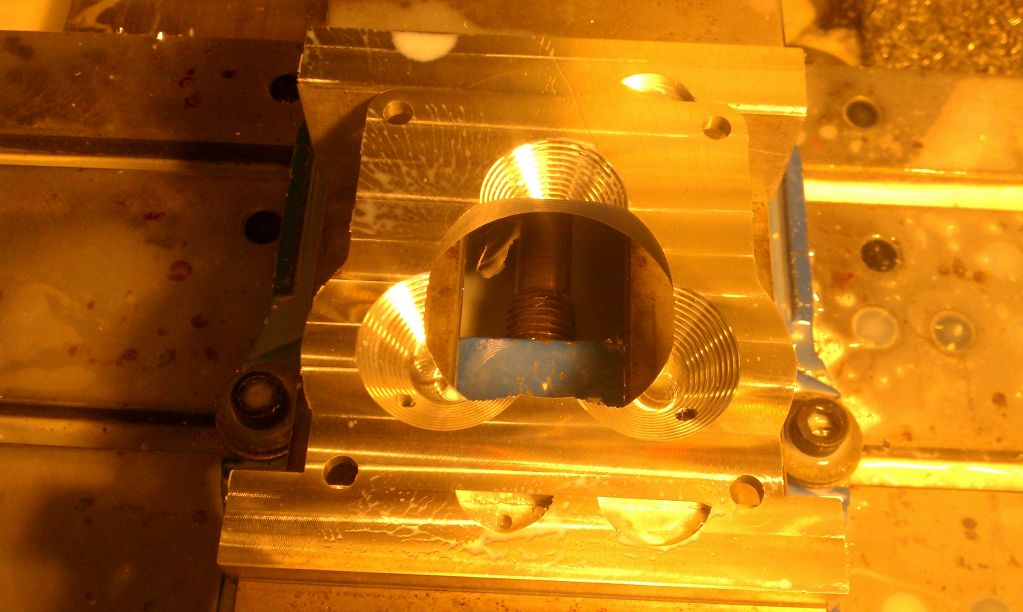
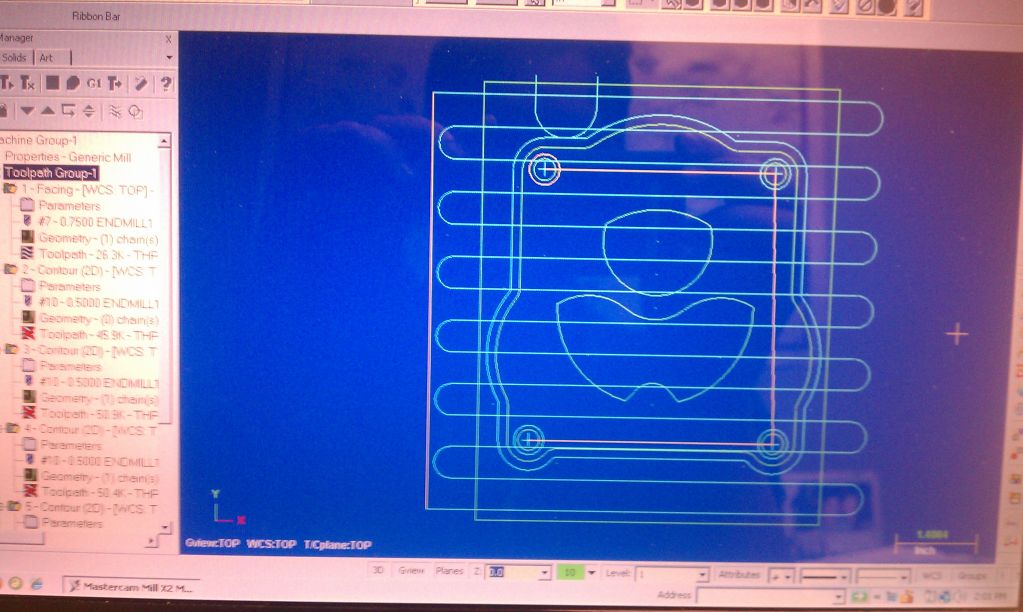
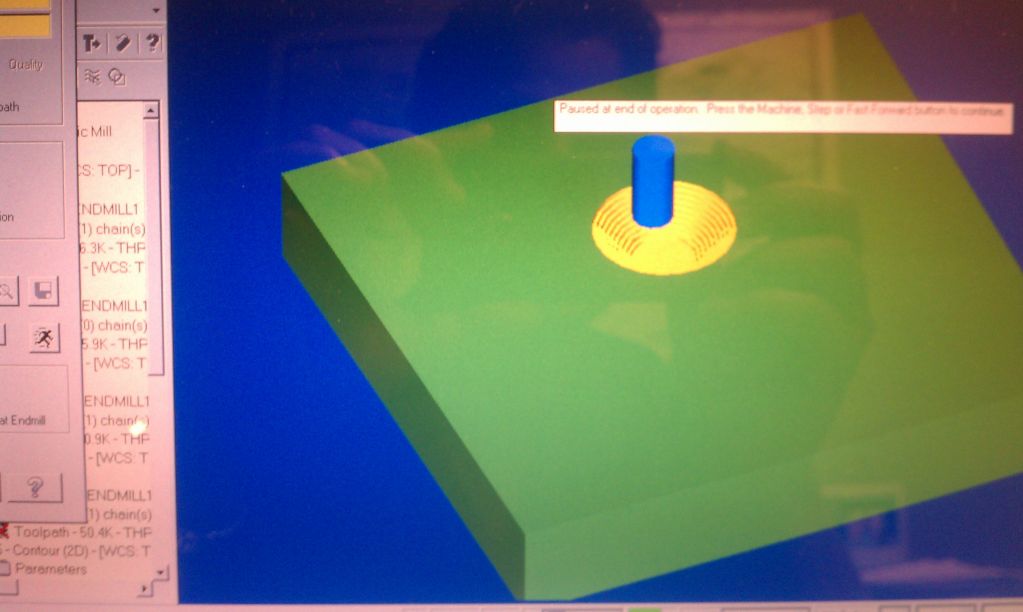
Here is modeling for the other side...

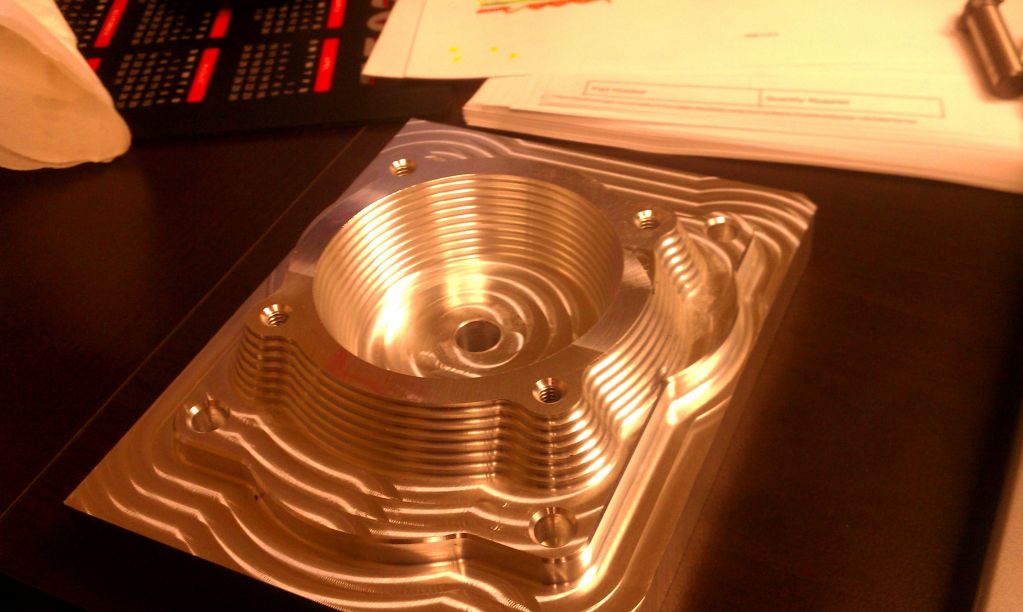
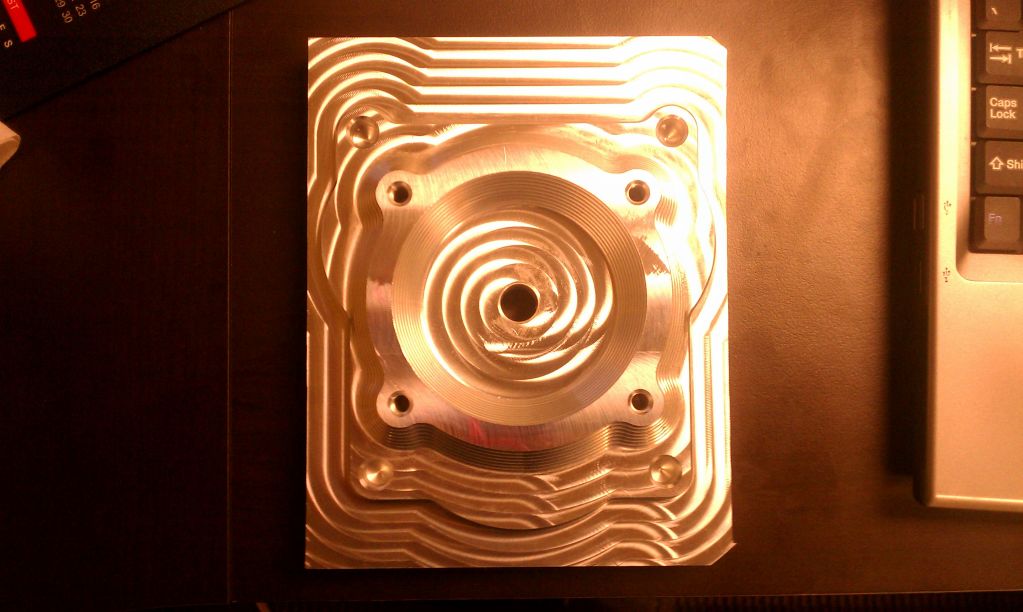
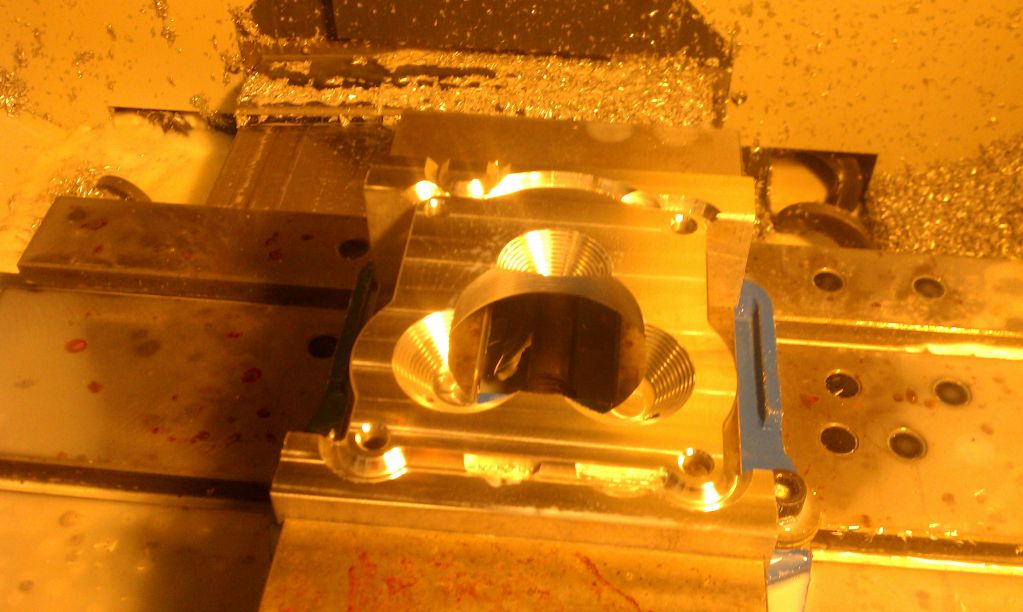
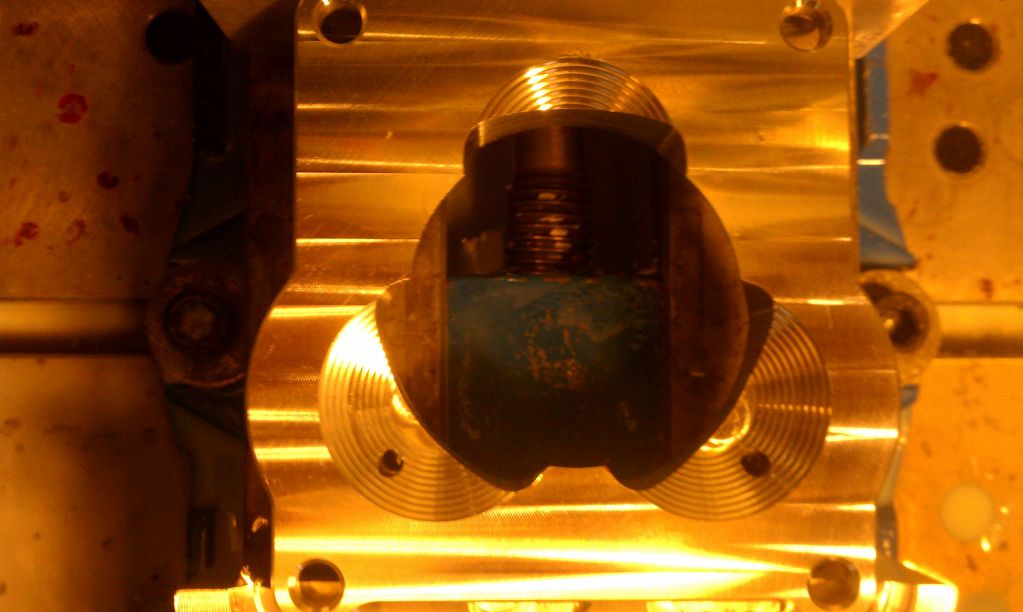
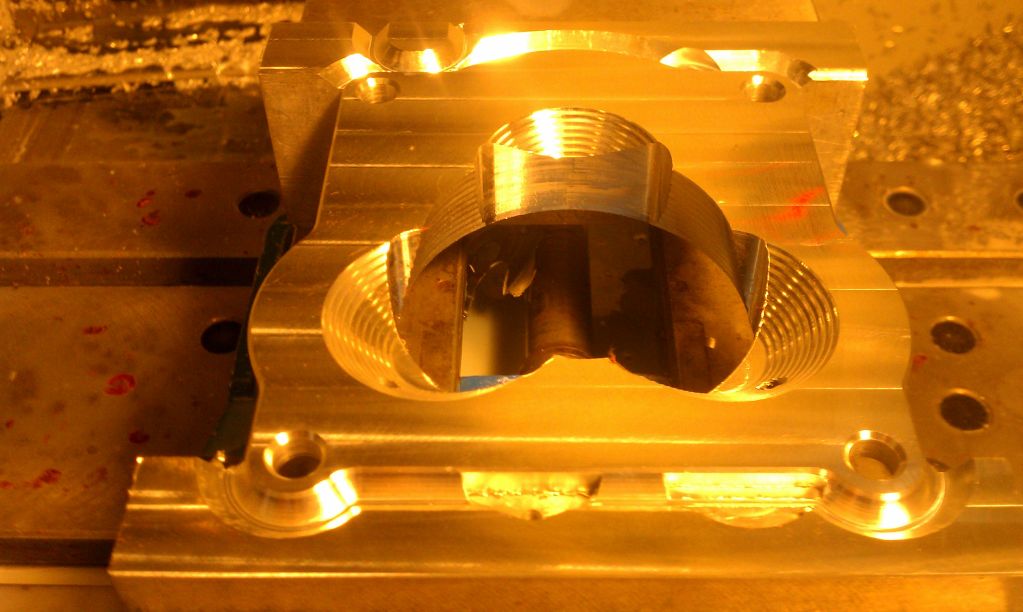
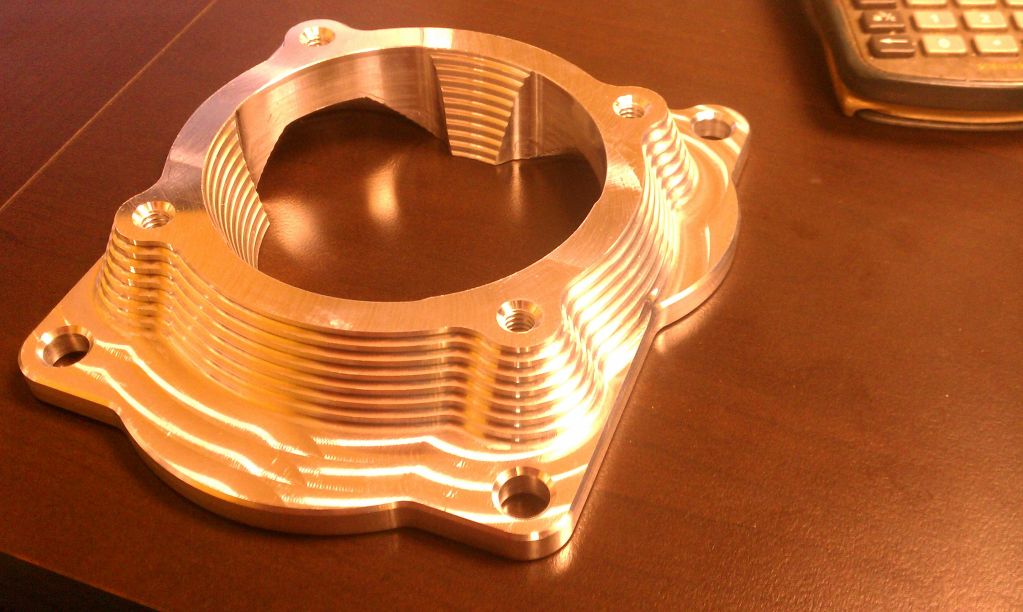
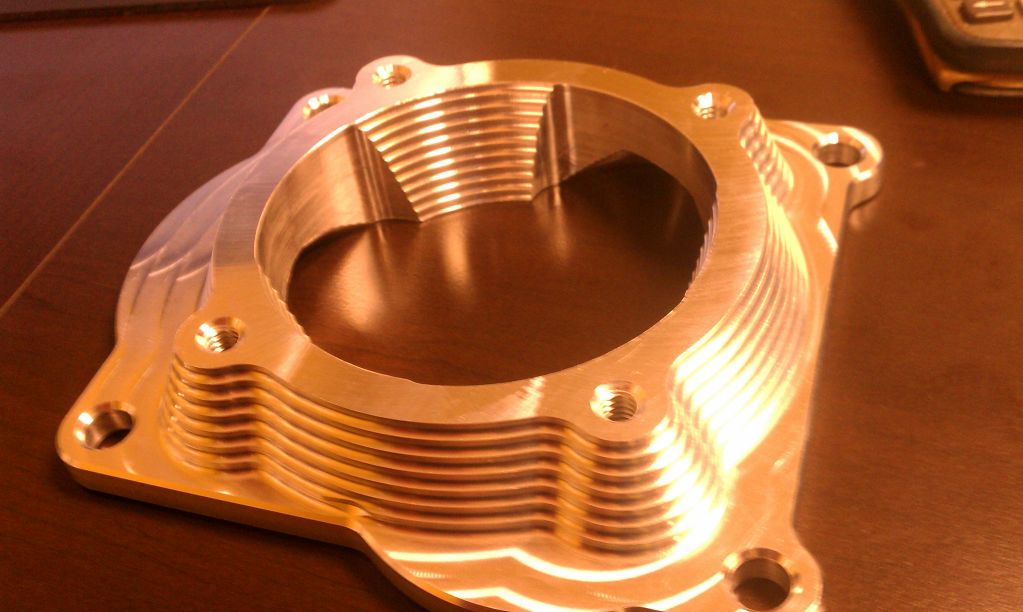
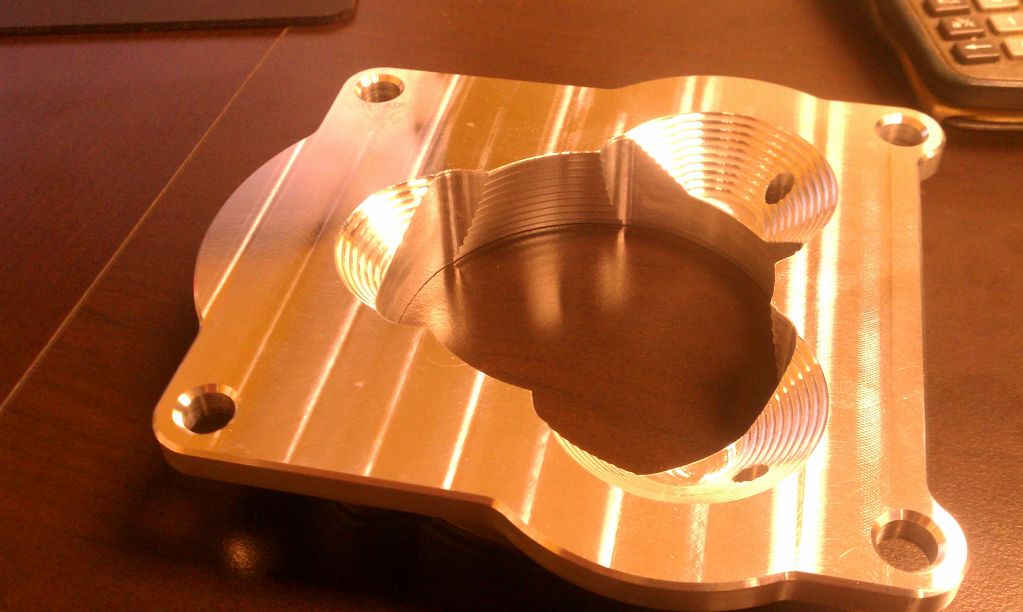
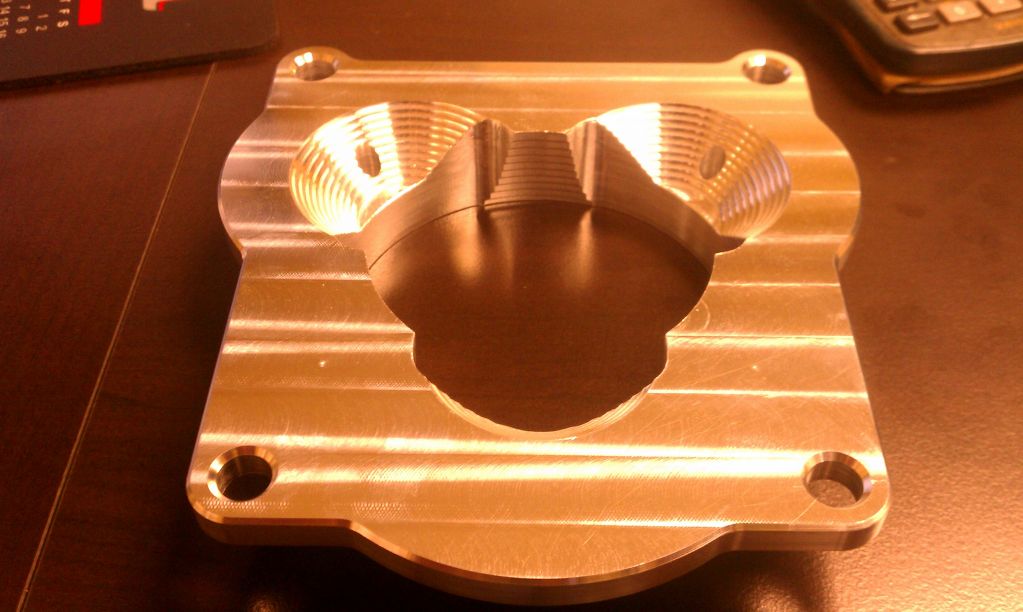
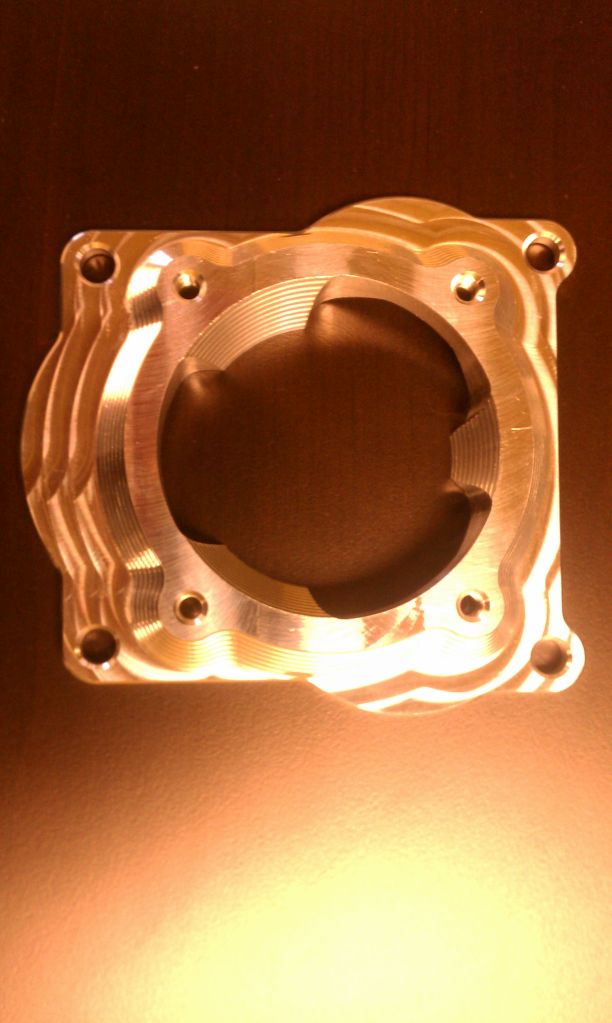
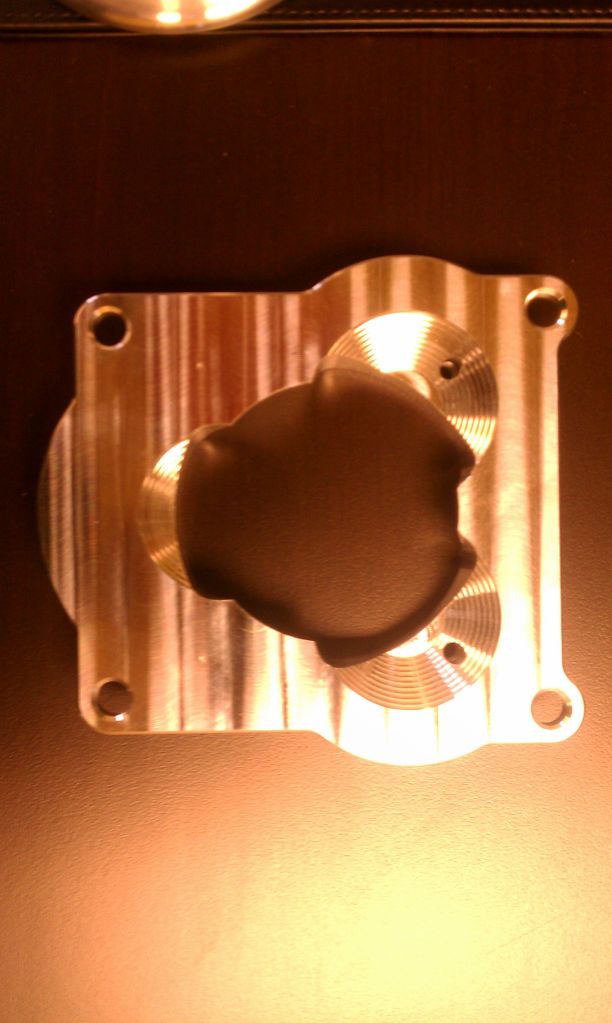
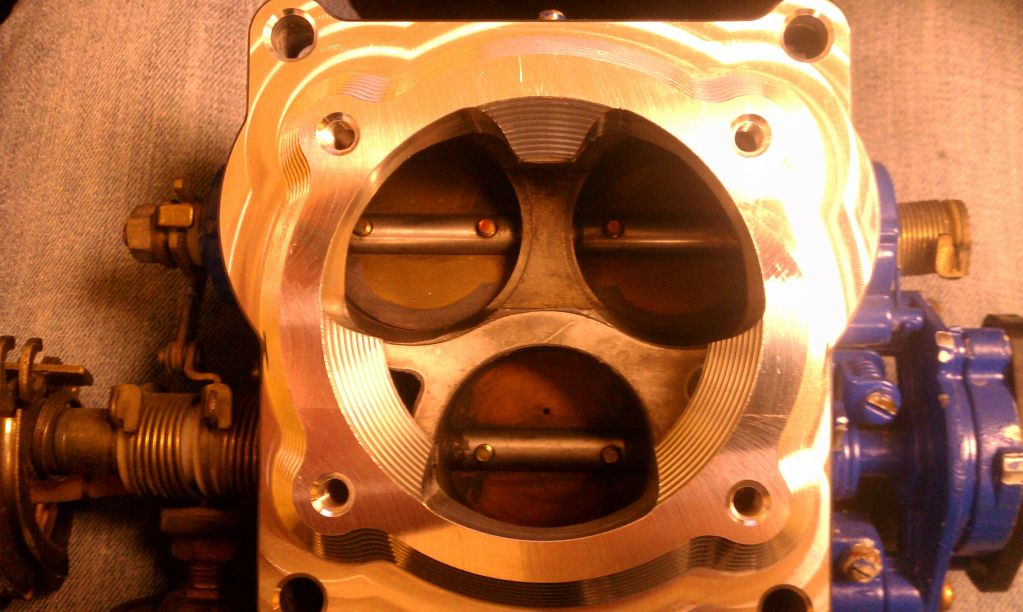
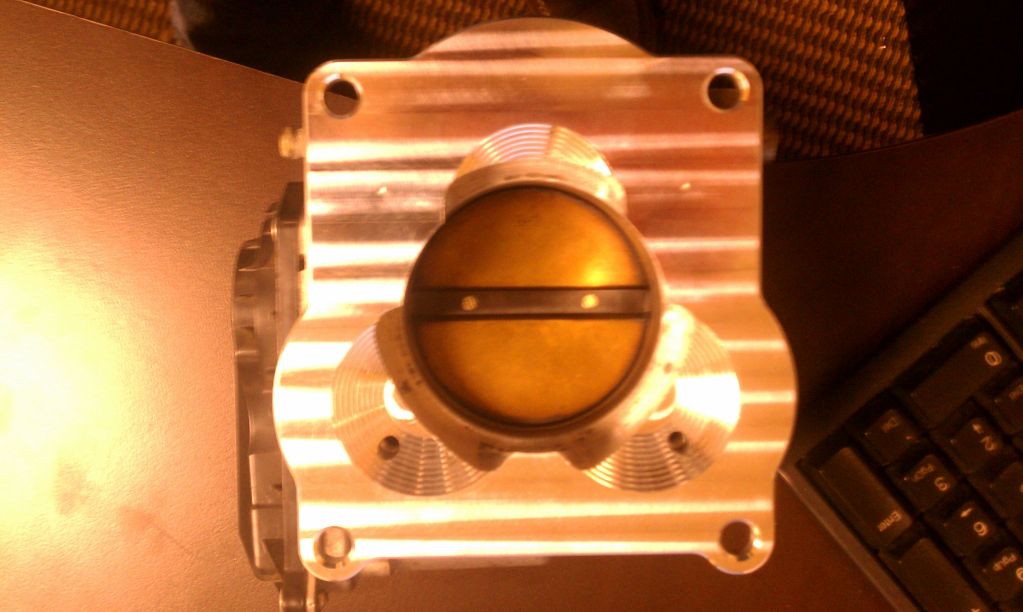
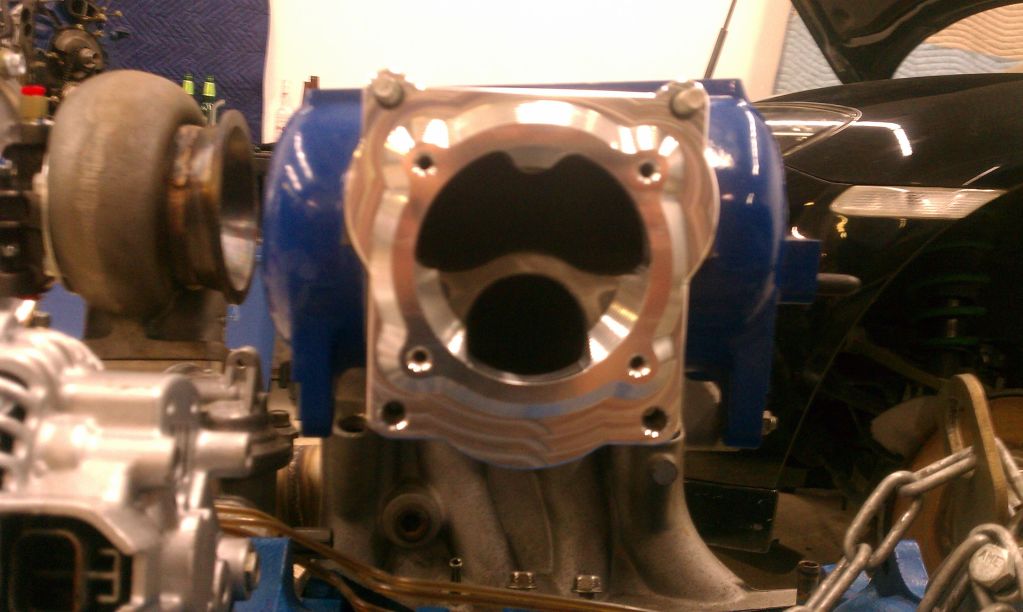
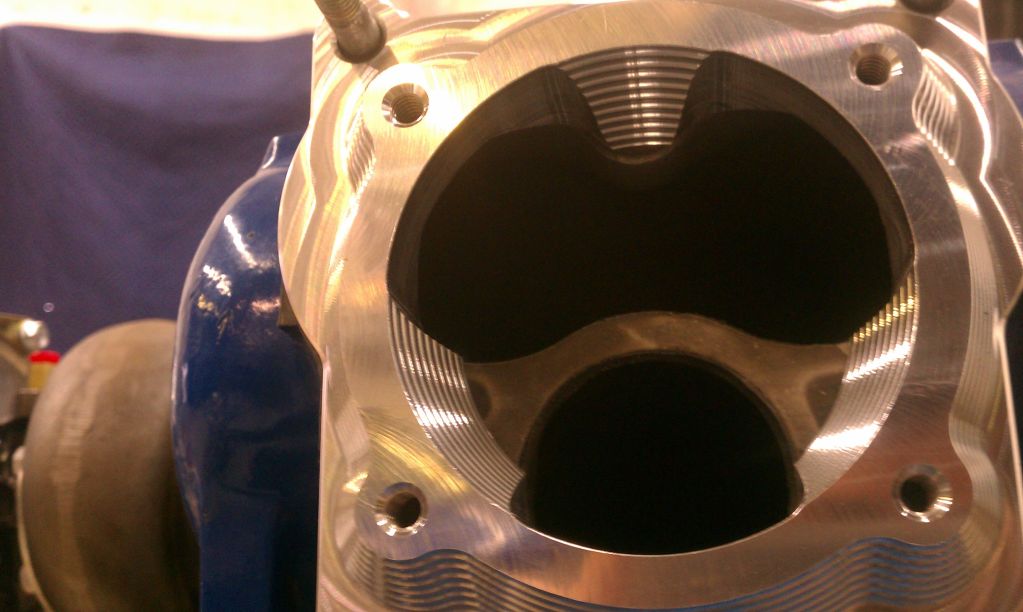
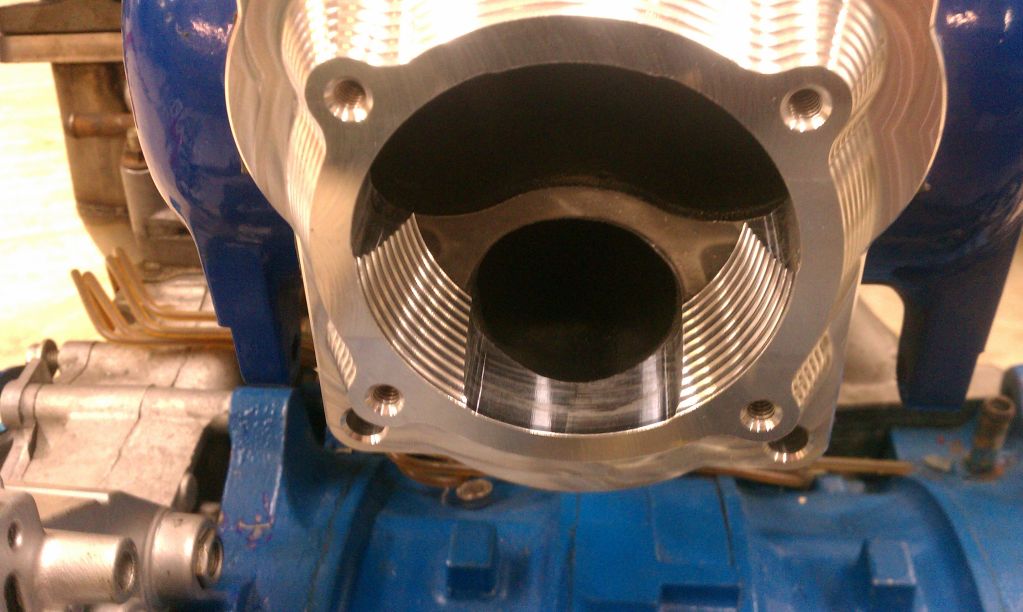
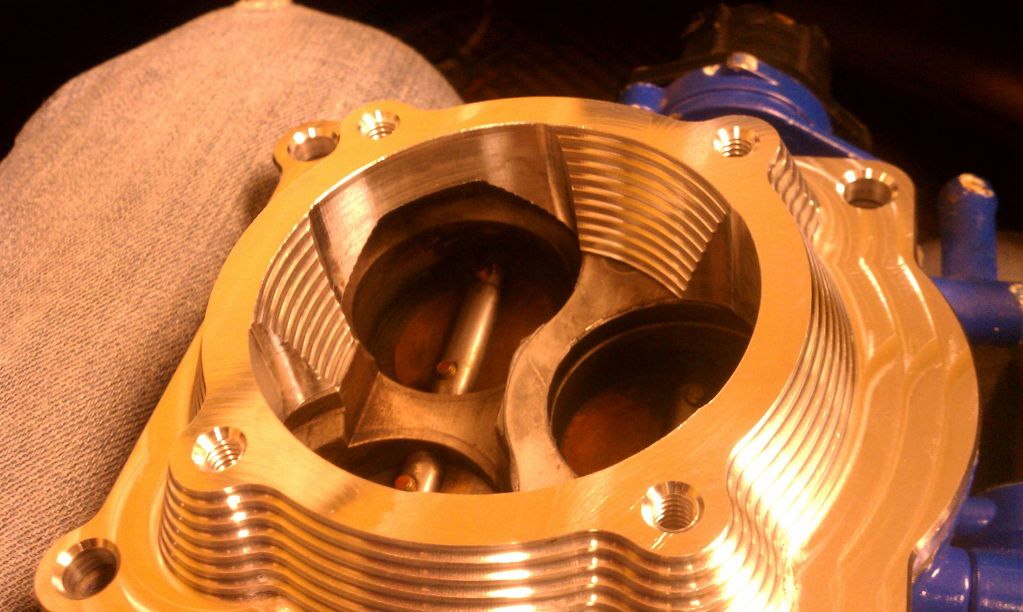
The plan is to taper all 3 diameters into the 3.5" throttle hole from the other side and then make a cut that encompasses the areas where they meet so the flow is not disrupted through there. It isn't very clear in the simulation but it will make sense when you see the finished part.

Cheers!


Here is the drawing of the "common areas" between the RX-8 throttle and the 3 butterflies from the BRE throttle.
Name:  IMAG0862.jpg
Views: 2020
Size:  152.1 KB


We begin by tapering in the diameters
Name:  IMAG0863.jpg
Views: 2013
Size:  85.4 KB

Name:  IMAG0864.jpg
Views: 2008
Size:  85.3 KB


Chamfer the backside profile...

Name:  IMAG0865.jpg
Views: 2004
Size:  99.6 KB

Name:  IMAG0866.jpg
Views: 1995
Size:  93.6 KB


And then cut the common areas...

Name:  IMAG0867.jpg
Views: 2003
Size:  93.1 KB

Name:  IMAG0868.jpg
Views: 2003
Size:  94.2 KB
Old 03-25-12, 04:15 PM
  #110  
Rotary Enthusiast

Thread Starter
 
ChrisRX8PR's Avatar
 
Join Date: Oct 2007
Location: Plymouth, MN
Posts: 799
Likes: 0
Received 2 Likes on 2 Posts
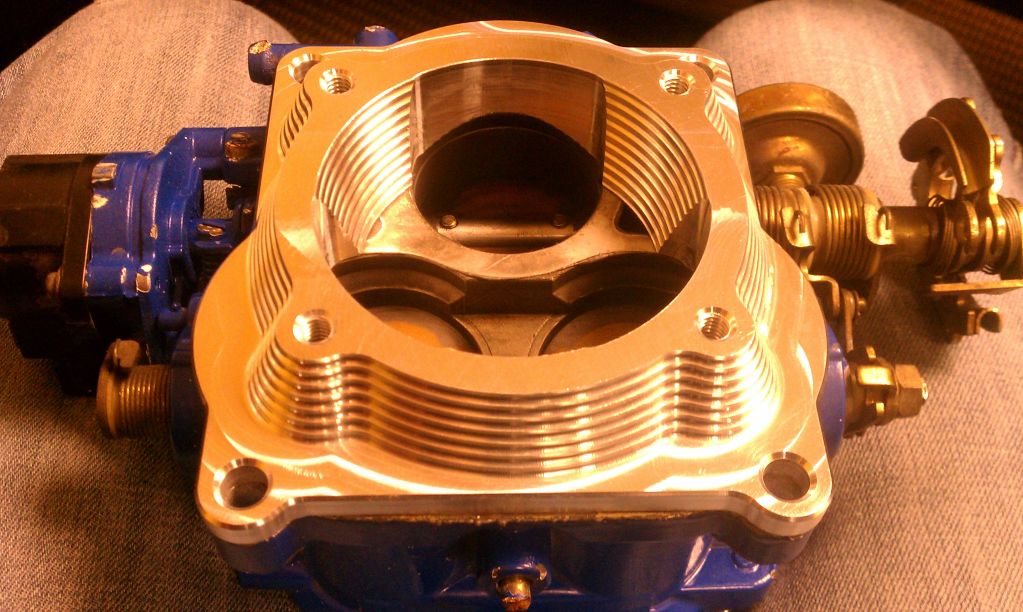
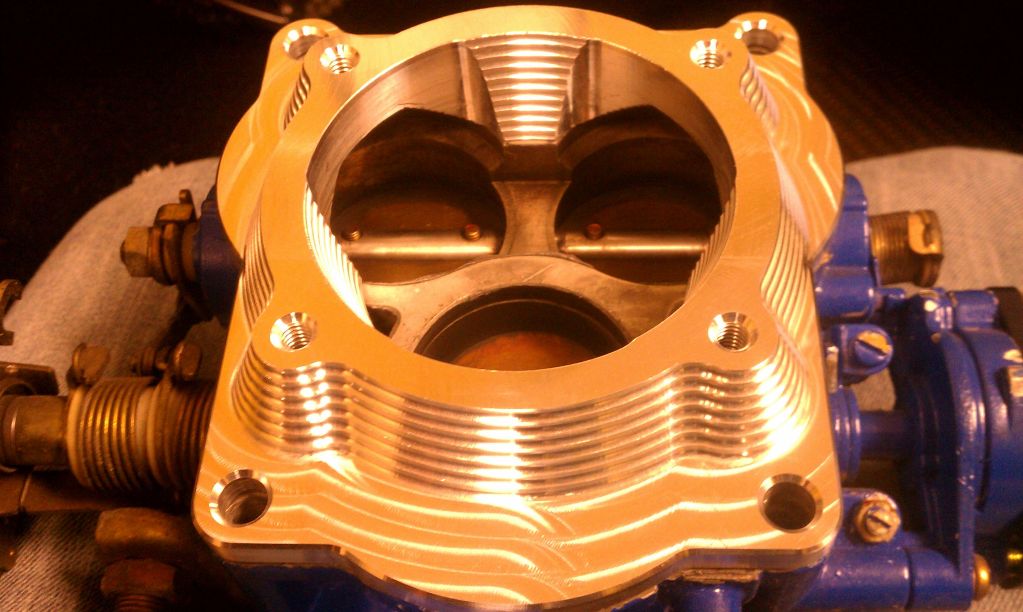
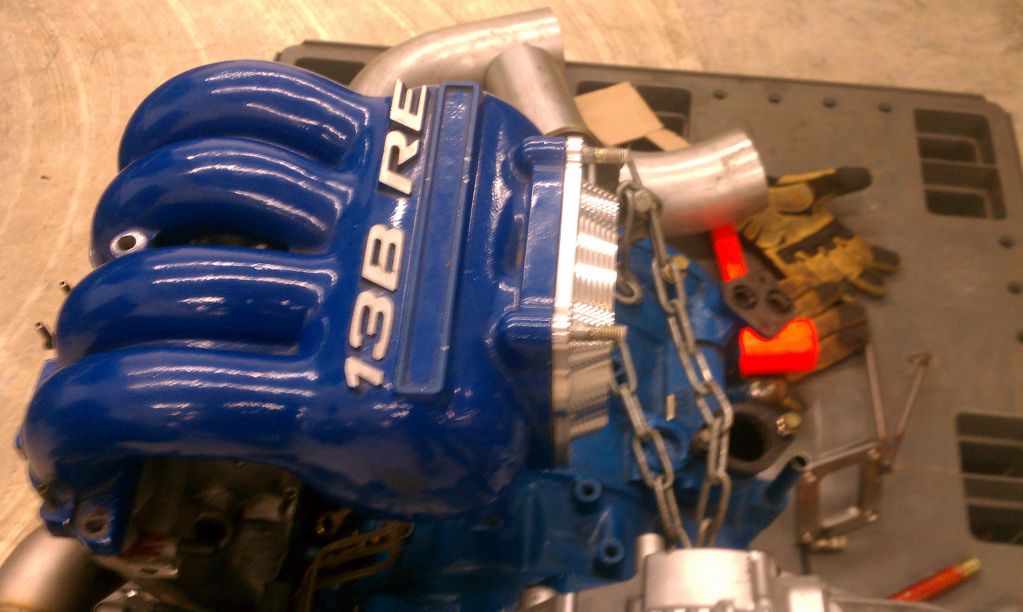
Finished! Transitions look great...

Chris

Name:  IMAG0869.jpg
Views: 2006
Size:  117.4 KB

Name:  IMAG0870.jpg
Views: 2011
Size:  139.3 KB

Name:  IMAG0871.jpg
Views: 2005
Size:  142.0 KB

Name:  IMAG0872.jpg
Views: 1996
Size:  116.7 KB

Name:  IMAG0873.jpg
Views: 2018
Size:  132.0 KB

Name:  IMAG0875.jpg
Views: 2021
Size:  146.1 KB

Name:  IMAG0876.jpg
Views: 2009
Size:  123.4 KB

Name:  IMAG0877.jpg
Views: 1996
Size:  123.9 KB

Name:  IMAG0878.jpg
Views: 2005
Size:  122.8 KB

Name:  IMAG0880.jpg
Views: 2006
Size:  101.6 KB

Name:  IMAG0881.jpg
Views: 1996
Size:  101.7 KB
Old 03-25-12, 04:19 PM
  #111  
Rotary Enthusiast

Thread Starter
 
ChrisRX8PR's Avatar
 
Join Date: Oct 2007
Location: Plymouth, MN
Posts: 799
Likes: 0
Received 2 Likes on 2 Posts
Mocked up on both throttle bodies just to check transitions and finally thrown on the UIM...

C

Name:  IMAG0883.jpg
Views: 2036
Size:  123.4 KB

Name:  IMAG0884.jpg
Views: 1995
Size:  158.0 KB

Name:  IMAG0885.jpg
Views: 2004
Size:  104.0 KB

Name:  IMAG0886.jpg
Views: 2009
Size:  154.8 KB

Name:  IMAG0887.jpg
Views: 1989
Size:  118.7 KB


Name:  IMAG0889.jpg
Views: 2010
Size:  136.5 KB

Name:  IMAG0890.jpg
Views: 2014
Size:  128.4 KB

Name:  IMAG0891.jpg
Views: 2017
Size:  115.5 KB

Name:  IMAG0892.jpg
Views: 2023
Size:  140.3 KB
Old 03-25-12, 04:46 PM
  #112  
Rotary Enthusiast

Thread Starter
 
ChrisRX8PR's Avatar
 
Join Date: Oct 2007
Location: Plymouth, MN
Posts: 799
Likes: 0
Received 2 Likes on 2 Posts
Updated list...

Machine front cover - STARTED
Weld front cover
Front cover oil line
Machine front pulley spacer
Driver engine mount finish
Pass engine mount finish
Finish LIM (welding, holes etc) - STARTED
Drill UIM bolt hole
Make Throttle body adapter-DONE!
Oil filter Pedestal (machine, relocate, whatever)
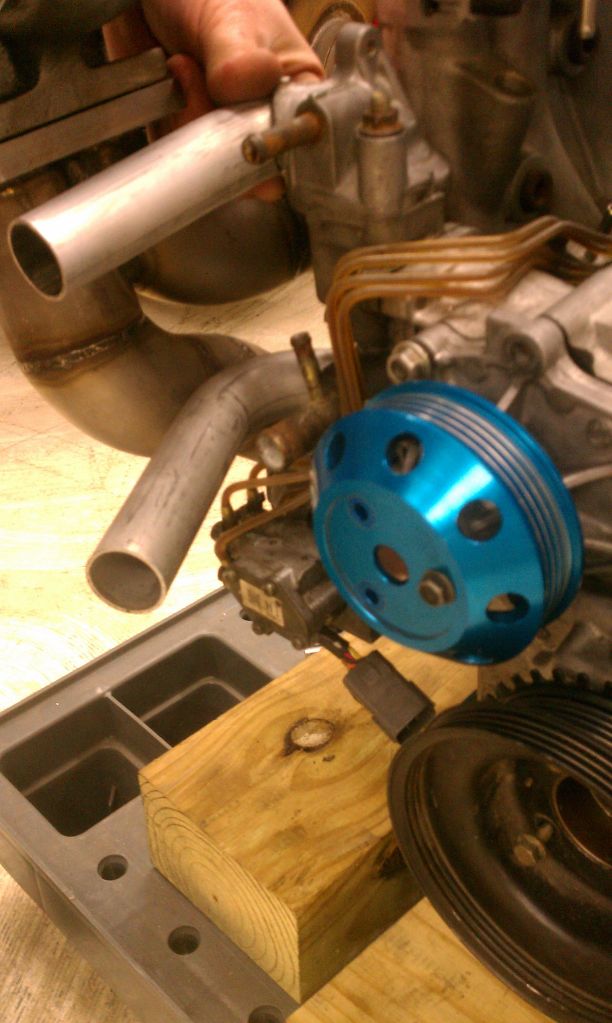
Modify Water Pump Outlet - STARTED
Oil pan and pickup
Alternator Adapter
Custom Alternator Tensioner
Relocate OEM ECU to Firewall
Install Wastegates
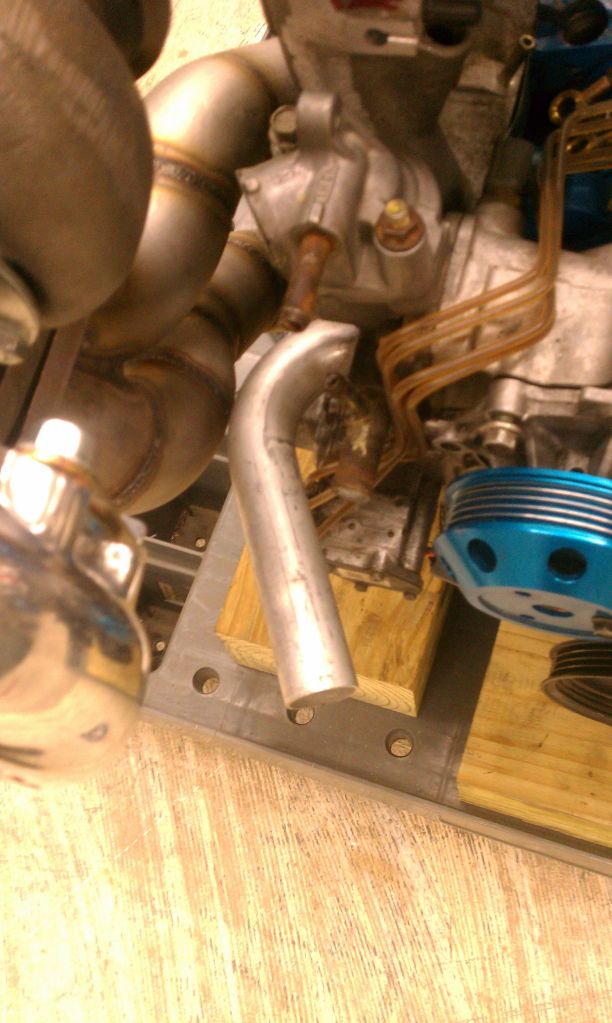
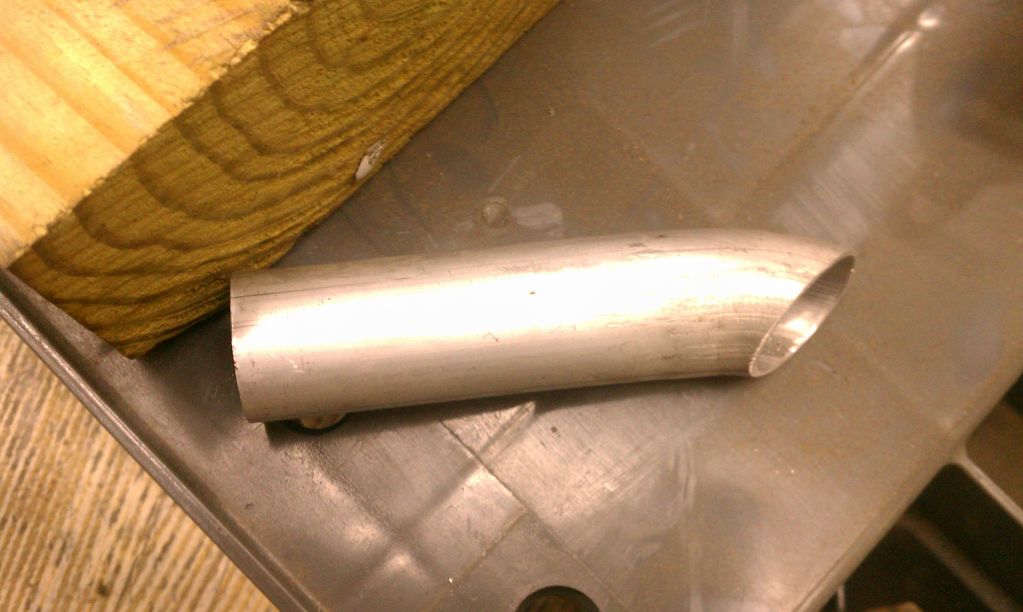
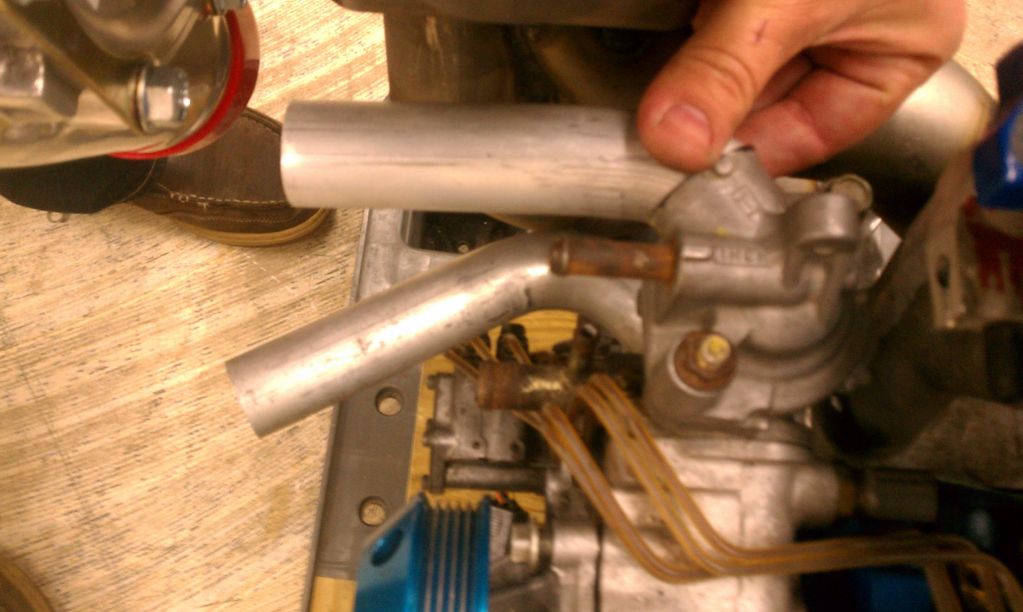
Make Downpipe - STARTED
Make Wastegate dump
Fuel rail mod
Make/Modify Fuel lines
Make Turbo Oil lines
Make Radiator cover plate
Water reservoir
Intercooler mount
Cut Intercooler piping
Weld Intercooler piping
Weld BOV
Replace exhaust sleeves
Machine engine for studs/Dowels
Make Ignition Bracket
Old 03-26-12, 03:19 AM
  #113  
Uncontrollable drifter

iTrader: (1)
 
dznutzuk's Avatar
 
Join Date: Apr 2002
Location: Greece
Posts: 629
Likes: 0
Received 0 Likes on 0 Posts
Just thinking maybe you should have opened up the intake manifold and removed all the separators since you're now going to use a single tb(PITA)?
Attached Thumbnails RX-8 13B-RE conversion!-100_1507.jpg  
Old 03-26-12, 04:13 AM
  #114  
E85 Addict

 
gusfd3s's Avatar
 
Join Date: Jun 2007
Location: Stockholm
Posts: 519
Likes: 0
Received 2 Likes on 2 Posts
Looking good!

Would love to see a ball mill in there though
Old 03-26-12, 04:27 AM
  #115  
Touge Legend

iTrader: (6)
 
Efinity's Avatar
 
Join Date: Aug 2003
Location: CA
Posts: 1,013
Likes: 0
Received 4 Likes on 4 Posts
lots of work. would it be easier to have swapped chassis than motors?
Old 03-26-12, 08:18 AM
  #116  
Rotary Enthusiast

Thread Starter
 
ChrisRX8PR's Avatar
 
Join Date: Oct 2007
Location: Plymouth, MN
Posts: 799
Likes: 0
Received 2 Likes on 2 Posts
Originally Posted by dznutzuk
Just thinking maybe you should have opened up the intake manifold and removed all the separators since you're now going to use a single tb(PITA)?
Perhaps... But I'm not sure what I will do in the future... I can still blend the area that's exposed... Not too worried about that.

C
Old 03-26-12, 08:25 AM
  #117  
Rotary Enthusiast

Thread Starter
 
ChrisRX8PR's Avatar
 
Join Date: Oct 2007
Location: Plymouth, MN
Posts: 799
Likes: 0
Received 2 Likes on 2 Posts
Originally Posted by gusfd3s
Looking good!

Would love to see a ball mill in there though
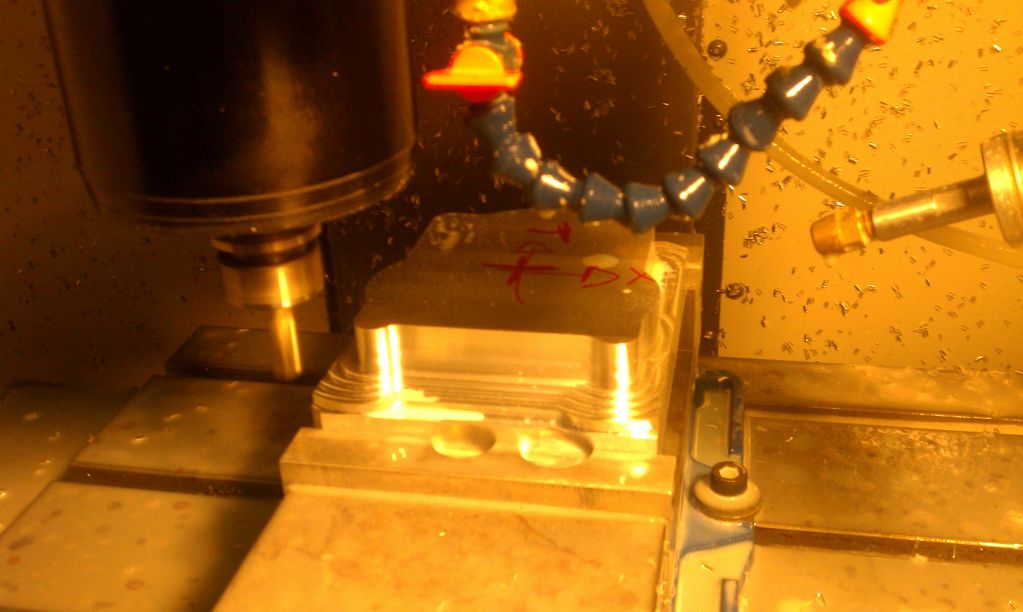
Hehe, thanks. I have ball end mills but used a corner radius end mill instead because I could use it to mill flat if I wanted to. It probably looks rough in the pics but the corner radius is 1/8 which blends the steps nicely when you run your finger through it... It just looks ribbed which I like

C
Old 03-26-12, 08:27 AM
  #118  
Rotary Enthusiast

Thread Starter
 
ChrisRX8PR's Avatar
 
Join Date: Oct 2007
Location: Plymouth, MN
Posts: 799
Likes: 0
Received 2 Likes on 2 Posts
not really, isn't that the point of a swap?

I'm putting more work into this than what is needed because I want to... It's part of the fun. I couldve done the swap with way less work but why?

C

Originally Posted by Efinity
lots of work. would it be easier to have swapped chassis than motors?
Old 03-26-12, 01:18 PM
  #119  
Uncontrollable drifter

iTrader: (1)
 
dznutzuk's Avatar
 
Join Date: Apr 2002
Location: Greece
Posts: 629
Likes: 0
Received 0 Likes on 0 Posts
Originally Posted by ChrisRX8PR
you run your finger through it... It just looks ribbed which I like
C
Ribbed for his pleasure. Sorry I just had to...
Old 03-26-12, 01:59 PM
  #120  
Rotary Enthusiast

Thread Starter
 
ChrisRX8PR's Avatar
 
Join Date: Oct 2007
Location: Plymouth, MN
Posts: 799
Likes: 0
Received 2 Likes on 2 Posts
Originally Posted by dznutzuk
Ribbed for his pleasure. Sorry I just had to...
HAhaha...LOL

Boy did I walk right into that one...I don't blame you...

C
Old 03-26-12, 05:54 PM
  #121  
Rotary Enthusiast

Thread Starter
 
ChrisRX8PR's Avatar
 
Join Date: Oct 2007
Location: Plymouth, MN
Posts: 799
Likes: 0
Received 2 Likes on 2 Posts
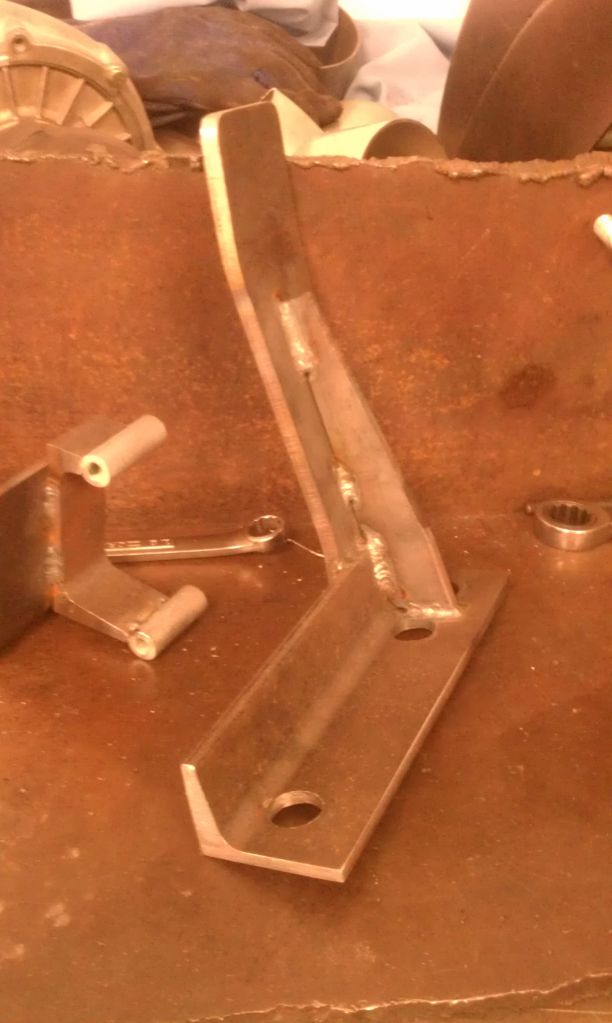
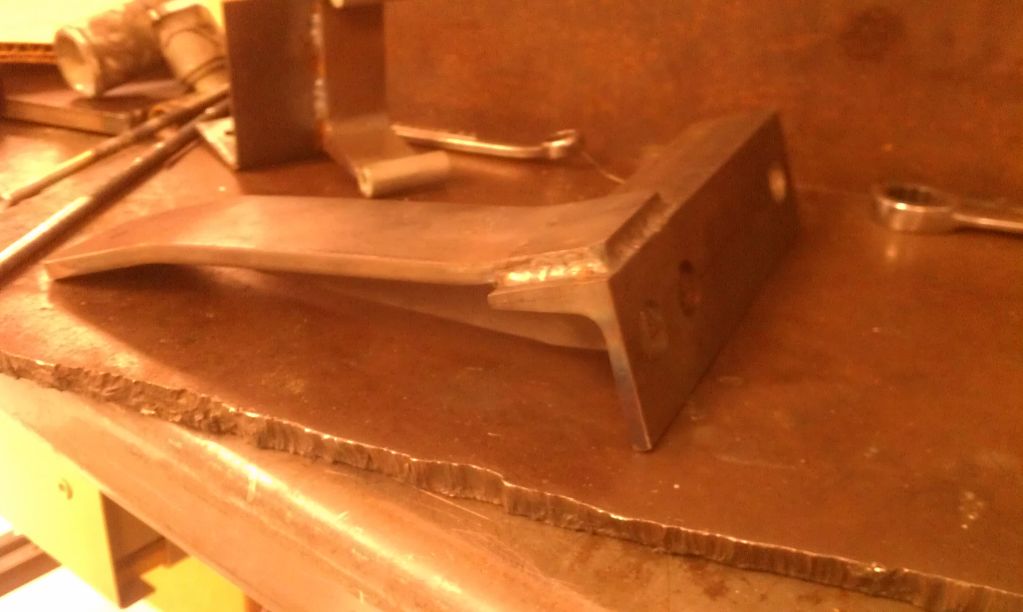
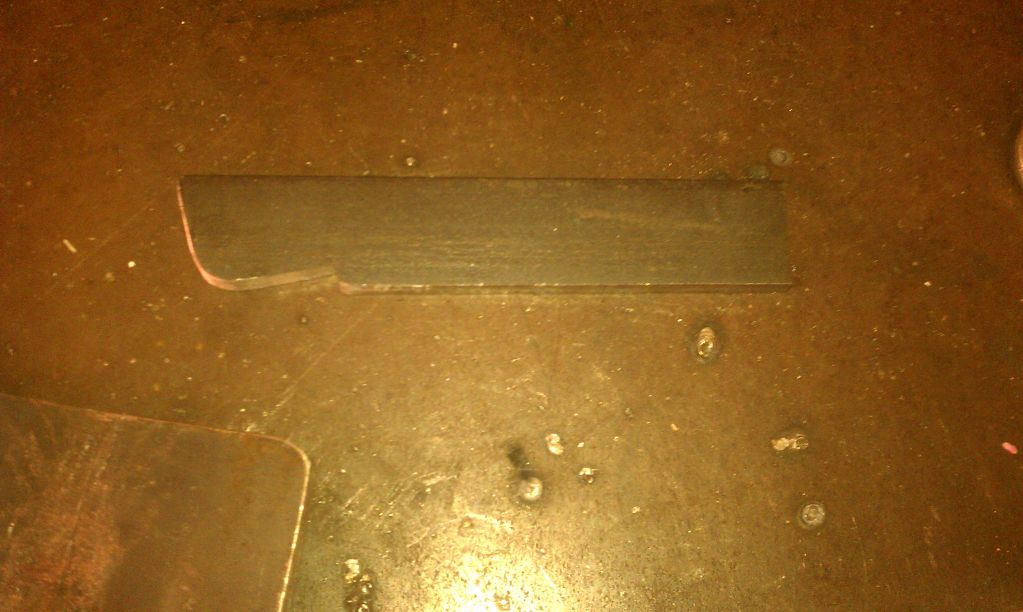
Finished reinforcing the Passenger Side Engine Mount. Its all 1/4" Steel and weights a ton but I need it to hold all that I can throw at it...

Cheers
Name:  IMAG0894.jpg
Views: 1998
Size:  125.9 KB

Name:  IMAG0895.jpg
Views: 2016
Size:  170.7 KB

Name:  IMAG0896.jpg
Views: 1991
Size:  124.4 KB

Name:  IMAG0897.jpg
Views: 1983
Size:  118.1 KB

Name:  IMAG0898.jpg
Views: 2004
Size:  100.9 KB

Name:  IMAG0899.jpg
Views: 2061
Size:  98.5 KB
Old 03-26-12, 08:33 PM
  #122  
Rotary Enthusiast

Thread Starter
 
ChrisRX8PR's Avatar
 
Join Date: Oct 2007
Location: Plymouth, MN
Posts: 799
Likes: 0
Received 2 Likes on 2 Posts
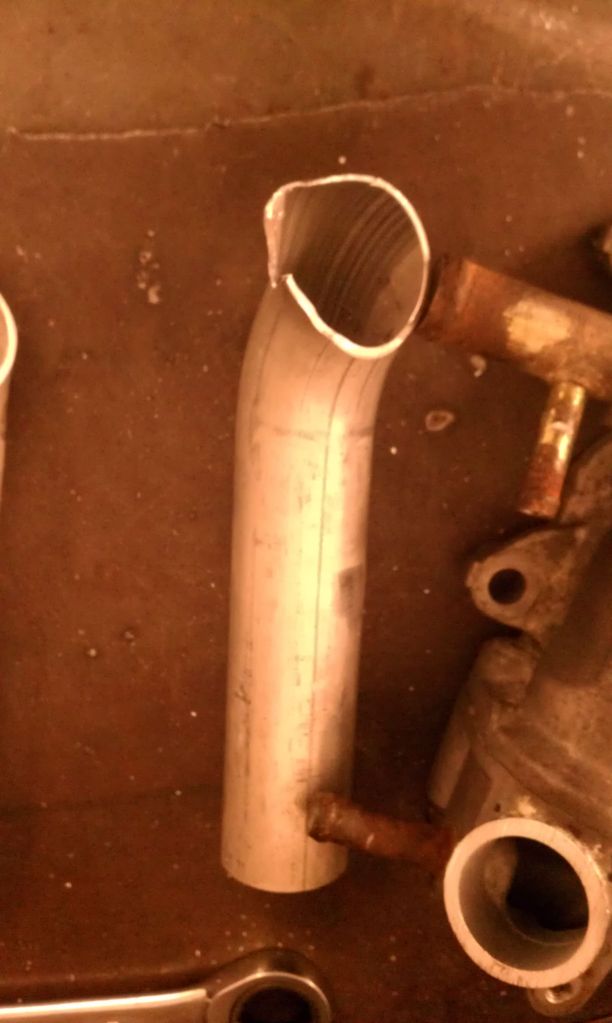
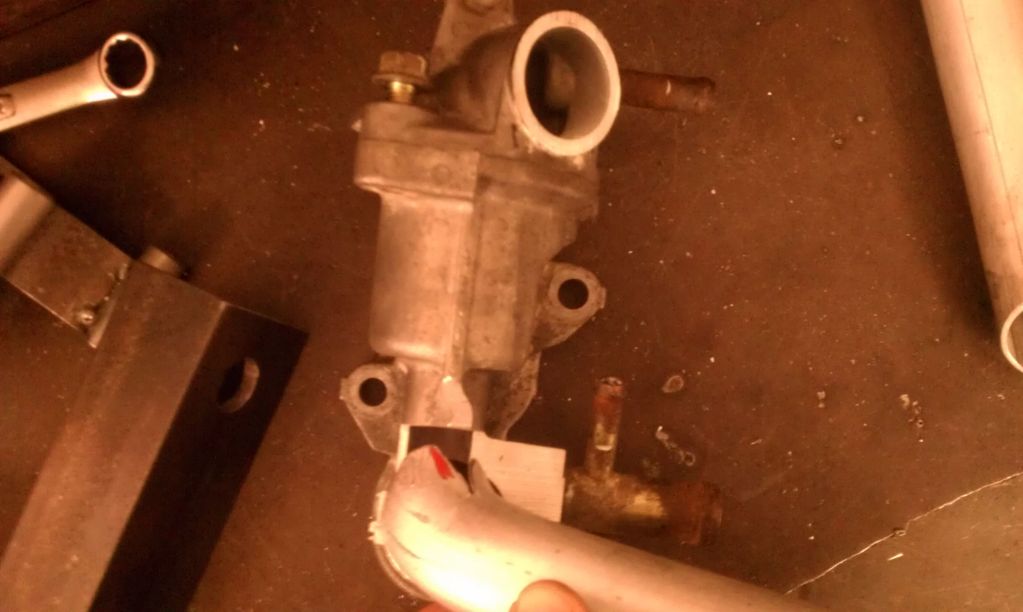
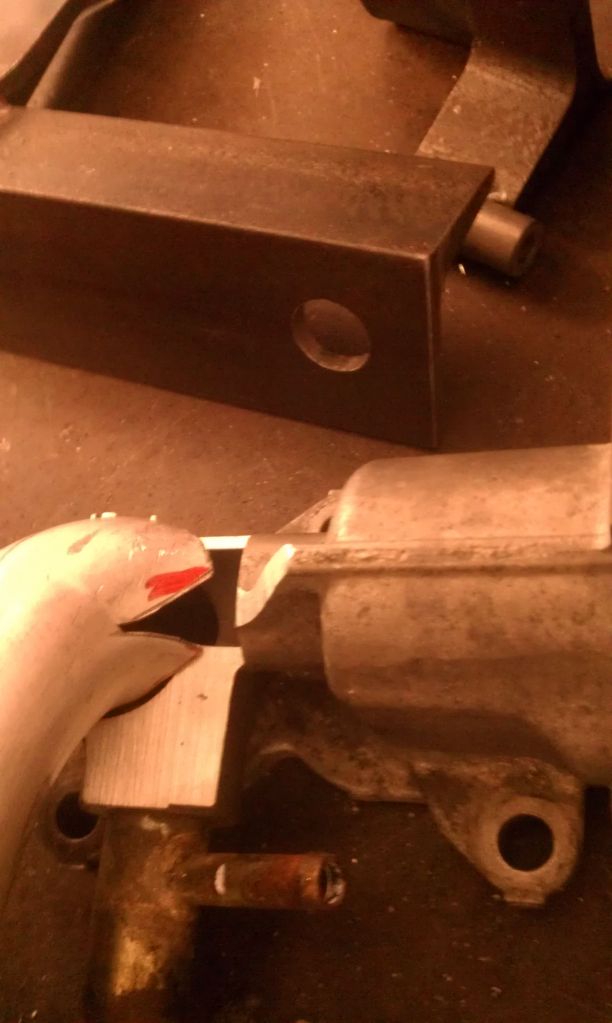
Worked on the water outlet a bit...waiting for all the aluminum welding to be ready before I work on that...

Chris

Name:  IMAG0901.jpg
Views: 2001
Size:  143.9 KB

Name:  IMAG0902.jpg
Views: 2004
Size:  119.1 KB

Name:  IMAG0904.jpg
Views: 2003
Size:  129.9 KB

Name:  IMAG0905.jpg
Views: 1987
Size:  136.8 KB

Name:  IMAG0906.jpg
Views: 1984
Size:  101.8 KB

Name:  IMAG0908.jpg
Views: 1994
Size:  92.5 KB


Name:  IMAG0910.jpg
Views: 1978
Size:  110.7 KB

Name:  IMAG0911.jpg
Views: 1973
Size:  97.3 KB
Old 03-29-12, 08:14 PM
  #123  
Rotary Enthusiast

Thread Starter
 
ChrisRX8PR's Avatar
 
Join Date: Oct 2007
Location: Plymouth, MN
Posts: 799
Likes: 0
Received 2 Likes on 2 Posts
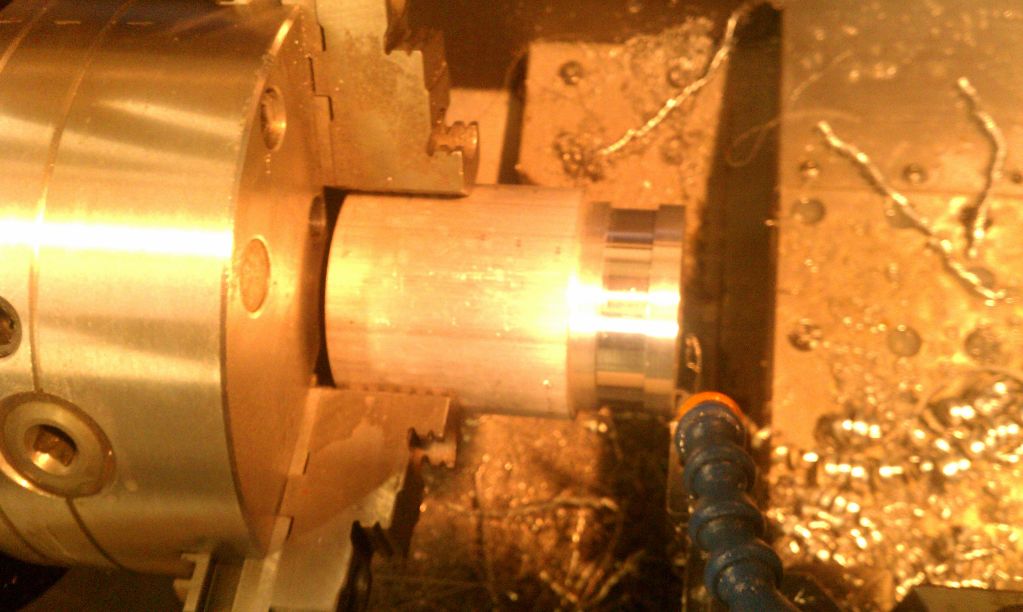
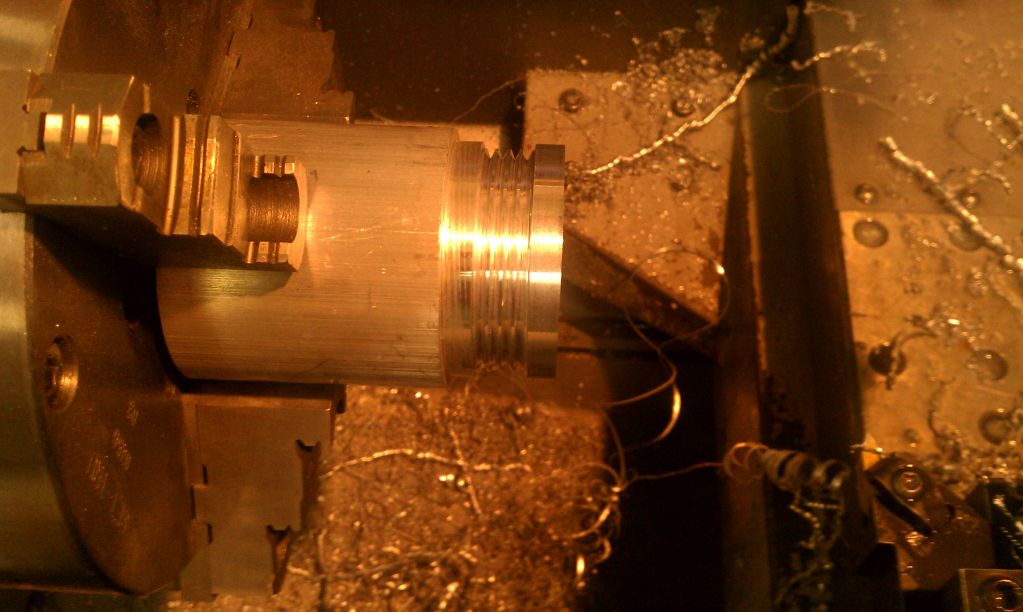
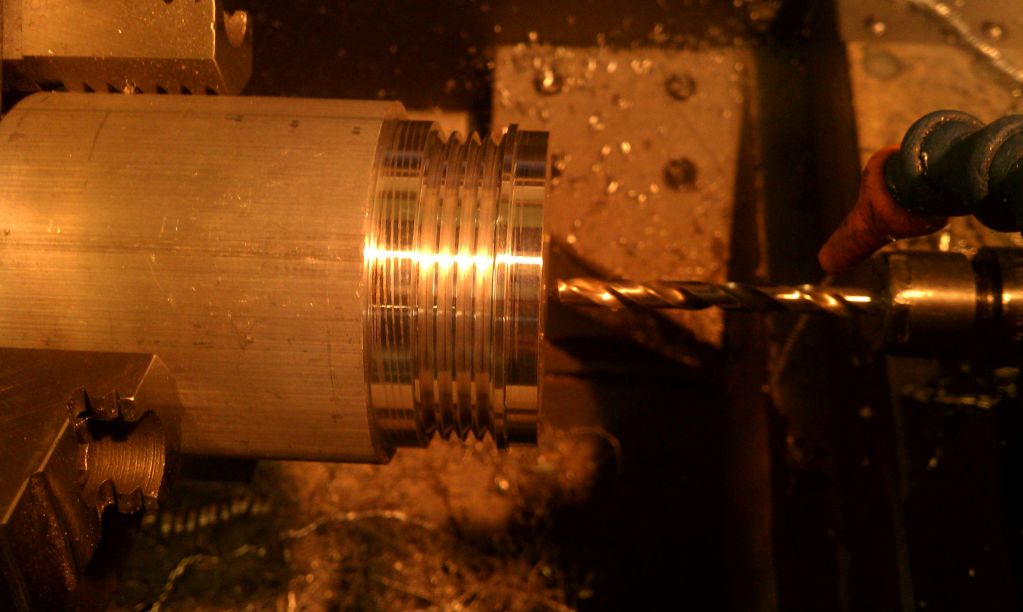
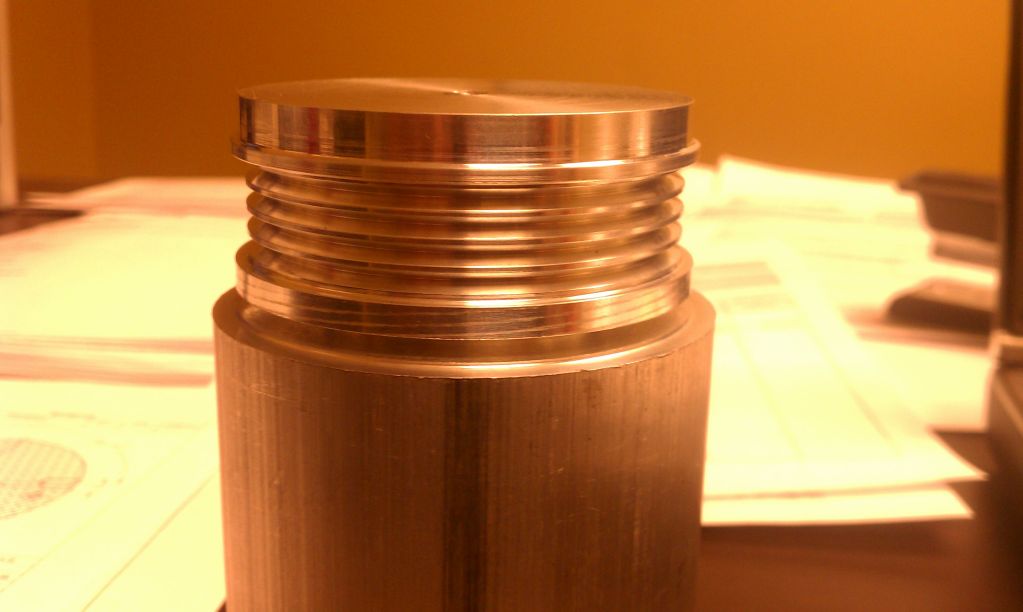
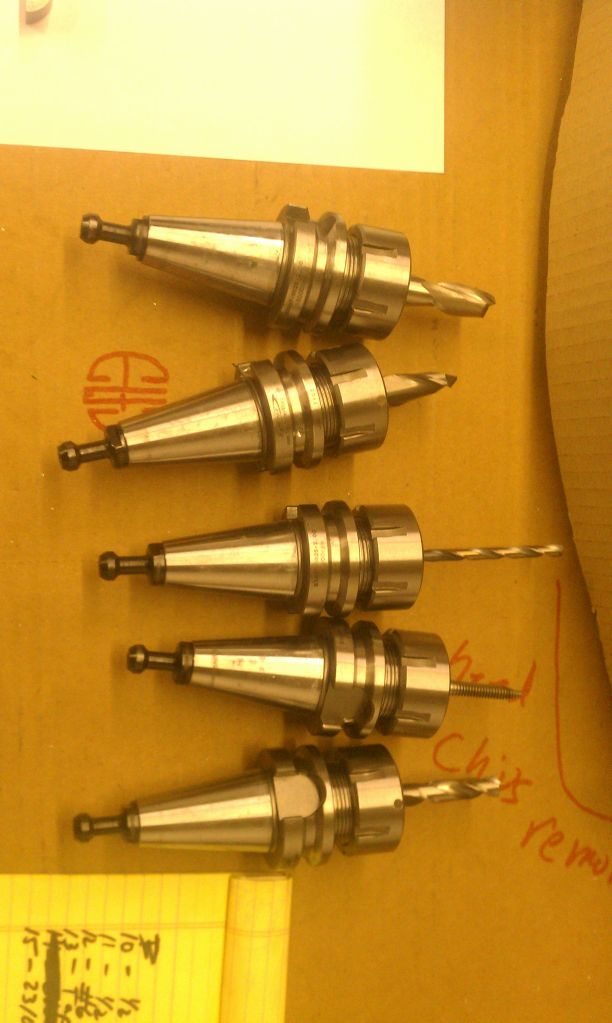
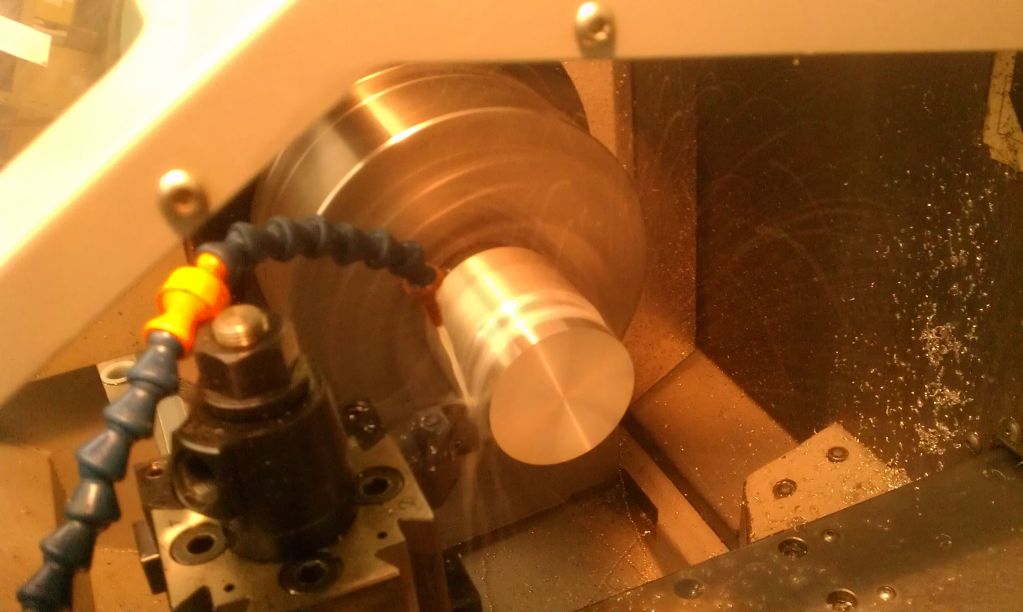
Put an hour or so into the Alternator pulley. I decided that I wanted to keep it in the stock location, from here, moving it forward is the only option. I settled on making an adapter bracket/spacer to move the Alternator fwd so it can be turned with the front crank pulley instead of the rear one as is stock. The only problem then would be that the front pulley is 19% bigger than the rear one which would mean the alternator would overspin so I started working on a 20% larger alternator pulley to slow it down to stock levels. Of course, while Im at it, I will mill a rotor shape into the front of it

Cheers
Name:  IMAG0915.jpg
Views: 2014
Size:  114.3 KB

Name:  IMAG0918.jpg
Views: 1990
Size:  132.1 KB

Name:  IMAG0919.jpg
Views: 2003
Size:  133.4 KB

Name:  IMAG0920.jpg
Views: 1991
Size:  109.6 KB

Name:  IMAG0922.jpg
Views: 1984
Size:  82.6 KB
Old 03-29-12, 10:24 PM
  #124  
Rotary Freak

iTrader: (15)
 
cfamilyfix's Avatar
 
Join Date: Aug 2010
Location: Brooklyn NY
Posts: 1,735
Received 2 Likes on 2 Posts
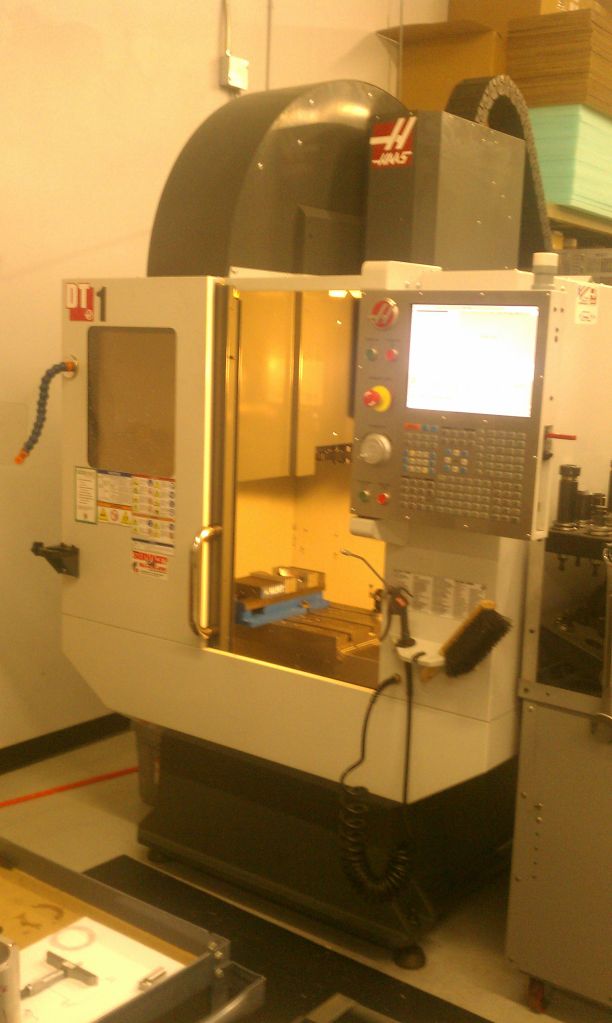
Ok...at first when I was reading this thread it was looking like the average guy's RX8 conversion...then you busted out the CAD and water-jet cutting machine (don't know the real name...lol) and now I'm feeling ummm....betrayed lol. It doesn't mean I'm not in awe of the work...because I am...and I can't wait to see how this turns out!
Old 03-29-12, 11:36 PM
  #125  
Rotary Enthusiast

 
Havoc's Avatar
 
Join Date: Aug 2004
Location: Australia - Perth
Posts: 1,326
Received 9 Likes on 8 Posts
where do you work mate ? I think you have some of my new favorite tools !!

Quick Reply: RX-8 13B-RE conversion!


All times are GMT -5. The time now is 03:34 PM.