
My JDM 1976 RX-3 GSII Savanna project

Thread Starter
Joined: Nov 2004
Posts: 2,066
Likes: 1
From: Japan & California
My JDM 1976 RX-3 GSII Savanna project
At the end of last year I spotted this RX-3 just sitting at a guys house not being touched or moved. I passed by his place (in the country side of Saitama Japan) close 10 times before I finally found someone outside near where the car was parked. I spoke to the guy and asked if it was his car or if he knew the owner. He told me it was his car and that he had bought it 20 years ago for about $2000. He said he drove it for 10 years, then parked it for 10 years of which he kept starting and moving it occassionally for 5 years and then the battery died so he didnt touch it for the last 5 years.
I asked him if he would consider getting rid of it and he said he was not interested in selling it but had been told it would cost close to $9000 to get it running and street worthy again. At the end of our talking I told him I would check out the engine for him and see if I could get it running for him for as cheap as possible.
The next time I went out to speak to him he said he did not care to have me repair it or look at it but would consider selling it. He was pretty attached to the car and so I bit the bullet and ended up paying him quite a bit more than I would have liked to.
So the car was then mine and I took it to a friends shop that I could use to begin my project. I started by putting a considerable amount of engine oil in through the spark plug holes and intake manifold and let it sit for a day, then I turned it and did the same again 2 or 3 more times. Finally I decided to give it a comression test after being soaked in oil. Compression was crap.... So I did the oil trick a bit more and still ended up with crap compression.
Long story short I ended up pulling the engine and looking at the apex seals through the exhaust ports. 3 seals were stuck but the rotors seemed fine. I tried massaging the seals to coerce them to unstck but nothing seamed to work.
At this point I tore down the engine and found that the rotor housings has a lot of chrome flaking and the seals were still a pain in the but to remove.
This car has a 12A single dist. engine and I hoped I would be able to get new rotor housings from Mazda Japan but found out they were no longer available... I could have gotten away with using the same rotor housings I suppose but really wanted to put this engine back together as best as possible. I was lucky to find a brand new set of 12A rotor housings at a classic car show and swapmeet about 3 weeks after I had started searching for them. They cost me a crap load but I think they were well worth it.
At this point I ordered all brand new internals from Mazda (apex, side, corner, oil, ets ... seals.). I gave everything a thorough cleaning and then had Mr. Uehara at Wise One Auto clearence all the parts and assemble the engine for me.
Last week I got the engine back in the car, I got a water pump for it, and got a new core for the original radiator, as well as a rebuilt carb and brand new oem air filter. Juni at JRX was able to hook me up with a new OEM clutch the last time I was out in California also (thanks Juni).
The engine started up and ran great. I still had a lot of other work to do but was relieved that it was atleast a running RX-3 at that point. After overhauling all the brake calipers, drums, master cyl, clutch master cyl, and clutch slave cyl. The car was ready to be driven for break in miles.
I took the RX-3 for a trip up to Ebisu circuit in Fukushima to visit some friends at Powervehicles, and then made a further trip up to Sendai to visit another friend.
My goal with this project was to keep everything Mazda OEM and all original/normal. I ended up having to use a non mazda oil filter, and had to make 2 gaskets. One for the lower intake manifold, and one for the OMP. Other than that this car is as close to 100% factory just as it was when it was sold by the Mazda Dealer here in Japan.
I spent two days working ont he paint job to bring back some shine and also polish up some of the metal bits. However there are still some flaws with the paint and some metal bits that I still need to work on.
I never thought I would take on a restore project like this that had me working so hard to make the same specs as when it was sold, however I must say it was still fun and I get lots of old dudes gawking at me as I drive by them, not only because cars of the genre are extremely rare in Japan, but also because when they see the driver is not some old *** Japanese dude they get all confused hahaha.
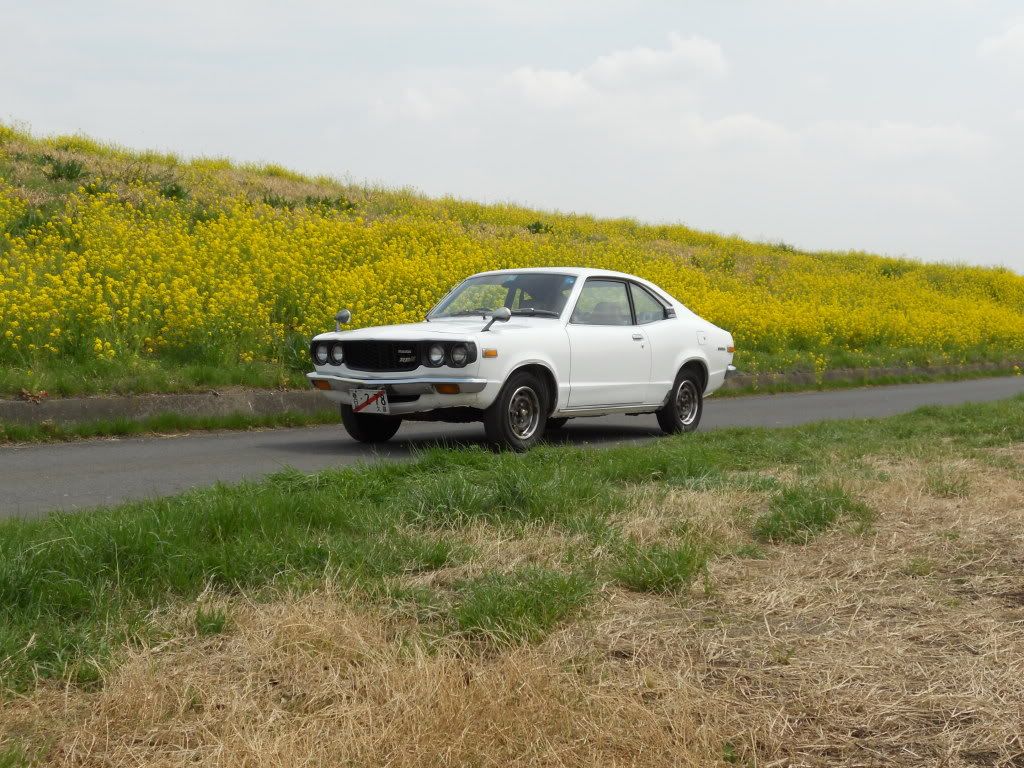
Ok here are some pics from yesterday. I tried to get pics in all the spots that it seems everyone else takes pics at haha.
I asked him if he would consider getting rid of it and he said he was not interested in selling it but had been told it would cost close to $9000 to get it running and street worthy again. At the end of our talking I told him I would check out the engine for him and see if I could get it running for him for as cheap as possible.
The next time I went out to speak to him he said he did not care to have me repair it or look at it but would consider selling it. He was pretty attached to the car and so I bit the bullet and ended up paying him quite a bit more than I would have liked to.
So the car was then mine and I took it to a friends shop that I could use to begin my project. I started by putting a considerable amount of engine oil in through the spark plug holes and intake manifold and let it sit for a day, then I turned it and did the same again 2 or 3 more times. Finally I decided to give it a comression test after being soaked in oil. Compression was crap.... So I did the oil trick a bit more and still ended up with crap compression.
Long story short I ended up pulling the engine and looking at the apex seals through the exhaust ports. 3 seals were stuck but the rotors seemed fine. I tried massaging the seals to coerce them to unstck but nothing seamed to work.
At this point I tore down the engine and found that the rotor housings has a lot of chrome flaking and the seals were still a pain in the but to remove.
This car has a 12A single dist. engine and I hoped I would be able to get new rotor housings from Mazda Japan but found out they were no longer available... I could have gotten away with using the same rotor housings I suppose but really wanted to put this engine back together as best as possible. I was lucky to find a brand new set of 12A rotor housings at a classic car show and swapmeet about 3 weeks after I had started searching for them. They cost me a crap load but I think they were well worth it.
At this point I ordered all brand new internals from Mazda (apex, side, corner, oil, ets ... seals.). I gave everything a thorough cleaning and then had Mr. Uehara at Wise One Auto clearence all the parts and assemble the engine for me.
Last week I got the engine back in the car, I got a water pump for it, and got a new core for the original radiator, as well as a rebuilt carb and brand new oem air filter. Juni at JRX was able to hook me up with a new OEM clutch the last time I was out in California also
The engine started up and ran great. I still had a lot of other work to do but was relieved that it was atleast a running RX-3 at that point. After overhauling all the brake calipers, drums, master cyl, clutch master cyl, and clutch slave cyl. The car was ready to be driven for break in miles.
I took the RX-3 for a trip up to Ebisu circuit in Fukushima to visit some friends at Powervehicles, and then made a further trip up to Sendai to visit another friend.
My goal with this project was to keep everything Mazda OEM and all original/normal. I ended up having to use a non mazda oil filter, and had to make 2 gaskets. One for the lower intake manifold, and one for the OMP. Other than that this car is as close to 100% factory just as it was when it was sold by the Mazda Dealer here in Japan.
I spent two days working ont he paint job to bring back some shine and also polish up some of the metal bits. However there are still some flaws with the paint and some metal bits that I still need to work on.
I never thought I would take on a restore project like this that had me working so hard to make the same specs as when it was sold, however I must say it was still fun and I get lots of old dudes gawking at me as I drive by them, not only because cars of the genre are extremely rare in Japan, but also because when they see the driver is not some old *** Japanese dude they get all confused hahaha.
Ok here are some pics from yesterday. I tried to get pics in all the spots that it seems everyone else takes pics at haha.
Thread Starter
Joined: Nov 2004
Posts: 2,066
Likes: 1
From: Japan & California
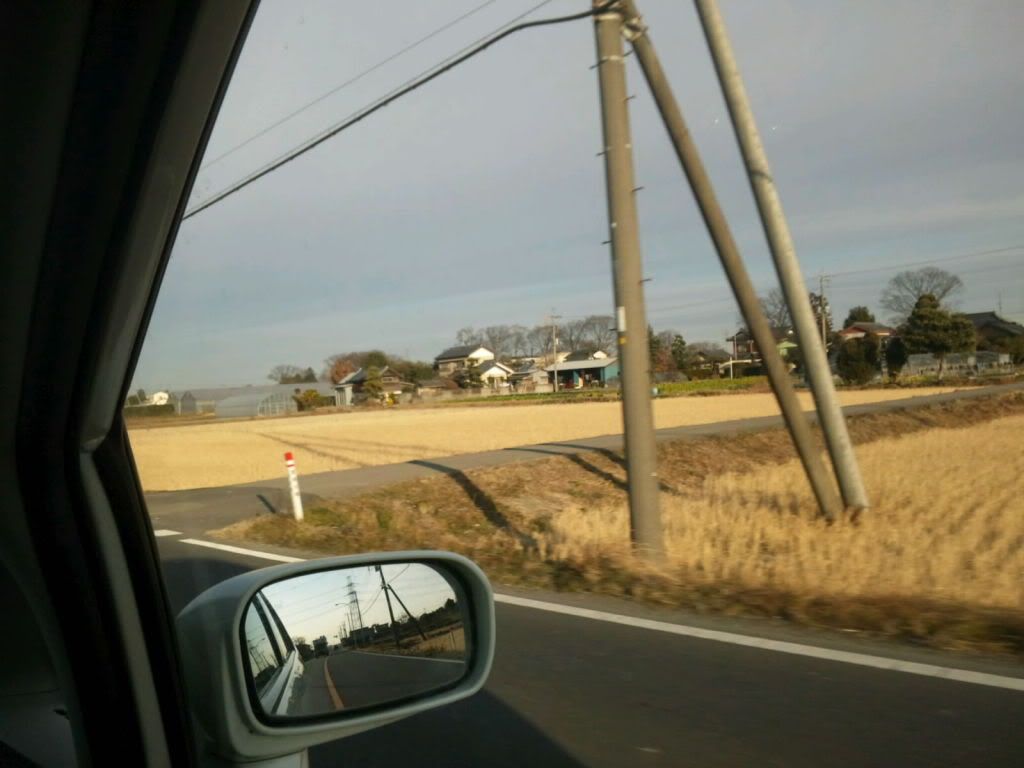
This is how and where I spotted the car. If you look in the back ground there is an open blue barn. The car is sitting at the front of it.
Sitting under some cherry blossom trees.

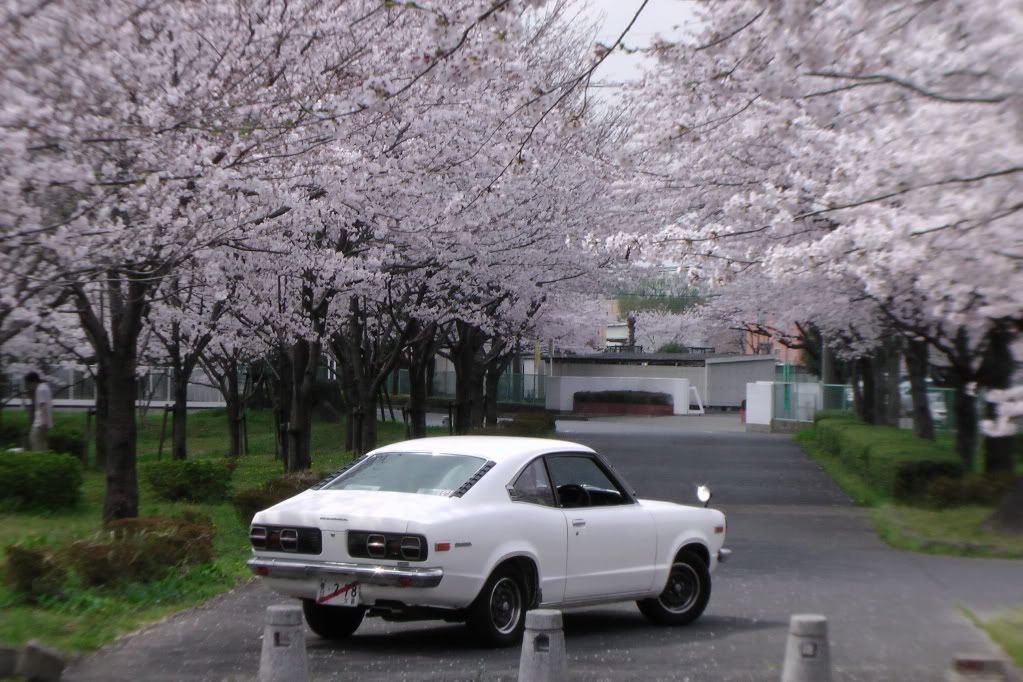
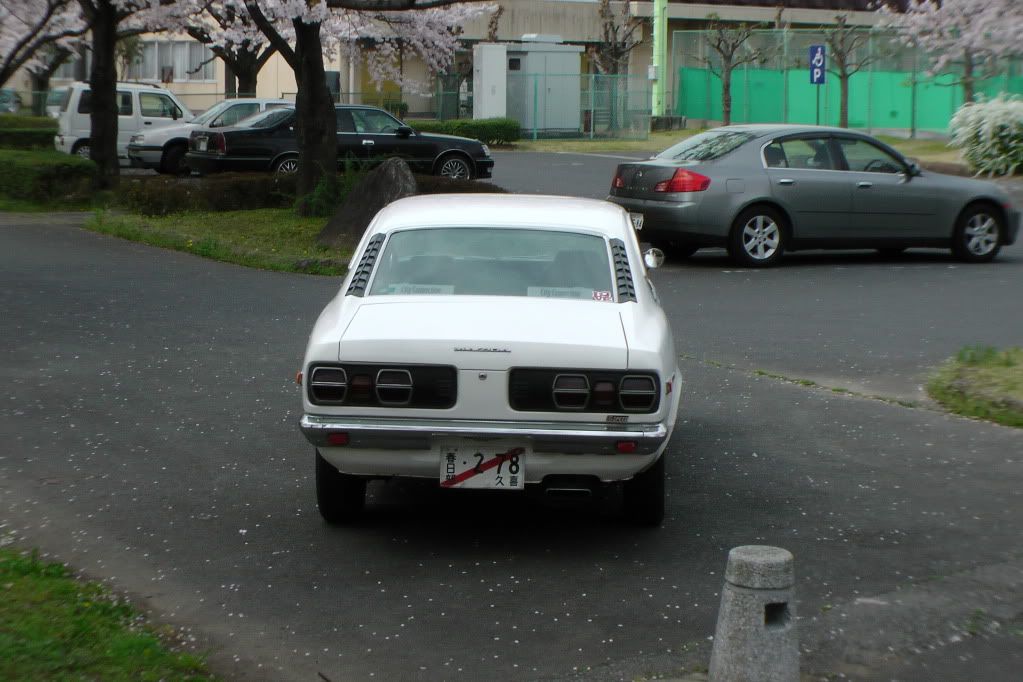
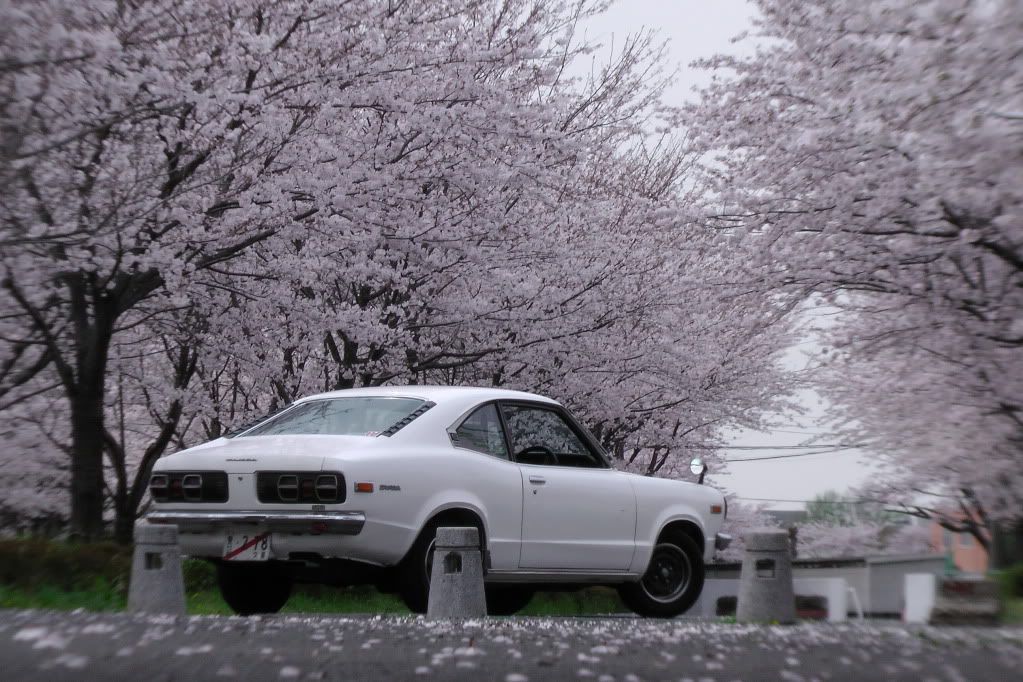
Sitting under some cherry blossom trees.


Trending Topics
Thread Starter
Joined: Nov 2004
Posts: 2,066
Likes: 1
From: Japan & California
I have some engie and engine build pics that I still have to upload. I will get them up on here soon.
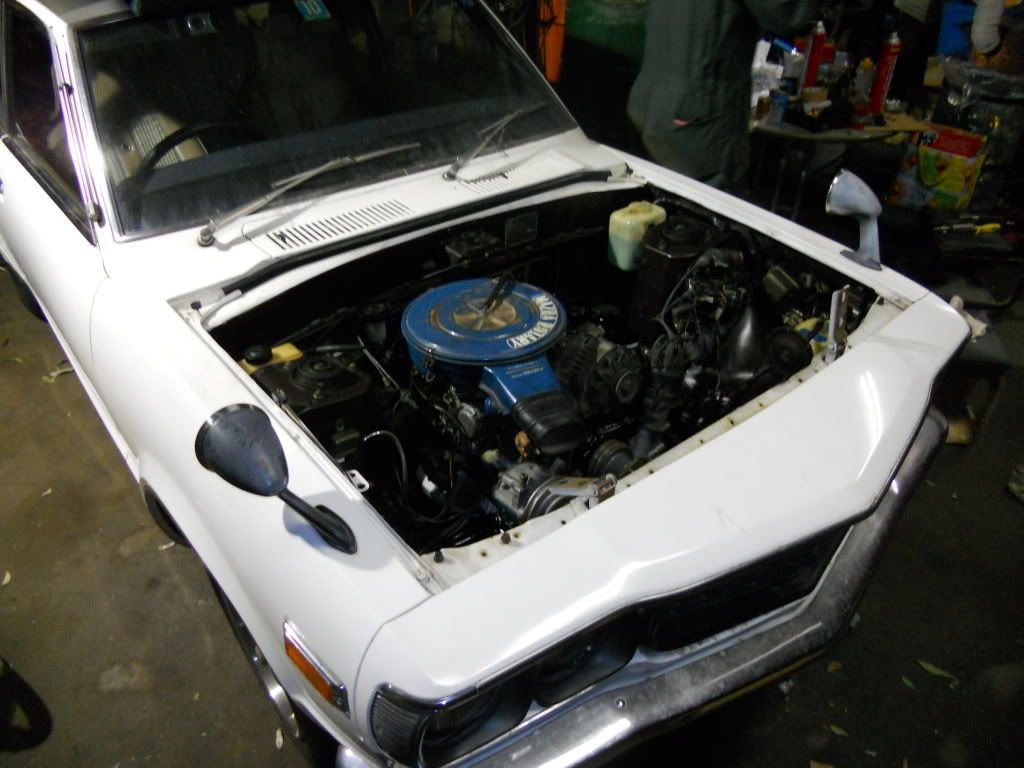
My goal is to change as little as possible on this car. So even though the engine bay would have looked a lot better with a fresh coat of paint, and some parts would look better fully polished or painted, I decided to leave them as they were to show the condition of the car.
My goal is to change as little as possible on this car. So even though the engine bay would have looked a lot better with a fresh coat of paint, and some parts would look better fully polished or painted, I decided to leave them as they were to show the condition of the car.
My goal is to change as little as possible on this car. So even though the engine bay would have looked a lot better with a fresh coat of paint, and some parts would look better fully polished or painted, I decided to leave them as they were to show the condition of the car.
there is nothing wrong with that. in fact, you earned my respect


I have some engie and engine build pics that I still have to upload. I will get them up on here soon.
My goal is to change as little as possible on this car. So even though the engine bay would have looked a lot better with a fresh coat of paint, and some parts would look better fully polished or painted, I decided to leave them as they were to show the condition of the car.
My goal is to change as little as possible on this car. So even though the engine bay would have looked a lot better with a fresh coat of paint, and some parts would look better fully polished or painted, I decided to leave them as they were to show the condition of the car.

Thread Starter
Joined: Nov 2004
Posts: 2,066
Likes: 1
From: Japan & California
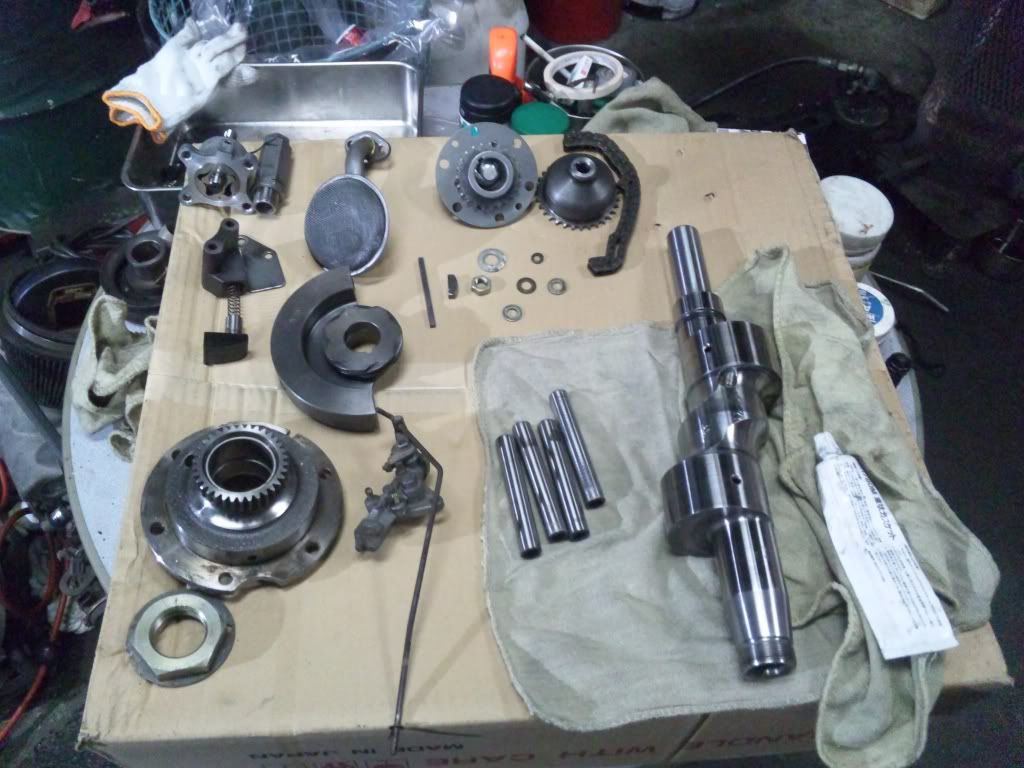
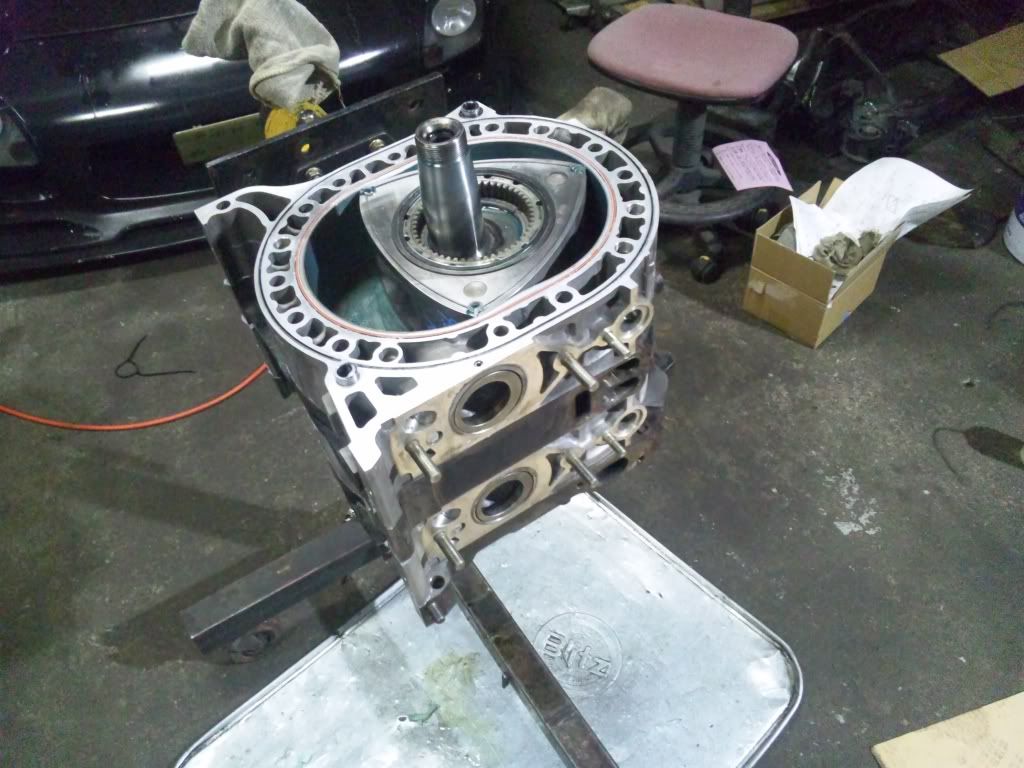
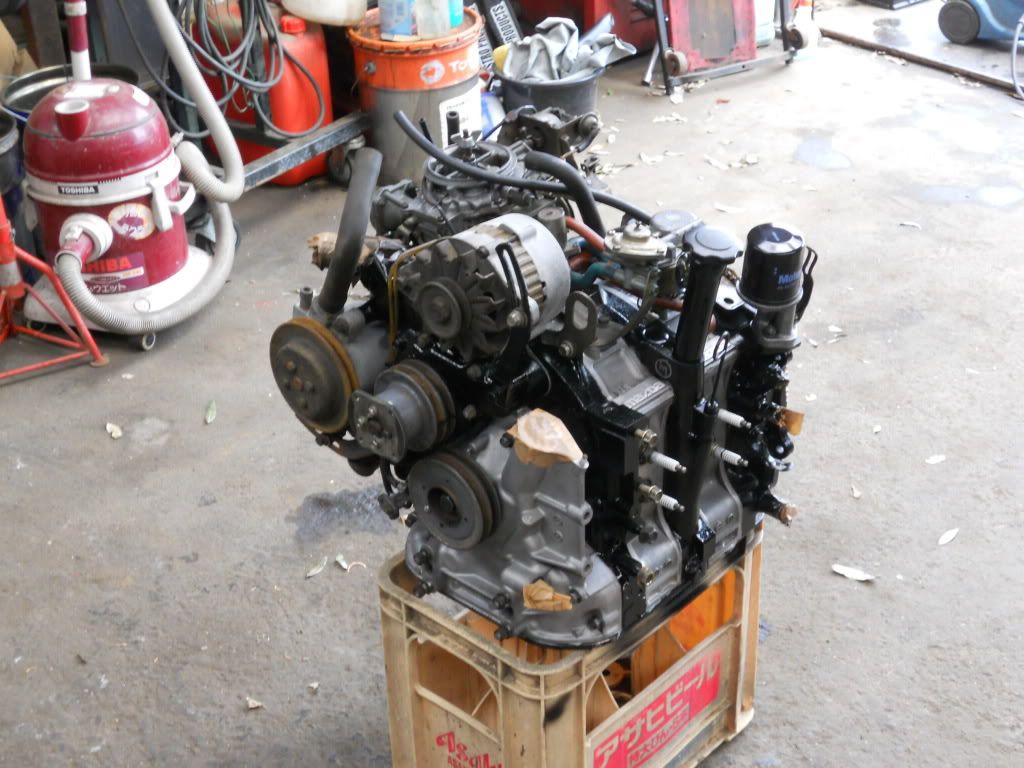
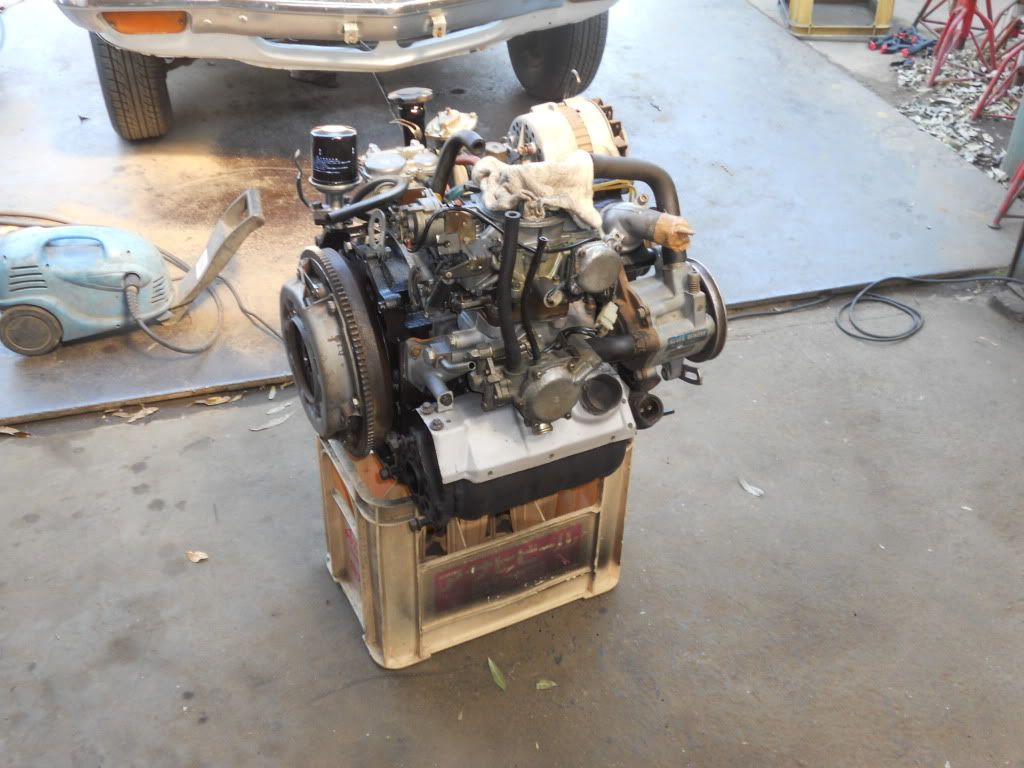
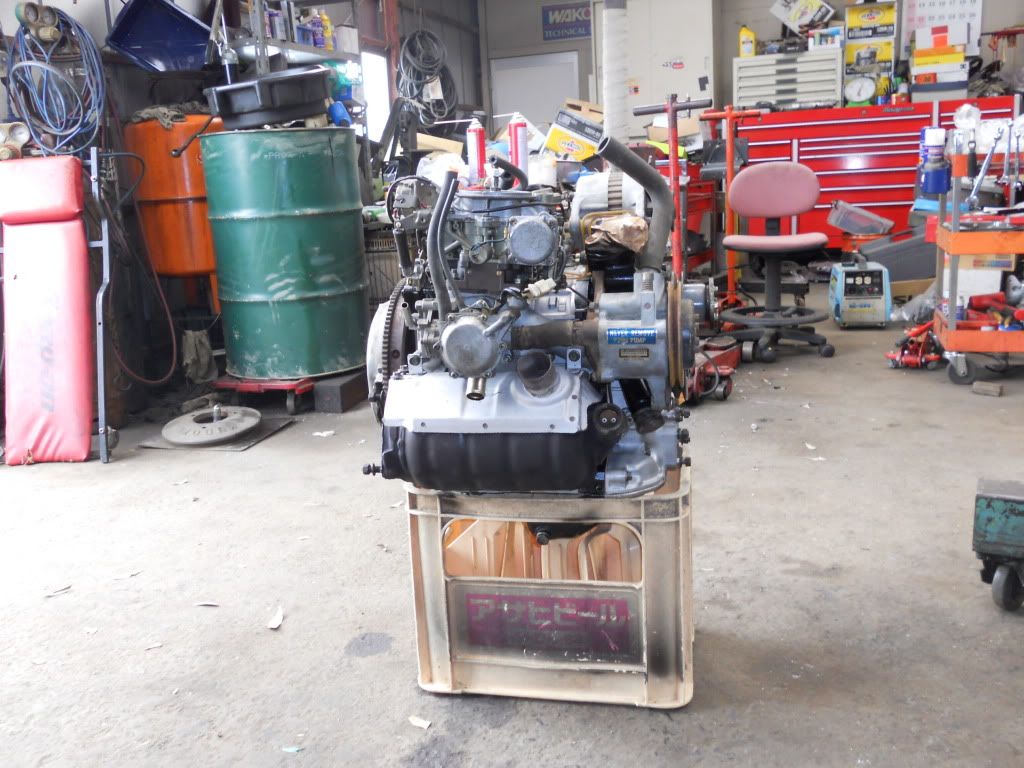
OK I got some pics of the engine build process that I am posting below.
I still need to get new interior and other detailed pics but these should suffice for the time being.
Rotors fresh out of the engine.


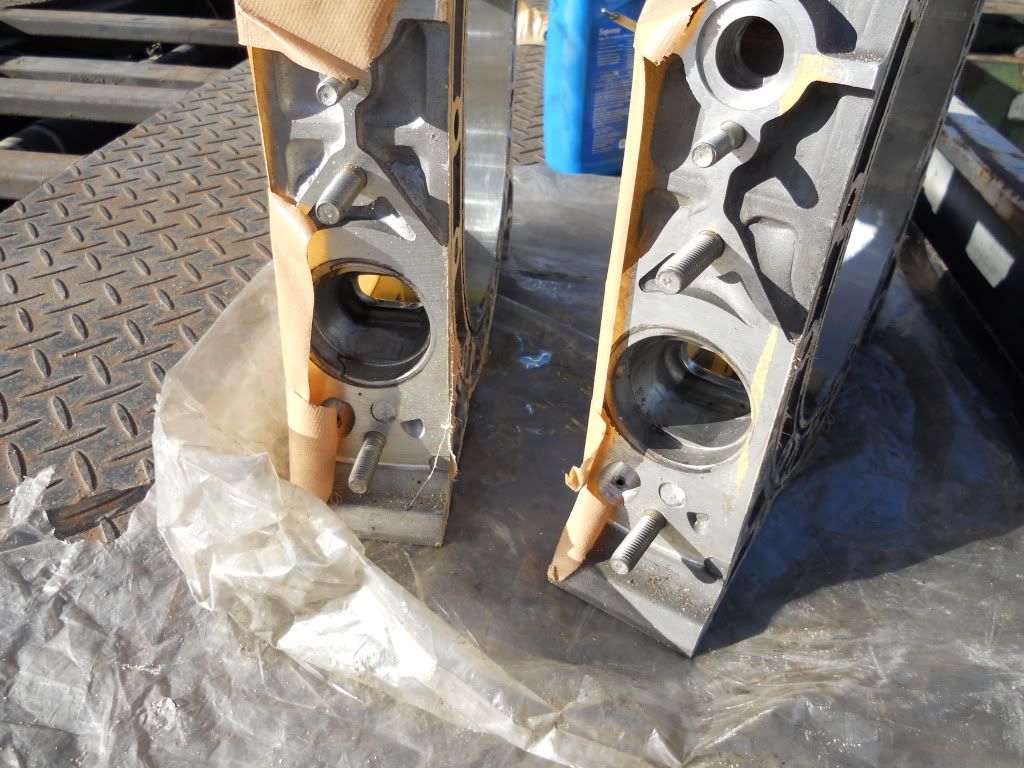
Example of flaking from old/ original rotor housings. Sadly I had to go with a newer generation of housings due to lack of supply. I am holding on to the original housings in hope of someday being able to have them fixed if that ever becomes possible.

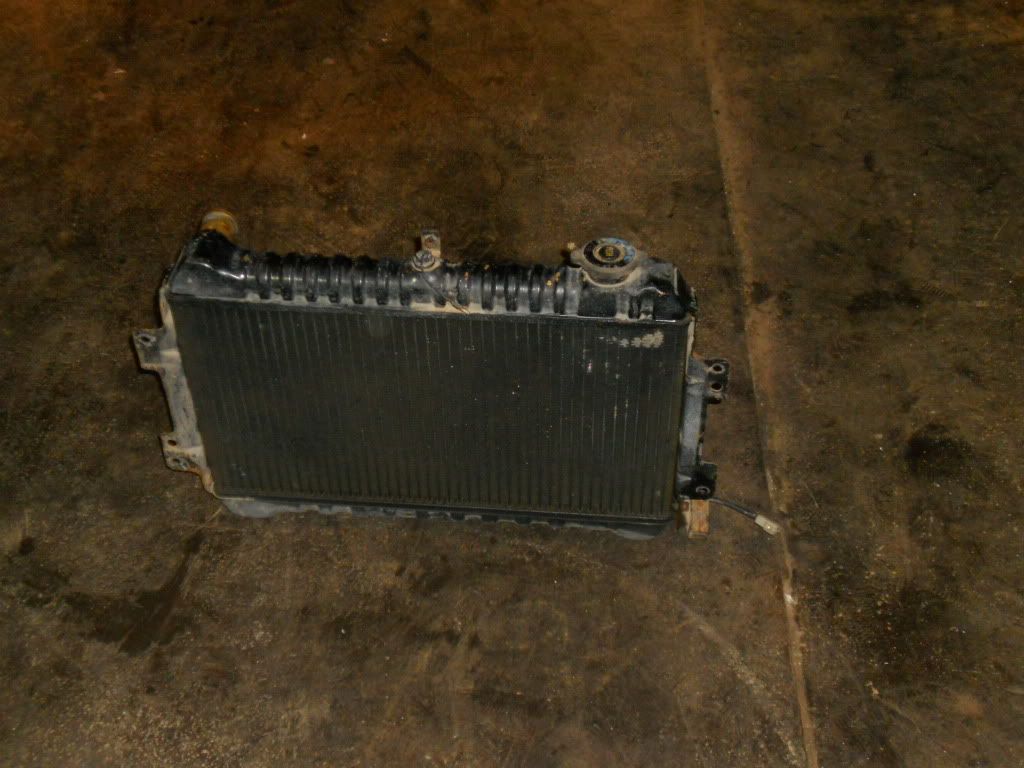
Pics of the Radiator before being recored. I dont think this is the original RX-3 radiator. Anyone care to enlighten me?
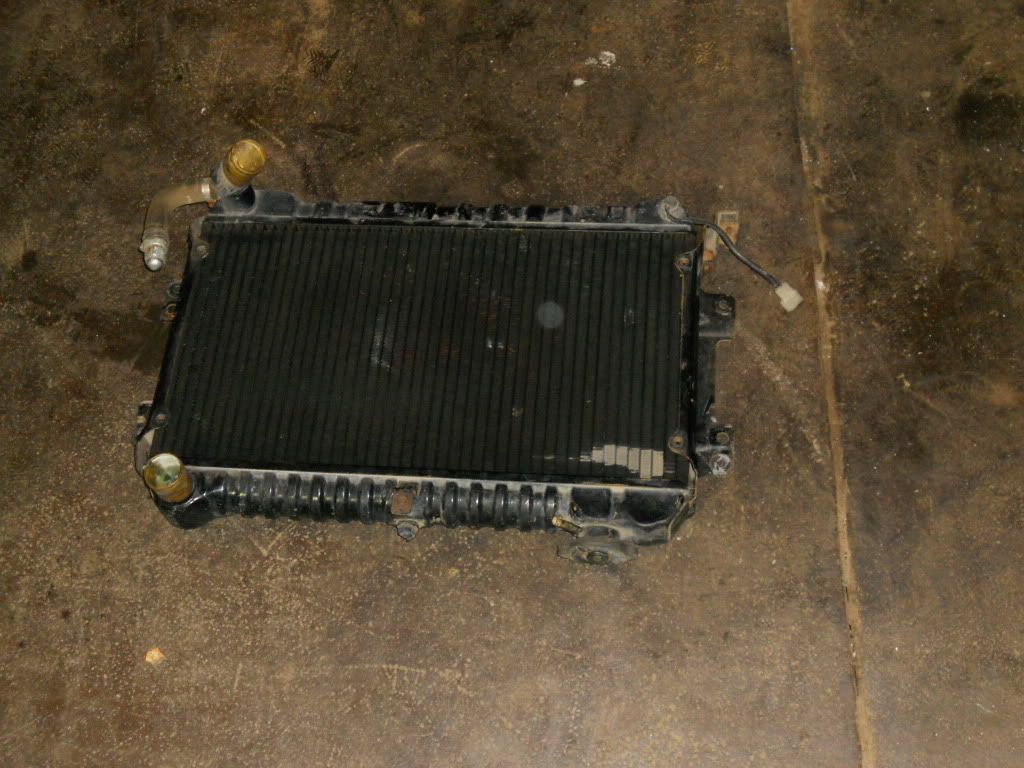
Radiator all fixed and ready to install

I still need to get new interior and other detailed pics but these should suffice for the time being.
Rotors fresh out of the engine.
Example of flaking from old/ original rotor housings. Sadly I had to go with a newer generation of housings due to lack of supply. I am holding on to the original housings in hope of someday being able to have them fixed if that ever becomes possible.
Pics of the Radiator before being recored. I dont think this is the original RX-3 radiator. Anyone care to enlighten me?
Radiator all fixed and ready to install
Thread Starter
Joined: Nov 2004
Posts: 2,066
Likes: 1
From: Japan & California
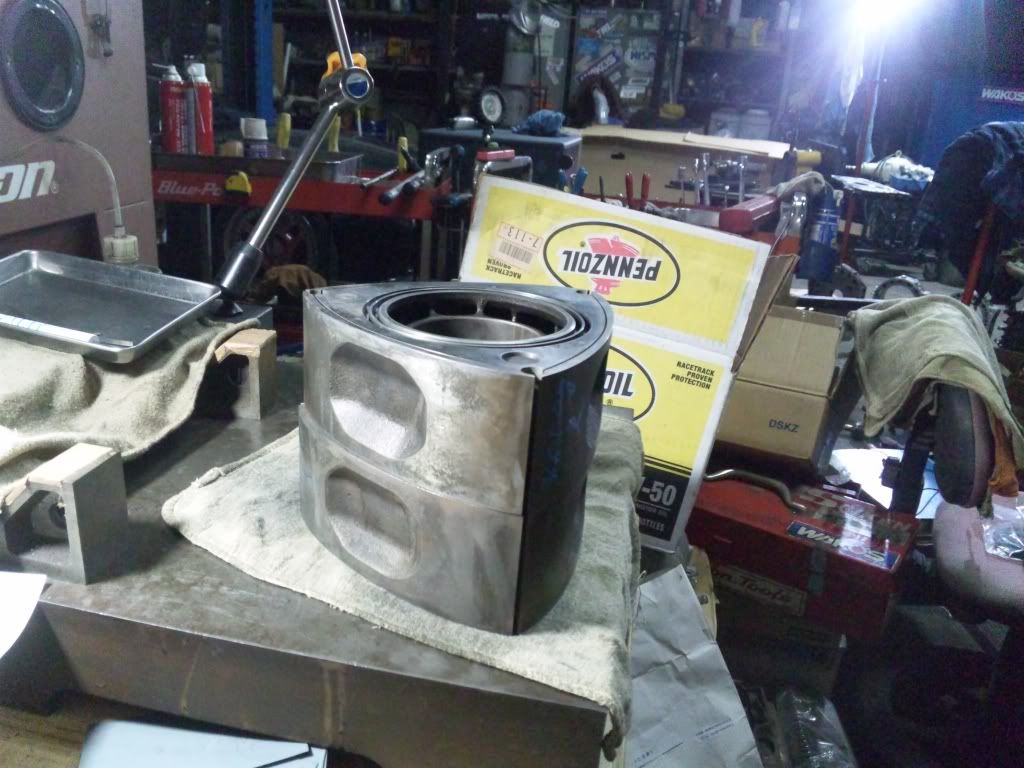
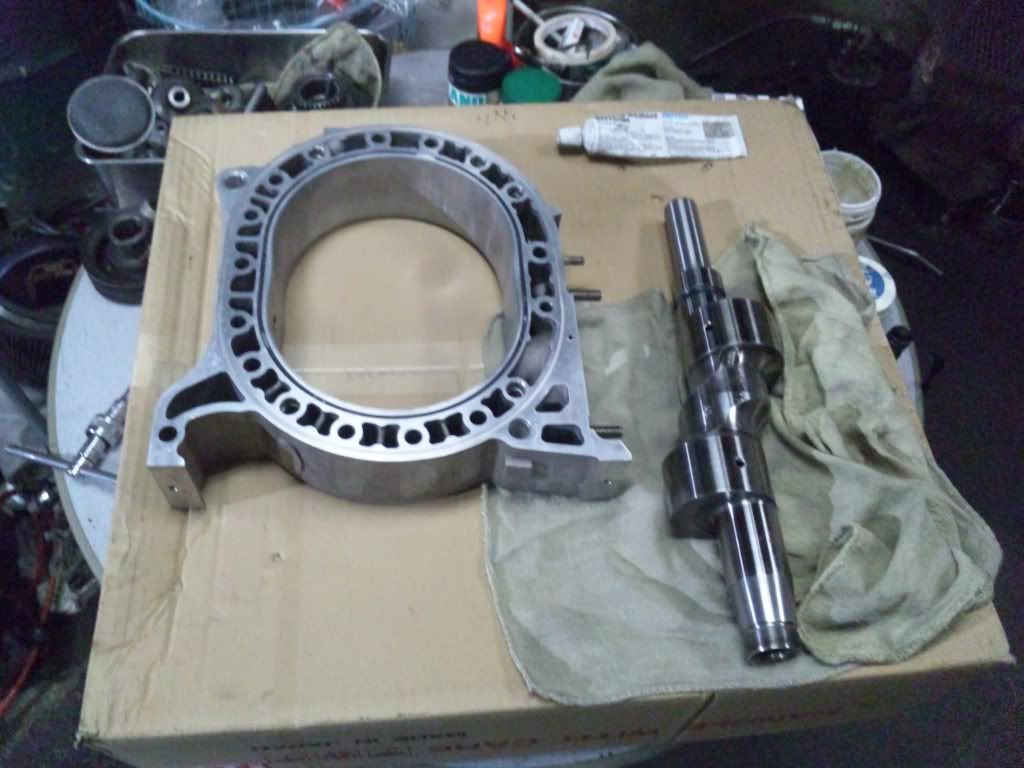
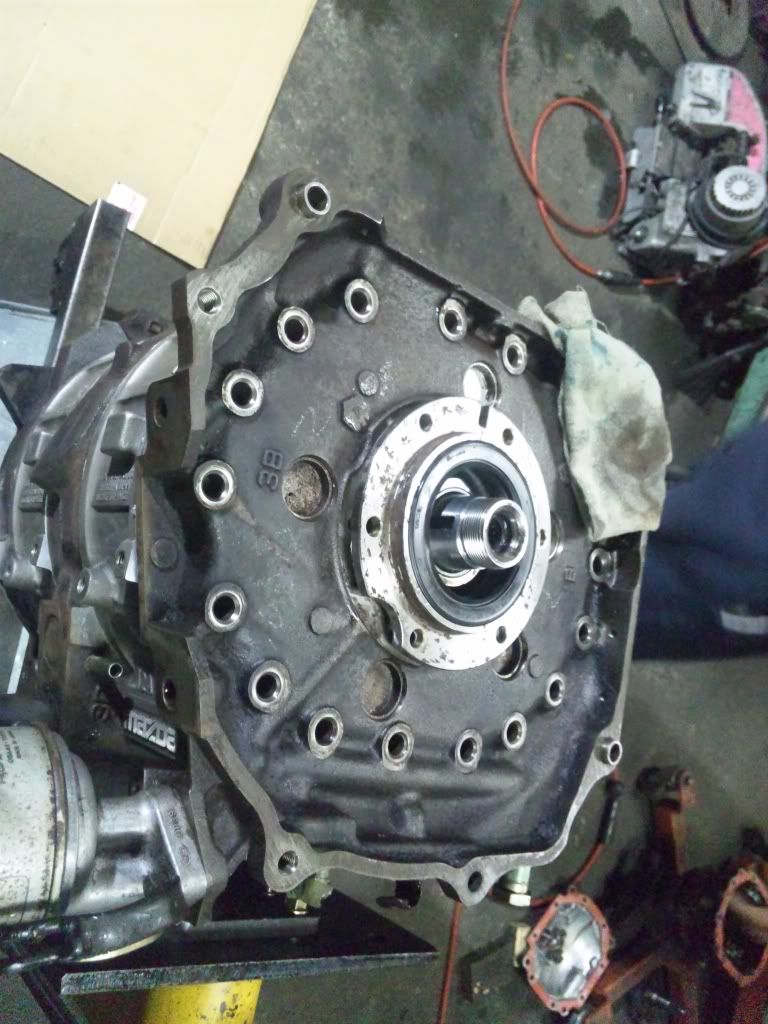
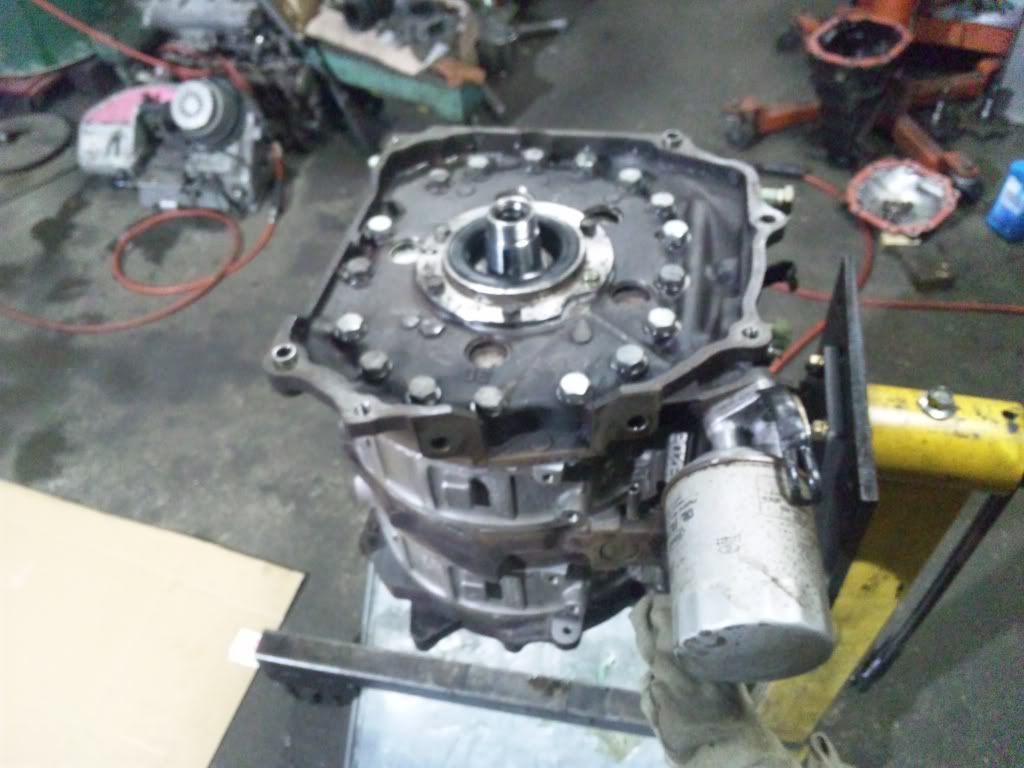
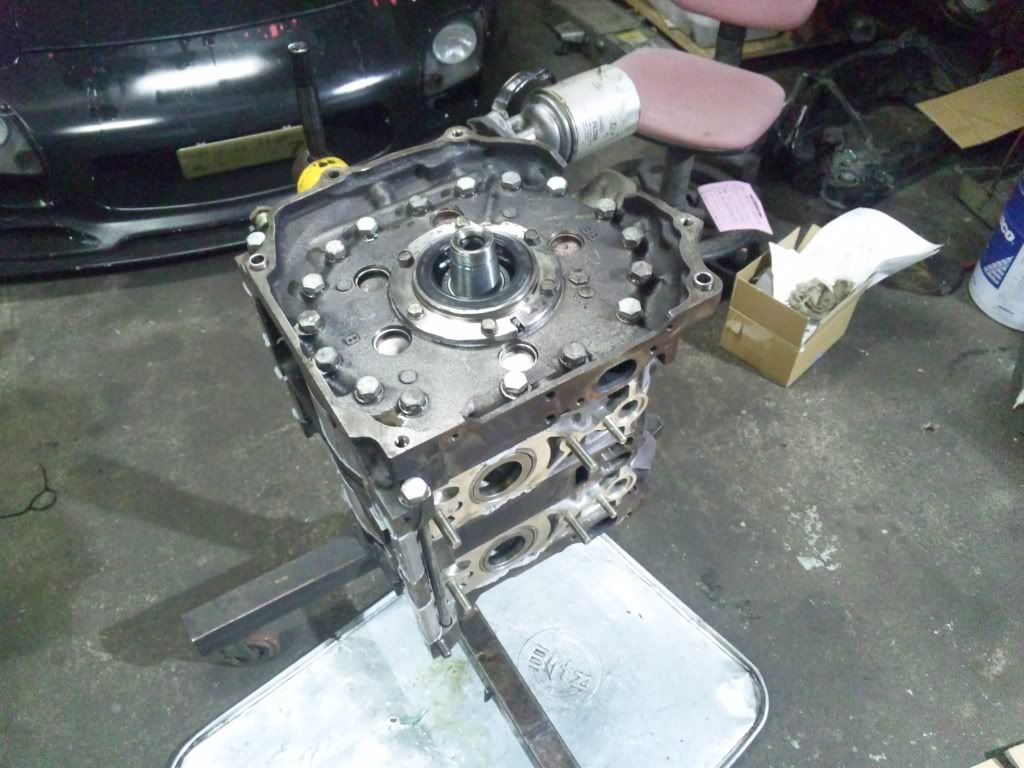
Old but still brand new rotor housings. These are from a later gen 12A but not sure which.


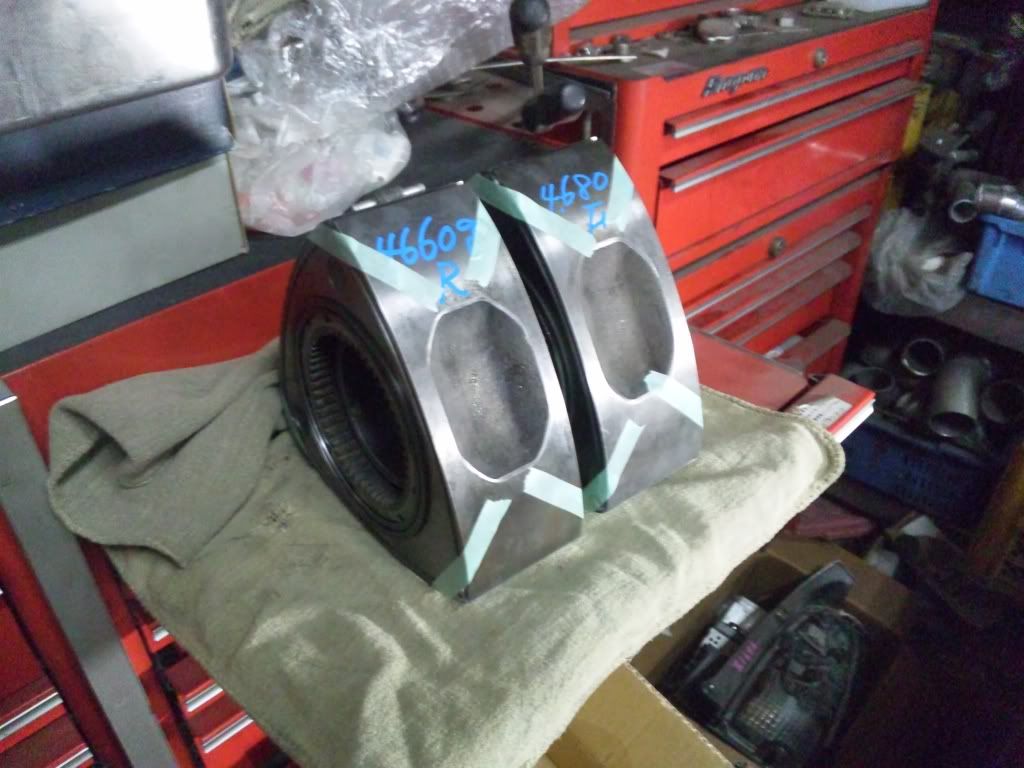
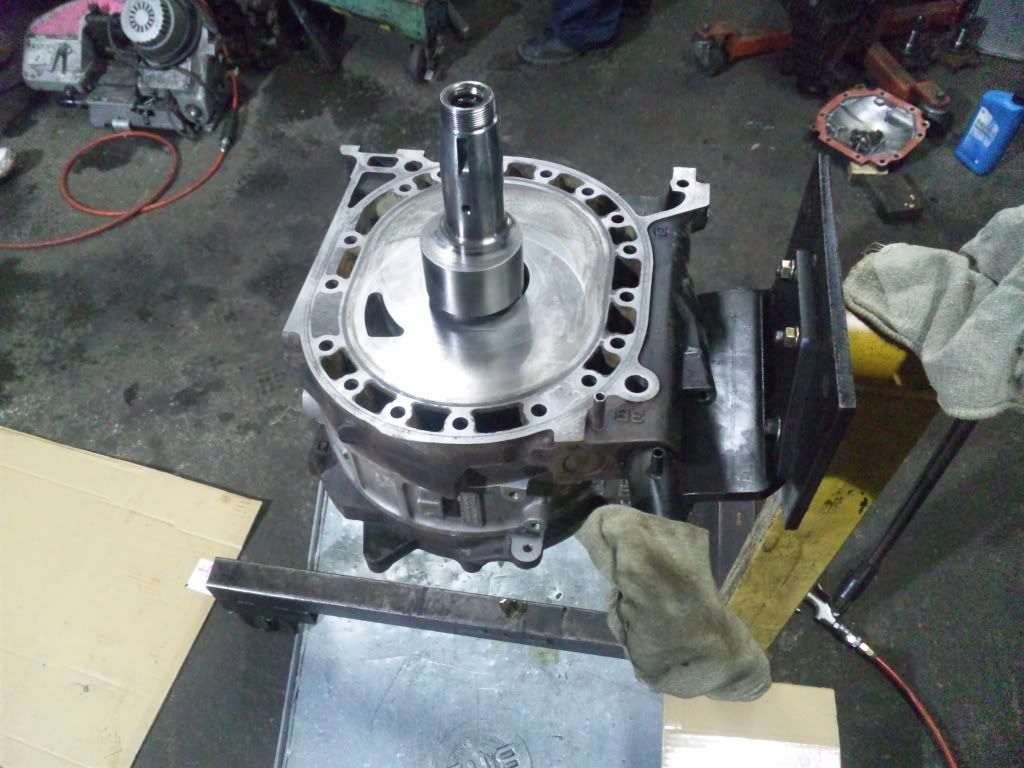
Rotors cleaned and ready for seal clearencing.


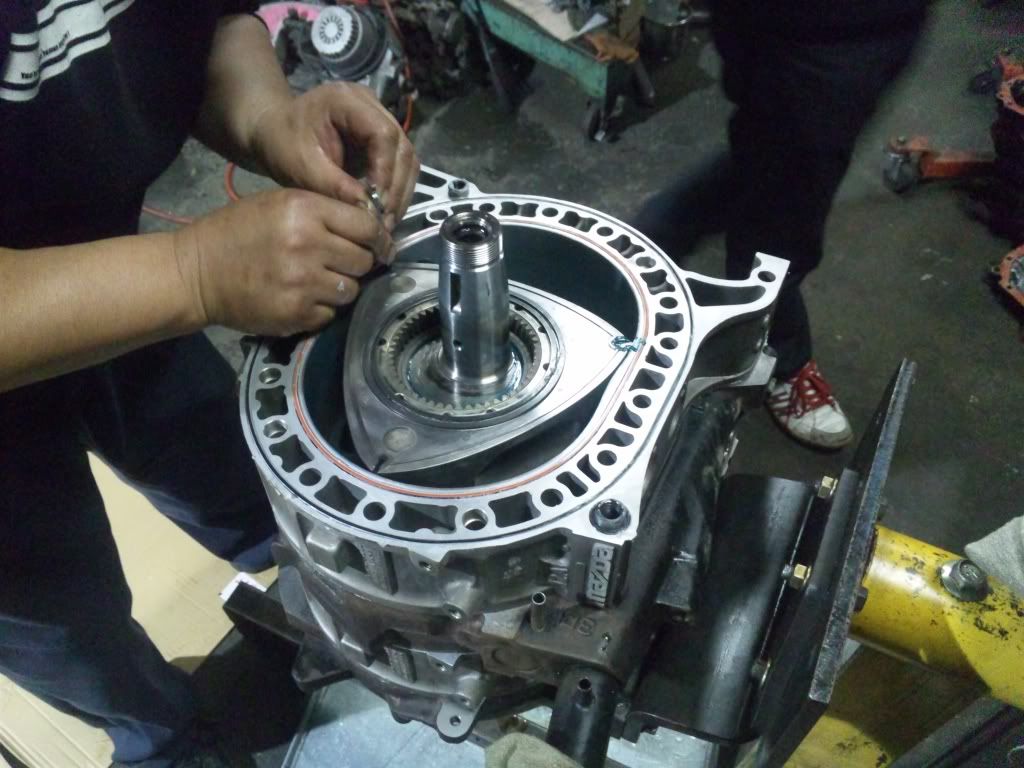
Rotor seals clearencing

Rotors cleaned and ready for seal clearencing.
Rotor seals clearencing


Thread Starter
Joined: Nov 2004
Posts: 2,066
Likes: 1
From: Japan & California
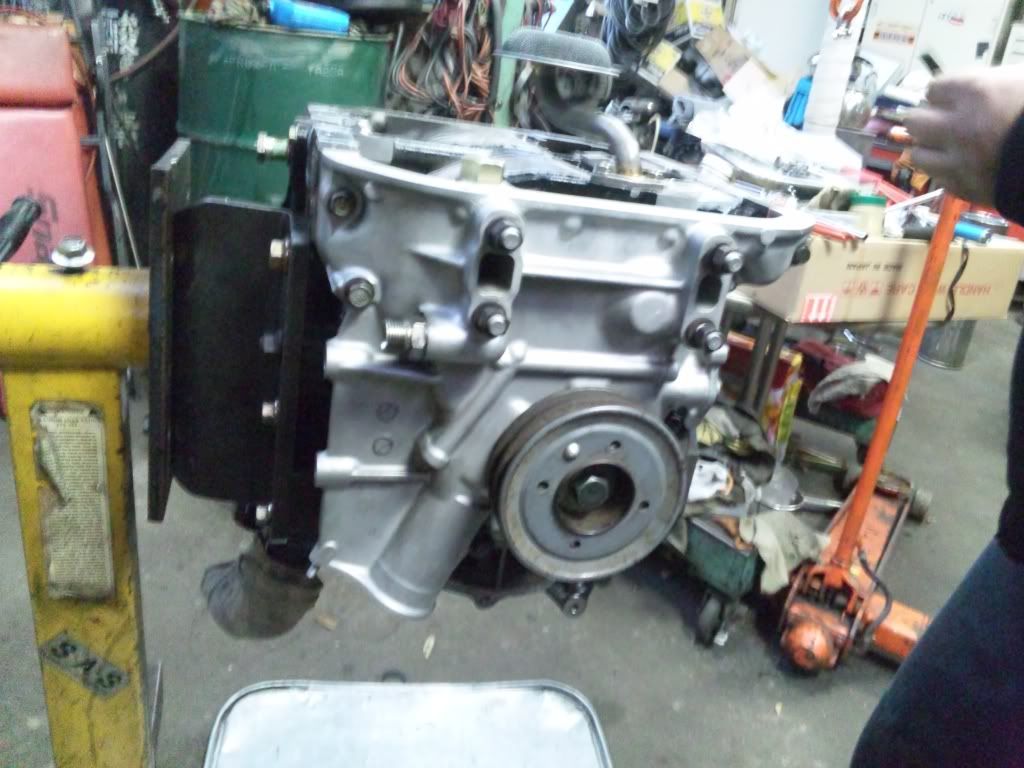
I was sooooo tempted just put some headers on it instead of this old ancient thermal whatchamacallit.
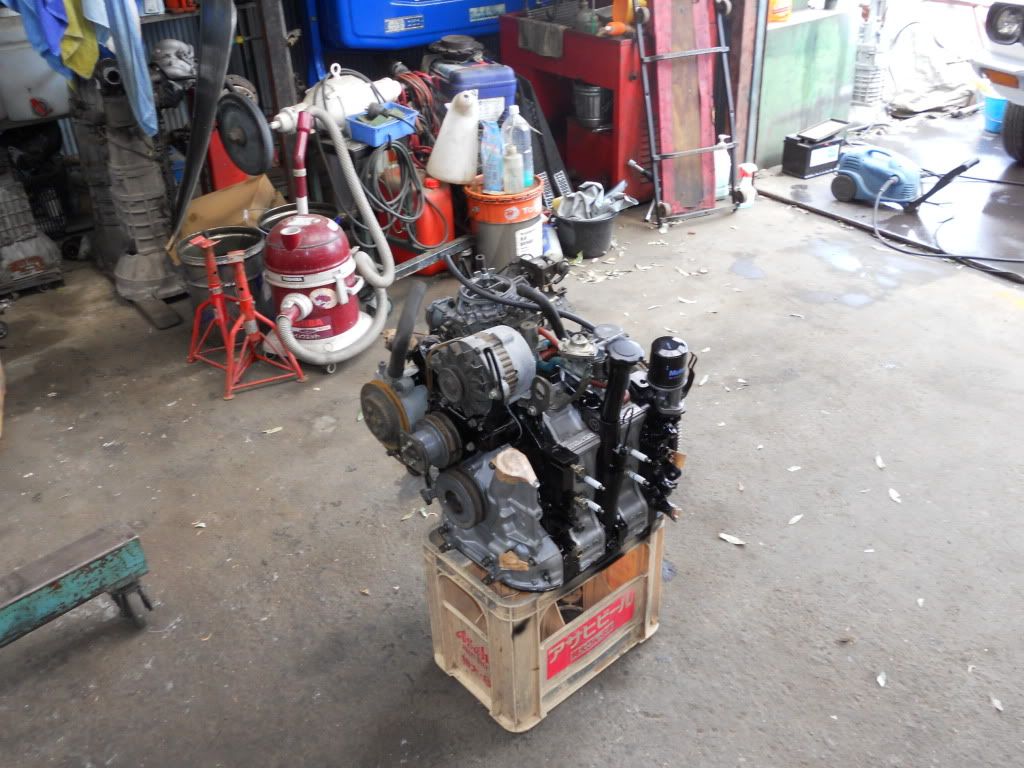
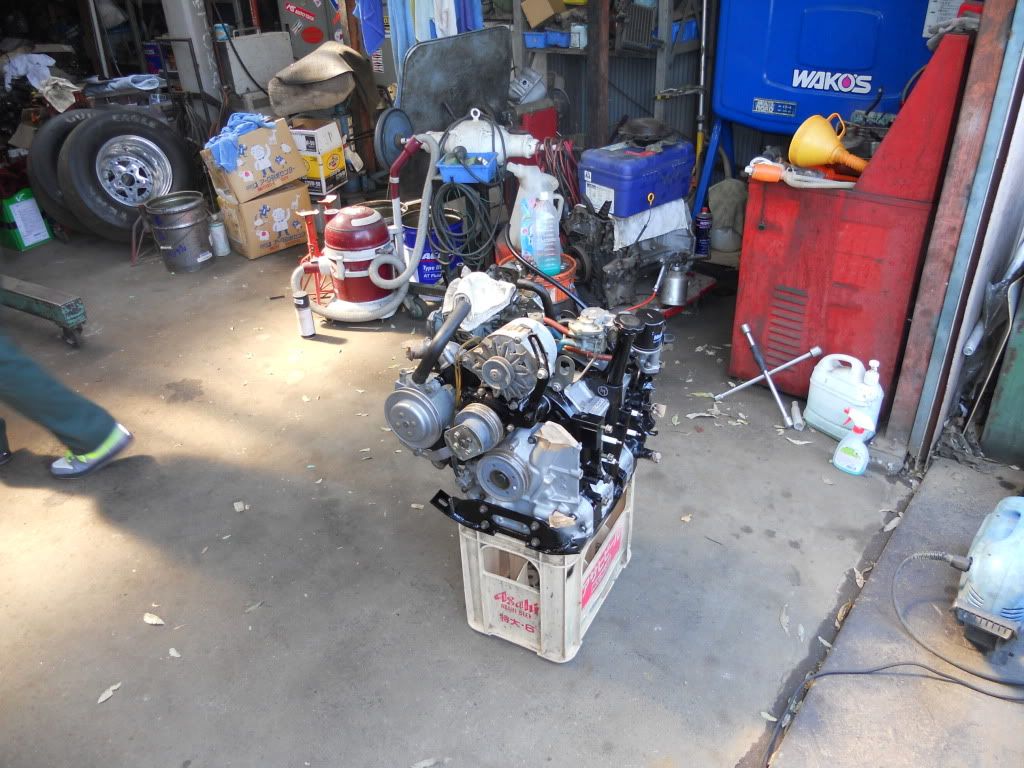
Ghetto Fabbed Carb test, worked great actually!
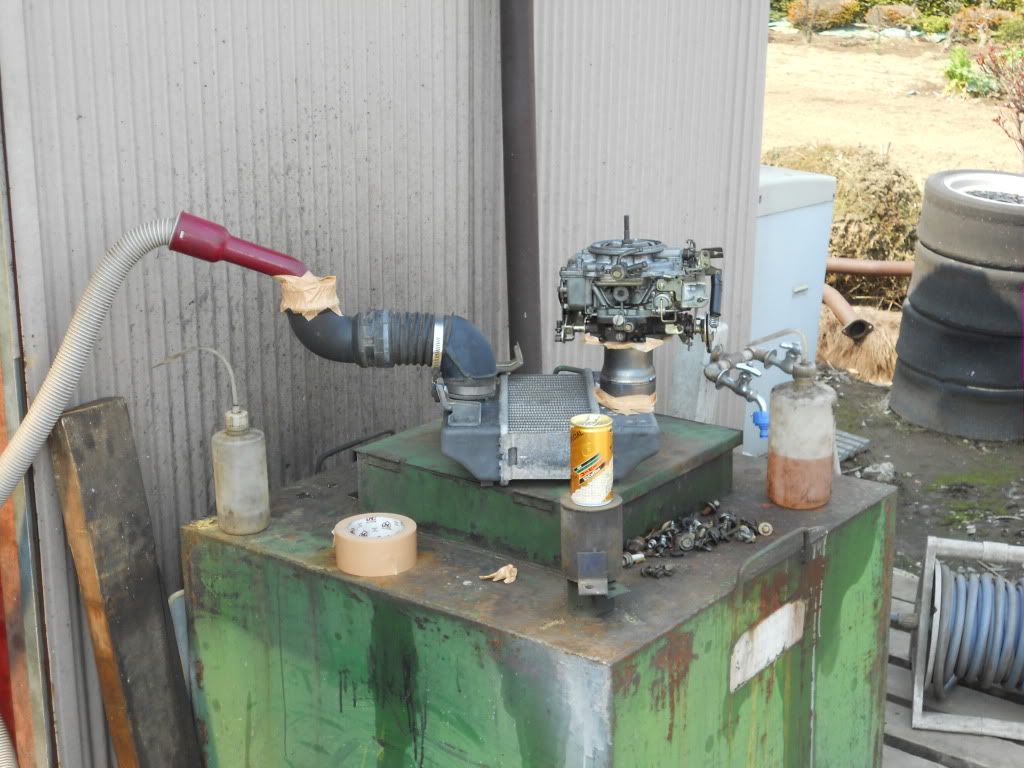
TADAAA!
Ghetto Fabbed Carb test, worked great actually!
TADAAA!

Joined: Mar 2001
Posts: 31,863
Likes: 3,244
From: https://www2.mazda.com/en/100th/
really nice car! if those rotor housings were a US part, id say they were for an SA rx7. its a thermal reactor type rotor housing, small logo. the rx3 ones in the US would say mazda automobiles, the SA ones just say mazda. in japan it might have been from a parkway bus....
if you bought em new in the box, the part number on the box would tell you...
and those old housings look great for a 12A, if you've never pulled apart a 12A before, its amazing how nice the engine can run with NO CHROME left on the housing!
if you bought em new in the box, the part number on the box would tell you...
and those old housings look great for a 12A, if you've never pulled apart a 12A before, its amazing how nice the engine can run with NO CHROME left on the housing!
Thread Starter
Joined: Nov 2004
Posts: 2,066
Likes: 1
From: Japan & California
The original housings that flaked do say Mazda Automobiles in the old school font. I sandblasted them and will put them in storage today. I did not sandblast the chrome area but would not being willing to reuse them as they are unless it was an absolute last resort in the future.
Thanks for the info!
Thanks for the info!
